Dripping Wet Torch Red Corvette!! (Full Correction) by Rickrack...

Rickrack

New member
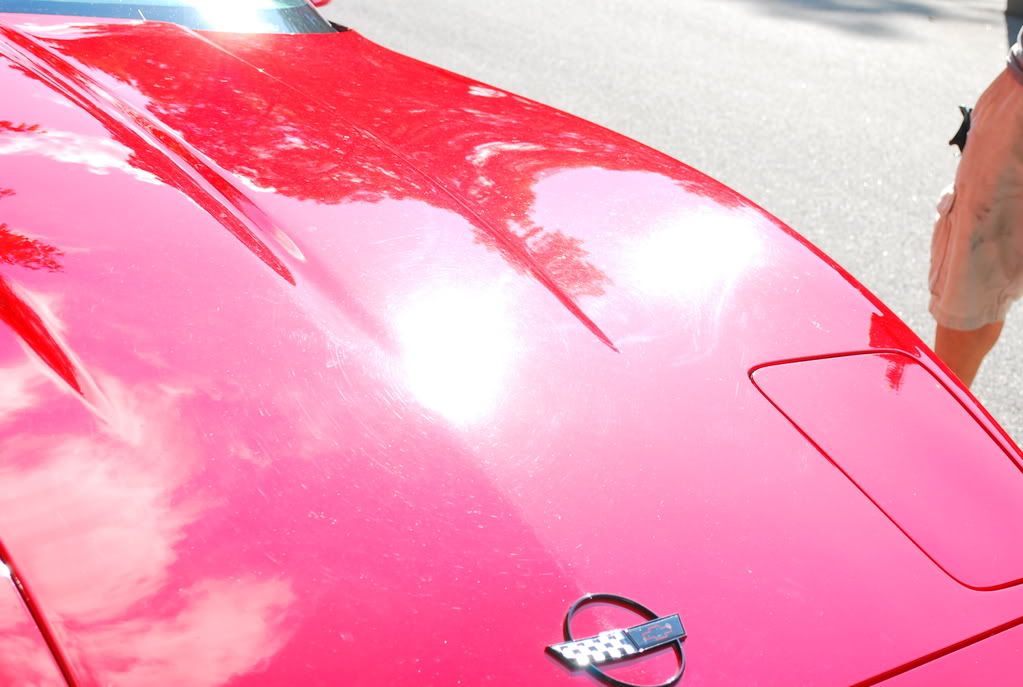
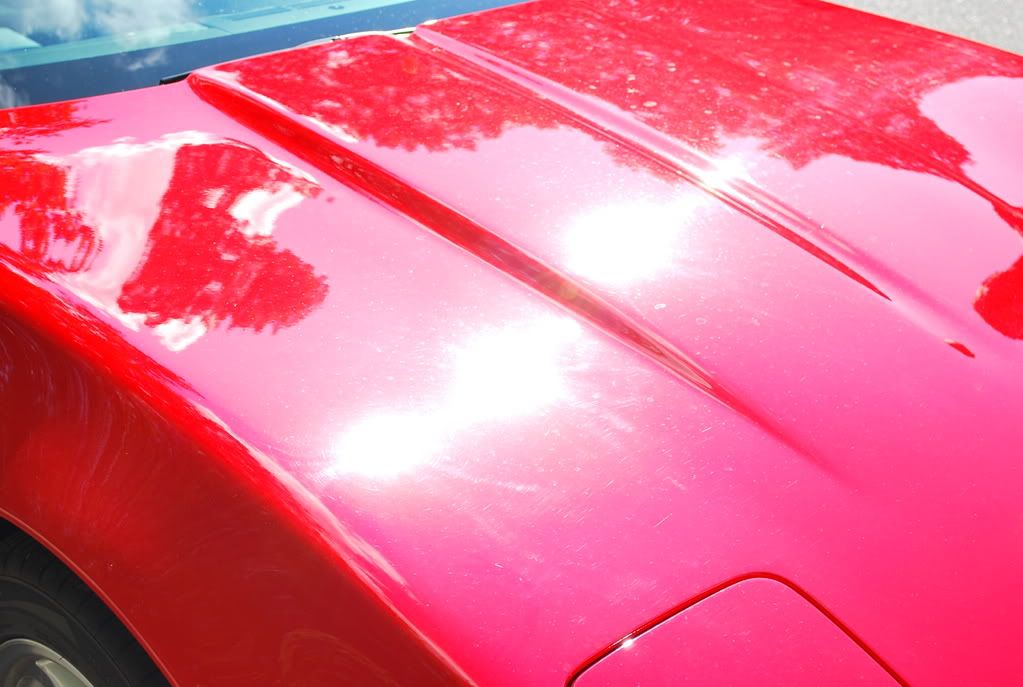
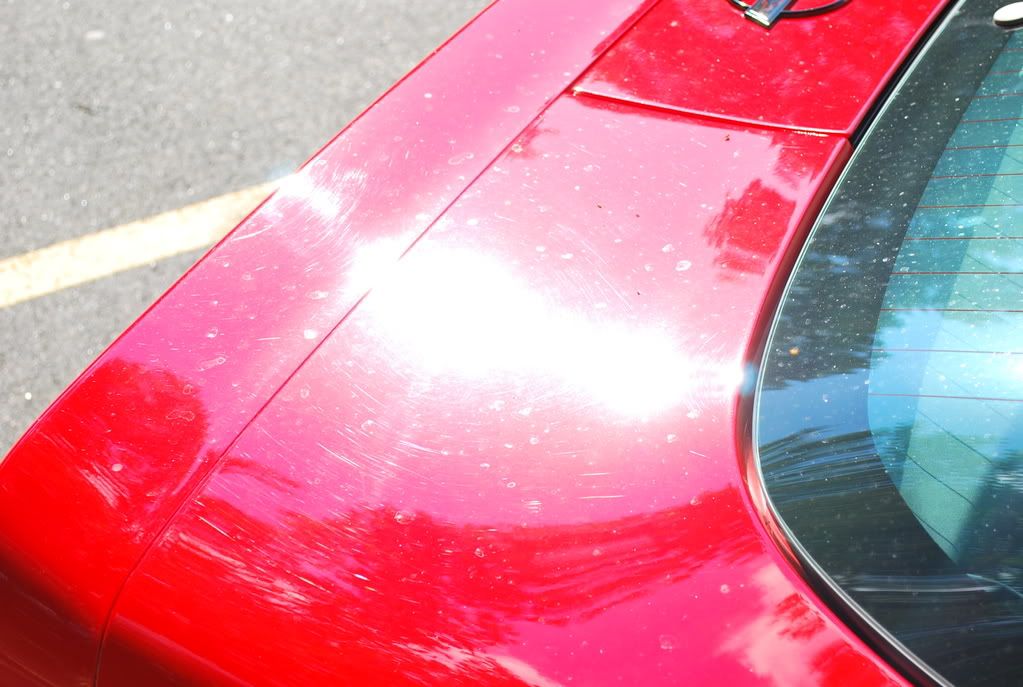
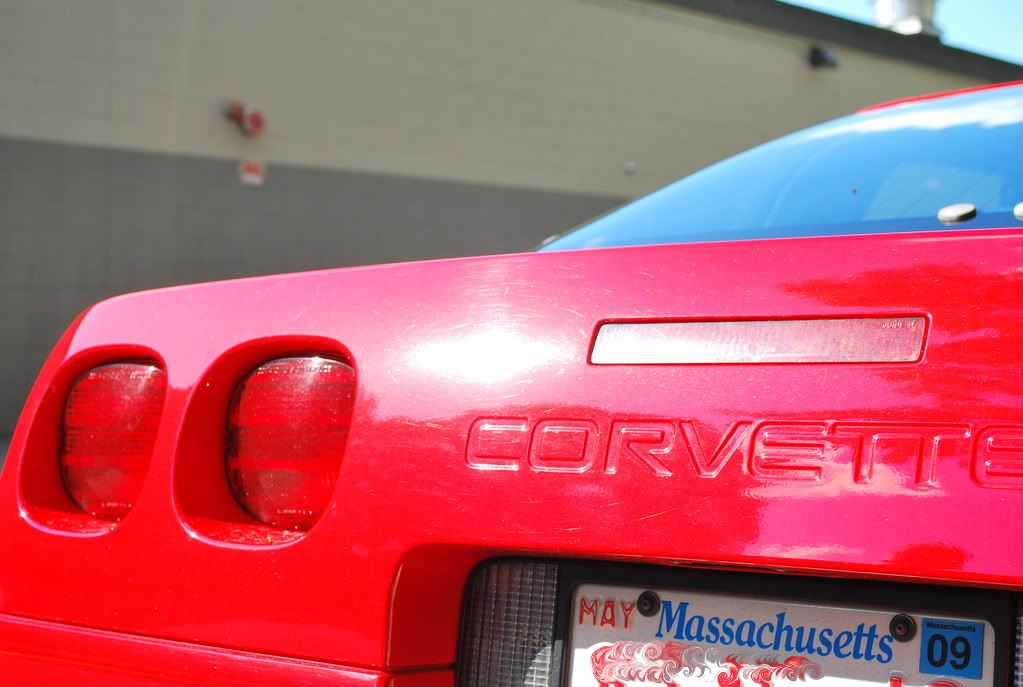
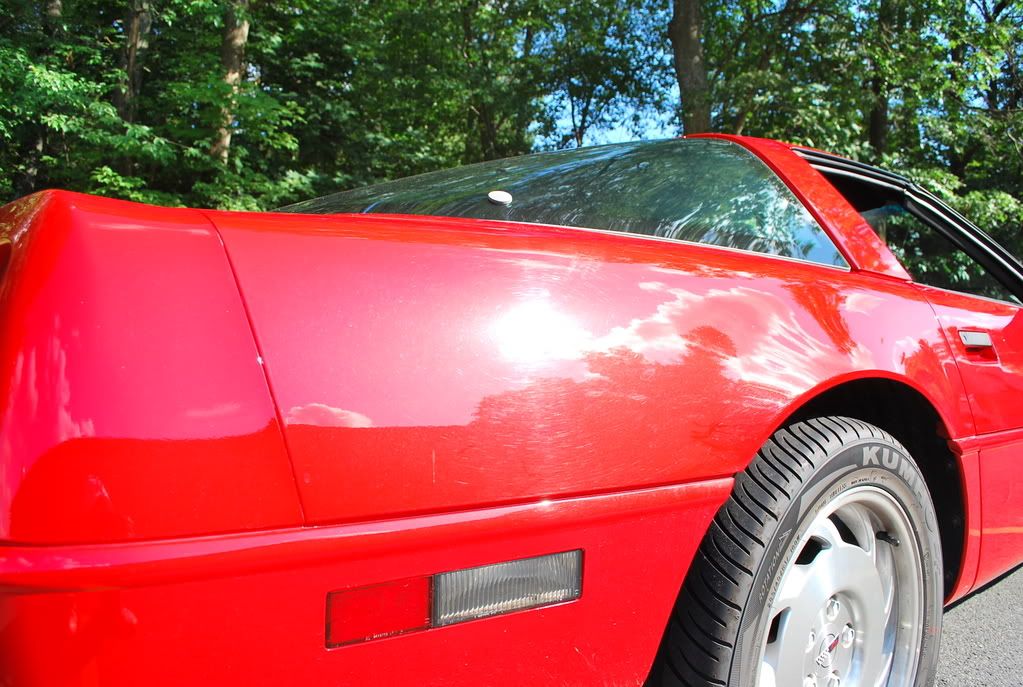
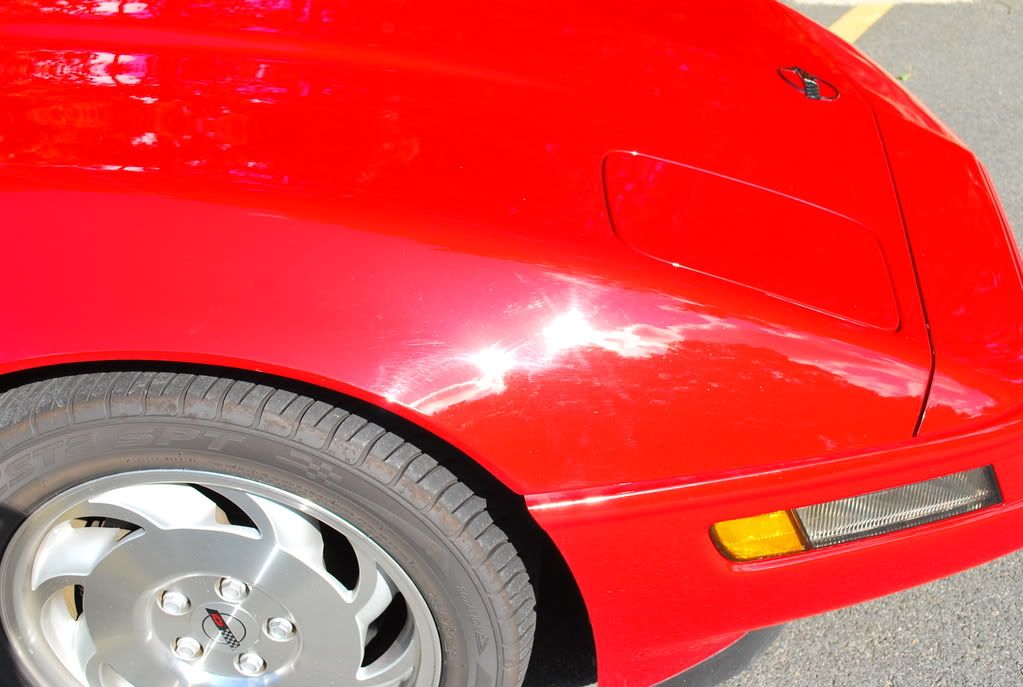
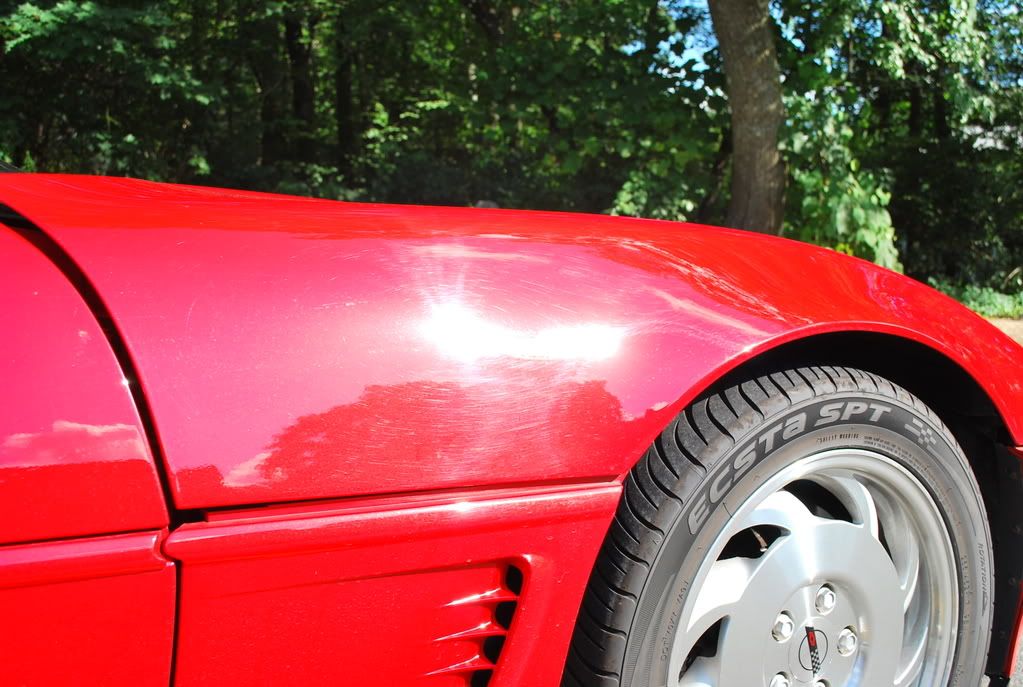
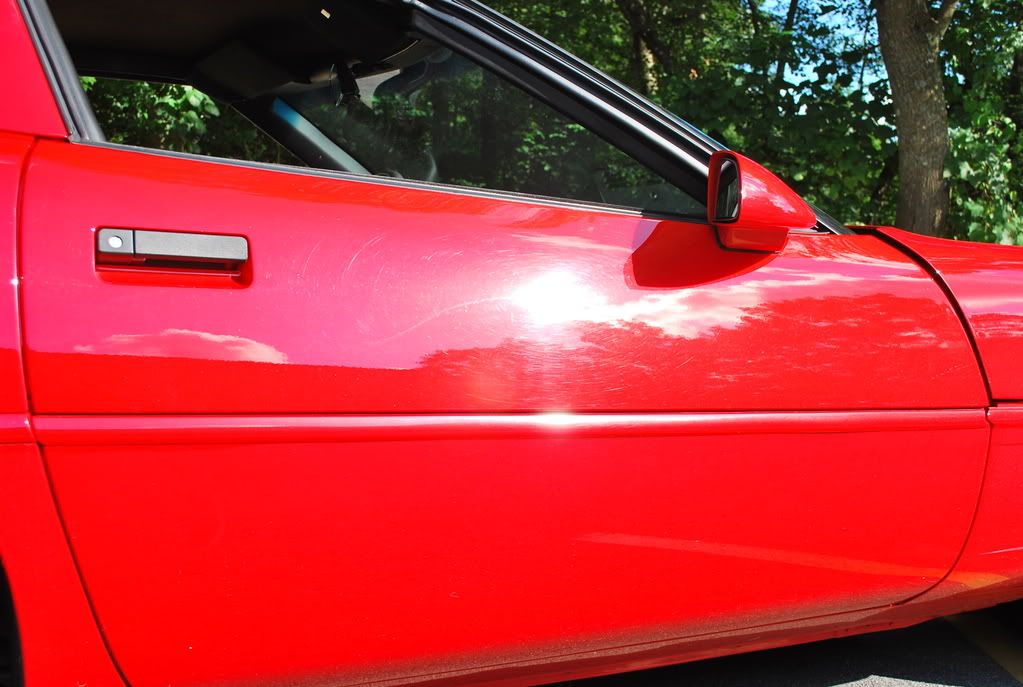
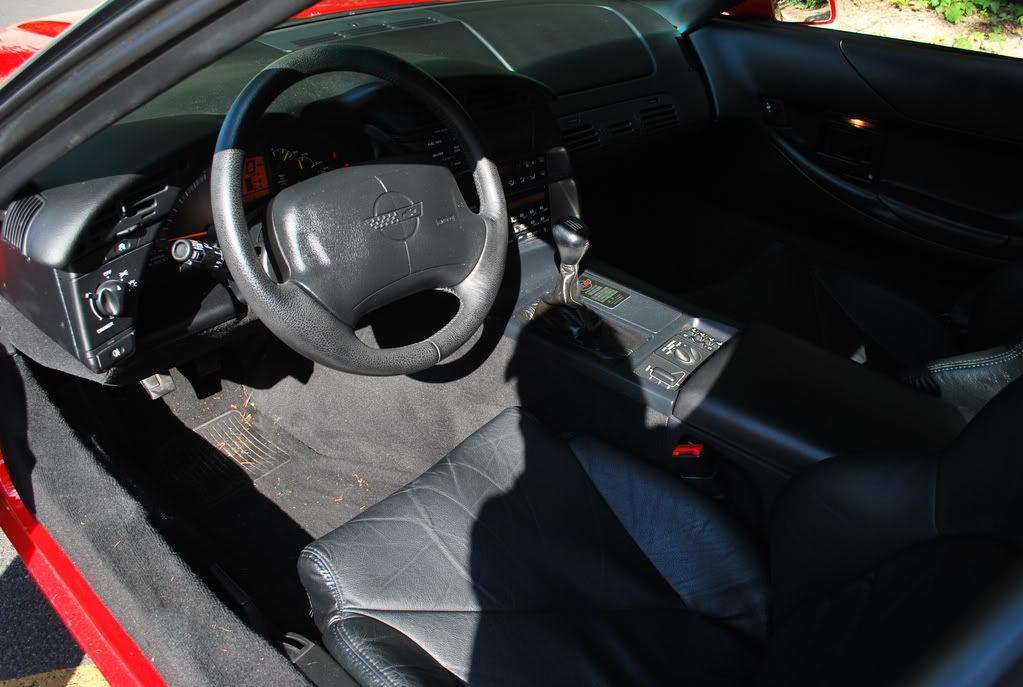
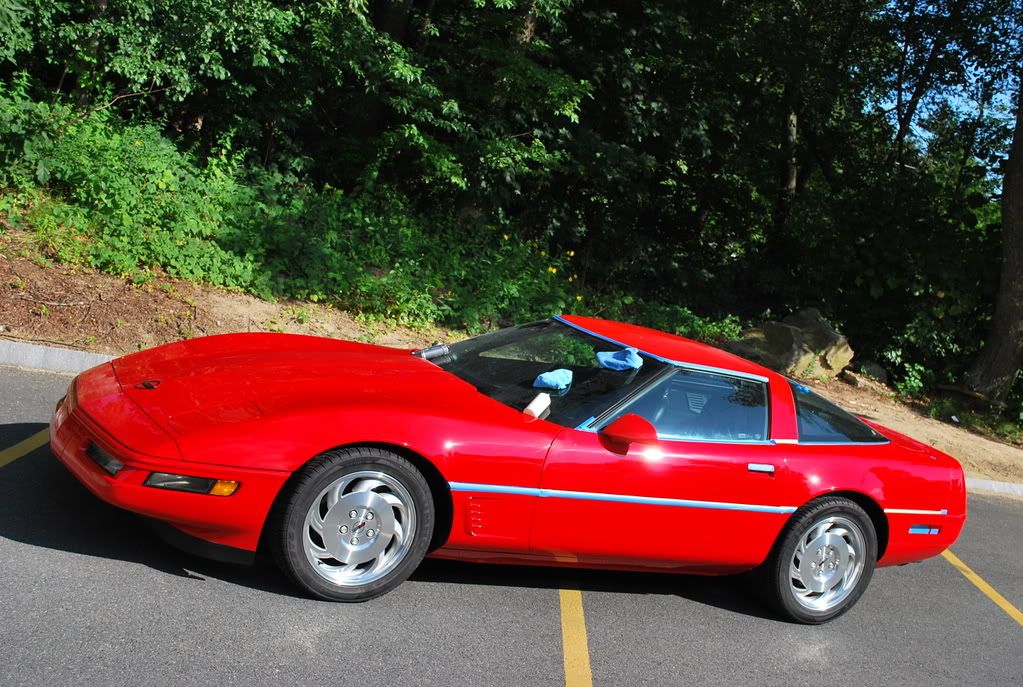
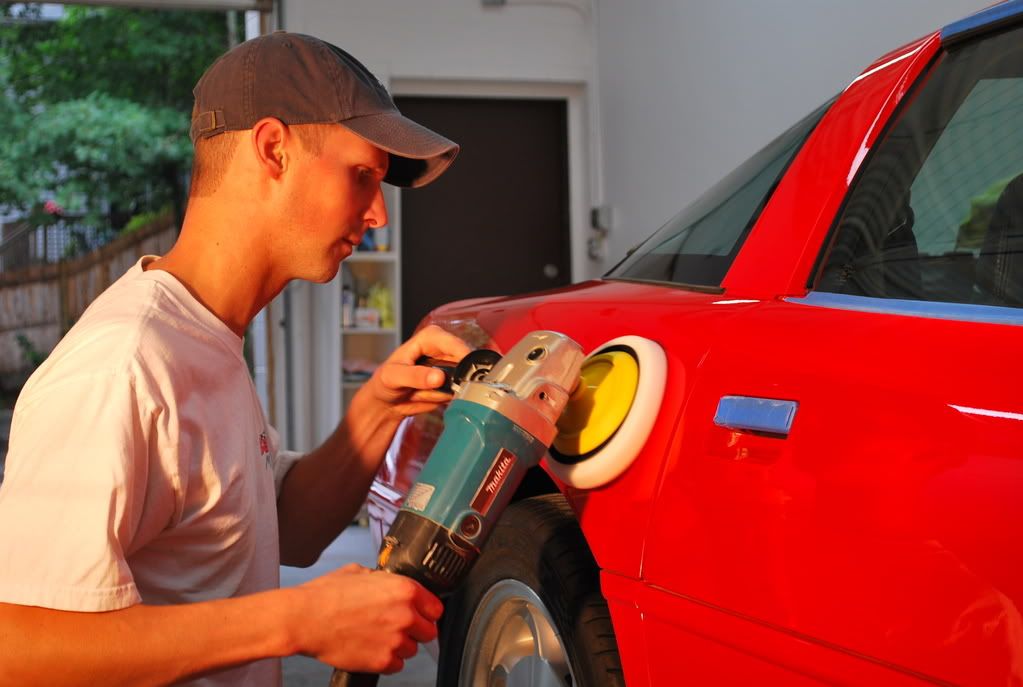
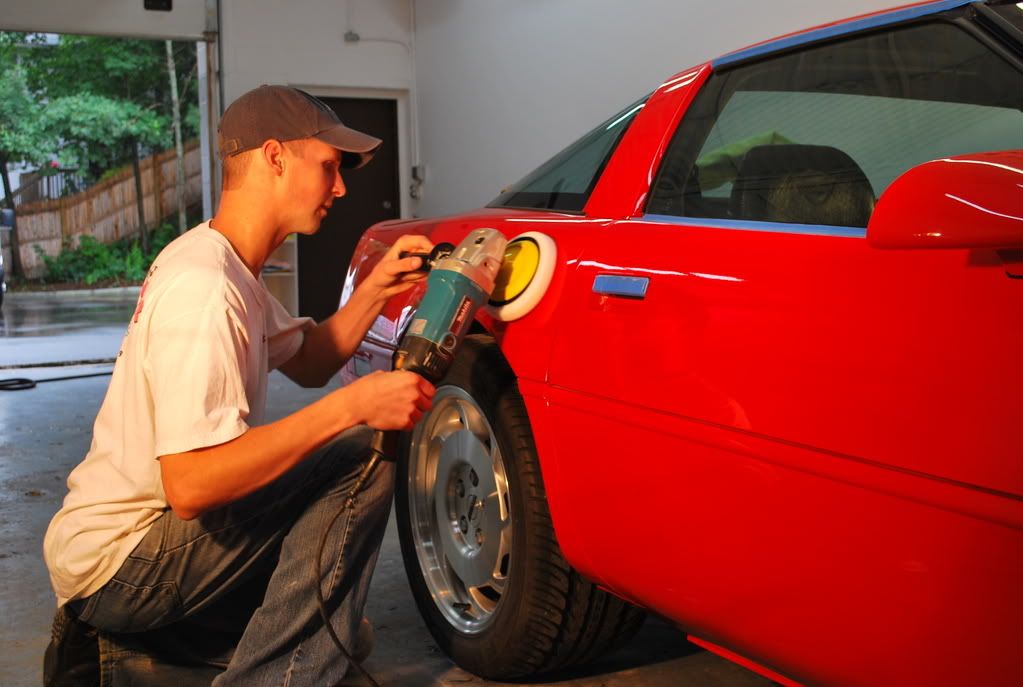
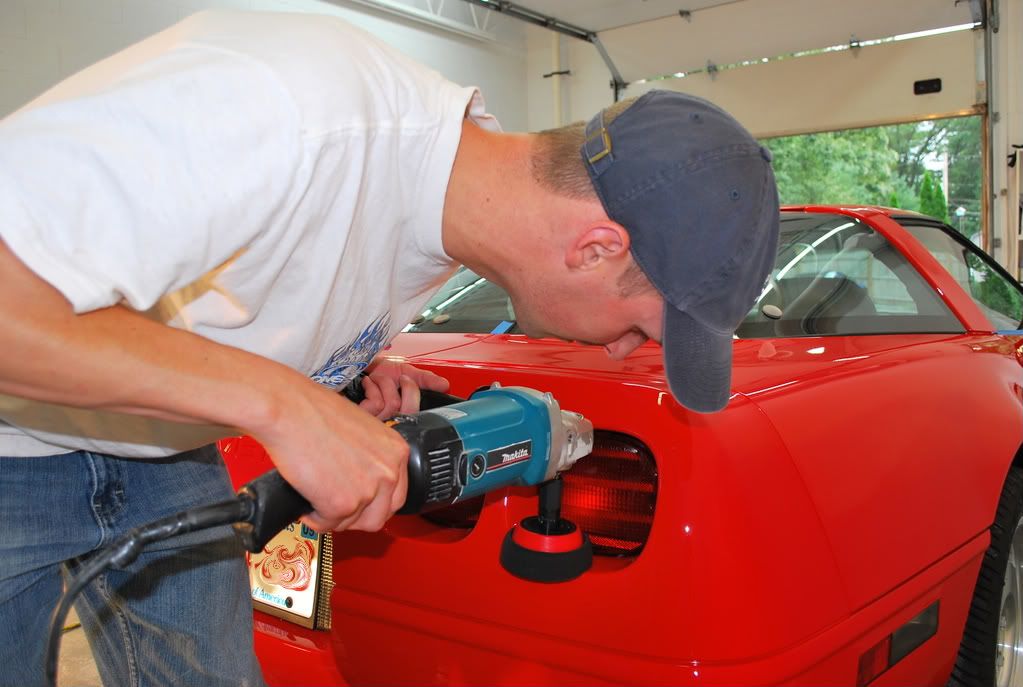
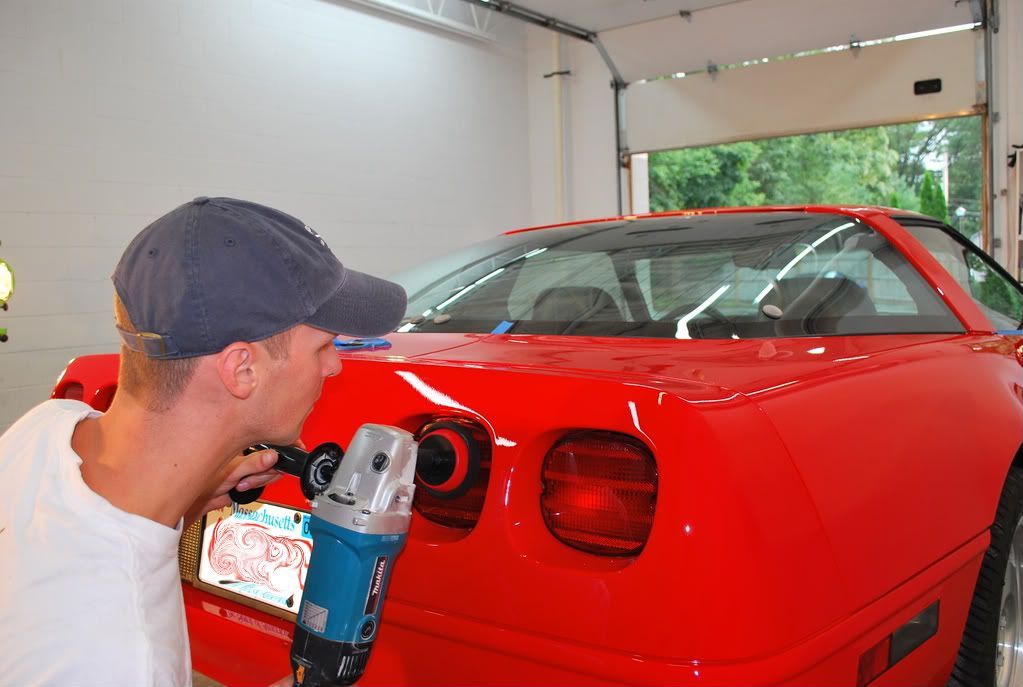
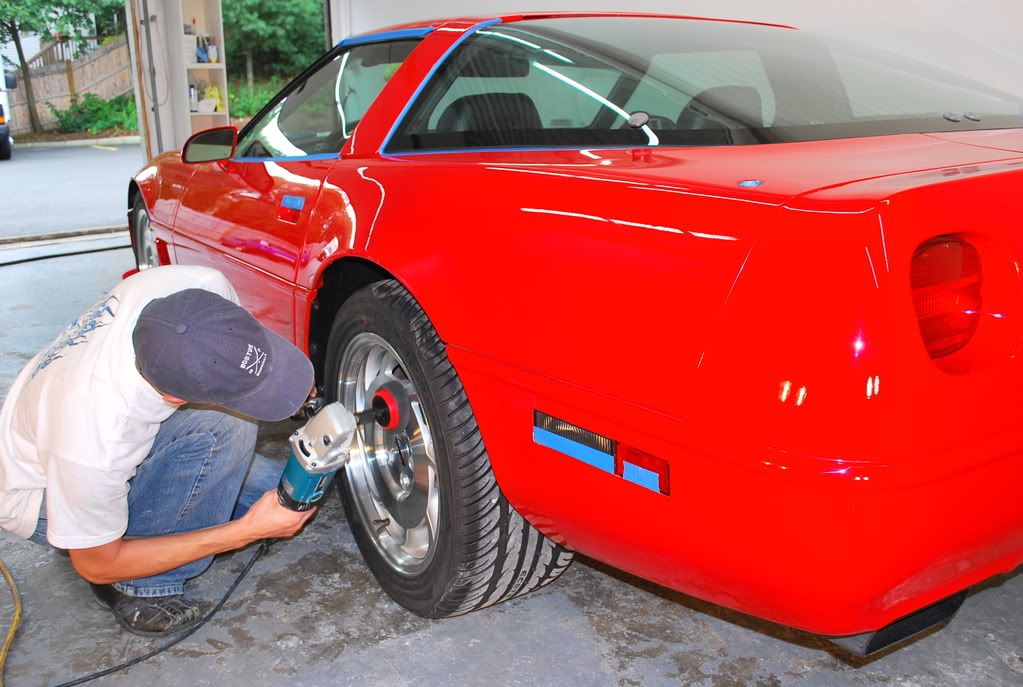
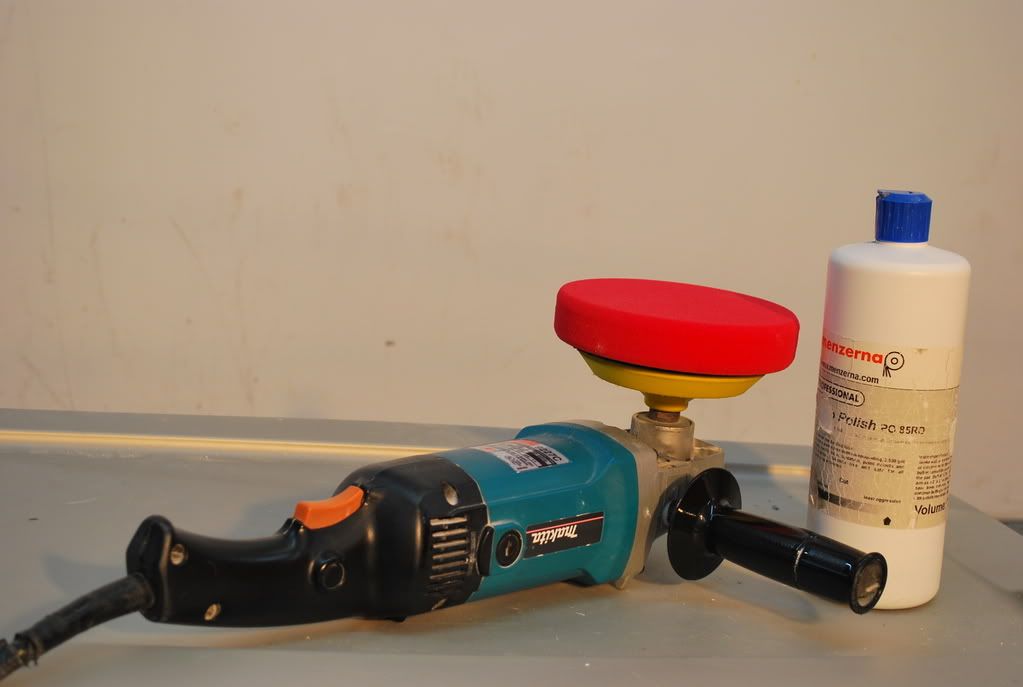
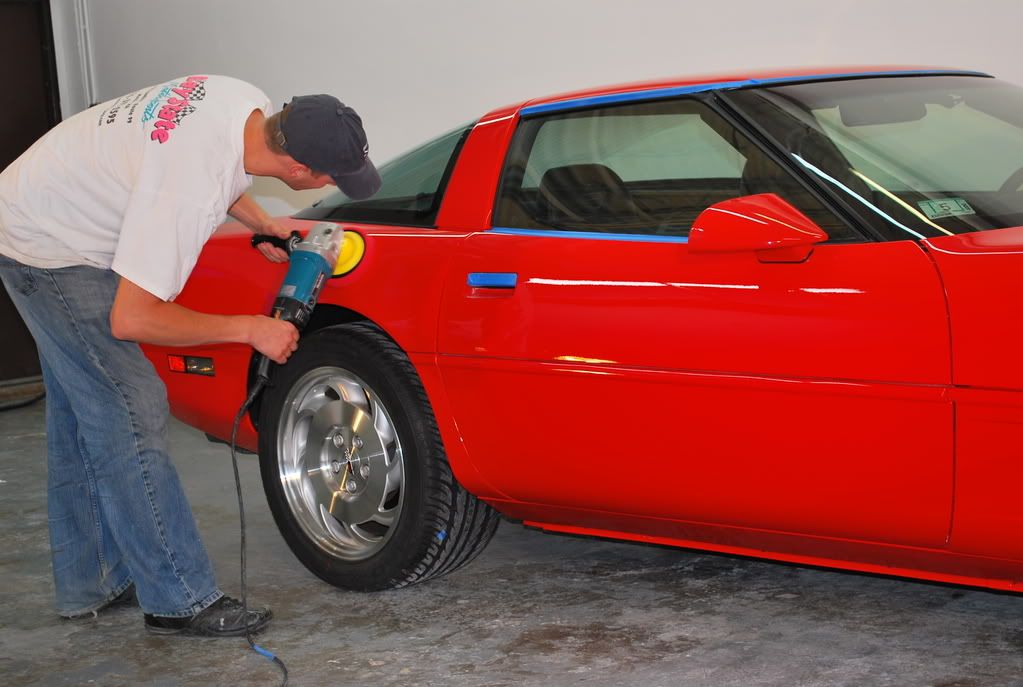
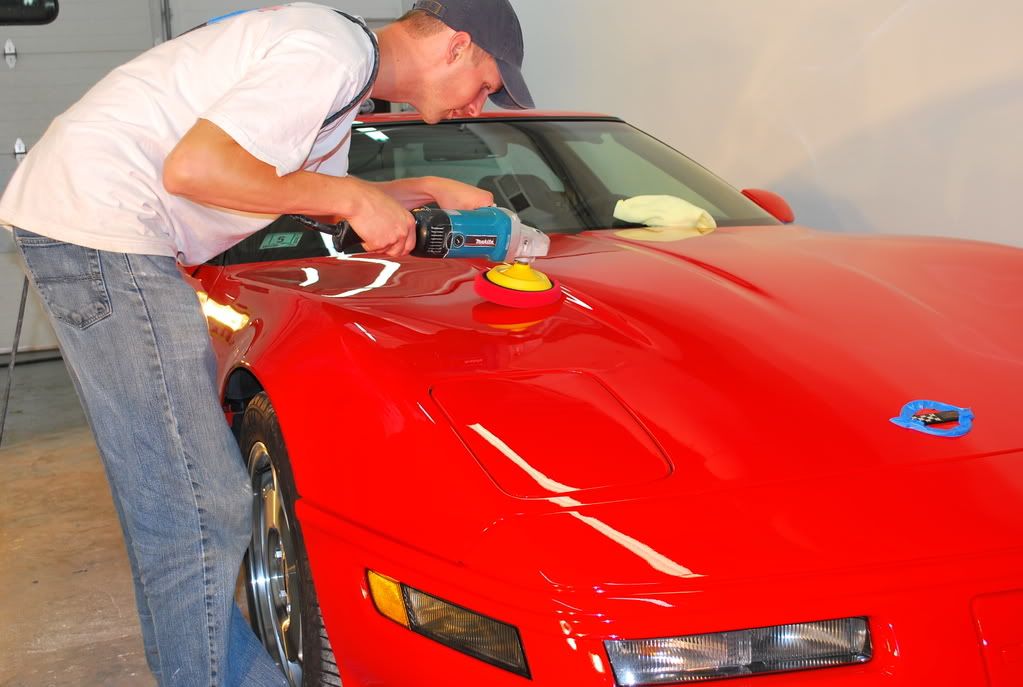
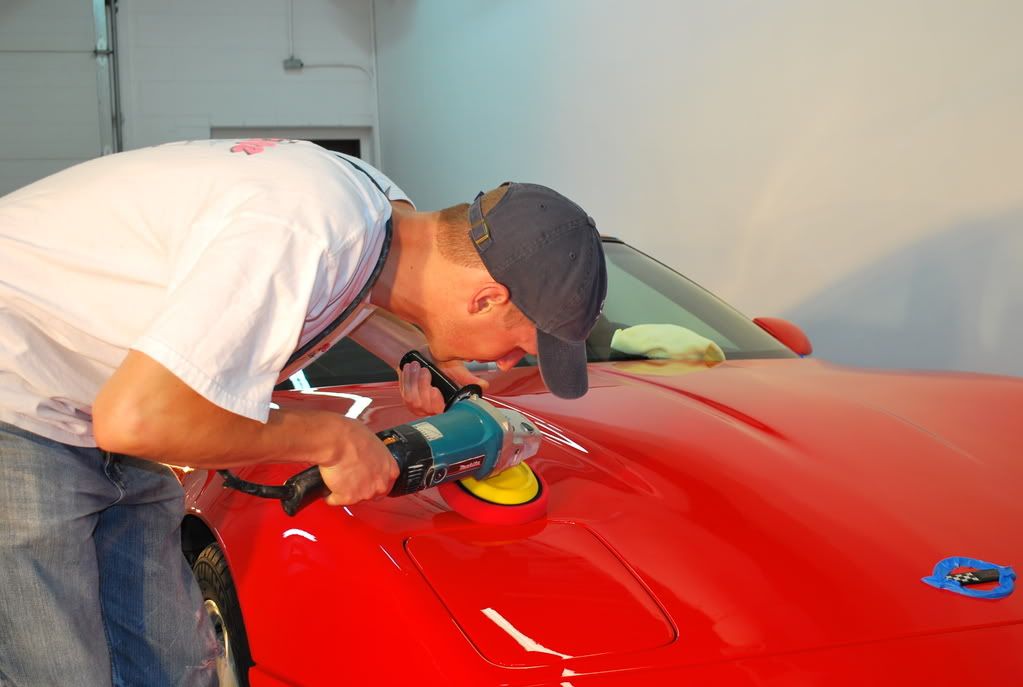
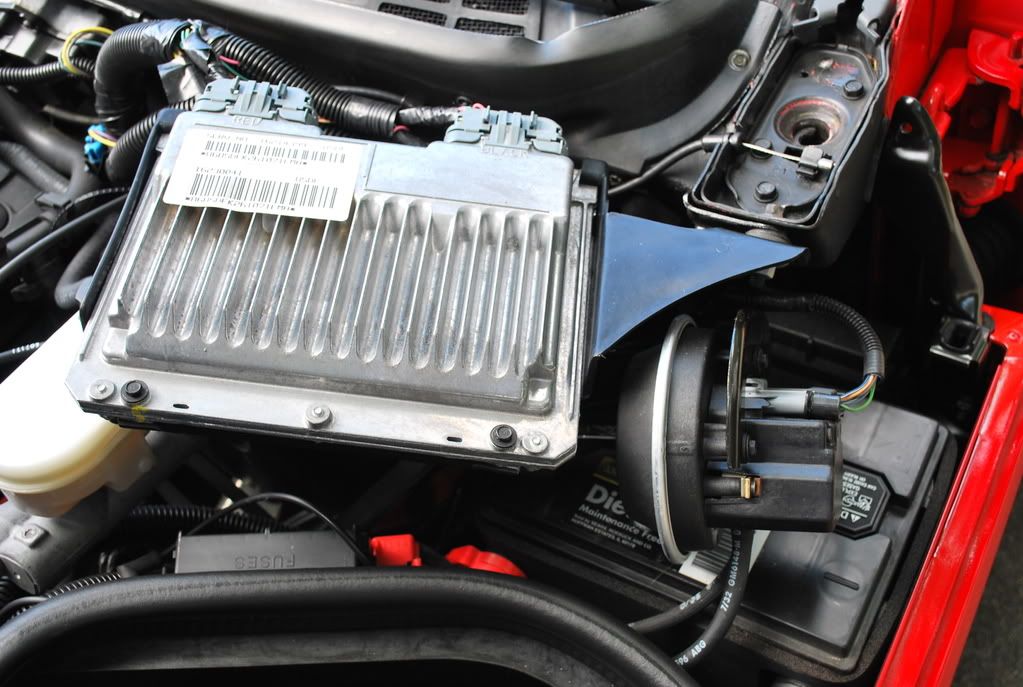
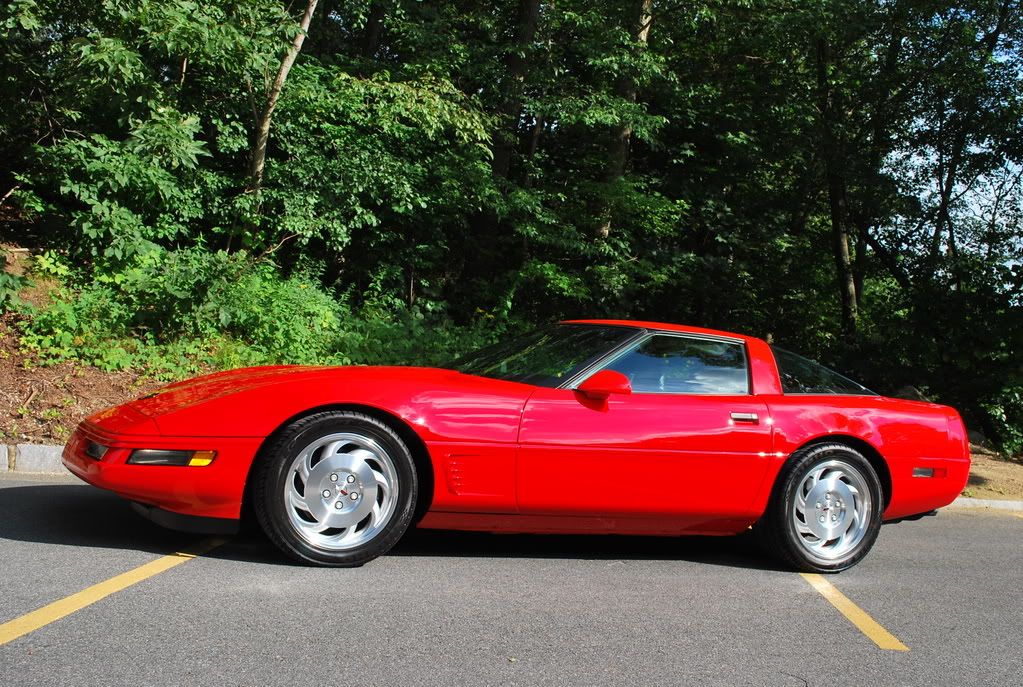
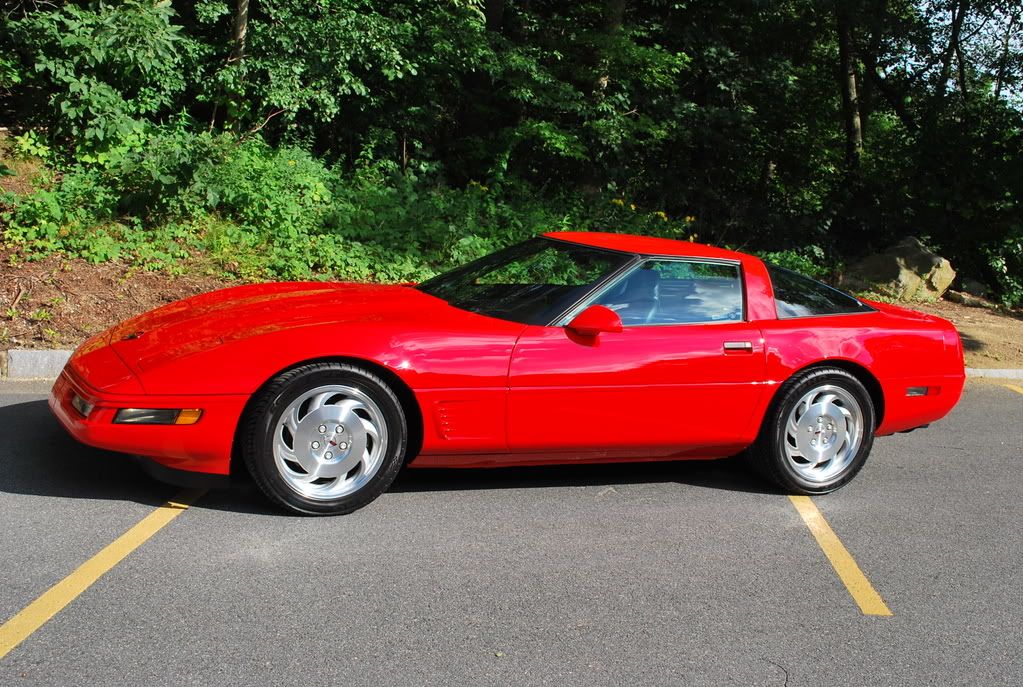
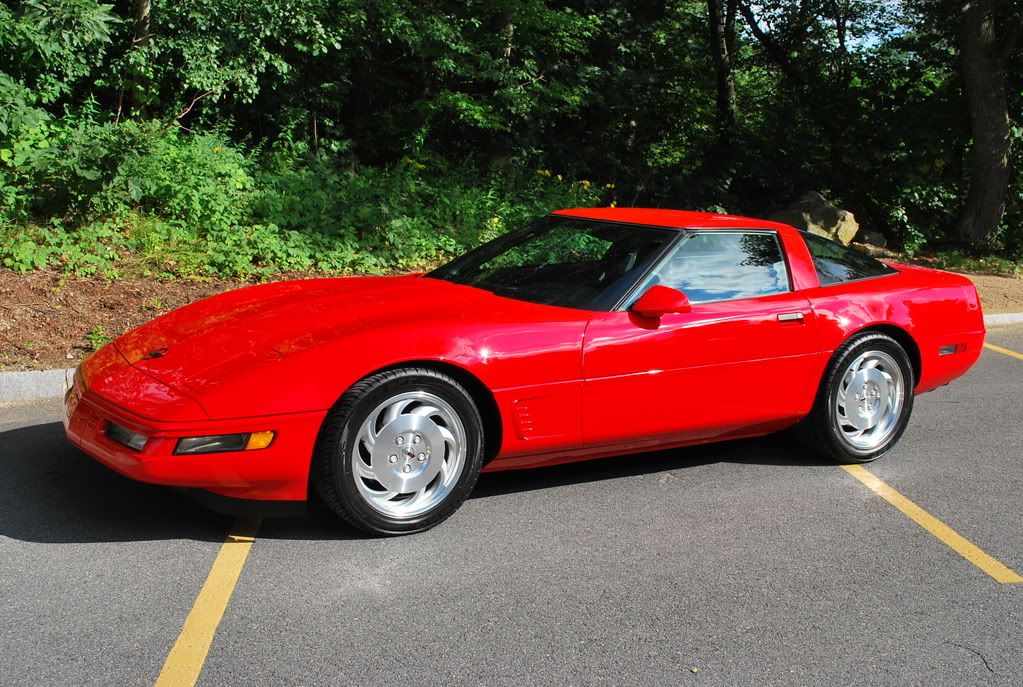
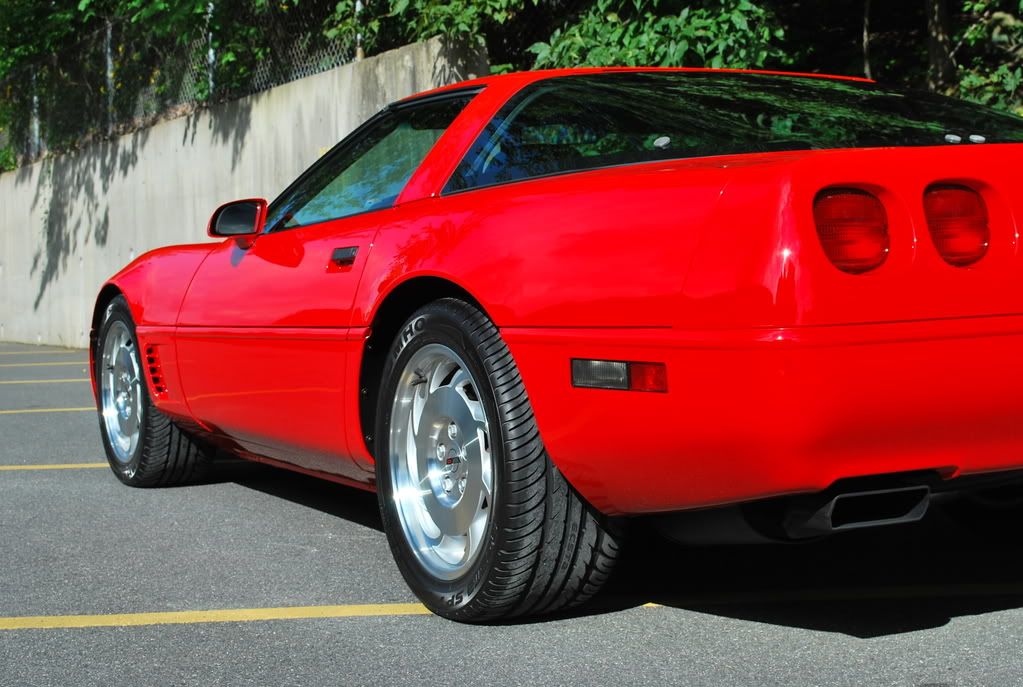
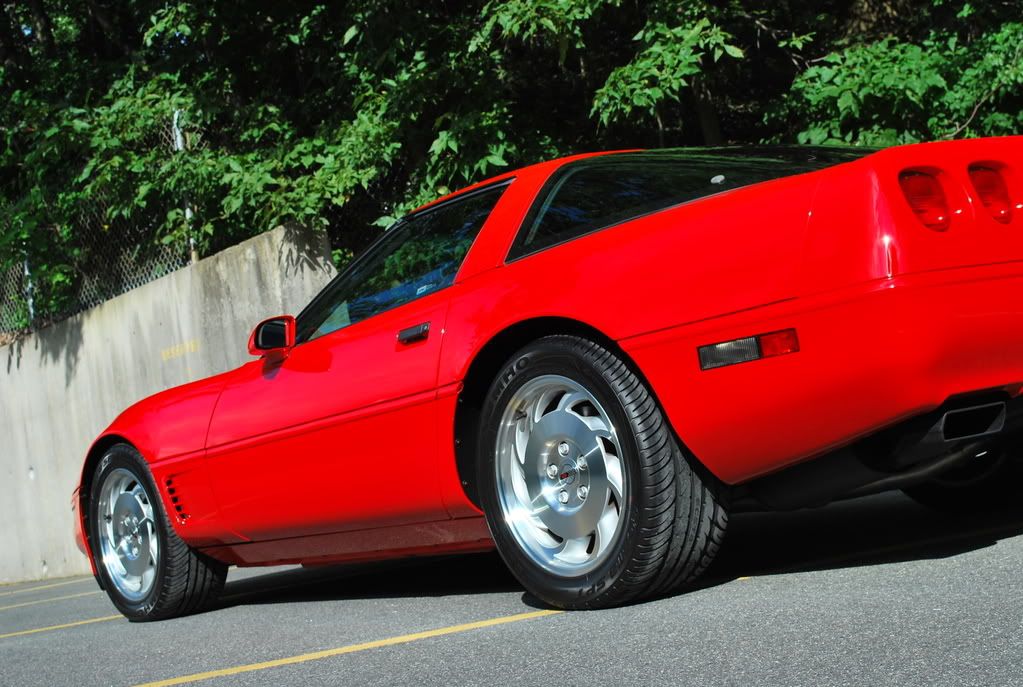
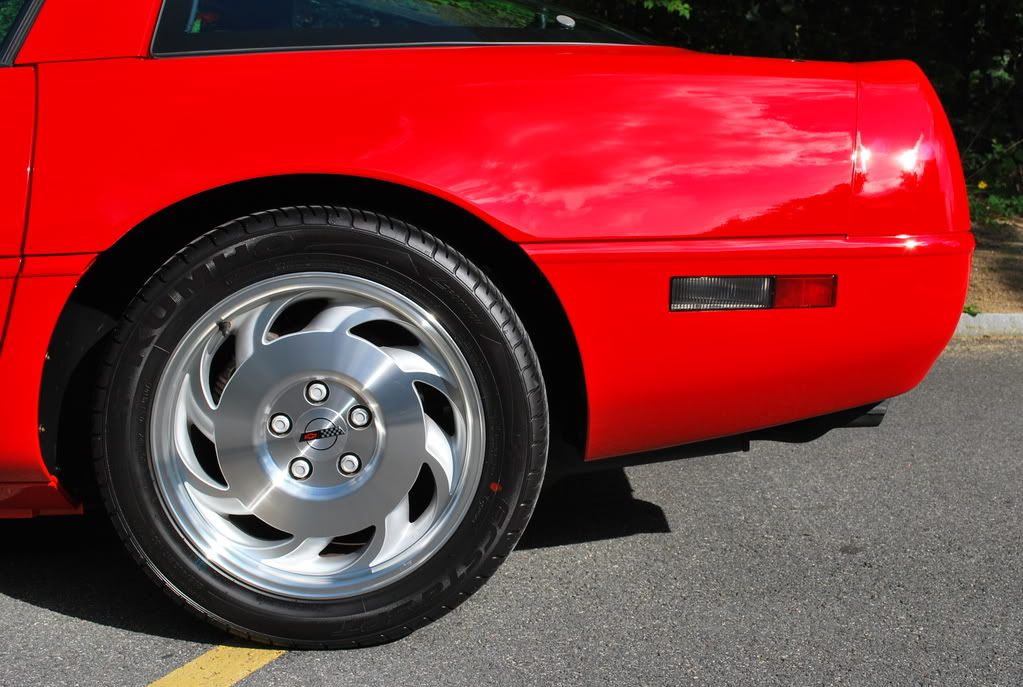
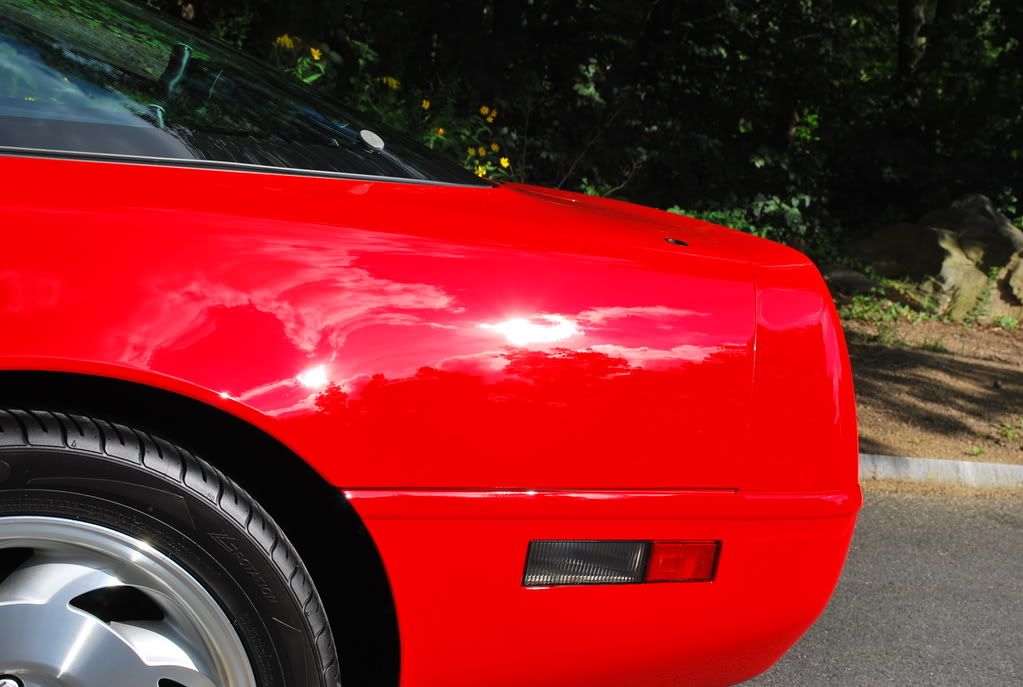
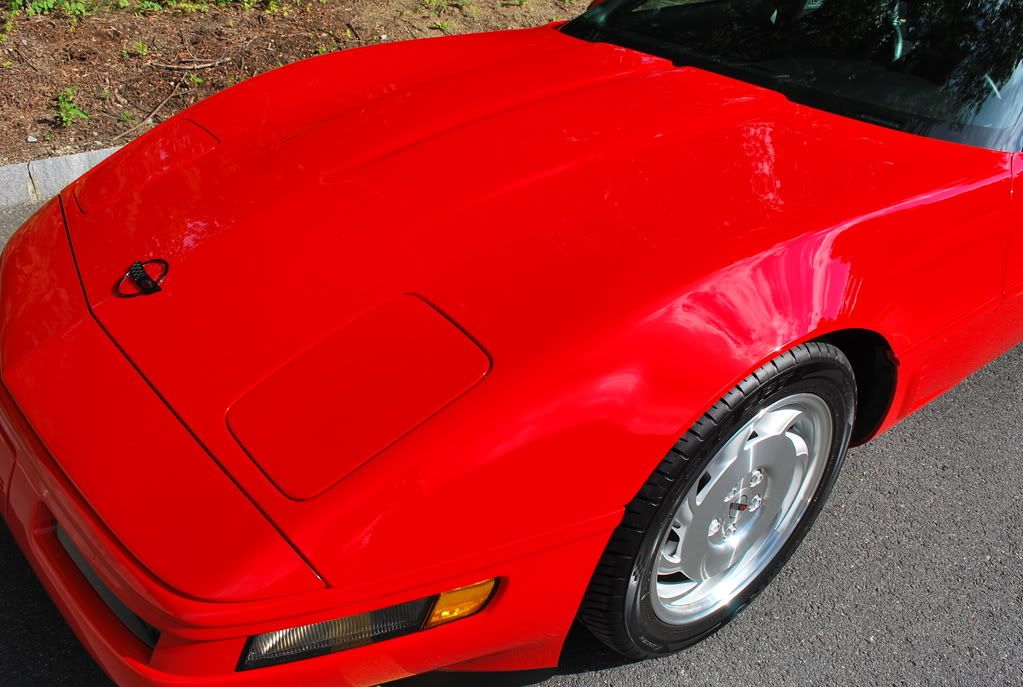
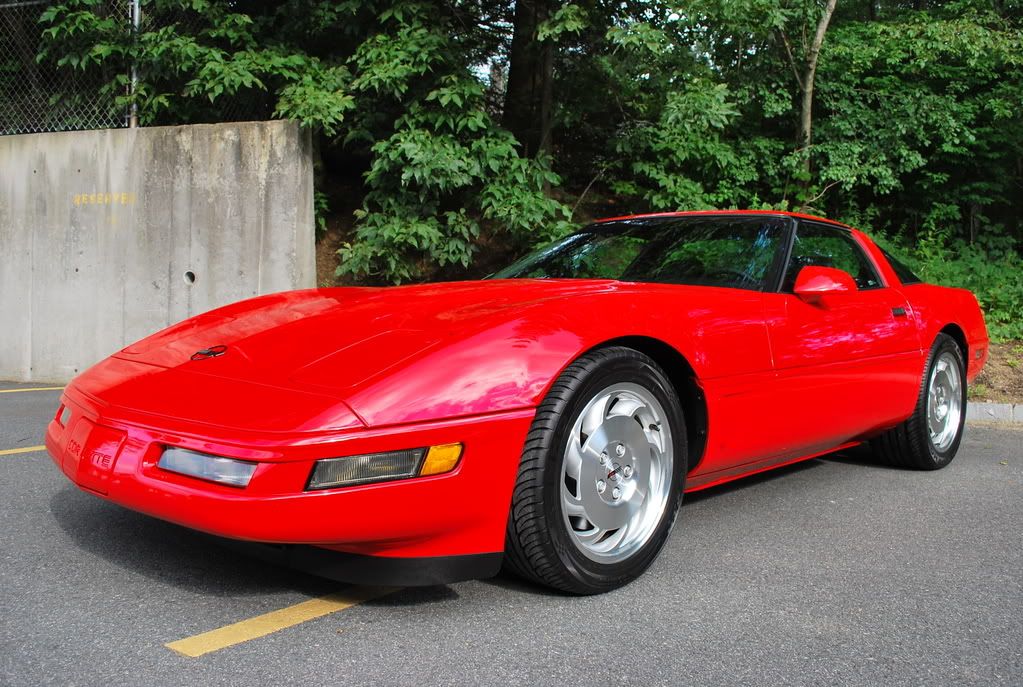
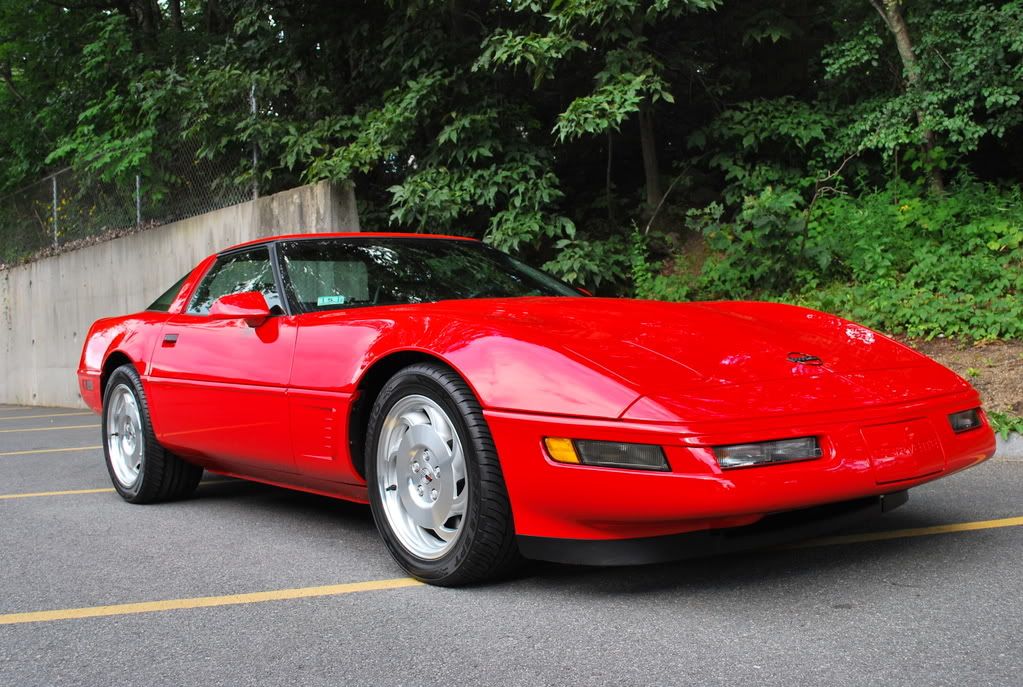
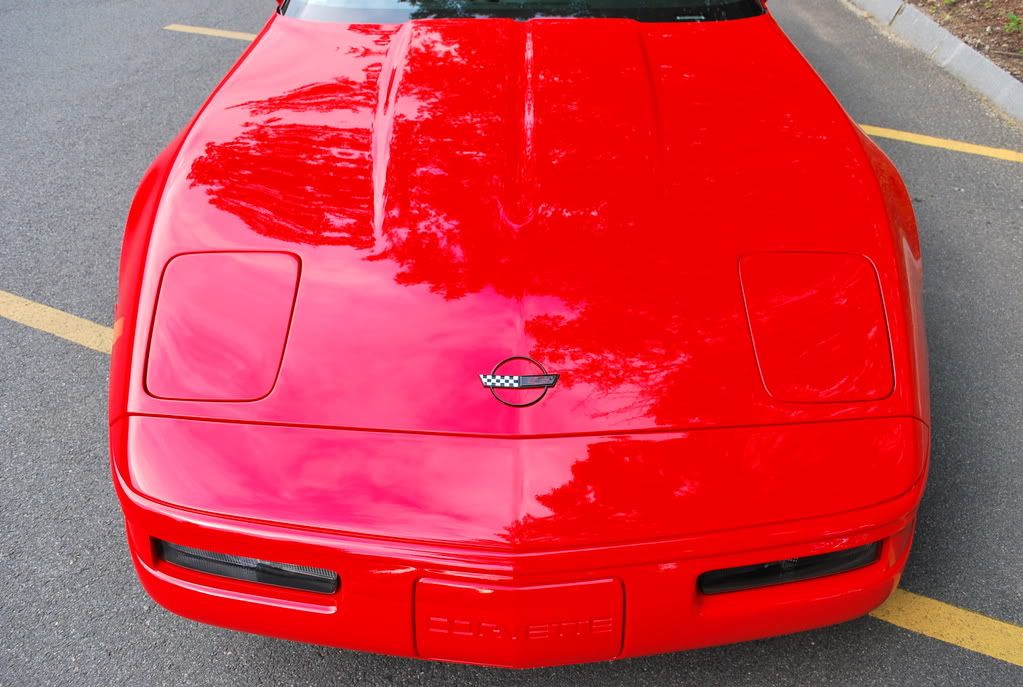
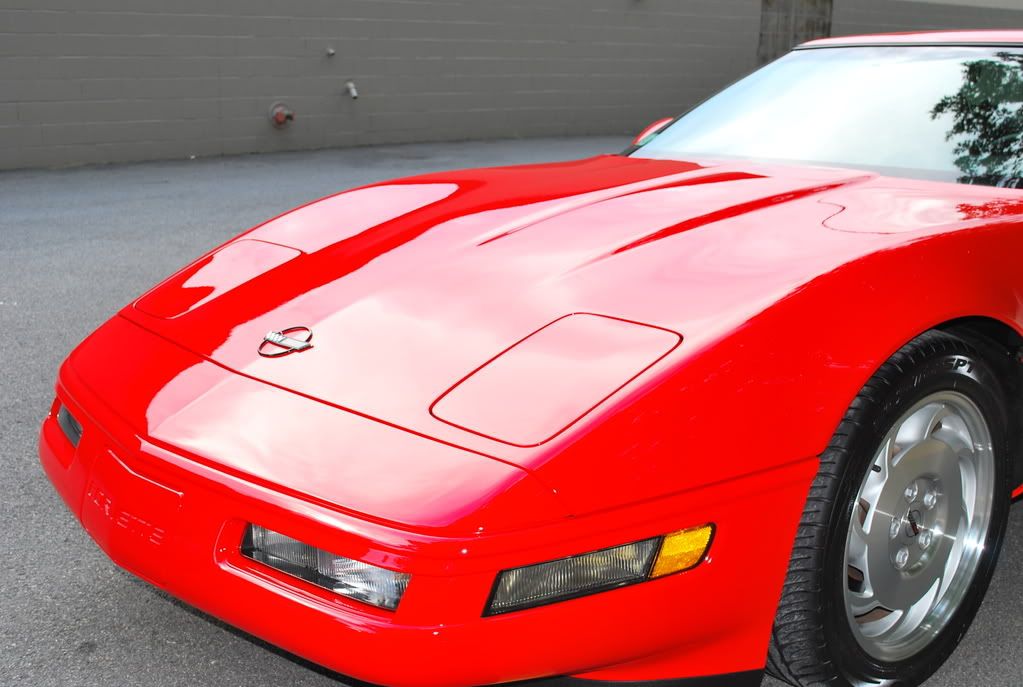
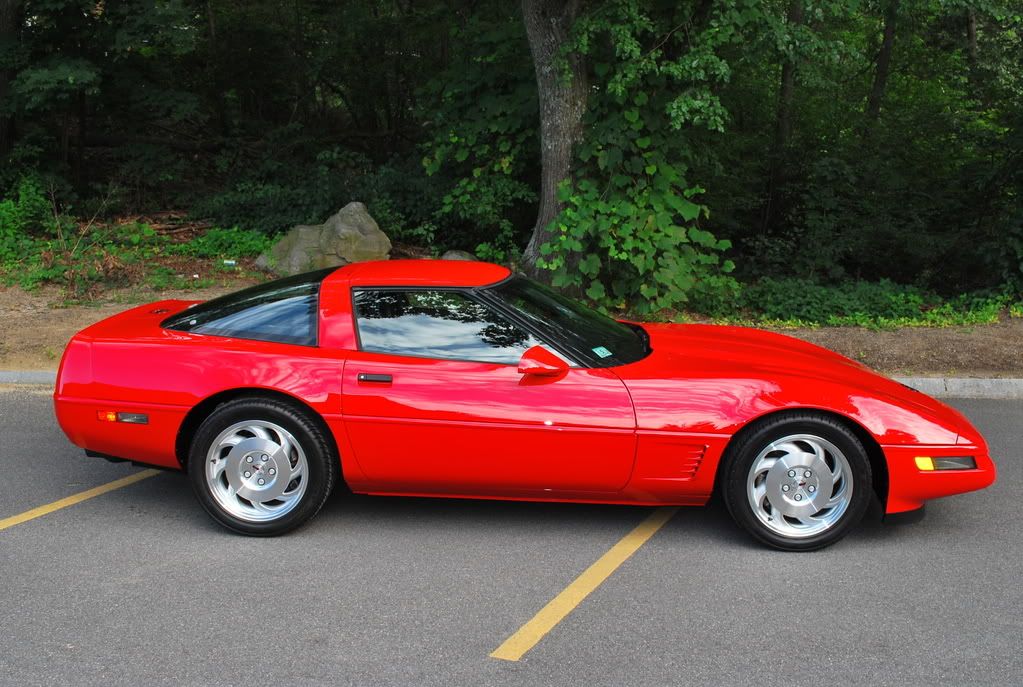
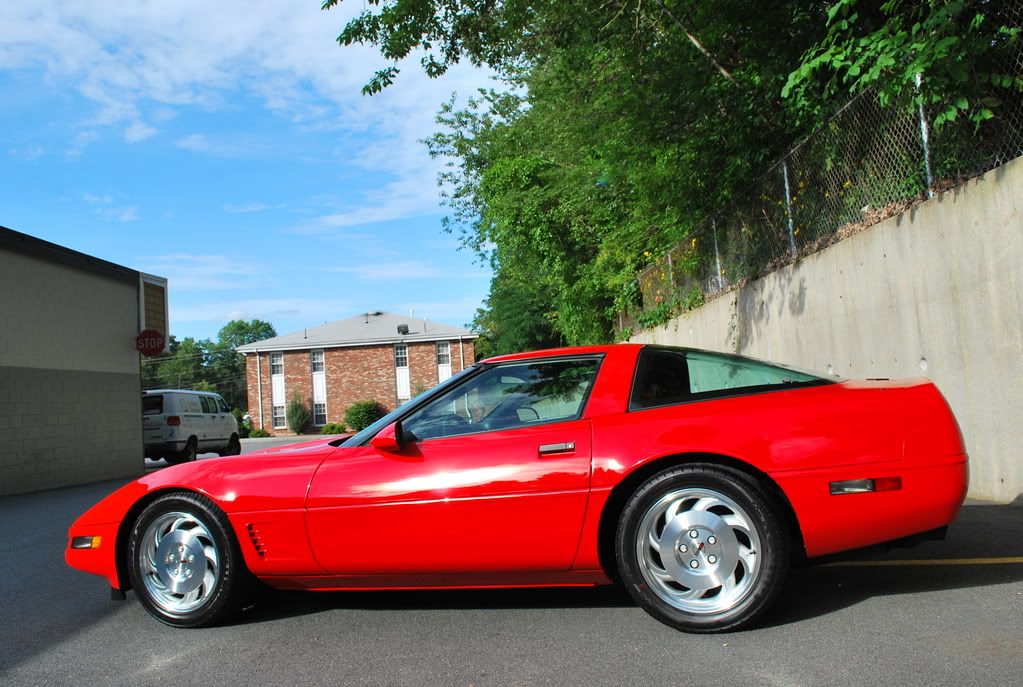
This beautiful Torch Red C4 Corvette is a 1996 with only 22K miles on the odometer. Although the car was in above average condition, it needed some serious polishing to bring the paint back to life. The owner opted for absolute perfection, so the car was left with me for an entire week.


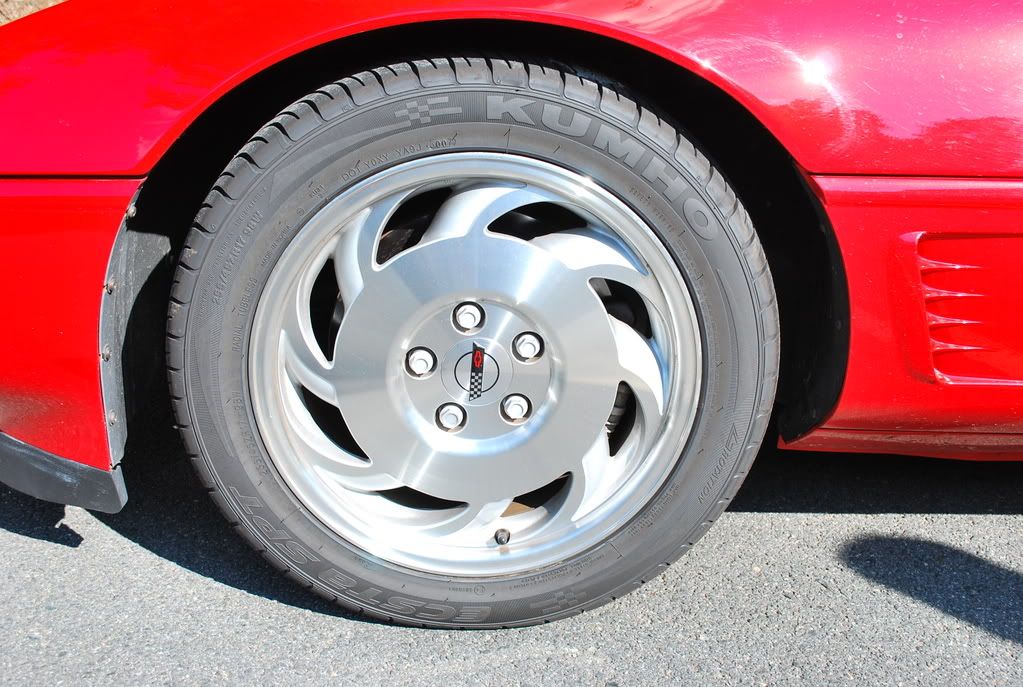
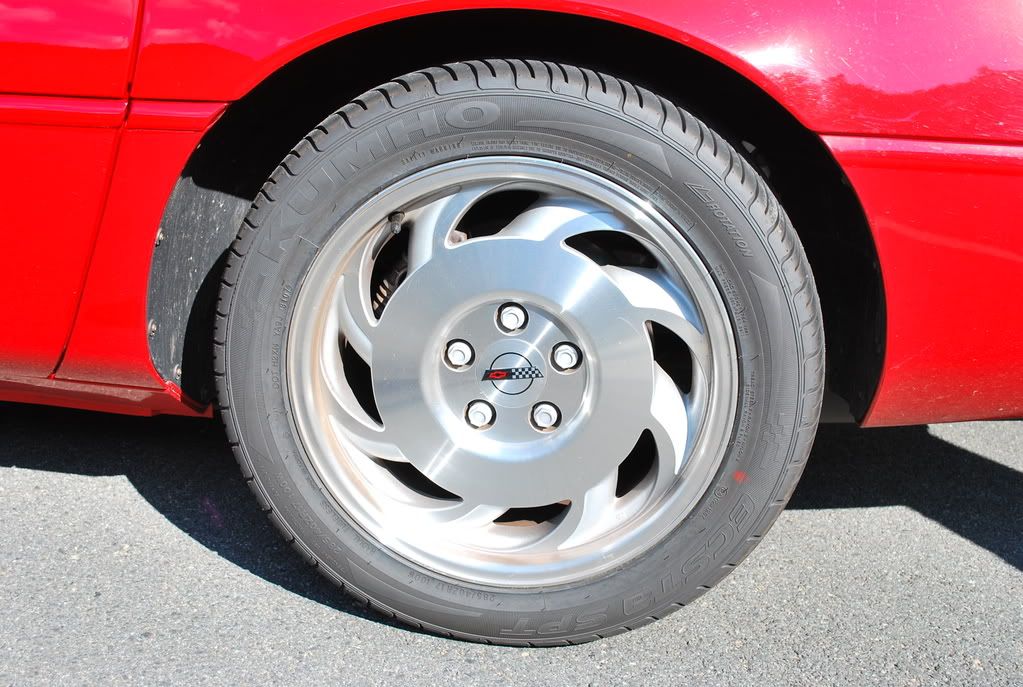
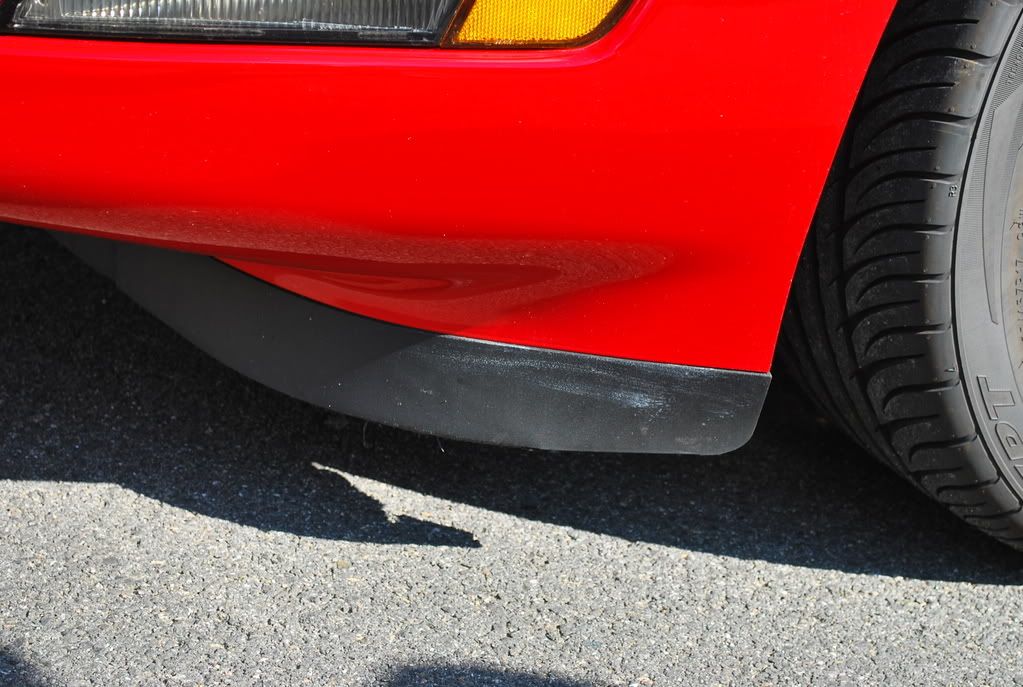
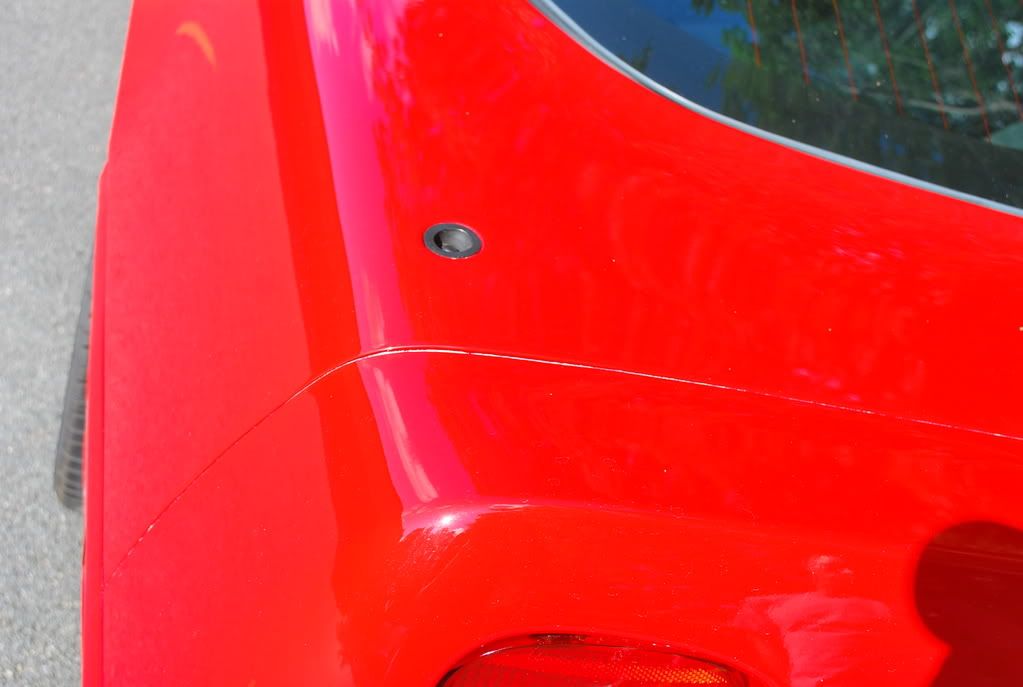
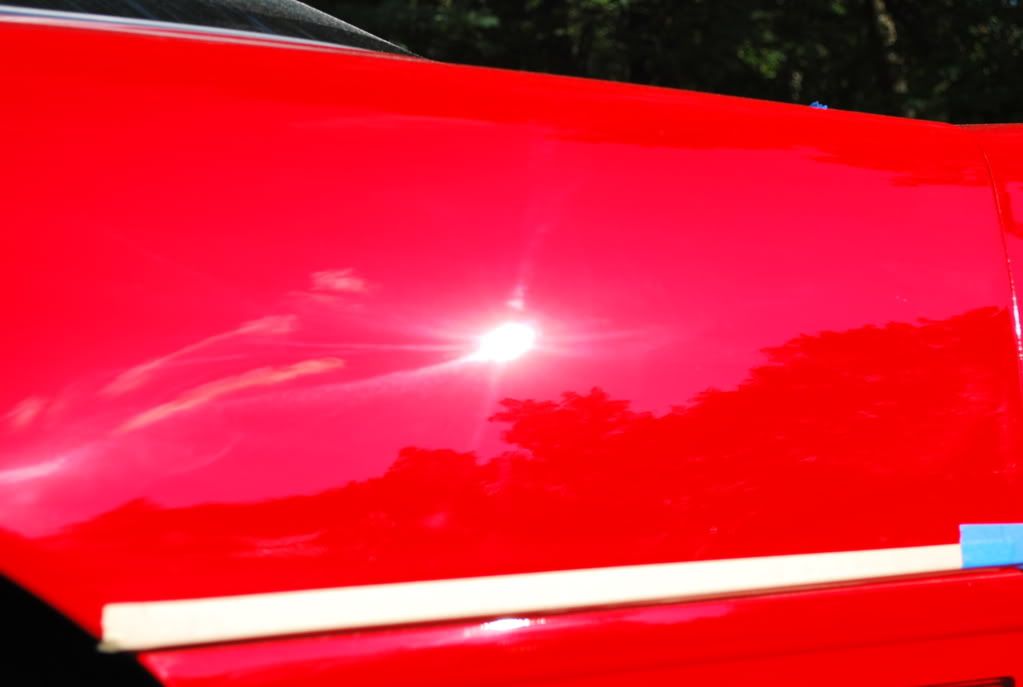
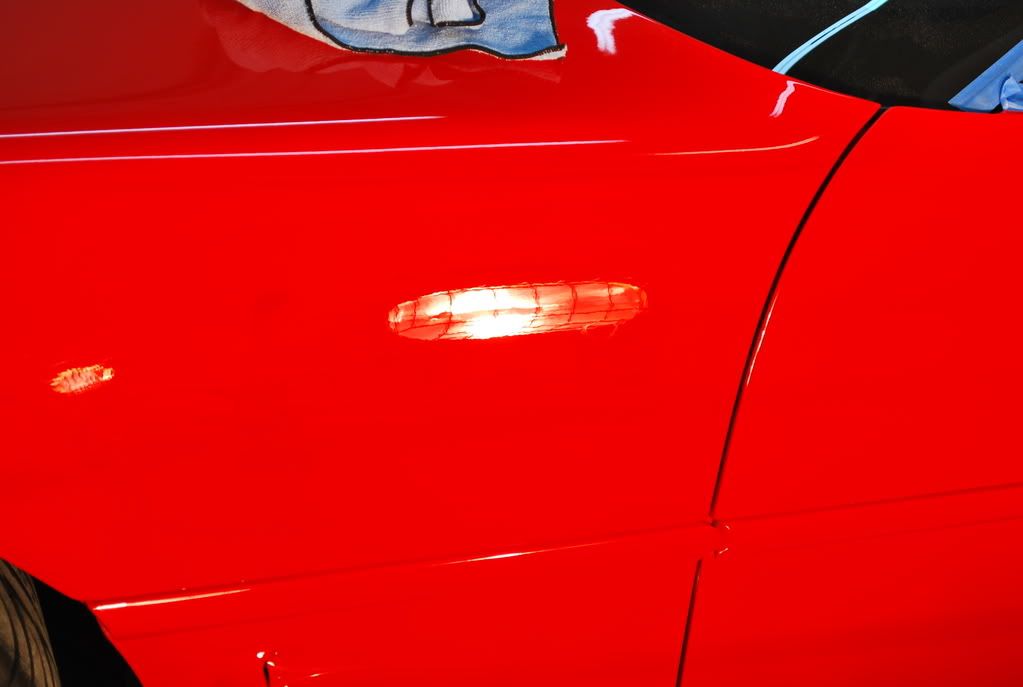
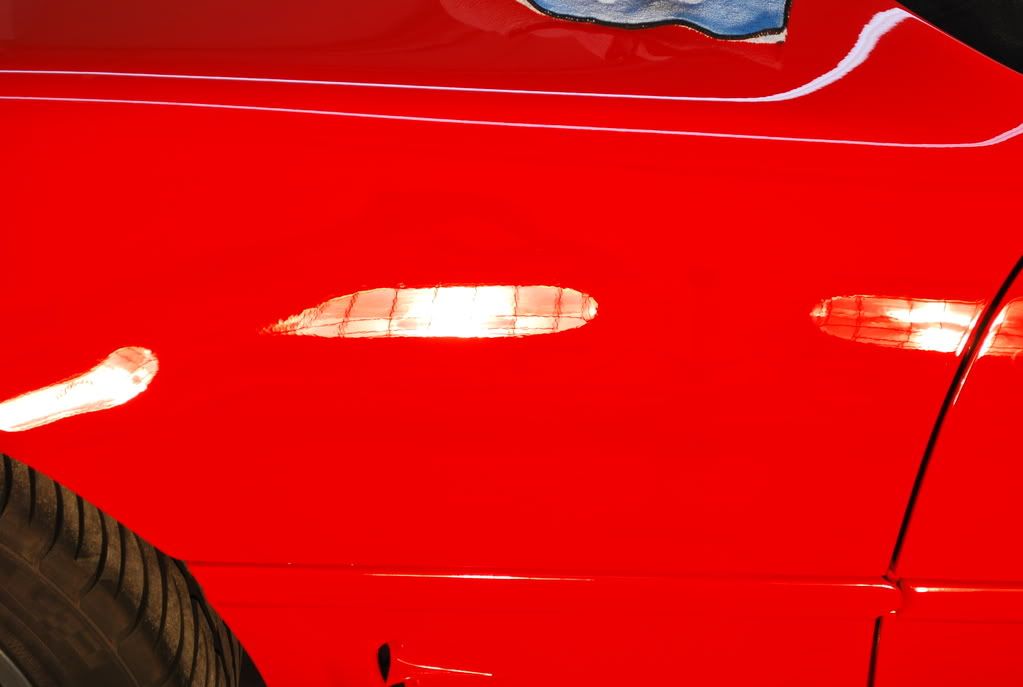
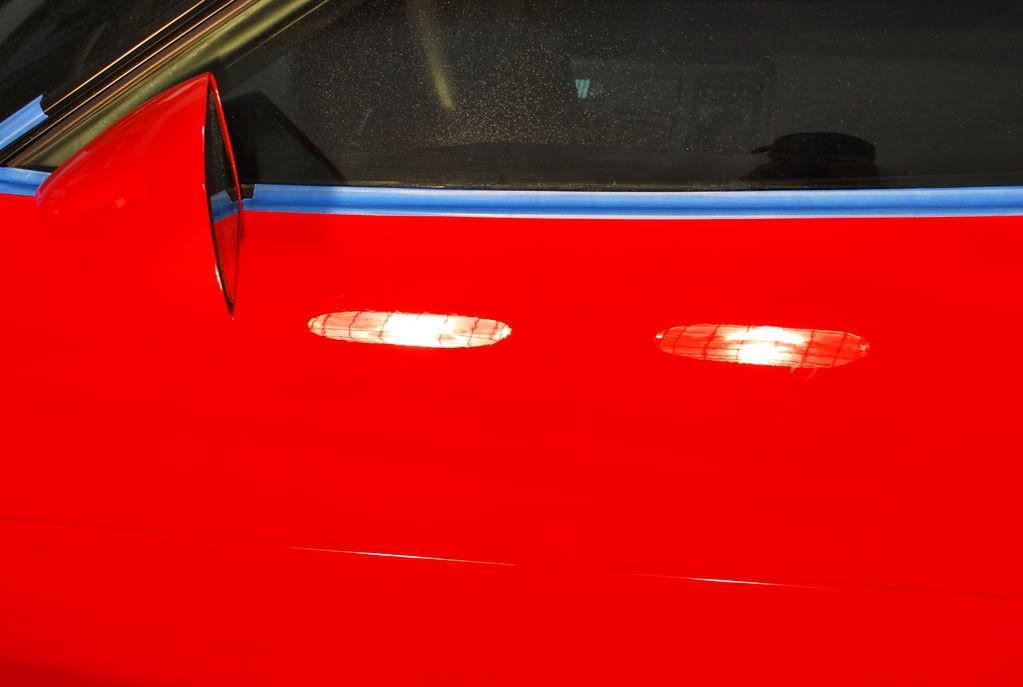
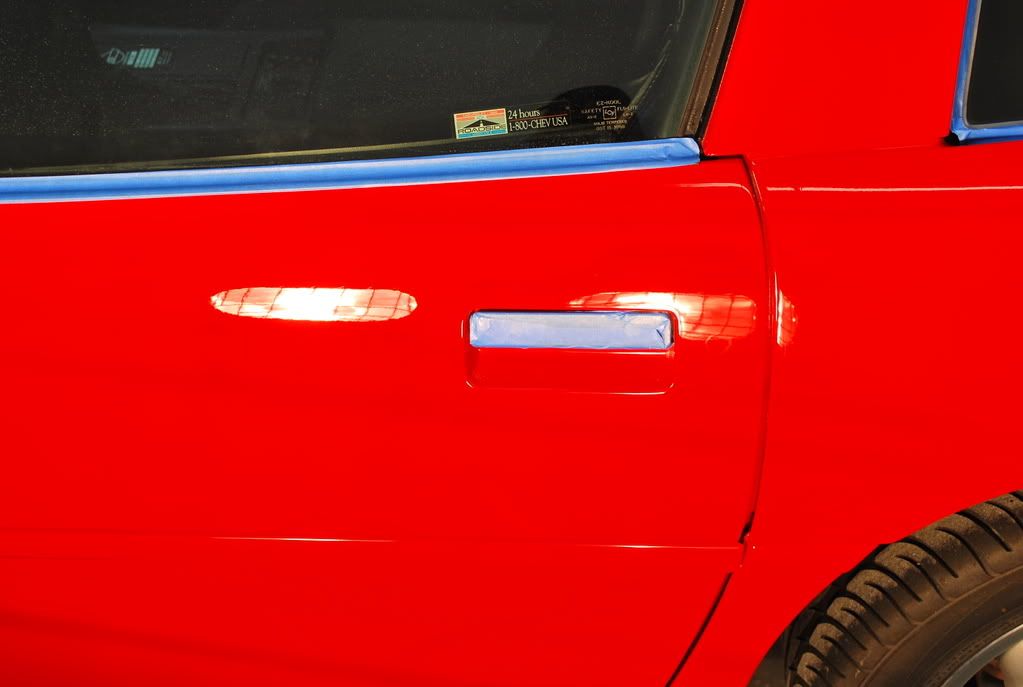
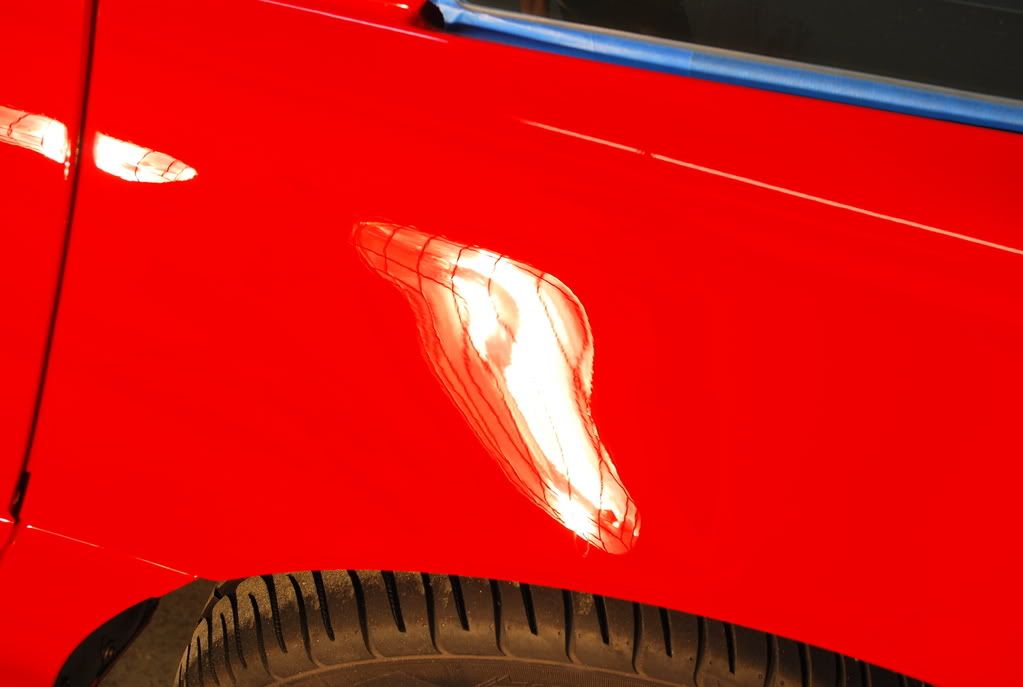
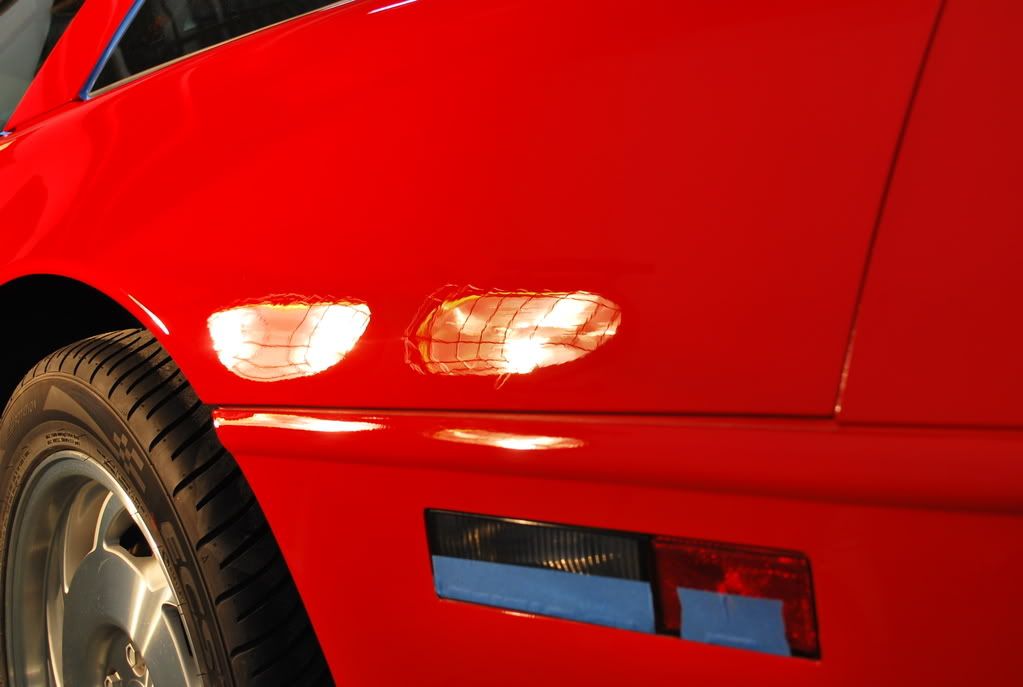
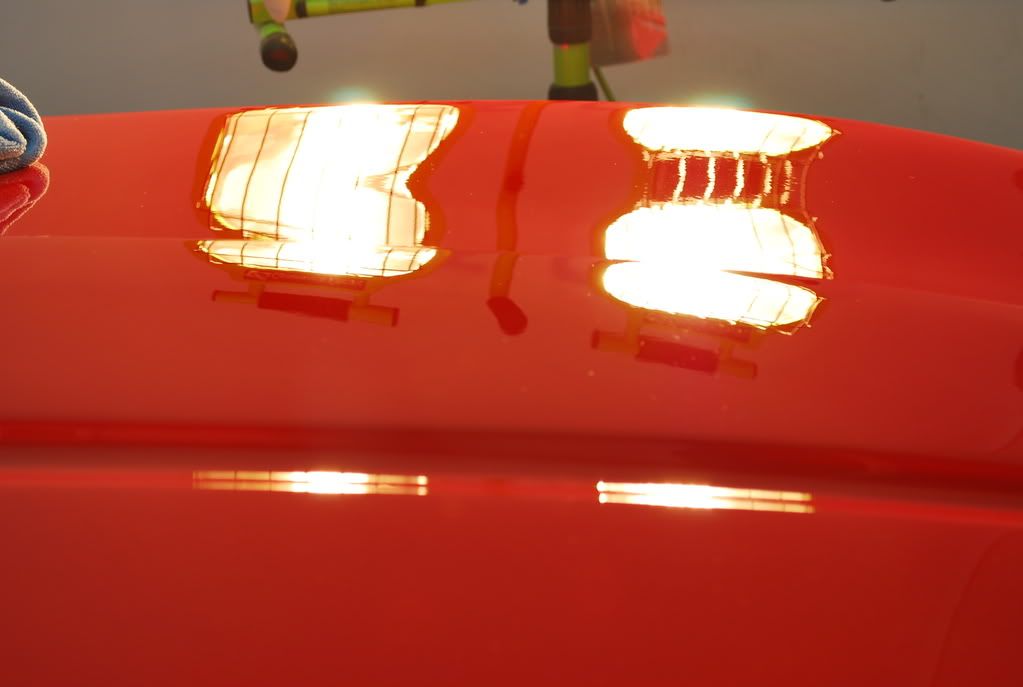
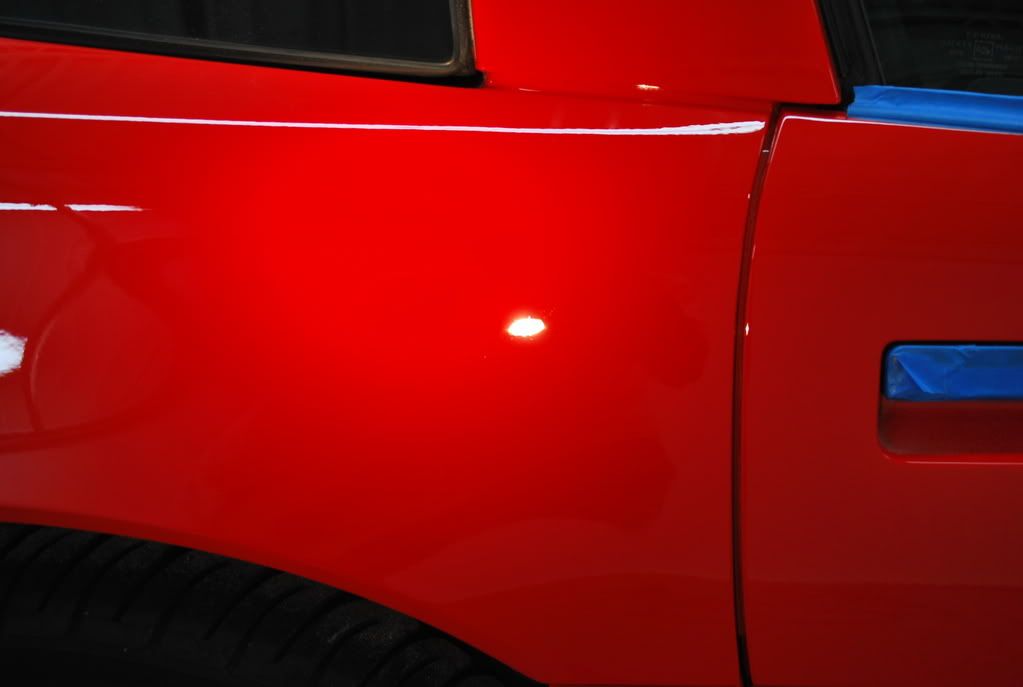
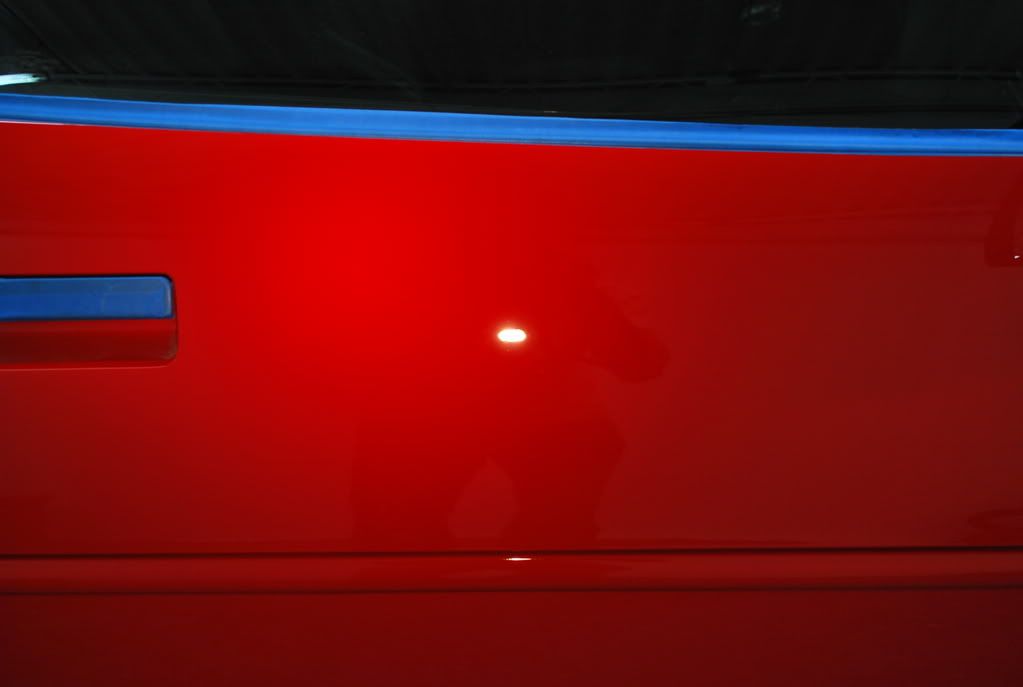
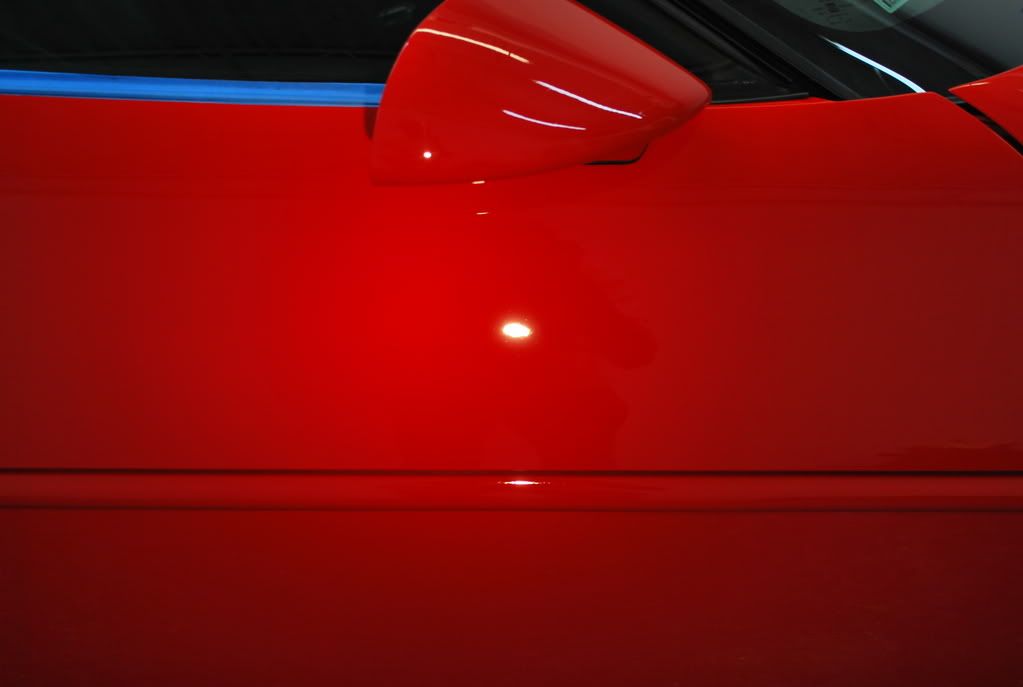
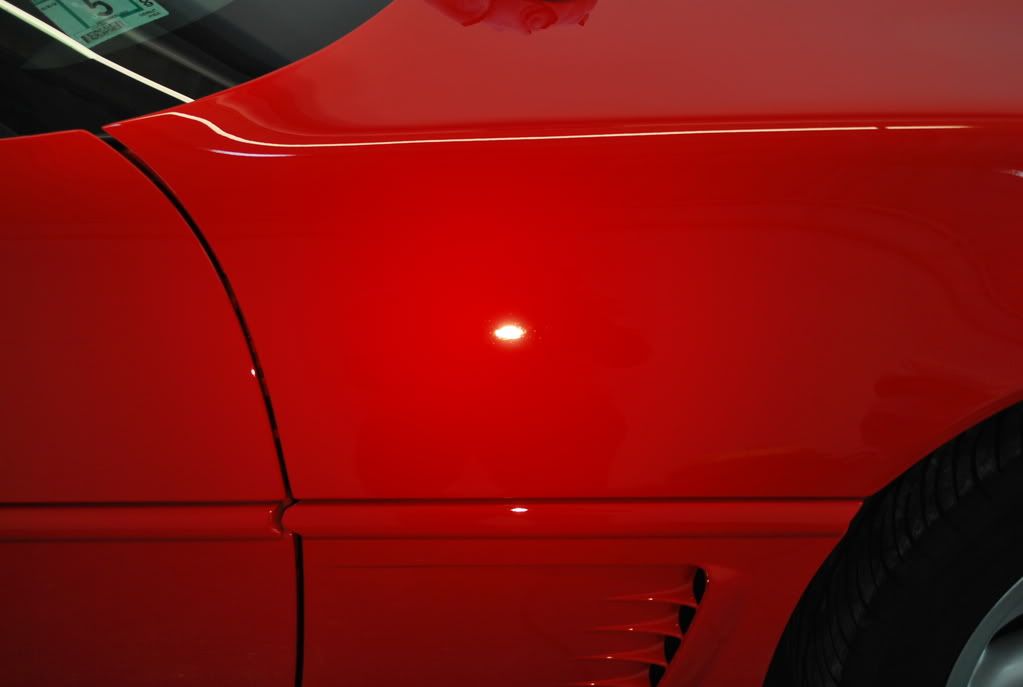
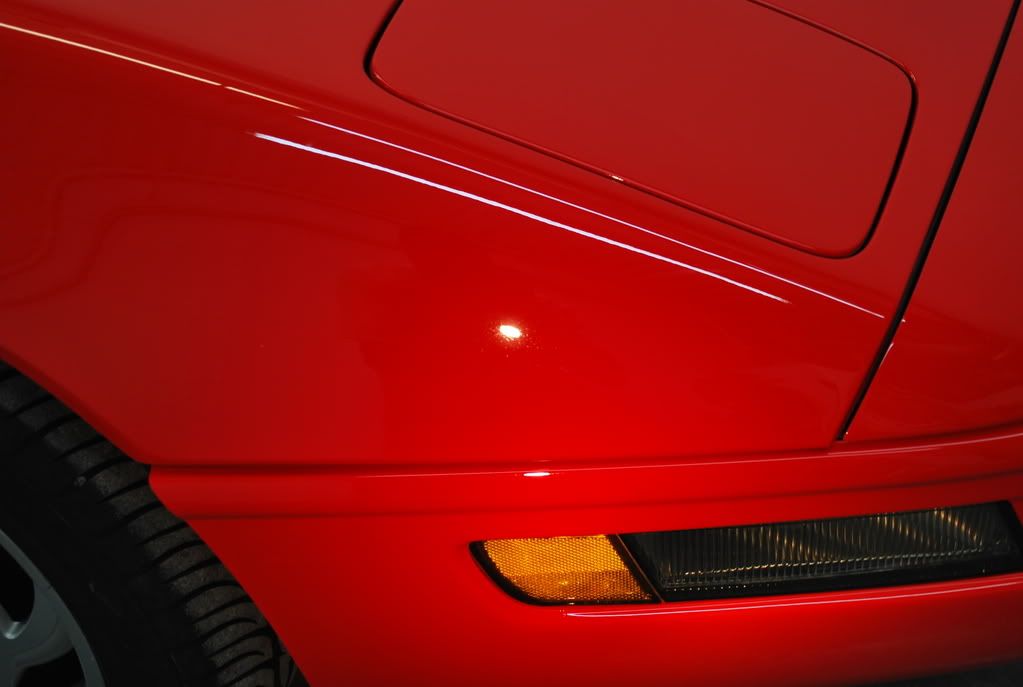
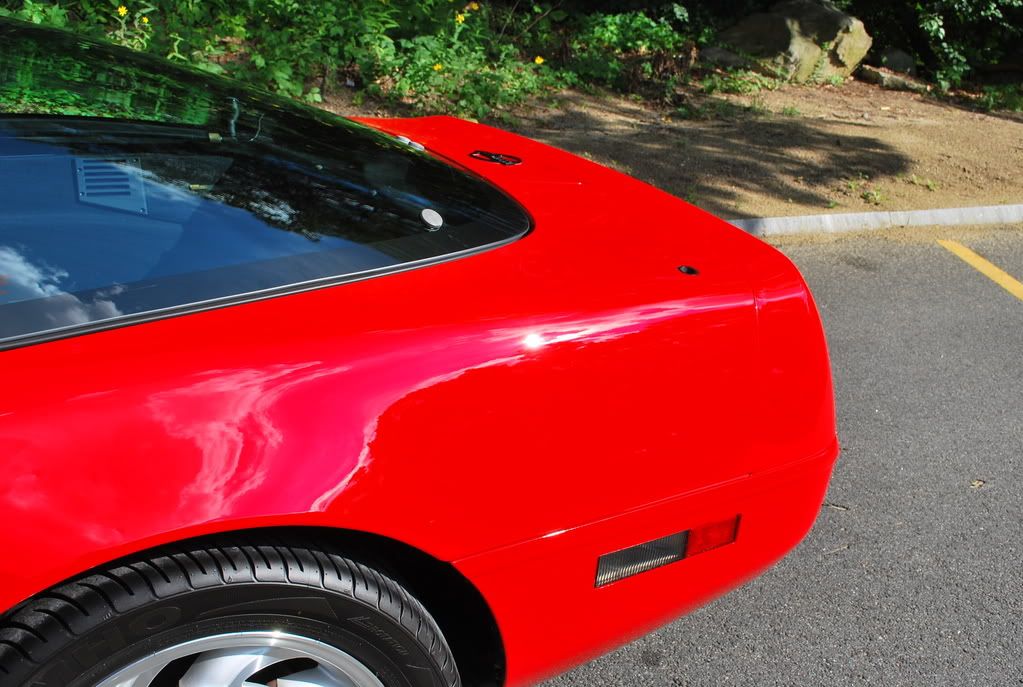
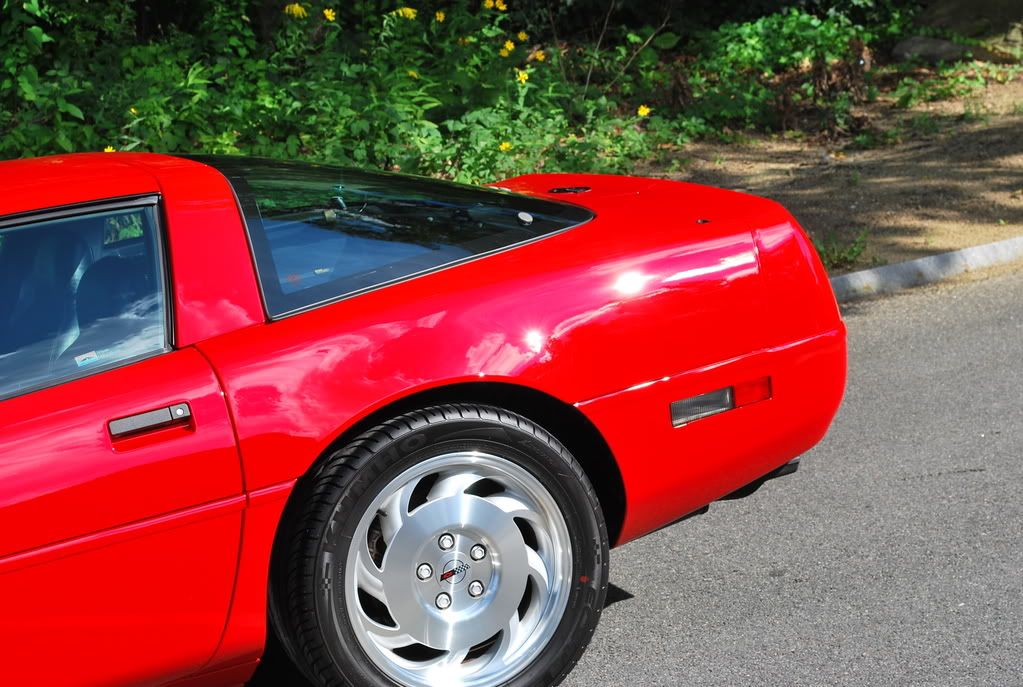
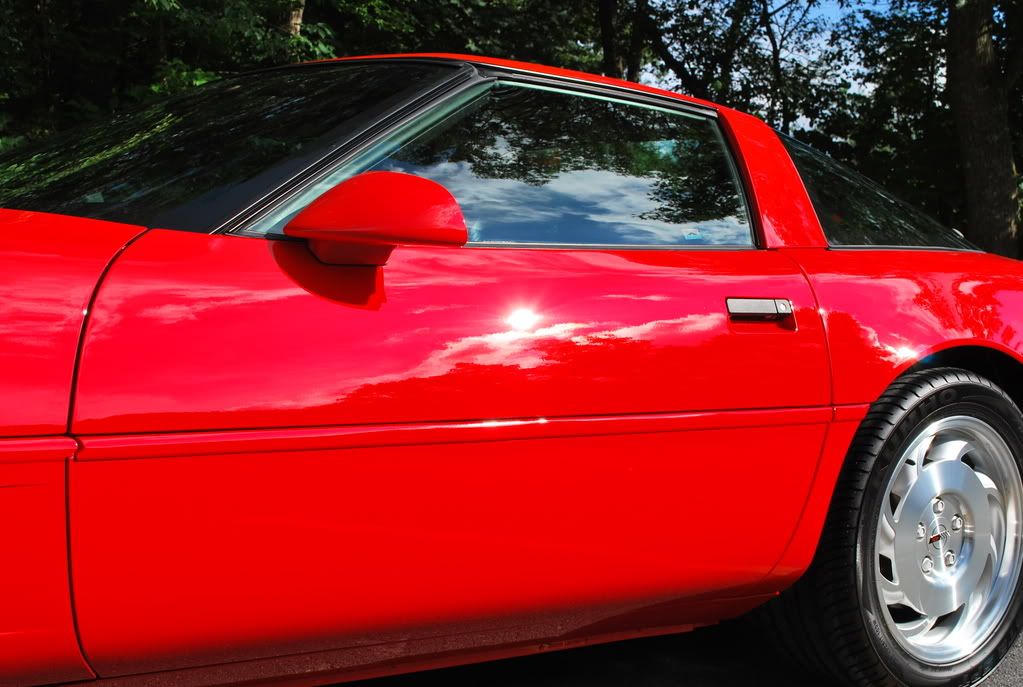
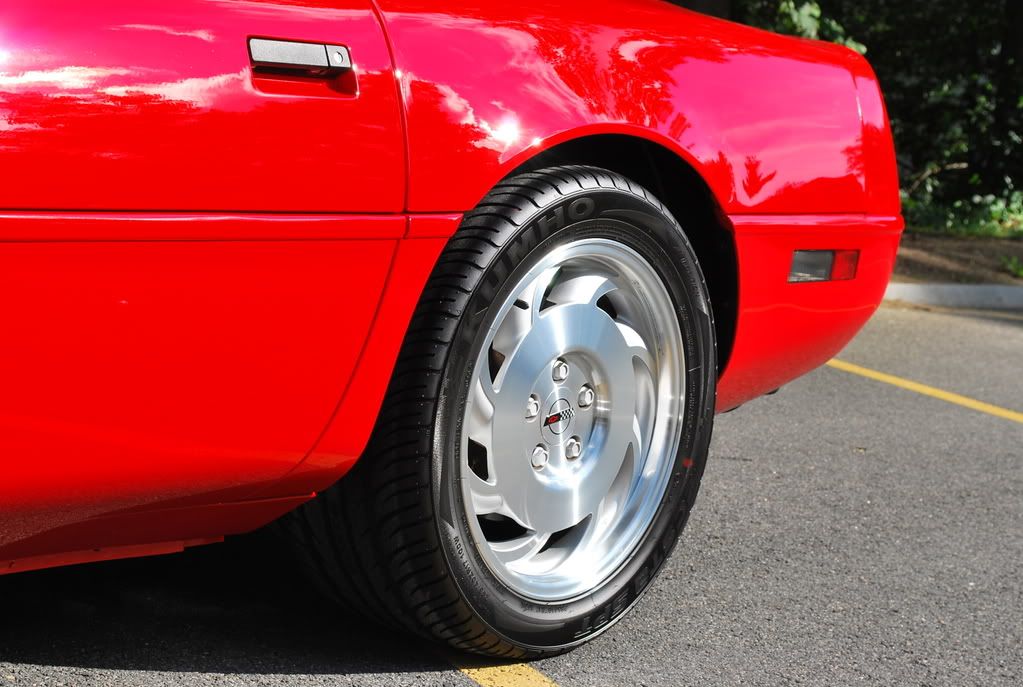
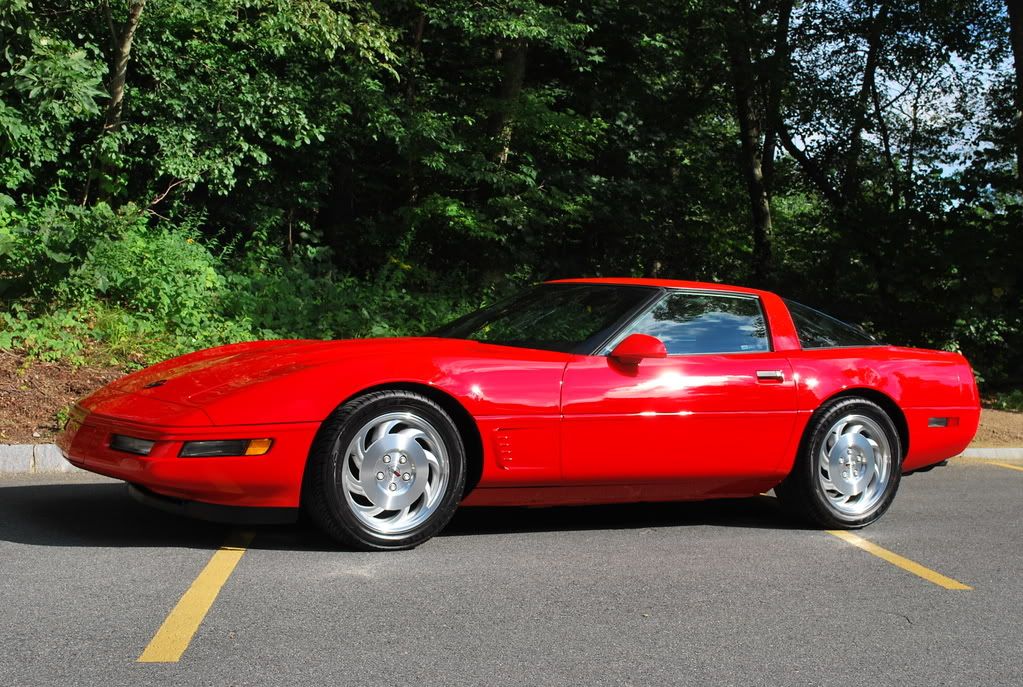
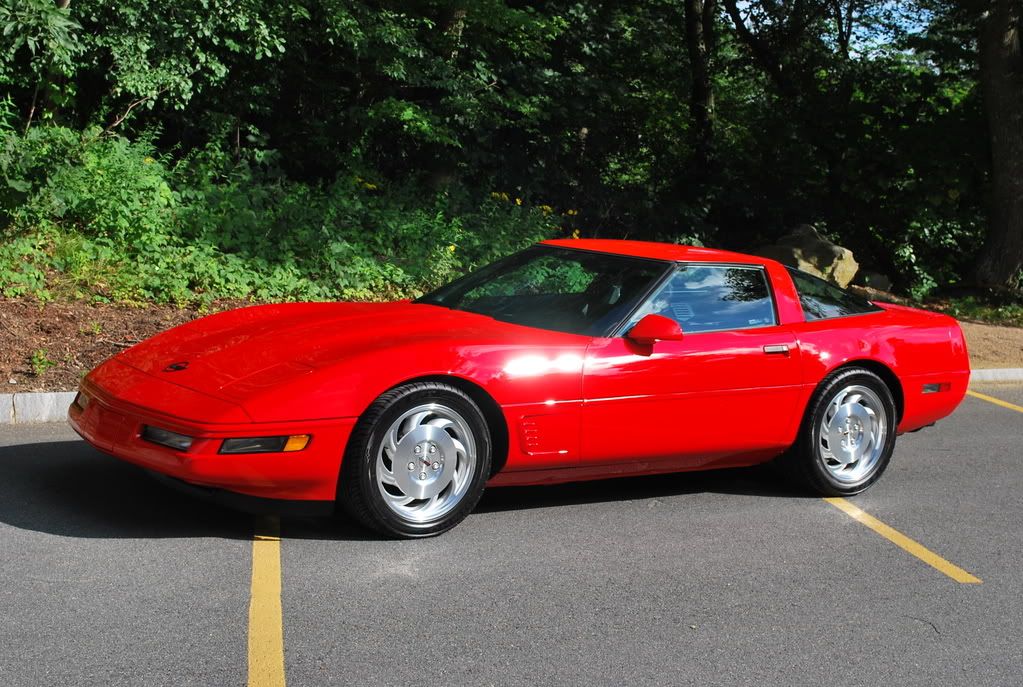
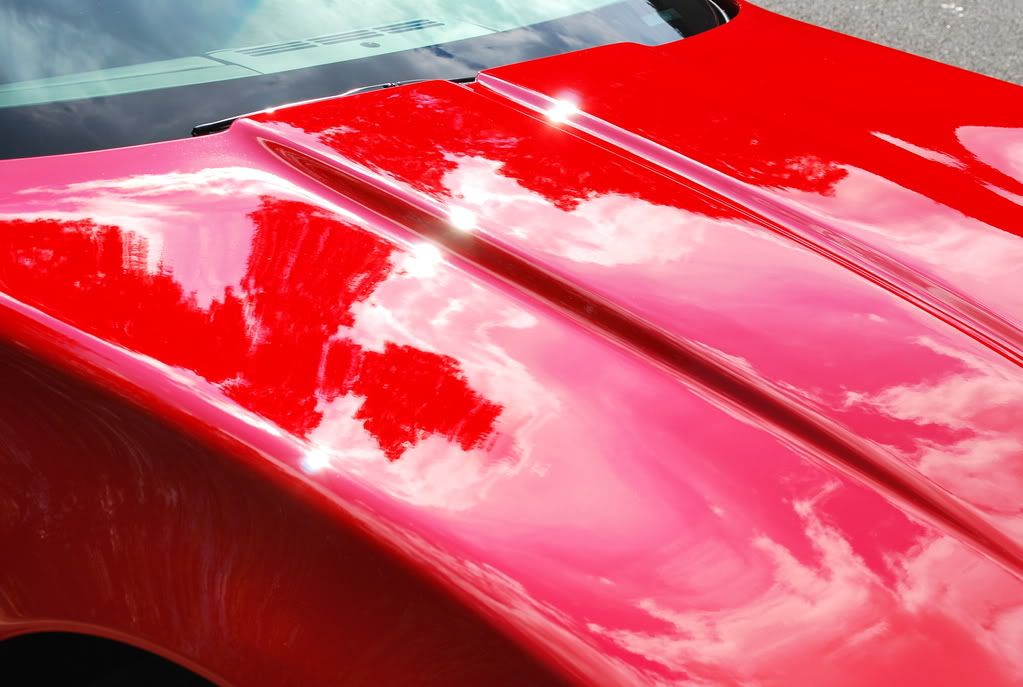
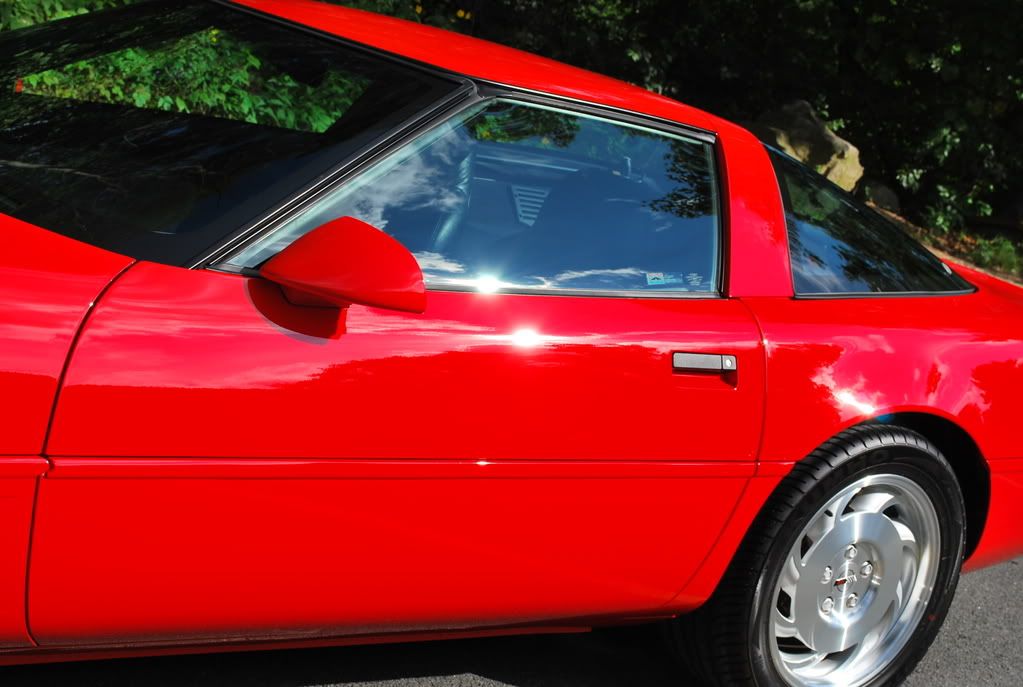
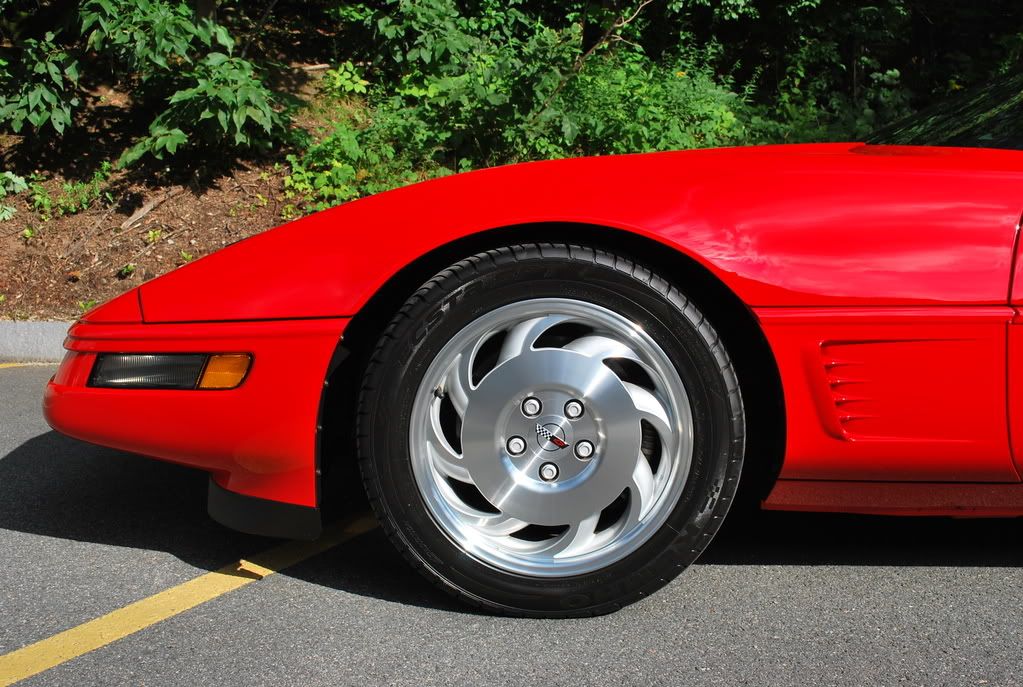
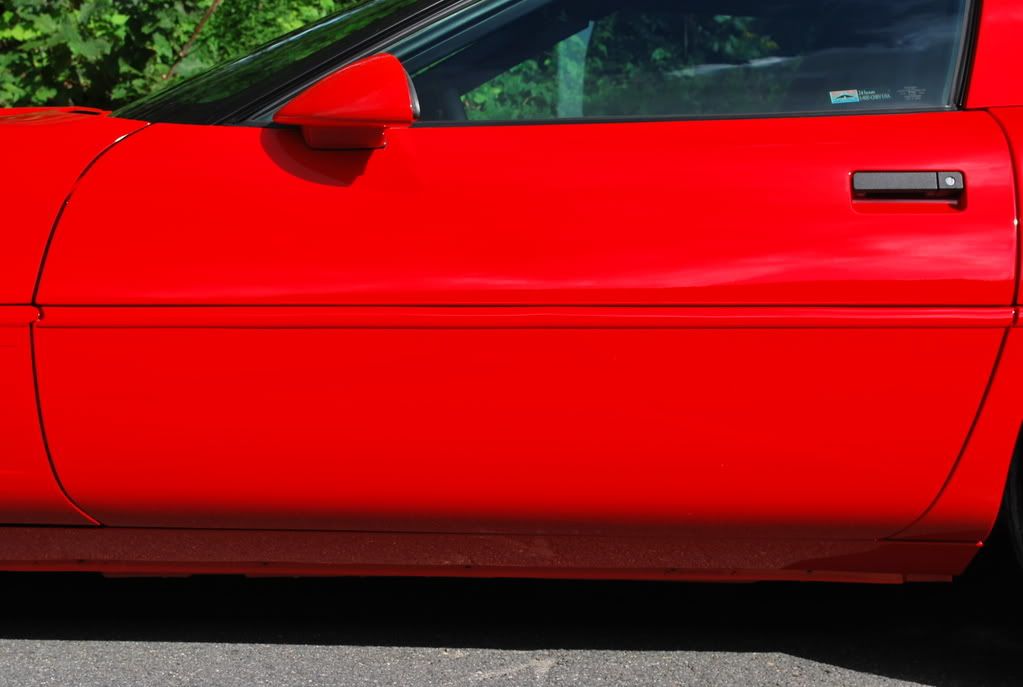
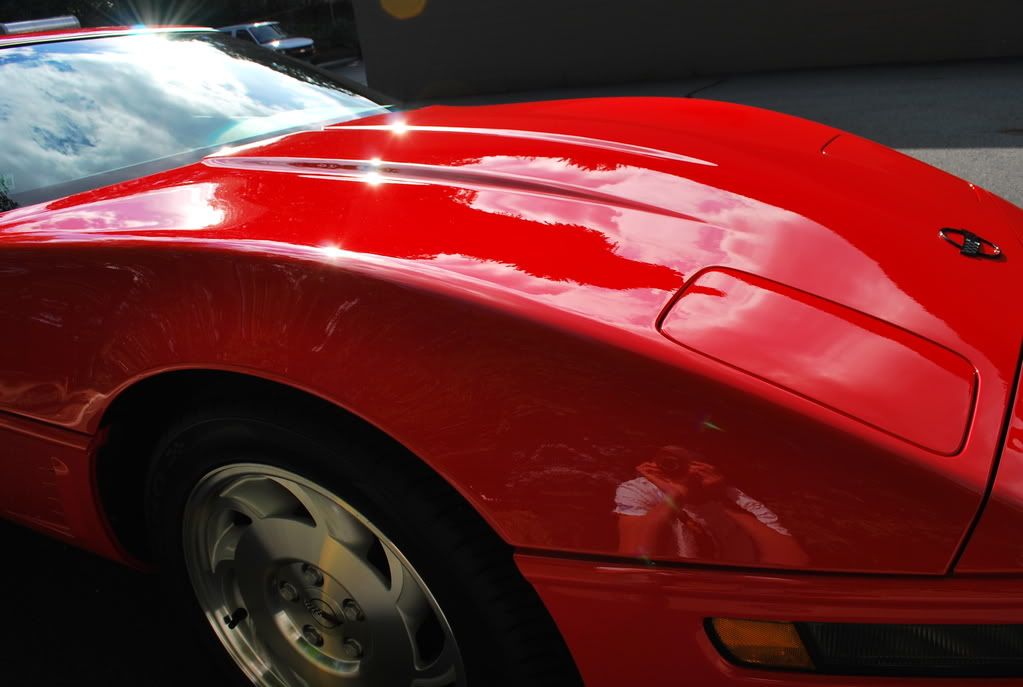
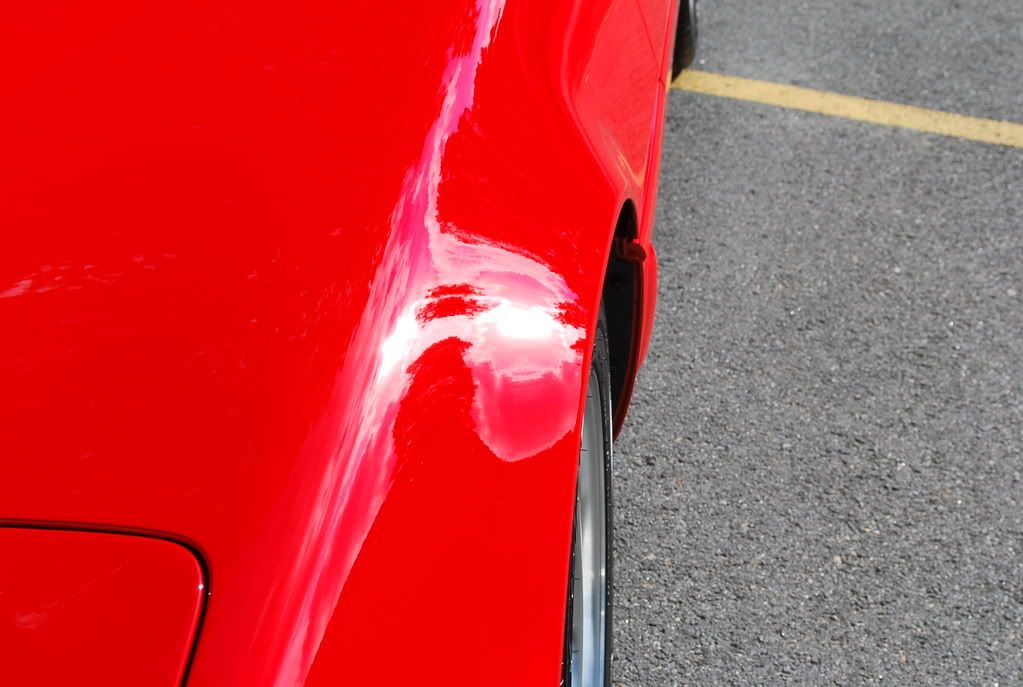
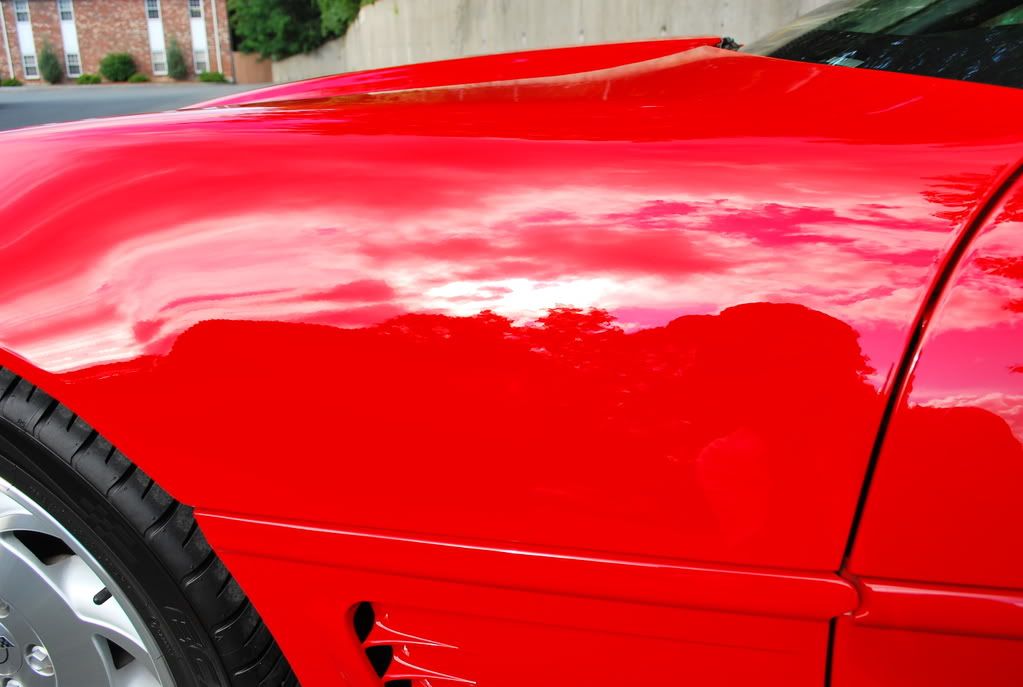
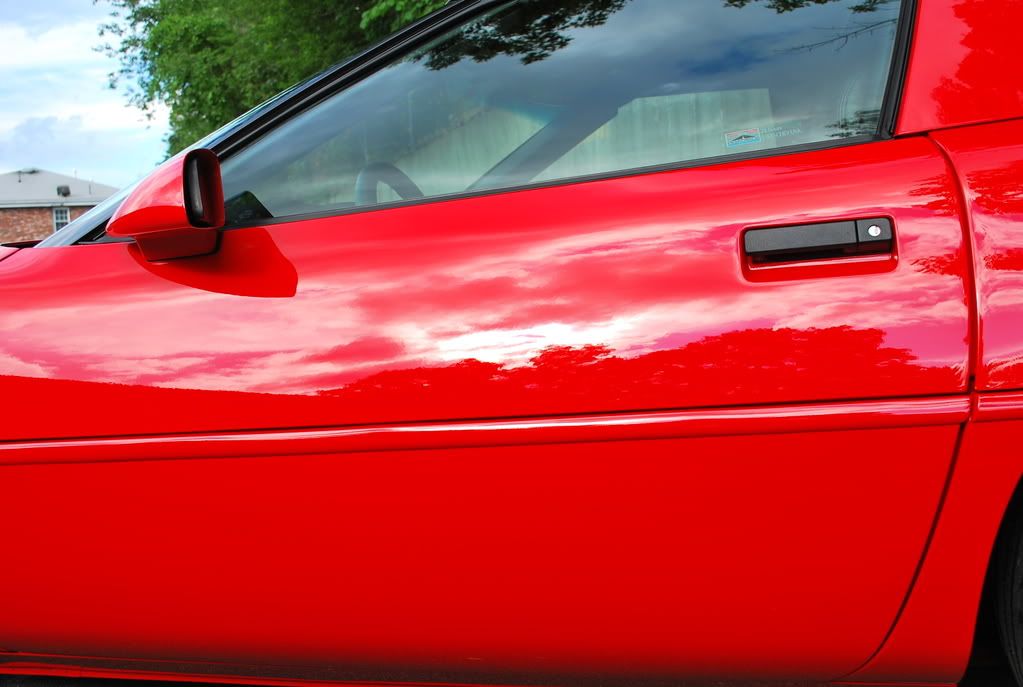
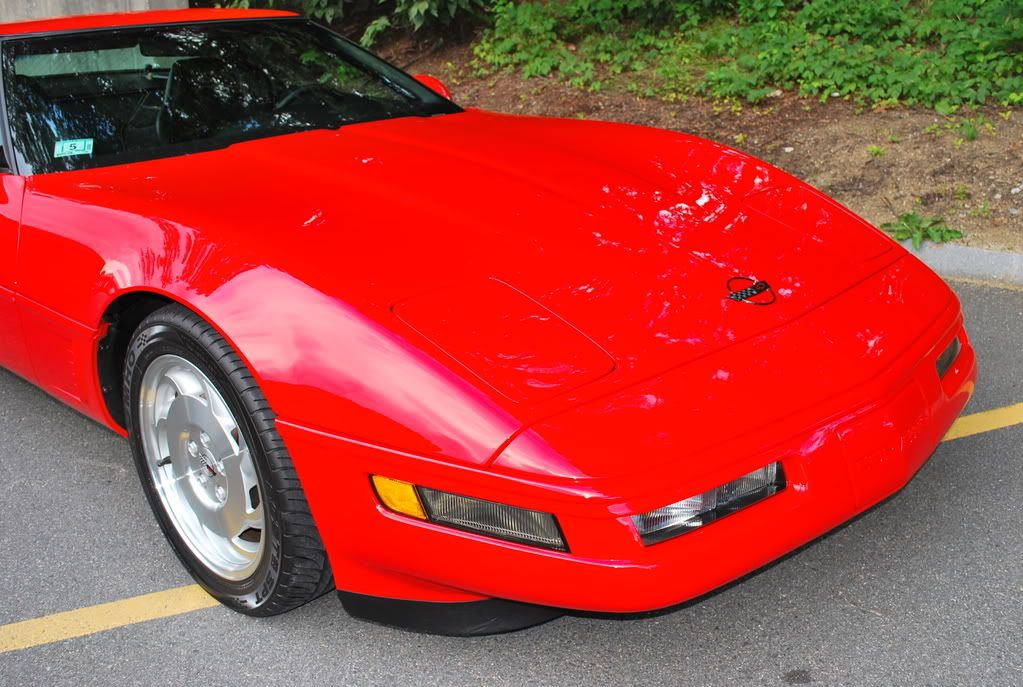
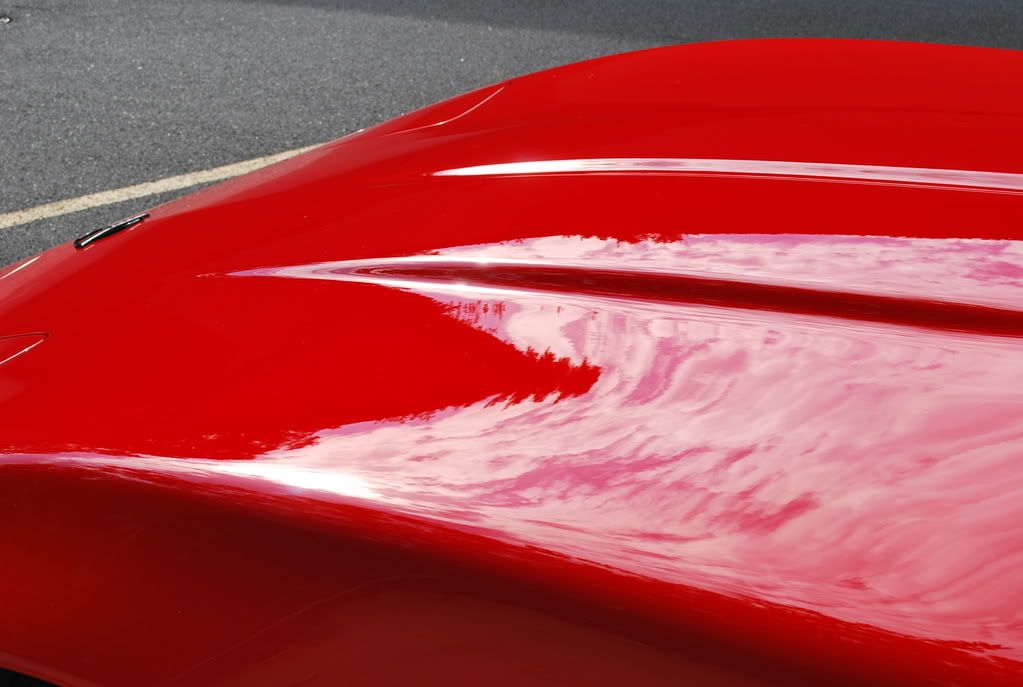
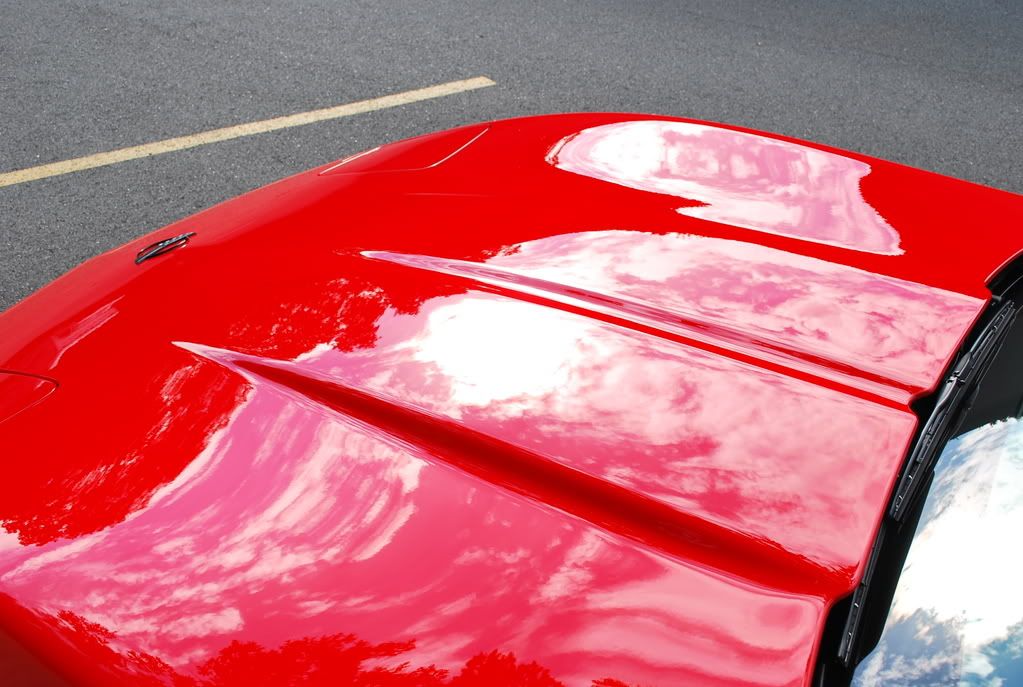
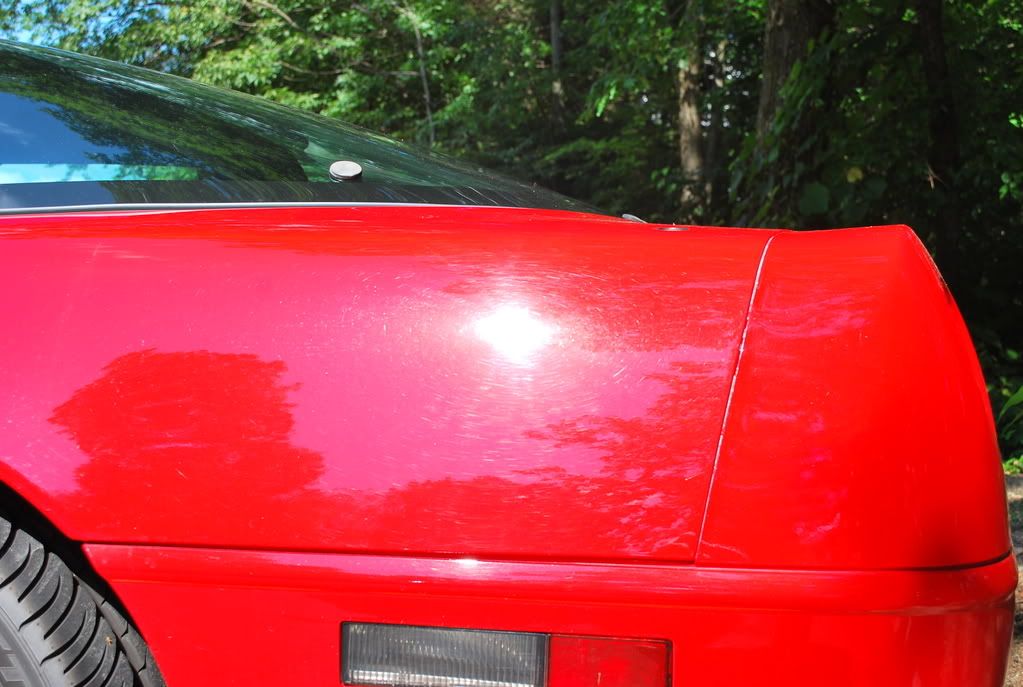
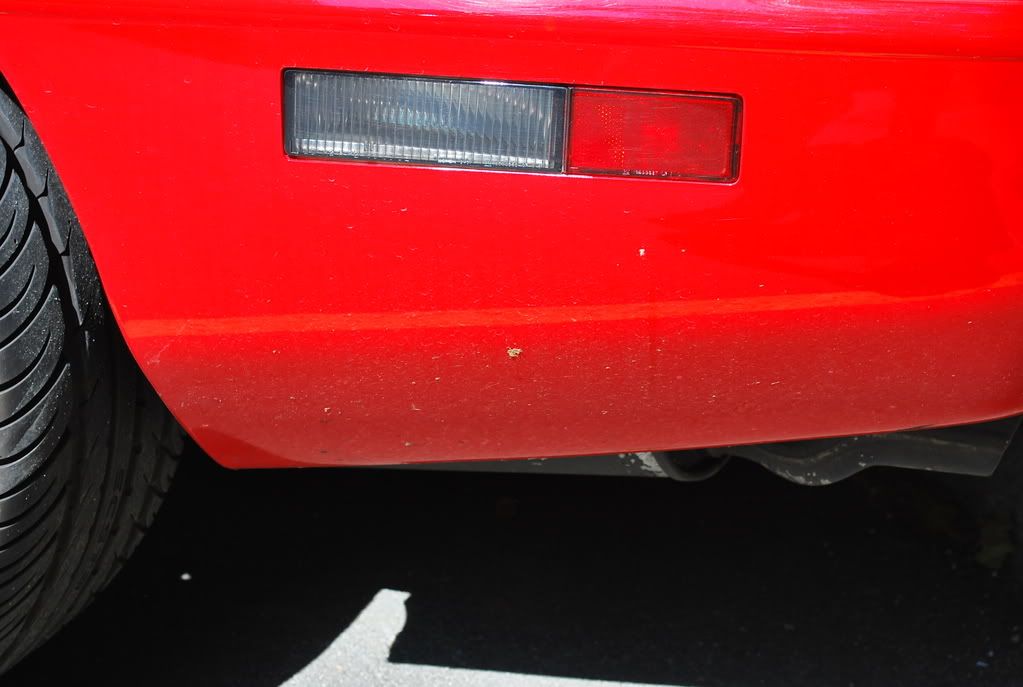
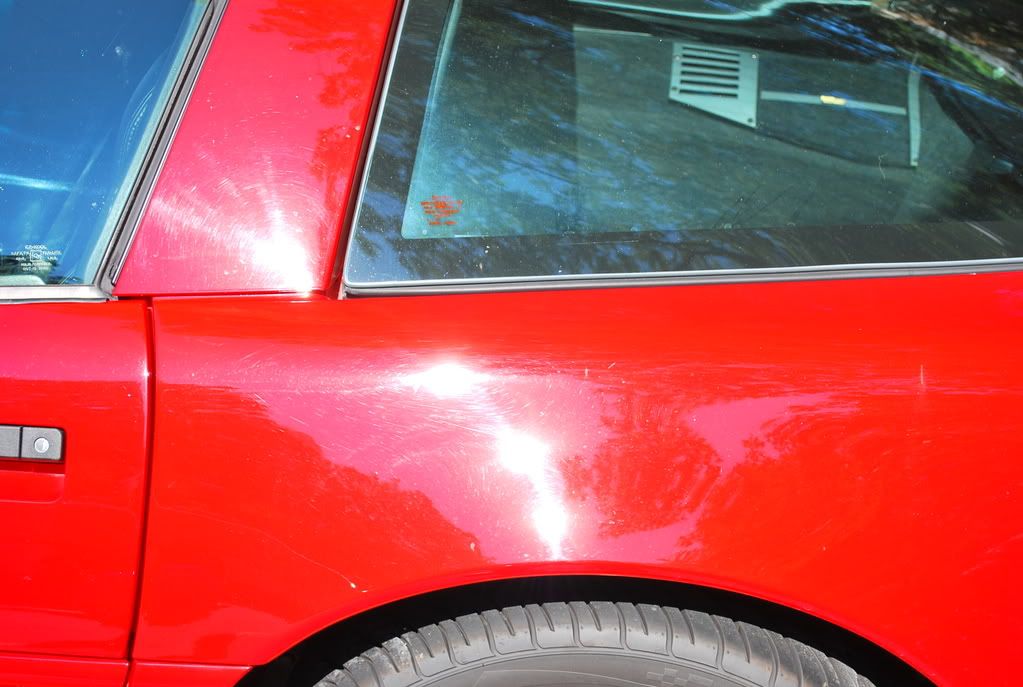
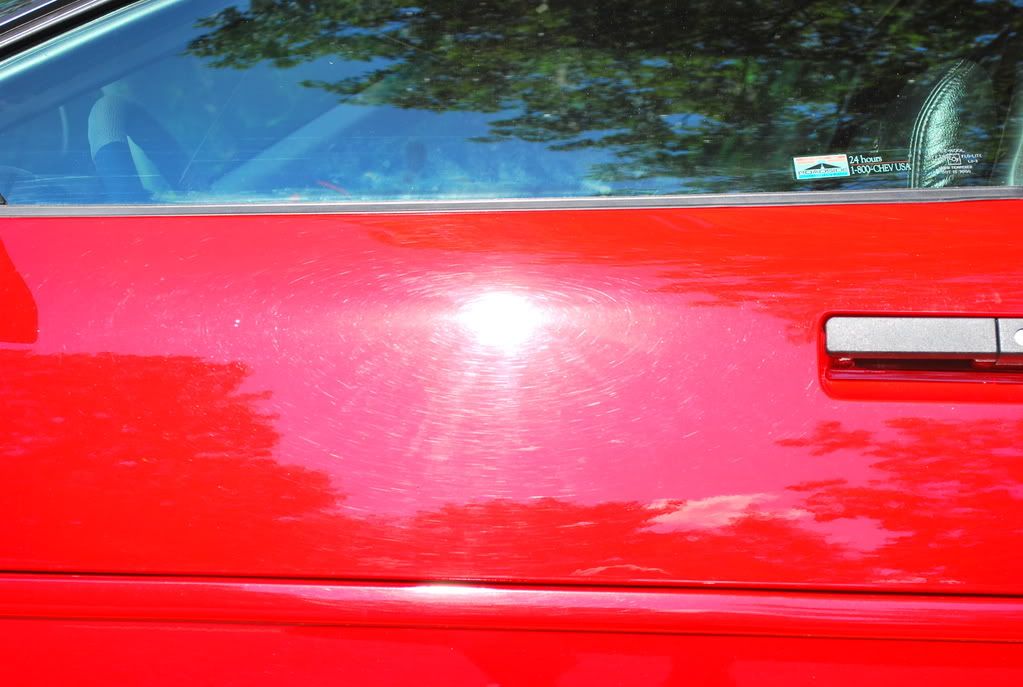
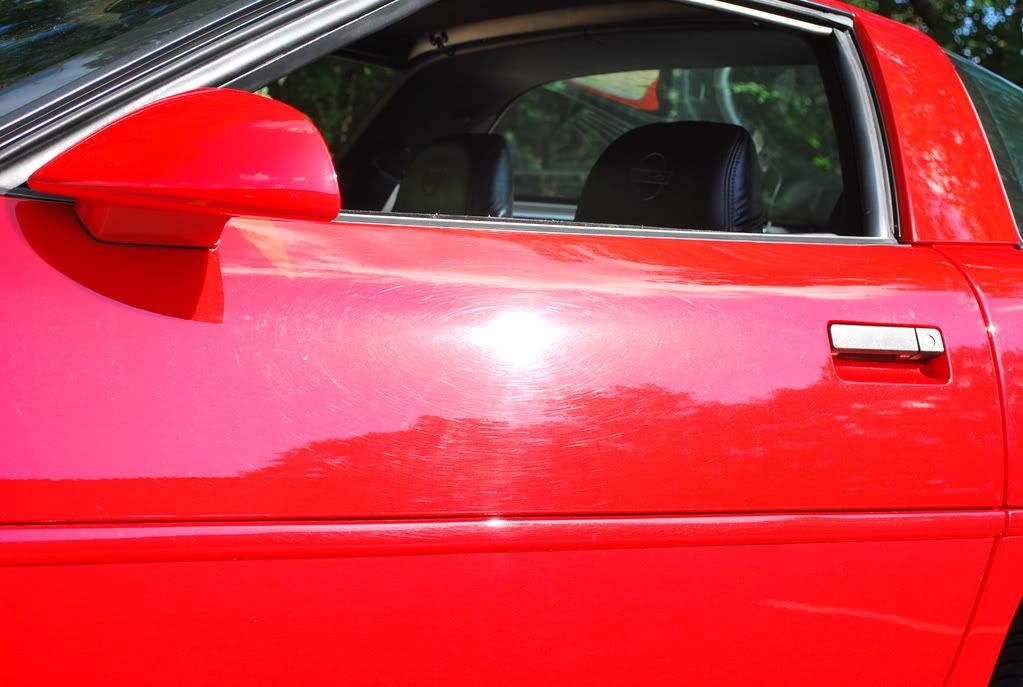
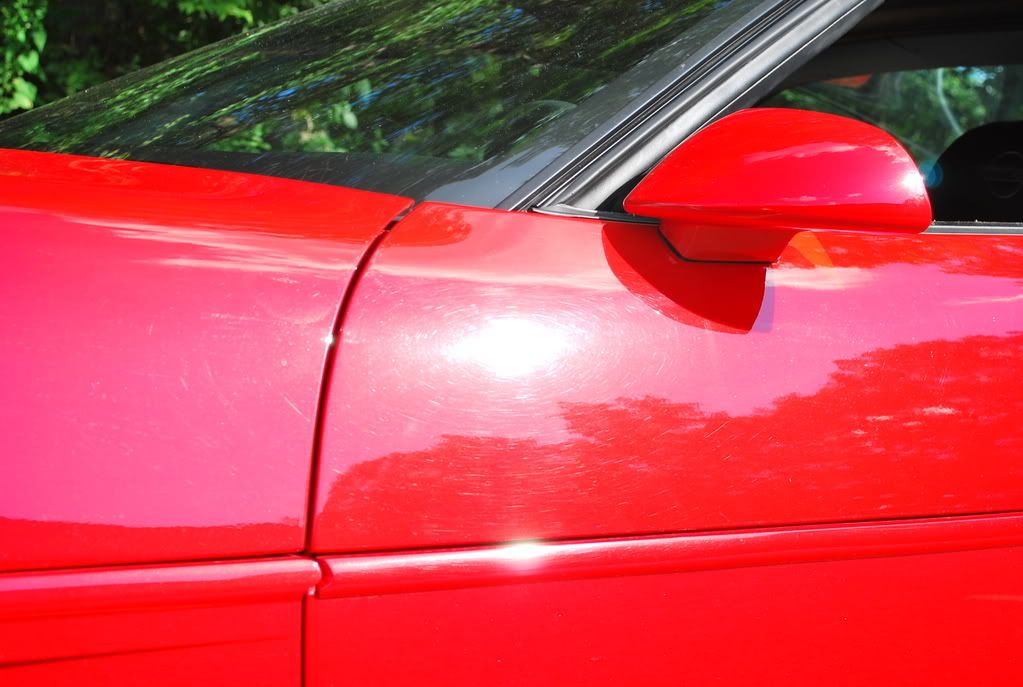
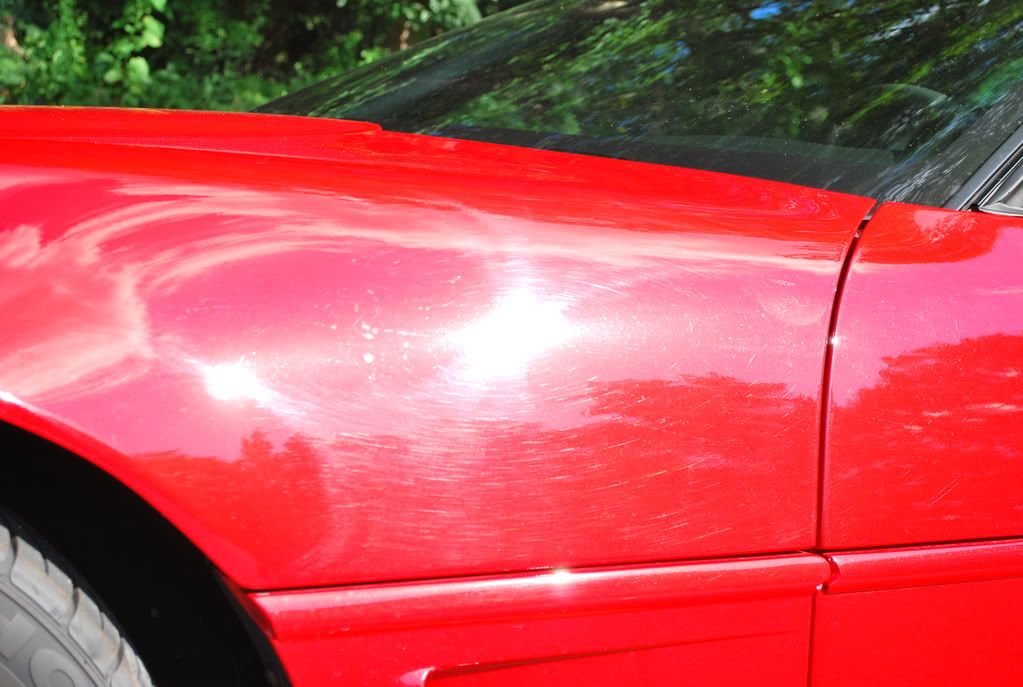
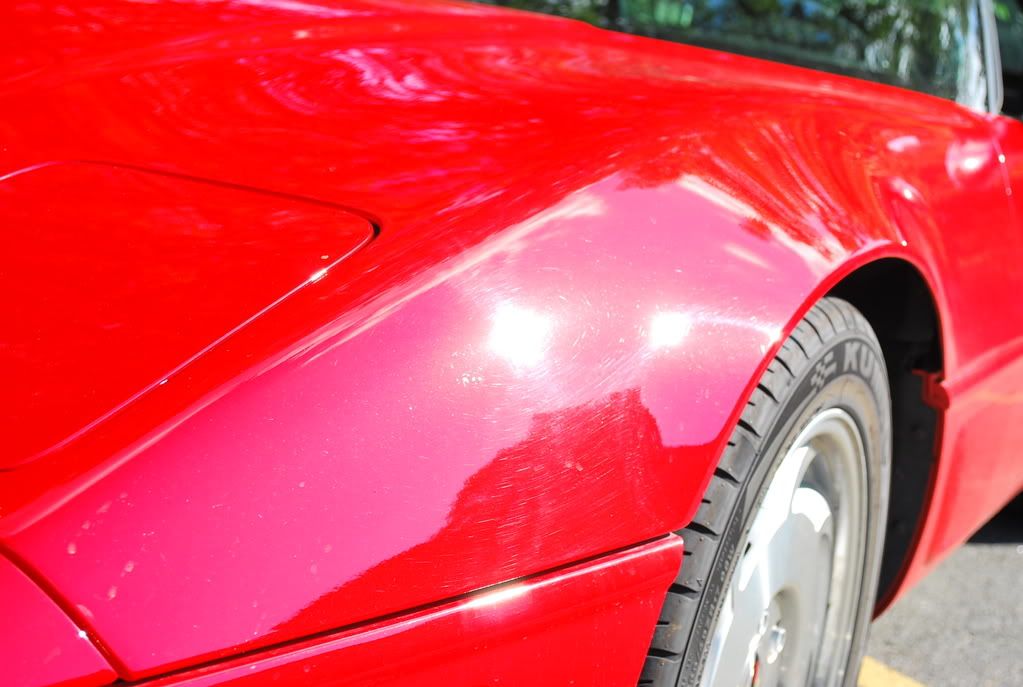
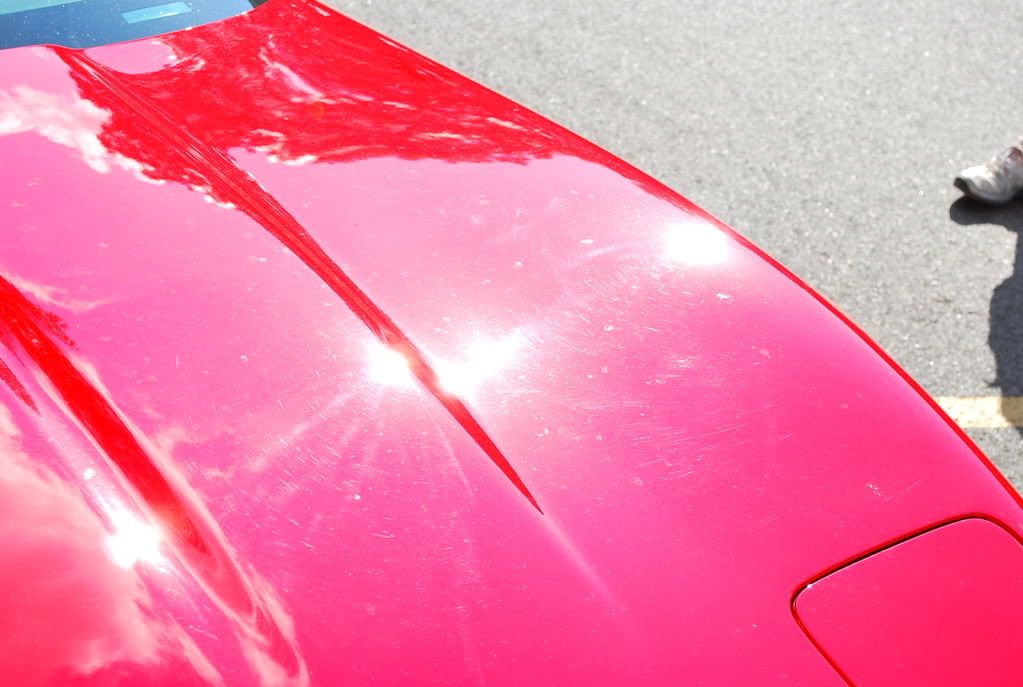
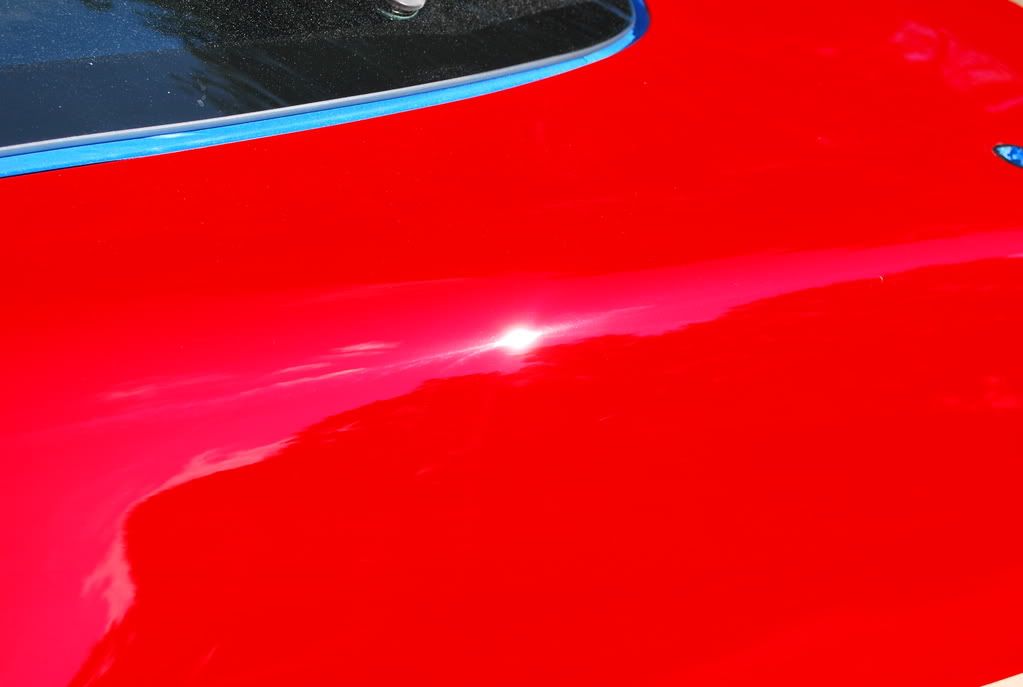
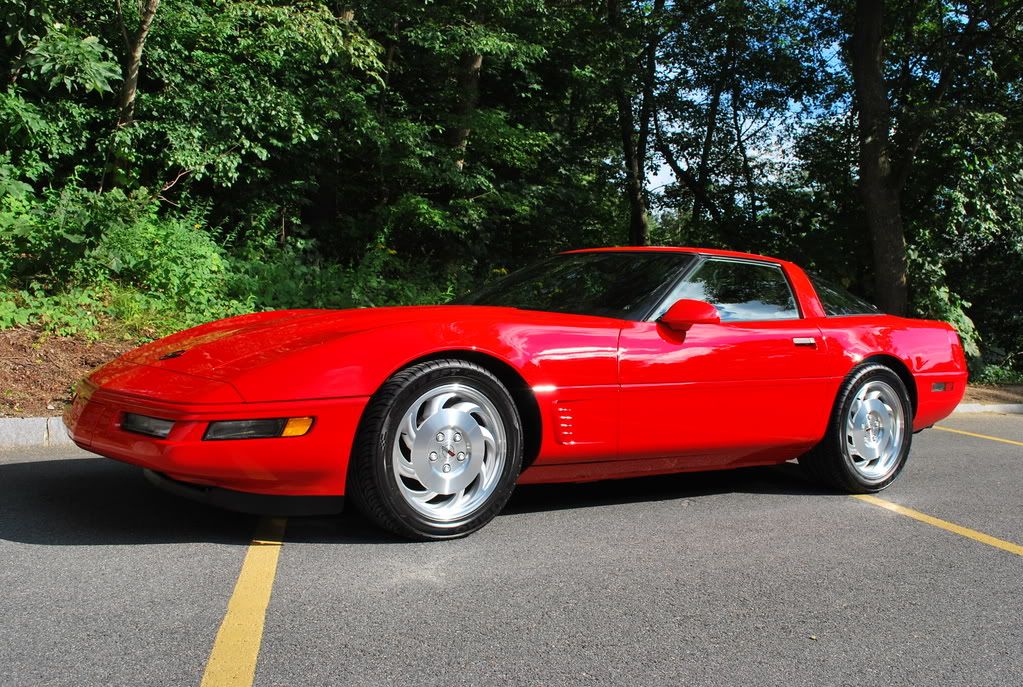
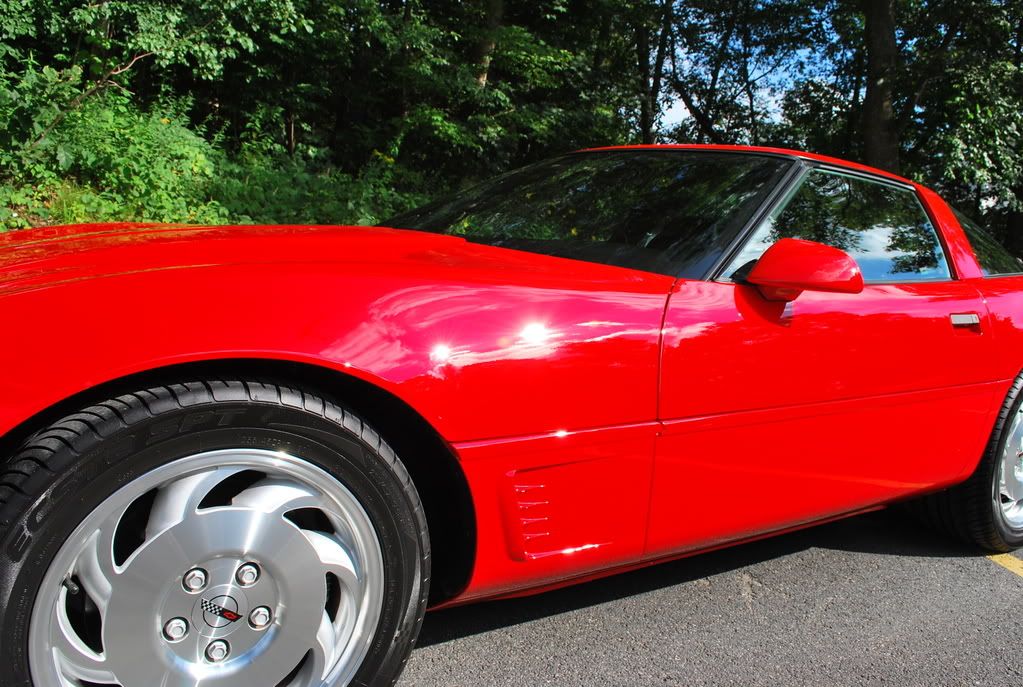
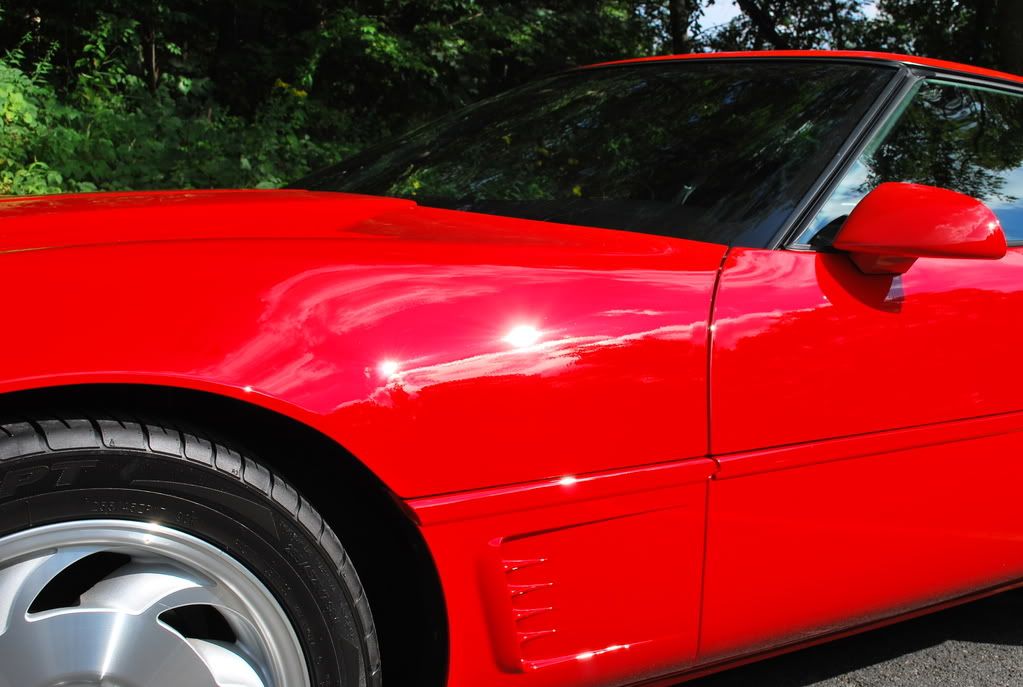
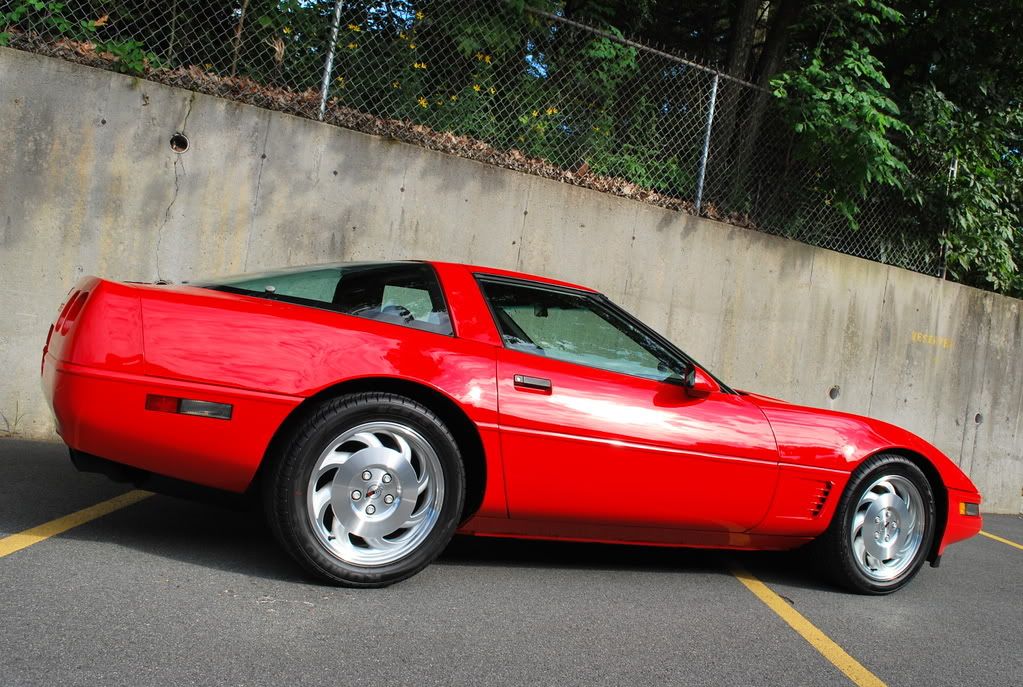
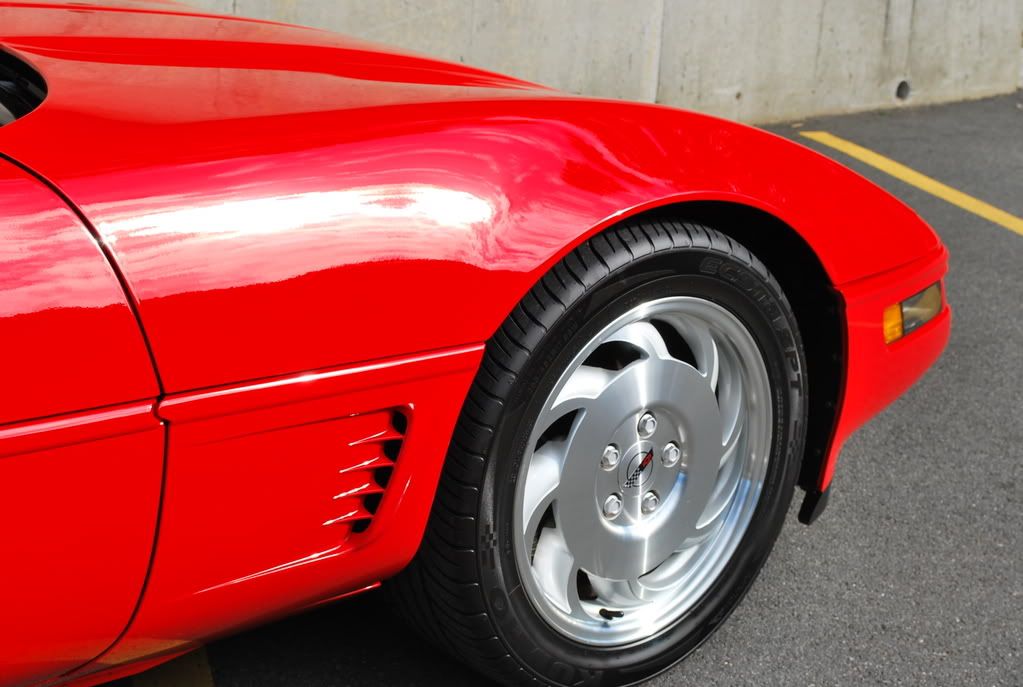
Below is what the car looked like upon arrival. As you can see, the paint had its fair share of swirls, light scratches and other minor imperfections...


BEFORE


96TorchRedCorvette001.jpg


96TorchRedCorvette002.jpg


96TorchRedCorvette004.jpg


96TorchRedCorvette005.jpg


96TorchRedCorvette006.jpg


96TorchRedCorvette007.jpg


96TorchRedCorvette008.jpg


96TorchRedCorvette009.jpg


96TorchRedCorvette010.jpg
 
~


The wheels were in great shape, but needed some polishing...


96TorchRedCorvette018.jpg


96TorchRedCorvette017.jpg


Some areas were caked with dried up wax which needed to be removed...


96TorchRedCorvette019.jpg


96TorchRedCorvette016.jpg


96corvette128.jpg


The engine compartment and other nooks & crannies needed special attention to get looking new again…


96TorchRedCorvette029.jpg


96TorchRedCorvette026.jpg


96TorchRedCorvette024.jpg


96TorchRedCorvette023.jpg


96TorchRedCorvette044.jpg


The paint on the mufflers was chipping off, which is very common on most C4 model Corvette’s...


96TorchRedCorvette003.jpg


96TorchRedCorvette036.jpg
 
~


The interior was in great shape, but needed a thorough cleaning…


96TorchRedCorvette020.jpg


96TorchRedCorvette021.jpg


I started by doing the usual exterior wash, cleaning of wheel & tires, engine compartment detail, suspension components and claybar treatment.


96corvette134.jpg


96corvette127.jpg


96corvette124.jpg


I then degreased the paint with an antibacterial cleaner & degreaser to remove any previous wax, polish or silicone products that may have been embedded in the paint.


After the washing process was complete, I pulled the car into the shop and began prepping it for polishing. I dried the car, wiped all door, hood and hatch jambs clean and wiped down the complete exterior with 91% alcohol to ensure a perfect foundation for polishing. Specific areas were masked off such as the door handles, side moldings and other critical areas.


I chose a test panel to decide which products/pads worked the best on this particular paint. After some testing, I found that Meguiar’s 105 worked the best to remove the serious defects and left a great finish. I proceeded to buff the exterior with M105 using a yellow Sonus foam cutting pad. Some panels need 2-3 applications to fully remove the defects.


96TorchRedCorvette089.jpg


Below is what the car looked like after polishing the complete exterior with M105…


96TorchRedCorvette071.jpg


96TorchRedCorvette069.jpg


96TorchRedCorvette068.jpg


After inspecting the car in the full sun, I pulled the car back inside and moved onto the next polishing step. After doing a quick alcohol wipedown, I buffed the complete exterior with Menzerna Super Intensive Polish using a white Sonus foam polishing pad.


96TorchRedCorvette088.jpg
 
Me polishing with SIP…


96TorchRedCorvette085.jpg


96TorchRedCorvette084.jpg


Now that the compounding and medium polishing step was complete, I pulled the car outside for a thorough wash to remove all of the compounding dust and spatter from the body, cracks & crevices, etc.


After inspecting the finish in the sun, I pulled the car back in, dried and wiped it down with alcohol before proceeding to the next polishing step.


Next, I polished the complete exterior with Menzerna 106FA using a blue CCS foam finishing pad.


96TorchRedCorvette091.jpg


All exterior plastic and hard-to-reach areas were polished with Menzerna 106FA using a black foam spot pad as seen below.


96TorchRedCorvette122.jpg


96TorchRedCorvette120.jpg


I polished the wheels with Zaino All In One using the same pad, then sealed with Clear-Seal.


96TorchRedCorvette123.jpg


For the final polishing and burnishing step, I used Menzerna 85rd using a red Sonus foam finishing pad.


96TorchRedCorvette090.jpg


Me polishing with 85rd…


96TorchRedCorvette096.jpg


96TorchRedCorvette099.jpg


96TorchRedCorvette100.jpg
 
After all of the polishing was complete, I sanded down both mufflers and wiped them clean with prep-solvent to prep for painting. I masked the car off and sprayed each muffler with 3 coats of satin black, high temperature paint.


The results...


96corvette031.jpg


96CorvetteAfters035.jpg


Before any wax or sealant was applied to the paint surface, I went around the entire vehicle using an artists brush to apply 2-3 coats of factory touch-up paint to a few tiny stone chips that were present.


For maximum protection, durability and intense gloss, I decided to use Zaino Z5 as my LSP of choice. Before applying the Z5, I wiped down all exterior surfaces with Zaino Z6, which ensures a perfect foundation for the Z5 to molecularly bond and cross-link.


ZFX flash cure accelerator was added to the Z5 because multiple coats would be applied. ZFX is a cross-linking and acceleration additive which offers almost instant cure time and improves bonding to both paint and additional layers of Z5.


A thin coat of ZFX enabled Z5 was applied to all exterior surfaces by hand. While waiting for the Z5 to dry, I dressed all tires and wheel wells with Kar Kraft Super Blue dressing.


After about 20 minutes, I removed the Z5 using a new microfiber towel and sprayed each panel with a light mist of Z6 to buff away any remaining residue and enhance gloss. A total of 3 coats were applied, with an application of Z6 in between each layer.


All door jambs and exterior glass received an application of Zaino Clear-Seal for protection.


I carefully removed any excess wax and polish residue from all areas using a soft bristle horse hair brush. I masked off surrounding areas to ensure I didn’t scratch the perfectly polished surface as seen below… Q-tips were used in other hard-to-reach-areas.


96TorchRedCorvette127.jpg


96TorchRedCorvette125.jpg


96TorchRedCorvette124.jpg


All aluminum suspension components were polished with Wicked Metal Polish using a microfiber towel and sealed with Zaino All in One.


96CorvetteAfters008.jpg


I wiped the engine compartment down with a damp microfiber towel saturated with Meguiar’s Quick Interior Detailer for a matte finish…


96CorvetteAfters005.jpg


96CorvetteAfters006.jpg


96CorvetteAfters007.jpg


96CorvetteAfters009.jpg


The targa top was removed, polished and sealed. Then, all rubber gaskets were extensively cleaned using Super Kleen degreaser and dressed with Pro-Shine.


The interior received a full detail. All interior components were cleaned with Super Kleen and protected with Meguiar’s Quick Interior Detailer for its UV protection and satin finish. The leather seats were treated with Zaino Leather In A Bottle.


Interior afters…


96corvette079.jpg


96corvette072.jpg


96CorvetteAfters001.jpg
 
The exterior received a final wipedown of Z8 before the pictures were taken.


*Please note that all pictures are right out of my camera with no editing (besides blurring out the licence plate) and have no post processing done whatsoever. Both before and after pictures were taken in the same camera setting mode.


The final results…


96corvette006.jpg


96corvette007.jpg


96corvette008.jpg


96corvette009.jpg


96corvette010.jpg


96corvette011.jpg


96corvette013.jpg


96corvette015.jpg


96corvette016.jpg


96corvette017.jpg


96corvette018.jpg


96corvette019.jpg
 
Rick, Your polishing expertice leads to such high gloss results. Glad that you where about to find the time to post.
 
Is it possible for a car to be "too red"?


Haha! That thing is f'ing RED! Very nice work, Rick. Easy to see why you're the man when it comes to Vettes!
 
gmblack3a- Thanks Bryan! It's been very hard to find time to post my details lately. I will be posting up more in the near future.


MotorCity- Thanks a lot!


EisenHulk- Ha, ha..Thanks! It is almost is too red... When I was downloading the pictures, all I thought was that people are going to think I edited the pictures, but they are straight out of the camera.


TSC17- Thanks Todd!
 
mshu7 said:
WOW!!! Absolutely amazing work! Thanks for putting together a great write-up as well. :bow:bow:bow


How many hours were involved with this detail?


Thanks Mike! Wait until you see my next write up! :D:D


The entire detail took a little over 40 hours in total...
 
Back
Top