Barry Theal
New member

PRESIDENTIAL DETAILS OF LANCASTER PA
A leading professional of automotive treatments and detailing.
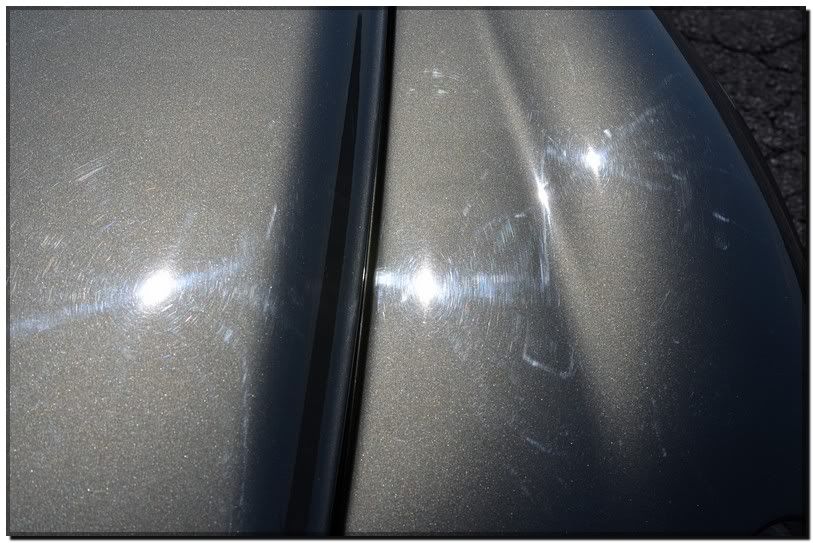
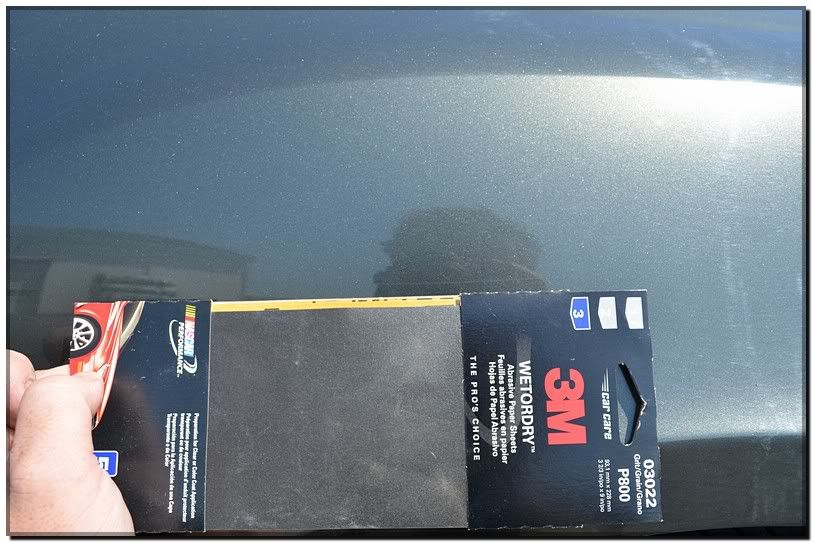
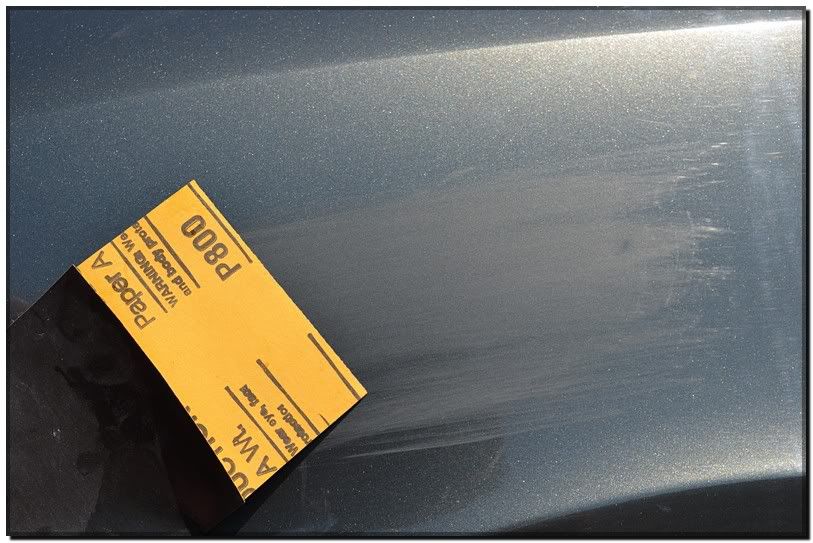
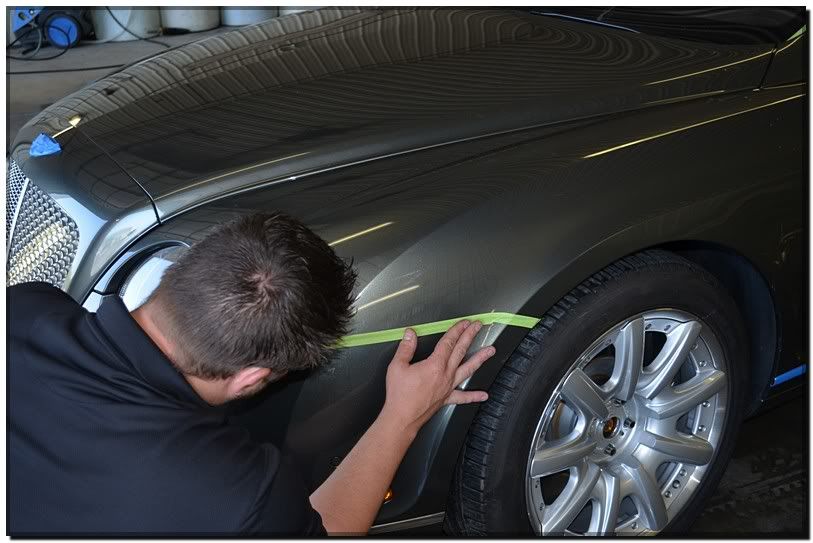
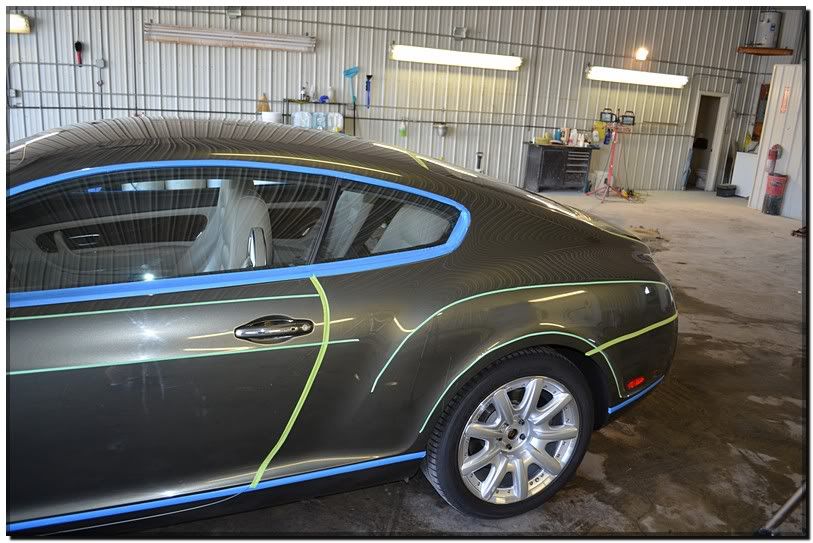
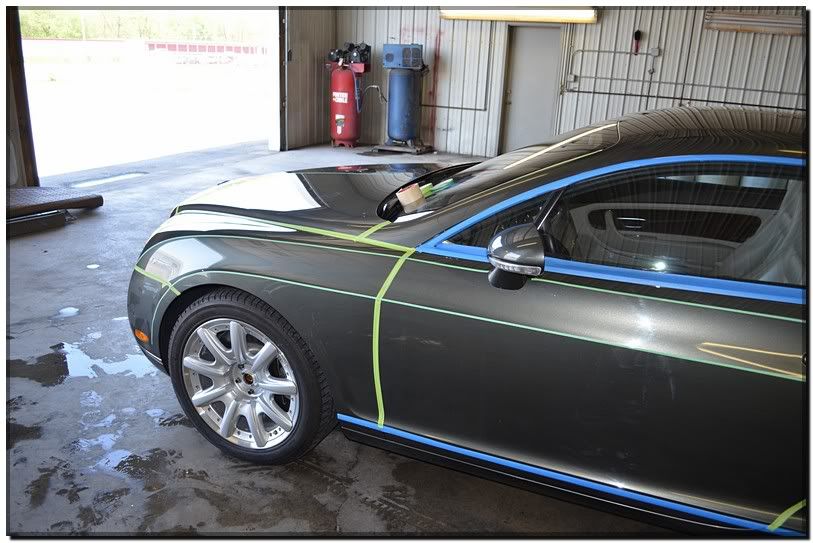
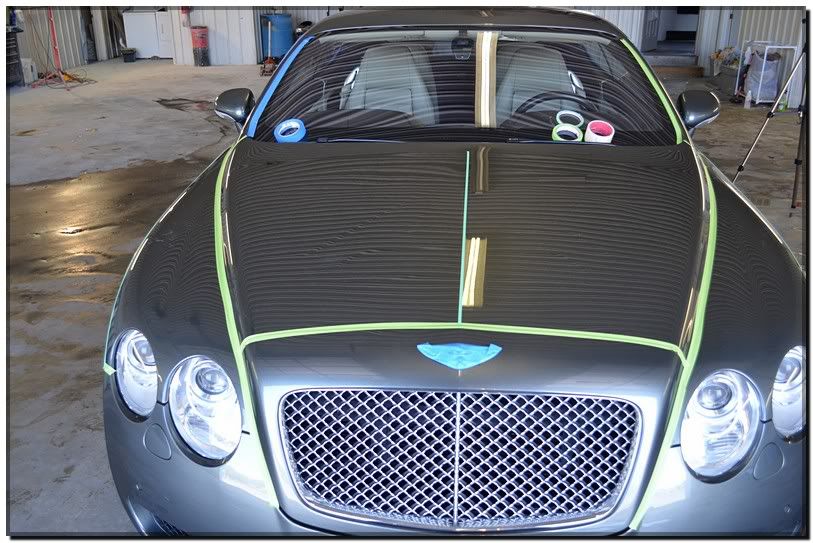
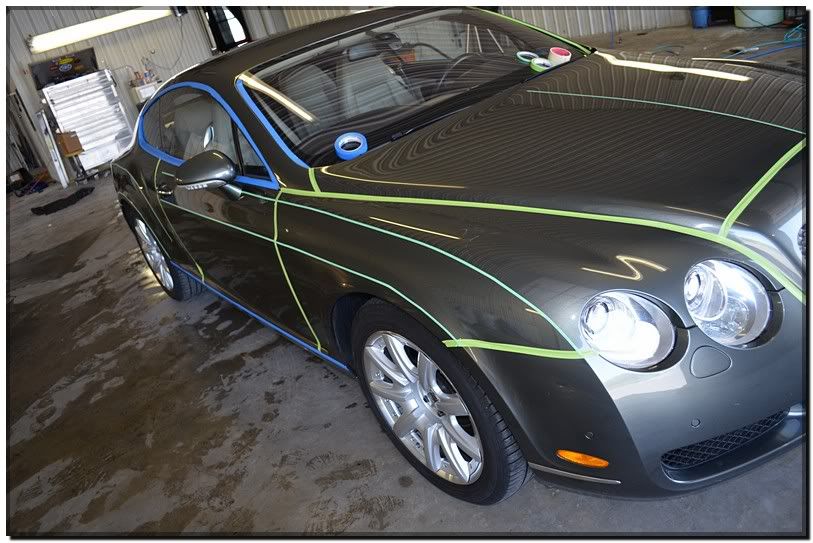
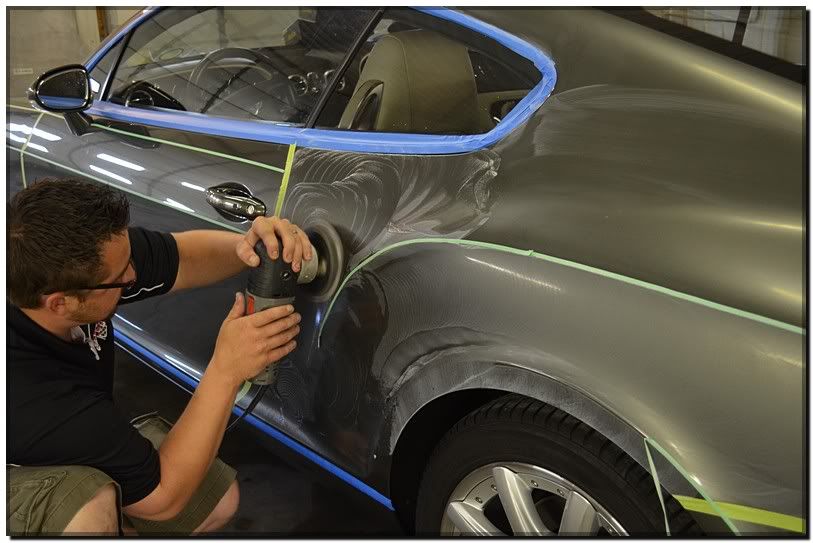
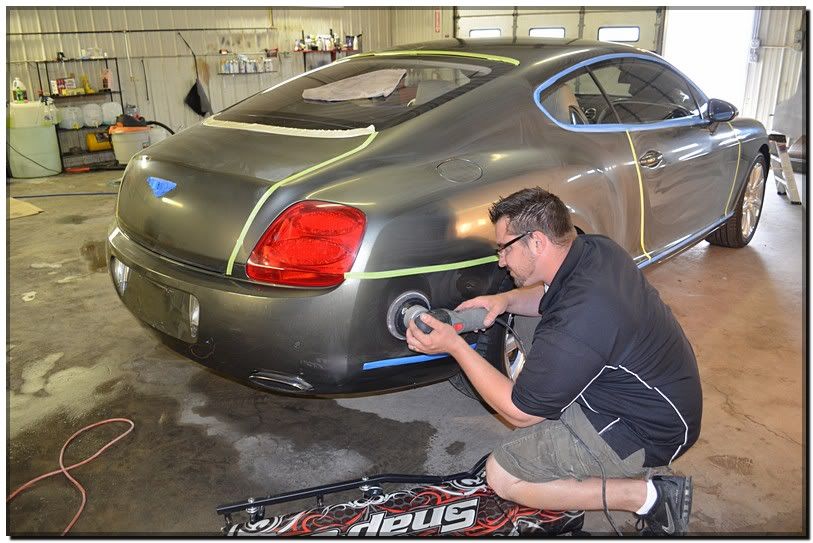
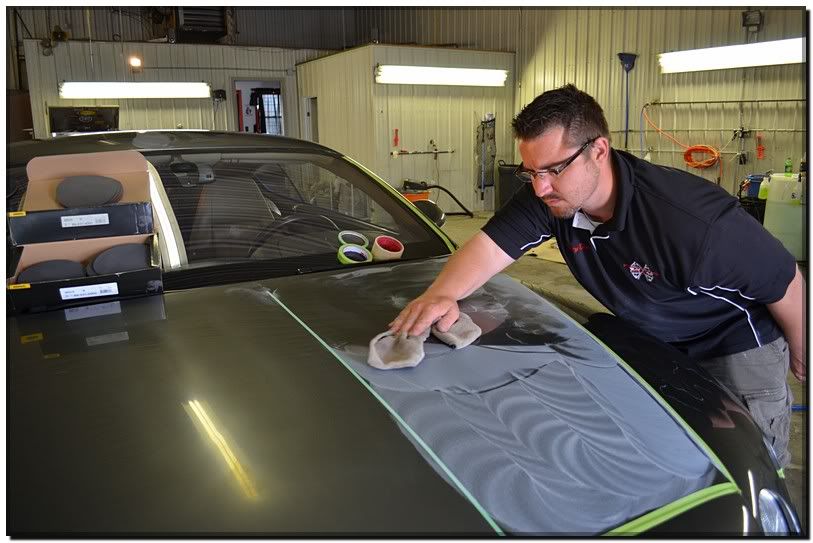
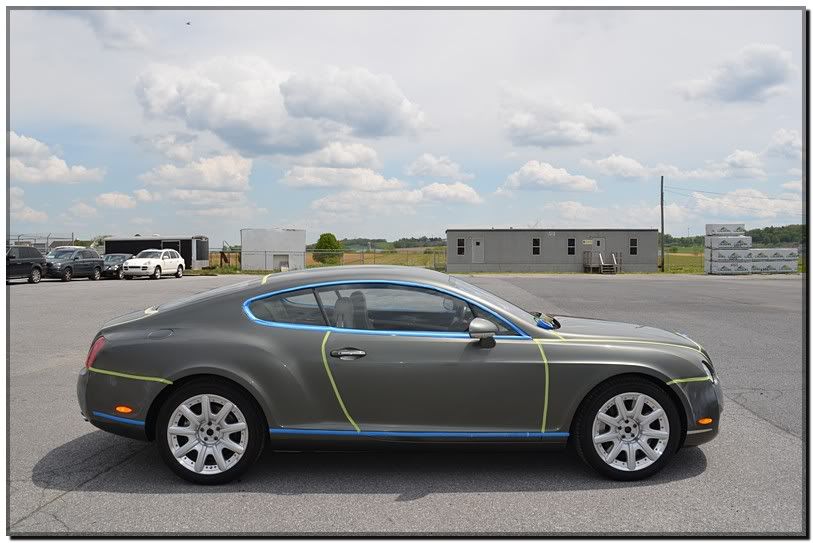
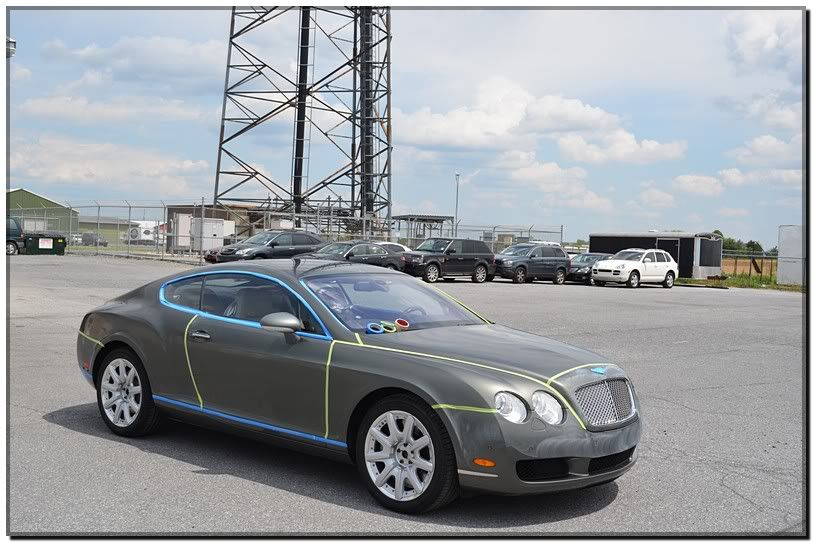
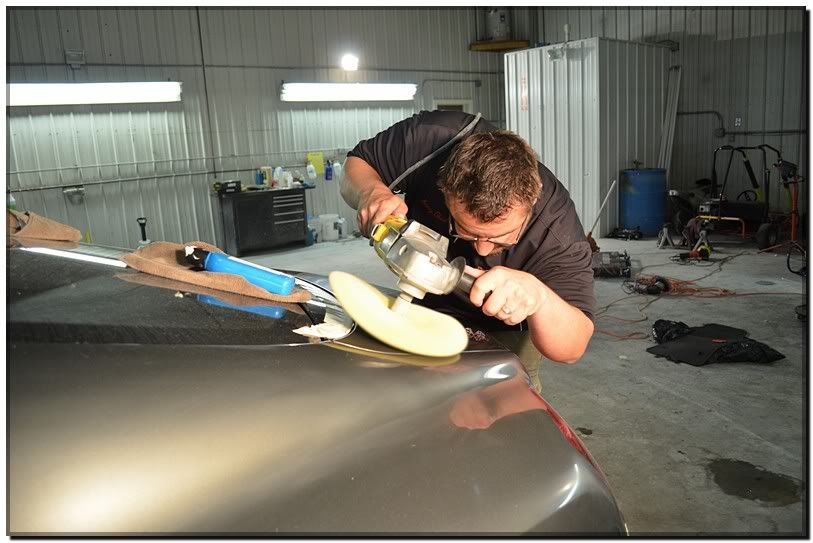
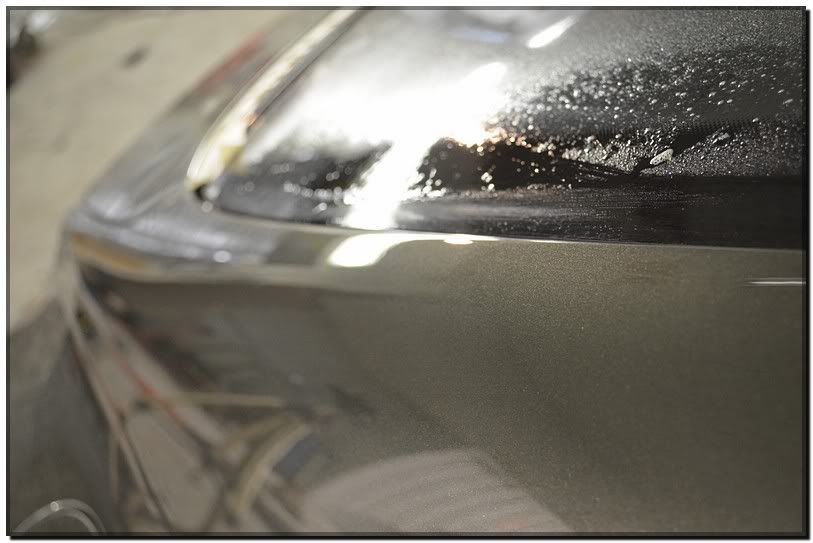
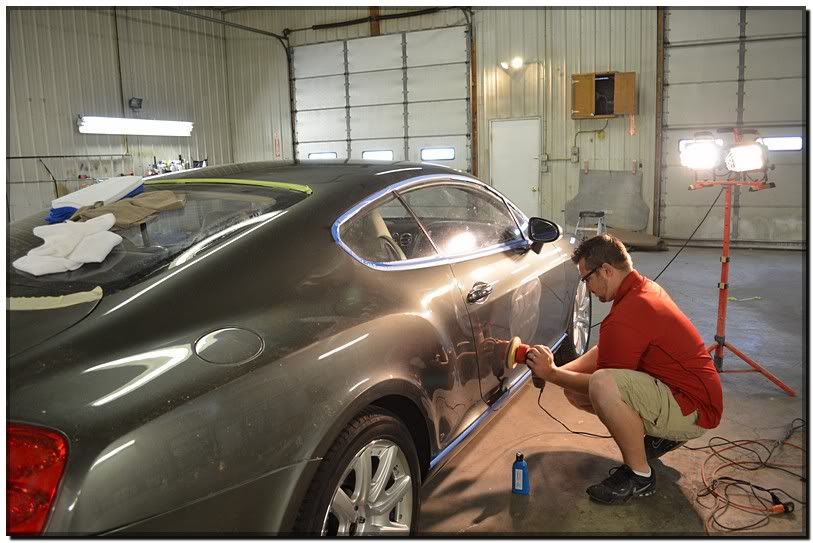
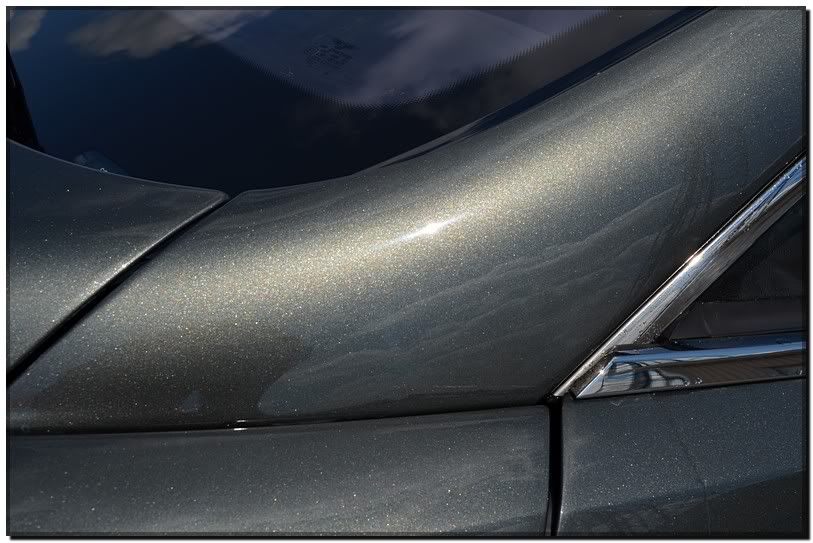
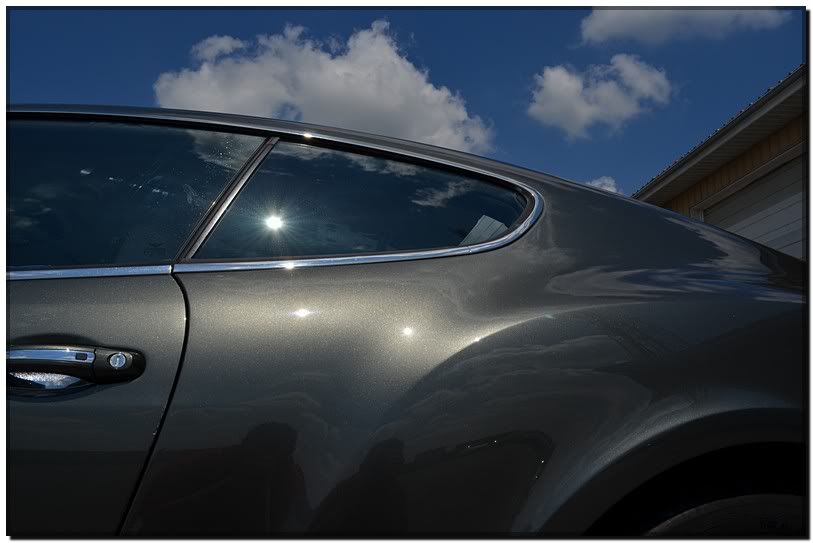
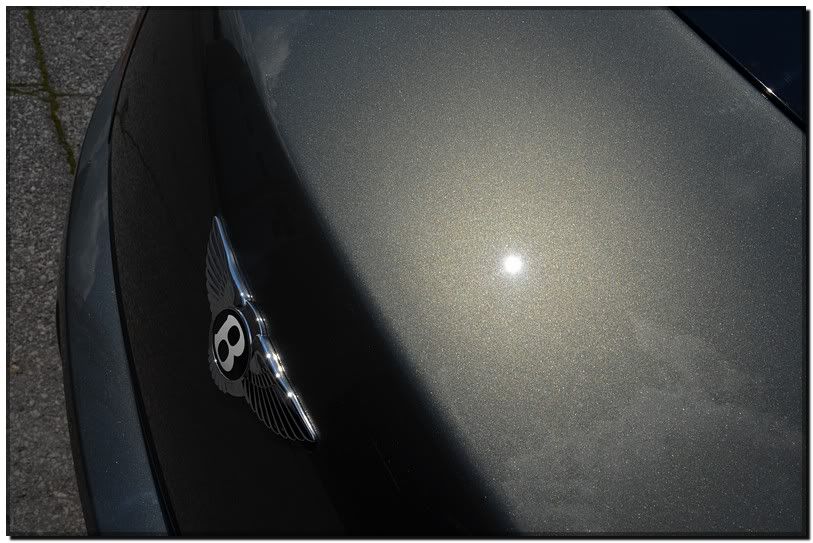
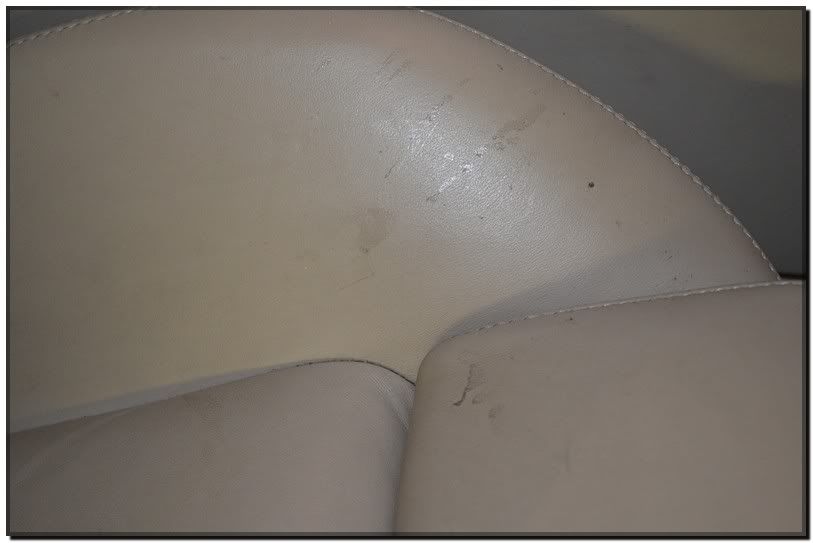
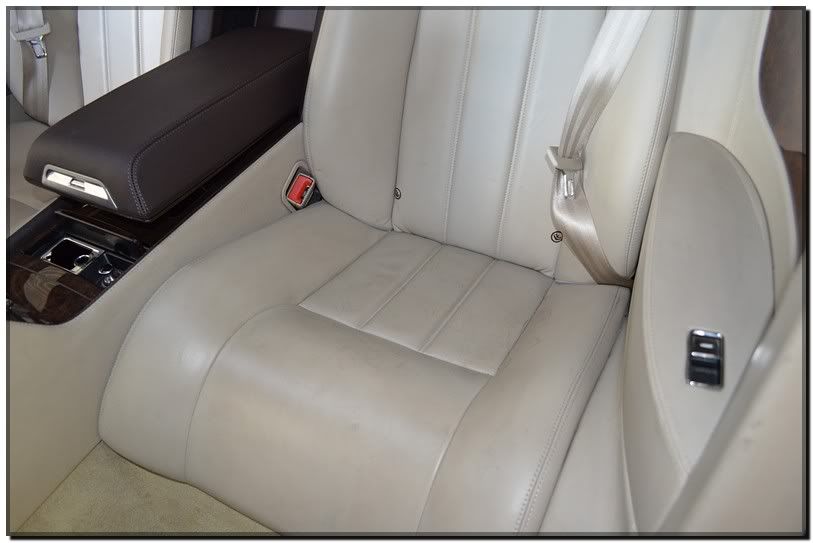
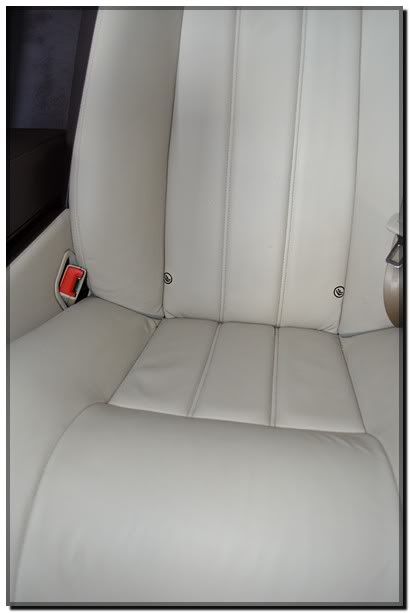
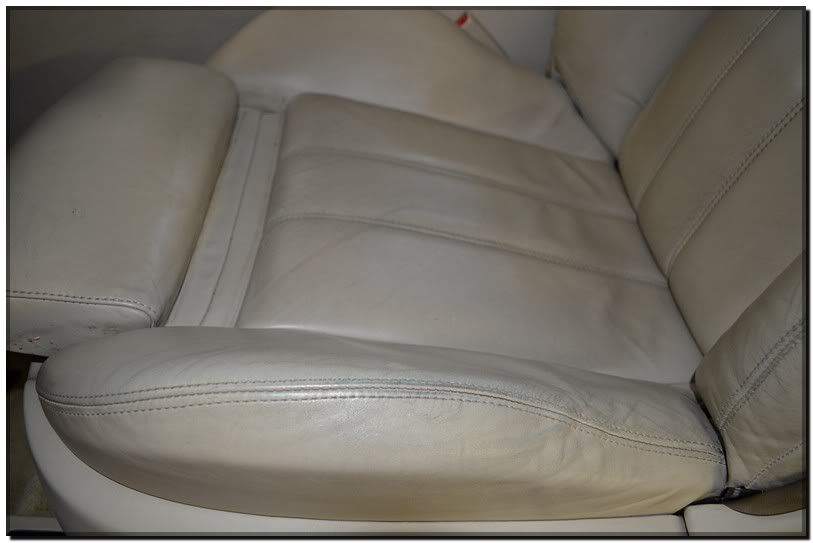
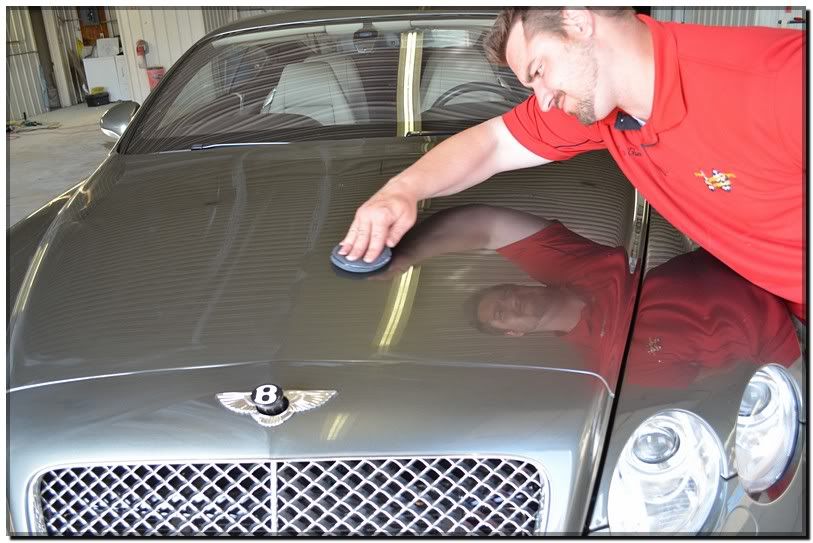
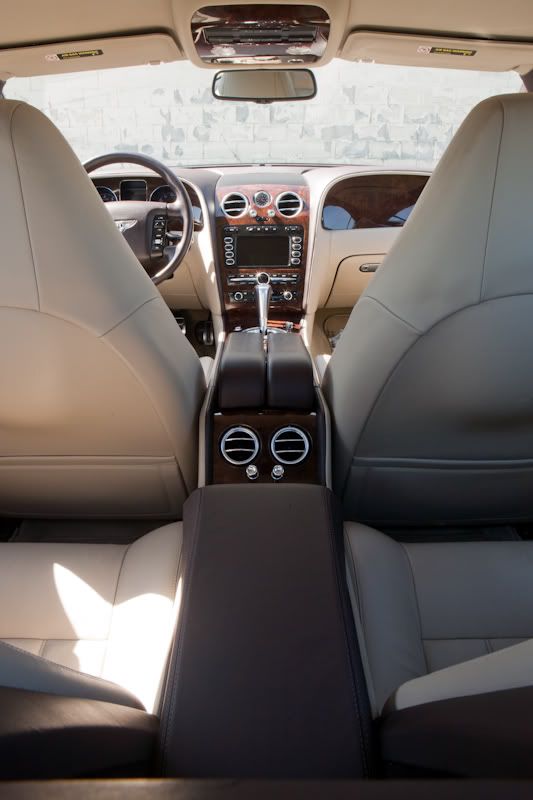
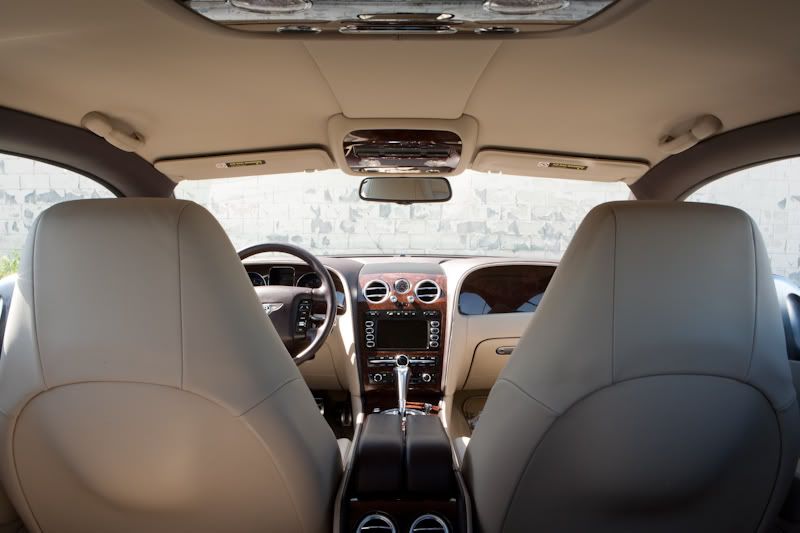
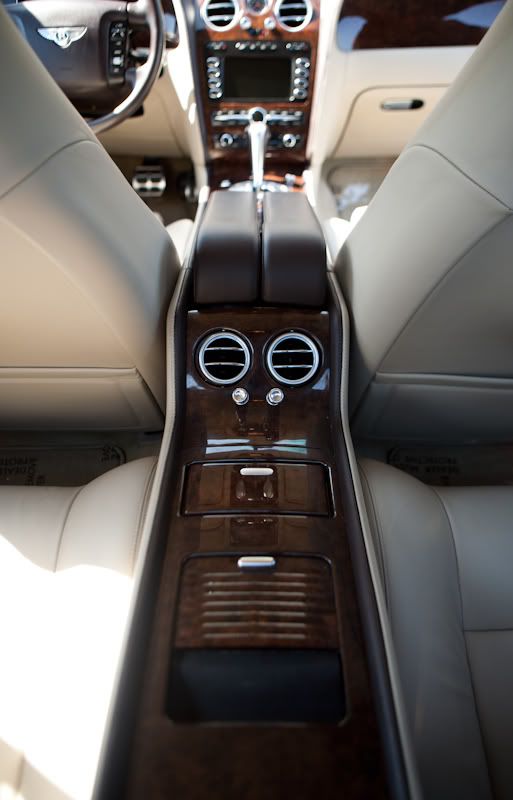
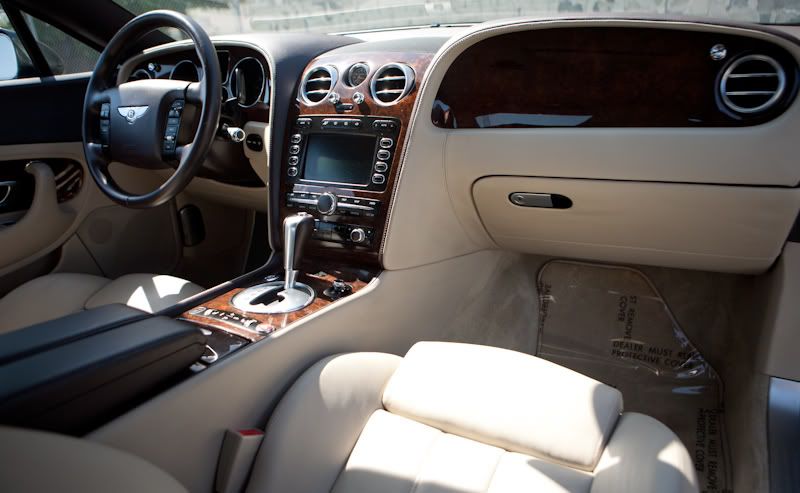
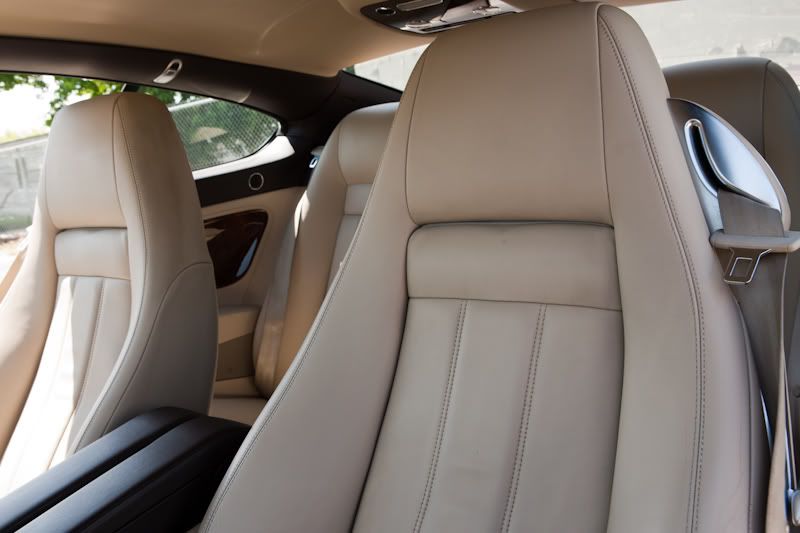
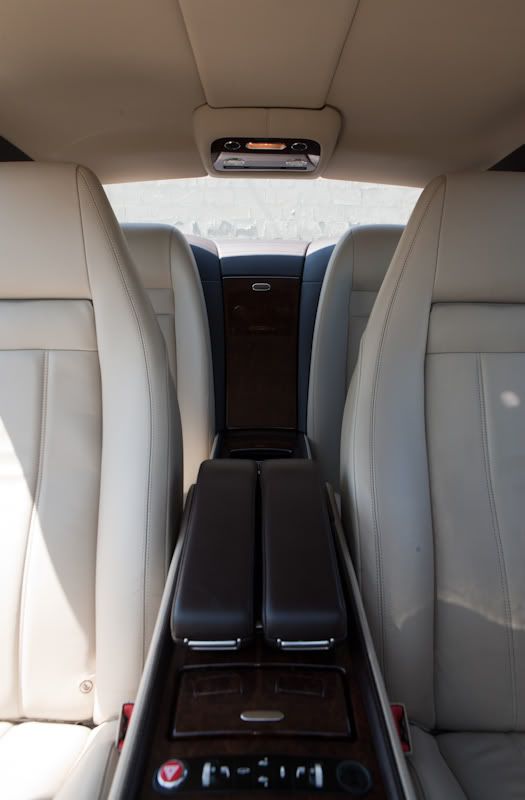
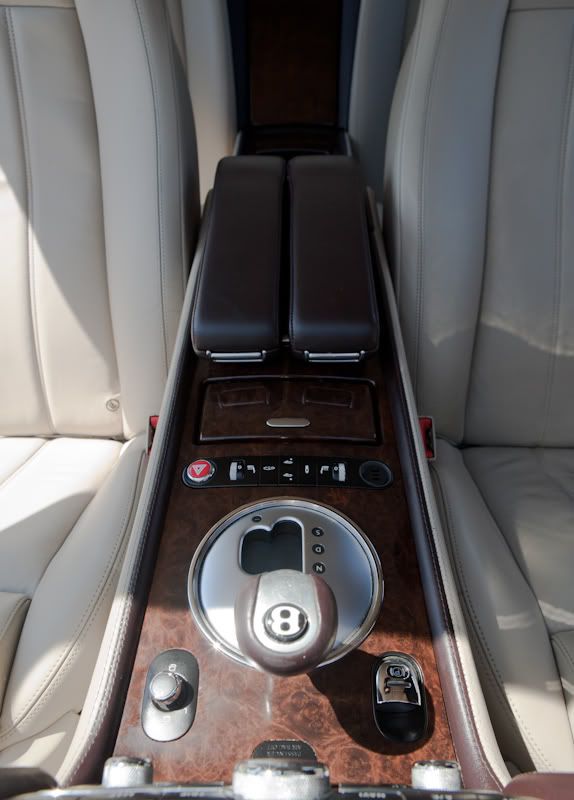
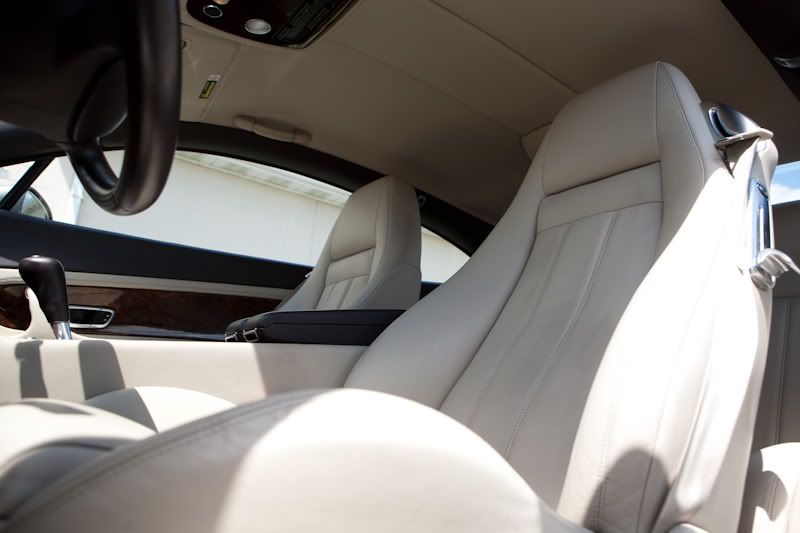
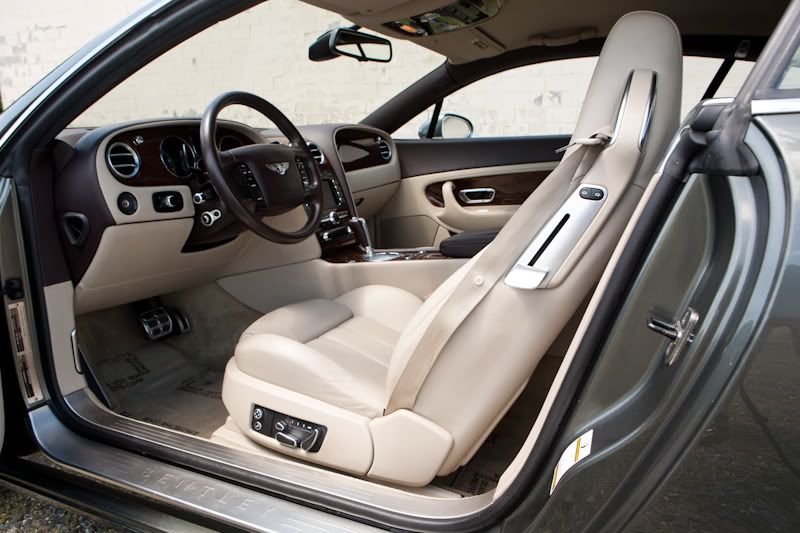
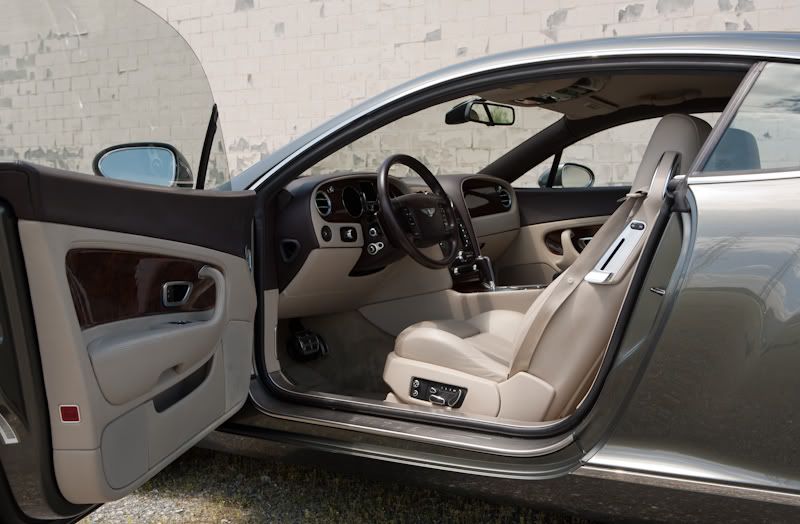
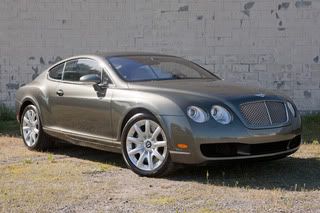
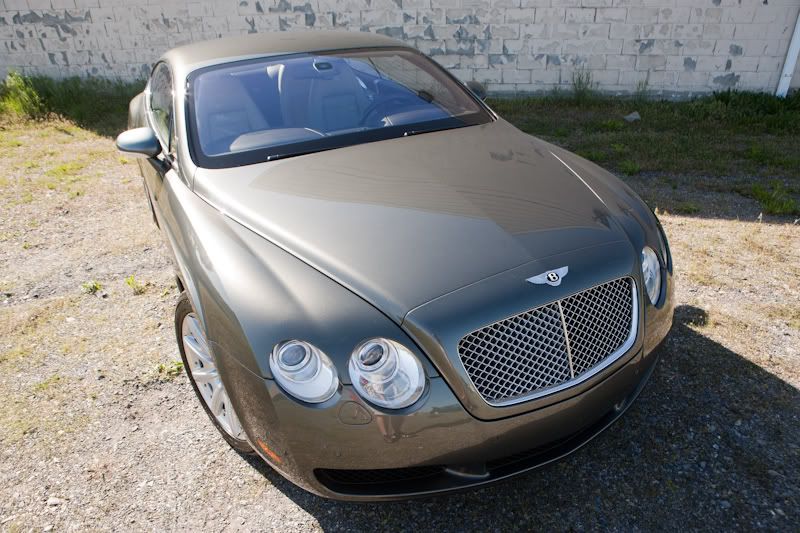
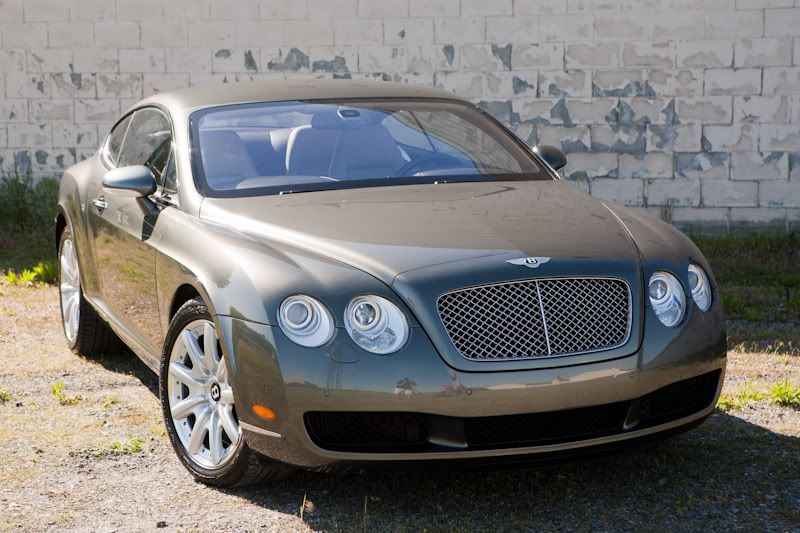
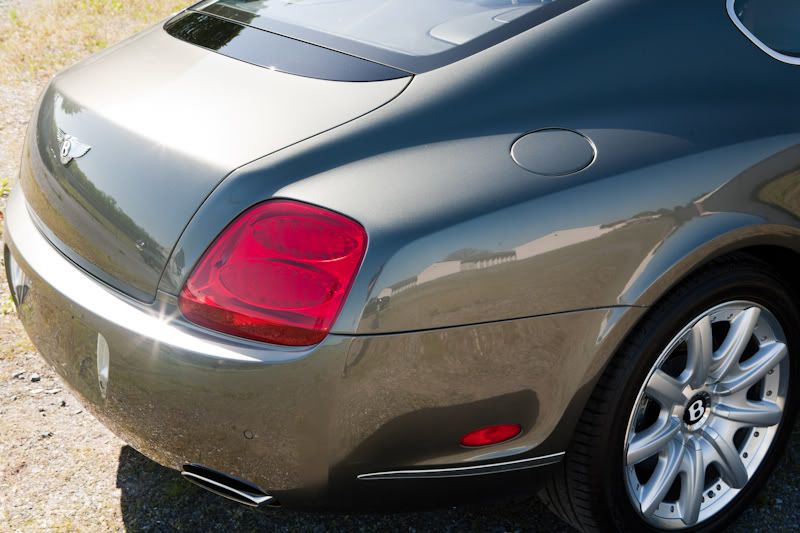
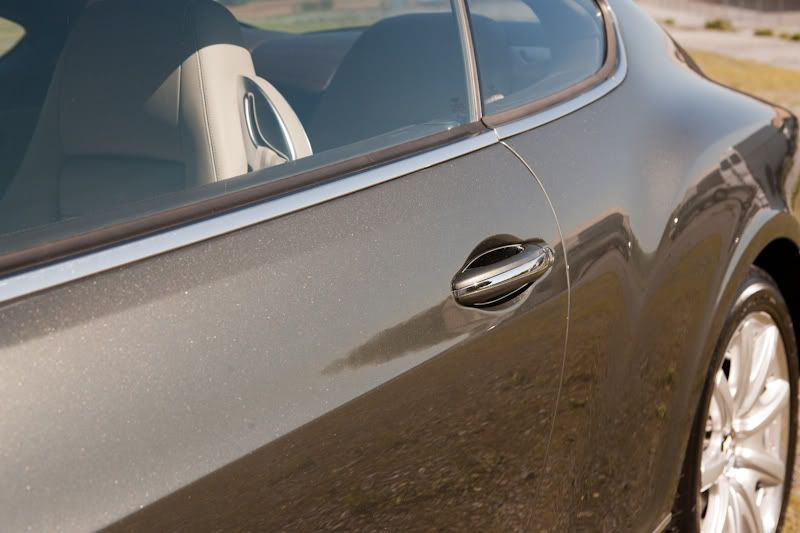
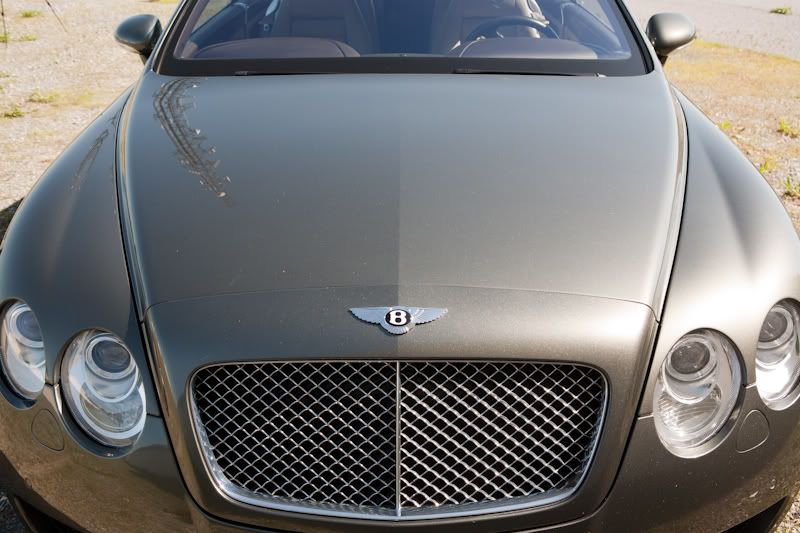
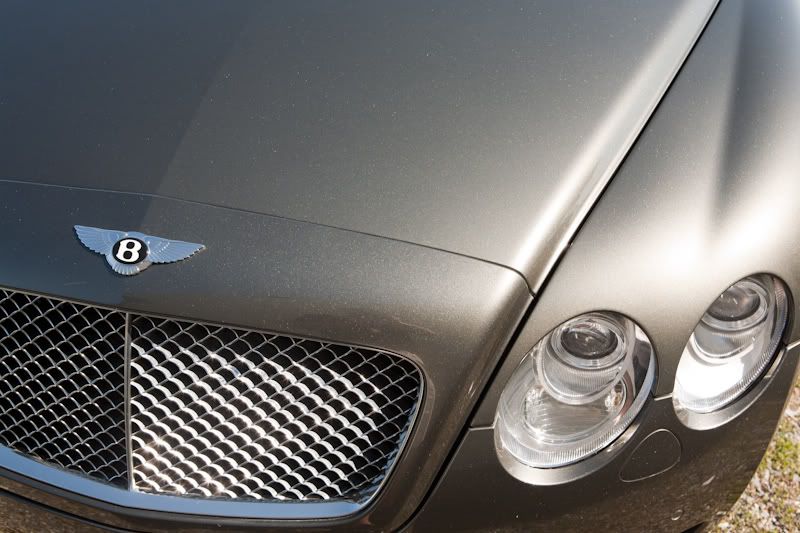
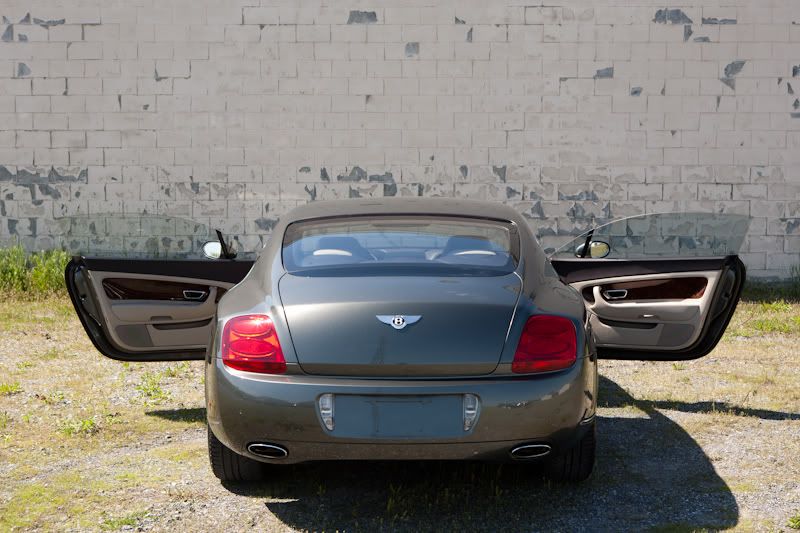
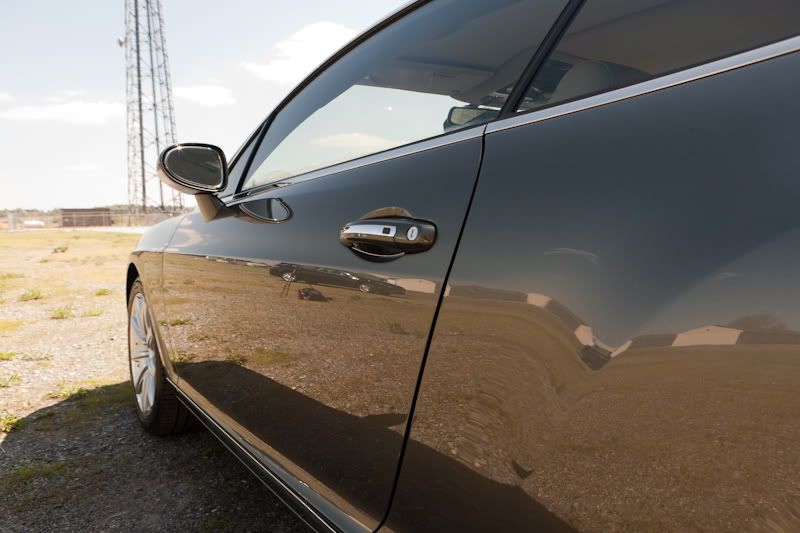
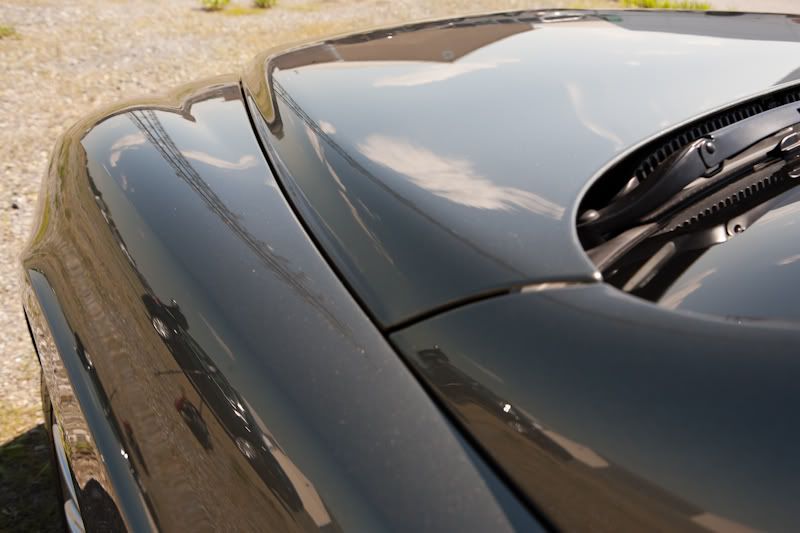
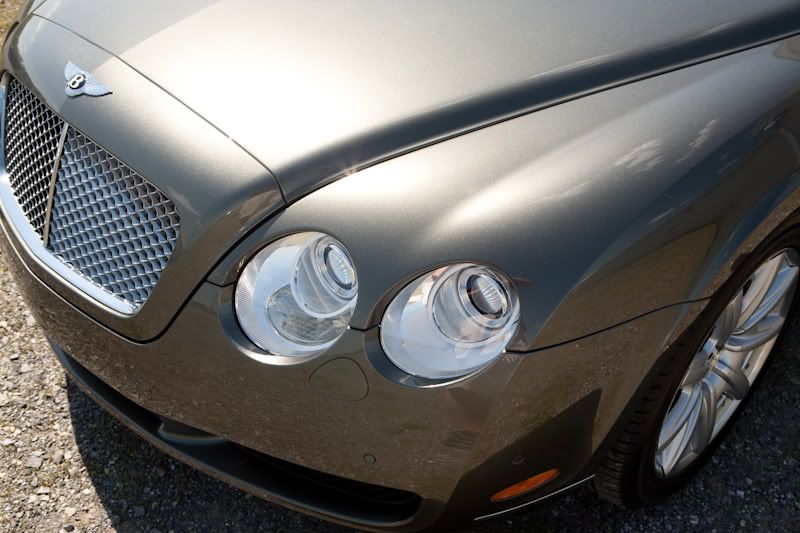
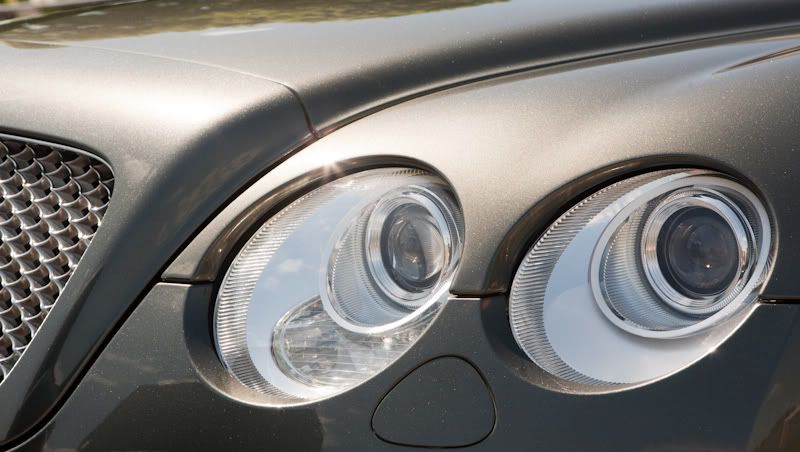
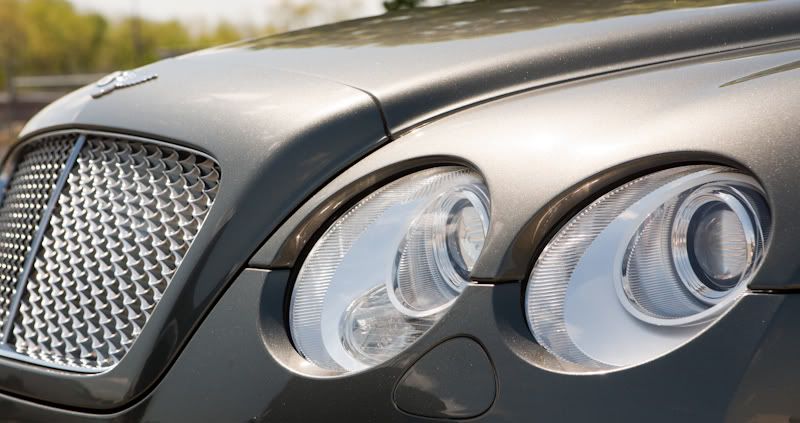
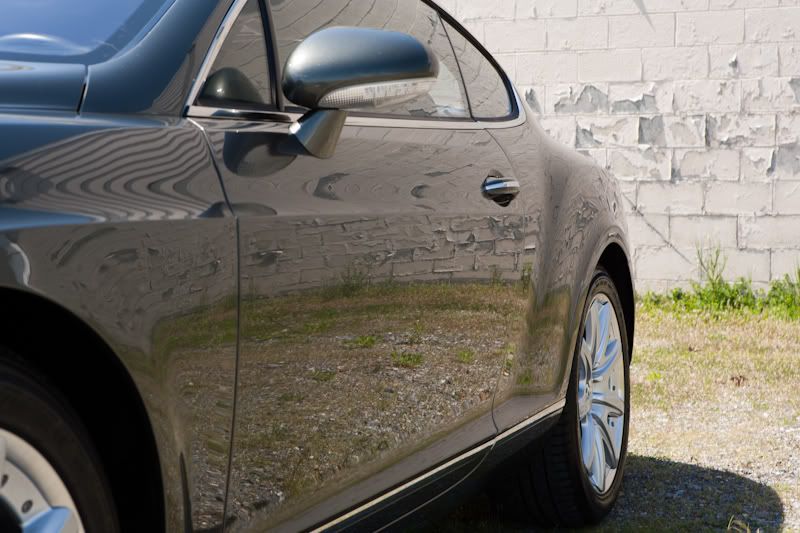
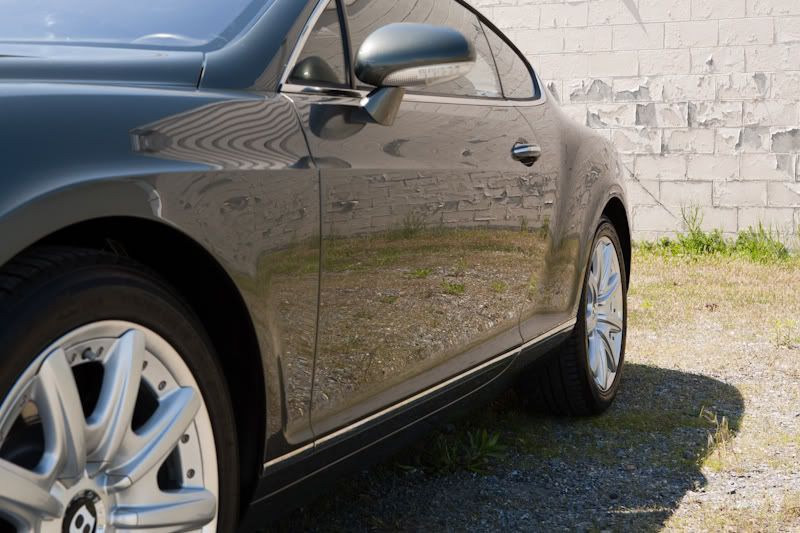
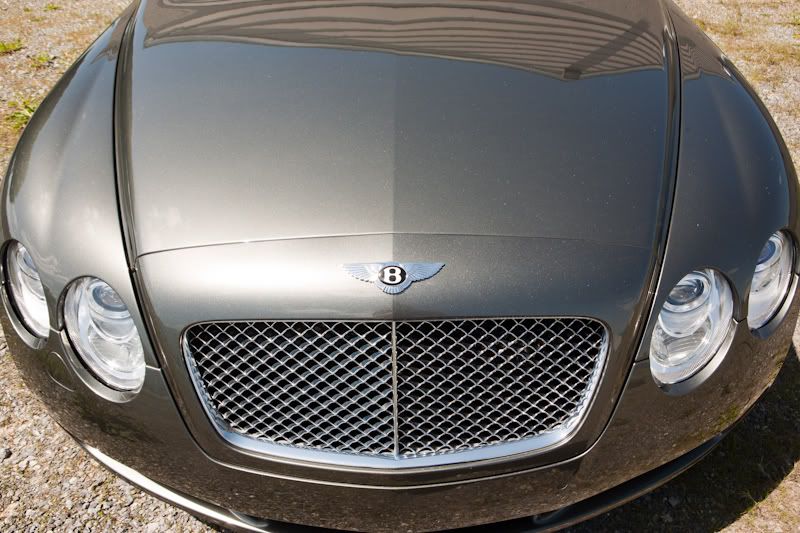
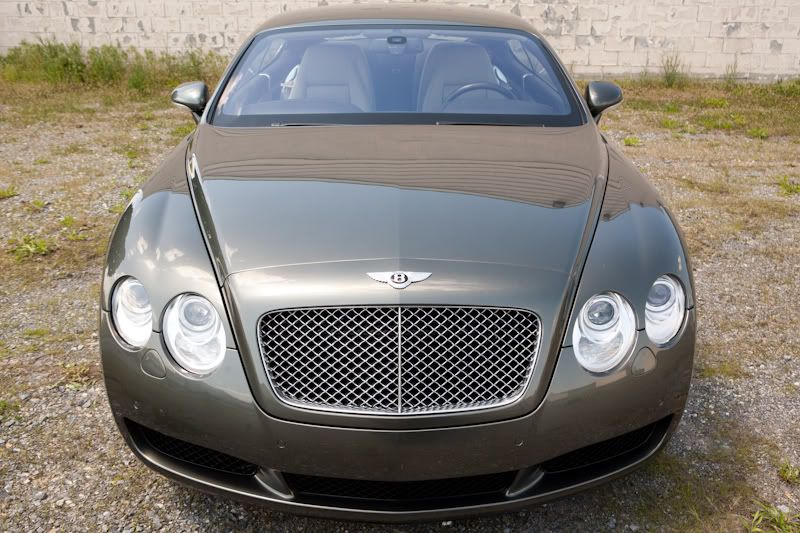
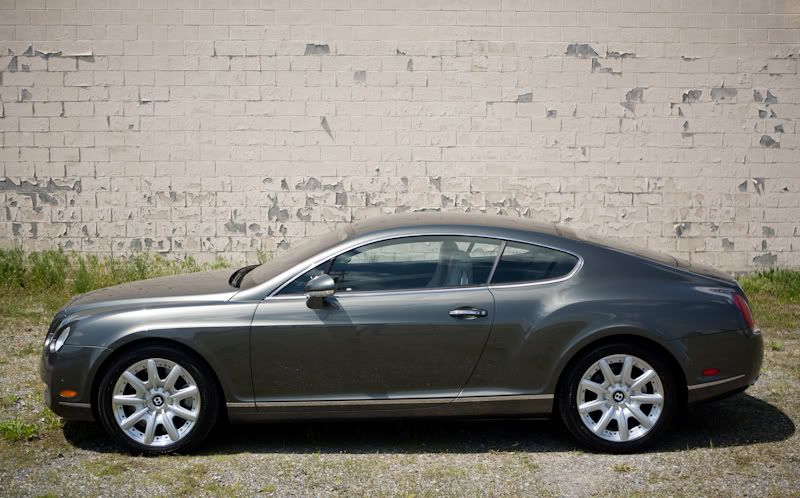
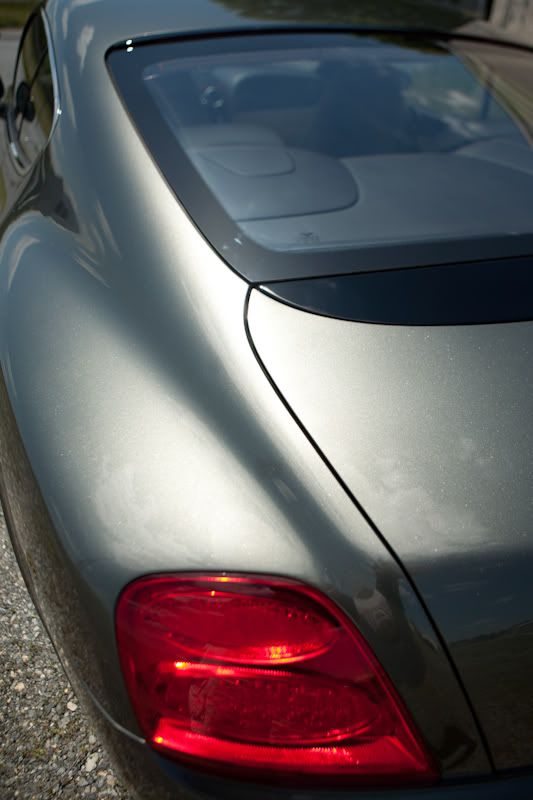
Presidential Details of Lancaster PA is proud to announce a 60 plus hour Automotive reconditioning of a 2005 Bentley GT dressed in an exterior color of Cypress while the interior wore an elegant yet sexy Loxley color. This car received a complete reconditioning from the ground up. Included in the art and science of this treatment, was a complete wet sanding to remove paint defects, a 2 stage polishing finished with our exclusive Migliore Presidential a Luxury wax containing nearly 50% of Carnauba along with a few other exotic natural ingredients. While the exterior received a 40 hour plus treatment, there’s no doubt the Loxley interior needed help as well. In all, over 60 plus hours were spent completely reconditioning this vehicle from top to bottom. All treatments on this car were exclusively done by Barry Theal at the owners request.
Approaching a detail like this is something that should be thought out prior to doing it. I spent about two hours examining the vehicle prior to providing the service. The owner is another out of state customer, and everything had to be of the highest Presidential Standard before Shipping the vehicle home. People often ask me about my company slogan. :When Passion meets Perfection” I tell them it’s the passion I have for a fine automobile that leads me to perfection. Performing services on others cars as if they were mine. This treatment was a leading example of the heart and soul that drives my passion to perfection. Hopefully you enjoy this write as read, its my goal to make the consumer as well as the professional detailer enjoy my writings!
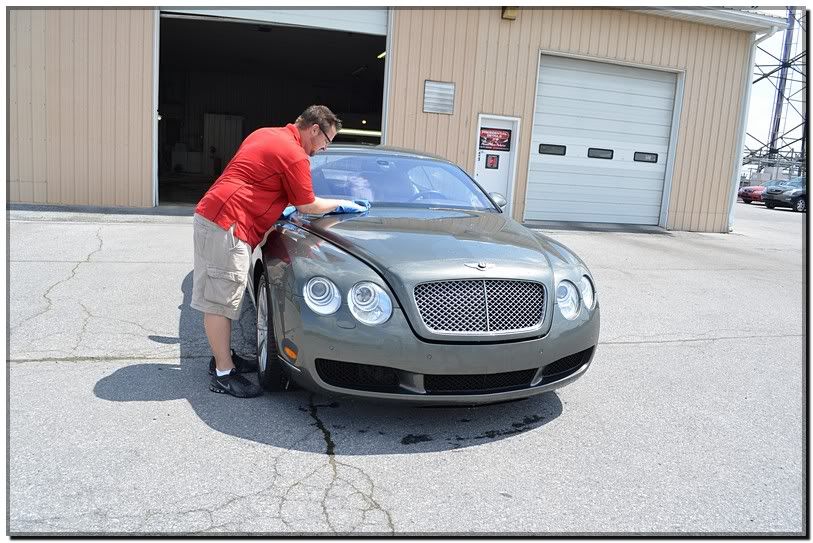
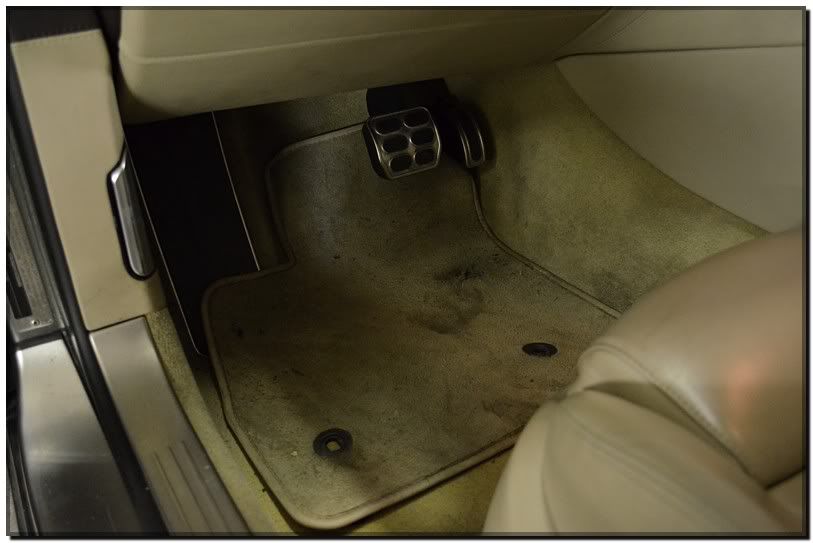
Now onto the vehicle at hand. This particular Bentley GT was a new purchase for the owner and he bought it dirty and asked for it not to be cleaned up. He wanted me to perform all the treatments and not some dealership trying to make a quick buck while ruining the car and probably making it worse for me. Although, I don’t think it could have been worse then what laid ahead. A detail like this can wear a man down both mentally and physically. Needless to say I was pretty beat up when it was all said and done.
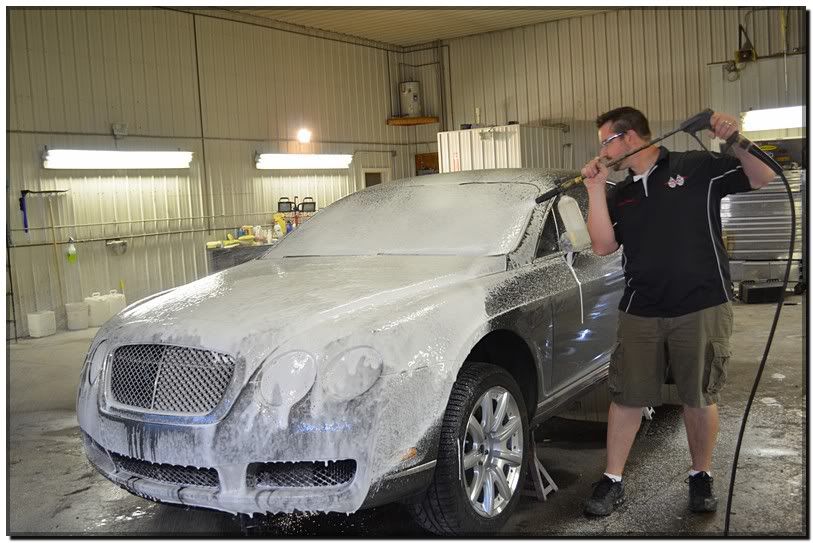
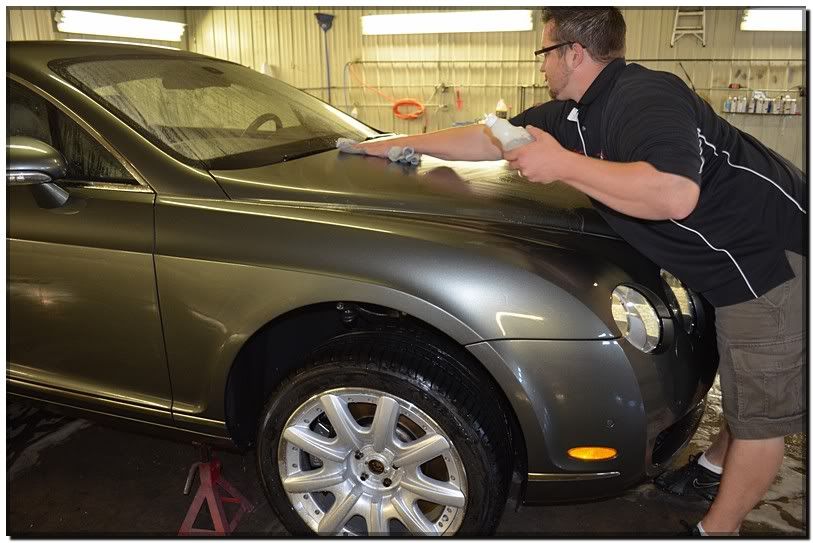
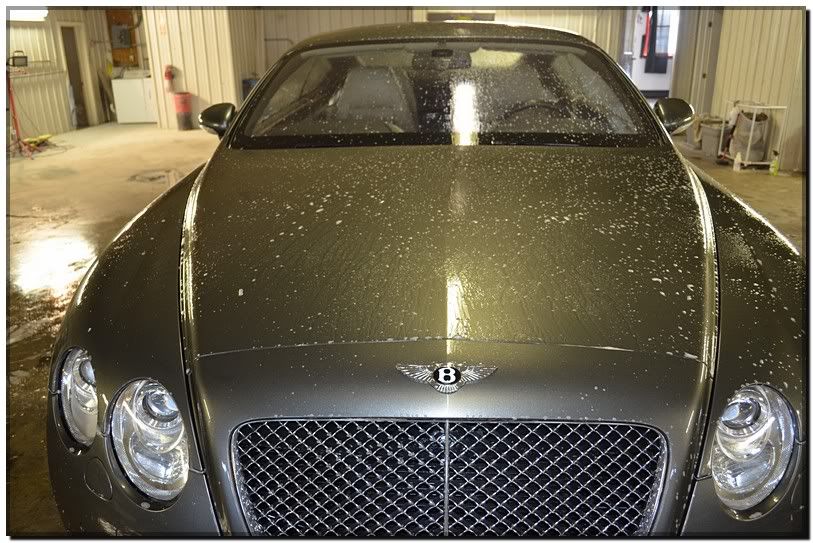
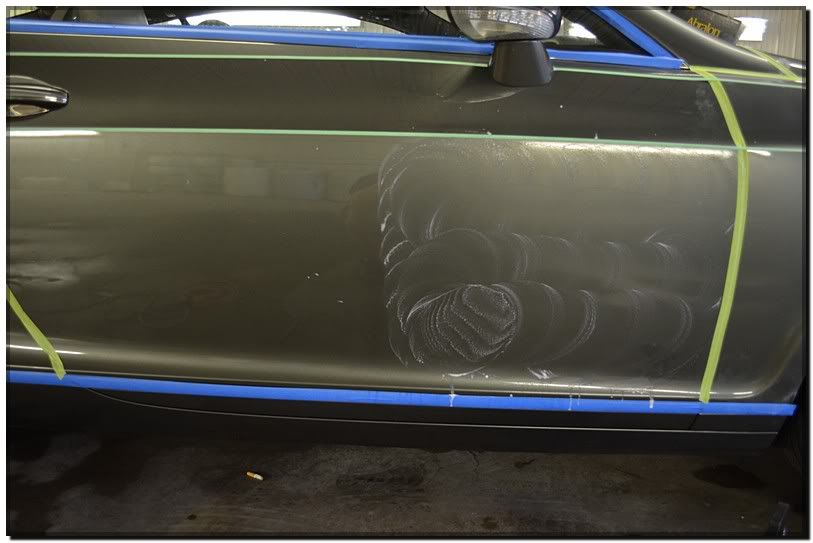
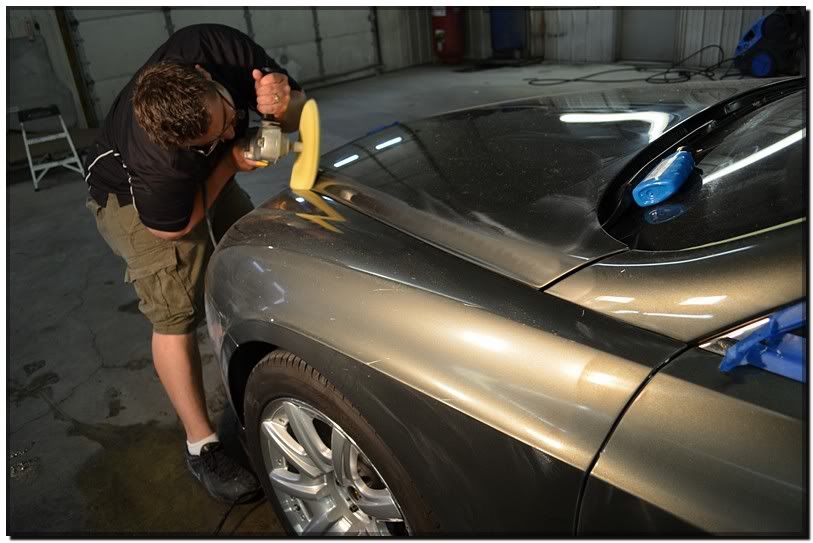
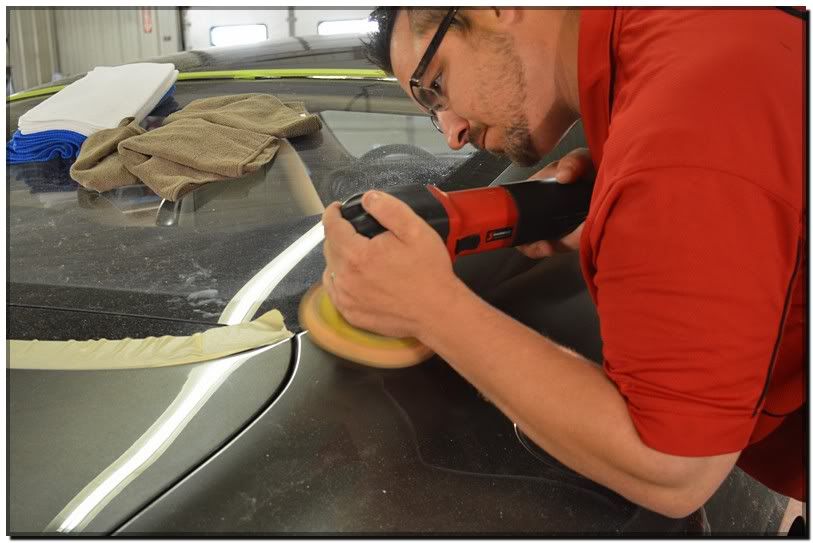
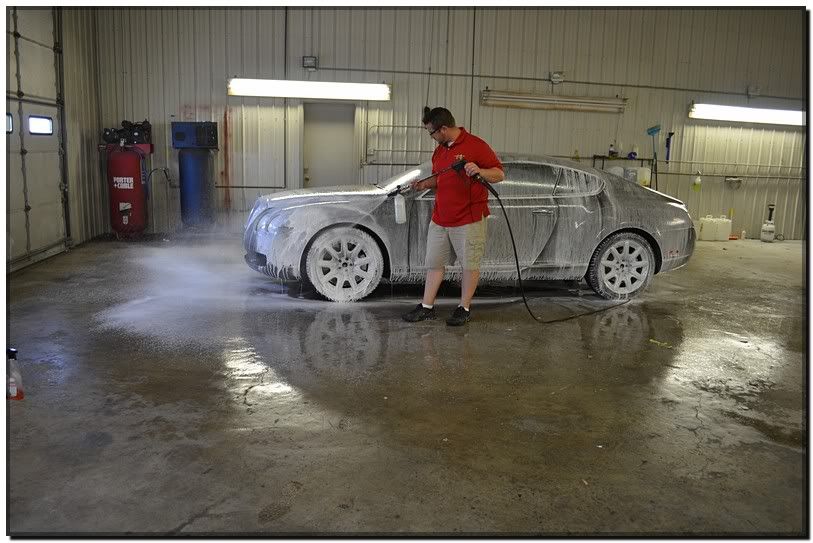
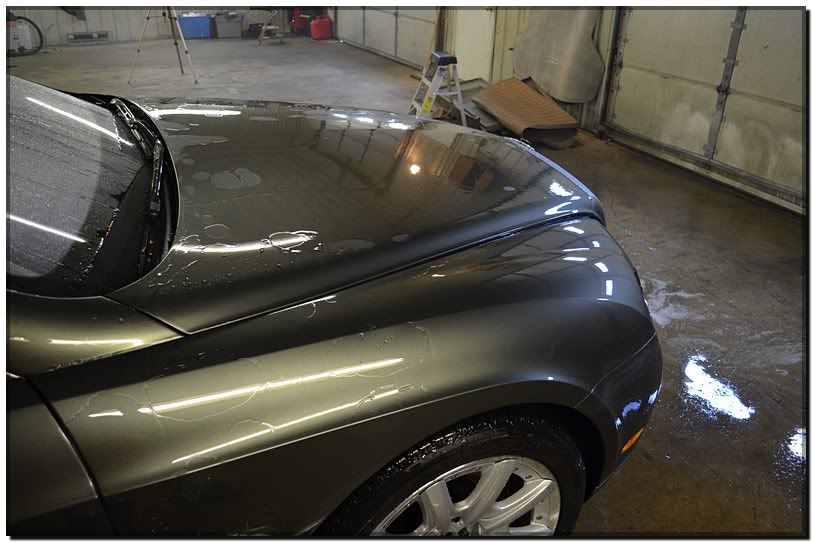
Lets move into the decontamination and cleansing part of this detail. Often said it’s all in the prep. I spent almost an entire day just degreasing the car. A total of 7 hours went into this step. I’m a firm believer that this part of reconditioning is the foundation to success or failure of an automotive treatment.
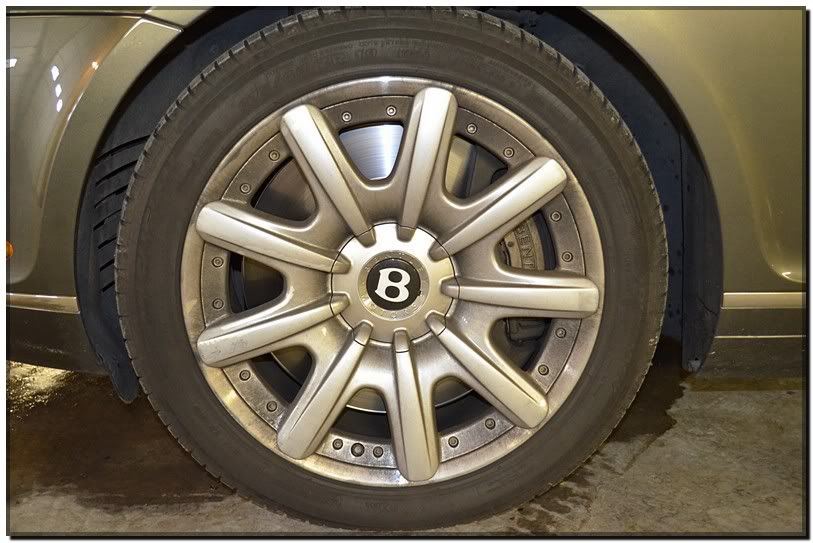
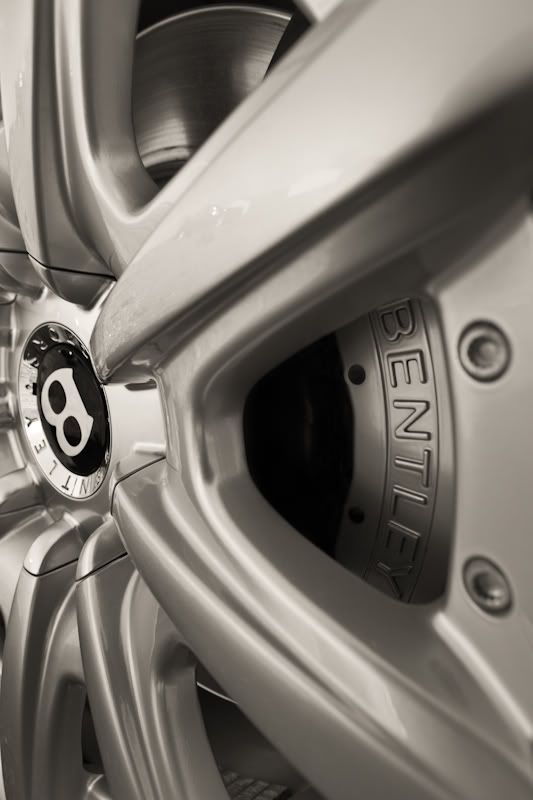
First Step was to remove the wheels and completely cleanse the entire wheel and tire along with the inner wheel wells. This was a dirty task to say the least.
The wheels came in baked with brake dust and normal driving dirt. Someone did a great job on creating a mess! In the below picture is of the left front wheel.
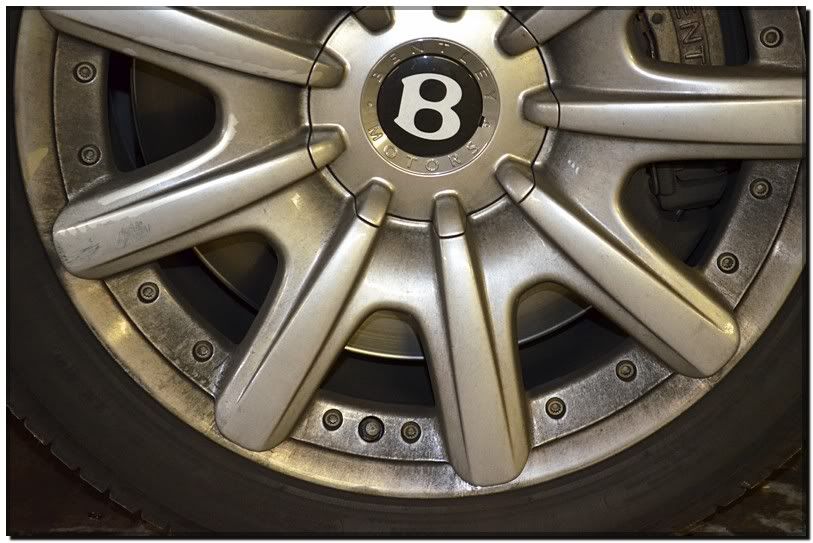
Here is a close up to show you just had bad they really were.
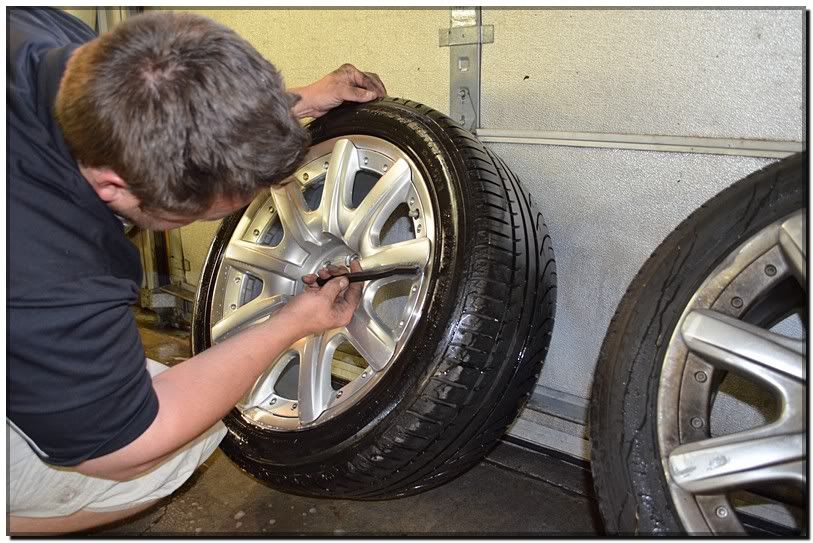
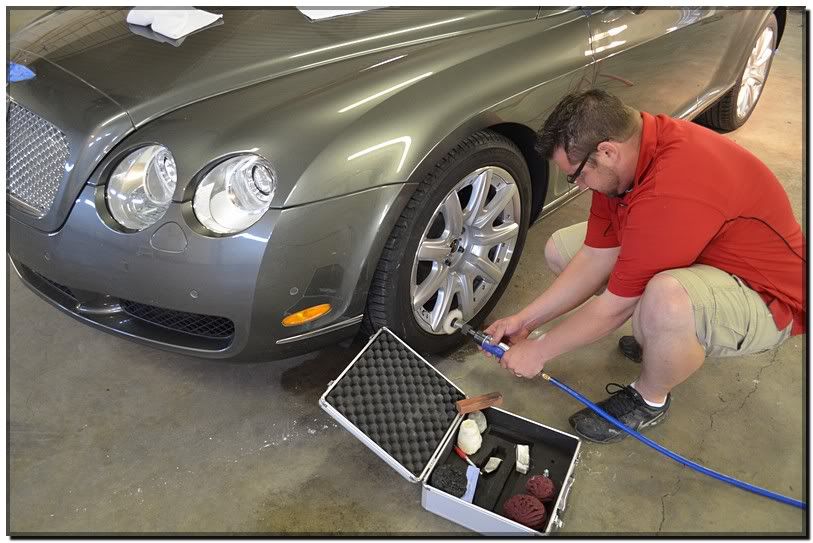
In order to get the wheels to a clean state, all wheels were removed and cleaned individually both front and back. Placing the car on jack stands allowed me to do this. I first did the left two wheels then mounted them followed by the right side wheels. In the below picture your focus is on the inner barrels.
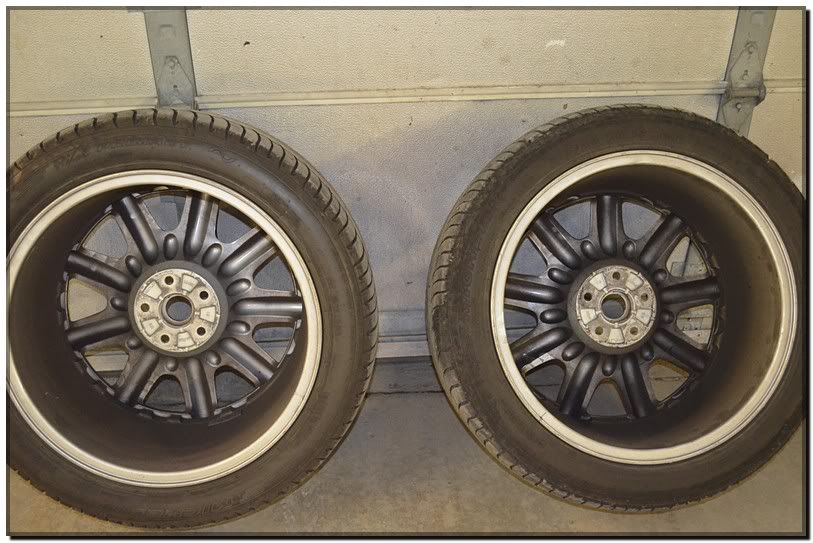
Here is a 50/50 of A dirty wheel versus a clean wheel. The difference is huge in this case.
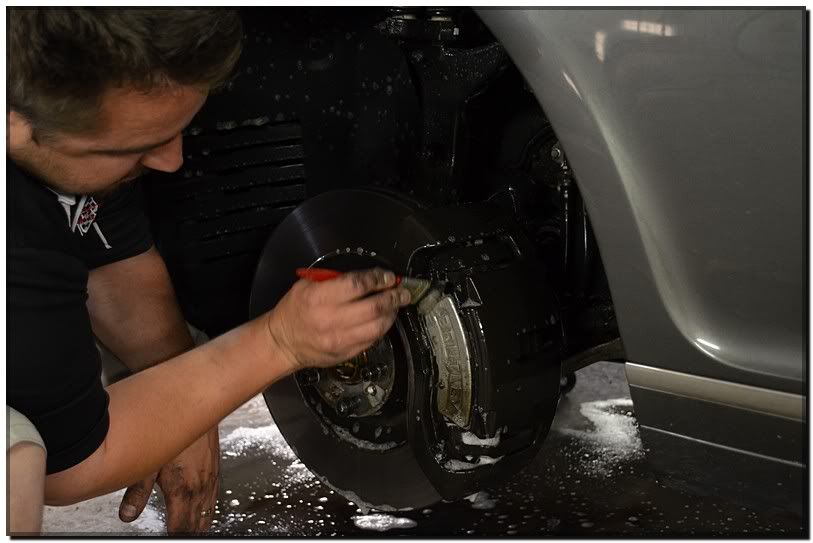
During the wheel cleaning process I used a variety of wheel cleaners and brushes followed by a good pressure washing to remove all the cleaning agents. Here you can see me using a nylon bristle brush similar to a tooth brush to get all the tight spots.
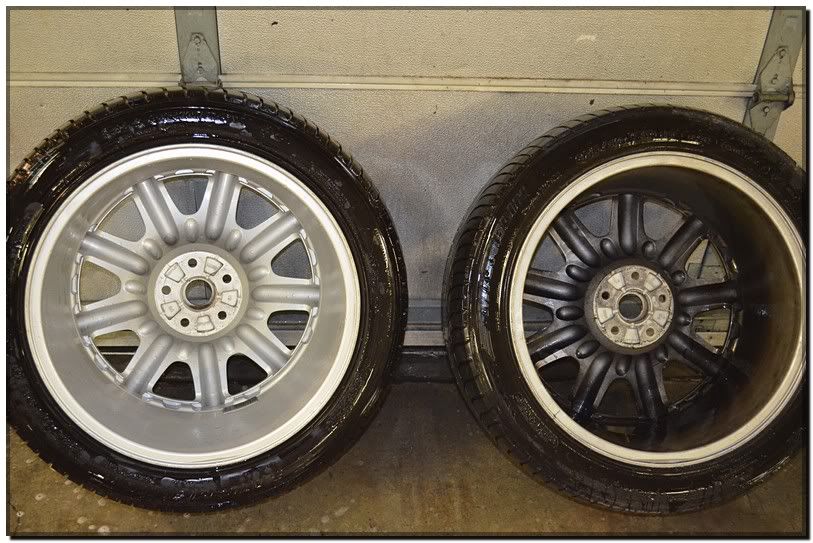
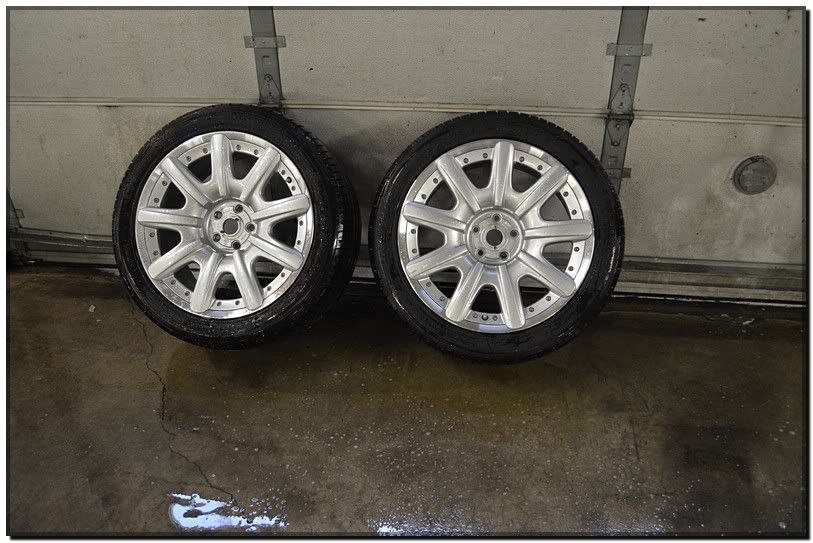
The below image shows you how all the hard worked paid off in a side by side comparison:
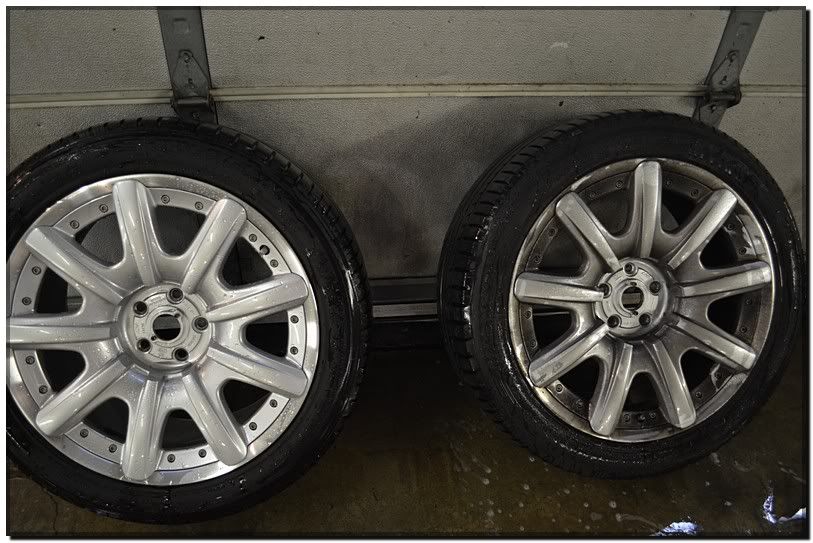
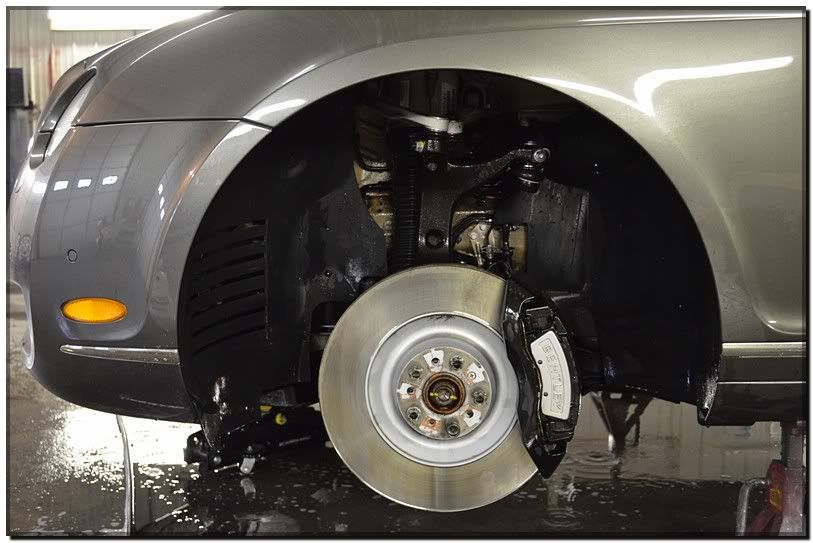
Here they are all clean. Not yet polished or sealed:
After drying the wheels down, I went over and focused my attention to the in wheel well area. These things were dirty as can be,
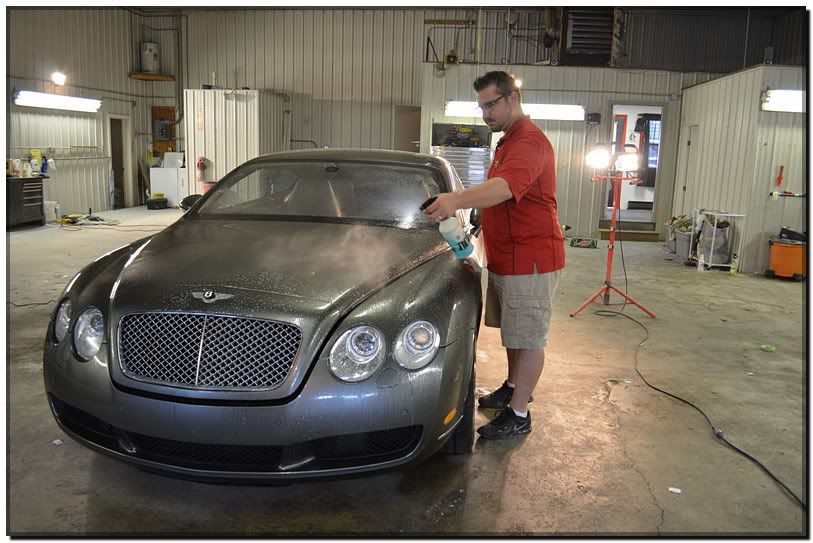
Using degreaser ran through a 2 gallon weed sprayer I cover the entire area. My goal was to let the chemical do the work as opposed to taking more of a mechanical approach. Although ,many areas were agitated by brush and hand.

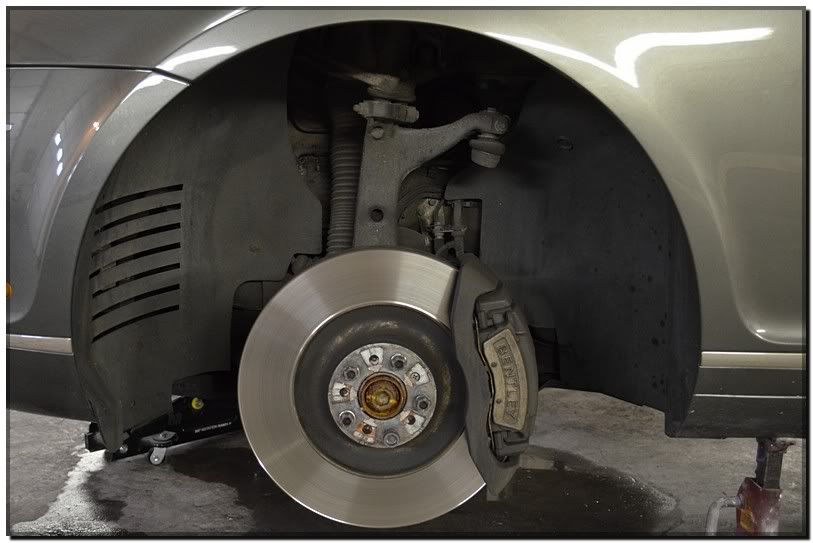
I used a variety of brushes to do most of the work, In the photo below you can see how a common household paint brush really broke it down a little more. In this shot look at the brake caliper area. You can see the difference of what some good ol’ fashioned elbow grease can do.
Things were looking better now! I followed this plan throughout the rest of the car. The rear of this car had carpet wheel well liners that required a few extra steps, but nothing crazy.
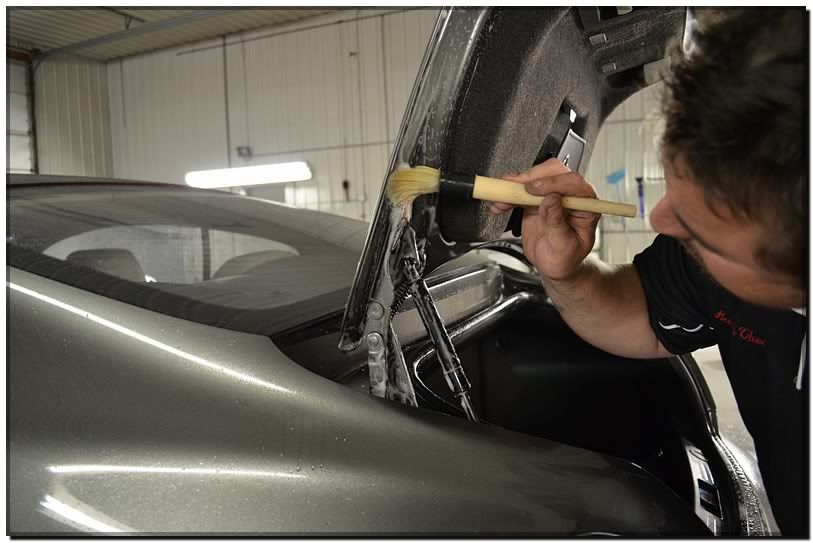
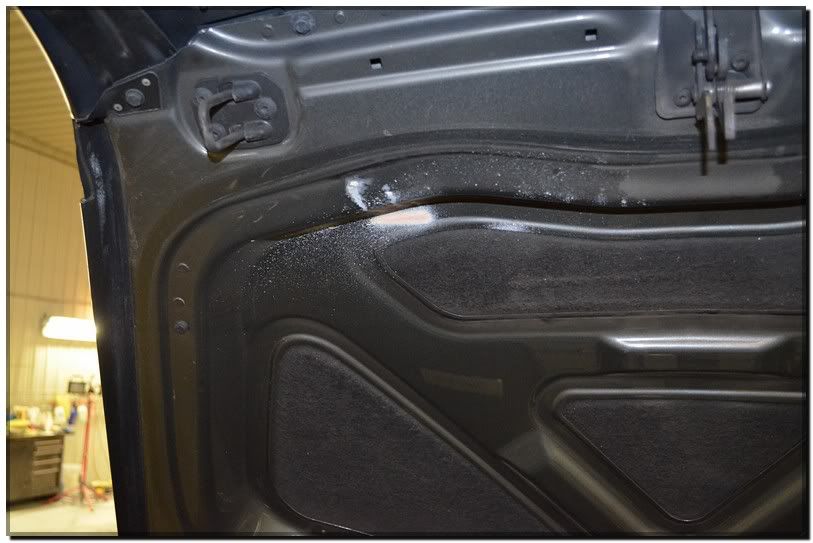
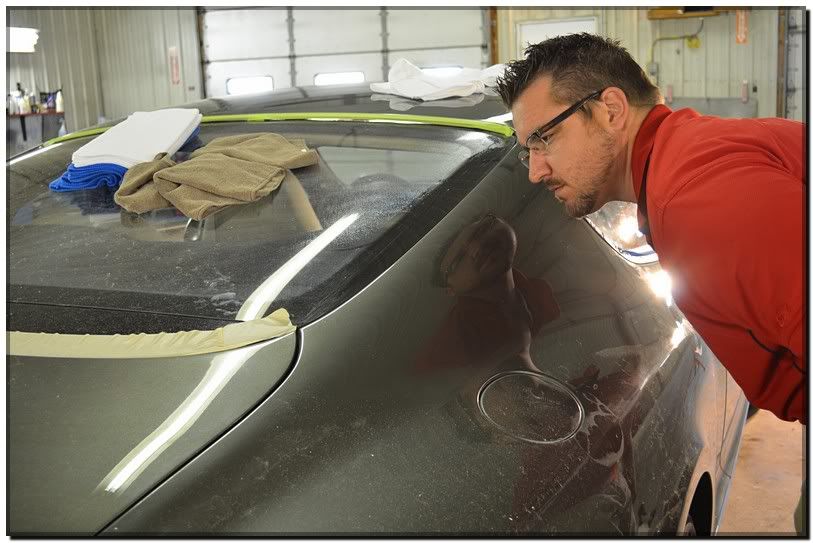
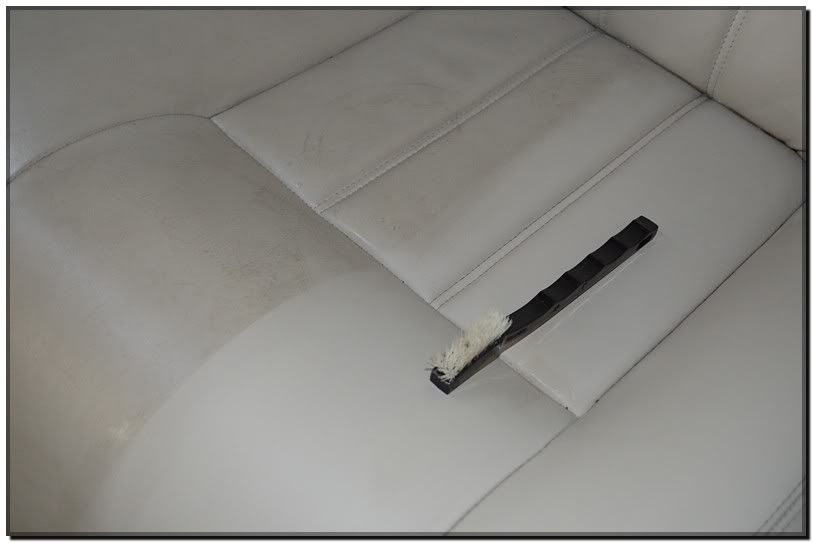
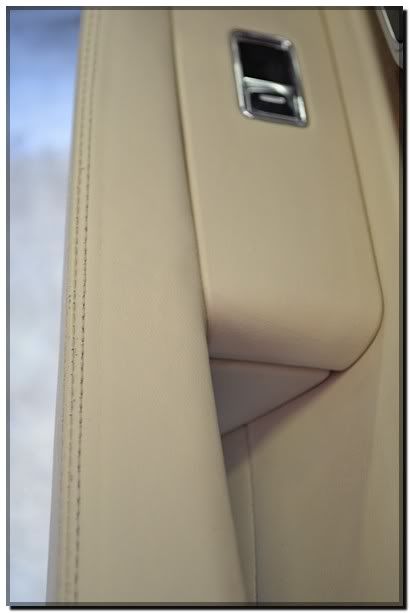
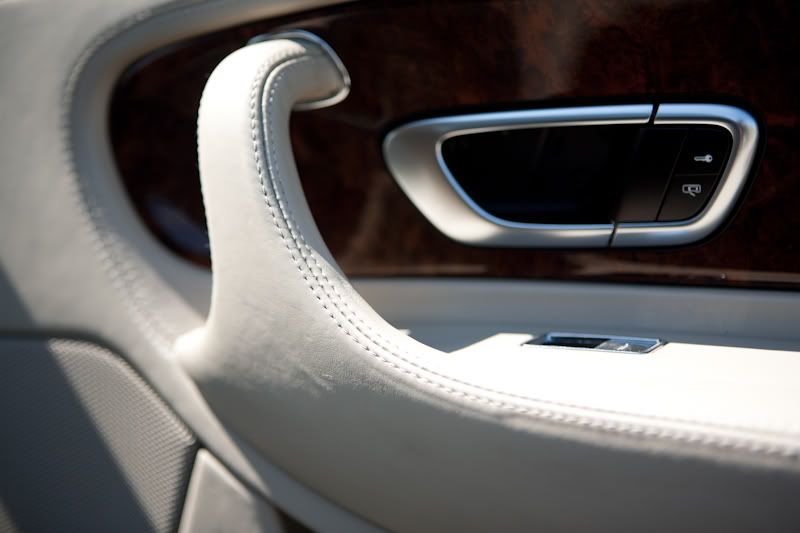
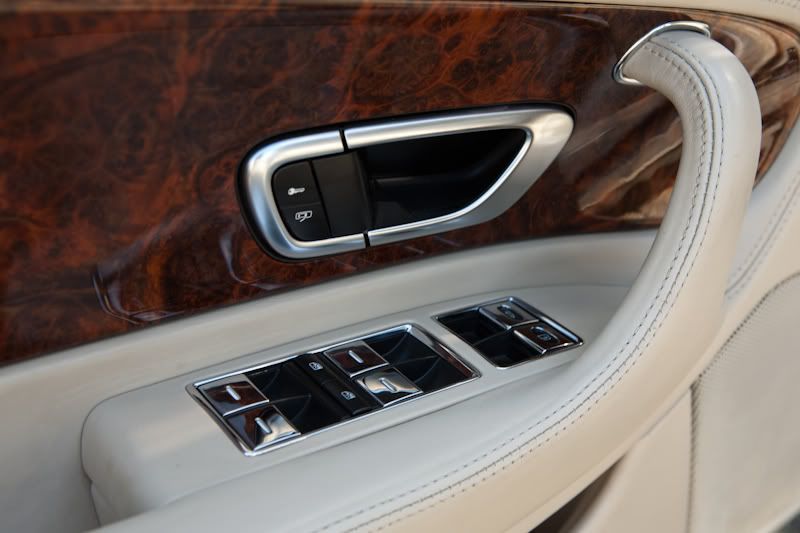
Next I moved onto the door jambs and such. Trying to remove all the build up was fairly easy. Using degreaser and a boars hair brush I sprayed, massaged and rinsed. One of nice things about using this brush is it doesn’t leave any marring behind. Often in my write ups you can see me using them on areas easily prone to scratches.
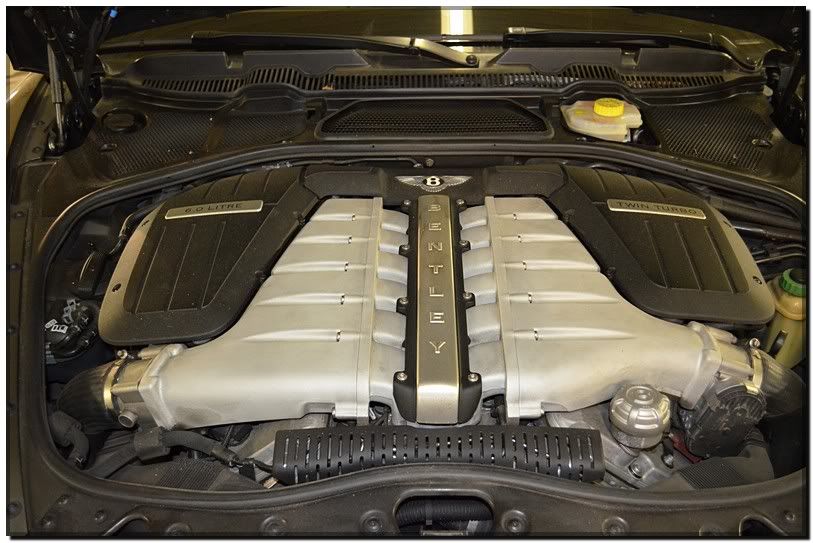
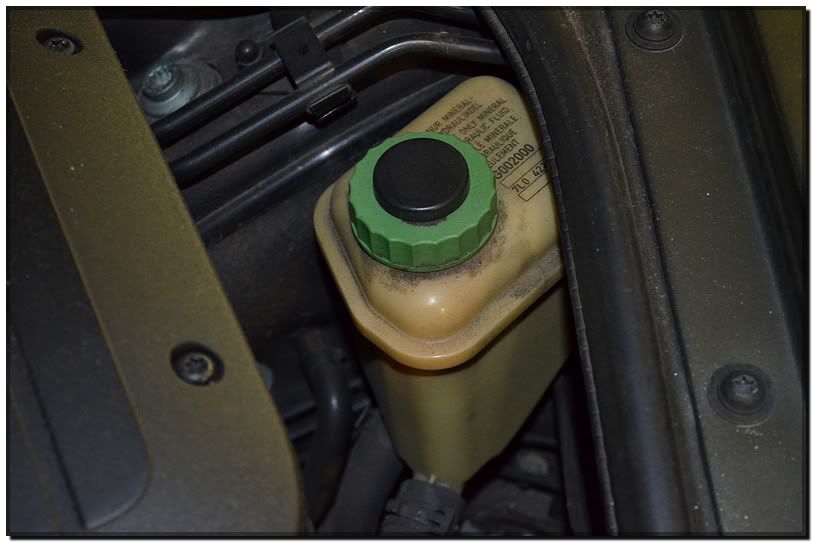
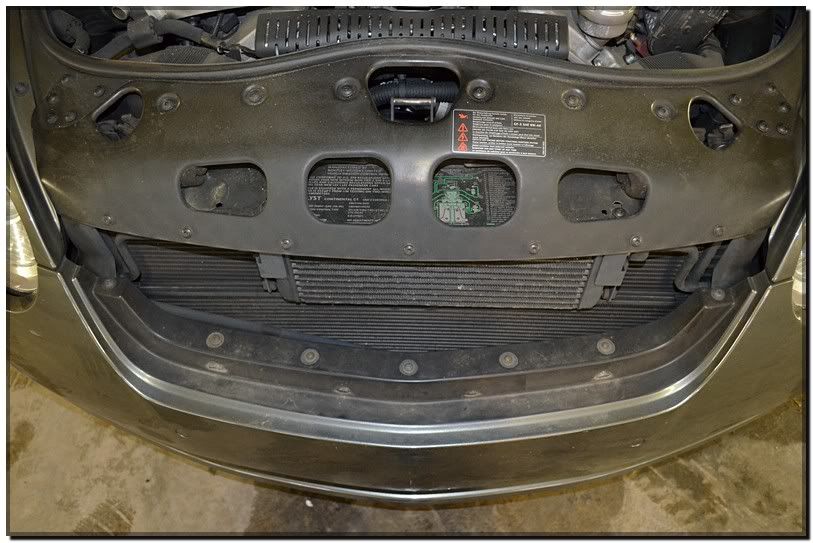
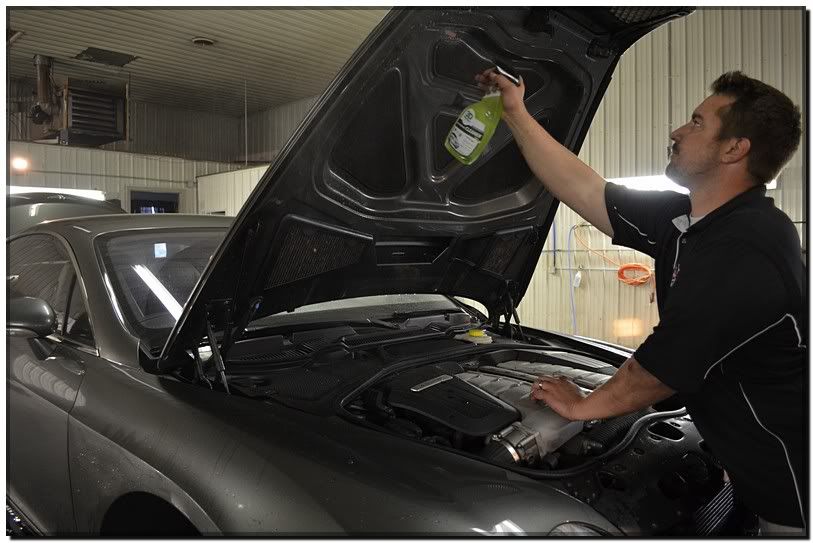
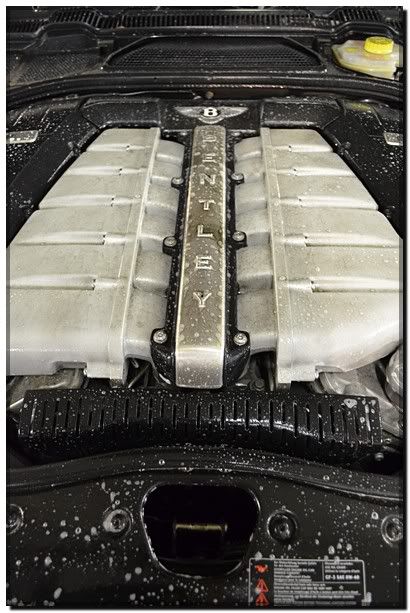
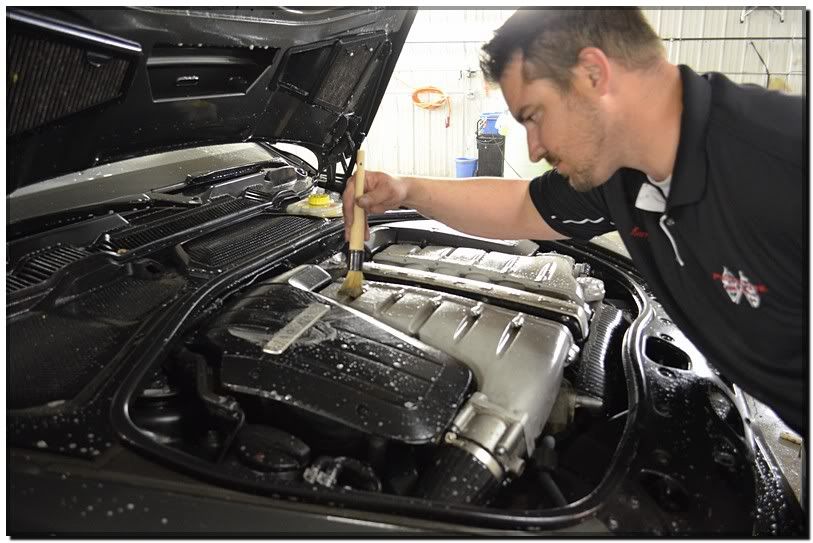
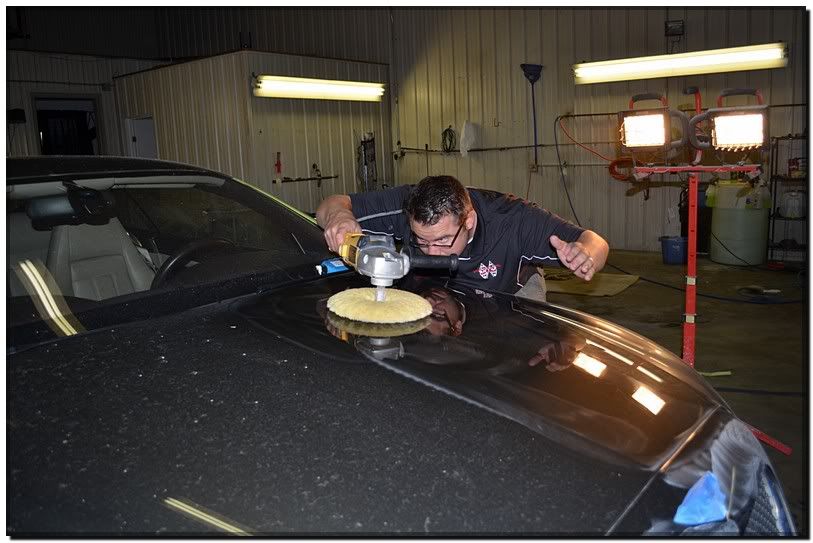
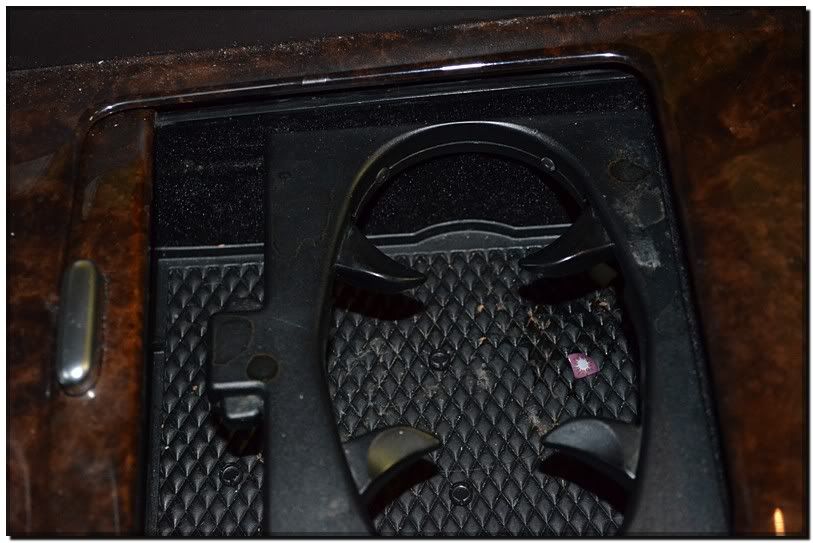
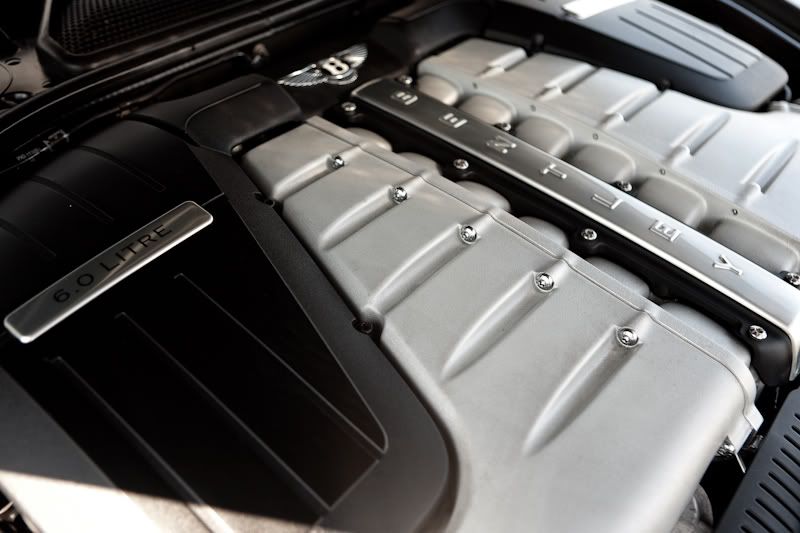
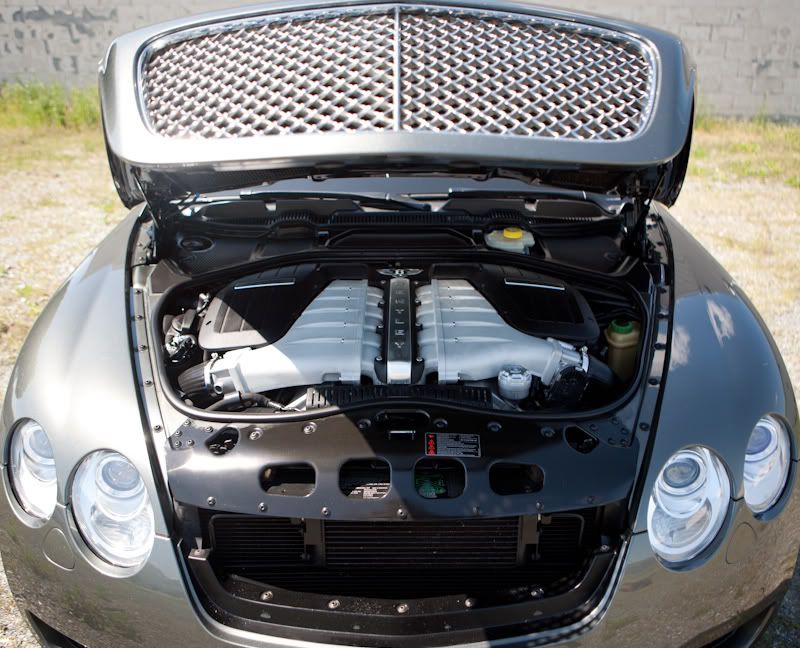
Next I turned my focus to the engine bay area. This area of the vehicle had a high amount of loose dirt and grease build up. It took some time, but well worth it in the end.
Below are a few pictures of what it looked like prior to decontamination. The overall shot, followed by a few close ups.


")
