1966 Pontiac Lemans Show Car, Full Sanding and Polishing

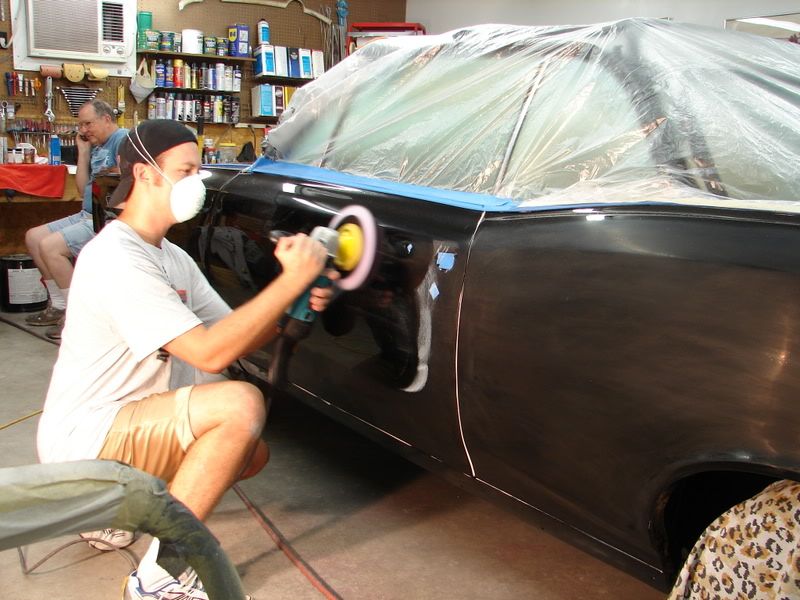
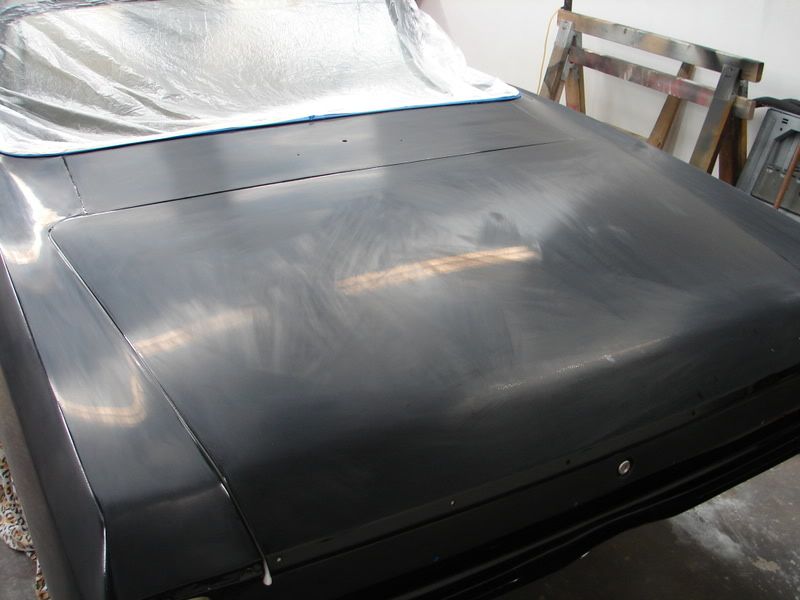
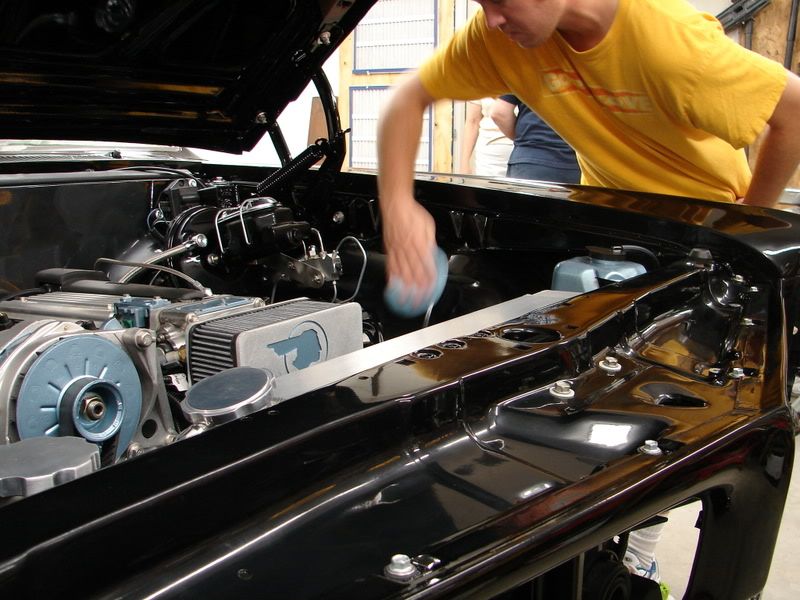
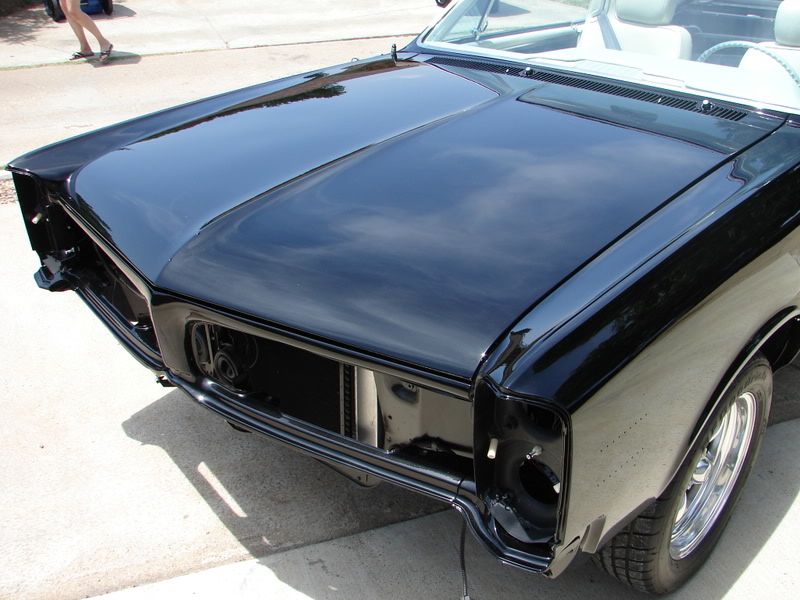
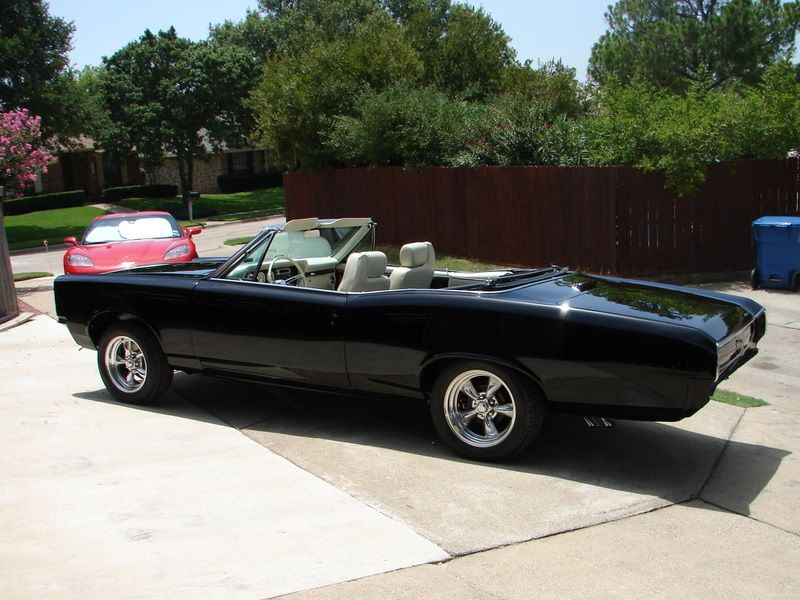
Day 3 begins with the other side of the hood and working my way to the back of the car.


First step with PG and wool pad

DSC08151.jpg


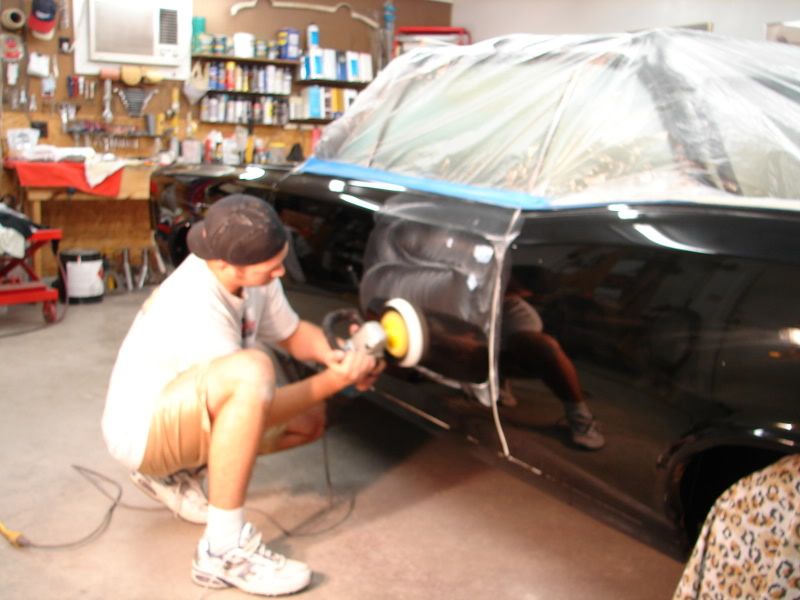
Second step with M105 and white pad

dobbing

DSC08162.jpg


working in

DSC08164.jpg


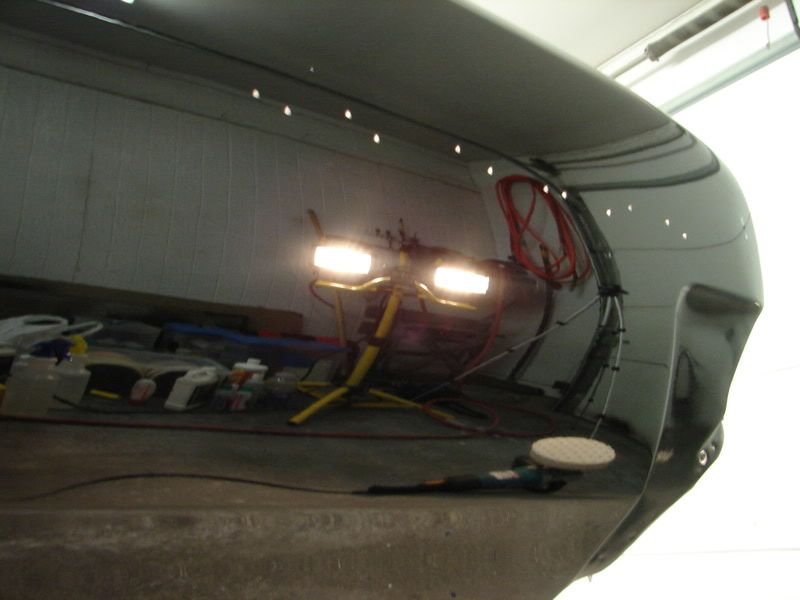
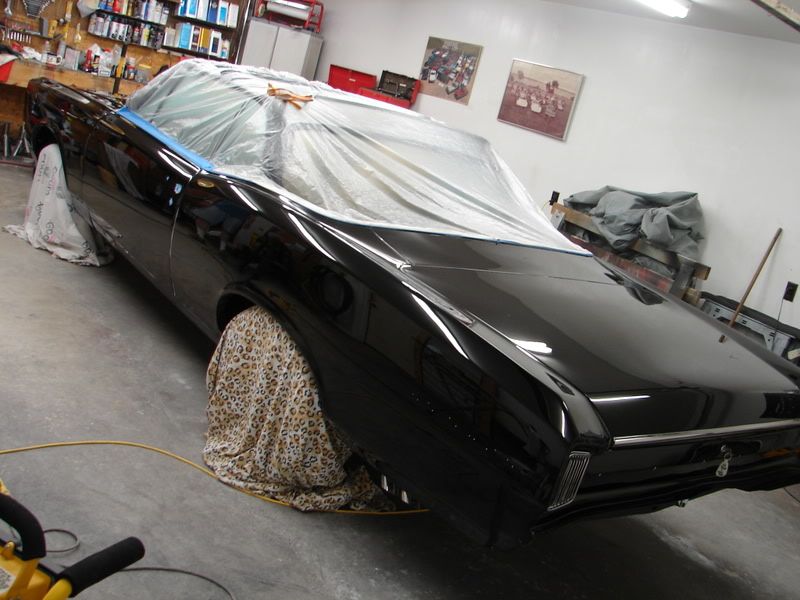
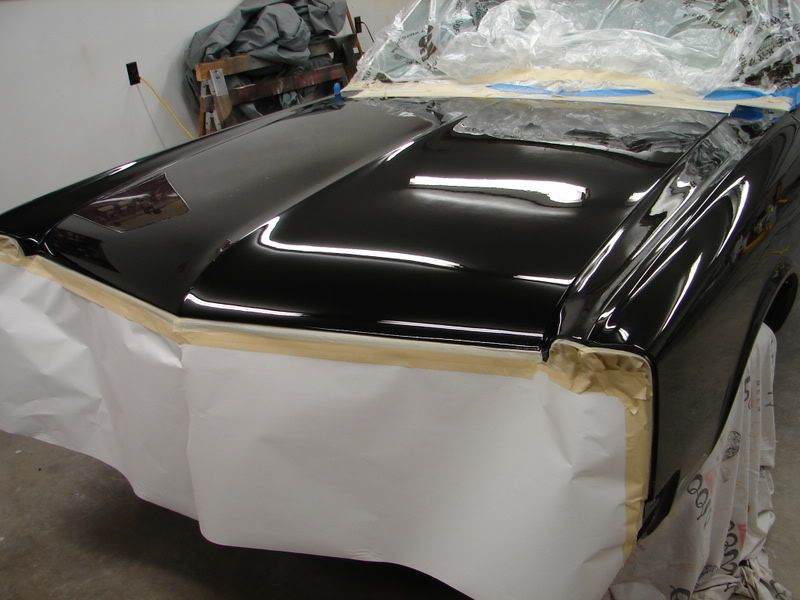
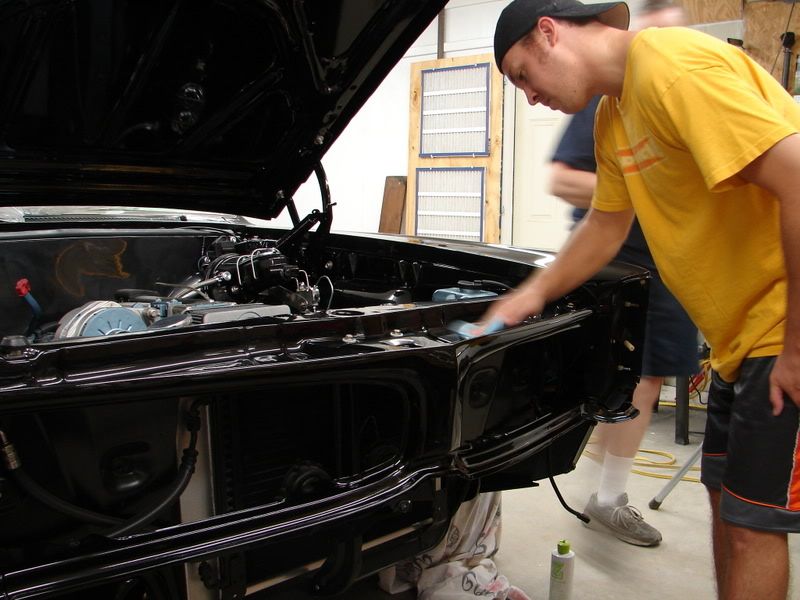
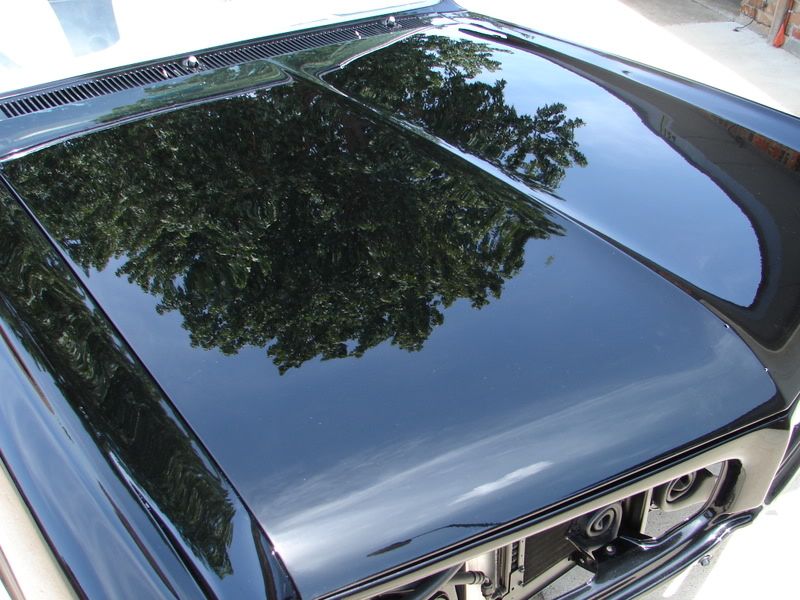
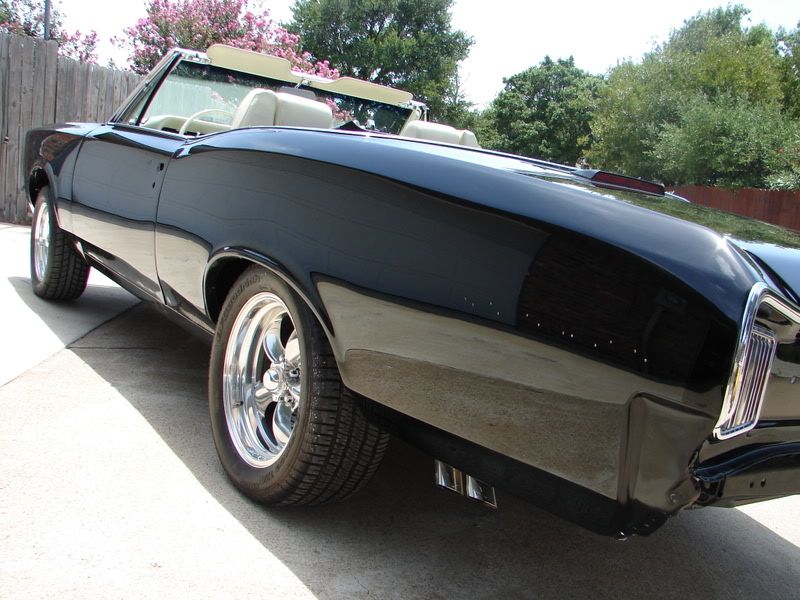
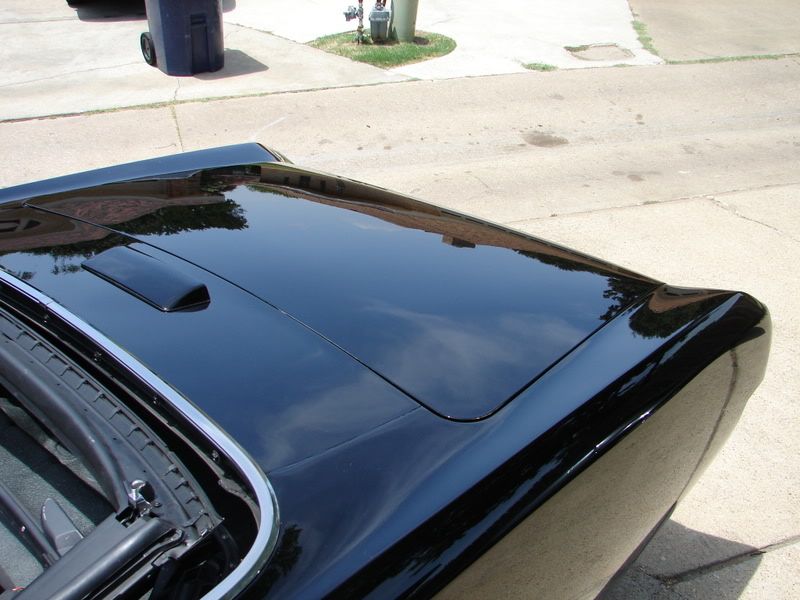
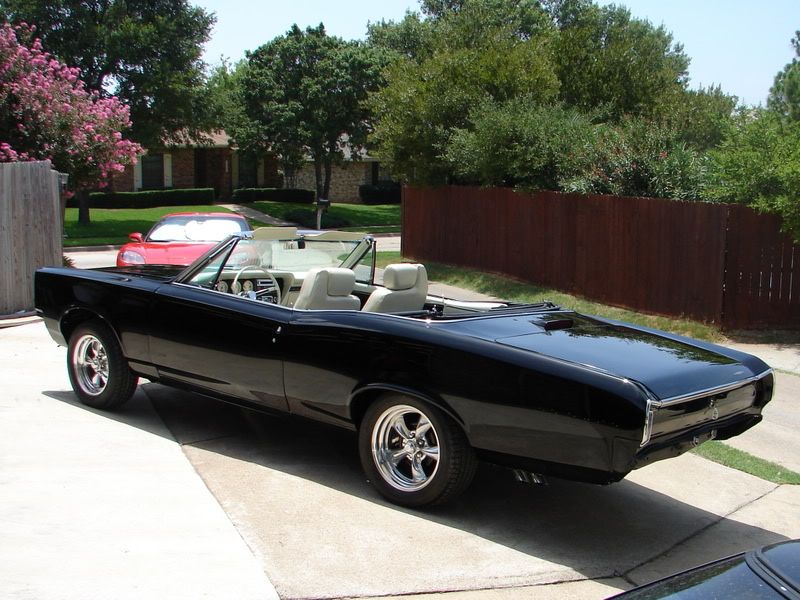
perfectly broke down and jeweled

DSC08166.jpg


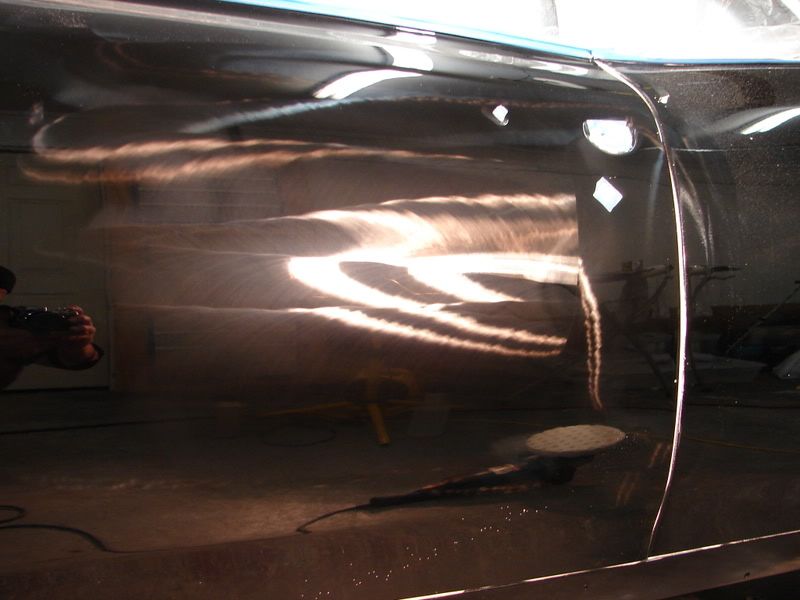
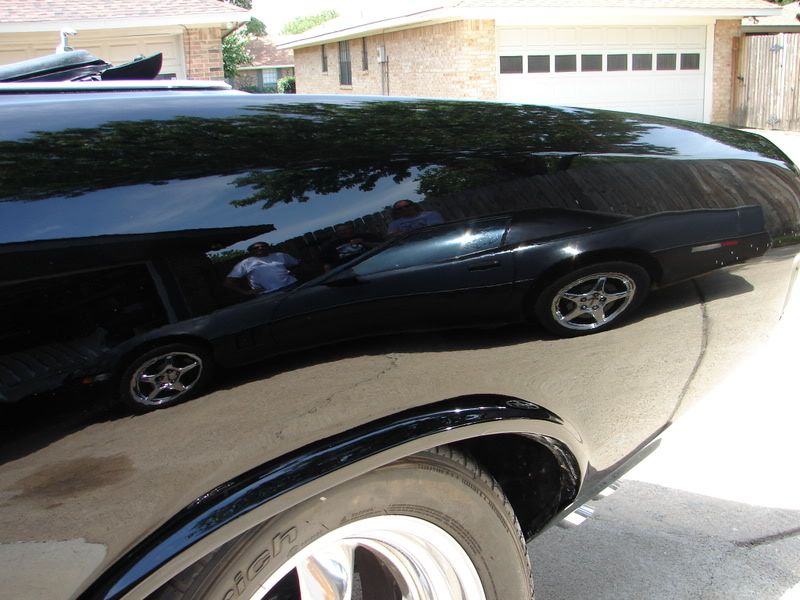
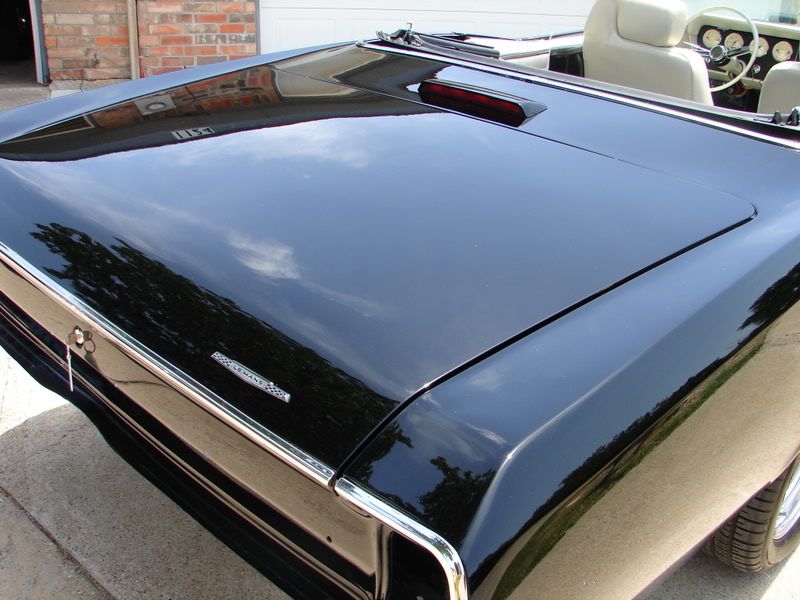
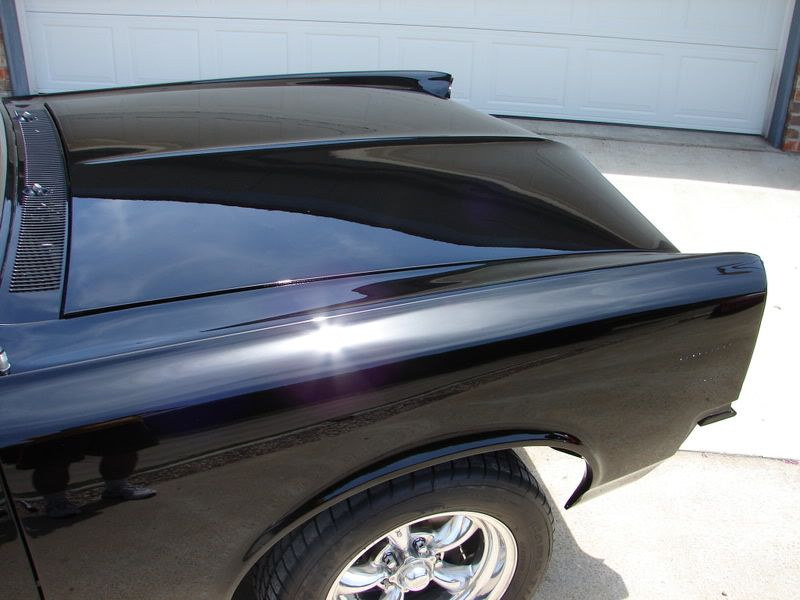
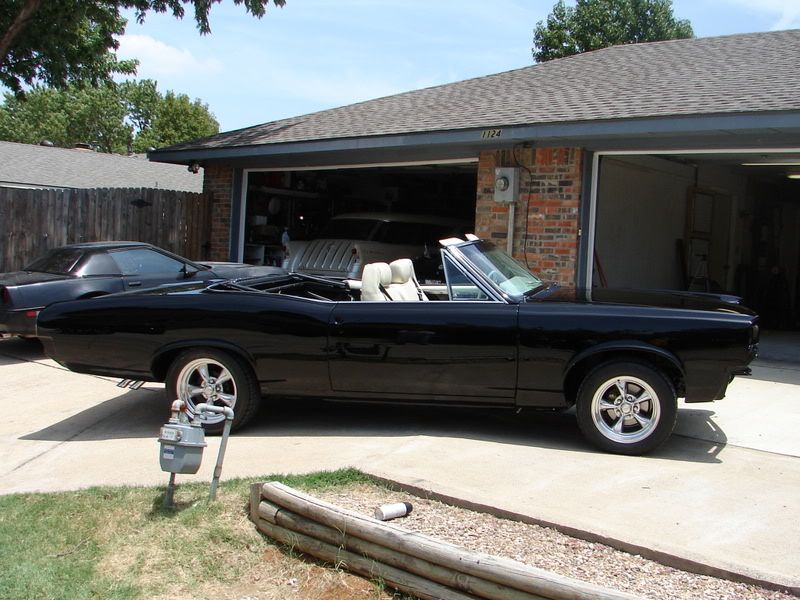
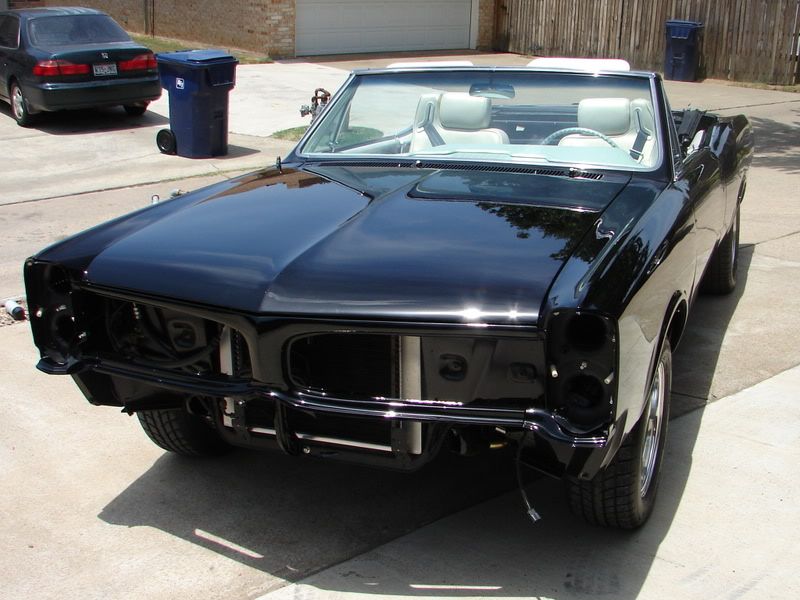
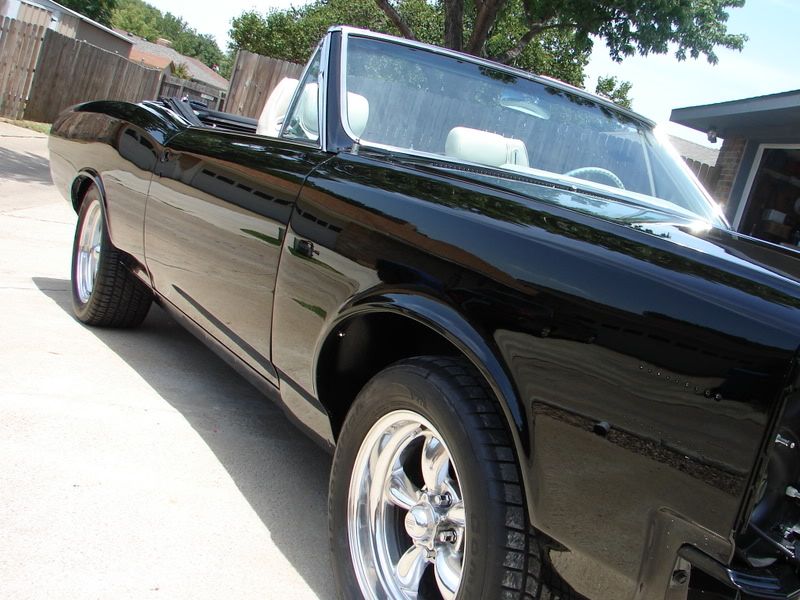
final results after two steps is near perfection. Even though the camera doesn't show it or pick it up, I can expect some light holograms as were in the trunk lid.
DSC08167.jpg


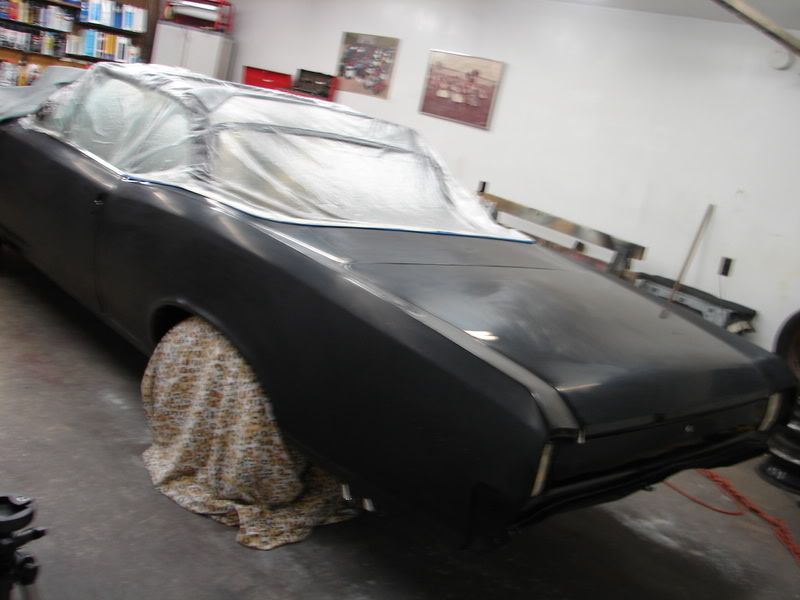
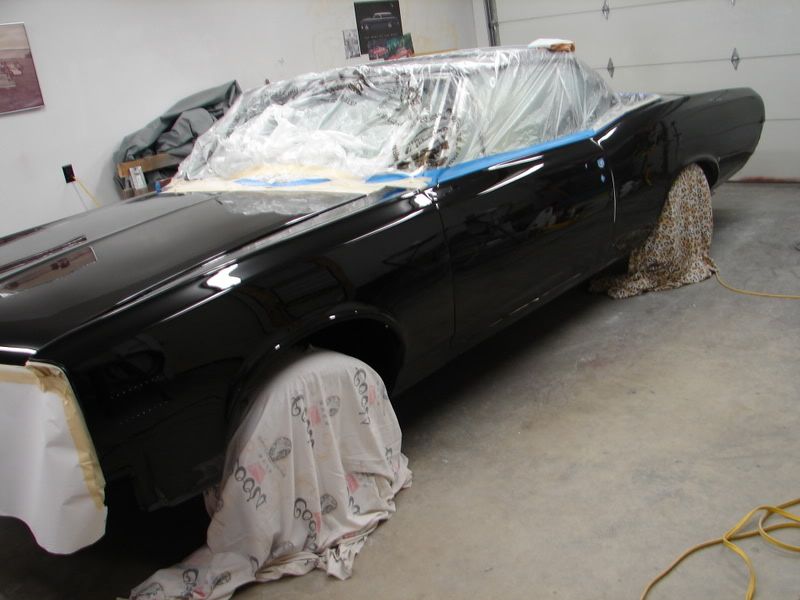
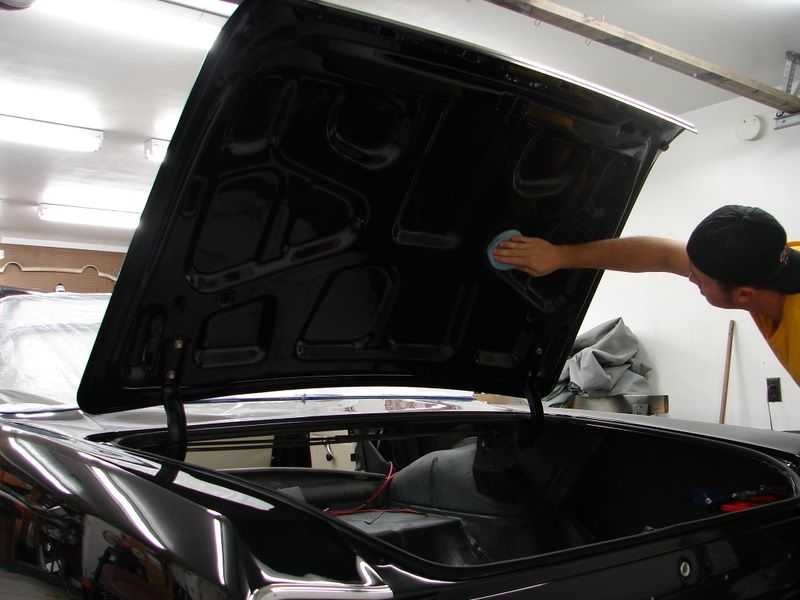
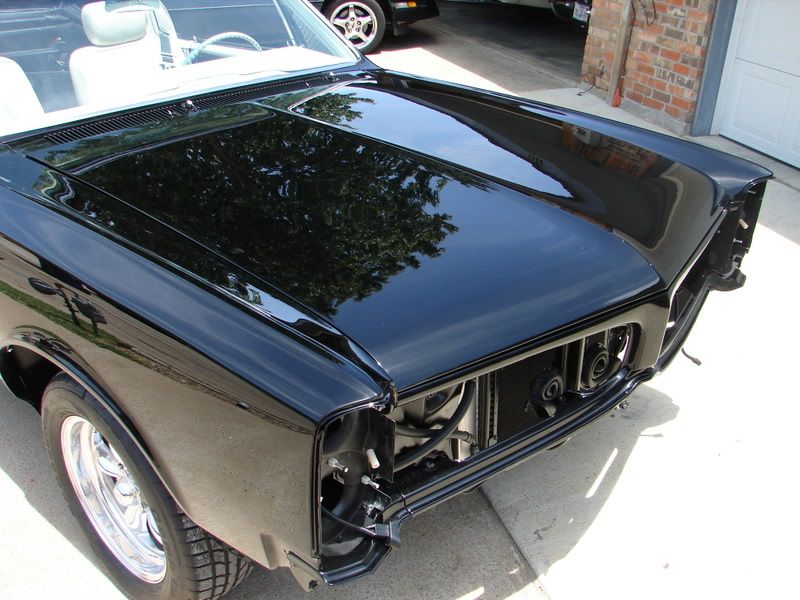
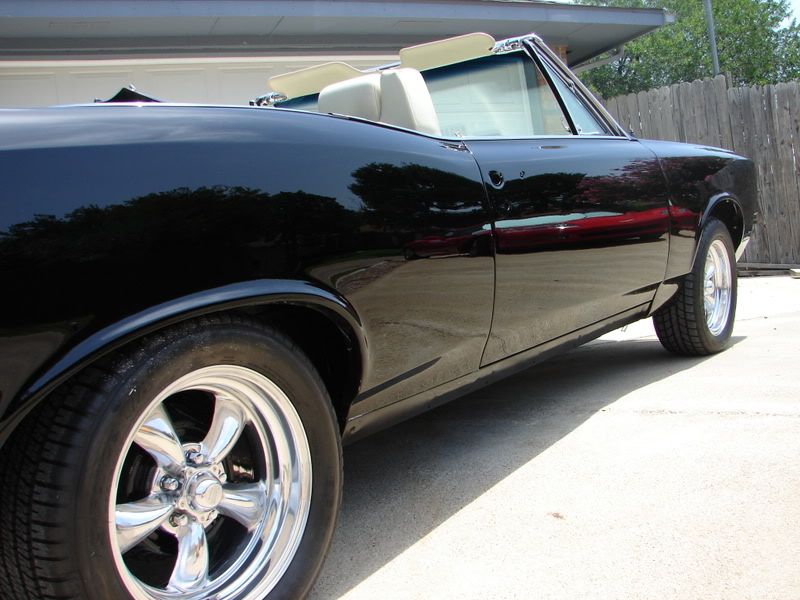
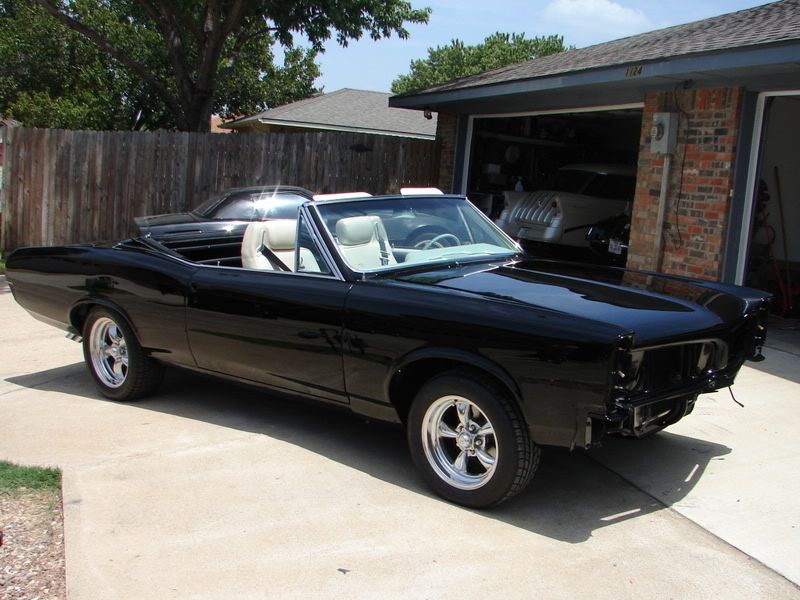
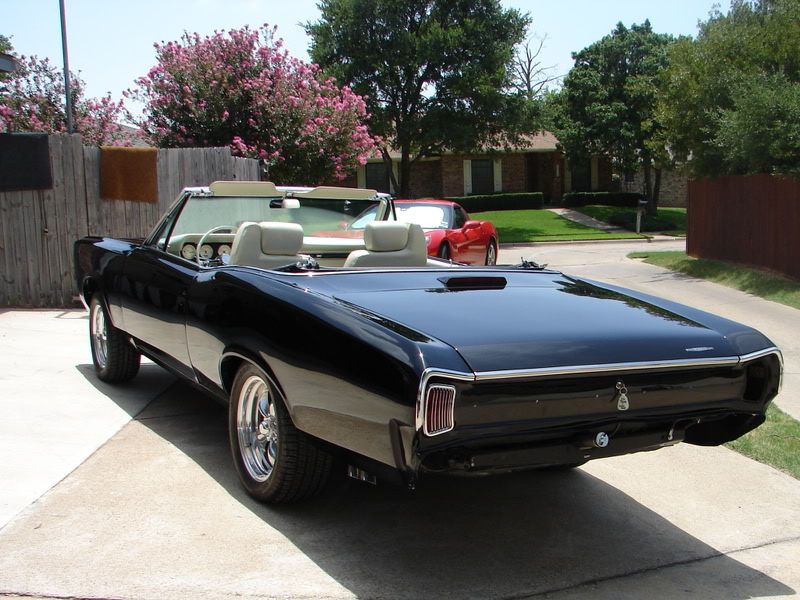
Absolutely last panel and section to correct.

This is already after the Menz PG.

DSC08168.jpg


Working in the M105.

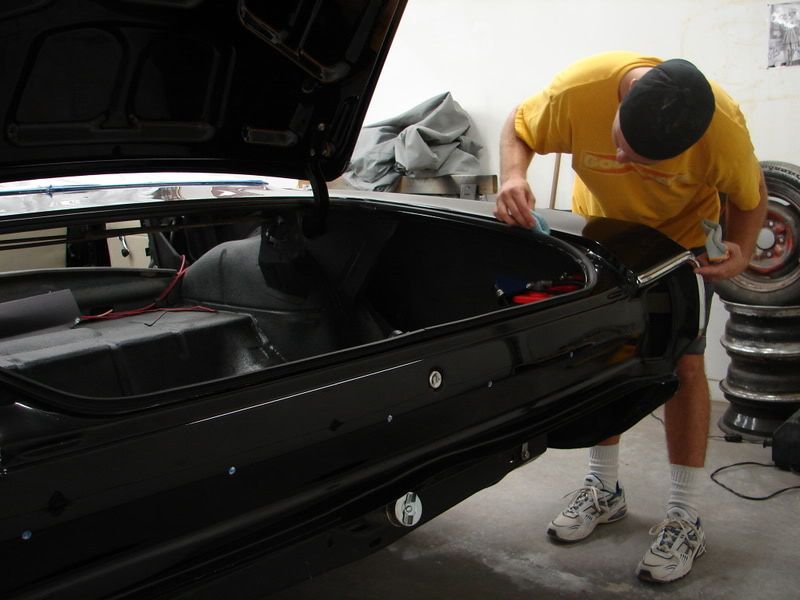
I have to be very careful with all the edges in this area so I go over the edges last at a very slow speed to ensure no burning takes place.

DSC08170.jpg


DSC08172.jpg


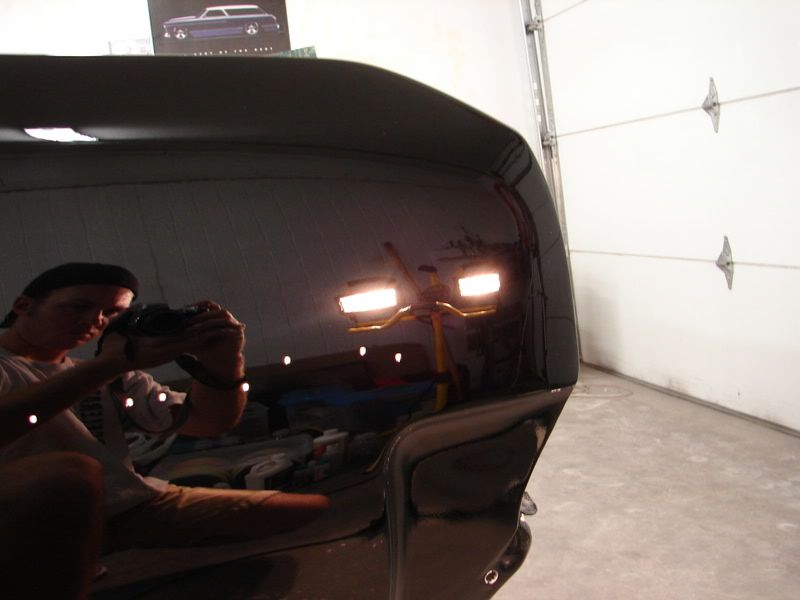
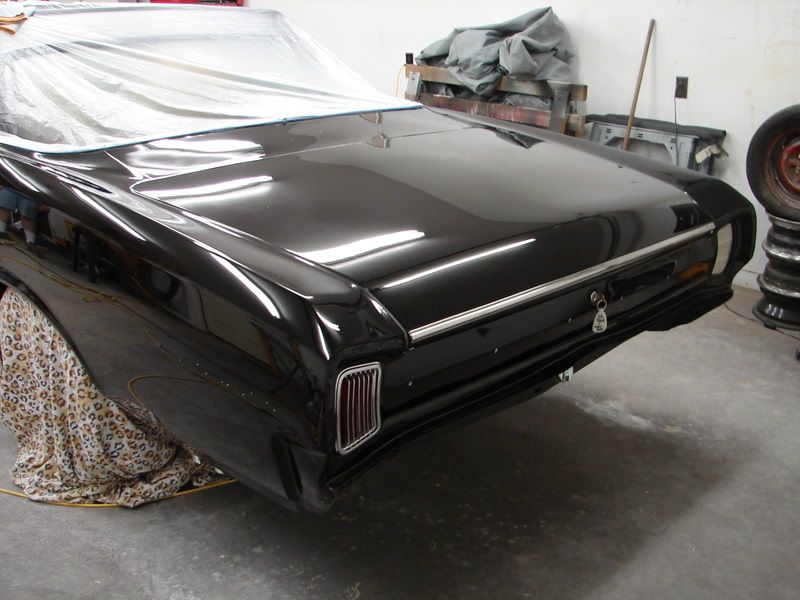
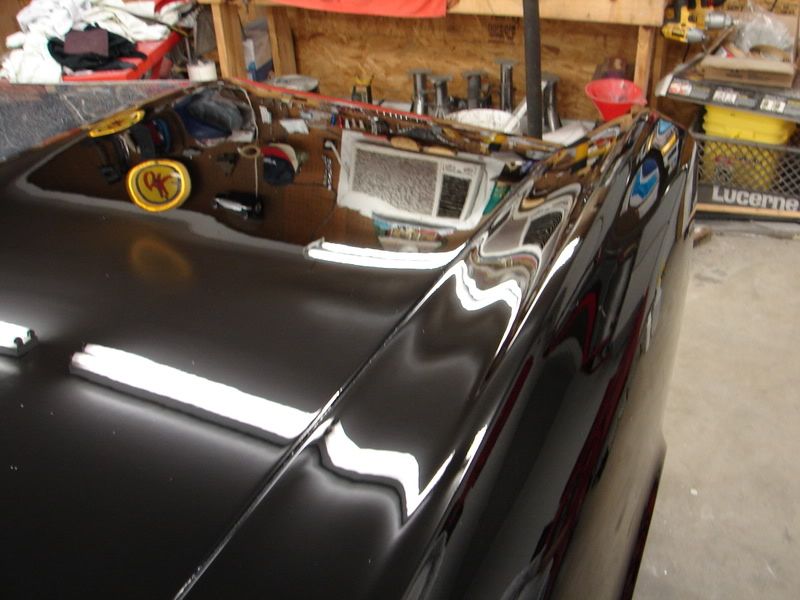
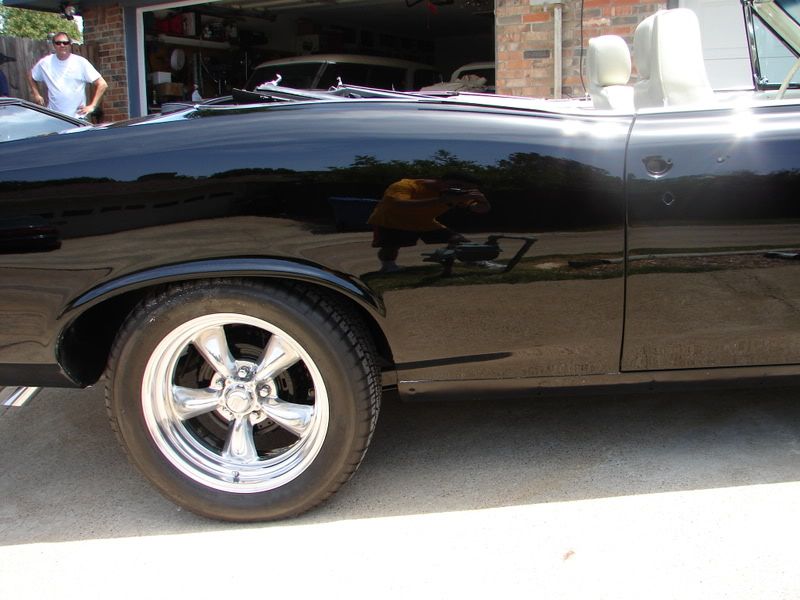
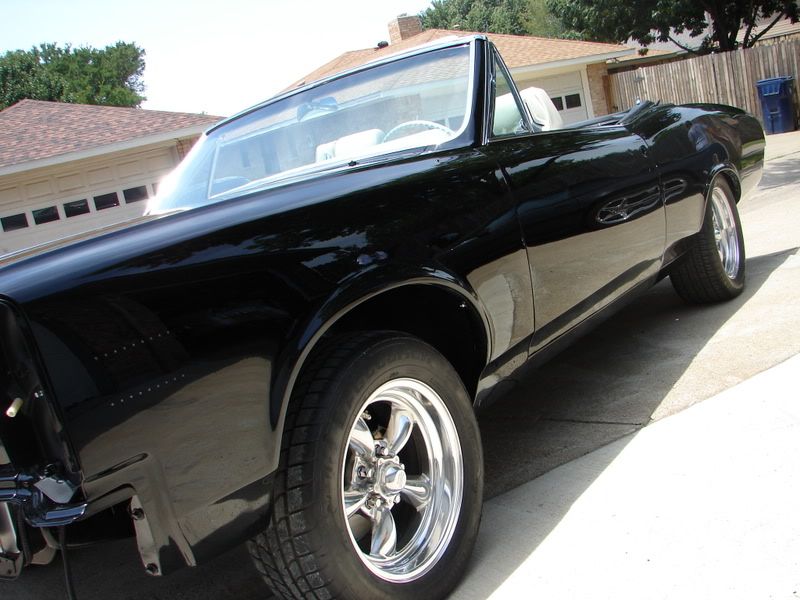
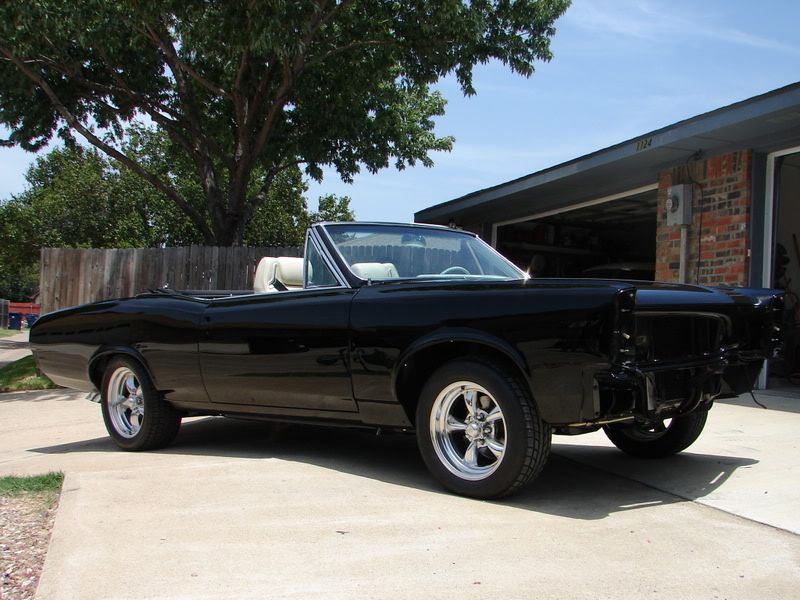
After it's been jeweled

DSC08175.jpg


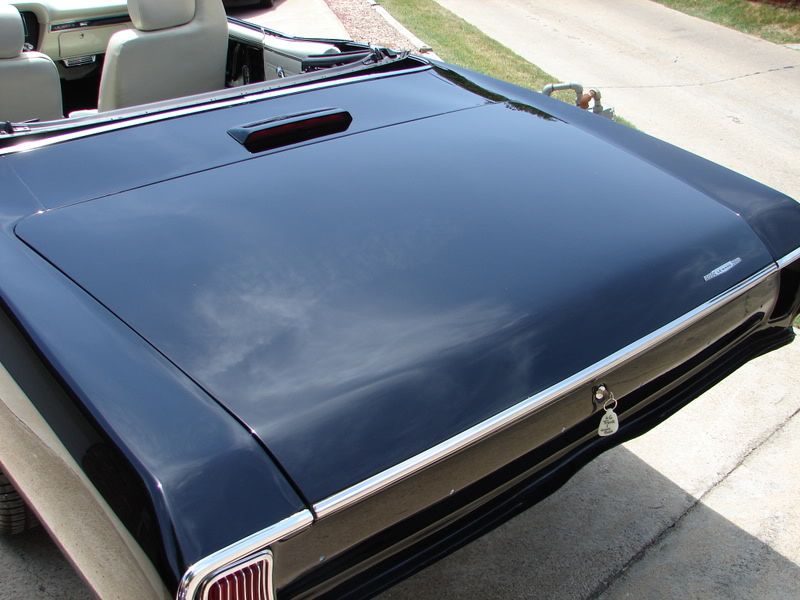
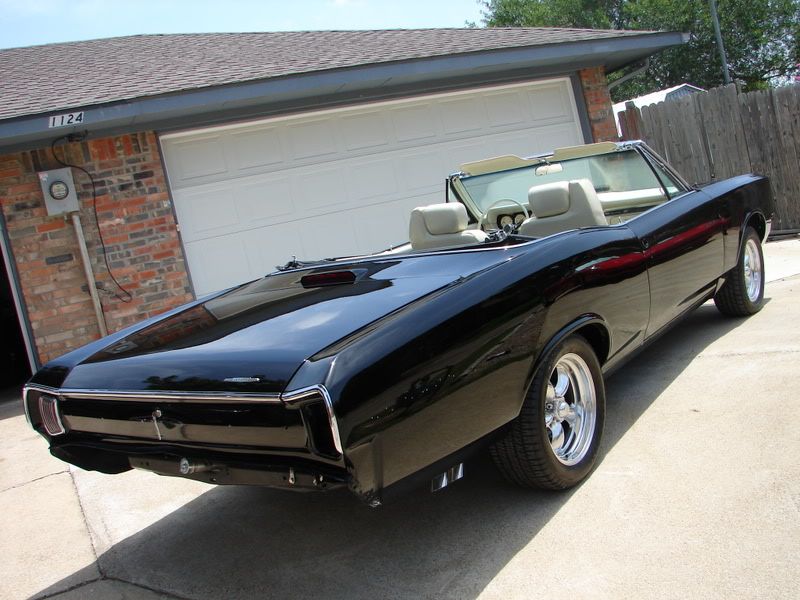
And now teh final results after the M105

DSC08177.jpg


DSC08178.jpg


DSC08179.jpg


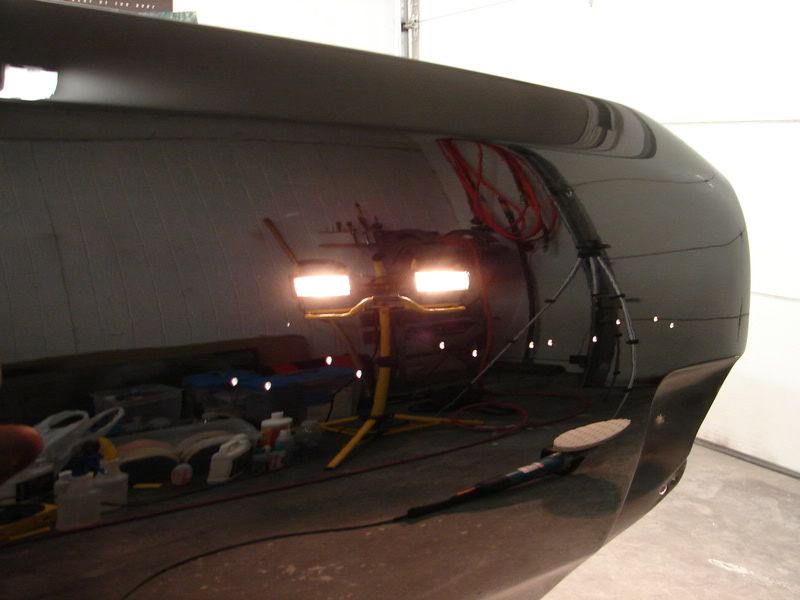
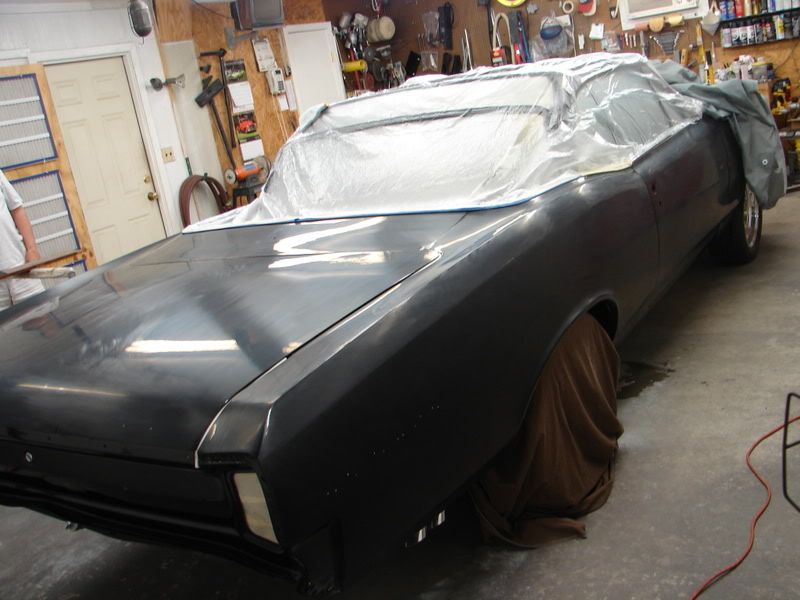
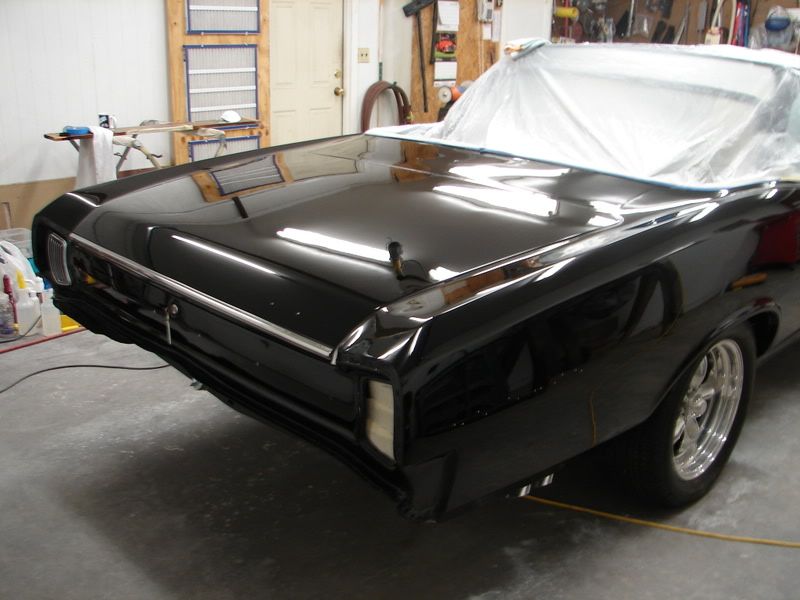
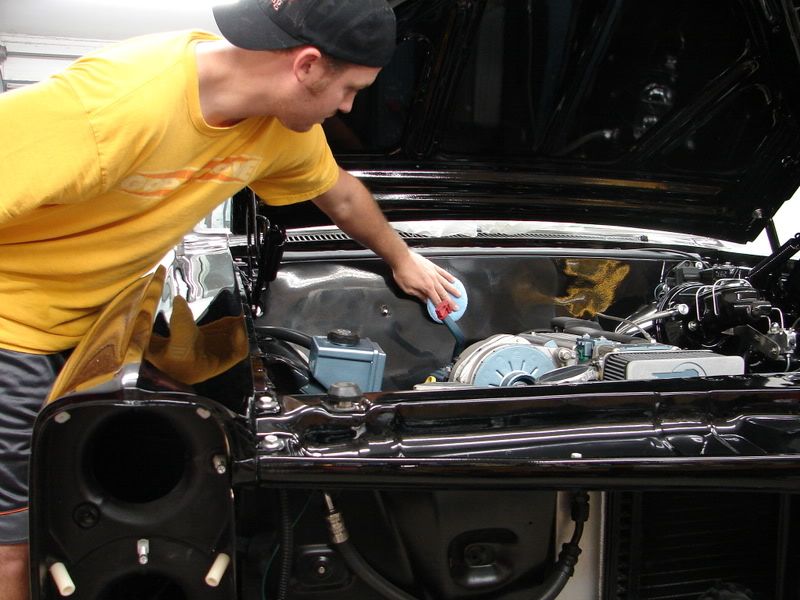
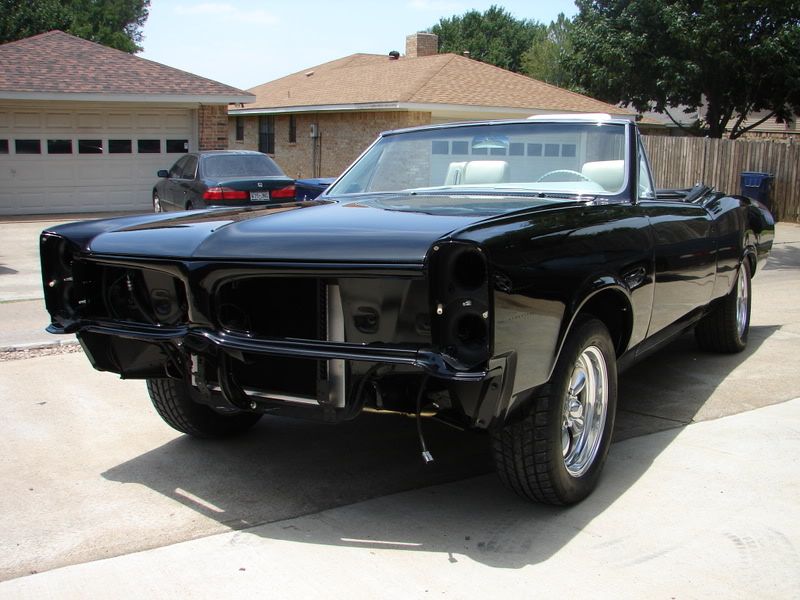
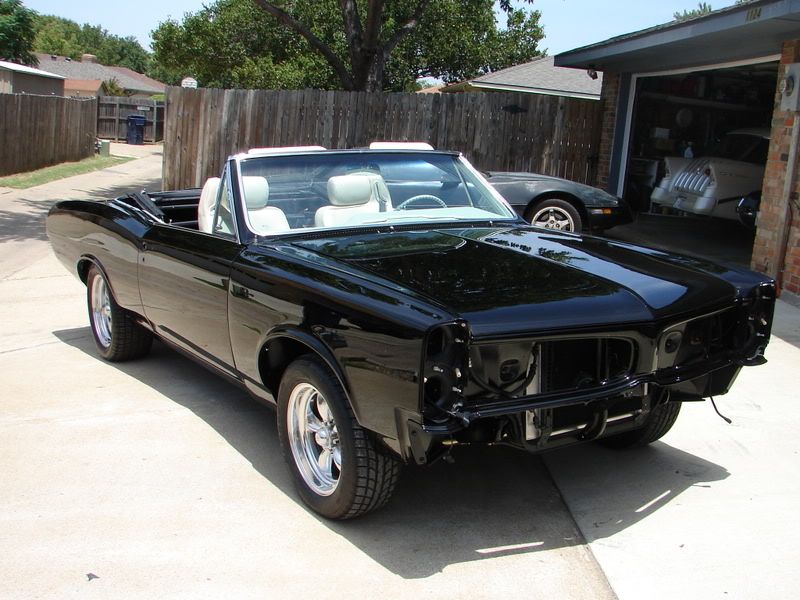
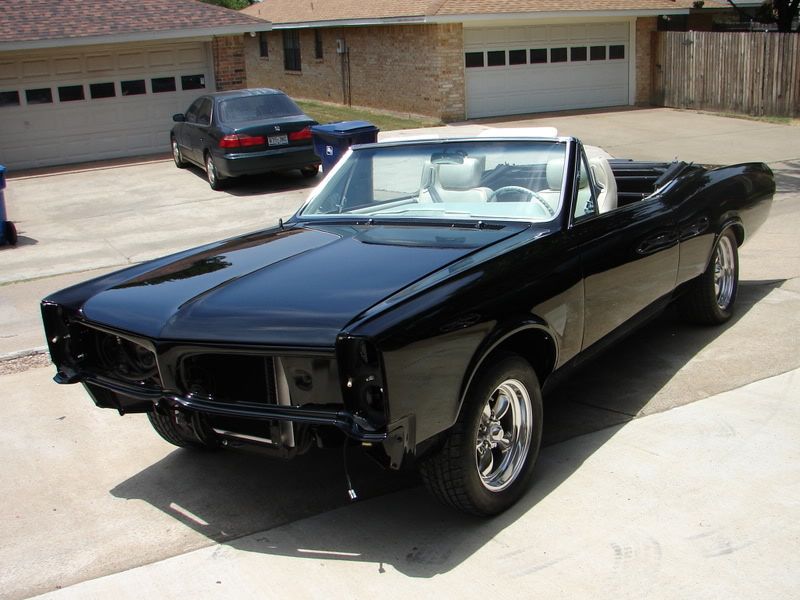
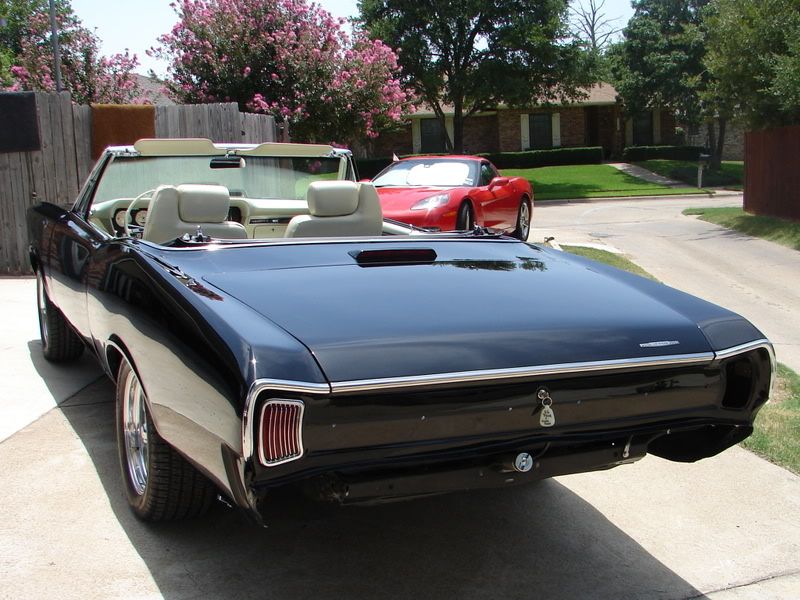
I also went over the hood and trunk again with the Final Polish II so that I could double check them the next day after the lubes had evaporated.


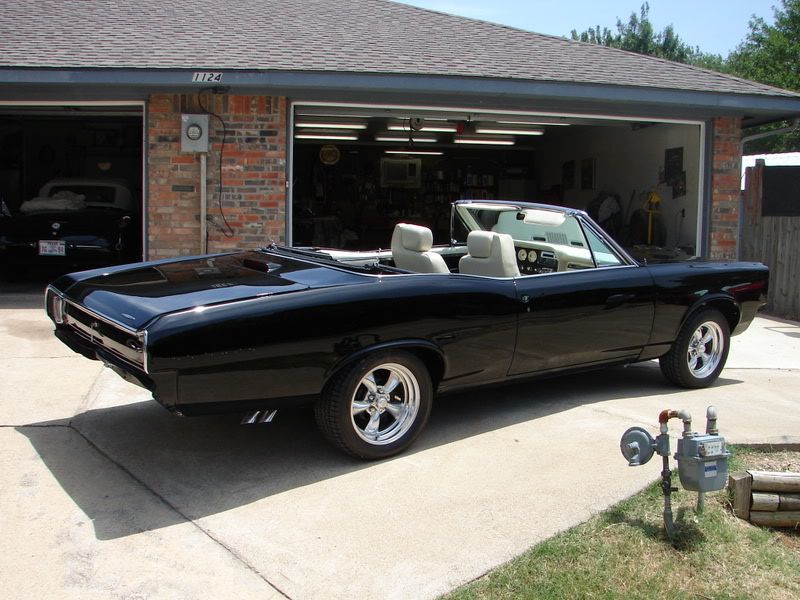
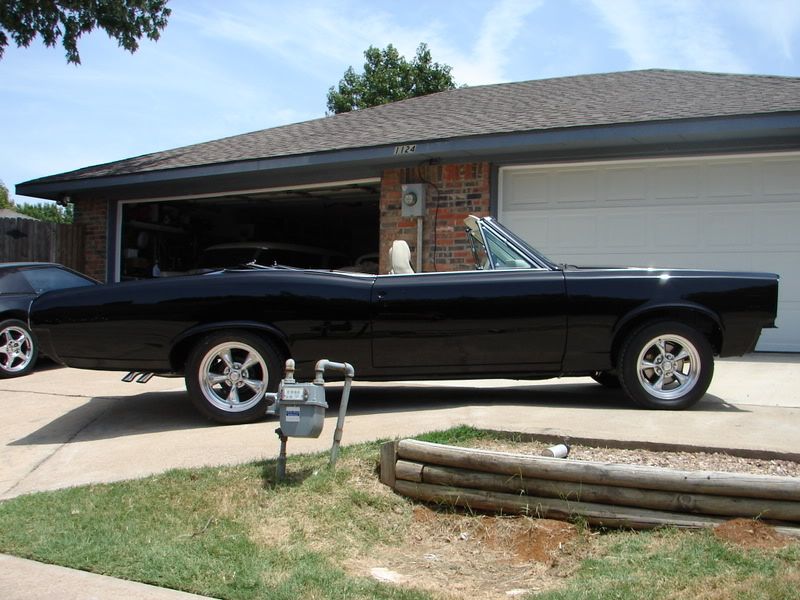
Now all I have to do is go over the car again with Menz FPII and a black pad and the surface should be near perfect.:2thumbs:
 
Here are some quick before and afters to remind you of what I started out with.


After all this it was so hard to believe that just a couple days before the whole car was grey.


DSC08025.jpg


DSC08028.jpg


DSC08027.jpg


DSC08026.jpg


DSC08180.jpg


DSC08181.jpg


DSC08183.jpg


DSC08182.jpg


DSC08184.jpg


DSC08186.jpg


DSC08187.jpg


DSC08132.jpg


DSC08146.jpg
 
Sorry but I did not document the Final Polishing with Menz FPII and a LC black pad, but basically I just worked it in around 1100-1200 and jeweled it down at 900-700rpms over the entire car.


The 4th and final day I went over the entire engine bay with a damp MF towel (remember this car has been sitting in a garage for the last 2-3 years so there wasn't much to clean, just alot to polish.


Then engine bay and trunk lid roof got wiped down with a QD and then waxed with Zaino ZAIO to give it a sparkling finish.


DSC08195.jpg


DSC08197.jpg


DSC08198.jpg


DSC08196.jpg


The trunk

DSC08208.jpg


DSC08209.jpg


DSC08210.jpg


After lightly buffing off the ZAIO on all painted parts in the engine and trunk bays.

DSC08199.jpg


This a 1995 Corvette LT1 taken out of a Police Cruiser and put into the 66 Lemans, it roughly puts out about 370HP and sounds mean as anything I've heard.


DSC08200.jpg


DSC08201.jpg


DSC08205.jpg


DSC08204.jpg


DSC08203.jpg


DSC08202.jpg


DSC08206.jpg


DSC08207.jpg


Now after all that is completed, the entire car has been polished over 3 times, it's time to take it out in the sun for inspection.


It was a little bit cloudy that day but I visually inspected it all and it was about 96% perfect.


After all the trim is put on as well as lights, grills, other emblems, the top is put in, the hood and one door realigned I will go back and touch up anything as well as seal and wax it.


So with that said, this was basically a two step correction with a 1-2 step final polish which only took me about 23-24 hours. I'm very impressed with the abilities of the polishes to be able to make such a huge process into such an efficient time saver considering the type of work needing done and the ultimate finish...... also helped being in an Air Conditioned garage.


Now to back this sucker out and take some final pics of the overall results.
 
Wow, I can't believe the difference. The first car I ever bought was a 1966 Tempest. It was a VERY PLAIN 4-door sedan with an overhead cam 6, automatic transmission, am radio, and no carpet (rubber flooring). My paint never looked like that!
 
Backing the car out.


DSC08211.jpg


A few sun shots before I start the glamour shots.

There was barely the slightest reminant of some tracer holograms left over but not enough for anyone but myself to notice, so when I go back to touch up and wax I will take care of them.


These shots are a bit crappy but the best sun shots I could get.

DSC08235.jpg


DSC08236.jpg


DSC08238.jpg


DSC08242.jpg


DSC08243.jpg


DSC08244.jpg


DSC08245.jpg


DSC08246.jpg


DSC08247.jpg


DSC08248.jpg


DSC08249.jpg


DSC08250.jpg


DSC08251.jpg


DSC08252.jpg


DSC08253.jpg


DSC08254.jpg


DSC08255.jpg


DSC08256.jpg


DSC08257.jpg


DSC08258.jpg


DSC08260.jpg


DSC08261.jpg


DSC08262.jpg


more pics to come
 
DSC08264.jpg


DSC08265.jpg


DSC08266.jpg


DSC08267.jpg


DSC08271.jpg


DSC08273.jpg


DSC08274.jpg


DSC08275.jpg


DSC08276.jpg


DSC08277.jpg


DSC08278.jpg


DSC08281.jpg


DSC08283.jpg


DSC08284.jpg


DSC08285.jpg


DSC08287.jpg


DSC08288.jpg


DSC08289.jpg


DSC08291.jpg


DSC08293.jpg


DSC08294.jpg


DSC08295.jpg


I know this is a long write up, but please read it all before you ask questions as I probably already answered it in the process.


Thanks for looking, hope you enjoyed and learned something new, I know I did.


Josh:usa
 
Outstanding work, Josh. :bow


Interesting that you get such good results using #105 with the white CCS foam pads, I may have to revisit those pads because I had problems with the edges leaving holograms first couple times I used them with the rotary-might have been my technique though. I've been using the yellow Meguiars 8006 pads due to the more rounded edges. Have you noticed a difference between using the same (or similar) pads but one with more rounded edges?


I really like the comparison between combos too, very helpful in deciding what I may need to add to my product collection. :)
 
Josh you out did yourself on this stunning write-up and full correction on the Lemans, it must be great to work a fine piece of history and to bring it to a true Autopian way of doing a outstanding job. I'm blow away by looking at your write-up and photo's. Even my laptop took forever to down load this posting from you, but it was well worth it! BRAVO JOSH!...........:usa
 
Scottwax said:
Outstanding work, Josh. :bow


Interesting that you get such good results using #105 with the white CCS foam pads, I may have to revisit those pads because I had problems with the edges leaving holograms first couple times I used them with the rotary-might have been my technique though. I've been using the yellow Meguiars 8006 pads due to the more rounded edges. Have you noticed a difference between using the same (or similar) pads but one with more rounded edges?


I really like the comparison between combos too, very helpful in deciding what I may need to add to my product collection. :)


Scott, I don't have any curved pads yet, although I've been meaning to get some.


But I will say this, I had an extra amount of work-in life with the M105I think due to the Menz PG leaving behind some valueable lubricants that was very bennificial to letting the M105 spread longer.


I did jewel the M105 for a long long time, I think it really helped in not leaving behind significant holograms.


However the lubes in the M105 hide them just a tiny bit as well, since I reinspected the trunk lid the following day to find significant holograms that I could not see directly after polishing it the day before under the hologens.


I only used the IPA wipe down during the intial testings.


Josh
 
BoostedMopar said:
great work! I like working with the M105, its a pretty good all around product.


Again great work


Yes, M105 keeps surprising me, it's seems to be extremely versitale and solely depends on the type of pad being used.


I find with a wool cutting pad it's a great heavy cutting compound that finishes down with minimal holograms.


But with a white LC pad I find it's works about as good as Menz SIP but faster.


I'm very happy with it.


Josh
 
zoomzoom mazda5 said:
Josh you out did yourself on this stunning write-up and full correction on the Lemans, it must be great to work a fine piece of history and to bring it to a true Autopian way of doing a outstanding job. I'm blow away by looking at your write-up and photo's. Even my laptop took forever to down load this posting from you, but it was well worth it! BRAVO JOSH!...........:usa


Thanks, I wanted to spend more time on it, but as in most cases there's a little thing called a budget that most clients have to opperate with so I knew I couldn't just take my time with it ...... :D;)
 
Mid-Life Cruiser said:
Wow, I can't believe the difference. The first car I ever bought was a 1966 Tempest. It was a VERY PLAIN 4-door sedan with an overhead cam 6, automatic transmission, am radio, and no carpet (rubber flooring). My paint never looked like that!


Thanks, well a lot of the credit has to go to the painter for doing a great job painting as well as per my instruction sanding it over multiple times to finish it down with little to no orange peel or ripple in the paint.


For a 70 year old painter and sander, it was one of the best paint finishes I've worked on.


Josh
 
Josh, couple questions....


1 - why not use air sanders on this beast...seems like it would have gone faster had they used one (keep in mind I have only spot sanded, and never sanded an entire car, so I am just curious as to why)


2 - I know you wanted to use the menzerna lubes, but didnt find that out til after you tried it, so how come you didnt try to use two rounds of M105, one straight up, and one mixed with a little OP or the like? I realize you mention PG longer working time, but with a little polish mixed in, maybe a better finish after round one of polishing? or is that not the case?


- "Amazing detail" -
 
toyotaguy said:
Josh, couple questions....


1 - why not use air sanders on this beast...seems like it would have gone faster had they used one (keep in mind I have only spot sanded, and never sanded an entire car, so I am just curious as to why)


2 - I know you wanted to use the menzerna lubes, but didnt find that out til after you tried it, so how come you didnt try to use two rounds of M105, one straight up, and one mixed with a little OP or the like? I realize you mention PG longer working time, but with a little polish mixed in, maybe a better finish after round one of polishing? or is that not the case?


- "Amazing detail" -


Good questions.


1 I talked with the owner about using air sanders as he had them in his possesion to use, and he did use one on the hood with 1500 grit to get out some nasty parts, but I don't think he's ever used it before on finished paint, only on the primer and such so he didn't want to take any chances.


The total hand rubbing only took about 24 hours total, and I'm honestly not sure how much faster it would have been with the air sanders.....??


2 The way I saw it was, after testing, I figured either way I was going to have to cut it twice with a heavy cut compound to really get under the sanding marks since just one pass with either was not getting it to the point where I wanted it.


I did a test with two shots of M105 (didn't write about it since I didn't think it relavant and can only document so much) and figured since I was going to have to cut it twice anyway I might as well use one that cuts a little deeper and then one that cuts cleaner to finish it off and hope that it would eat up all the sanding marks and leave a nice finish with minimal holograms and it did.


The truth is, there was probably about 3 different combinations I could have used to get it perfect, but I needed the one the cut the deepest and cleanest the fastest as time was a little bit of a factor in this job. Otherwise I could have polished each panel out about 4-5 times to get it where I wanted it, but I found the PG and M105 did that same work in half the time.


Hope that answer your question??


Josh
 
Great Job Josh and that guy did a great job on the body work. I may have to look into getting some 105 and trying it out. And I love how he retrofitted a modern day lt1 into the engine bay.


-Brandon
 
looks great.


seems like a real 'kudos' to meguiars 105 (again).


sitting here wondering what #80 woulda looked like (instead of the FPII) !!


regardless, top notch work :eek:
 
Superb write up Josh and love the pics! That is an amazing job on an amazing car.


I know it is tough when a person has a budget and you have to put together a process to meet the guidelines. You did an amazing job on doing it all within budget... Bravo!
 
Great writeup, Josh. I found myself writing down your process for working in each of the polishes so I can use it for reference on my next detail. Thank you and keep up the good work! :D
 
Josh...Incredible work! I would love to swing by one day and see how you work that Makita. Let me know if that is something you would entertain. Yes, I am the same imaj from 6 speed.
 
Back
Top