PresdntialDtail
New member
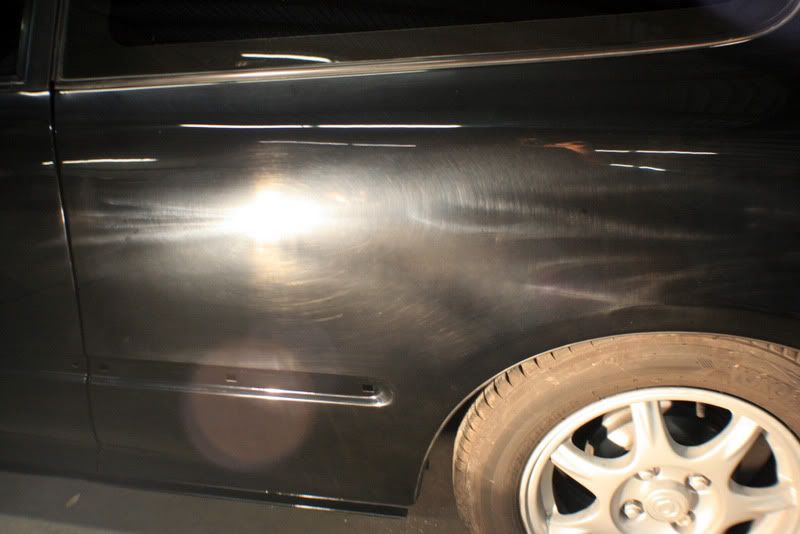
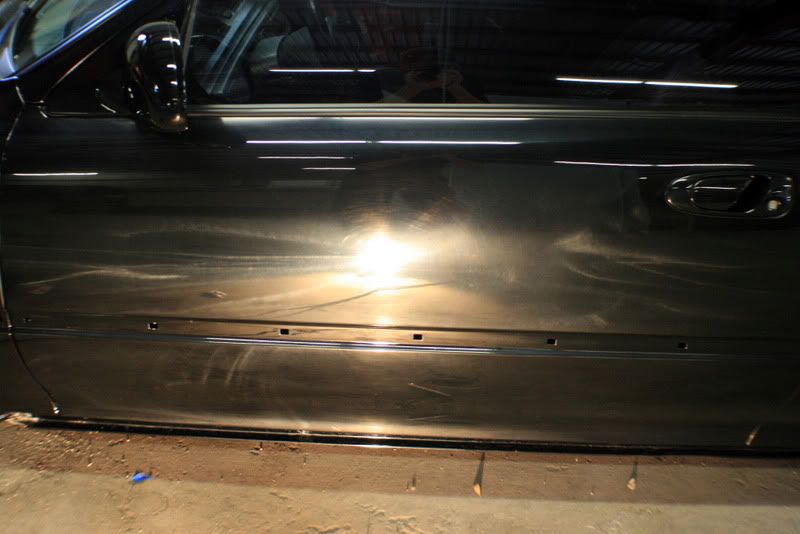
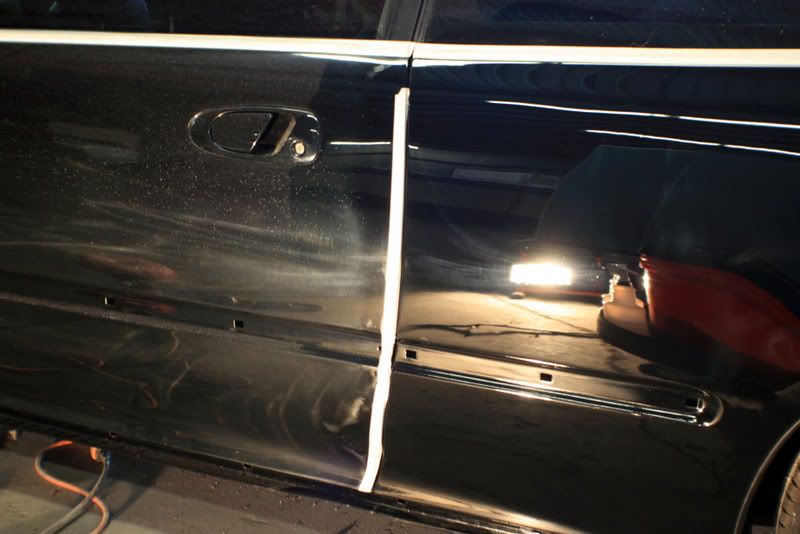
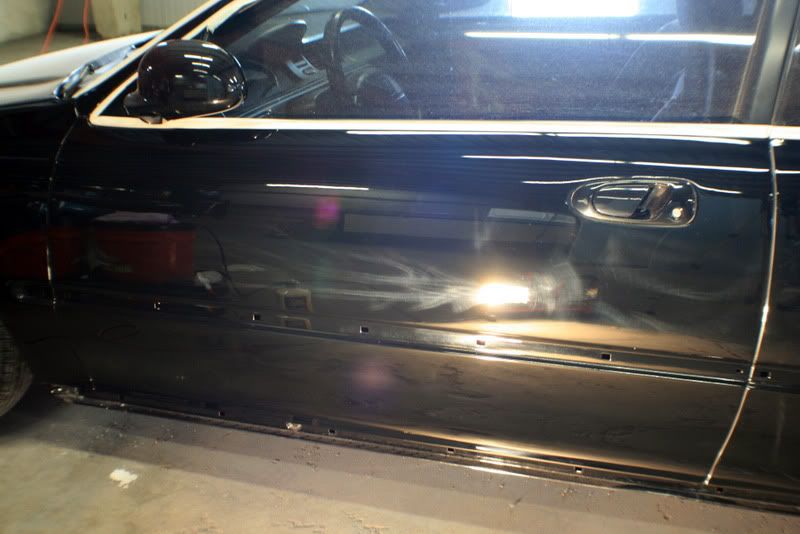
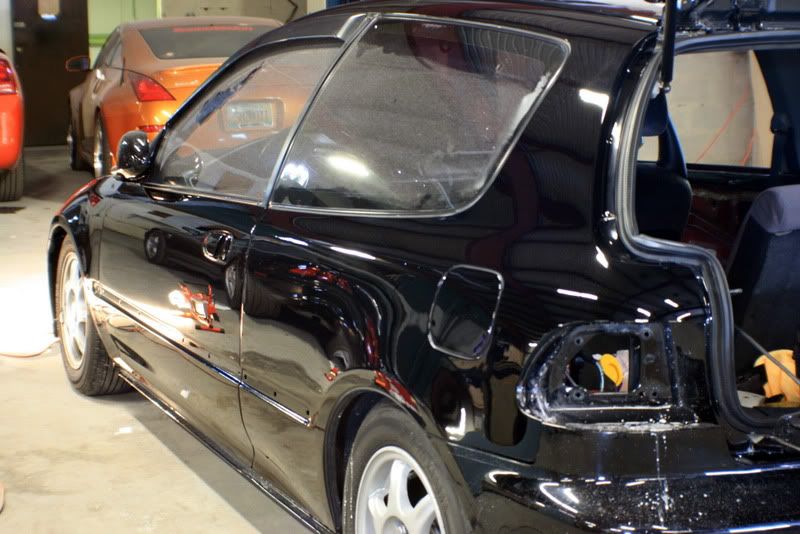
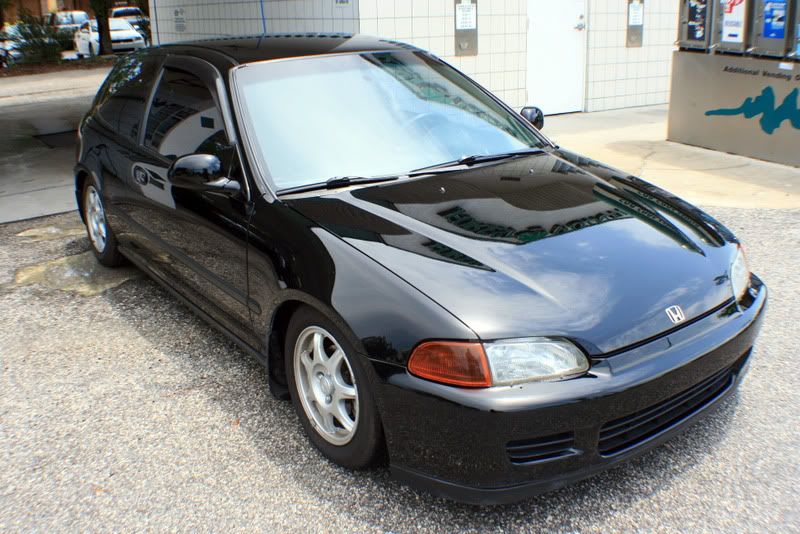
This customer came to me after having his civic freshly painted black, everything was done the right way, the car was completely stripped of everything including glass and seals so that no area was missed. He was then referred by his painter to a "detailer" in the same complex to perform a wetsand/buff on the car. Well, unfortunately he got a hold of the biggest hack I have ever come across. There were severe holograms, swirls, sanding marks that hadnt been completely removed and worse of all he burnt through most of the edges on a fresh paint job!!!
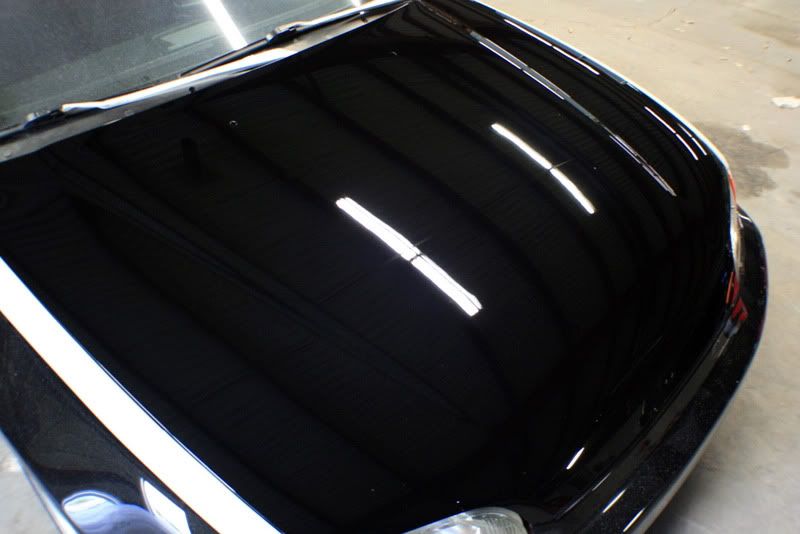
He was well aware that he was getting a service that wasnt up to par once he got the car back and pulled the car into the sun only to find the car looking like a 20 year old car again. He pointed out everything to the guy and he declined any wrong doing, telling him that the swirls are normal for a fresh painted car and they will go away after a month. So he waited a month only to find they are worse and called me up to perform a 50/50 on the hood to show this guy what he was doing was completely wrong. I was able to get the hood looking like it should again and the guy claimed there was no different and trust me it was VERY different! haha! Long story short, the guy didnt even have a legitimate business and I ended up taking on the entire job. I had my work cut out for me!
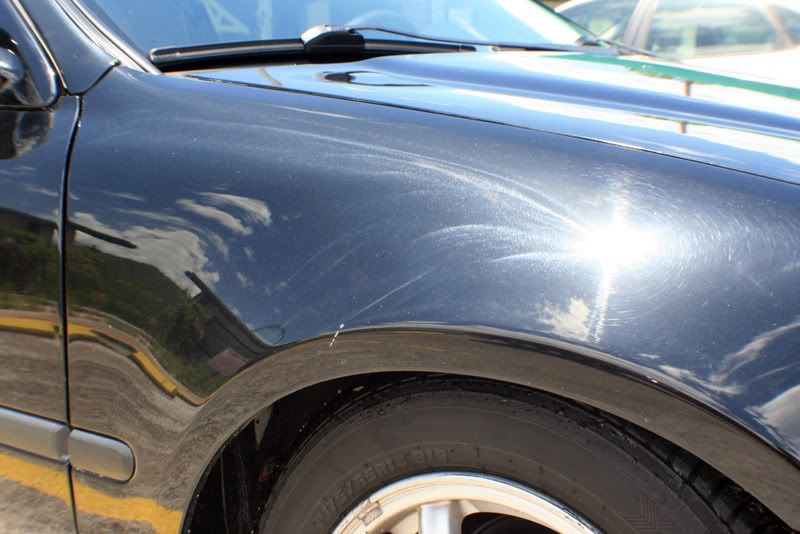
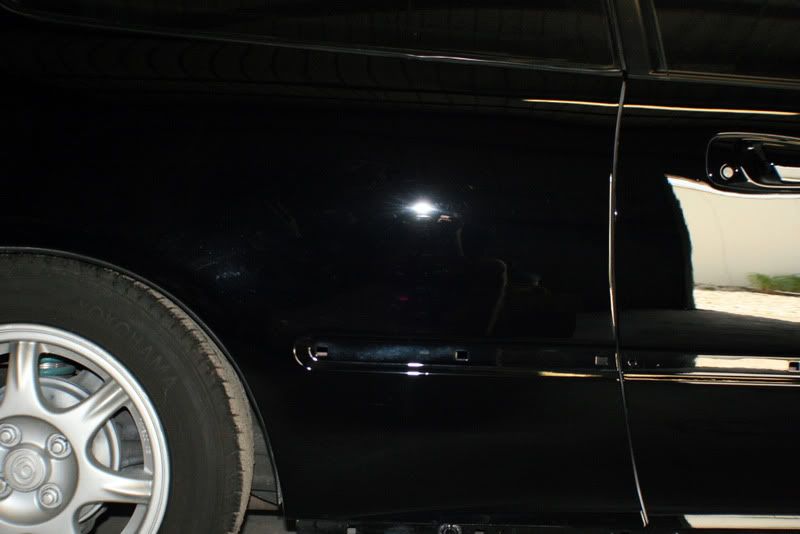
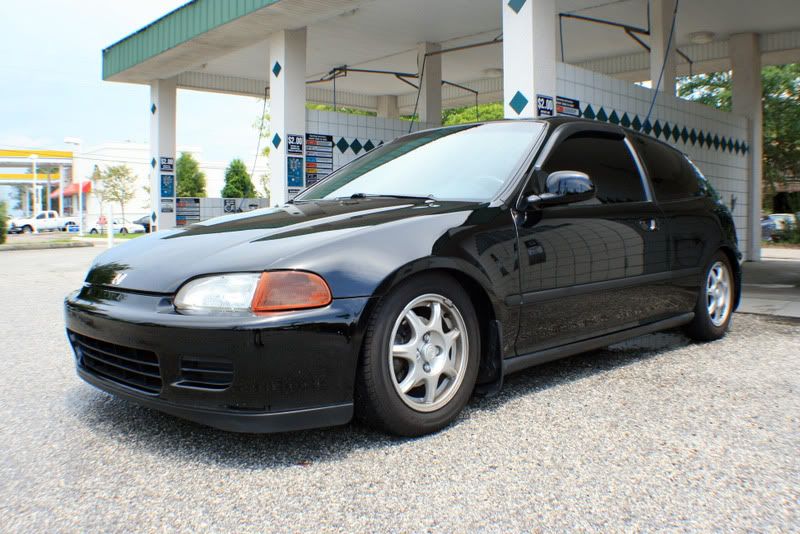
Are you ready for a nightmare? Keep in mind this cars paint is barely even a month old.
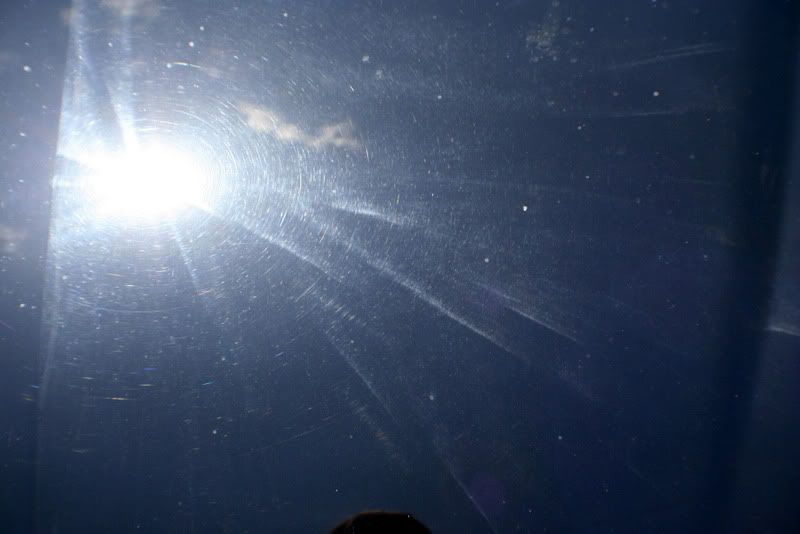
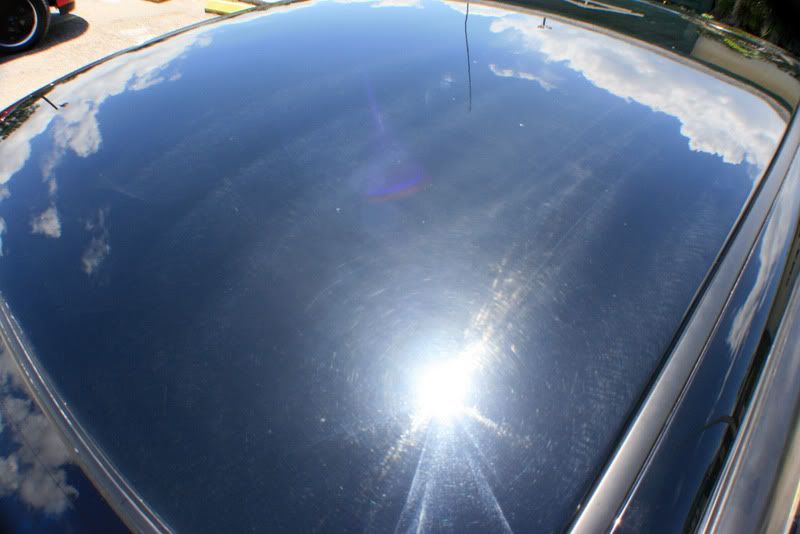
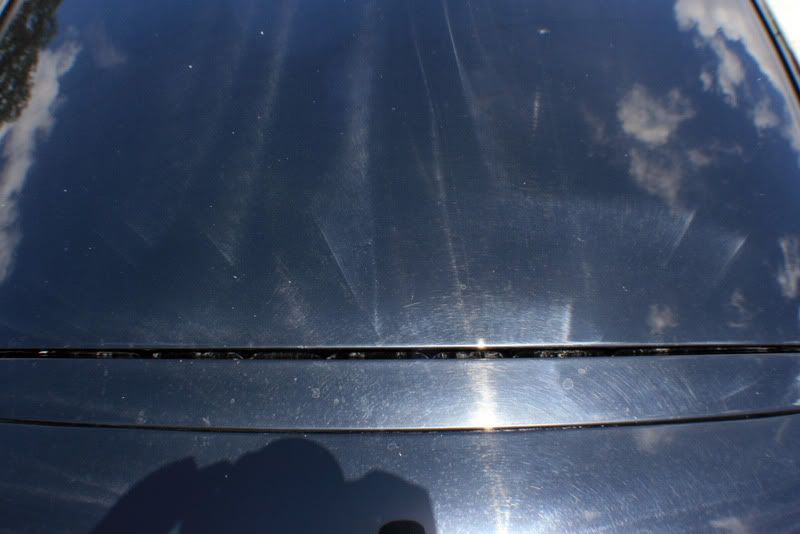
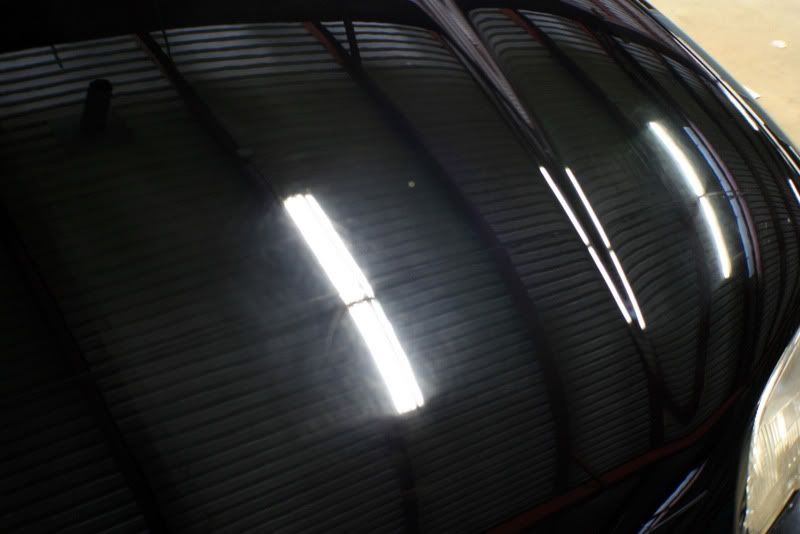
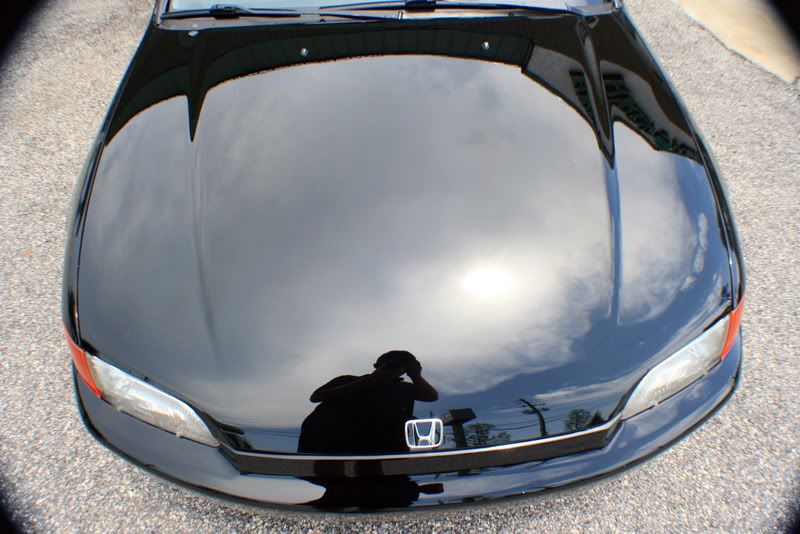
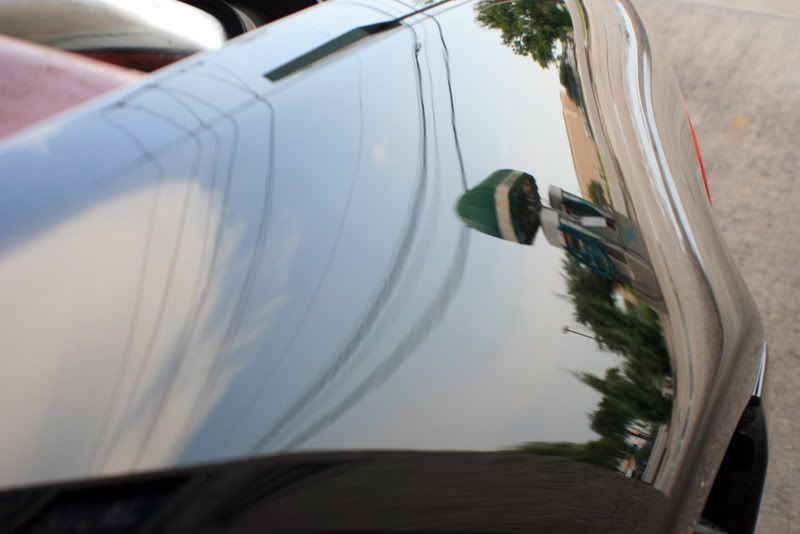
The Hood.
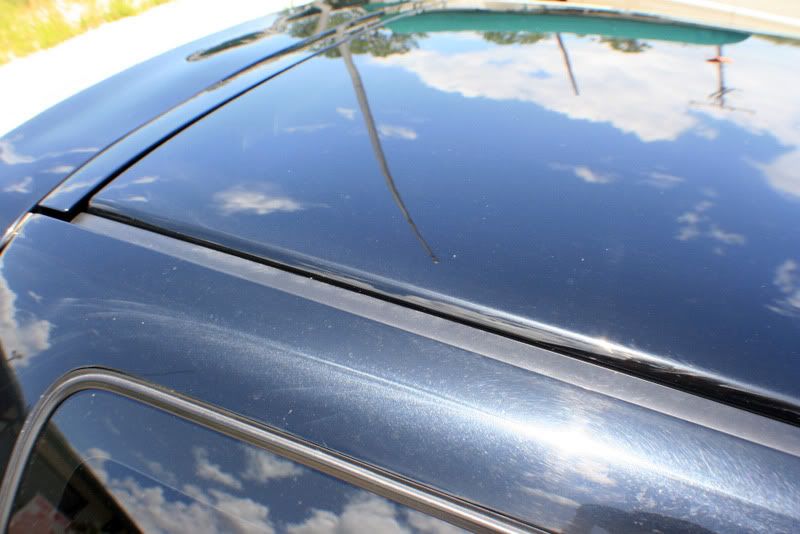
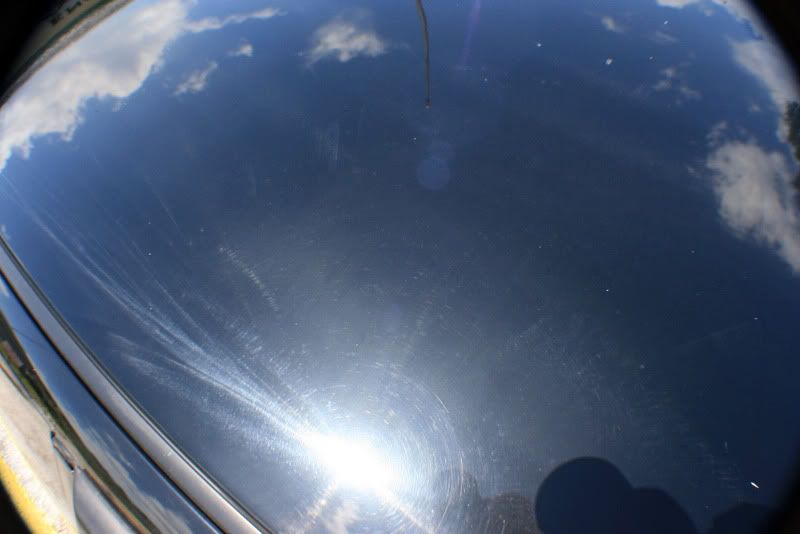
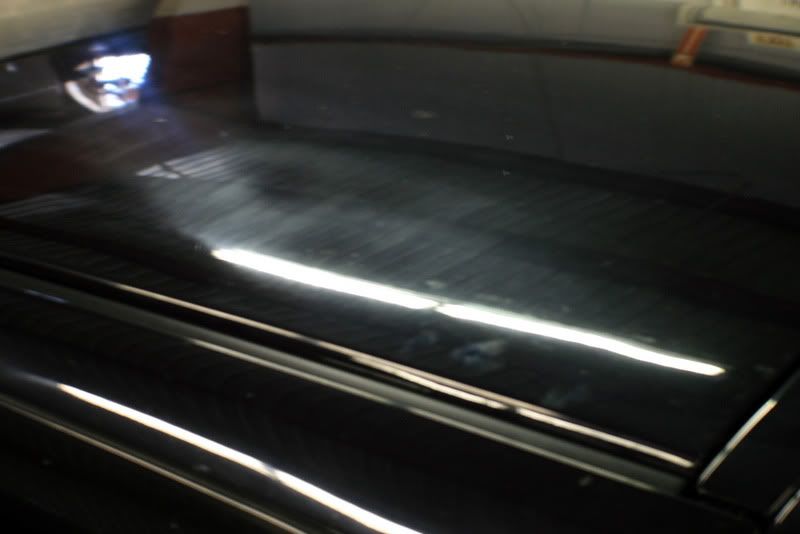
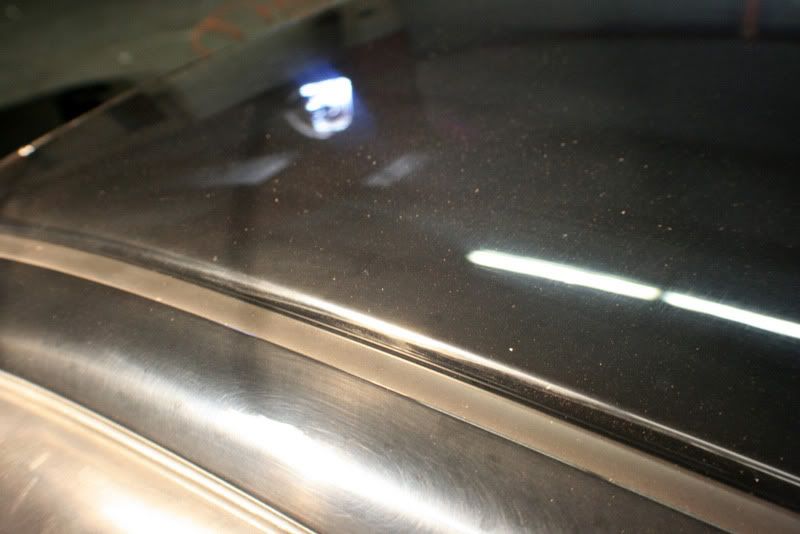
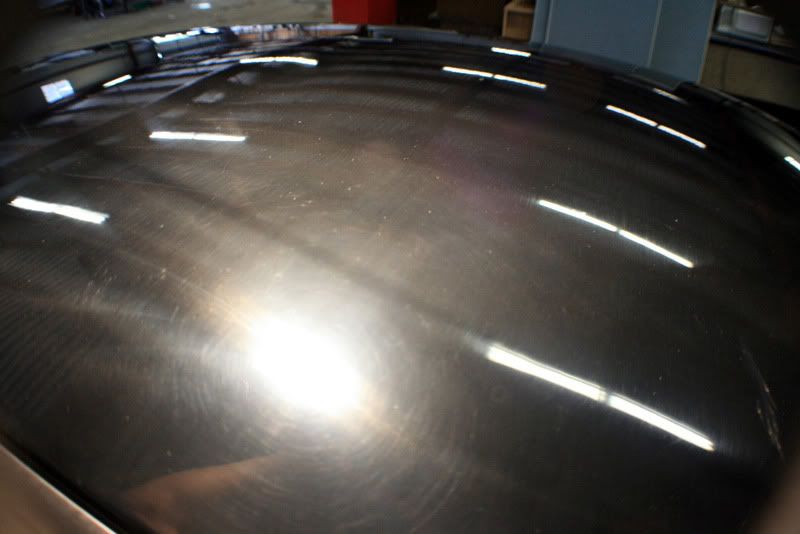
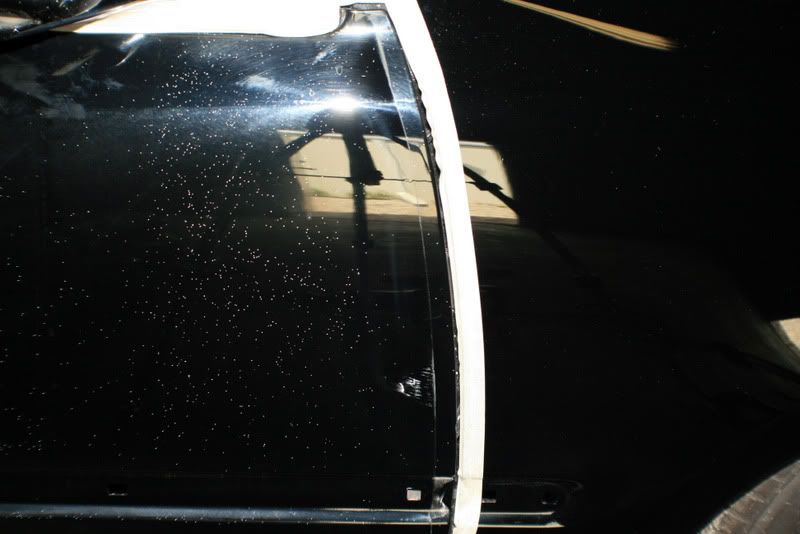
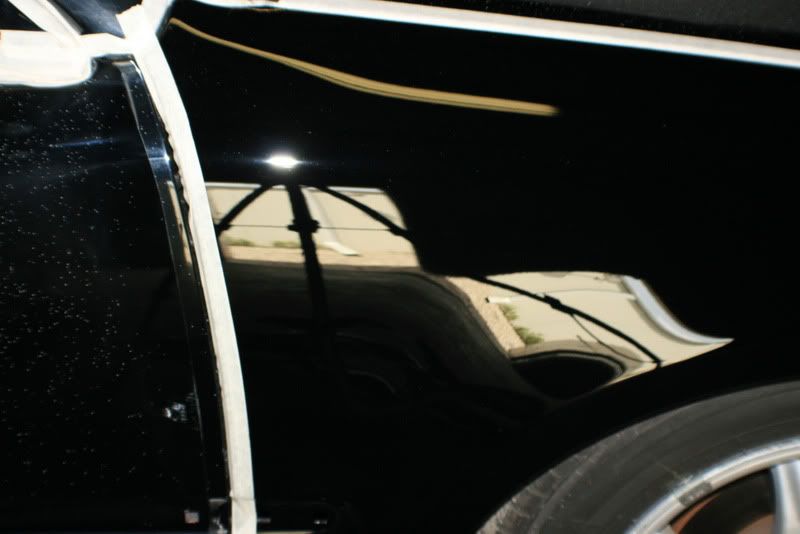
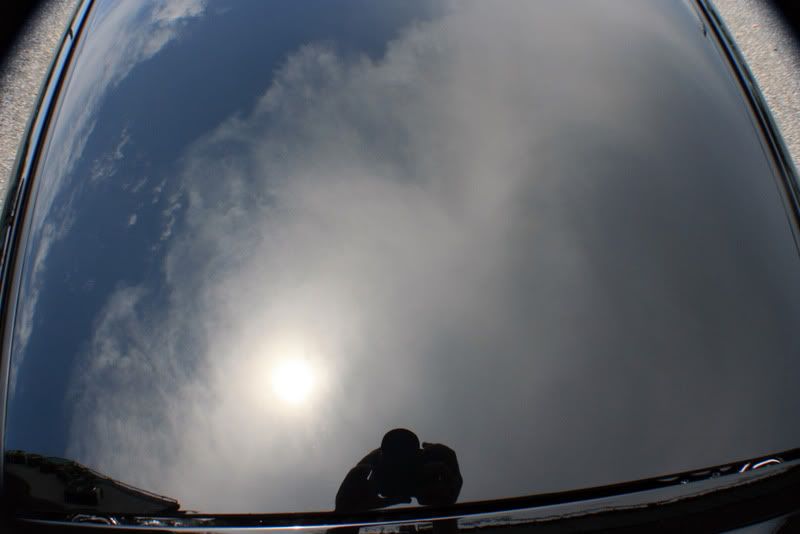
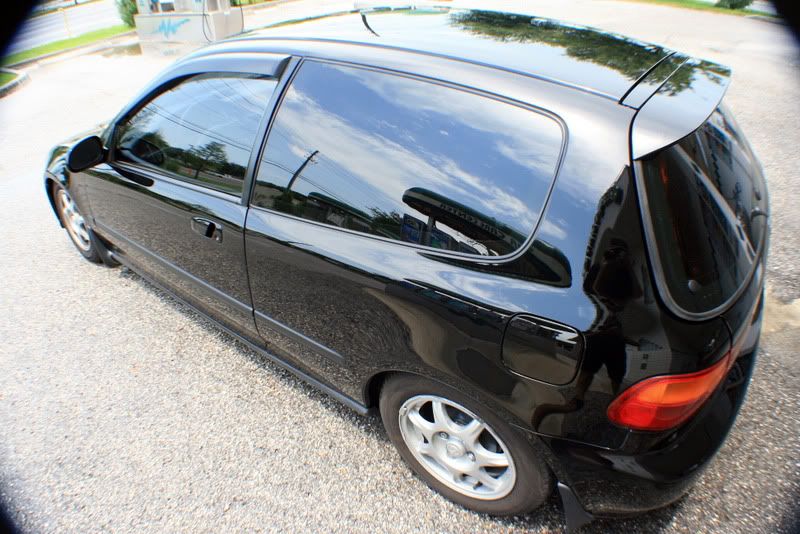
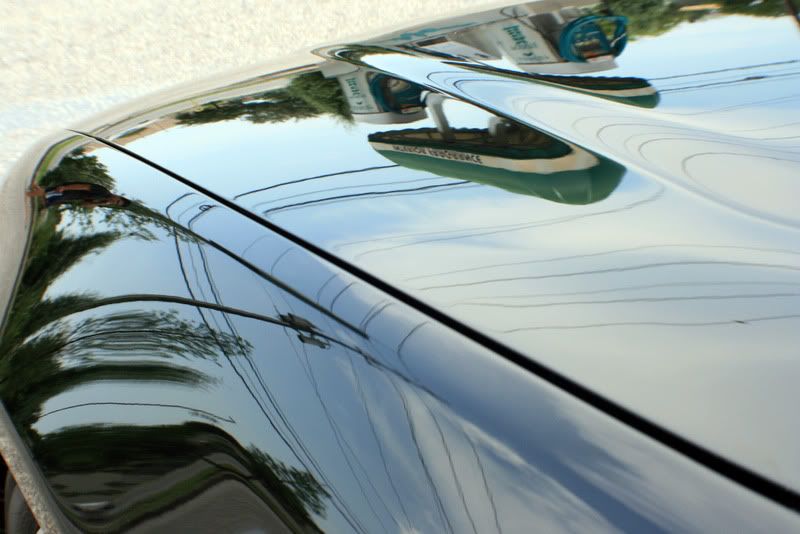
Roof.
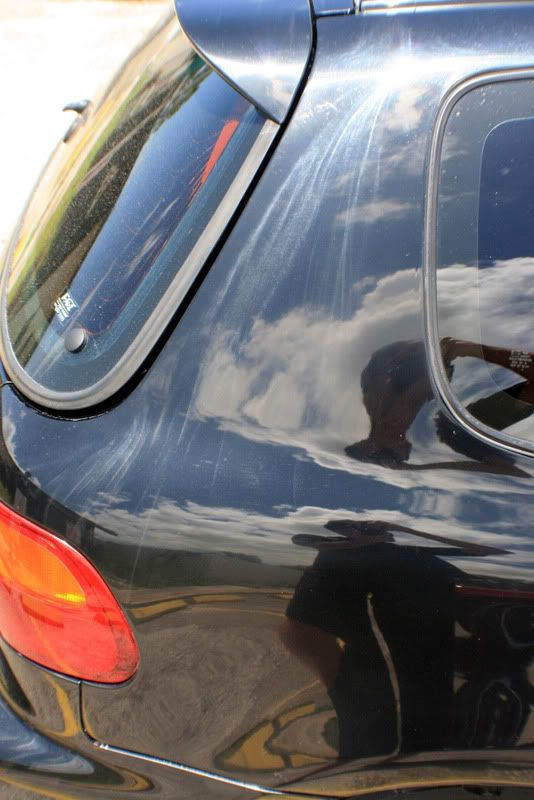
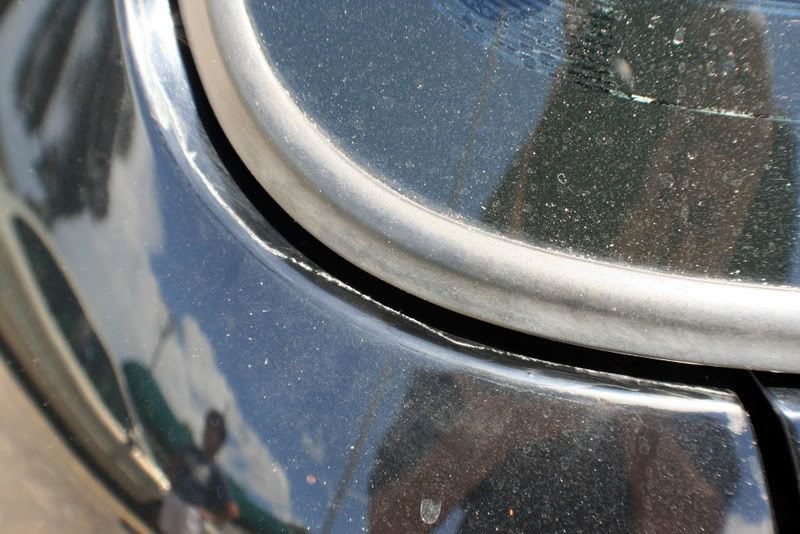
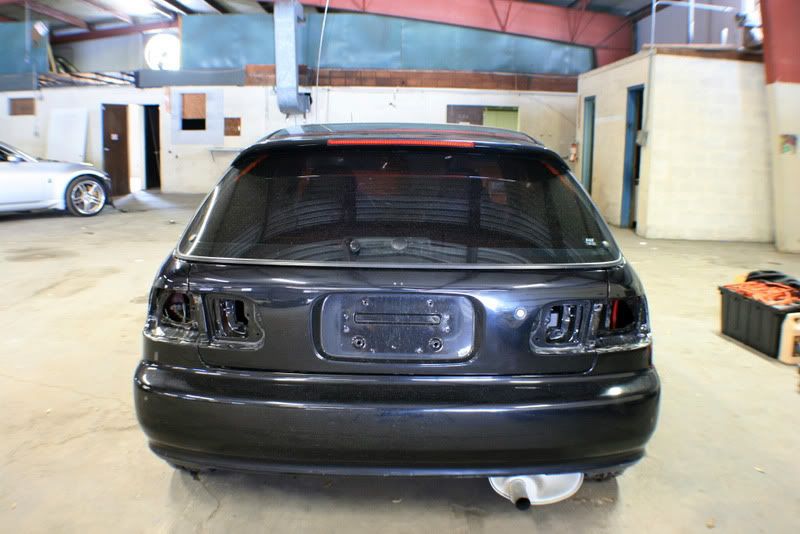
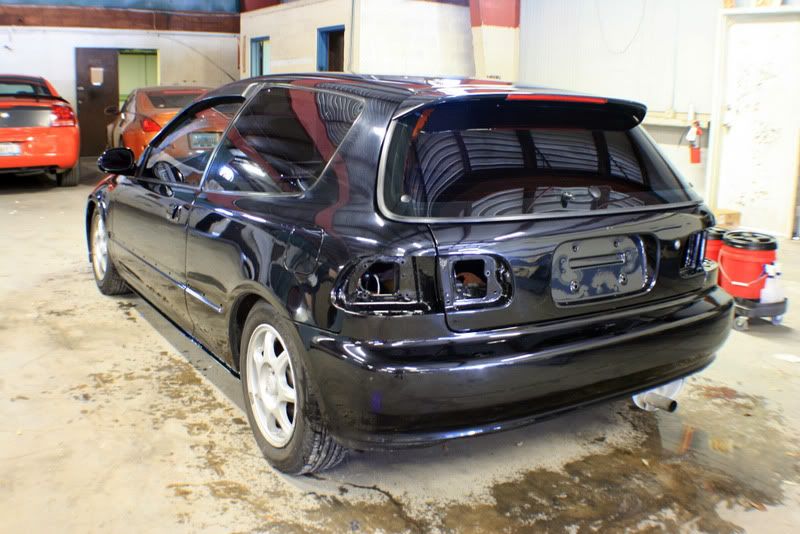
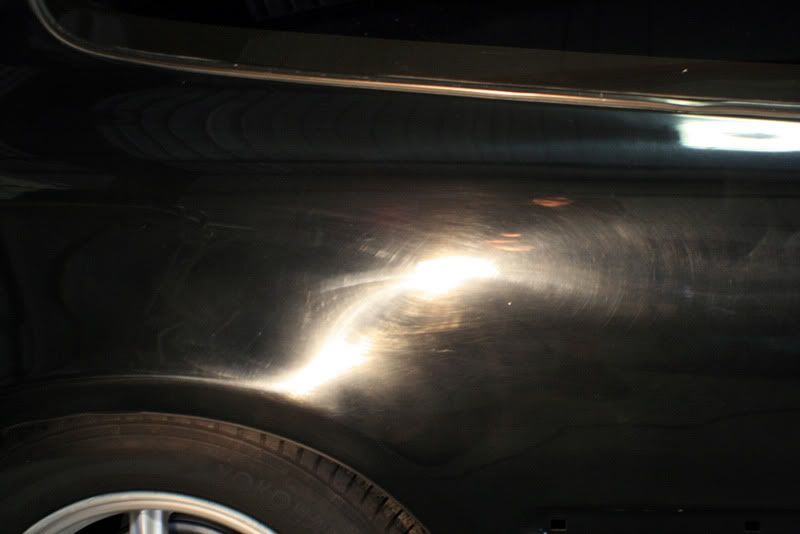
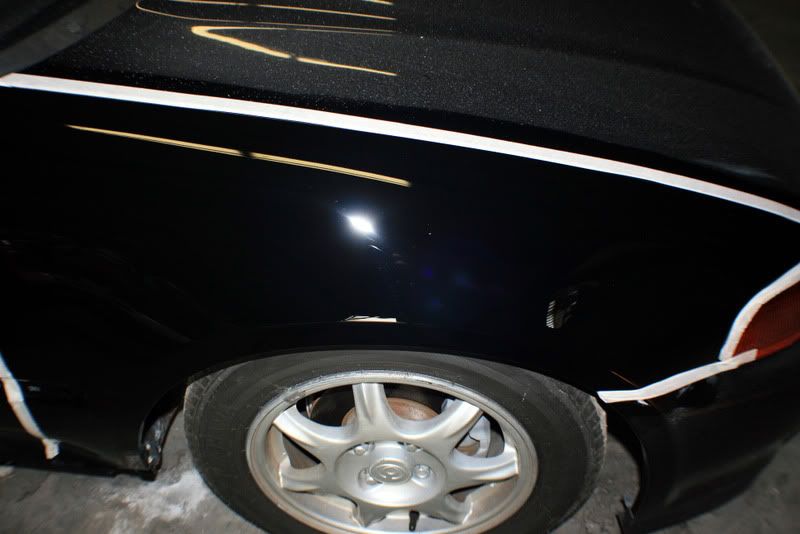
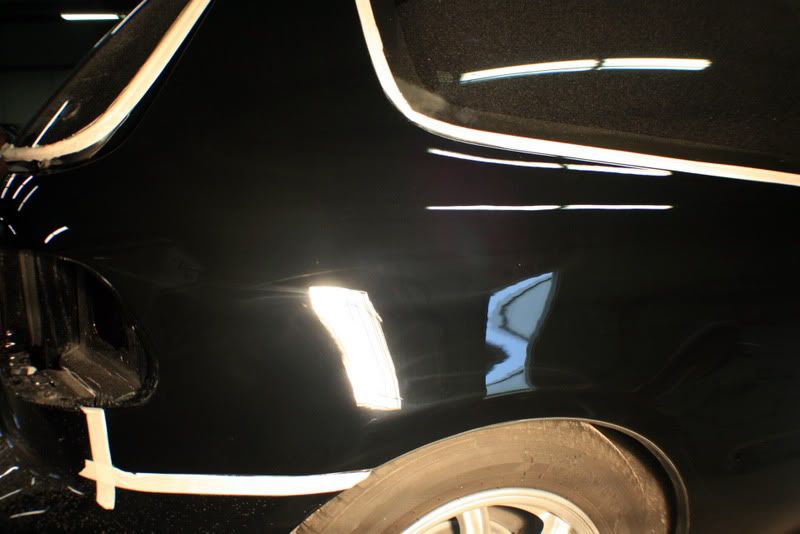
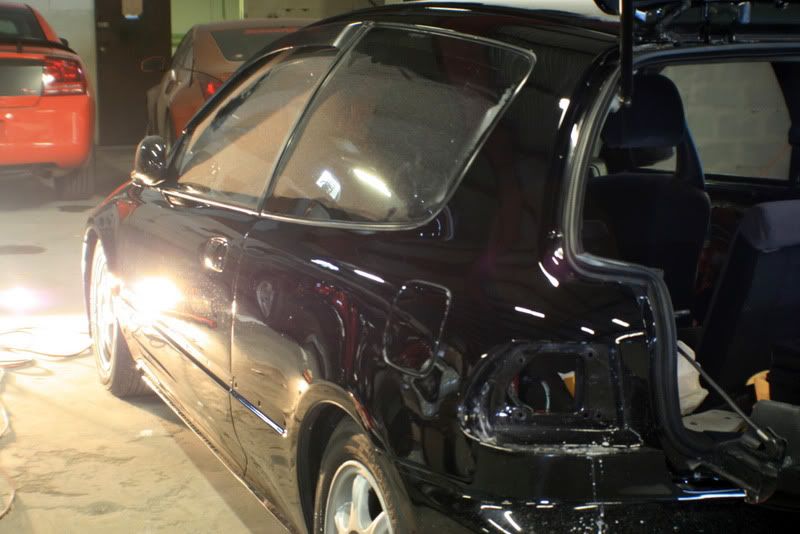
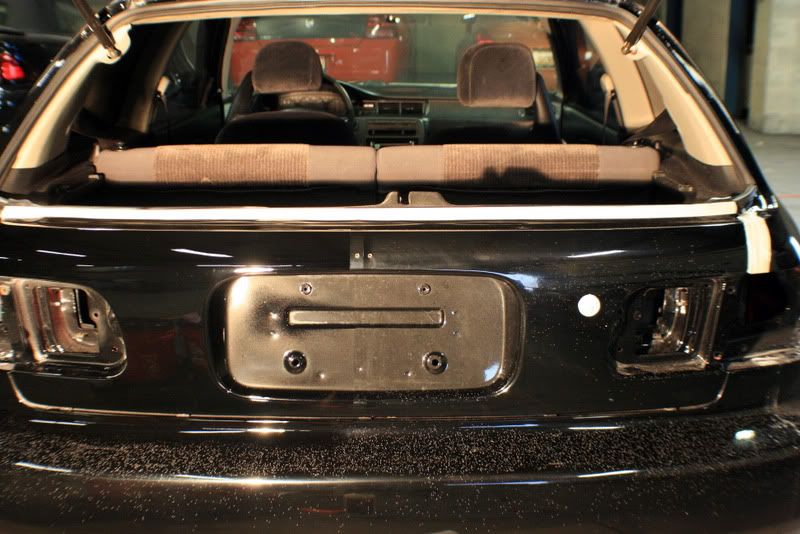
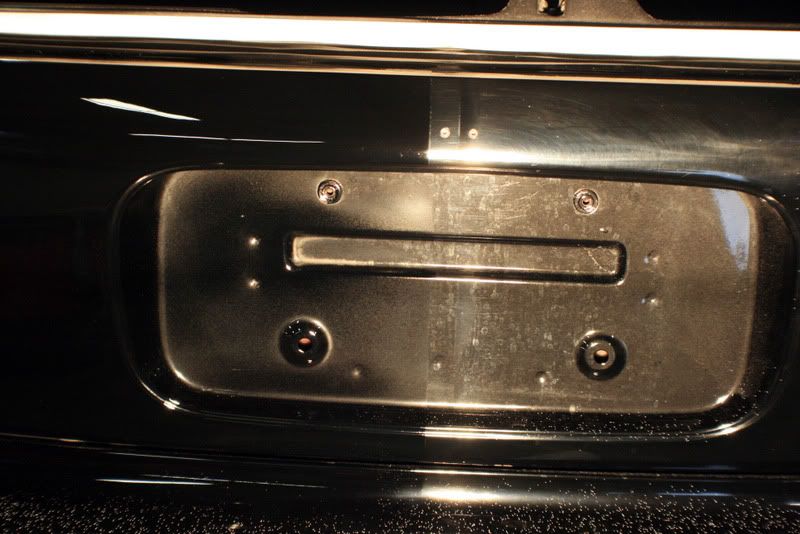
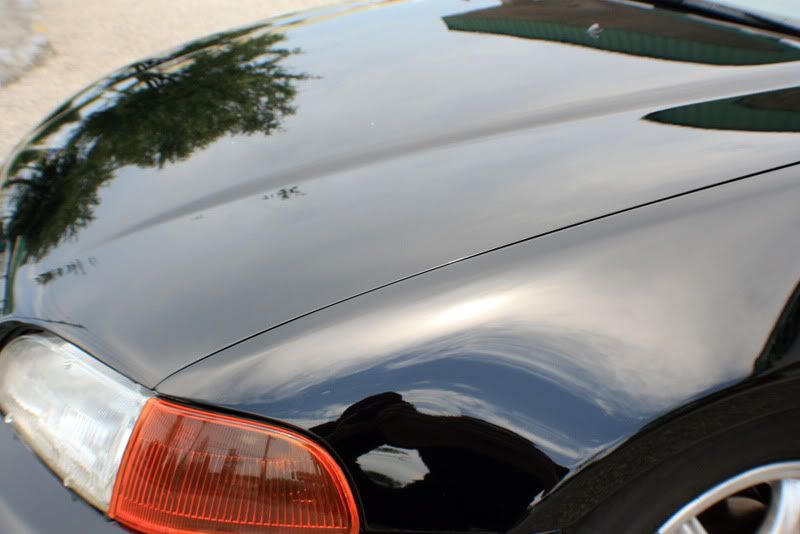
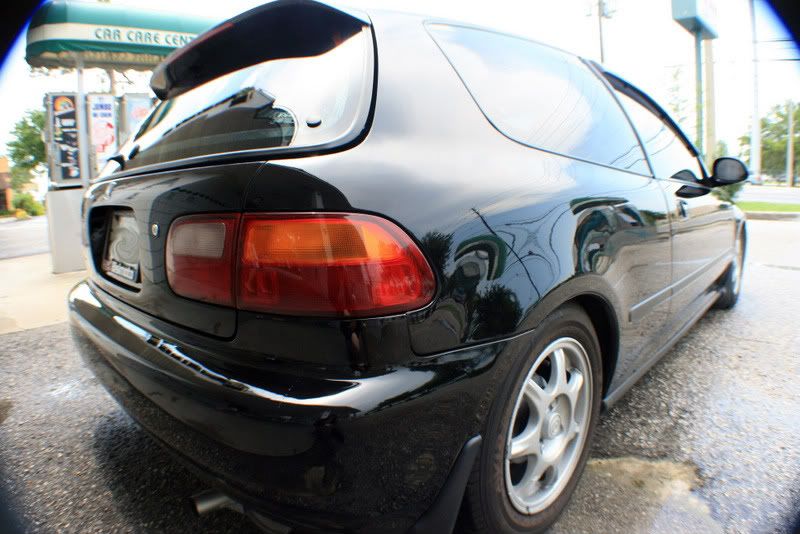
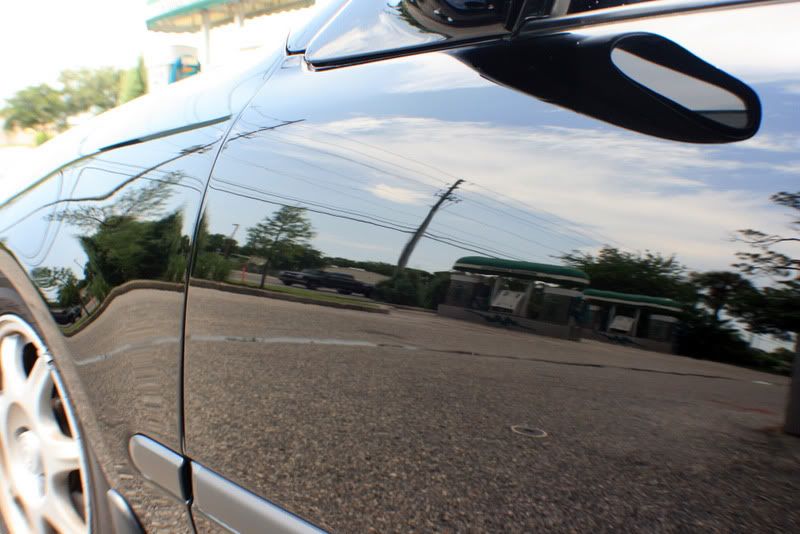
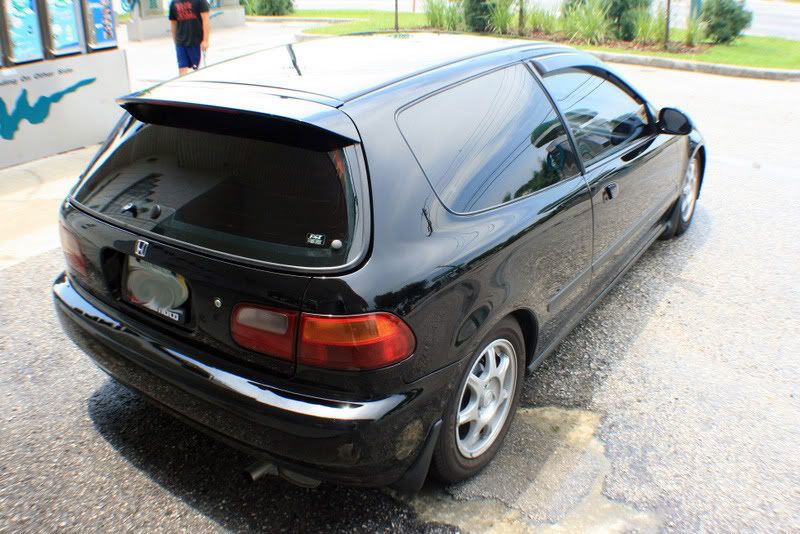
Rear Bumper
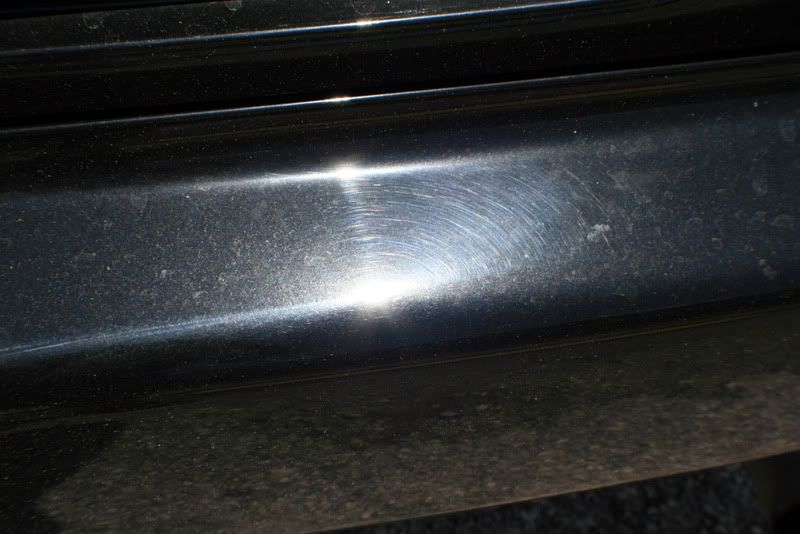
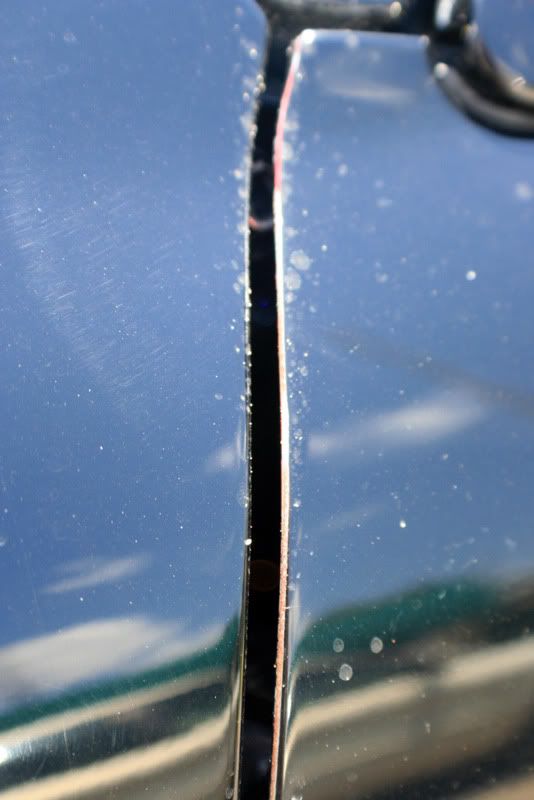
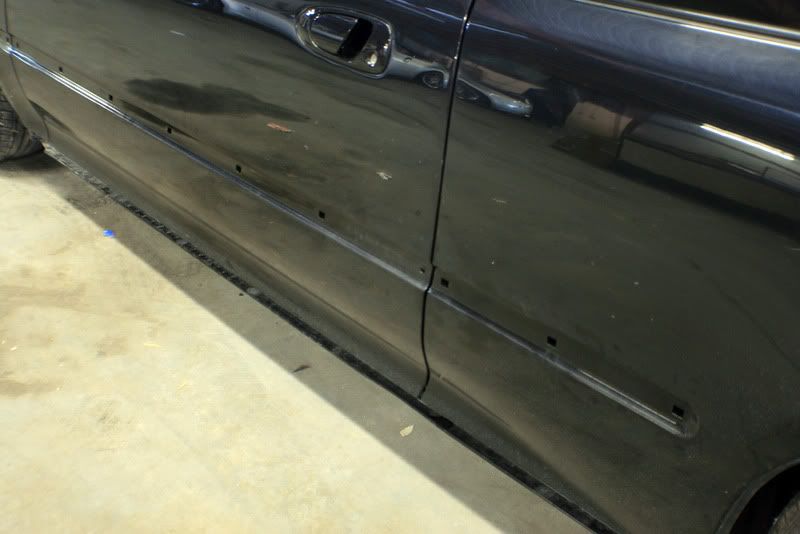
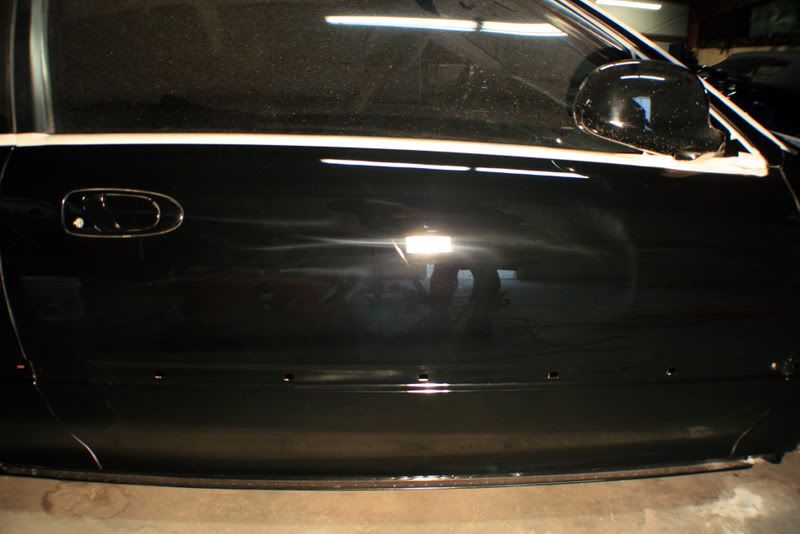
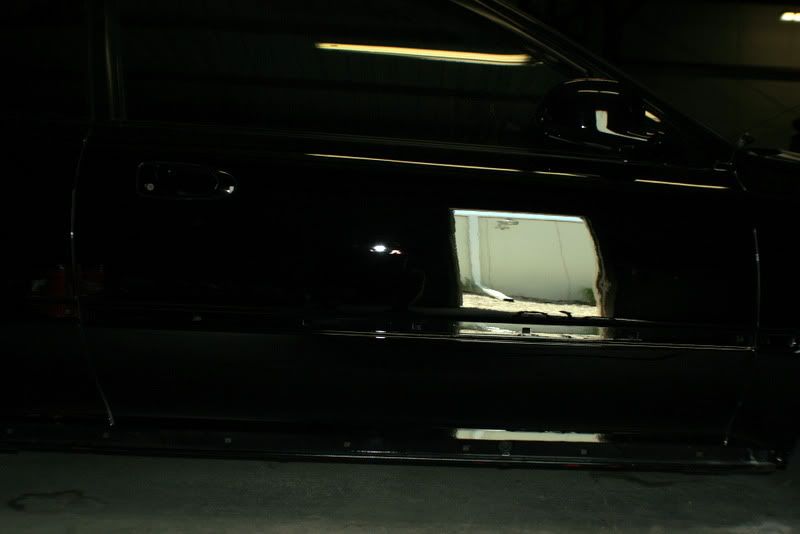
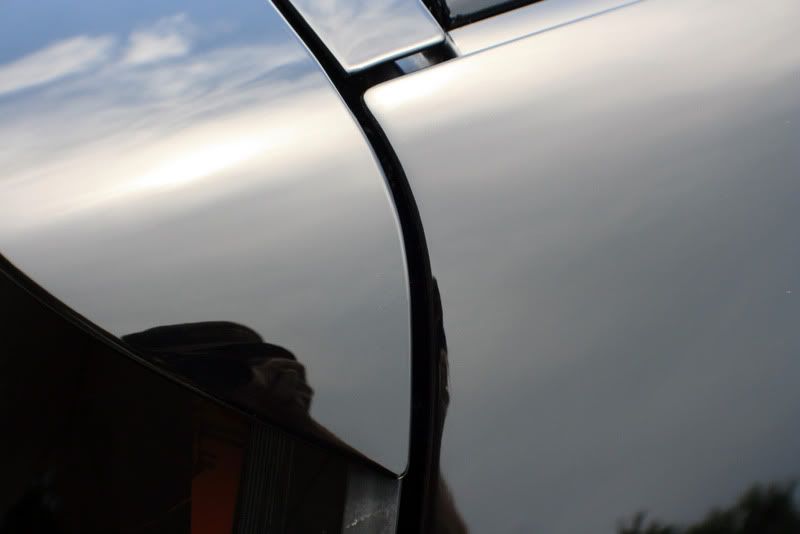
The painter for some reason shot extra clear but taped off the inner portions, it looked horrible and your eye is drawn straight to the tape line. I later sanded these portions level to reduce the eye sore.
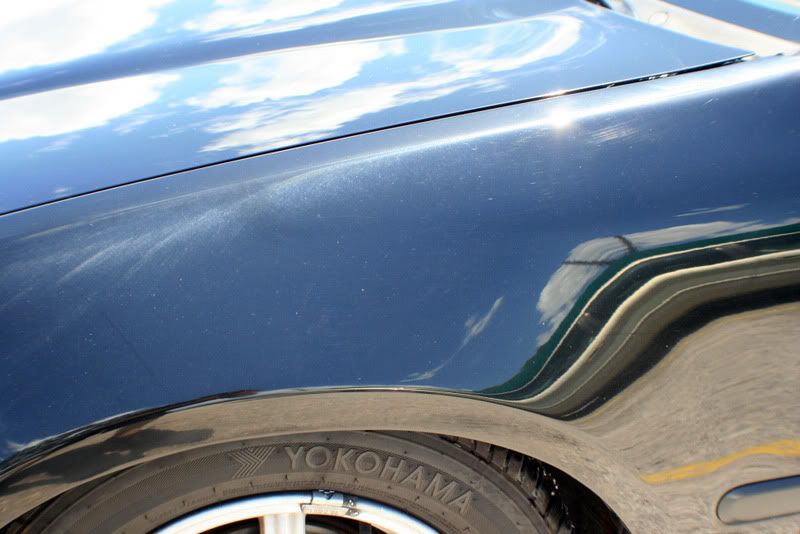
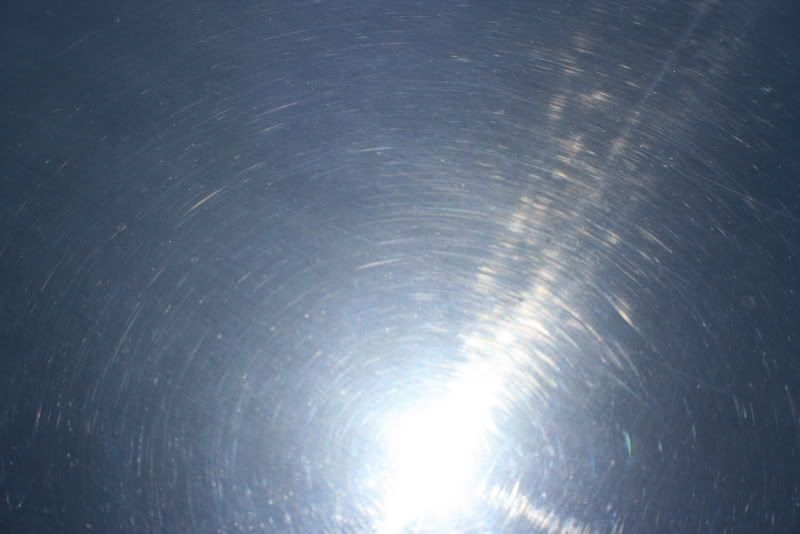
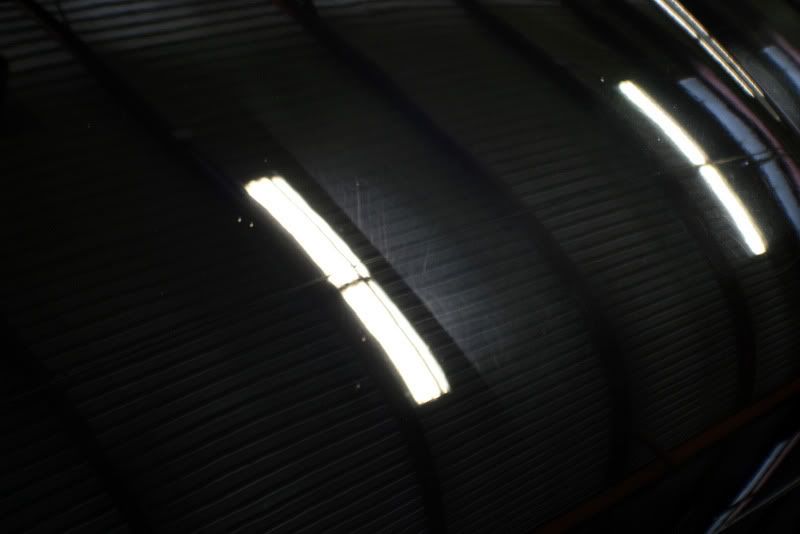
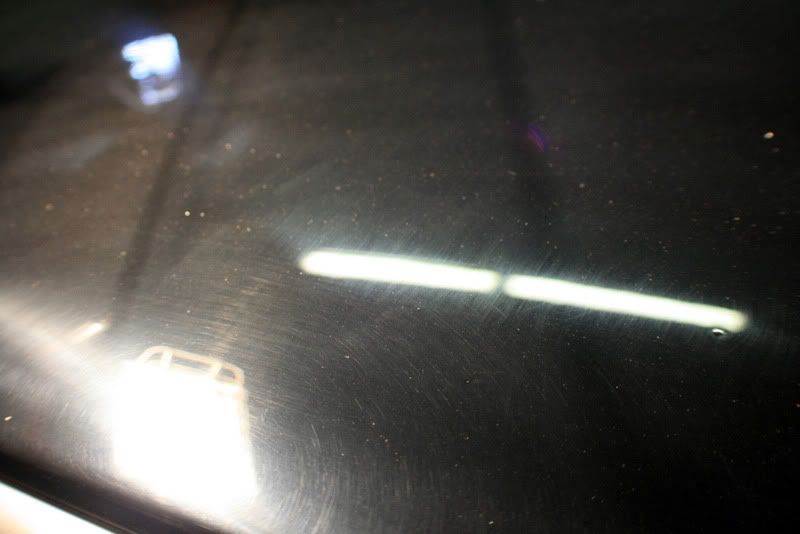
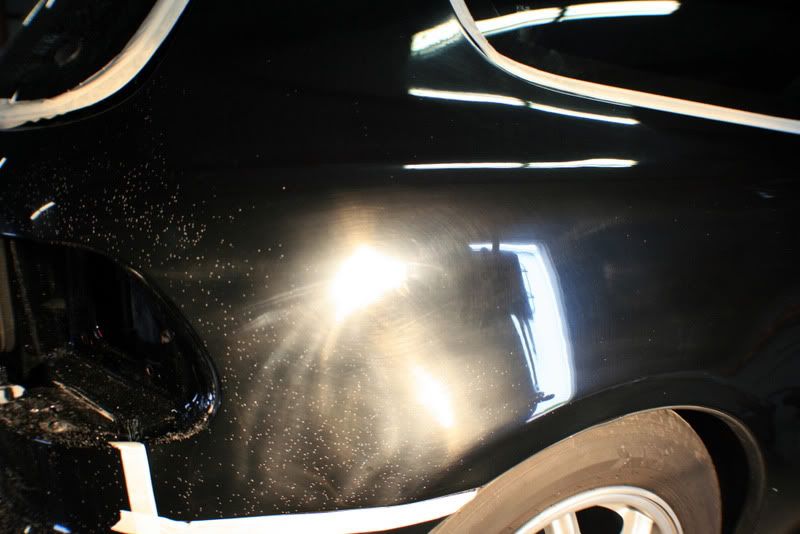
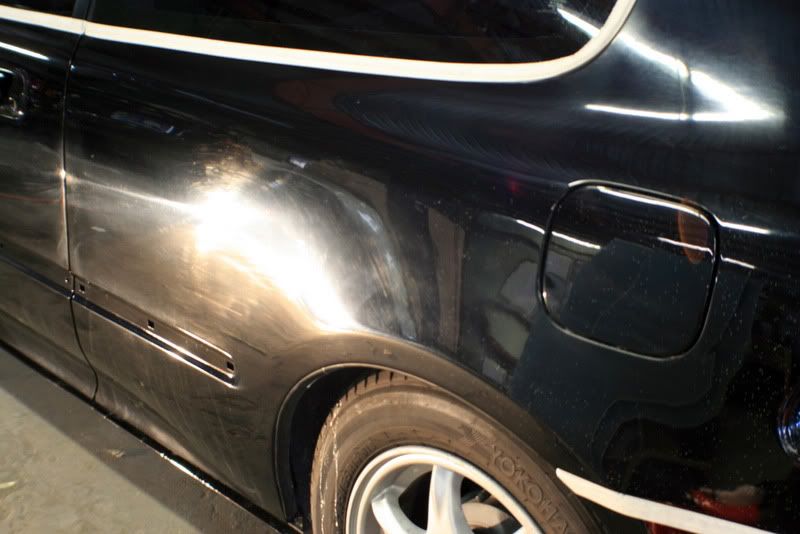
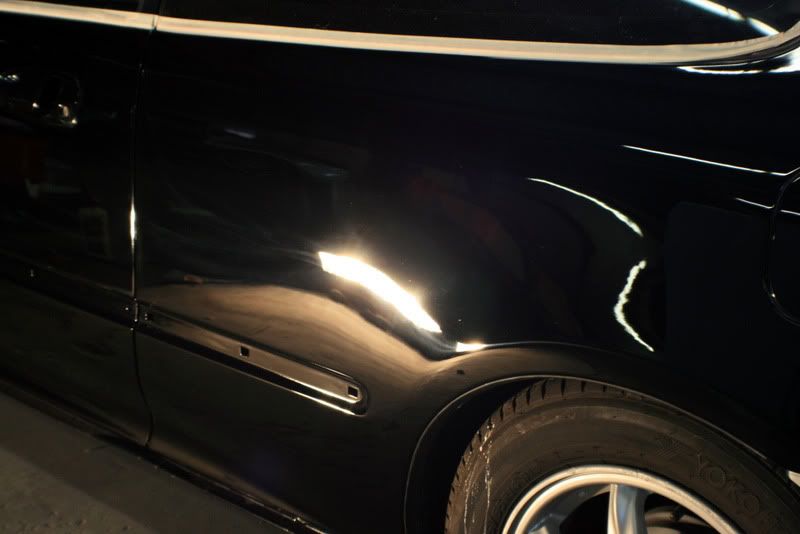
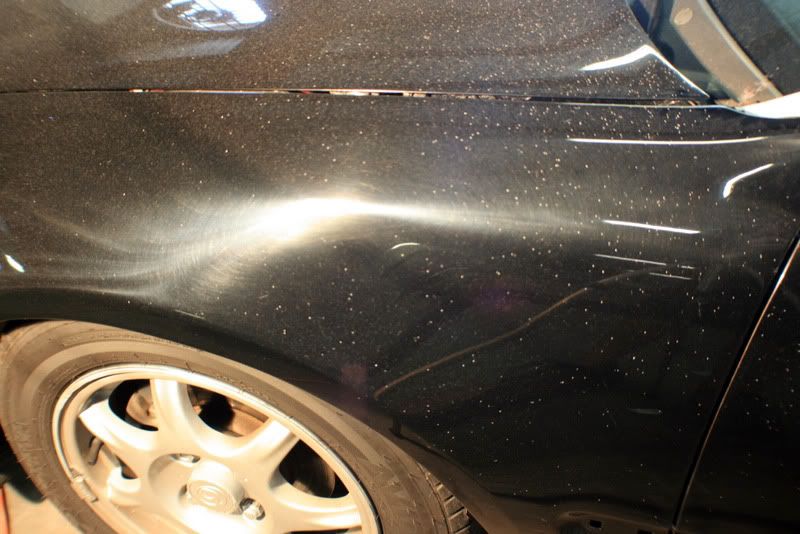
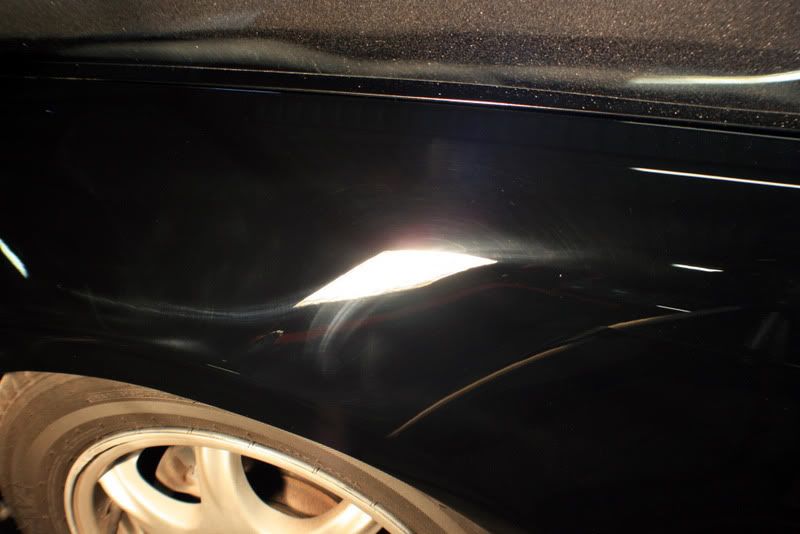
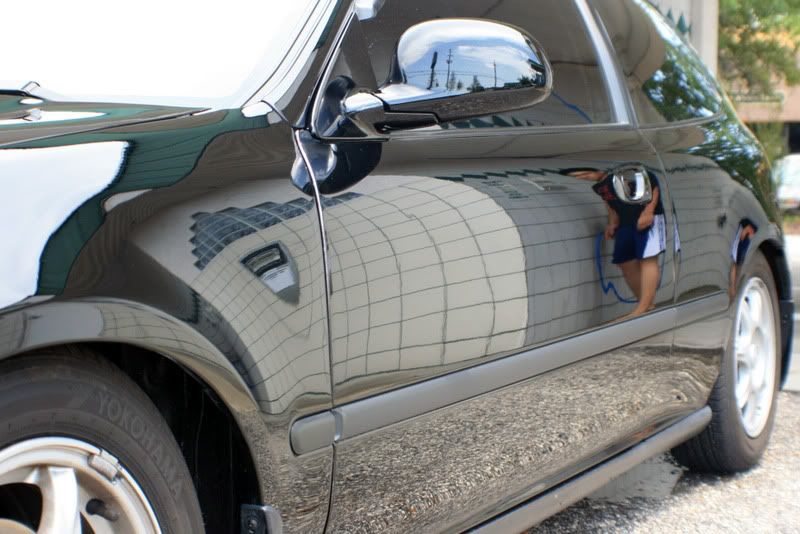
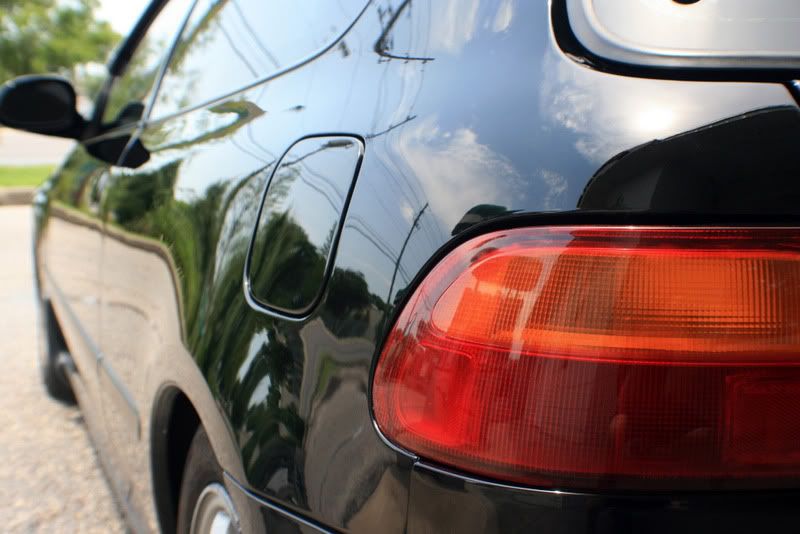
This is a close up of the roof, if you look deeper into the paint past the circular swirls, you will see straight line scratches. These are sanding scratches that the previous guy failed to remove creating a horrible haze on the entire car.
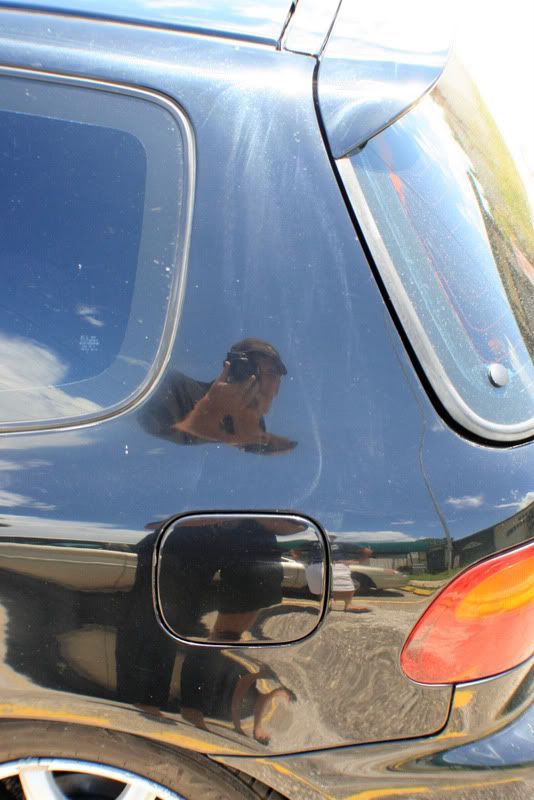
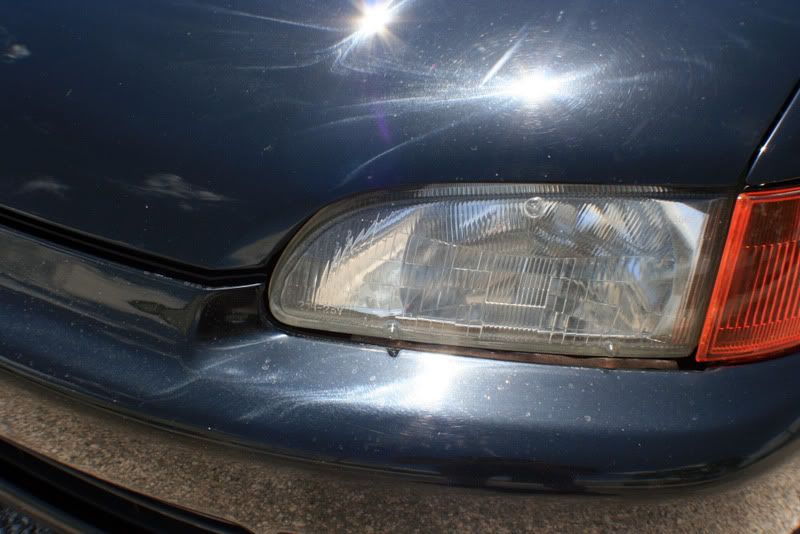
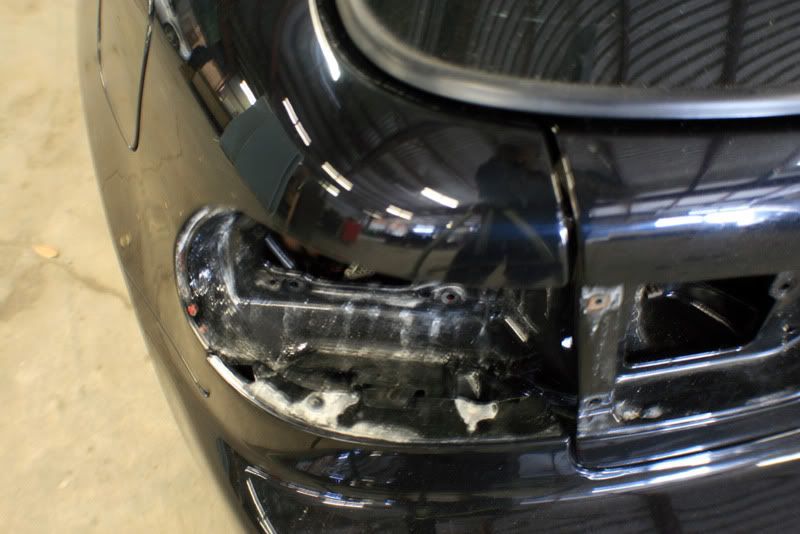
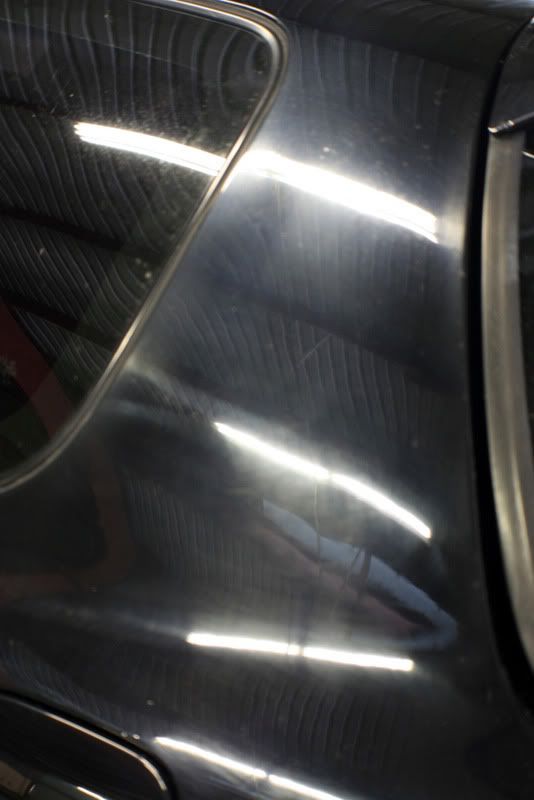
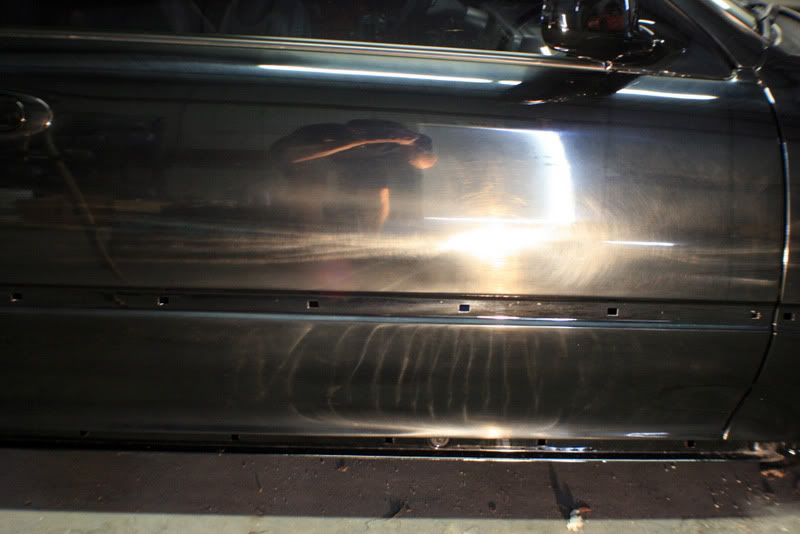
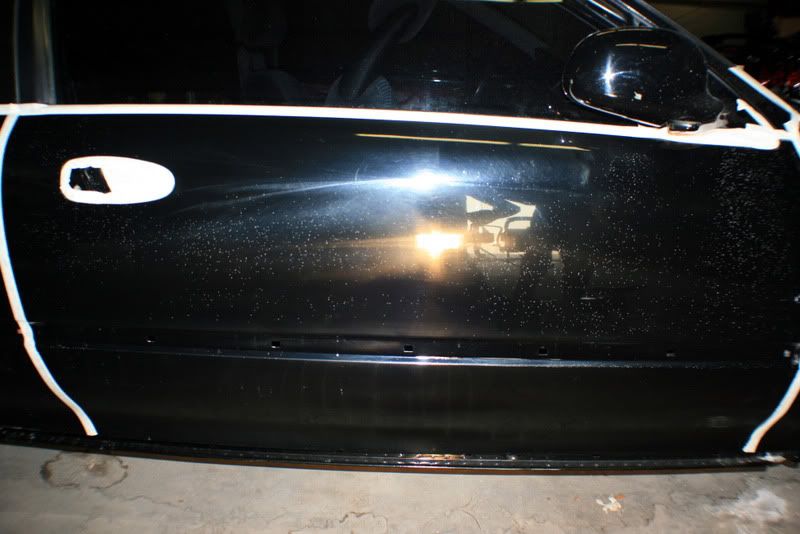
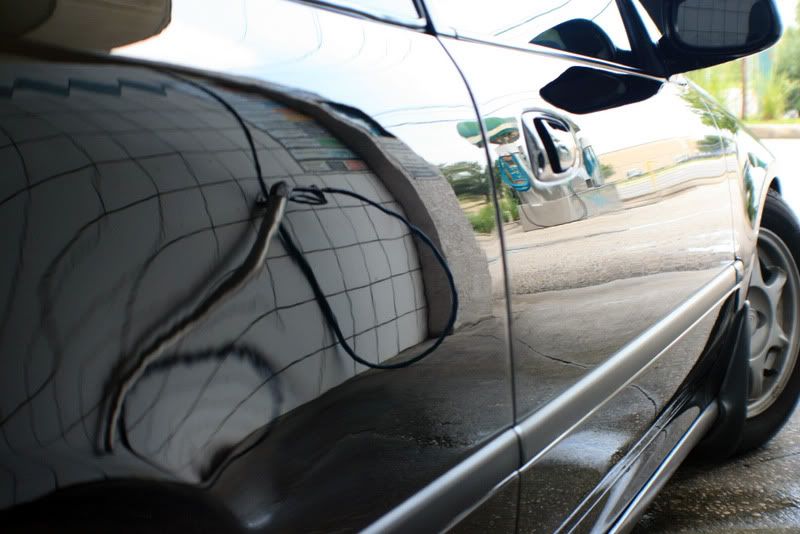
Here is where the real nightmare begins,


He was well aware that he was getting a service that wasnt up to par once he got the car back and pulled the car into the sun only to find the car looking like a 20 year old car again. He pointed out everything to the guy and he declined any wrong doing, telling him that the swirls are normal for a fresh painted car and they will go away after a month. So he waited a month only to find they are worse and called me up to perform a 50/50 on the hood to show this guy what he was doing was completely wrong. I was able to get the hood looking like it should again and the guy claimed there was no different and trust me it was VERY different! haha! Long story short, the guy didnt even have a legitimate business and I ended up taking on the entire job. I had my work cut out for me!
Are you ready for a nightmare? Keep in mind this cars paint is barely even a month old.
The Hood.
Roof.
Rear Bumper
The painter for some reason shot extra clear but taped off the inner portions, it looked horrible and your eye is drawn straight to the tape line. I later sanded these portions level to reduce the eye sore.
This is a close up of the roof, if you look deeper into the paint past the circular swirls, you will see straight line scratches. These are sanding scratches that the previous guy failed to remove creating a horrible haze on the entire car.
Here is where the real nightmare begins,

")
")