Pic heavy '97 Chevy P/U

We're Here

New member
I used Mother's clay this morning on an area that clearly been hit with overspray. One or two passes and the overspray was gone. I used the QD packaged with the clay and had no problems at all but got to thinking about others who have.


We are having unusually warm temperatures and this invariably means there will be high humidity accompanying those temps. This was the case - actually we had fog - this morning when I used the clay.


Though there are certainly qualitative differences between QD products, I suspect that environmental issues play at least as large a role in the successful use of a QD. Give some thought to using QD early in the morning (for instance) when humidity levels are typically higher. Try to avoid dry and sunny weather and I'll bet QD problems will pretty much go away. YMMV, of course
 
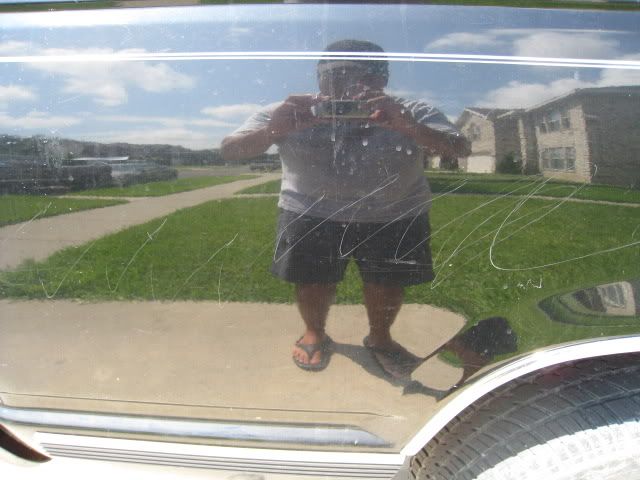
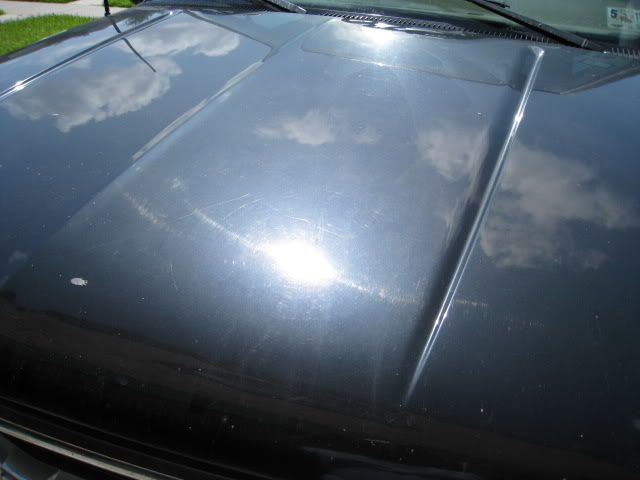
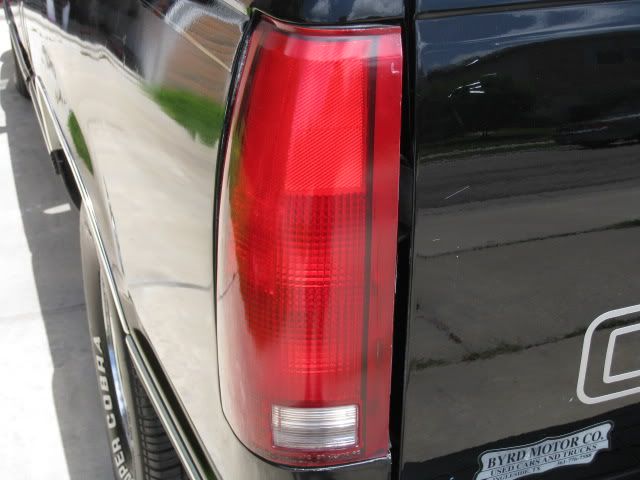
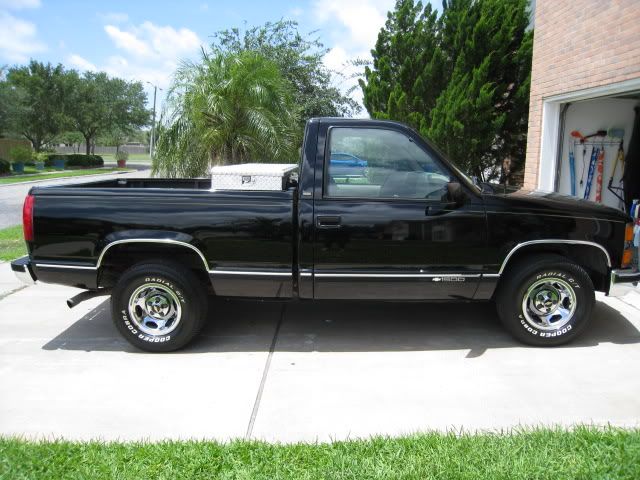
This is a ?97 Chevy P/U that belonged to a very good friend of mine. The truck was given to him for free not too long ago and because he is moving soon he had to sell it. He said that he had it listed on the internet but didn?t get any calls on it. When I heard this I asked him if I could detail it for him. I had wanted to get my hands on this truck for some time now and I finally had my chance. This truck had years of neglect on it. In addition to having heavily contaminated paint it also had a lot of bad body work done it. In some areas you could see where they used the cheese grater and in others the paint was so difficult to work with that M105 turned into concrete almost immediately. The rear quarter panel on the driver?s side was where I had the most trouble. It took me several hours just to compound that area alone!!
Because of the terrible condition that it was in when it arrived, I decided to clay the whole truck with Malco?s medium/heavy clay bar. After claying it and inspecting the paint, I noticed that there were a lot of deep scratches and heavy oxidation throughout the whole truck. I then decided that I would use the opportunity to conduct my evil detailing experiments on! My evil experiments consisted of wet sanding the whole truck, using some new polishes and attempting to use my rotary for jewelling.

Process was as follows:
-CG CWG
-Malco clay/Malco Show Room Shine as lube
-West sand using 3M 1500/2000 and Meg?s 3000 grit sand paper, in conjunction with a Meg?s backing pad. 1500 was only used in really oxidized or deep scratch areas.
-Compounding: M105 and Menzerna Power Gloss
-IPA wipe down with a 75% water/25% alcohol mixture.
-Polishing: Menz SIP and Menz Power Finish. Menz 85RD was used for jewelling.
-Final ONR with some Malco APC to get rid of any oils from polishes.
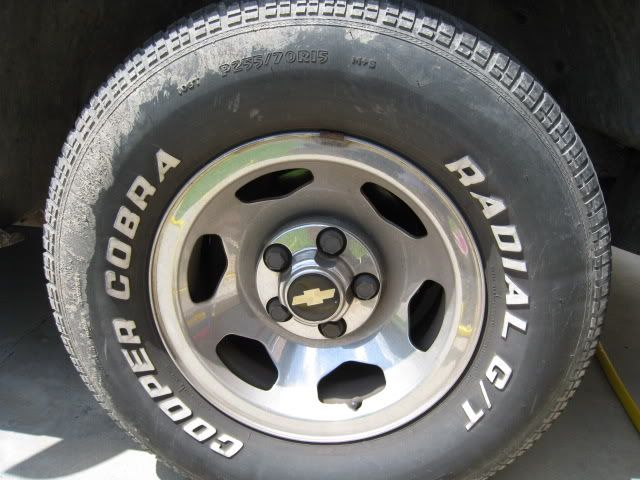
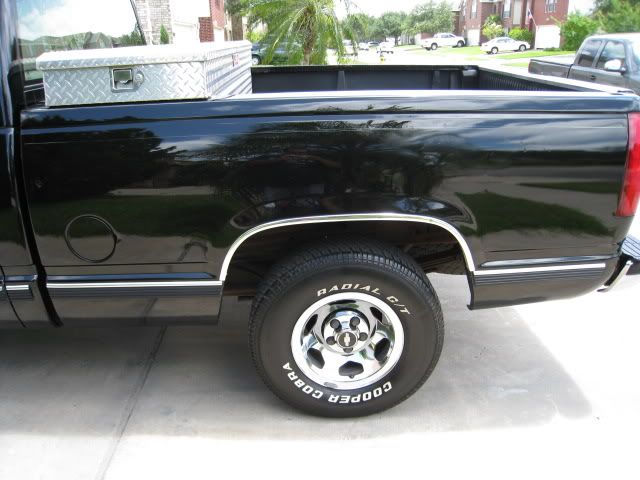
-Wheels: Tires received Royal Brown and wheels were cleaned with Optimum Car Wash. The wheels were then polished with Optimum Metal Polish and sealed with Optimum Opti-Seal. The tires were dressed with Malco Tire Gel (great product!).
-Glass: Stoner?s Invisible Glass
-Trim: The exterior and engine trim was dressed with a water based product. I tried using Meg?s. Ultimate Protectant, but it Ultimately stunk! It did very little for improving the condition or appearance of the plastics.
-LSP: 2 x Pink Wax and 2 X Finish Kare #2180 Sealant.

IMG_1236.jpg

IMG_1233.jpg

IMG_1232.jpg

IMG_1227.jpg

IMG_1244.jpg


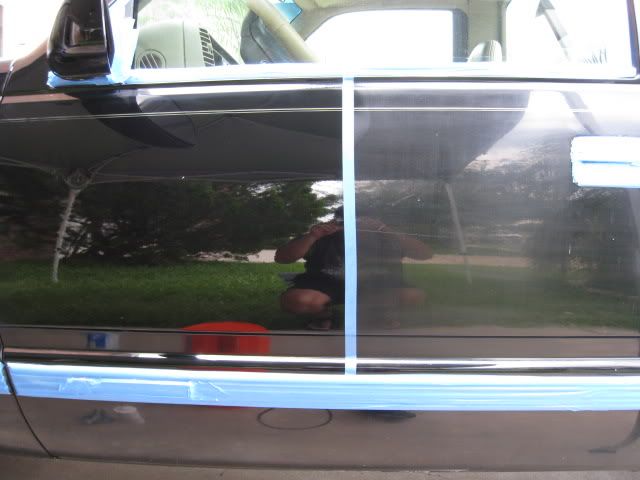
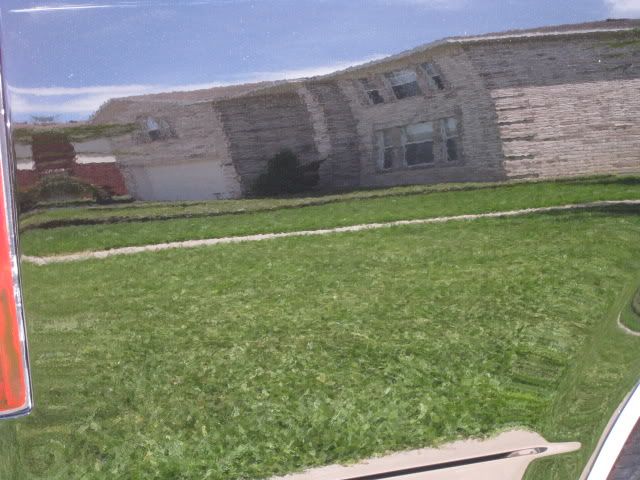
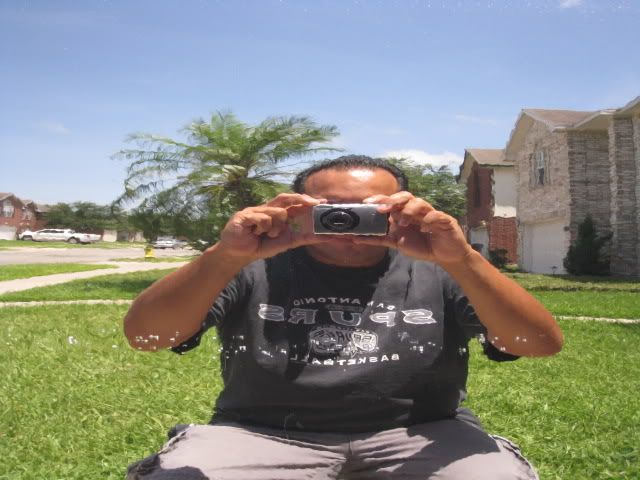
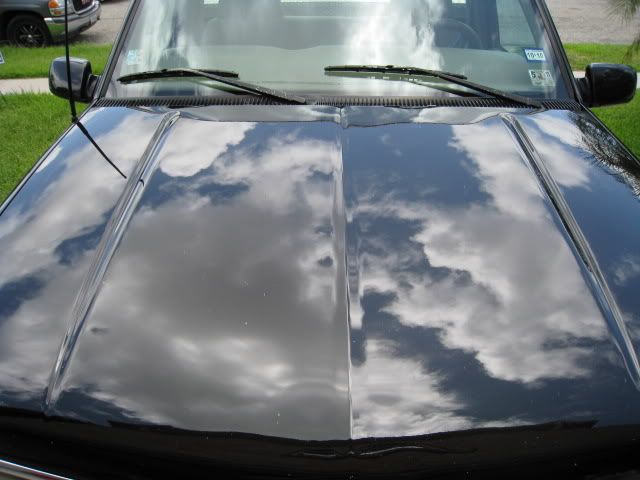
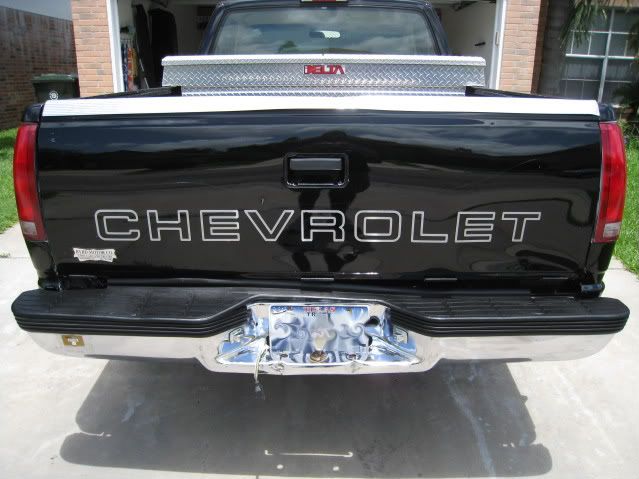
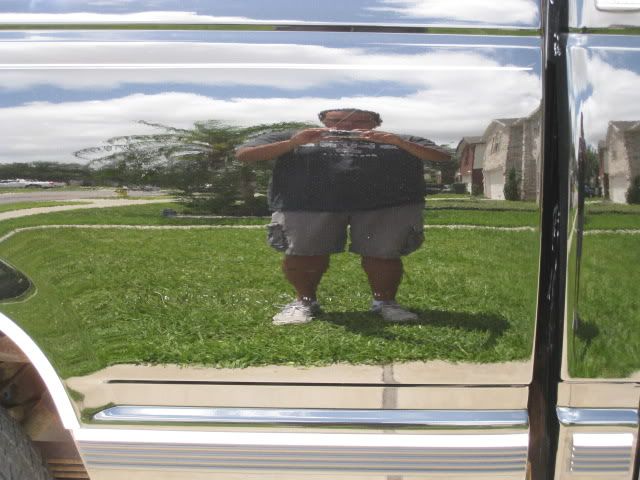
Now for the after shots and one 50/50.
IMG_1248.jpg

IMG_1276.jpg

IMG_1278.jpg

IMG_1272.jpg

IMG_1271.jpg

IMG_1269.jpg

IMG_1269.jpg

IMG_1265.jpg

IMG_1264.jpg

IMG_1260.jpg

IMG_1261.jpg

IMG_1263.jpg


This project was a lot of fun for me. I've always wanted to try wet sanding a whole vehicle and I also got to practice with my rotary. To be honest, on the day that it left I noticed that I had missed a small buffing trail. After using the rotary I went over the paint with my Flex to get rid of any buffing trails but managed to miss one. Overall, I was very happy with the results. My friend was shocked when he saw it. He was actually thinking about getting it repainted. On the day he picked it up from me, he brought someone over to look at it and sold it to that person. :clap:

Thanks for taking the time to view my thread. I welcome all input and comments. Thanks, amigos.
 
Nice work! Cheese grater marks no more!!!

That's a good plan to follow the rotary with the DA. I've heard of others doing the same.

Turned out great......:cornut::wink:
 
Duuuuuude!

That really was a remarkable turnaround. Your friend must not have even recognized his own truck.:clap::clap::clap:
 
Great save there Marco, your work paid off in helping your friend sell the truck, hope you got a tip from your friend.:wizard:
 
WOW!!! Fantastic results on that beat up truck. Sounds like you had a great opportunity to try some pretty aggressive things to bring it back. That's always a good thing for the experience factor.

A testament to your work was the immediate sale!
 
Thanks you for all the compliments!! :) This truck was a lot of fun to work. This is the second black GM vehicle that I've worked on. I've really come to like GM black paints.

I personally love details like this. Simply stunning work, how long did you have invested into the job?

Thanks, Todd. All in all, I put in close to fifty hours on it...give or take one or two hours. It was a slow process for me because I was working outdoors in the direct sunlight and was having trouble with M105 drying out a lot and also because I found myself having to take a ton of water breaks. I was also using this opportunity to try out some new polishes and pads that I have.
For example, I tried using M105 on a Hydro-Tech Cayan pad. While I loved the finish that this combo produces I wasn't thrilled with the fact that the pad started breaking down. It looked like there was blue snow on the truck.

I also tried using Menzerna Power Gloss, SIP and Power Finish on various pads. In the end I ended becoming a huge fan of Power Finish!! This is a great product!! It's just what I've been looking for. It's not as strong as 105 and finishes down just as nice as 205. Plus it also has a great work time. The oils in it didn't dry out like the ones in 105 did. Maybe it was my technique with the Makita, but I didn't notice a difference between the finishes that were produced with 85rd and Power Finish. Either way the gloss from both was just :drool5: .

Man, I had a fun time with this one. Plus, I also knew that this would be a blessing for my friend. He's moving this week and the sale of this truck was something that was looming over his head and causing him stress.
He's a faithful servant of the Lord and because He put it on my heart to help him out, I had no problem doing it for him for free. Actually not for free. He owes me lunch so I need to collect before he leaves. :driving:
 
I forgot to mention that Menz Power Finish in conjunction with a Hydro-Tech Tangerine pad delivers stunning results! I think that this is going to be my go to combo. for vehicles with light to medium defects.

How do you guys polish tail lights? I sanded these and used a PWF/M105 combo on my Flex for them, but I think I could have achieved better results if I would have used maybe 85rd on my Makita. Could someone please offer some tips when using the Makita for lights? What speed, number of passes and pads should I use?

Thanks again, guys.
 
Back
Top