Hey everyone,
Had a client come in for an extensive interior clean and a one step polish. He will hopefully be coming back for a full paintwork restoration.
I know the colour is hit and miss when it comes to everyones opinion but the
colour grew on me.
In anycase the vehicle was brought to me in extremely contaminated condition. There was a lot of claying needed. I used a total of 4 full clay bars. I usually only need 1. The interiors leather needed a lot of attention you will be able to tell by the pictures. You will also notice that I did a lot of cue tipping. I found it relaxing inbetween all the claying and polishing.
We will start with the interior pictures and then to the exterior.
Hope you enjoy.
Cheers,
Nick
Process
Wash
3 buckets
EZ Brush
2 Wheel Brushes
Cue Tips
P21S TAW
P21S Wheel Cleaner
P21S Metal Polish
Stoners Tarminator
Meguiars Gold Class
2 Sheep Skin Mitts
3 Chenille Mitts
32 ouch bottle and sprayer
4 Waffle Weave Towels
Clay
4 x Riccardo Yellow
Water and Soap 4:1 ratio
32 ounce Bottle and Sprayer
Paint Correction
Sonus White 6"
LCC White 4"
Menzerna Power Finish
Metabo
3M BP
RB BP
2 Halogens
3M Sun Gun
Fenix TK10
Interior
P21S TAW dilluted
Steamer
Ridgid Wet Vac
PB Leather Stuff
Folex
303 Aerospace Protectant
Tons of Microfibres
Stoners Invisible Glass
LSP
Zaino Z2Pro
Zaino Grand Finale
INTERIOR BEFORES


Grimy seat.


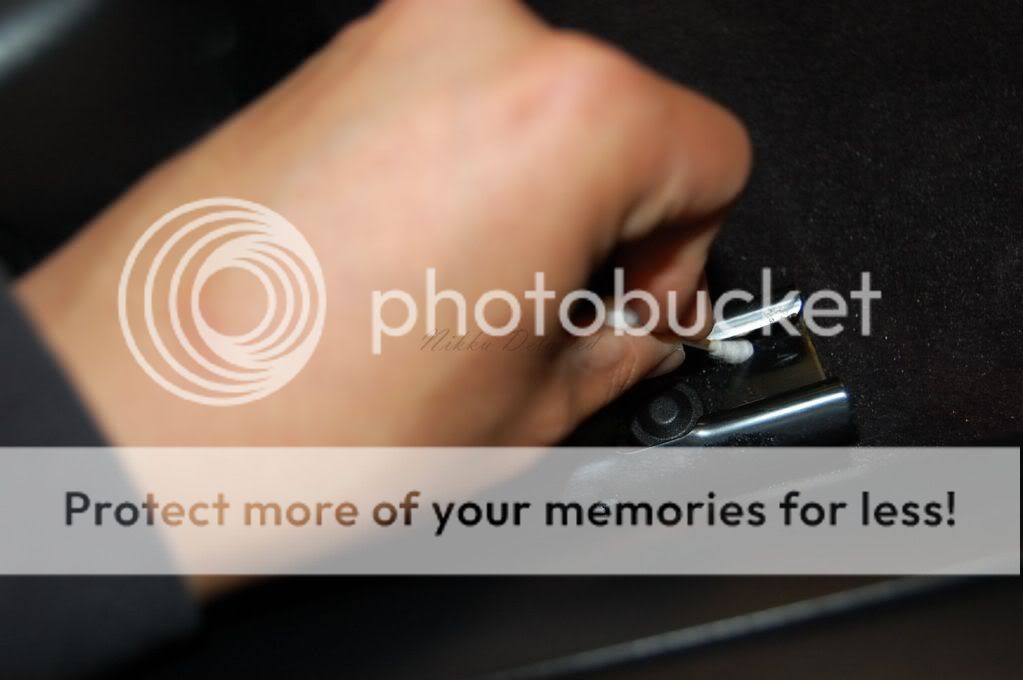

In these two pictures I was removing the dirt that was stuck on the excess grease on the seats track system with several cue tips.


This is what I pulled off the leather after steaming them. Steam was applied after a light rub down with P21S TAW, six parts water and one part p21s.

Leather being warmed up before application of Poorboys Leather Stuff ( I just loved the smell and the conditioning properties )
INTERIOR AFTERS


Now on to the exterior
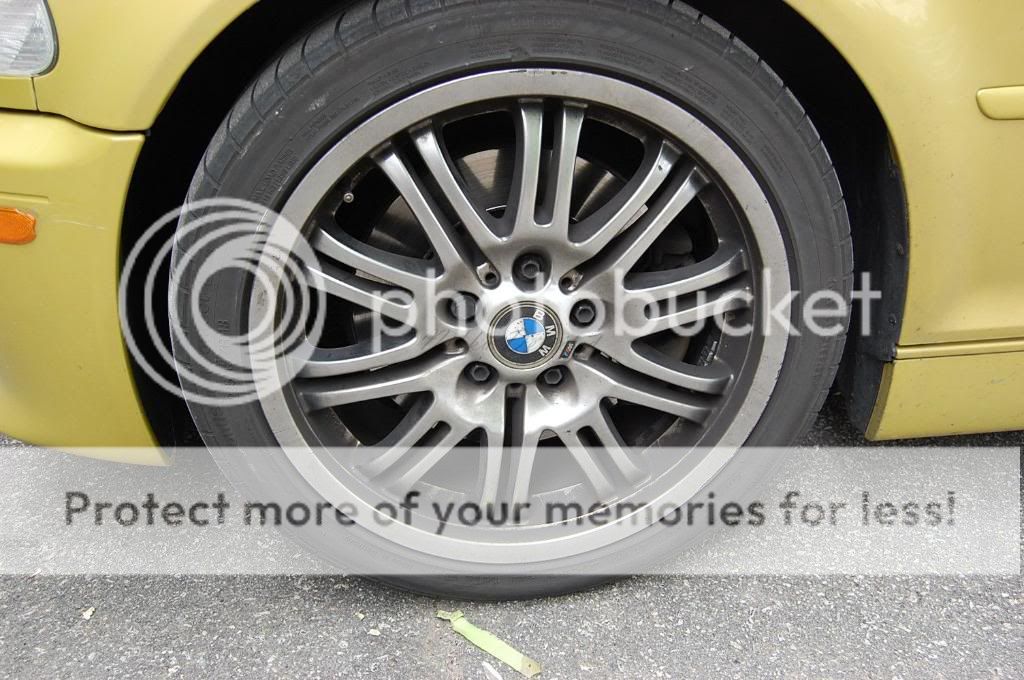
BEFORES


Just doing some drying with the compressor. They come in real handy for tight spots. It helps avoid little droplets of water when you're buffing and slightly vibrating the panels.
Had a client come in for an extensive interior clean and a one step polish. He will hopefully be coming back for a full paintwork restoration.
I know the colour is hit and miss when it comes to everyones opinion but the
colour grew on me.
In anycase the vehicle was brought to me in extremely contaminated condition. There was a lot of claying needed. I used a total of 4 full clay bars. I usually only need 1. The interiors leather needed a lot of attention you will be able to tell by the pictures. You will also notice that I did a lot of cue tipping. I found it relaxing inbetween all the claying and polishing.
We will start with the interior pictures and then to the exterior.
Hope you enjoy.
Cheers,
Nick
Process
Wash
3 buckets
EZ Brush
2 Wheel Brushes
Cue Tips
P21S TAW
P21S Wheel Cleaner
P21S Metal Polish
Stoners Tarminator
Meguiars Gold Class
2 Sheep Skin Mitts
3 Chenille Mitts
32 ouch bottle and sprayer
4 Waffle Weave Towels
Clay
4 x Riccardo Yellow
Water and Soap 4:1 ratio
32 ounce Bottle and Sprayer
Paint Correction
Sonus White 6"
LCC White 4"
Menzerna Power Finish
Metabo
3M BP
RB BP
2 Halogens
3M Sun Gun
Fenix TK10
Interior
P21S TAW dilluted
Steamer
Ridgid Wet Vac
PB Leather Stuff
Folex
303 Aerospace Protectant
Tons of Microfibres
Stoners Invisible Glass
LSP
Zaino Z2Pro
Zaino Grand Finale
INTERIOR BEFORES
Grimy seat.
In these two pictures I was removing the dirt that was stuck on the excess grease on the seats track system with several cue tips.
This is what I pulled off the leather after steaming them. Steam was applied after a light rub down with P21S TAW, six parts water and one part p21s.
Leather being warmed up before application of Poorboys Leather Stuff ( I just loved the smell and the conditioning properties )
INTERIOR AFTERS
Now on to the exterior
BEFORES
Just doing some drying with the compressor. They come in real handy for tight spots. It helps avoid little droplets of water when you're buffing and slightly vibrating the panels.


")