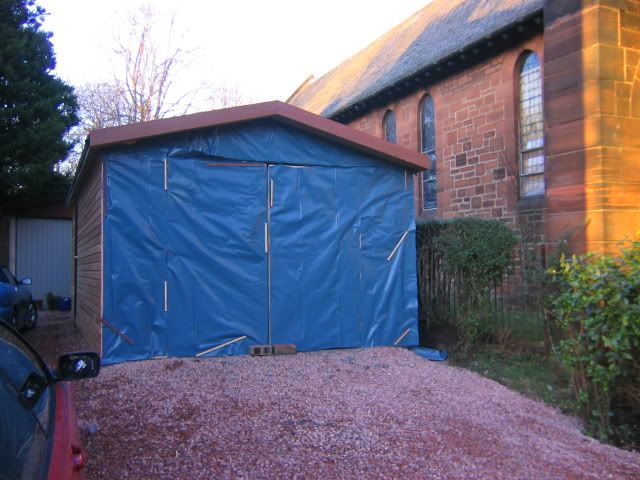
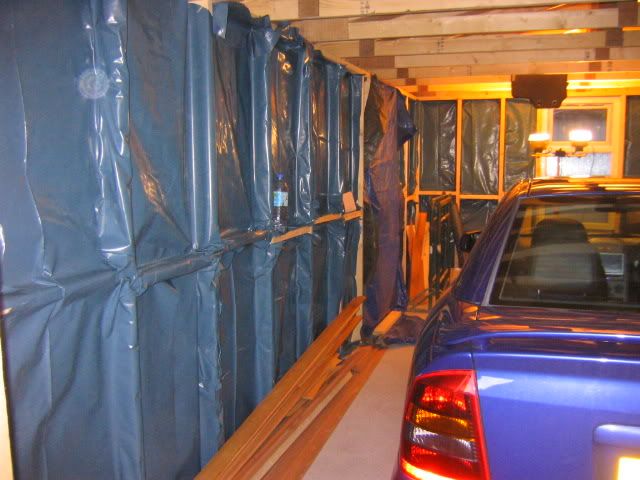
Finally starting garage (PICS)

Thanks guys!


Just got the electrical to be run in next, then insulation, guttering, fascias and plasterboard, ceder garage door then paint.


That should just about round it up, ill move all my detailing and tools in at the very end and give you a pic right at the end.
 
I love that cedar...so classy. You have lots of room left for detailing supplies and equipment so I bet you are very happy. Keep the pictures coming. :)
 
Wow that looks great! Are you going to cut out that threashold in the gagage opening? Looks like it would be a pain to drive over it all the time. What knd of stone is that? We do not have anything like that on this side of the pond.
 
Yeh the wood was just part of the front frame, just awating the door to be delivered and the front will be all sized up and then modified.


The stones that are used are known as red chips.
 
Red chips? like crushed red bricks? Do they last longer than say gravel, or is it for looks. Because I think it looks great!
 
Well they don't lose their colour if thats what you mean?


They are just used around here since all the houses have them.


I think it just chips of stone from a red rock I guess? Very technical answer as you can see lol !
 
Those red chips are great to clean tires off when driving into the garage. They are also great in rainy areas. Are a great surface to have for that kind of thing. If you have a lot of snow then you might think about another type of driveway. A snow plow would put all those chips onto the lawn or where ever you put your snow, I would guess.
 
Yeh, the stones do have their benefits.


To be honest when it does snow it never really settles in the city due to industrial heat etc etc, but if you go out to the "hills" you can see shed loads of it.


Just lucky I guess, im going mad not being able to polish my car properly, I really can't wait.
 
Ok here ya go, this is what I spent xmas eve doing, fun eh!! lol.


I made some doors this week, then sheeted the inside of the garage as it hadn't been done and sheeted the outside of the doors. The sheeting should be applied to the exterior fram before the ceder went on but hey, they never so I did lol.


Now all thats left is electricity, insulate, plasterboard and PAINT!!


Not much to go hopefully be finished mid jan :D


IMG_0067.jpg


IMG_0066.jpg


IMG_0065.jpg


IMG_0064.jpg


IMG_0063.jpg
 
hey your are almost done. what a nice gift to yourself for the holiday's.


Thanks for the pictures!!
 
Thanks for the comments guys, Ill post some pics once the doors and electricity has been run in.


After that I just have to insulate, plasterboard and PAINT wooooohooo. lol.
 
I just noticed another difference in the building process. Here in the states they put the vapor barrier (plastic) on the outside of the structure between the framing and finished material.
 
lol yeh we are supposed to but the joiners were working on it the first day and didn't really realise it wasn't just any old garage it was a DETAILING garage so I had to add the barrier once the build was complete :(
 
Ok here are the updated pics!!


Only got to tape and skim, electricity connected - wiring is in place, then paint!!


IMG_8037.JPG


IMG_8038.JPG


I have all my detailing tools ready to move in, as well as a newly purchased air compressor with some gravity fed guns. Nearly there!
 
Great space!! Can sure see why you have your detailing tools all ready. I would too! Like you halogen lights. Have ehat looks to be the same thing. Love them!! unfortunatley the switch to one of the lights failed on me the other day. Have not had a chance to fix it yet.


I look forward to your painting progress and future detailing posts from your new detailing garage.
 
Hey cwcad, you have really watched this from day one I think, thanks for your posts.


I hope I haven't bored you guys with the pics, I know it is pic heavy! lol.


Thanks !
 
Back
Top