Ferrari 288 GTO: Full correction and restorative detail using Scholl and Wolf's

Todd@RUPES

Just a regular guy
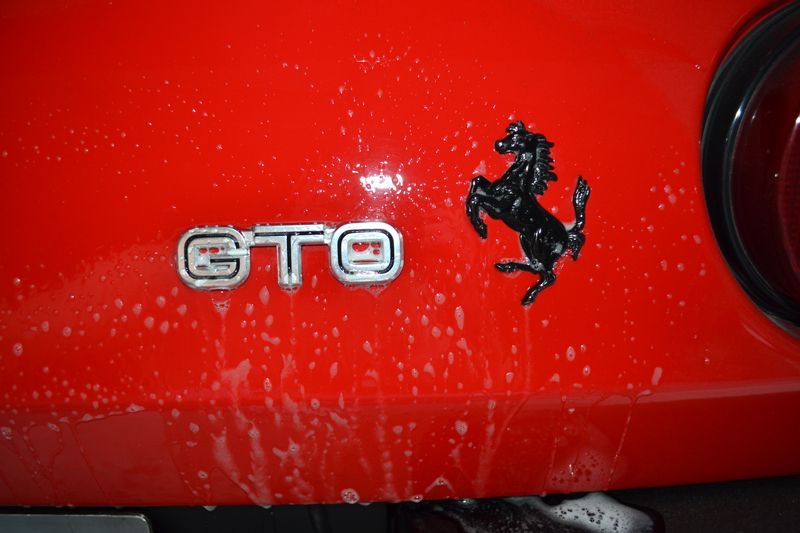
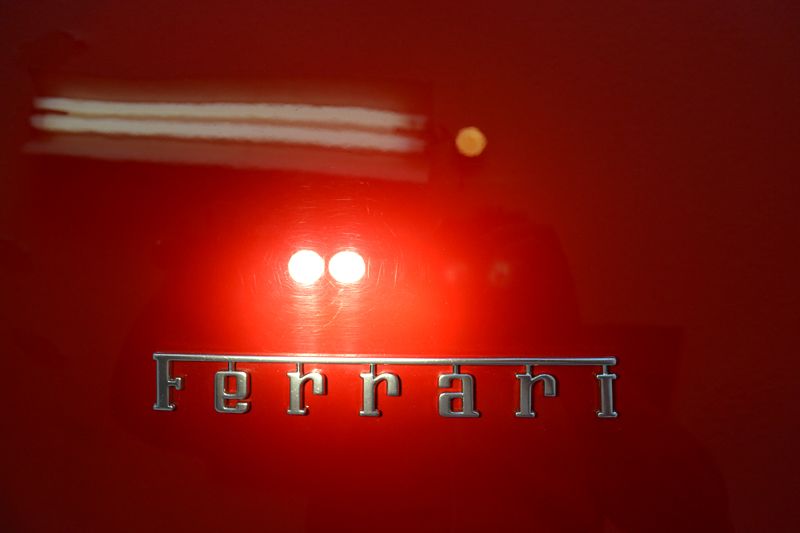
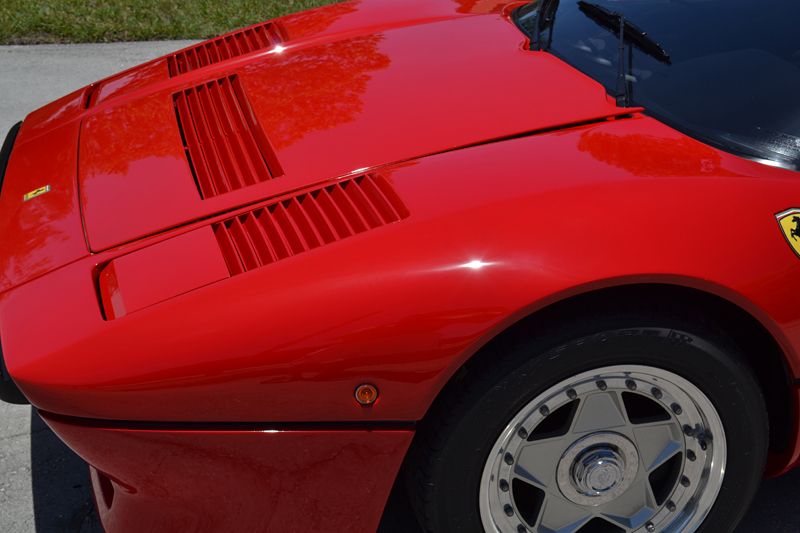
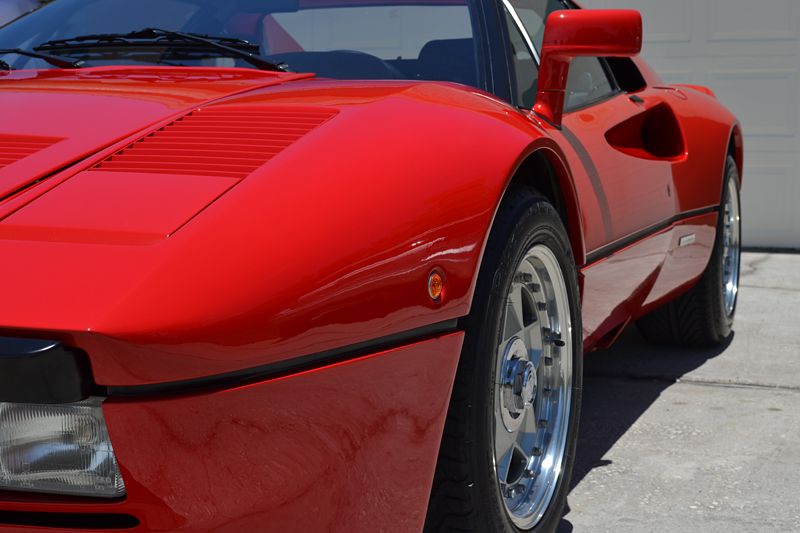
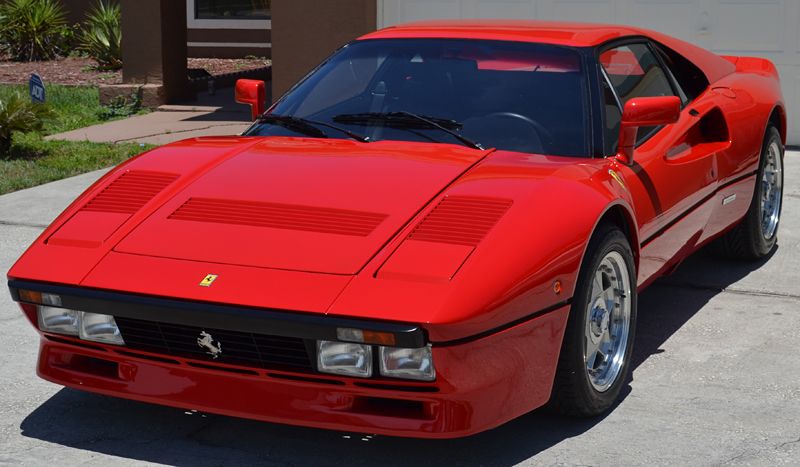
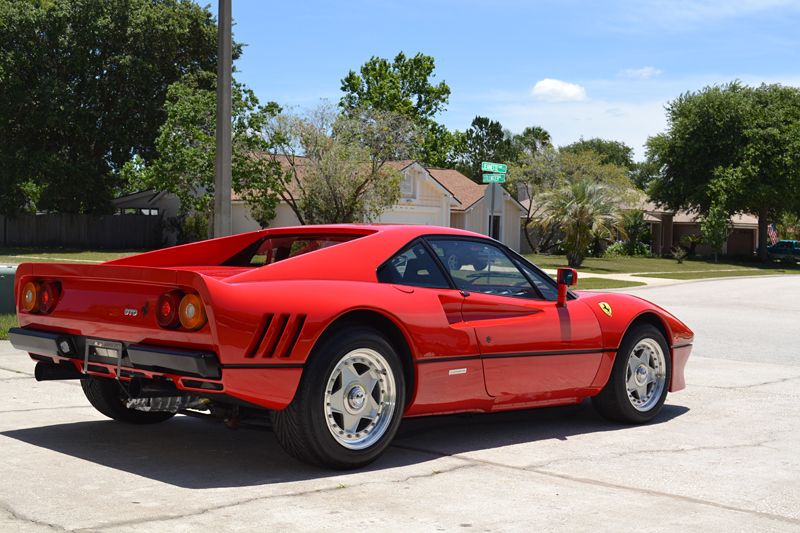
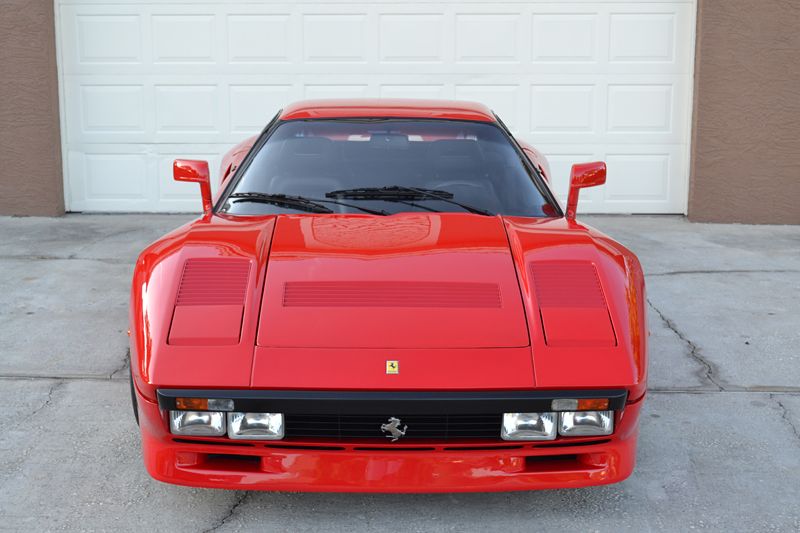
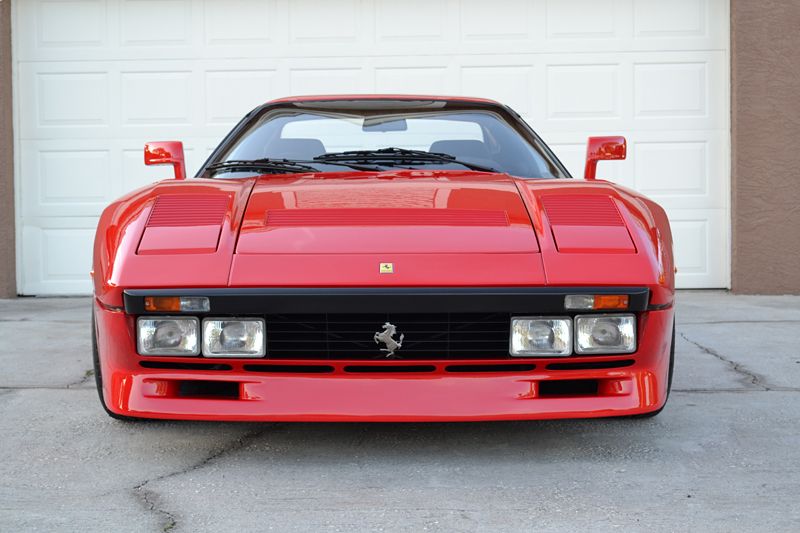
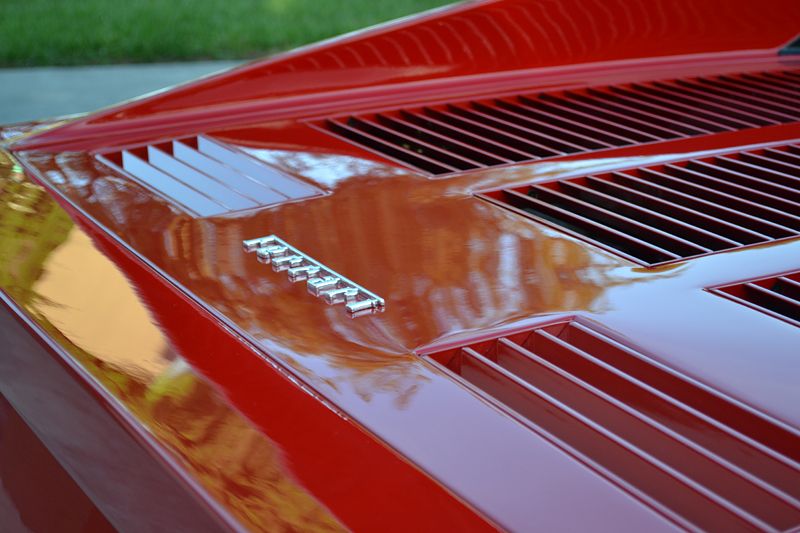
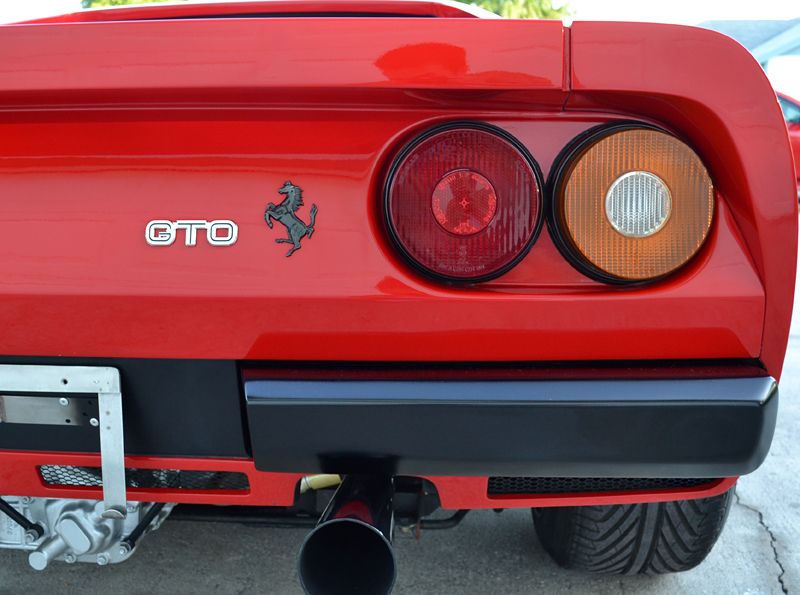
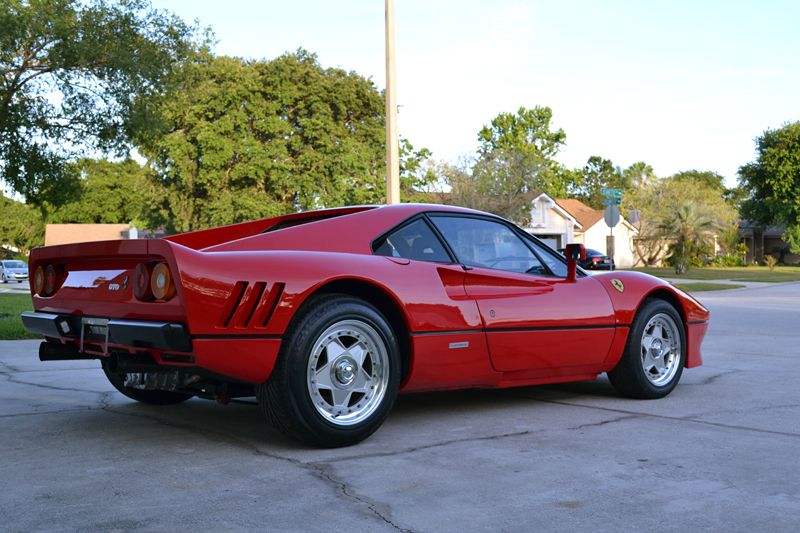
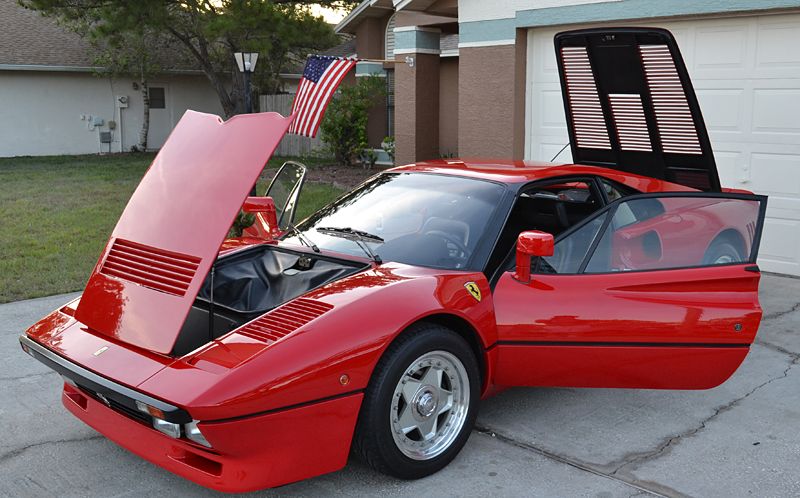
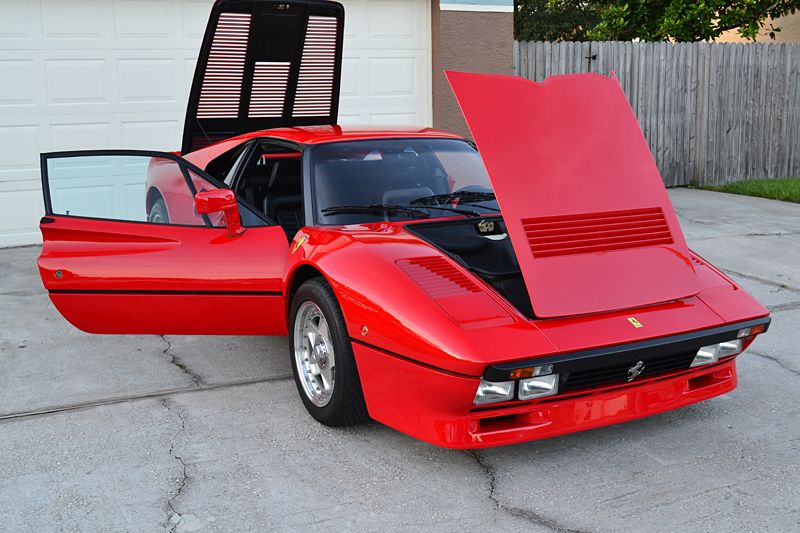
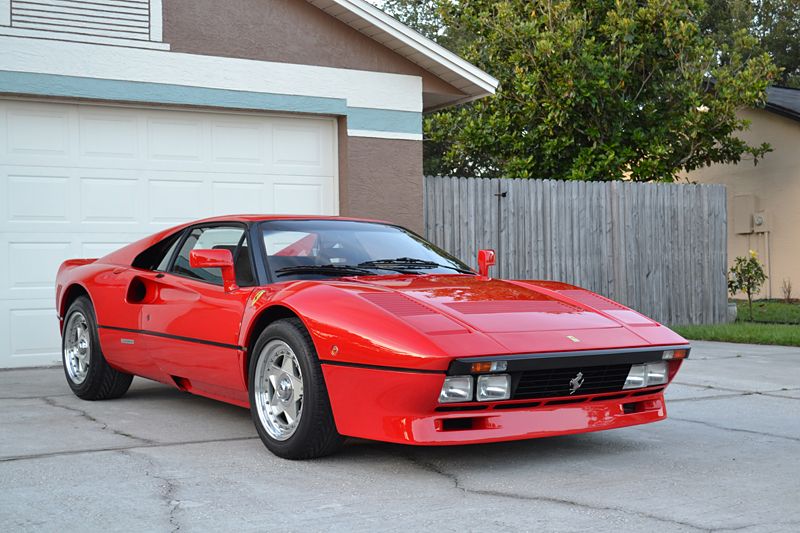
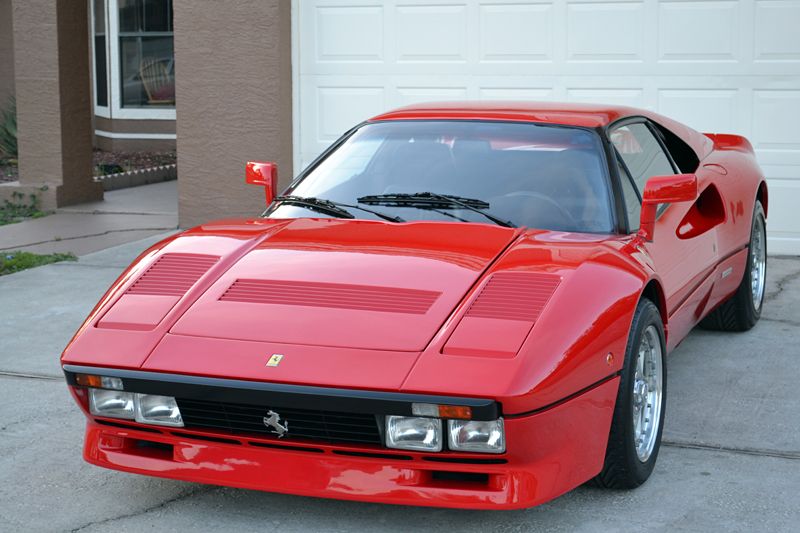
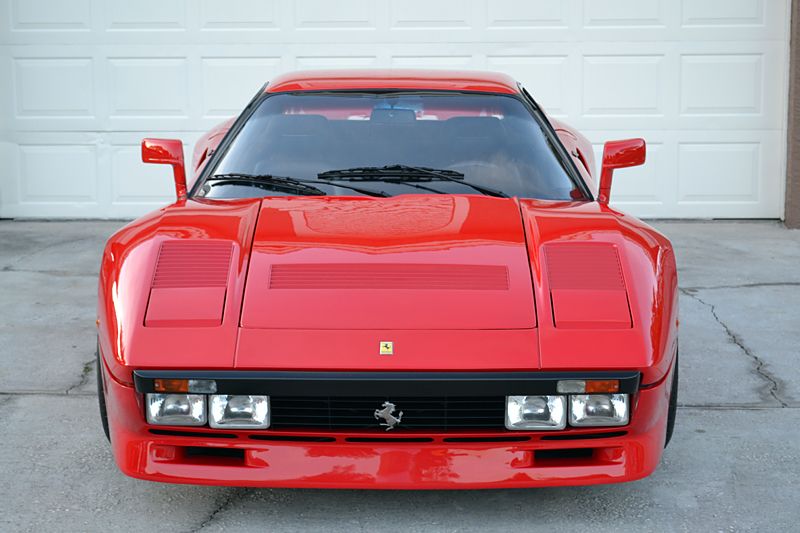
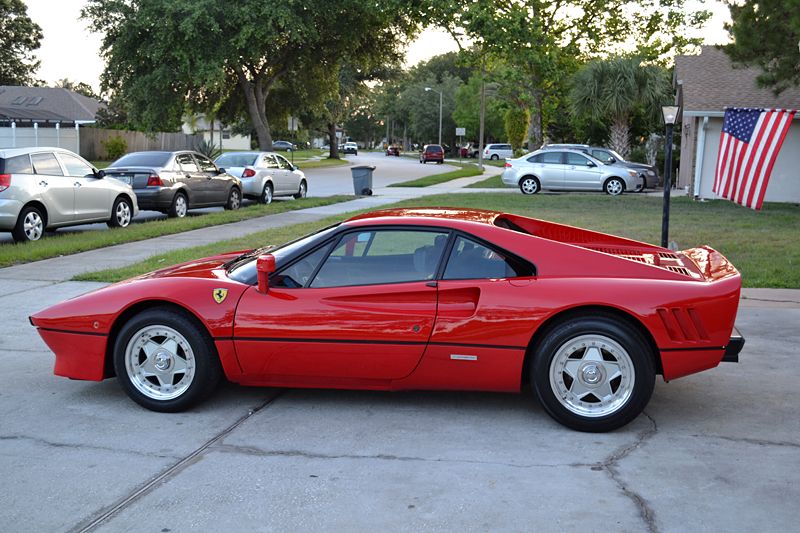
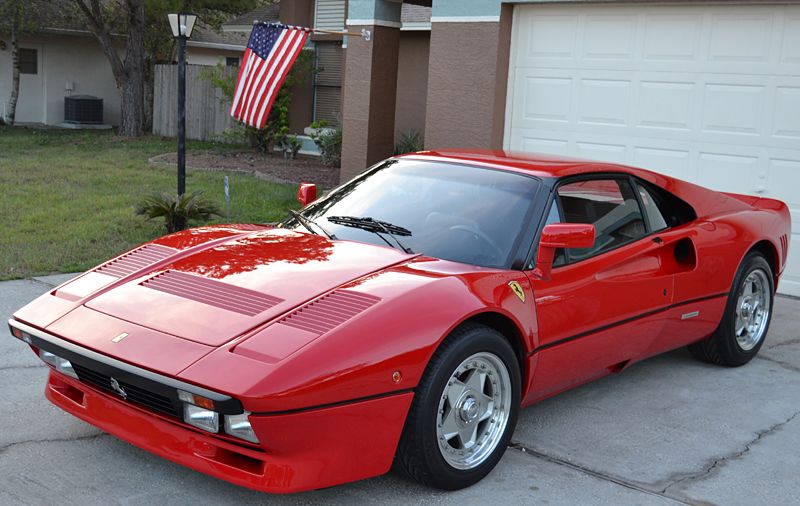
The Ferrari 288 GTO is a landmark car, and a rare one. This example, one of only 272 produced, remains a true example of Ferrari's passion for race car technology in a hand-built road variant. In a time when Corvettes had 225 horsepower, the GTO had (an underrated) 400. When lightweight sports cars pushed 4000 pounds, the GTO was around 2500.

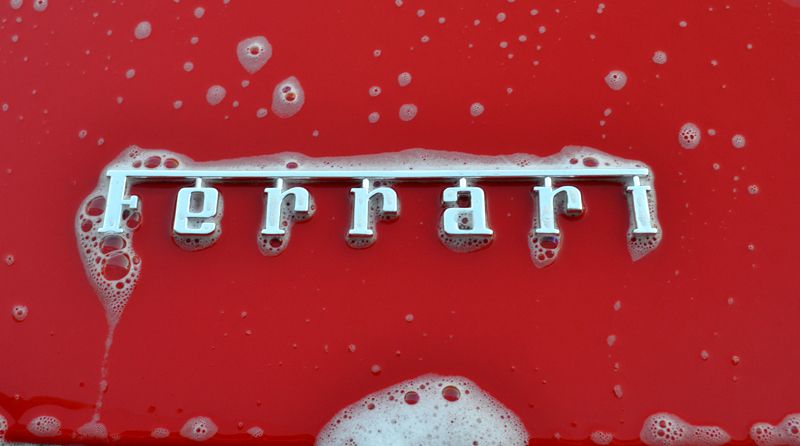
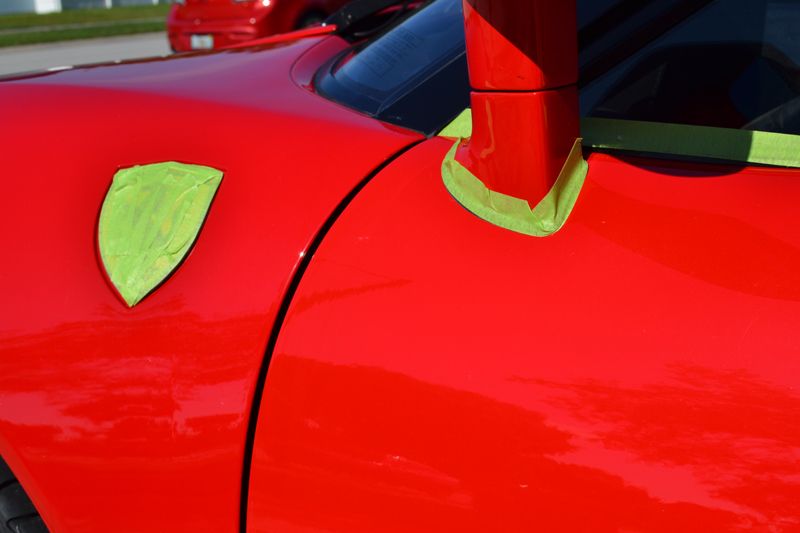
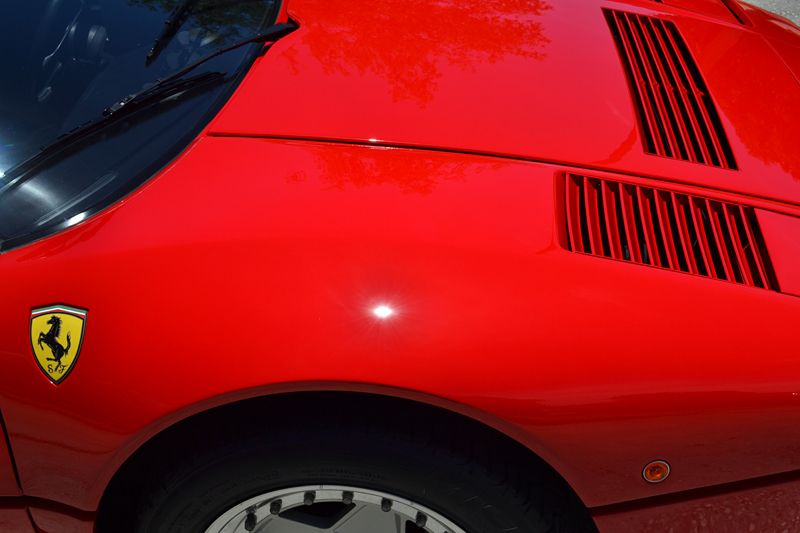
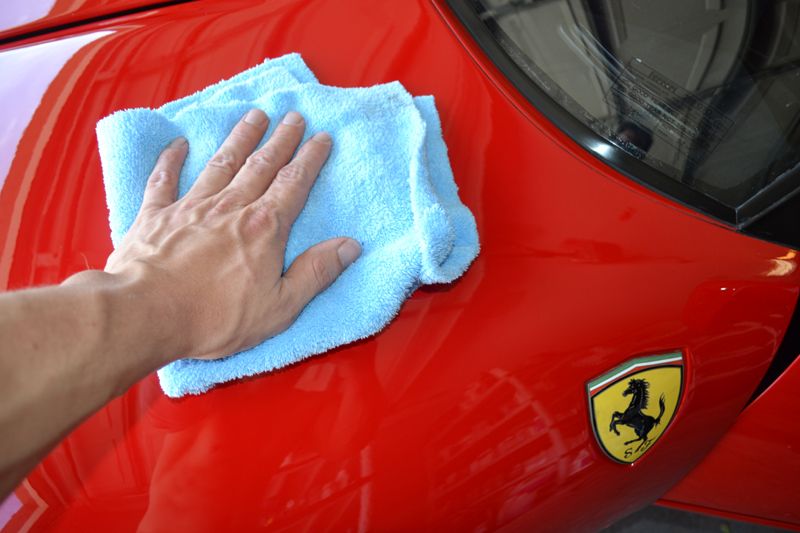
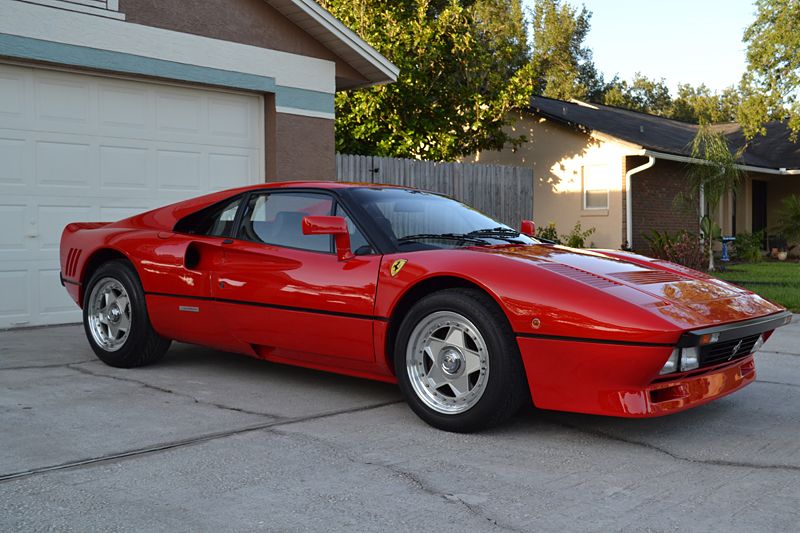
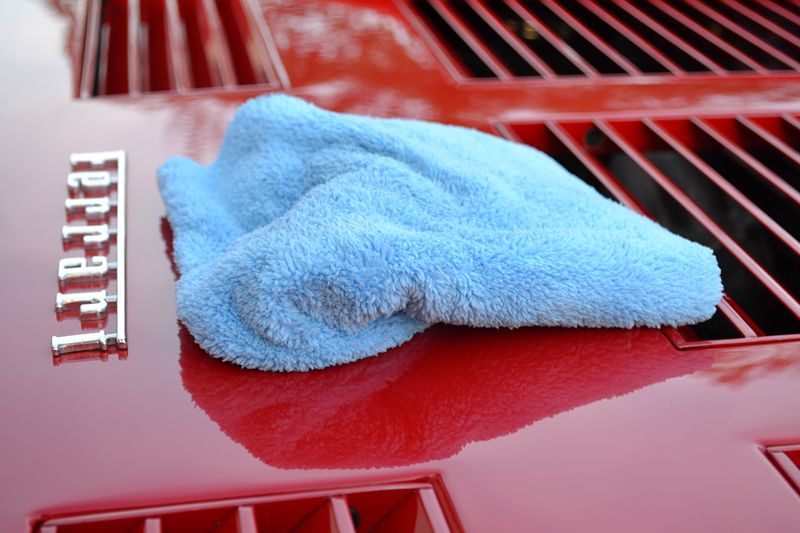
This hand built super car featured a composite body made of kevlar fiber, aluminum, or fiberglass. The value of these cars have skyrocketed in the last 2 years, with this example being worth 1.43 million dollars. It was my mission to make it look like the million dollar Ferrari that it is.

Initial Condition:

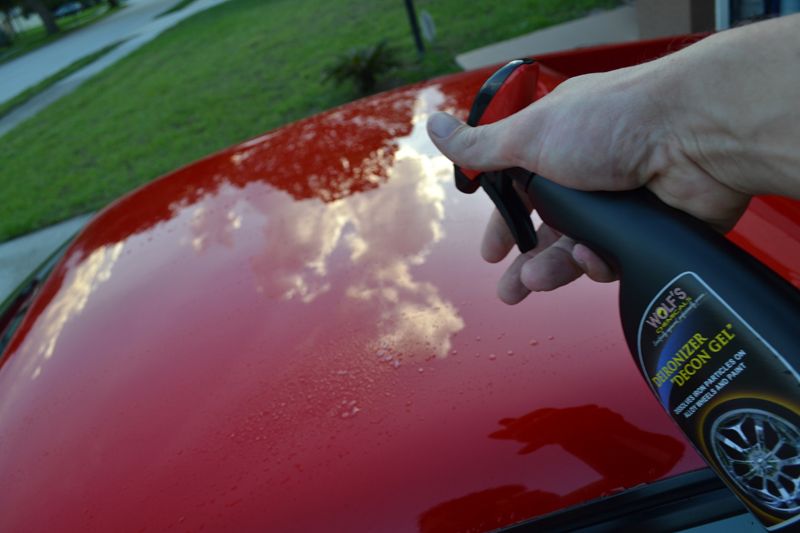
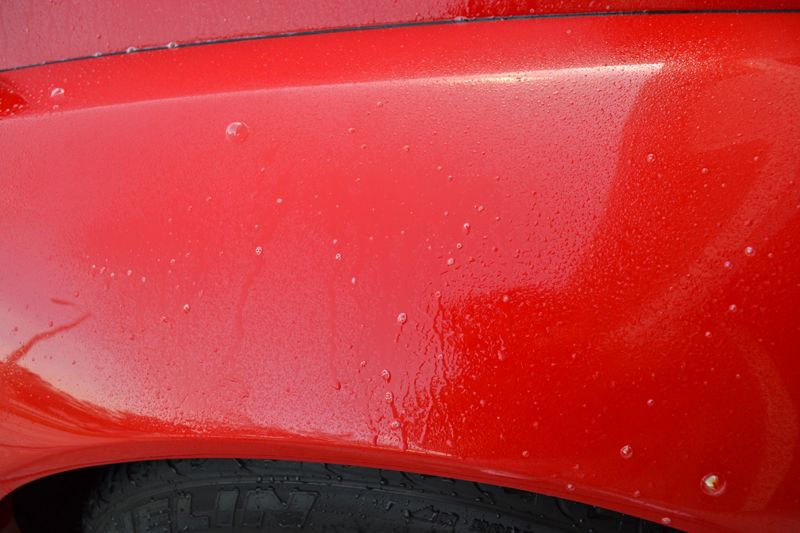
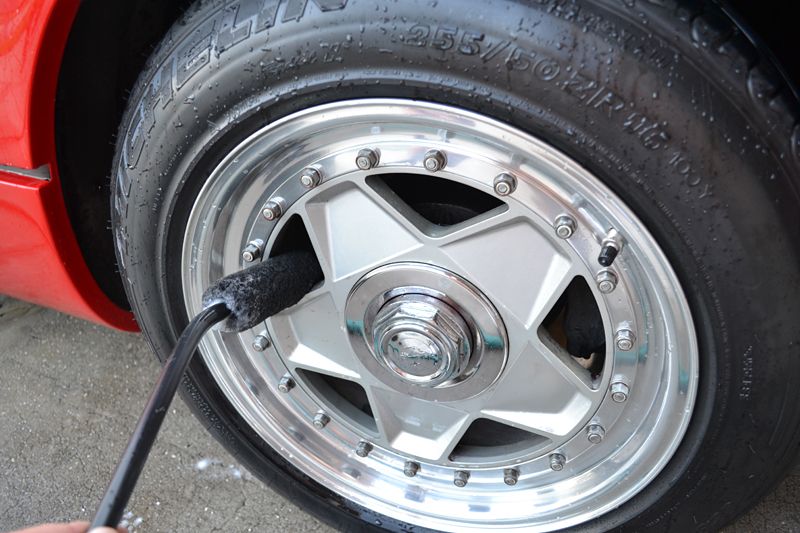
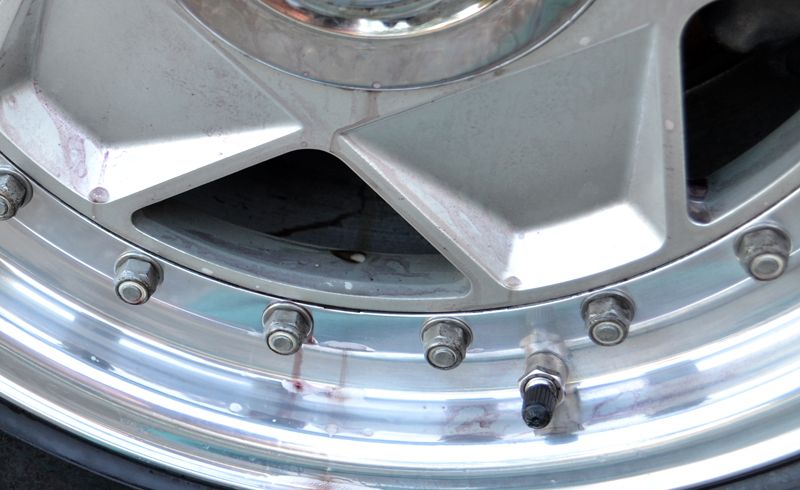
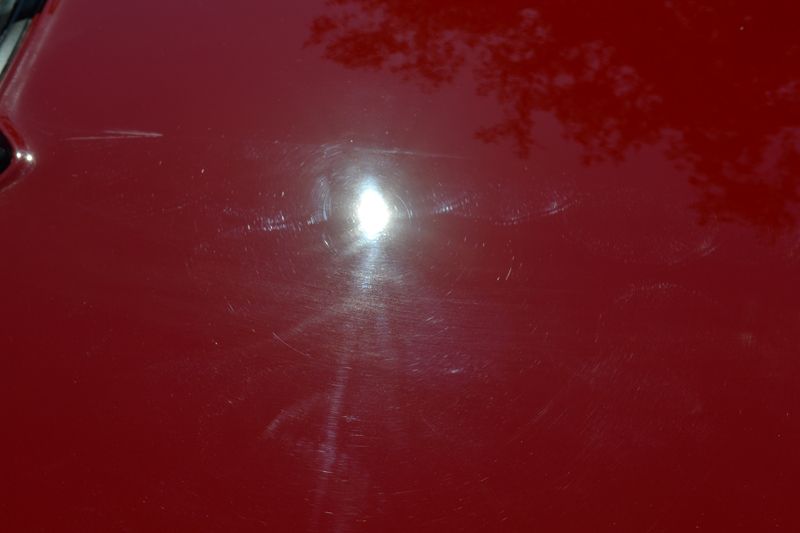
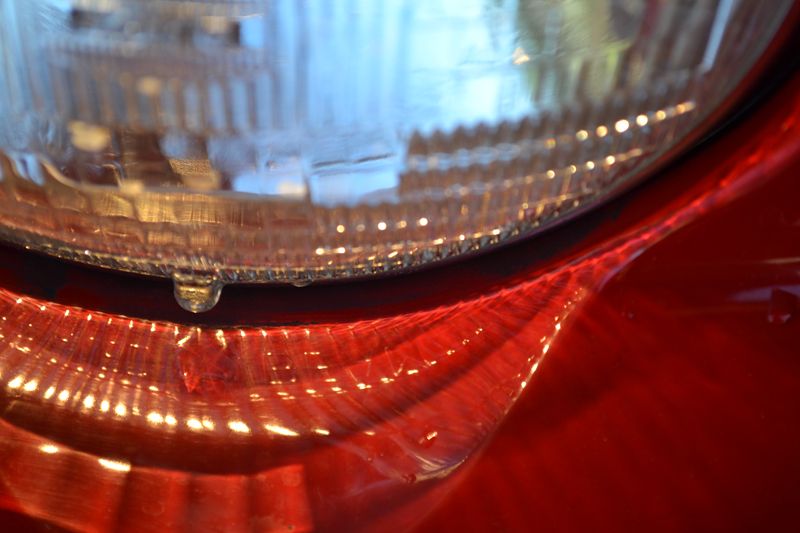
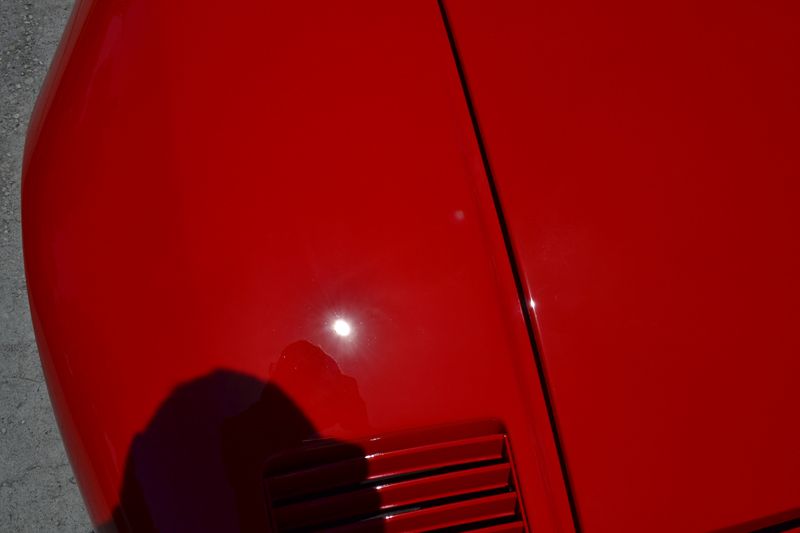
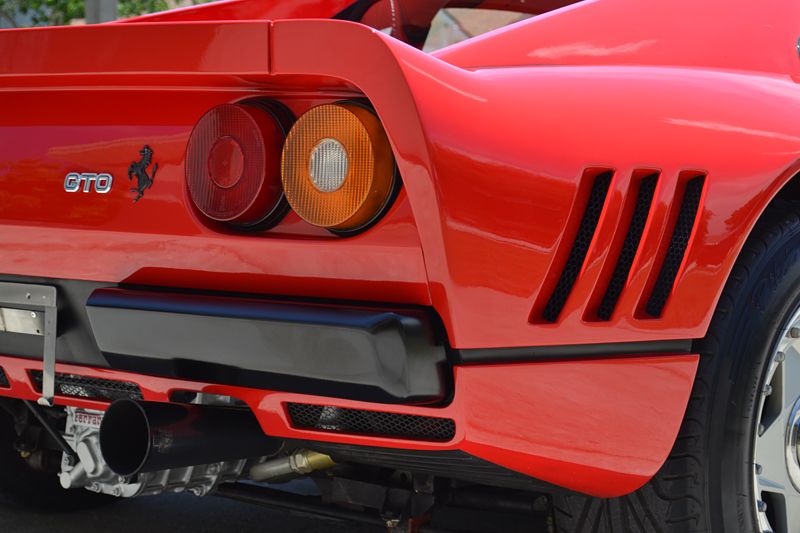
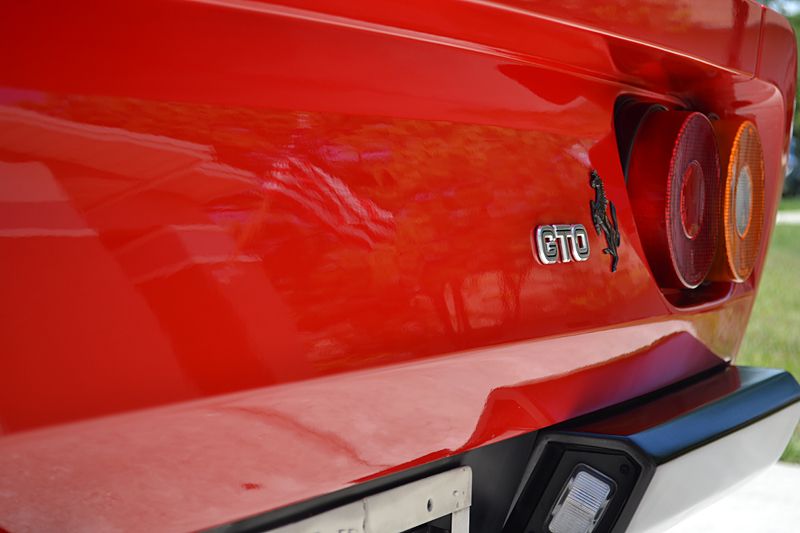
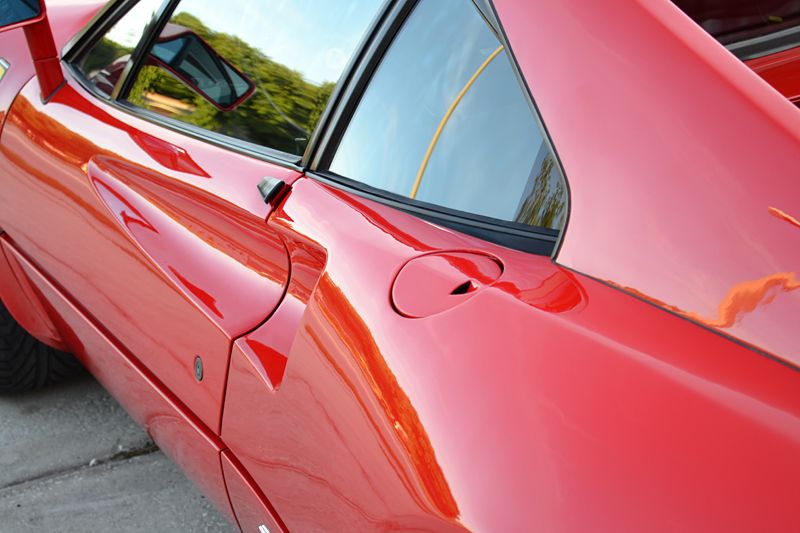
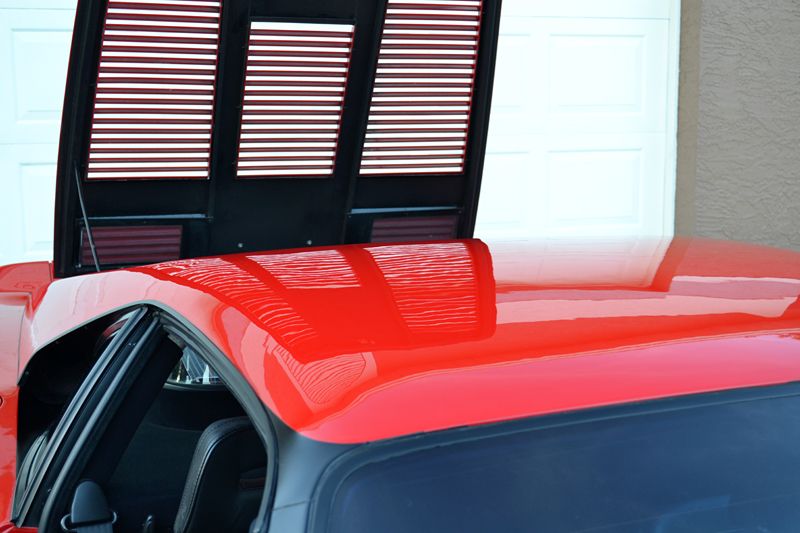
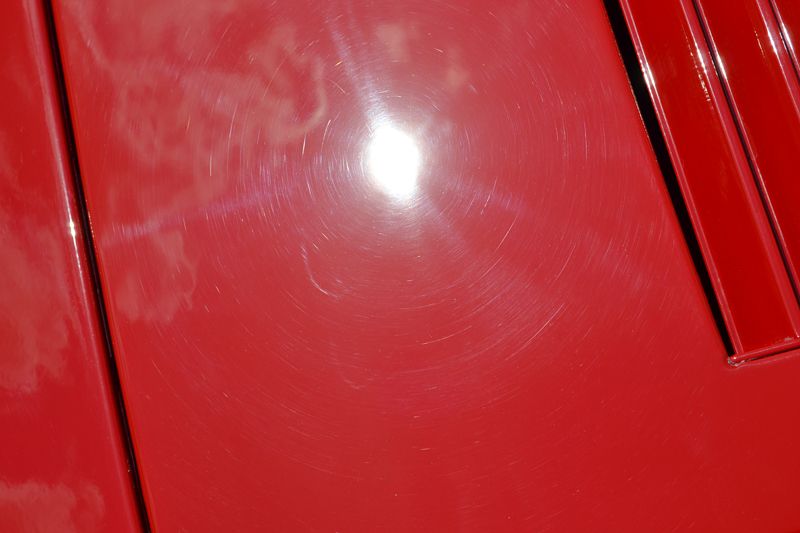
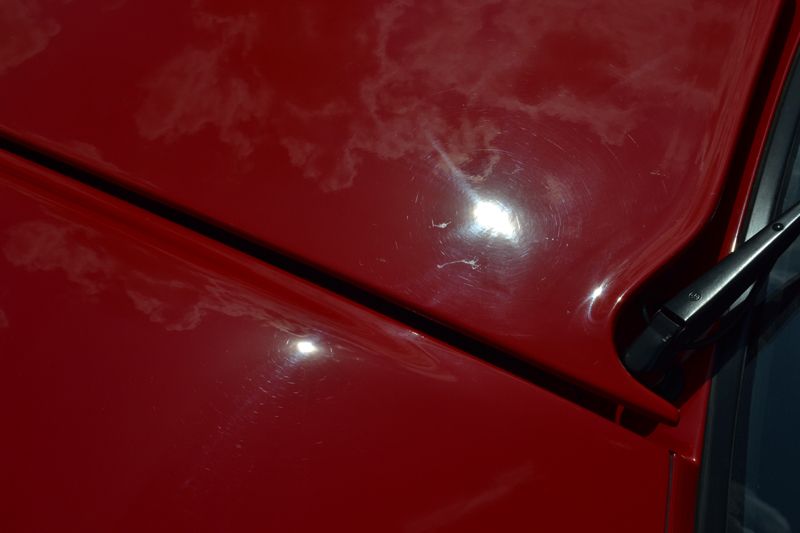
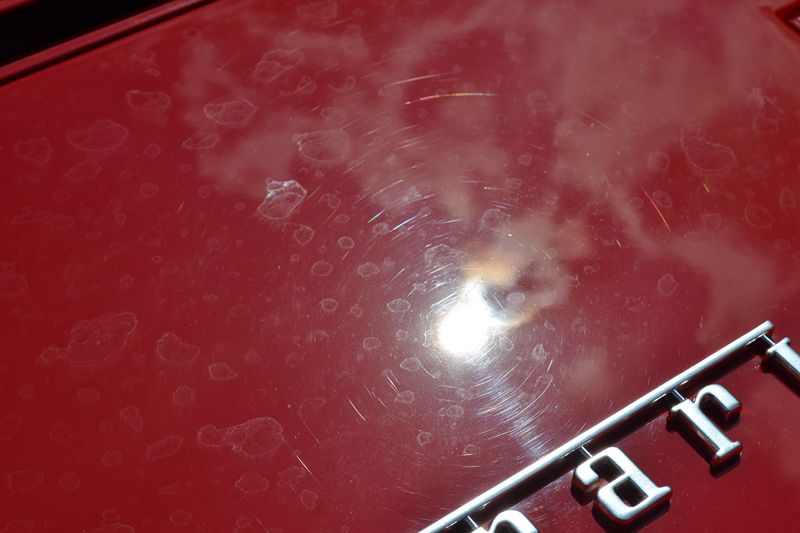
With only 4000 miles (6000 km) on the clock, this GTO is very original. However 30 years have passed since its creation and the tell tale marks of improper handling were evident: scratches, swirl marks, oxidation, water marks and more:

1.jpg


2.jpg


3.jpg


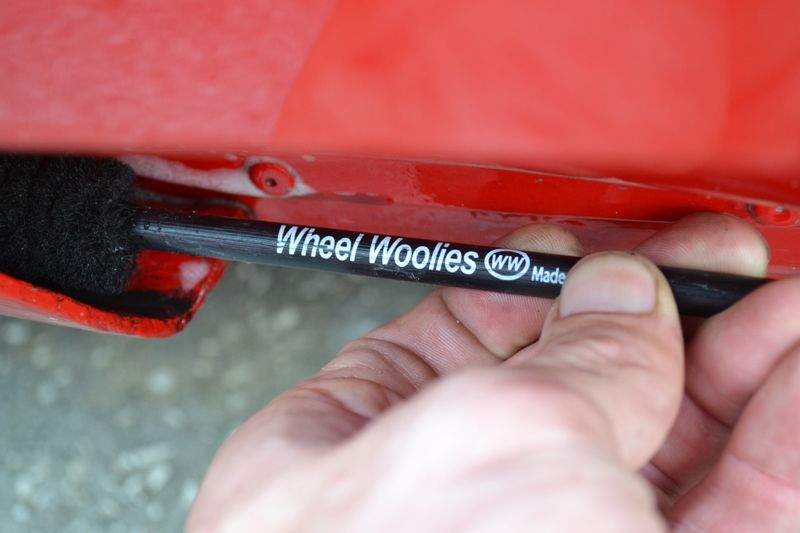
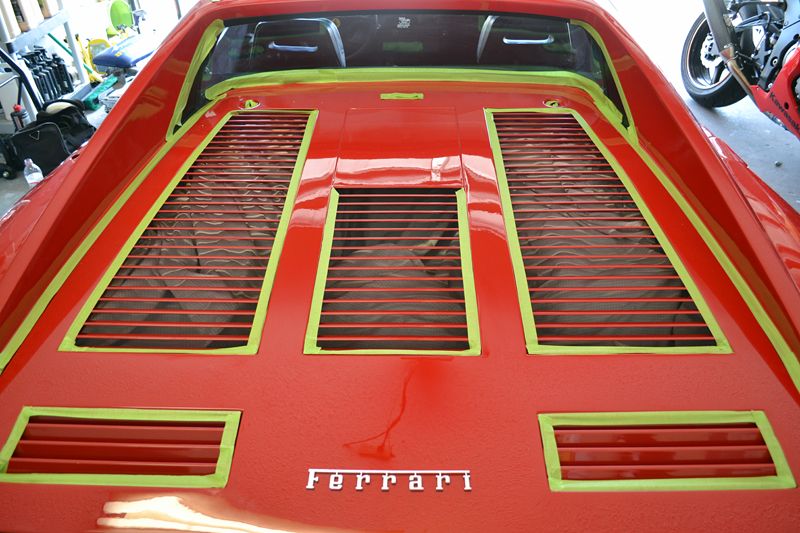
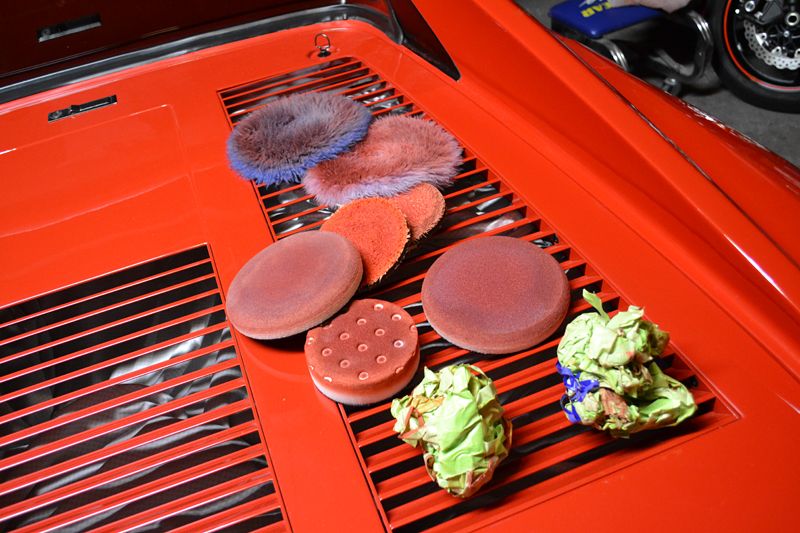
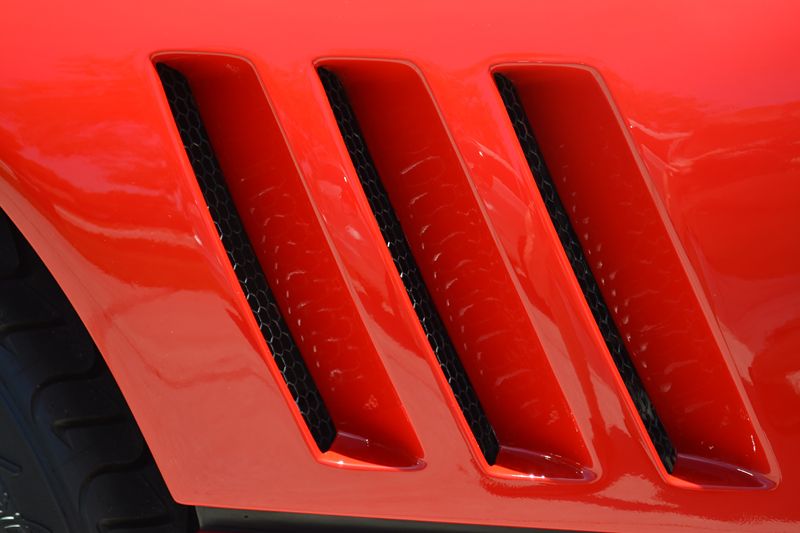
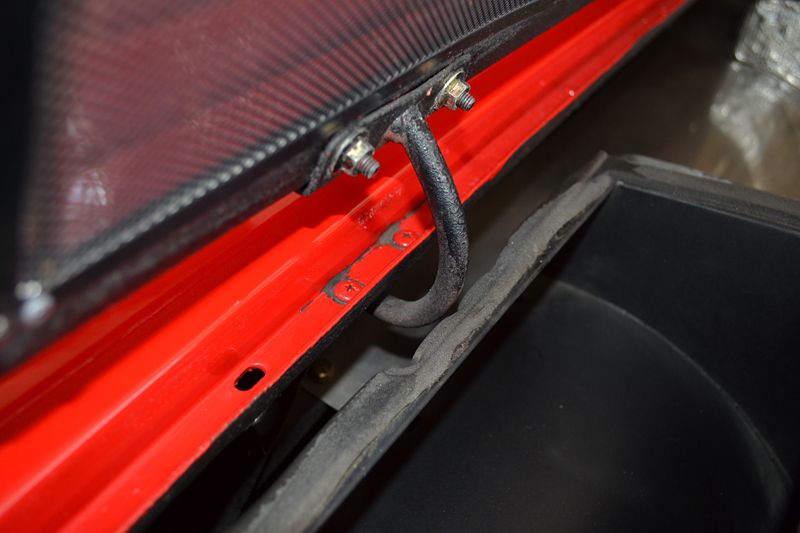
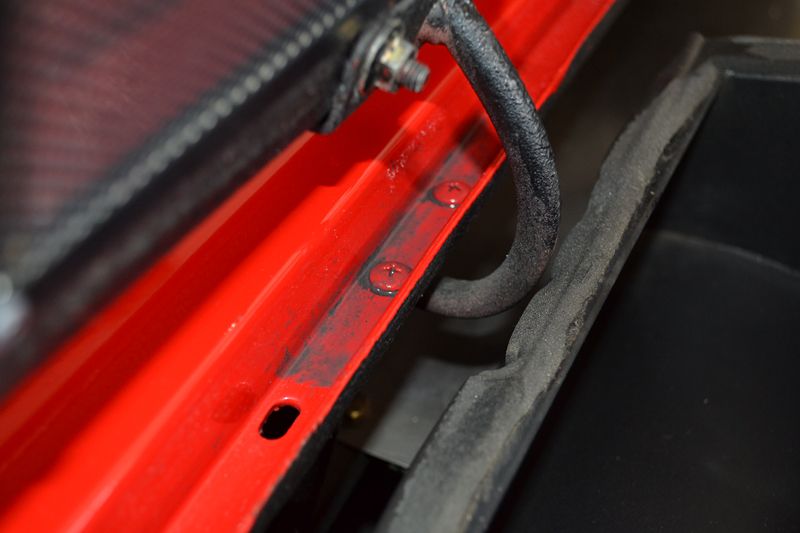
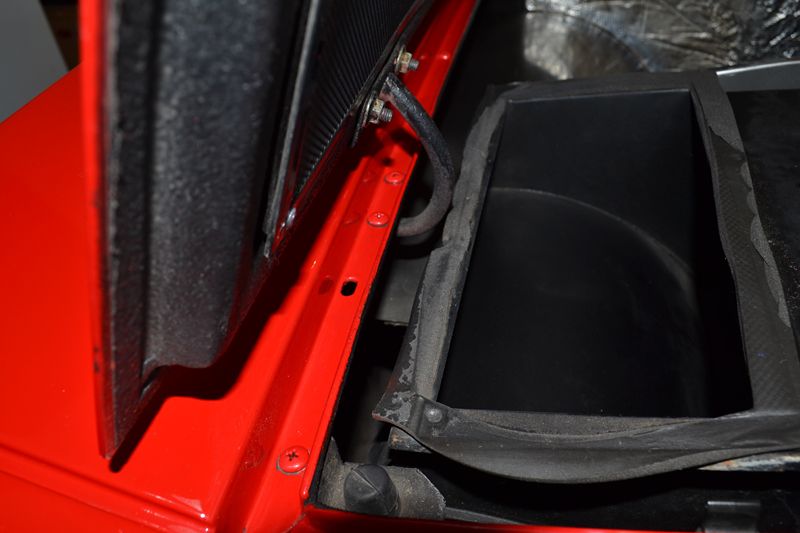
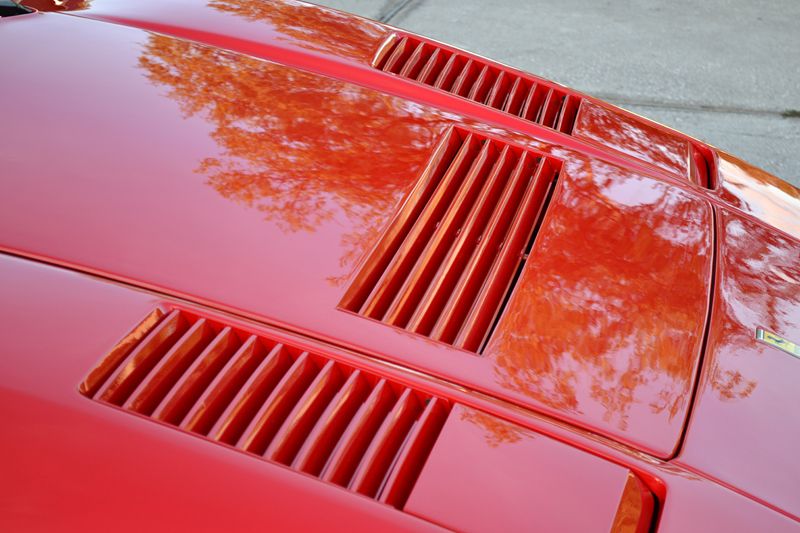
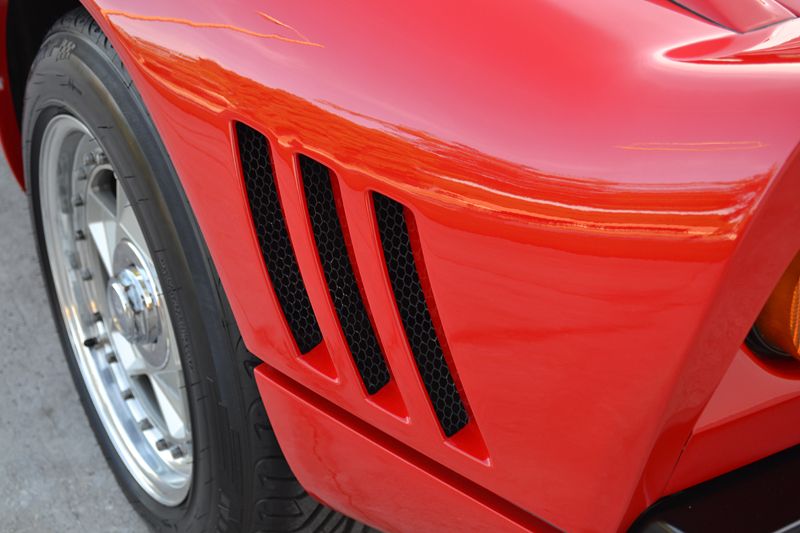
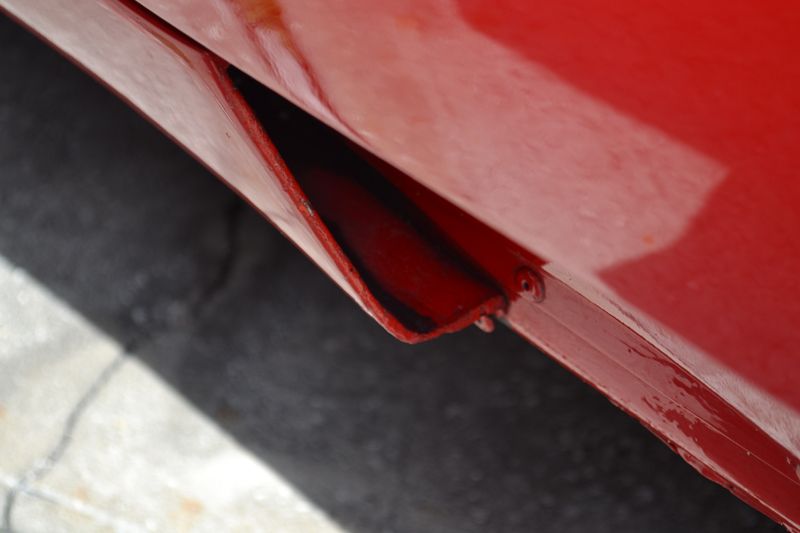
Grease and road pitch had accumulated into the side vents.
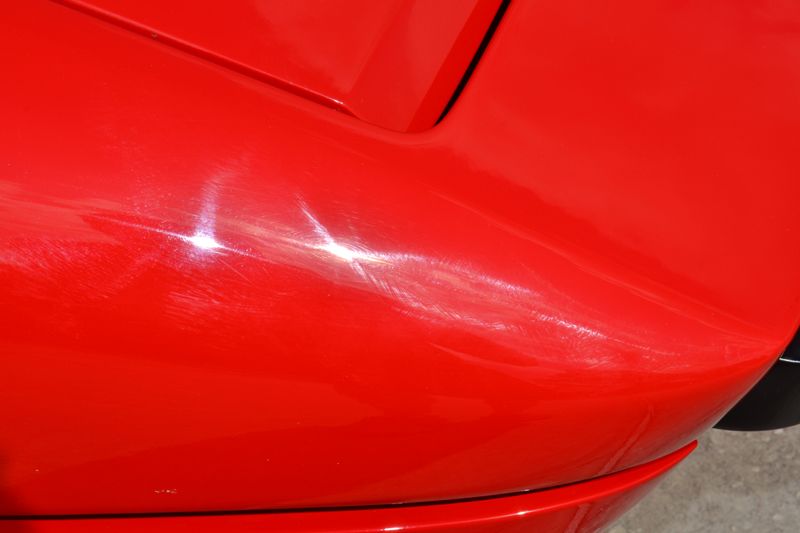
4.jpg


Buffer trails:

5.jpg


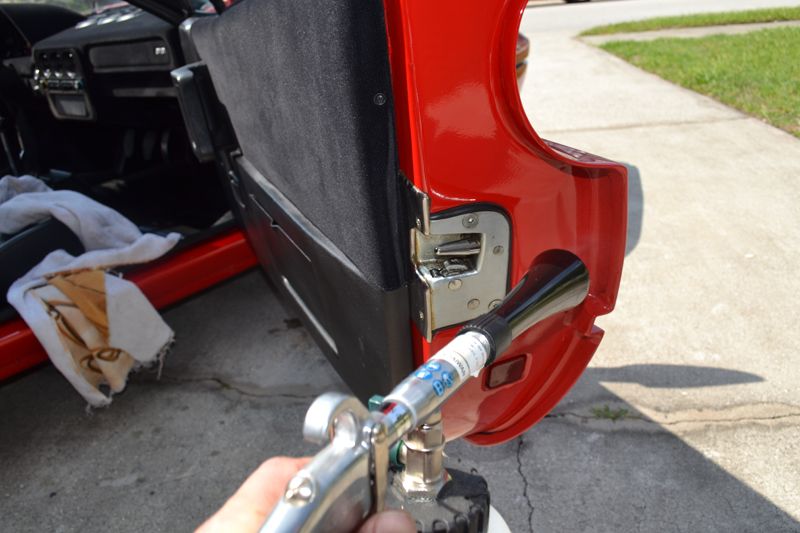
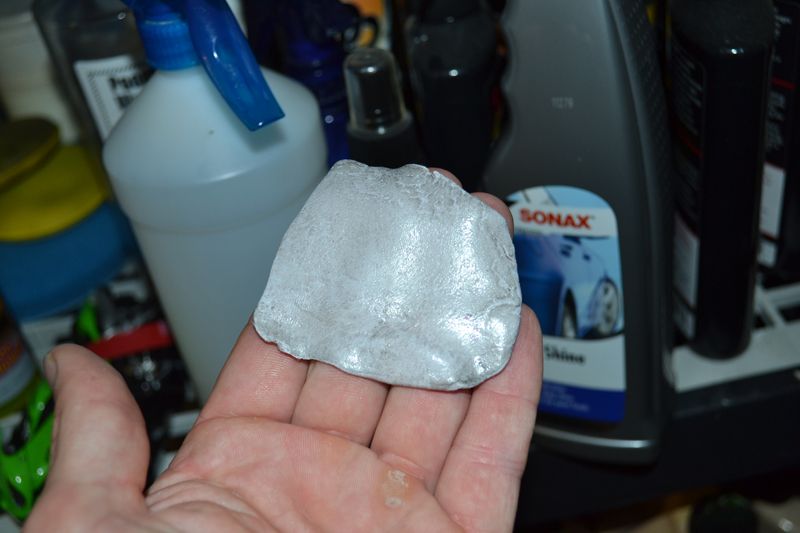
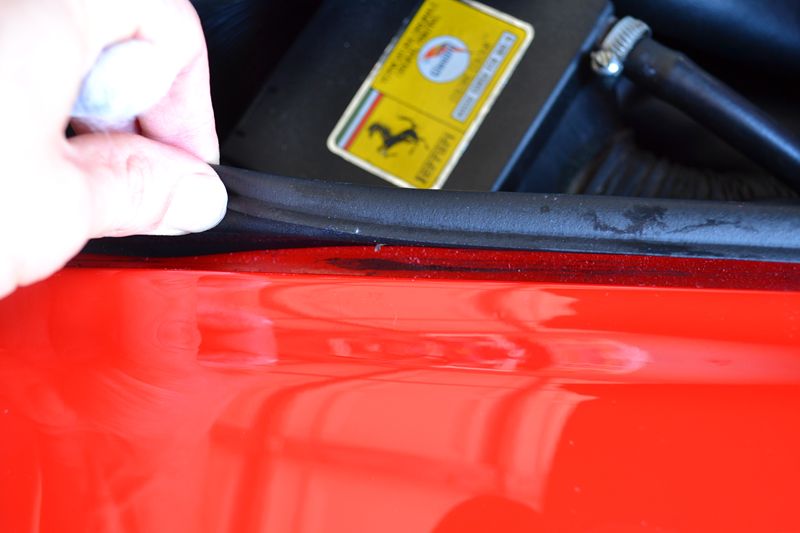
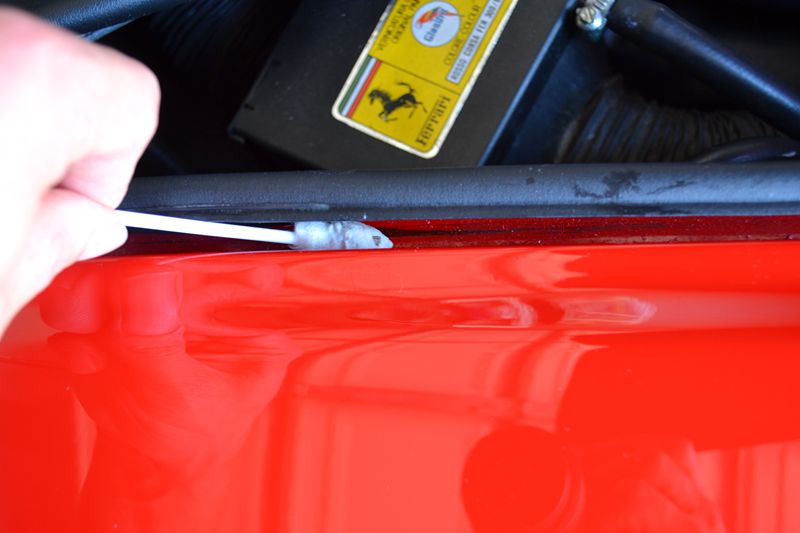
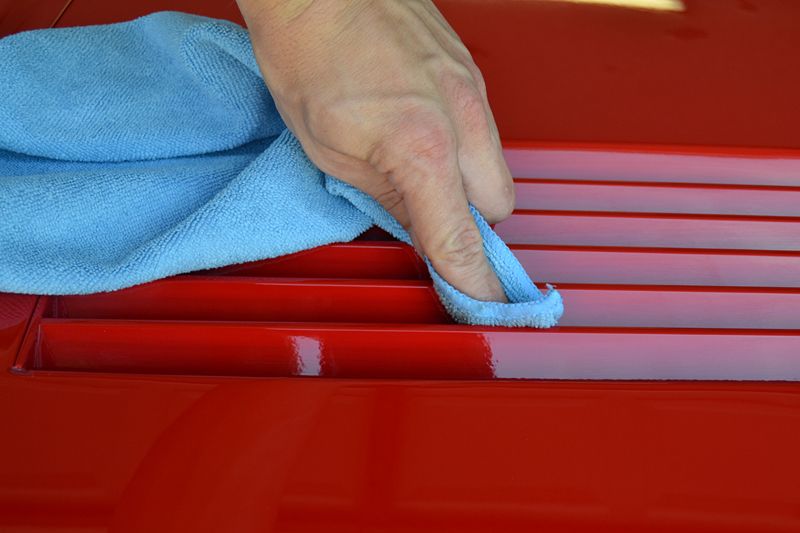
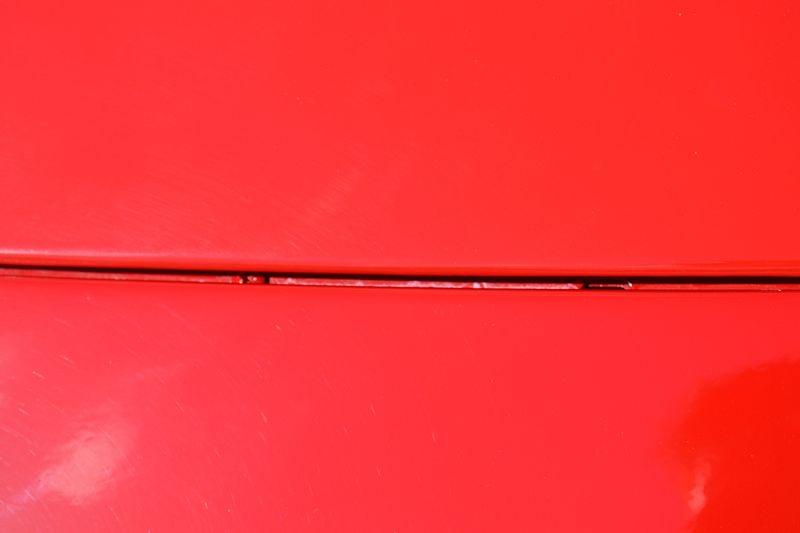
Wax and compound lined every jamb and body seam.

6.jpg


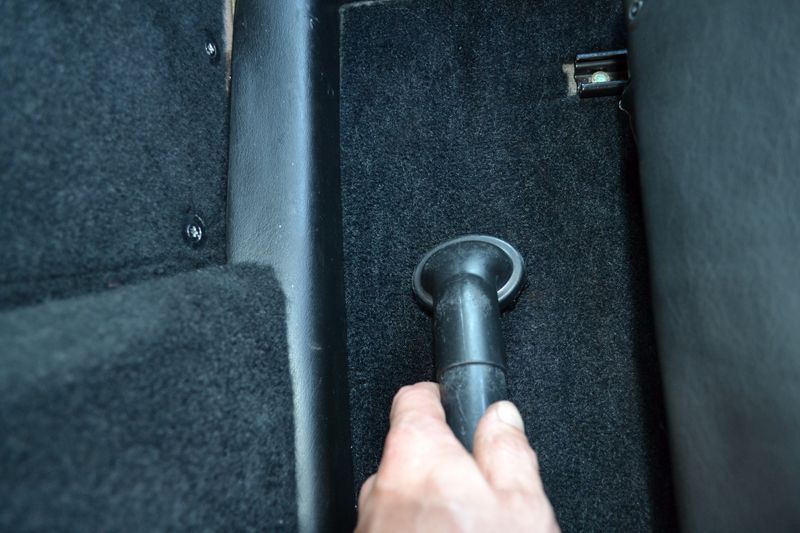
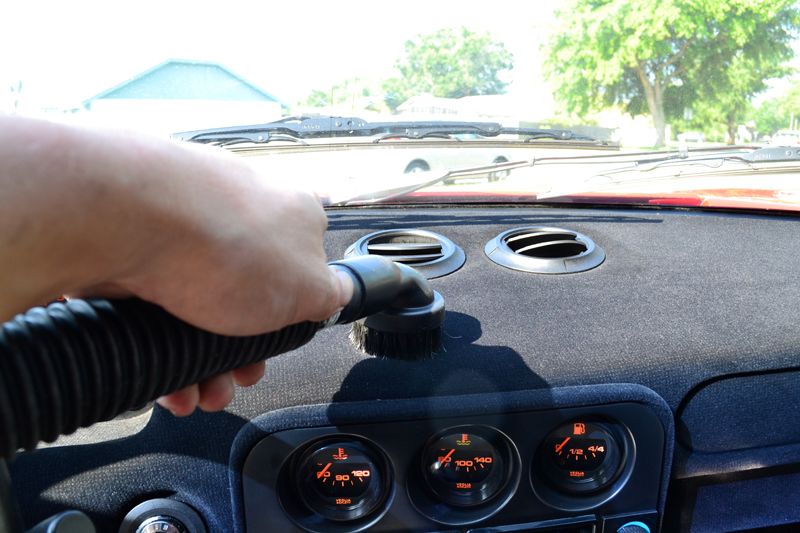
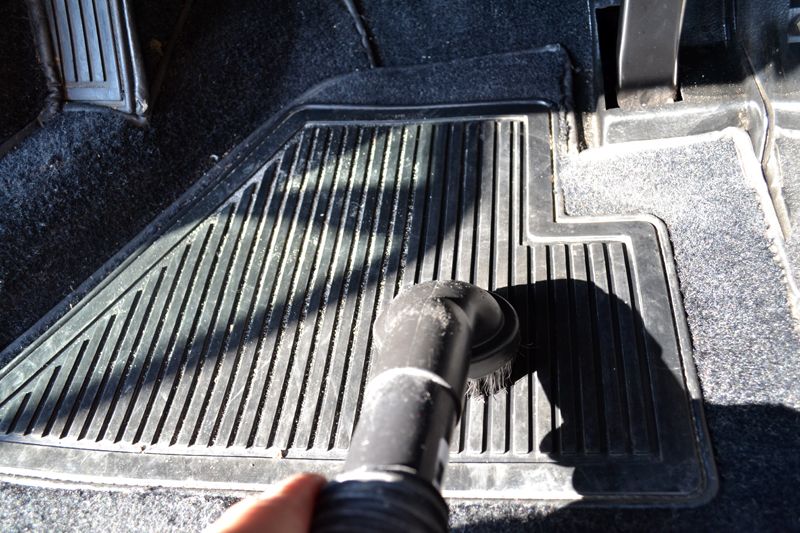
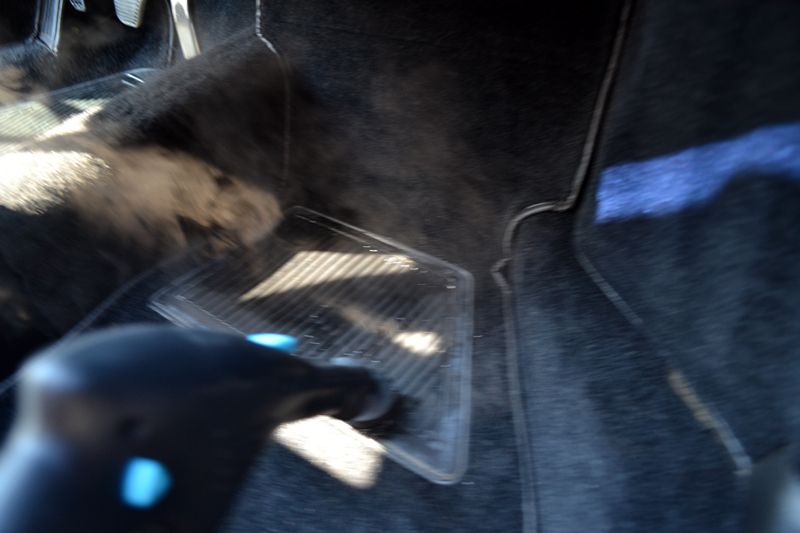
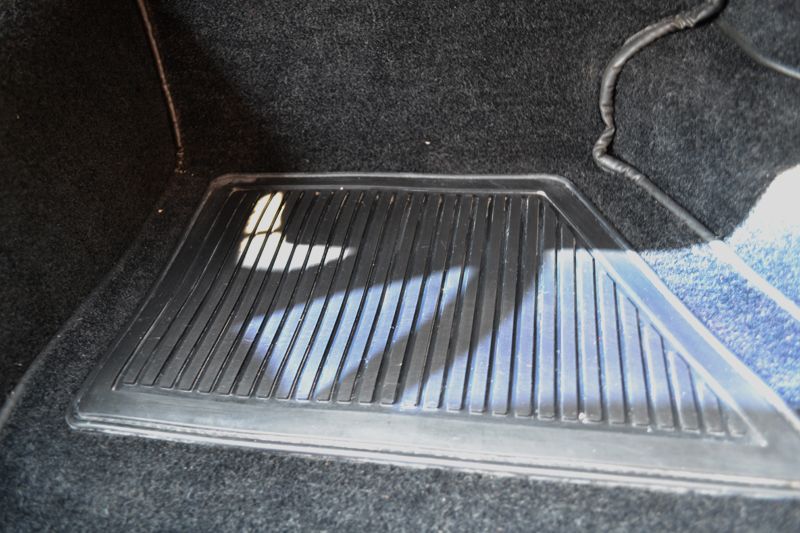
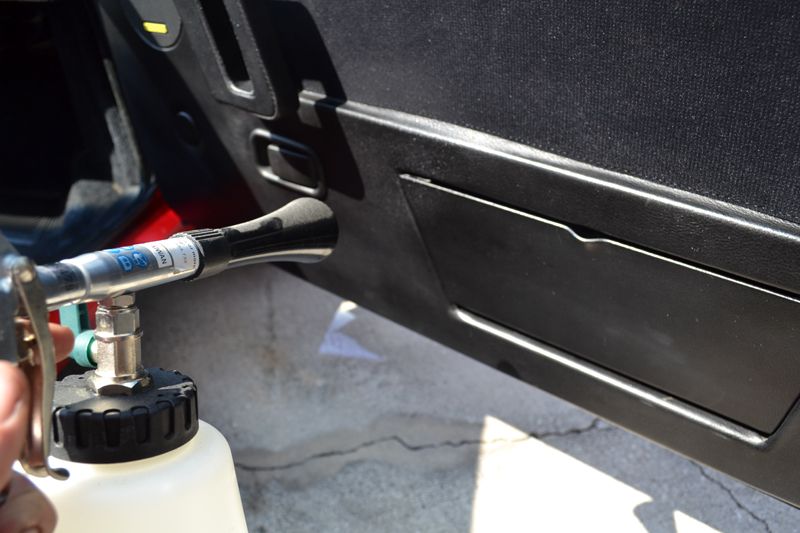
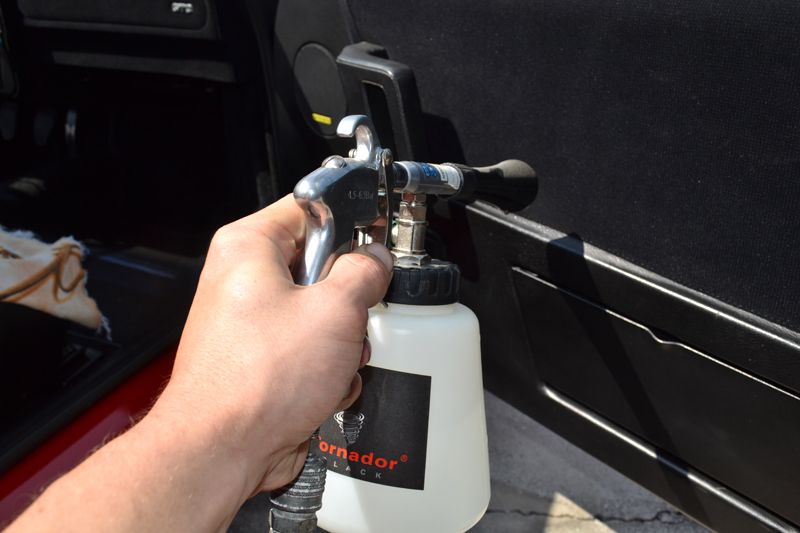
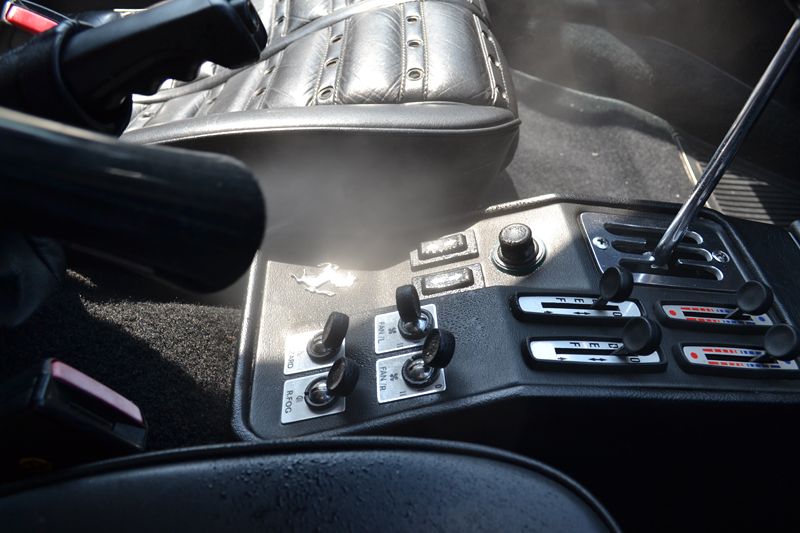
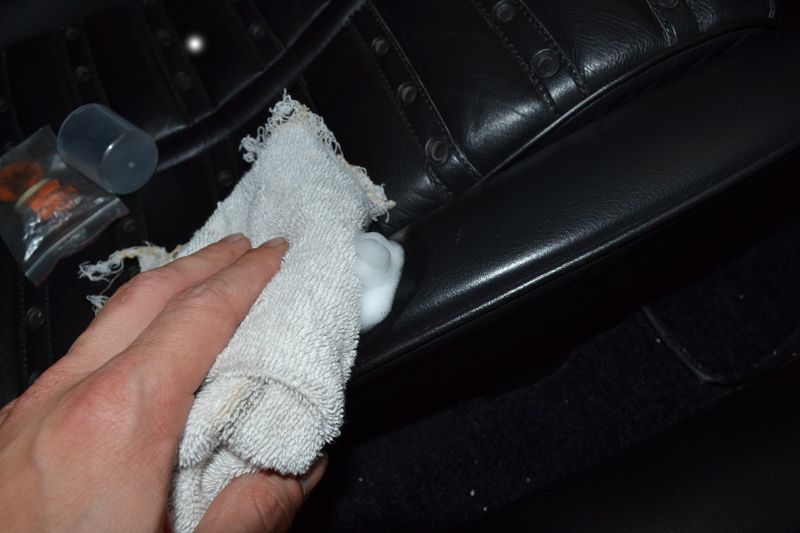
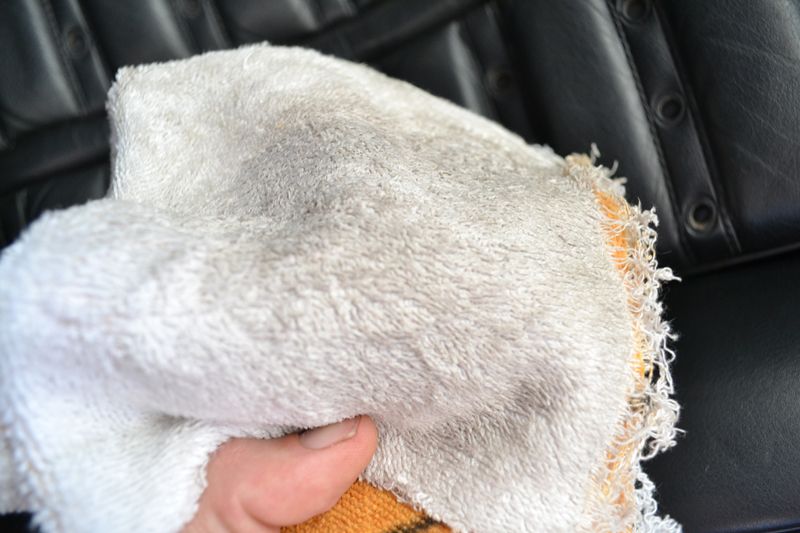
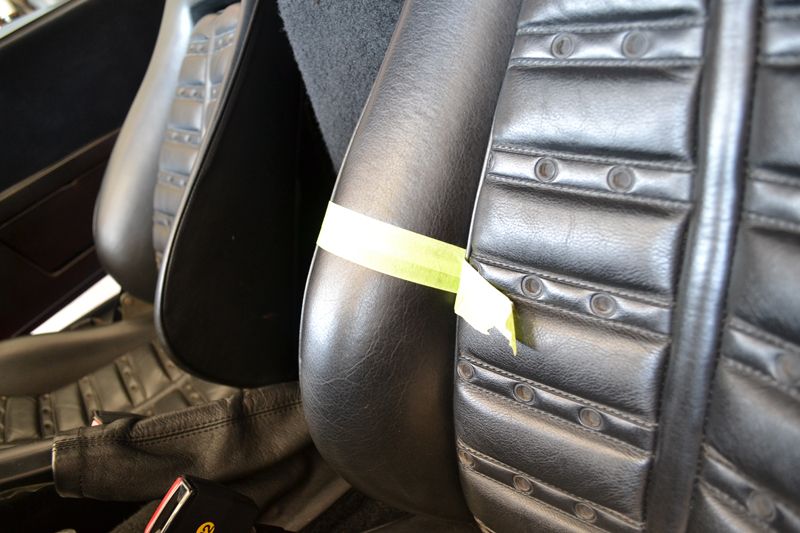
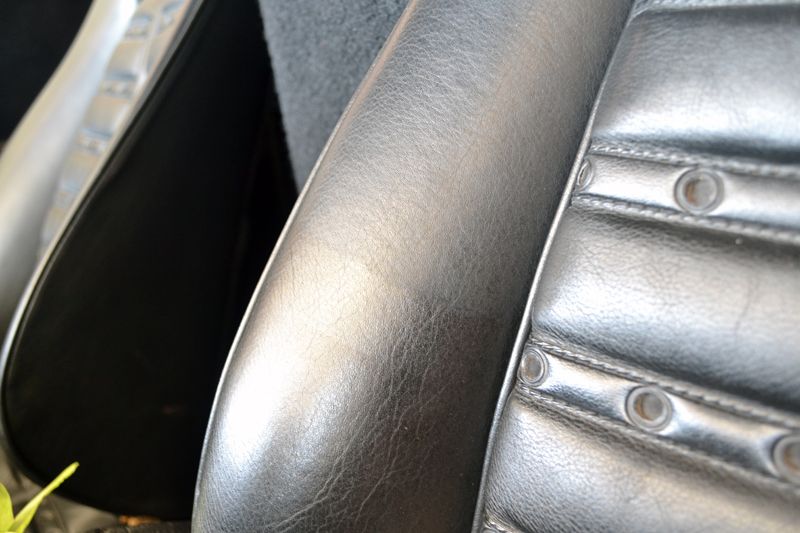
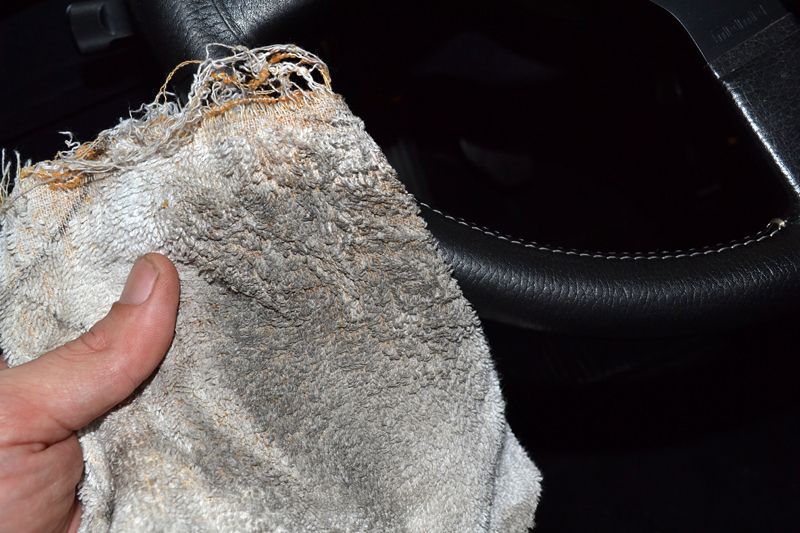
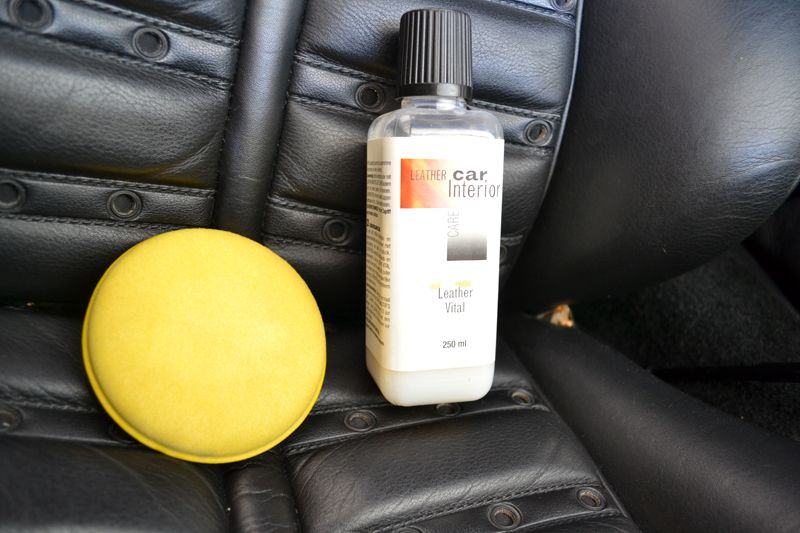
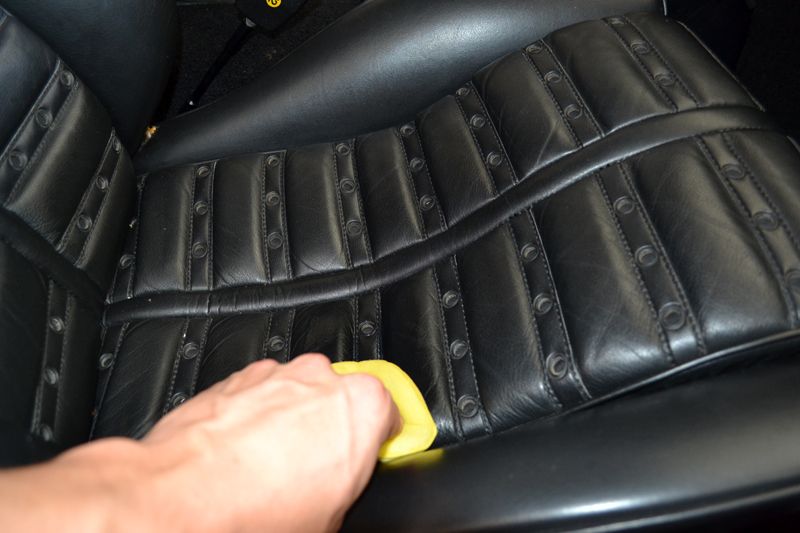
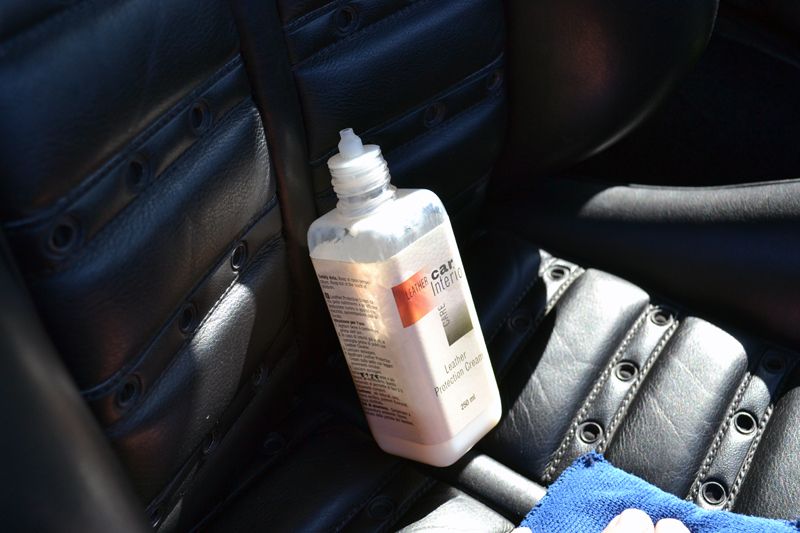
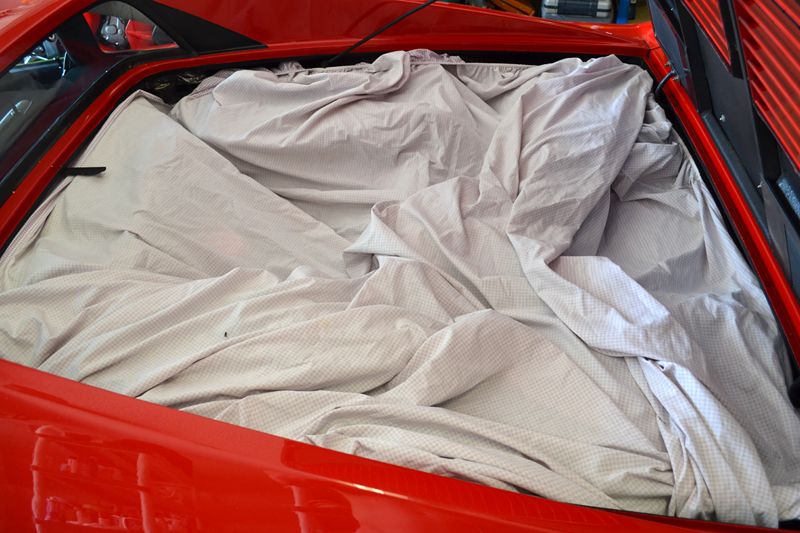
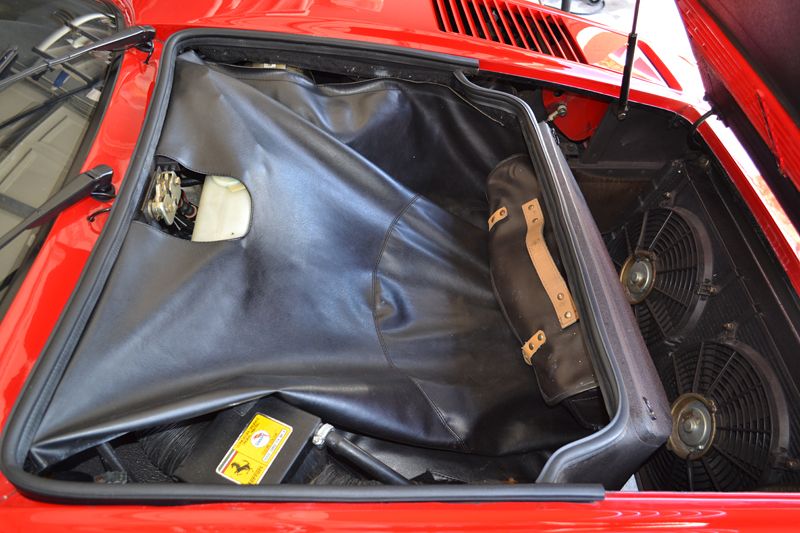
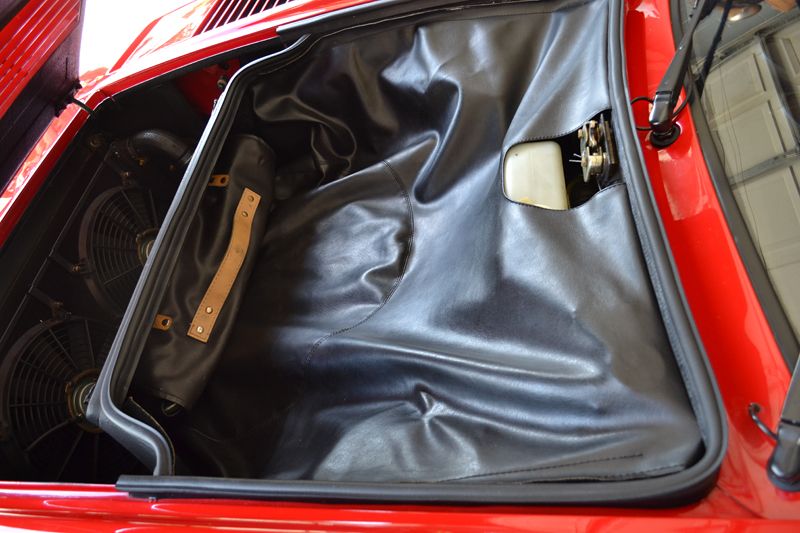
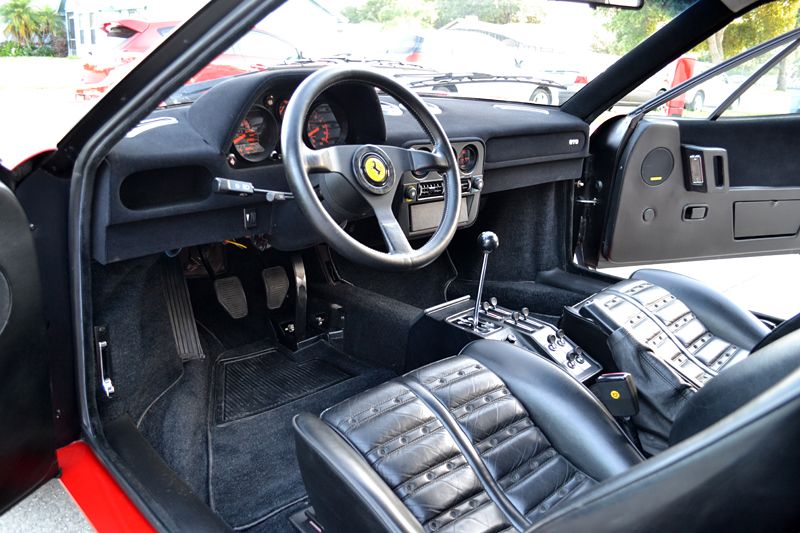
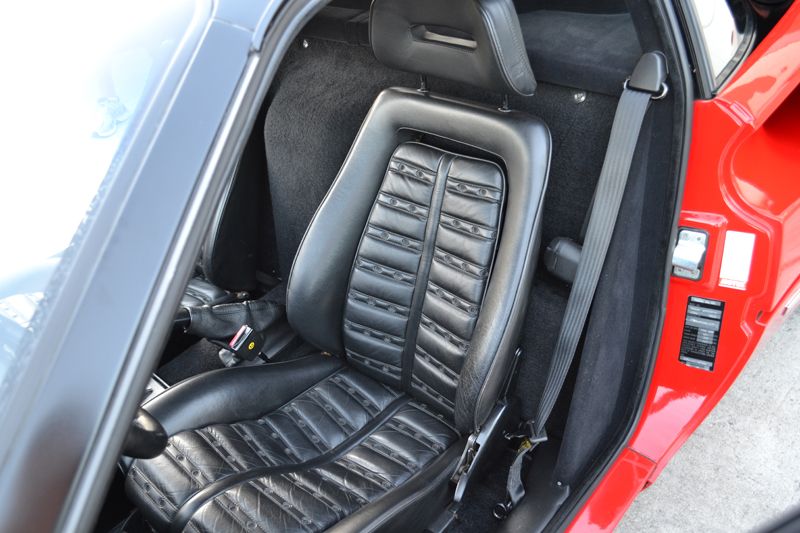
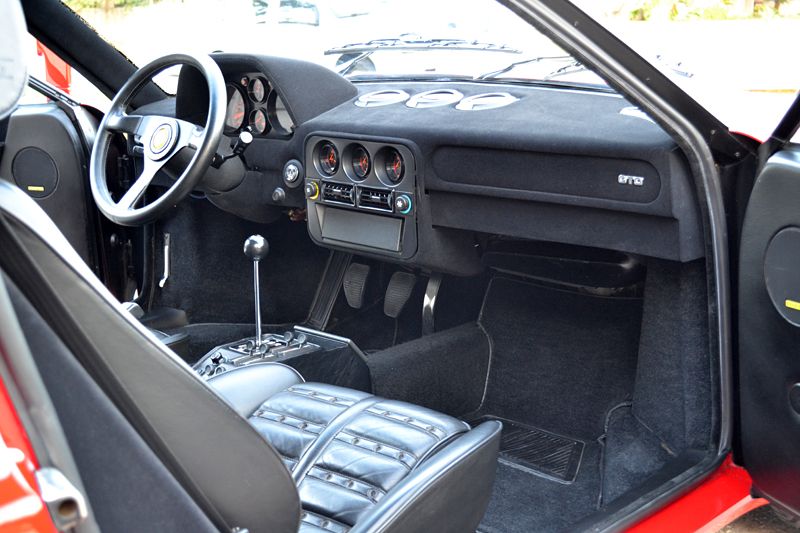
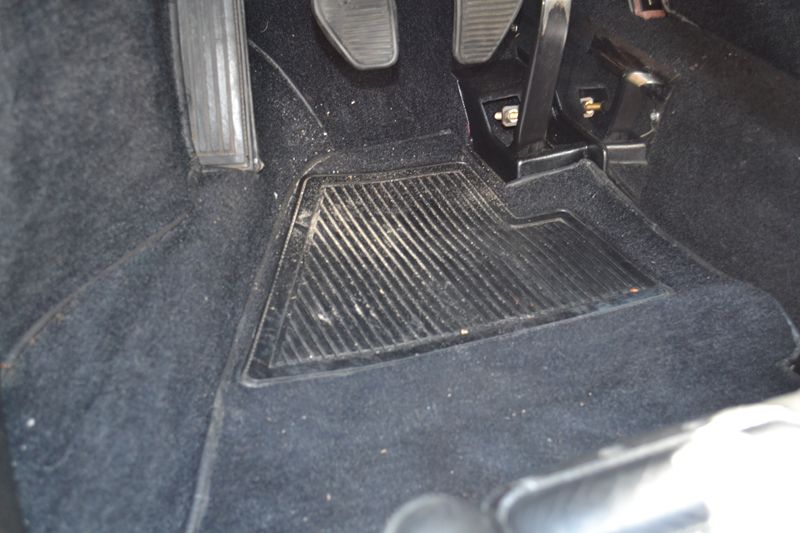
Despite some minor cracking in the leather seats, the original interior was in great shape. Just a little soiling from being moved around:

7.jpg


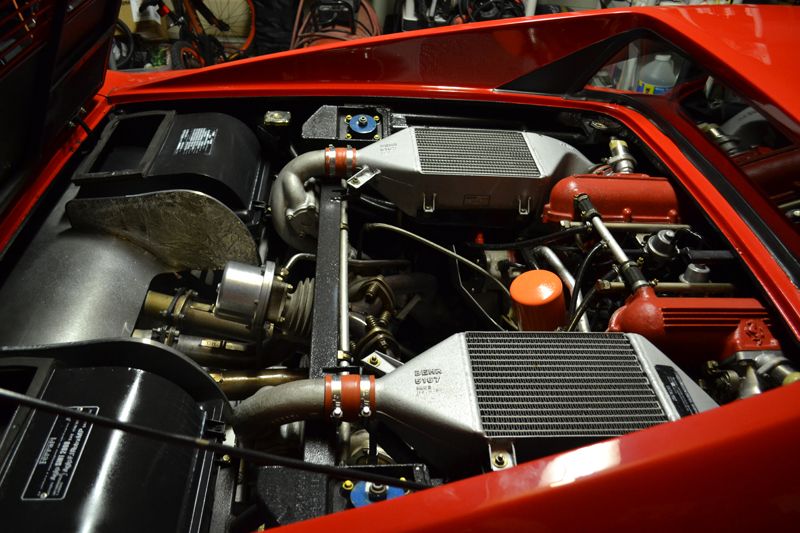
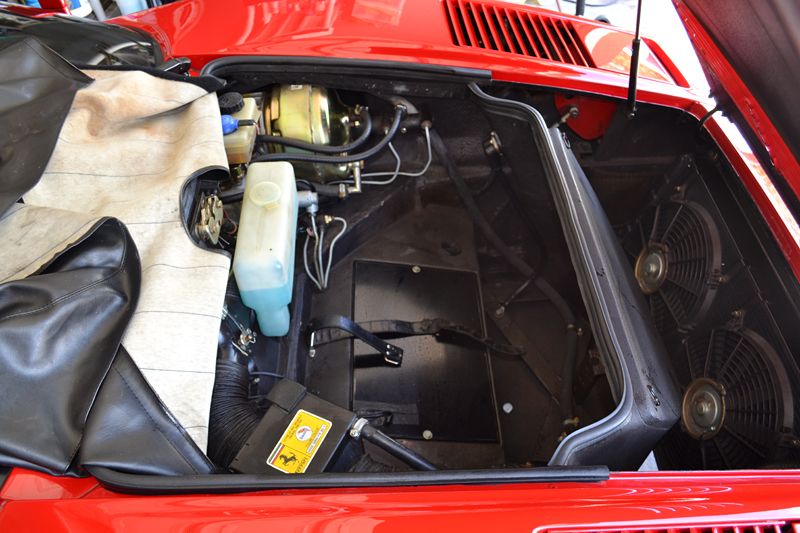
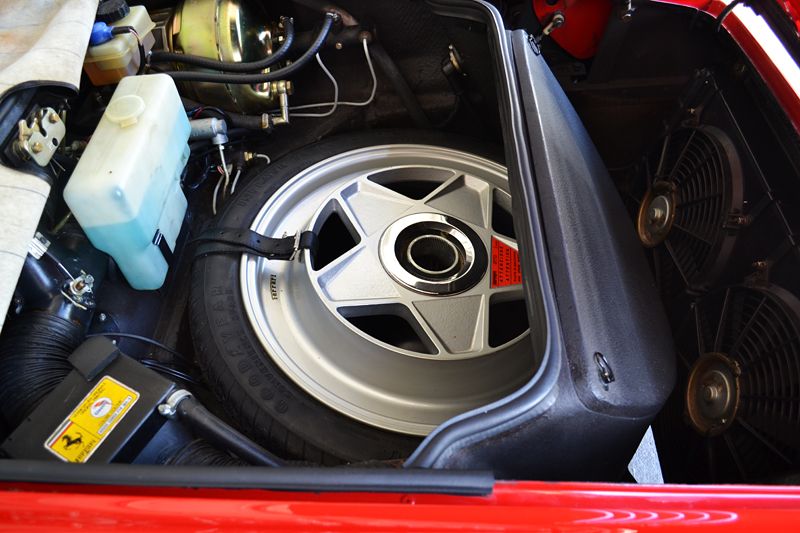
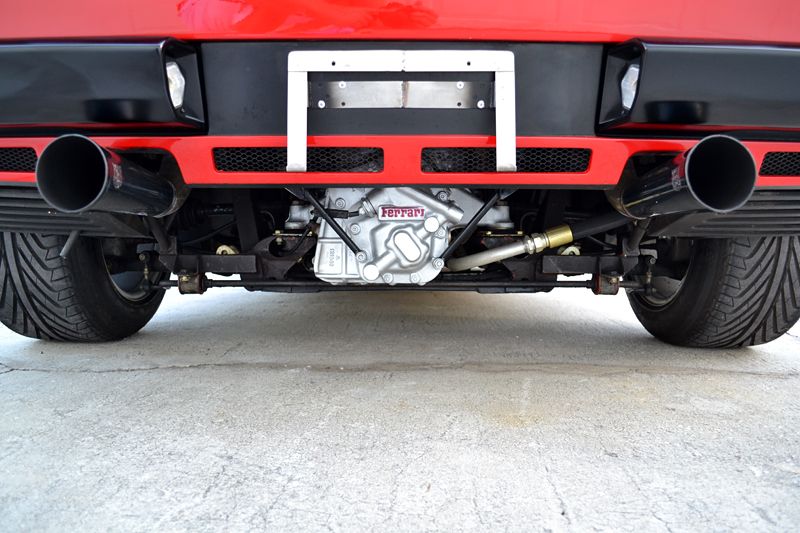
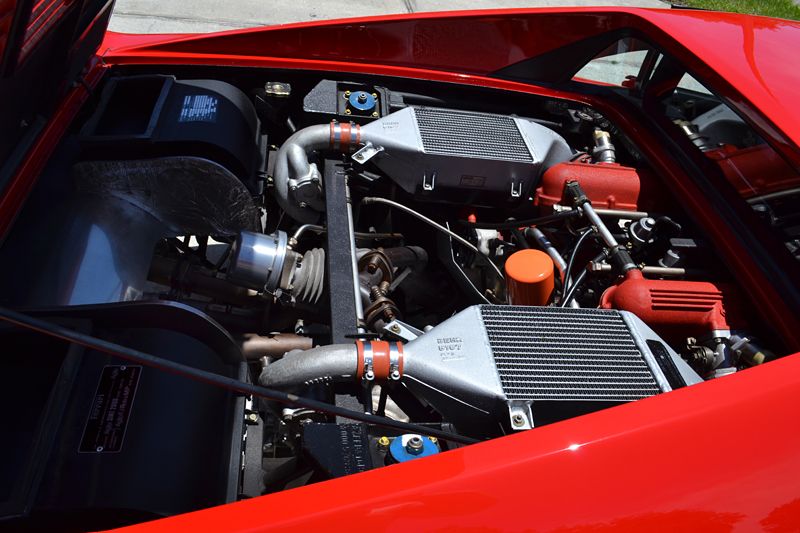
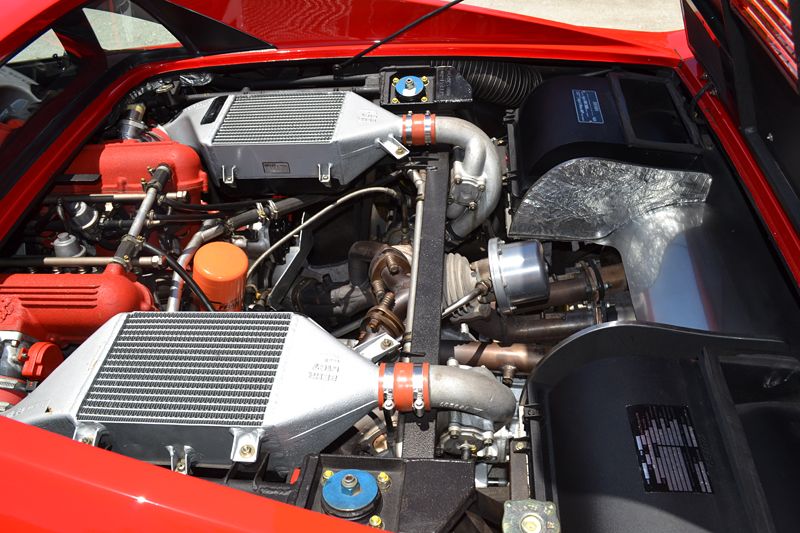
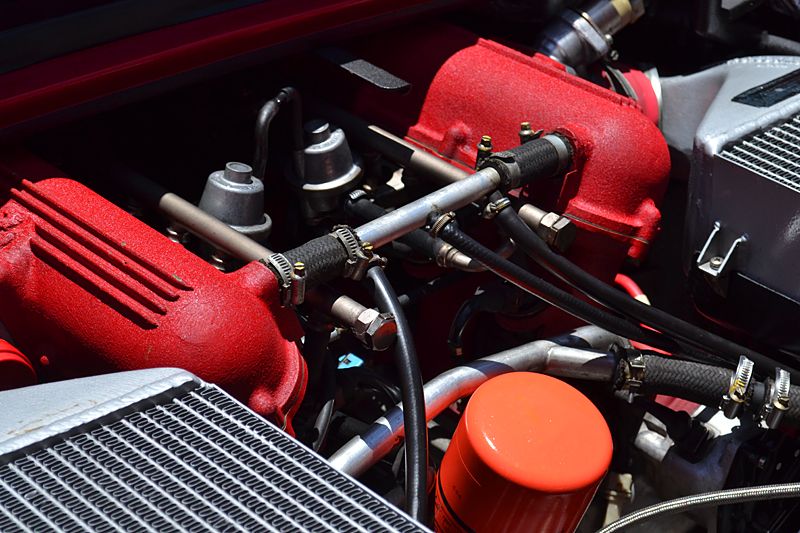
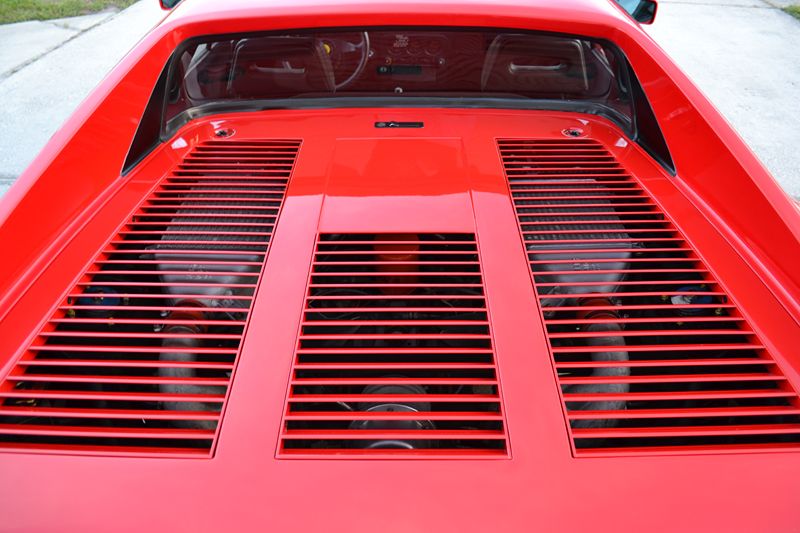
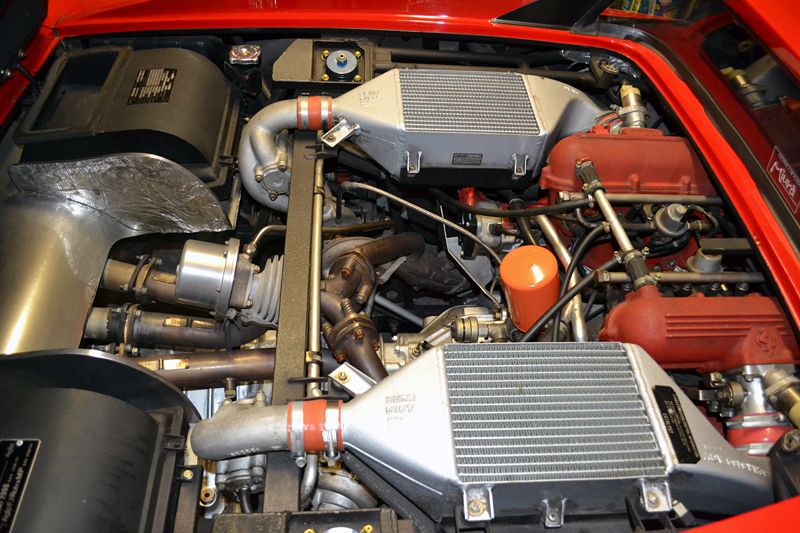
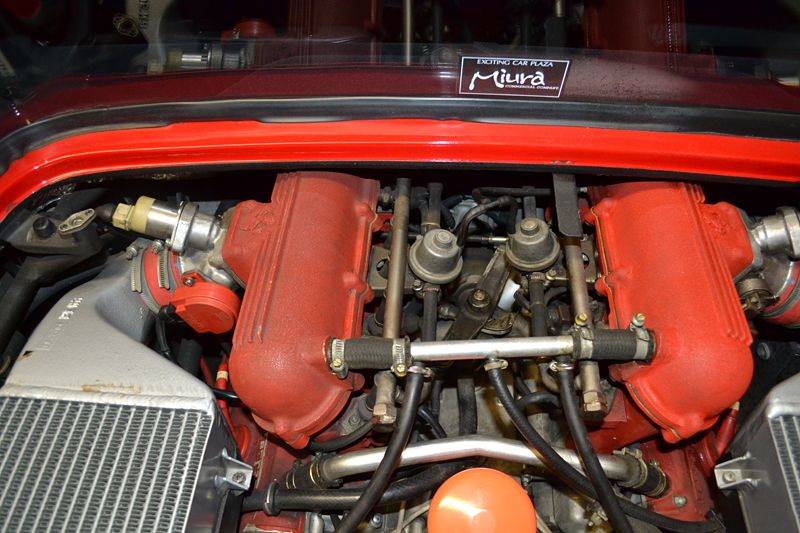
The engine was another story, as 30 years of grime, grease, and soil was everywhere! Ferrari's famous 2.8L Twin Turbo V8 needed some major attention and time.

9.jpg


Engine Detailing:

Products Used:

Mytee VS1500 Fiberbird Vapor Steamer
BLACKFIRE All-In-One APC
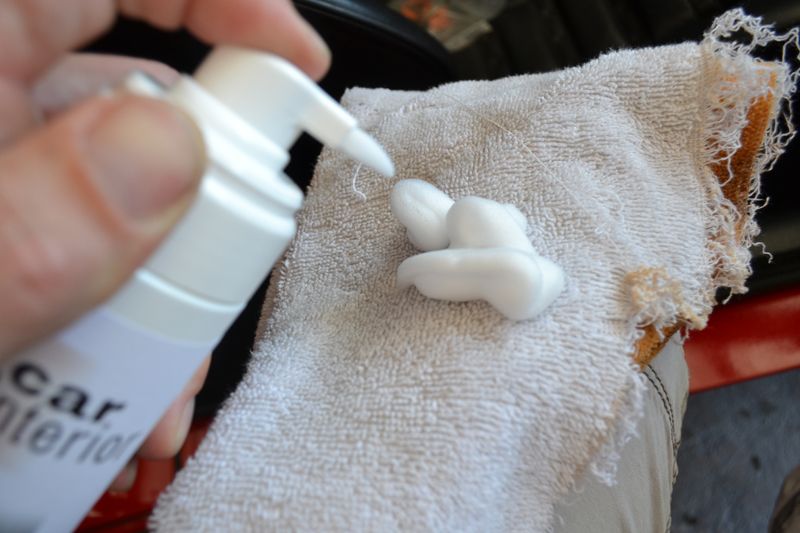
All Purpose & Wheel Microfiber Towels
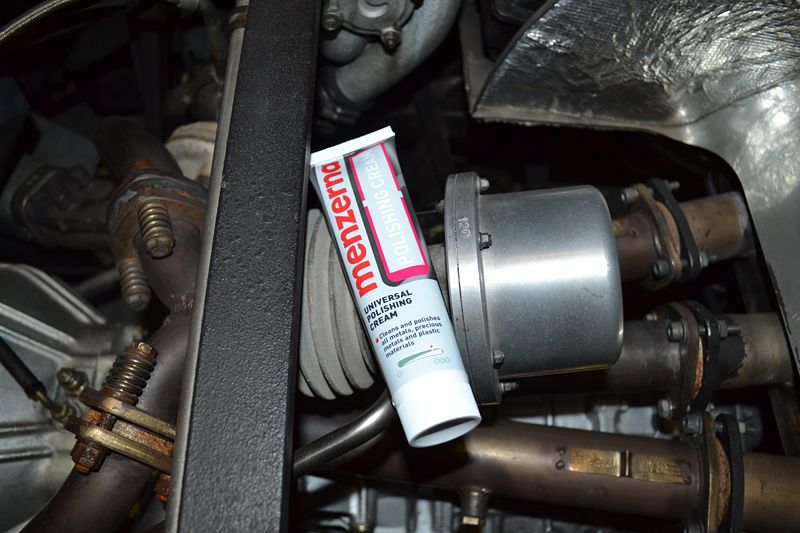
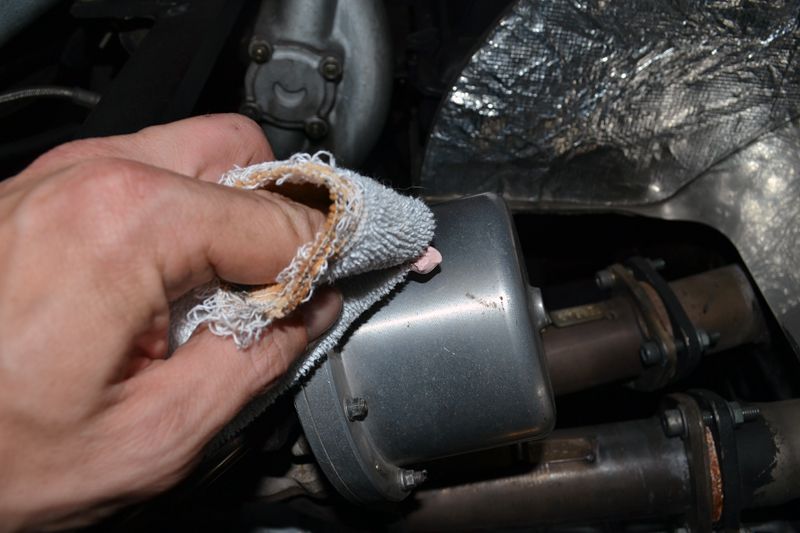
Menzerna Polishing Cream Metal Polish
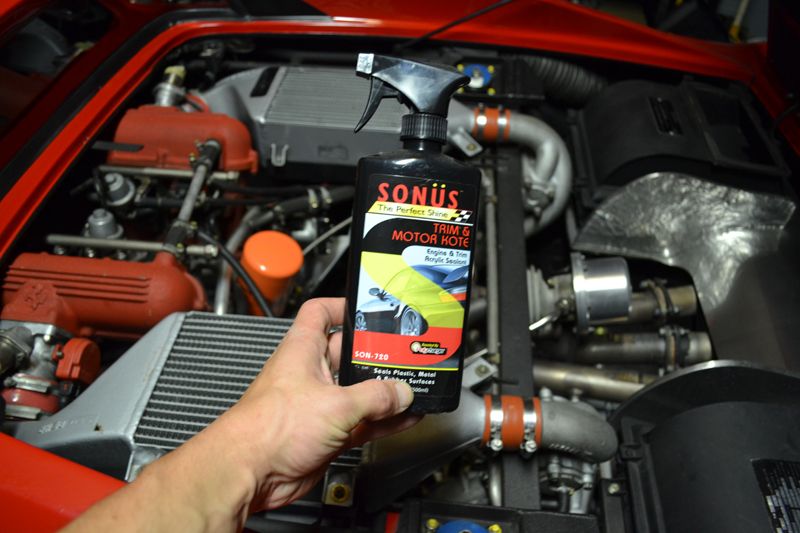
Sonus Trim & Motor Kote
An old toothbrush (Sponge Bob)
Old cotton towels


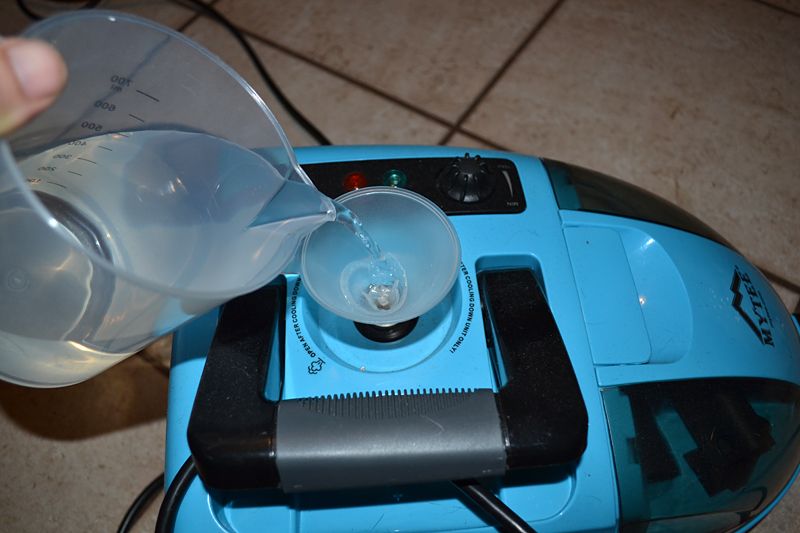
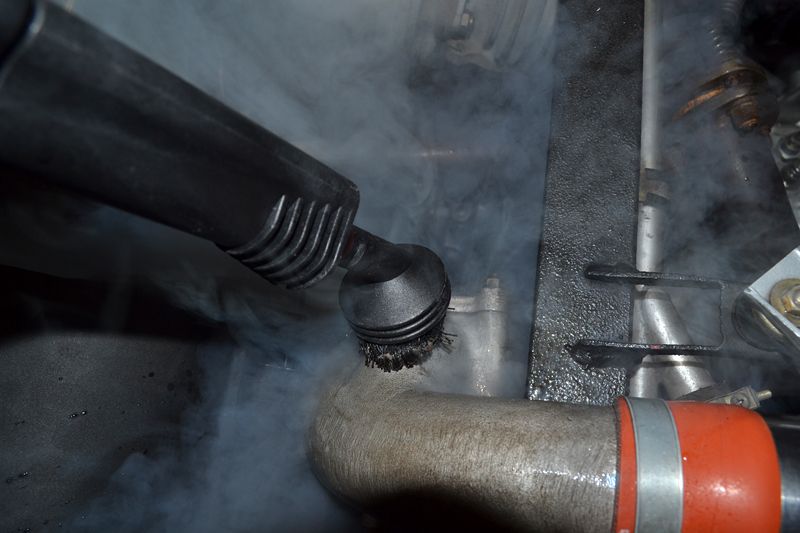
The Mytee Firebird is an easy-to-handle steamer that is big on power and cleaning ability. It is very easy-to-use as well. Simply add deionized water into the machine and turn on. It super heats the water into a grease killing steam.

8.jpg


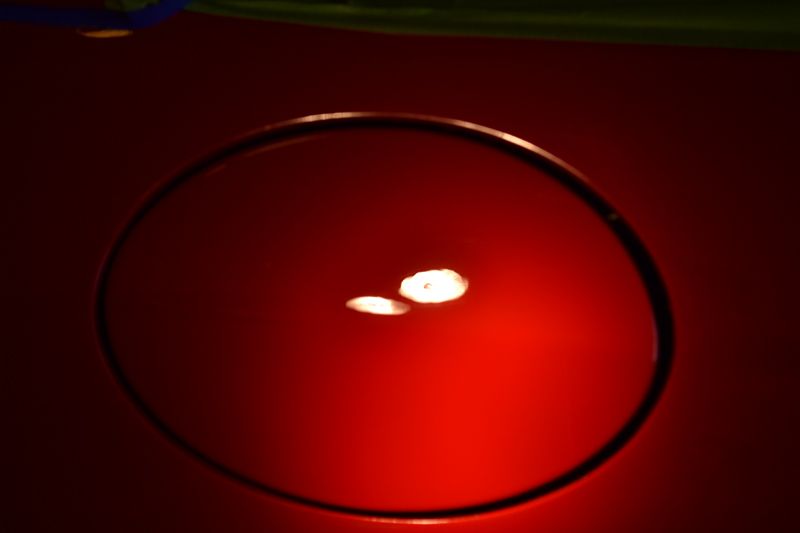
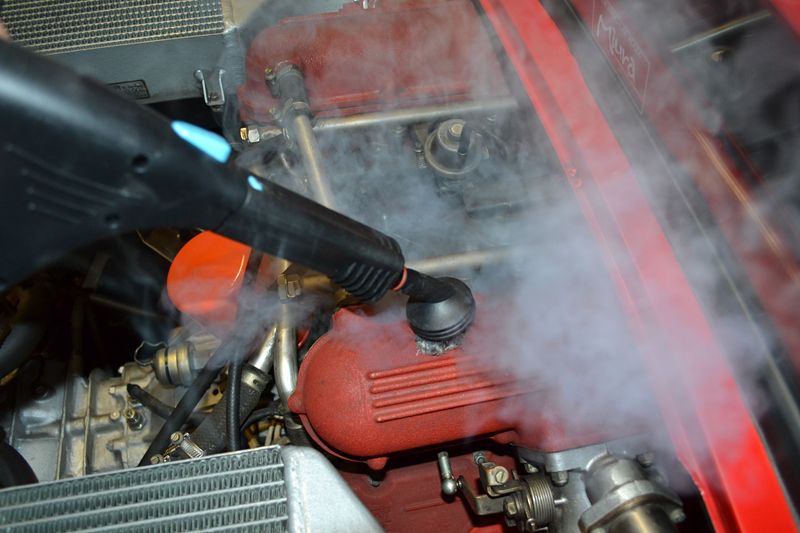
The entire engine was covered in a greasy soot. It was very evident on the red colored intake covers:

10.jpg


11.jpg


With the nylon brush attachment, I gently agitated the surface while spraying steam.

12.jpg


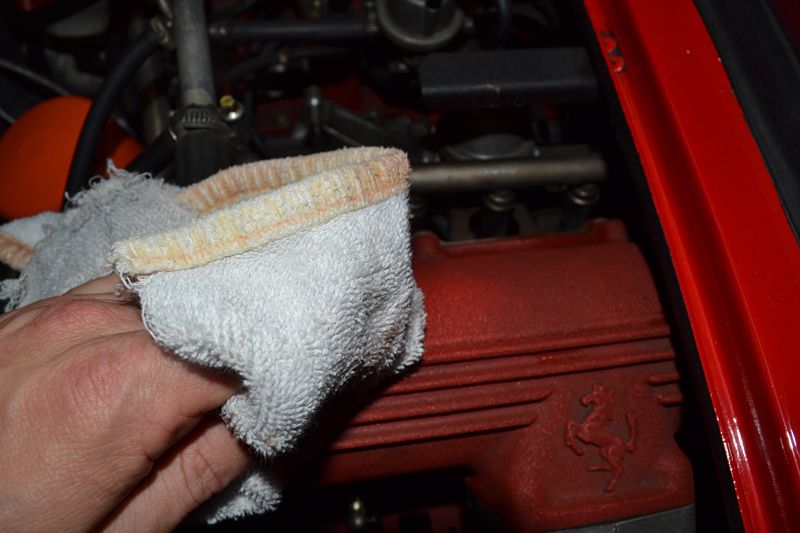
A light wipe with an old terry cloth towel....

13.jpg


And the resulting "clean" spot:

14.jpg


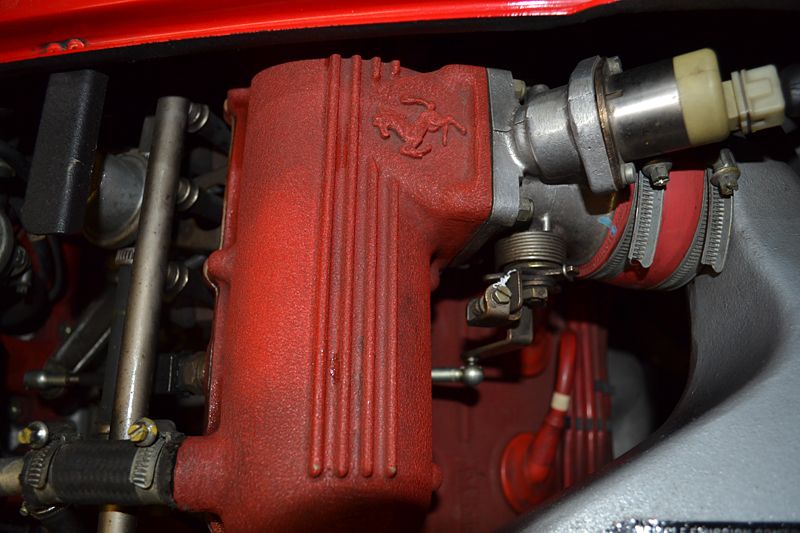
The right-side cover after cleaning...

15.jpg


16.jpg


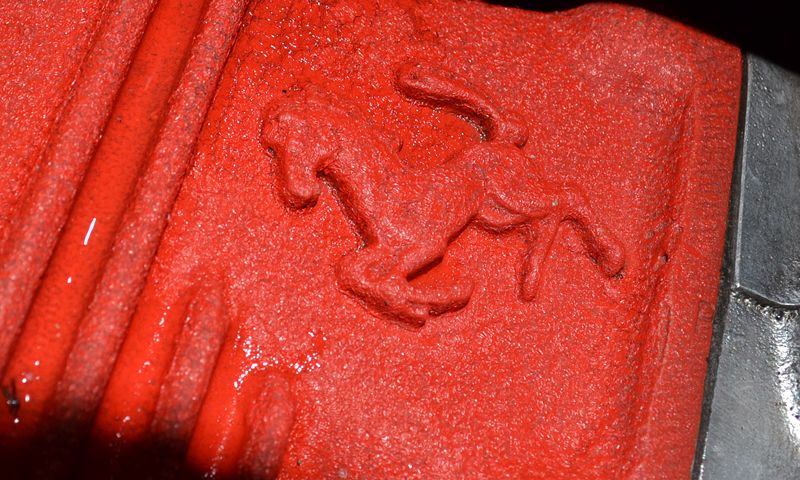
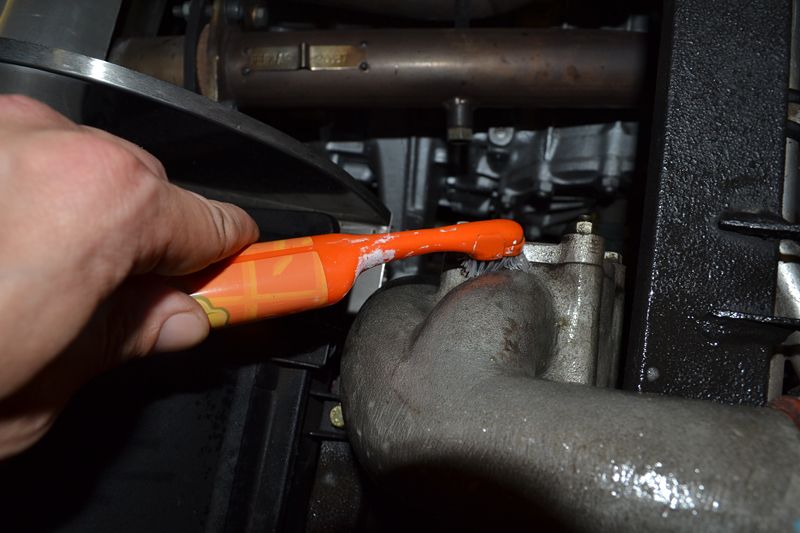
For stubborn spots (such as round the horse and in the ribs of the cover) the surface was lightly brushed with a 4:1 diluted mixtured of BLACKFIRE All-In-One APC before steaming.

17.jpg


18.jpg


19.jpg


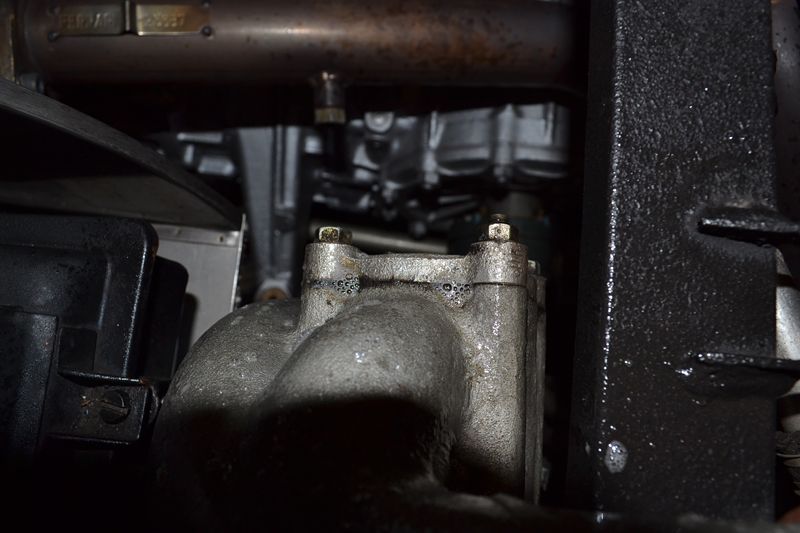
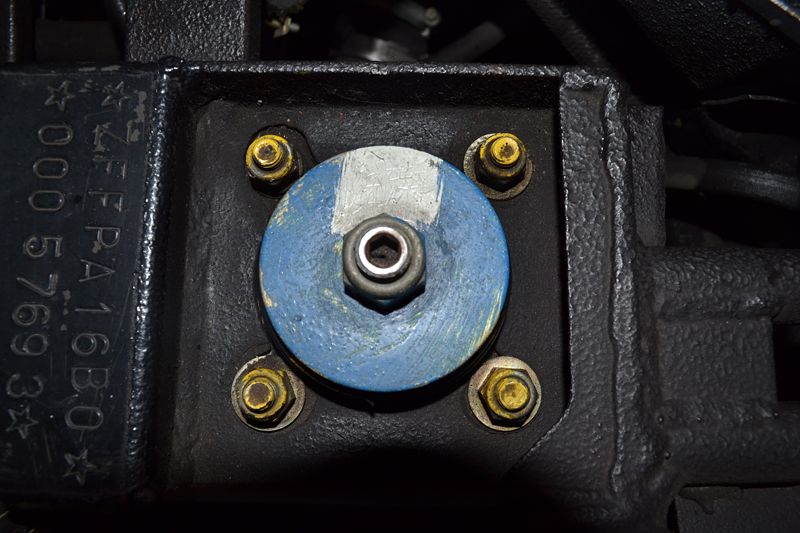
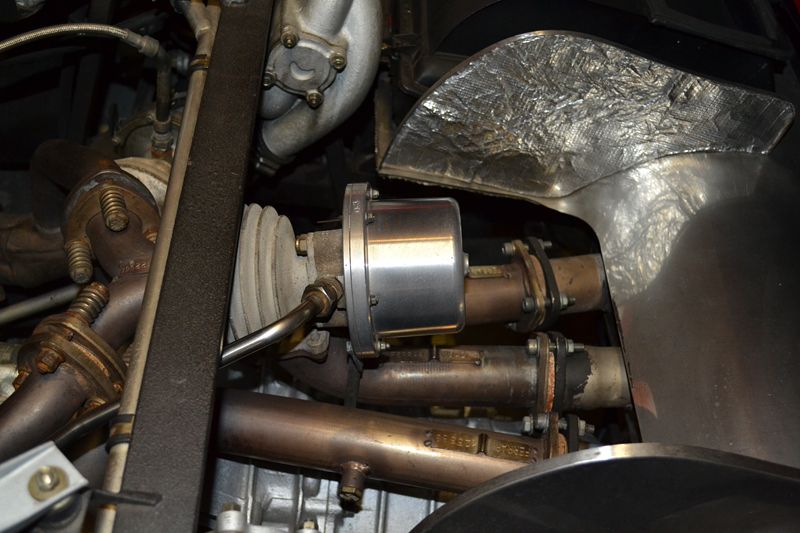
Looking at these suspension mounts, it is clear to see the grime in the valley, around each bolt, and on the head of each bolt.

20.jpg


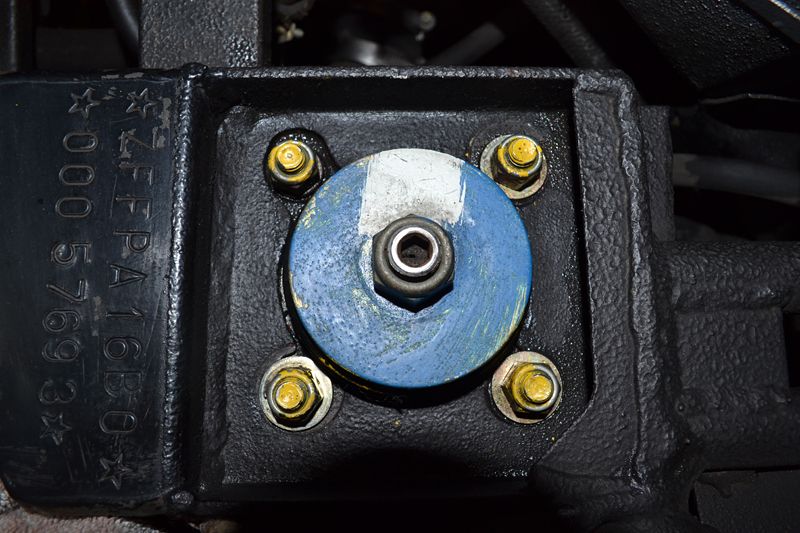
After carefully cleaning.

21.jpg


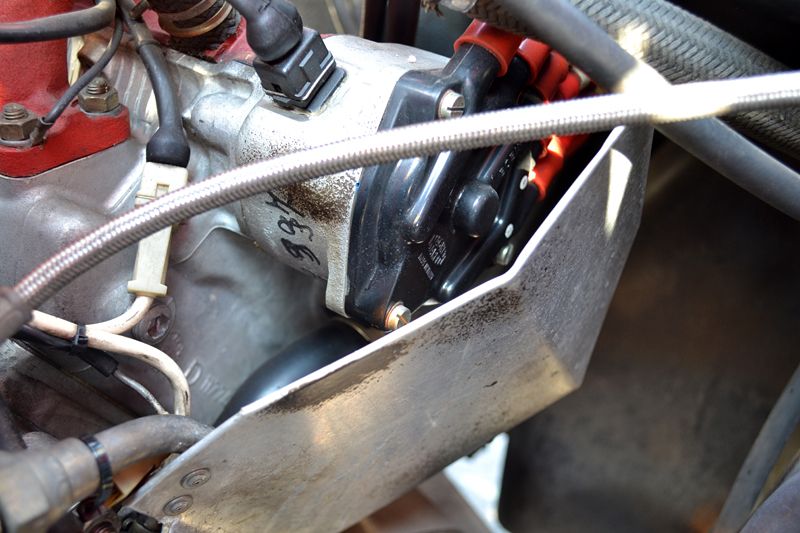
The throttle linkage before...
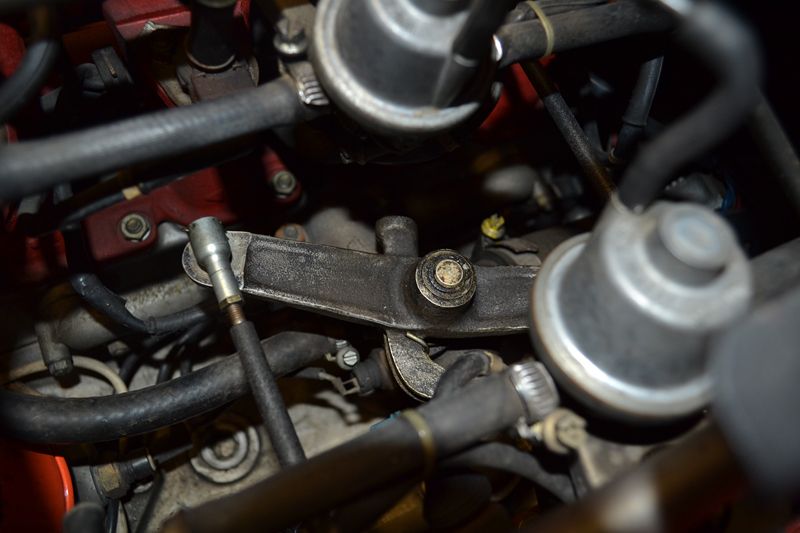
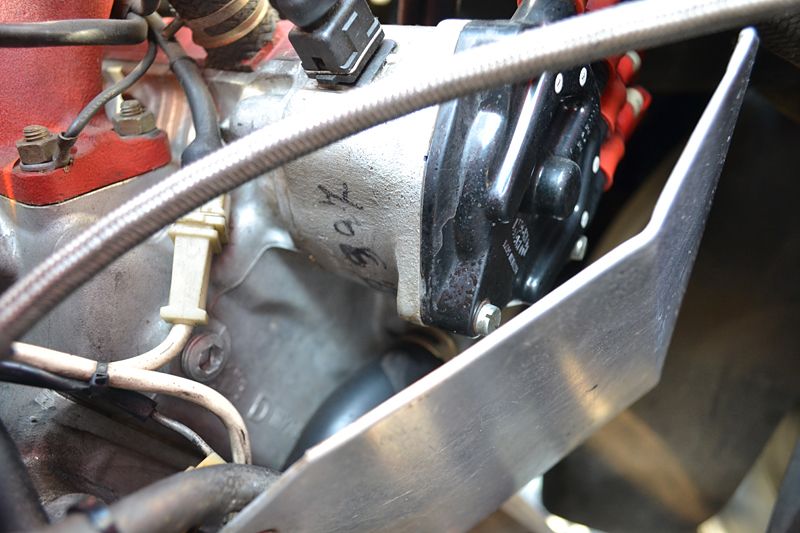
22.jpg


And after...

23.jpg


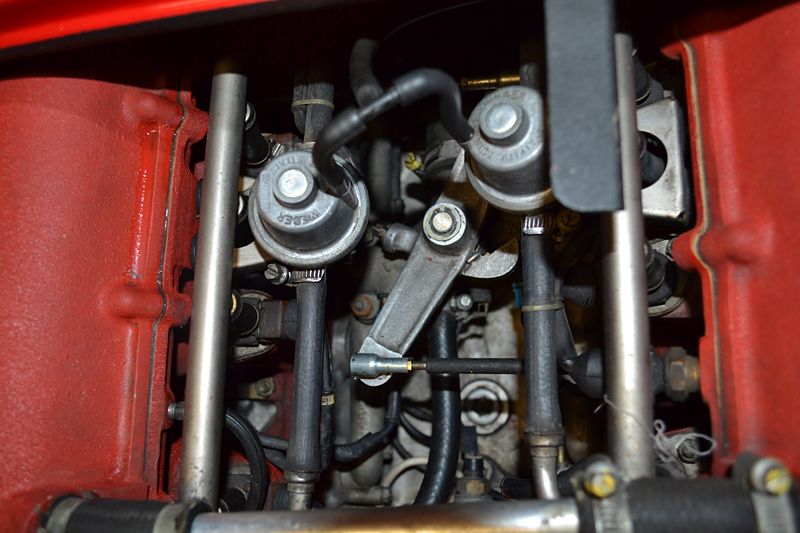
Metal pieces where lightly polished with Menznera's fast-acting Polishing Cream.

24.jpg


25.jpg


26.jpg


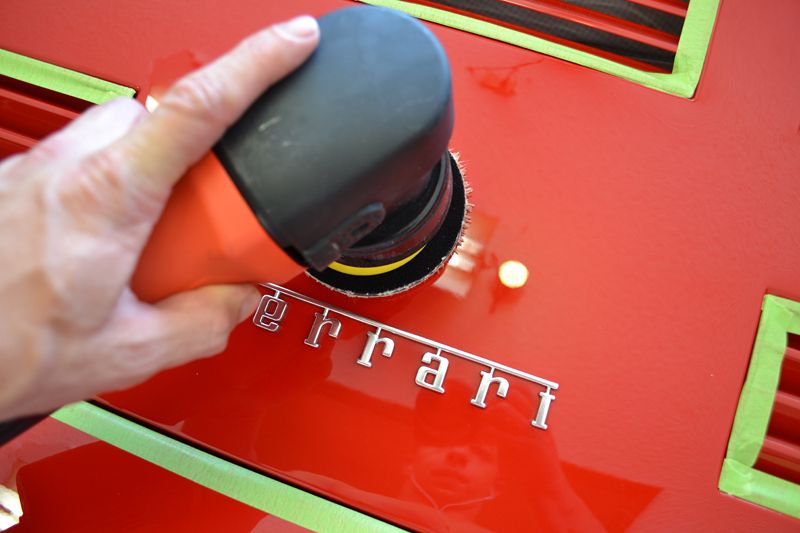
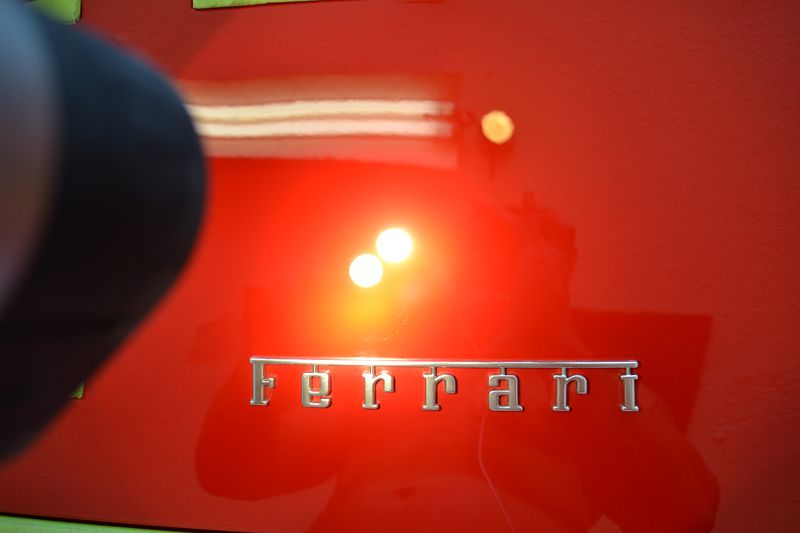
This picture really shows the amount of cleaning (and care) required. Many hand built Ferrari's have numerous paint marks and marker scripts that were scribbled on as the car was built. Cleaning around these marks, while removing all soiling, is time consuming... However, it is important to maintain the car's history.

27.jpg


28.jpg


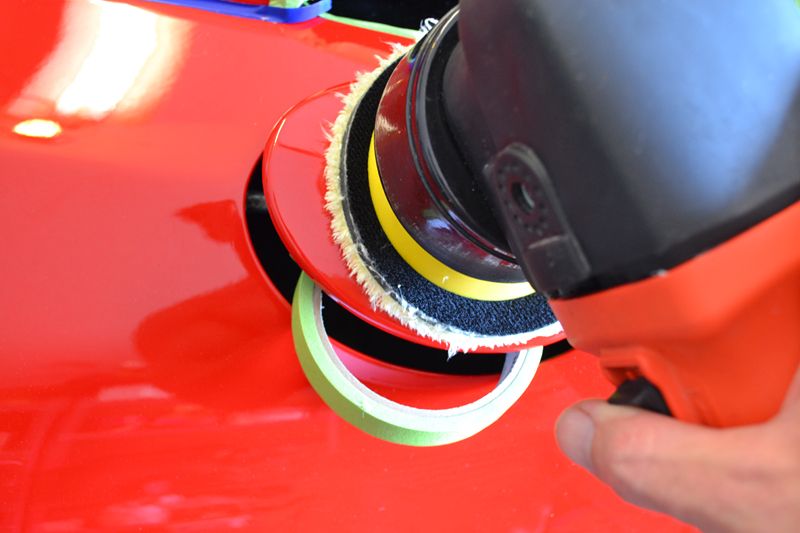
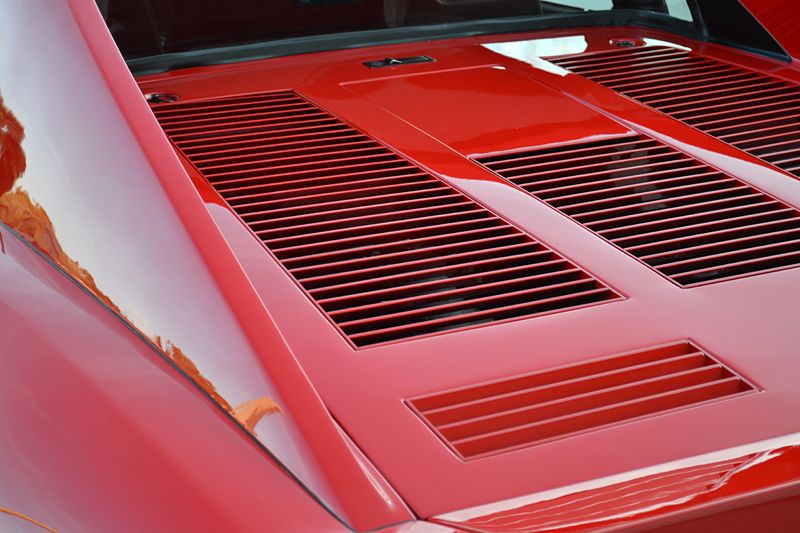
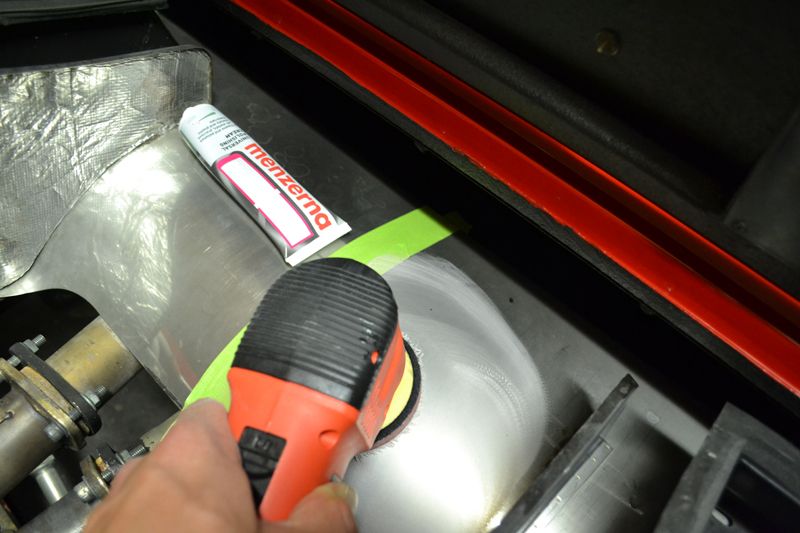
The last thing that needed a light clean up was the rear shielding. This should have a shiny (although not chrome like!) appearance void of any stains, water spots, or oxidation.

61.jpg


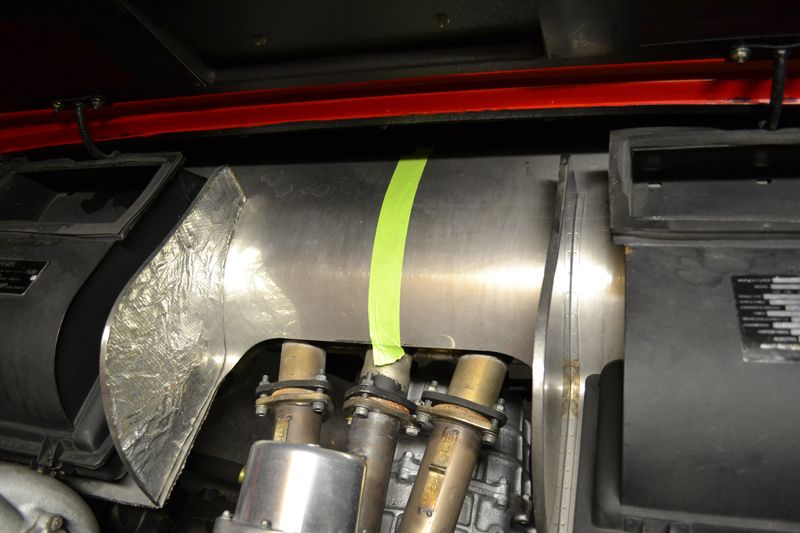
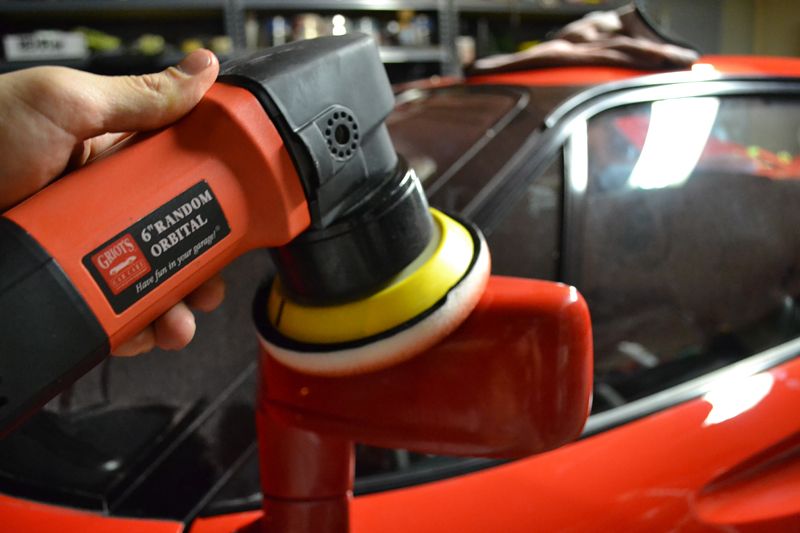
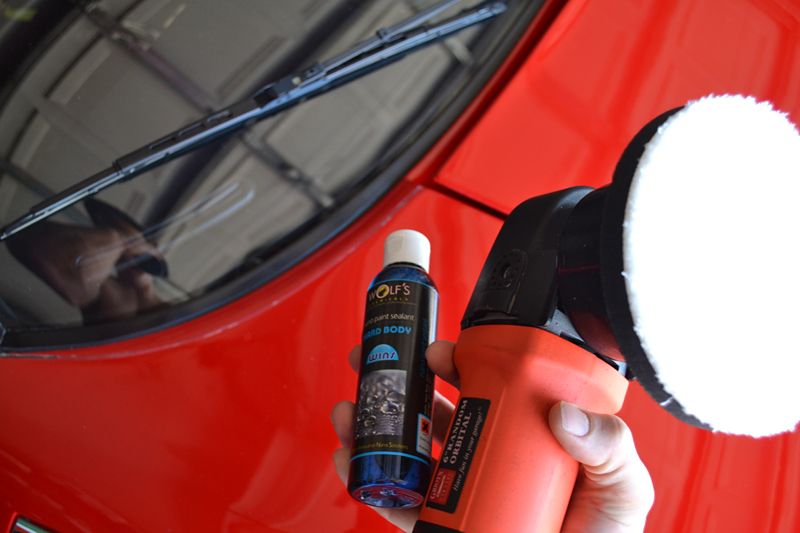
Once again Menzerna Polishing Cream was used, this time with a Griot's Garage 3-Inch Polisher and Meguiar's DA Microfiber Cutting Disk. In order to AVOID creating too much gloss I purposely short cycled the polish and used the aggressive microfiber disk. A longer-cycle and shorter pad would have resulted in a finish with too much gloss (and thus detract from the vehicle's originality).

62.jpg
 
This combination produced the exact finish I was hoping to achieve. The total results (after some hand polishing) are at the end.

63.jpg


Finally two light coats of SONUS Trim & Motor Kote were lightly misted over the entire engine compartment to create a natural, dark finish and provide excellent protection.

64.jpg


65.jpg


In total, over six hours were spent cleaning and polishing the Ferrari's famous engine. It wasn't done yet, but we will revisit it later in this thread.


Interior Detailing:
Products Used:

Metro Vac 'N Blo Portable Auto Vacuum
Tornador Black Car Cleaning Gun
Mytee VS1500 Firebird Vapor Steamer
Detailing Brush Kit
BLACKFIRE All-In-One APC (10:1/for use in Tornador Black)
Leather Master Car Interior Strong Leather Cleaner
Leather Master Car Interior Leather Vital
Leather Master Leather Protection Cream
Shop Towels/Rags

Using the Metro Vac attachments on the my Metro Vac 'N Blow, I started by vacuuming all of the lose soil out of the Ferrari's cockpit.

29.jpg


30.jpg


31.jpg


32.jpg


Next I used the mighty Mytee to steam away years of oxidation on the floor mats and seat belt handles.

33.jpg


34.jpg


In order to deep clean the surfaces and remove any hidden soiling, I gave the interior a powerful blast of tornado-charged air with the Tornador Black. The high-pressure, high-volume spray removes dust and grime from the most hidden areas as well as "fluff's" the carpet, blasting deep-buried particulate back to the surface for easy clean up.

35.jpg


36.jpg


37.jpg


The powerful spray of the Tornador Black dissolved years of built-up grime and revealed the door shuts true beauty.

38.jpg


Leather Master's excellent Leather Strong Cleaner was the ideal choice for cleaning, without damaging, the Ferrari's aging leather. All Leather Master cleaners are water based and safe for all leather finish types (minus suede). It has a shaving cream foam consistency. Wipe a section of the seat with the cleaner, then flip the towel over and wipe dry.

39.jpg


40.jpg


41.jpg


To demonstrate Leather Master's powerful yet gentle cleaning I placed a piece of 3M tape on the seat.

43.jpg


In this results picture, you can see the top has been cleansed. The natural, satin, clean finish has been restored.

44.jpg


Steering wheels are notorious for grime and body oil saturation. The wheel of the 288 GTO was no exception. Leather Master Leather Strong Cleaner made quick work of 30 year's of buildup.

45.jpg


After deep cleaning the leather it was time to rejuvinate it with Leather Master Leather Vital. This easy-to-apply (just evenly spread a small amount over the seat and allow to dry) product penetrates the leather and softens it. This product is normally used on premium furniture to restore its showroom soft feel making it the perfect choice when working on this Ferrari's delicate hides.

46.jpg


47.jpg


After allowing the Vital to soak in and dry (1 hour) a thin coat of Leather Master Leather Protection Cream was lightly applied to all of the leather surfaces using a microfiber applicator. Leather Protection Cream creates a water resistant barrier to prevent staining, abrasion, and other damages.

67.jpg


With the interior and leather detailed, it was time to wash this prancing horse's body and prepare it for surgery.
 
Exterior Prep:
Products Used:
2 BLACKFIRE Buckets with Grit Guard Inserts
CarPro Merino Lambswool Mitt
Wheel Woolies (3 sizes)
Wheel Woolies Spoke Wheel Brush
Pinnacle XMT Gel Shampoo & Conditioner
Wolf's Chemicals DeIronizer Gel
BLACKFIRE Poly Clay II
BLACKFIRE Clay Lubricant
Supreme 530 Microfiber Towels
Cobra Guzzler Waffle Weave Towel
Metro Vac Master Blaster Air Dryer
Tuf Shine Tire Cleaner
BLACKFIRE All-In-One (1:1) APC
3M Premium Automotive Masking Tape 18 mm
3M Premium Automotive Masking Tape 36 mm
3M Vinyl Tape


Before correcting the finish and restoring a factory-fresh gloss, the body must be carefully washed and decontaminated. I started by using a strong dilution of BLACKFIRE All-In-One APC with the small Wheel Woolie brush and microfiber towels to remove tar, grease, and contamination from the 288 GTO's lower panels and crevices.

49.jpg


Then I cleaned the tires with TUF SHINE's excellent Tire Cleaner and brush. There was so much built-up and caked-on tire dressing (likely 30 years worth) that it took some time to cut through all of the layers.

50.jpg


Next I mixed Pinnale XMT Gel Shampoo & Conditioner into 4 gallons of water to provide ample lubrication. A merino wool lambskin washmitt was chosen to gently lift dirt from the Ferriari's 30 year old paint.

51.jpg


52.jpg


54.jpg


53.jpg


After carefully rinising and drying the surface, I lightly misted Wolf's Chemicals DeIronizer Decon Gel on to all of the exterior surfaces including the paint, wheels, exhaust pipes, glass and more.

55.jpg


While hard to capture on red, the surface did turn slightly purple indicating that some iron contamination was being removed.

56.jpg


As Decon Gel worked on the single-stage paint finish of the Ferrari, the wheels were cleaned by lightly agitating the Decon Gel with numerous Wheel Woolies.

58.jpg


You can see the purple runoff as Decon Gel dissolved the iron fallout from years of embedded brake dust.

59.jpg


After rinsing the surface clean, BLACKFIRE Poly Clay II was used (with BLACKFIRE Clay Lubricant) to remove the remaining foreign contaminants from the GTO's paint. The once-fresh gray clay bar began to turn brown with the amount of contamination removed.

60.jpg


I carefully dried every square inch of the Ferrari (including the engine) with a combination of the Metro Vac Master Blaster and the excellent Guzzler Waffle Weave towels.

Next I carefully masked off all of the rubber trim and any item that could be damaged with various thicknesses of 3M Premium Automotive Masking Tape.

69.jpg


78.jpg


3M's thin and flexiable Vinyl Tape was used to mask the thin, caulk-like rubber molding common to Ferriar's of this vintage.

72.jpg


73.jpg


Finally an old bed sheet was layed over the Ferrair's presintly detailed 2.8 Twin Turbo V8 to shield from polishing dust.

70.jpg
 
Paint Correction:

Products Used:

Flex XC 3401 VRG Dual Action Orbital Polisher
Griots Garage 6 Inch Random Orbital Polisher
Griot's Garage Professional Random Orbital 3 Inch Polisher
Lake Country 6-Inch Hybrid Power Finish Wool Pads
Lake Country 5 1/2-Inch White Foam Flat Polishing Pads
Lake Country Purple Foamed-Wool Pads
Lake Country 4 1/4 Inch Ultra-Fiber DA Microfiber Pads
Lake Country 4-Inch White Foam "Spot Buff" CCS Pads
Sonus Der Wonder Microfiber Polishing Towels
Scholl Concepts S3 Gold Edition High Performance Compound
Scholl Concepts S40 Anti-Hologram Polish


The last picture taken of the 288 GTO's defects in the sunlight. This is the last time these defects would be seen again!

66.jpg


Scholl Concepts S3 Gold Edition High Performance Compound:

Scholl's easy-cutting compound proved to be a defect killer when used with both the Lake Country Foamed Wool and Hybrid Power Finish Wool Pads on the Flex 3401. It produced a high amount of cutting action while running cool and remaining easy to wipe off.

Scholl Concepts S3 produced a high-gloss finish considering the amount of corrective power. The advanced nano abrasives worked perfectly against the Ferrari's aged paint removing 90 % of the defects in one pass. Some defects, such as the water etching prominent on the roof, required up to three passes for total perfection.

75.jpg


77.jpg


The single-stage paint "bleeding" on the wool pad.

76.jpg


No spot was left un polished. For the smaller areas such as bumper lips, around emblems or the engine bonnet, a 3 Inch Griot's Garage DA Polisher was used, this time with a 4 1/4 inch Lake Country Ultra Fiber cutting disc.

In the picture below you can clearly see the scratches and swirl marks that outline the famous Ferrari text.

79.jpg


The combination of the short-orbit Griot's 3 inch polisher, microfiber cutting pad, and Scholl Concepts S3 Gold Edition made quick work, eliminating all of the swirls and 95% of the deeper scratches in just one pass.

80.jpg


81.jpg


This combination proved powerful on number detail parts, such as the gas and oil filler lids.

82.jpg


83.jpg


85.jpg


The results of "spot" polishing....

86.jpg


Scholl Concepts S3 Gold Edition High Performance Compound left a high-gloss finish that needed very little followup polishing. For the final polishing step, I switched their follow-up polish, S40 Anit-Hologram Finishing Polish.

Scholl Concepts S40 Anti-Hologram Finishing Polish:

Scholl Concepts S40 promised to deliver a high-gloss, swirl-free paint finish and it delivered. It was extremely easy to use, requiring only a few small drops to adequately polish a section. Scholl recommends using a firmer polishing pad with this polish so both a 5.5 inch Lake Country White Pad and a 4 inch Lake Country White CCS pad were used, on the Griot's 6 inch DA and the Griot's 3 inch DA respectfully.

S40 was extremely easy to wipe off and left a flawless finish that rivaled the appearance of any finishing polish. A subsequent wipe down with Gtechniq Panel Wipe revealed no filling and a true, glossy, level surface.

87.jpg


88.jpg


The results of polishing single-stage red paint..

89.jpg


Ater polishing I carefully wipe every square inch with Gtechniq Panel Wipe to remove any residual oils that could interfere with the protection step.

90.jpg


Clean Up:

Products Used:

BLACKFIRE Wash Bucket with Grit Guard Insert
Wolf's Chemicals Mean Green "Wash & Wipe" Rinseless Car Wash
Miracle Towels
S100 Detailing Swabs
Wolf's Chemicals The Outsider Exterior APC

I carefully washed each square inch with Wolf's Mean Green rinseless solution then blew out every crevice with the venerable Metro Master Blaster. The Miracle Towel provides the right cleaning power to remove any dust and polishing oils without scratching the newly polished and perfected surface.

91.jpg


The headlight buckets were lifted to clean around and underneath them.

92.jpg


93.jpg


The trunk and engine shuts had a lot of gunk behind the weather seals that had to be removed.

94.jpg


Wolf's paint safe Outside Exterior APC and a S100 Detailing Swab made quick work of any accumulated grease and grime.

94.jpg


95.jpg


96.jpg


Protection:

Products Used:

Wolf's Chemicals Hard Body Nano Coating
Griots Garage 6 Inch Random Orbital Polisher
Meguiar's DA Microfiber Finishing Disc
Supreme 530 Microfiber Towels

Wolf's Chemicals Hard Body Nano Coating:

Hard Body has quickly gained favor with some of the world's finest detailers, and for good reason. This nano sealant forms a permanent coating on all paint types to provide immeasurable protection with extreme durability. The last-like nano particles create a deep, glossy appearance that sheds water effortlessly for up to two years!

I found Hard Body extremely easy to apply by machine, although hand application is recommended. I used Meguiar's soft Microfiber DA Finishing Disc on the Griot's Garage 6 Inch DA. I kept the speed low (2-3) and moved quickly, overlapping each stroke and covering the entire Ferrari with the high-gloss coating.

97.jpg


A microfiber towel was used to apply, and remove, Hard Body from all nooks and crannies.

98.jpg


When applied properly, Hard Body will form an almost invisible layer that is impossible to capture on red paint. All residues removed effortlessly after 15 minutes with a Supreme 530 Microfiber Towel.
 
Pictures In Direct Sunlight:

Day three was quickly coming to a close and there was still some detail work to be completed. However, I wanted to capture some pictures of the almost done Ferrari in the bright Florida sunlight as I was on schedule to finish around dusk...

The brilliant, swirl-free finish:

99.jpg


100.jpg


101.jpg


102.jpg


103.jpg


The glossy, candy-like reflections resulting from the intensive paint polishing and Hard Body paint coating.

104.jpg


105.jpg


106.jpg


107.jpg


108.jpg


109.jpg


113.jpg


114.jpg


Final Touches:

Products Used:

Wolf's Chemicals The Insider Interior APC
S100 Detailing Swabs
All Purpose Microfiber Towels
BLACKFIRE Wet Diamond Aluminum Show Polish
BLACKFIRE Total Eclispse Tire Gel
Ultima Trim & Tire Guard Plus
 
With the second coat of Wolf's Hard Body curing, I enlisted the help of my girlfriend and start detailing the final touches.

The trunk/front bonnet was the first to receive attention. The front of the GTO carries the spare tire, tool kit, the cooling system, the headlight buckets and many detail areas.

115.jpg


Pulling back the curtain revealed the spare tire. Everything was pulled out and dissembled for easy access.

116.jpg


117.jpg


The spare tire was cleaned using the same treatment as the exterior tires. The rubber was cleaned with TUF SHINE Tire Cleaner, then treated with BLACKFIRE Total Eclipse Tire Gel.

The rare and original tool kit was spread out and carefully cleaned with diluted BLACKFIRE All-In-One APC. The metal parts (socket wrench, jack, and accessories) were coated with BLACKFIRE Wet Diamond All Metal Sealant. The leather case was cleaned and conditioned with Leather Master's brand products (it received the same treatment as the interior hides).

118.jpg


I hoisted my girlfriend into the trunk area to clean the area under the headlight buckets. The small Wheel Woolie as well as an All Purpose Microfiber Towel (dipped in Wolf's Chemicals Mean Green Rinseless Car Wash) were used until each area was spot less.

As she worked diligently on the front end, I used diluted BLACKFIRE All-In-One All Purpose Cleaner to remove any built up grime in the body channels.

120.jpg


After agitation with an S100 Detailing Swab:

121.jpg


Wiped clean (sorry further way camera angle).

122.jpg


After cleaning and wiping the bonnet down, including the detail work around the fans, a light coat of SONUS Trim & Motor Coat was applied. After it dried, we replaced the accessories. In the picture below, the detailed spare wheel/tire has been replaced.

123.jpg


124.jpg


Finally the curtain was wiped down with CarPro Perl and the tool kit was reinstalled:

127.jpg


The last coat of Wolf's Chemicals Hard Body Nano Coating was wiped off with an ultra-soft Wooby Microfiber Towel.

128.jpg
 
Final Pictures:


With the exterior buttoned up, it was time to snap a few final pictures.. The sun was beginning to crest below the horizon, creating the "golden hour" in which color saturation is easy to capture on (digital) film.

129.jpg


130.jpg


131.jpg


133.jpg


134.jpg


135.jpg


136.jpg


137.jpg


138.jpg


139.jpg


140.jpg


141.jpg


142.jpg


143.jpg


144.jpg


146.jpg


145.jpg


147.jpg


148.jpg


149.jpg


110.jpg


111.jpg


112.jpg
 
Wow, just an amazing job Todd. Thank you for the extensive write up. The Ferrari looks awesome!
 
Todd Helme has left the building.....:super
:thewave::thewave:
I could almost hear the music on this write up!!!!
Majistral!!!!
 
I was waiting to get home to see this. One of my favorite cars of all time (next to the 250 GTO) The 288 is why I have this fancy with a 77 308 Dry Sump Euro fiberglass body(plus possibly obtainable for me).

Truly spectacular work and write up Todd!
 
Damn Todd, you may not post a write-up for a while, but when you do you really make it worth the wait! Incredible job, and another one to be bookmarked! :bow
 
Back
Top