Todd@RUPES
Just a regular guy
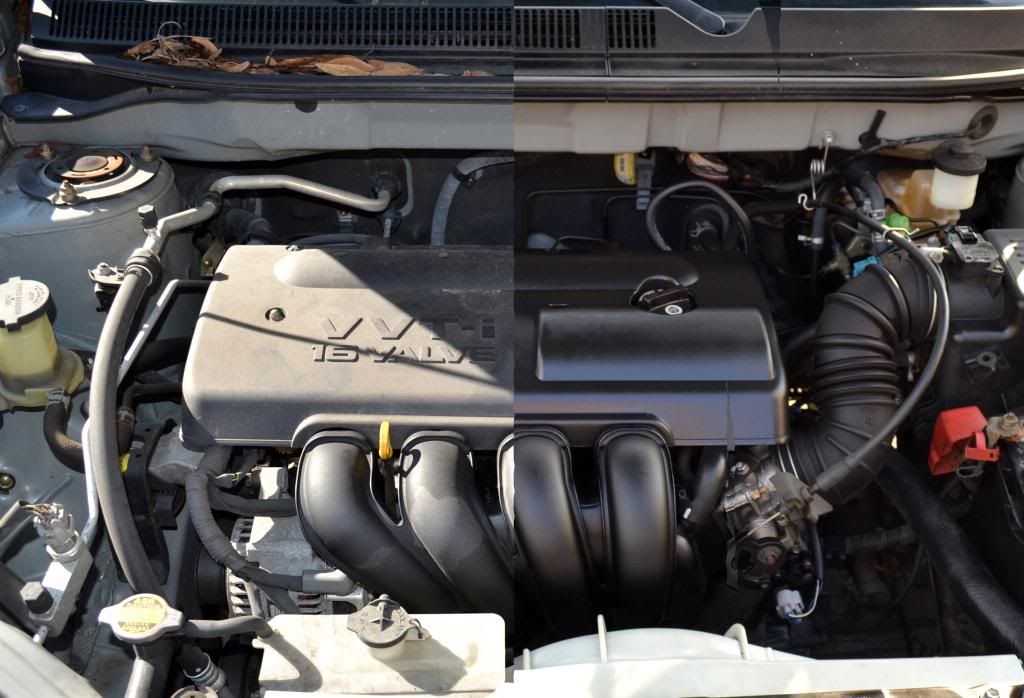
Ready..... Set.... GO!!!!!
With careful product selection and fairly decent organization, it is possible to clean a modern engine compartment in around 15 minutes. Keep in mind, this is not a heavy-duty detailing, although the results will look like it, but rather a very quick and thorough cleaning designed to make any engine compartment look great in a matter of minutes.
- Pre Soak Grimy Areas - 3 to 5 minutes
- Protect Sensitive Engine Components - done while cleaner is dwelling
- Rinse Off Pre Soak - > 1 minute
- Spray and Agitate Cleaner - 3 to 5 minutes
- Rinse Off Cleaner- > 1 minute
- Dry Engine Compartment - 3 to 5 minutes
- Apply Protectant/Dressing - 1 to 3 minutes
Working at a quick base it is possible to finish all of your work in 12 to 20 minutes.
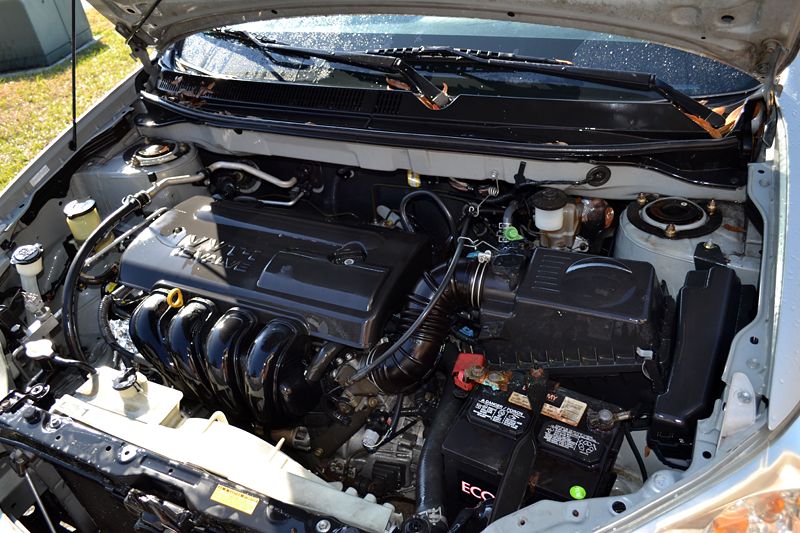
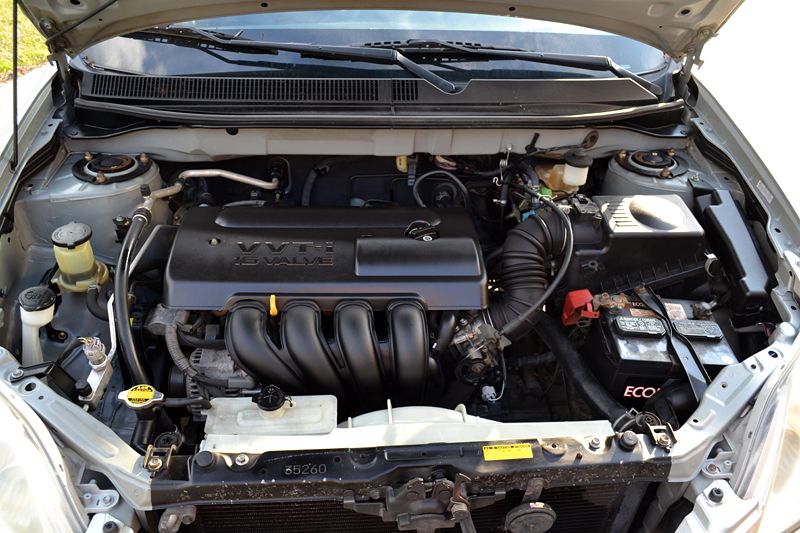
I used my "beater" 2003 Toyota Matrix to as a test subject. The engine on this car has NEVER been detailed and was covered in 10 years worth of oil, filth, grit, dirt, leaves and whatever else found its way underneath the hood.
Products Used:
BLACKFIRE All-In-One APC
Wheel Woolies Detail Brush
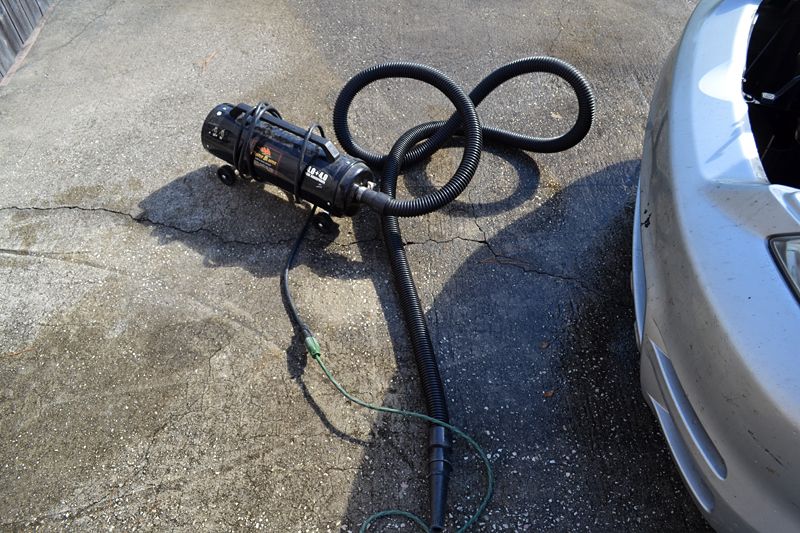
Metro Vac Master Blaster
Sonus Trim & Motor Kote
Aluminum Foil
Hose & Water
BLACKFIRE All-In-One All Purpose Cleaner - BLACKFIRE AIO APC is a great choice for engine degreasing, particularly when used at full strength. It's leather-safe nature makes it ideal for cleaning the multitude of materials found under your hood. Best of all, it is a fast acting formula that requires a minimal dwell time for big results.
Sonus Trim & Motor Kote: Sonus Trim & Motor Kote remains my favorite engine protectant/dressing. Older plastics can tend to look dull and gray after they have aged, particularly the plastics on an older vehicle such as this Toyota. Sonus T&MK dries to the touch and provides long-lasting good looks!
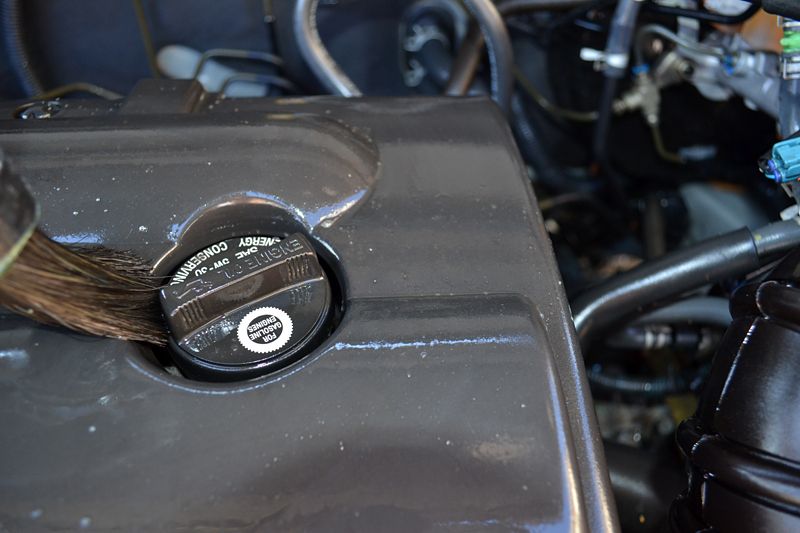
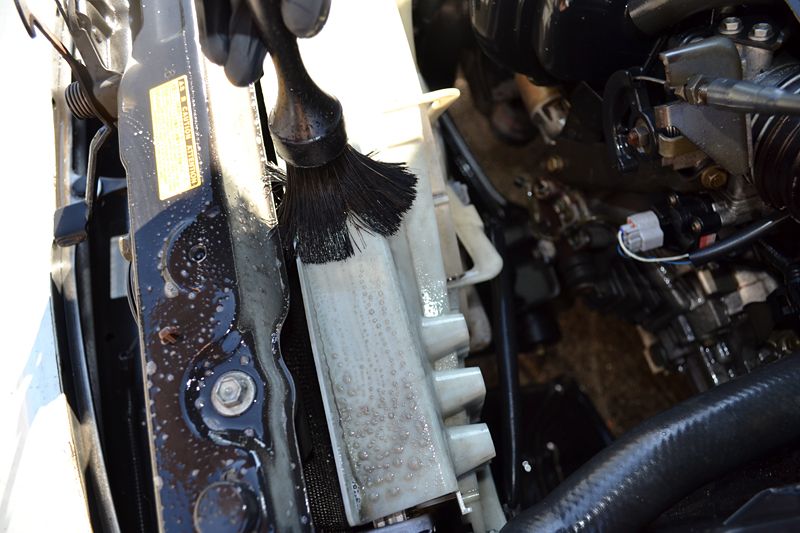
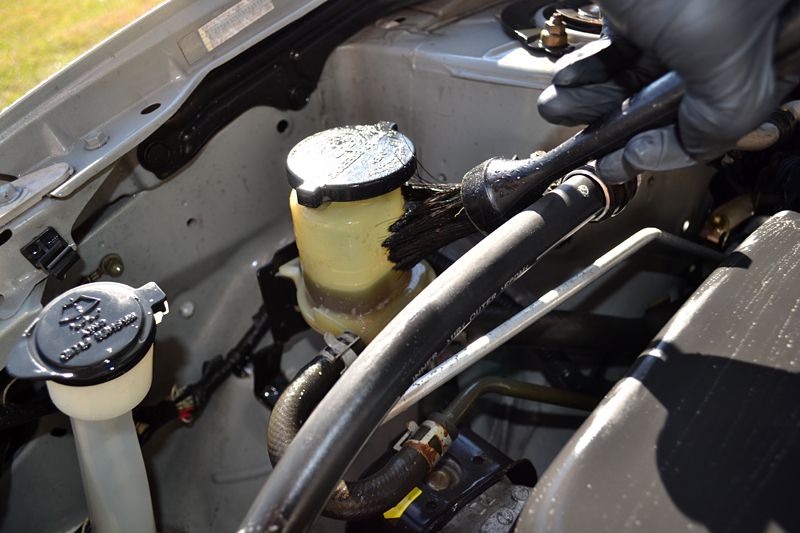
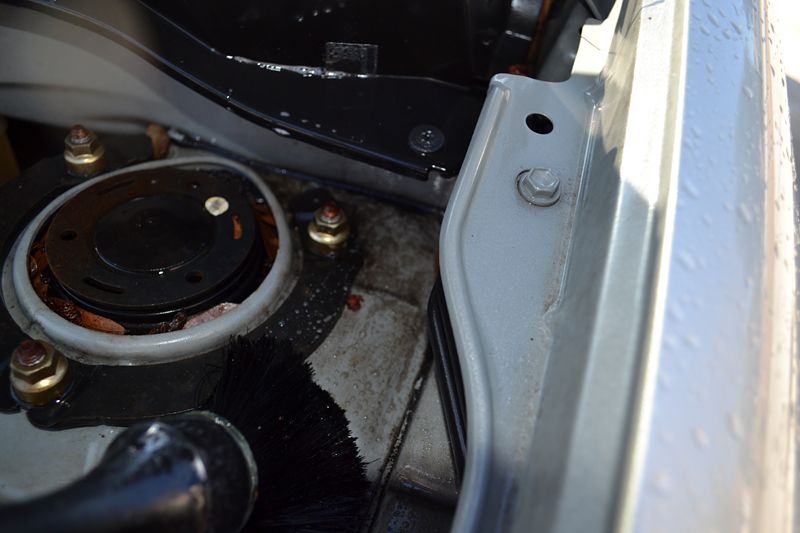
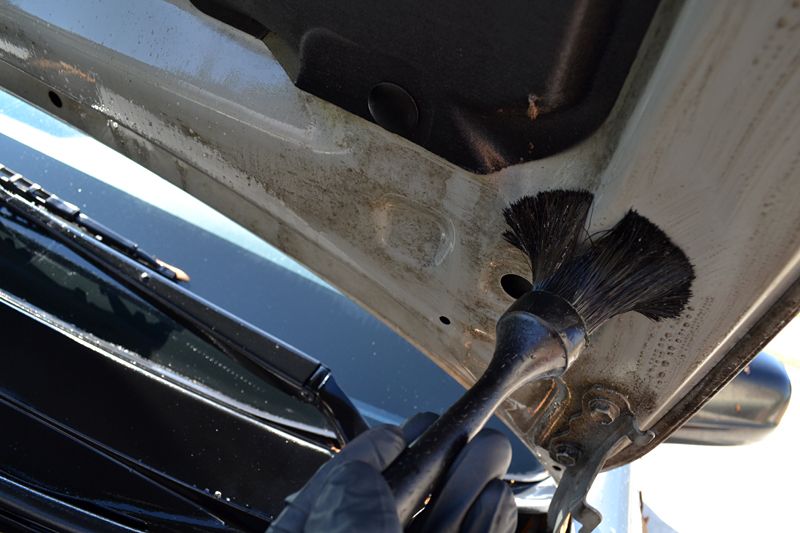
Wheel Woolies Detail Brush - The Wheel Woolies Boar's Hair Detail Brush is a great choice for fast engine detailing because it quickly gets into most tight areas, while having enough surface area to clean larger areas.
Metro Vac MasterBlaster 8hp - After rinsing your engine, it is important to blow as much water out of the compartment as possible, away from electrical connectors and sensitive components. The MasterBlaster, with the benefit of heated air, quickly and effective dries the engine compartment.
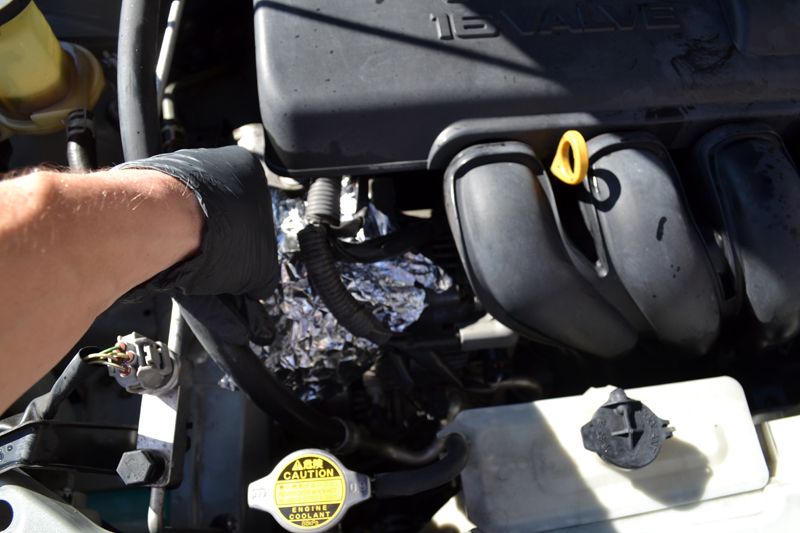
Aluminum Foil- Use aluminium foil to protect sensitive engine components. Tearing the foil into squares, prior to engine detailing, makes easy and effortless to protect the engine. Simply cover, scrunch around the part, and move on.
Note: I would also recommend getting a pair of quality Nitrile Gloves to protect your hands any chemicals, grease and splatter.
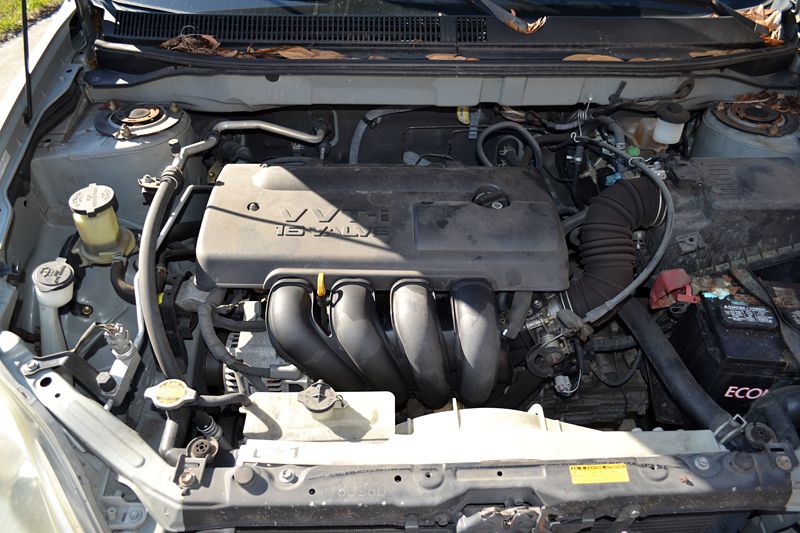
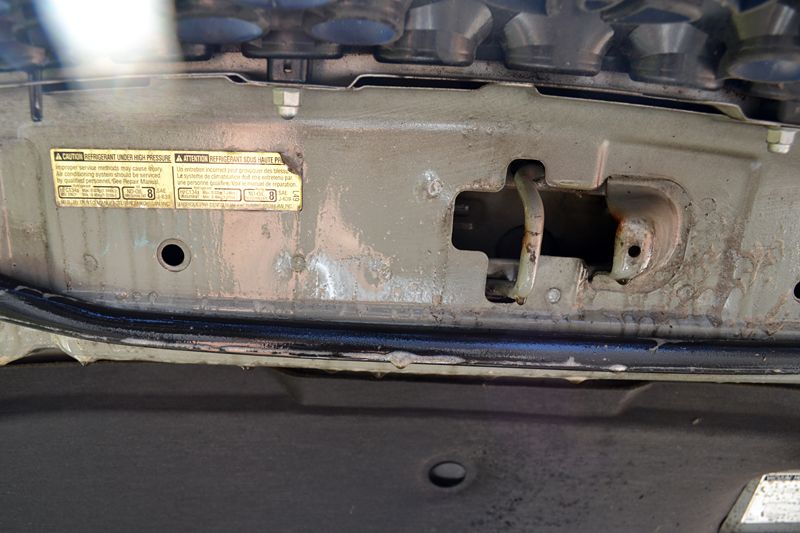
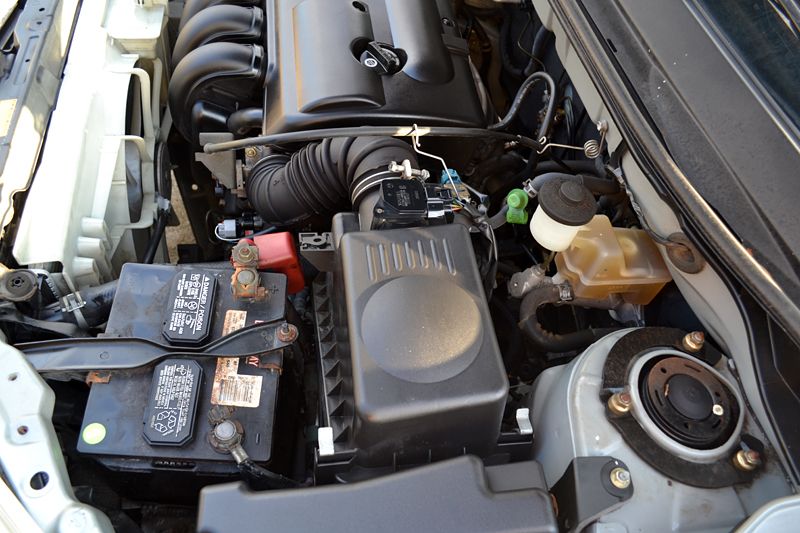
Before:
The engine was covered in 10 years of filth, grease and debris....


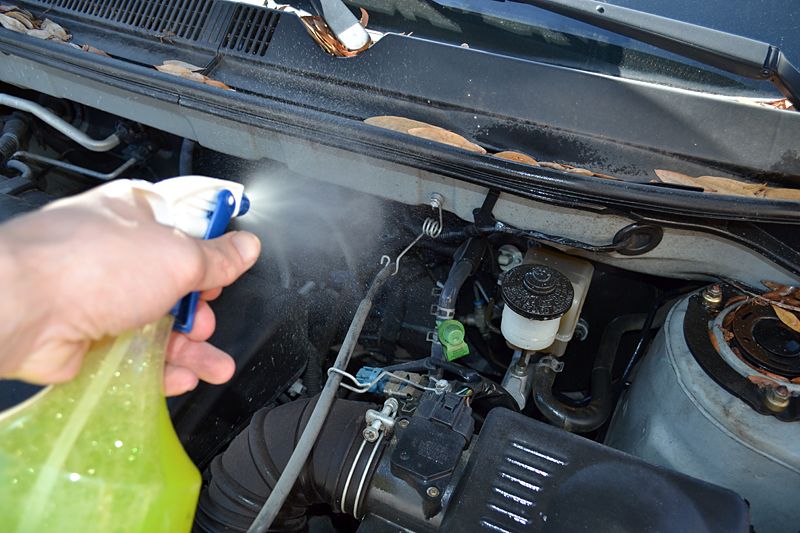
Step One: Pre Soak Grimy Areas - 3 to 5 minutes
Start your speed engine detailing by pre-soaking your engine compartment with BLACKFIRE All-In-One APC.

Make sure to cover liberally.
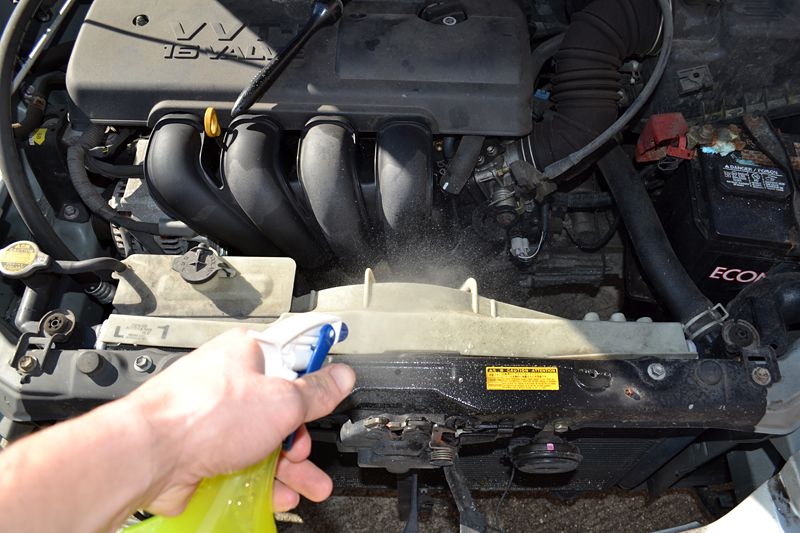
You can see the full strength BLACKFIRE breaking down the grease and grime instantly.
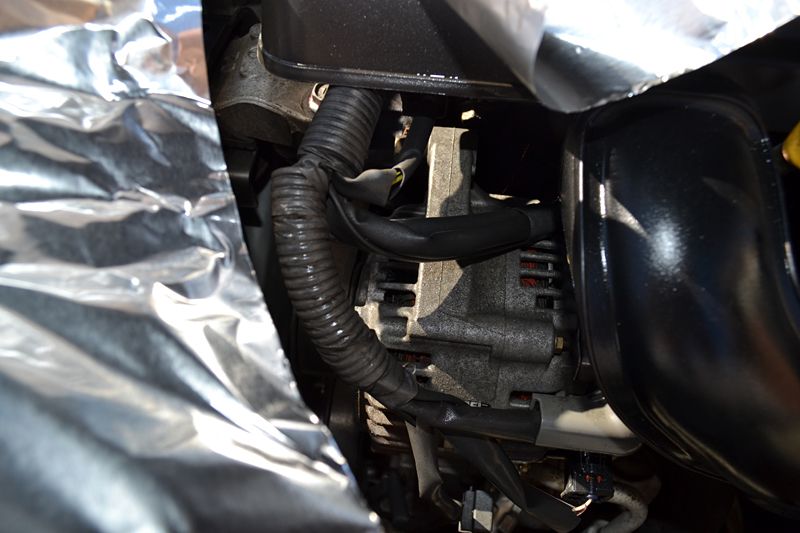
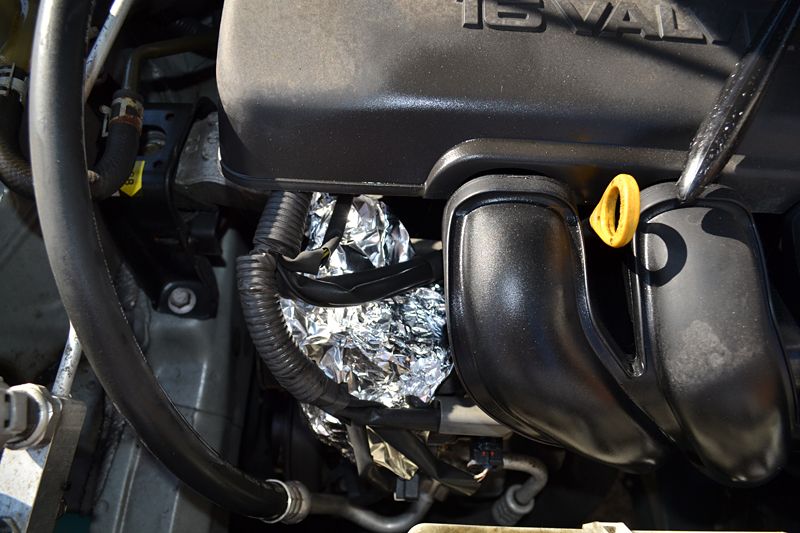
Step Two: Protect Sensitive Engine Components - done while cleaner is dwelling
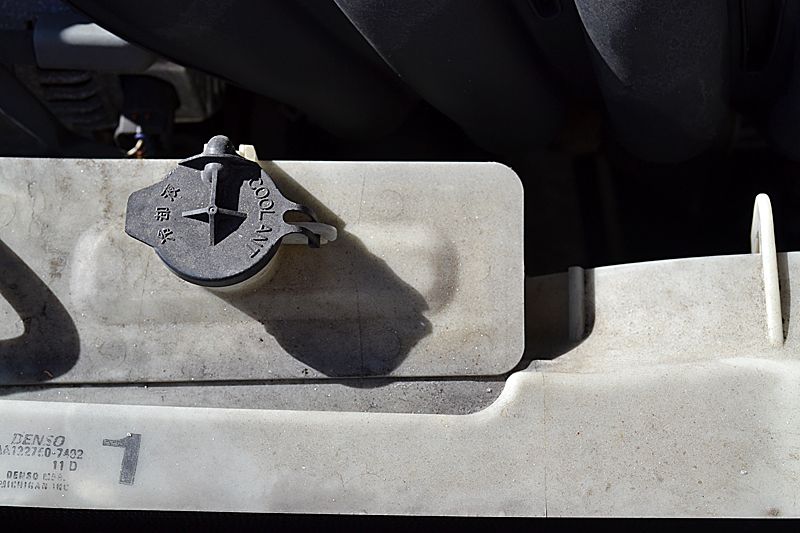
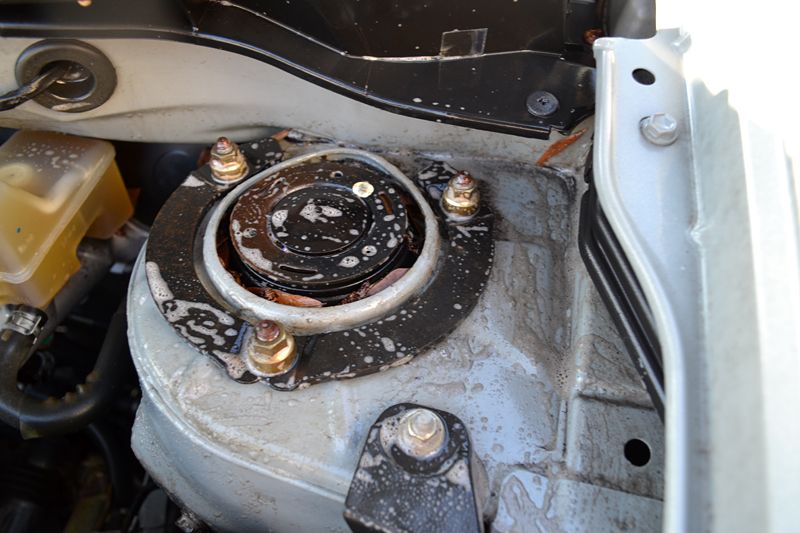
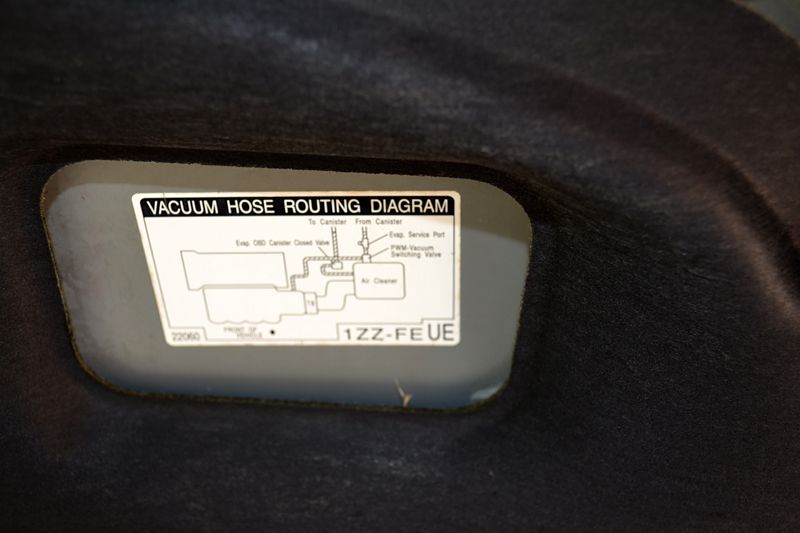
Cover sensitive engine components like the alternator, throttle position sensor and electrical contectors with aluminum foil. If you don't know what you should be protecting, then consider having the car done professionally. If you are a professional, then learn!!!
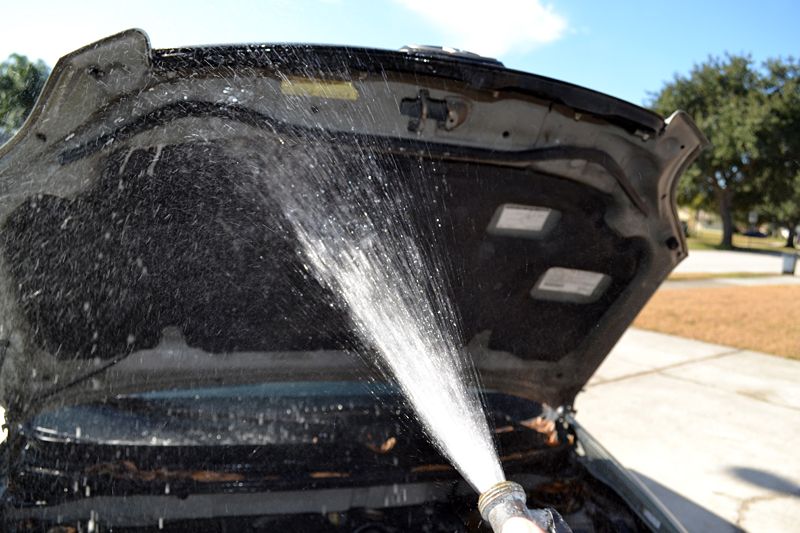
Step Three: Rinse Off Pre Soak - > 1 minute
Quickly rinse off most of the pre soak. Avoid spraying a heavy stream of water directly onto the engine, instead focus on rinsing the areas around the engine.
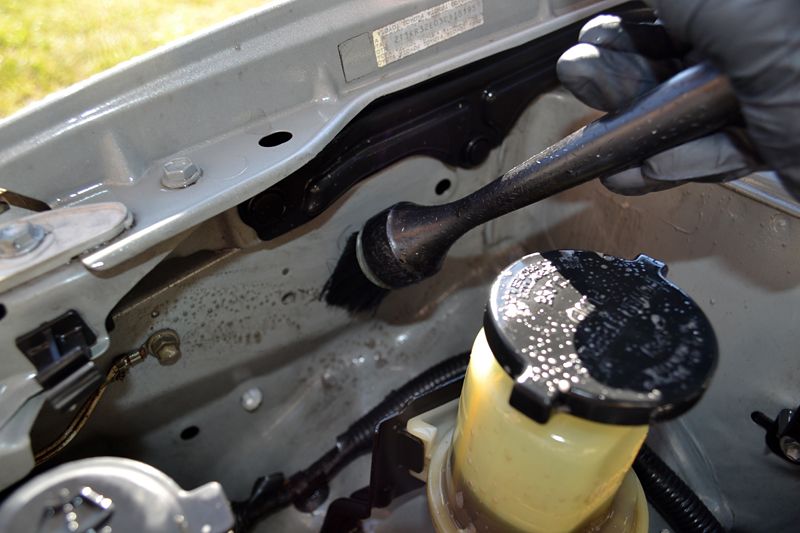
Step Four: Spray and Agitate Cleaner - 3 to 5 minutes
For this step, I like to hold the sprayer in my left and the Wheel Woolies Detail Brush in my right. Quickly work around the engine compartment, spraying then agitating the solution.
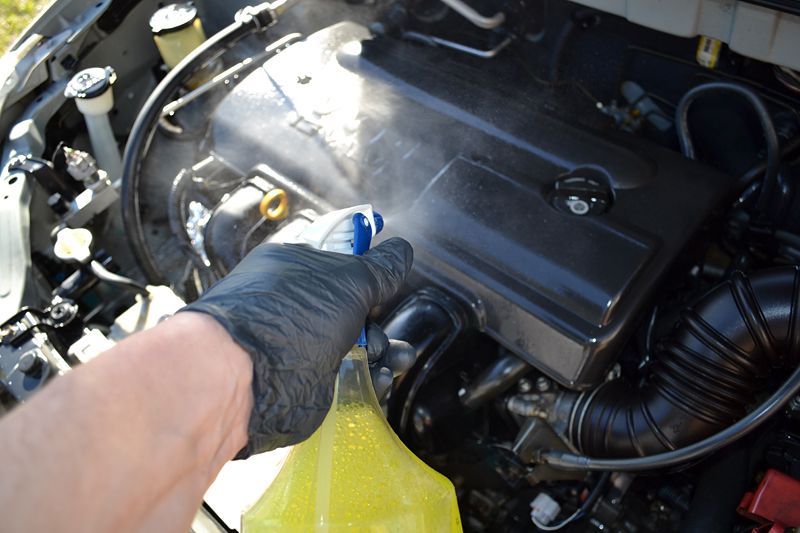
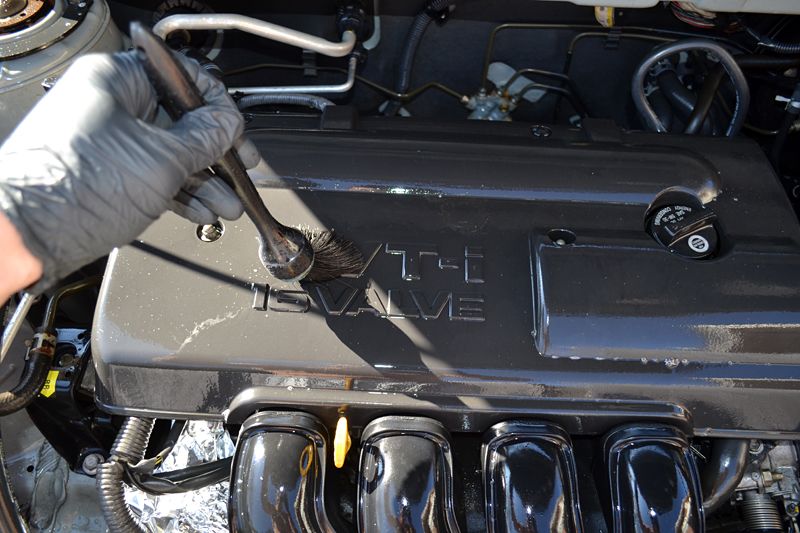
Make sure to focus on the areas of heavy filth.
Step Five: Rinse Off Cleaner- > 1 minute
Step Six: Dry Engine Compartment - 3 to 5 minutes
The Metro Vac MasterBlaster easily removed 90 percent or more of the water in just seconds. Spend the remaining time blowing out all of the crevices, cracks, nooks and crannies.
Make sure to remove all the aluminum foil!
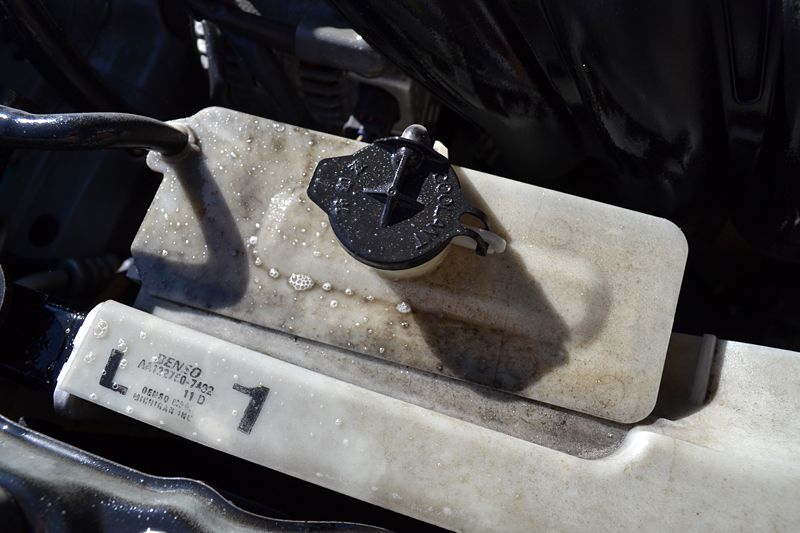
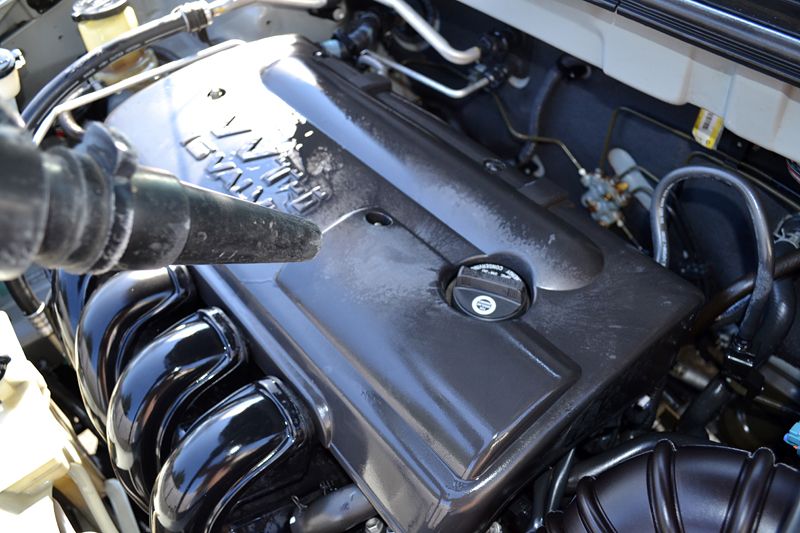
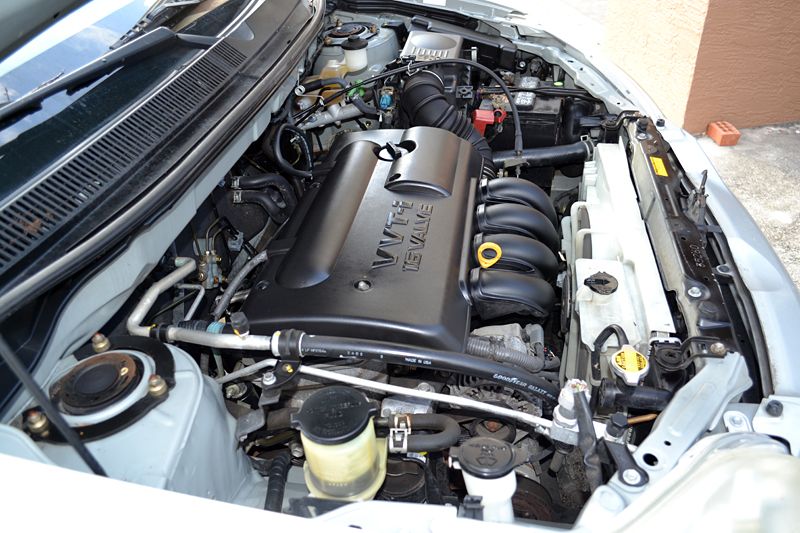
Once clean, the aged and neglected plastics looked gray and aged, but clean...

")