Didnt plan on it being a long weekend...

But things never usually work out as well as we like
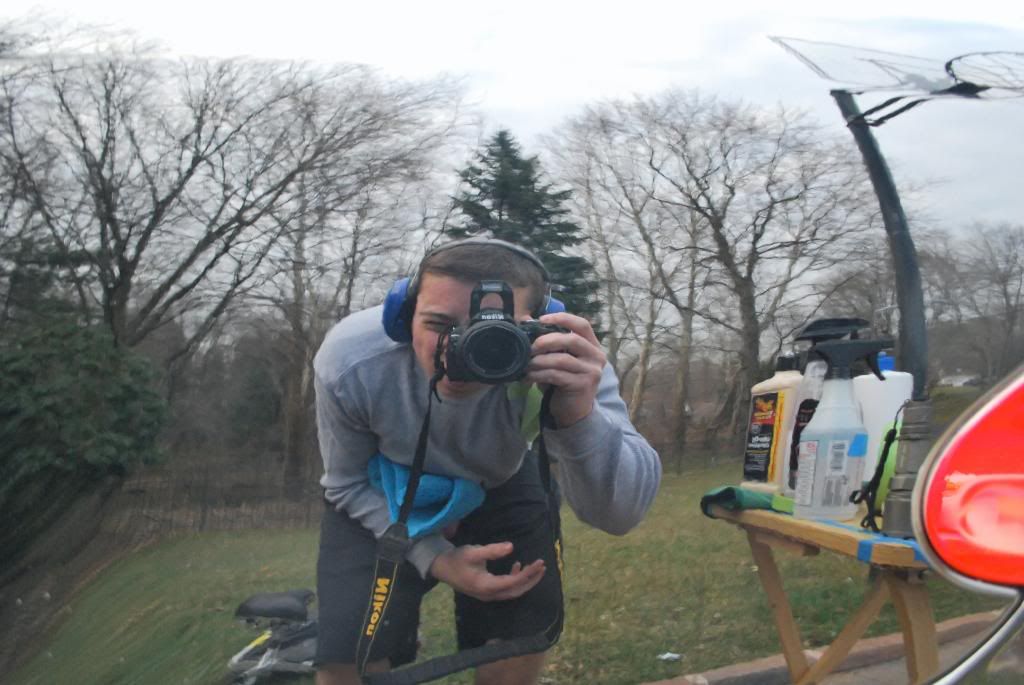
And on with the detail...
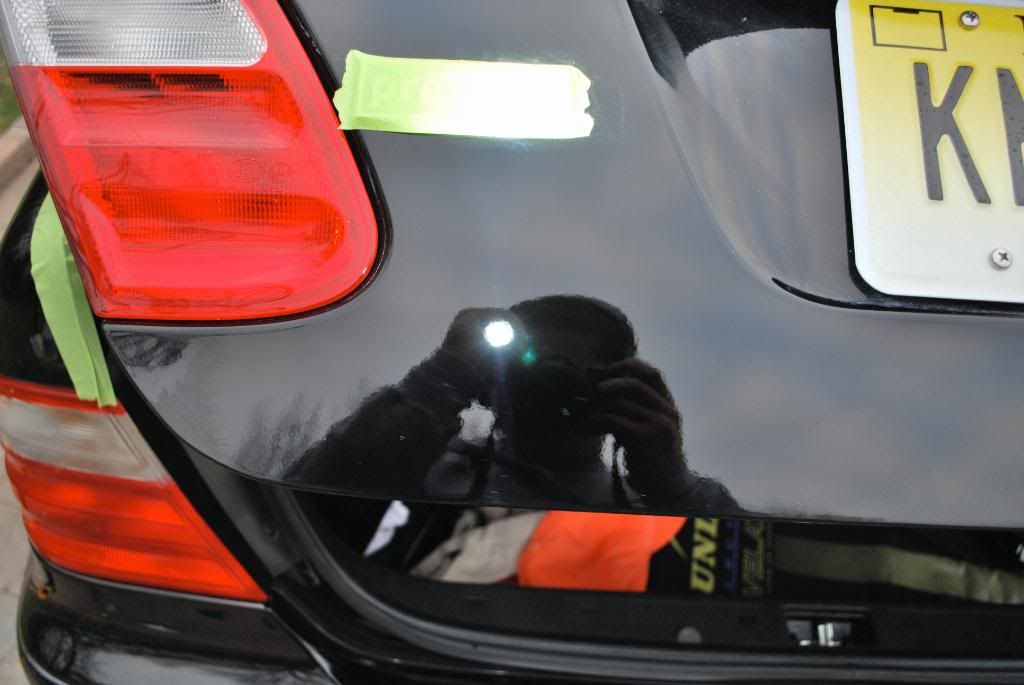
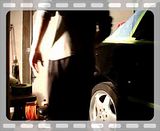
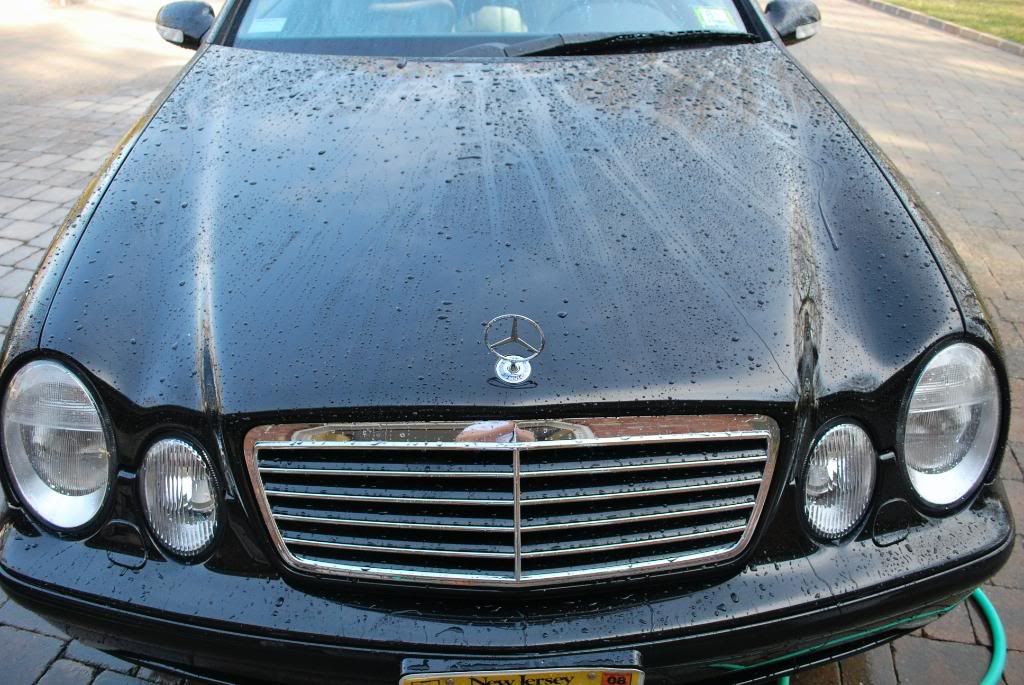
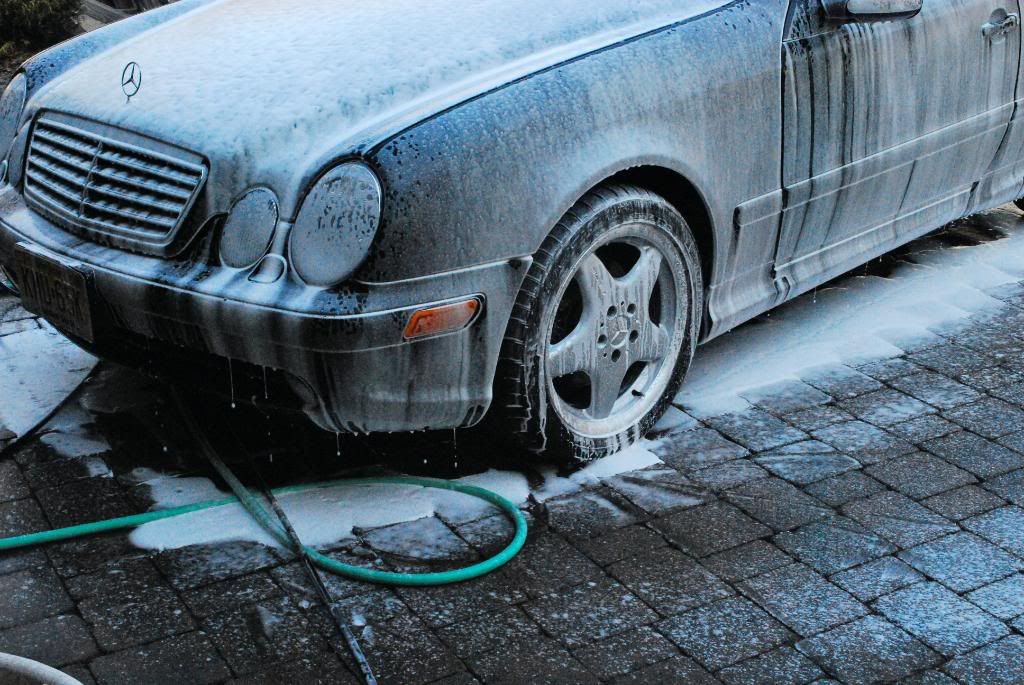
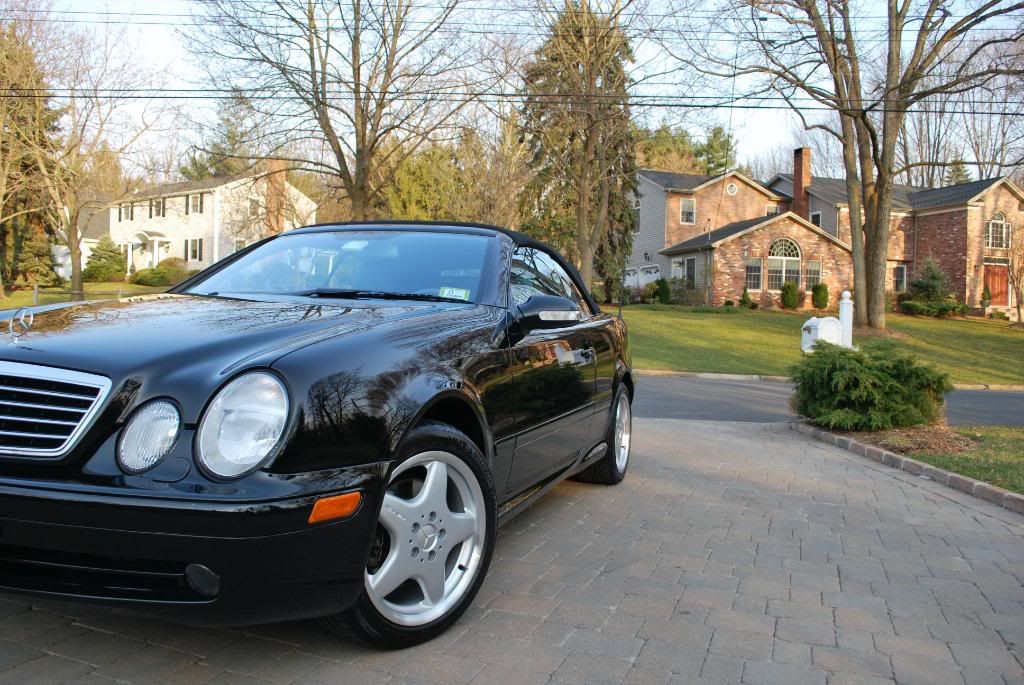
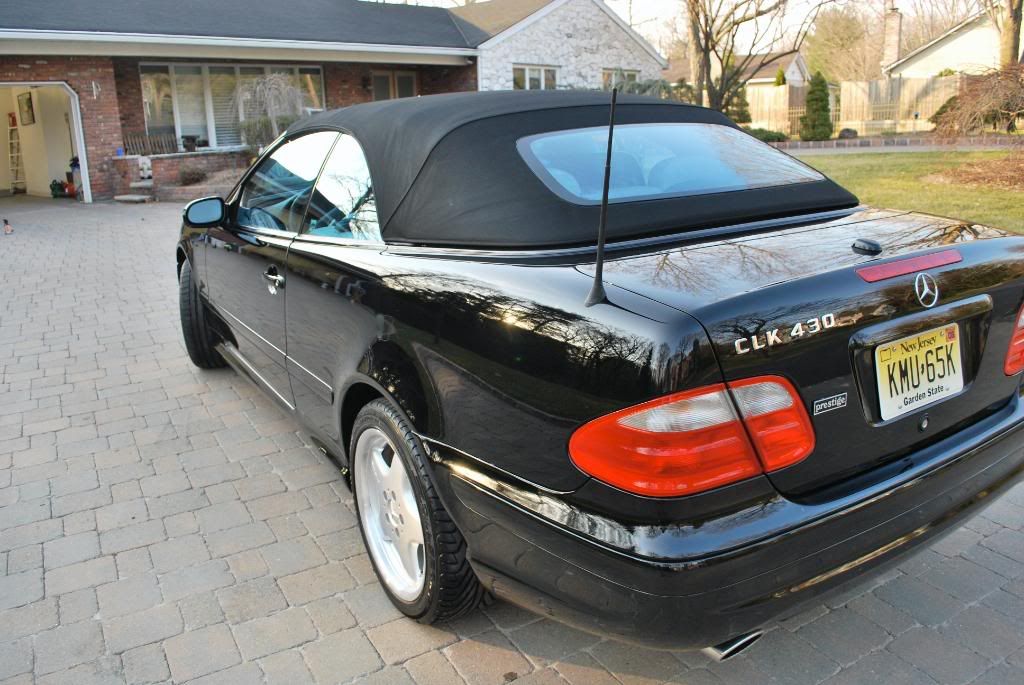
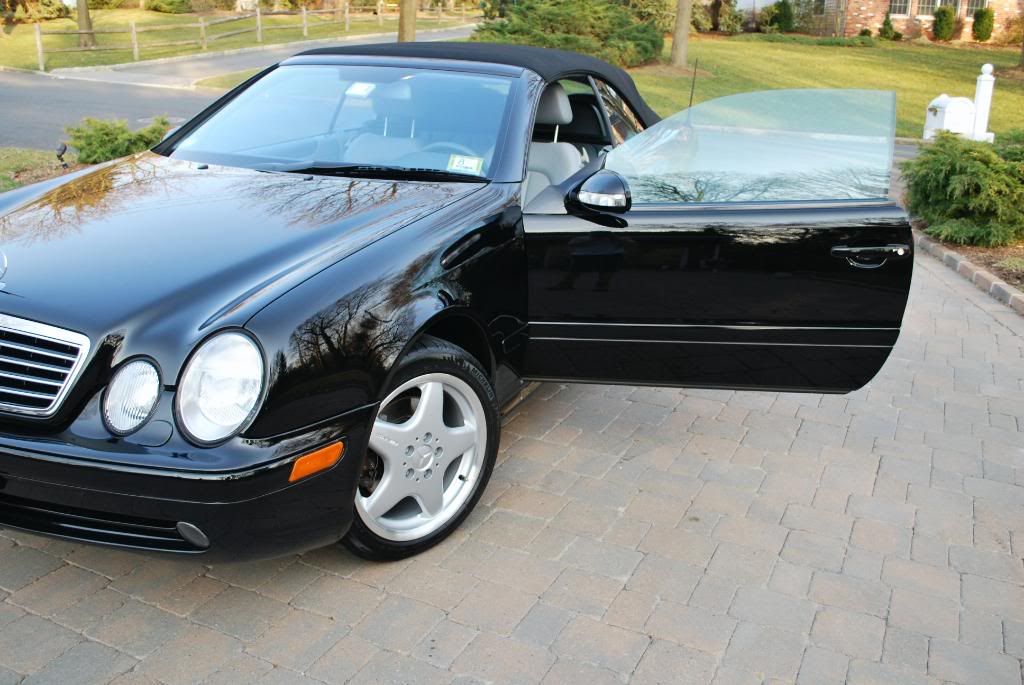
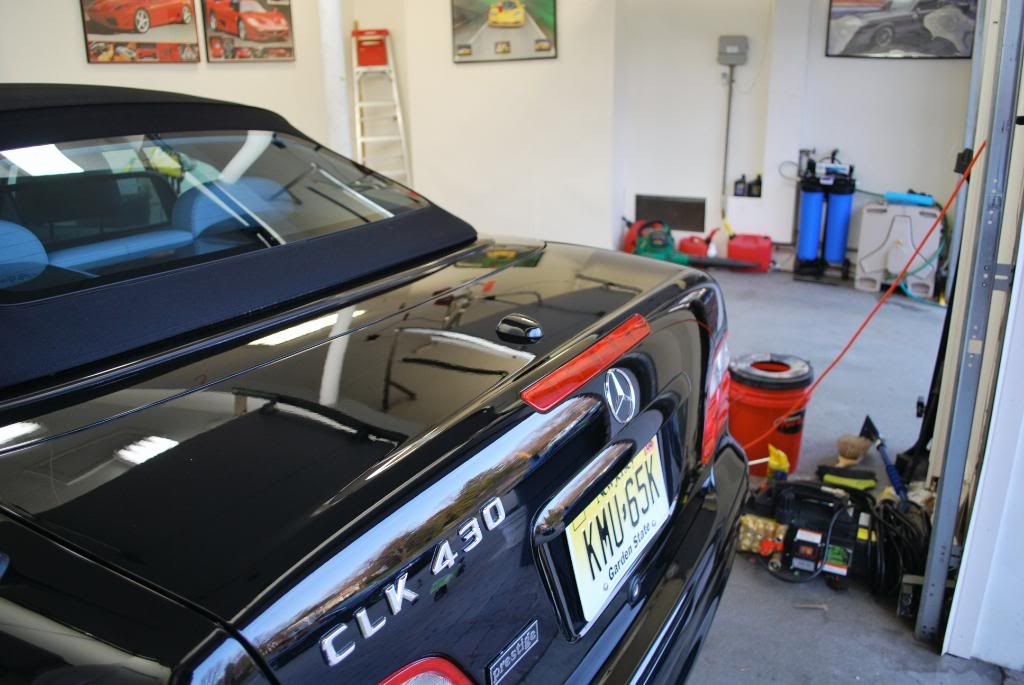
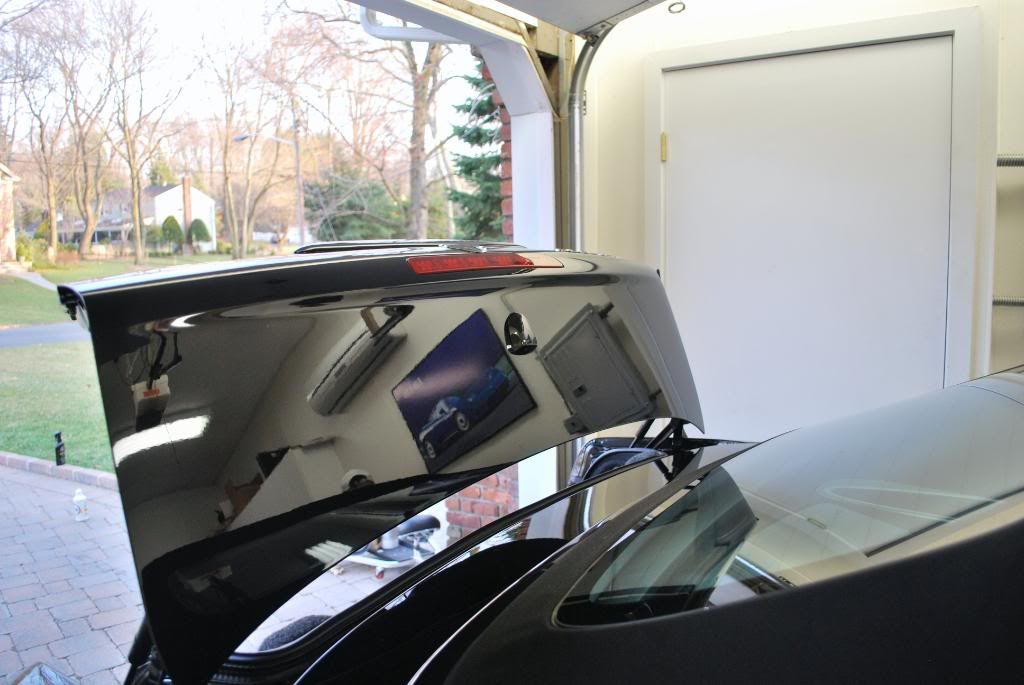
On arrival
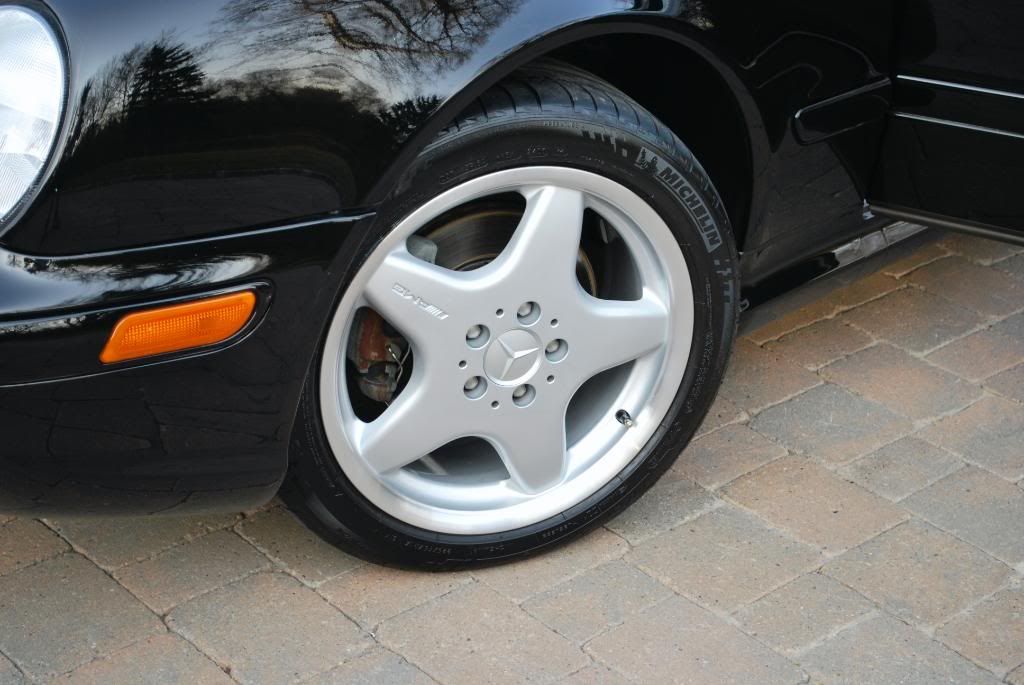
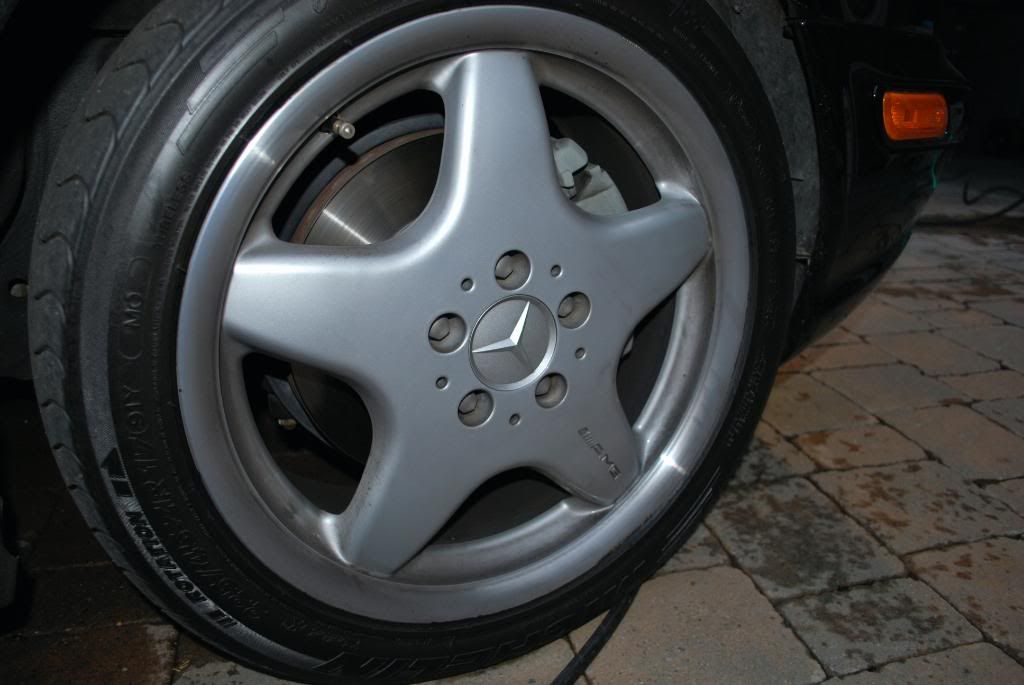
Wheel first
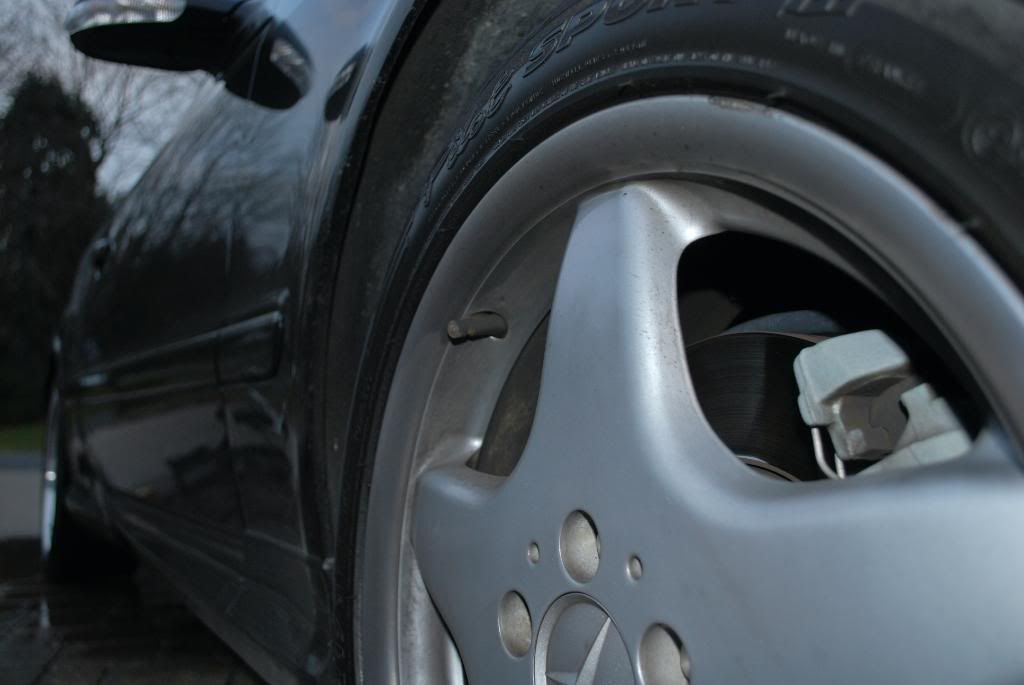
After high pressure rinsing most all of the surface brake dust and grime came off nicely but the wheel inners were in bad shape
Used the following:
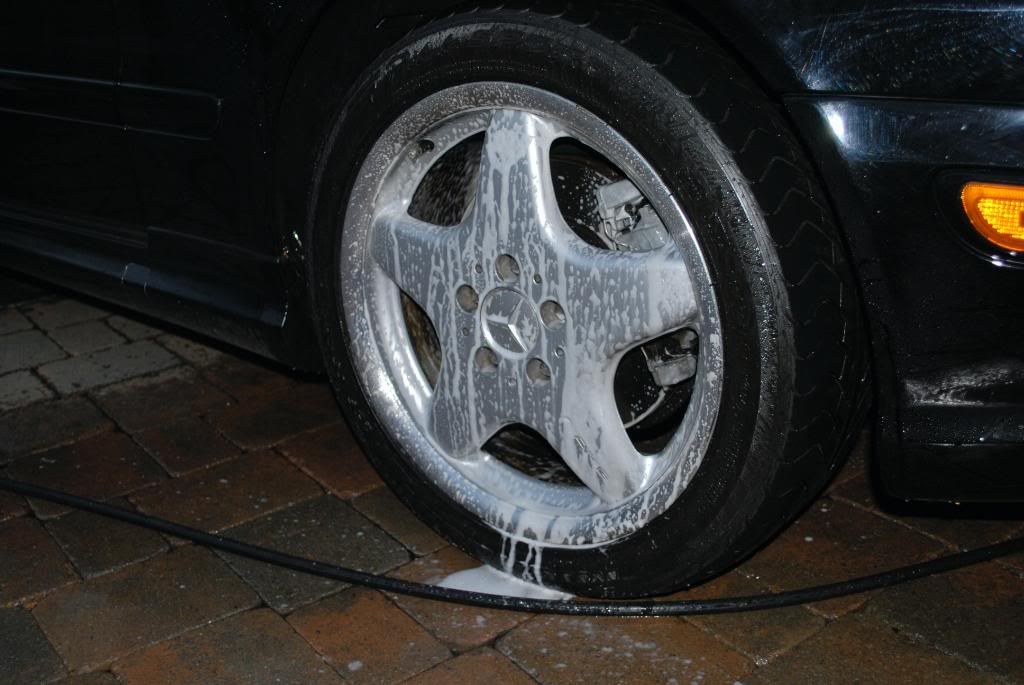
Gloss It wheel gel 2:1
Megs APC+
Stoners Tarminator
various brushes
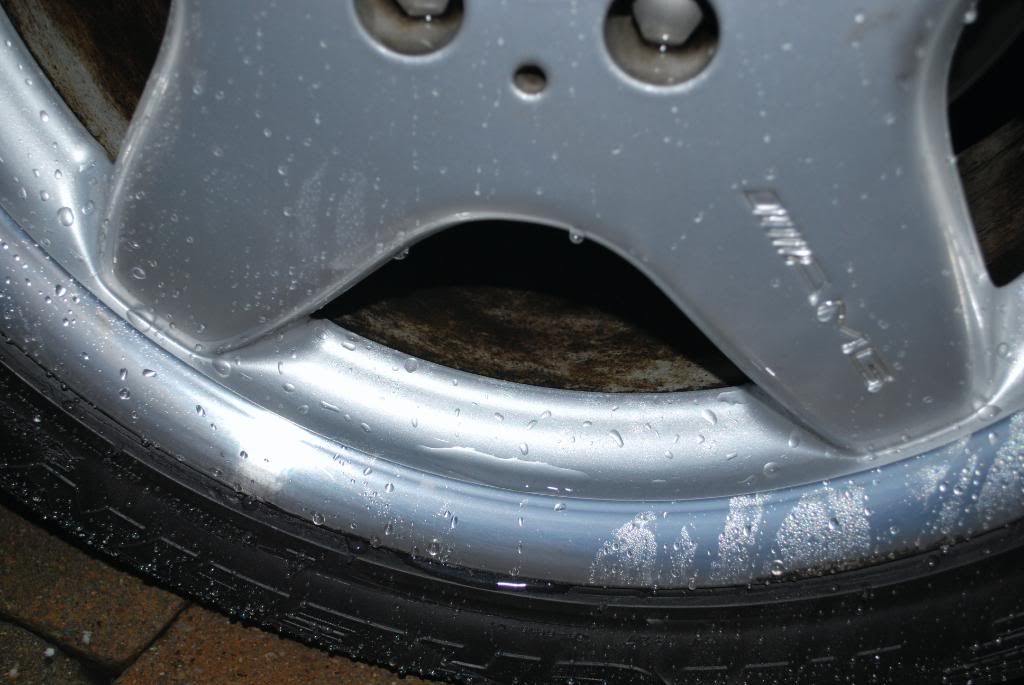
GI wheel gel sitting (very clingy stuff :headbang")
After

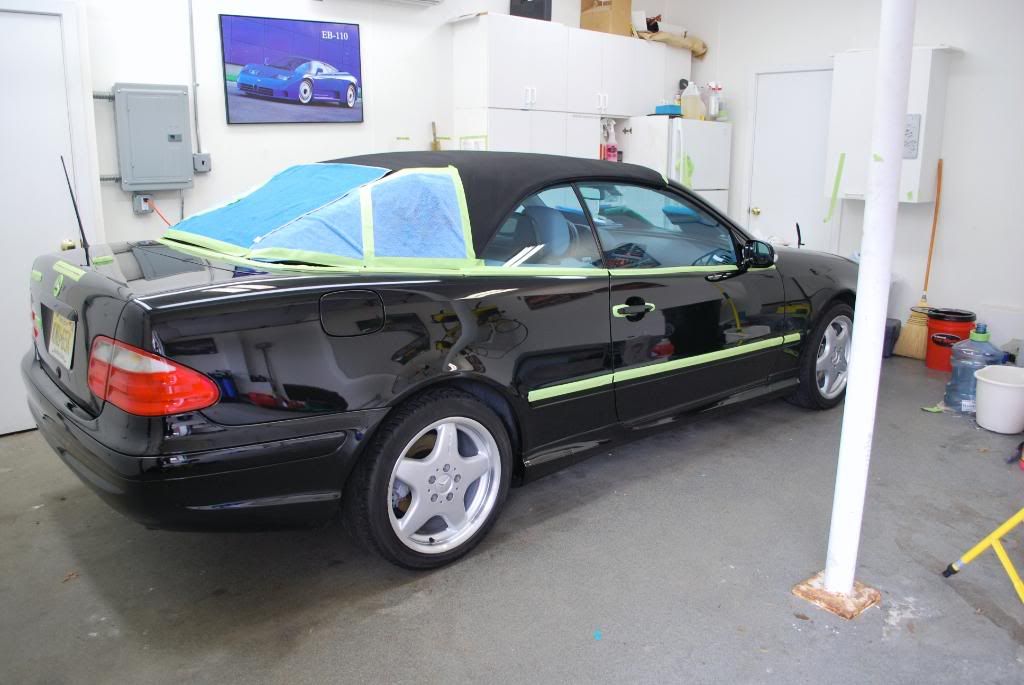
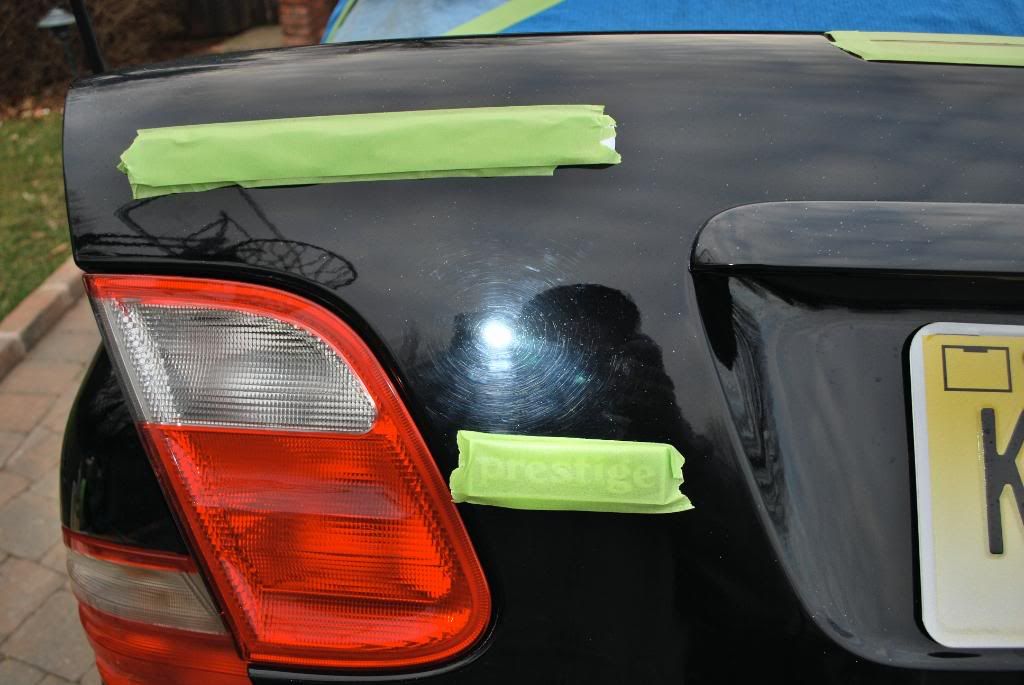
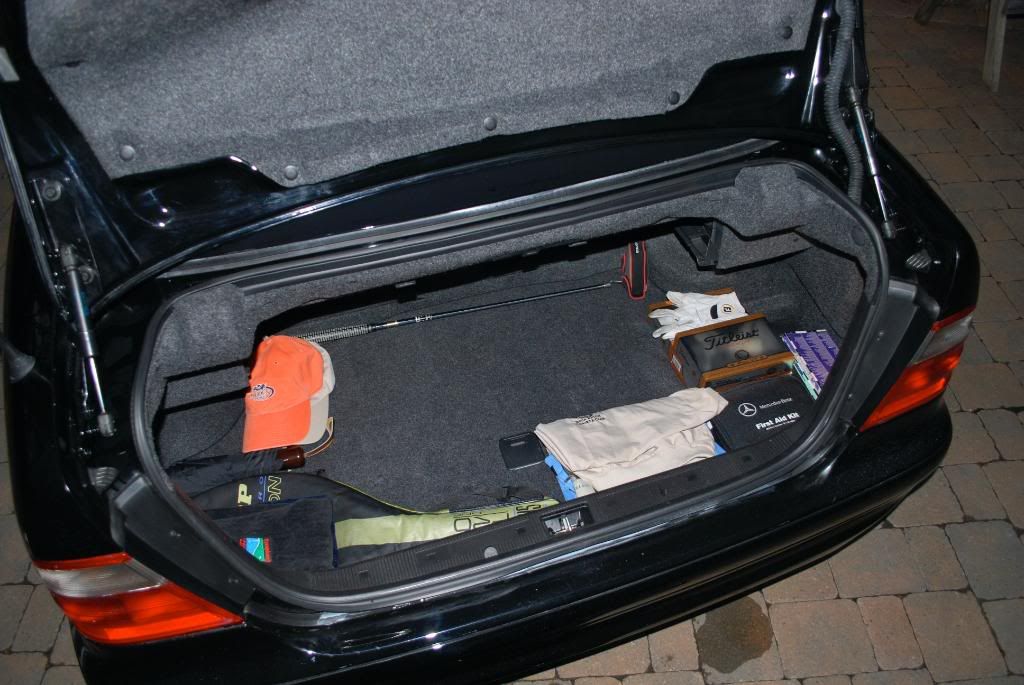
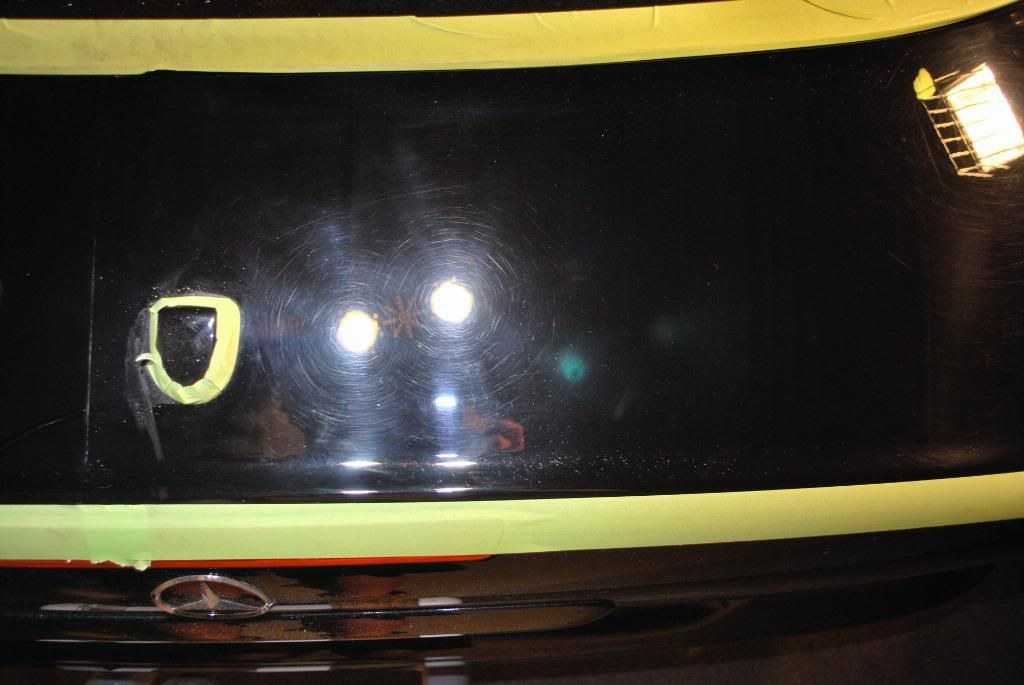
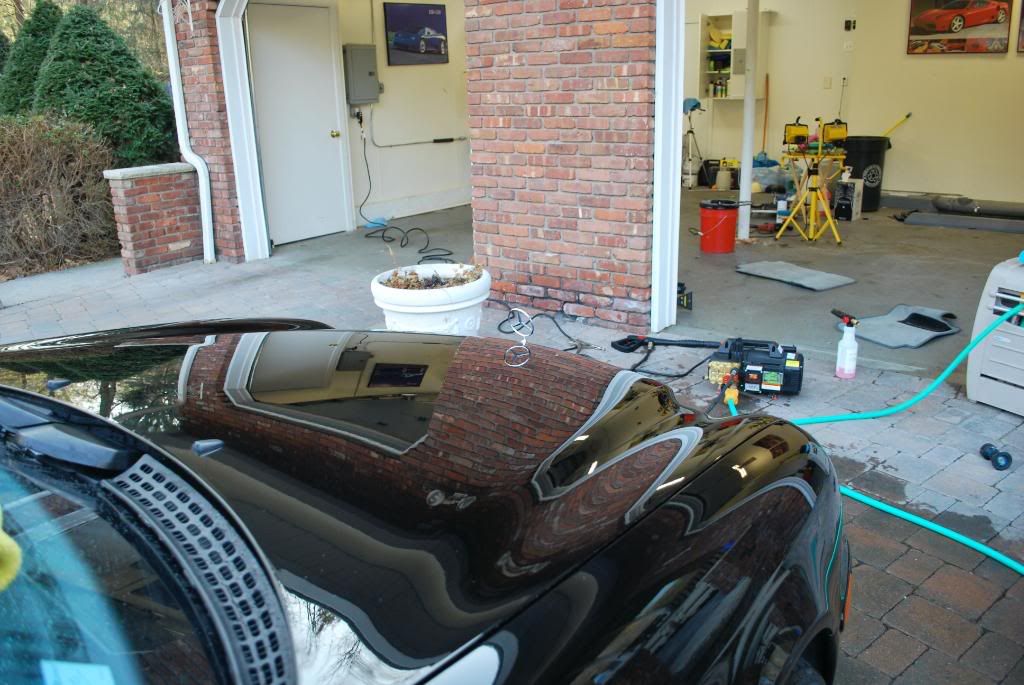
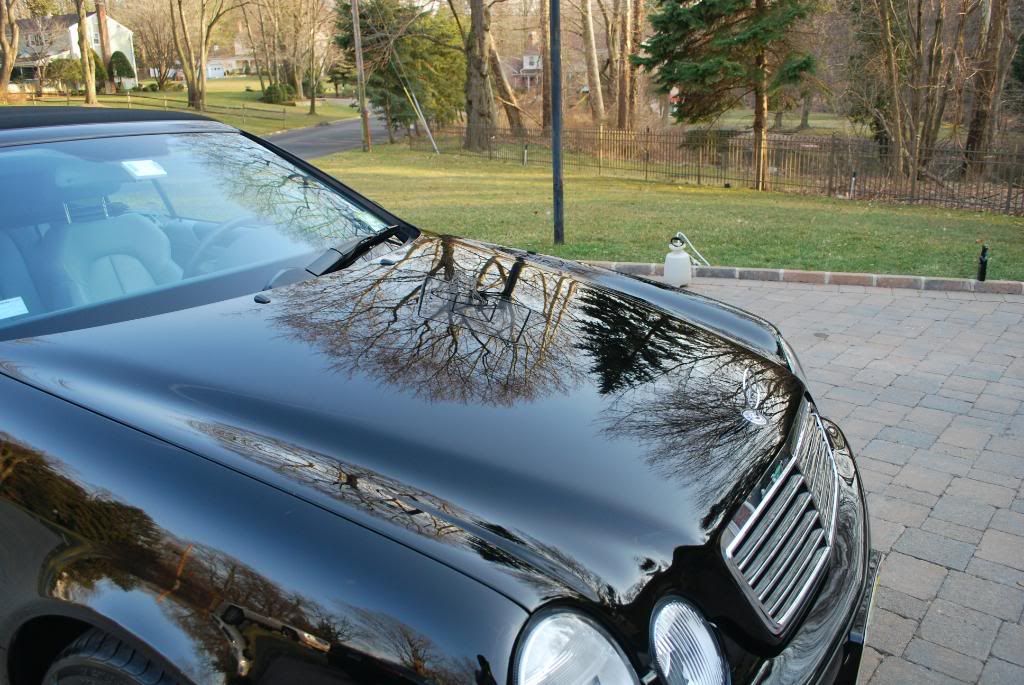
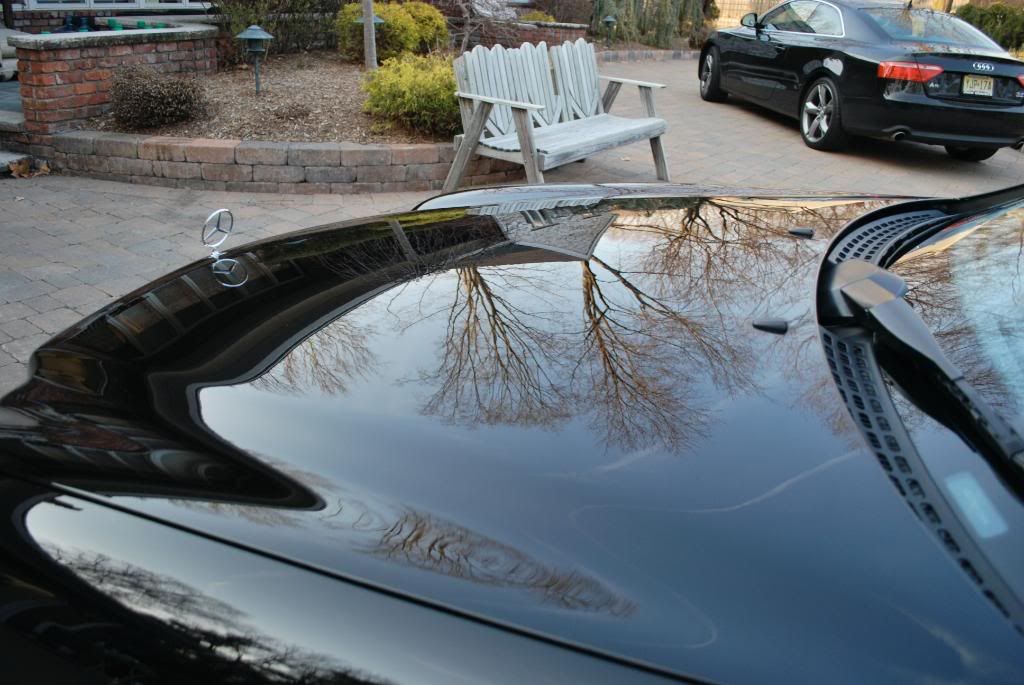
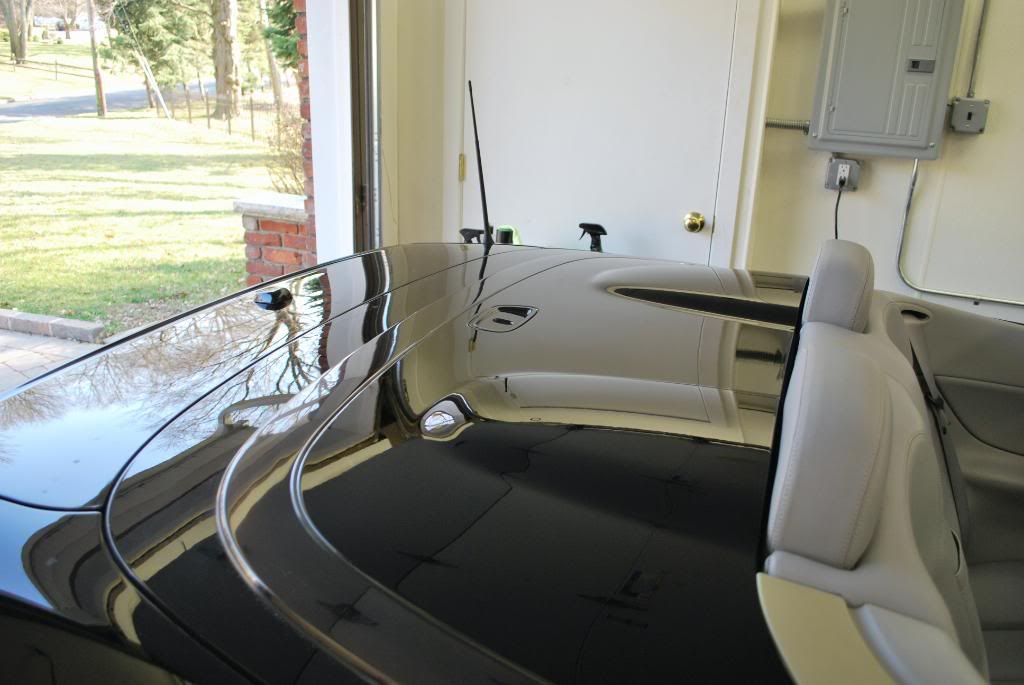
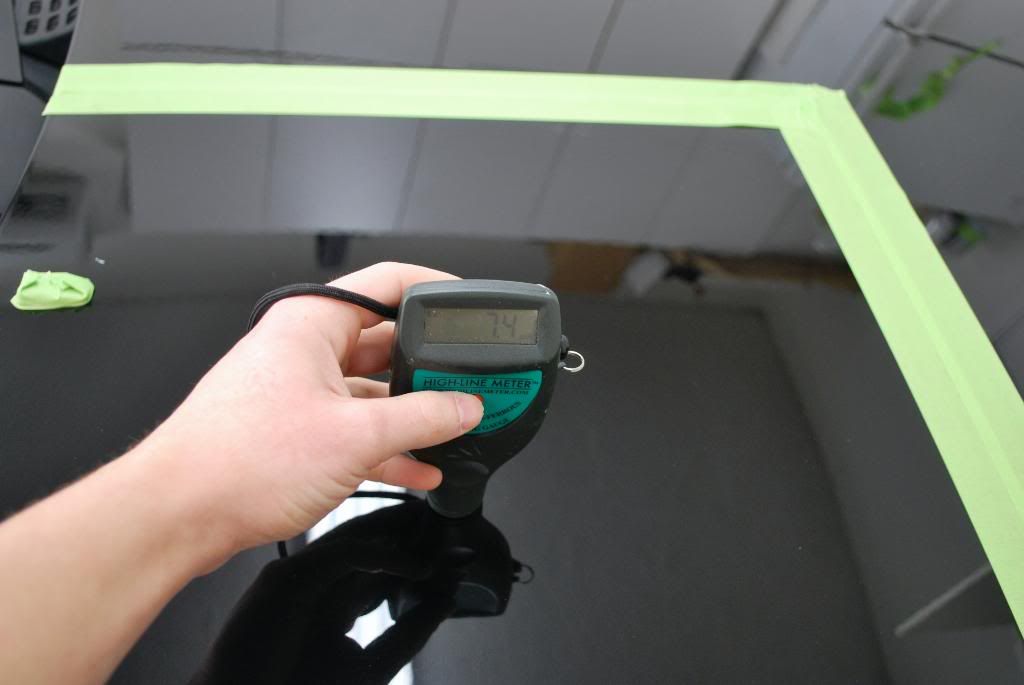
Pulled the CLK inside for claying and inspection, car was consistent at 6-7mils
The paint was in very bad shape, lots of auto wash damage and deep RIDS. I was on a time schedule and a tight budget so the 3 step process this car NEEDED for 100% paint correction was not able to be performed, I instead settled on a 2 step process which worked extremely well to remove the heavy defects and finish out the paint nicely. Overall I would say 95% correction was achieved, some areas with less defect cleaned up easier and other areas needed some extra attention using 2 hits of M105 w. the wool pad.
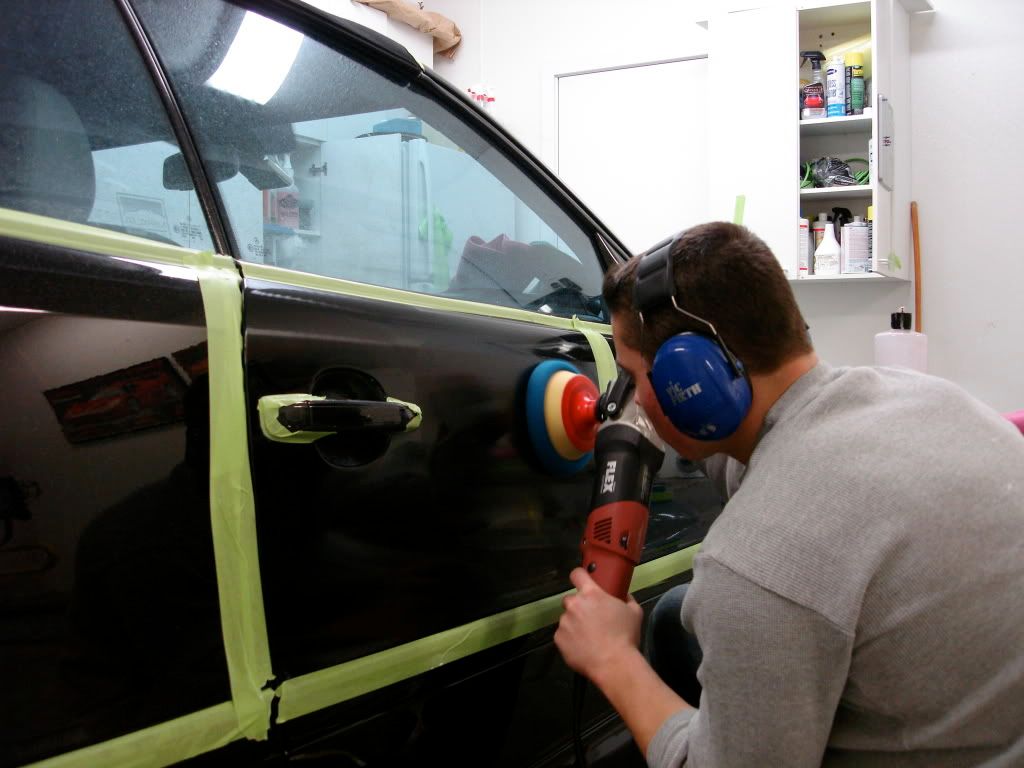
Paint correction process:
Megs M105 w/ Gloss It baby lambswool cutting pad (5.75" and 4")
Menz 85rd w/ Gloss It blue finishing pad (5.75 and 4")
+ Gloss It EVP polish extender
The lambswool pad and M105 did a really nice job on the heavy defects, I polished at about 2400rpm using the EVP w/ M105 and heavy pressure. This combo knocked down the heavy defects but left a lot of hologramming behind (as expected)
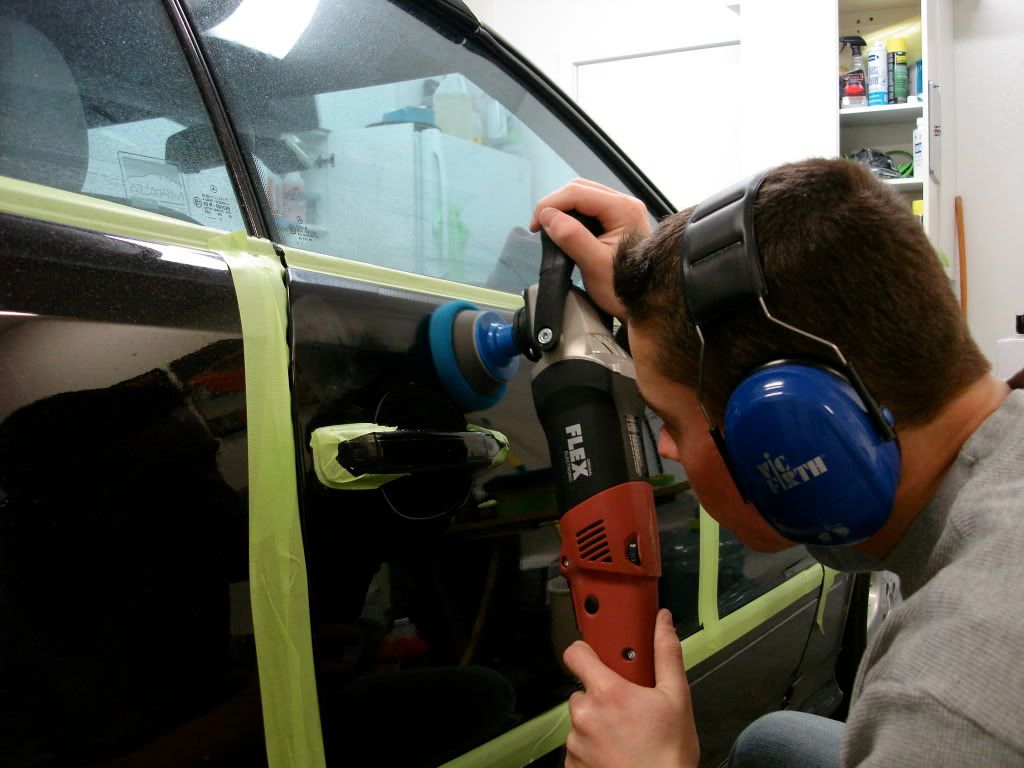
Step 2 of the process was crucial as it was a makeshift middle and finishing polish step using the 85rd. Using the blue GI finishing pad and 85rd w/ EVP I worked it at about 1900rpm for many many passes to knock down the holos and fine swirls then I backed down to about 1500rpm for a few passes to refine the finish a little more and then back down to 1100rpm for straight jeweling with no pressure.
* 2-3 IPA wipedowns were done with M105 to ensure no filling
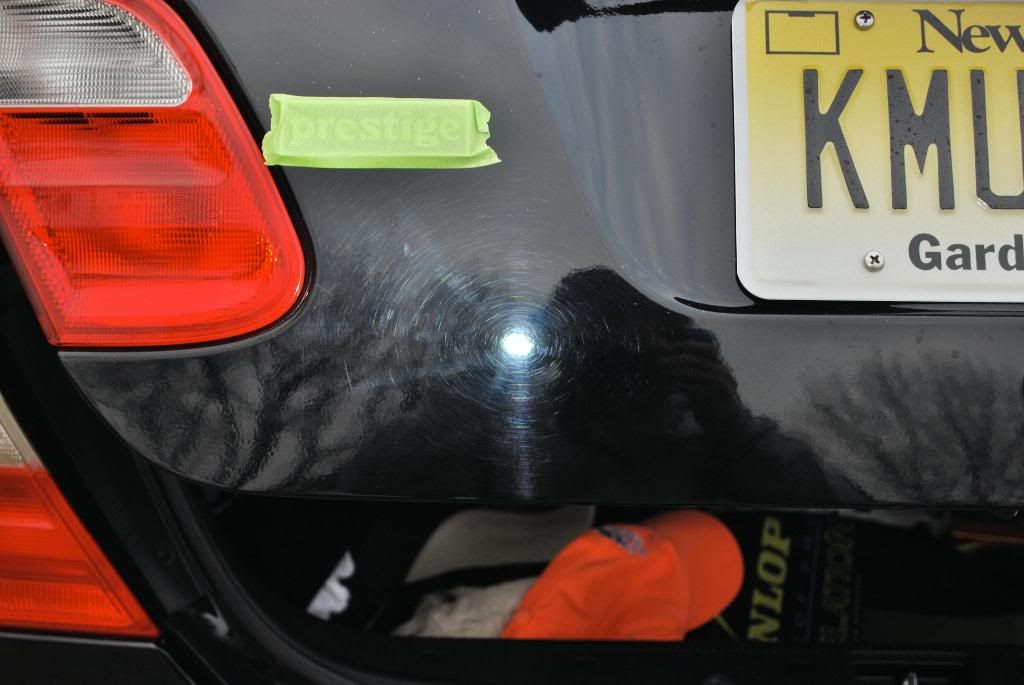
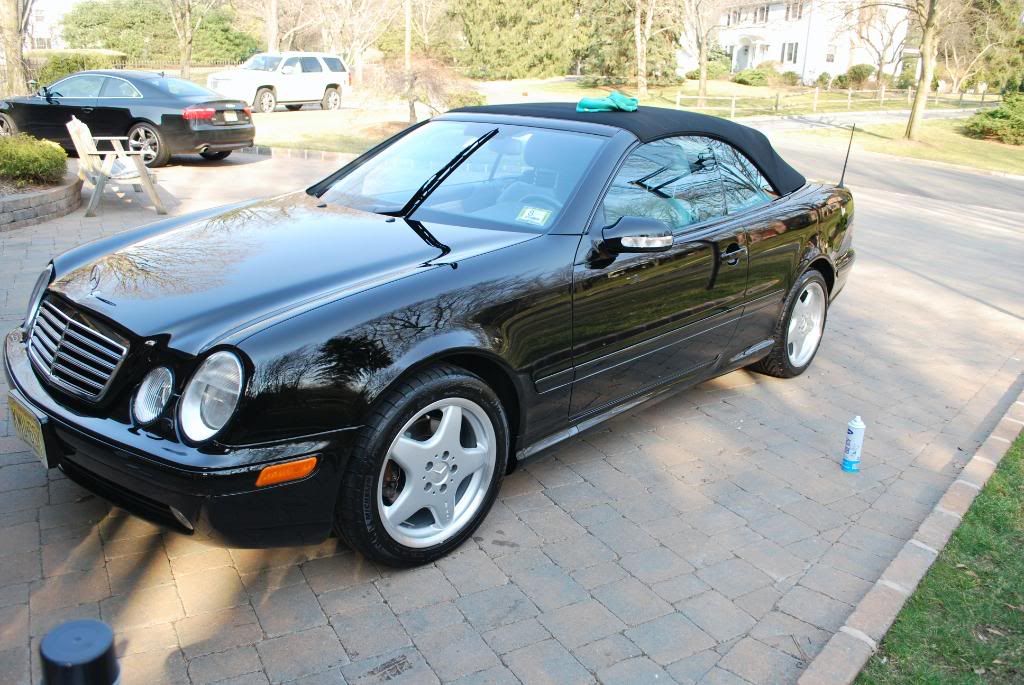
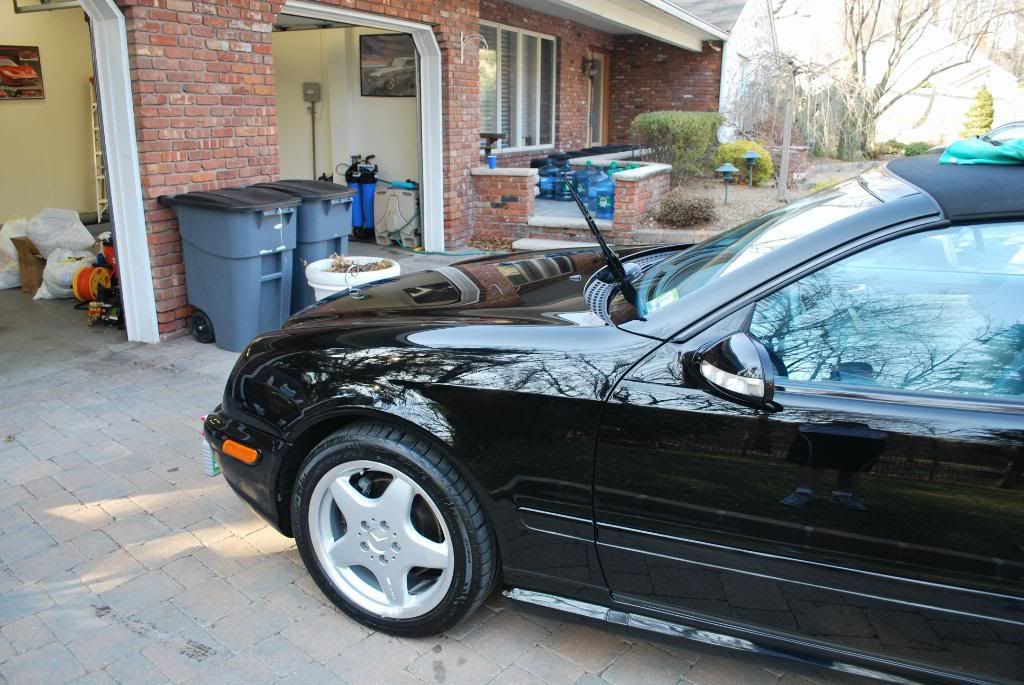
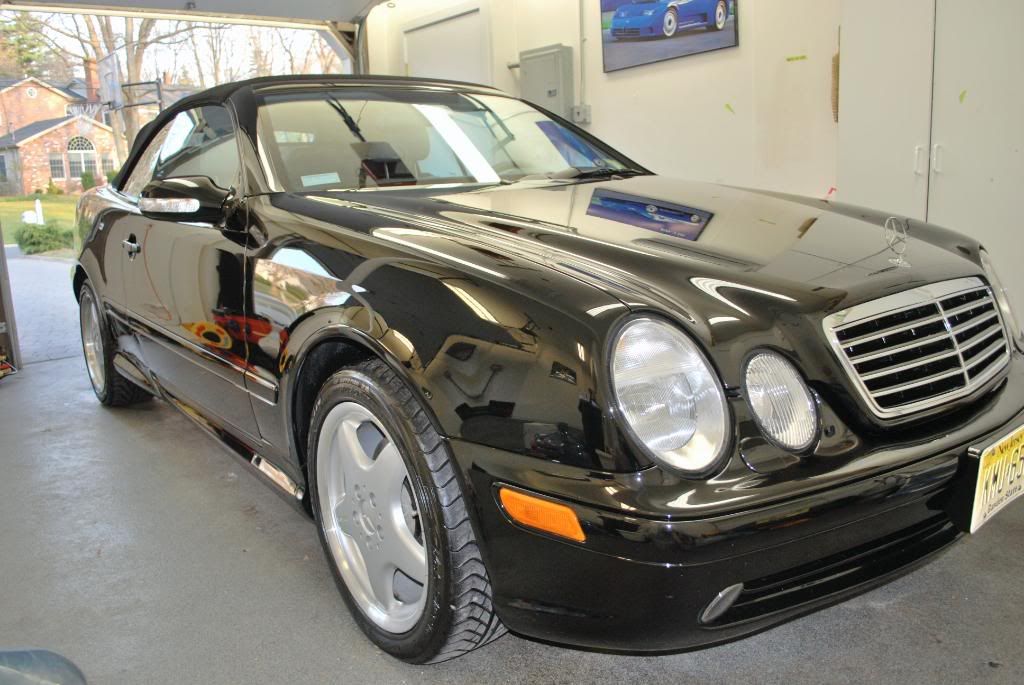
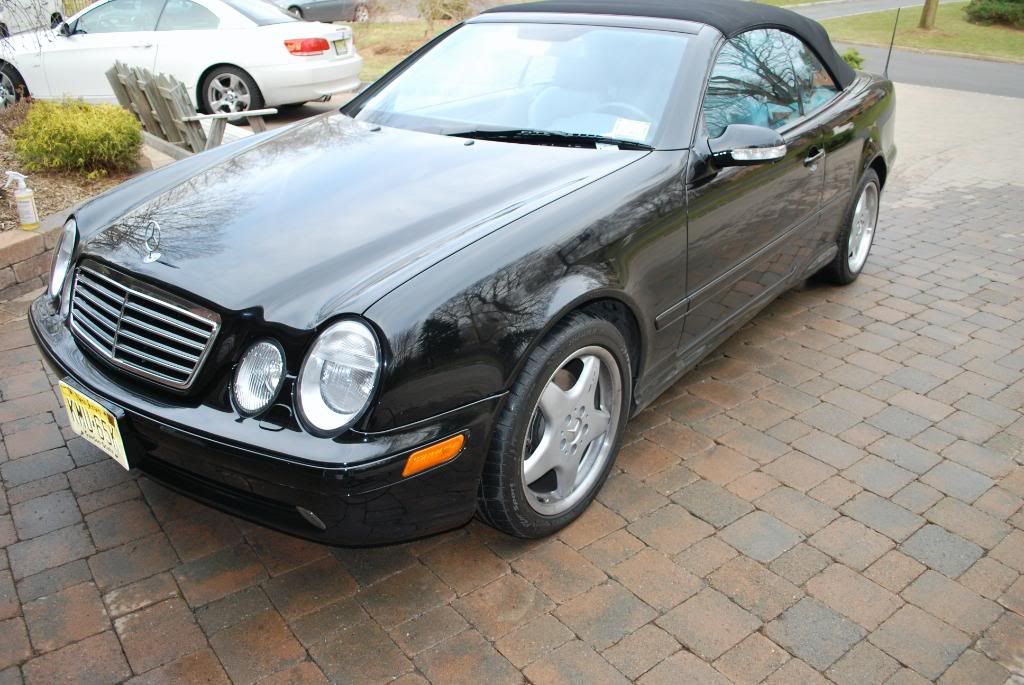
To my surprise that process worked just as I had wanted, the paint cleaned up nicely and a good bit of depth and clarity was restored as well.
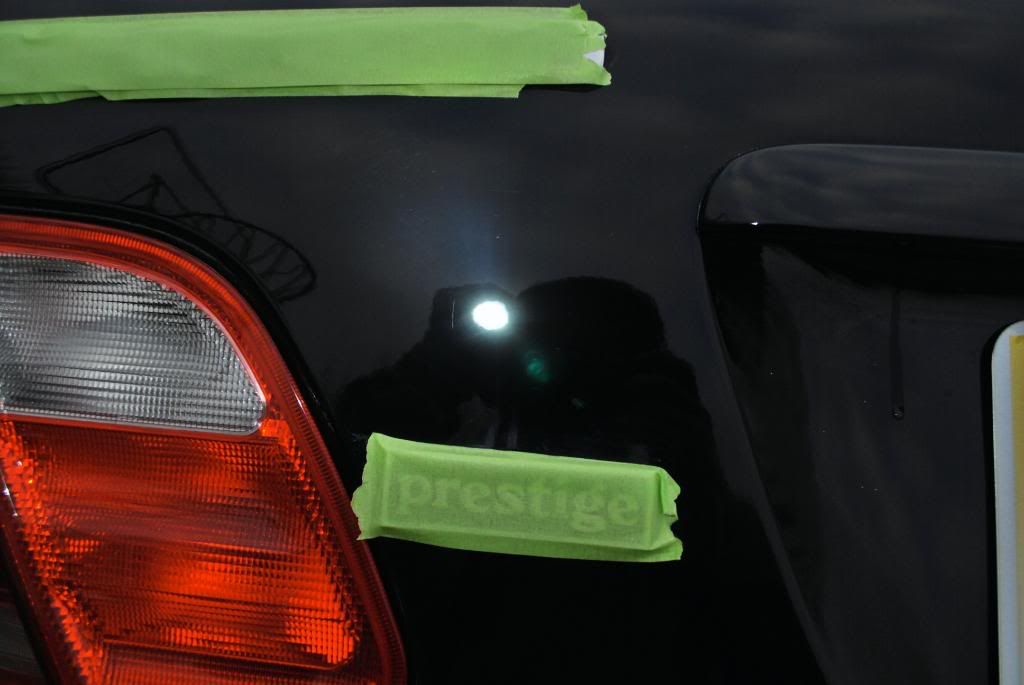
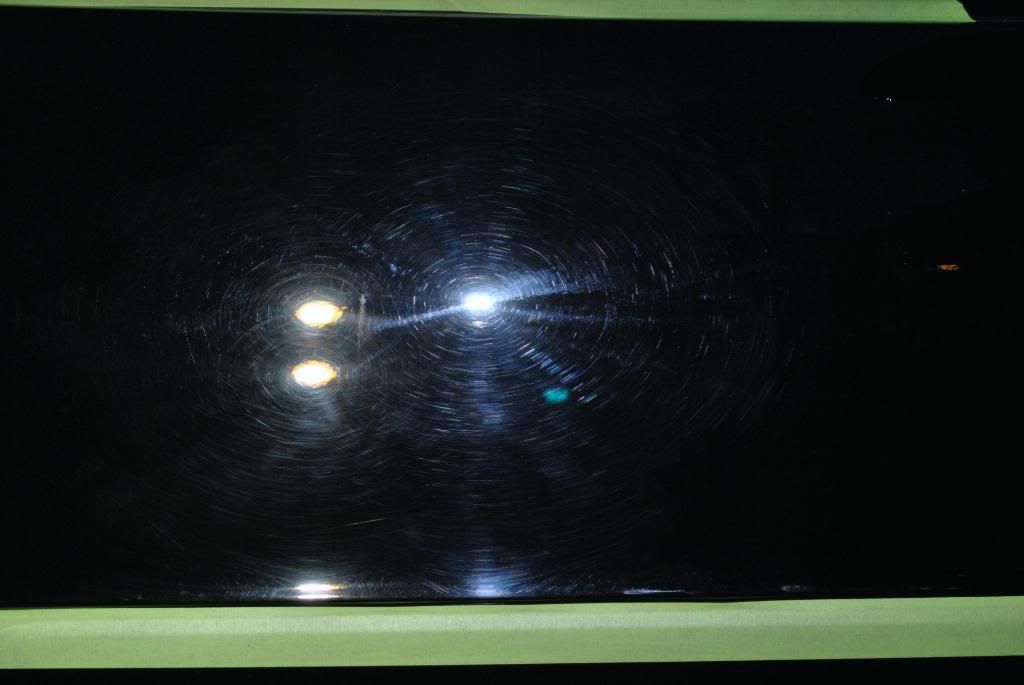
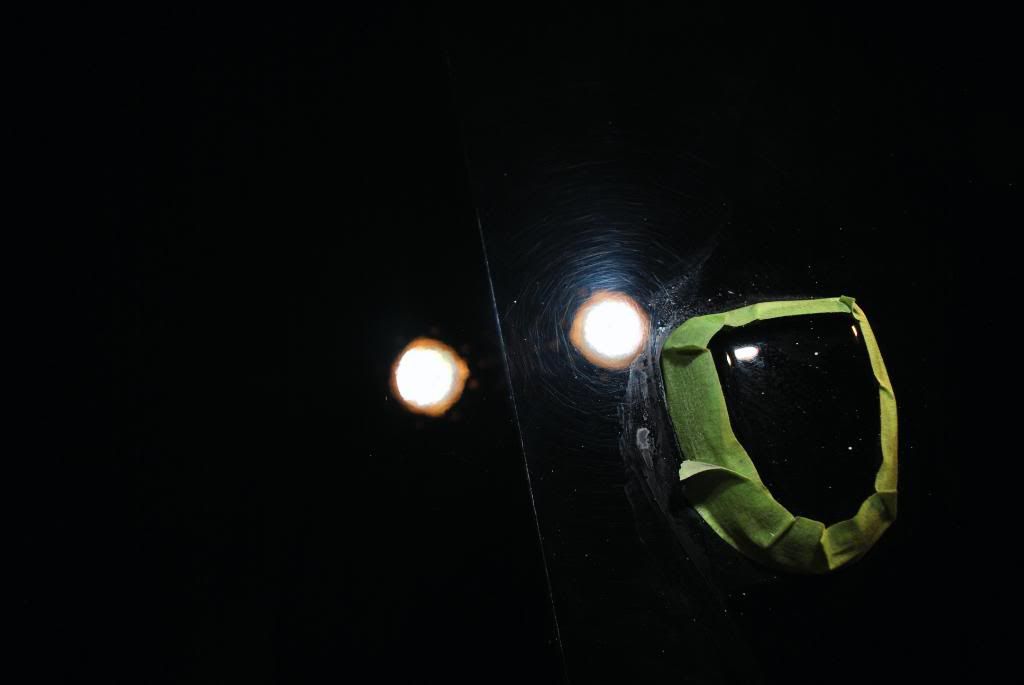
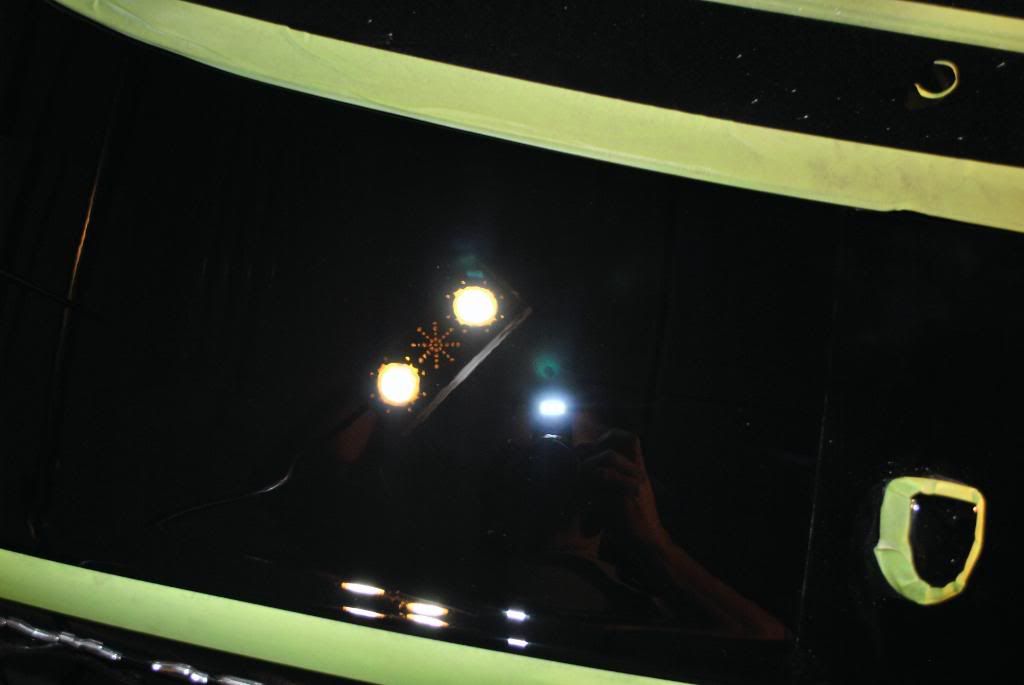
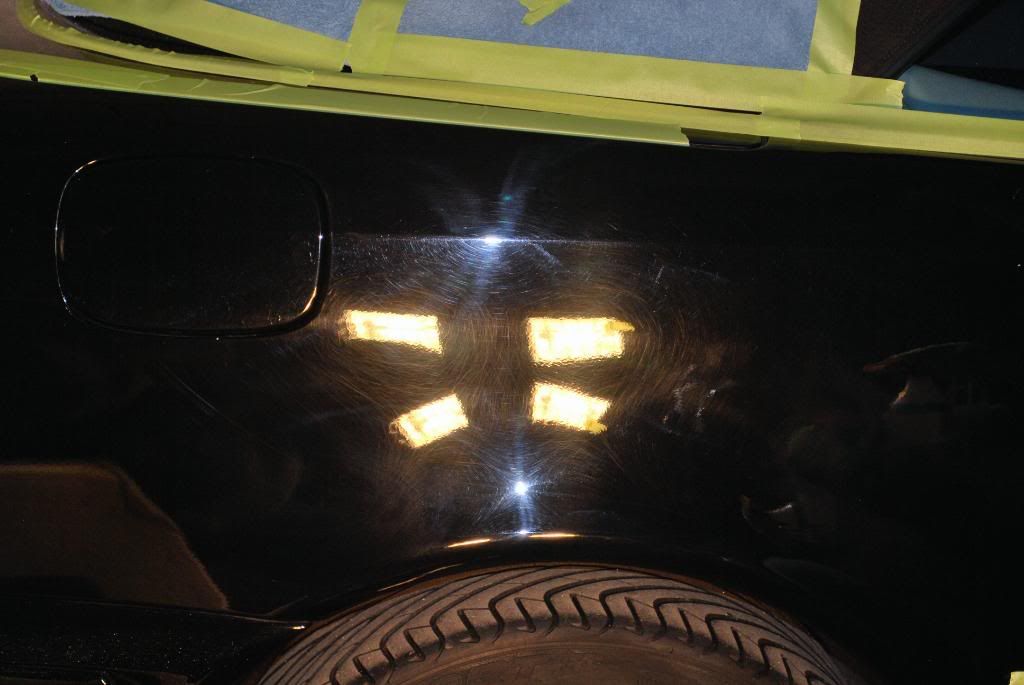
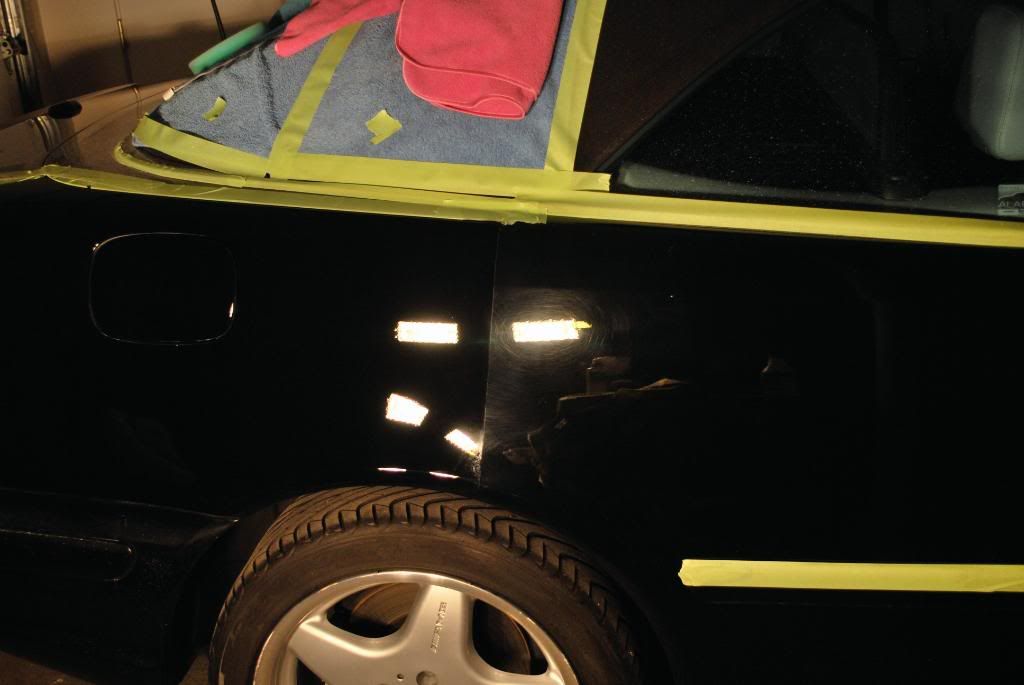
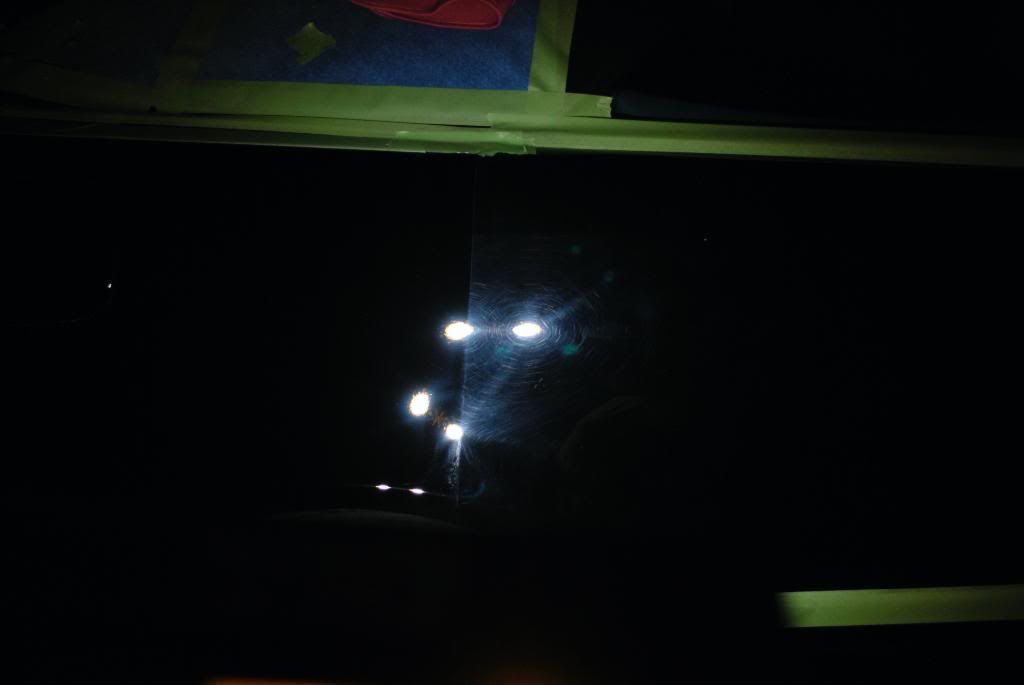
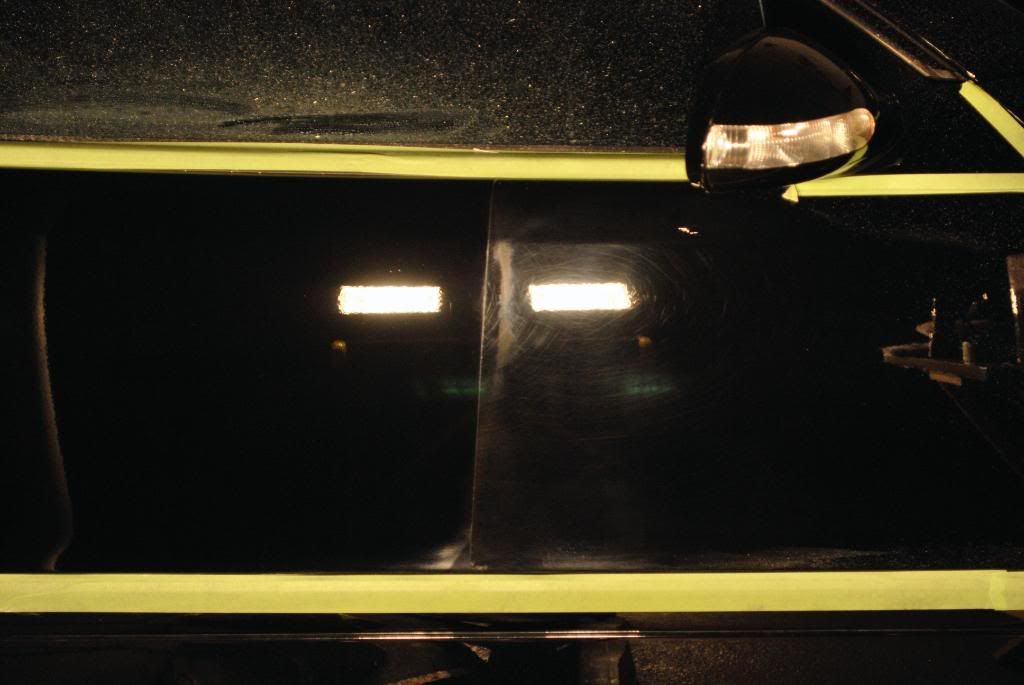
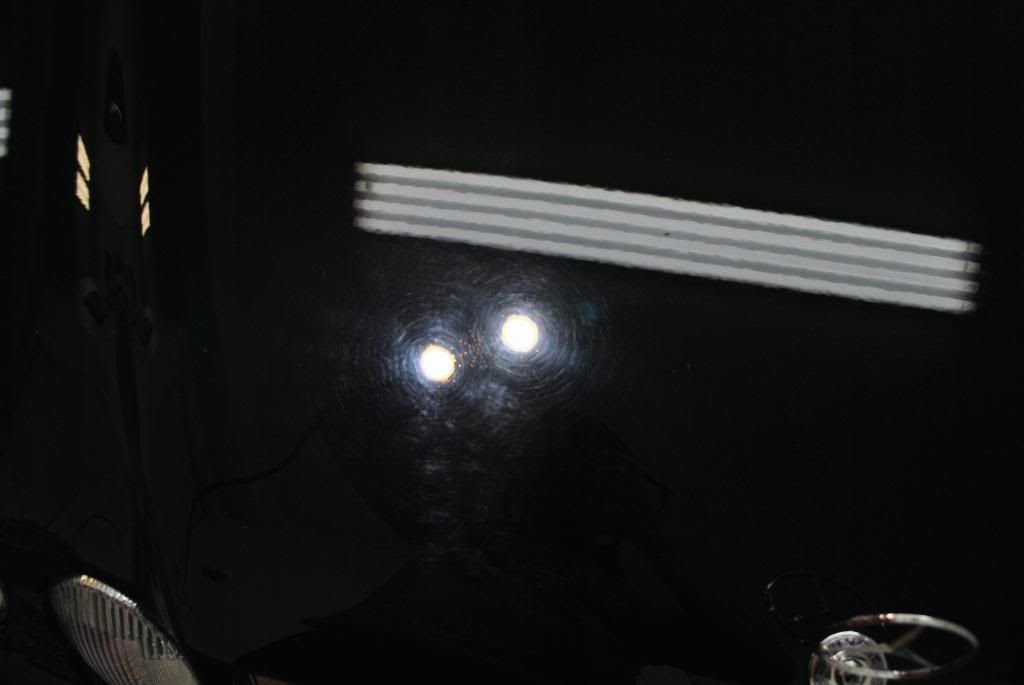
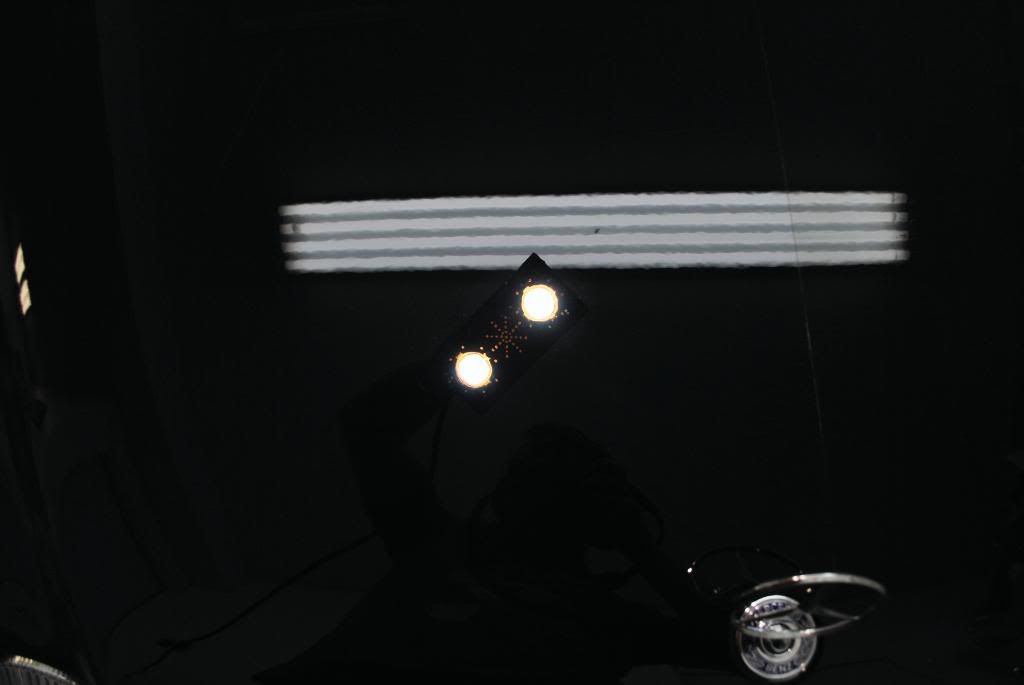
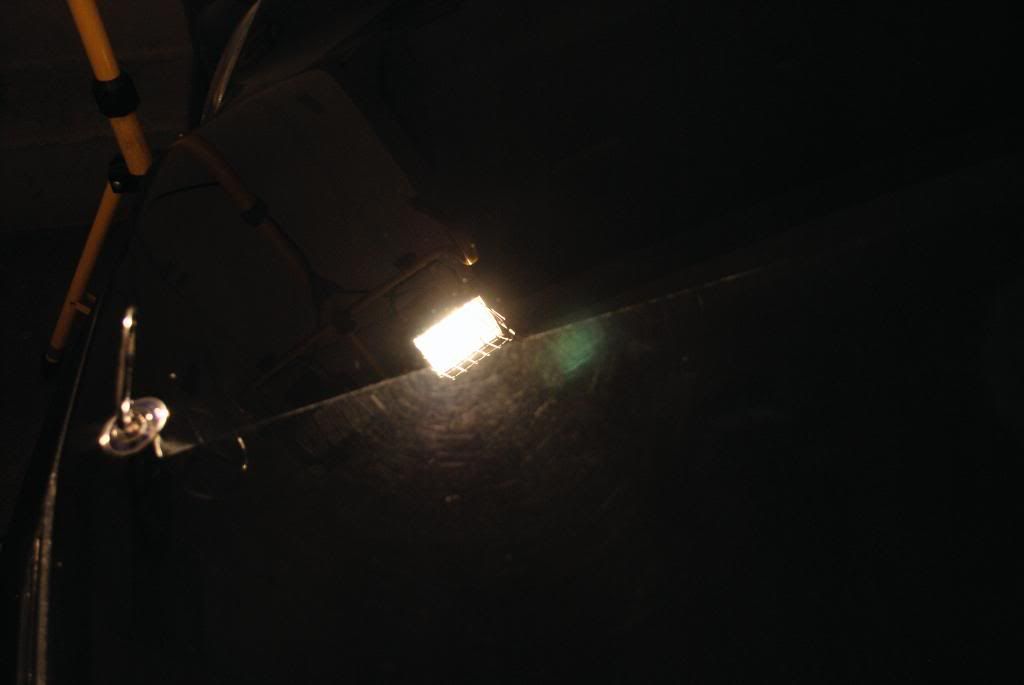
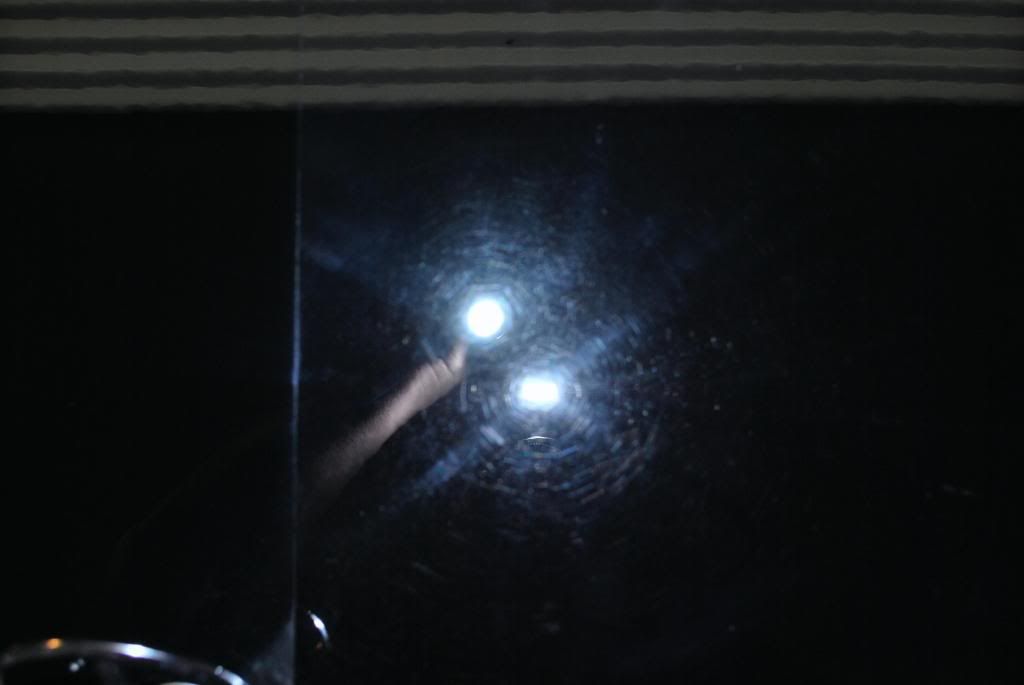
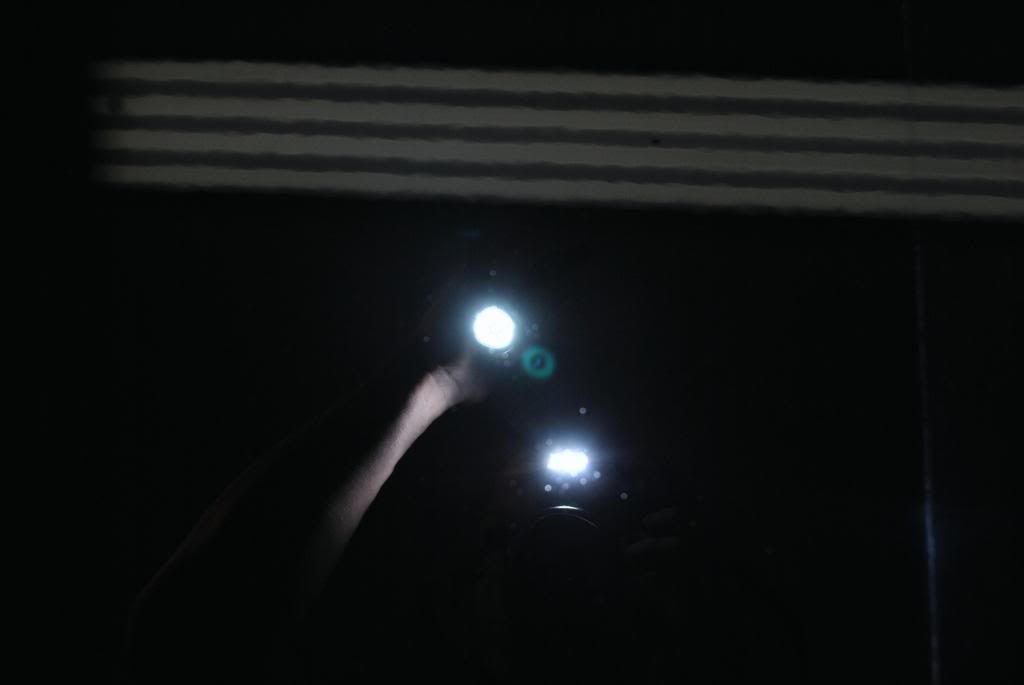
Some correction photos under the Infratech, Fenix TK10 LED, standing halogens and camera flash
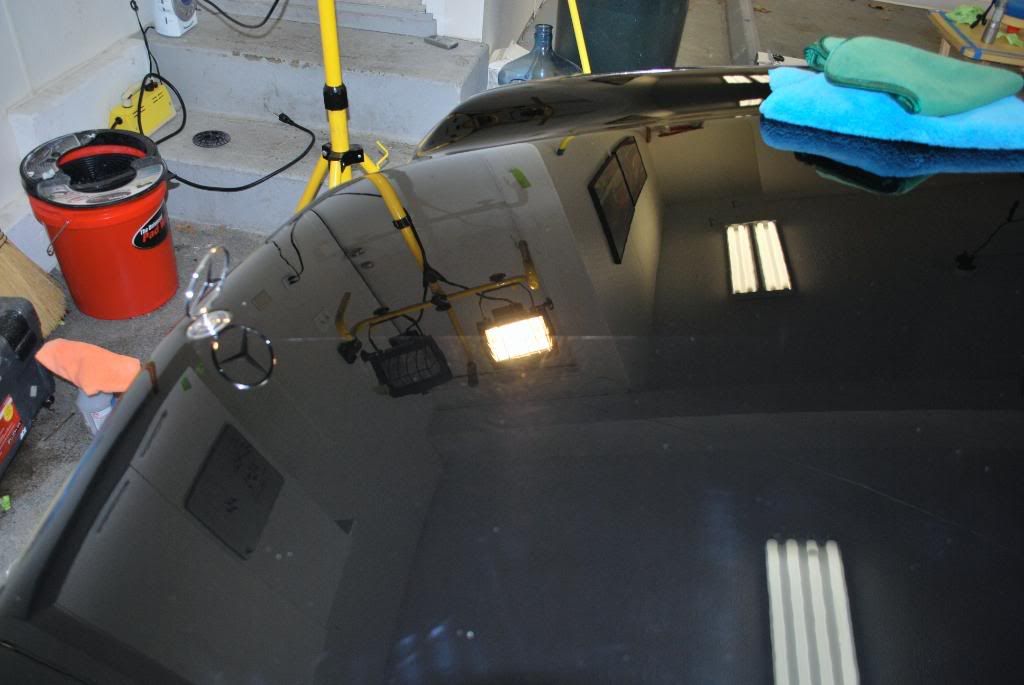
Hood before
After
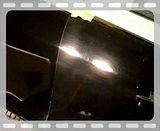
Before w/ camera flash and LED (this mixture of light is really nice to help pick up even the really fine RIDS)
After
But things never usually work out as well as we like
And on with the detail...
On arrival
Wheel first
After high pressure rinsing most all of the surface brake dust and grime came off nicely but the wheel inners were in bad shape
Used the following:
Gloss It wheel gel 2:1
Megs APC+
Stoners Tarminator
various brushes
GI wheel gel sitting (very clingy stuff :headbang
After
Pulled the CLK inside for claying and inspection, car was consistent at 6-7mils
The paint was in very bad shape, lots of auto wash damage and deep RIDS. I was on a time schedule and a tight budget so the 3 step process this car NEEDED for 100% paint correction was not able to be performed, I instead settled on a 2 step process which worked extremely well to remove the heavy defects and finish out the paint nicely. Overall I would say 95% correction was achieved, some areas with less defect cleaned up easier and other areas needed some extra attention using 2 hits of M105 w. the wool pad.
Paint correction process:
Megs M105 w/ Gloss It baby lambswool cutting pad (5.75" and 4")
Menz 85rd w/ Gloss It blue finishing pad (5.75 and 4")
+ Gloss It EVP polish extender
The lambswool pad and M105 did a really nice job on the heavy defects, I polished at about 2400rpm using the EVP w/ M105 and heavy pressure. This combo knocked down the heavy defects but left a lot of hologramming behind (as expected)
Step 2 of the process was crucial as it was a makeshift middle and finishing polish step using the 85rd. Using the blue GI finishing pad and 85rd w/ EVP I worked it at about 1900rpm for many many passes to knock down the holos and fine swirls then I backed down to about 1500rpm for a few passes to refine the finish a little more and then back down to 1100rpm for straight jeweling with no pressure.
* 2-3 IPA wipedowns were done with M105 to ensure no filling
To my surprise that process worked just as I had wanted, the paint cleaned up nicely and a good bit of depth and clarity was restored as well.
Some correction photos under the Infratech, Fenix TK10 LED, standing halogens and camera flash
Hood before
After
Before w/ camera flash and LED (this mixture of light is really nice to help pick up even the really fine RIDS)
After