RaysWay
Autopia Specialist
REPUTATION: rep·u·ta·tion - noun - a widespread belief that someone or something has a particular habit or characteristic.

Before we added Buff and Shine to our store, we were clearly aware of their reputation. Buff and Shine pads are known to be STRONG. They have a reputation of having super durable pads that never delaminate. My mission for this review, is to put that reputation to the test.
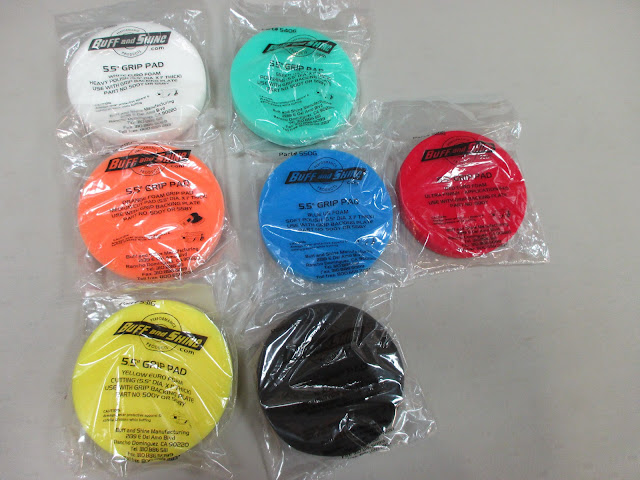
Here's the complete line of 5.5 inch Buff and Shine Pads that we carry (we carry other sizes as well):
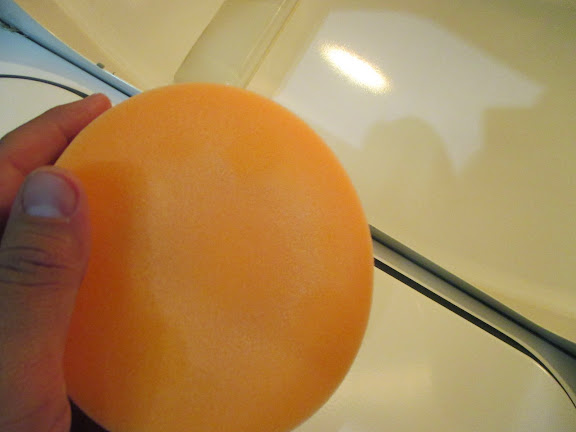
For this torture test, I decided to use the Orange Pad (medium cut pad). This is their second most aggressive pad in the lineup.
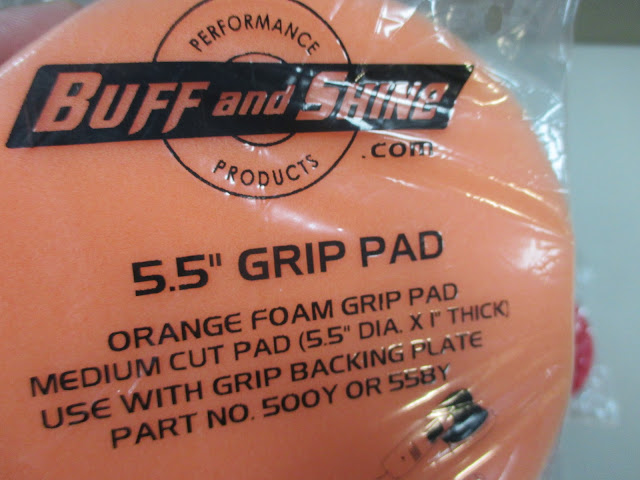
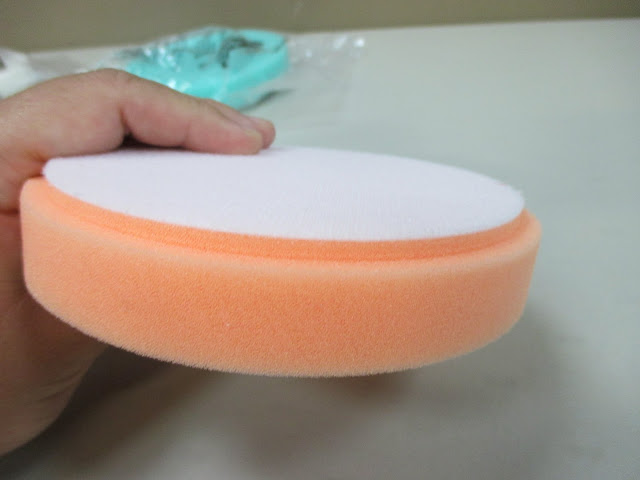
My initial impression, is that these pads feel GREAT. Each pad is individually wrapped to keep them "fresh" before use. The foam material feels and looks uniform. The backing material is SOLID. I tried to wedge my fingernail between the foam and velcro backing with no success. This pad is ONLY $5.99, which makes it the least expensive Flat Pad on Autopia-CarCare.com but they don't look like the least expensive pads.
At least not yet...let's see how they hold up.

Here's a new 32 oz bottle of BLACKFIRE SRC Compound, sitting on top of a new pad. These picture will be used later to compare the pad after it's been used and abused.


I grabbed a black test panel for the first test. I wanted to create a uniform defect so I wet sanded an area with 3000 grit 3M Trizact Hookit 3 Inch Foam Discs.


This first test would show me how well this orange pad removes defects and finishes.
I didn't want to be easy on this pad so I opted to use my custom RUPES LHR 21ES with a 5 inch backing plate aka "The Pad Executioner". The large 21mm throw is notorious for destroying pads, especially at the "achilles heel" of most foam pads - the velco backing.

Btw the 5.5 inch pad lines up nicely with the RUPES 5 inch backing plate.

For the compound, I opted for Menzerna FG400.

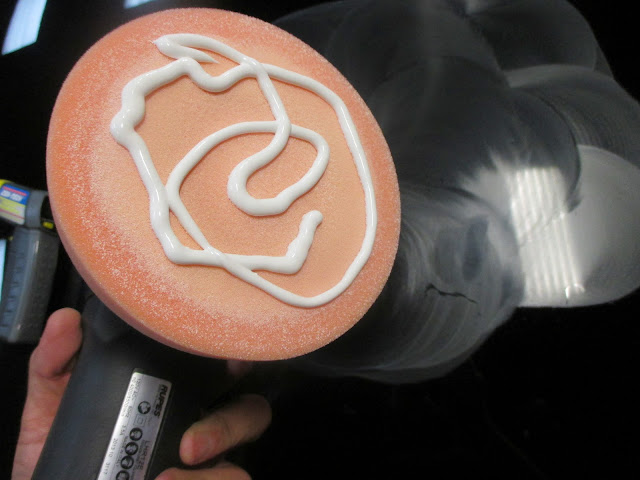
For the first test, I added 3 pea sized drops of FG400 to the Buff and Shine pad. I used the timer on my cellular to track how long I've been using this pad.

The RUPES is on max speed (6).

After polishing the area, I let the polisher sit in a single area for most of the time. I varied pressure from heavy to light while making sure the pad was always rotating.
Here's a quick video demonstrating how I used the pad. (Keep in mind I only have 1 free hand while recording)
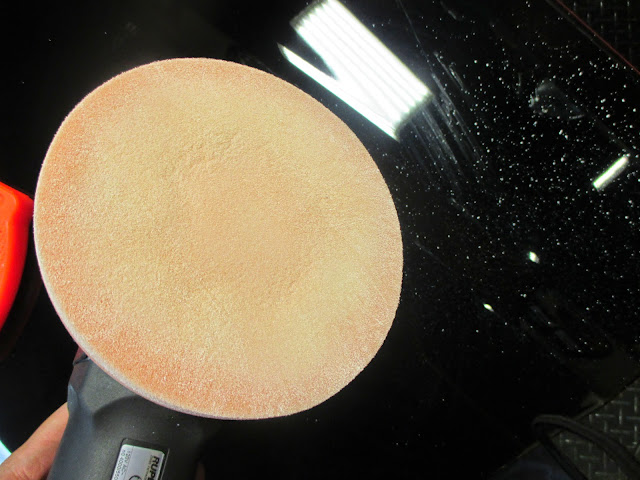
Here's the pad after 6 minute of pad abuse.

The pad was surprisingly cool and looked like new. Nothing out of the ordinary yet. So far so good...
3 more pea sized drops for another round. This is the 3rd set of compound applied to this pad so far.

24 minutes.... (I was happy we have a TV in the garage, so I could keep up with my soaps during this test") )
)

I want to clarify....at NO point in this Torture Test was a nice to the pad. My goal is really to make this pad fail as soon as possible.
At around 28 minutes I received a text message. I learned that checking your text messages, stops the stopwatch on my phone.

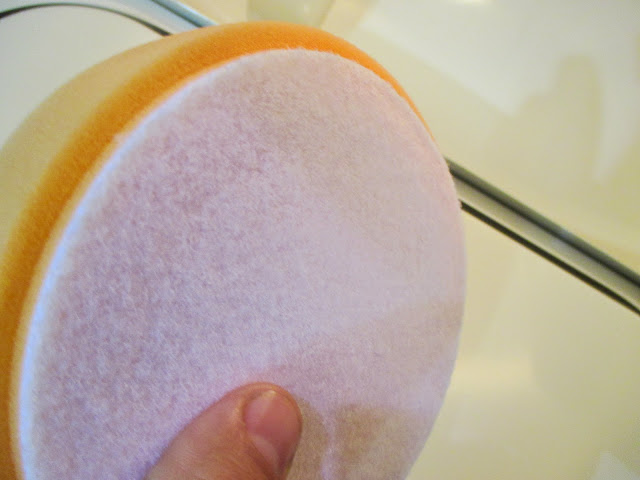
Let's check out the backing material....


This pad was starting to annoy me. It passed the first few test with flying colors.


At this point, I felt the pad was starting to mock me. It was getting personal, so I decided to bring out the FLEX PE14 Rotary.

It was time to show this pad who's boss. 3 more drops of FG400.

After a few section passes, I decided to crank it up. It was almost lunch time and Taco Tuesday nonetheless.

Max Speed set to 6.

(Keep in mind I'm recording with one hand and controlling a rotary on speed 6 with the other hand)
Now THIS is pad abuse! Watch the video to see the panel start to smoke from the heat generate.
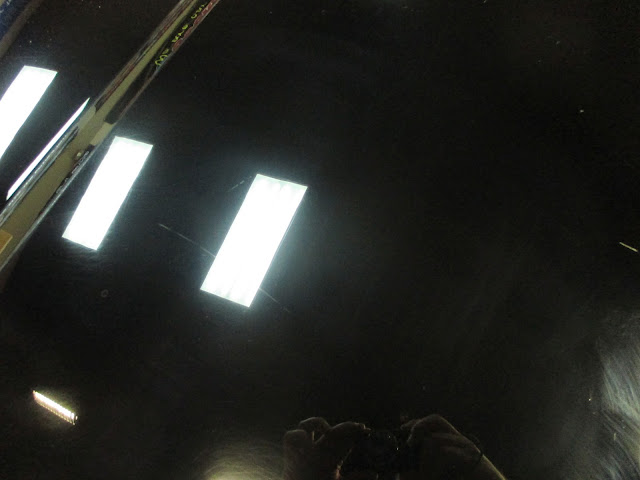
The polished area:

Unpolished area:

The pad:

At this point, the pad STILL looks like new. Now I'm impressed. I decided at this point to wash the pad in the washed machine to see if soaking the backing material would help deteriorate the adhesive, but before I washed it I wanted to give it one more test....
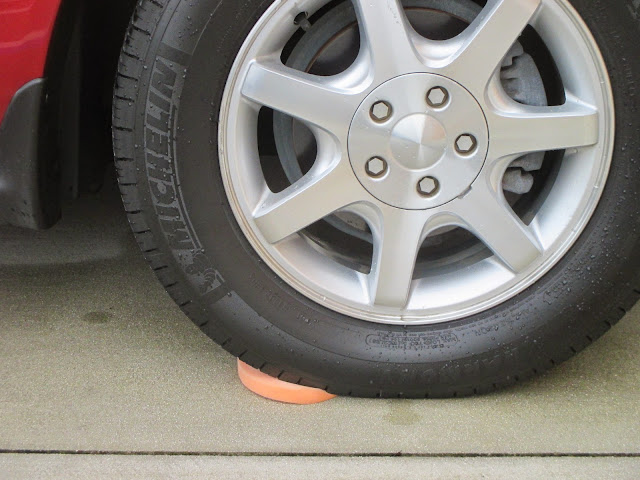
Time for this pad to meet the Sable.


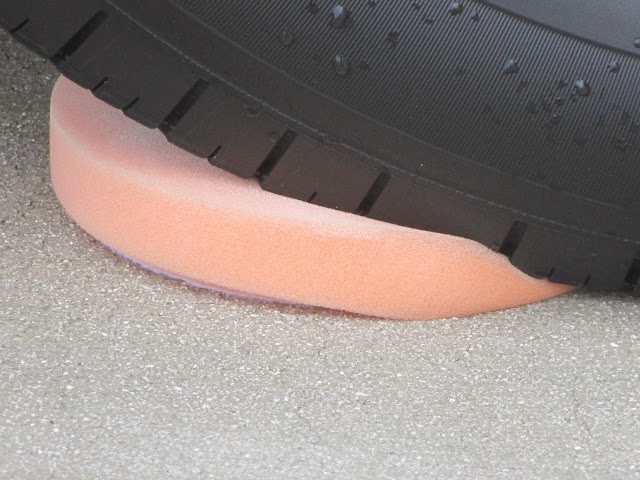
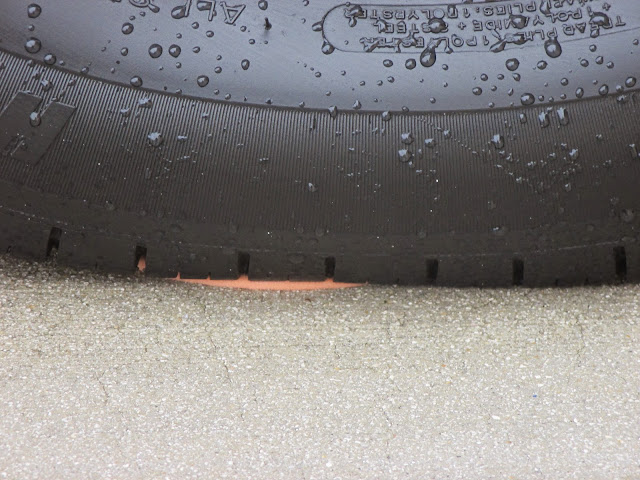
Once wasn't enough...

I wanted complete coverage.
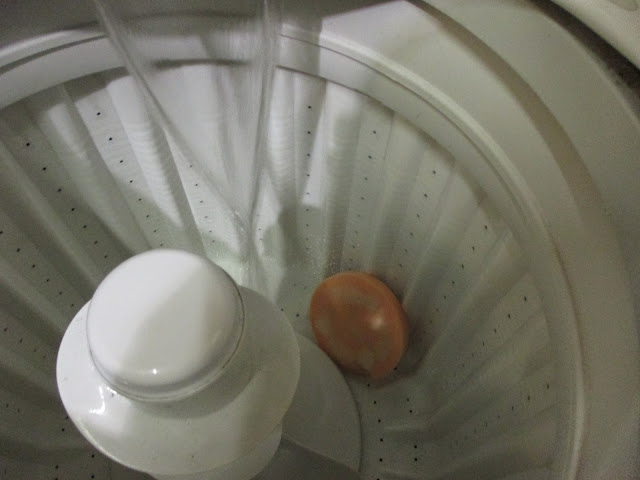
Now it's time for the wash test. We don't recommend washing foam pads in washing machines since the entire backing material gets soaked with cleaned, which can damage the adhesive backing. But in this case, this is exactly what I wanted to do...


I used the last ounce of some geeks DP Microfiber Cleaner and put the empty gallon back instead of throwing it away.
TO BE CONTINUED...
If you have any suggestions on what I should do next to this pad, let me know in this thread. As of now, I think I'll just repeat all of my previous test and will update this thread with each new cycle. Maybe I'll destroy this pad by New Years*.
Thanks for reading so far.
*2016
Before we added Buff and Shine to our store, we were clearly aware of their reputation. Buff and Shine pads are known to be STRONG. They have a reputation of having super durable pads that never delaminate. My mission for this review, is to put that reputation to the test.
Here's the complete line of 5.5 inch Buff and Shine Pads that we carry (we carry other sizes as well):
For this torture test, I decided to use the Orange Pad (medium cut pad). This is their second most aggressive pad in the lineup.
My initial impression, is that these pads feel GREAT. Each pad is individually wrapped to keep them "fresh" before use. The foam material feels and looks uniform. The backing material is SOLID. I tried to wedge my fingernail between the foam and velcro backing with no success. This pad is ONLY $5.99, which makes it the least expensive Flat Pad on Autopia-CarCare.com but they don't look like the least expensive pads.
At least not yet...let's see how they hold up.
Here's a new 32 oz bottle of BLACKFIRE SRC Compound, sitting on top of a new pad. These picture will be used later to compare the pad after it's been used and abused.
I grabbed a black test panel for the first test. I wanted to create a uniform defect so I wet sanded an area with 3000 grit 3M Trizact Hookit 3 Inch Foam Discs.
This first test would show me how well this orange pad removes defects and finishes.
I didn't want to be easy on this pad so I opted to use my custom RUPES LHR 21ES with a 5 inch backing plate aka "The Pad Executioner". The large 21mm throw is notorious for destroying pads, especially at the "achilles heel" of most foam pads - the velco backing.
Btw the 5.5 inch pad lines up nicely with the RUPES 5 inch backing plate.
For the compound, I opted for Menzerna FG400.
For the first test, I added 3 pea sized drops of FG400 to the Buff and Shine pad. I used the timer on my cellular to track how long I've been using this pad.
The RUPES is on max speed (6).
After polishing the area, I let the polisher sit in a single area for most of the time. I varied pressure from heavy to light while making sure the pad was always rotating.
Here's a quick video demonstrating how I used the pad. (Keep in mind I only have 1 free hand while recording)
Here's the pad after 6 minute of pad abuse.
The pad was surprisingly cool and looked like new. Nothing out of the ordinary yet. So far so good...
3 more pea sized drops for another round. This is the 3rd set of compound applied to this pad so far.
24 minutes.... (I was happy we have a TV in the garage, so I could keep up with my soaps during this test
)
I want to clarify....at NO point in this Torture Test was a nice to the pad. My goal is really to make this pad fail as soon as possible.
At around 28 minutes I received a text message. I learned that checking your text messages, stops the stopwatch on my phone.
Let's check out the backing material....
This pad was starting to annoy me. It passed the first few test with flying colors.
At this point, I felt the pad was starting to mock me. It was getting personal, so I decided to bring out the FLEX PE14 Rotary.
It was time to show this pad who's boss. 3 more drops of FG400.
After a few section passes, I decided to crank it up. It was almost lunch time and Taco Tuesday nonetheless.
Max Speed set to 6.
(Keep in mind I'm recording with one hand and controlling a rotary on speed 6 with the other hand)
Now THIS is pad abuse! Watch the video to see the panel start to smoke from the heat generate.
The polished area:
Unpolished area:
The pad:
At this point, the pad STILL looks like new. Now I'm impressed. I decided at this point to wash the pad in the washed machine to see if soaking the backing material would help deteriorate the adhesive, but before I washed it I wanted to give it one more test....
Time for this pad to meet the Sable.
Once wasn't enough...
I wanted complete coverage.
Now it's time for the wash test. We don't recommend washing foam pads in washing machines since the entire backing material gets soaked with cleaned, which can damage the adhesive backing. But in this case, this is exactly what I wanted to do...
I used the last ounce of some geeks DP Microfiber Cleaner and put the empty gallon back instead of throwing it away.
TO BE CONTINUED...
If you have any suggestions on what I should do next to this pad, let me know in this thread. As of now, I think I'll just repeat all of my previous test and will update this thread with each new cycle. Maybe I'll destroy this pad by New Years*.
Thanks for reading so far.
*2016