BMW X5 + Town & Country: Two white haulers get interior resurrections

MarcHarris

New member
This client has 3 great kids, but kids + snow = dirty interiors. The goal was to really get the interiors cleaned and protected, and worry about the exteriors in spring.


First, the Town and Country: 2009, fully optioned, beautiful cream leather interior.


DSC00736.jpg


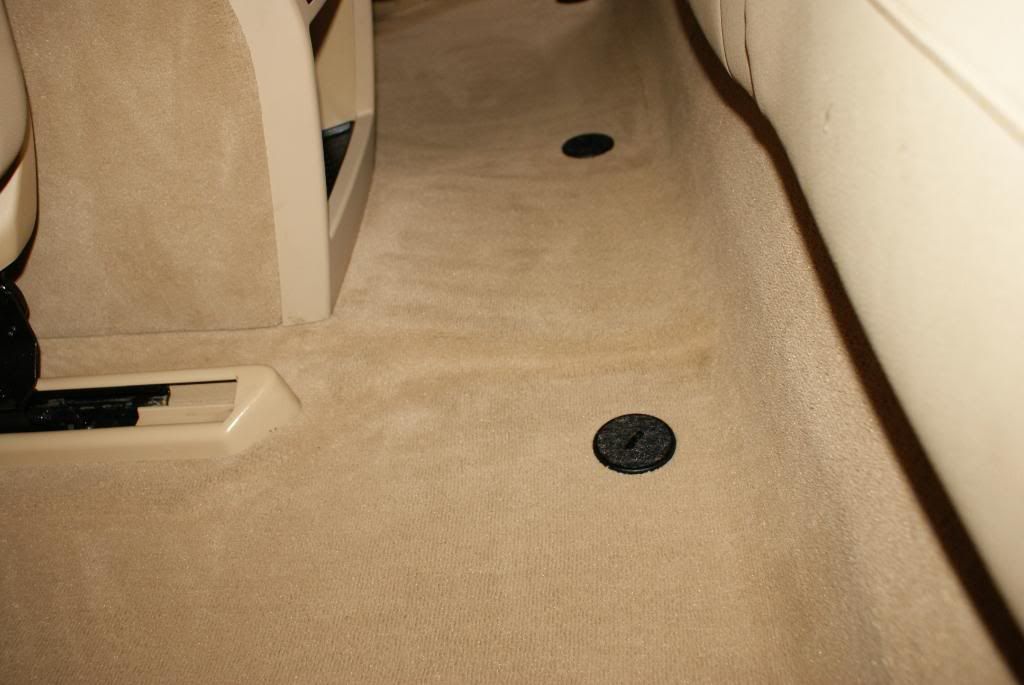
Rubber floor mats are a must in Michigan / Northern winters. These are the factory ones with great fit and obviously do a good job:


DSC00737.jpg


DSC00738.jpg


DSC00739.jpg


Interior panels had kick marks:


DSC00740.jpg


DSC00741.jpg


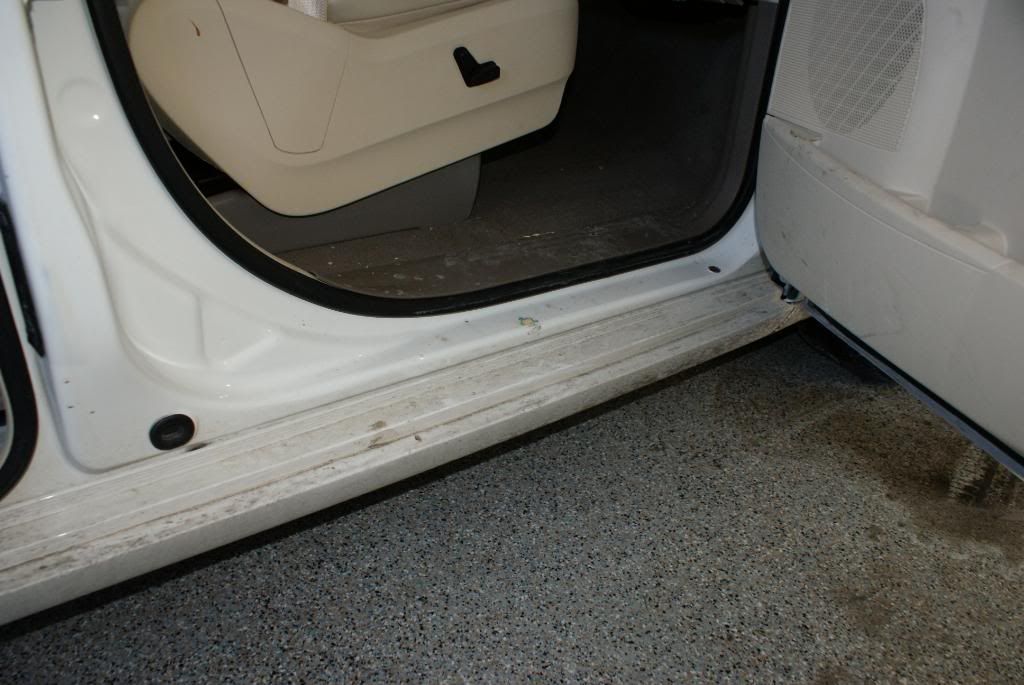
Door jambs needed to be cleaned, still not bad as the vehicle is fairly new:


DSC00742.jpg


DSC00743.jpg


DSC00744.jpg


DSC00749.jpg


DSC00755.jpg


DSC00757.jpg


DSC00758.jpg


DSC00759.jpg


Leather shows some soiling and color transfer, especially the suede uppers:


DSC00747.jpg


DSC00748.jpg


DSC00752.jpg


DSC00753.jpg


DSC00761.jpg


Door panels get beat in multi-function vehicles:


DSC00750.jpg


Doggy marks?


DSC00751.jpg


The rear of the seats were pretty bad from kicks with dirty boots:


DSC00762.jpg


DSC00763.jpg


DSC00764.jpg


DSC00765.jpg


DSC00767.jpg


DSC00768.jpg


DSC00769.jpg


DSC00770.jpg


DSC00775.jpg


DSC00777.jpg


DSC00778.jpg
 
Other than that, the interior was in pretty decent shape:


DSC00760.jpg


We started by cleaning everything with APC 10:1, like the headliner (which was as bad as the rest of the interior!)


DSC00781.jpg


Almost done:


DSC00783.jpg


Done! Time for a rest ;)


DSC00784.jpg


All the darker areas are still wet from cleaning. But notice how much "Spot" cleaning was required:


DSC00785.jpg


After vacuuming as much as possible, we got the APC and brushes to clean out the MANY crevices in this van.


DSC00786.jpg


DSC00787.jpg


Looking much better already:


DSC00788.jpg


DSC00795.jpg


Then, we vacuumed again, and again. APC 10:1 was used lightly. All interior plastic was cleaned with APC and followed by steam to rinse out as much APC as possible. We would dress up all plastic with Einzett Cockpit Premium to help protect from UV and, hopefully, markings from dirty boots. In these pictures we still needed to finish up the front seats. They had been treated with Leatherique Penetrating Oil after a vacuum and Woolite wipedown:


DSC00792.jpg


DSC00794.jpg


DSC00799.jpg


DSC00800.jpg


DSC00803.jpg


Our special vacuum attachments to really get in there:


DSC00804.jpg


Second row seats done (Dark areas on lower parts shows slightly damp carpet after extraction):


DSC00805.jpg


Third row seats done:


DSC00806.jpg


For the fronts, after the Leatherique treatment was done, we used Leather Masters Foam Cleaner. Especially for lighter color suedes, you want to make sure to use as little product as possible of a very good cleaner, or you could get blotches. Once applied and brushes, a microfiber was used to wipe the surfaces carefully:


DSC00807.jpg


DSC00808.jpg


DSC00811.jpg


Once the interior was done, we focused on cleaning up the exterior, and getting all salt off the vehicle. The request was just a quick wash. Starting with the wheels and tires, Chemical Guys Sticky Gel at 3:1 + EZ Detail brush:


DSC00818.jpg


DSC00820.jpg


Notice runoff from rinsing the wheels:


DSC00823.jpg


DSC00824.jpg


DSC00826.jpg


DSC00830.jpg
 
Moar betta:


DSC00832.jpg


Jacob scrubbing the floormats...


DSC00834.jpg


...as I foamed the exterior with the Foam Gun (for non-pressurized hoses) using Dodo juice Born To Be Mild Shampoo:


DSC00838.jpg


"This ain't no foam! I need some DP Extreme Foam Shampoo!"


DSC00841.jpg


Hot water in the heated garage, WIN!


DSC00844.jpg


Collection of Afters:


DSC00847.jpg


DSC00849.jpg


DSC00850.jpg


Exterior was wiped with Megs Spray Wax to add some protection (and yes, teaser for another write-up in the background).


DSC00852.jpg


DSC00856.jpg


DSC00857.jpg


DSC00859.jpg


DSC00864.jpg


DSC00876.jpg


Finishing touches: Optimum Tire Shine, Meg's Trim Detailer, Megs All Season Dressing for wheel wells:


DSC00880.jpg


DSC00881.jpg


DSC00885.jpg


Next up was the X5:


DSC00918.jpg


DSC00917.jpg


DSC00921.jpg


DSC00923.jpg


DSC00924.jpg


DSC00925.jpg
 
Overall, the paint was in excellent condition, and just needed some decontamination. The vehicle had severe rust specks from brake dust and rail dust, as expected to show easily on a white vehicle. A spring detail will involve removing them through a FK decontamination kit and clay.


DSC00926.jpg


DSC00927.jpg


DSC00928.jpg


DSC00929.jpg


DSC00930.jpg


DSC00931.jpg


DSC00932.jpg


DSC00935.jpg


Exhaust tips were bad:


DSC00937.jpg


DSC00938.jpg


Door jambs needed a light cleaning:


DSC00939.jpg


DSC00941.jpg


DSC00970.jpg


The important part was the interior:


DSC00943.jpg


DSC00944.jpg


DSC00947.jpg


DSC00946.jpg


DSC00953.jpg


DSC00955.jpg


DSC00956.jpg


DSC00957.jpg


DSC00958.jpg


Rear cargo area was pretty clean:


DSC00960.jpg


DSC00961.jpg


DSC00962.jpg


DSC00963.jpg


We started here with some cleaners and a brush, first the jambs, then the plastics. I got busy with the vacuum in the main cabin area.


DSC00972.jpg


DSC00973.jpg


DSC00975.jpg


..than rinsed and wiped it off, dry:


DSC00976.jpg


DSC00977.jpg


DSC00978.jpg


Special attention was given to the seals. We planned to condition the seals with Einzett Gummi Fledge, so they would have to be spotless to begin.


DSC00979.jpg


DSC00980.jpg
 
DSC00983.jpg


The remaining yellow stuff oozing out of the lower drain hole in the door are a corrosive protection barrier applied to the innards of the doors at the factory. If we had used a stronger solvent, it would have came off and cleaned up more. But that would also involve more rinsing and a followup cleaner and another rinse. time is of the essence. We will get these and seal up the jambs the next time:


DSC00984.jpg


DSC00985.jpg


DSC00986.jpg


I LOVE clean, sparkling, white door jambs!


DSC00987.jpg


DSC00988.jpg


DSC00989.jpg


For the plastics, being in much better shape than the Town and Country, we opted to save some time and go straight to the Einzett Cockpit Premium. But for the carpets, we would have to do a mild extraction. The LGM was frozen or broke today, so it was old-school water-sprayer-and-shop-vac method after a spray and scrub with Amazing Roll Off, all occuring after the initial dry vacuuming.


DSC00995.jpg


DSC00994.jpg


DSC00997.jpg


DSC00998.jpg


DSC00999.jpg


DSC01000.jpg


DSC01002.jpg


Einzett GP on seals, 50/50:


DSC01006.jpg


DSC01008.jpg


D151 was used to hand polish the interior trim (including the garage door opener) and add a layer of protection:


DSC01012.jpg


Time to wash. This time we chose to try out the DP Extreme Foam shampoo in the foam gun to see if we could get more sudsing action. The Dodo juice used on the T&C was good, but we wanted longer lasting suds this time. High foaming shampoos may sacrifice some cleaning power or slickness, but certainly serve their purpose and are a great product for specific uses.


DSC01013.jpg


DSC01014.jpg


DSC01015.jpg


After washing and drying, we sprayed with Blackfire Spray Sealant. I think I prefer the Megs Spray Wax for white. It also feels better to the touch than the Blackfire. We imagine the Blackfire might last longer, but will evaluate at the next detail. Tires were dressed with Optimum Tire Shine, wells with Megs All Season Dressing, black plastic trim with CG Fade 2 Black. Of course the windshield and backlight (rear windshield) were treated with Aquapel. All other glass was sealed with Blackfire.


DSC01017.jpg


DSC01024.jpg


DSC01030.jpg


DSC01032.jpg
 
Marc - great job on those interiors..I actually prefer non-rubber mats for snow country.. less slip and slide. We got some Waterhogs from LL Bean that do a great job for both summer and winter.
 
Being as I get interiors like those all the time (actually, usually worse), I enjoy seeing interior befores and afters. Great job !!!!
 
That is simply incredible, guys! I'm bookmarking this for future reference.


Did you notice staining on the aluminum running boards? The white X5 I did had severe staining from taking trips to the snow.. was a bear to clean (had to hand polish in between all the black "treads").


Again, AMAZING turn around!
 
Primo work. A load of kids in the winter will have it undone in no time. Good for business. :xyxthumbs If it was me I'd be hauling 'em around in the trunk of a Checker Marathon until they're 18. :D


Customer's garage or your space? I'd be interested in hearing anything you could tell me about that epoxy floor, specifically how it holds up against winter's grit and grime.


Didn't see a floor drain. Under the vehicles?


TL
 
Kick a$$ work on dem dang heathen haulers :spits:!! That first one was a mess... Can't wait to see that Gran Turismo!! Love that car...
 
Back
Top