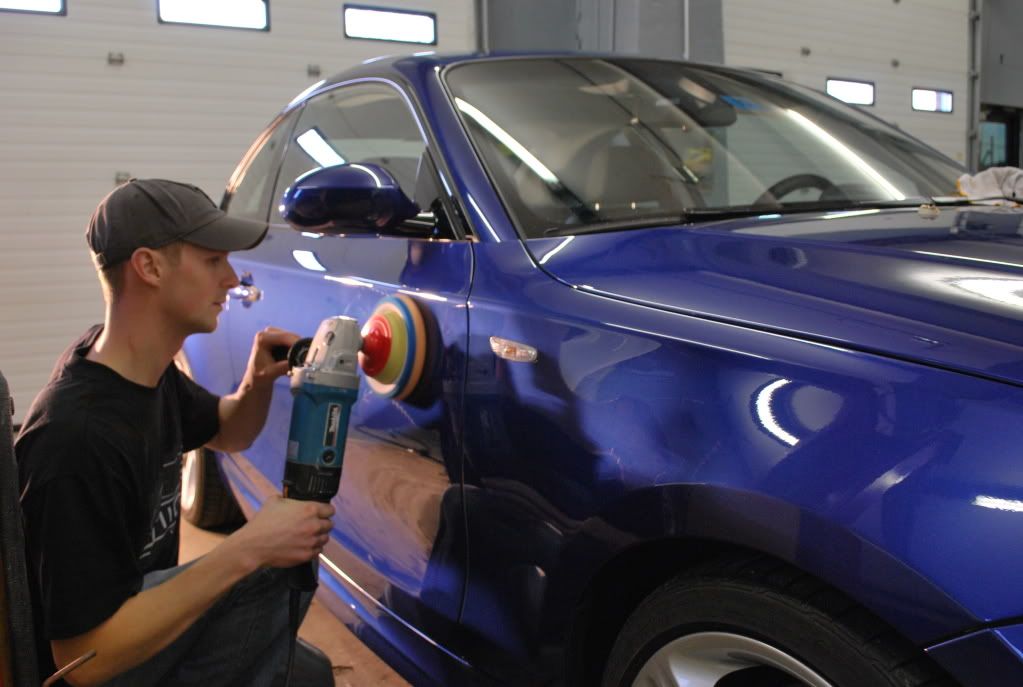
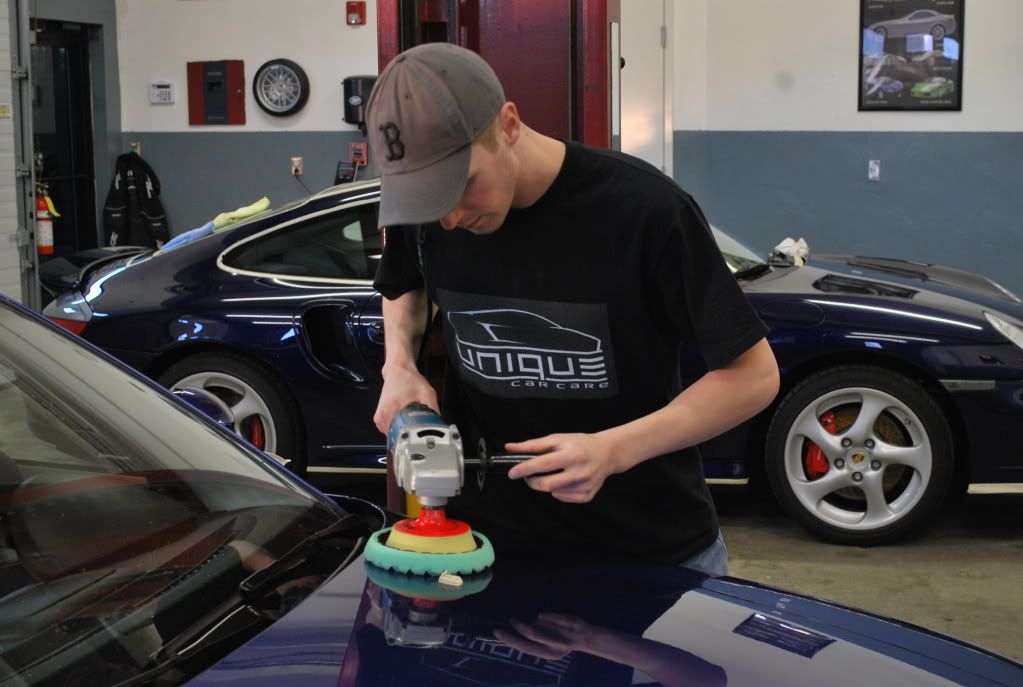
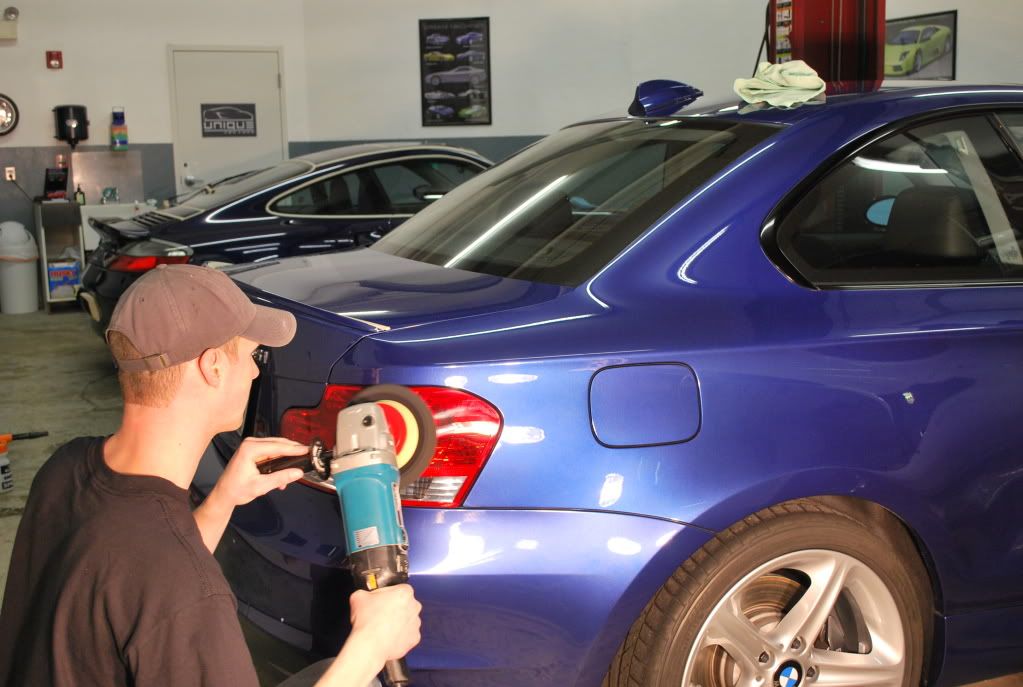
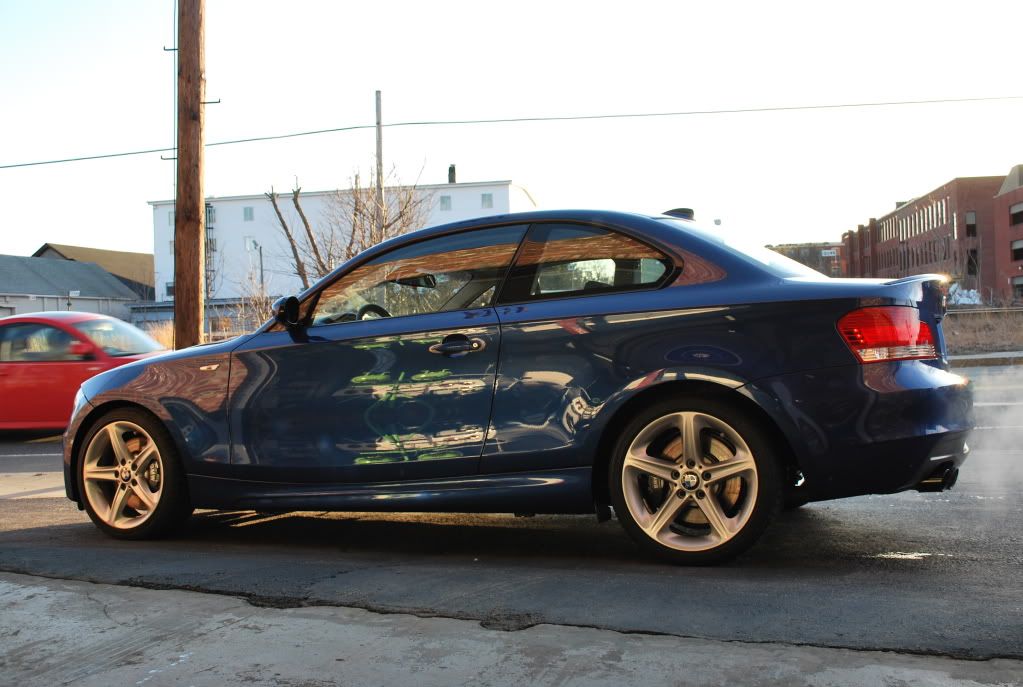
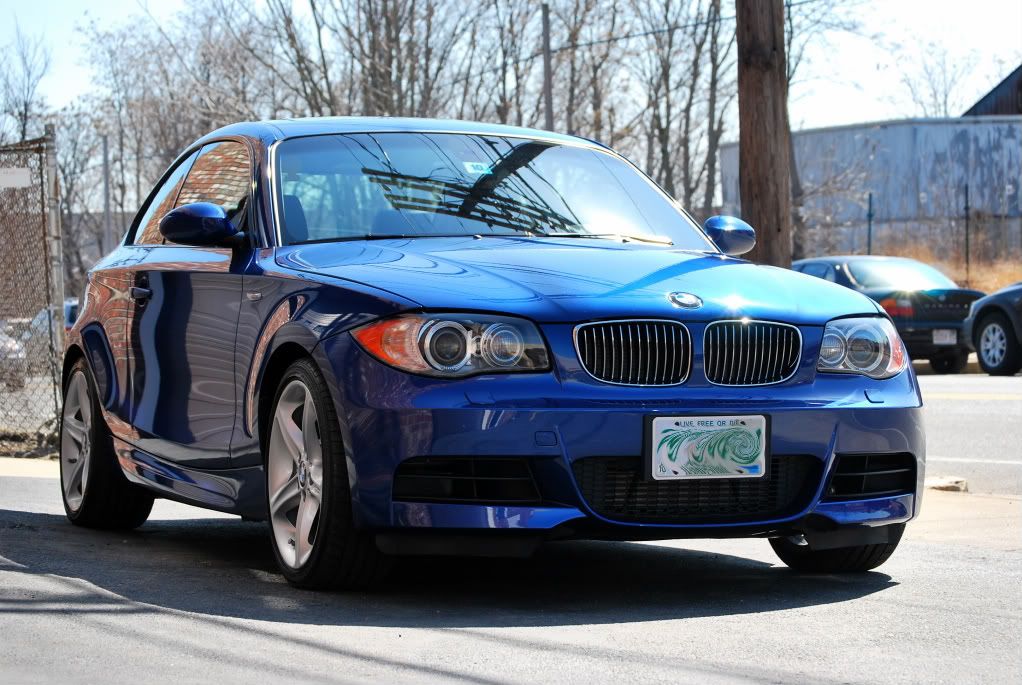
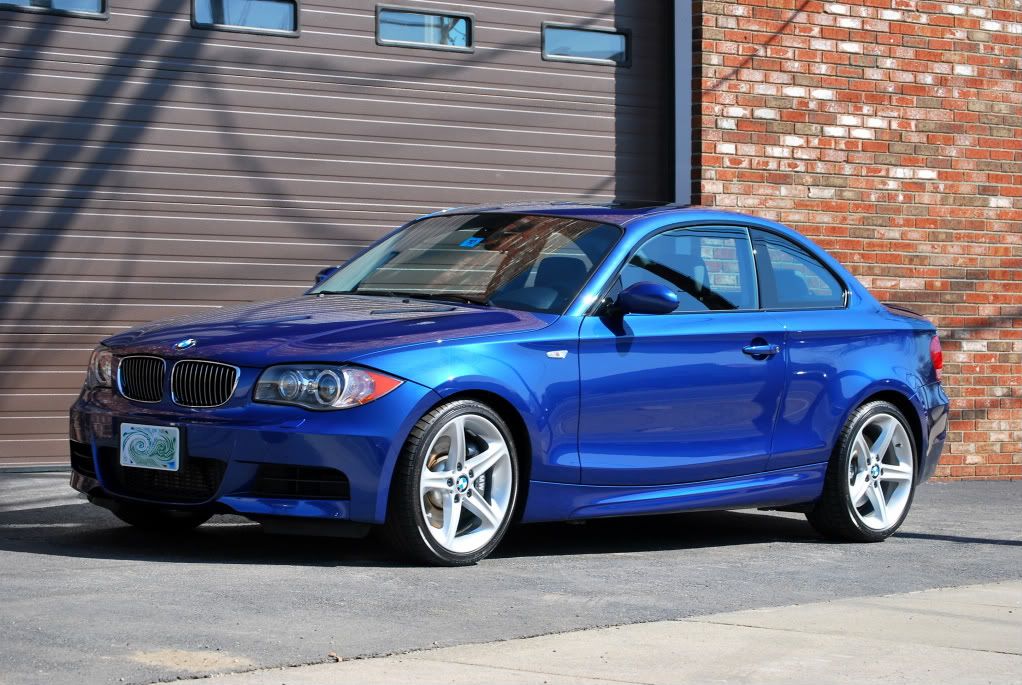
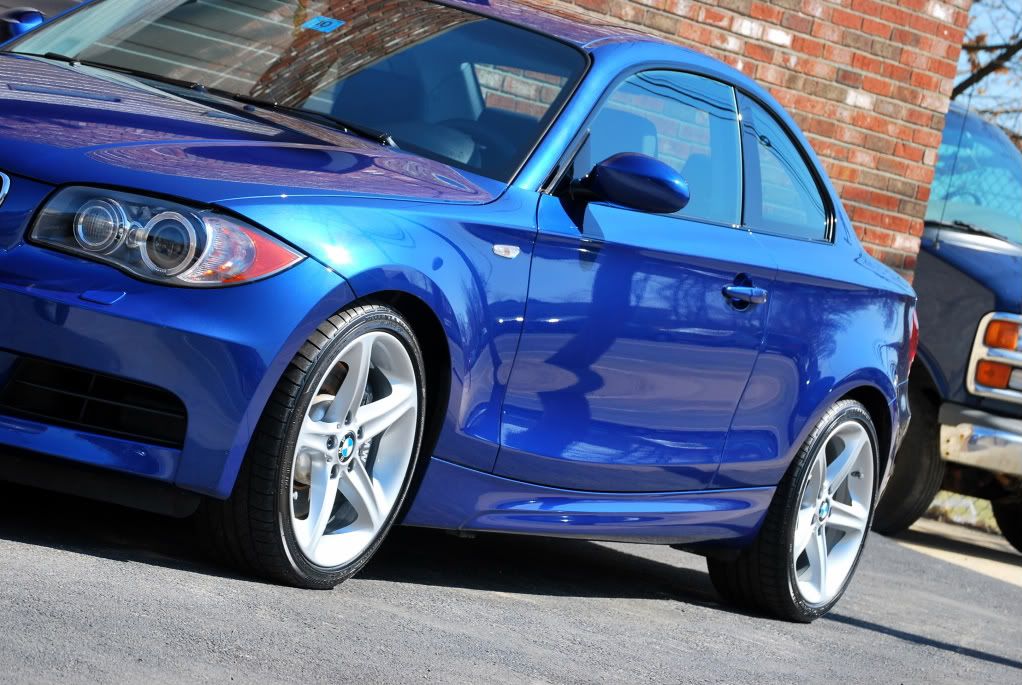
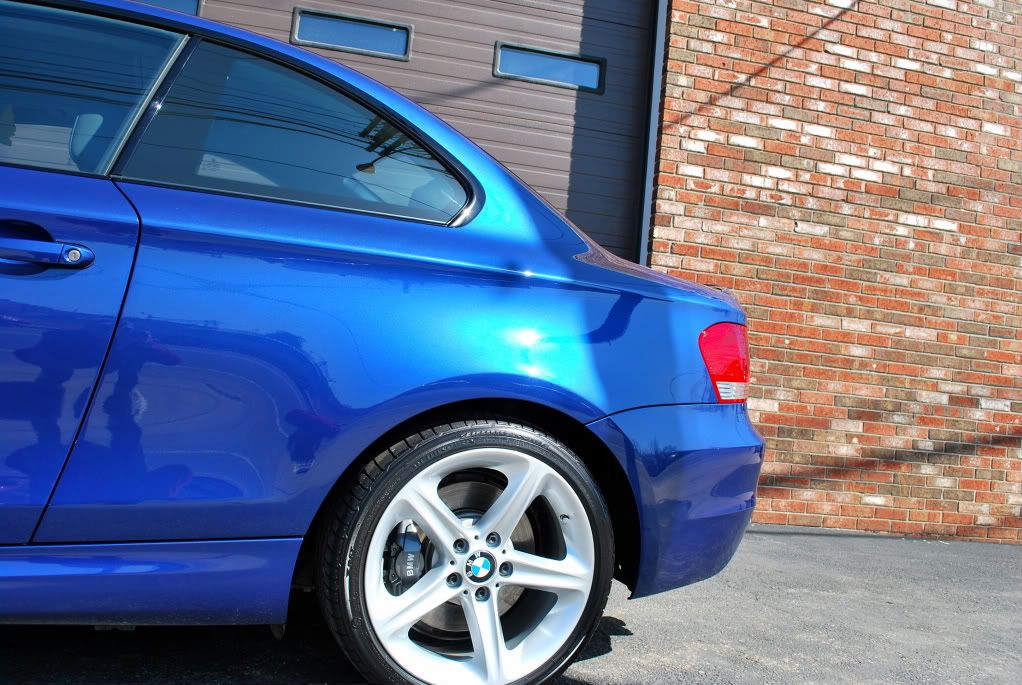
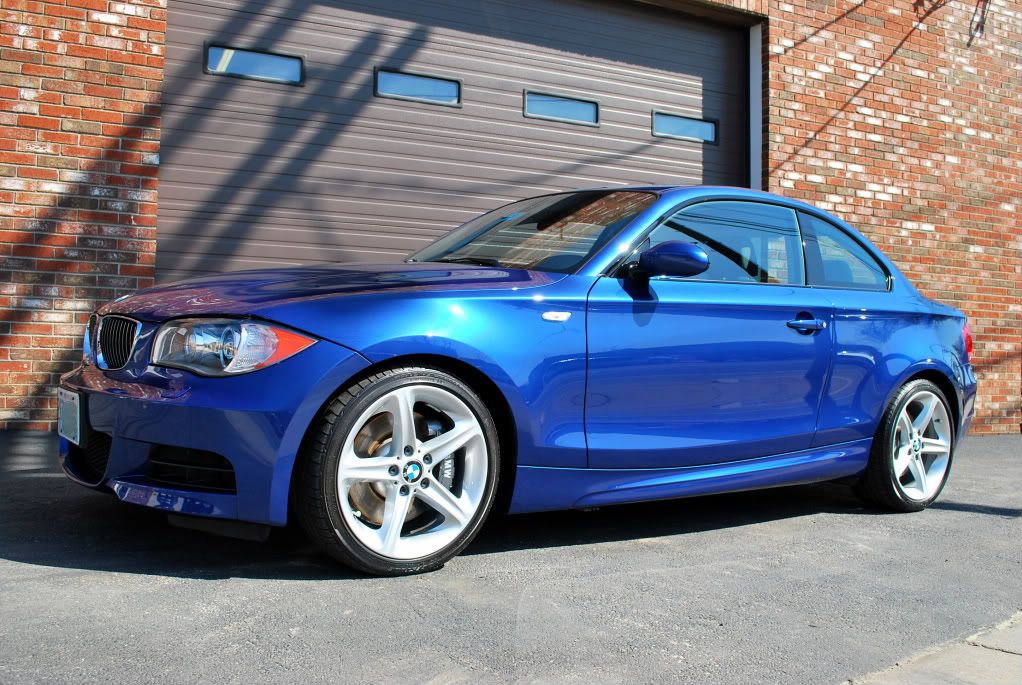
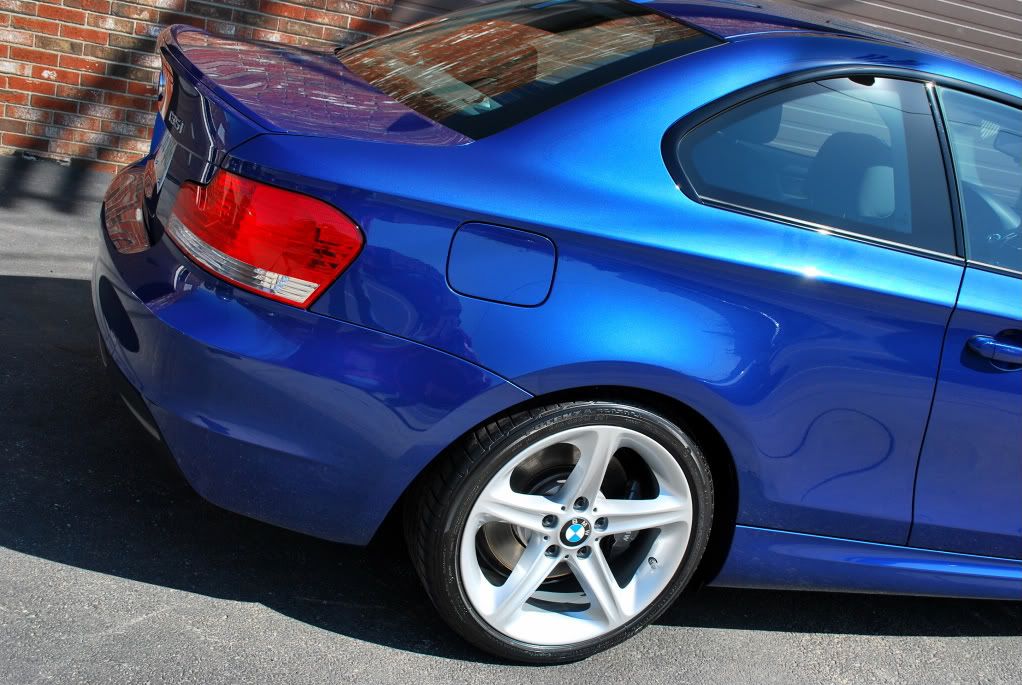
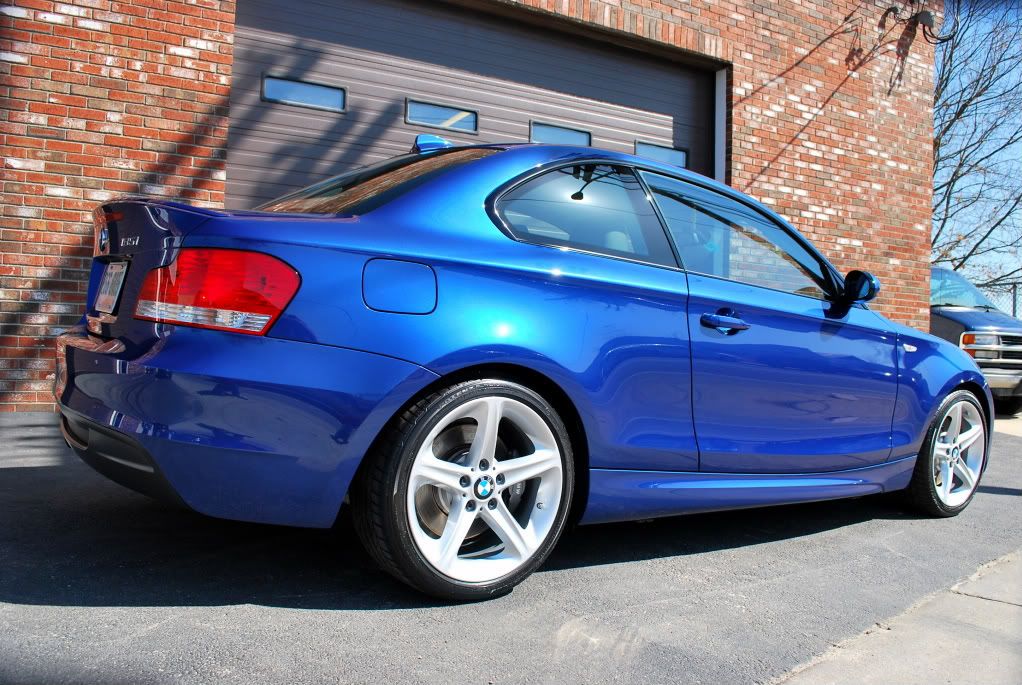
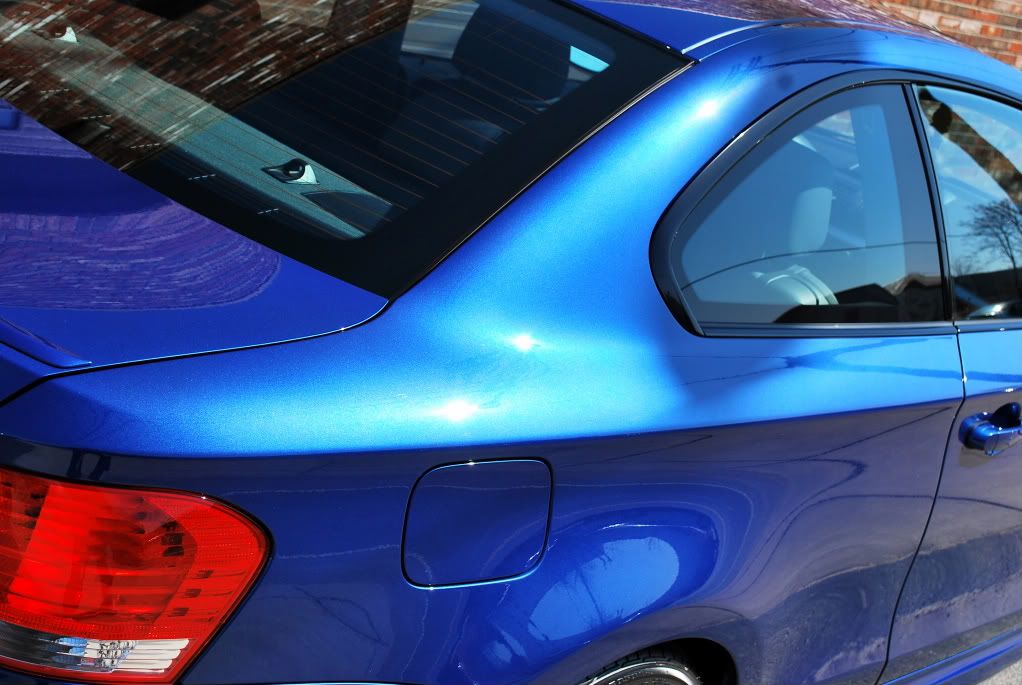
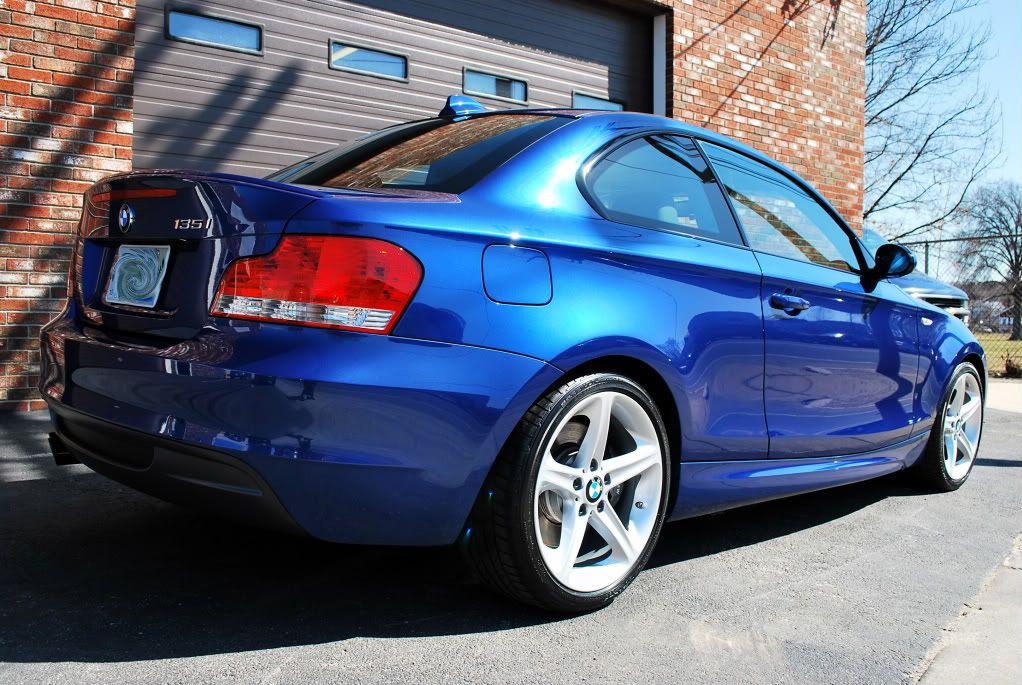
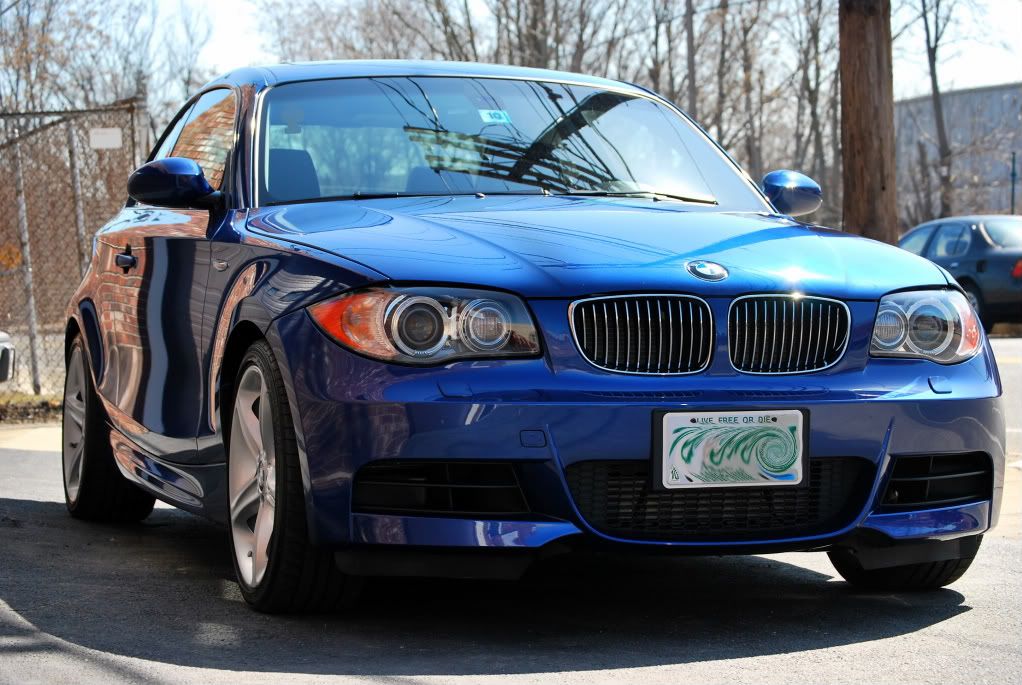
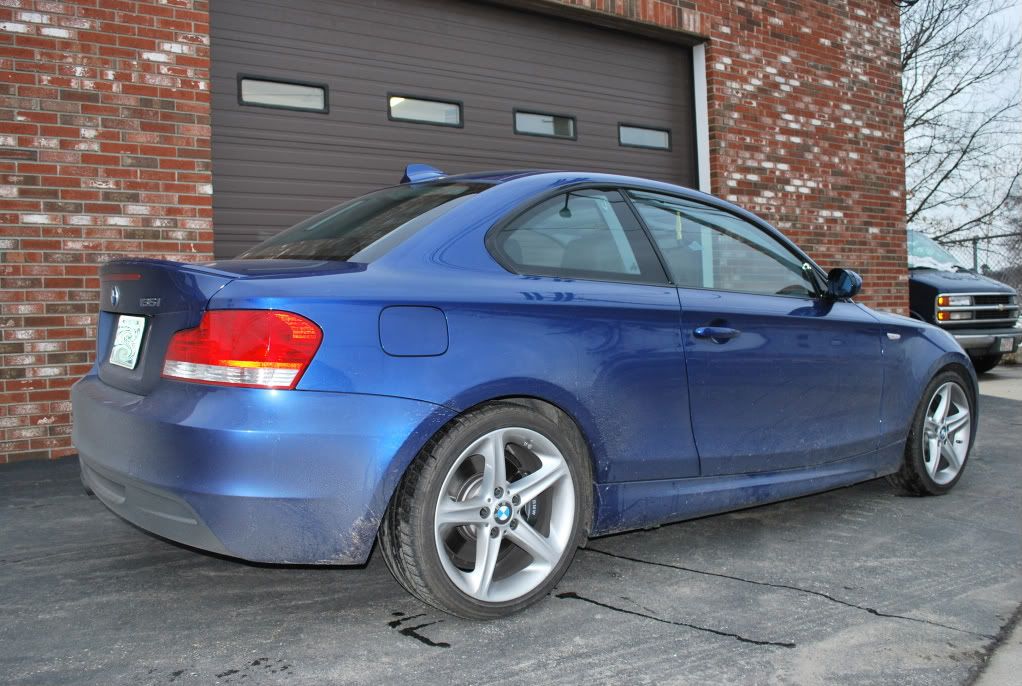
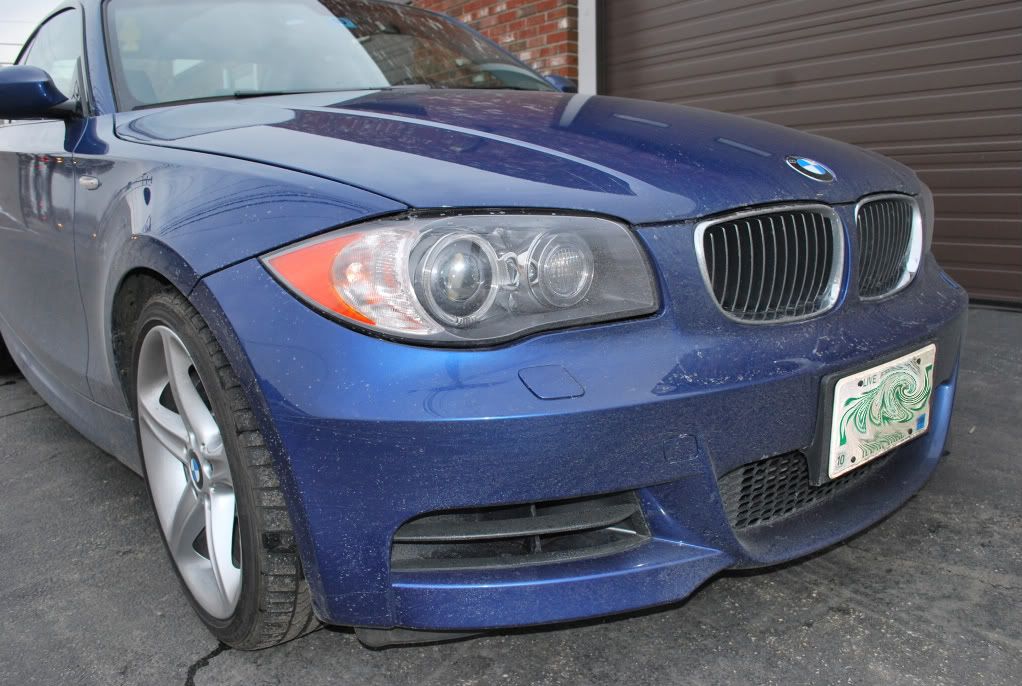
This BMW 1-Series was brought in for a basic 2-stage polishing treatment. The owner bought the car last year and wanted it in tip top shape for the spring. It had accumulated some light scratches / swirl marks over the winter, but overall it was in pretty decent shape. The owner requested not to wax the car because he enjoys doing it himself, so this was strictly just a polishing job with no application of an LSP.
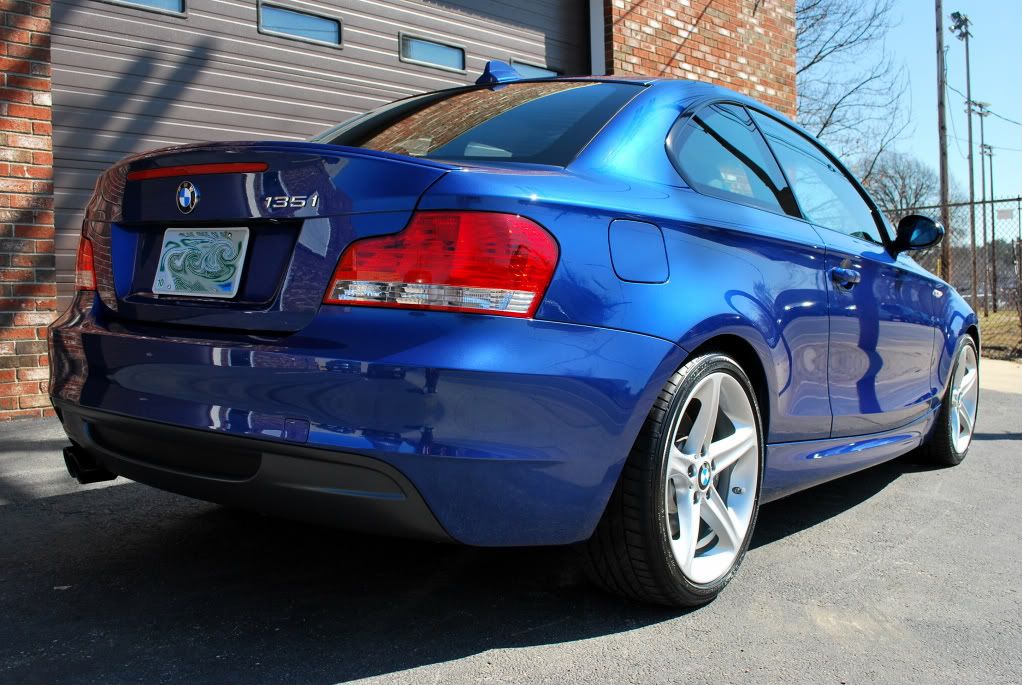
Here is what the car looked like upon arrival:
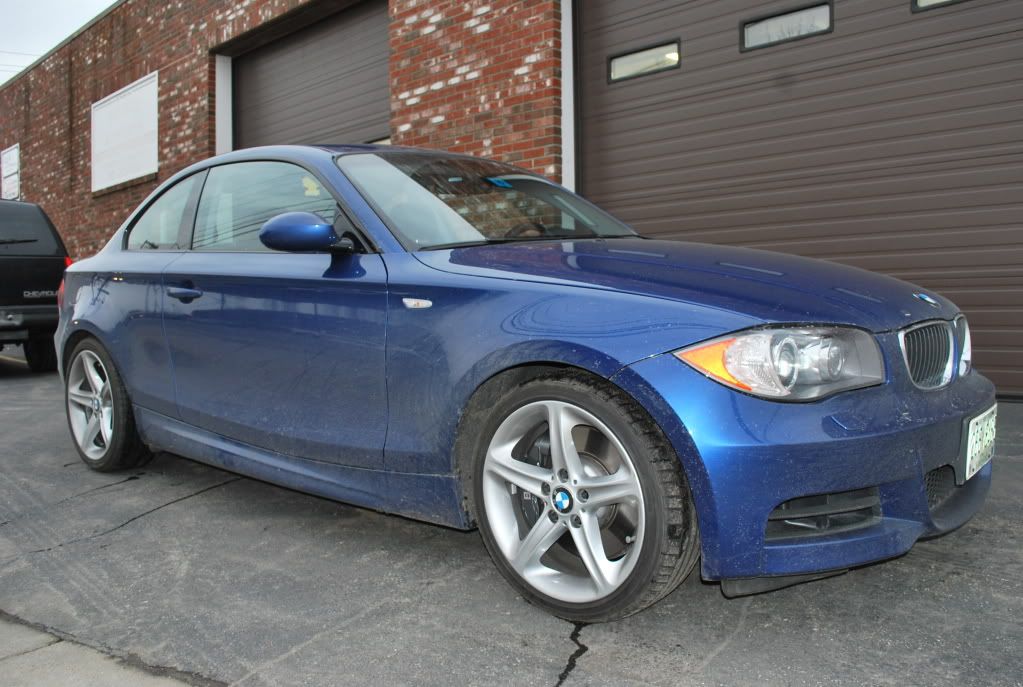
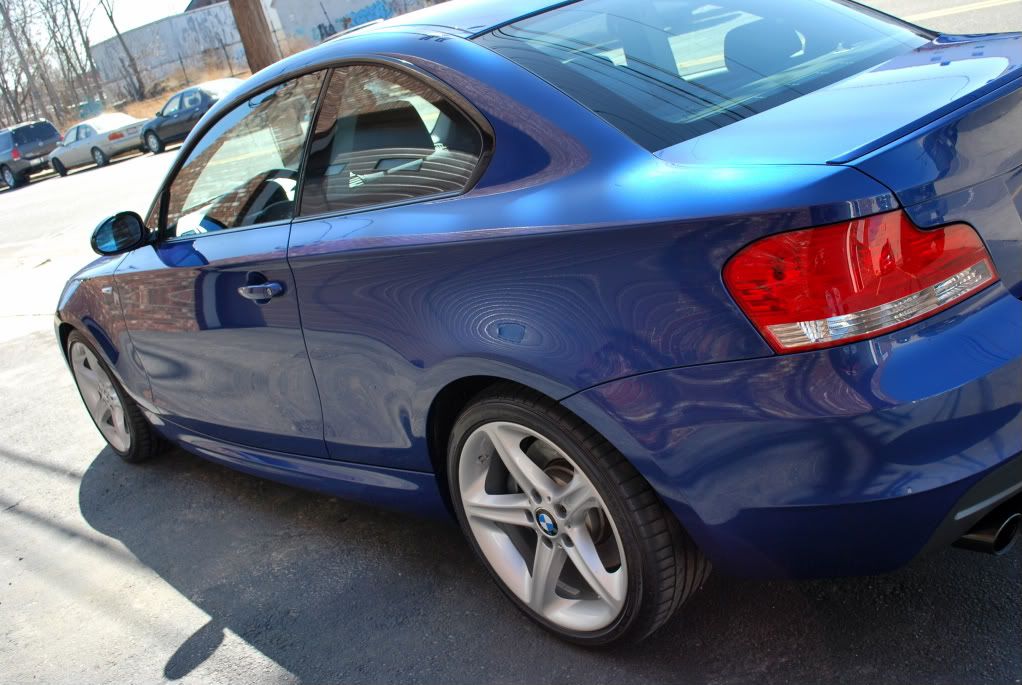
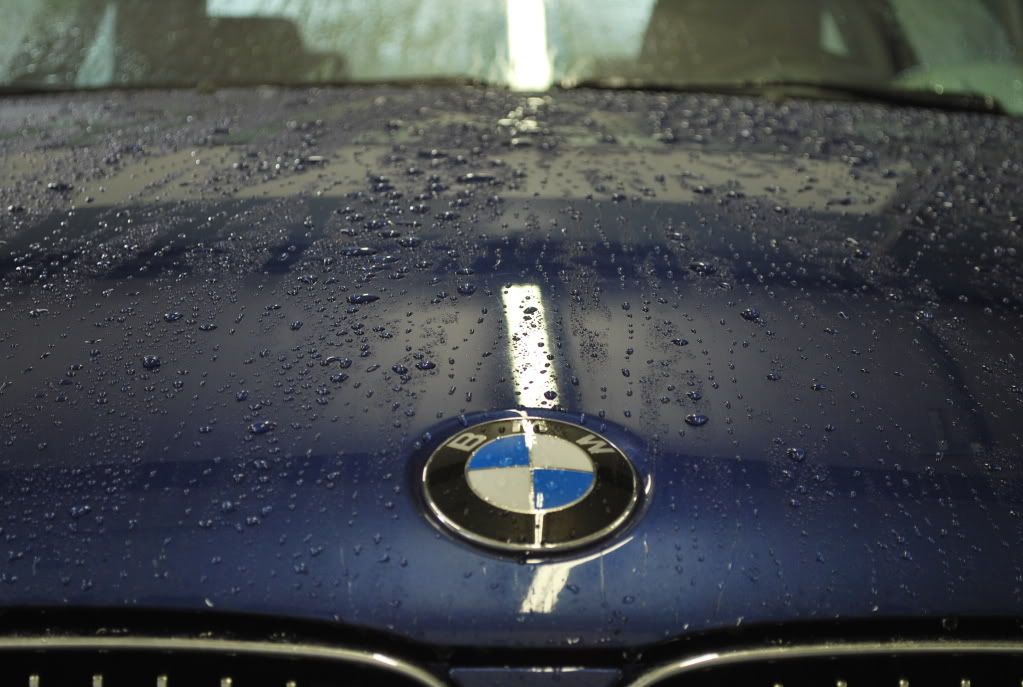
I started by giving the car a thorough rinse to remove as much dirt, sand and salt as possible to ensure that no additional wash induced damage was caused. As soon as I began rinsing, it was obvious that the car still had a good amount of protection left on it due to the paint beading water as seen below.
Next, I foamed the car down, let it dwell for several minutes and rinsed again. I gave the car a basic hand wash and cleaned the wheels, tires & wheel wells. I foamed the car down again and clayed the exterior using a green Sonus clay bar to remove any bonded contaminants from the surface. I rinsed the car again, which was still beading heavily.
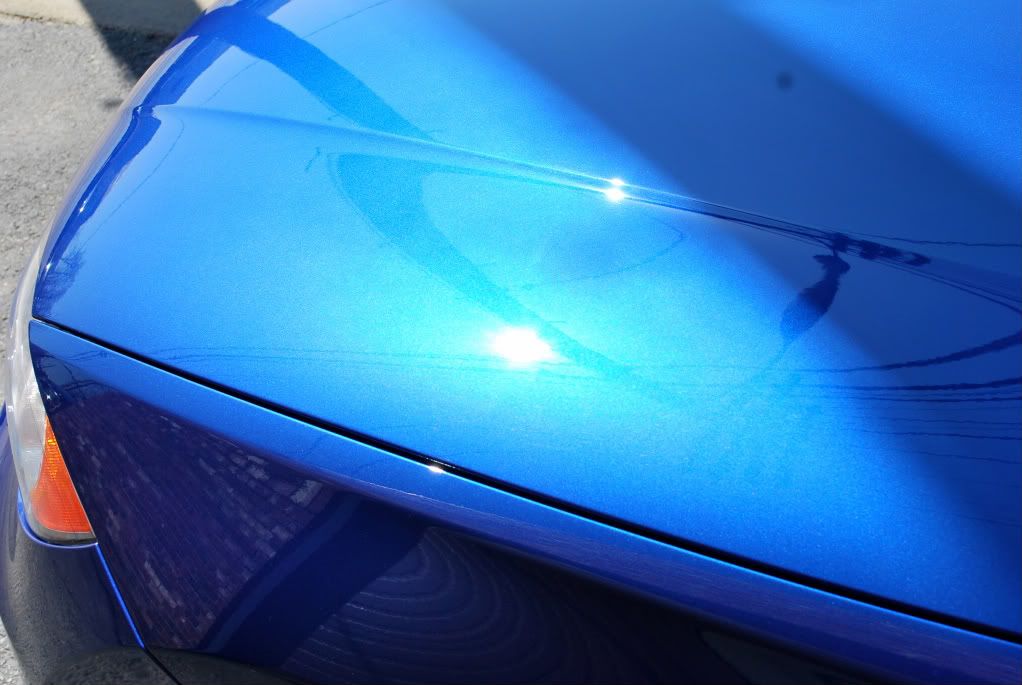
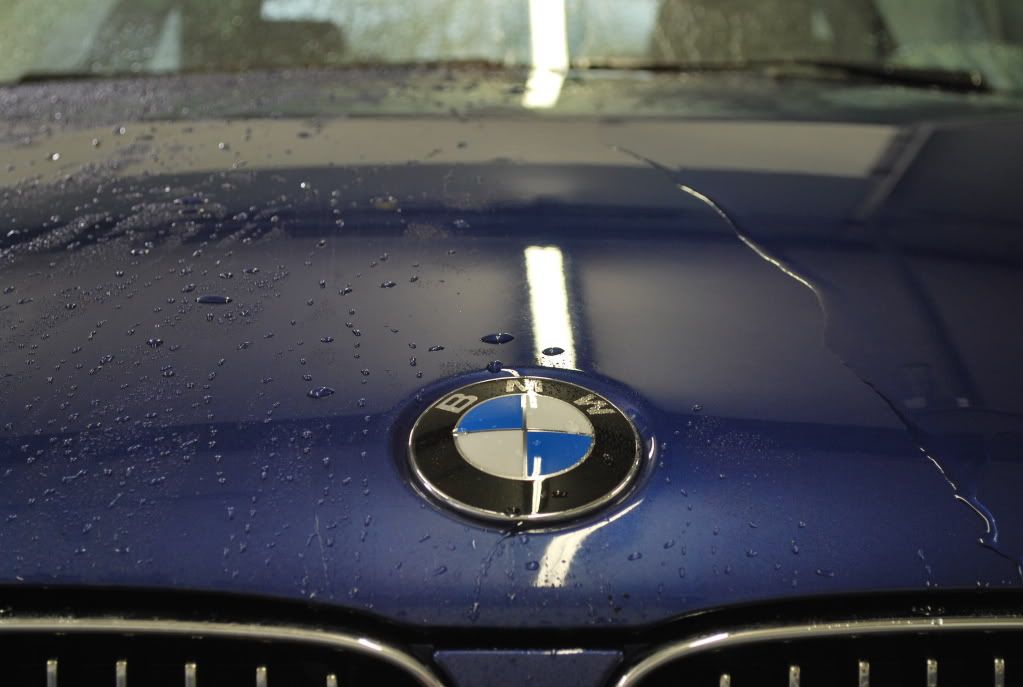
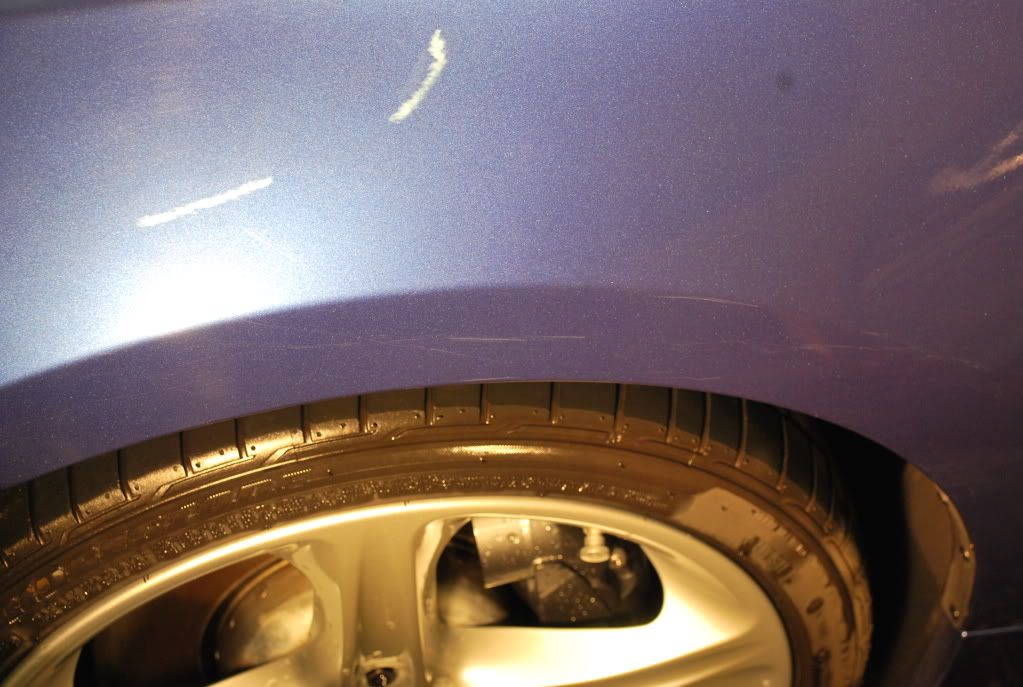
After I finished claying, I used Spray Nine cleaner on a microfiber towel to remove any protection that was present. In the picture below, you can see how the right side of the hood is no longer beading now that the protection has been removed.
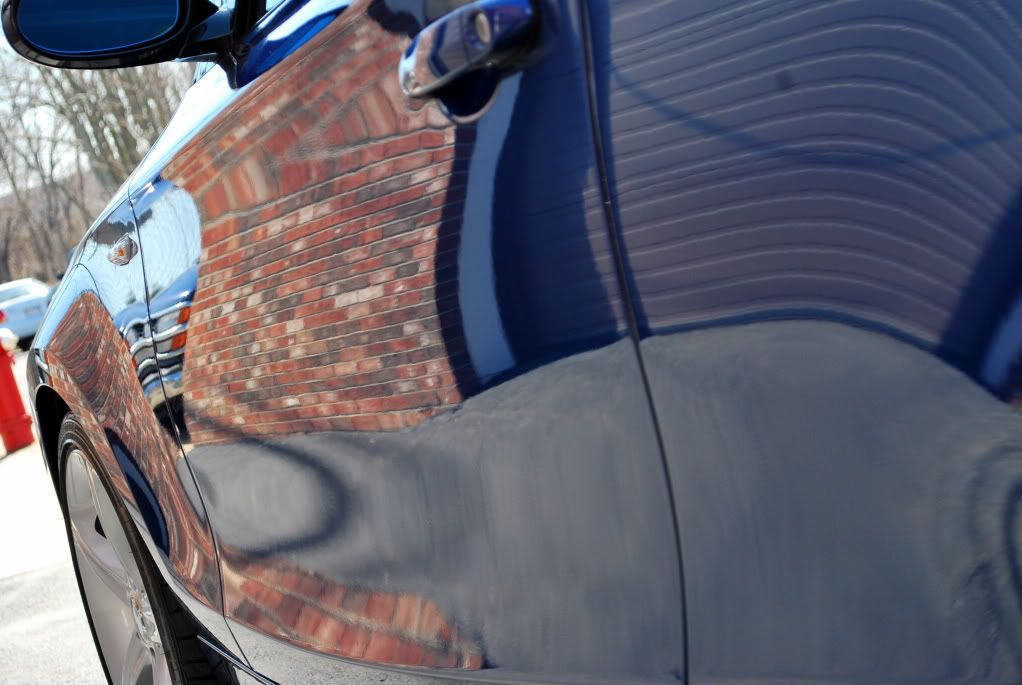
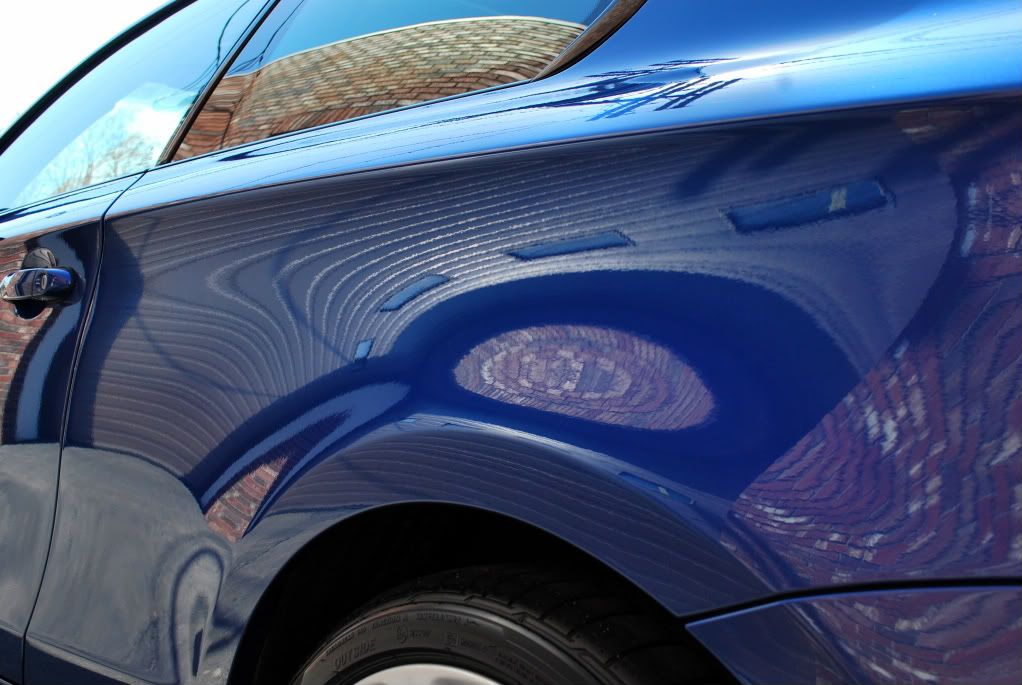
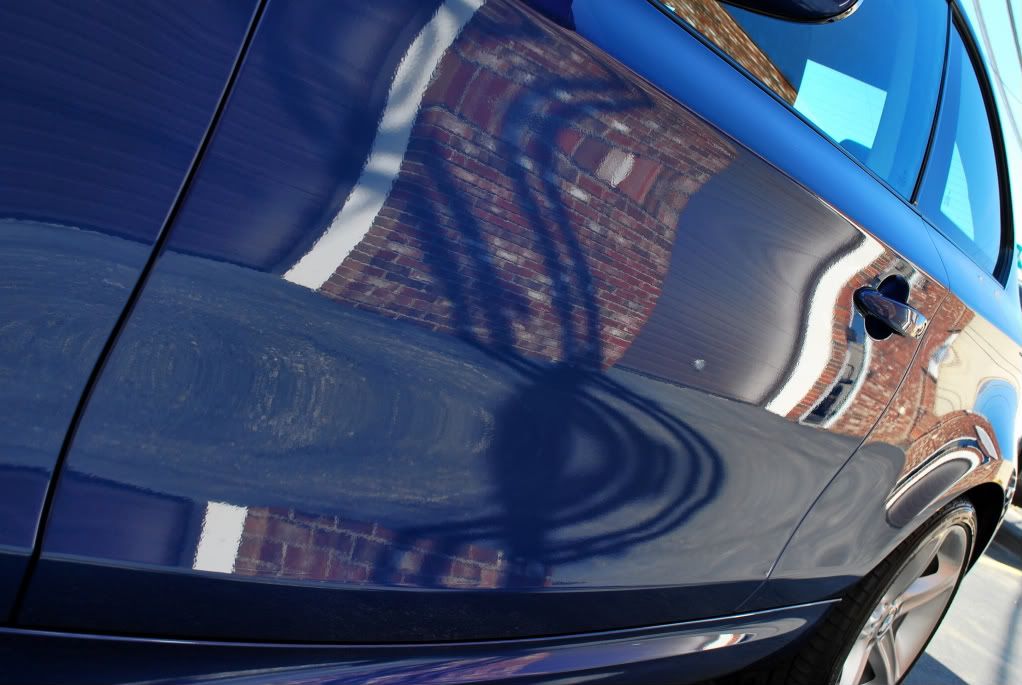
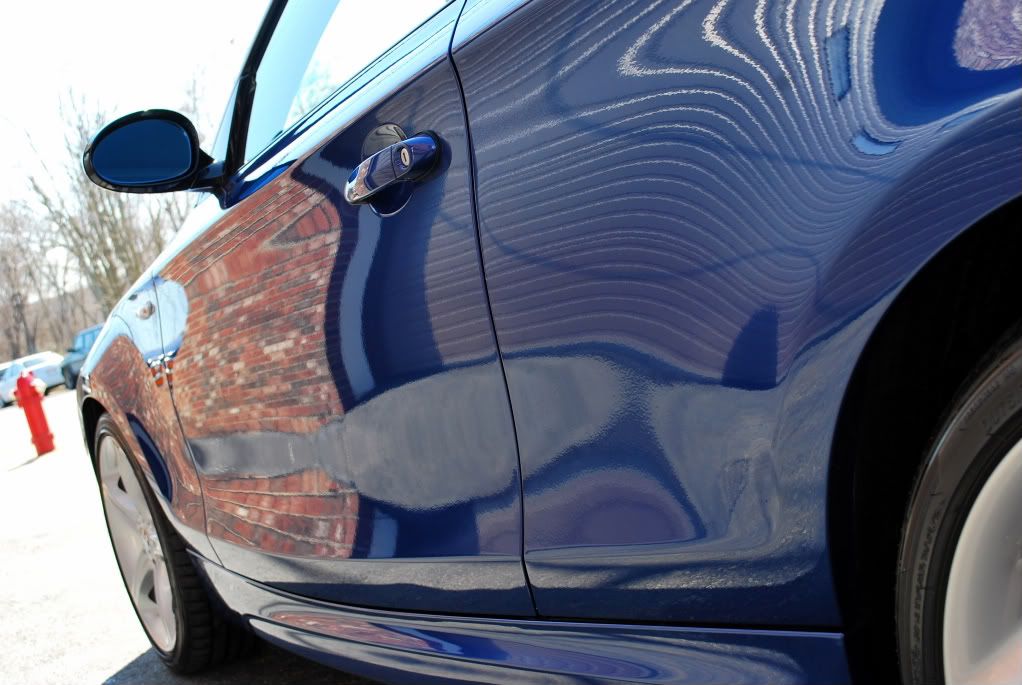
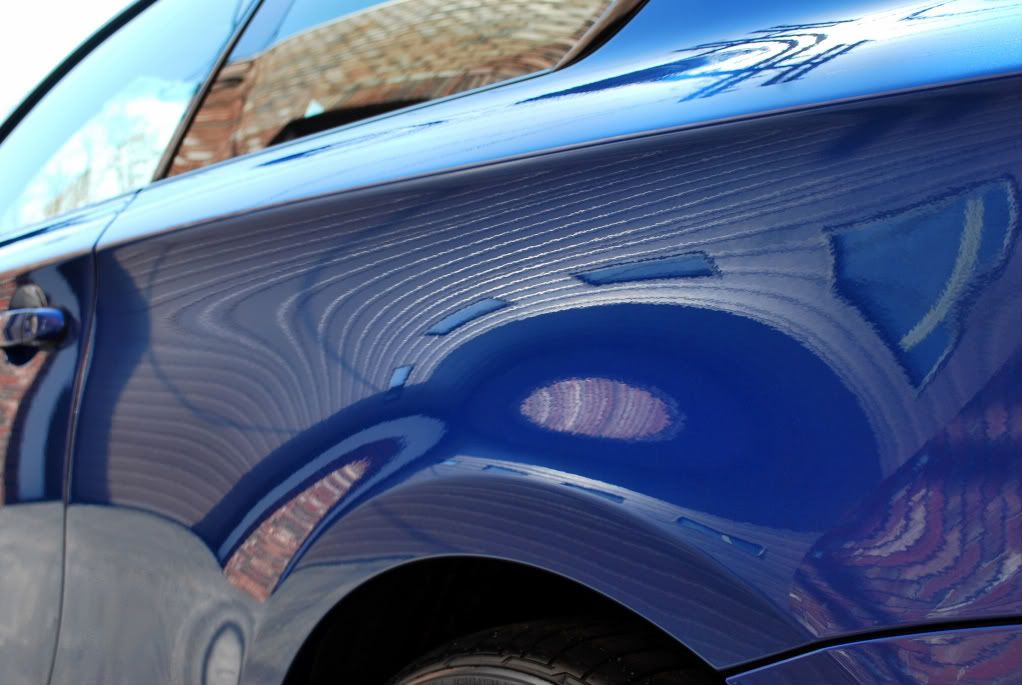
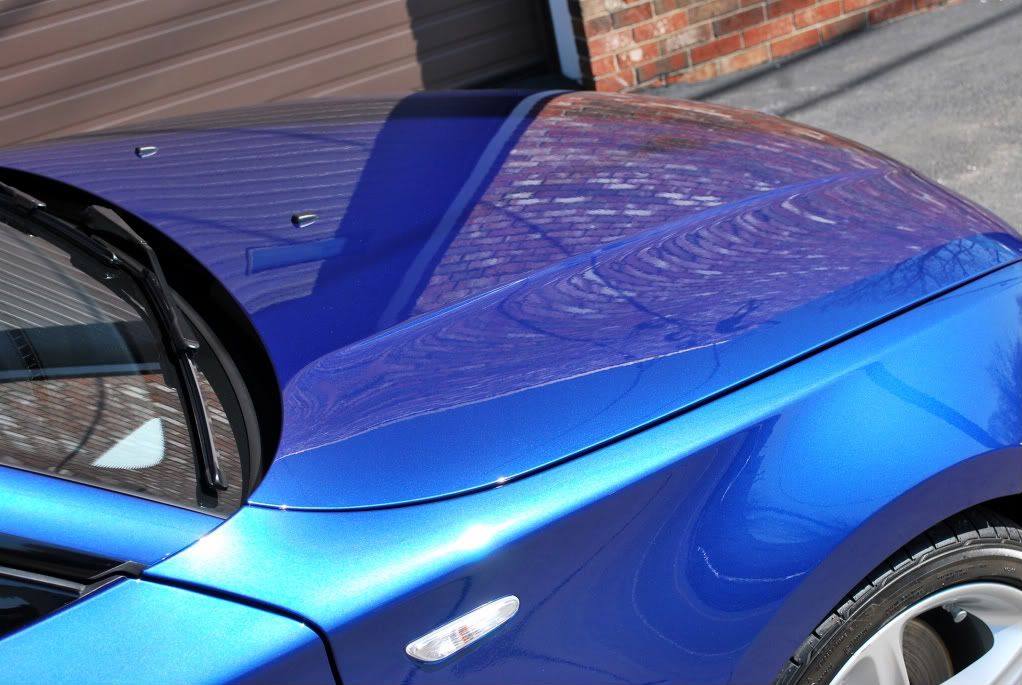
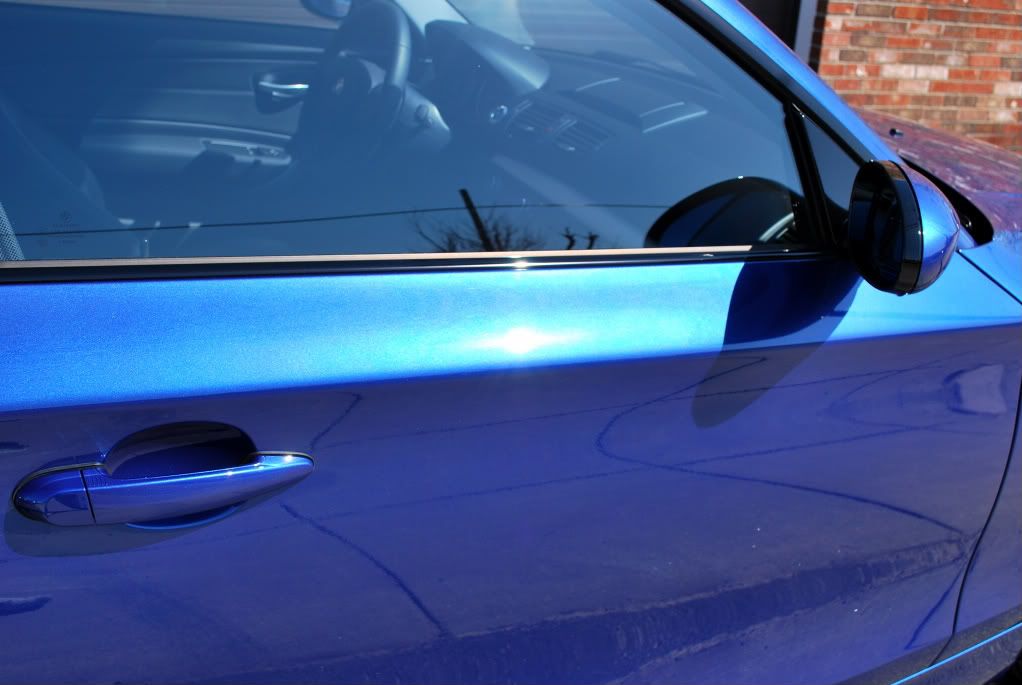
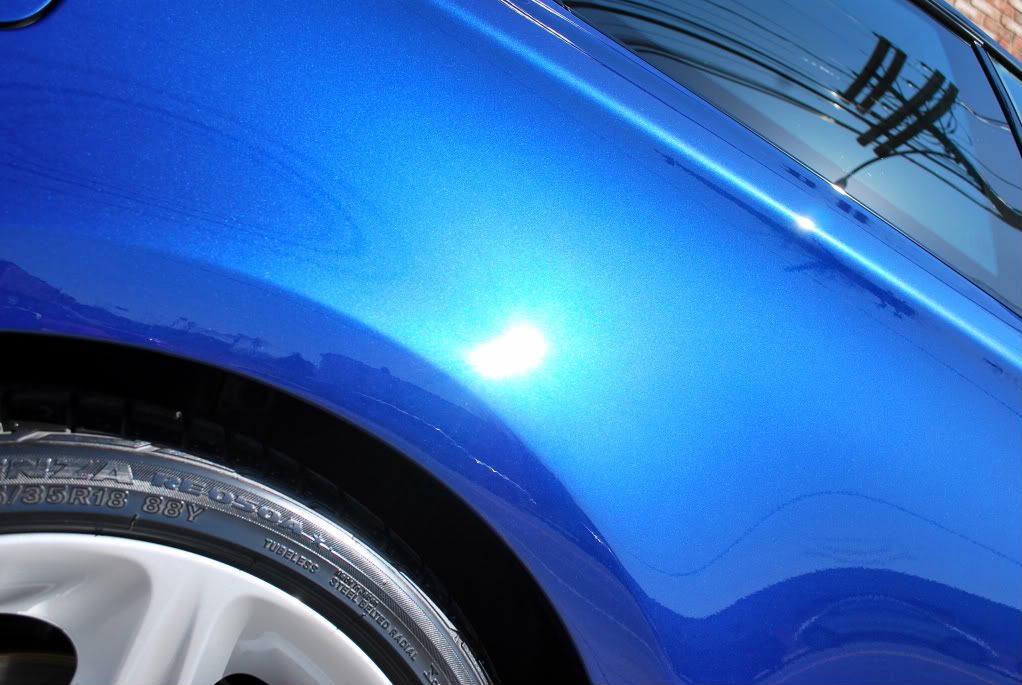
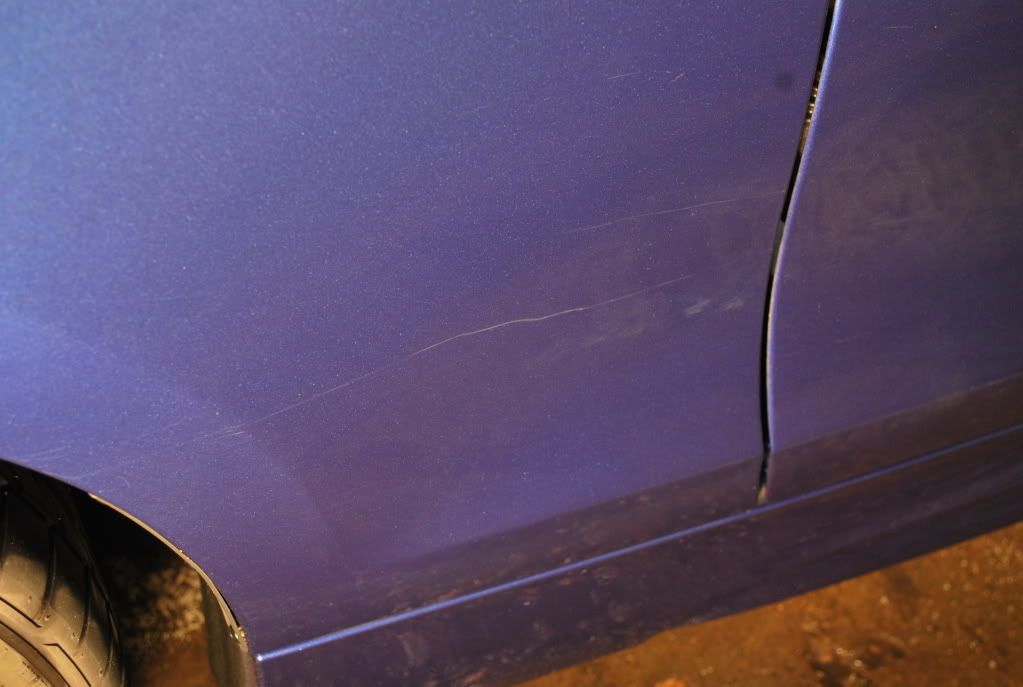
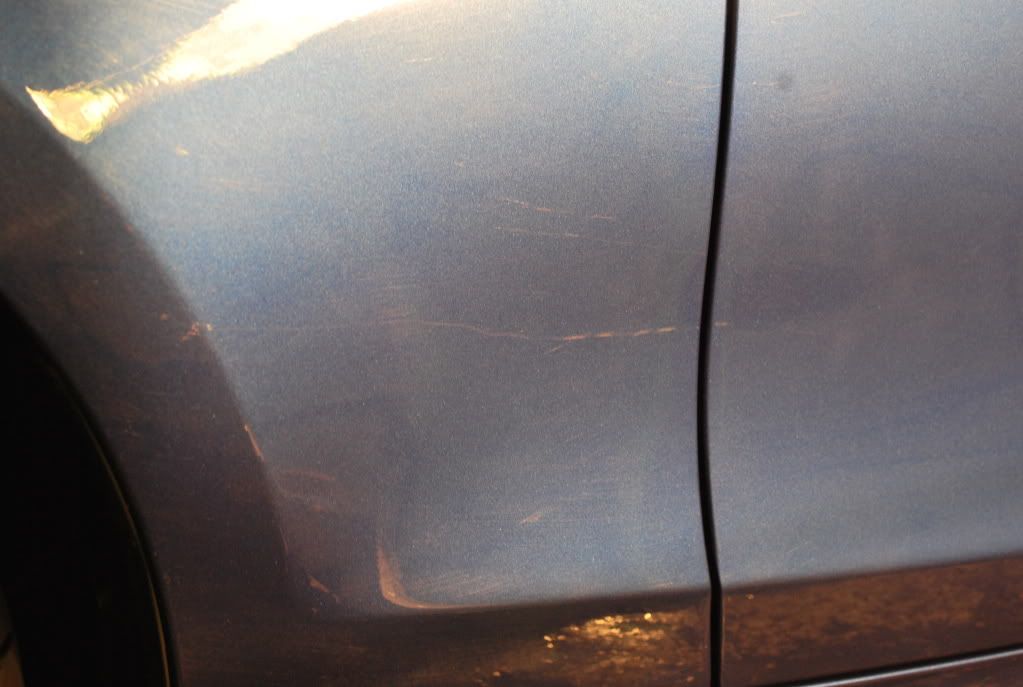
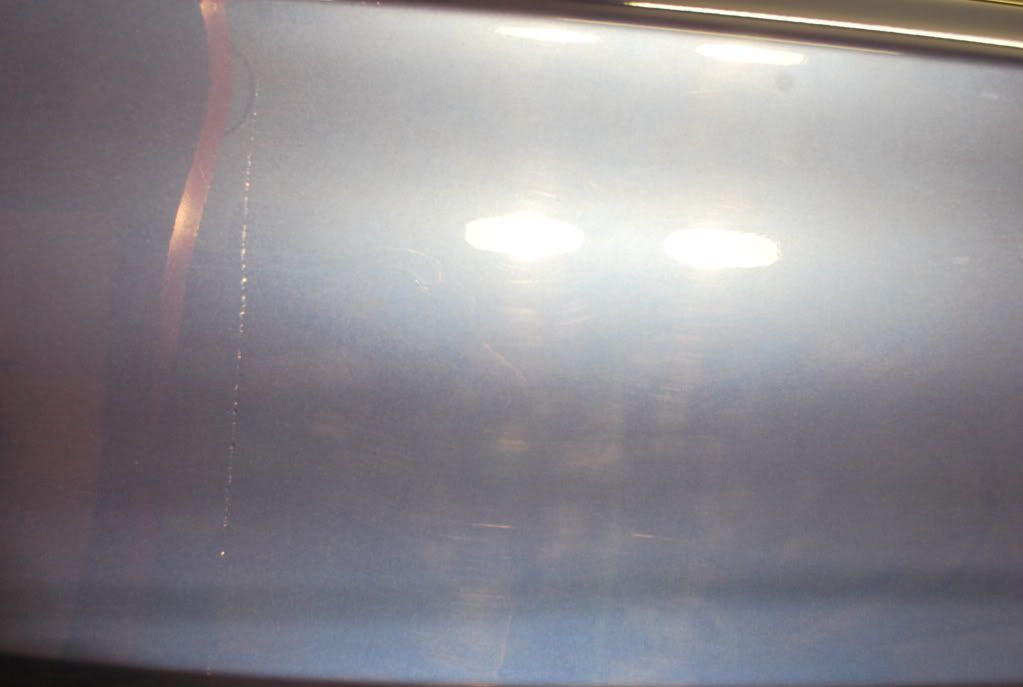
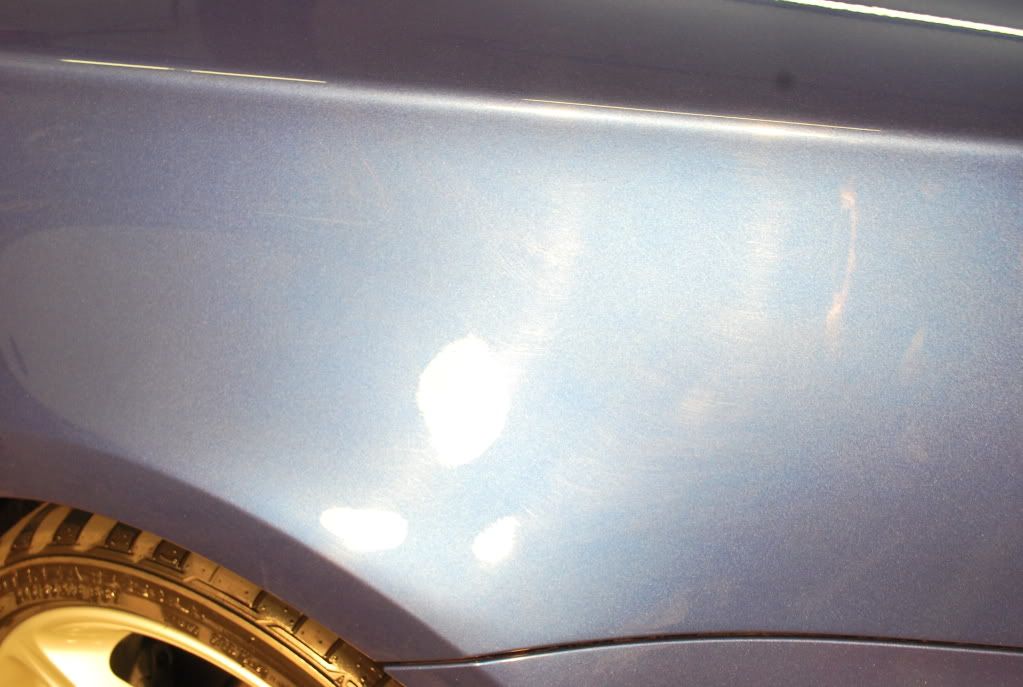
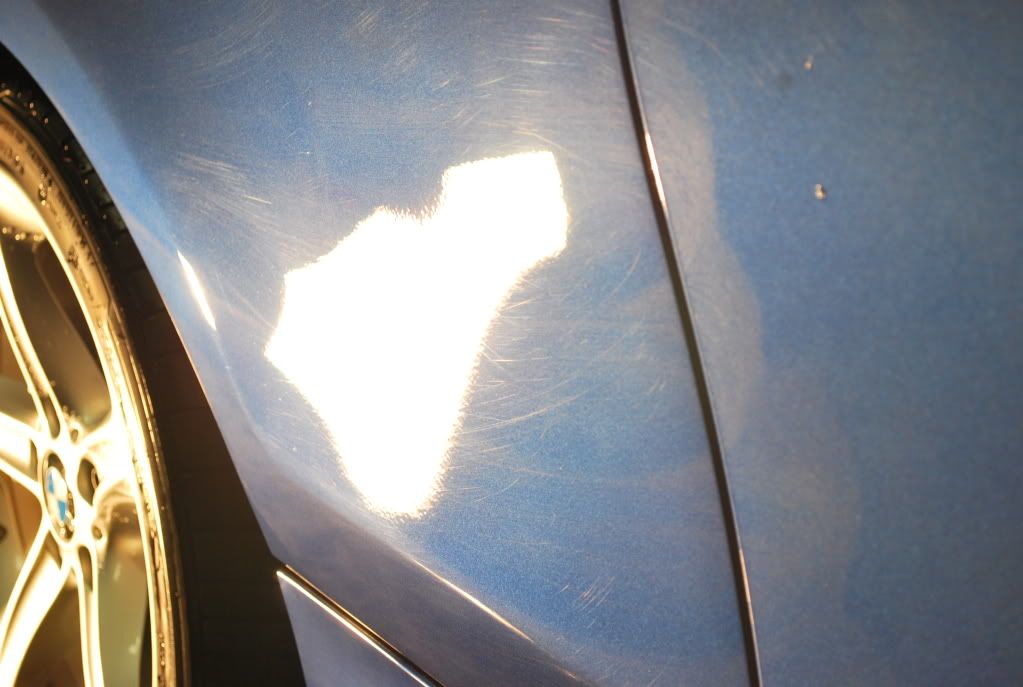
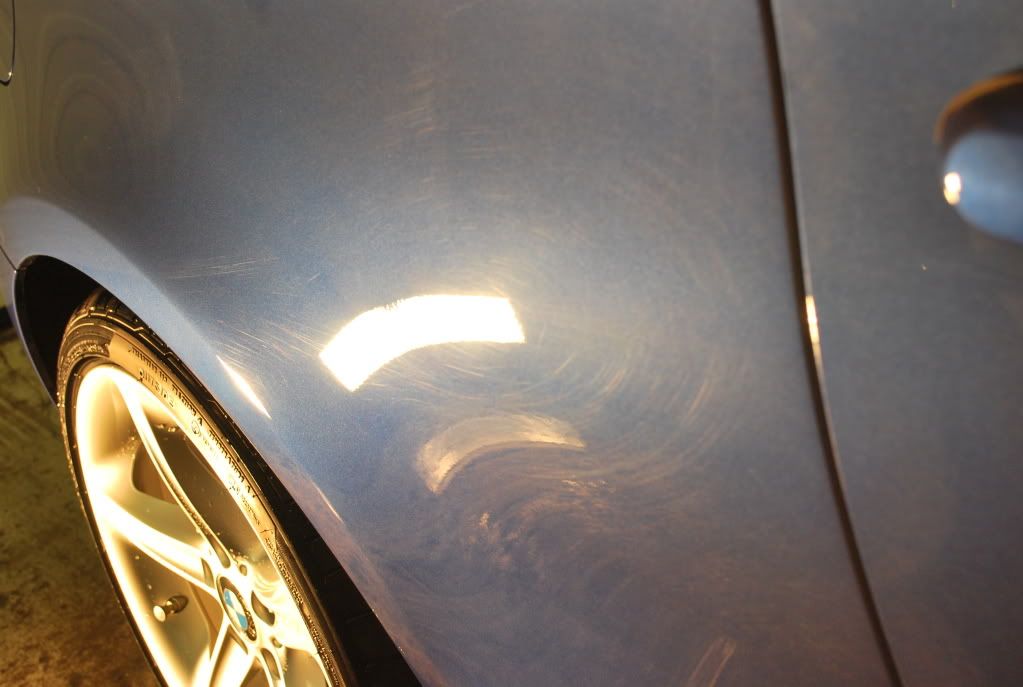
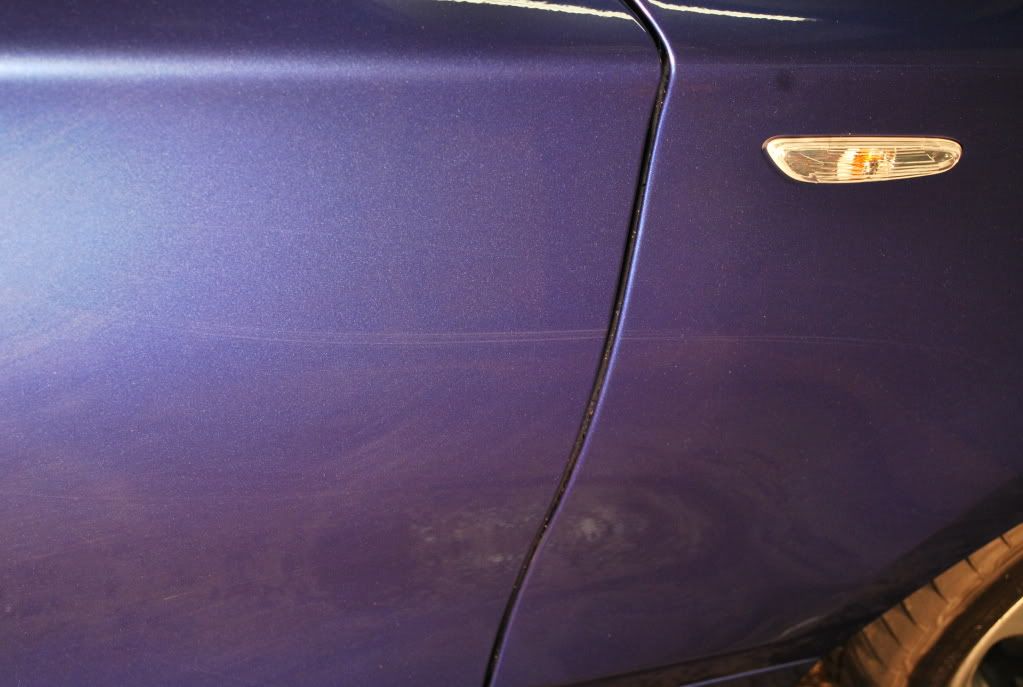
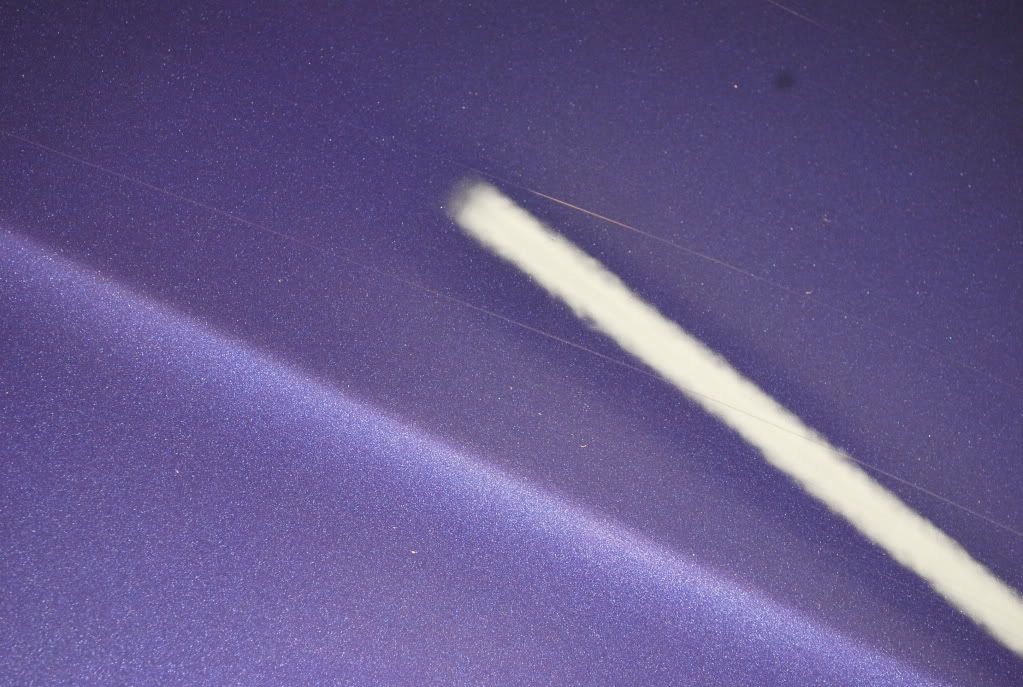
After the prep was complete, the defects were much more visible than they were before the wash. Below is what the car looked like after the prep. As you can see, it had its fair share of issues that had to be taken care of.


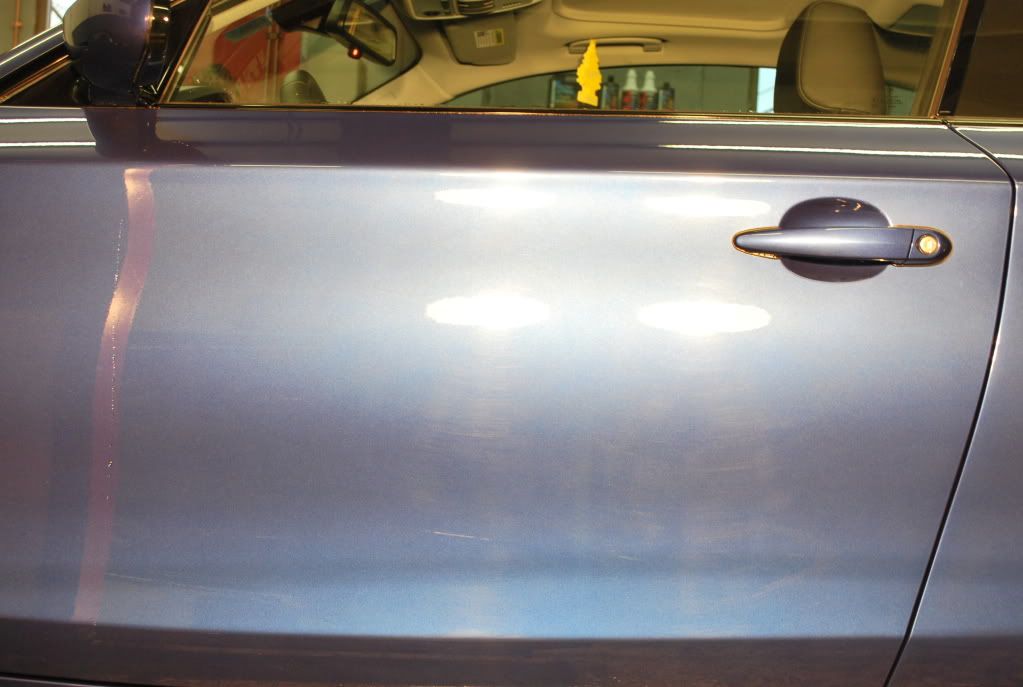

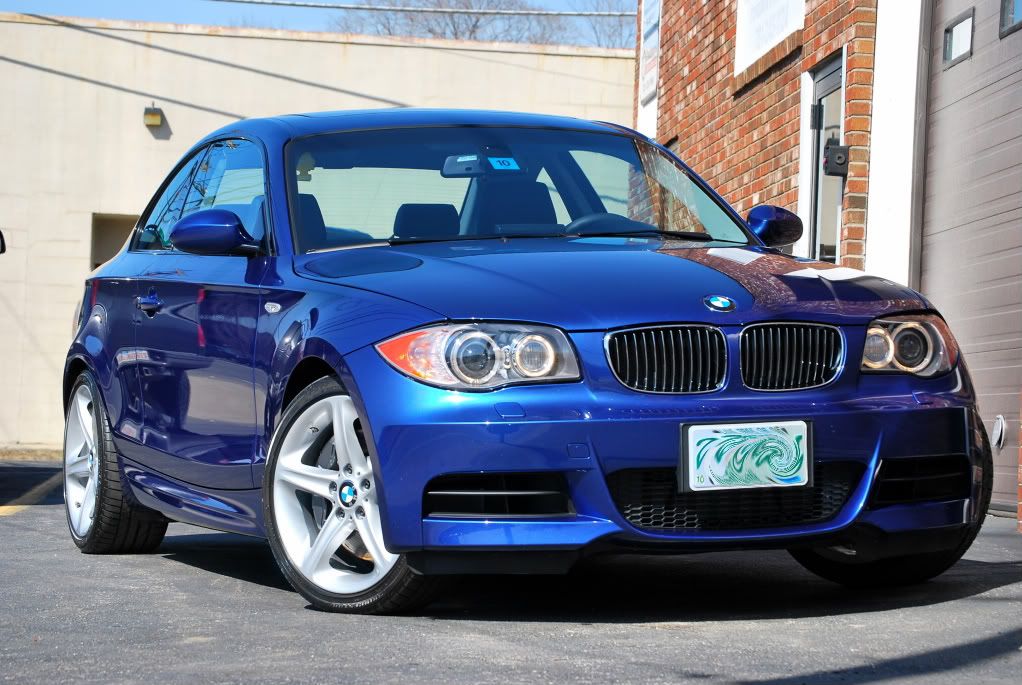
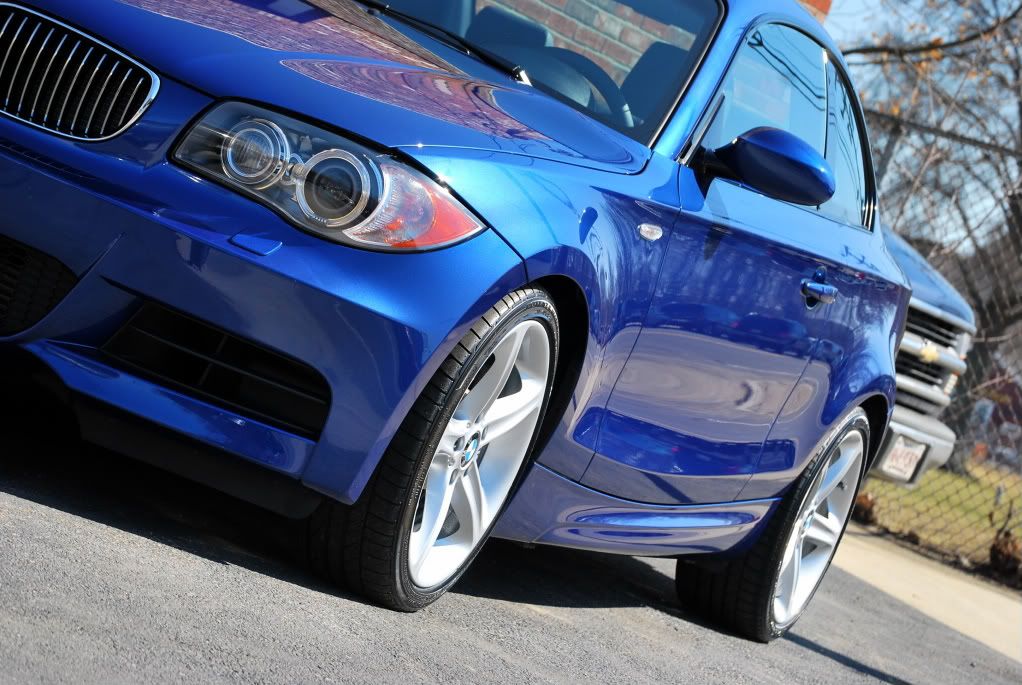
Here is what the car looked like upon arrival:
I started by giving the car a thorough rinse to remove as much dirt, sand and salt as possible to ensure that no additional wash induced damage was caused. As soon as I began rinsing, it was obvious that the car still had a good amount of protection left on it due to the paint beading water as seen below.
Next, I foamed the car down, let it dwell for several minutes and rinsed again. I gave the car a basic hand wash and cleaned the wheels, tires & wheel wells. I foamed the car down again and clayed the exterior using a green Sonus clay bar to remove any bonded contaminants from the surface. I rinsed the car again, which was still beading heavily.
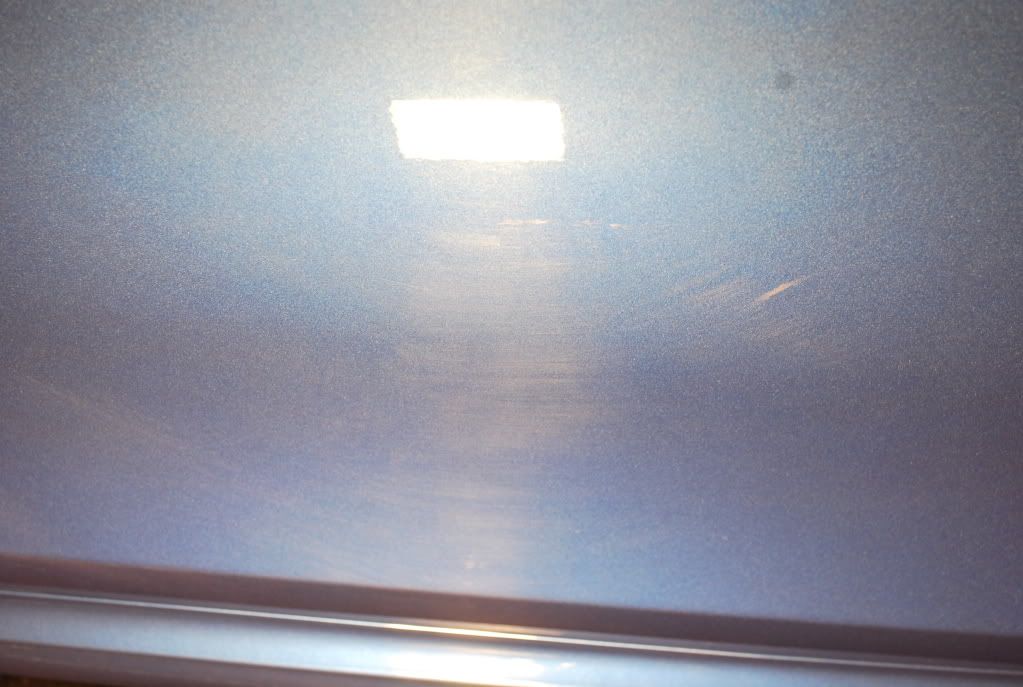
After I finished claying, I used Spray Nine cleaner on a microfiber towel to remove any protection that was present. In the picture below, you can see how the right side of the hood is no longer beading now that the protection has been removed.
After the prep was complete, the defects were much more visible than they were before the wash. Below is what the car looked like after the prep. As you can see, it had its fair share of issues that had to be taken care of.