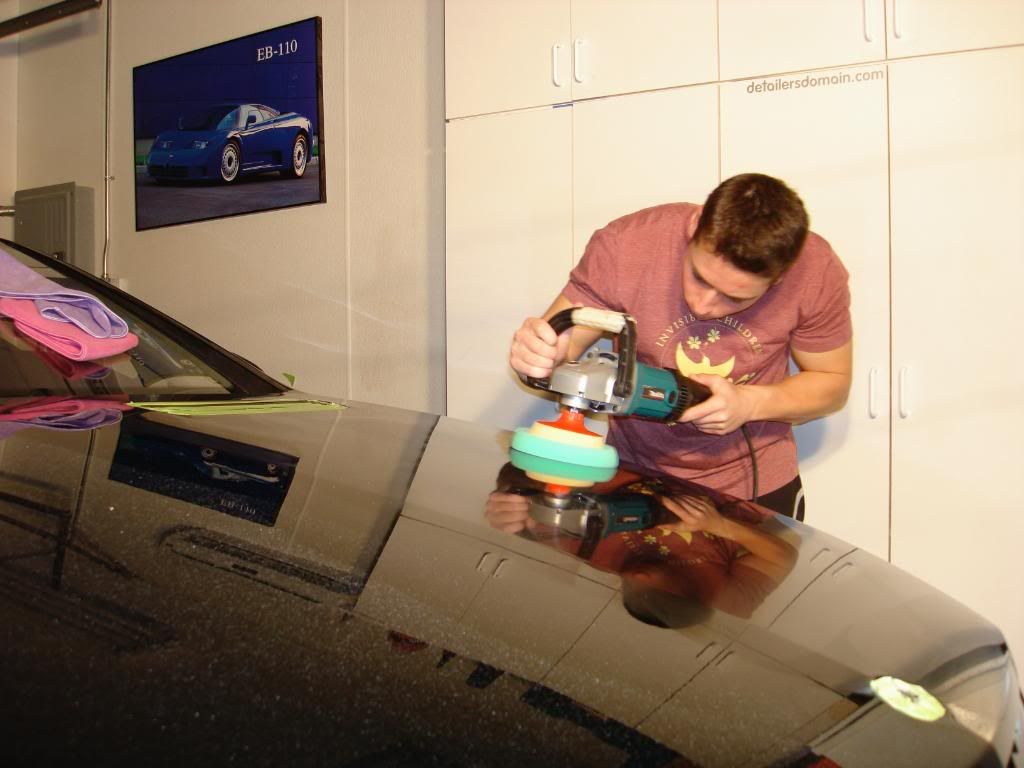
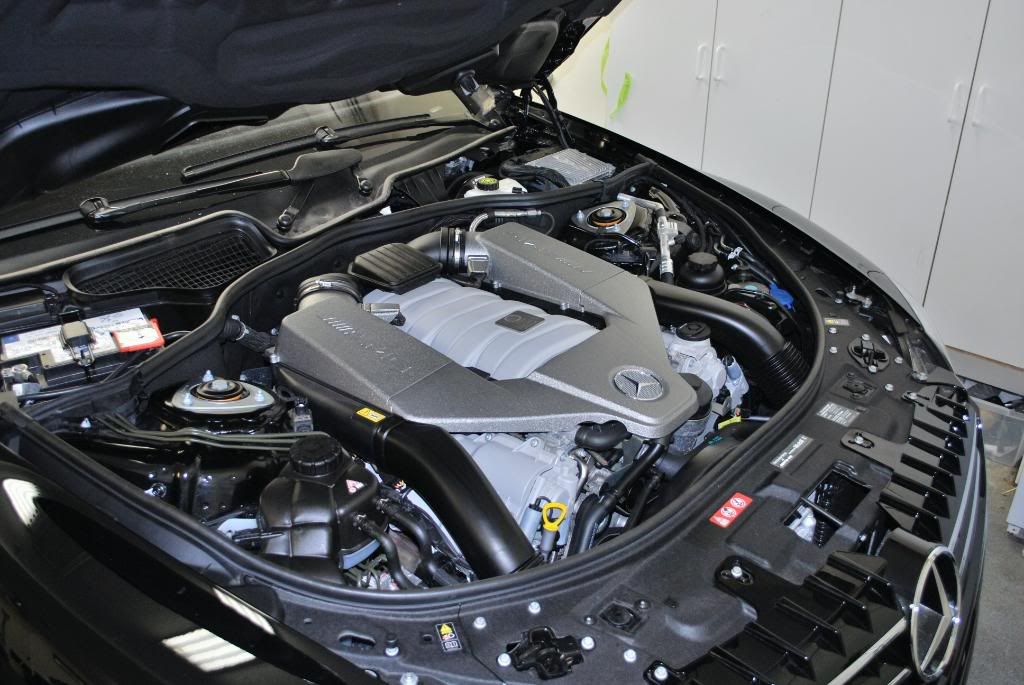
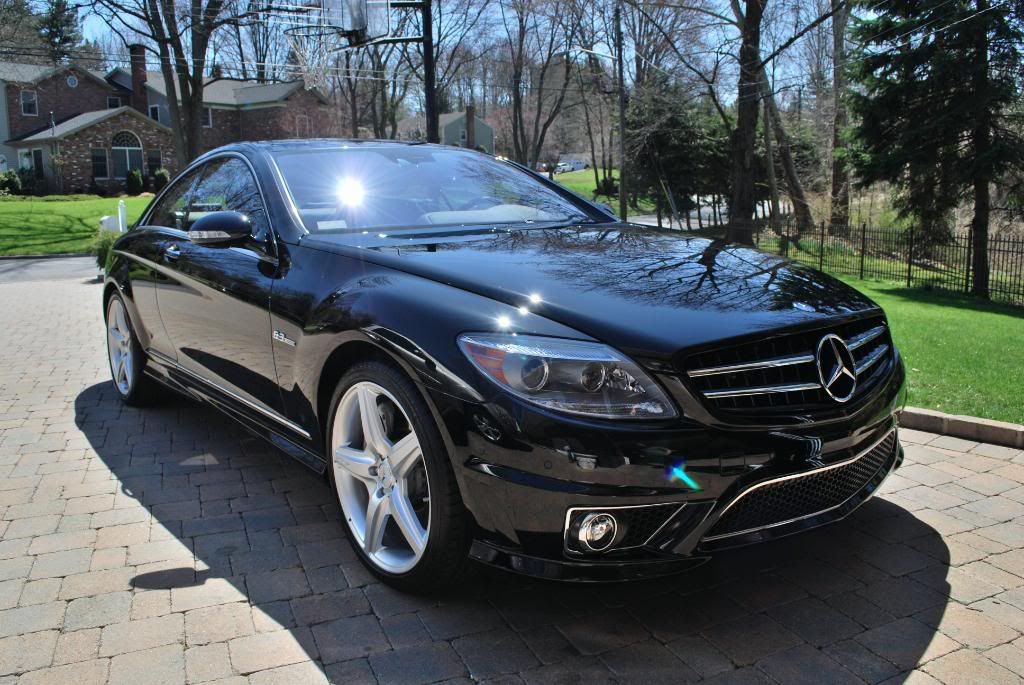
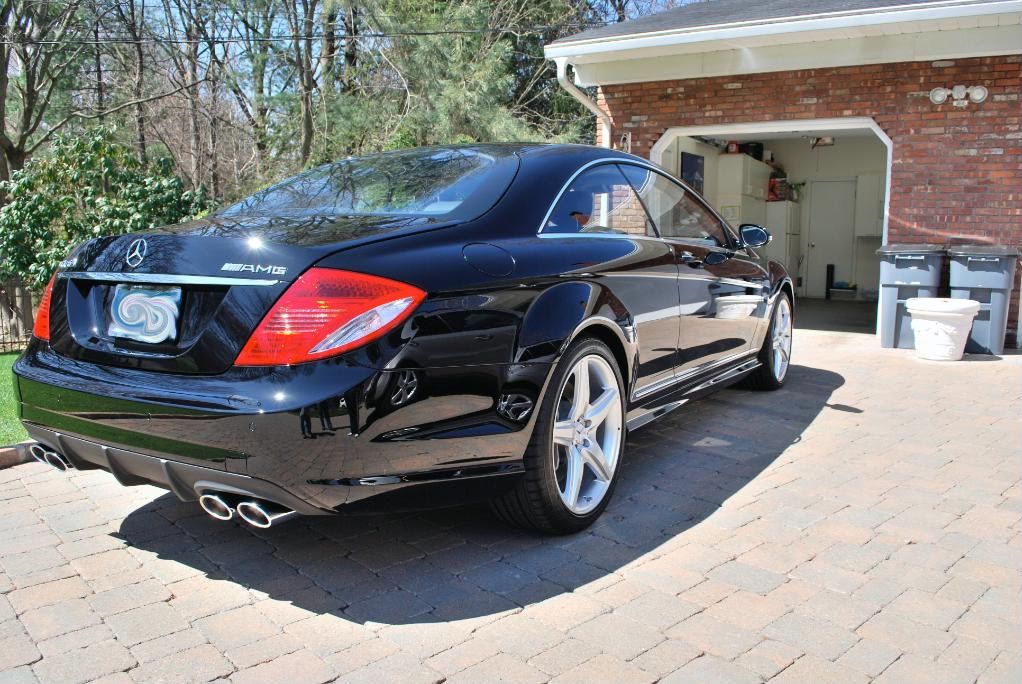
2009 CL63 Mercedes booked for a 3 day correction detail.
A car that is only a few weeks old really shouldn't need this kind of detail yet, and the reason being?
In under a month this car was detailed TWICE before it came to me, the first time it was a botched dealer prep job and the second time was a detail (by another detailer who claims to fix swirls and scratches) to polish out the scratches put in by the dealer prior.
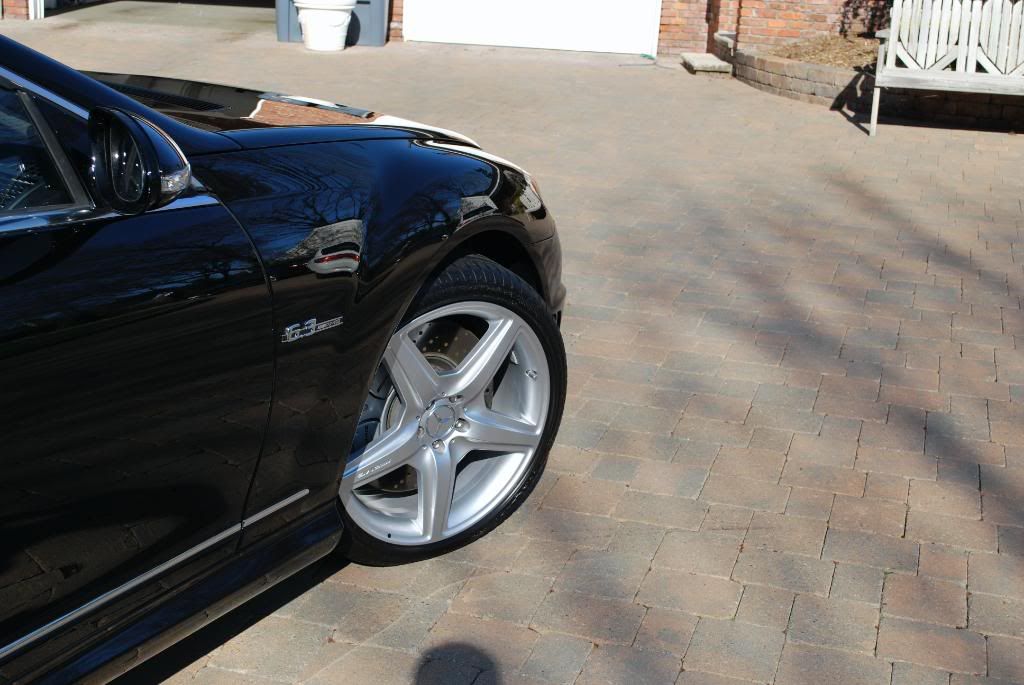
Upon arrival the car already appeared clean and the wheels were in great shape, until I saw the inners which were still filthy. I know knew what kind of "deatiler" handled the car before me so I figured I had a good amount of work ahead of me.
Enough babbling and on with the detail ;
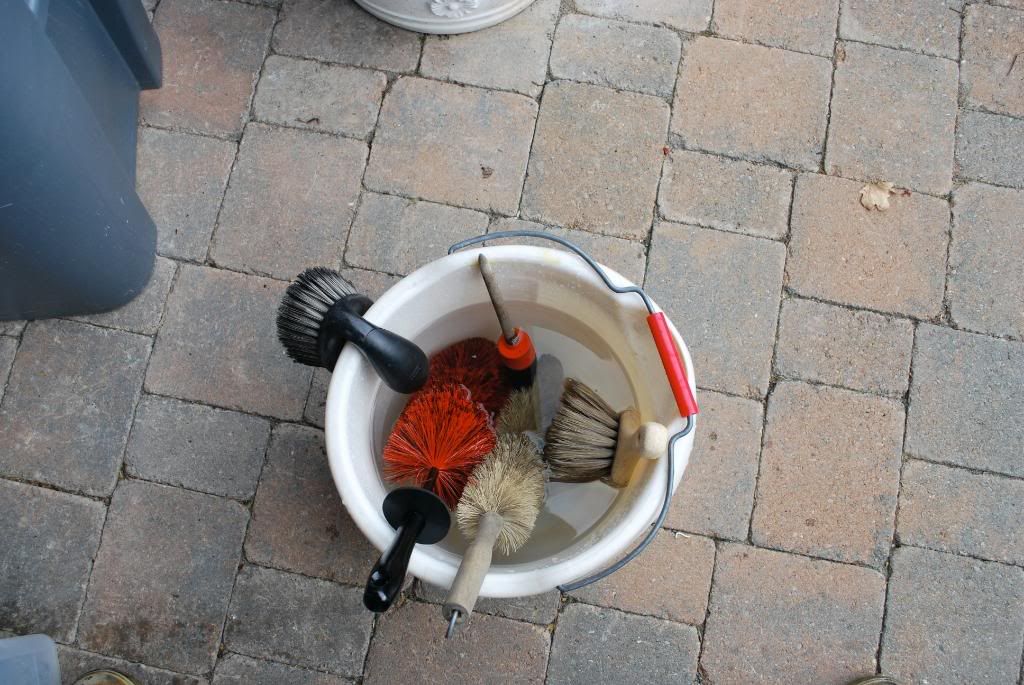
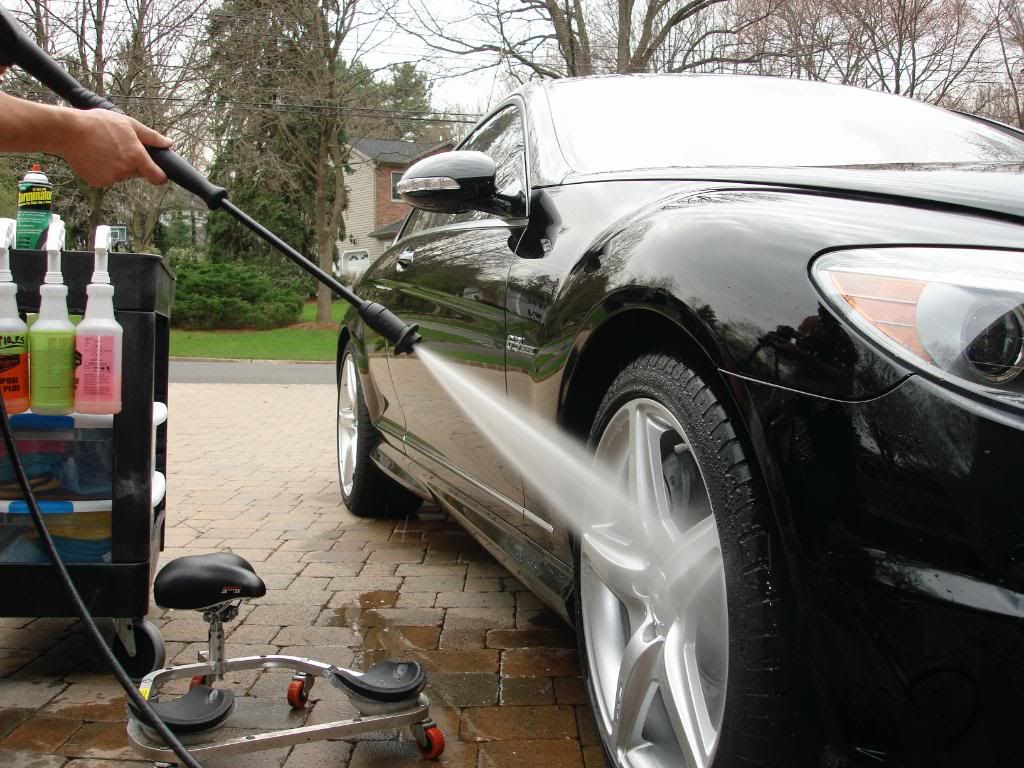
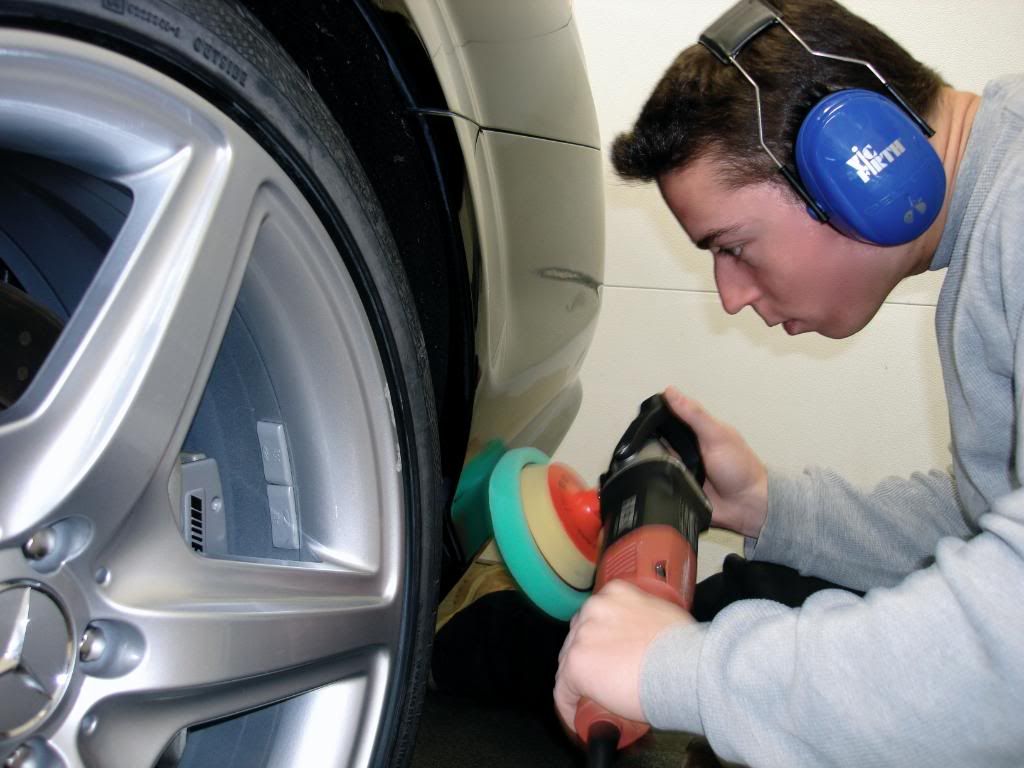
my little setup for wheel cleaning, the rubbermaid cart is really useful during the wash process
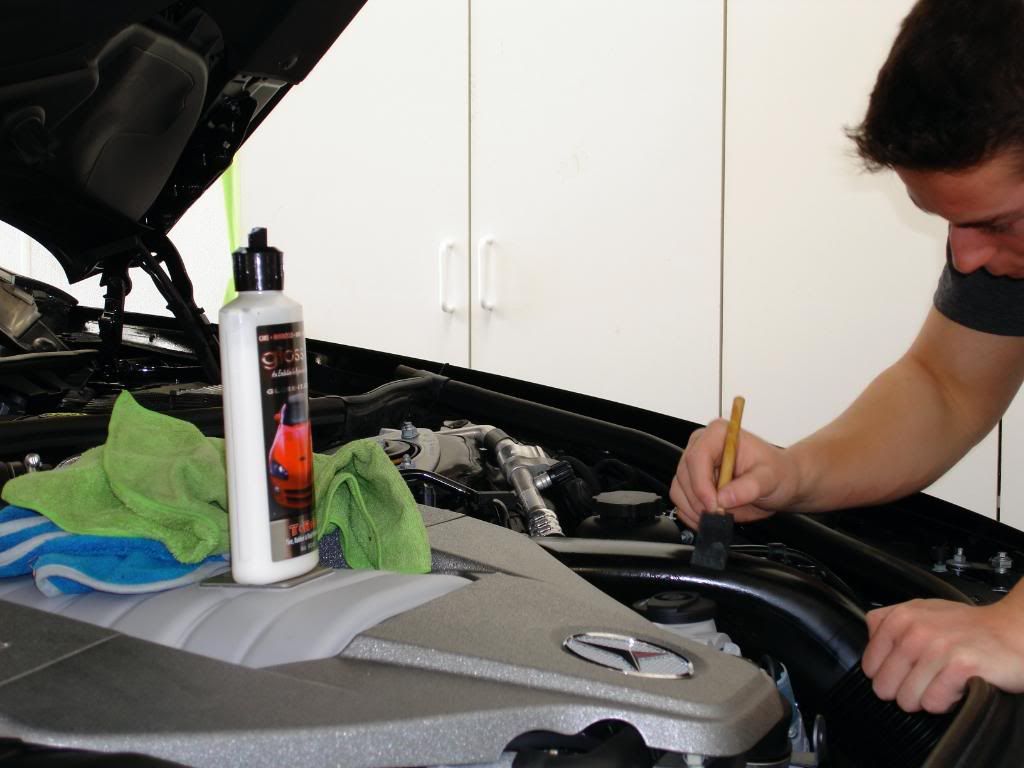
Gloss It wheel gel
Megs APC 3:1 (tires)
Stoners tarminator (tires)
Autosmart Tardis

brushes of choice
Using the new daytona wheel brush I must say I wasnt overly impressed. Yes the design is much more sturdy but the bristles seem too soft to heavier scrubbing and the "sling" problem is still very annoying, yet not many other brushes get behind the spokes and calipers as well

After a quick pre-foam I washed the car using CG CWG and the clayed with Sonus fine green clay, after the clay I did another quick wash with the CWG to strip off some of the protection layed down by Megs last touch QD which was used as clay lube
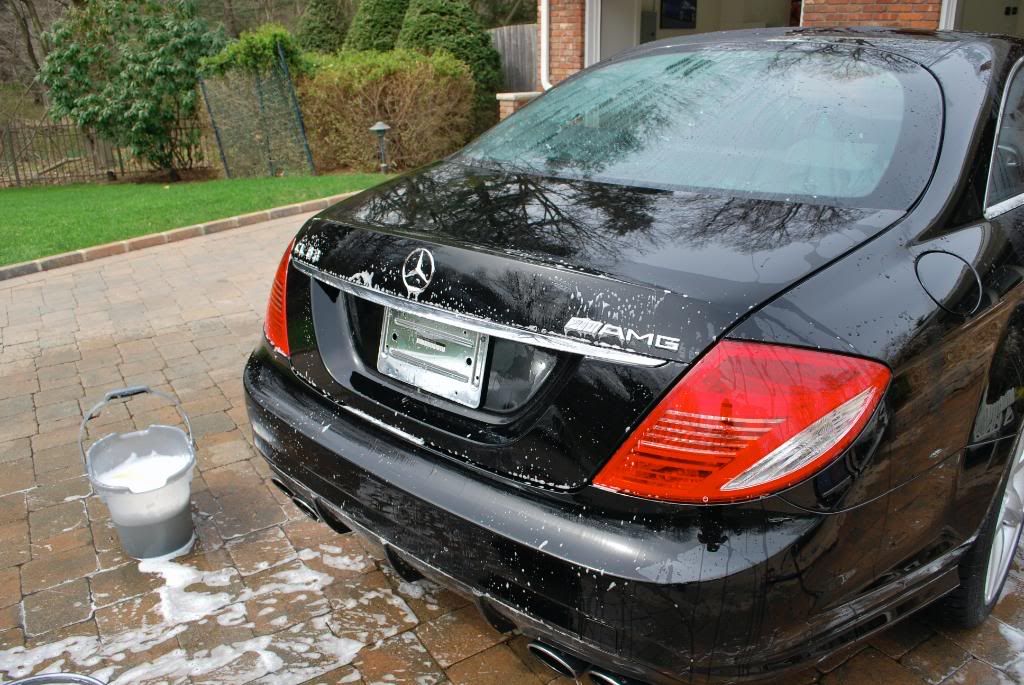
Sheeting off w/ some DI water
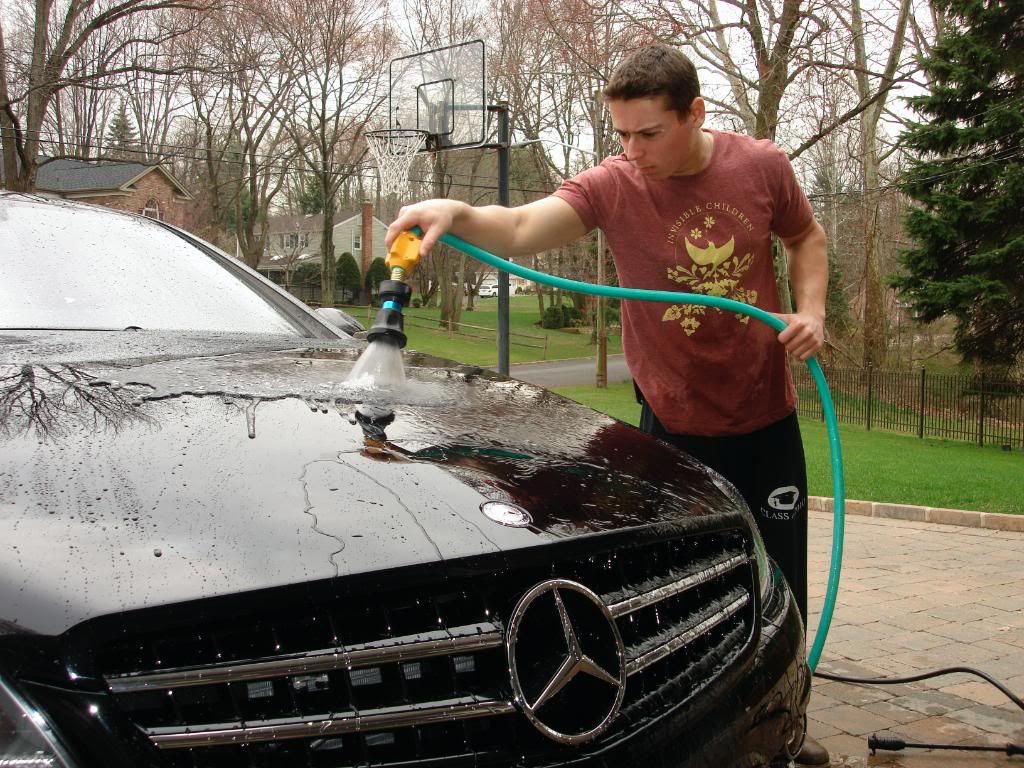
Recently began using an electric blow to aid in the drying process, works well for the mirrors and crevices but still a light wipedown with a WW is necessary to get the paint completely dry

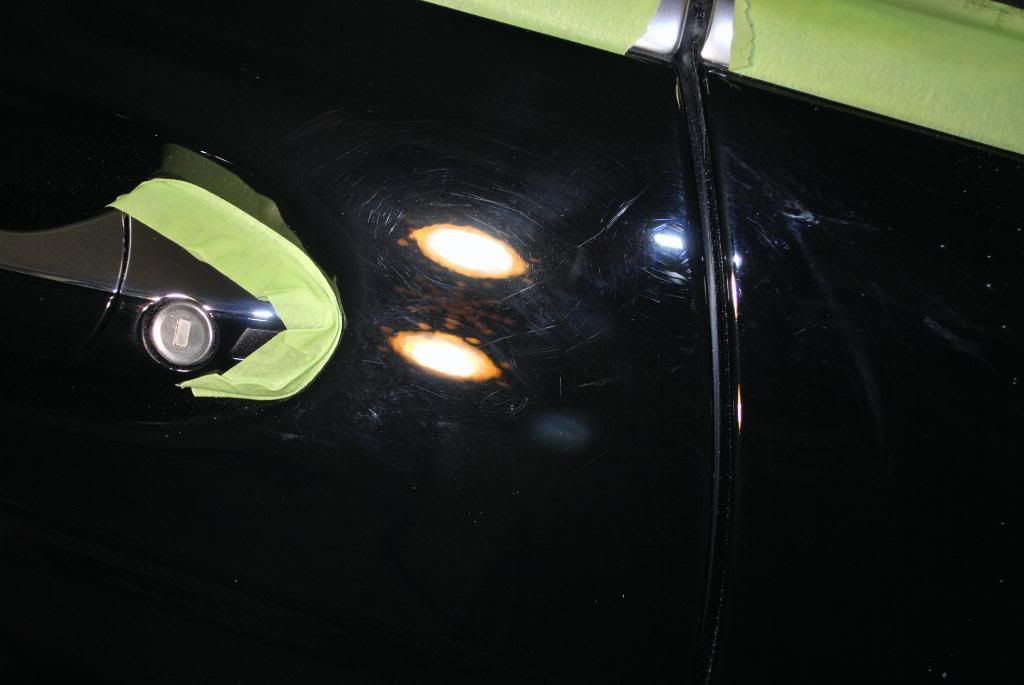
Pulled the car inside for to take some readings and see what we need for correction. Readings were very inconsistent, not suprising because I know the car was just "compounded" by another detailer... he seemed to do a fantastic job, thats why the owner needs to get it re-corrected just days later :lol:
The car didnt have a lot of fine defects, mostly just rids and scratches

After doing a test panel with a few different combos I landed on the following for correction:
Menzerna P203s w/ a Mirco Surface tuf buf black wool pad in various sizes
Gloss-It evolution Cut or P203s again w/Gloss It green polishing pad
Menzerna PO85rd w/ Gloss It blue finishing pad
The wool actually finished down pretty good ( I must thank Rick "RickRack: for pointing me to the tuf buf pads and powerfinish combo)
I wanted to get the paint to 98-100% BEFORE the jeweling stage, so later on I could work at lower speeds and really refine the finish without concentrating on further correction.
Working the power finish w/ wool

Refining the wool holos and finer swirls (Evolution Cut and GI green polishing pad)
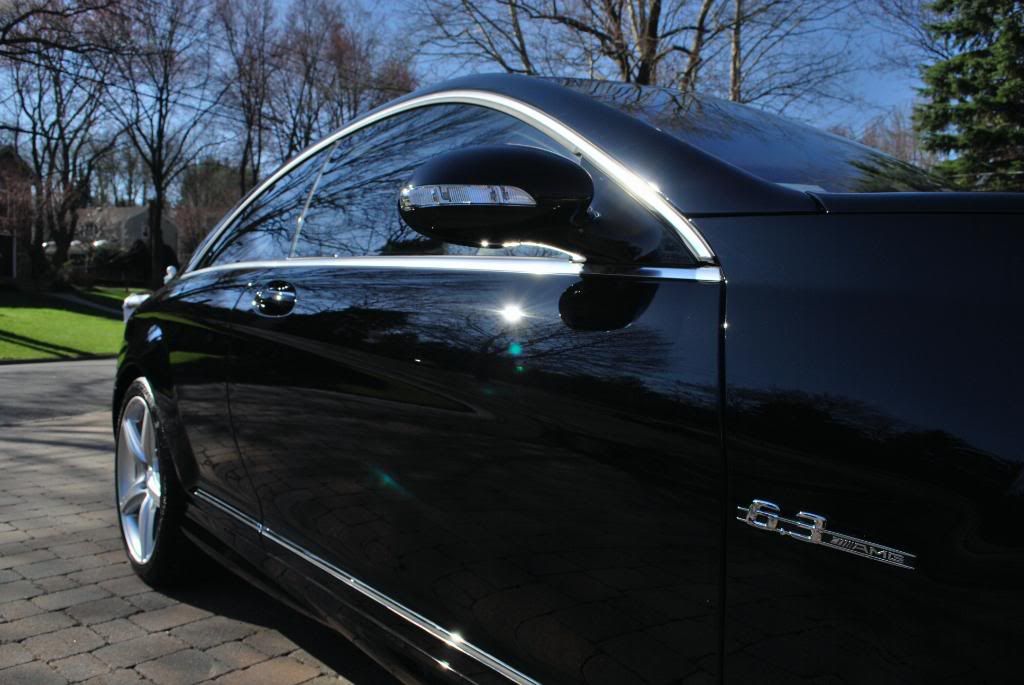
After
Before
After
50/50
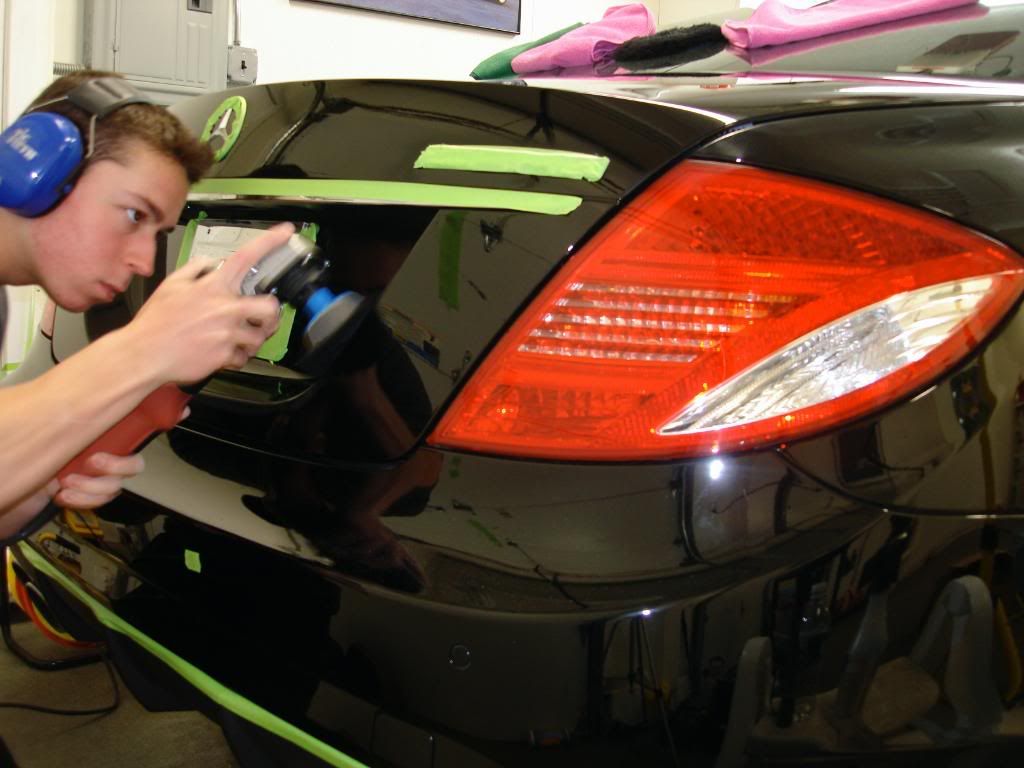
The rear decklid had some deeper RIDS which required 2 separate passes with the tuf buf wool to fully remove at 2100rpm using moderate pressure
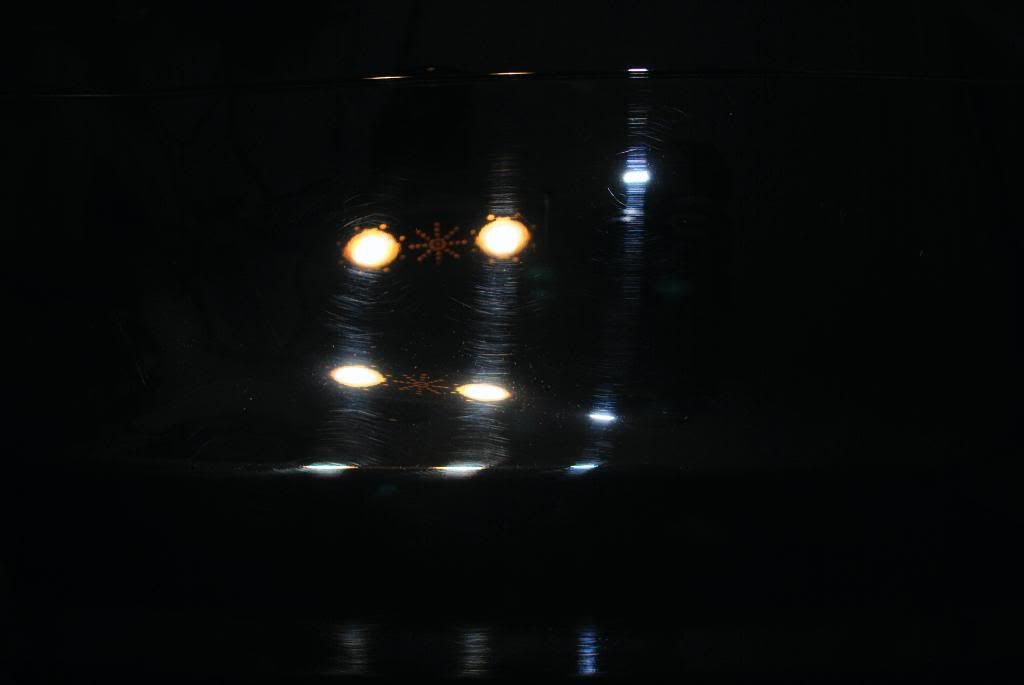
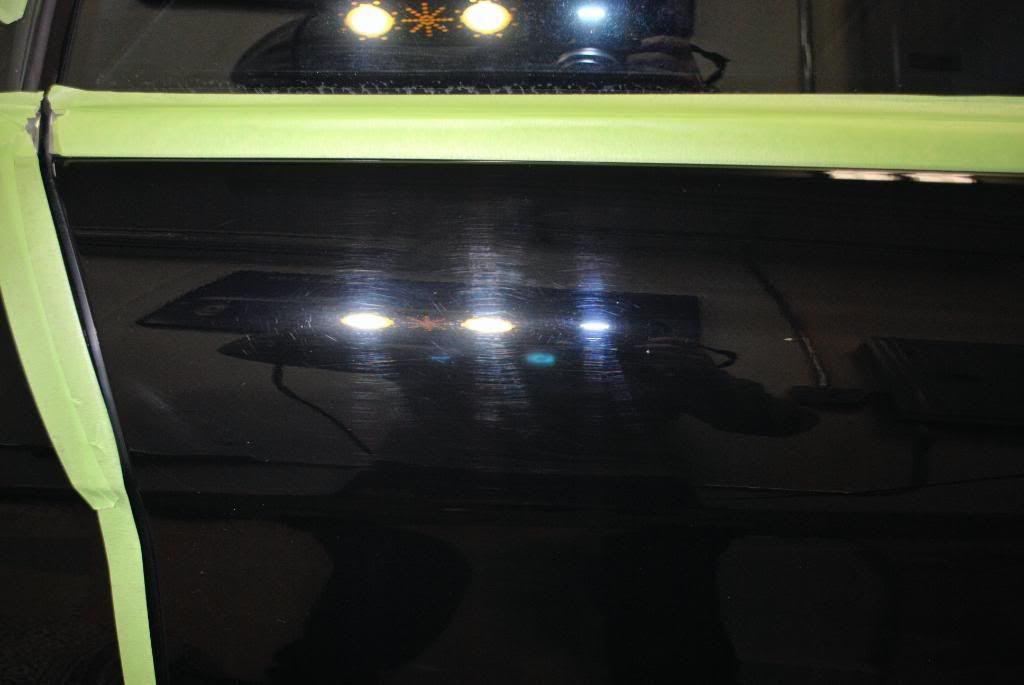
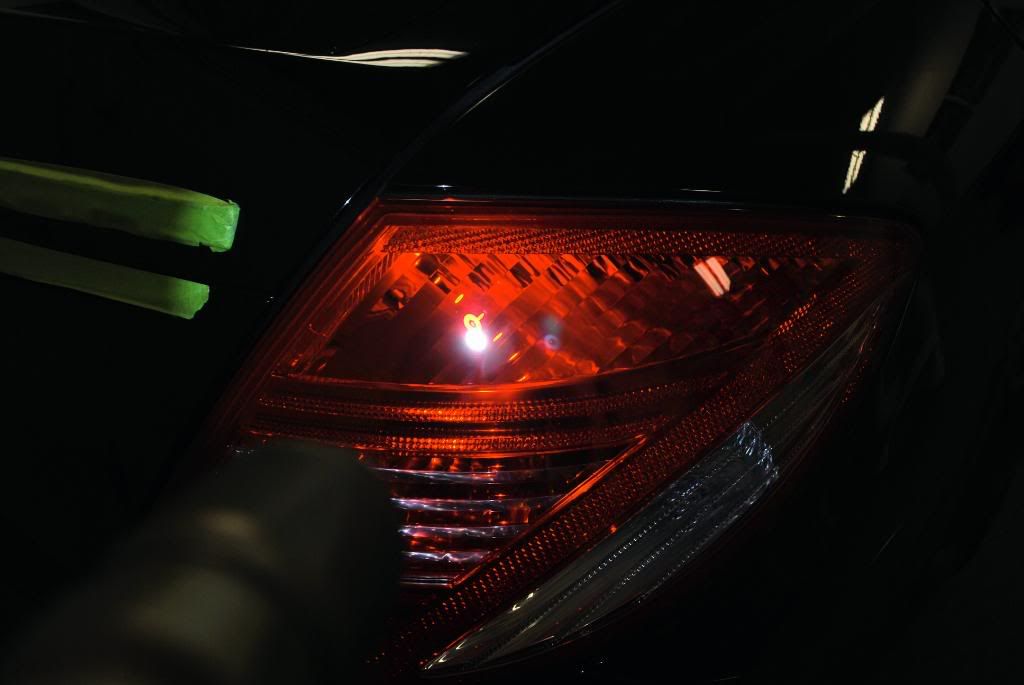
Other side corrected, this is after the wool and polishing stages, notice there are still holograms in the paint (after 85rd the holos were refined out, wait for the later sun pics as the garage was too dark to capture a clear shot)

After 85rd
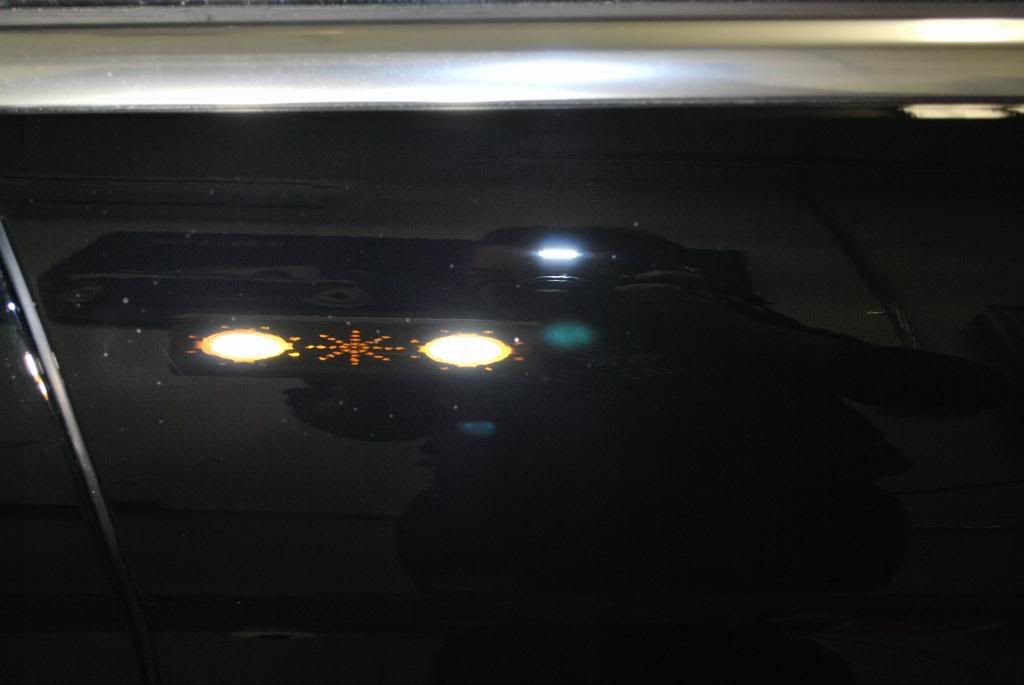
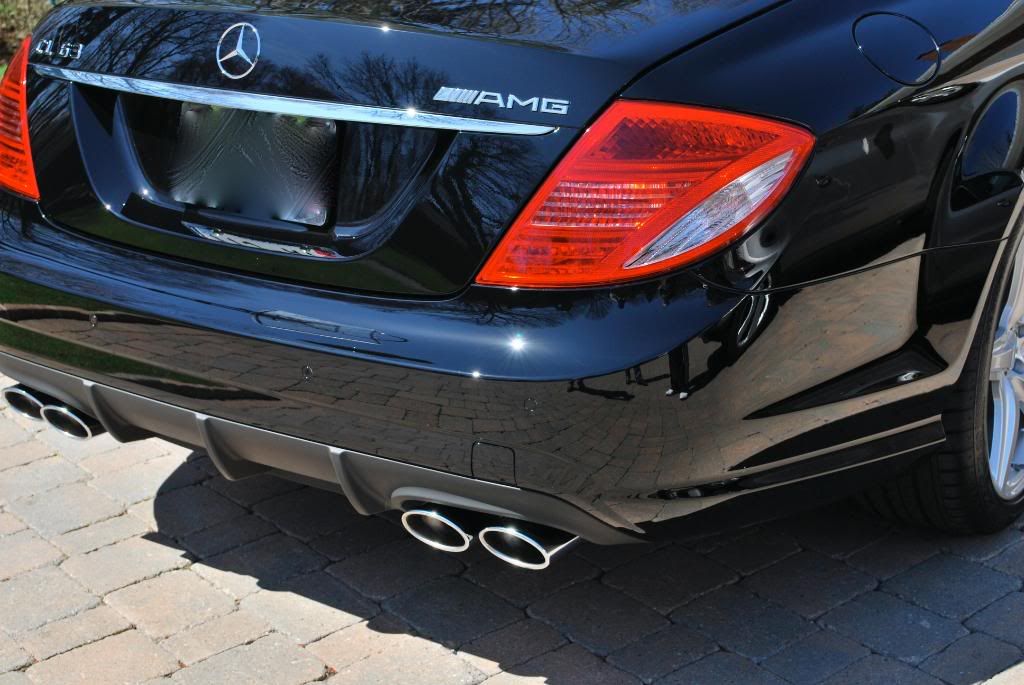
Inisde the license plate area recieved the same 3 step process as the rest of the car, the little 3" gloss-it BP and tuf buf wool pad worked great for the RIDS in tight corners
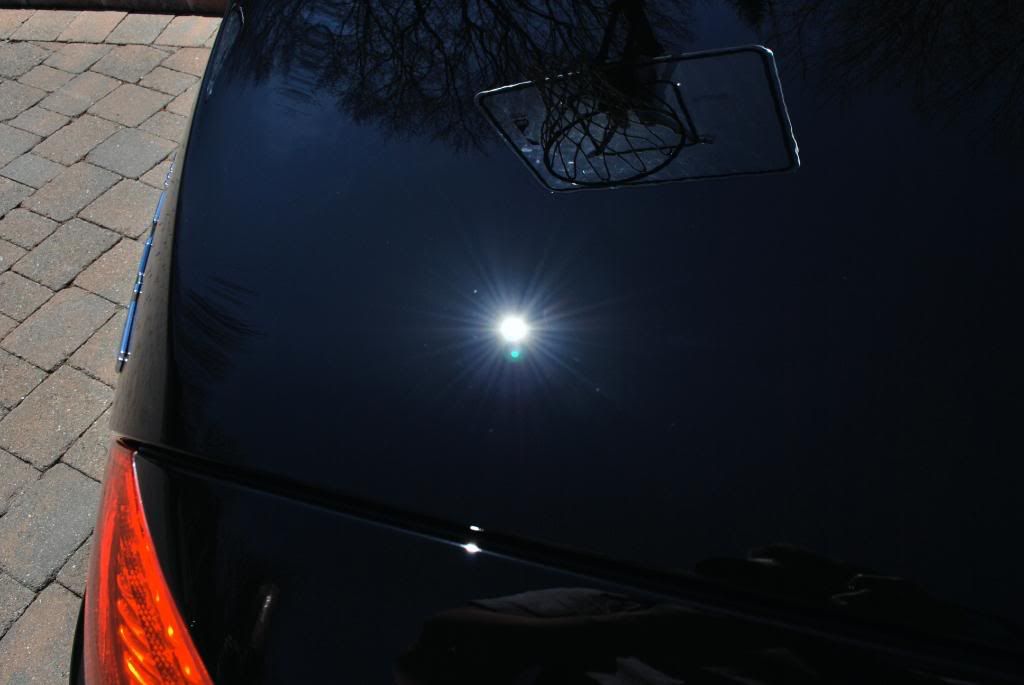
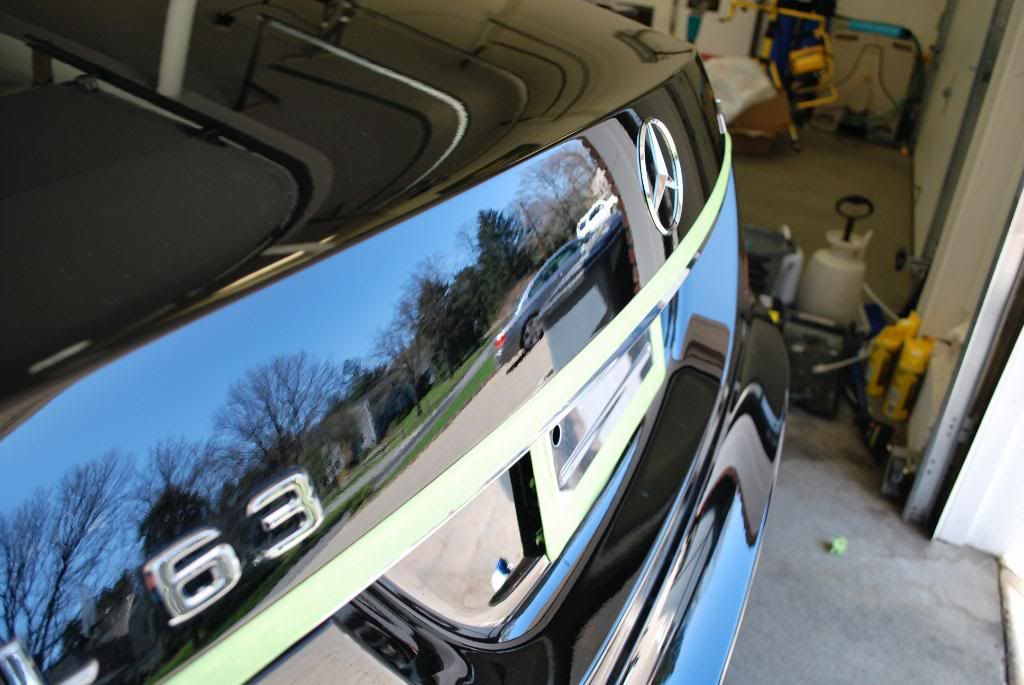
After jeweling with 85rd
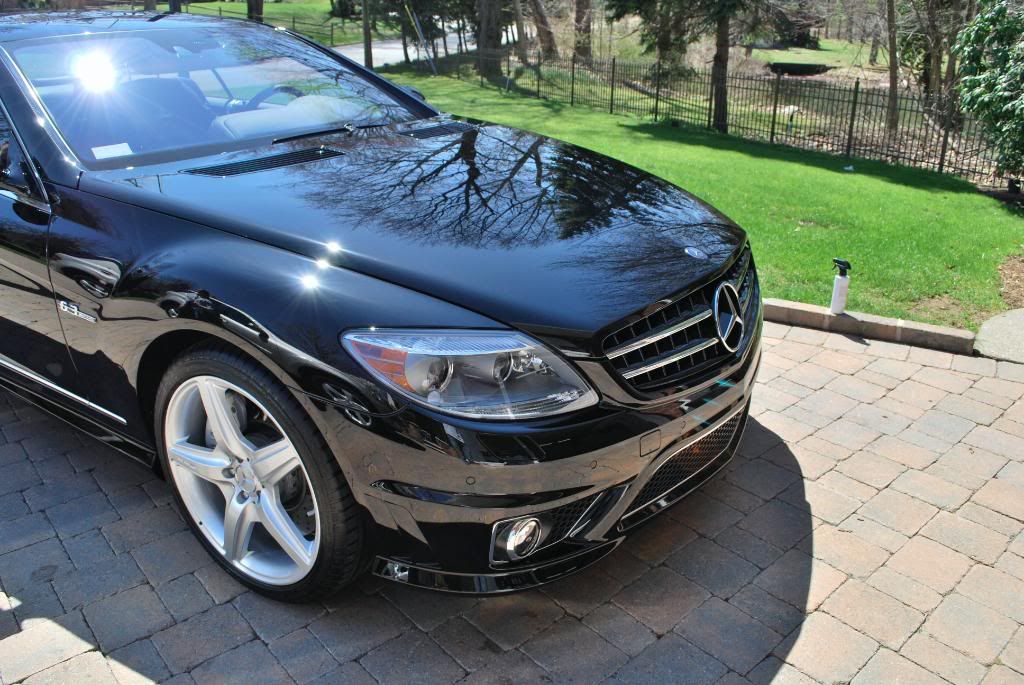
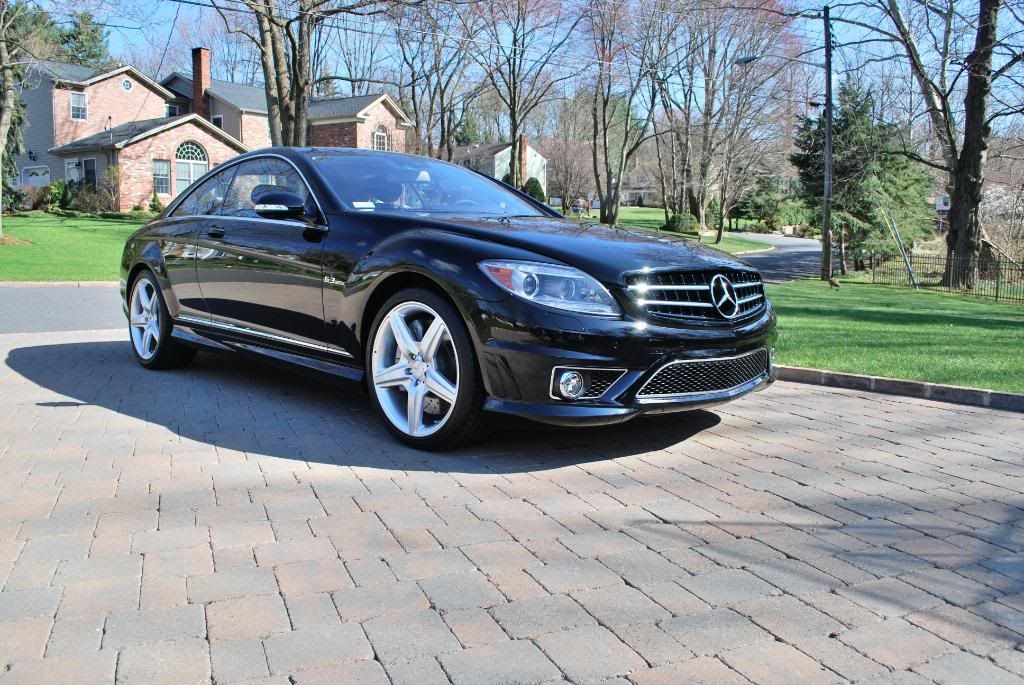
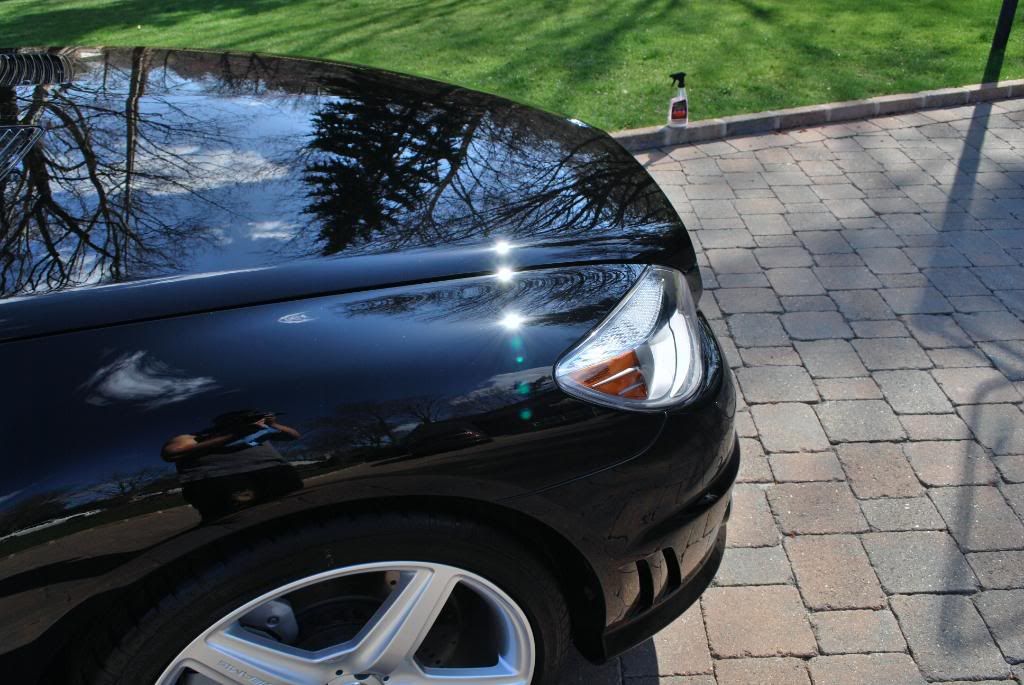
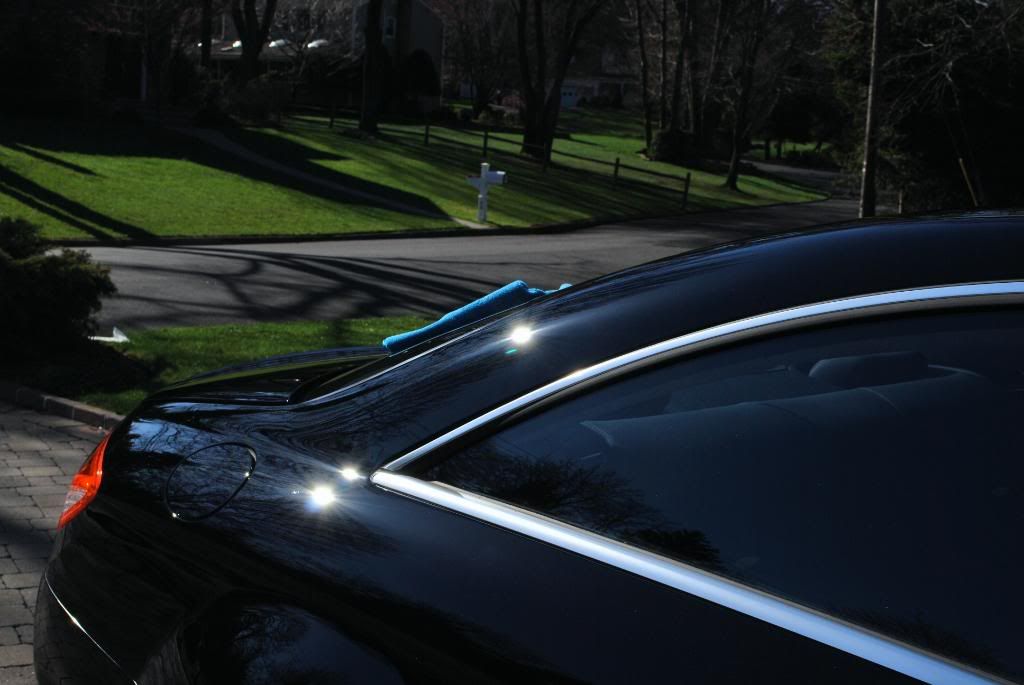
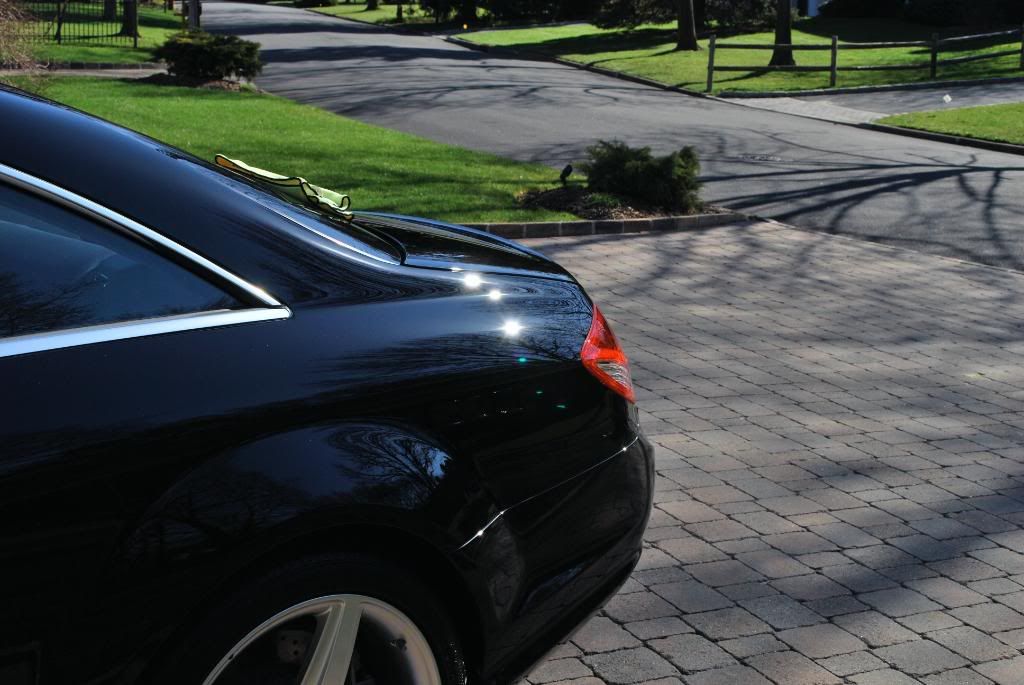
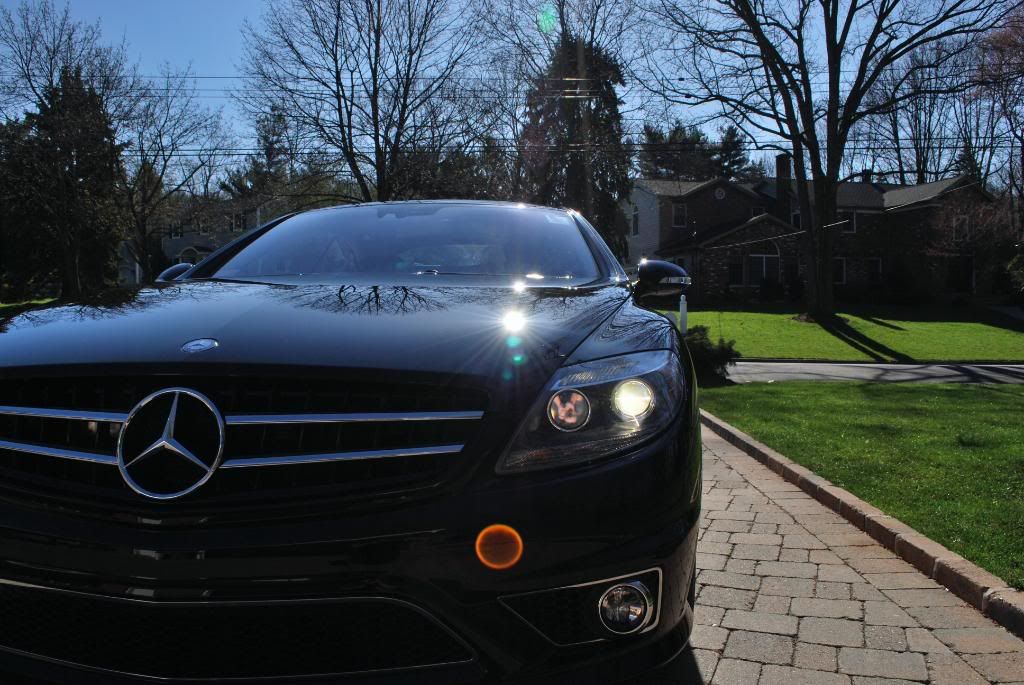
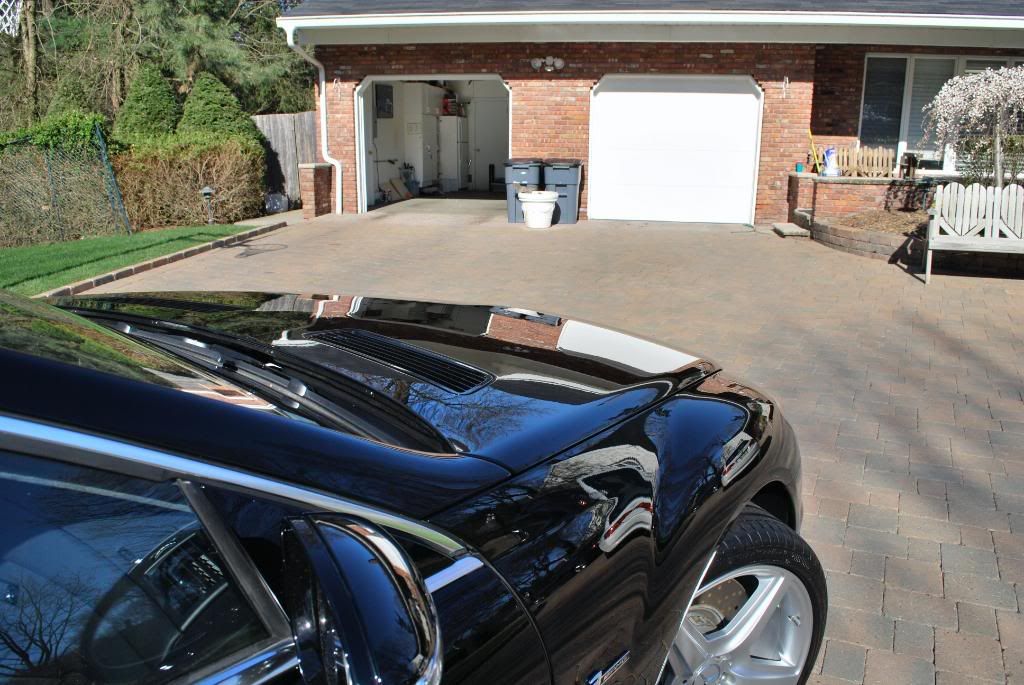
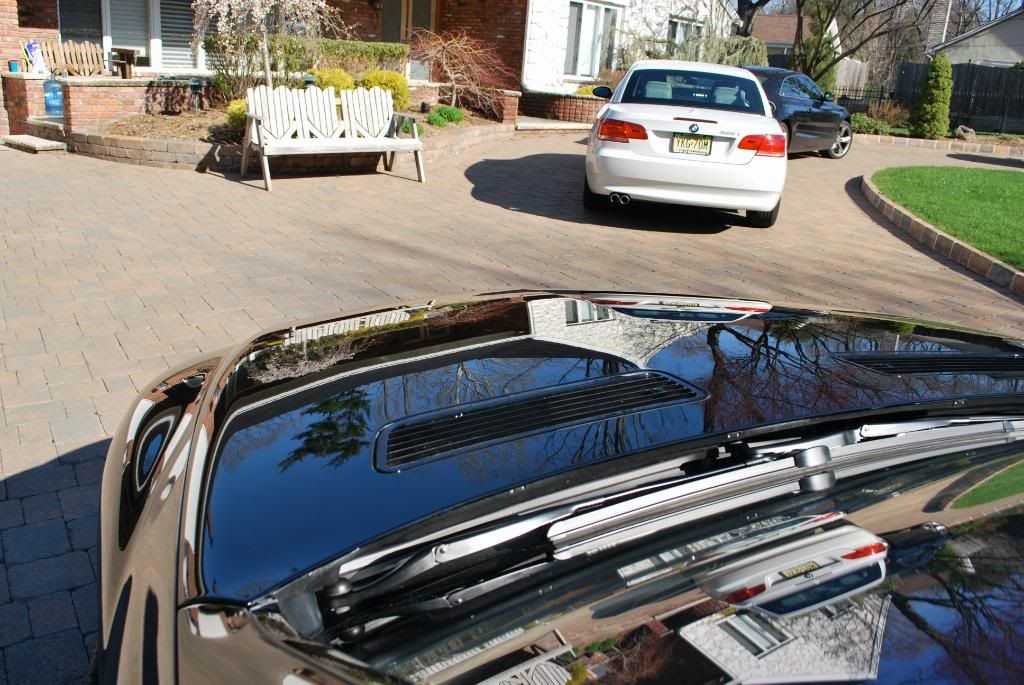
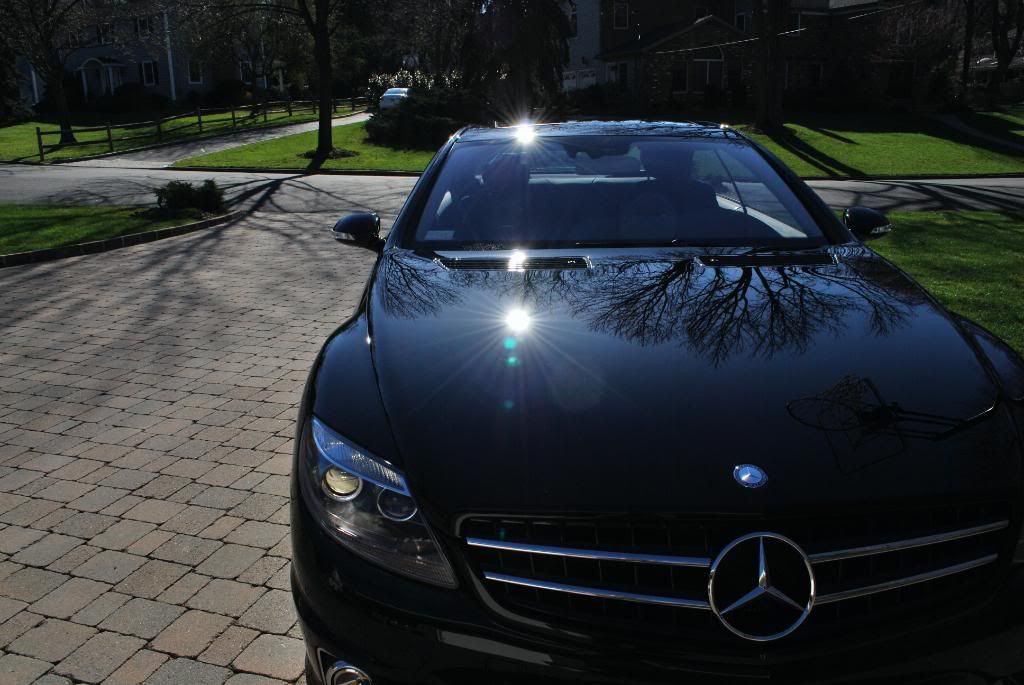
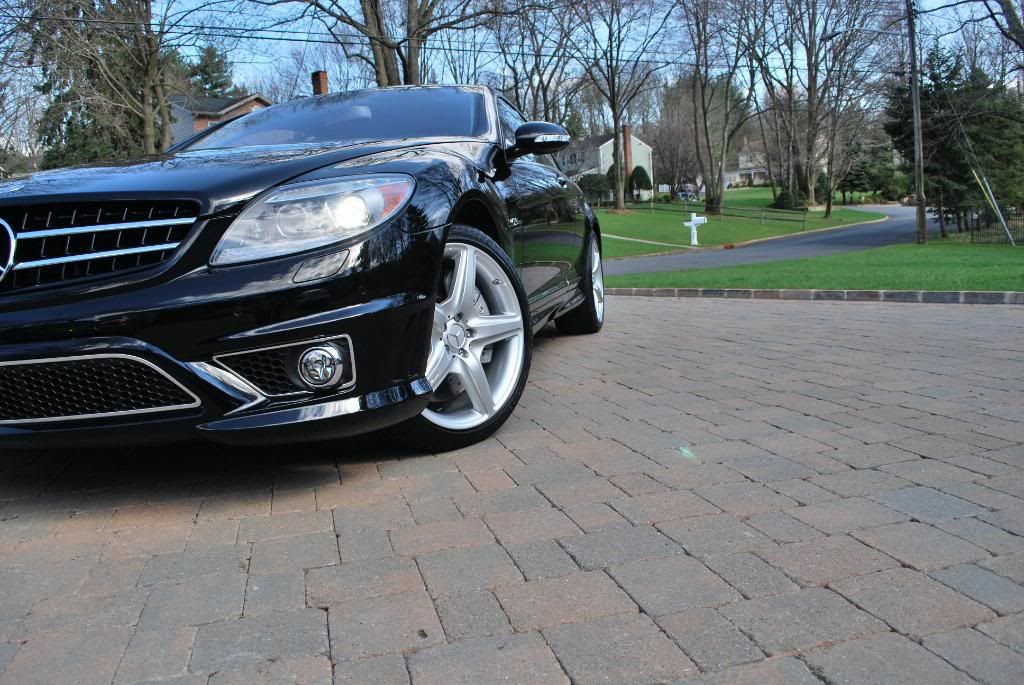
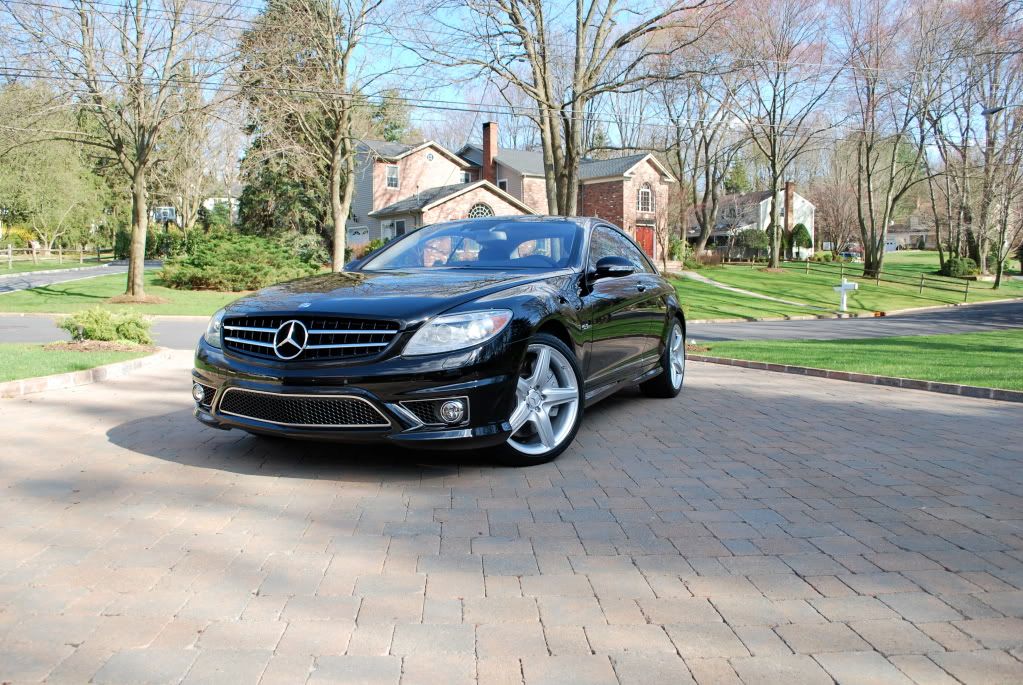
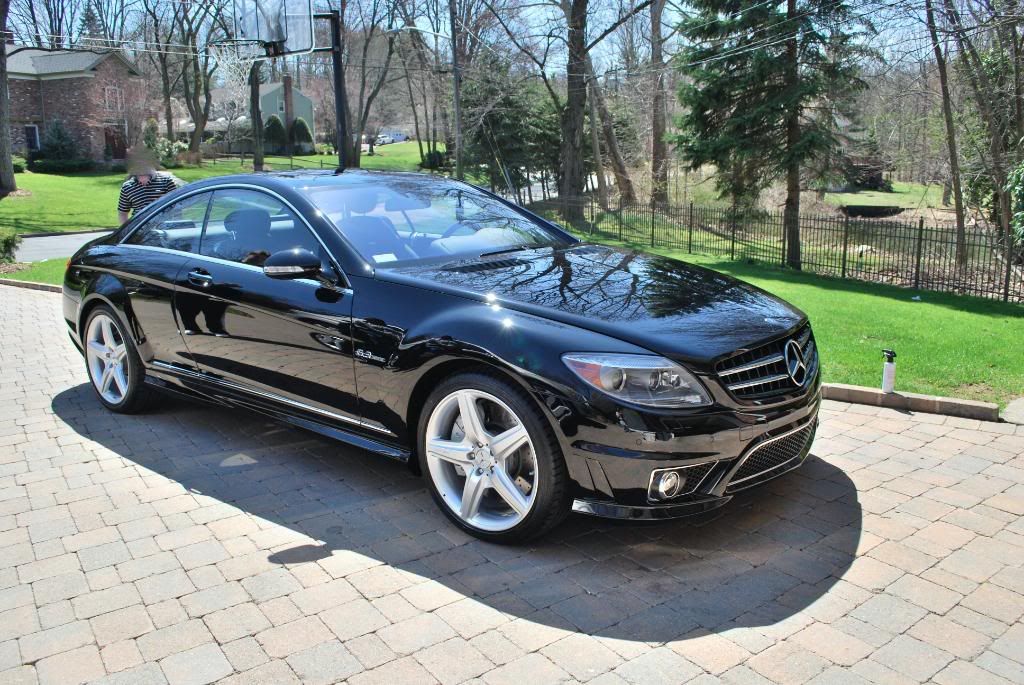
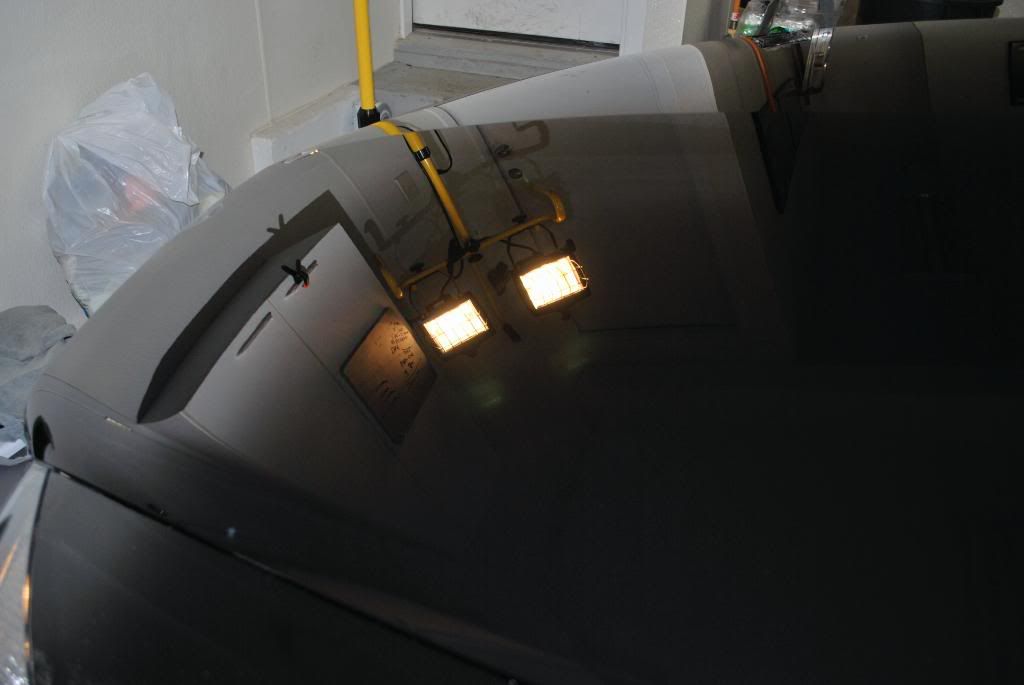
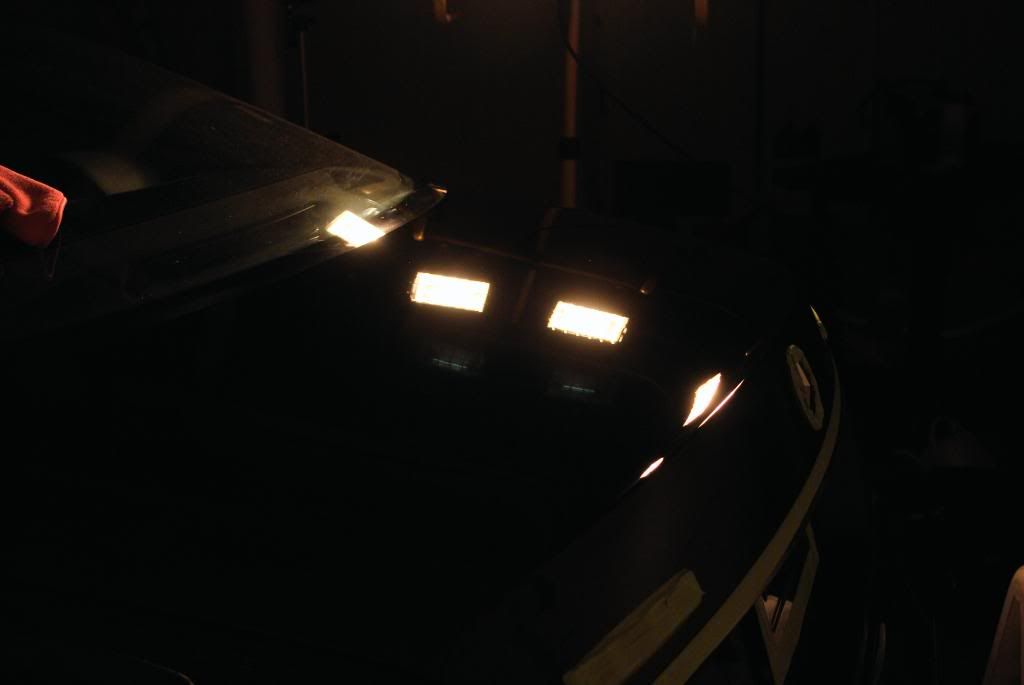
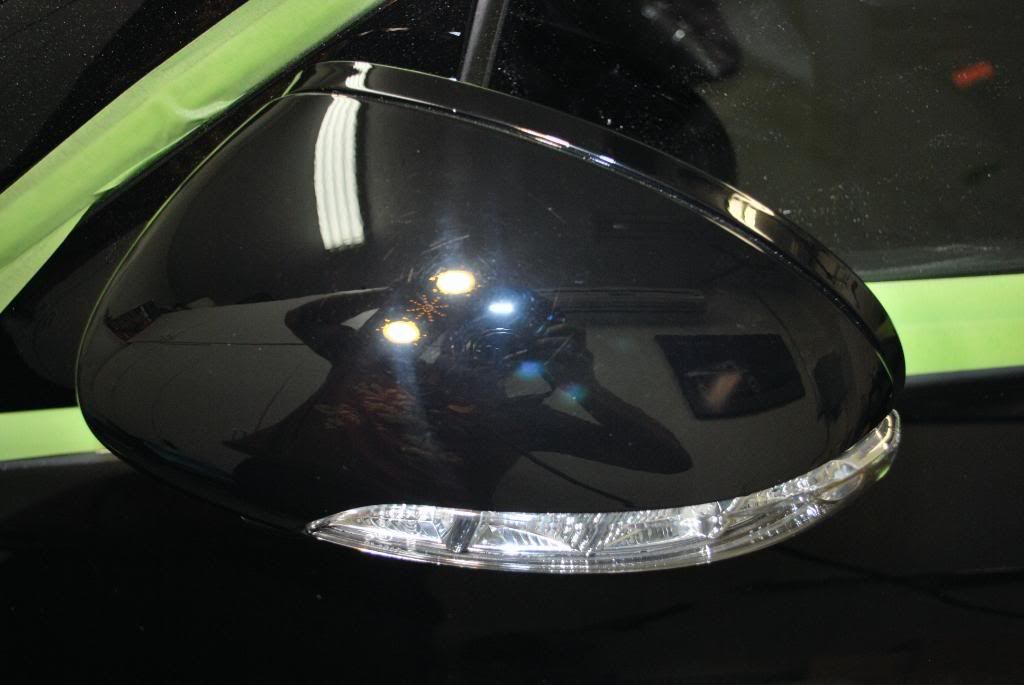
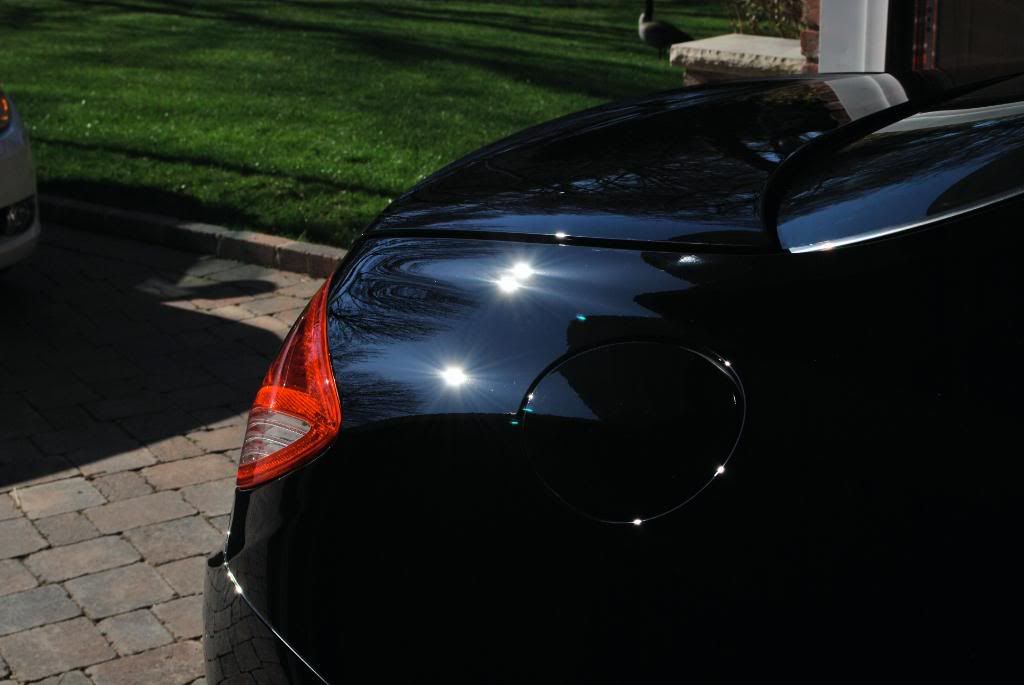
Opened up the garage in hopes to get some sun shots

A car that is only a few weeks old really shouldn't need this kind of detail yet, and the reason being?
In under a month this car was detailed TWICE before it came to me, the first time it was a botched dealer prep job and the second time was a detail (by another detailer who claims to fix swirls and scratches) to polish out the scratches put in by the dealer prior.
Upon arrival the car already appeared clean and the wheels were in great shape, until I saw the inners which were still filthy. I know knew what kind of "deatiler" handled the car before me so I figured I had a good amount of work ahead of me.
Enough babbling and on with the detail ;
my little setup for wheel cleaning, the rubbermaid cart is really useful during the wash process
Gloss It wheel gel
Megs APC 3:1 (tires)
Stoners tarminator (tires)
Autosmart Tardis
brushes of choice
Using the new daytona wheel brush I must say I wasnt overly impressed. Yes the design is much more sturdy but the bristles seem too soft to heavier scrubbing and the "sling" problem is still very annoying, yet not many other brushes get behind the spokes and calipers as well
After a quick pre-foam I washed the car using CG CWG and the clayed with Sonus fine green clay, after the clay I did another quick wash with the CWG to strip off some of the protection layed down by Megs last touch QD which was used as clay lube
Sheeting off w/ some DI water
Recently began using an electric blow to aid in the drying process, works well for the mirrors and crevices but still a light wipedown with a WW is necessary to get the paint completely dry
Pulled the car inside for to take some readings and see what we need for correction. Readings were very inconsistent, not suprising because I know the car was just "compounded" by another detailer... he seemed to do a fantastic job, thats why the owner needs to get it re-corrected just days later :lol:
The car didnt have a lot of fine defects, mostly just rids and scratches
After doing a test panel with a few different combos I landed on the following for correction:
Menzerna P203s w/ a Mirco Surface tuf buf black wool pad in various sizes
Gloss-It evolution Cut or P203s again w/Gloss It green polishing pad
Menzerna PO85rd w/ Gloss It blue finishing pad
The wool actually finished down pretty good ( I must thank Rick "RickRack: for pointing me to the tuf buf pads and powerfinish combo)
I wanted to get the paint to 98-100% BEFORE the jeweling stage, so later on I could work at lower speeds and really refine the finish without concentrating on further correction.
Working the power finish w/ wool
Refining the wool holos and finer swirls (Evolution Cut and GI green polishing pad)
After
Before
After
50/50
The rear decklid had some deeper RIDS which required 2 separate passes with the tuf buf wool to fully remove at 2100rpm using moderate pressure
Other side corrected, this is after the wool and polishing stages, notice there are still holograms in the paint (after 85rd the holos were refined out, wait for the later sun pics as the garage was too dark to capture a clear shot)
After 85rd
Inisde the license plate area recieved the same 3 step process as the rest of the car, the little 3" gloss-it BP and tuf buf wool pad worked great for the RIDS in tight corners
After jeweling with 85rd
Opened up the garage in hopes to get some sun shots


")