Black Infiniti I30 bumper repair & detail

Rickrack

New member
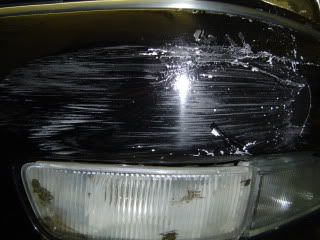
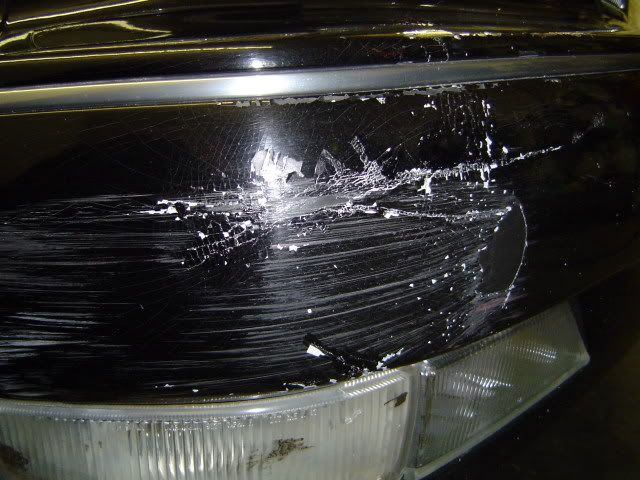
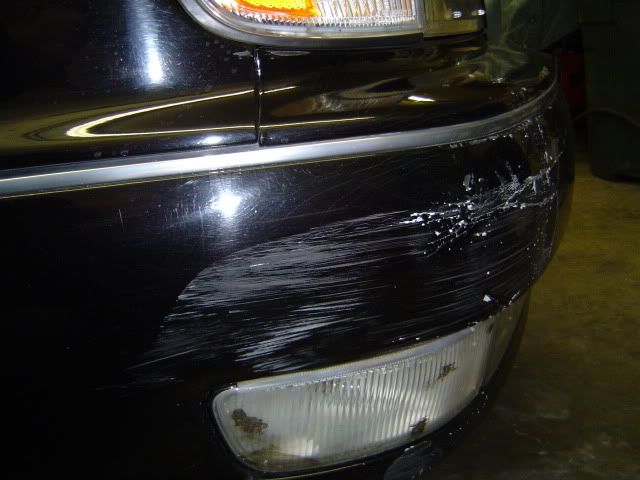
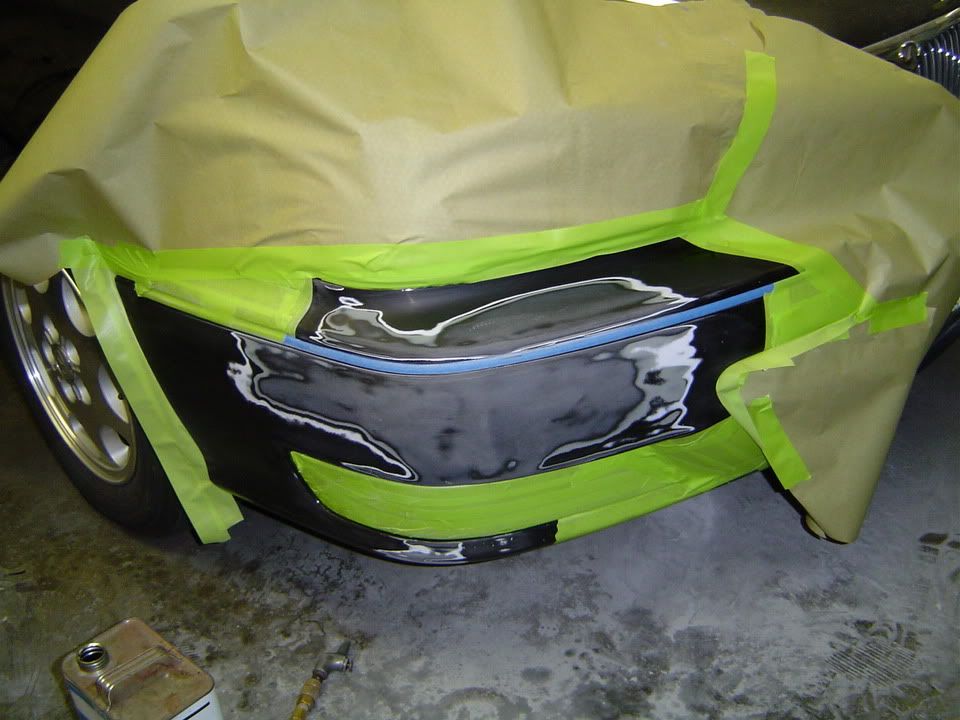
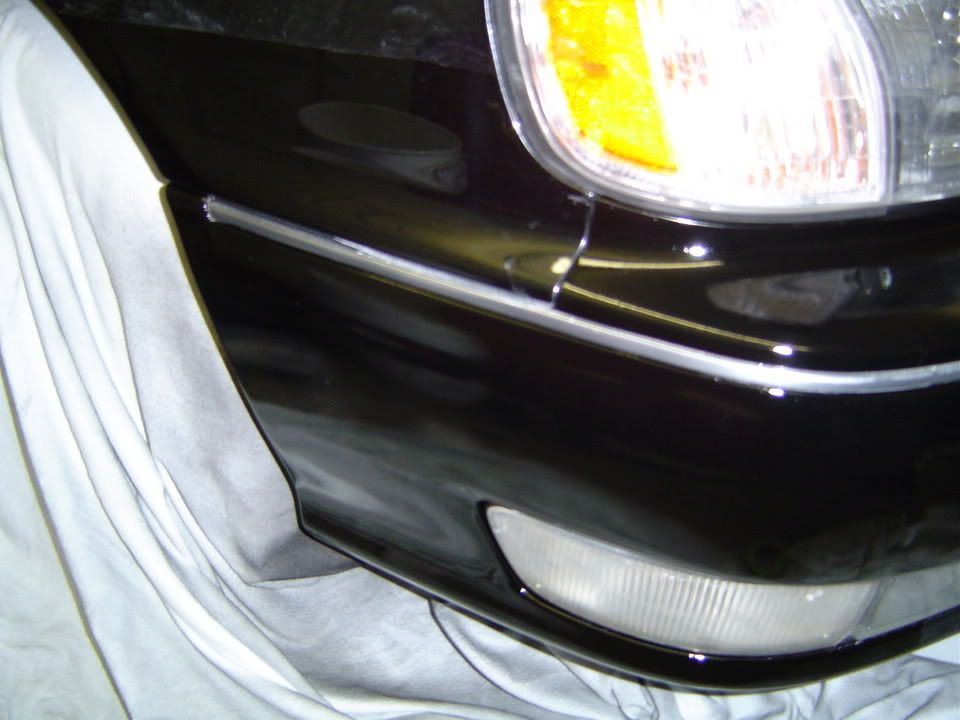
This car belongs to one of my best customers. I have been detailing this car ever since it was new. A couple months back, the owner scraped the corner of the bumper on a cement wall which severely chipped and spidered the paint. He asked me to do the best I could and repair the bumper good enough until the spring when he has the money to get it repainted by a body shop. I told him that I would do my best and that I am "just a detailer" so don't expect too much.


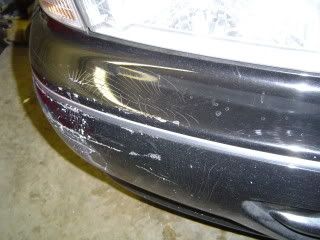
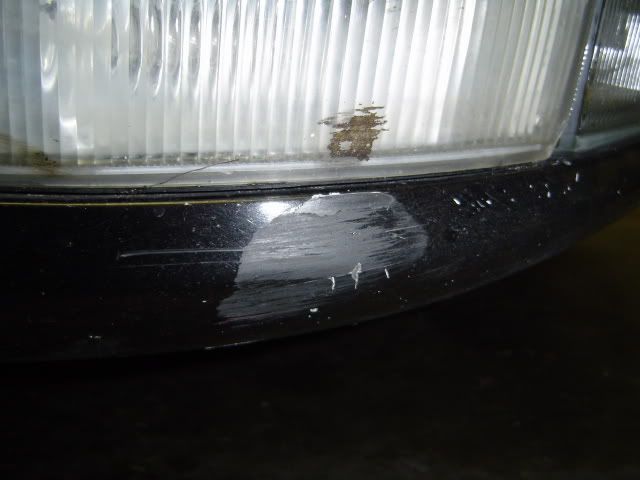
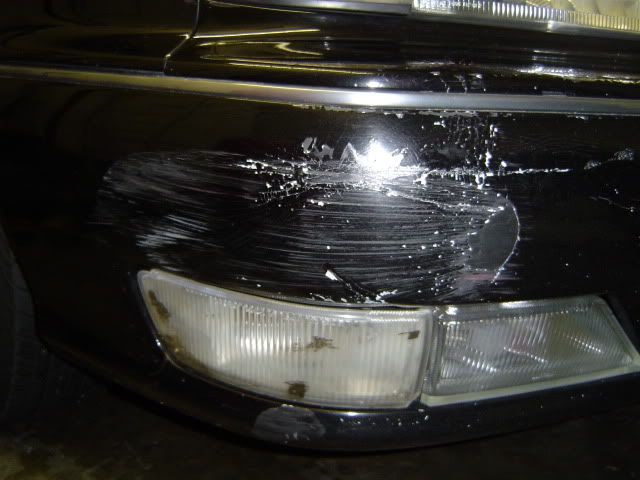
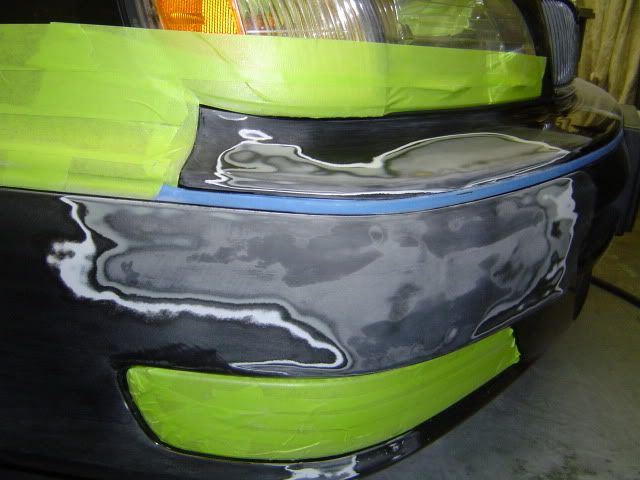
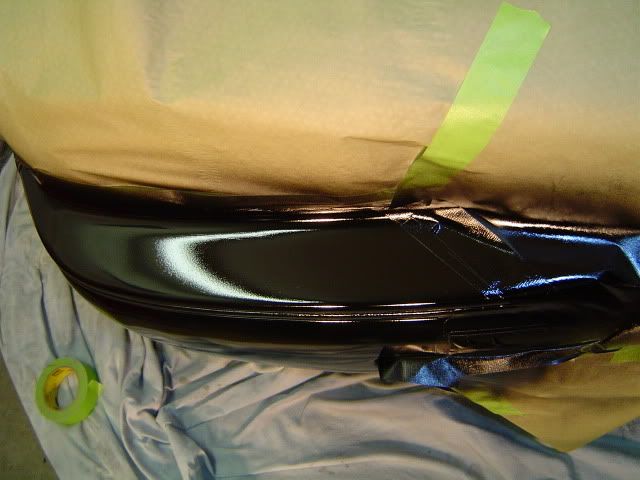
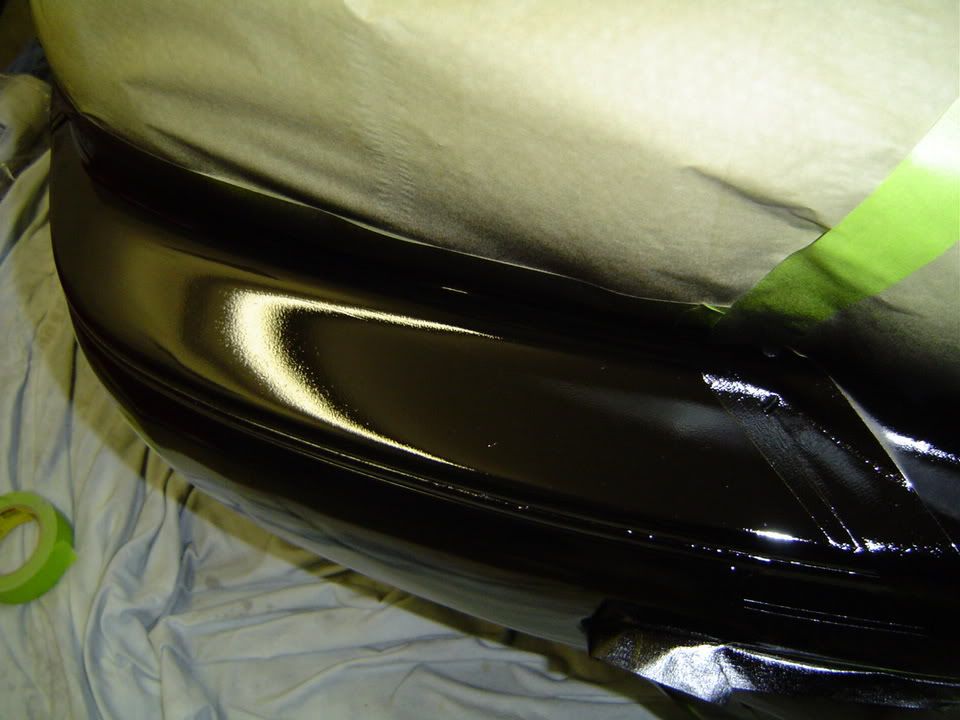
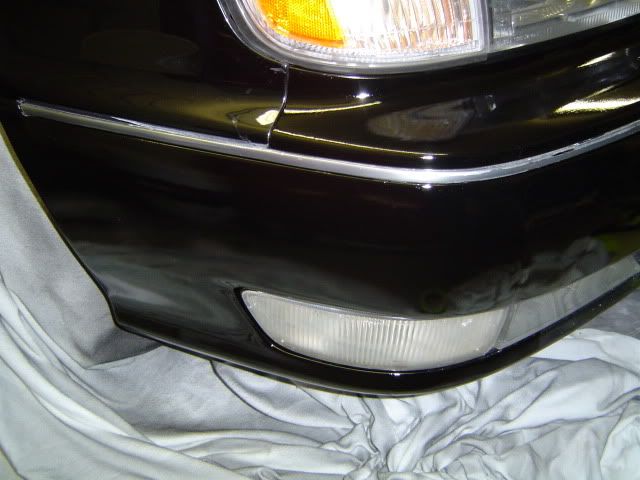
Here are some before pictures of the damage. I will post up some during/after pictures as well as my process in a bit.


84b5c063.jpg


4b27d1e6.jpg


afff7ec7.jpg


95d78369.jpg


bf24d542.jpg


b6460e11.jpg


a609fd45.jpg


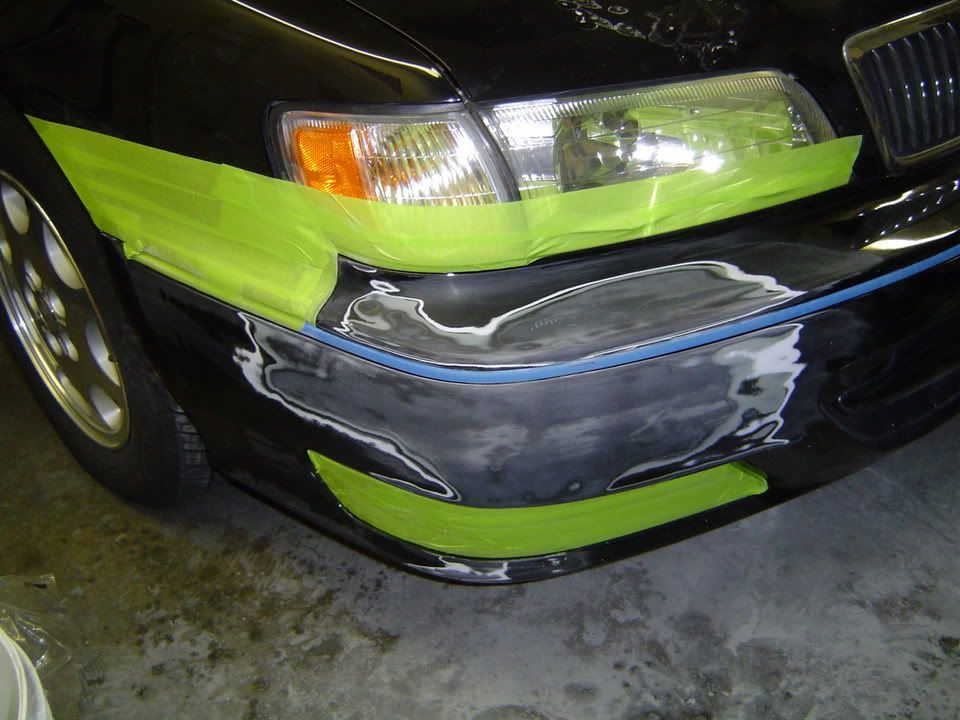
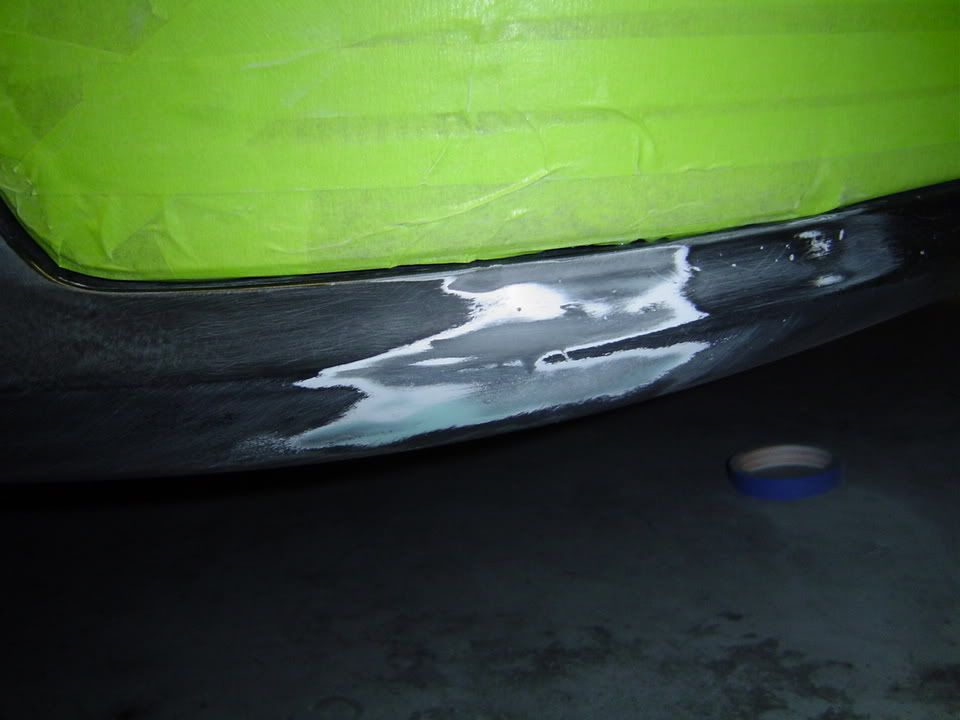
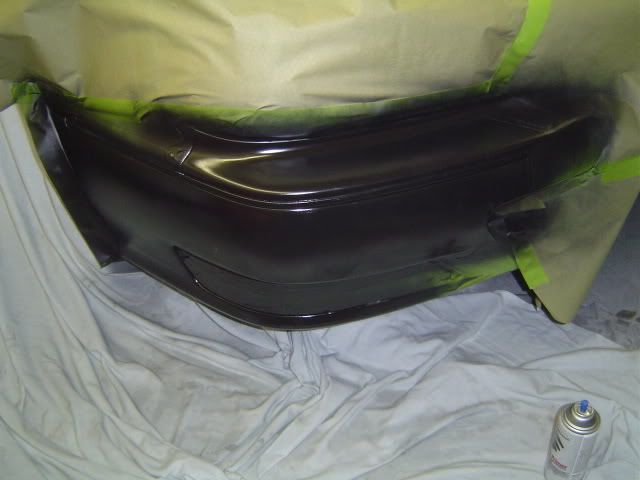
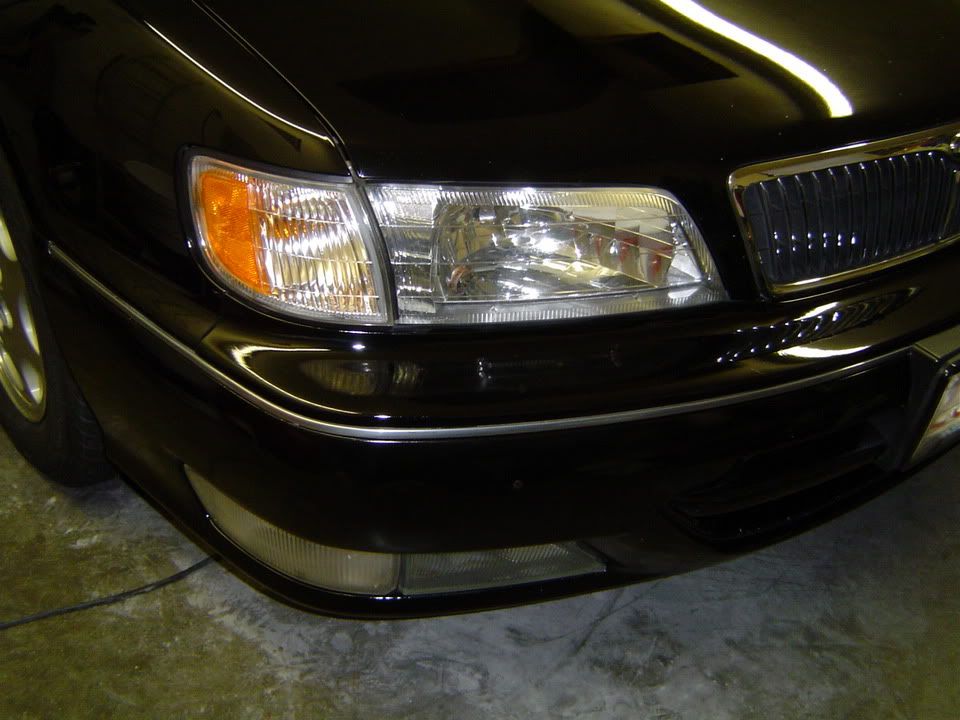
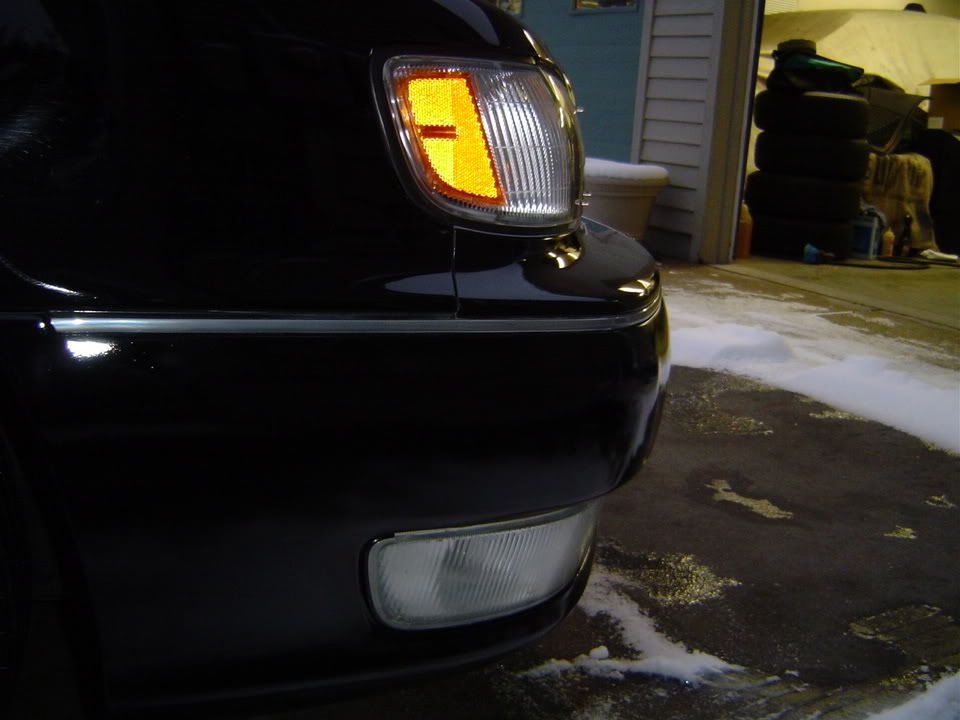
More pictures to follow......
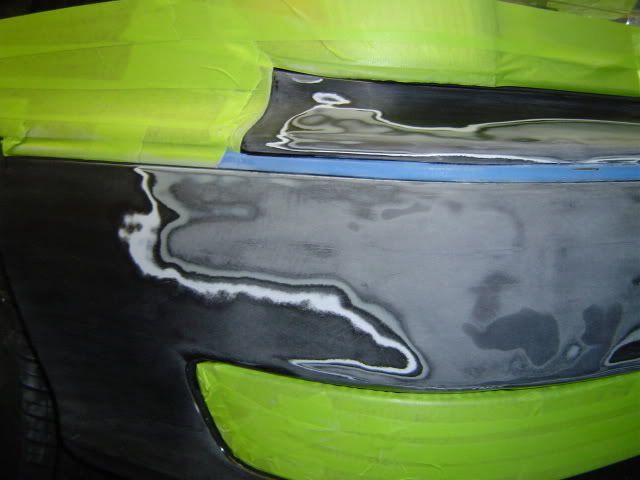
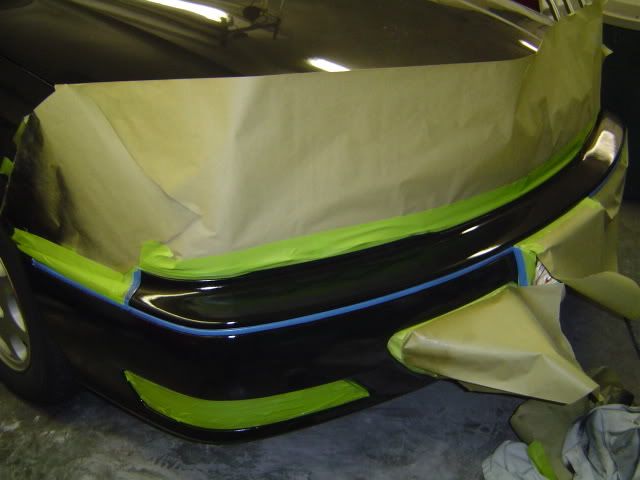
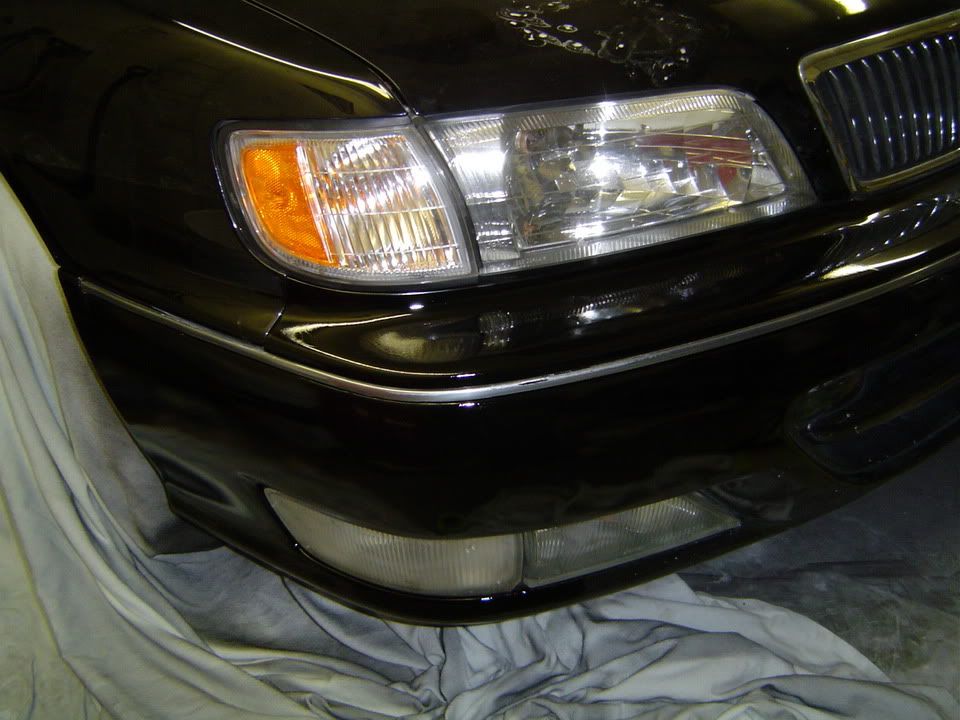
 
Well to start, I masked of all areas that I didn't want to scuff while sanding such as the headlights, foglights, grill and the chrome strip that runs along the bumper. To sand down the bumper I used a DA sander which is what body shops use to sand down paint with. I sanded right down to the fiberglass in the area that was damaged and feathered it out as I got farther away from the damaged area so I didn't have to sand the entire bumper. After sanding down the area needed, I wetsanded over it with 1500 grit sandpaper to remove any sanding marks fromthe DA.


Here are the pictures after prepping it for the first coat of primer.


5e27a6b0.jpg


be86da4e.jpg


b2bdf386.jpg


b908478a.jpg


fa74cd67.jpg


Next I will post up pictures during the priming/painting/clearcoat process.
 
Rick this is looking amazing so far, hope all this comes out well!! I have yet to give a call to that shop yet but I will do and probably make a drive there tomorrow :2thumbs:
 
hadboosttroy said:
looking forward to the rest!!!!


as am I!!


If you are only a detailer I must rename myself. I applaud your bravado. :hifive:


Look forward to seeeing the process in pictures.
 
Now that the bumper is all sanded down, it is ready for primer. Before priming I blew off all the dust with an air nozzle and wiped down the bumper with prep-sol to remove any silicone, wax, oils & dirt which will cause defects in the paint.


Here is a picture after 3 coats of primer.


486ed1cf.jpg


Here are pictures after 2 coats of paint, but before the clear coat.


09b12fd9.jpg


2eb20b30.jpg


After the paint was laid down and dried overnight, I lightly sanded down the area I painted as well as the top piece of the bumper on the side which had no damage. The reason why I did this is so there would be no tape lines and I didn't have to paint the entire piece with paint, only clear.


Here is a picture after 2 coats of clear coat.


859fd880.jpg


After pictures are up next....
 
Here are a few pictures after I was done clearing, but before I compounded and polished out the painted areas.


7899e22a.jpg


ed0e1dea.jpg


50baf3c7.jpg


Here are the pictures of the finished product after compounding and polishing it out.

It was dark out when I took the pictures, but you get an idea of how it came out. There was some slight OP, but I didn't want to take a chance and try to wetsand it because it was so fresh and could've ruined the whole thing. Definitely didn't want that :scared:


779ff491.jpg


5854976d.jpg


All in all it came out pretty good for an amateur.
 
Holy crap you have "skilz"!!!!! Did you spray bomb or use a gun? Froma what we can see in the pics so far it looks excellent!!!
 
and this was all done with a spray can?


Nice job of taping. Can only imagine that this is going to be turning into a miracle worker status coming out of a detail shop. i really like the way this is going :xyxthumbs


No matter what it looks like as far as OP the end result is just amazing to me. the owner should be ecstatic with what you have done :hifive:
 
Alright so where did you get the new fender? What a quick find!


This is absolutely amazing. Your........... I dont know im speachless!!

WOW WOW WOW :woohoo:
 
LightngSVT said:
Holy crap you have "skilz"!!!!! Did you spray bomb or use a gun? Froma what we can see in the pics so far it looks excellent!!!


All this was done with spray bombs. I got Dupli-color sandable primer, Dupli-color acrylic lacquer paint and Dupli-color clear laquer. I got all the supplies at a local Auto Zone.


Basically after the first coat of primer I let it sit for 10 minutes before I added another coat. After 3 coats, I let it cure for a half hour and started the 1st coat of paint, which I used the same rule of thumb (let each coat dry for 10 minutes before adding another). I wanted to let the paint sit over night to cure because there was some sanding involved and I didn't want to jump the gun and chance ruining the paint. The next day I wetsanded the area I painted as well as the top piece of the bumper and cleared it to blend my tape line and so the texture of the paint would match. When I was done clearing I let it sit so it could cure while I detailed the rest of the car. After it dried I buffed the bumper with 3M microfinishing compound which smoothed out the paint considerably and reduced some of the orange peel. After compounding, I poilshed it with some Optimum Polish using a foam finishing pad. I didn't put any kind of wax or sealant over it because the paint has to cure for 30 days.


I wish I had more after pictures, but my battery died and I didn't have my charger handy so thats it.


What do you guys think?? Should I switch trades to a body man?? Just kidding, I think I'll stick to detailing for now.


Thanks for looking.


~Rick
 
When I was looking at the pics of the damage I definitely wasn't expecting to see such a process. I don't know of any detailer who would go that far, you're the first!

Working with black helps, but the color still matches 99.9% from what I can see.
 
Great job!

I did have one question tho, did u re-clear the whole bumper? if so what grit sand paper did u sand the rest of the bumper down with? 1000?

And this was done using a spray can? or a actual spray gun with compressor?

thanks
 
Man! Nice job buffing that out. lol Geez though, thats a lot of work and it turned out great! I dont think he will be taking it to a body shop now. ;)
 
Back
Top