Barry Theal
New member
PLEASE READ THIS WRITE UP!
Decontamination- Meg APC. Claymore claybar. mothers detailer spray for lube.
exterior - sanding pc7424, meg solo backing plate, 3m interface pad 3m 1500 grit sand paper
compounding- pc7424 meg solo backing plate edge 6 inch yellow foam ardex 1000
polish- pc7424 meg solo backing plate edge green 6 inch foam, ardex 1500
sealent- pc7424 meg solo backing plate edge white 6 inch foam with ardex nano sealent.
wax applied by hand 2x ardex topaz.
and lots of 91% ipa i went threw 3 bottles on this one!!!!!
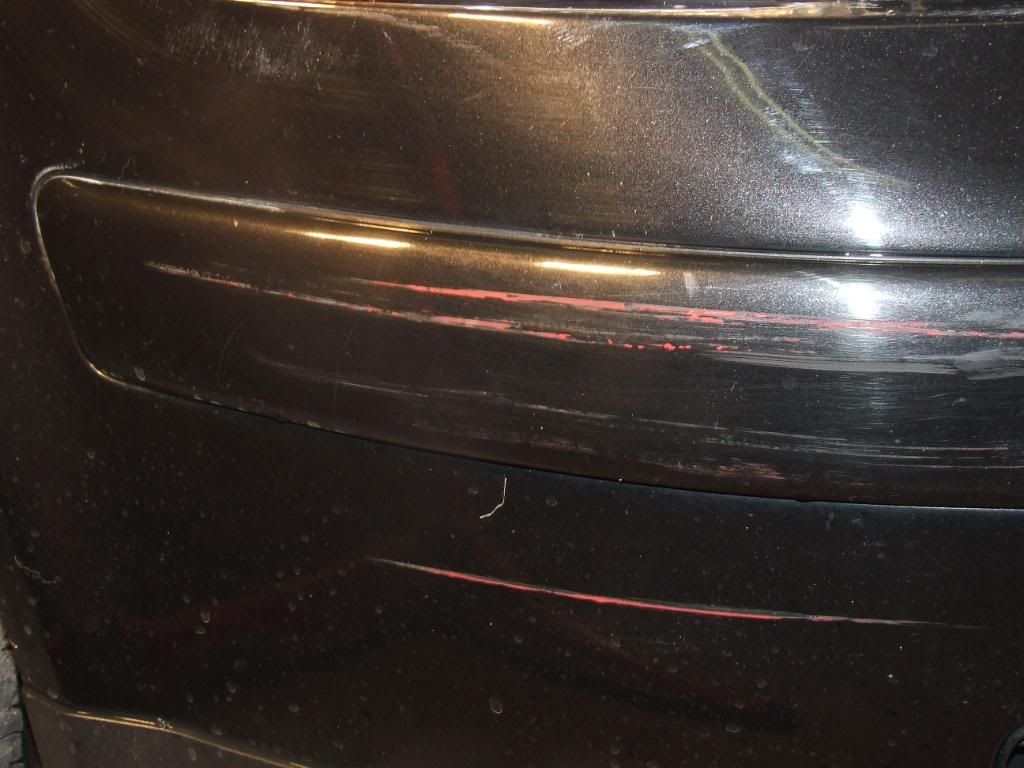
Ok here goes, this client is a wholesaler and a new client who asked me about a full exterior paint correction. This guy buys cars from one auction cleans them and flips them at another. now to make along story short he contacted me threw autopia after seeing some of my work. BIG PROPS to autopia. The exterior of this car was horible shape. so a full wet sand was gonna be involed here. i knew ahead of time that the rear bumper is going to be repainted this week so he told me to not worry about it.
Now over the last 11 years i have been doing all my correction work with a rotary some wool and compound, then rotary chasing holograms and a foam pad and polish. this is what i like to call the traditional way!
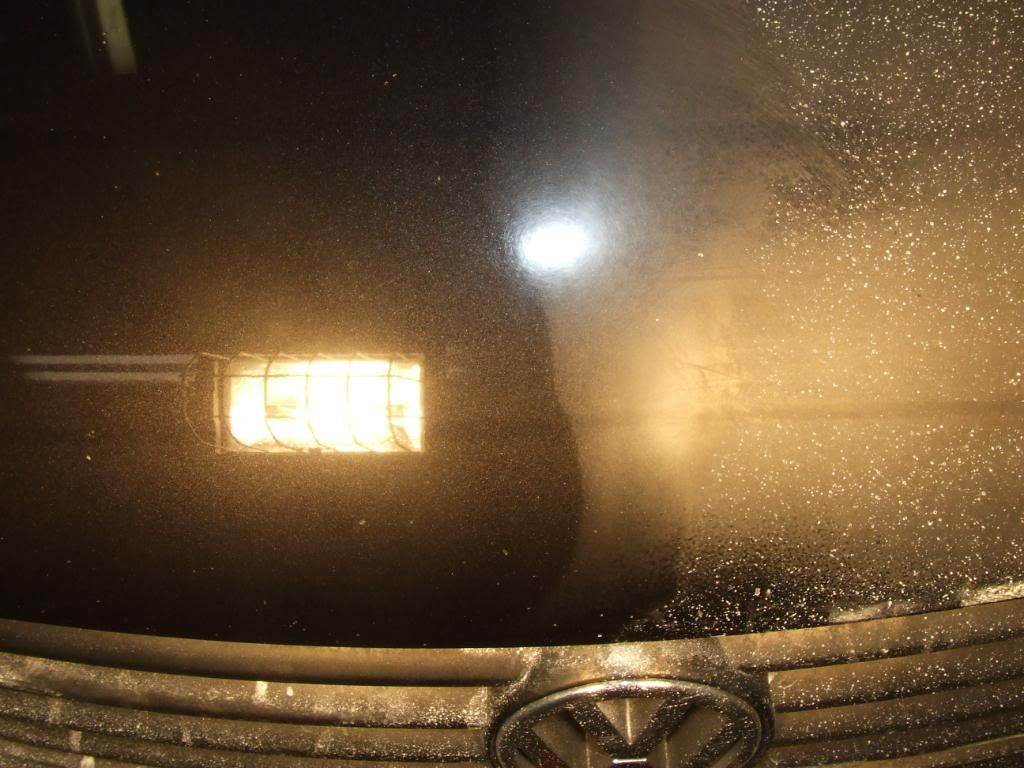
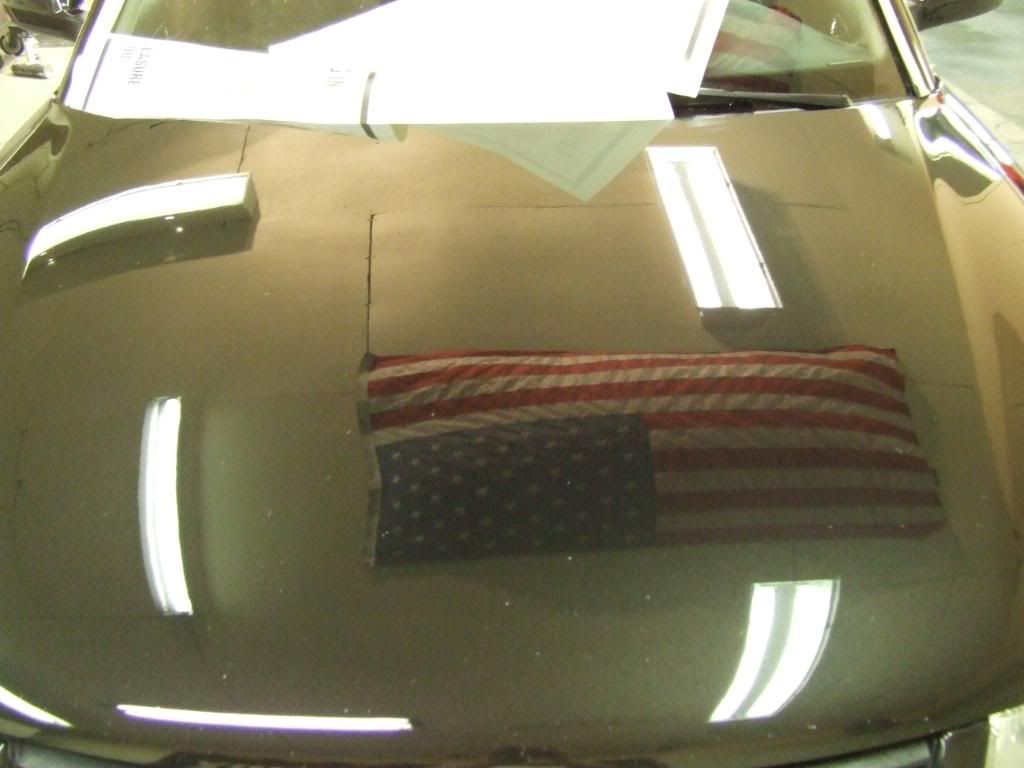
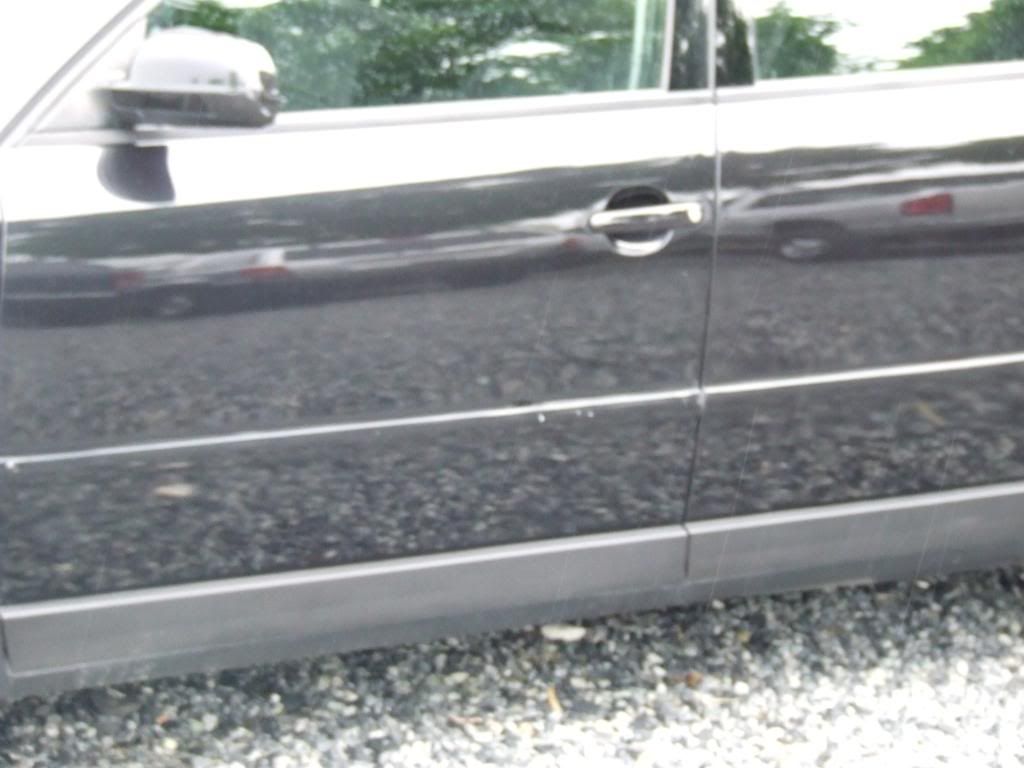
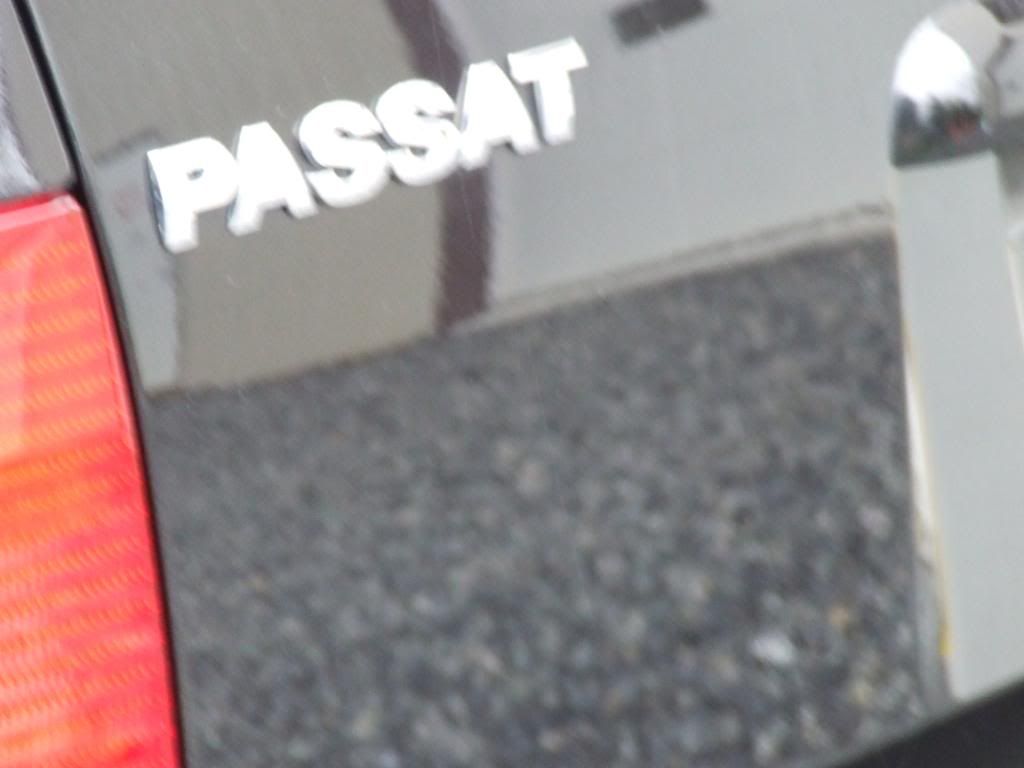
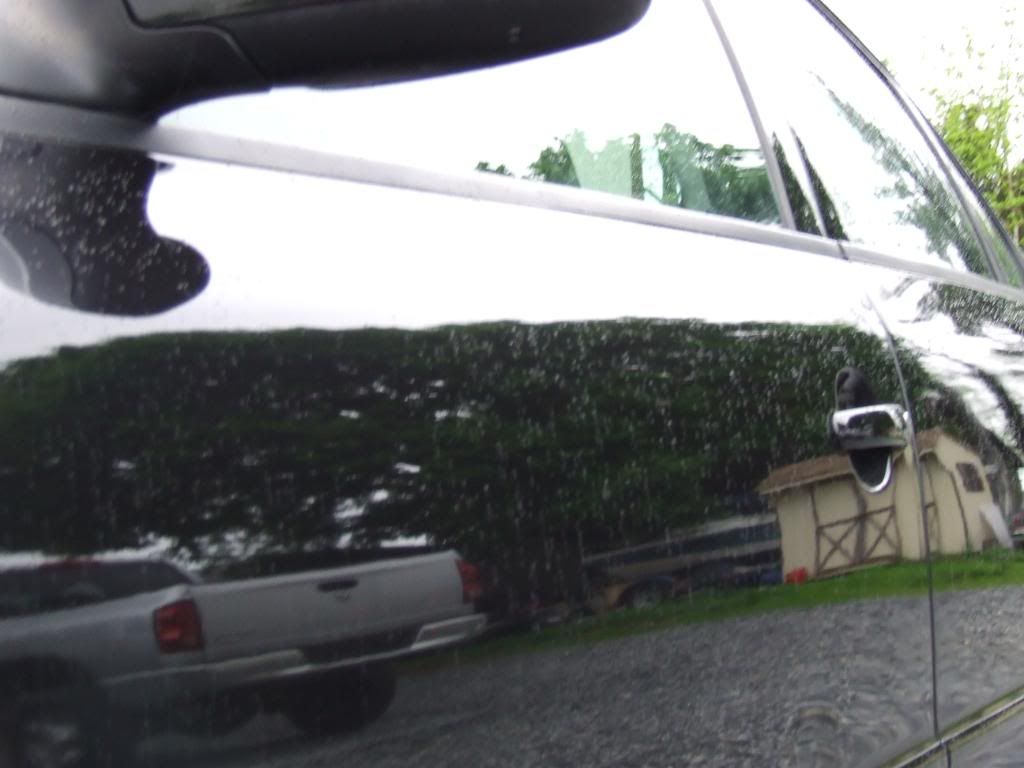
Now onto some before pics.
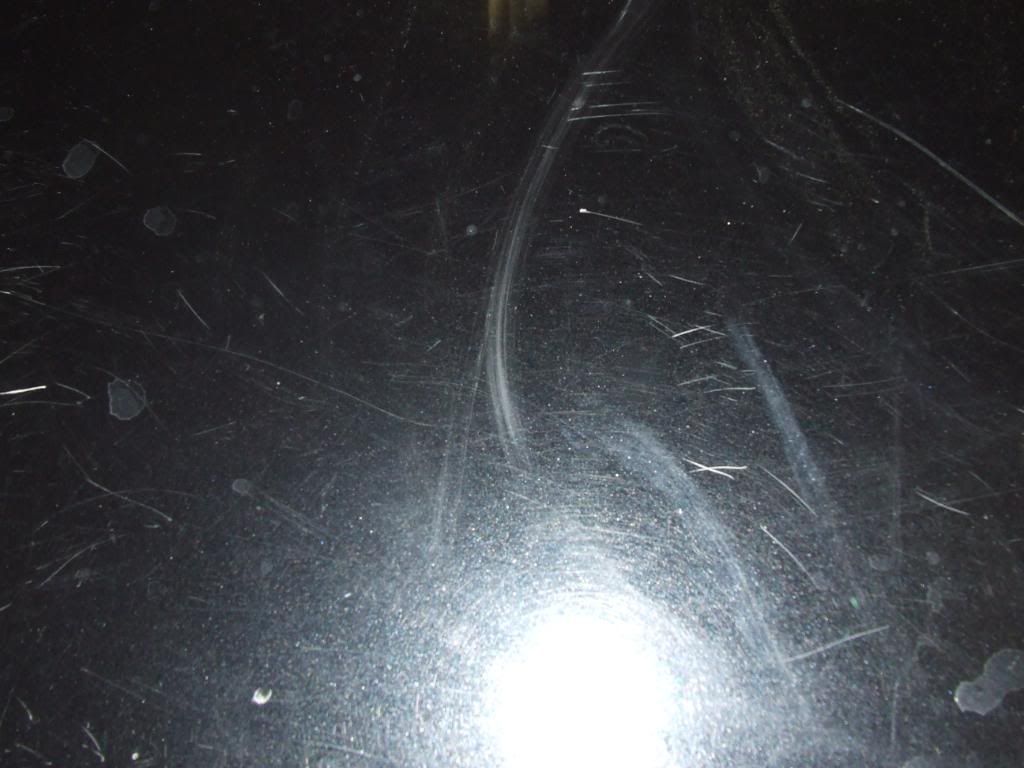
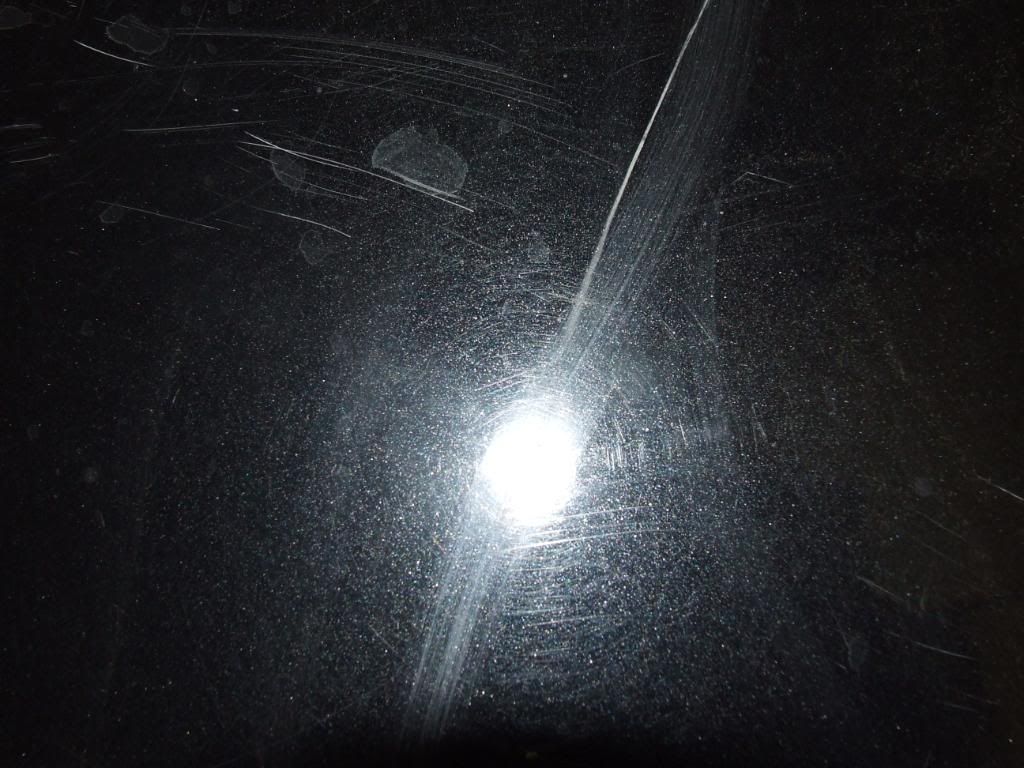
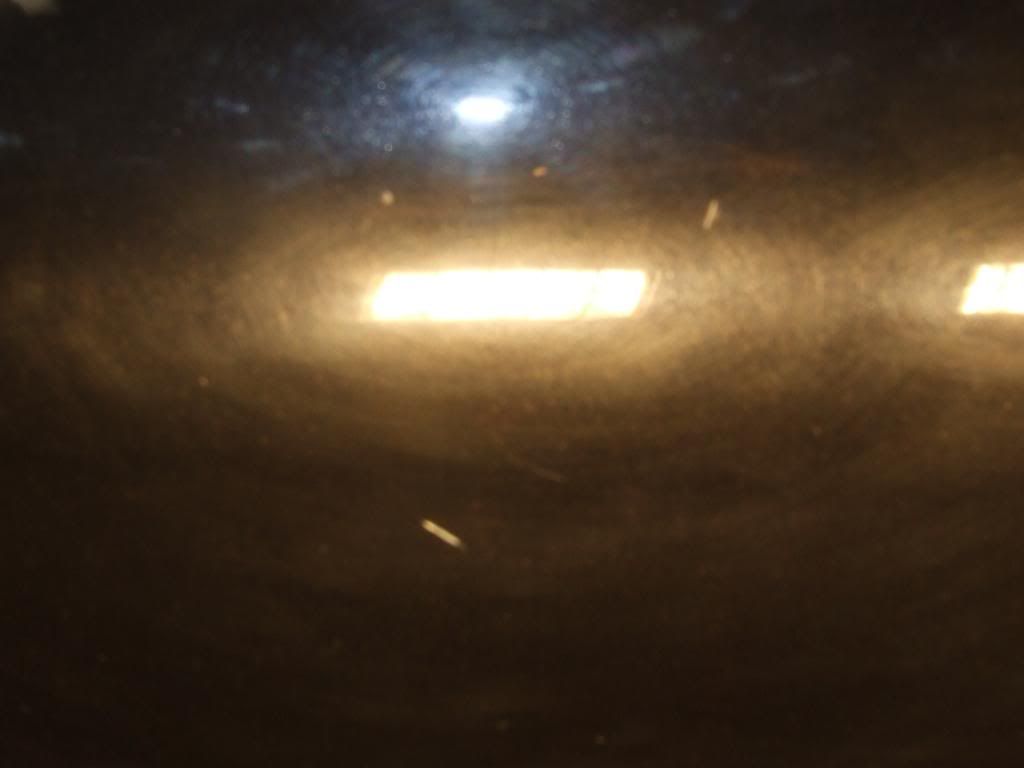

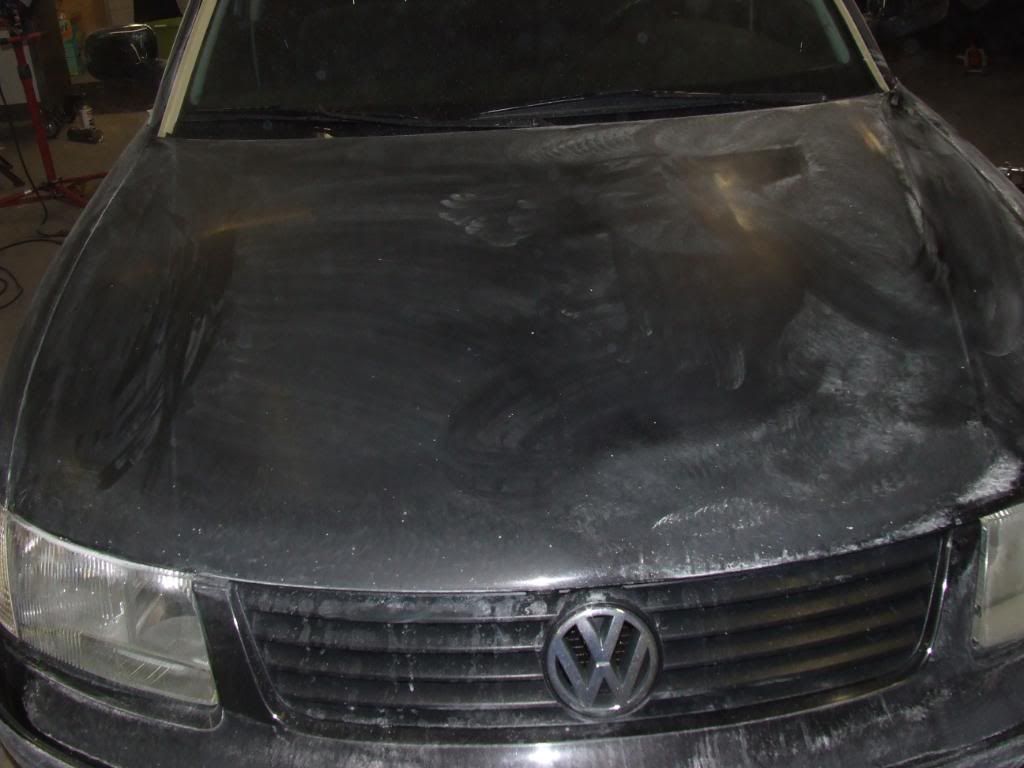
I couldn't really get in the before pictures the thickness of orange peel in the paint. the whole car had been repainted at one point. Now normally i would wetsanded this car then get the rotary out and begin the compounding. over the last six months i have heard all about the porter cable pulling out major defects!! the kevin brown method! so what i wanted to do was truely test this method. so i thought to myself how can this be done!
the process
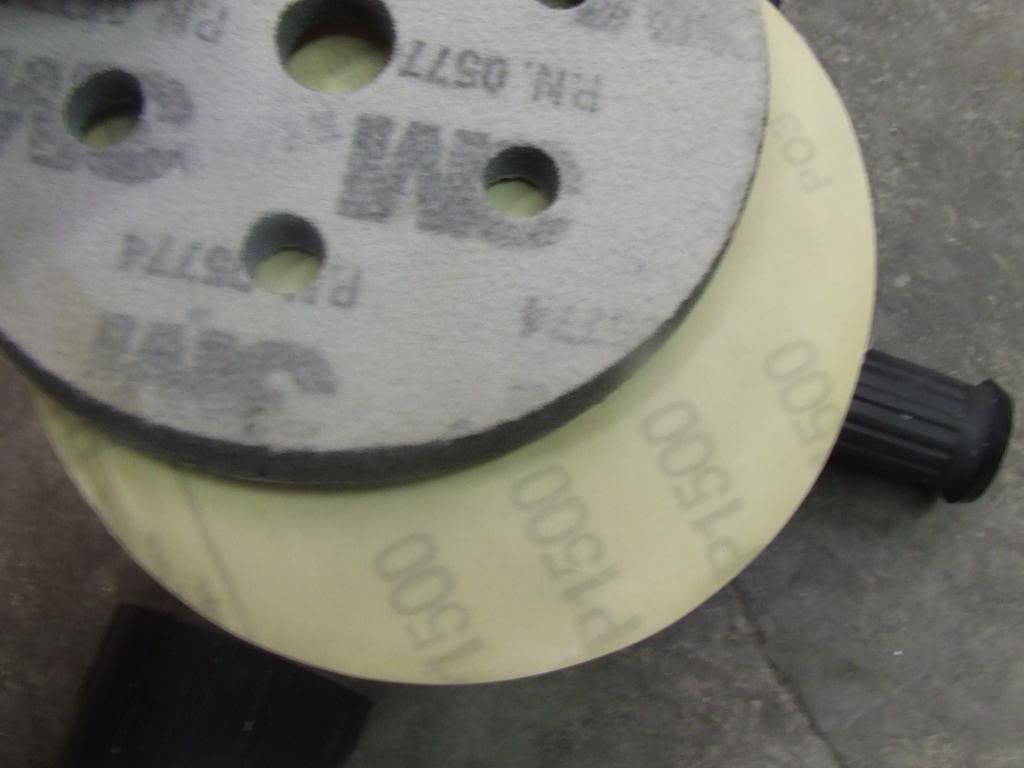
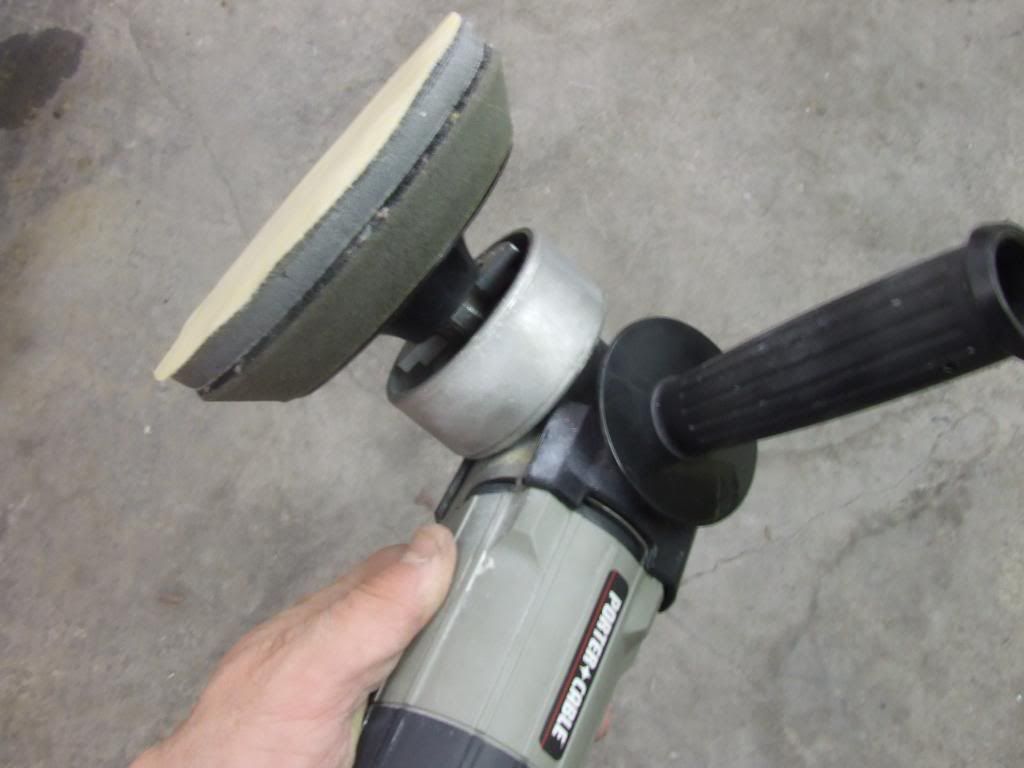
Sanding- Dry sanded the whole car with porter cable. i used a the 5/8 spindle adapter which allowed me to use the mequiars solo 6 inch backing plate. this relieve any pressure i put down during the sanding to help prevent deep spots. then i attached a 6 3m da interface pad to help with the bolding line contours while sanding. then i attached a 6 inch 3m 1500 grit paper!
Here is my setup.
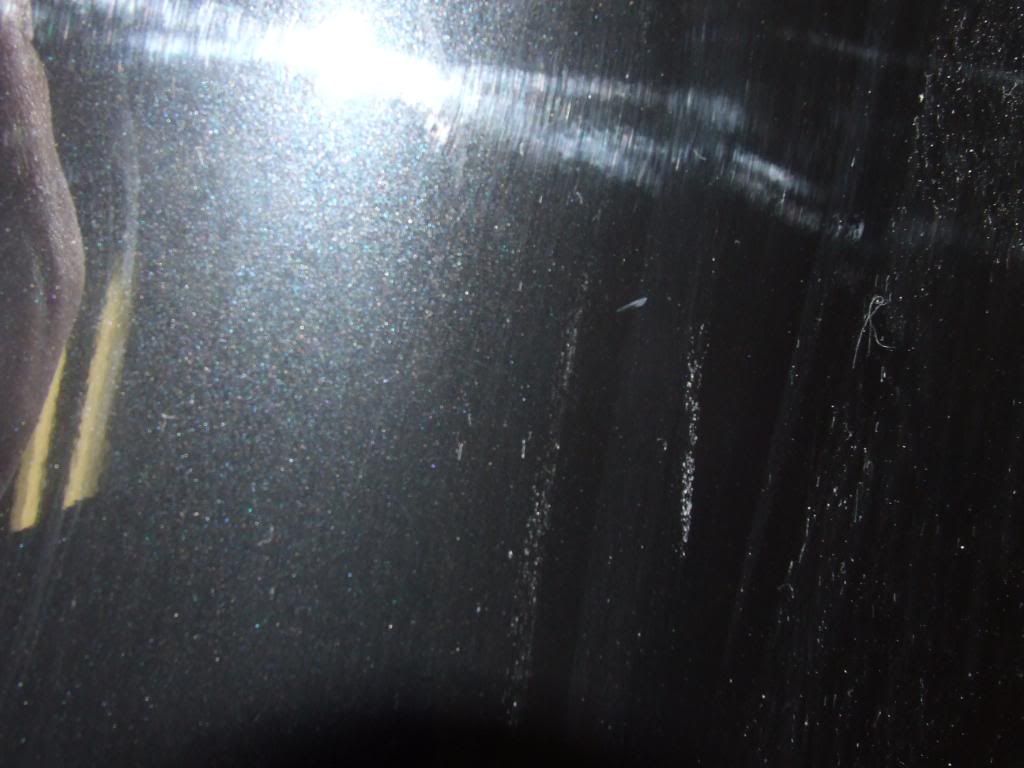
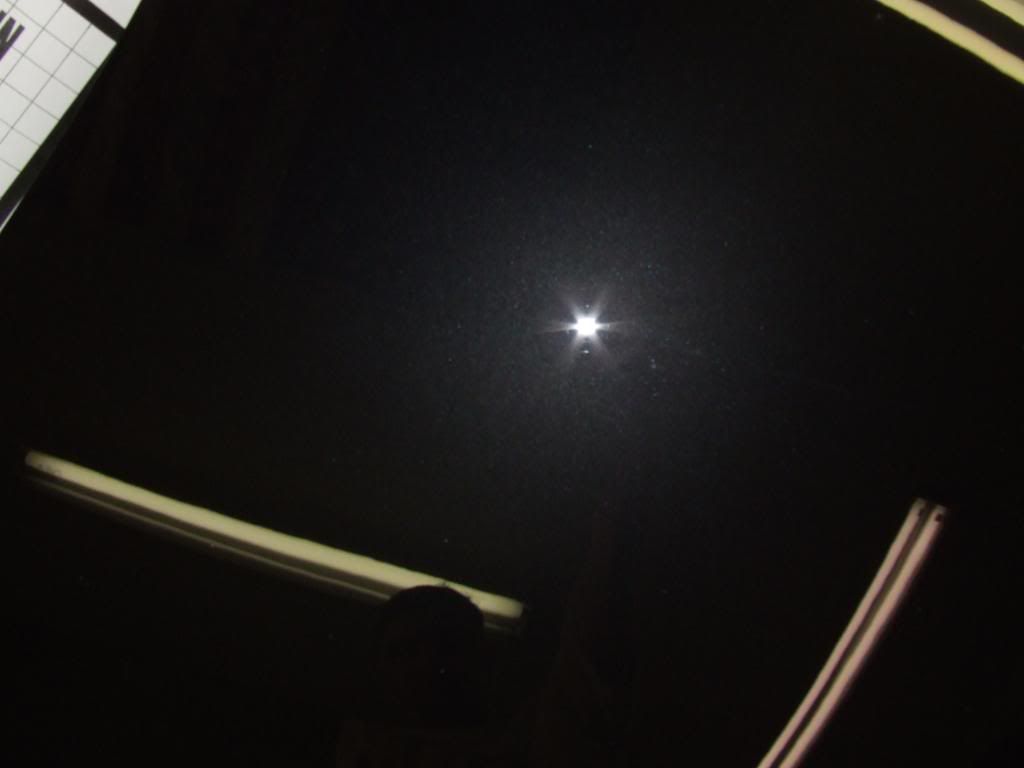
Now at this point, i began to dry sand the etire car with the porter cable! this whole process took about roughly 2 hours! i ran the speed a 2. i tried to go a little faster, but i found i started to get pigtails. so i slowed it back down to 2 again. the whole car took about 10 sheets of paper. i noticed it was faster and easier to switch paper. this prevents dust and dirt build up which in return prevents pigtails. here some action shots!
http://i484.photobucket.com/albums/rr202/barrytheal/passat%2099/DSCF3658.jpg[/IMG
[IMG]http://i484.photobucket.com/albums/rr202/barrytheal/passat%2099/DSCF3660.jpg
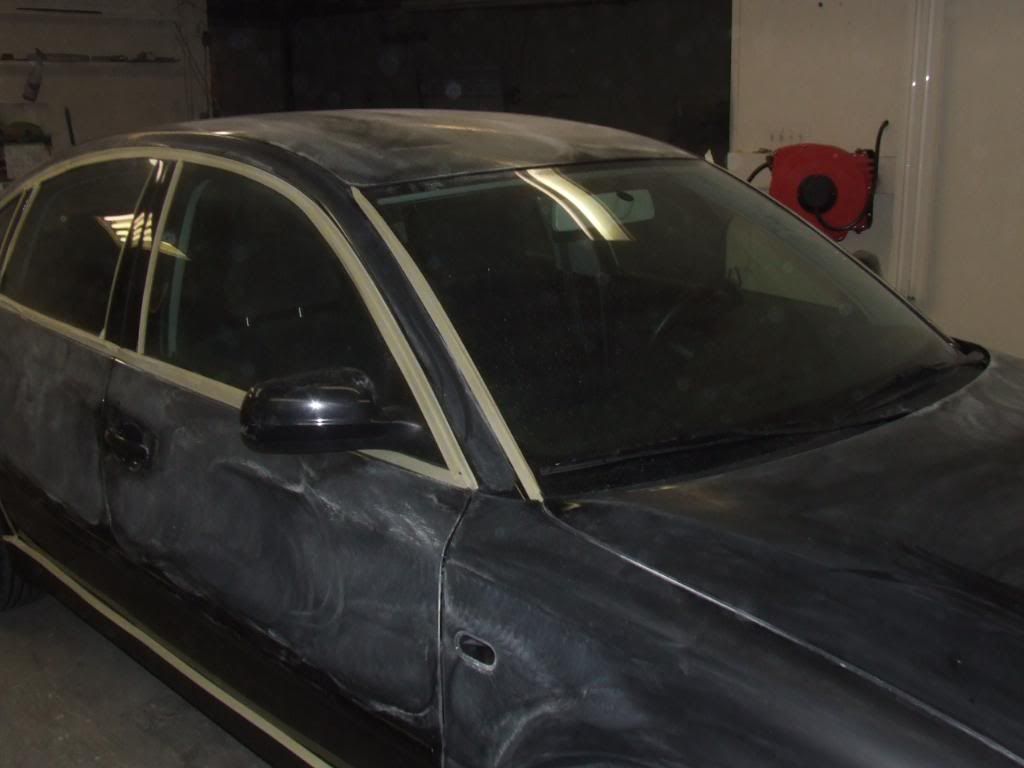
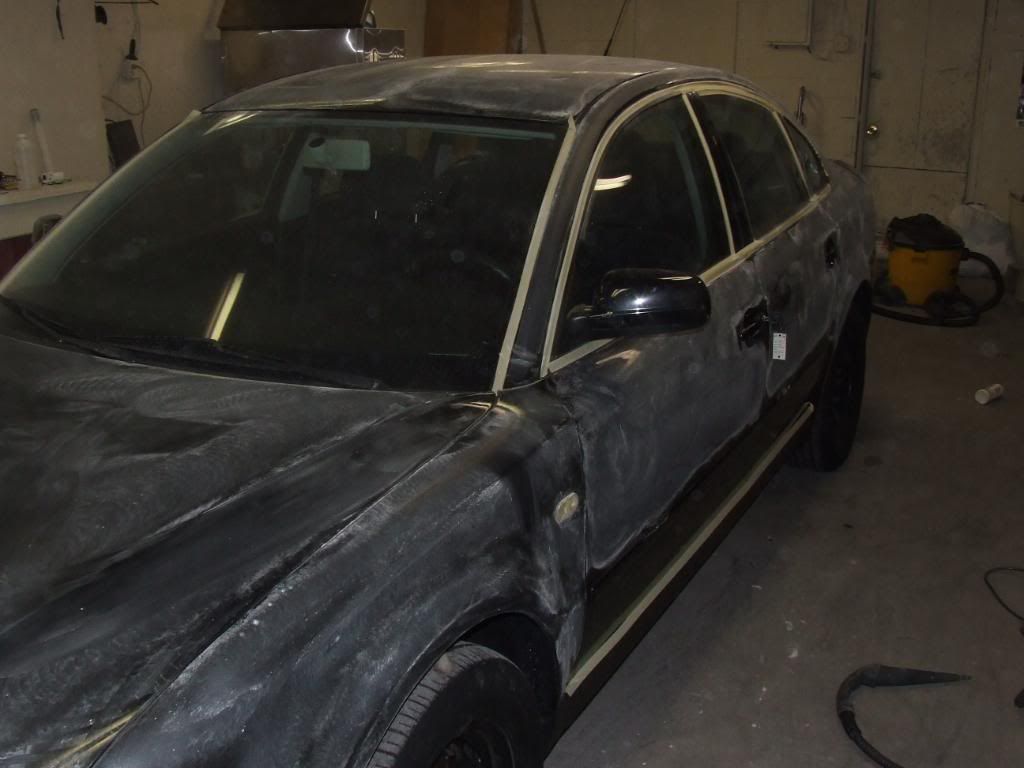
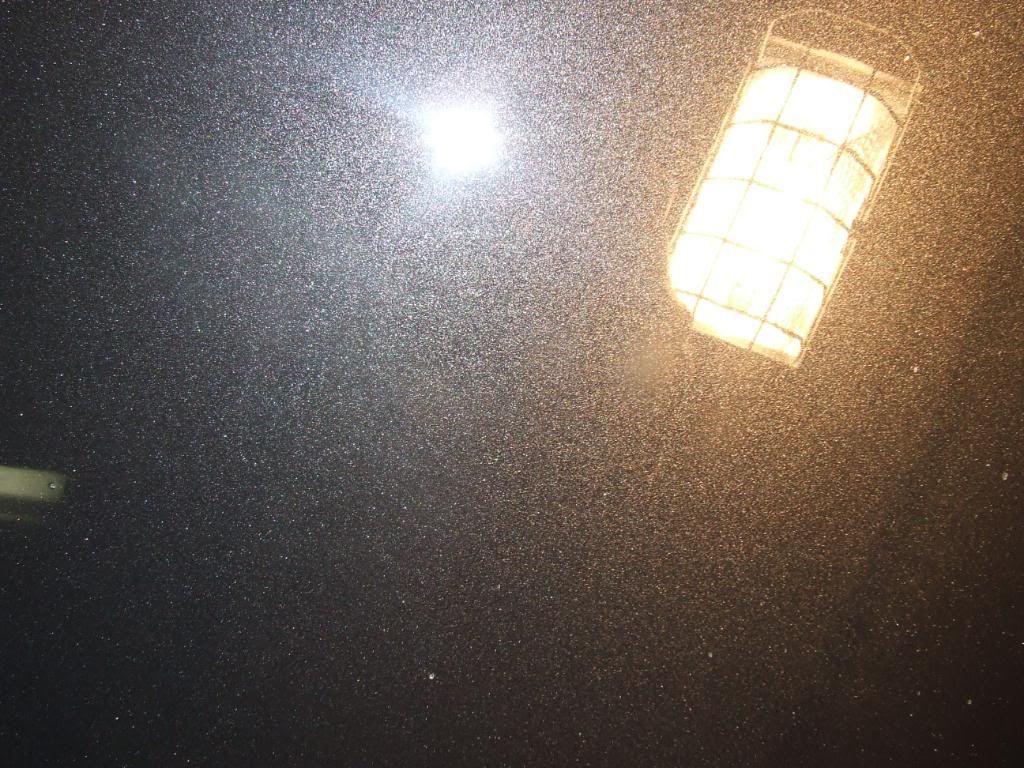
Now at this point the car was sanded here are the pics some pics.
now at this point i used the porter cable and a yellow 6 inch edge foam pad! with ardex 1000 compound. the characteristics of this compound is is heavier then m105. although it is not a water based compound like m105. the main abrasive product in it is alumina. i found that using ardex 1000 on a da had more play in the product. now this would allow me to use it in the traditional way and not the kevin brown method. now i would like to thank kevin for proving to me that the pc can be a defect killer, but at this point i just work the product into the hood with lost of down pressure for several passes the i lightened up on the down pressure and this was the results after to 91% ipa wipedown!
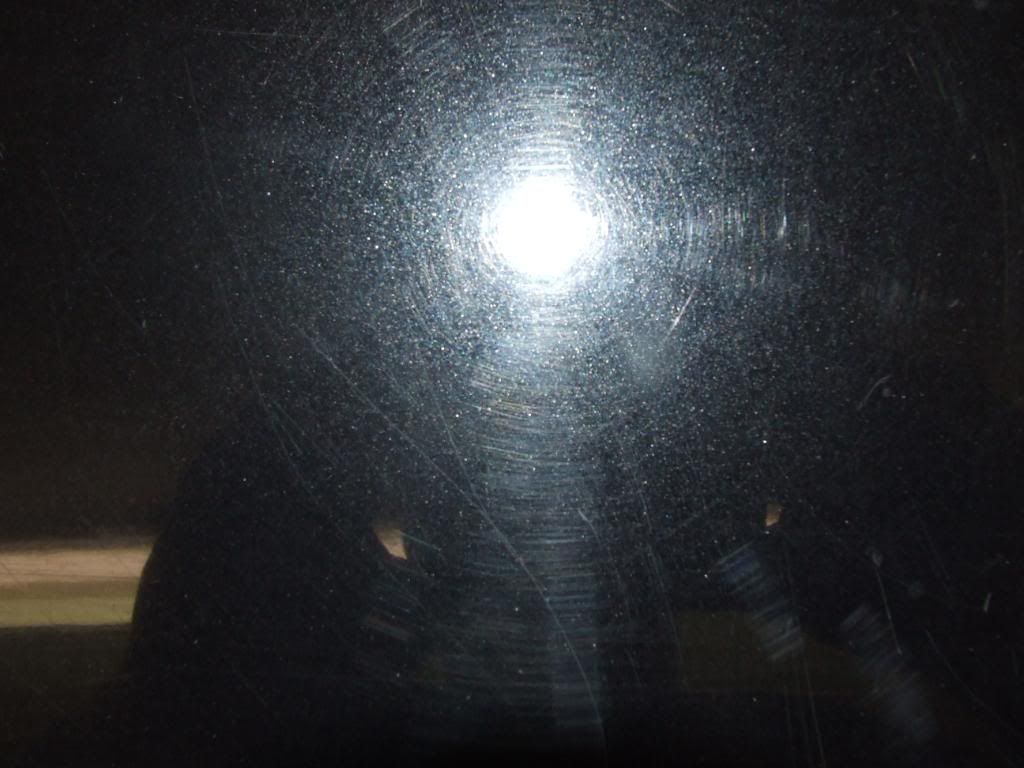
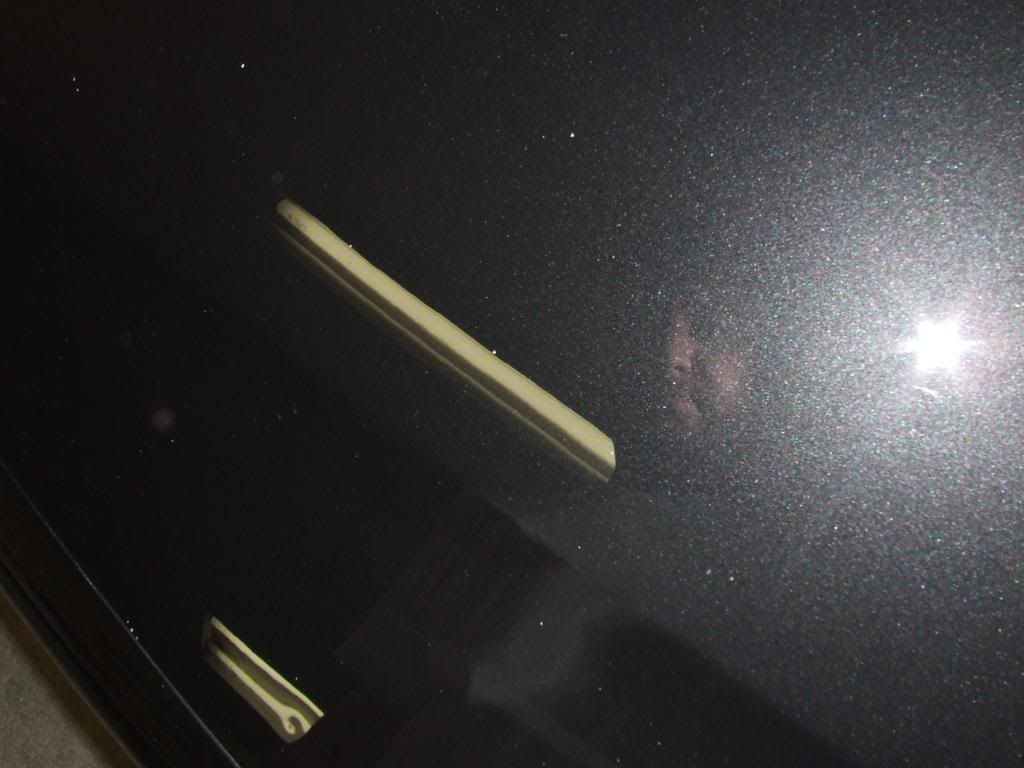
Here is a close up with the camera flash on the side the was tested. here you can see the clarity and depth i got after ardex 1000 and edge yellow foam pad.
NOw at this point i went around the car which took about 5 more hours. which included this step and another with the edge 6 inch green pad. for the second step i used ardex 1500. i noticed for a body shop safe polishing compound it was a little oilybut with a good alchohal wipe it finsihed down very nicely!
here are a few pics, take notice how perfect the camera flash is. beside a few isolated scratches that couldn't be removed this car finished down absoulutley perfect!
then i topped it with ardex's new nano sealent and finished it down with ardex topaz carnuba wax with really made it look wet.
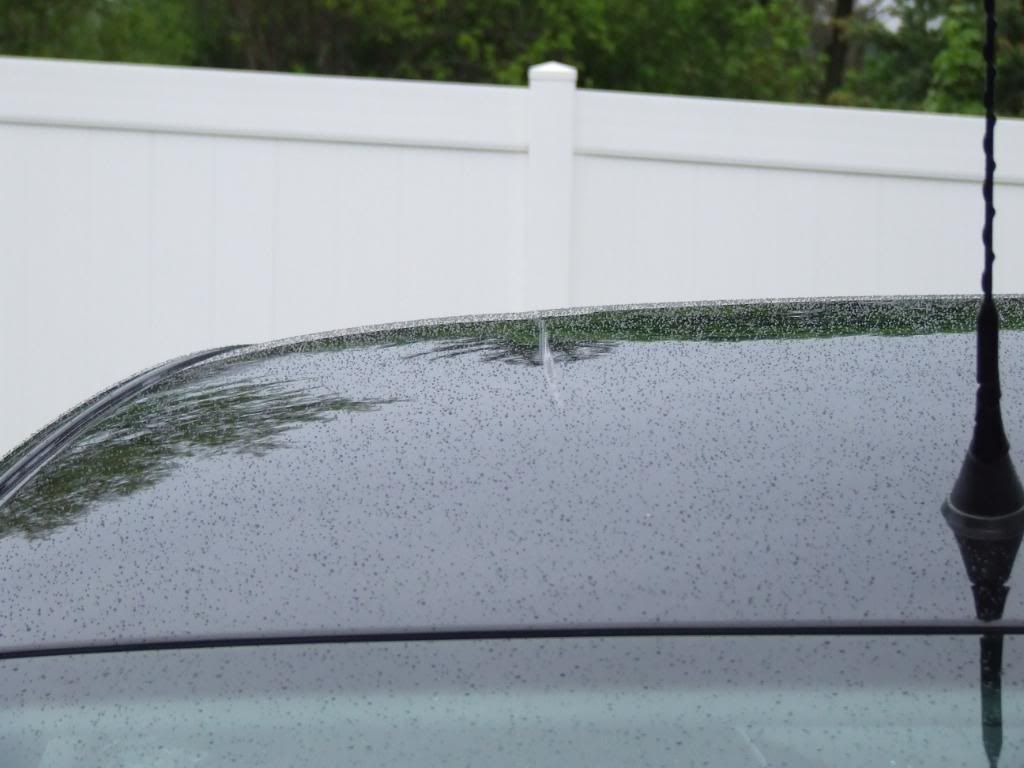
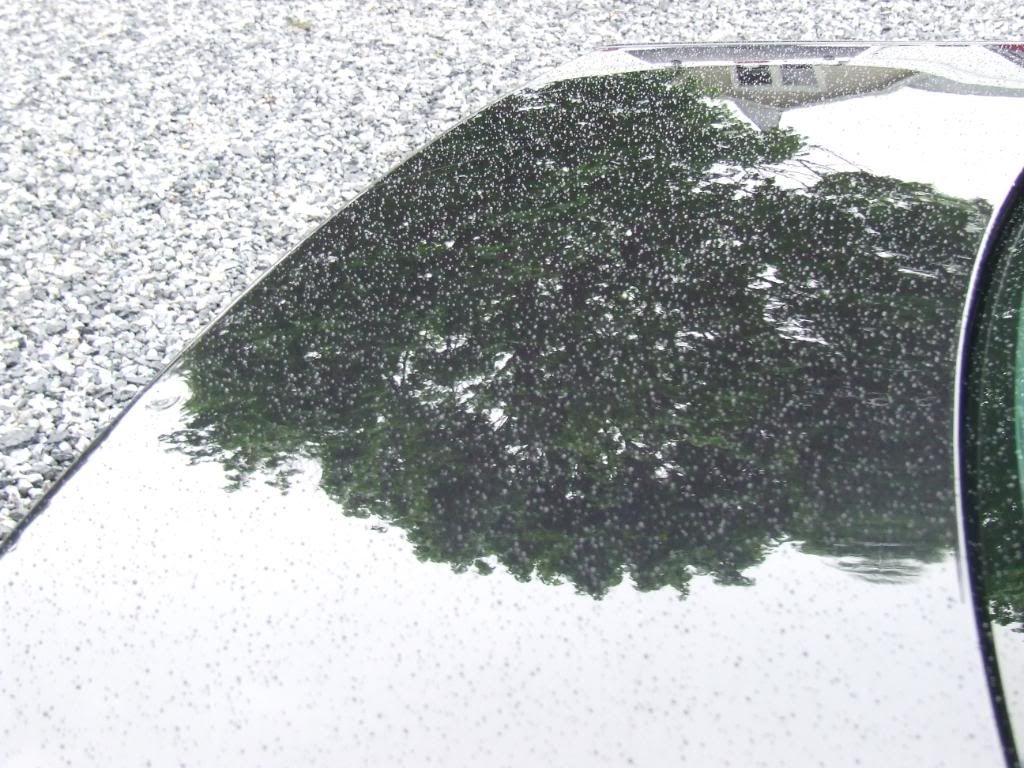
i have some finished pics but it was rainy so your gonna get some beaded reflections. lol i ll update the thread tomarrow if the sun is out i still have it till monday night!


now threw this all i found that the porter cable is the defect killer and not the m105/205 combo. now by no means am i trying to trash those to products. nor am i trying to promote ardex. what i wanted to do was to see if it was the product or the technigue! anyway thanks for reading this ill post some sun shots if its out tomarrow! so there ya go this whole car was corrected with a pc!!!!! I would like to personally thanks kevin brown for showing me that a pc can do more then polish a car. although i didn't use your method entirely. you inspired me to attempt this. So THANKS KEVIN! :bigups
anyway thanks for reading god bless!
Decontamination- Meg APC. Claymore claybar. mothers detailer spray for lube.
exterior - sanding pc7424, meg solo backing plate, 3m interface pad 3m 1500 grit sand paper
compounding- pc7424 meg solo backing plate edge 6 inch yellow foam ardex 1000
polish- pc7424 meg solo backing plate edge green 6 inch foam, ardex 1500
sealent- pc7424 meg solo backing plate edge white 6 inch foam with ardex nano sealent.
wax applied by hand 2x ardex topaz.
and lots of 91% ipa i went threw 3 bottles on this one!!!!!
Ok here goes, this client is a wholesaler and a new client who asked me about a full exterior paint correction. This guy buys cars from one auction cleans them and flips them at another. now to make along story short he contacted me threw autopia after seeing some of my work. BIG PROPS to autopia. The exterior of this car was horible shape. so a full wet sand was gonna be involed here. i knew ahead of time that the rear bumper is going to be repainted this week so he told me to not worry about it.
Now over the last 11 years i have been doing all my correction work with a rotary some wool and compound, then rotary chasing holograms and a foam pad and polish. this is what i like to call the traditional way!
Now onto some before pics.
I couldn't really get in the before pictures the thickness of orange peel in the paint. the whole car had been repainted at one point. Now normally i would wetsanded this car then get the rotary out and begin the compounding. over the last six months i have heard all about the porter cable pulling out major defects!! the kevin brown method! so what i wanted to do was truely test this method. so i thought to myself how can this be done!
the process
Sanding- Dry sanded the whole car with porter cable. i used a the 5/8 spindle adapter which allowed me to use the mequiars solo 6 inch backing plate. this relieve any pressure i put down during the sanding to help prevent deep spots. then i attached a 6 3m da interface pad to help with the bolding line contours while sanding. then i attached a 6 inch 3m 1500 grit paper!
Here is my setup.
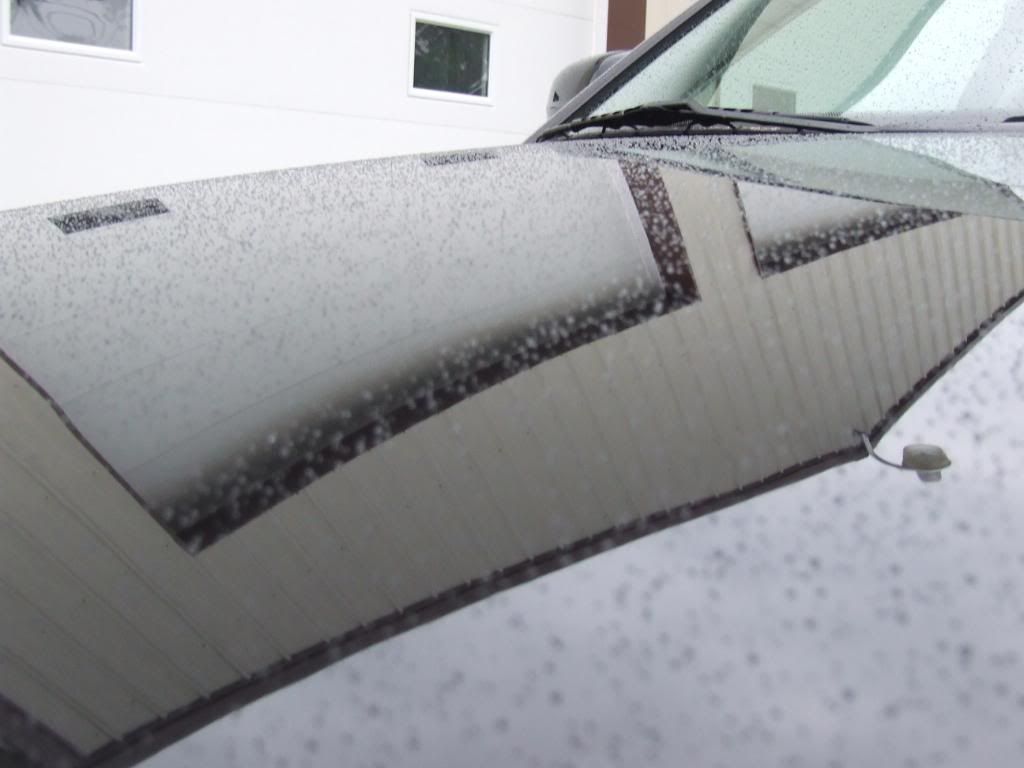
Now at this point, i began to dry sand the etire car with the porter cable! this whole process took about roughly 2 hours! i ran the speed a 2. i tried to go a little faster, but i found i started to get pigtails. so i slowed it back down to 2 again. the whole car took about 10 sheets of paper. i noticed it was faster and easier to switch paper. this prevents dust and dirt build up which in return prevents pigtails. here some action shots!
http://i484.photobucket.com/albums/rr202/barrytheal/passat%2099/DSCF3658.jpg[/IMG
[IMG]http://i484.photobucket.com/albums/rr202/barrytheal/passat%2099/DSCF3660.jpg
Now at this point the car was sanded here are the pics some pics.
now at this point i used the porter cable and a yellow 6 inch edge foam pad! with ardex 1000 compound. the characteristics of this compound is is heavier then m105. although it is not a water based compound like m105. the main abrasive product in it is alumina. i found that using ardex 1000 on a da had more play in the product. now this would allow me to use it in the traditional way and not the kevin brown method. now i would like to thank kevin for proving to me that the pc can be a defect killer, but at this point i just work the product into the hood with lost of down pressure for several passes the i lightened up on the down pressure and this was the results after to 91% ipa wipedown!
Here is a close up with the camera flash on the side the was tested. here you can see the clarity and depth i got after ardex 1000 and edge yellow foam pad.
NOw at this point i went around the car which took about 5 more hours. which included this step and another with the edge 6 inch green pad. for the second step i used ardex 1500. i noticed for a body shop safe polishing compound it was a little oilybut with a good alchohal wipe it finsihed down very nicely!
here are a few pics, take notice how perfect the camera flash is. beside a few isolated scratches that couldn't be removed this car finished down absoulutley perfect!
then i topped it with ardex's new nano sealent and finished it down with ardex topaz carnuba wax with really made it look wet.
i have some finished pics but it was rainy so your gonna get some beaded reflections. lol i ll update the thread tomarrow if the sun is out i still have it till monday night!
now threw this all i found that the porter cable is the defect killer and not the m105/205 combo. now by no means am i trying to trash those to products. nor am i trying to promote ardex. what i wanted to do was to see if it was the product or the technigue! anyway thanks for reading this ill post some sun shots if its out tomarrow! so there ya go this whole car was corrected with a pc!!!!! I would like to personally thanks kevin brown for showing me that a pc can do more then polish a car. although i didn't use your method entirely. you inspired me to attempt this. So THANKS KEVIN! :bigups
anyway thanks for reading god bless!
")
")