Todd@RUPES
Just a regular guy
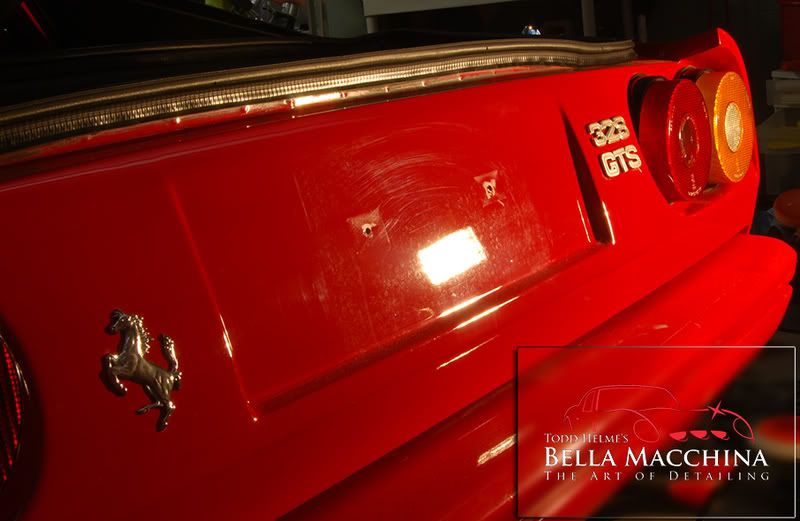
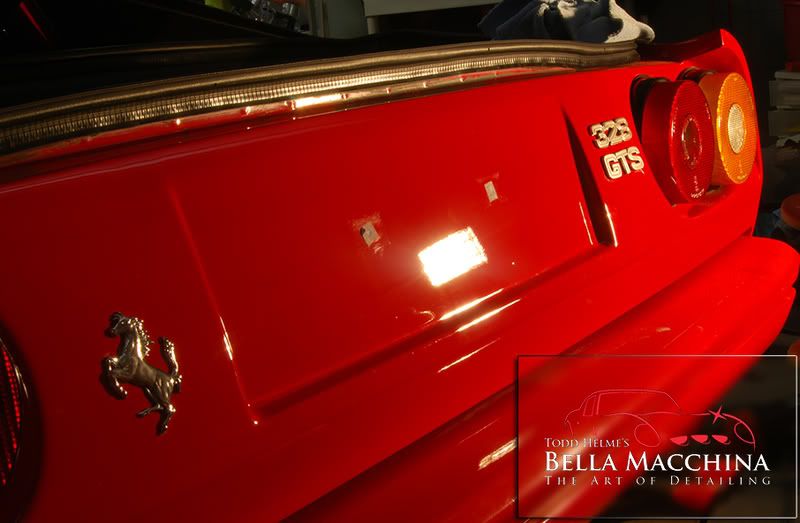
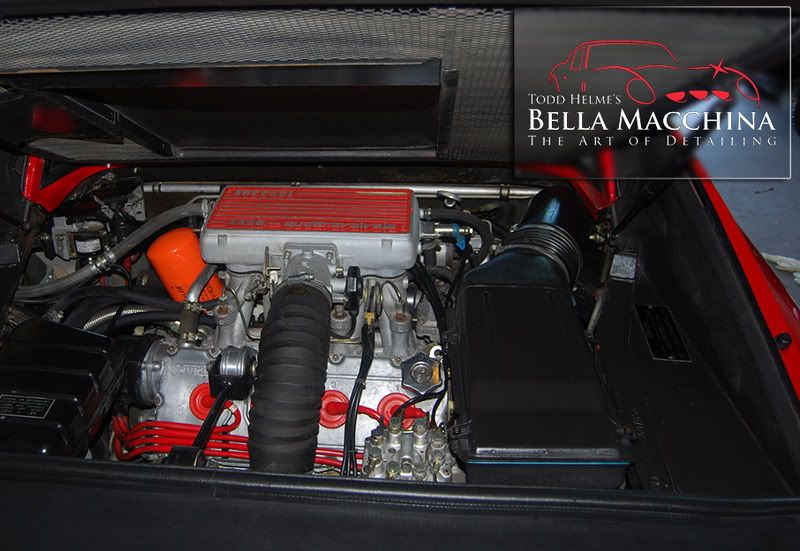
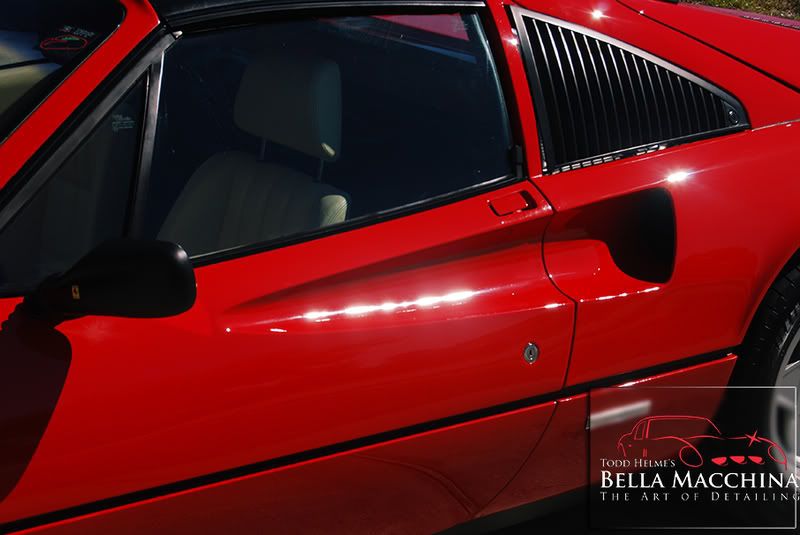
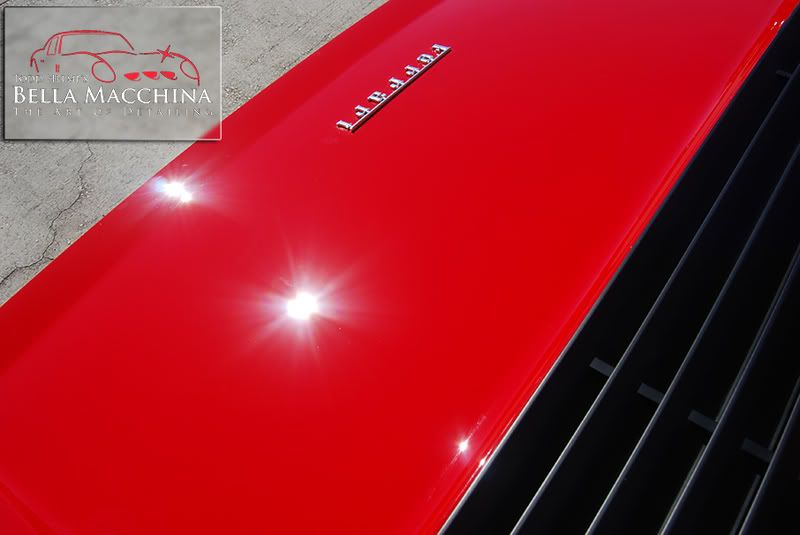
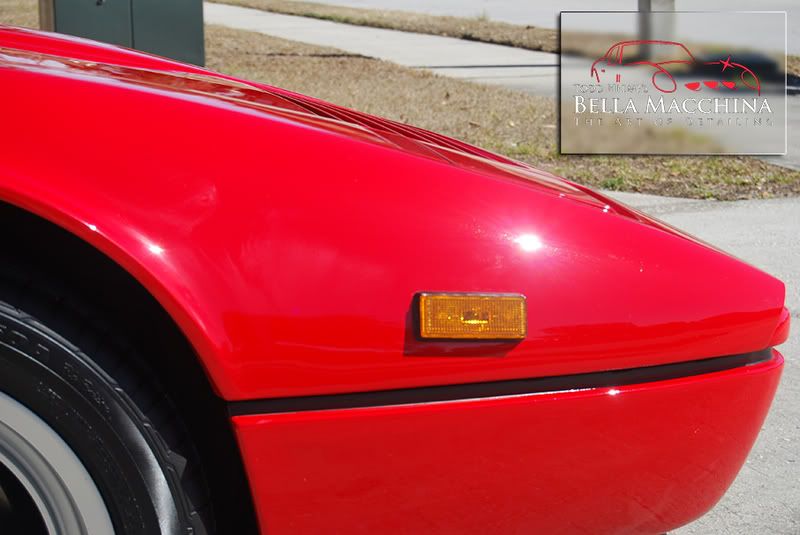
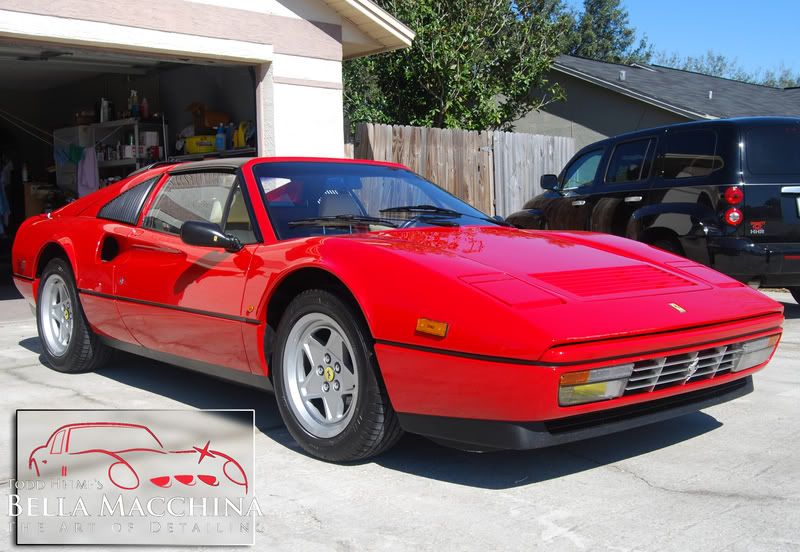
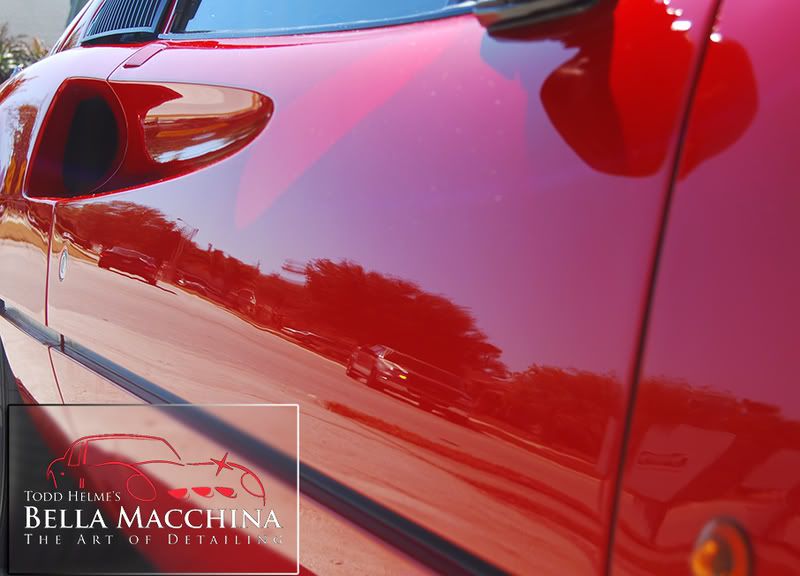
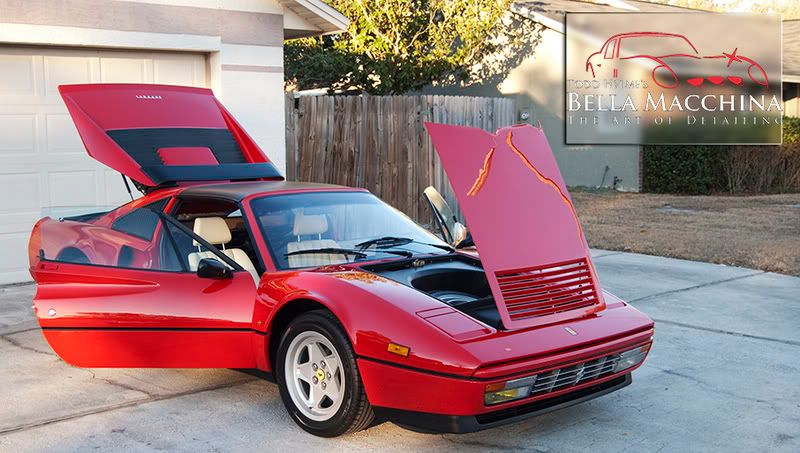
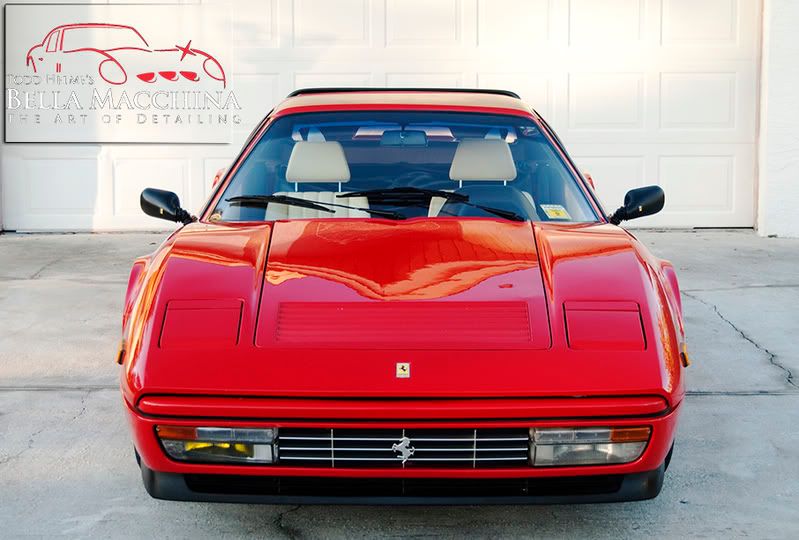
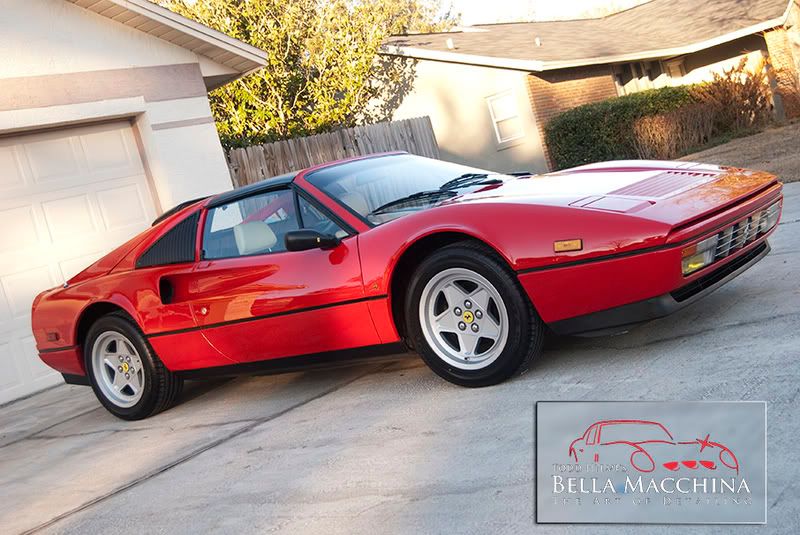
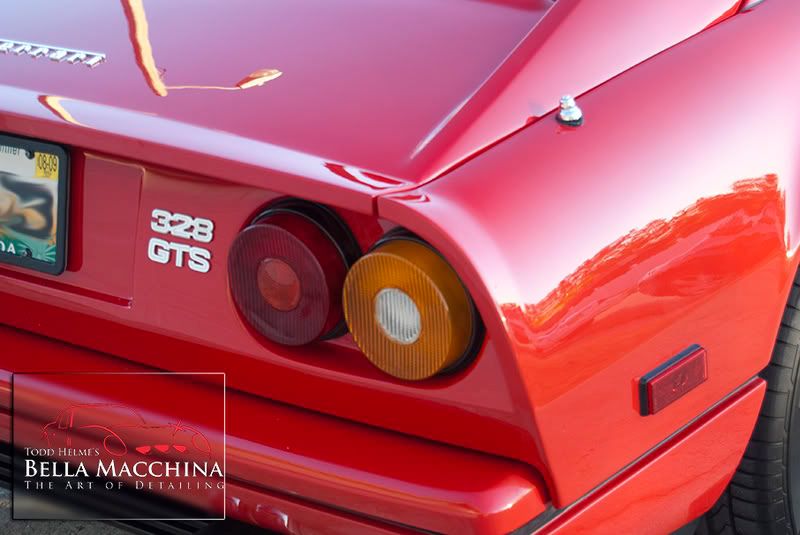
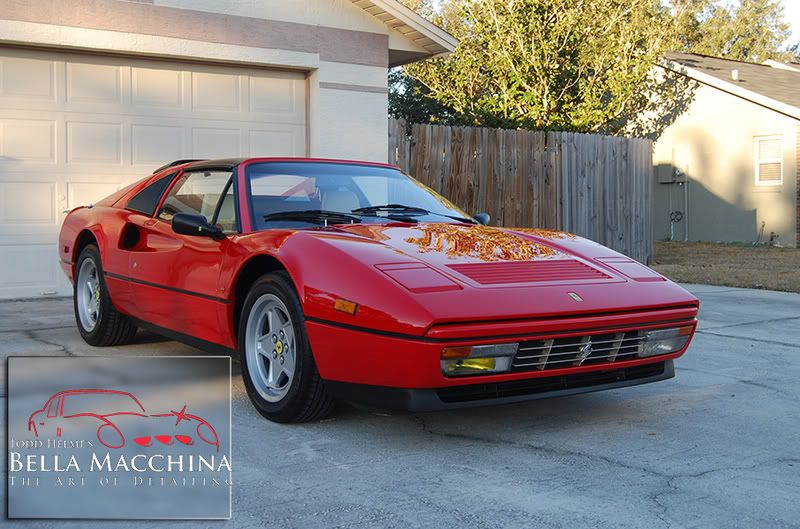
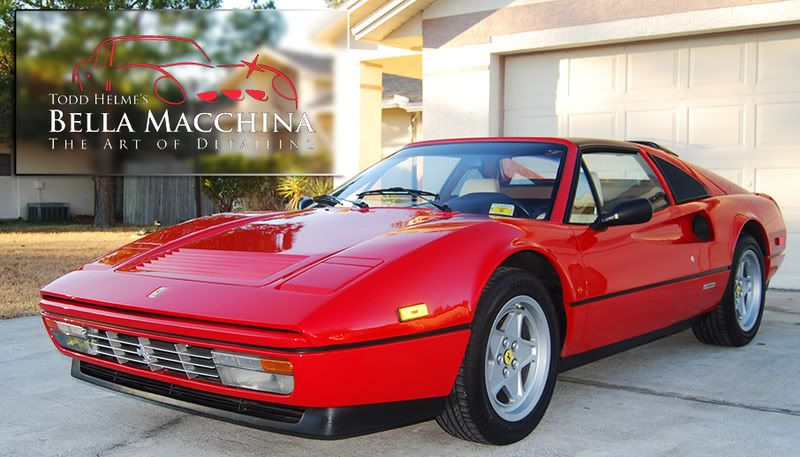
This Ferrari is very special to its owner, it realizes a life long dream of owning THE FERRARI of his dreams. And for good reason, as the 328 features one of the most distinctive designed silhouette's of all time. Plain and simple, the 328 is a timeless design that looks great from every angle, and despite the decades that passed since the famous marquee launched this famous design (33 years old, the original 308 debuted in 1975!!!) this look still hasn't aged. It has transitioned flawlessly from modern to classic with out ever looking old.
I was honored for the opportunity to perform my 'La Bella Firma' or 'The Beautiful Signature' package on this particular car. I am very lucky in working on some of the finest automobiles every produced, but its not every day you get to work on a dream.
The temperature had dropped below freezing when this Ferrari was delivered to my house, so it was strange to actually detail in a sweater and wear shoes (being from Florida I am used to shorts and flip flops) and see my breath. All in all I worked on this car for five days (the final day consisted of applying a final coat of wax and double checking) and logged just under 60 hours into this Ferrari.
When doing this style of detail I generally block off a single day for throughly cleaning and decontaminating every surface, focusing on deep cleaning all porous and non porous surfaces such as the paint, glass, plastics, trim, rubber, leather, etc, etc...
Day One SPECIAL THANKS TO FORM MEMBER MOUTEE FOR HELPING OUT!!!
Overview
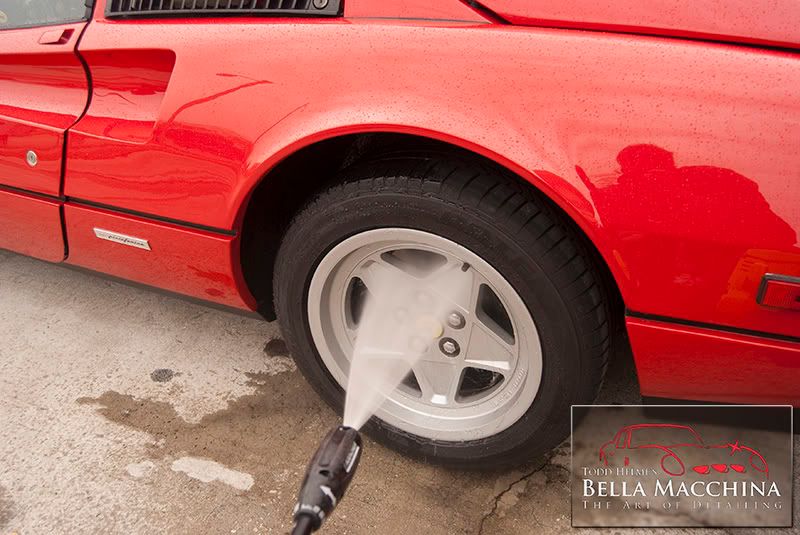
-Pre-rinse with Karcher 1800 psi filtered with de-ionized water
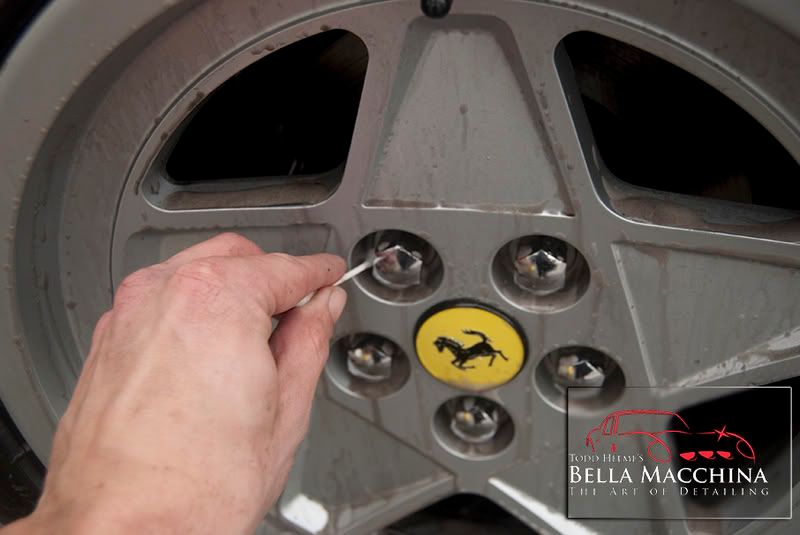
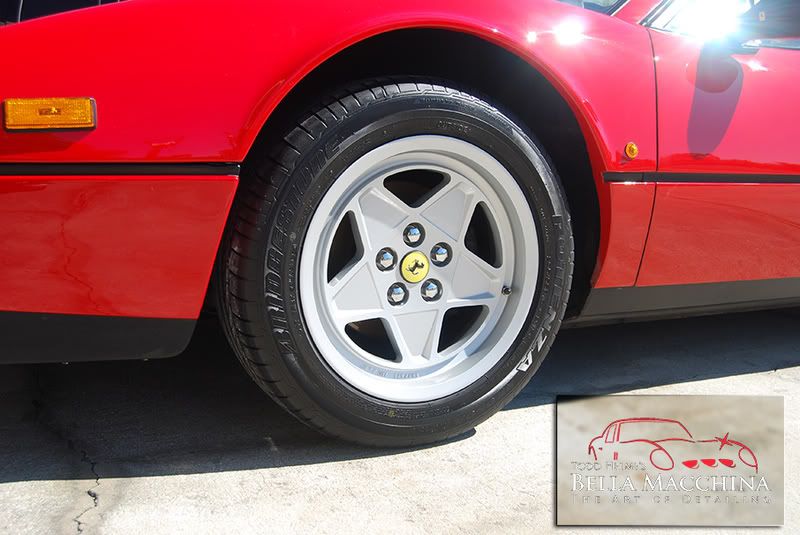
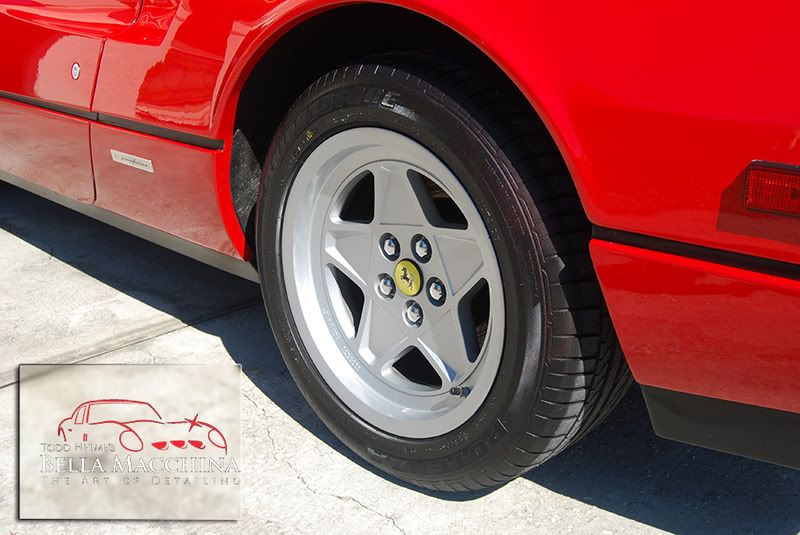
-Clean wheels, tires, and wheel arches one at a time using Menzerna 7.5 Wheel Gel, Eimann Fabrik Tire Cleaner, and Eimann Fabrik Hi-Intensity Cleaner using an EZ-Detail Brush, a Swissvax Wheel Brush, Meguiars' Gold Glass Tire Brush, a grout sponge, and q-tips.
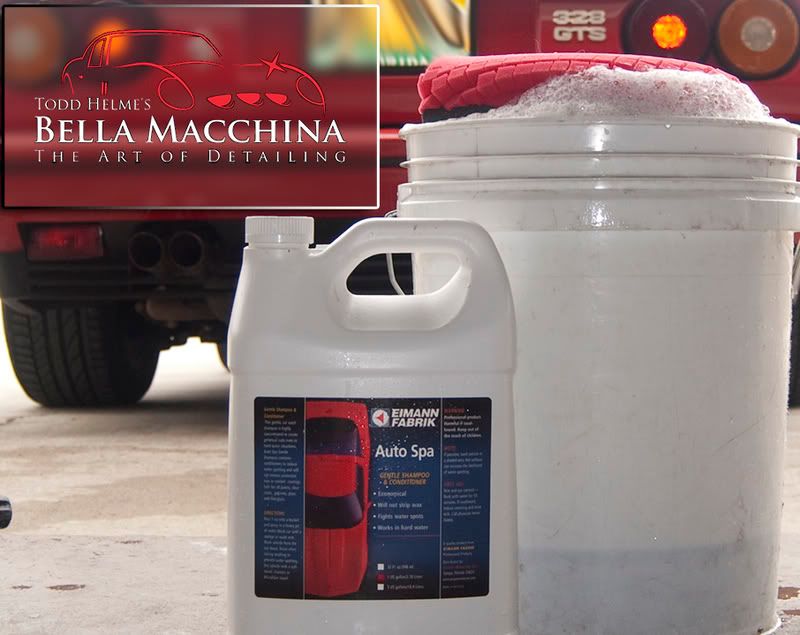
-Wash front trunk and hood, trunk, and door shuts using a combination of Eimann Fabrik Auto Spa car soap and Eimann Fabrik Hi-Intensity Cleaner, agitated with various sponges, as well as a Swissvax Wheel Brush and Meguiars' Slide Lock Brush, then rinse clean
-Wash body and exterior using the two bucket method (with grit-guards â„¢ ) using a Lake Country Red Foam cross cut mitt and Eimann Fabrik Auto Spa car soap then rinse clean with Karcher 1800 psi filtered with de-ionized water.
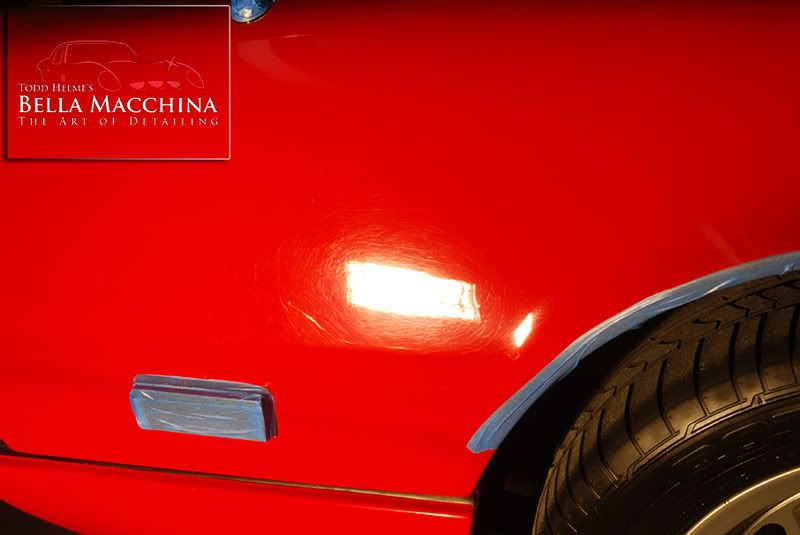
-Clay the paint using Blackfire Polyclay II, using the supplied Blackfire Clay Lube while vehicle is still wet. The lower panels where particularly contaminated, in which case I substituted Clay Magic Red Medium clay for a more aggressive cut.
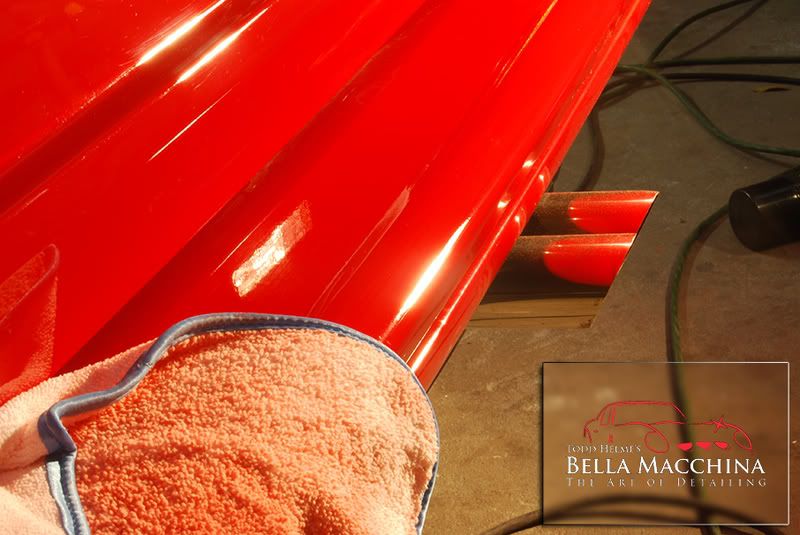
-Dry vehicle with a Black Baron Air blower and two Big Blue Microfiber Waffle Weaves
-Wipe paint and glass with a 70/30 mix of 91% Isopropyl Alcohol
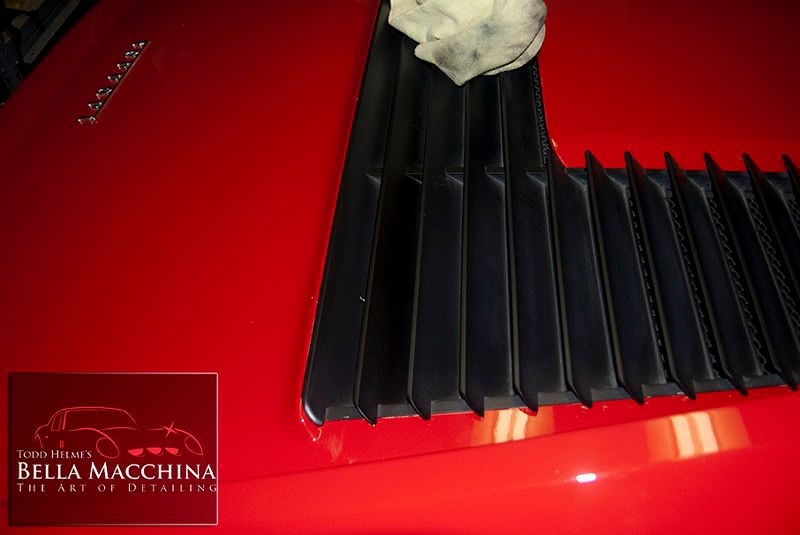
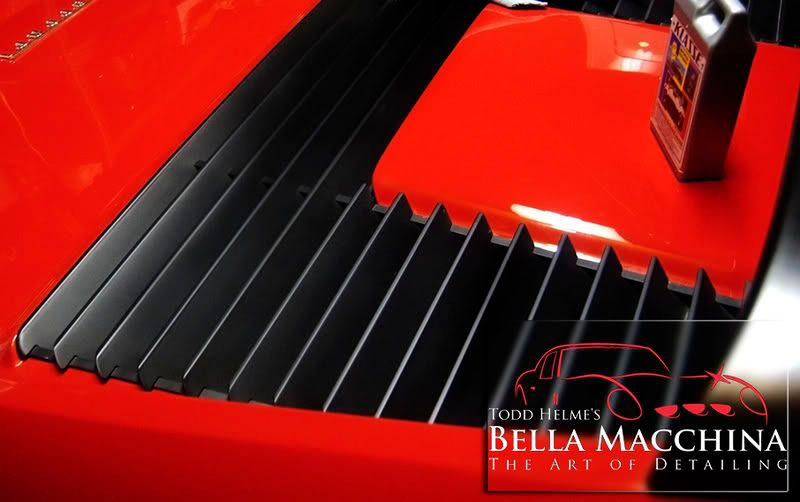
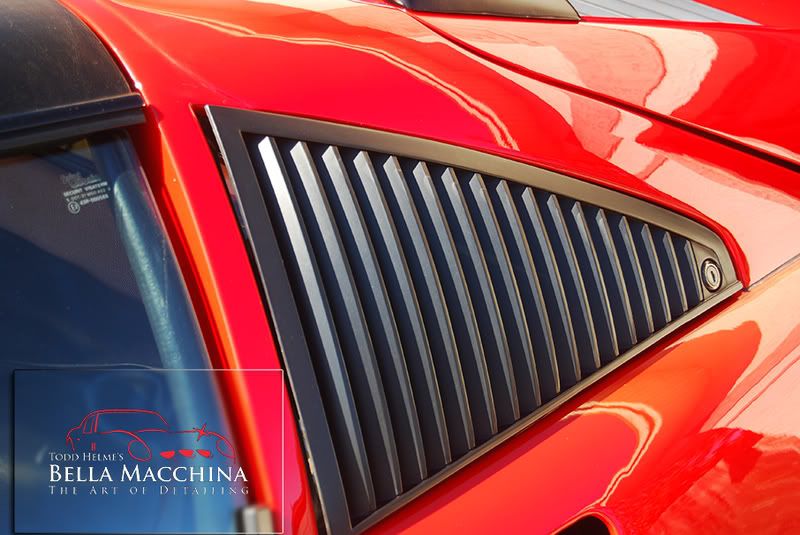
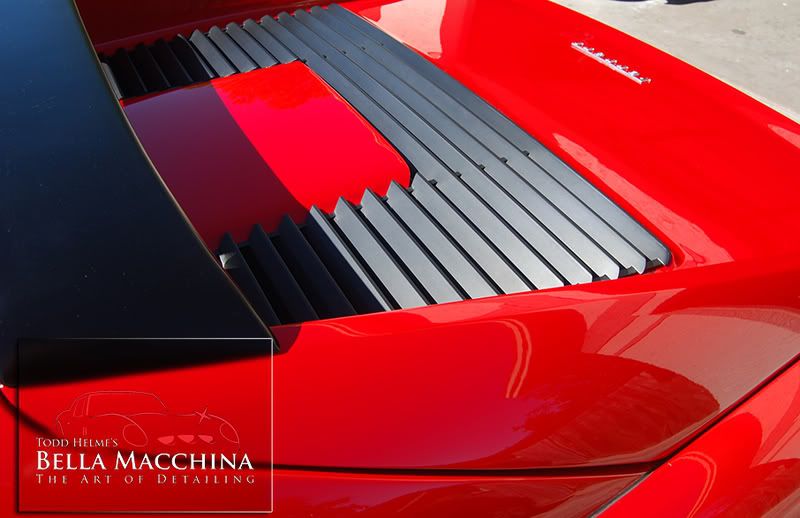
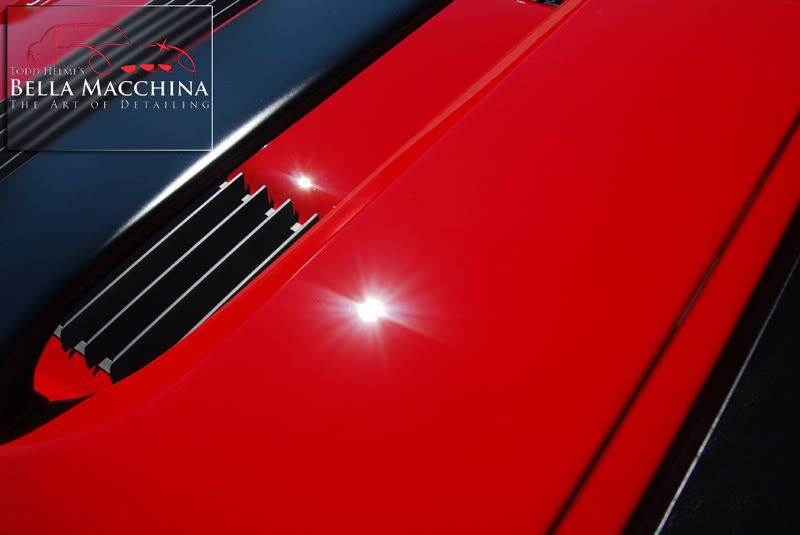
-Clean and remove oxidation from black trim such as the window vents and rear engine covers using Klasse AIO-Clay wheels with Clay Magic Red Medium Clay with Meguiars' Last Touch 1:1 for lube
-Polish wheels by hand using M105 and a Lake Country Orange Foam finger pad, then finish by hand using M205 and aLake Country Green Foam finger pad.
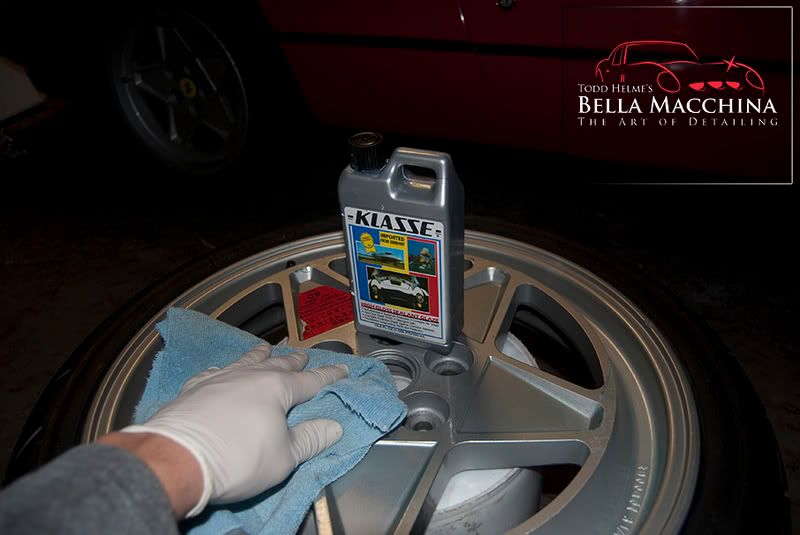
-Clean wheels (including spare) with Klasse AIO.
-Clean interior glass with Eimann Fabrik Clear Vision II, then pre-seal with Klasse AIO
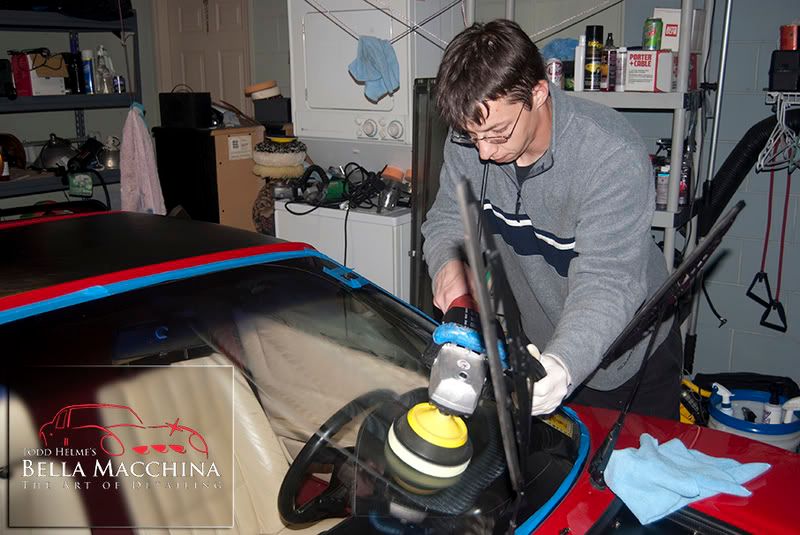
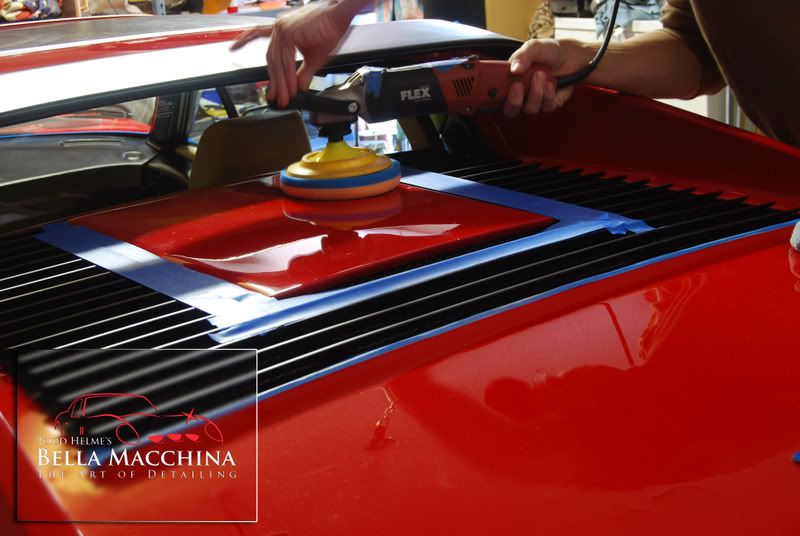
-Polish front windshield using Lake Country Felt Cutting pads and Lake Country Yellow Glass Pad using FlexLK603BBV rotary polisher with Lake Country Glass Polish, removing wiper tracks and very light pitting
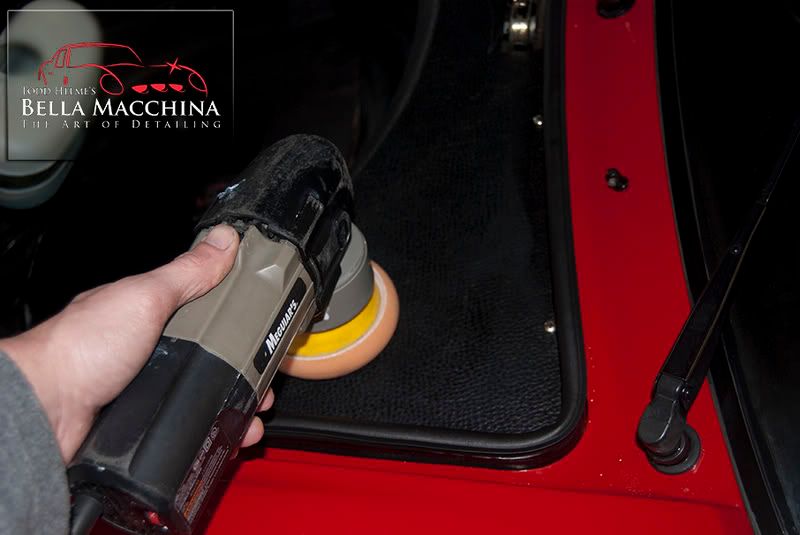
-Polish interior trunk plastic with Klasse AIO on a Lake Country Orange CCS pad using a Meguiars' G100 (Porter Cable 7242)
-Treat wheels, interior glass, plastic, trim, and front engine cover with Klasse Sealant Glaze
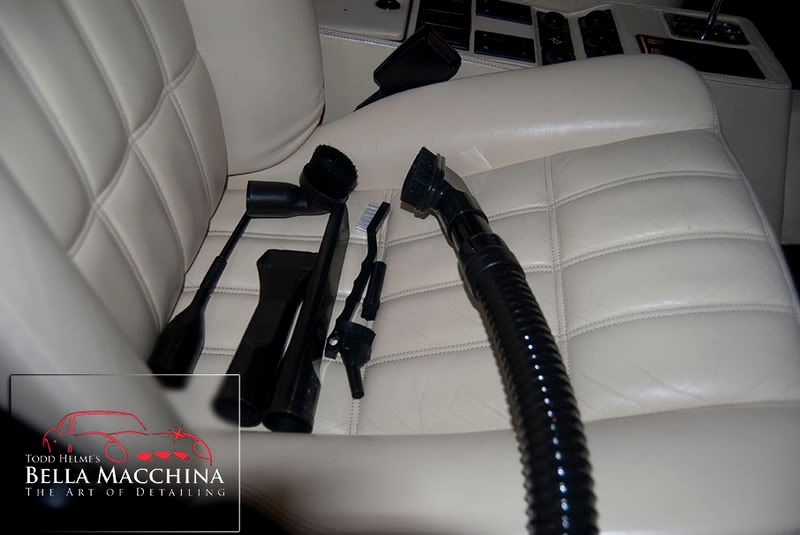
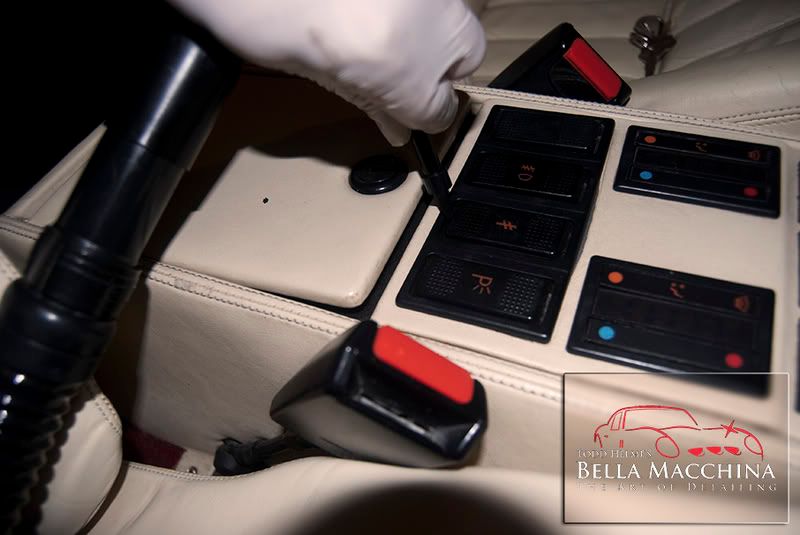
-Blow out interior cracks and crevices using MetroVac Vac'n'Blow on blow mode with a venturi attachment.
-Vacuum entire interior using MetroVac Vac'n'Blow and various attachments.
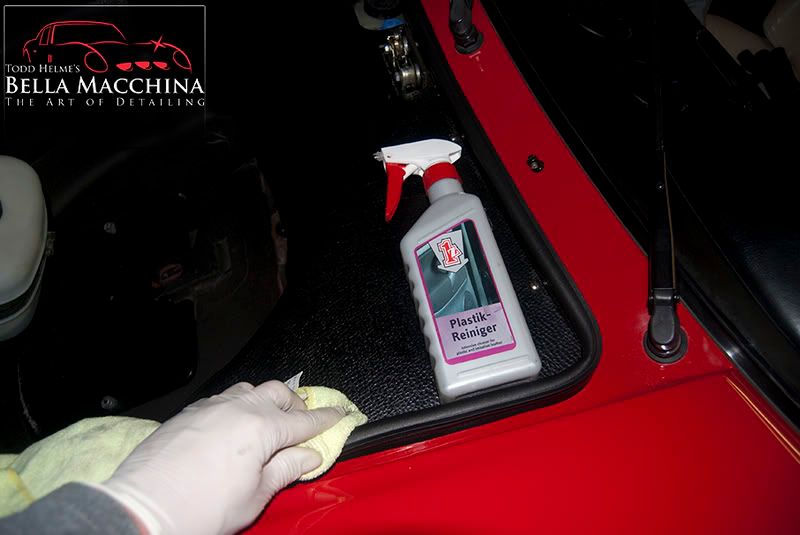
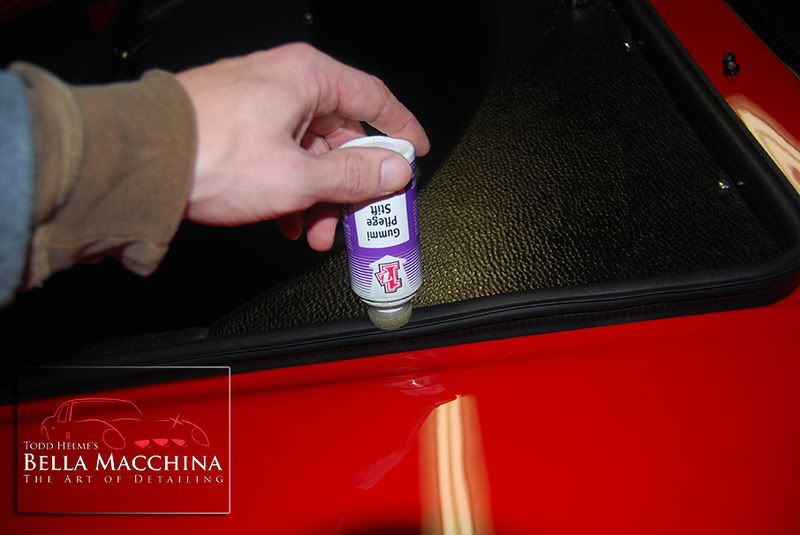
-Clean interior plastics, dead pedal, and door shut and trunk shut weather stripping with 1Z Plastik Reiniger
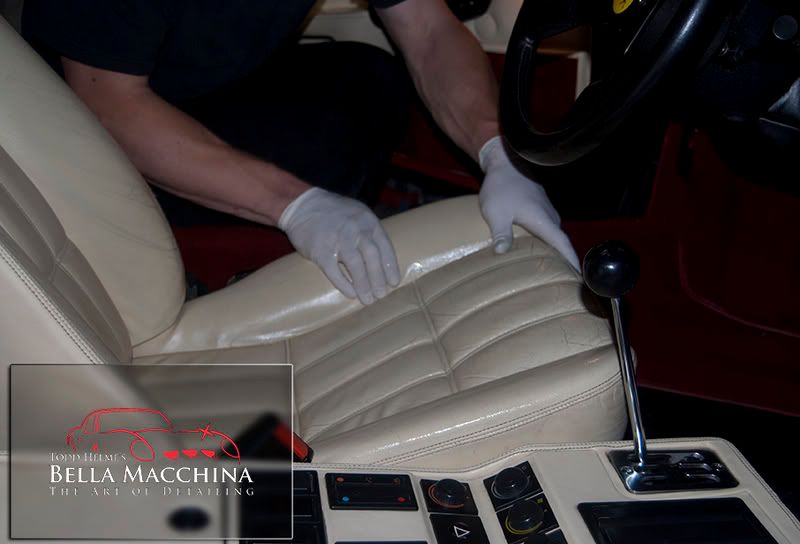
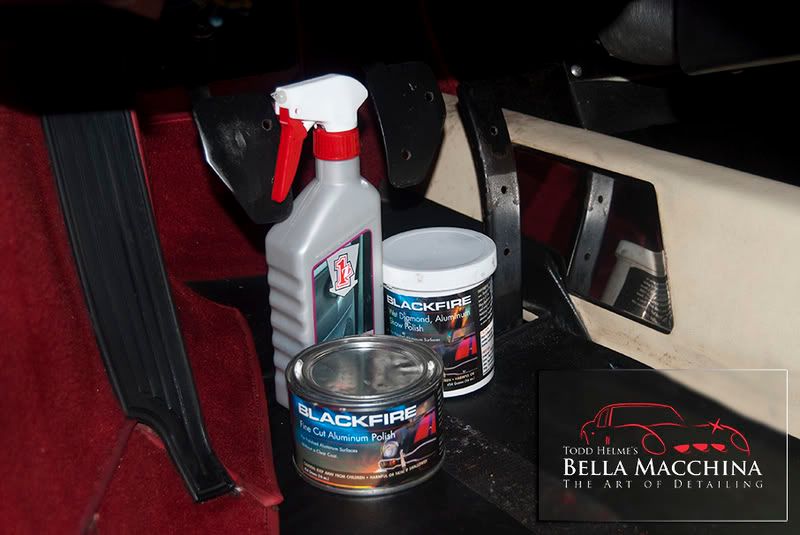
-Polish interior metals (shift gate, shift lever, and gas pedal side plate) with Blackfire Fine Cut Metal Polish and Blackfire Wet Diamond Show Polish, topped with Blackfire All Metal Sealant
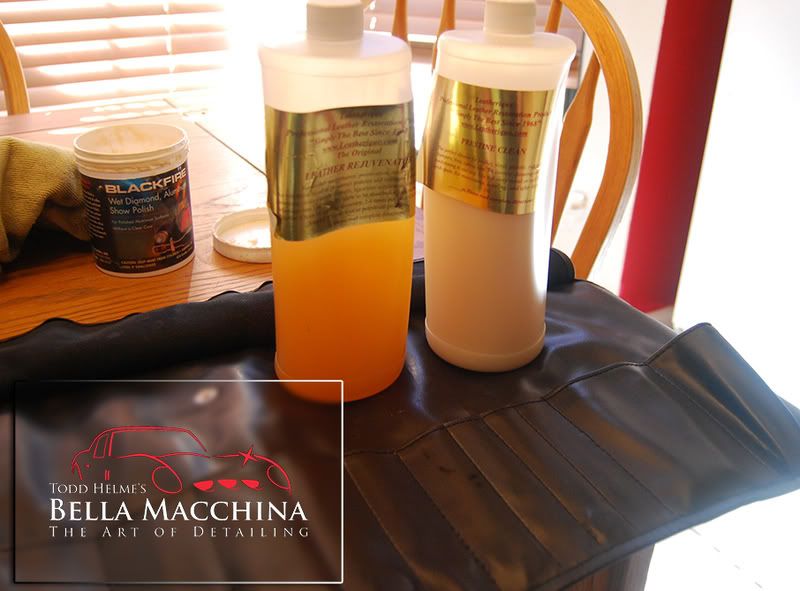
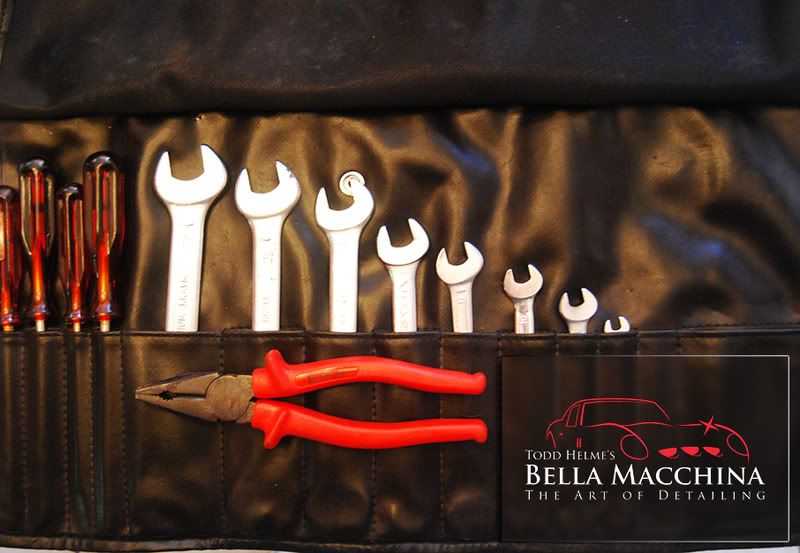
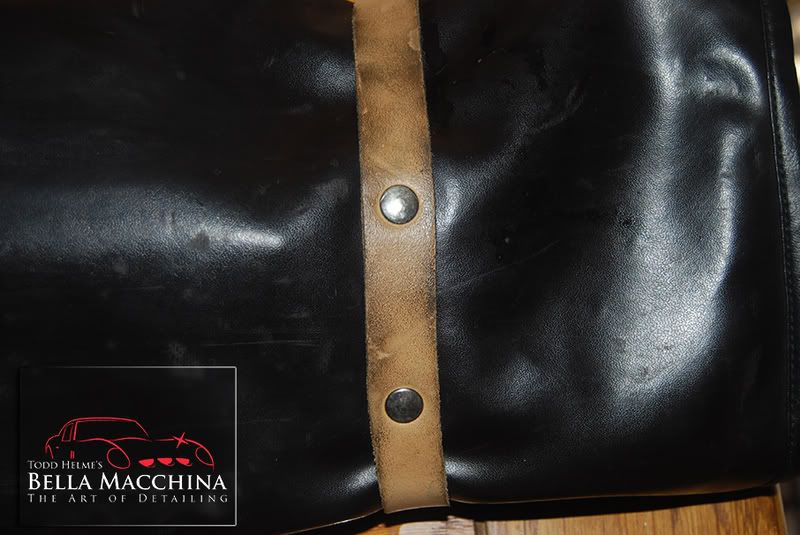
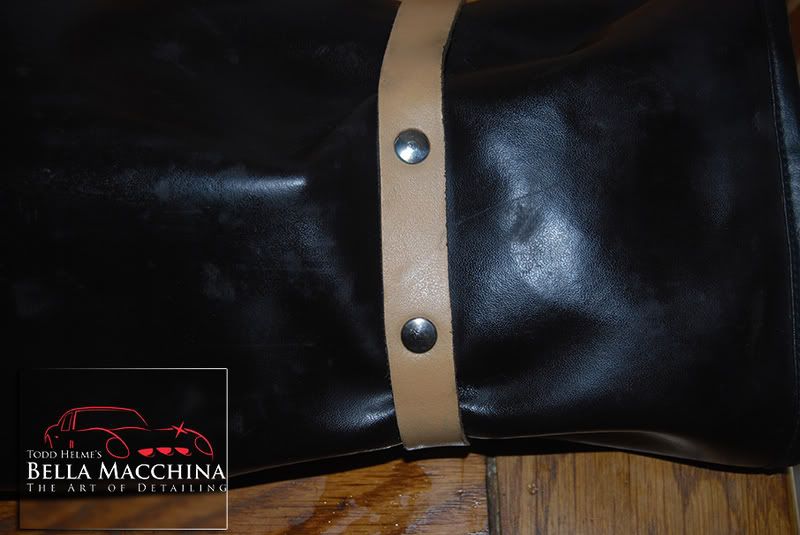
-Hand apply Leatherique Rejuvinator Oil to all interior hides. I also applied Rejuvinator Oil to both tool cases and the Targa Top leather case and set them in a black plastic bag to soak in the sun for the three days.
-Apply two coats of Eimann Fabrik Black Sapphire Tire Gel to tires
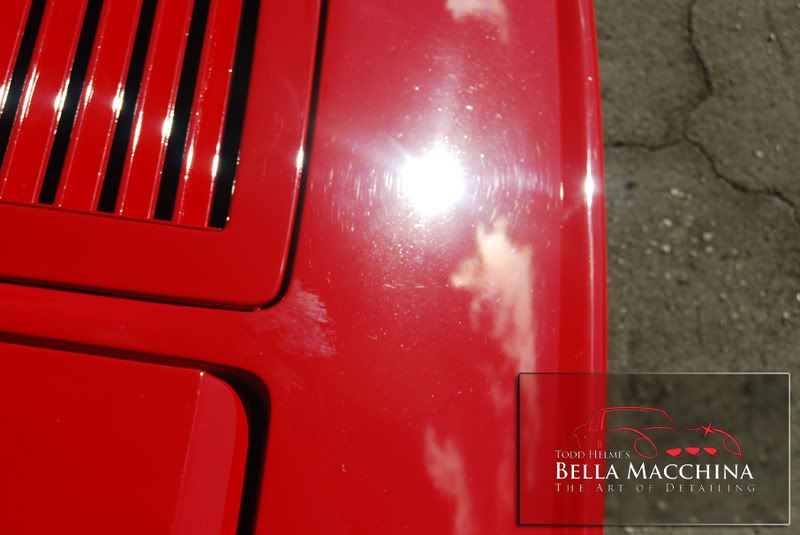
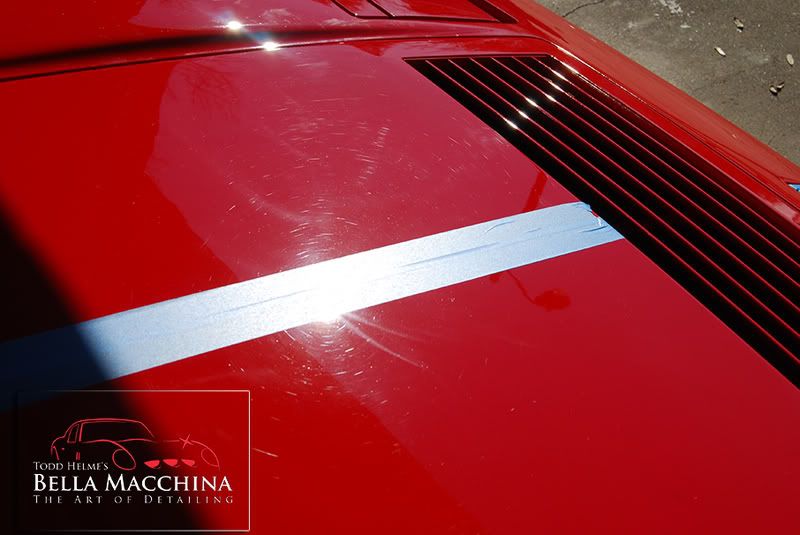
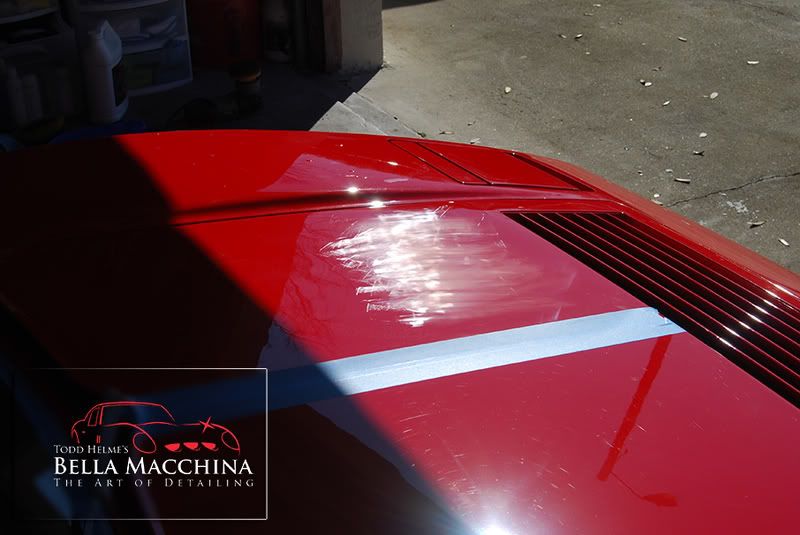
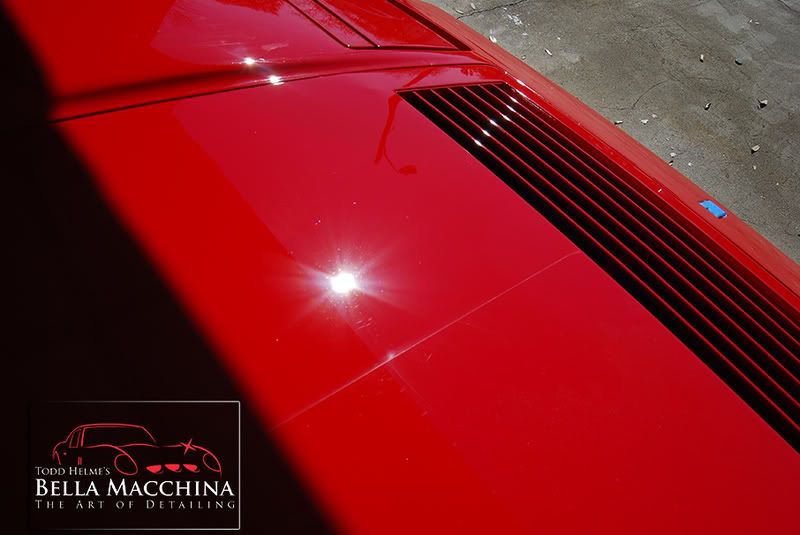
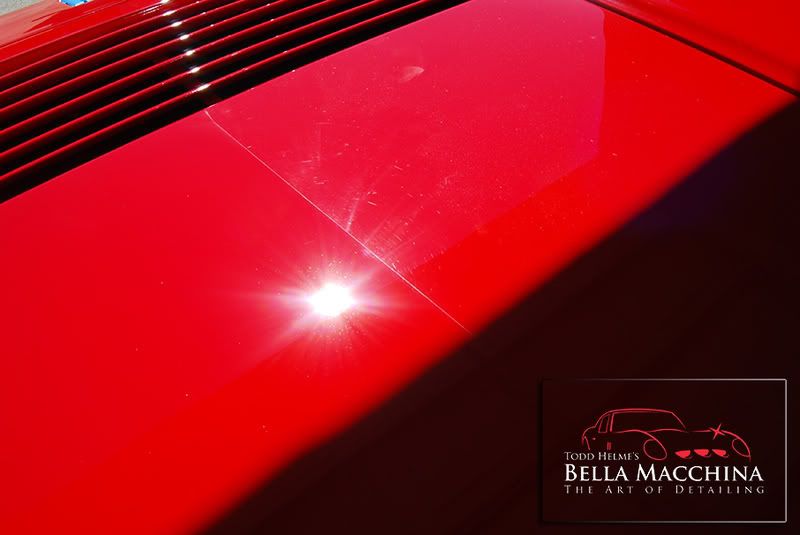
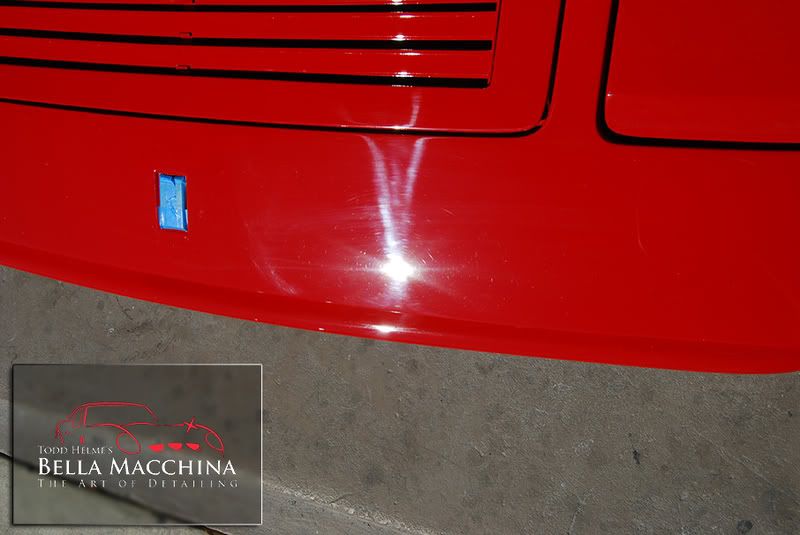
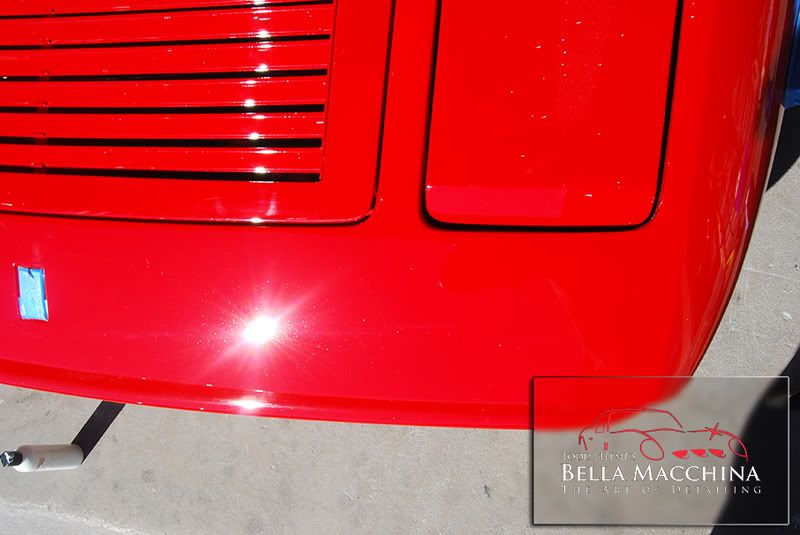
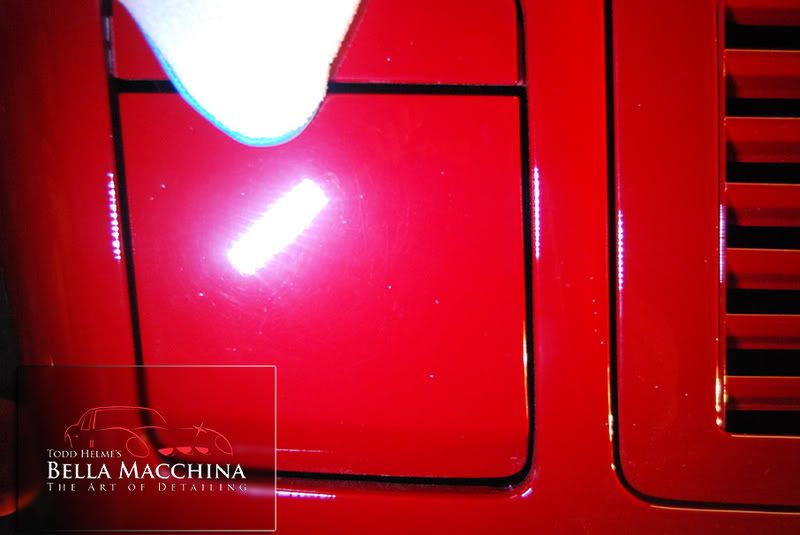
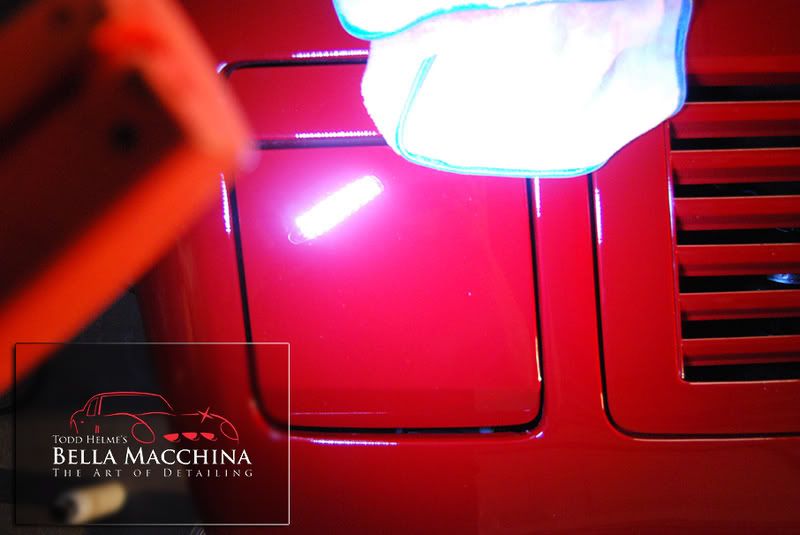
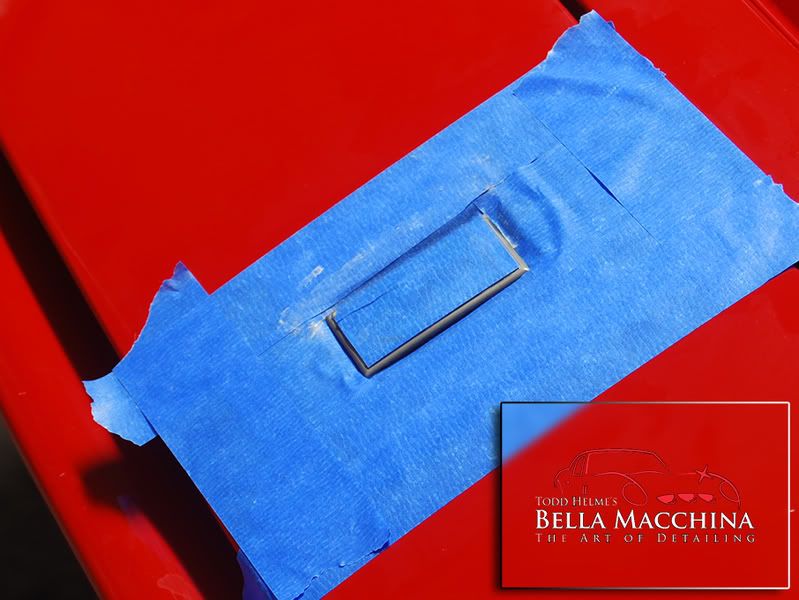
-Tape Ferrari for paint enhancement and restoration.
Day One Pictures.
The opening chapter of this detail began with a thorough pre-rinse of the Ferrari using pressurized de-ionized water.
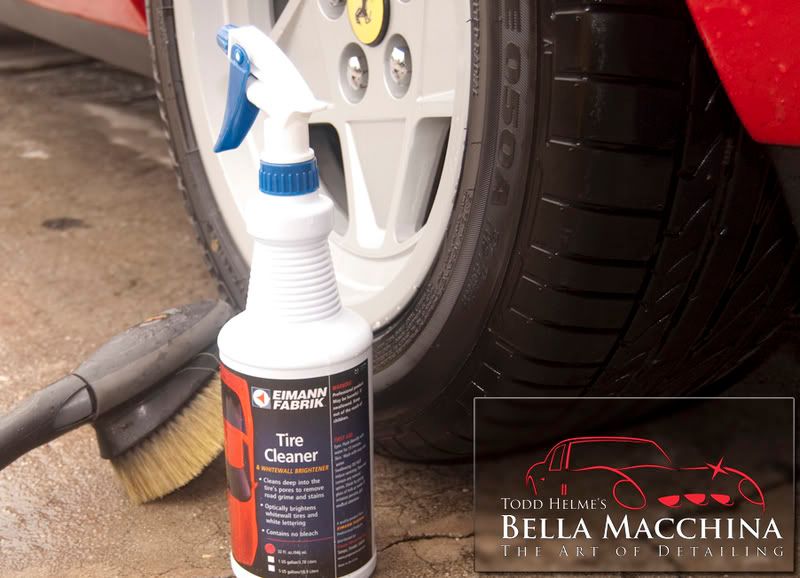
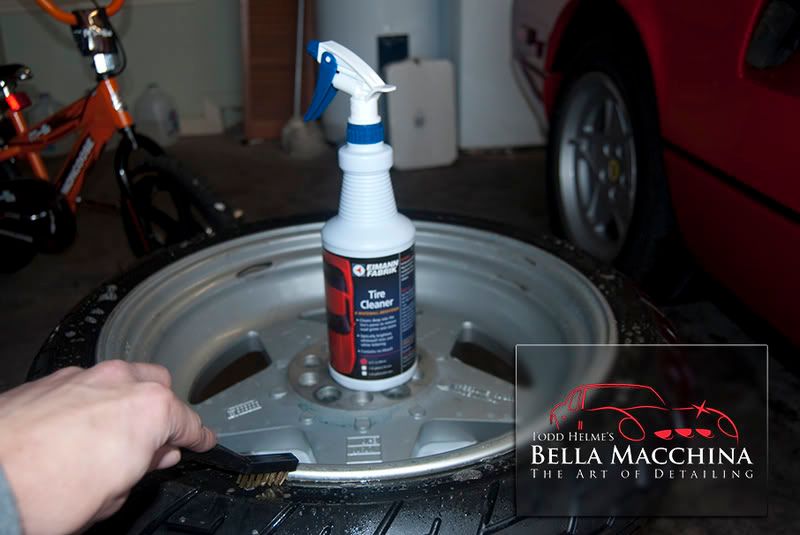
I generally start with the smaller, more time consuming areas first. The tires where scrubbed with Eimann Fabrik Tire Cleaner (a favorite of mine, and what turned me on to the entire line) using a Meguiars' Tire Brush.
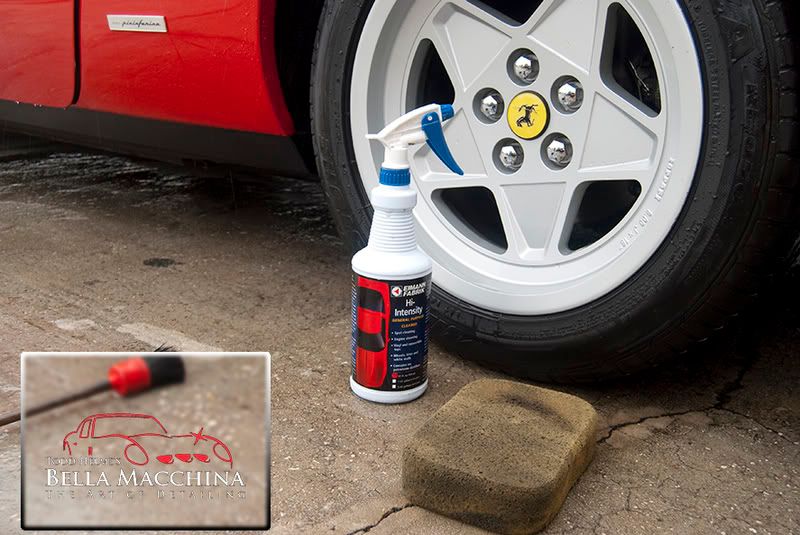
I worked each area one at a time, using Menzerna 7.5 Wheel and Tire gel for the wheels and Eimann Fabrik Hi-Intensity Cleaner for the wheel arches.
The body was then washed with Eimann Fabrik Auto Spa and a two bucket method. After rinsing clean I wasn't in a rush to dry this Ferrari as it was lightly raining outside and I was planning on claying when wet.
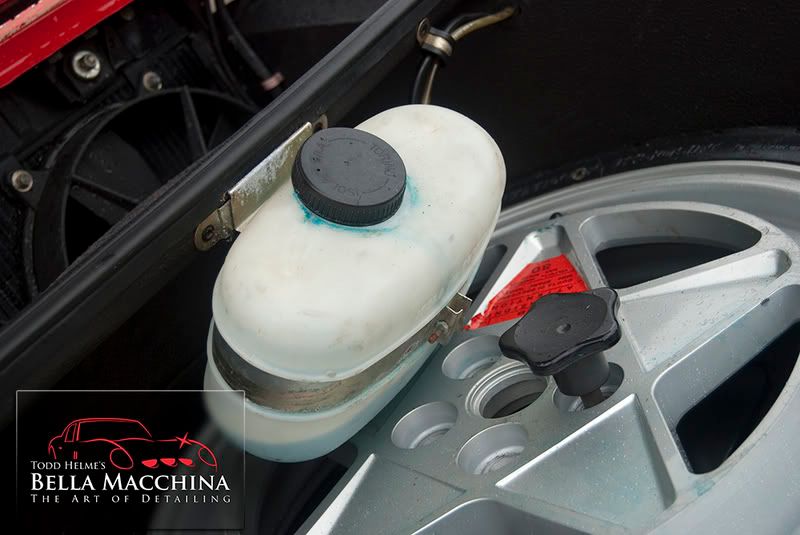
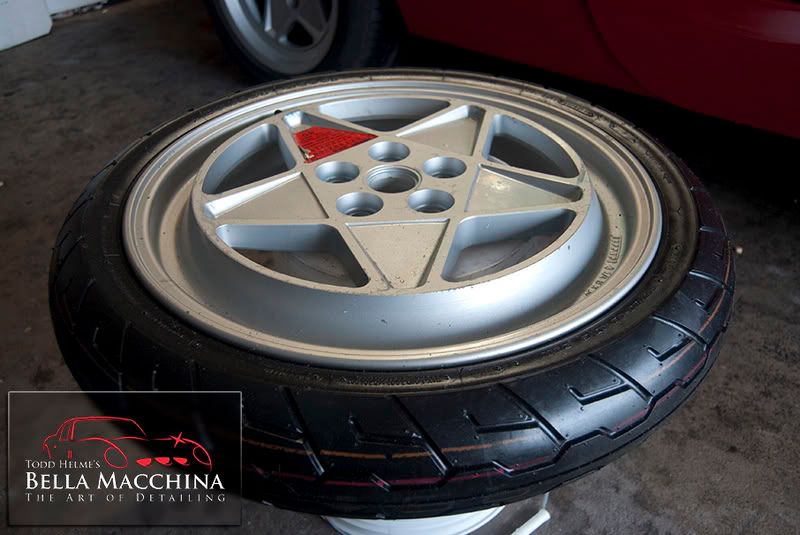
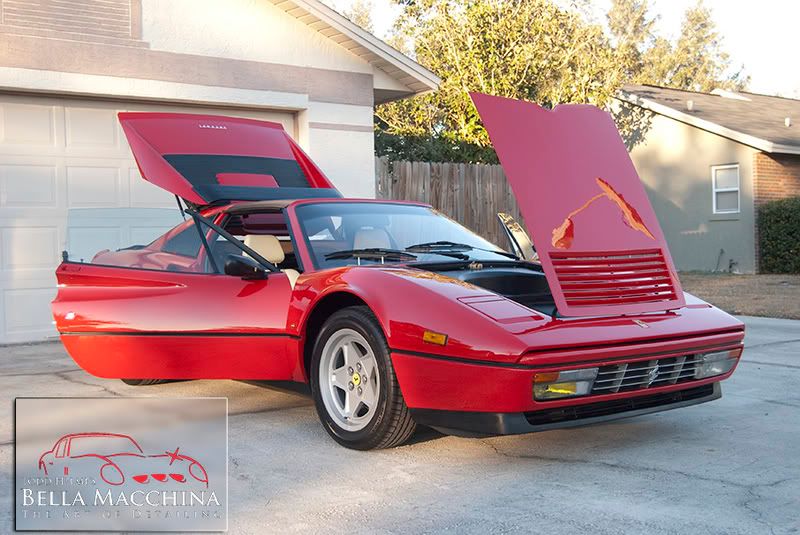
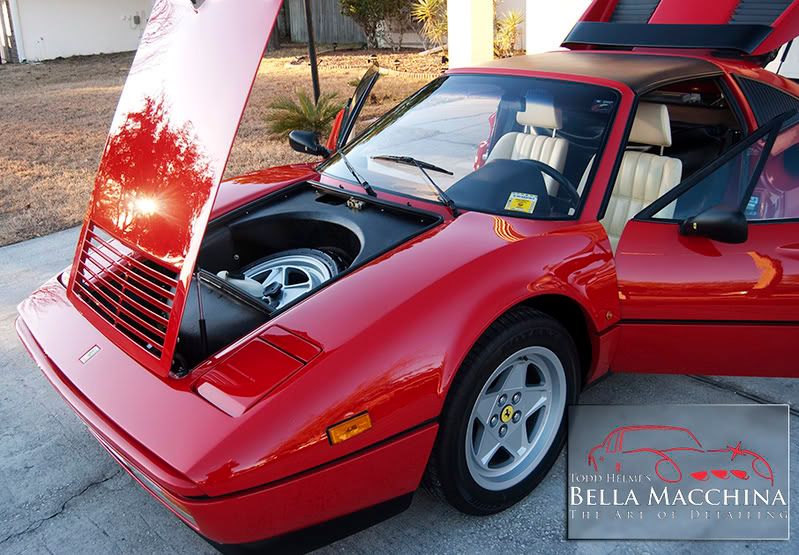
The front trunk area gets pretty dirty as several vents allow water and road prime to enter. The spare wheel also appeared soaked in some old dressing that was still greasy, yet flaked away when scrubbed with a fingernail!
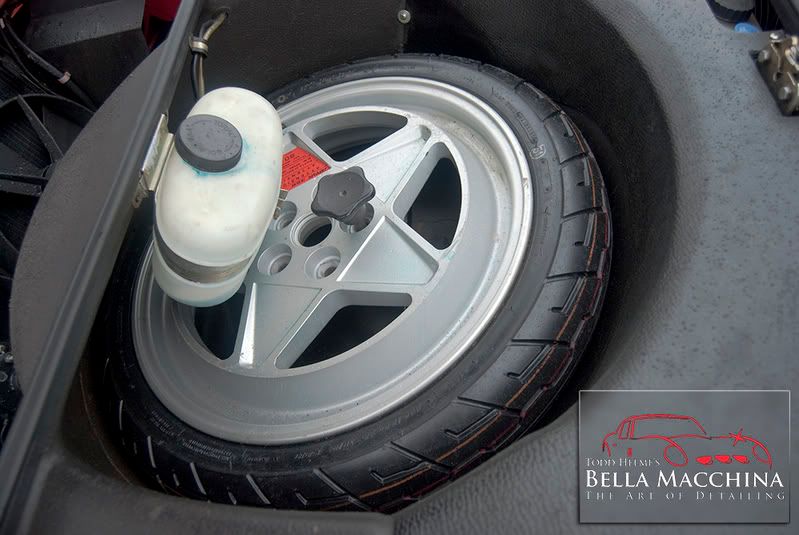
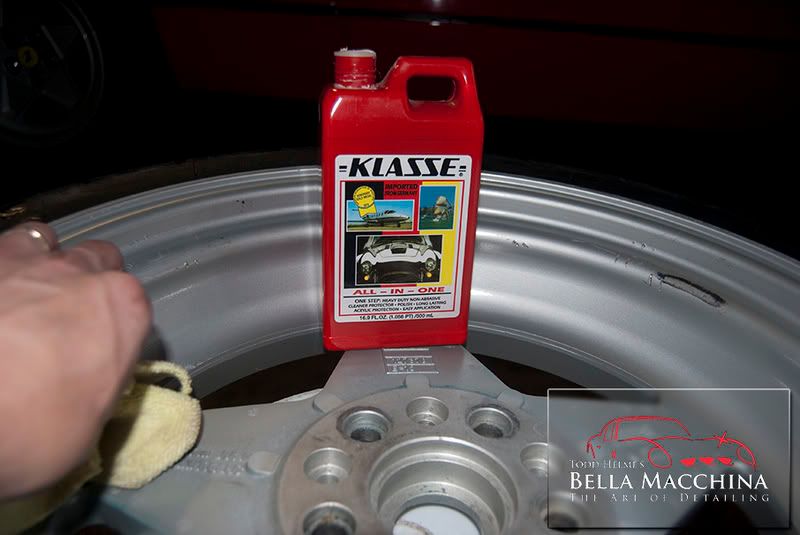
After removing the spare wheel and tire, I pressure rinsed the front trunk area and radiator area in front of the trunk. I then cleaned all the surfaces with Eimann Fabrik Hi-Intensity cleaner using a Swissvax Wheel Brush.
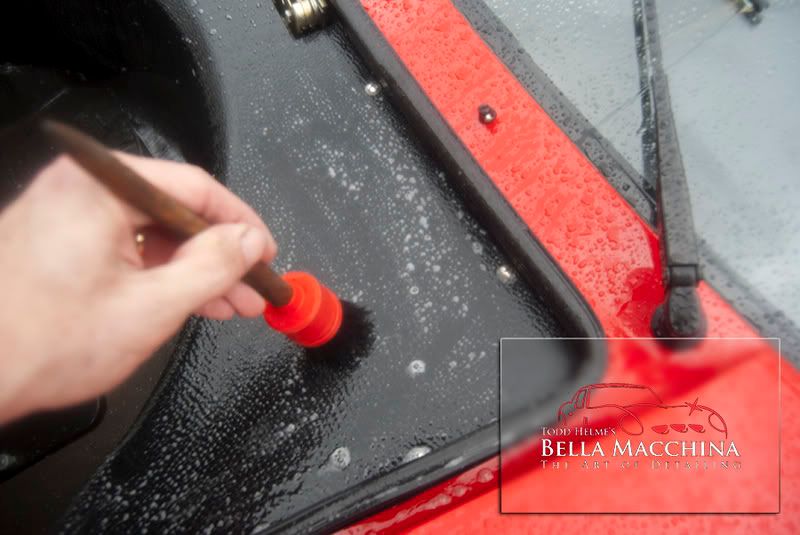
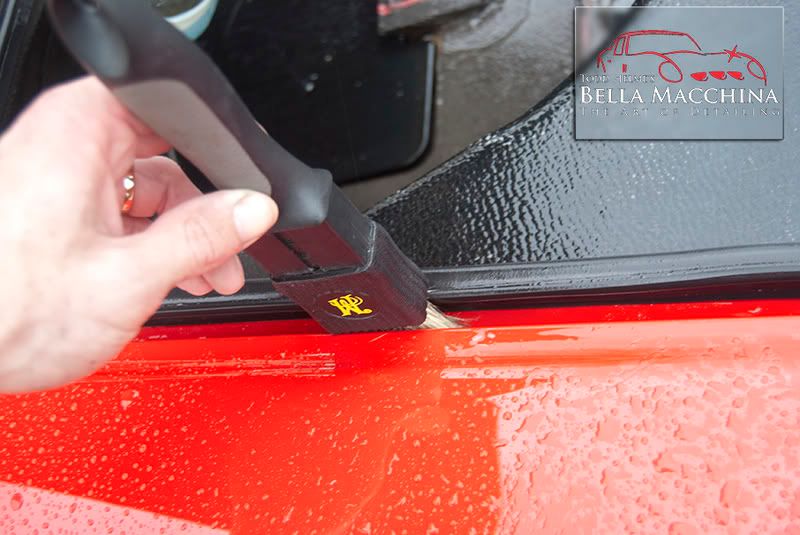
A Meguiars' Slide Lock Brush worked perfectly for cleaning the narrow jambs of the trunk and engine covers.
A q-tip came in handy for more out of the way spots, such as this headlight raiser arm tucked underneath the trunk area

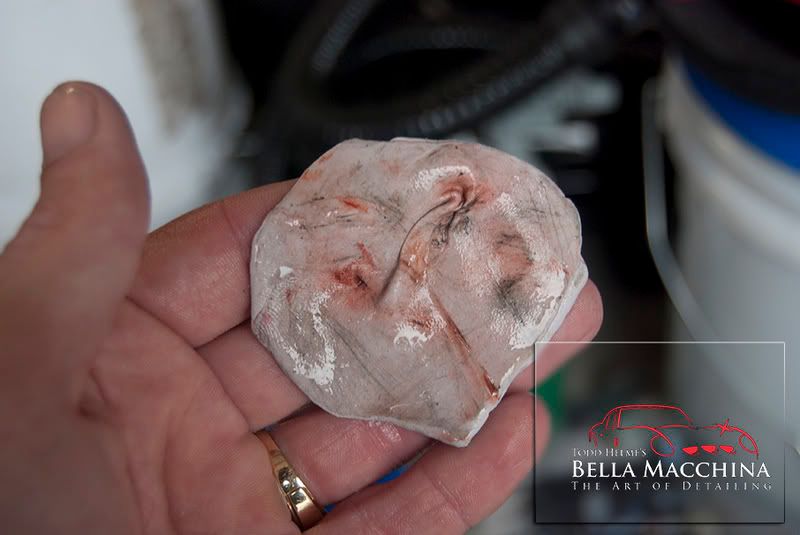
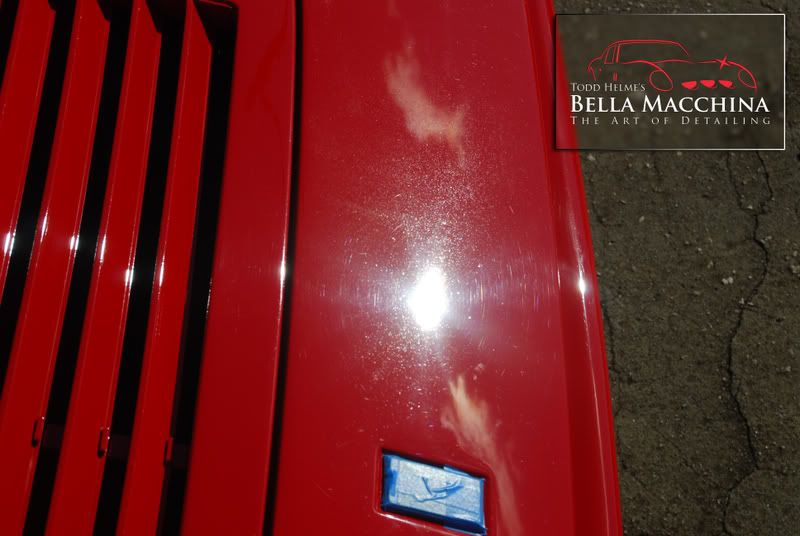
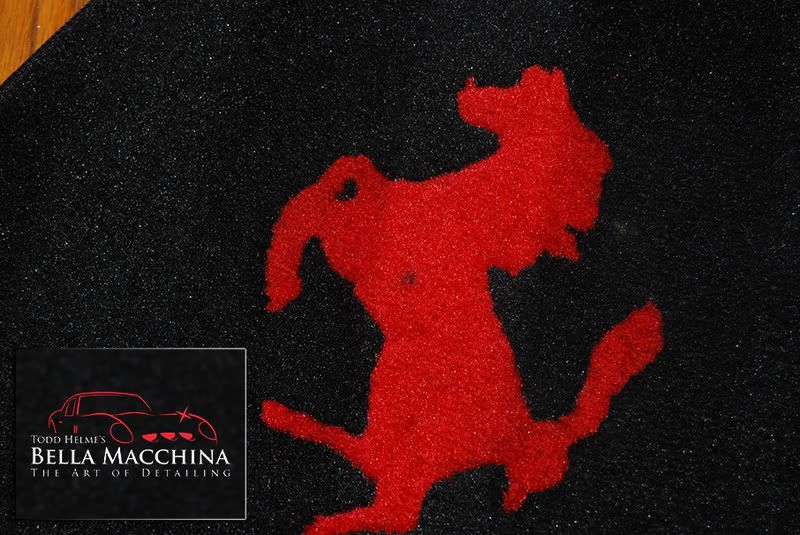
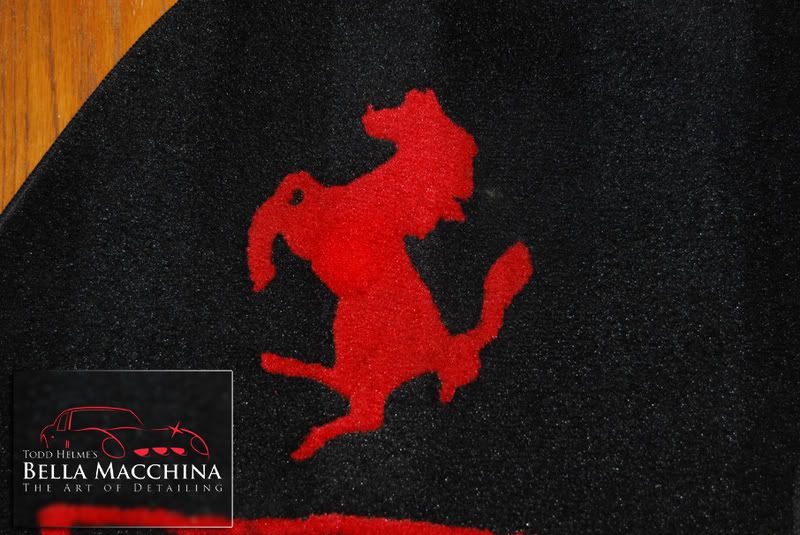
I clayed the Ferrari while it was still wet. I was surprised by the large amounts of contamination that the Blackfire Polyclay II was picking up, this picture resulting from just ¼ of the hood!
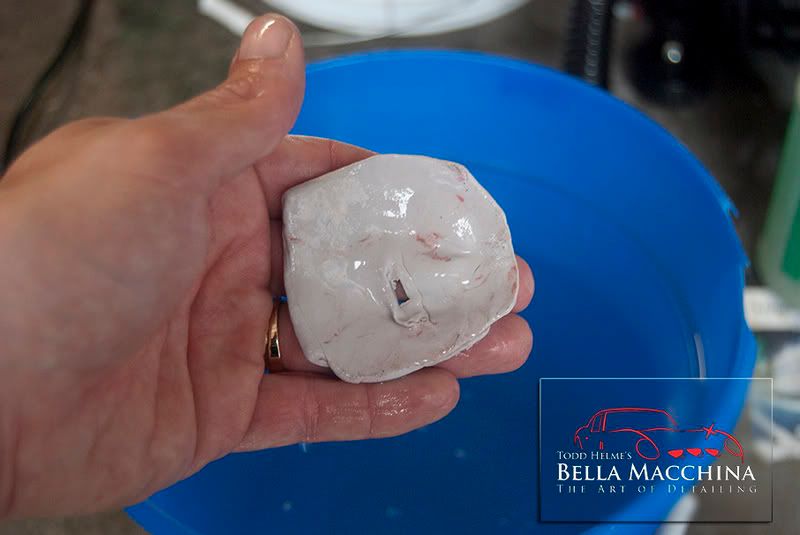
At this rate I was going to chew through clay fairly quickly. Blackfire makes an excellent product called Clay Bar Extender which is sprayed on to the contaminated face of the clay, then rubbed in with your fingers. A quick rinse in a bucket of water removed 95% or more of the contamination on the clay's face, which means that I am not folding the grit back into the clay. I was able to fully clay the entire Ferrari with just this small piece (although rougher patches and the wheels where clayed with Clay Magic's Red Medium Clay).
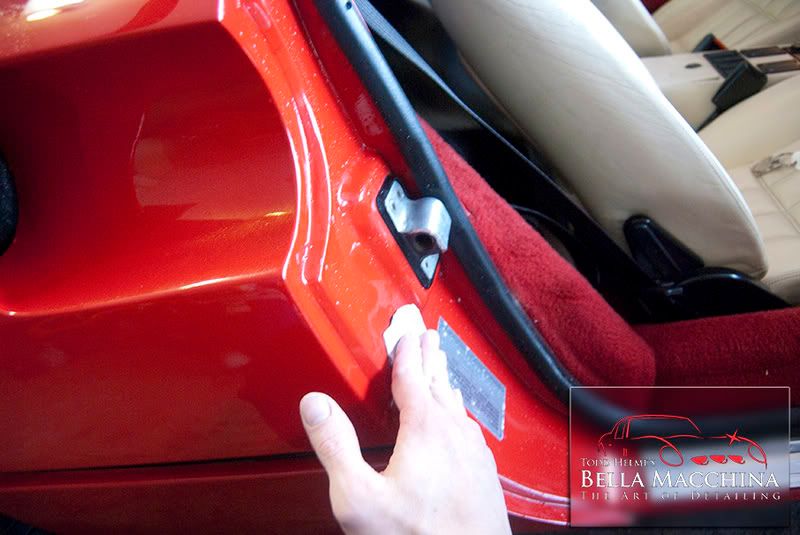
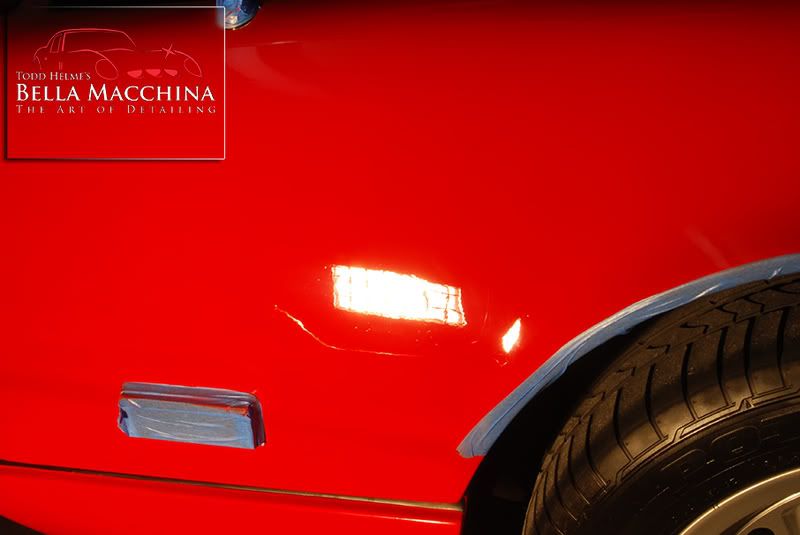
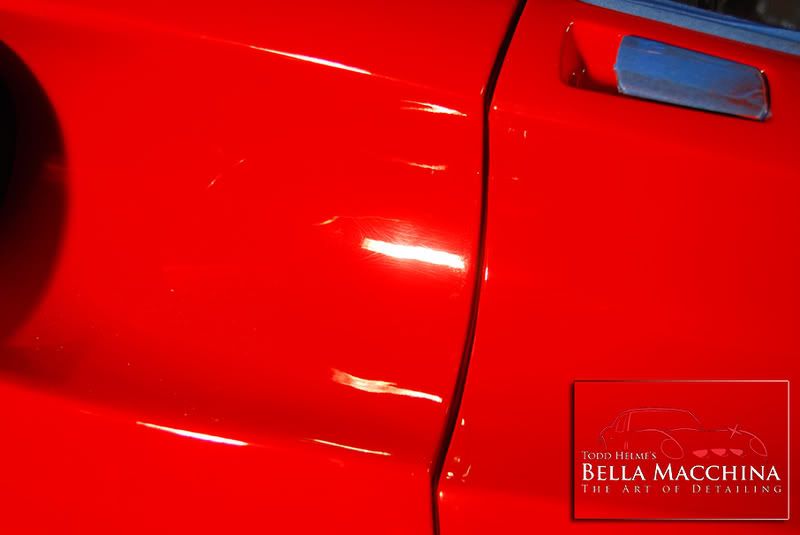
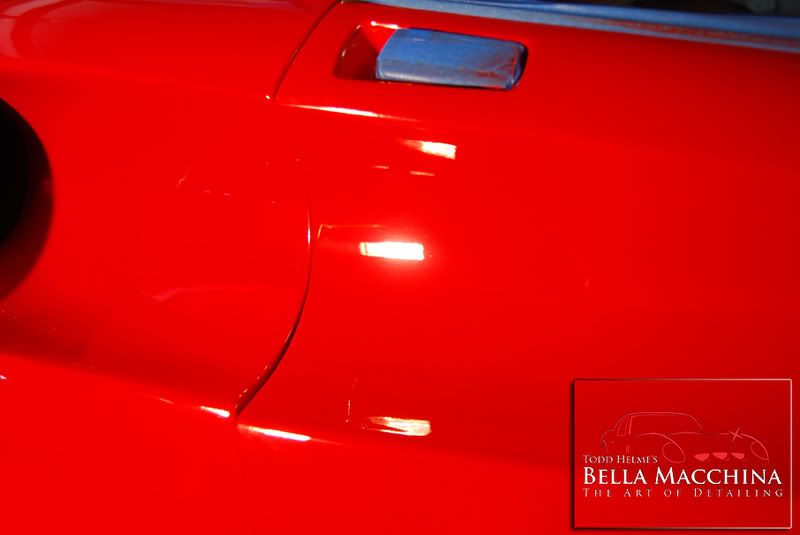
The door shuts even had some minuscule over spray and responded well to claying.
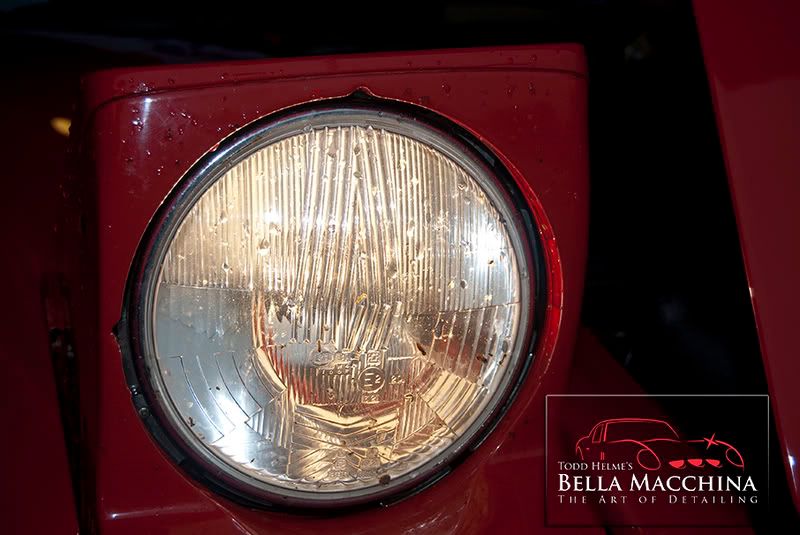
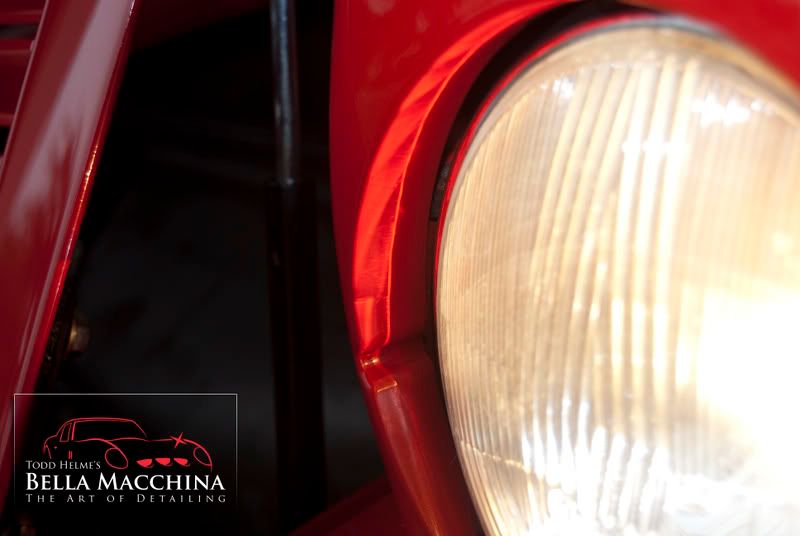
Each section was drying using a Big Blue Waffle Weave towel after claying. I figured now as a good as time as ever to clean the headlights, which looked as if they had done battle with some bugs in Florida's Everglades.
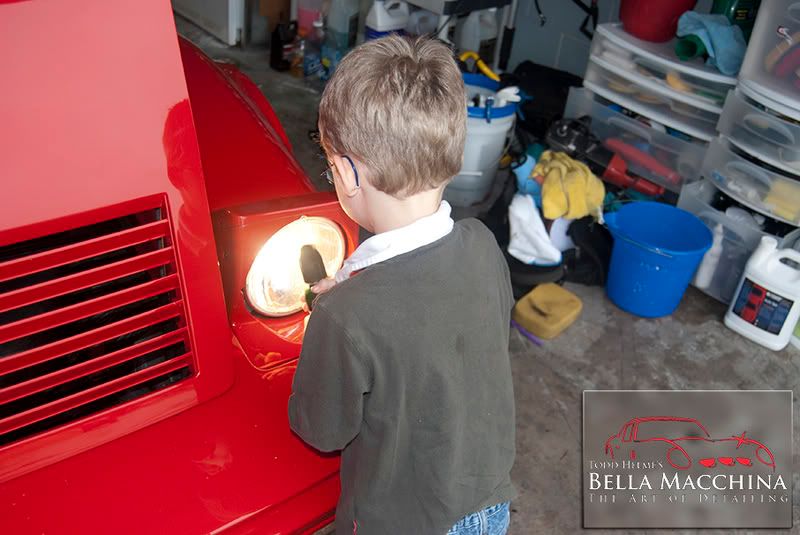
My four year old son joined in on the action, spraying the headlights with Gloss-It Gloss Detailer to help looses some of the bugs.
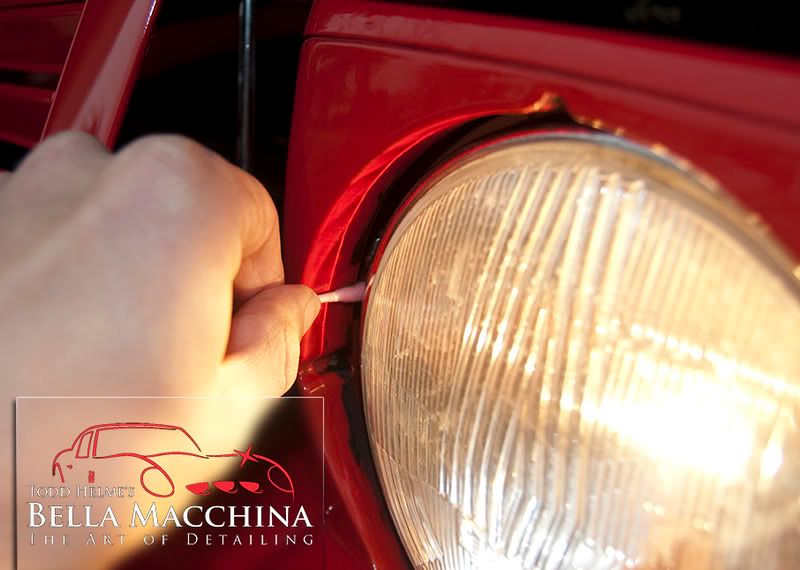
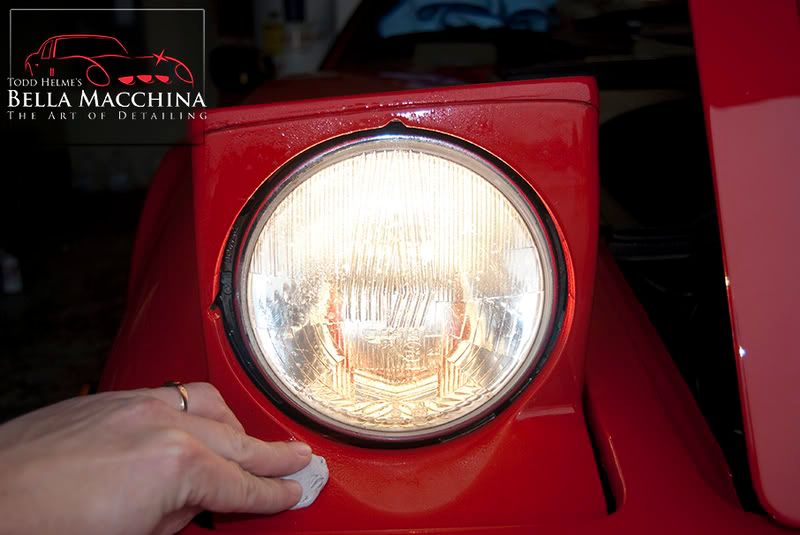
A q-tip and Meguiars Safety Degreaser cleaned up 20 years worth of road gunk from the inner lips, then the headlights and buckets where clayed and cleaned.
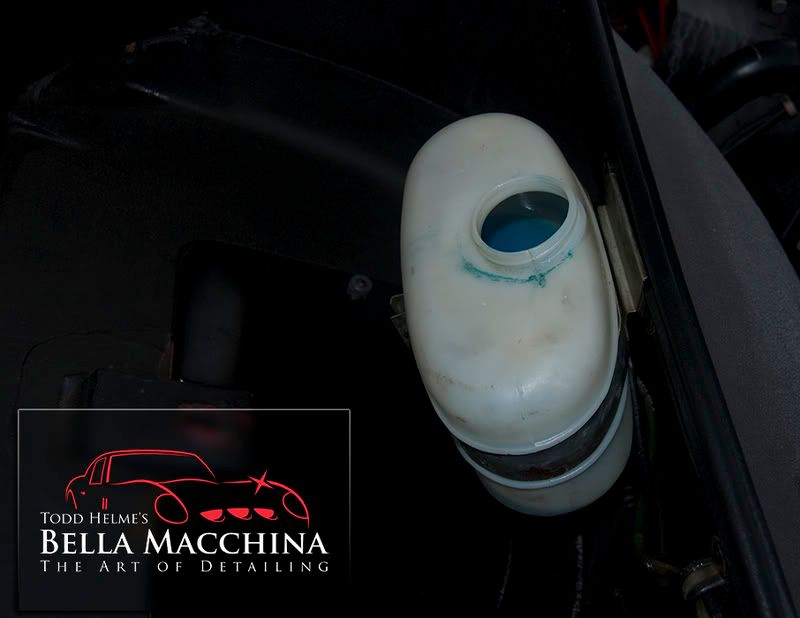
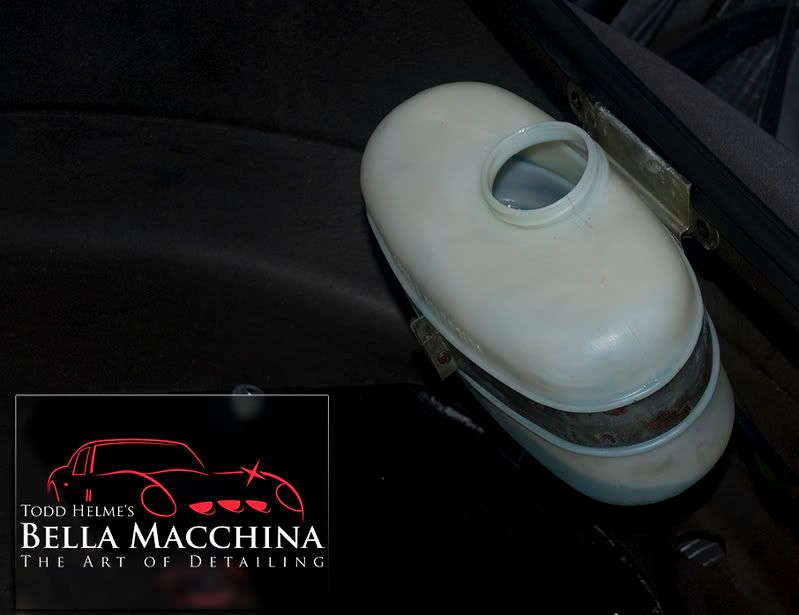
The windshield wiper container had years and years of stained residue. A wire brush and Meguiars' APC made long work of it, slowly removing the staining after a thorough scrubbing.
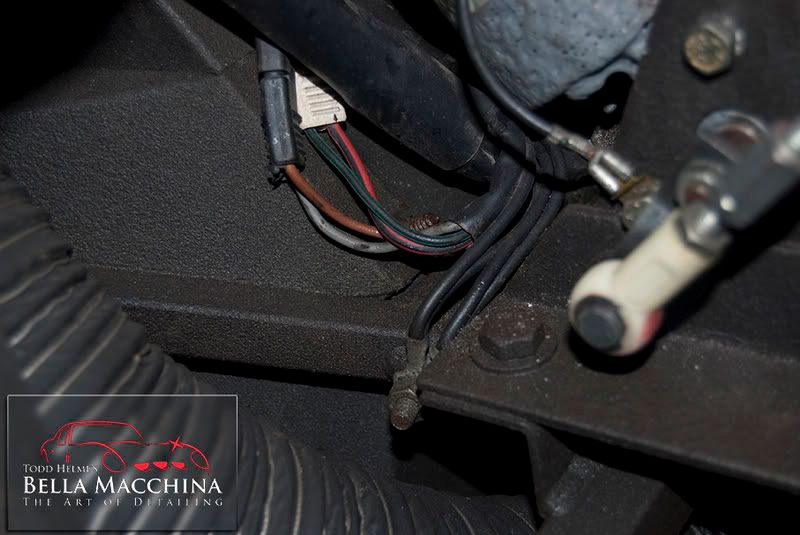
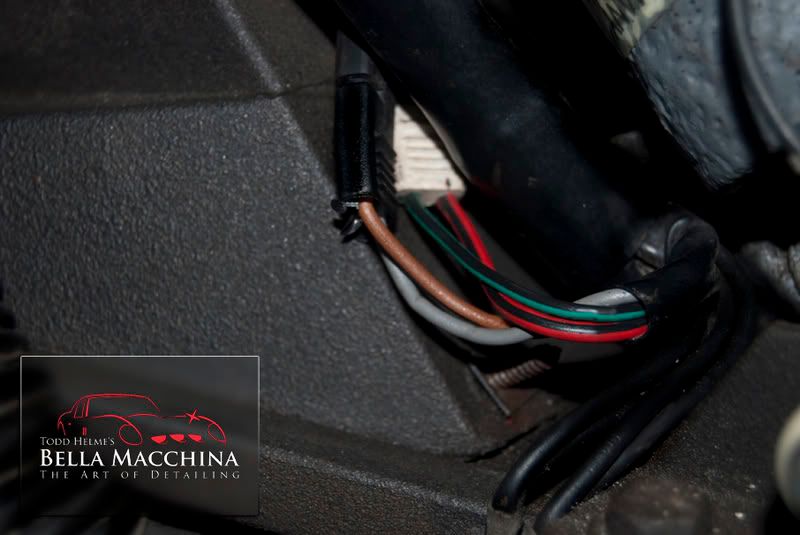
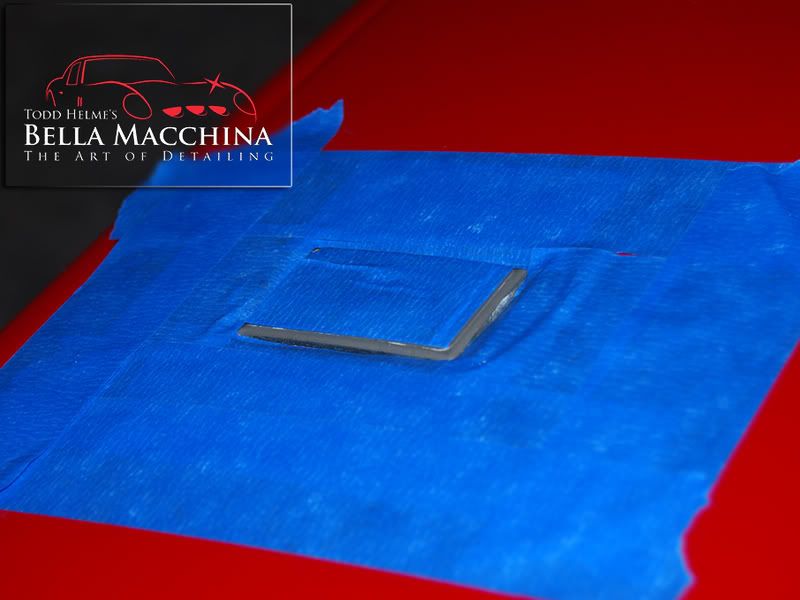
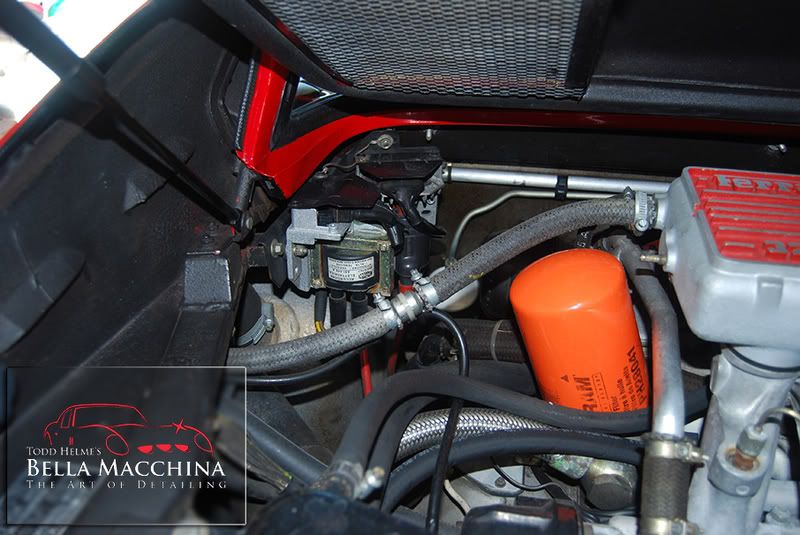
Here is a picture that most eyes will never see as this area, tucked under the head light area is not really visible by the eye. In fact I had to snap photos and inspect the pictures to make sure that all surfaces where clean. The focus on these particular pictures was the wiring harness.
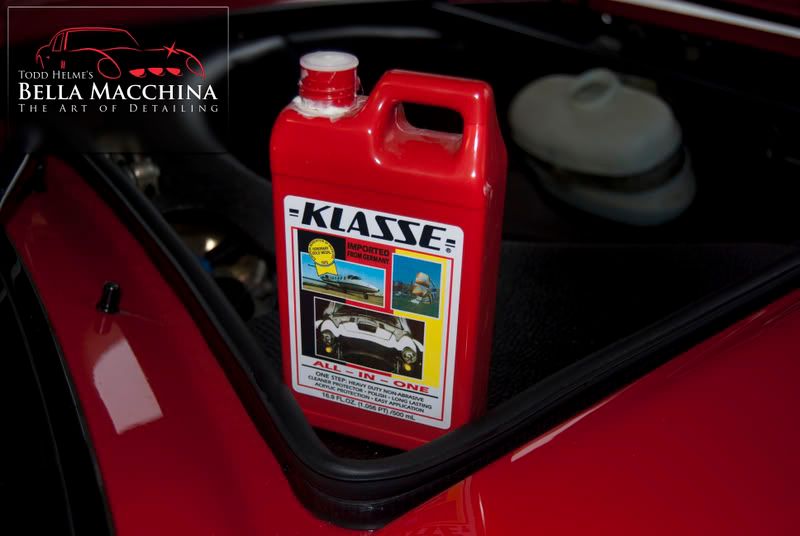
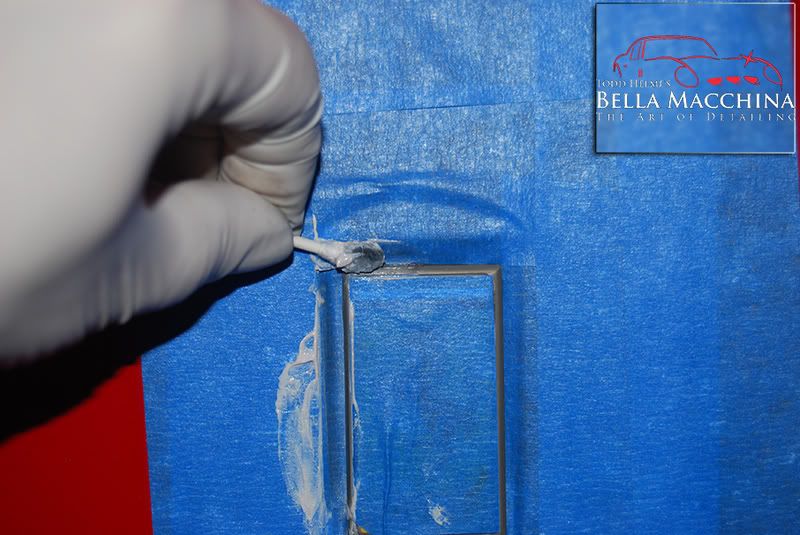
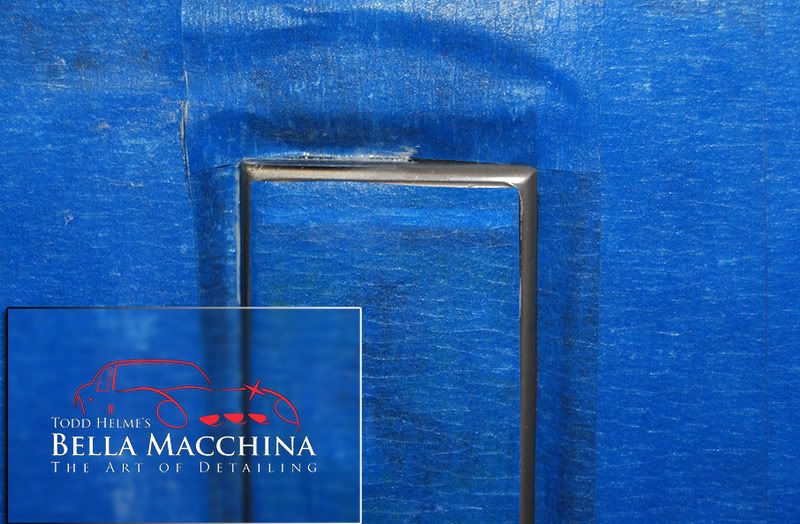
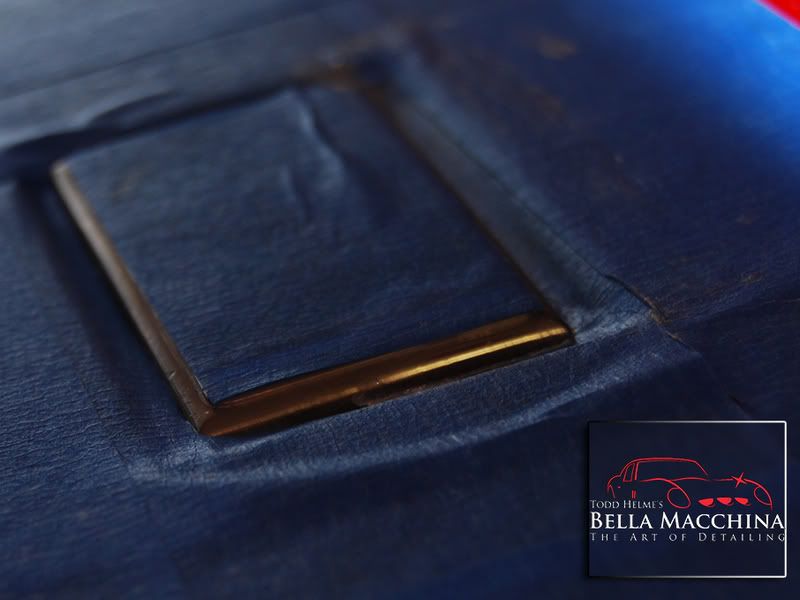
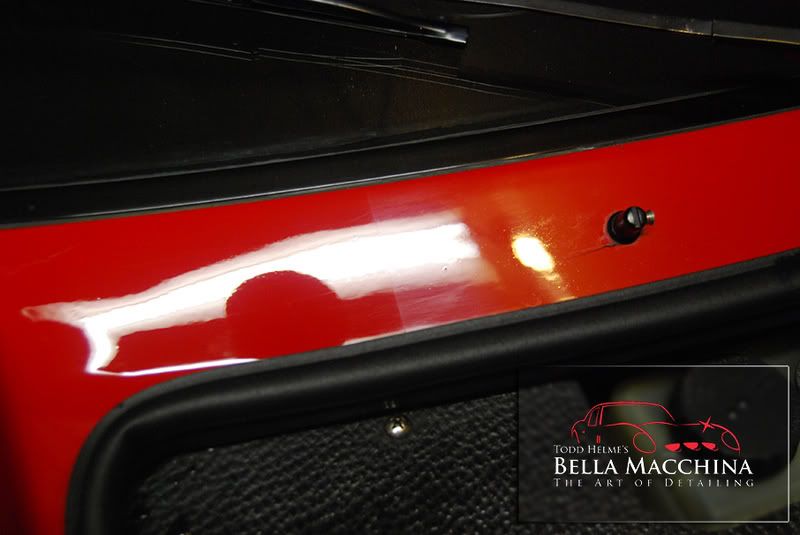
Klasse AIO did an excellent job of chemically removing the semi gray appearance of the black cover and restoring the original, high sheen finish. To me this is in better taste then spraying some tire dressing on the surface and calling it detailed.
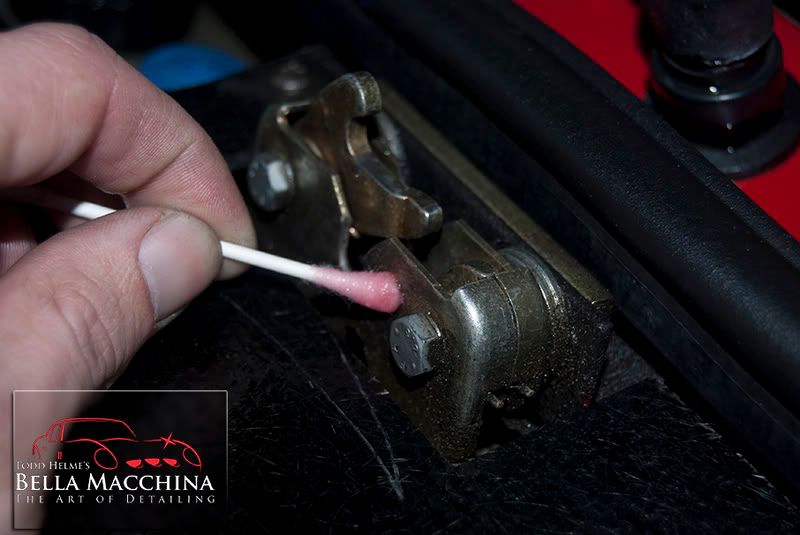
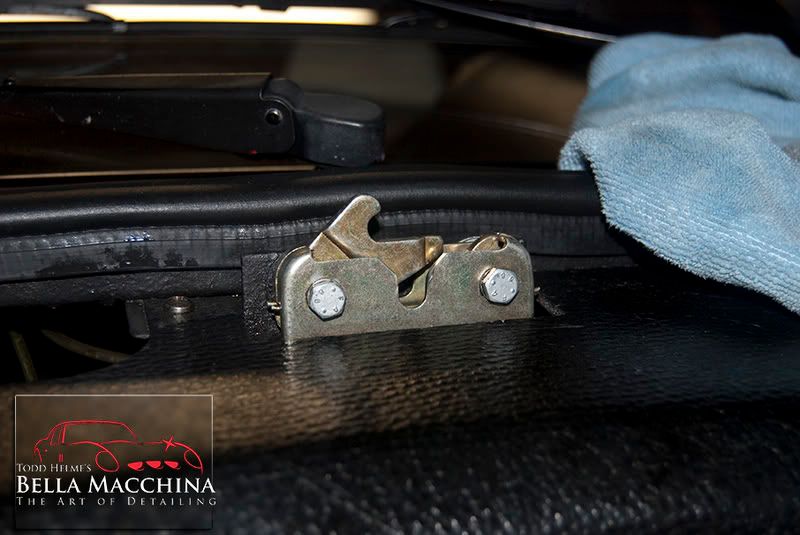
The front latch was in pretty poor shape, looking every bit its age.
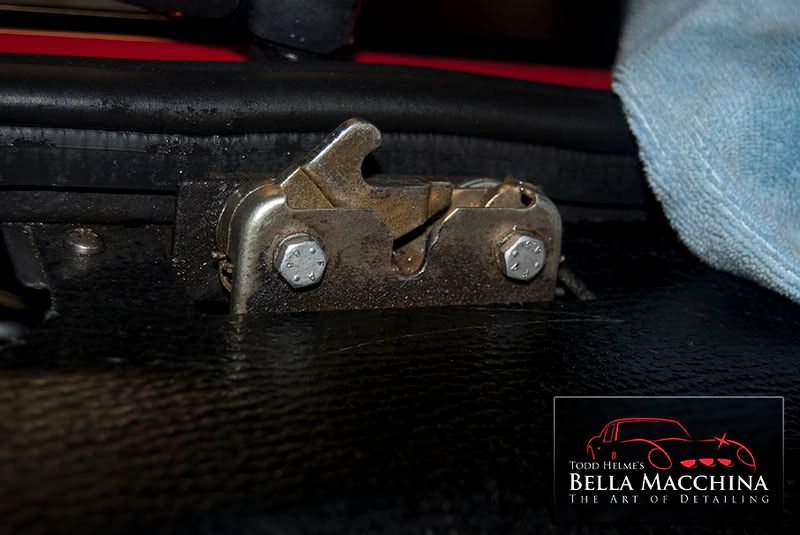
Eimann Fabrik Hi-Intensity Cleaner, a q-tip- and patience was used to remove years and years of crud, prime, grit and grease.
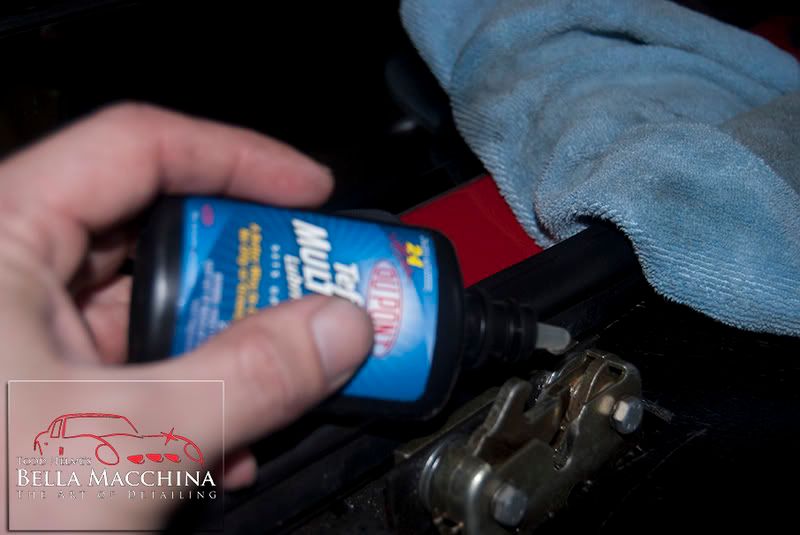
The latch was lubed with DuPont Teflon Lubricant.
I was honored for the opportunity to perform my 'La Bella Firma' or 'The Beautiful Signature' package on this particular car. I am very lucky in working on some of the finest automobiles every produced, but its not every day you get to work on a dream.
The temperature had dropped below freezing when this Ferrari was delivered to my house, so it was strange to actually detail in a sweater and wear shoes (being from Florida I am used to shorts and flip flops) and see my breath. All in all I worked on this car for five days (the final day consisted of applying a final coat of wax and double checking) and logged just under 60 hours into this Ferrari.
When doing this style of detail I generally block off a single day for throughly cleaning and decontaminating every surface, focusing on deep cleaning all porous and non porous surfaces such as the paint, glass, plastics, trim, rubber, leather, etc, etc...
Day One SPECIAL THANKS TO FORM MEMBER MOUTEE FOR HELPING OUT!!!
Overview
-Pre-rinse with Karcher 1800 psi filtered with de-ionized water
-Clean wheels, tires, and wheel arches one at a time using Menzerna 7.5 Wheel Gel, Eimann Fabrik Tire Cleaner, and Eimann Fabrik Hi-Intensity Cleaner using an EZ-Detail Brush, a Swissvax Wheel Brush, Meguiars' Gold Glass Tire Brush, a grout sponge, and q-tips.
-Wash front trunk and hood, trunk, and door shuts using a combination of Eimann Fabrik Auto Spa car soap and Eimann Fabrik Hi-Intensity Cleaner, agitated with various sponges, as well as a Swissvax Wheel Brush and Meguiars' Slide Lock Brush, then rinse clean
-Wash body and exterior using the two bucket method (with grit-guards â„¢ ) using a Lake Country Red Foam cross cut mitt and Eimann Fabrik Auto Spa car soap then rinse clean with Karcher 1800 psi filtered with de-ionized water.
-Clay the paint using Blackfire Polyclay II, using the supplied Blackfire Clay Lube while vehicle is still wet. The lower panels where particularly contaminated, in which case I substituted Clay Magic Red Medium clay for a more aggressive cut.
-Dry vehicle with a Black Baron Air blower and two Big Blue Microfiber Waffle Weaves
-Wipe paint and glass with a 70/30 mix of 91% Isopropyl Alcohol
-Clean and remove oxidation from black trim such as the window vents and rear engine covers using Klasse AIO-Clay wheels with Clay Magic Red Medium Clay with Meguiars' Last Touch 1:1 for lube
-Polish wheels by hand using M105 and a Lake Country Orange Foam finger pad, then finish by hand using M205 and aLake Country Green Foam finger pad.
-Clean wheels (including spare) with Klasse AIO.
-Clean interior glass with Eimann Fabrik Clear Vision II, then pre-seal with Klasse AIO
-Polish front windshield using Lake Country Felt Cutting pads and Lake Country Yellow Glass Pad using FlexLK603BBV rotary polisher with Lake Country Glass Polish, removing wiper tracks and very light pitting
-Polish interior trunk plastic with Klasse AIO on a Lake Country Orange CCS pad using a Meguiars' G100 (Porter Cable 7242)
-Treat wheels, interior glass, plastic, trim, and front engine cover with Klasse Sealant Glaze
-Blow out interior cracks and crevices using MetroVac Vac'n'Blow on blow mode with a venturi attachment.
-Vacuum entire interior using MetroVac Vac'n'Blow and various attachments.
-Clean interior plastics, dead pedal, and door shut and trunk shut weather stripping with 1Z Plastik Reiniger
-Polish interior metals (shift gate, shift lever, and gas pedal side plate) with Blackfire Fine Cut Metal Polish and Blackfire Wet Diamond Show Polish, topped with Blackfire All Metal Sealant
-Hand apply Leatherique Rejuvinator Oil to all interior hides. I also applied Rejuvinator Oil to both tool cases and the Targa Top leather case and set them in a black plastic bag to soak in the sun for the three days.
-Apply two coats of Eimann Fabrik Black Sapphire Tire Gel to tires
-Tape Ferrari for paint enhancement and restoration.
Day One Pictures.
The opening chapter of this detail began with a thorough pre-rinse of the Ferrari using pressurized de-ionized water.
I generally start with the smaller, more time consuming areas first. The tires where scrubbed with Eimann Fabrik Tire Cleaner (a favorite of mine, and what turned me on to the entire line) using a Meguiars' Tire Brush.
I worked each area one at a time, using Menzerna 7.5 Wheel and Tire gel for the wheels and Eimann Fabrik Hi-Intensity Cleaner for the wheel arches.
The body was then washed with Eimann Fabrik Auto Spa and a two bucket method. After rinsing clean I wasn't in a rush to dry this Ferrari as it was lightly raining outside and I was planning on claying when wet.
The front trunk area gets pretty dirty as several vents allow water and road prime to enter. The spare wheel also appeared soaked in some old dressing that was still greasy, yet flaked away when scrubbed with a fingernail!
After removing the spare wheel and tire, I pressure rinsed the front trunk area and radiator area in front of the trunk. I then cleaned all the surfaces with Eimann Fabrik Hi-Intensity cleaner using a Swissvax Wheel Brush.
A Meguiars' Slide Lock Brush worked perfectly for cleaning the narrow jambs of the trunk and engine covers.
A q-tip came in handy for more out of the way spots, such as this headlight raiser arm tucked underneath the trunk area
I clayed the Ferrari while it was still wet. I was surprised by the large amounts of contamination that the Blackfire Polyclay II was picking up, this picture resulting from just ¼ of the hood!
At this rate I was going to chew through clay fairly quickly. Blackfire makes an excellent product called Clay Bar Extender which is sprayed on to the contaminated face of the clay, then rubbed in with your fingers. A quick rinse in a bucket of water removed 95% or more of the contamination on the clay's face, which means that I am not folding the grit back into the clay. I was able to fully clay the entire Ferrari with just this small piece (although rougher patches and the wheels where clayed with Clay Magic's Red Medium Clay).
The door shuts even had some minuscule over spray and responded well to claying.
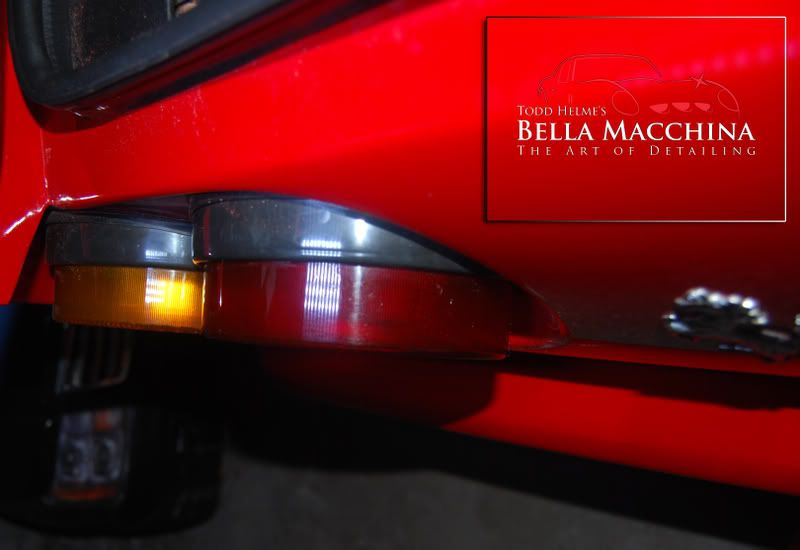
Each section was drying using a Big Blue Waffle Weave towel after claying. I figured now as a good as time as ever to clean the headlights, which looked as if they had done battle with some bugs in Florida's Everglades.
My four year old son joined in on the action, spraying the headlights with Gloss-It Gloss Detailer to help looses some of the bugs.
A q-tip and Meguiars Safety Degreaser cleaned up 20 years worth of road gunk from the inner lips, then the headlights and buckets where clayed and cleaned.
The windshield wiper container had years and years of stained residue. A wire brush and Meguiars' APC made long work of it, slowly removing the staining after a thorough scrubbing.
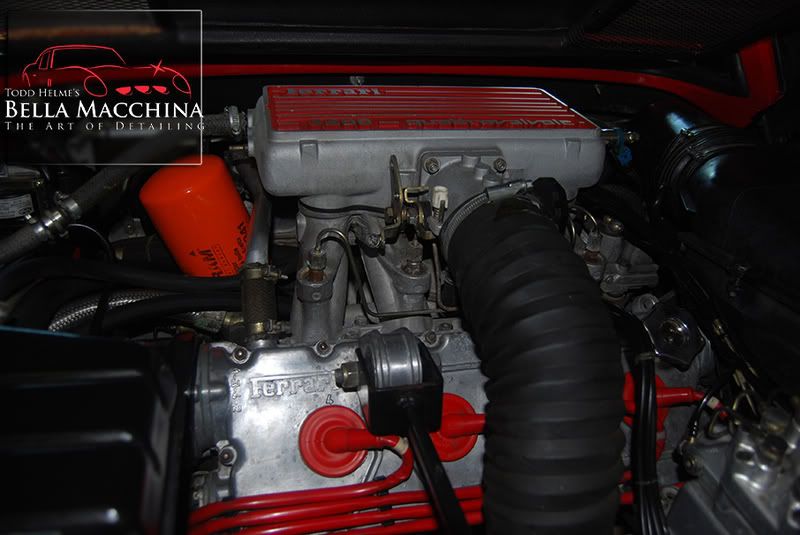
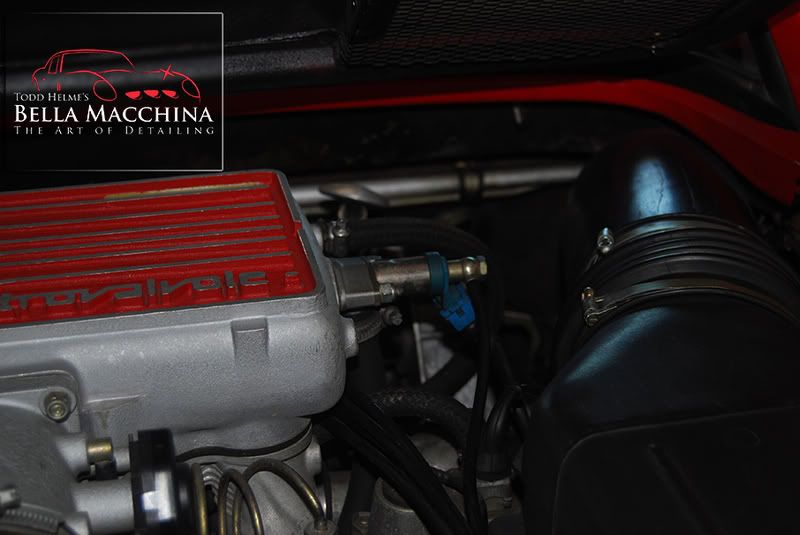
Here is a picture that most eyes will never see as this area, tucked under the head light area is not really visible by the eye. In fact I had to snap photos and inspect the pictures to make sure that all surfaces where clean. The focus on these particular pictures was the wiring harness.
Klasse AIO did an excellent job of chemically removing the semi gray appearance of the black cover and restoring the original, high sheen finish. To me this is in better taste then spraying some tire dressing on the surface and calling it detailed.
The front latch was in pretty poor shape, looking every bit its age.
Eimann Fabrik Hi-Intensity Cleaner, a q-tip- and patience was used to remove years and years of crud, prime, grit and grease.
The latch was lubed with DuPont Teflon Lubricant.


")