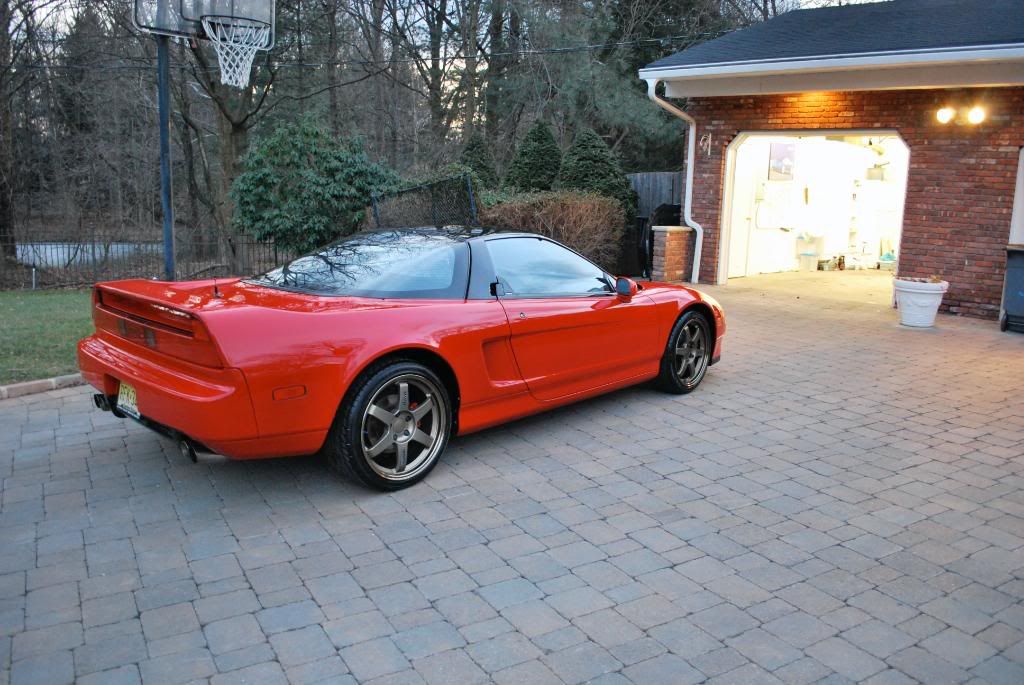
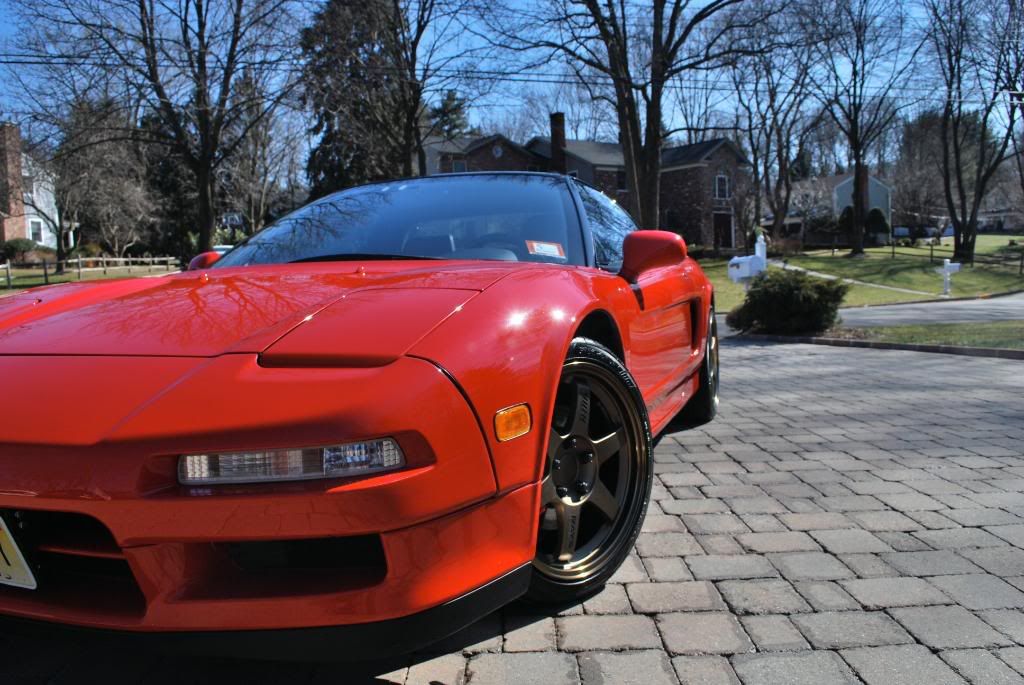
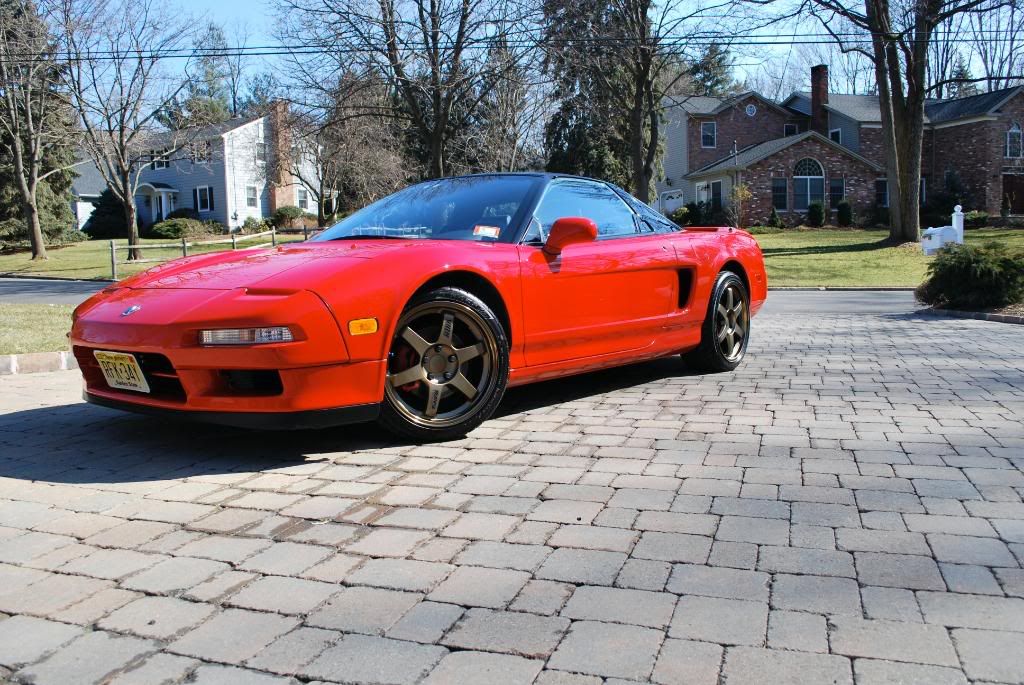
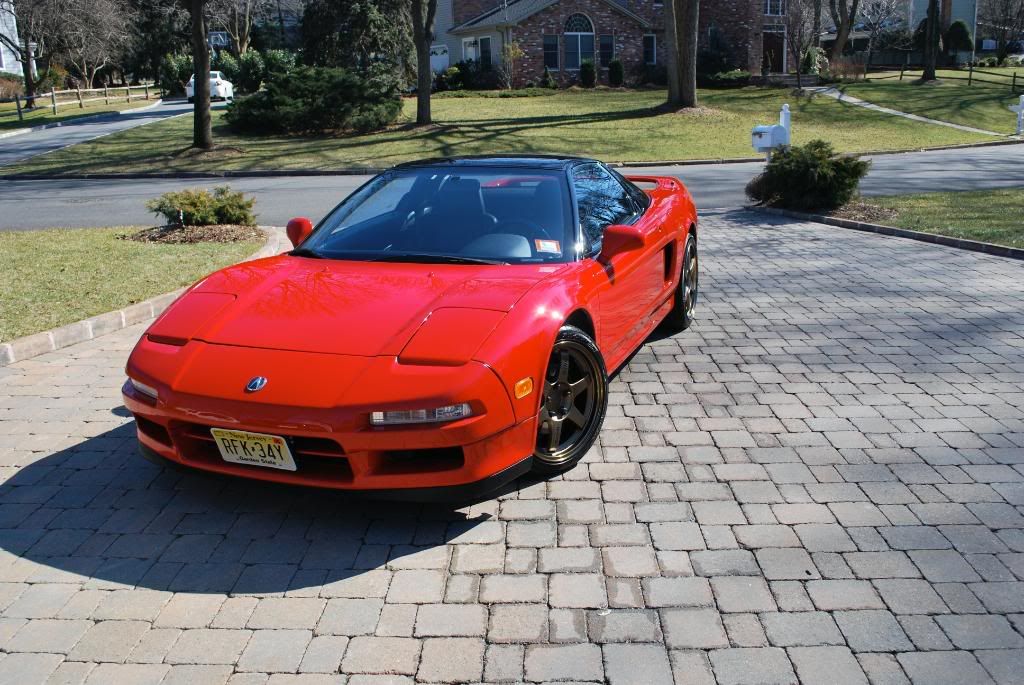
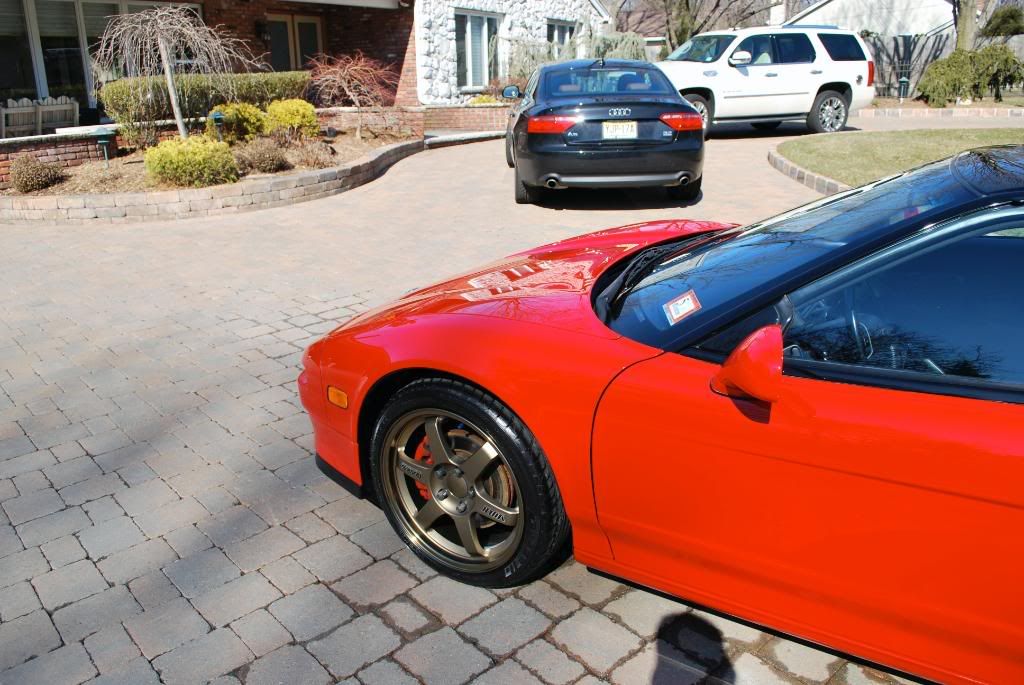
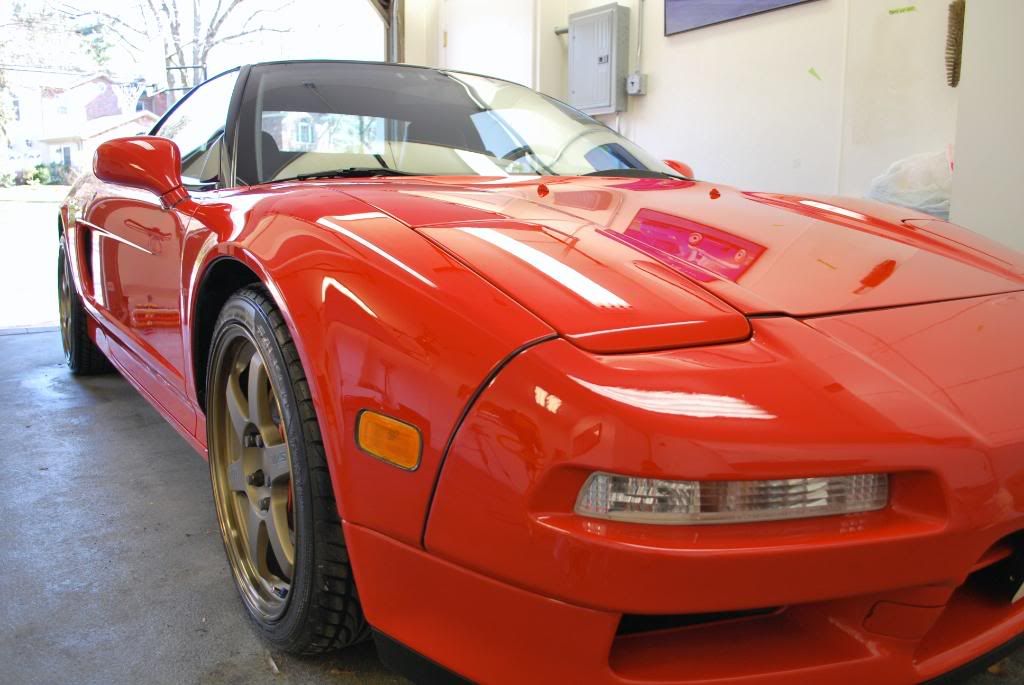
These past 3 days have been quite long thanks to this 1992 Acura NSX...
No need for a lengthy introduction about how great the NSX is or why it was so "ahead of its time". Yes it was/is a great car and we all know it deserves a place in automotive history :ignore, now lets move on
On with the detail that is... couple suprises along the way too:shrug:
Upon arrival the car appeared to be fairly clean, even still the usual wash process was carried out routinely.
First up a thick foaming of CG Maxi Suds after a very through pressure wash. I make it a point to pressure wash the paint, wheels and trim throughly before moving on to any form of washing. If there is any surface dirt on the car it usually will be taken write off with the initial high pressure rinse, that way the foam can do a better job of breaking down or at least loosening up some of the tougher dirt and grime.
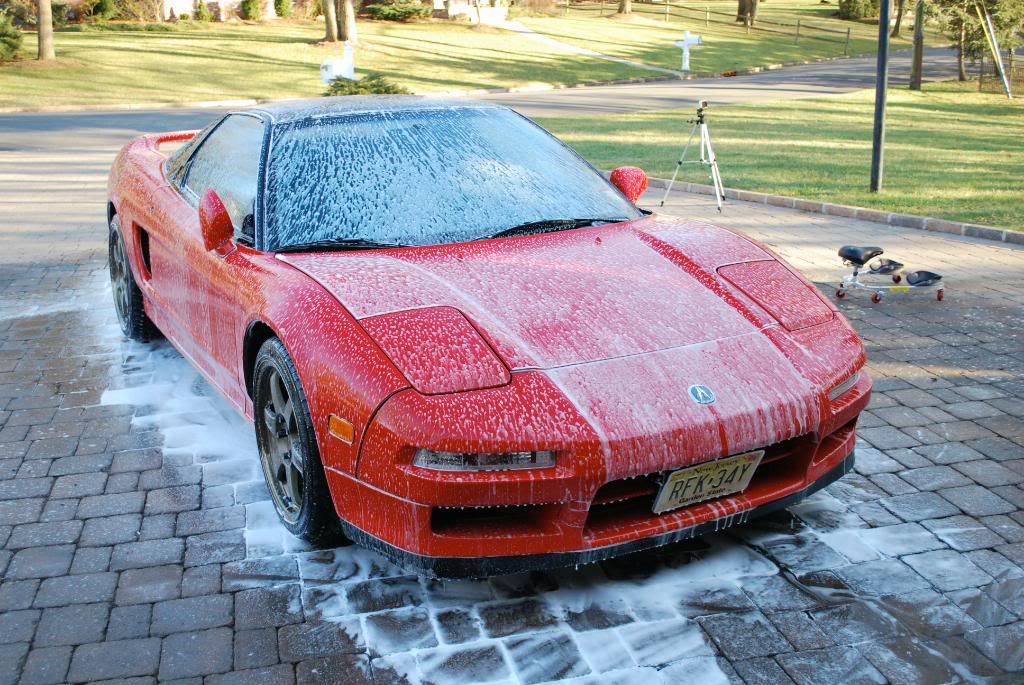
I let the foam sit and began working on the wheels and tires. The foam was left for about 6 or 7 minutes, I wait until most of the heavy suds are off the car, never until the the paint has no suds on it! In the middle of cleaning the first wheel I stopped and PW'ed off the foam leaving the car shampoo free and then went back to the cleaning the wheels.
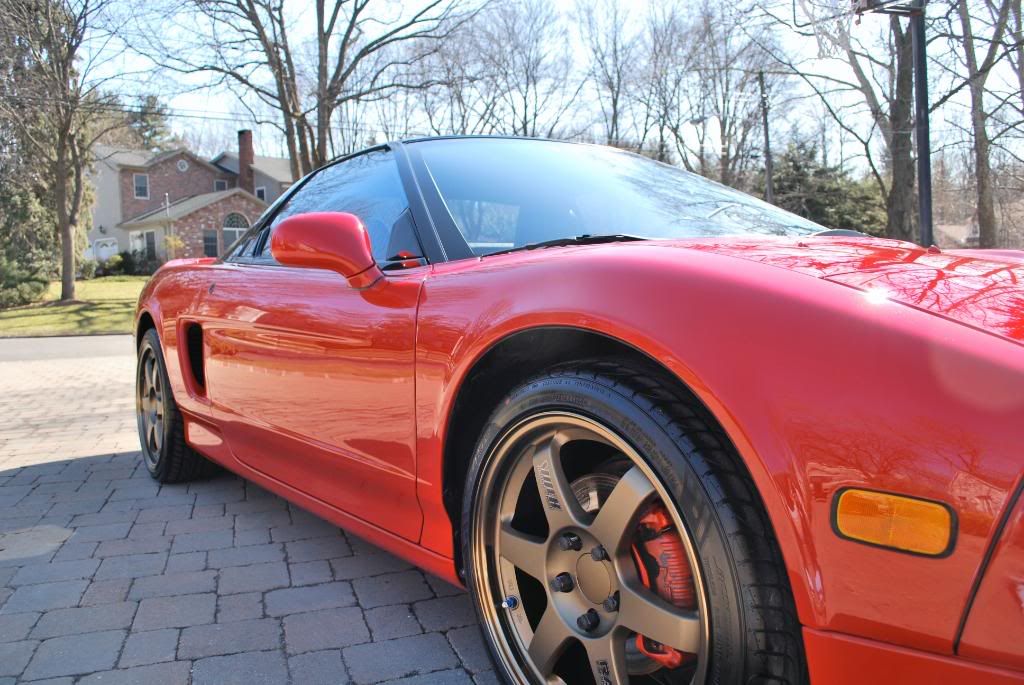
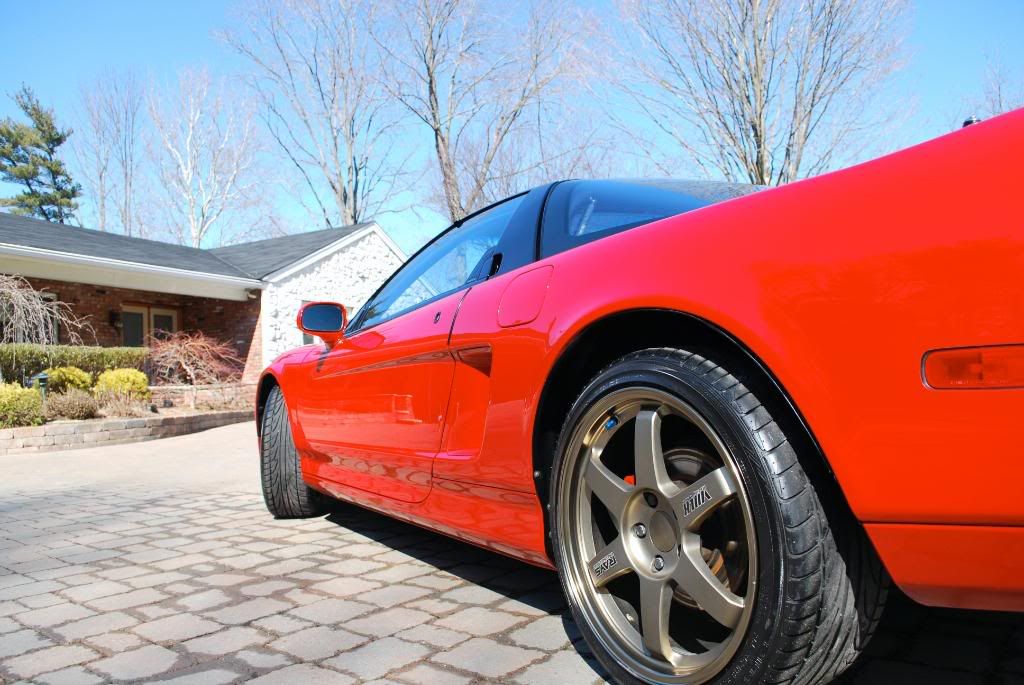
I used the Gloss It (GI) wheel gel with the EZ , boars hair, Swissvax and DD spoke brushes. I like using a few different brushes to make for easier cleaning of every part on the wheel, in this case the Volks were not very dirty to begin with but nonetheless they needed to be spotless from every angle.
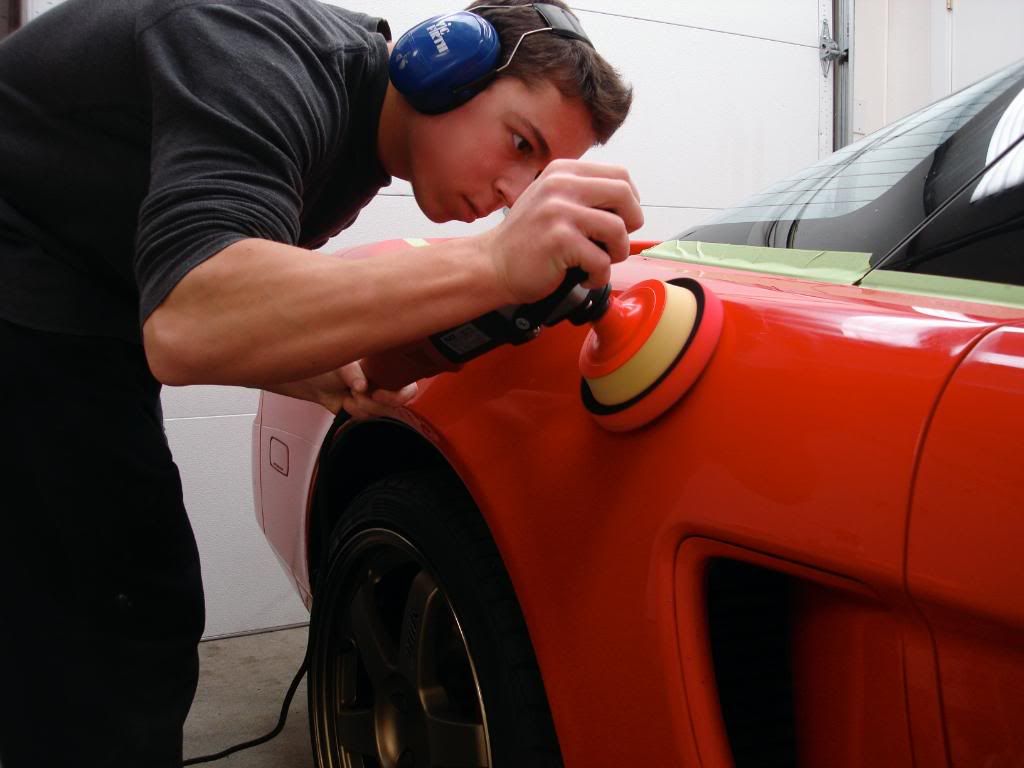
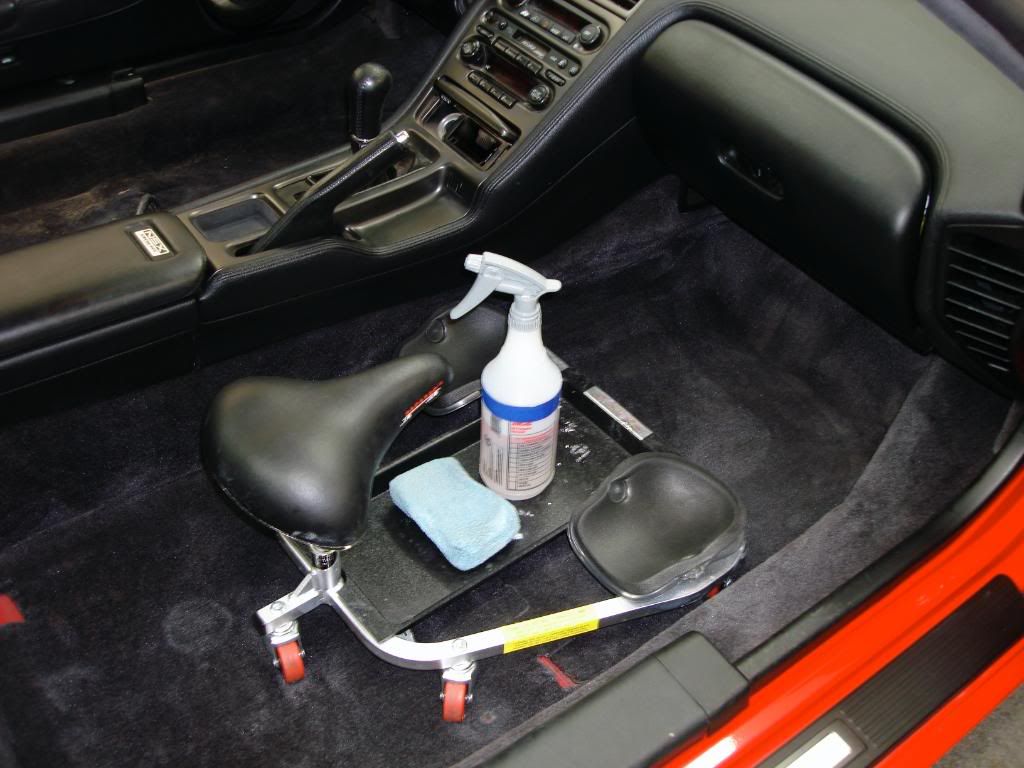
Me on the racatac rolling creeper, this is a great little seat for wheel cleaning and polishing down low.
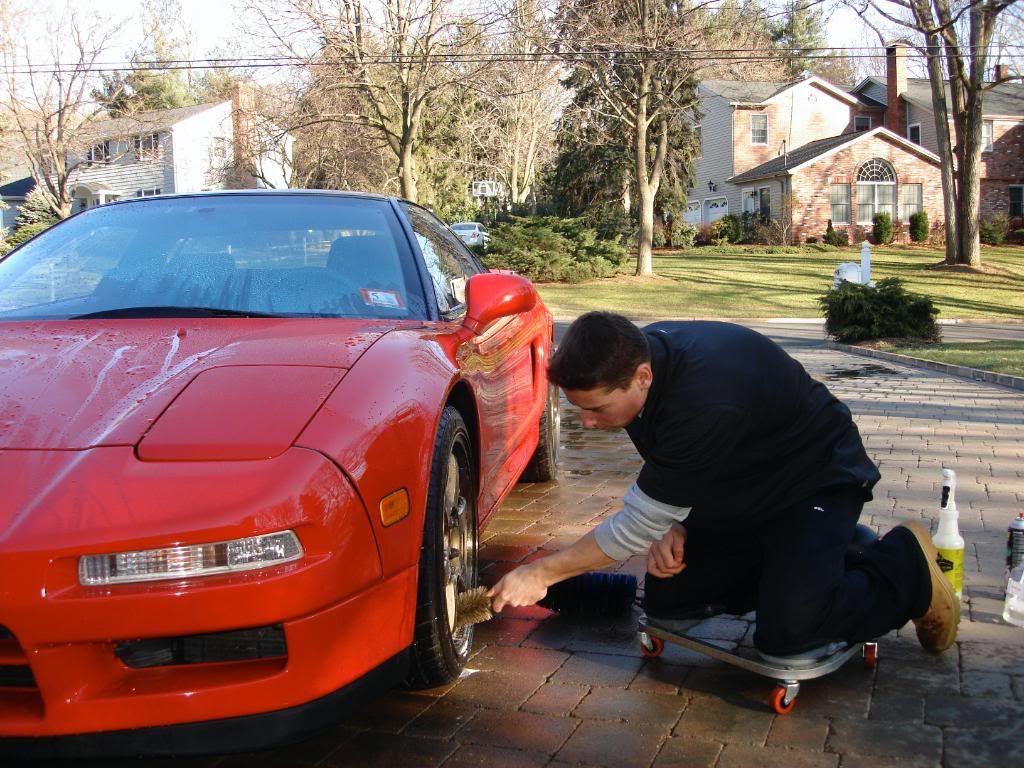
Using the detailersdomain spoke brush to agitate the inner wheel. The tires were cleaned with Megs APC 3:1 as well as the wheel wells. After the tires were pre cleaned with the APC I used Stoners Tarminator, yes TARminator to clean the tires again. I learned this trick from a good friend and fellow detailer Bob from AutoConcerige. Basically the mild solvent based Tarminator helps to further breakdown the grime really trapped in the rubber.
You would be surprised at the excess dirt which is pulled off the tires even after cleaning with strong APC or degreaser.
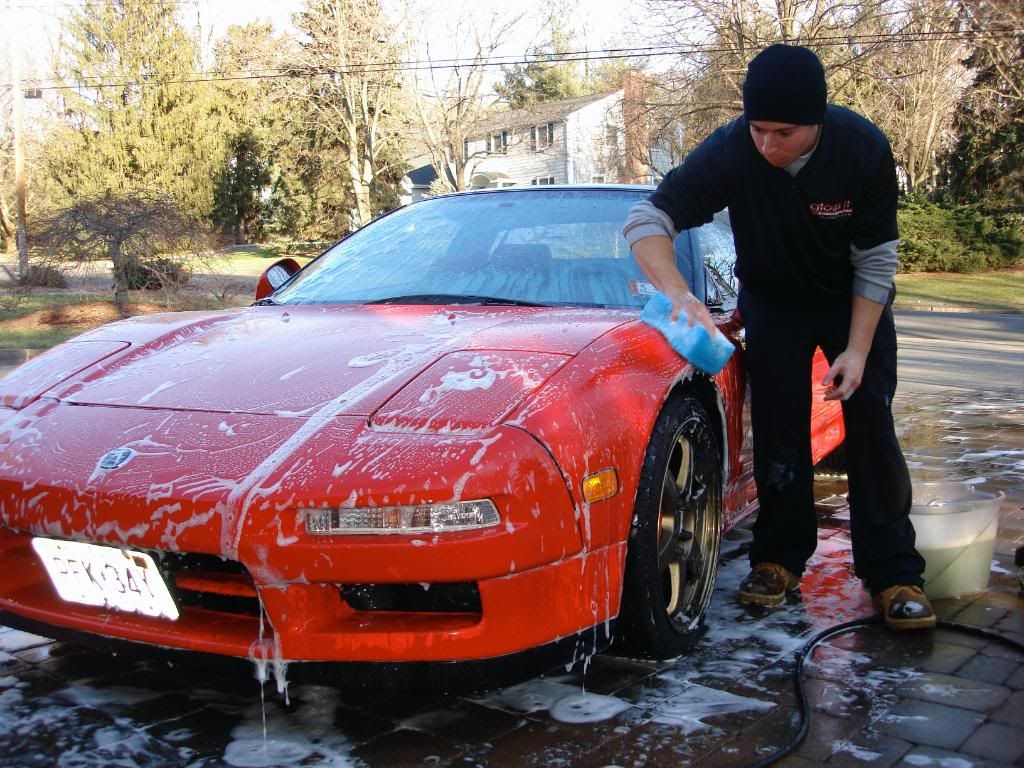
After the wheels were in order, I PW'ed the paint once more before the hand wash. Again I used CG CWG as my shampoo of choice, the NSX was wearing some form of protection as the paint was beading pretty well during all the rinsing so I used a heavy mix of CWG to hopefully strip away at the current LSP which was applied by the owner.
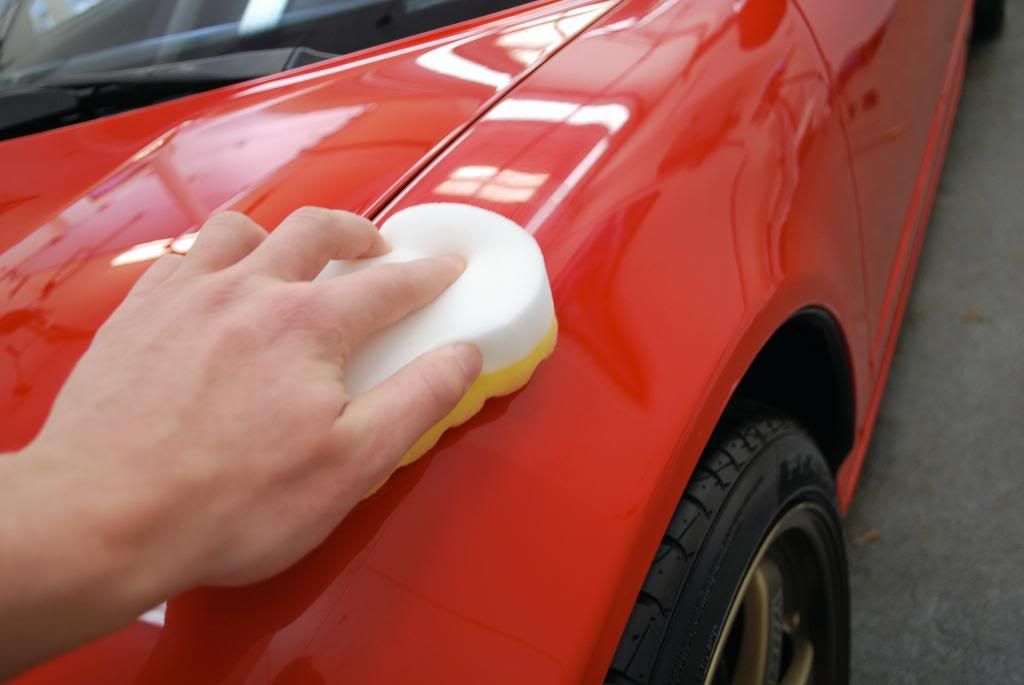
I used the new LC blue sponge to wash the paint, have heard rave reviews about it so I picked up 2 and am very happy with it.
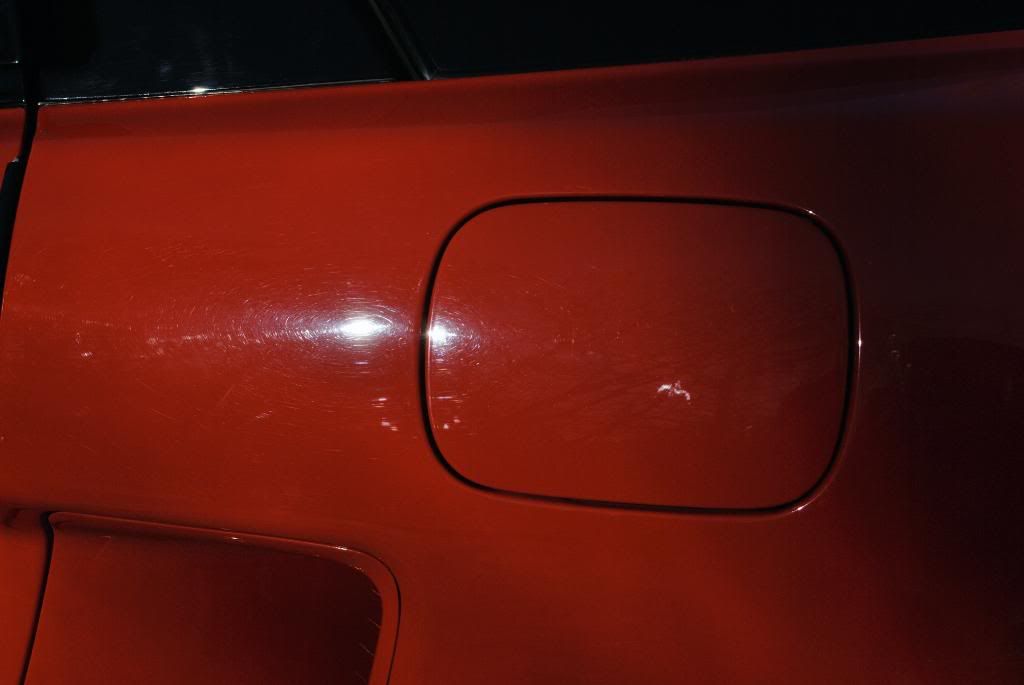
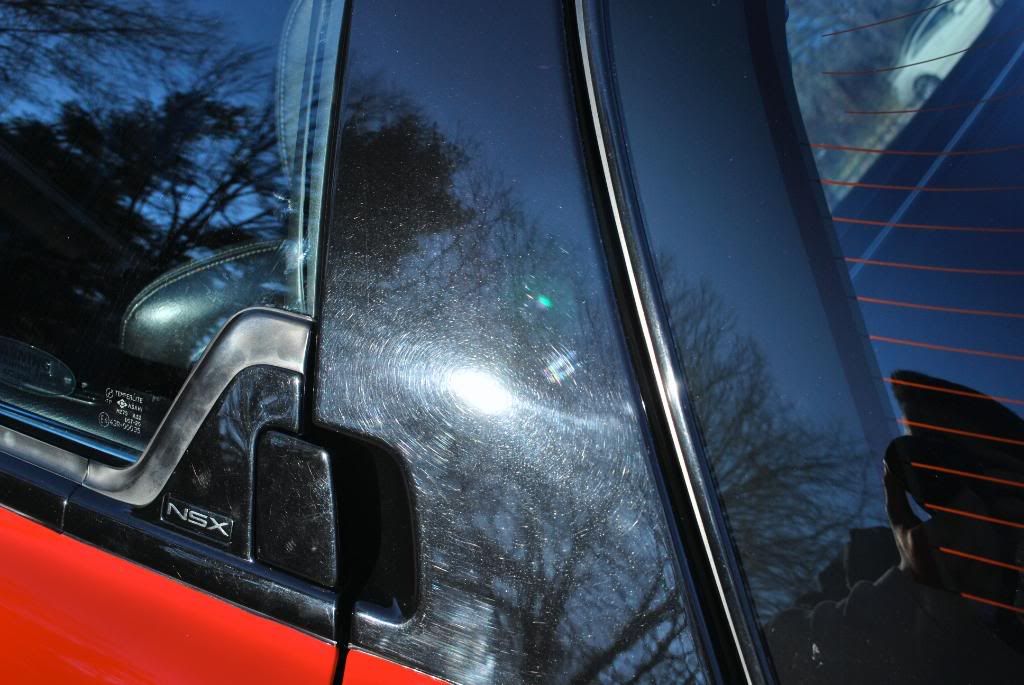
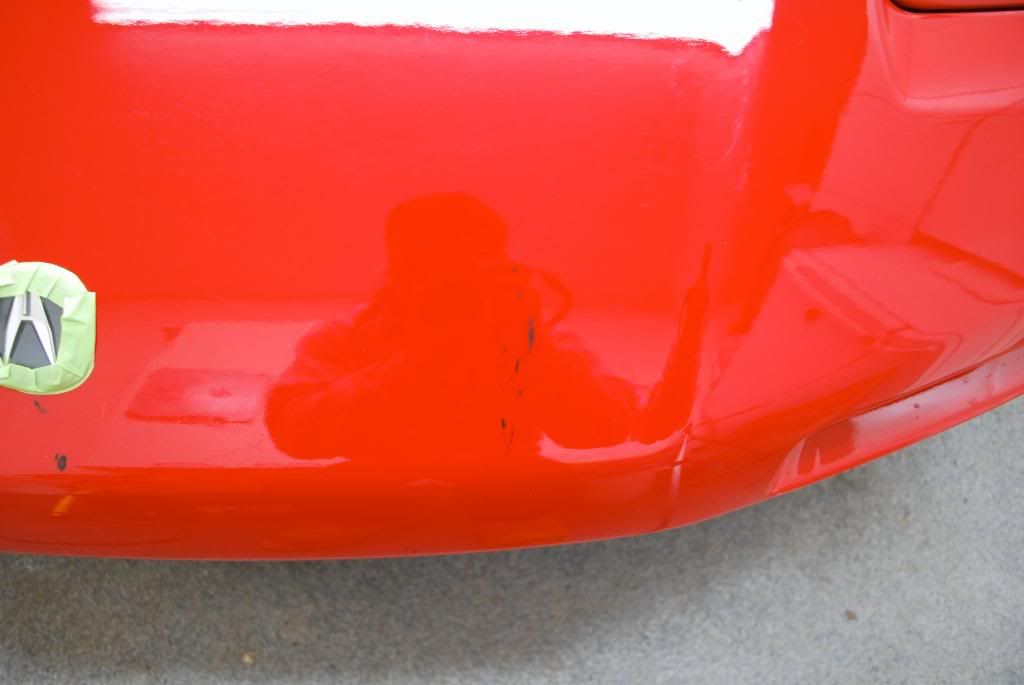
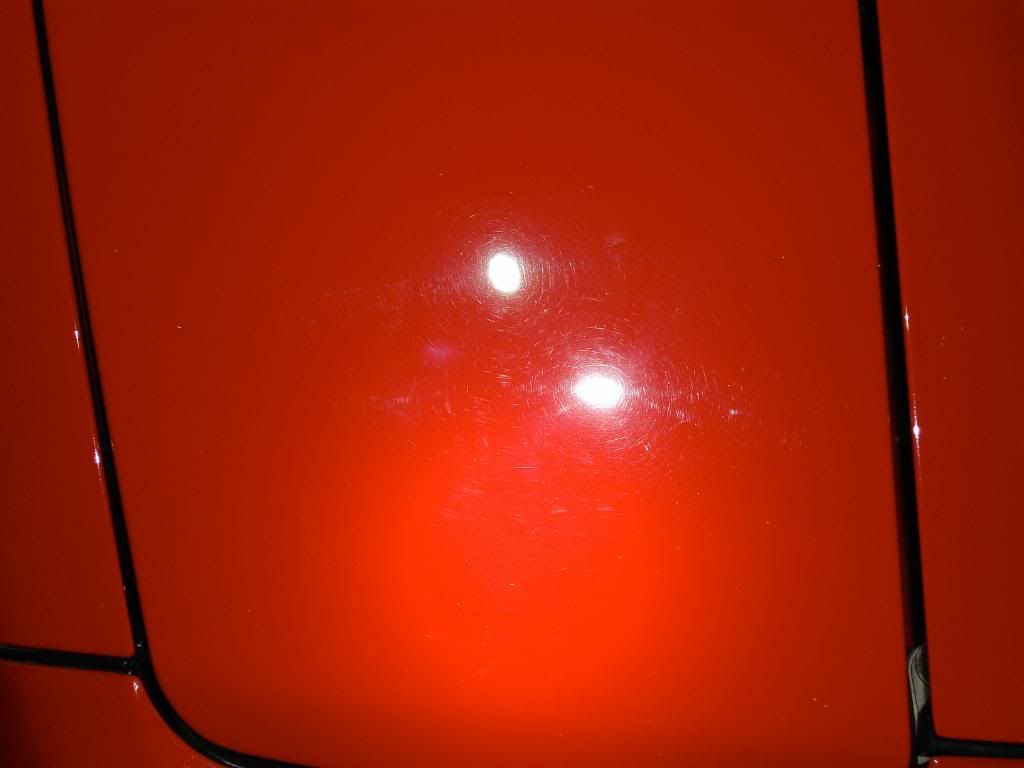
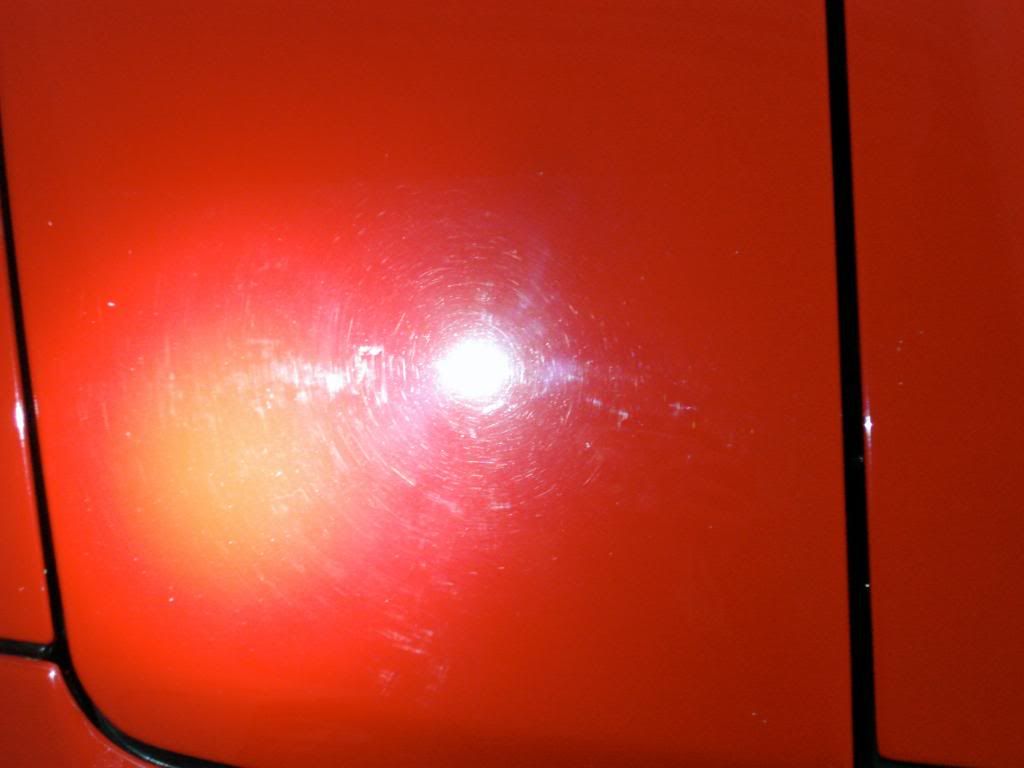
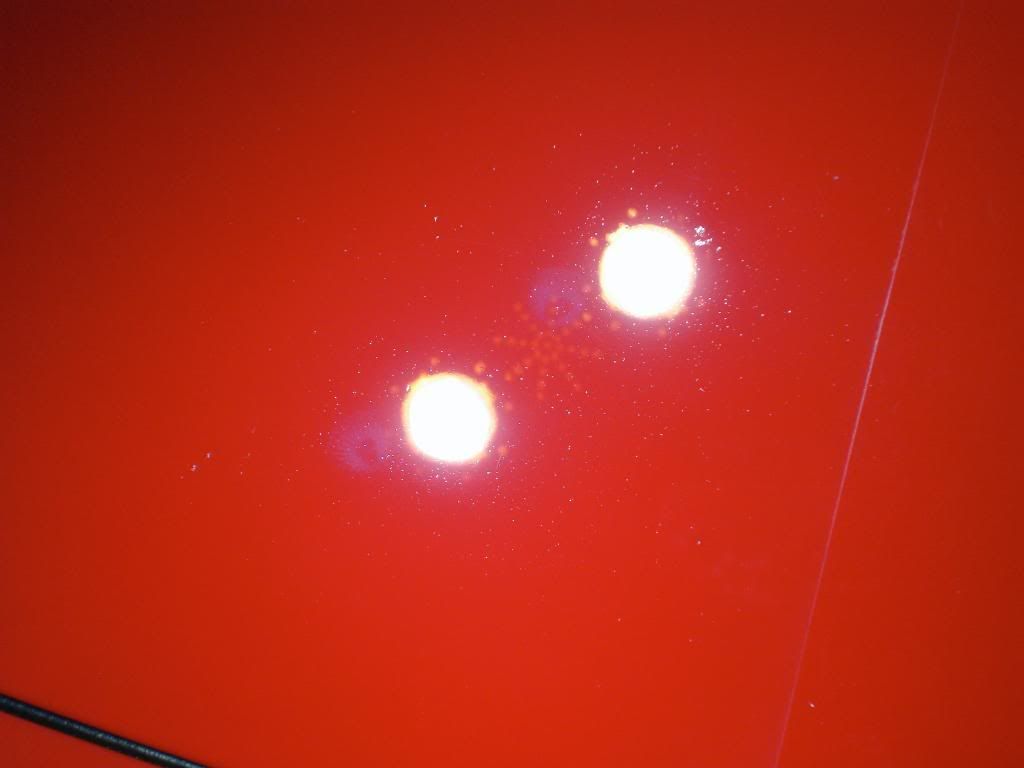
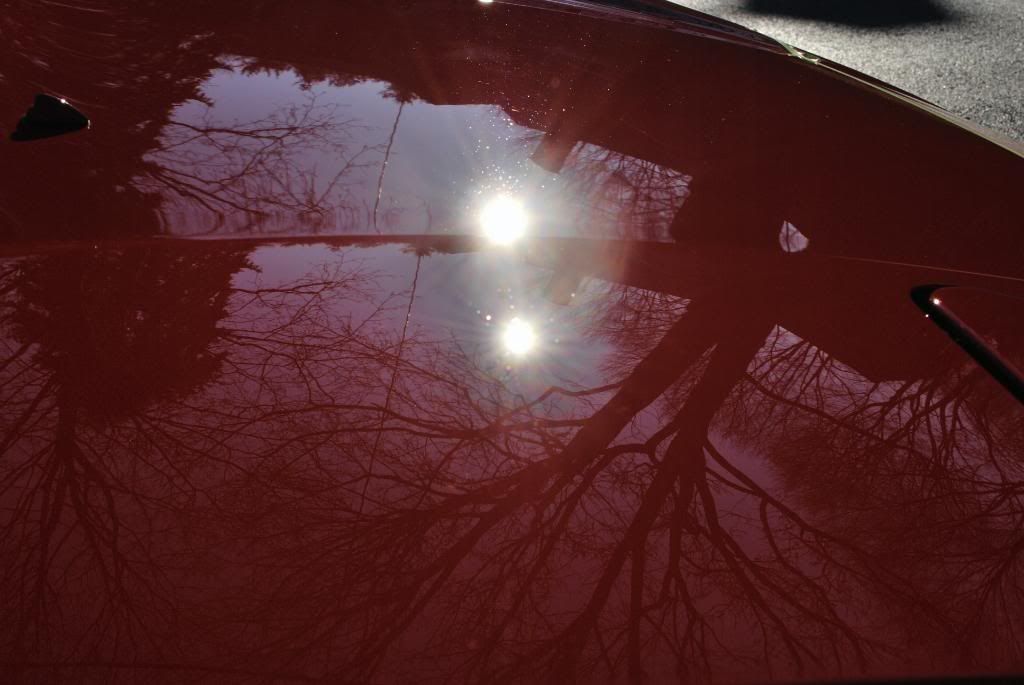
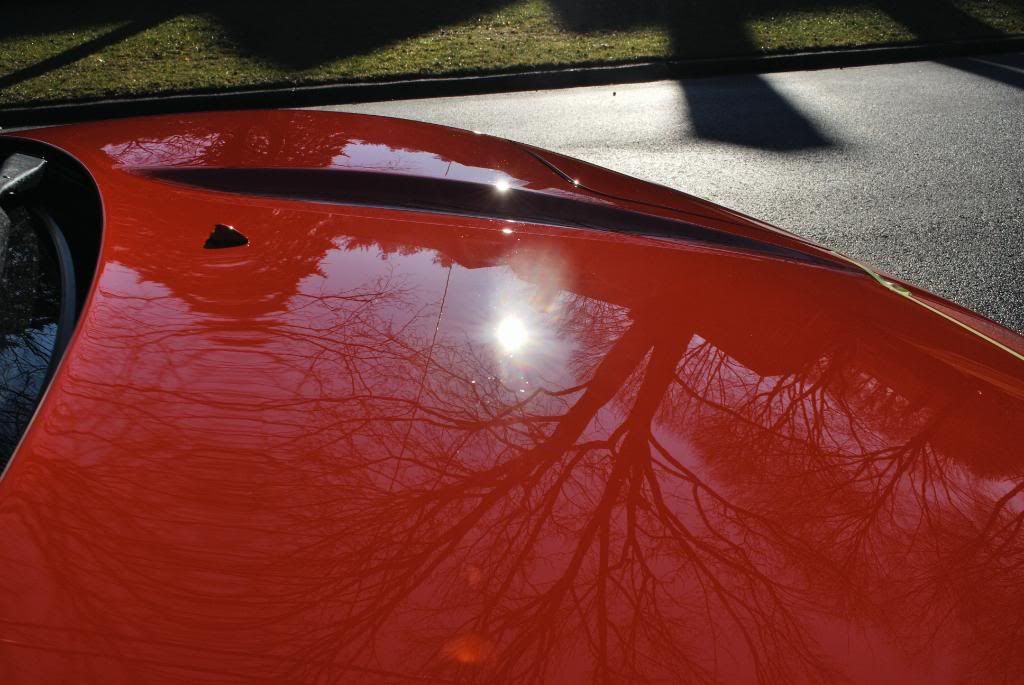
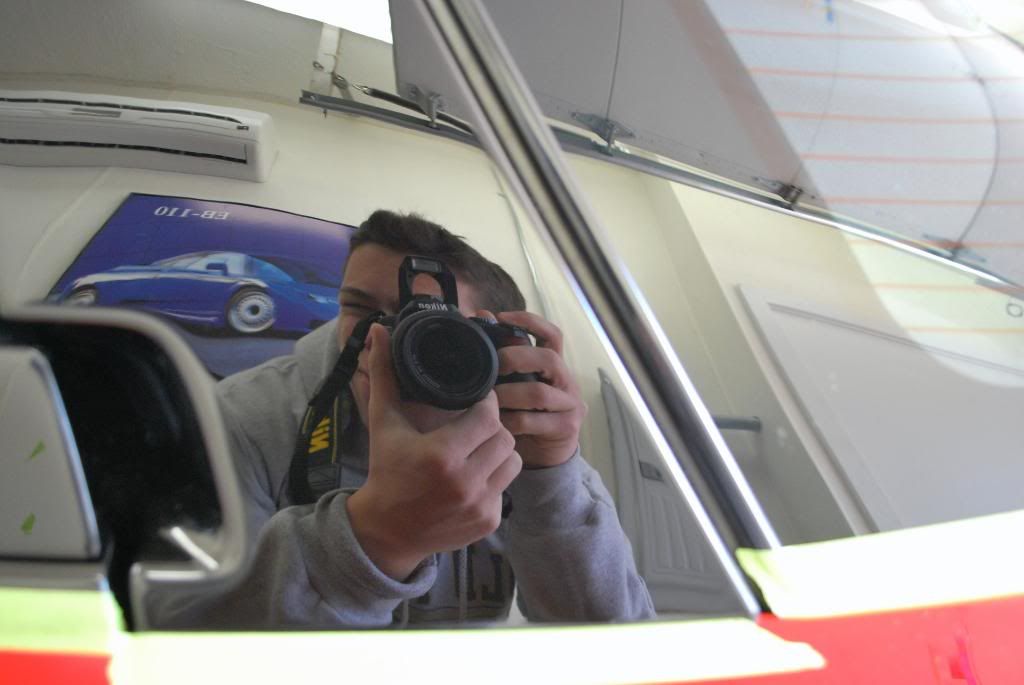
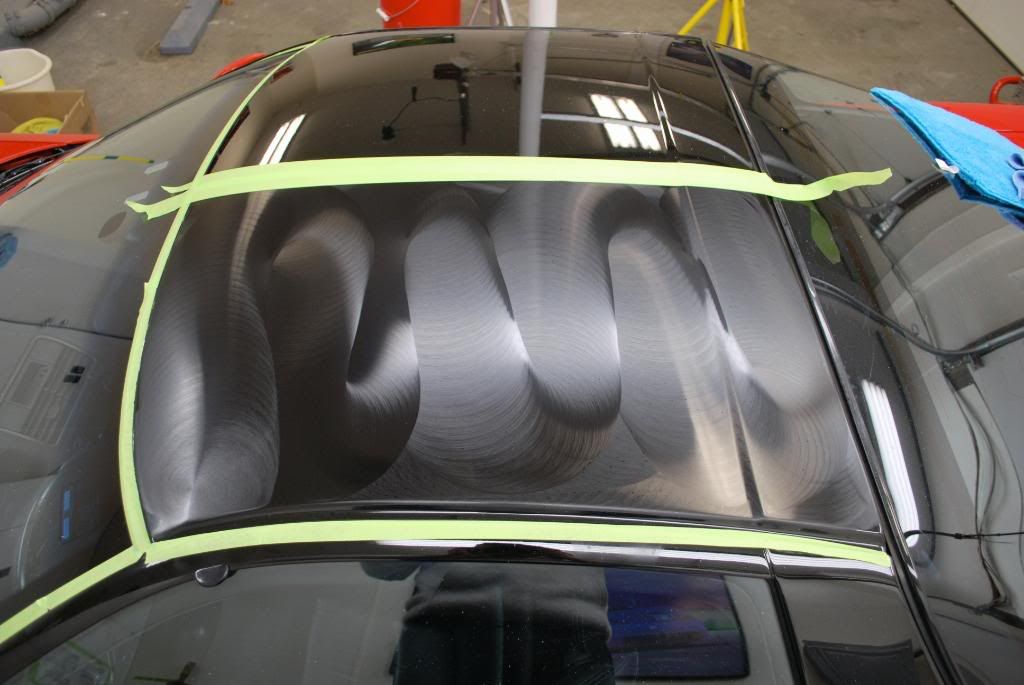
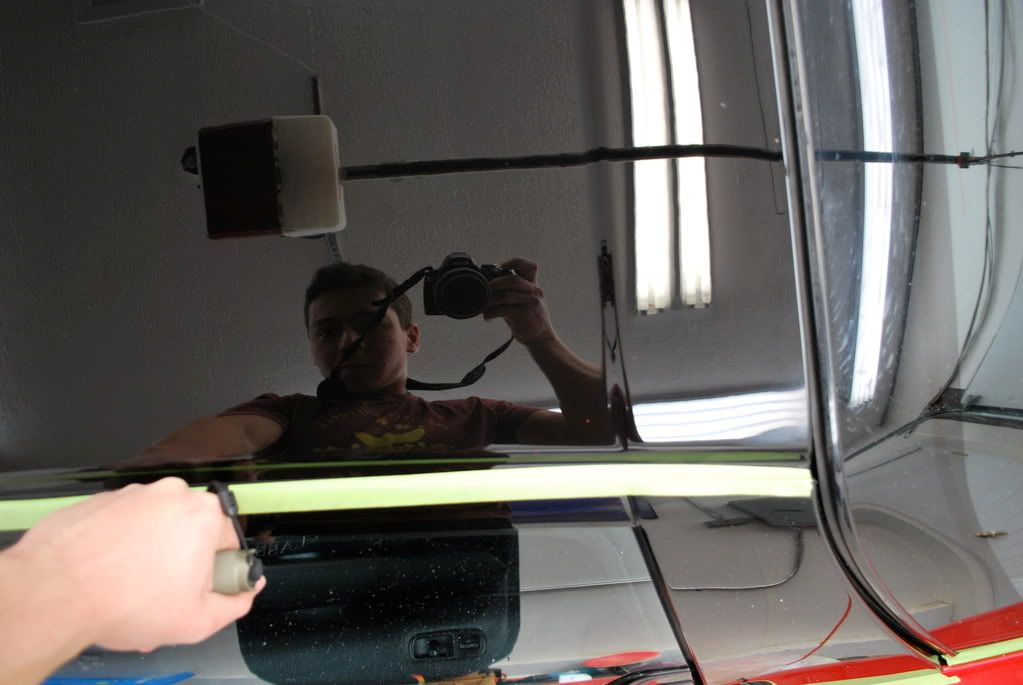
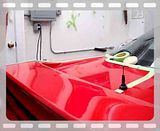
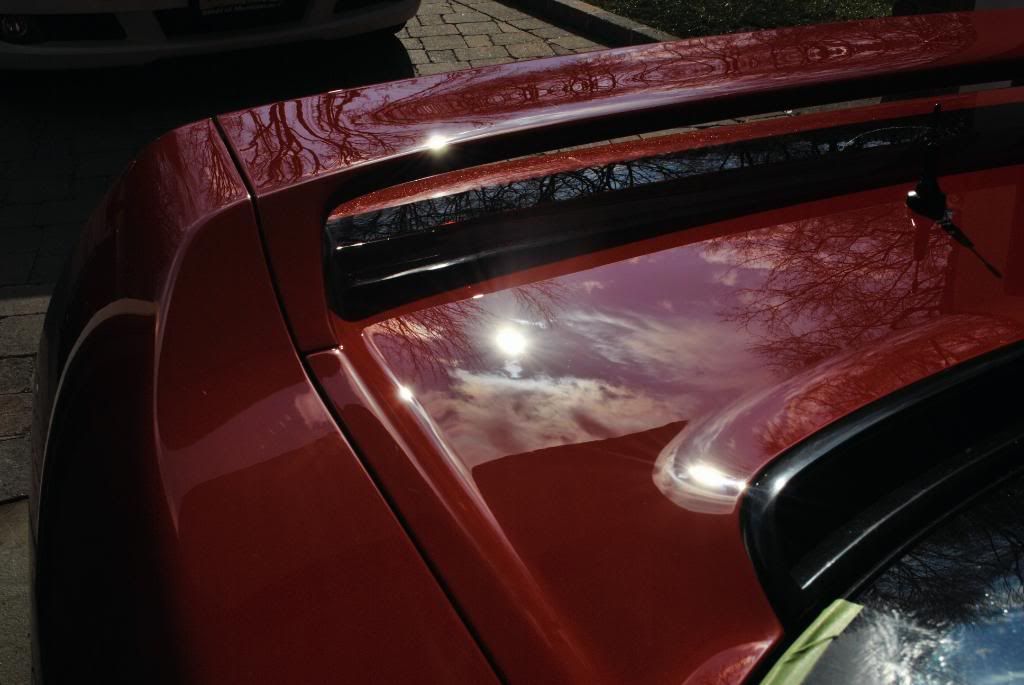
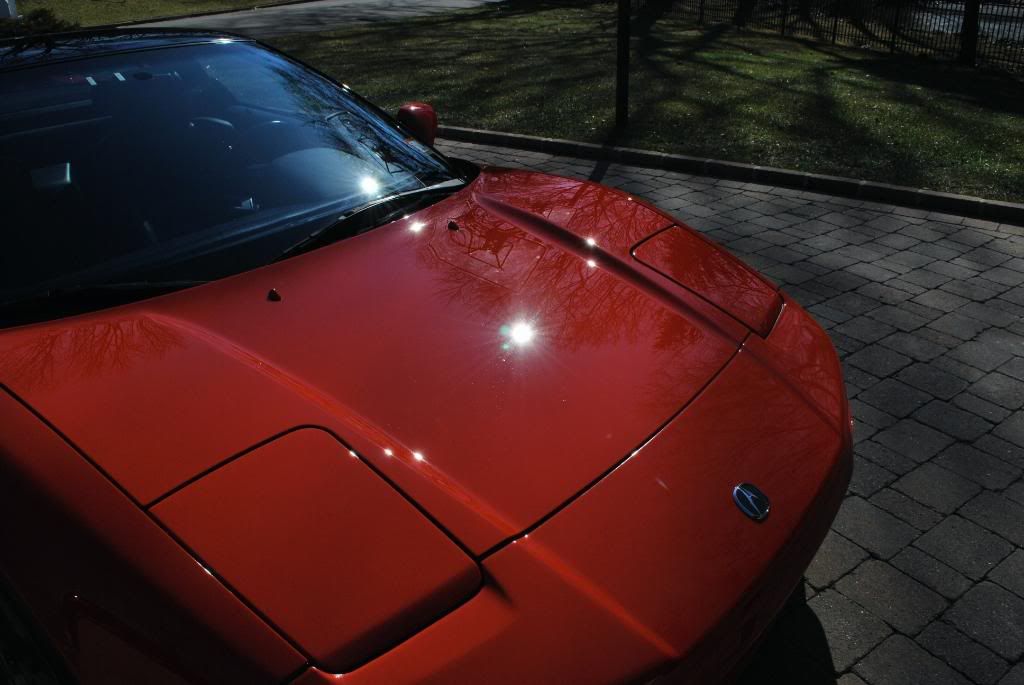
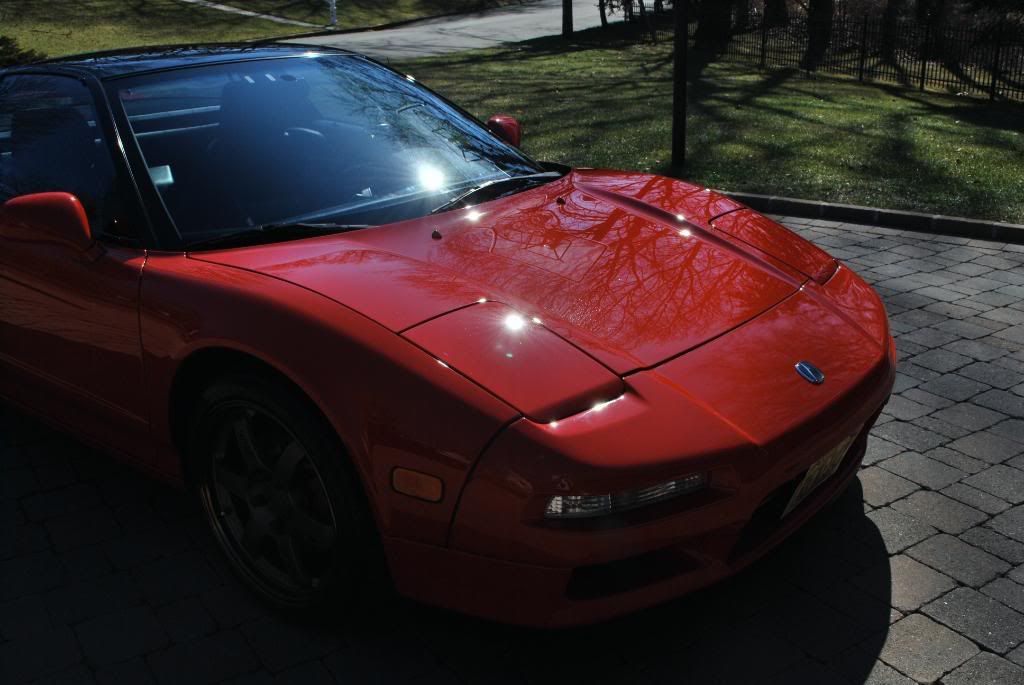
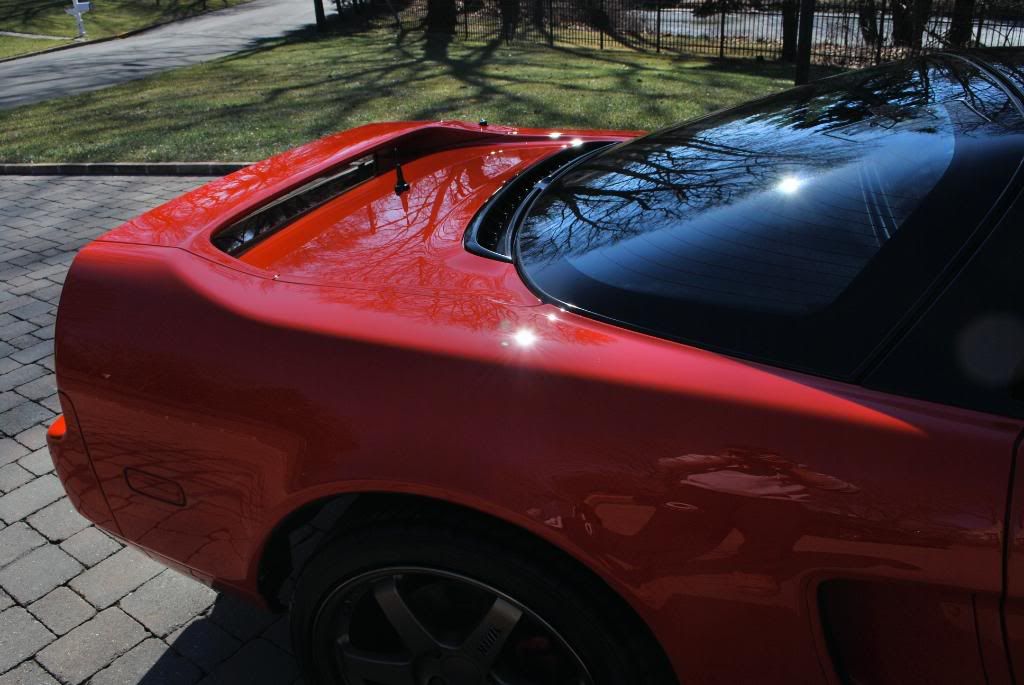
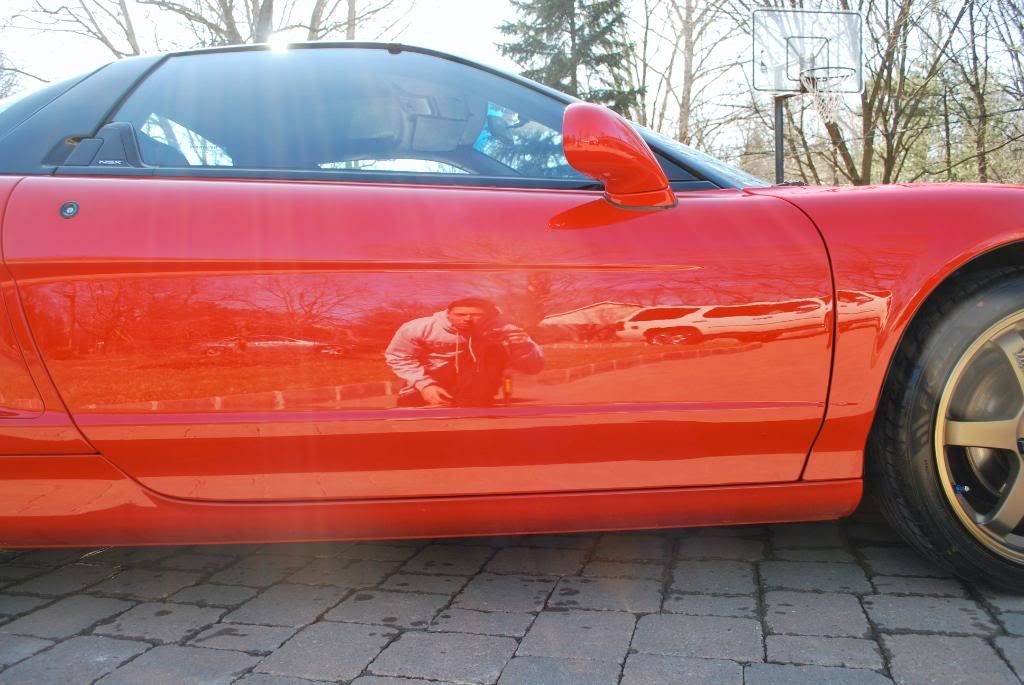
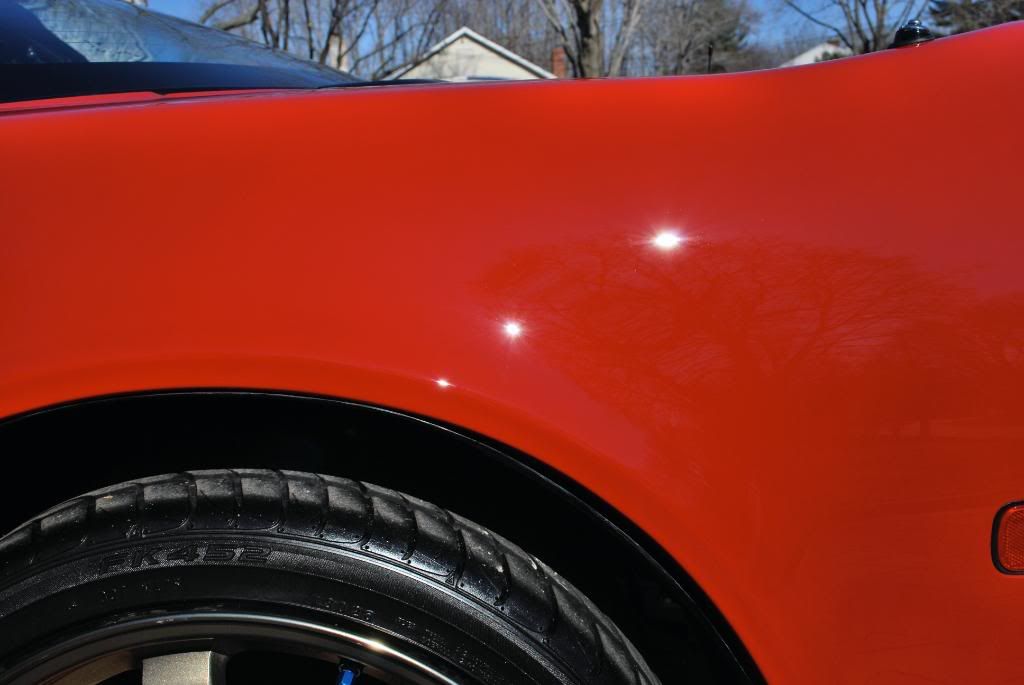
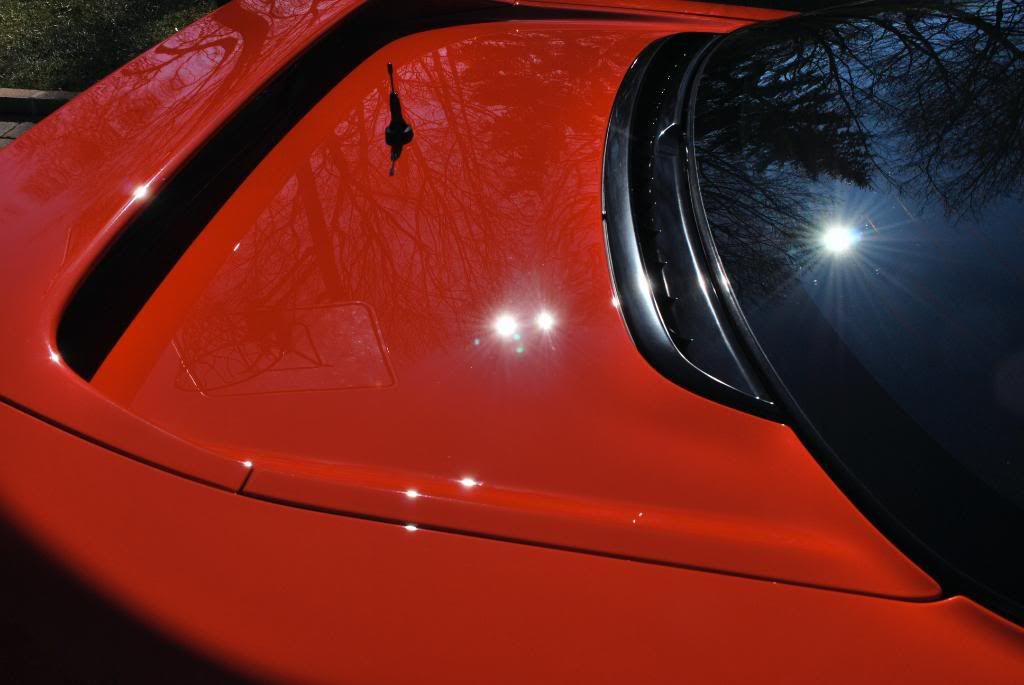
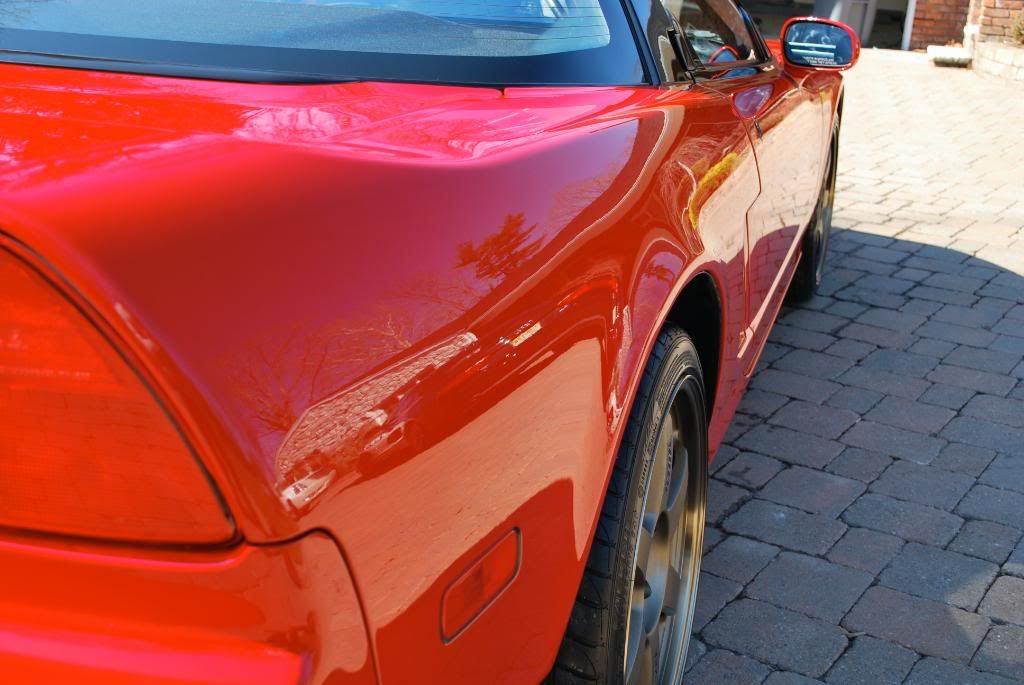
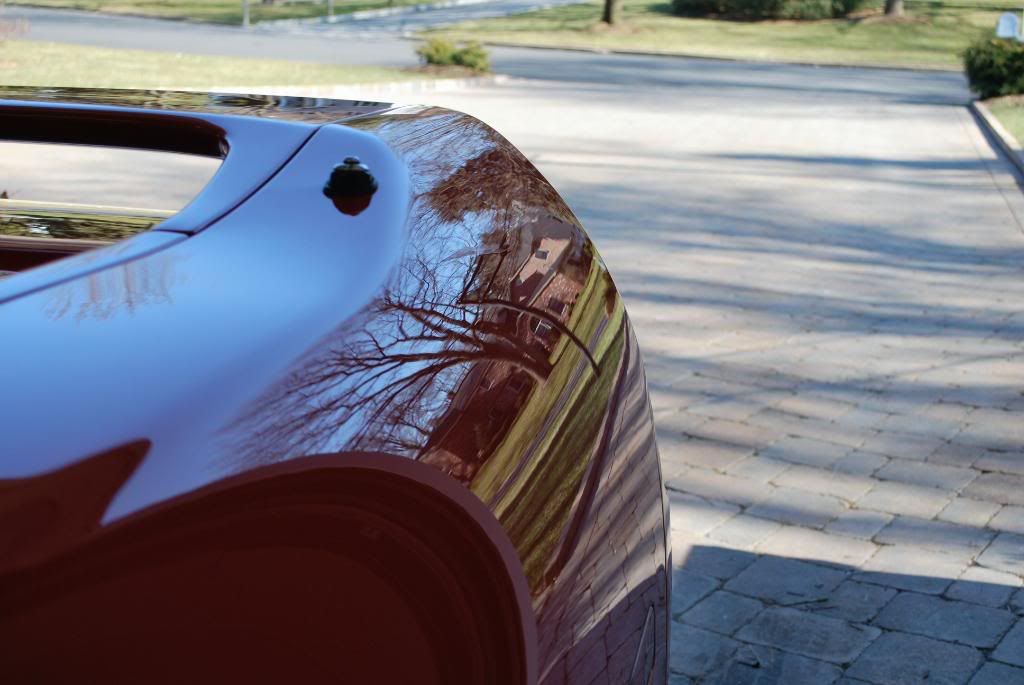
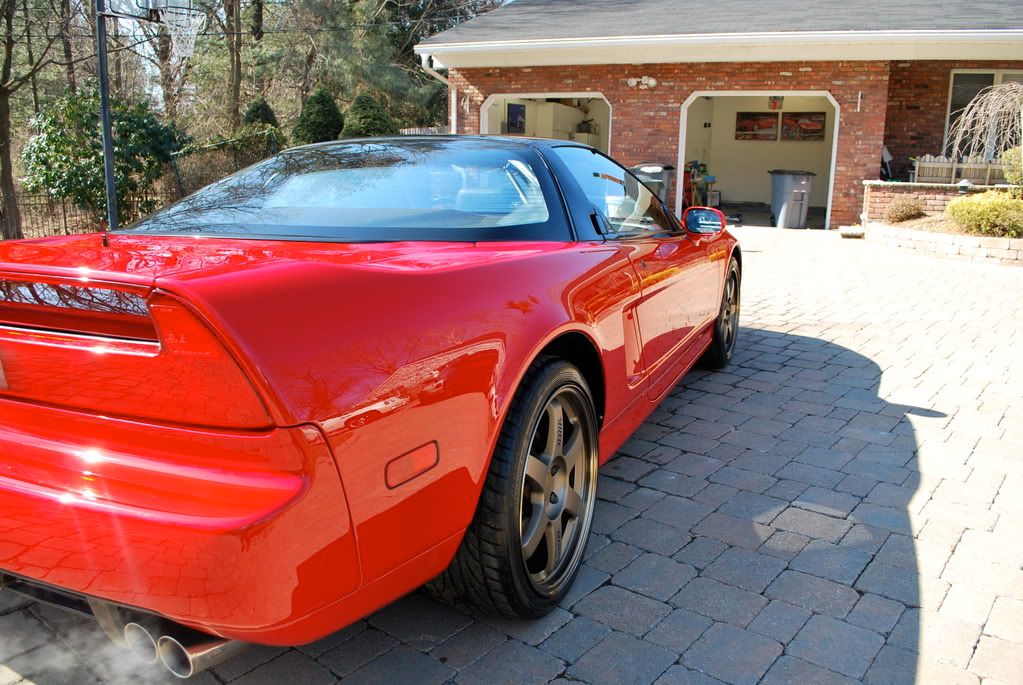
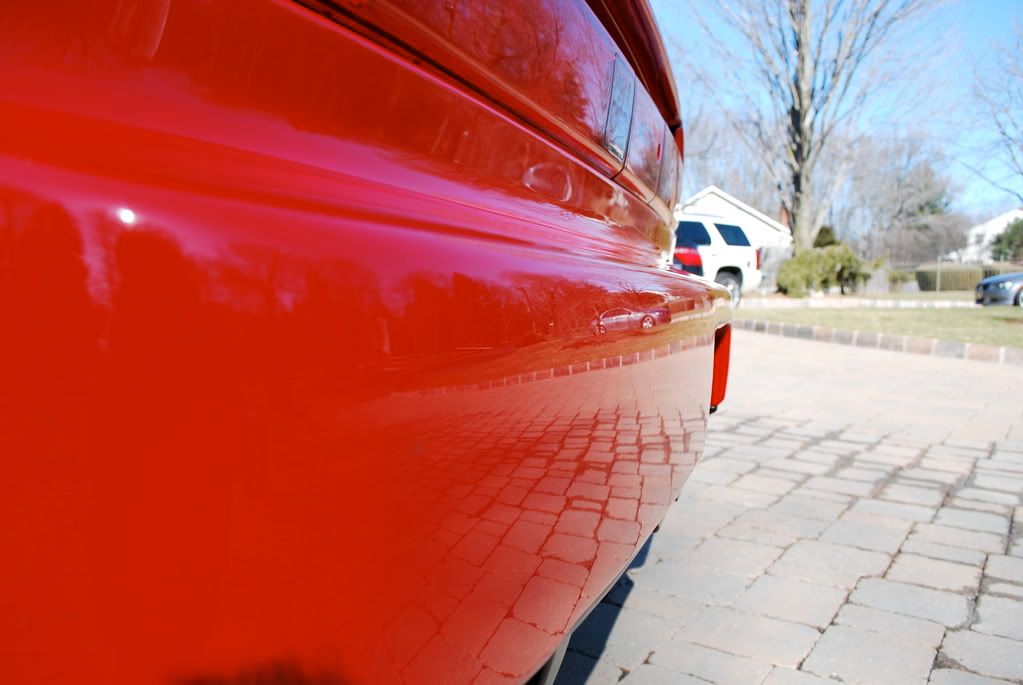
I snapped some sun shots of the paint defects before pulling the NSX inside, didnt seem to terrible with the exception of some deep RIDS.
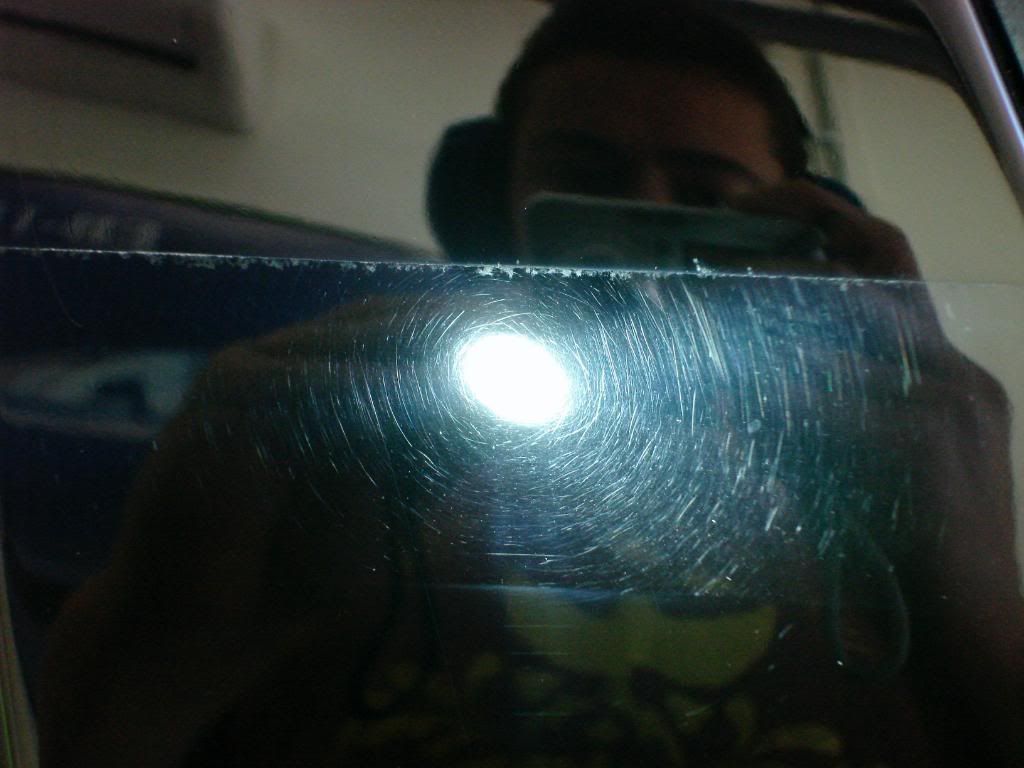
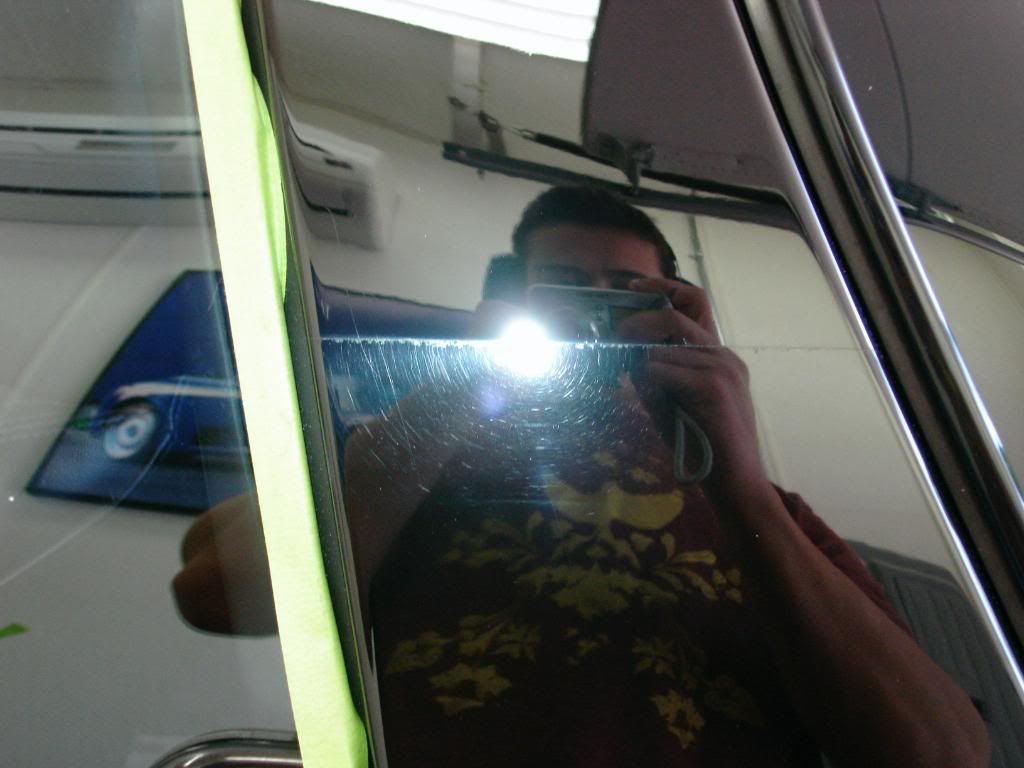
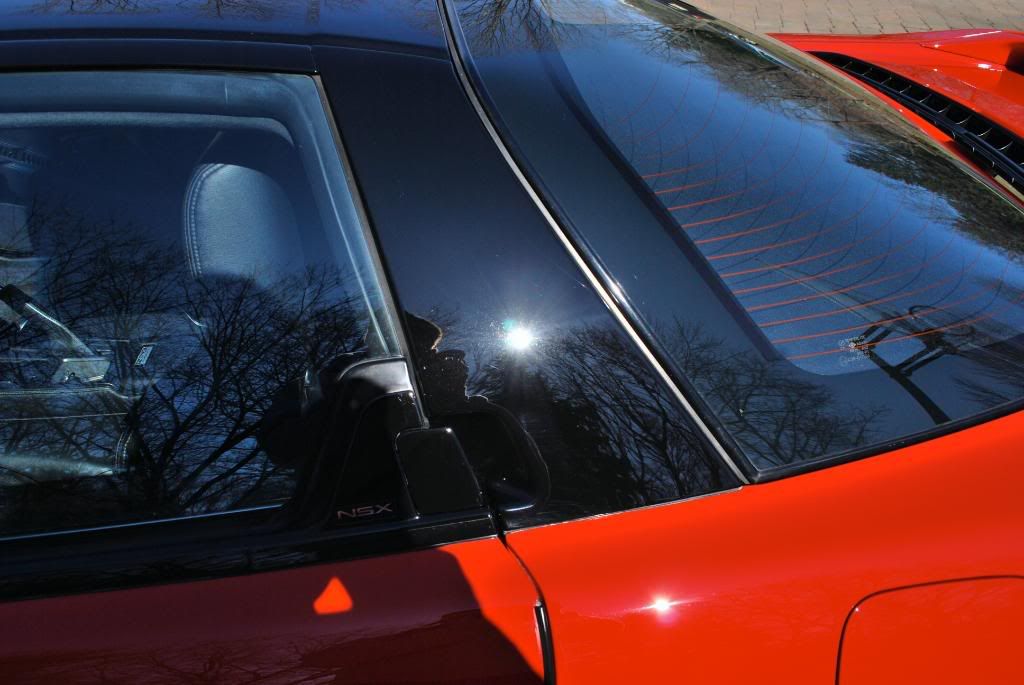
A-pillars were pretty hacked

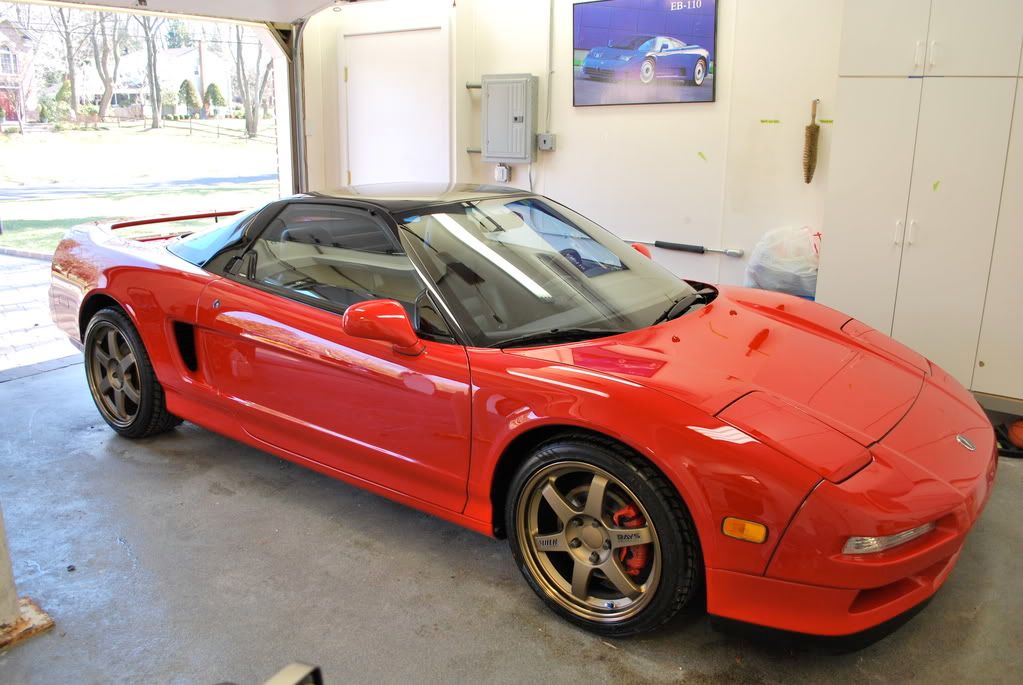
The wash process went rather quickly until the final DI rinse where some of the water froze on the paint, the temp dropped considerably during the end of the wash process so I quickly pulled the car inside to begin claying.
I used sonus' fine green clay with Megs LT 1:1. Very little contaminants were picked up on the bar. The nose of the car was covered in a clear bra and had some residual rubber marks from the track (this NSX is a bonafied track car)
Heres the rubber marks on the bra'd nose

These were taken out using Tarminator (again) and a lot of elbow greeese.
Now onto the fun part, paint correction. I took tons of paint readings and found the car to be very very inconsistant. Some panels averaged 7mils and other up to 14mils:yikes:
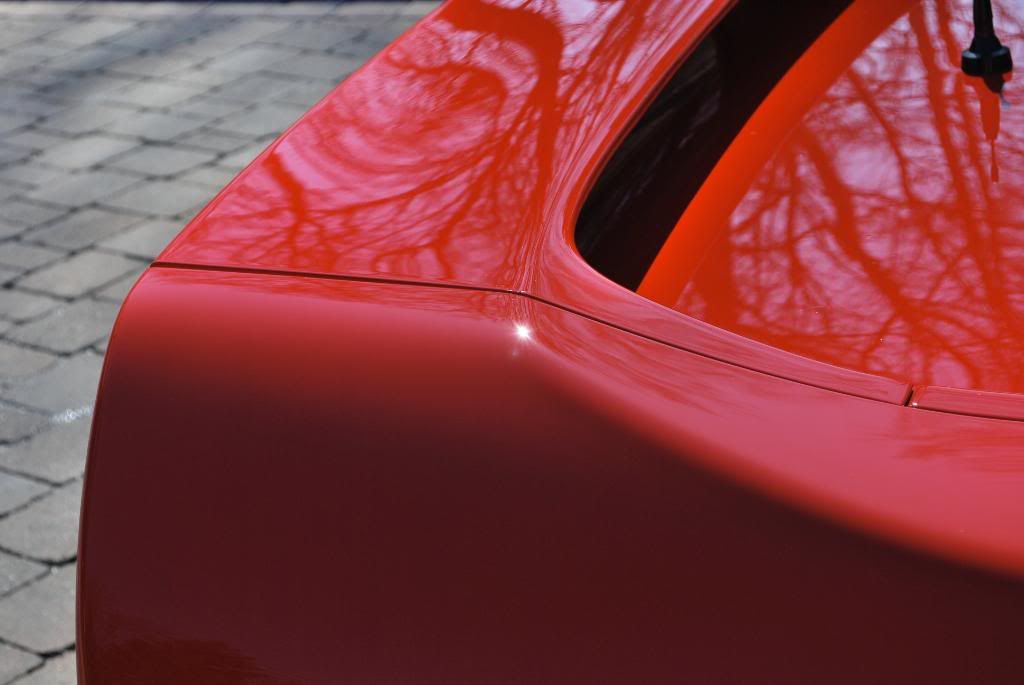
I later came to find out the car had areas re-sprayed because the hood and drivers side were the original formula red single stage paint and the trunk and passenger side panels were re-sprayed and no longer single stage. My guess would be the re-spray was done a very long time ago as the defects were the same around the entire car. I couldnt tell by eye the car was re-sprayed.
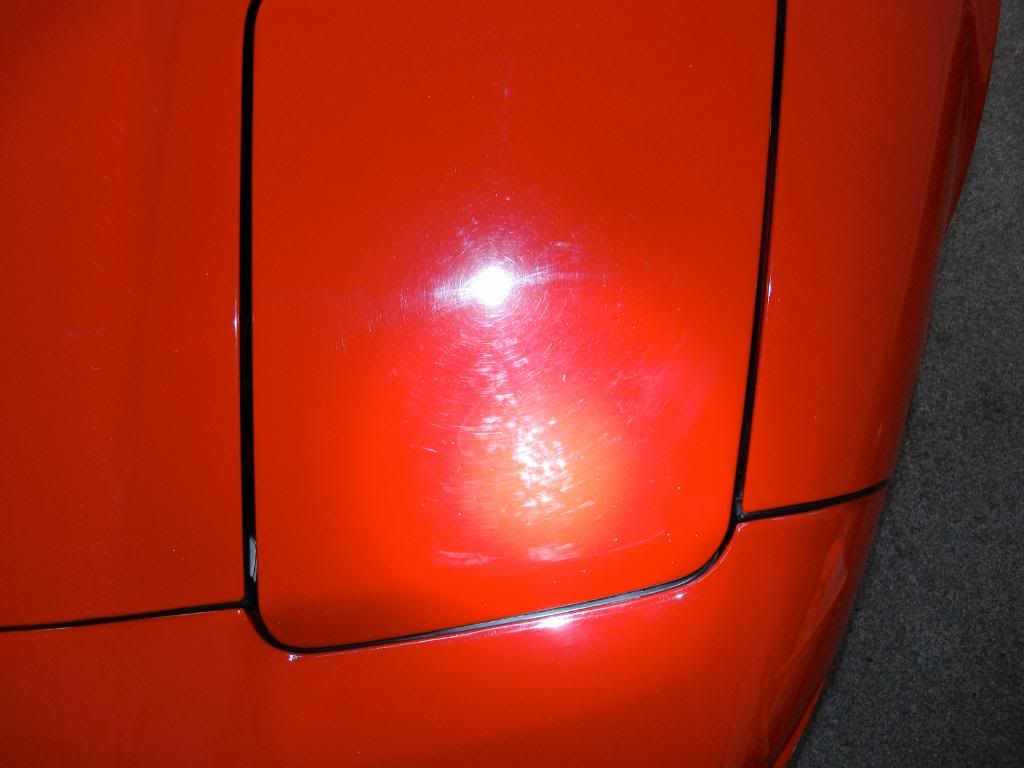
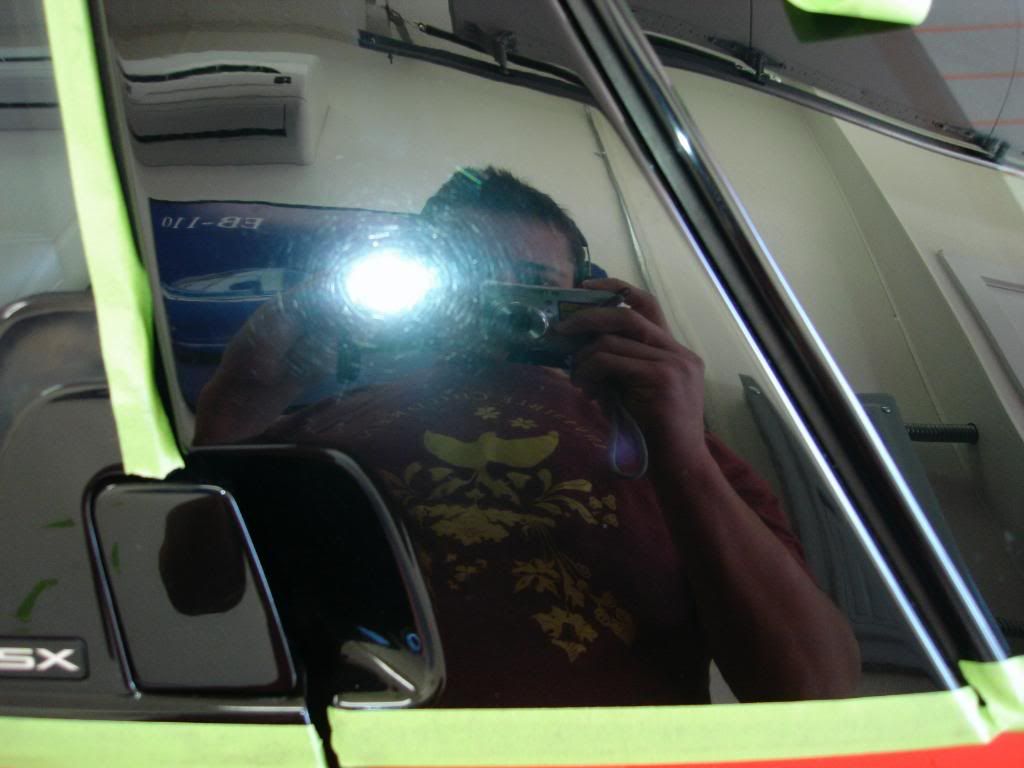
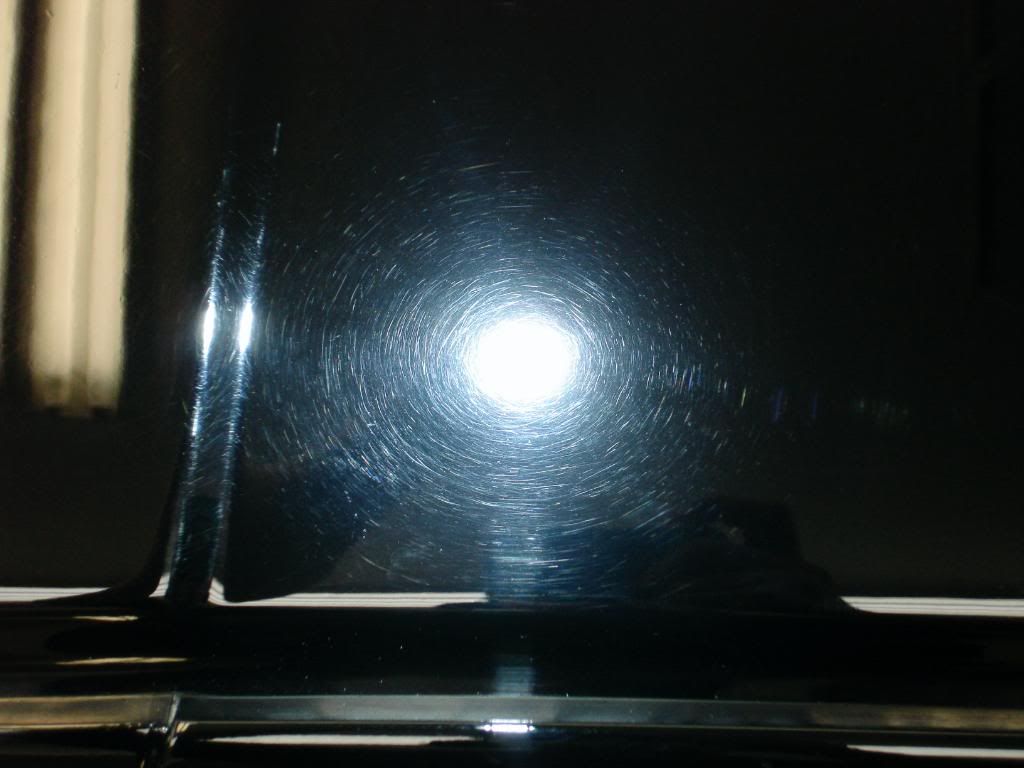
Heres the headlight under the Fenix LED light, not soo bad here...
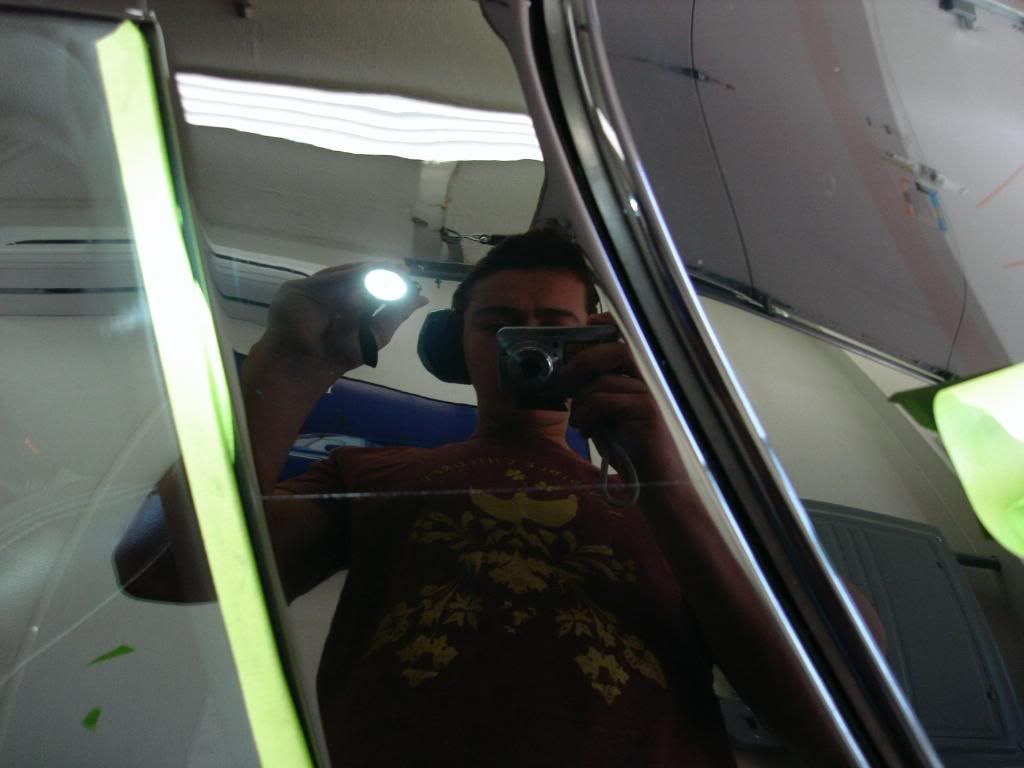
Little worse
I did a test spot to find the best combo and landed on 3 polishes for correction. I thought a 2 step would be sufficient to correct and finish the paint but in order to get 100% or as close to that as possible I found using a 3 step did the trick far better.
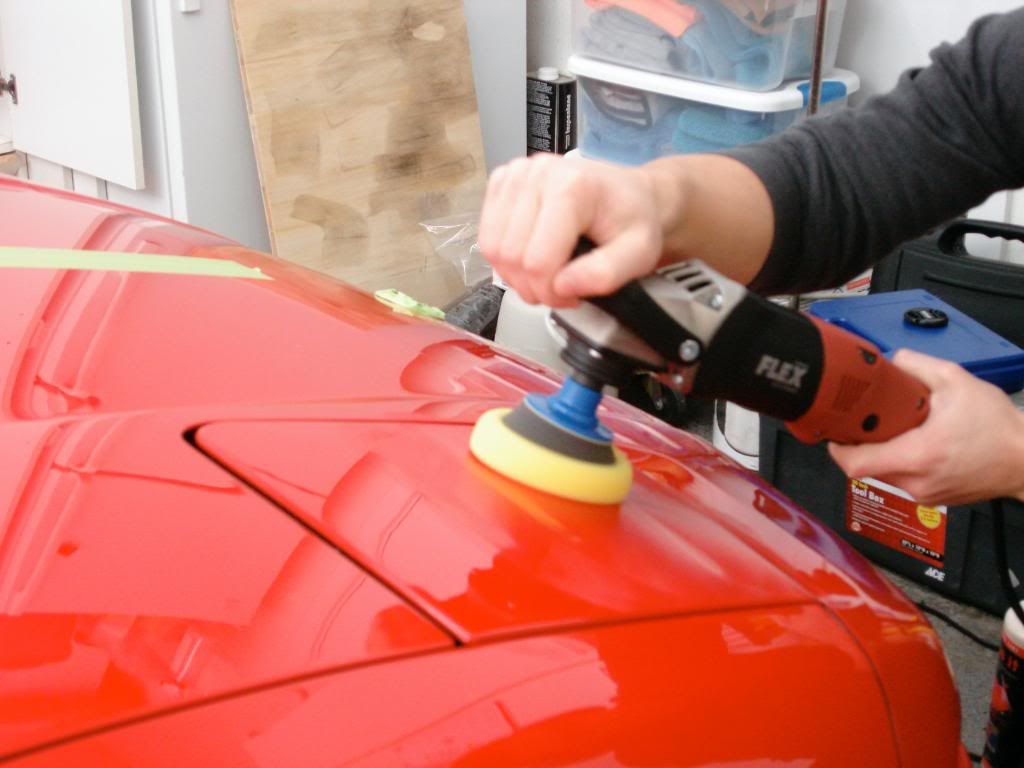
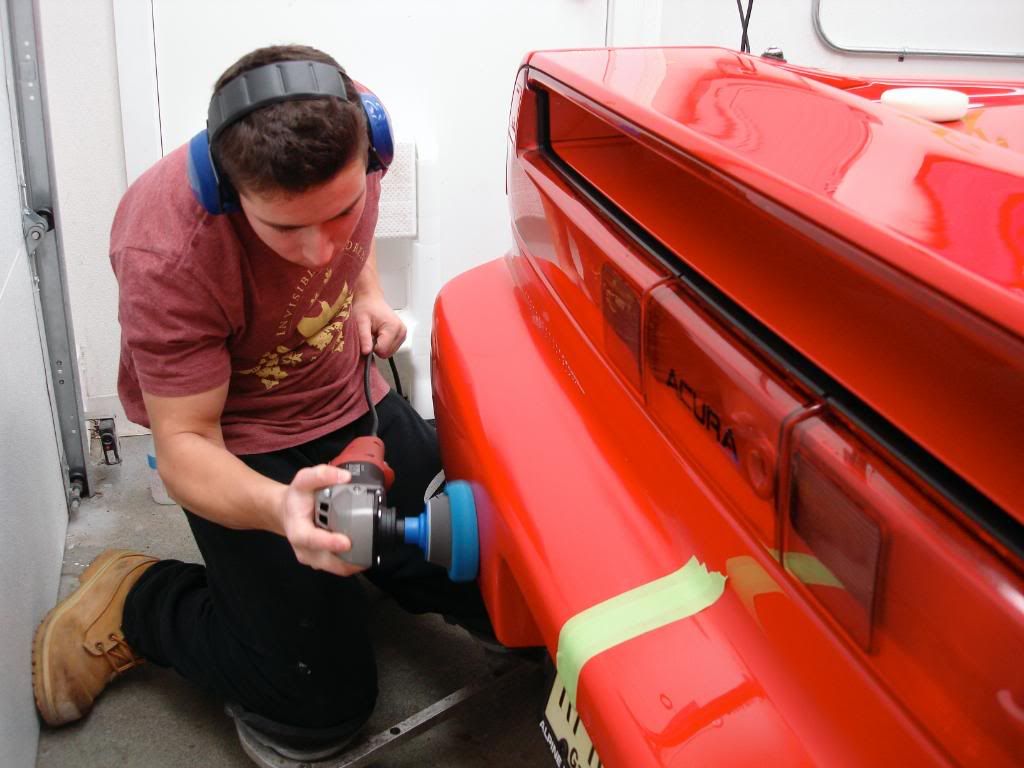
I started my first stage of correction with Gloss It extreme cut compound and a GI pre polymer white cutting pad on the flex rotary. This knocked down the deeper rids and swirls, I worked the extreme cut at 1900rpm to achieve maximum correction before backing down to 1400rpm and then 1100rpm, I did the same with the second step of correction with Gloss It evolution cut and a yellow GI pre polymer med. polishing pad.
Using the 4inch yellow med. polish pad with evolution cut and EVP (pad primer)
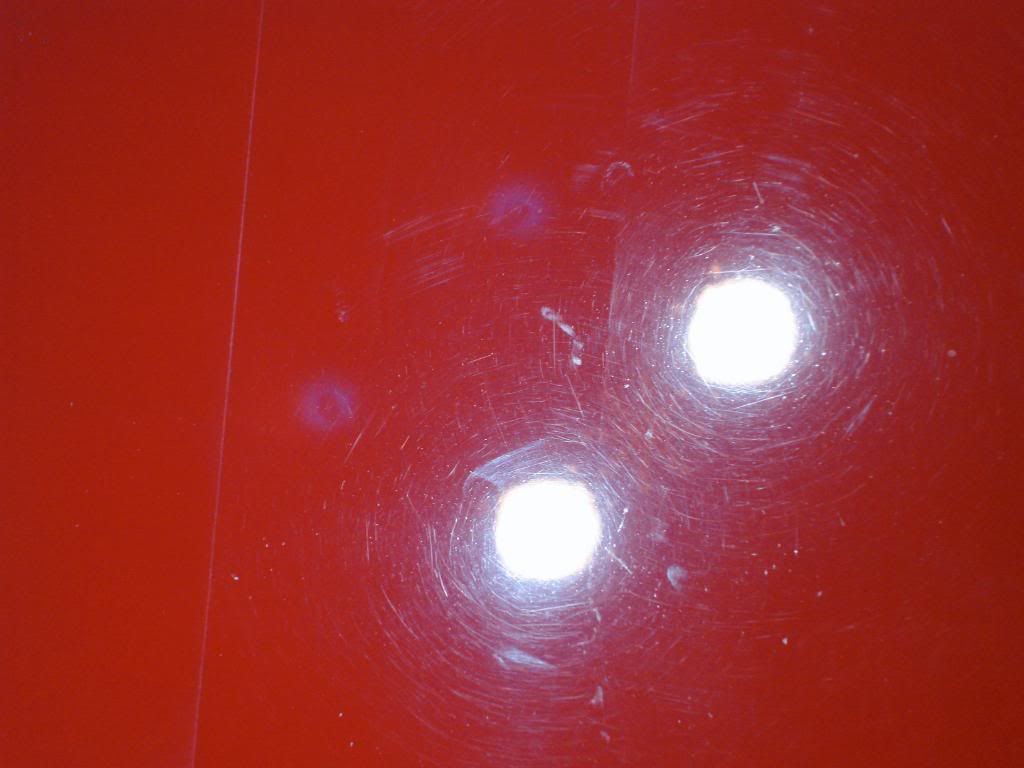
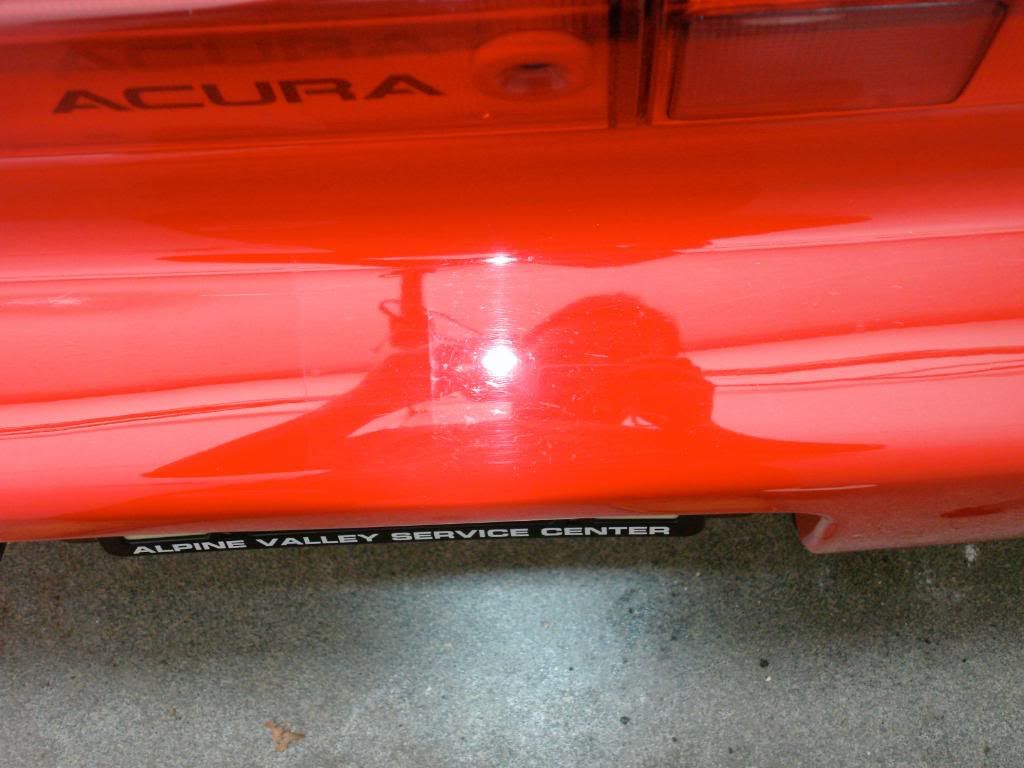
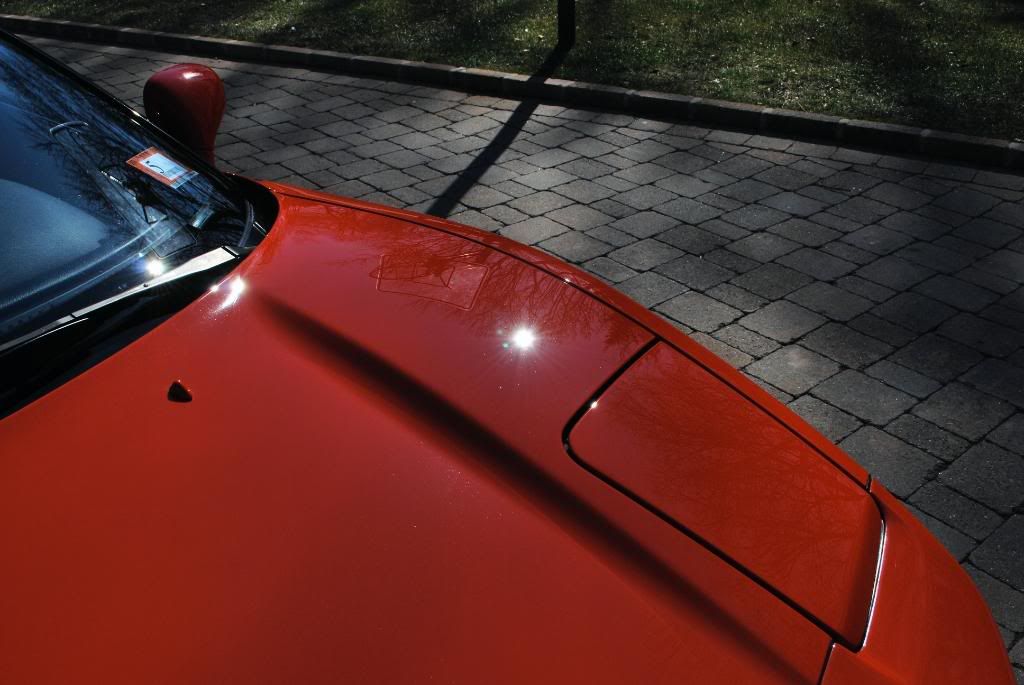
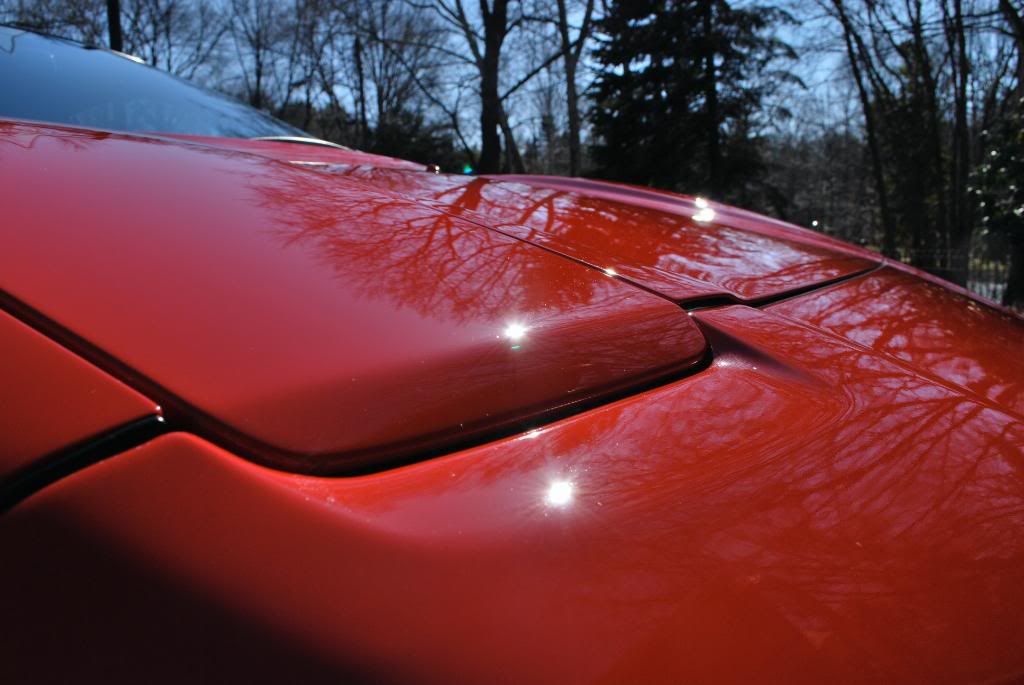
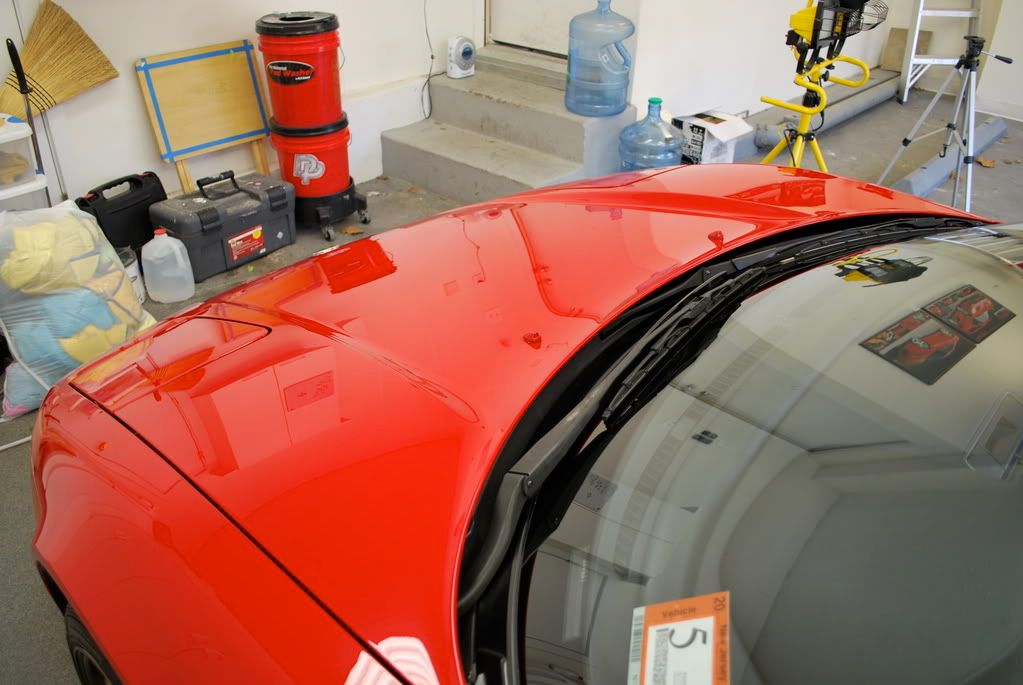
Here is the hood after stage 2 of correction, all the big stuff was knocked out. This is under the infratech CM5300
Close up of the defects
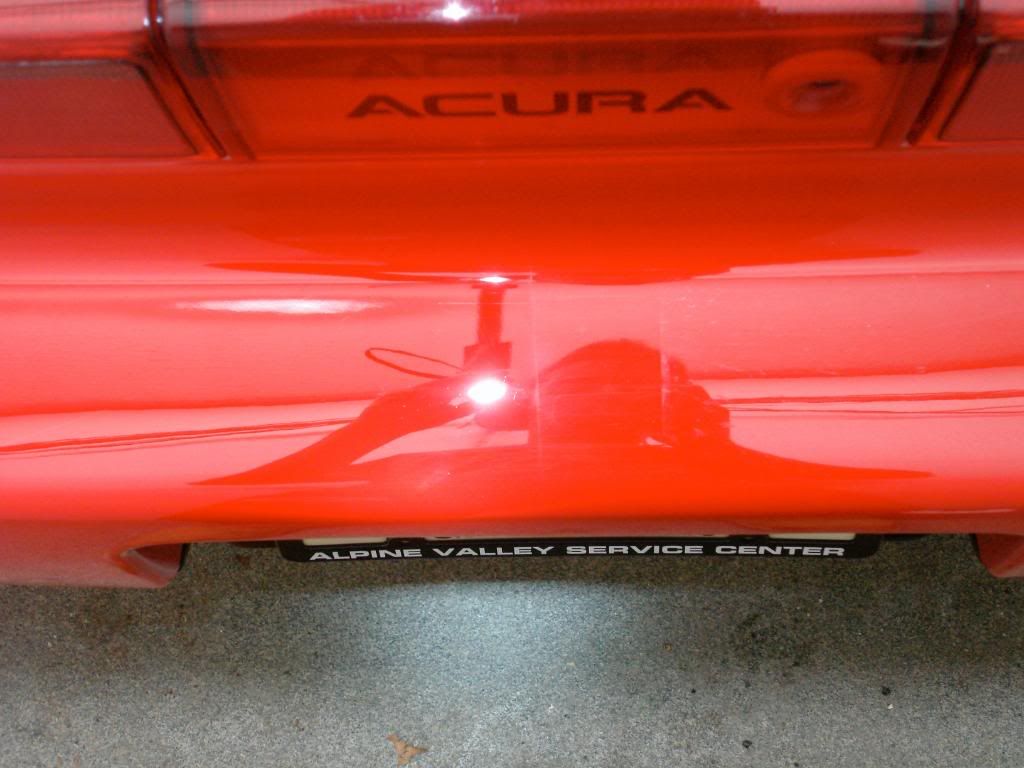
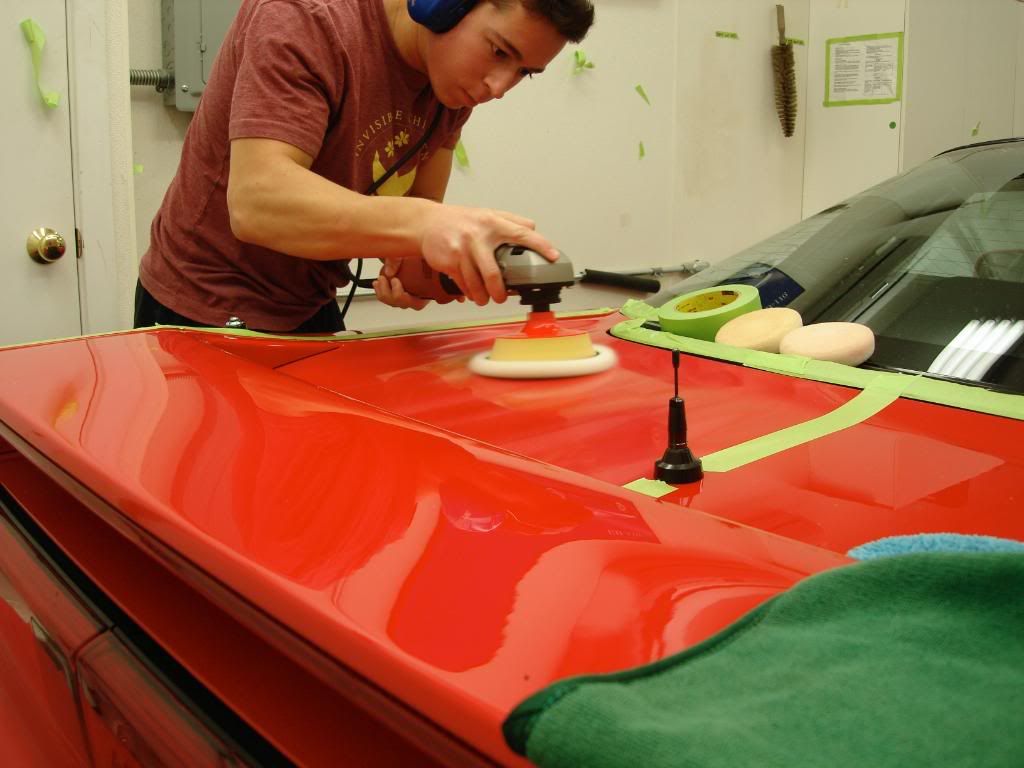
After finishing with a 5.5inch red ccs pad and menzerna micro polish at about 1400rpm jeweled down to 1100rpm (used the micro polish with GI EVP to extend the working time) As with every step prior, I used an IPA wipedown to check my work
50/50
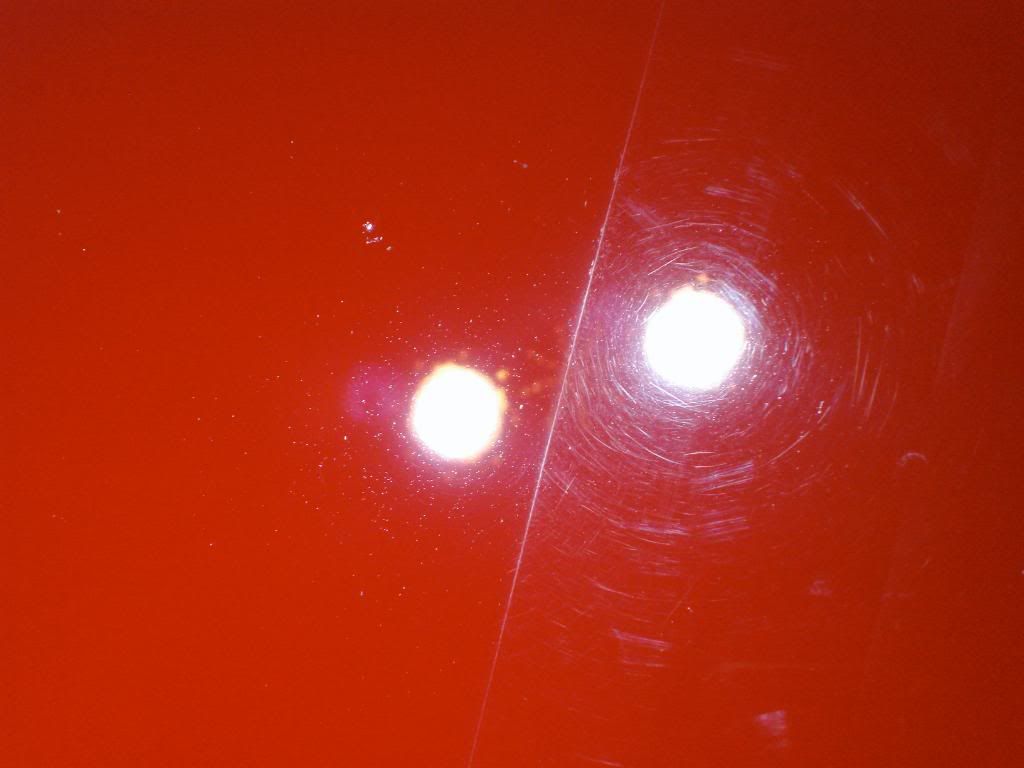
Just a camera flash
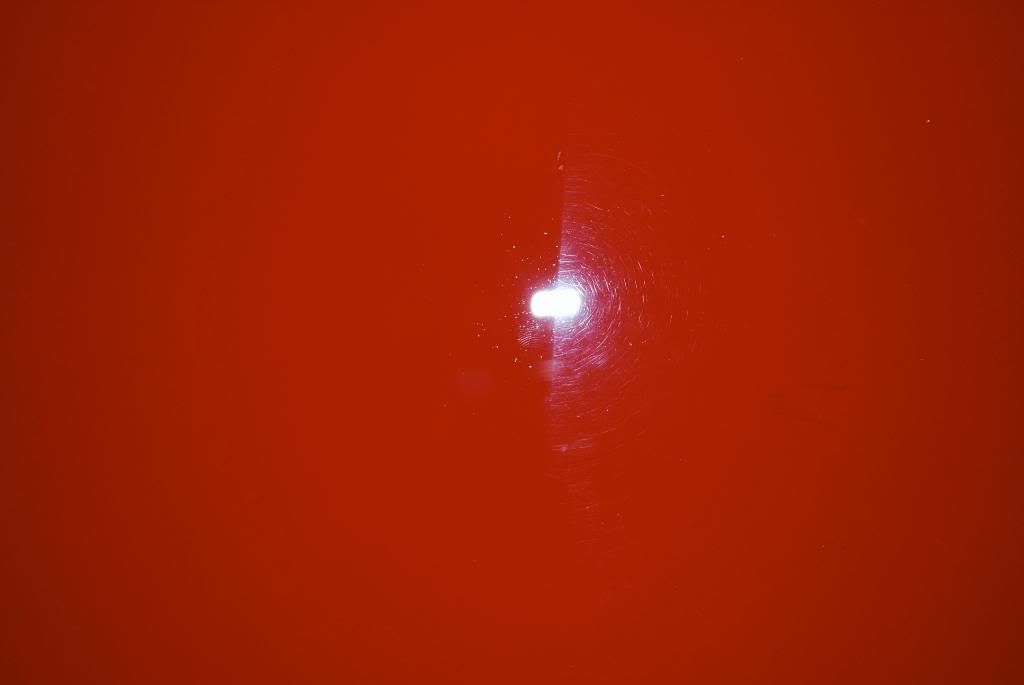
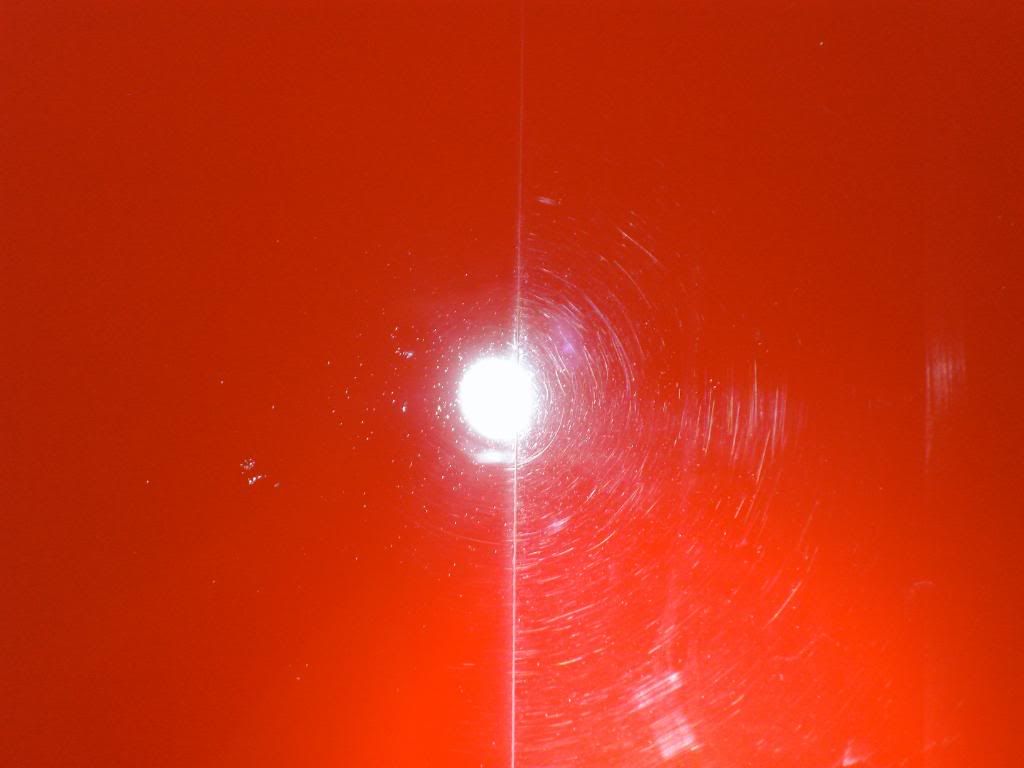
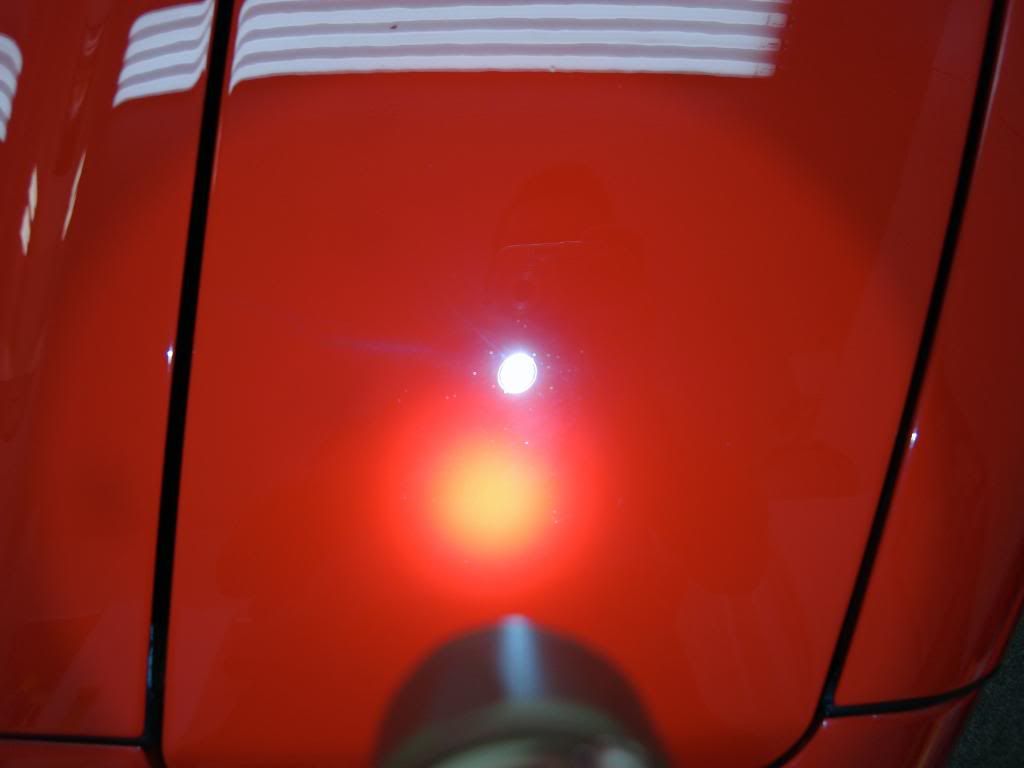
Now under the Fenix LED light before the micro polish, some light trails need to be cleaned up still
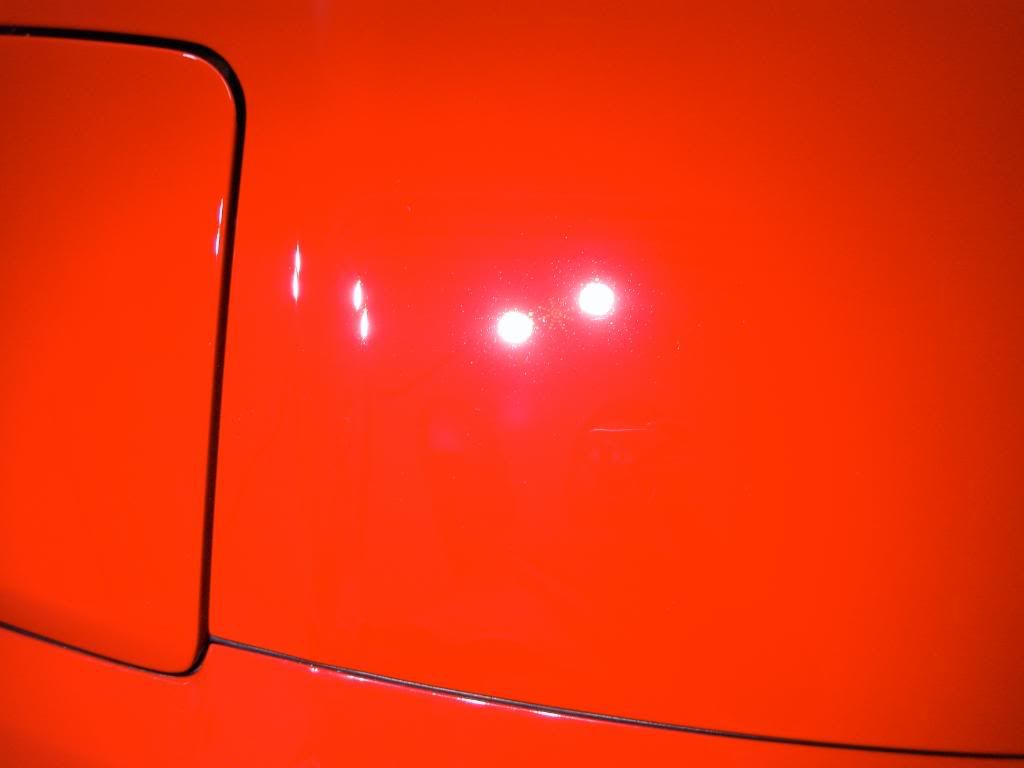
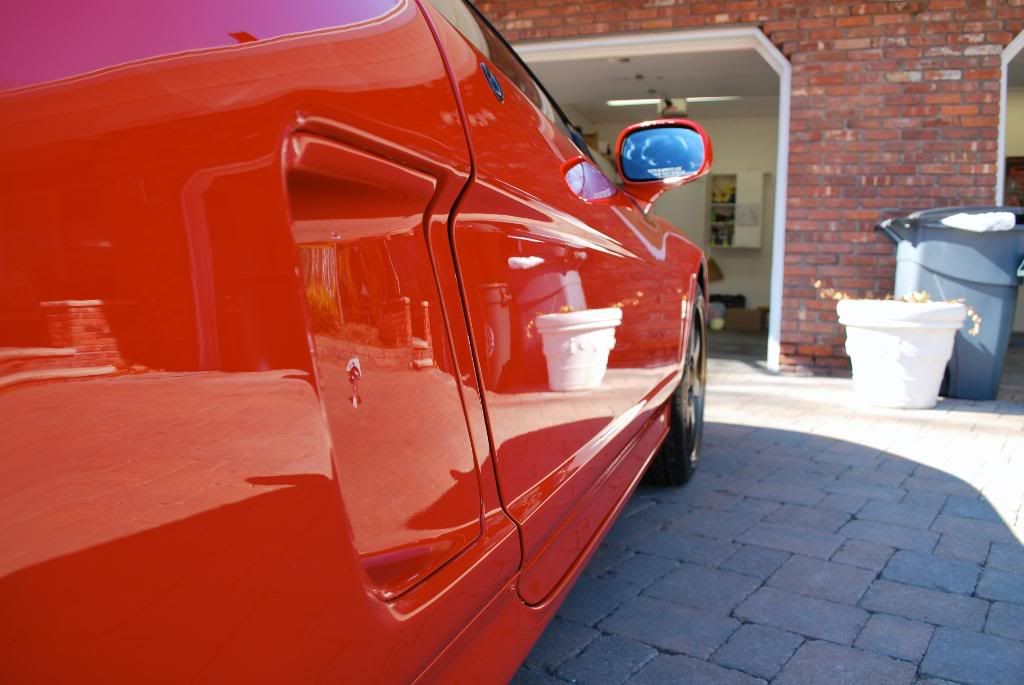
Center all finished
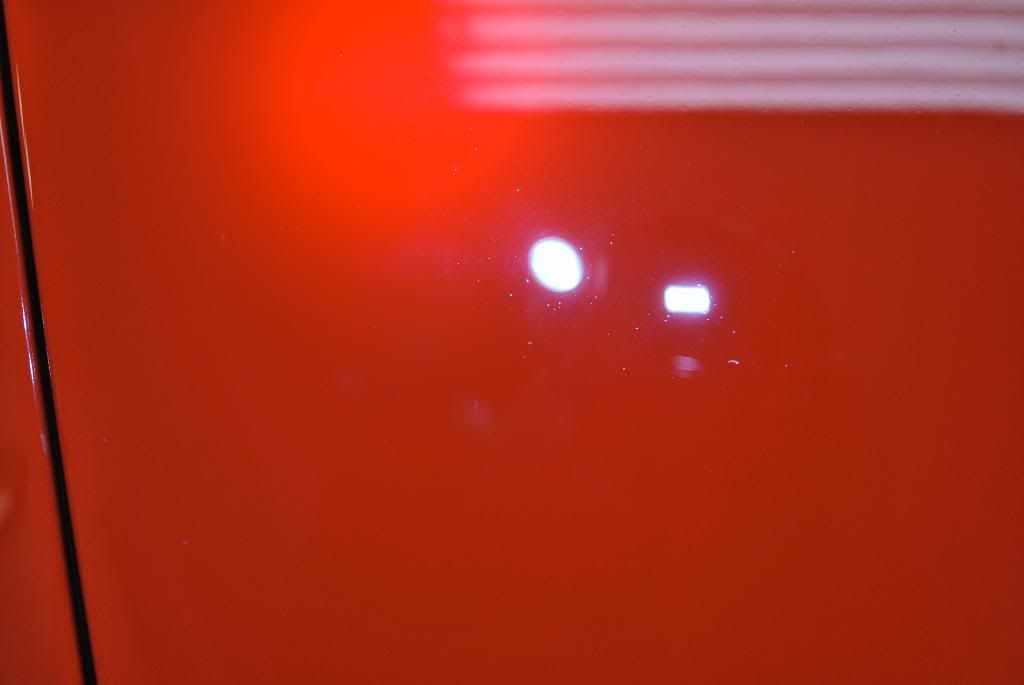
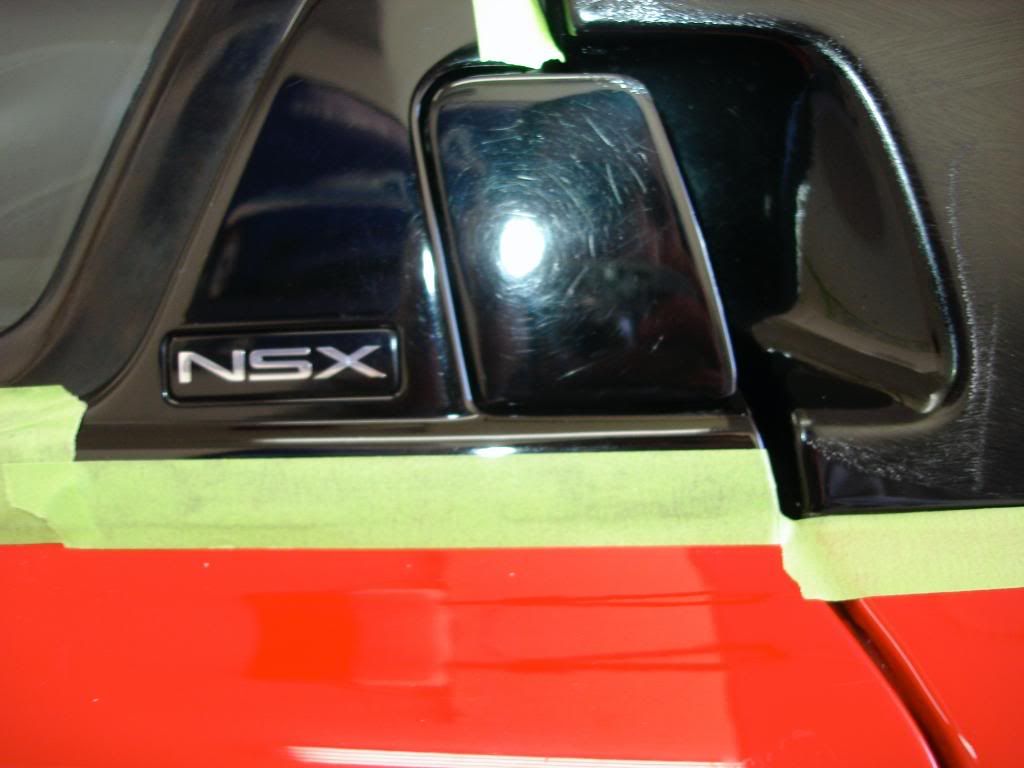
The left side headlight cover was in a little worse condition, here it is under the fenix LED
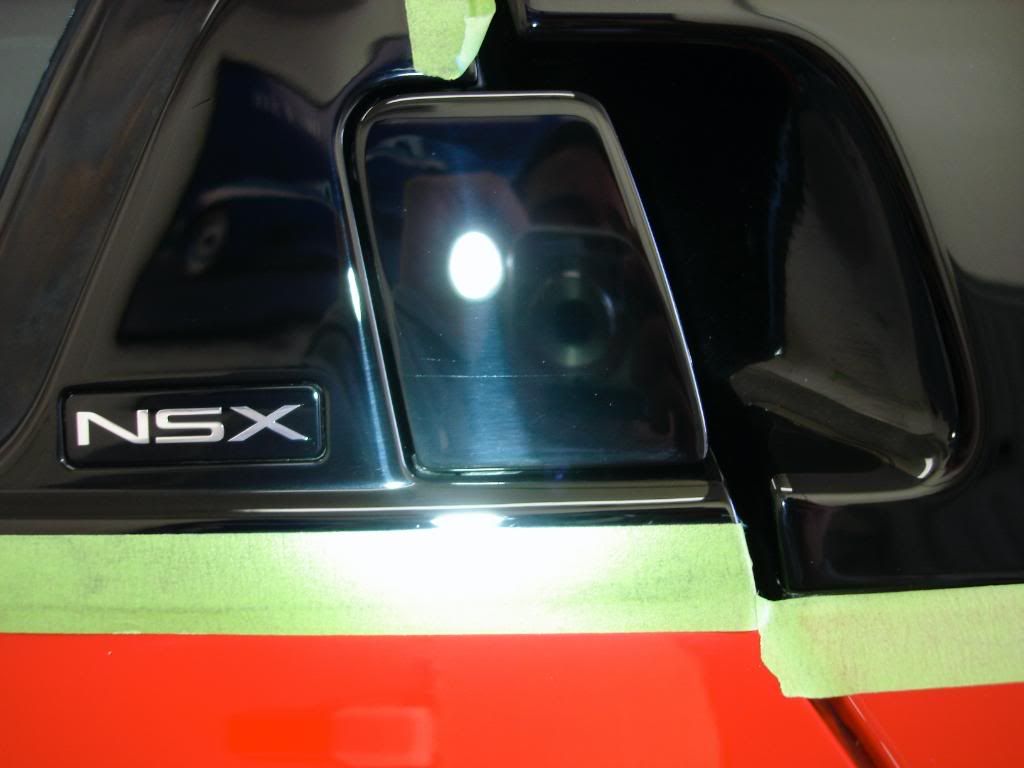
After correction
No need for a lengthy introduction about how great the NSX is or why it was so "ahead of its time". Yes it was/is a great car and we all know it deserves a place in automotive history :ignore, now lets move on
On with the detail that is... couple suprises along the way too:shrug:
Upon arrival the car appeared to be fairly clean, even still the usual wash process was carried out routinely.
First up a thick foaming of CG Maxi Suds after a very through pressure wash. I make it a point to pressure wash the paint, wheels and trim throughly before moving on to any form of washing. If there is any surface dirt on the car it usually will be taken write off with the initial high pressure rinse, that way the foam can do a better job of breaking down or at least loosening up some of the tougher dirt and grime.
I let the foam sit and began working on the wheels and tires. The foam was left for about 6 or 7 minutes, I wait until most of the heavy suds are off the car, never until the the paint has no suds on it! In the middle of cleaning the first wheel I stopped and PW'ed off the foam leaving the car shampoo free and then went back to the cleaning the wheels.
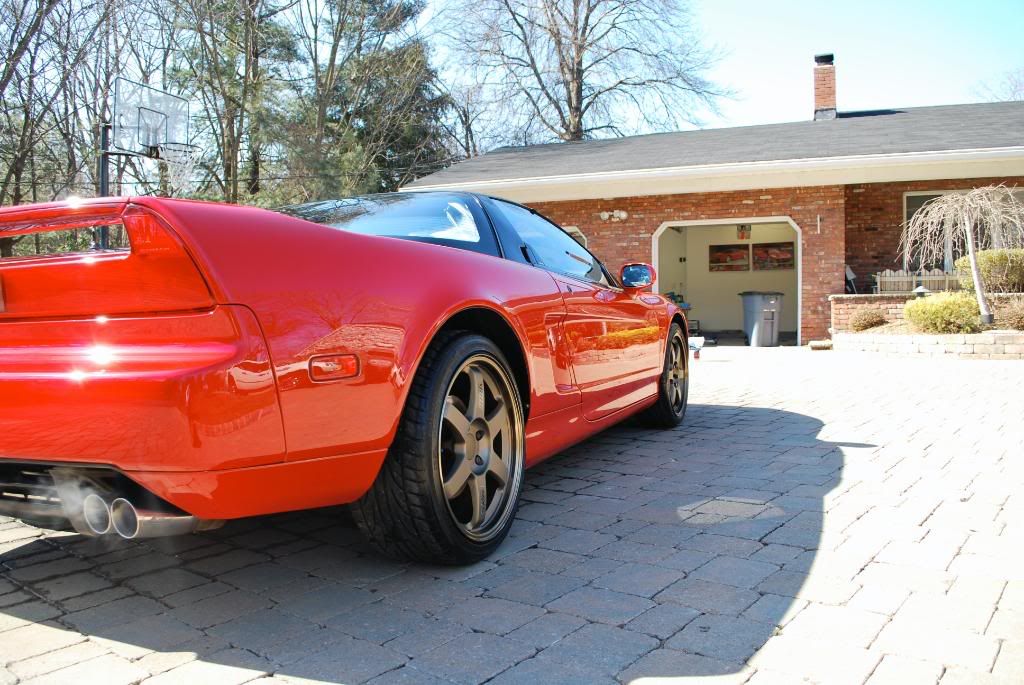
I used the Gloss It (GI) wheel gel with the EZ , boars hair, Swissvax and DD spoke brushes. I like using a few different brushes to make for easier cleaning of every part on the wheel, in this case the Volks were not very dirty to begin with but nonetheless they needed to be spotless from every angle.
Me on the racatac rolling creeper, this is a great little seat for wheel cleaning and polishing down low.
Using the detailersdomain spoke brush to agitate the inner wheel. The tires were cleaned with Megs APC 3:1 as well as the wheel wells. After the tires were pre cleaned with the APC I used Stoners Tarminator, yes TARminator to clean the tires again. I learned this trick from a good friend and fellow detailer Bob from AutoConcerige. Basically the mild solvent based Tarminator helps to further breakdown the grime really trapped in the rubber.
You would be surprised at the excess dirt which is pulled off the tires even after cleaning with strong APC or degreaser.
After the wheels were in order, I PW'ed the paint once more before the hand wash. Again I used CG CWG as my shampoo of choice, the NSX was wearing some form of protection as the paint was beading pretty well during all the rinsing so I used a heavy mix of CWG to hopefully strip away at the current LSP which was applied by the owner.
I used the new LC blue sponge to wash the paint, have heard rave reviews about it so I picked up 2 and am very happy with it.
I snapped some sun shots of the paint defects before pulling the NSX inside, didnt seem to terrible with the exception of some deep RIDS.
A-pillars were pretty hacked
The wash process went rather quickly until the final DI rinse where some of the water froze on the paint, the temp dropped considerably during the end of the wash process so I quickly pulled the car inside to begin claying.
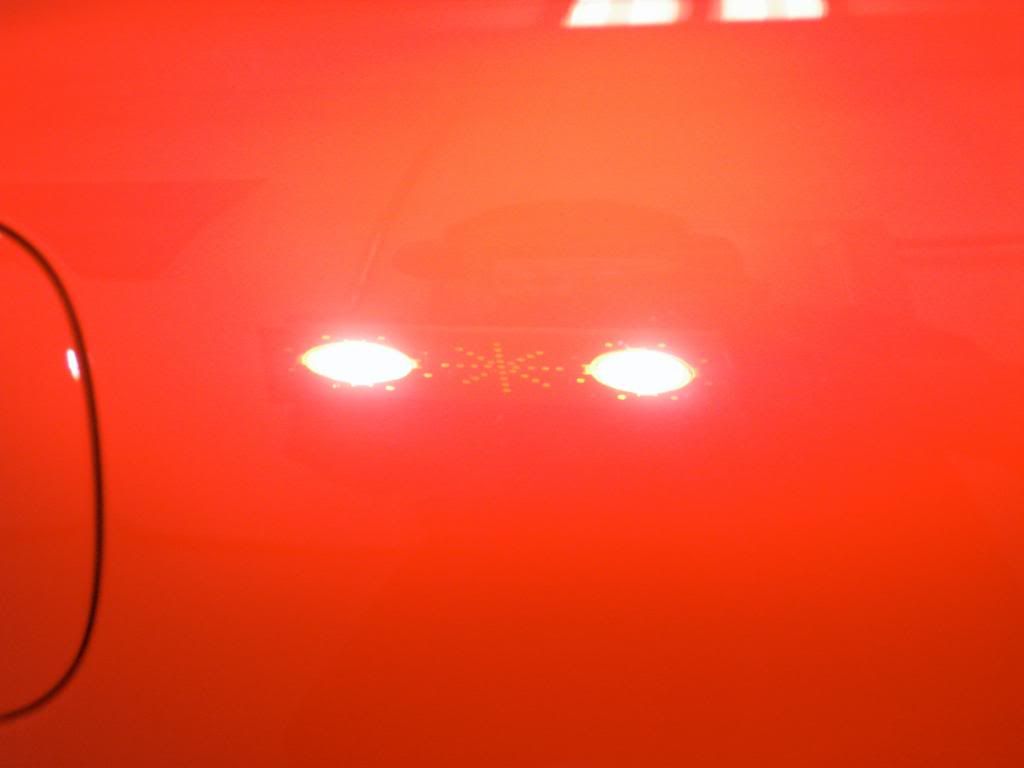
I used sonus' fine green clay with Megs LT 1:1. Very little contaminants were picked up on the bar. The nose of the car was covered in a clear bra and had some residual rubber marks from the track (this NSX is a bonafied track car)
Heres the rubber marks on the bra'd nose
These were taken out using Tarminator (again) and a lot of elbow greeese.
Now onto the fun part, paint correction. I took tons of paint readings and found the car to be very very inconsistant. Some panels averaged 7mils and other up to 14mils:yikes:
I later came to find out the car had areas re-sprayed because the hood and drivers side were the original formula red single stage paint and the trunk and passenger side panels were re-sprayed and no longer single stage. My guess would be the re-spray was done a very long time ago as the defects were the same around the entire car. I couldnt tell by eye the car was re-sprayed.
Heres the headlight under the Fenix LED light, not soo bad here...
Little worse
I did a test spot to find the best combo and landed on 3 polishes for correction. I thought a 2 step would be sufficient to correct and finish the paint but in order to get 100% or as close to that as possible I found using a 3 step did the trick far better.
I started my first stage of correction with Gloss It extreme cut compound and a GI pre polymer white cutting pad on the flex rotary. This knocked down the deeper rids and swirls, I worked the extreme cut at 1900rpm to achieve maximum correction before backing down to 1400rpm and then 1100rpm, I did the same with the second step of correction with Gloss It evolution cut and a yellow GI pre polymer med. polishing pad.
Using the 4inch yellow med. polish pad with evolution cut and EVP (pad primer)
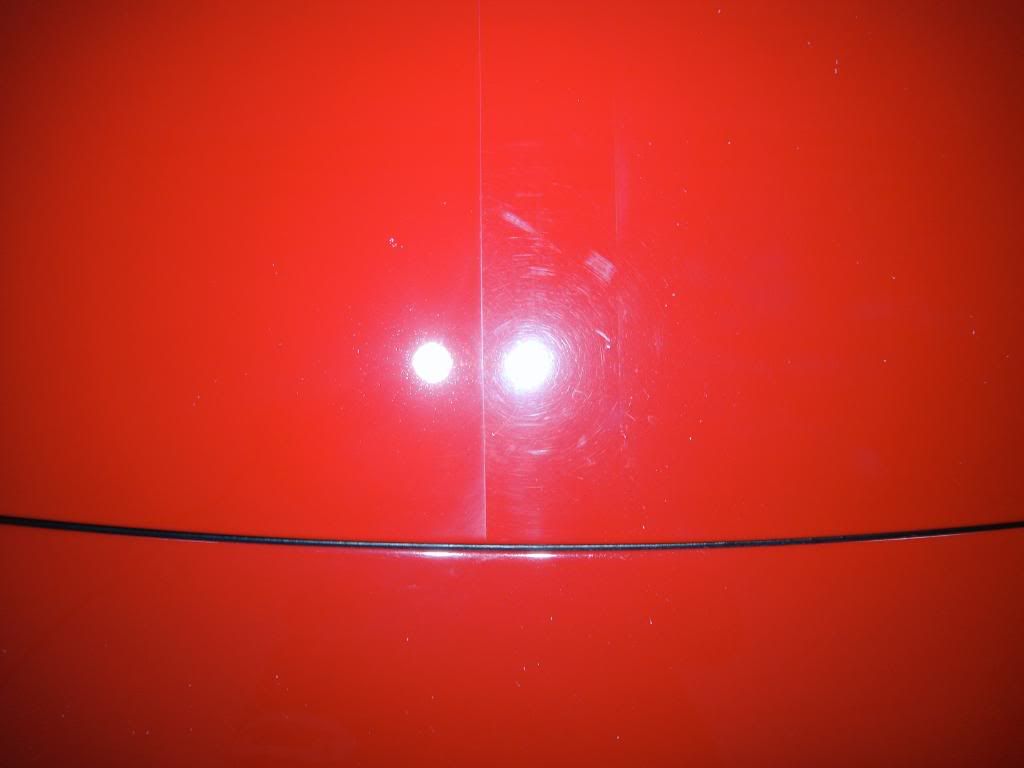
Here is the hood after stage 2 of correction, all the big stuff was knocked out. This is under the infratech CM5300
Close up of the defects
After finishing with a 5.5inch red ccs pad and menzerna micro polish at about 1400rpm jeweled down to 1100rpm (used the micro polish with GI EVP to extend the working time) As with every step prior, I used an IPA wipedown to check my work
50/50
Just a camera flash
Now under the Fenix LED light before the micro polish, some light trails need to be cleaned up still
Center all finished
The left side headlight cover was in a little worse condition, here it is under the fenix LED
After correction


")
