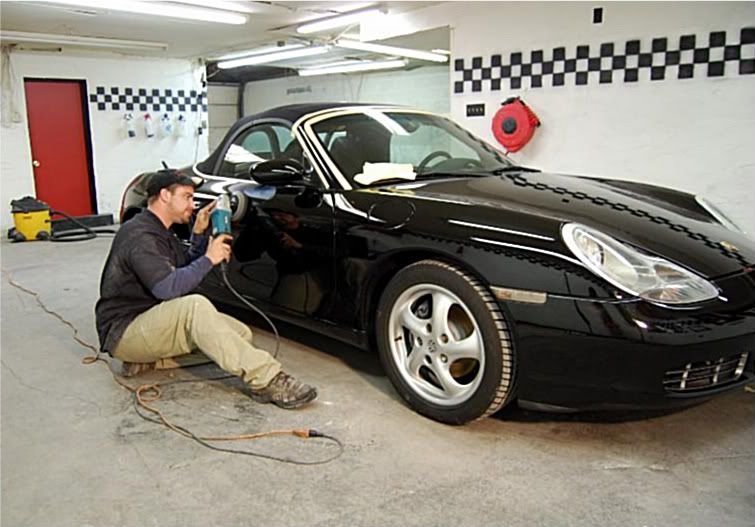
Hello everybody. I had the pleasure of detailing a 1999 Porsche that was beyond neglected. When in contact with this client he said he bought the car new and it was his garage queen for years. He mentioned that he moved and for the past five years the car sat outside in the New Jersey weather for about five years. He said that his life was getting busy and he began to let the car go. Then it snowballed with neglect from there. My goal with this car was to return it to the garage queen status again. Although it feels great to have a nice clean ride. As detailers we have the opportunity to add value to a car. This car is a prime example of both. The total time spent on this car was well over 40 man hours of complete reconditioning. I tried to focus on every little detail of this vehicle. Now lets see how this car came to me. Oh and for the record I learned this week not all exotics are babied!
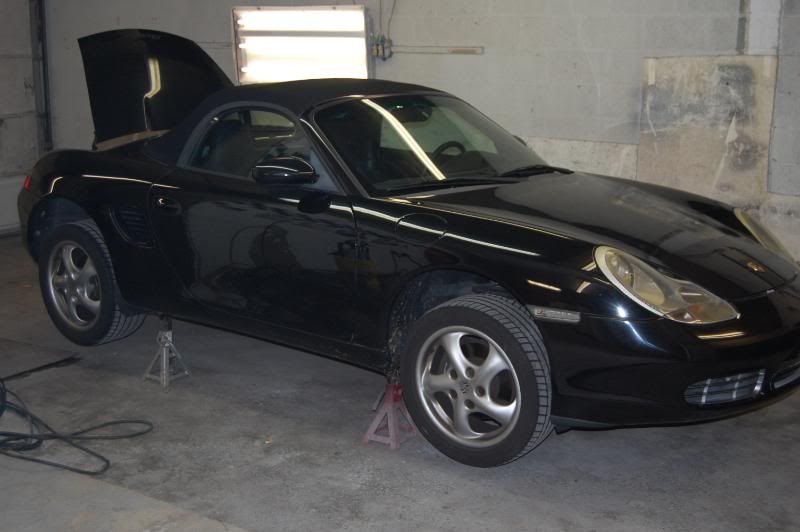
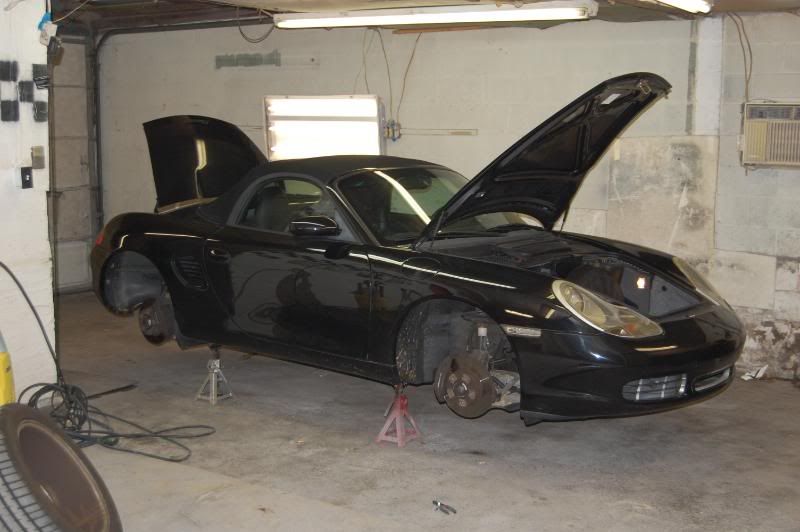
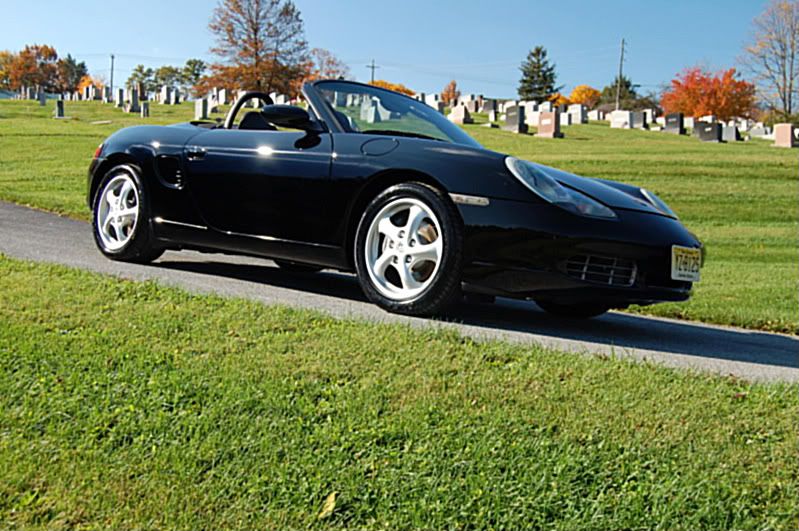
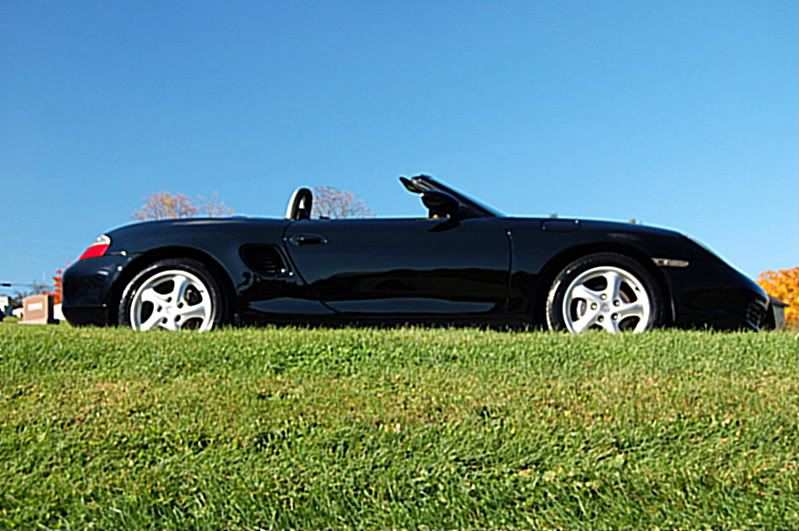
Here is how this car came to me.
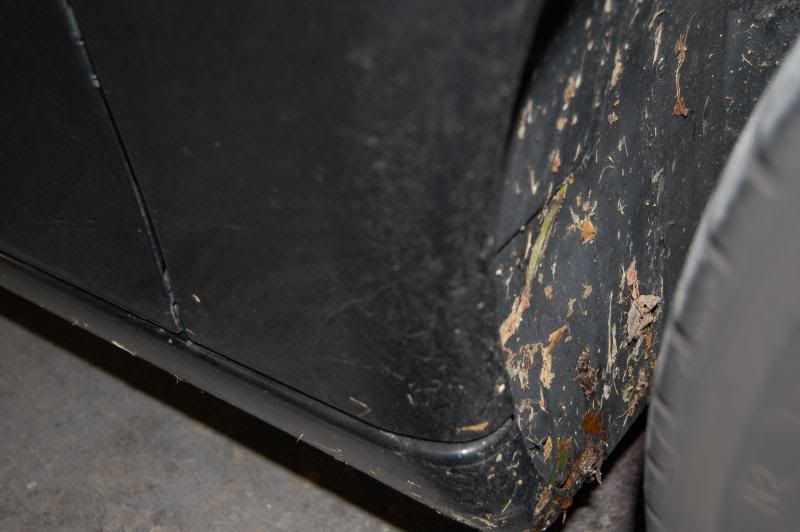
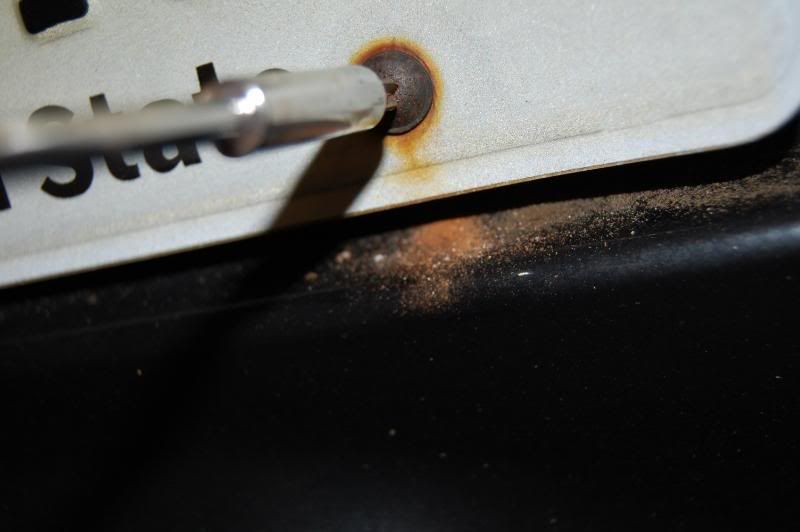
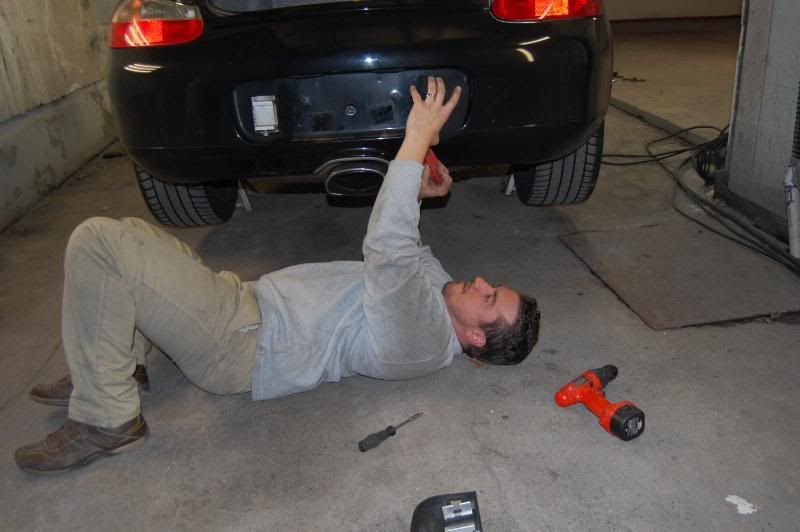
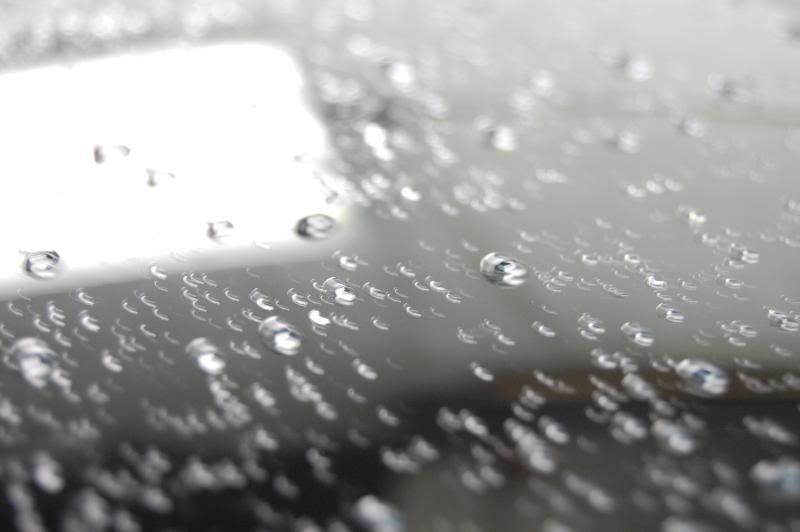
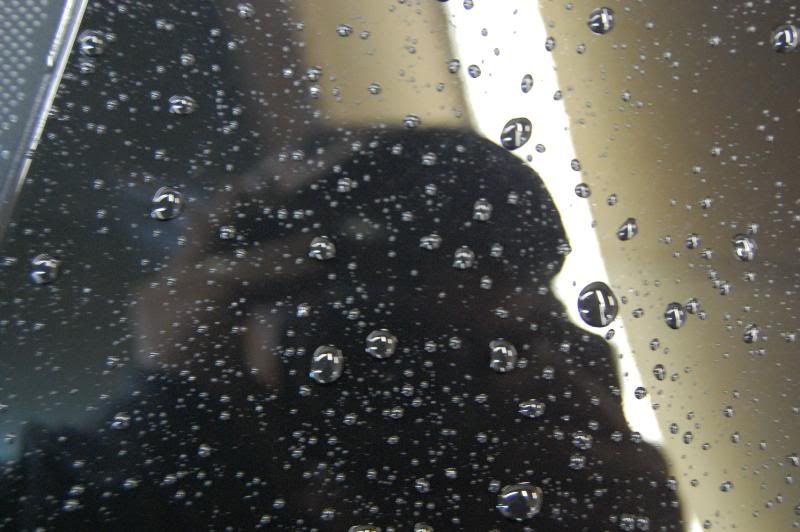
Those are just to show the how dirty this car was. I really can’t describe the amounts of tar and fallout on the paint. There was years of Residual dirt everywhere. So I First started with a complete dismantle of all wheels and tires , plates, plate brackets, bumper protectors and a few other things! When I removed the Plates you could see rust falling from the Bracket and the screws. It was pretty bad! Here are some pics of the process.
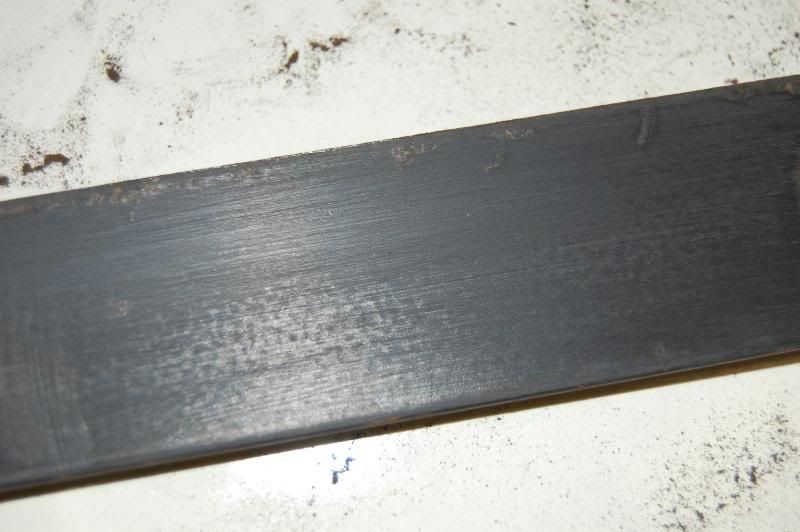
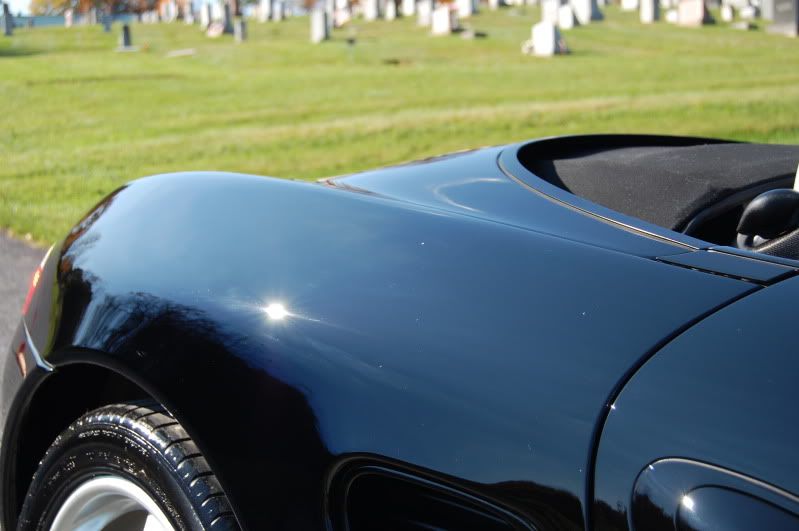
Take notice in this Picture of the rust I mentioned earlier in the write up.
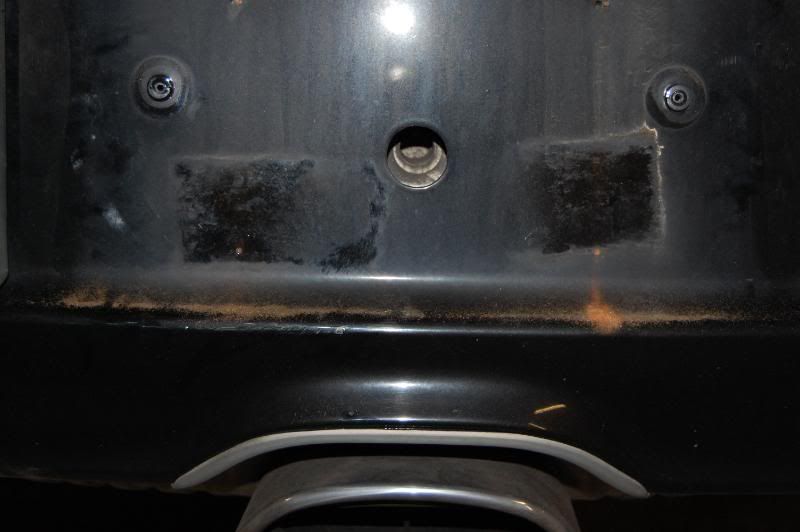
Here you can see wear the rust stained the paint. Some was dust and some was embedded in the clear coat surface!
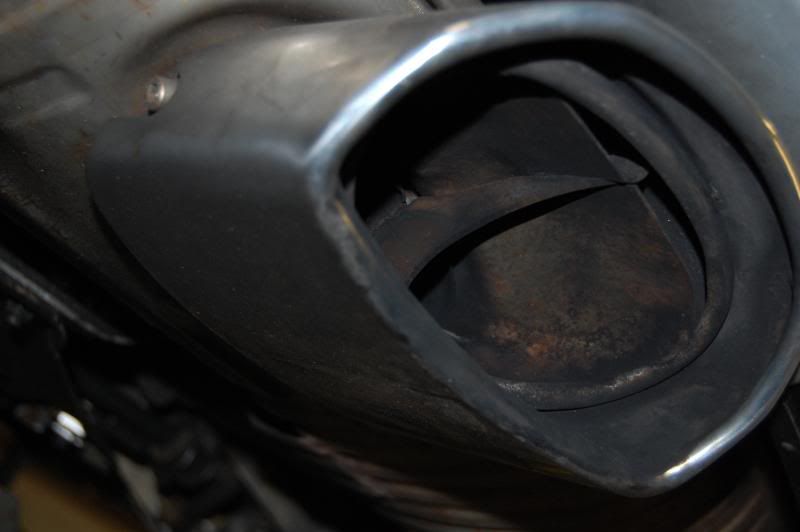
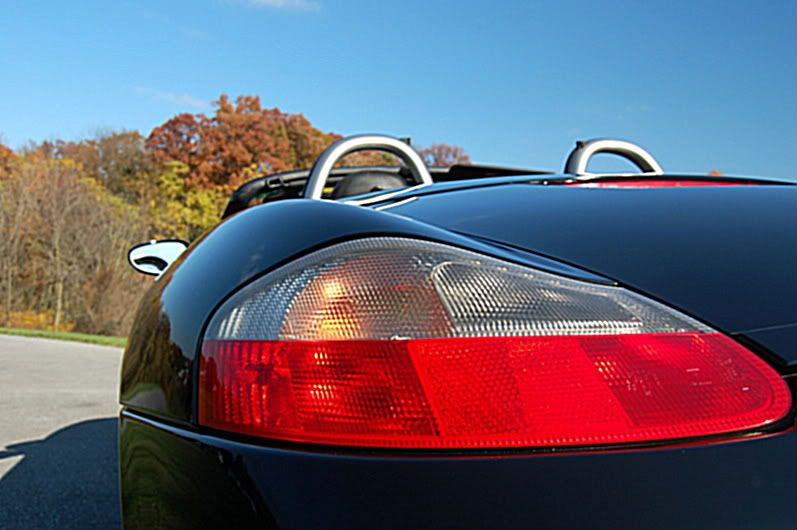
These are the Bumper protectors I was telling you about. I found removing these were important. It allowed me to get to every part of the rear bumper during this reconditioning .
Next I pulled all wheels and tires off and I was left with this.
I love before shots like this. Car looks great and when you see this in my write ups you know its going to be a good write up!
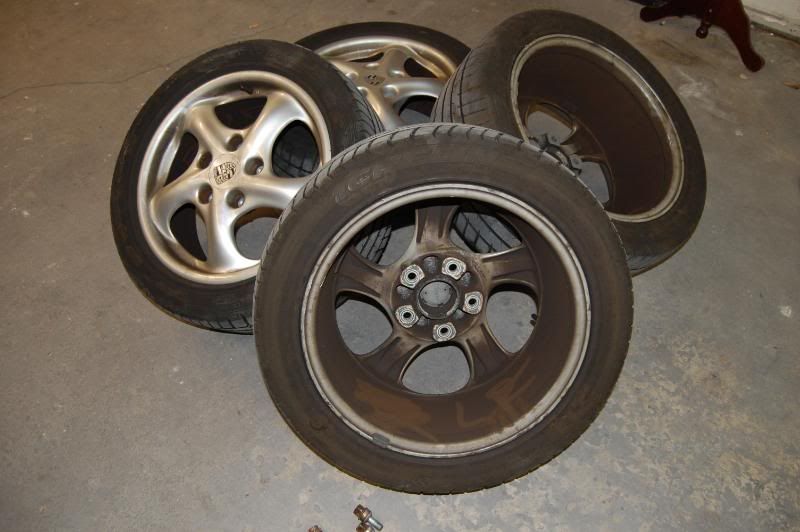
Once I got all the wheels removed You can see here how bad they were. Now keep in mind when removing wheels it’s a great idea to label them lol these were so dirty I label them with my finger tips. Here is my mountain of Filthy wheels and tires.
This picture show you my extraordinary labeling process. Nothing fancy but hey it worked on this one!
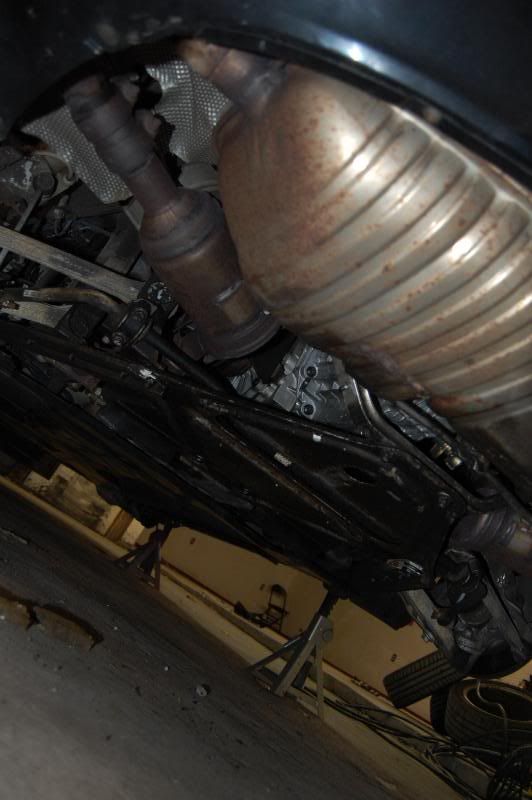
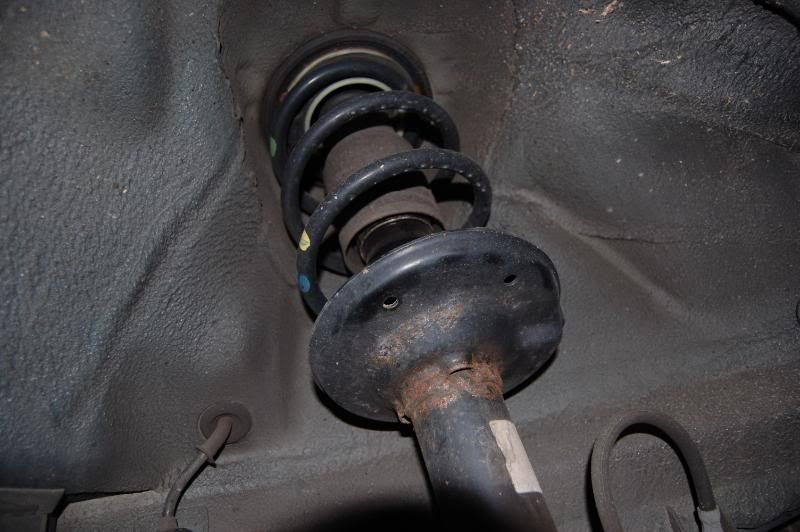
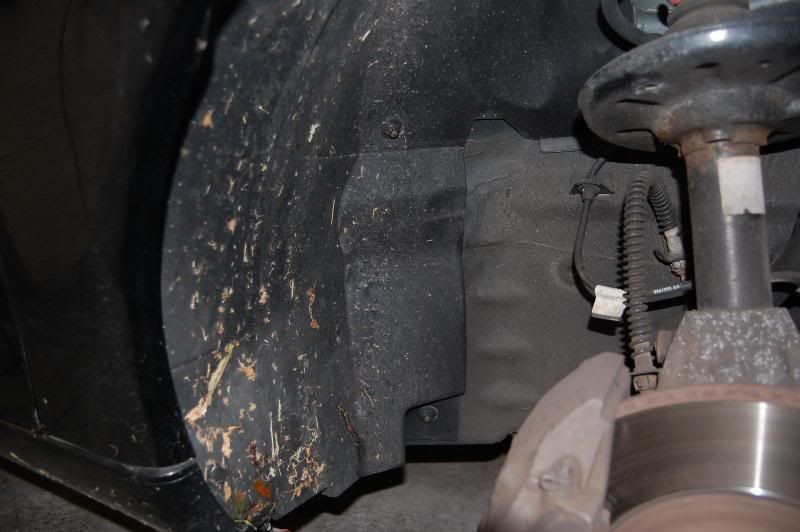
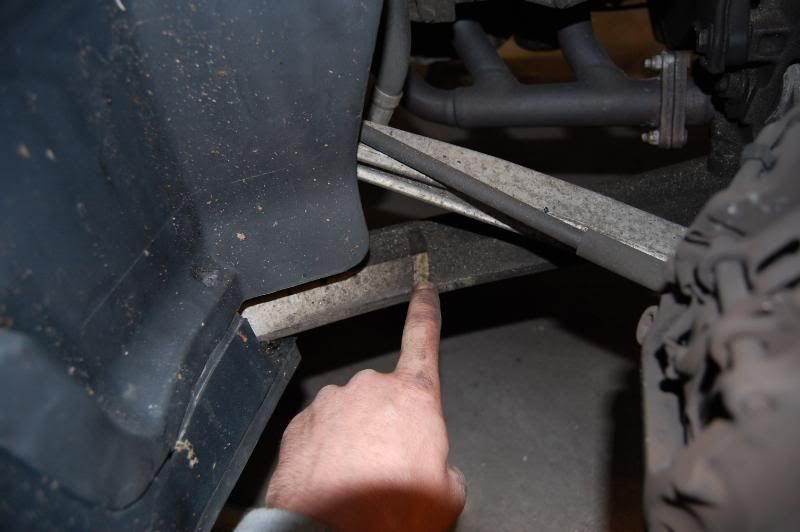
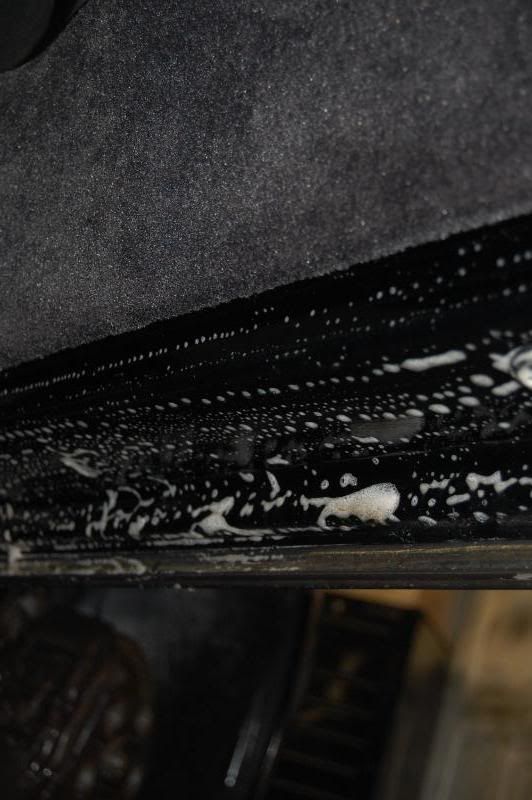
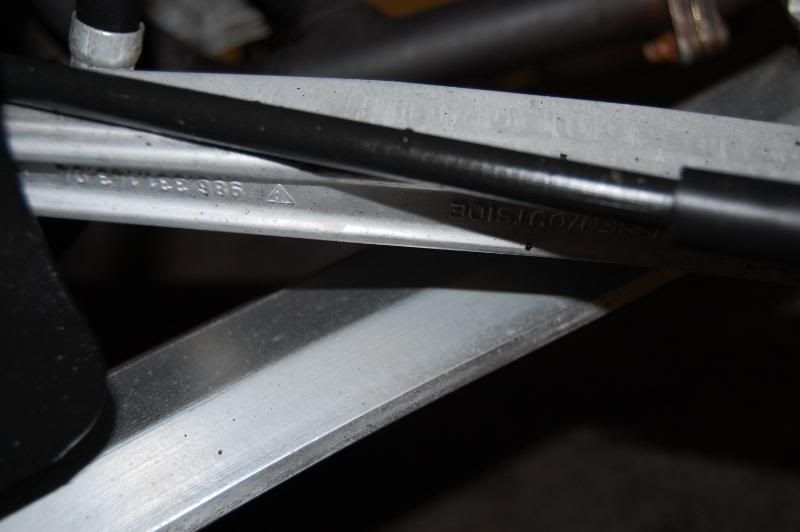
Here are some close ups of some of the undercarriage and suspension parts, wheel wells and various other parts. You can see years of build up dirt and rust everywhere.
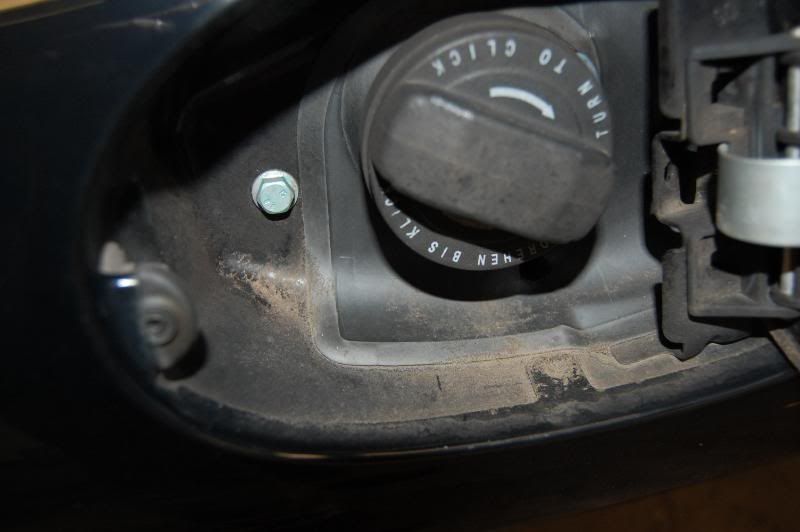
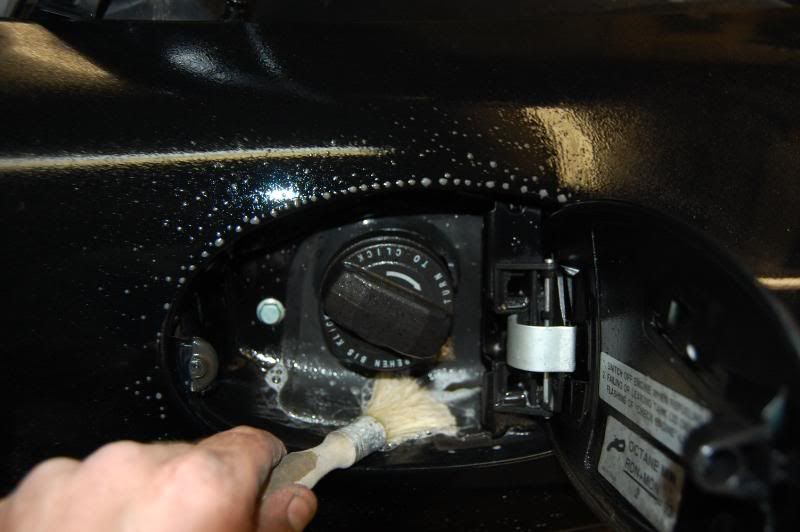
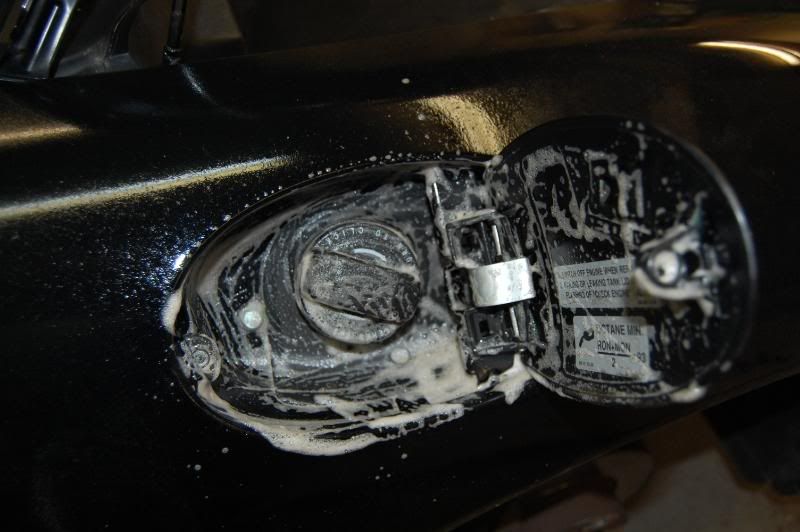
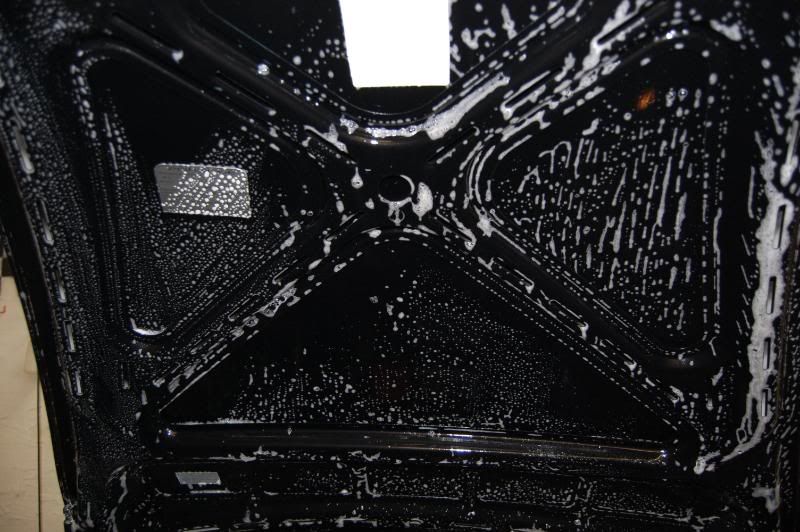
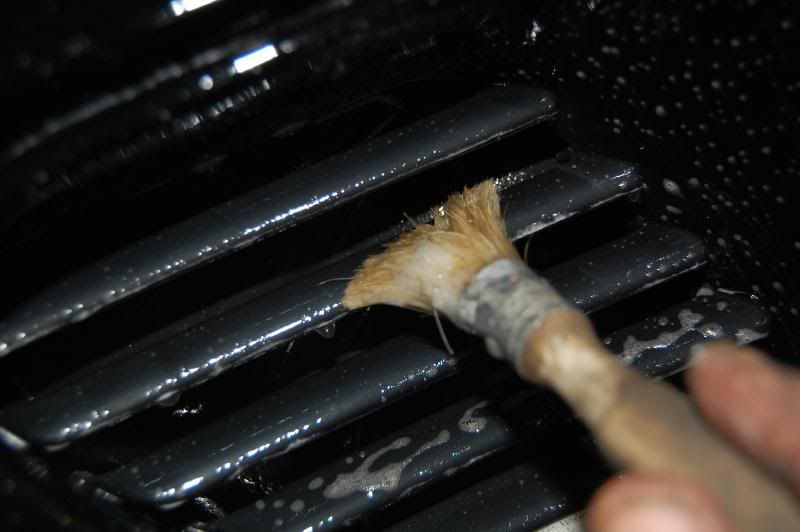
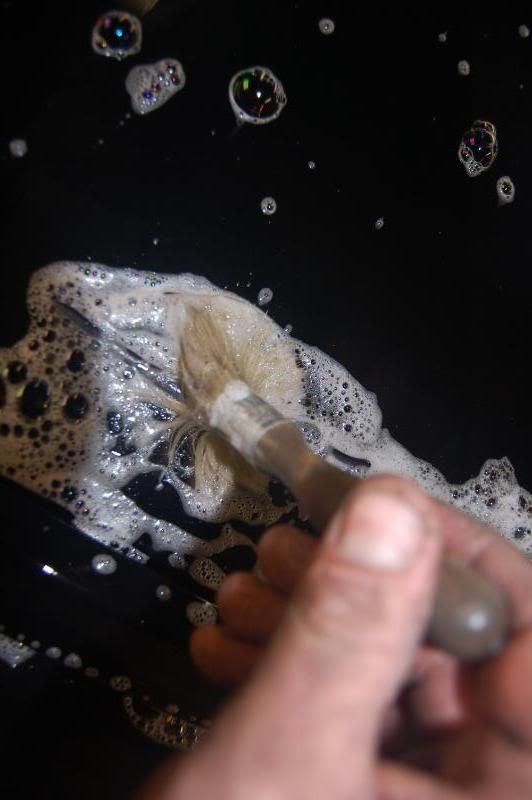
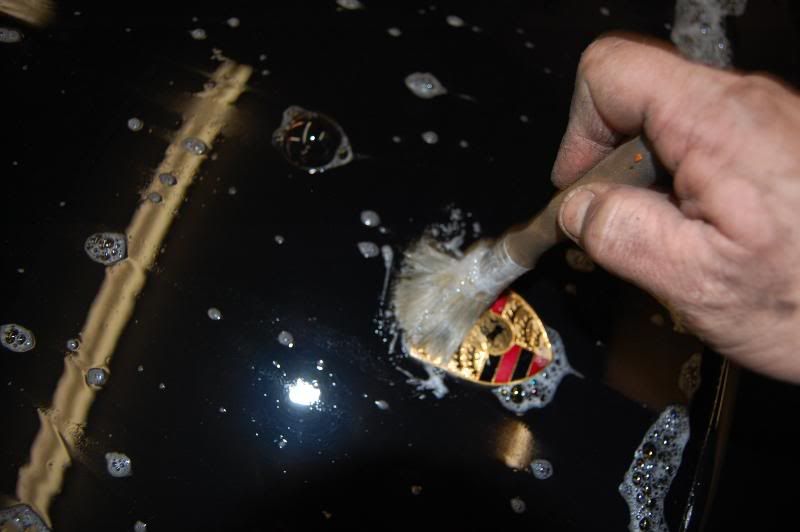
At this point I turned my work to focus on the jams, front and rear cargo areas and gas flap. I worked from the inside out during the Decontamination phase. All areas were sprayed with Ardex New Wave with a Dilution ratio of 4 to 1. This stuff is a great Degreaser and my personal favorite. It cleans good and fast and it isn’t harmful. Then the areas were agitated using various sponges and brushes and rinsed down, Here are some of the process.
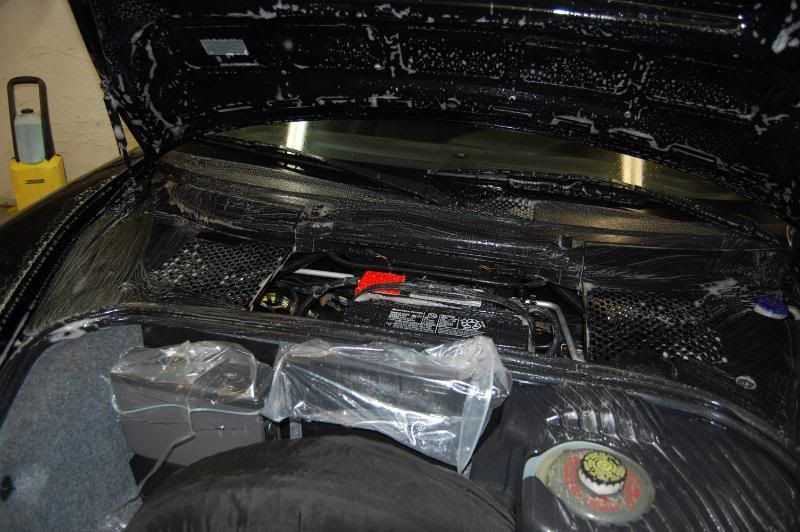
Here you can see where various area’s were covered with plastic for safety reasons. Better be safe then sorry.
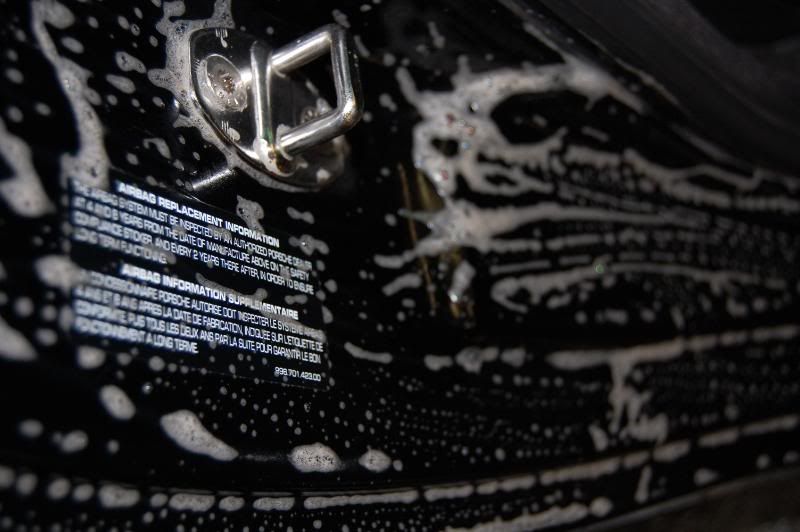
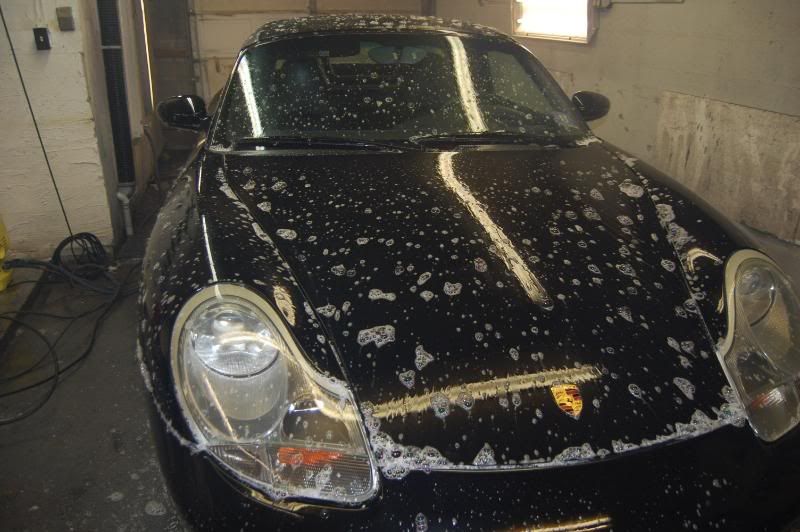
Next the car was Sprayed down with a Mixture of Dawn, Ardex New Wave, and Water and let dwell for about for a few minutes., Then rinsed off. The main purpose of this is to loosen all surface dirt the was loose prior to putting anything on the paint. This is a very crucial step to a swirl free wash. Lol it really didn’t matter on this particular vehicle, but I still performed the step.
Once all the loose dirt was rinsed away, I resoaked the car again using the same steps above and began this time to break down anything in the tighter area of the car and sponge bathed the paint.
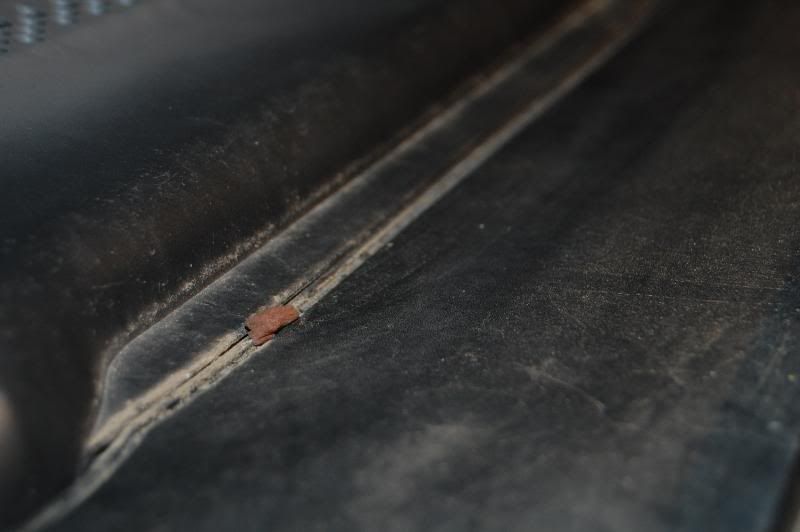
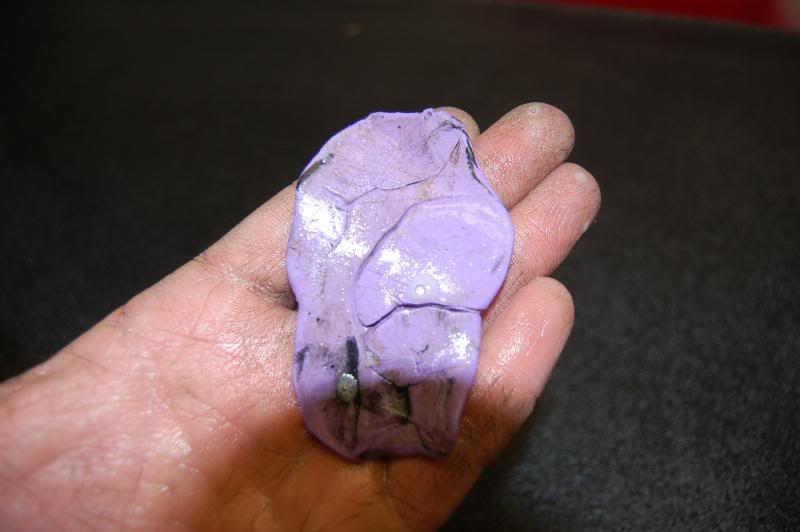
Once rinsed I clayed the entire vehicle to remove a lot of fallout and overspray and tons of other things that were embed in the paint. Two clay bars were needed. This photo here is of a new claybar after a 2*2 area.
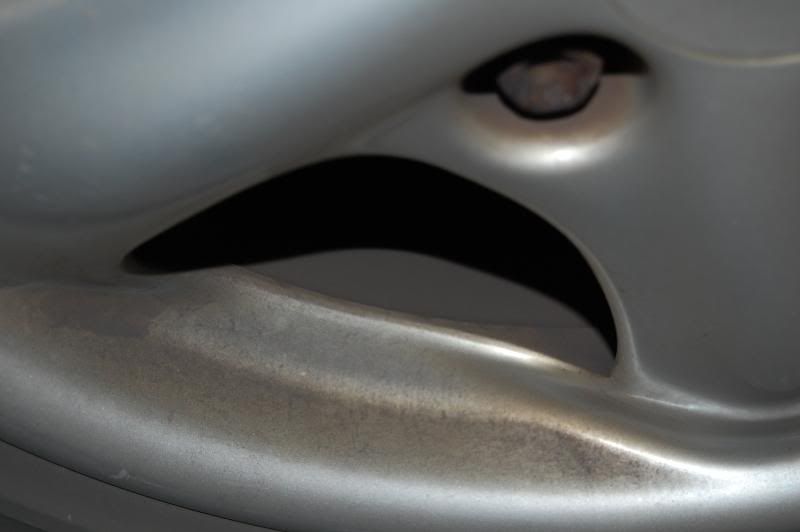
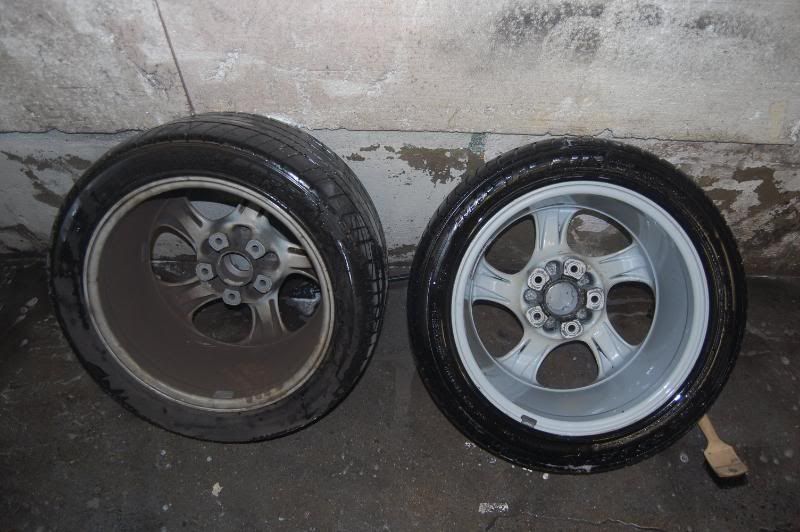
Next I turned my focus to the wheels wow these were bad, But cleaned up very nicely. Here is a 50/50 shot for ya! Can you tell which one was cleaned?
The tires were placed back on and the car was blown dry and the paint was received its first of many Ipa wipedowns.
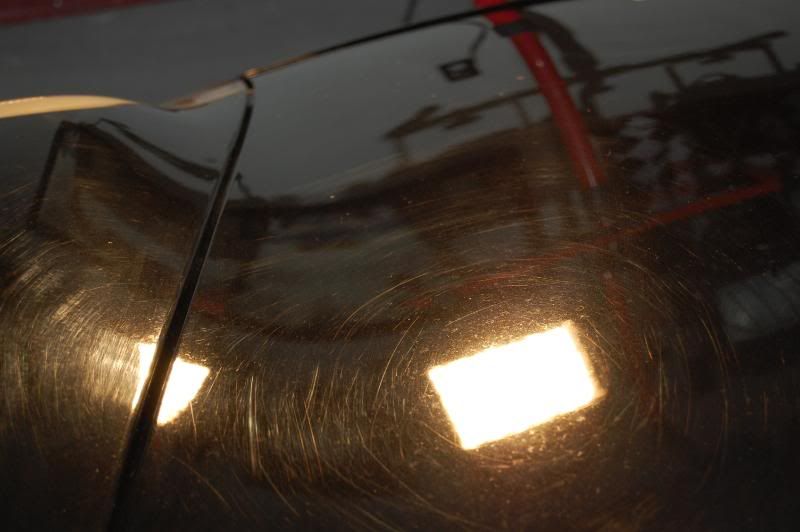
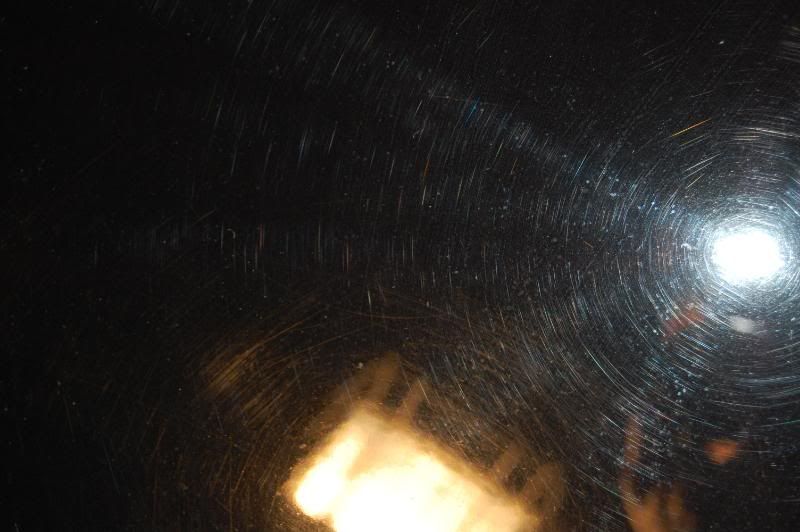
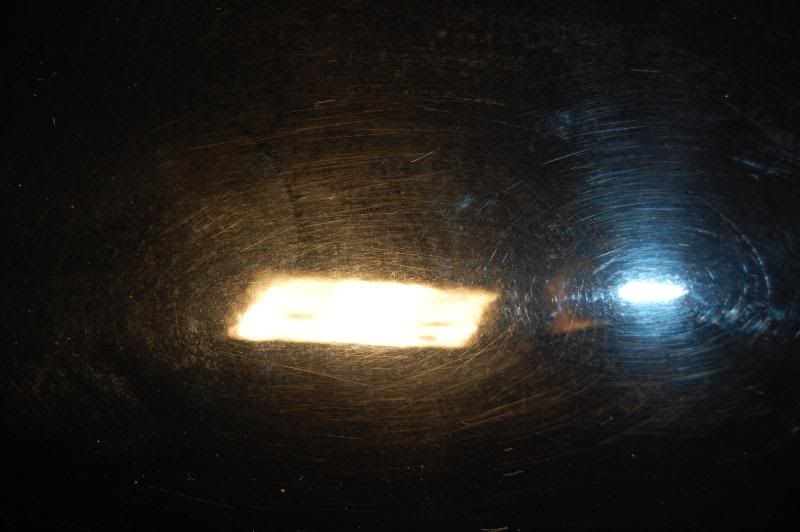
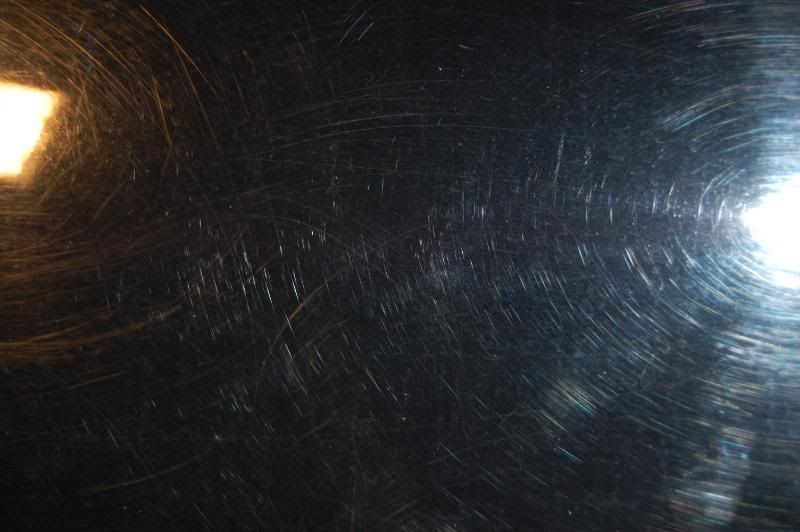
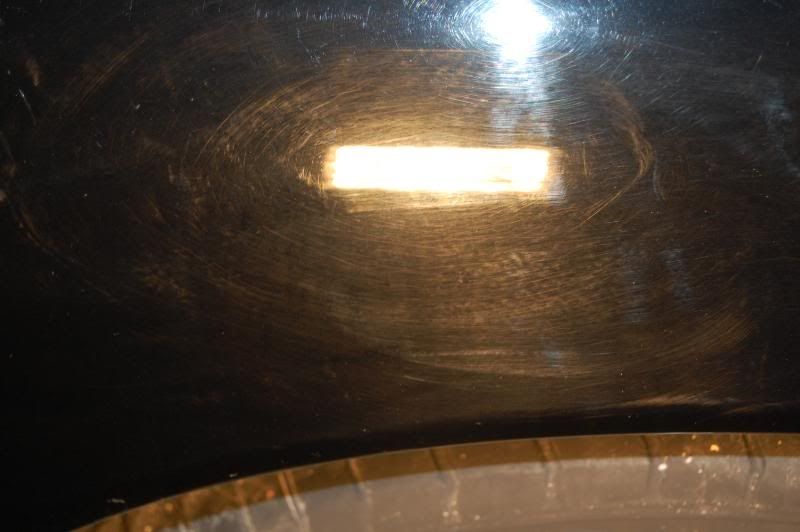
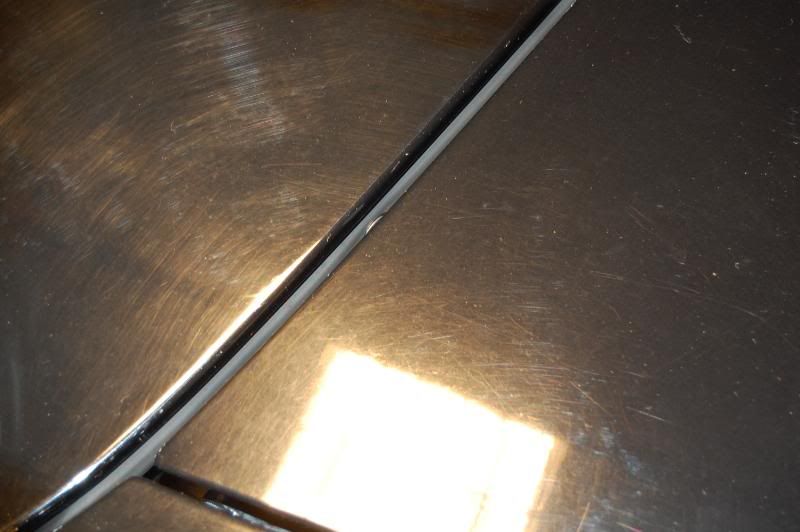
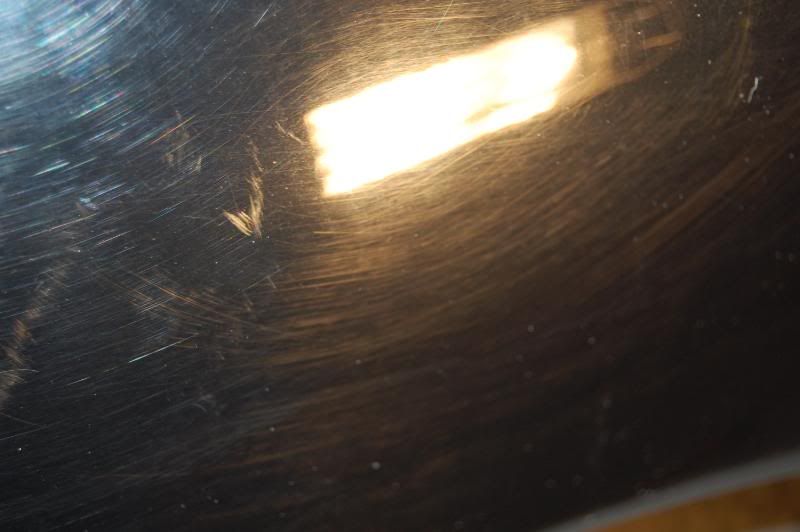
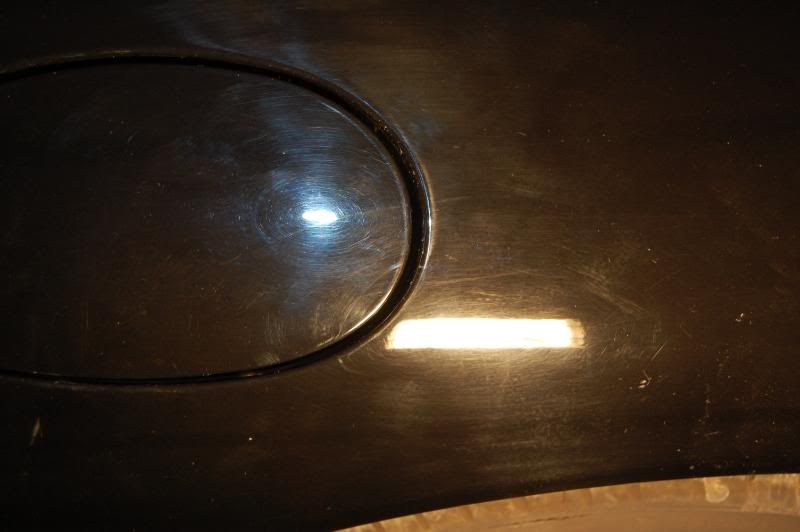
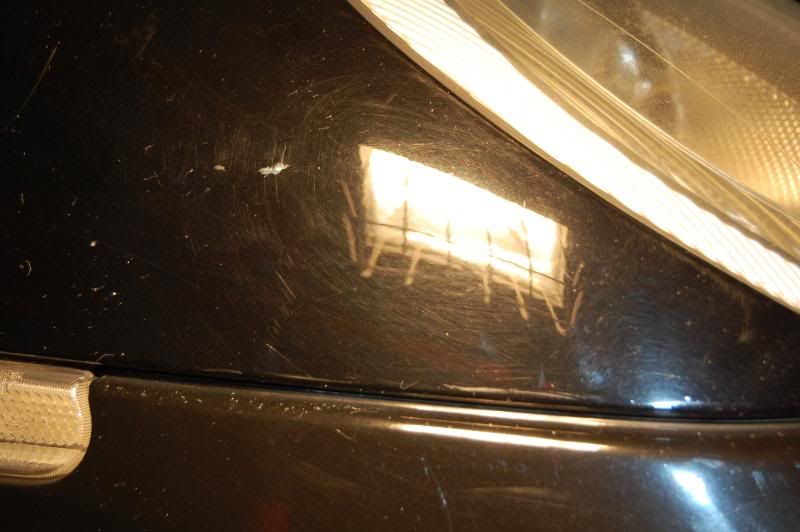
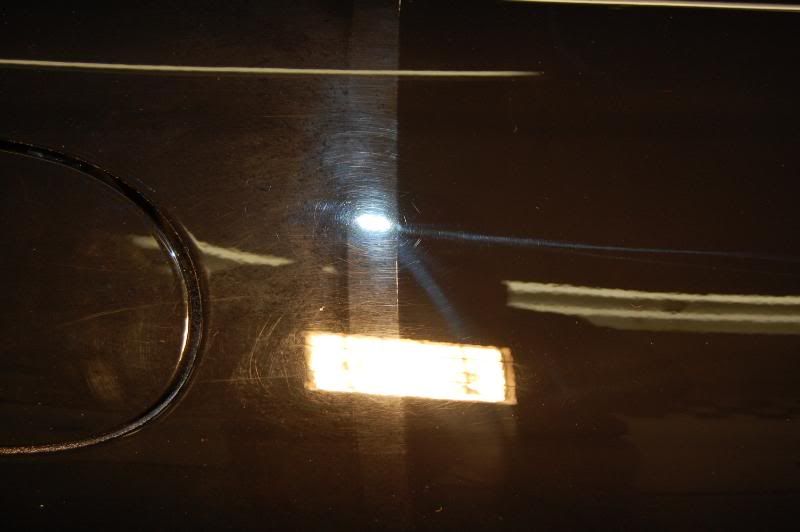
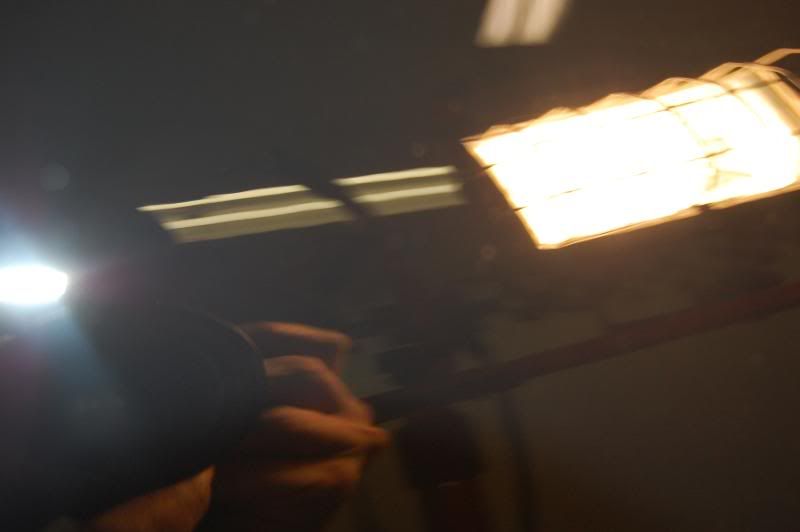
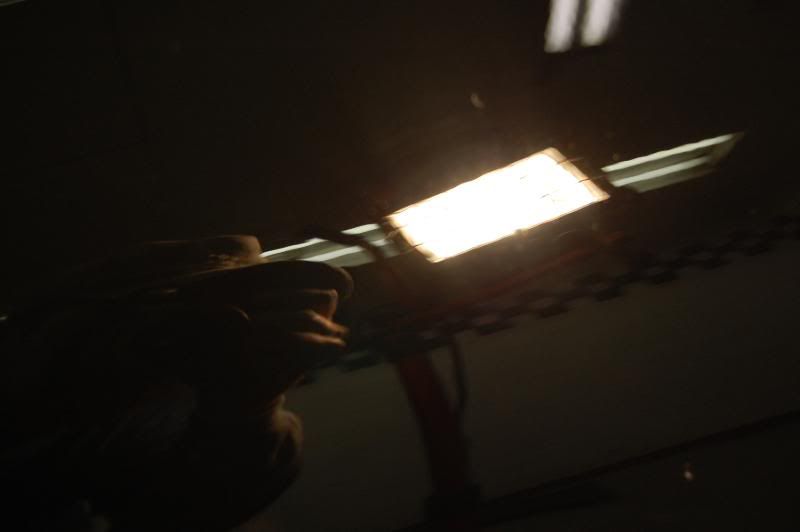
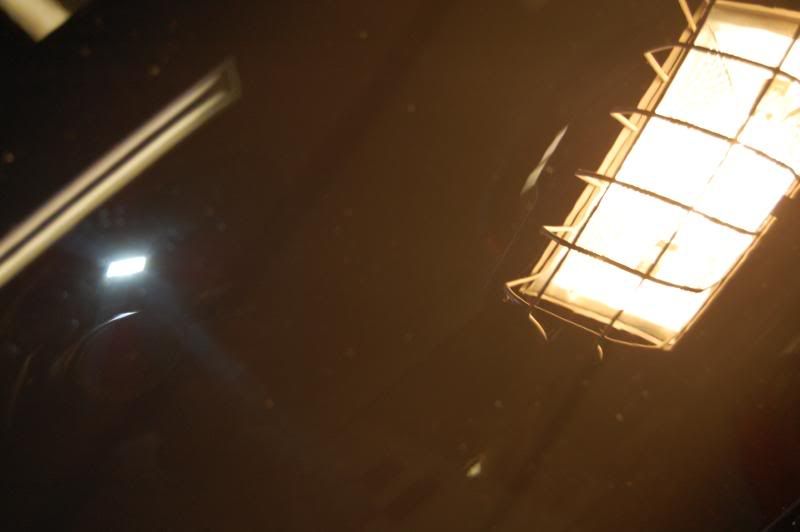
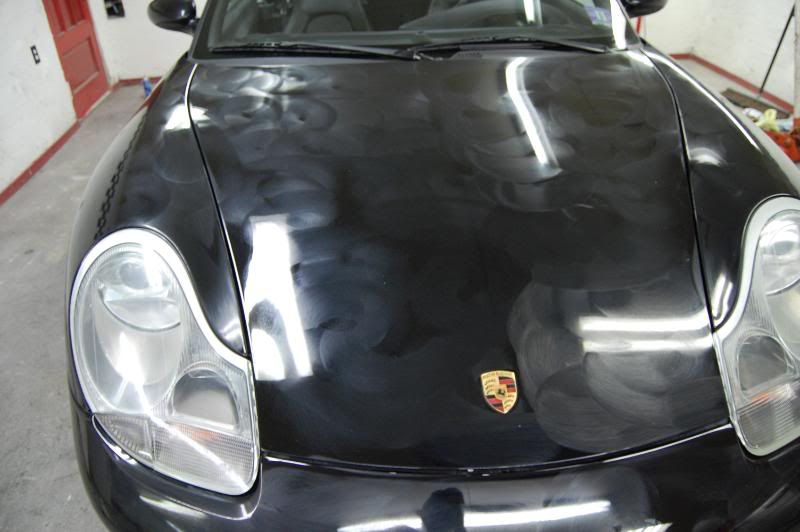
The car was taped off and the inspection of the paint came. Here is what I was looking at! This was really bad and I truly thought I wasn’t sure if I could pull this one off. The paint had calcium spots all over the place and a few swirls and rids to aid in its entourage of neglect!!! I can express how the swirls were. It was almost like a good brillo pad scrubbing was done a few times. I know the owner didn’t do this. Years of improper washing leads to this.
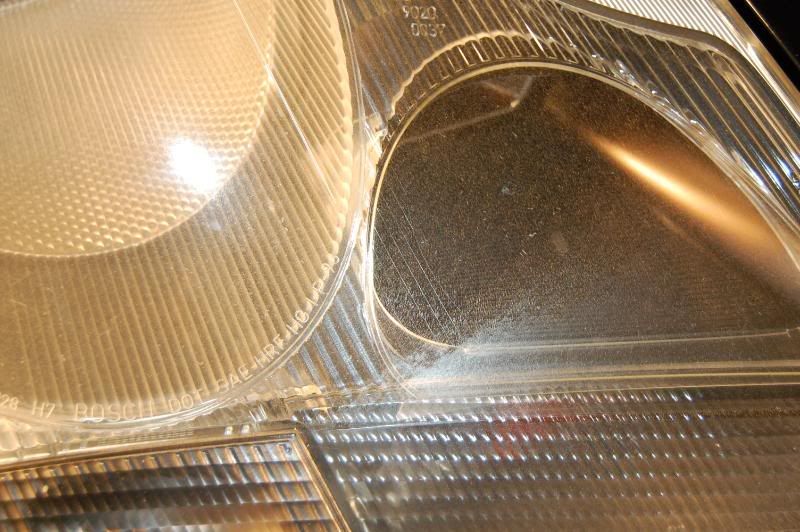
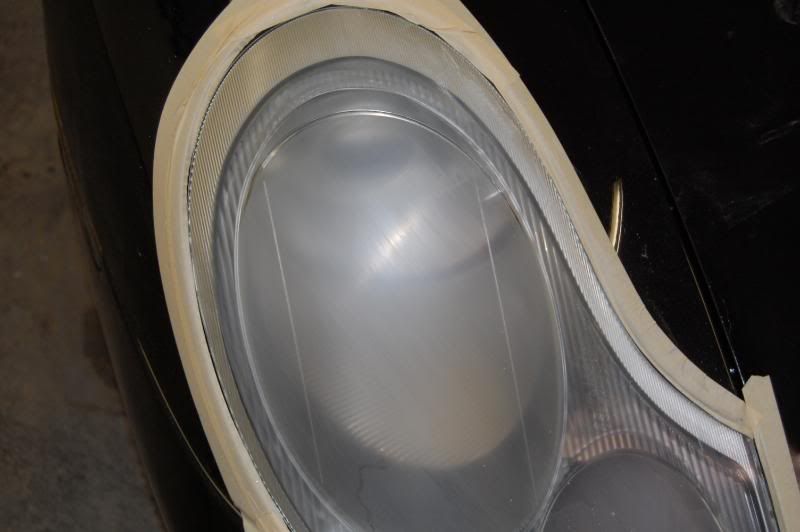
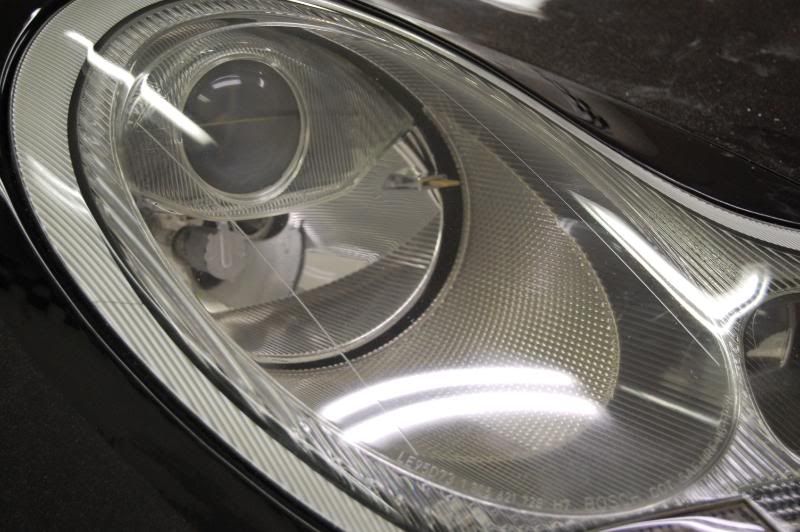
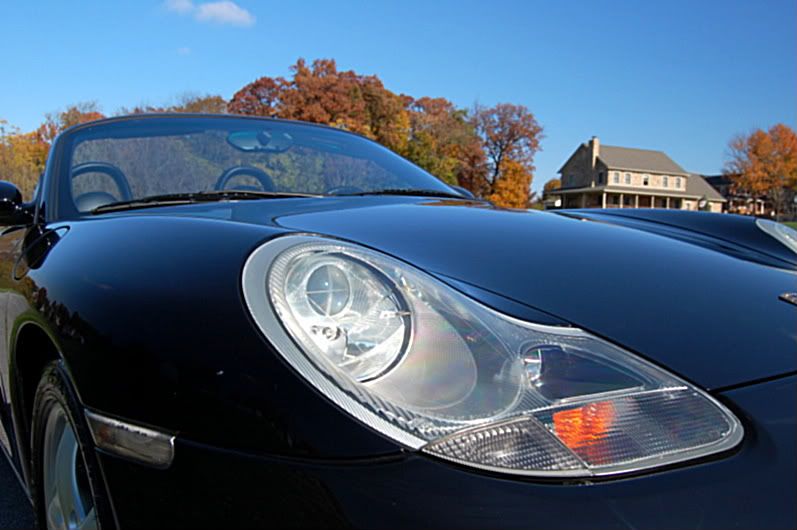
Once the car was taped off. I noticed that the headlamps have suffered a little. The uv coating was gone and the lights were severely faded and oxidized. So I refinished them first using sand paper and polishing. They were sealed later. I started at 400 grit and worked to 1500 the compounded out.!
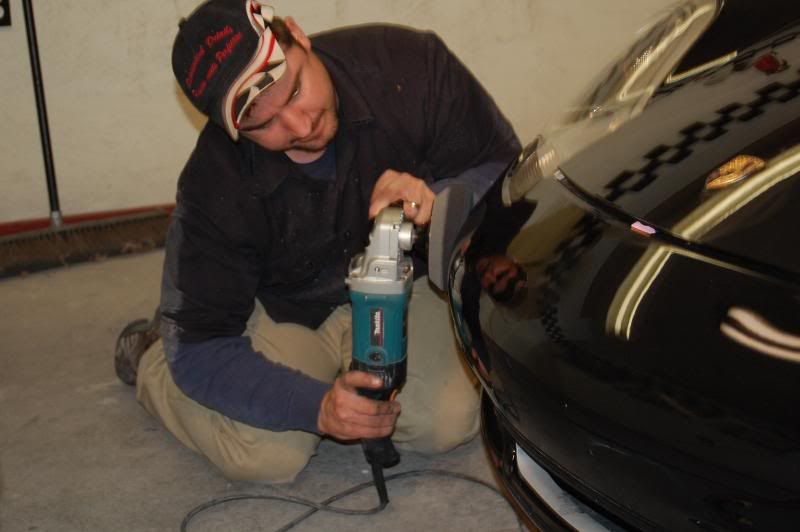
Once I got the lights taken care off I moved to the paint. I started using Ardex 1000 compound and leveled the paint with a Tuff buff black lambs wool pad! This combination is probably the best on the market for aggressive compounding. Here is a 50/50 shots for ya after the first wool step.
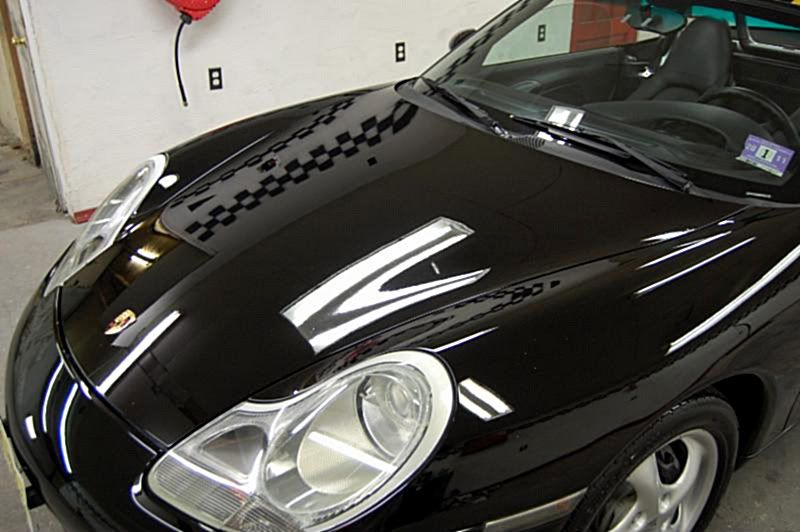
Once the first compounding step was finished 14 hours later lol I moved to refinement. I choose to use Ardex 1500 and Cyan Hydrotech pad from Autogeek. This pad compliments Ardex 1500 very nicely and worked great together as a team. Once this step was achieved I finished the polishing with Ardex 3000 and the tangerine Hydrotech pad from Autogeek. What another great combo. Here are some pics of the corrected paint.
At this point the paint looked great. Polished out nicely and ready ready to be rinsed. SO I removed all tape and gave it a final IPA wipedown then a good pressure wash rinse to remove all the polishing and compounding dust! A good friend of mine once said to me. Barry usually when others are done is when I beginning to get started. So I thought ok Ill see what he means. At this point I considered the paint polished and looking great, but I wanted to raise the level of gloss on this. I choose to use Menzerna 85rd and a black 6 inch polishing pad. I burnished this paint for over 8 hours on this car. I was really wanted to have this paint reflect light as much as possible. Here are a few shots.
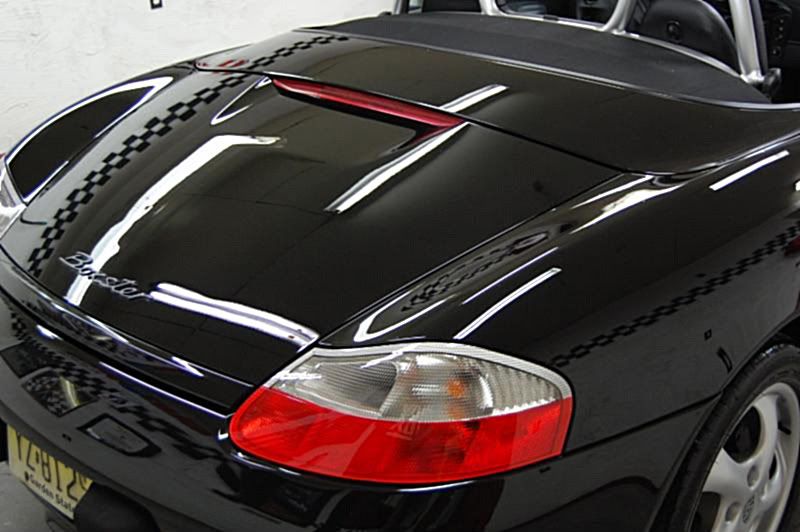
Once the Burnishing stage was complete I Did yet another Ipa wipedown and applied the sealant by Pc7424 Armored Jacket was the choice. While the sealant was curing. I polished the rear plastic window.
I then wiped everything down and pressured washed the car for last time. Here are some beading shots for ya.
The car was blown dry and moved back to my detailing area,.
Now the fun begins.
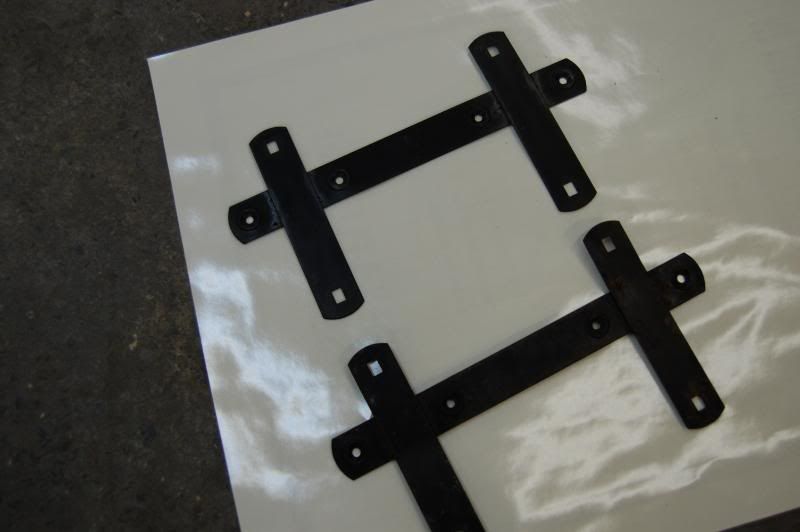
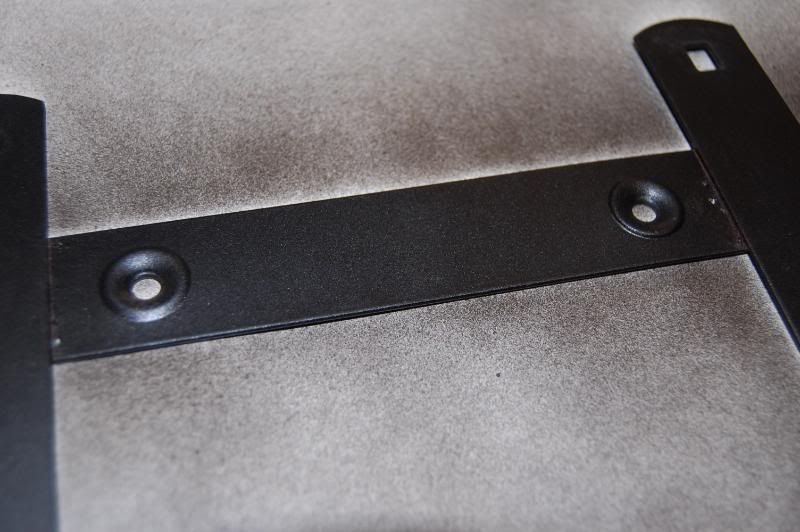
While the car was drying I refinished the license plate frames. It was a nice added touch. Now I know you will never see this on the car, but it was the right thing for me to do,. They were sanded and repainted. They had some rust which is common. Also it gave them a nice clean look. Here are a before during after.
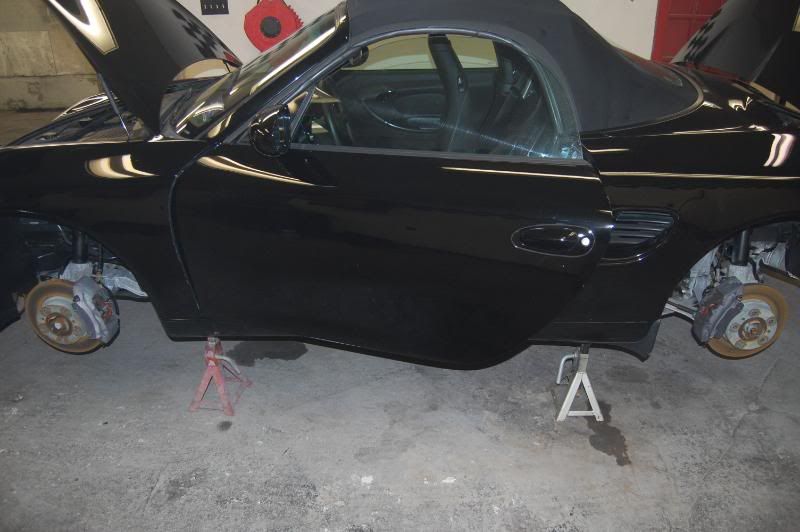
Next while the plates were drying I put the car on jack stands and removed the wheels for the remainder of the detail. This allowed me to pay attention the inner wheel wells and also made for some nice detailing touches.
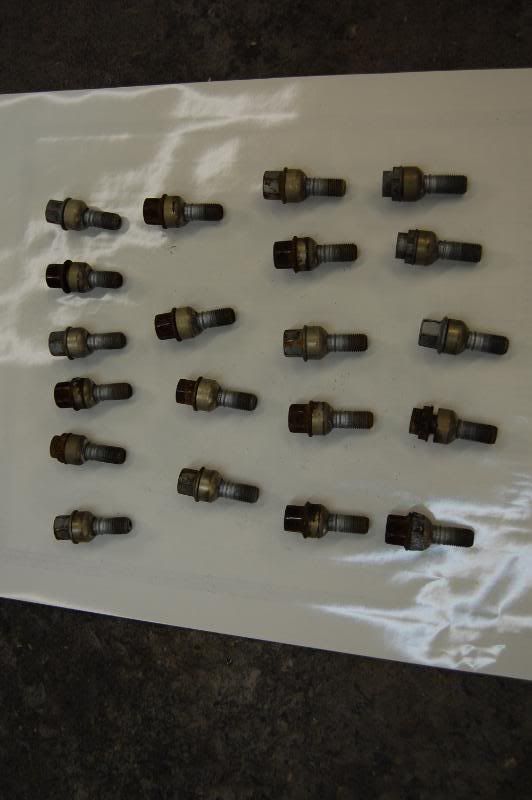
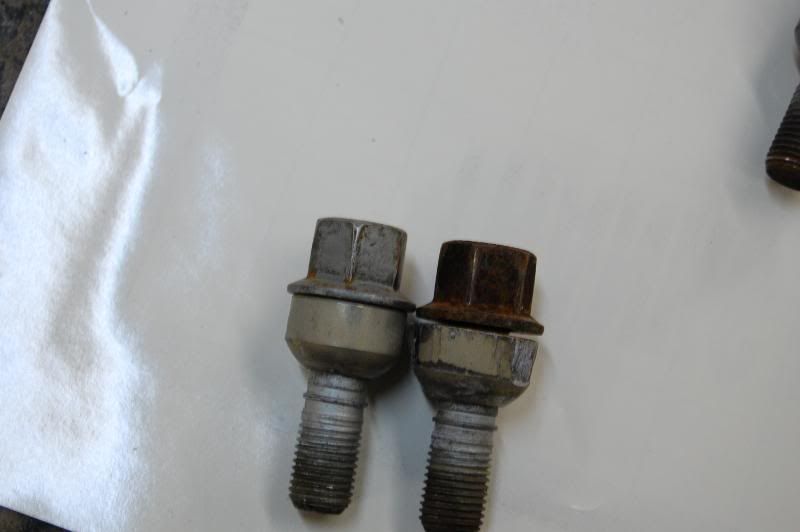
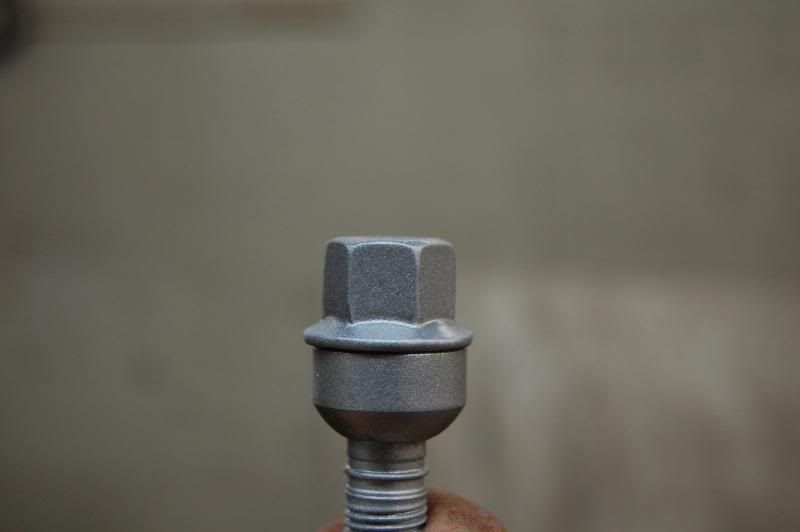
All lug nuts had a lot or surface rust on them, so I decided to sand each one and paint them with werth paint. This wasn’t fun but these little things made the wheels! Here are some pics.
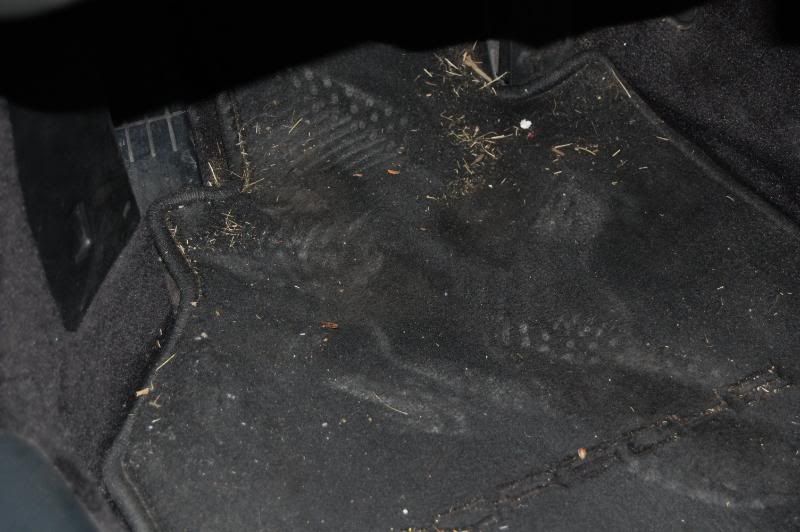
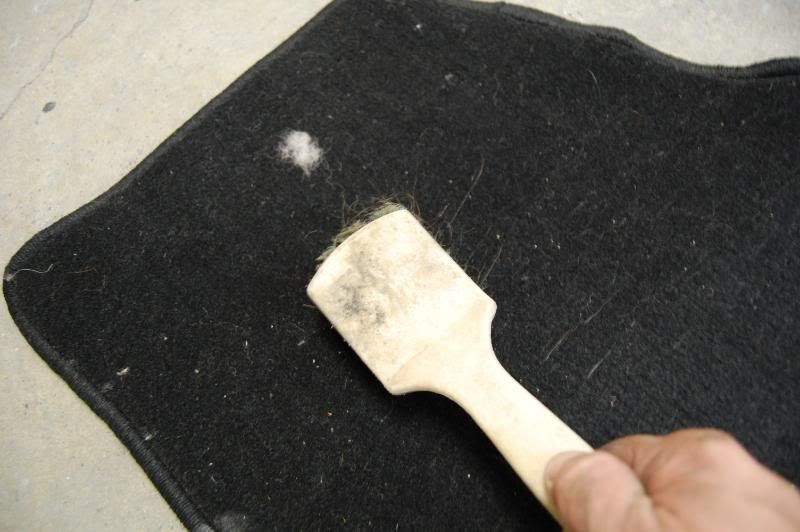
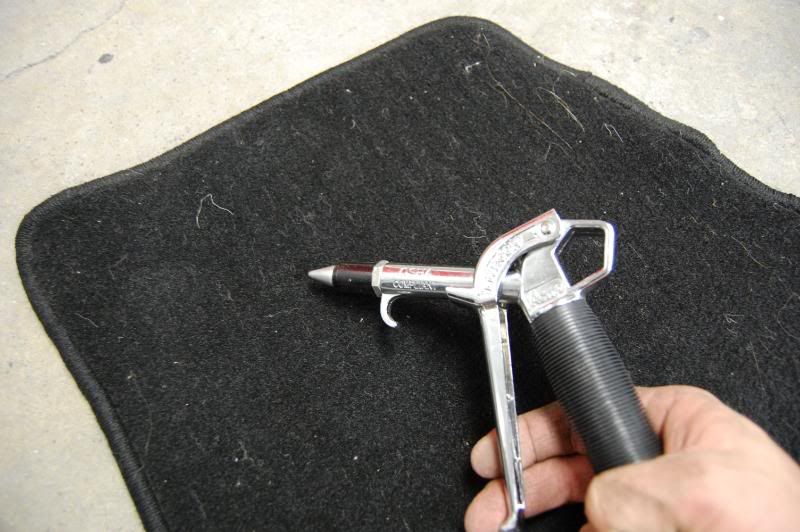
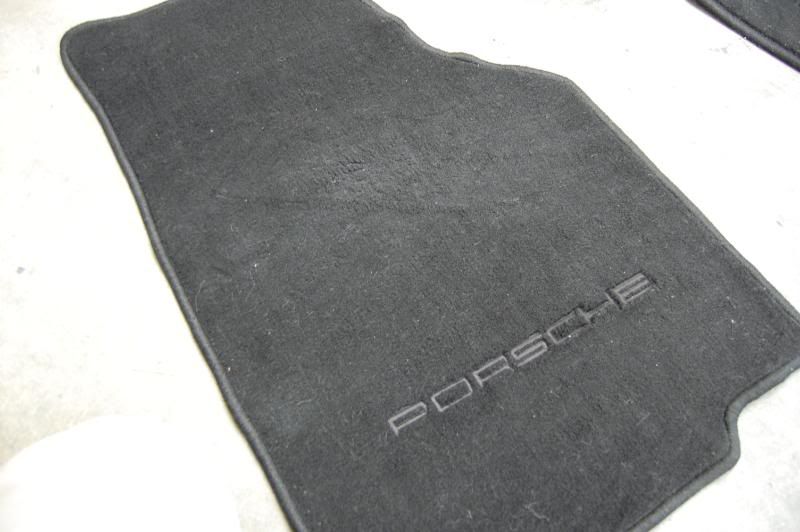
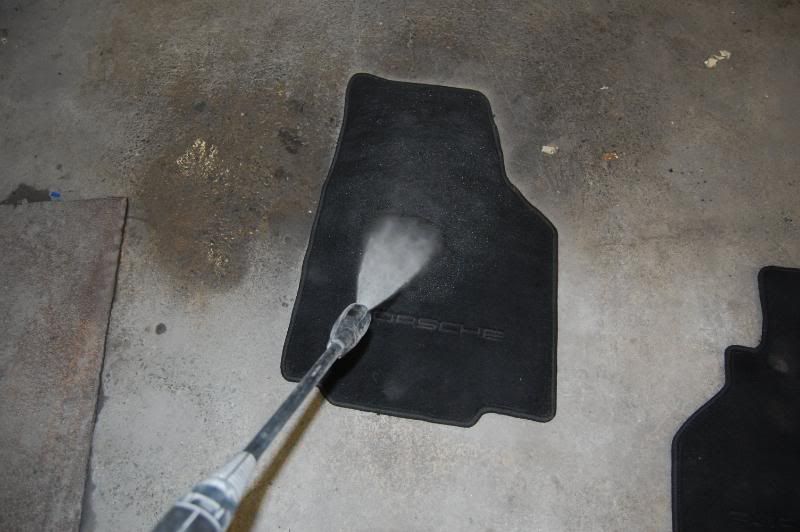
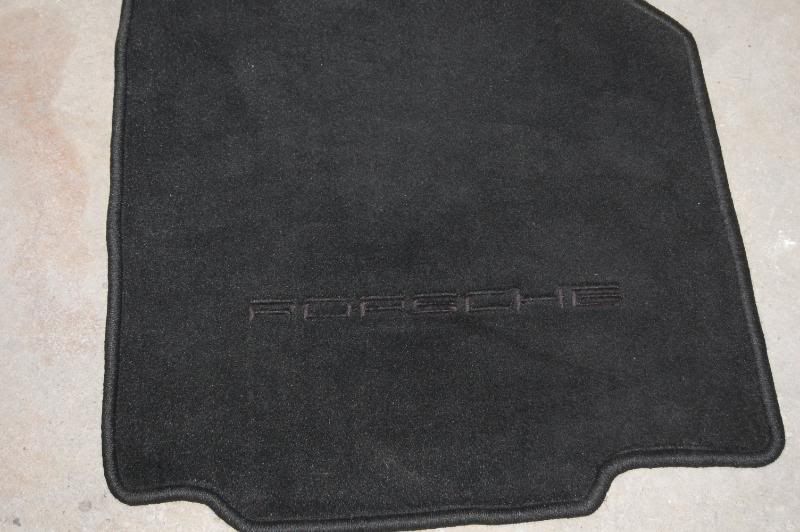
At this point it was time to tackle the interior I started first with the floor mats. They were dry scrubbed to raise all dirt then blown with compressed air. Then scrubbed using a mix a Ardex New Wave and Water then pressured wash. I removed the heavy water with an Ice scraper then vacuumed to dry. Blown to fluff and let sit!!
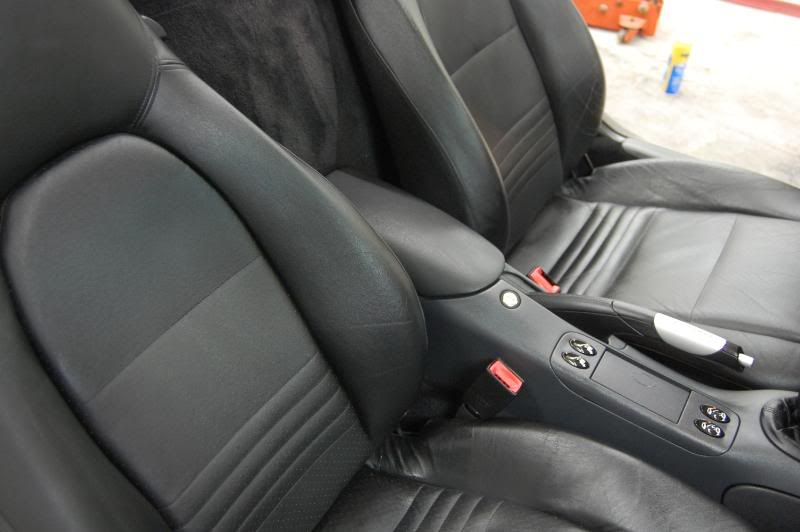
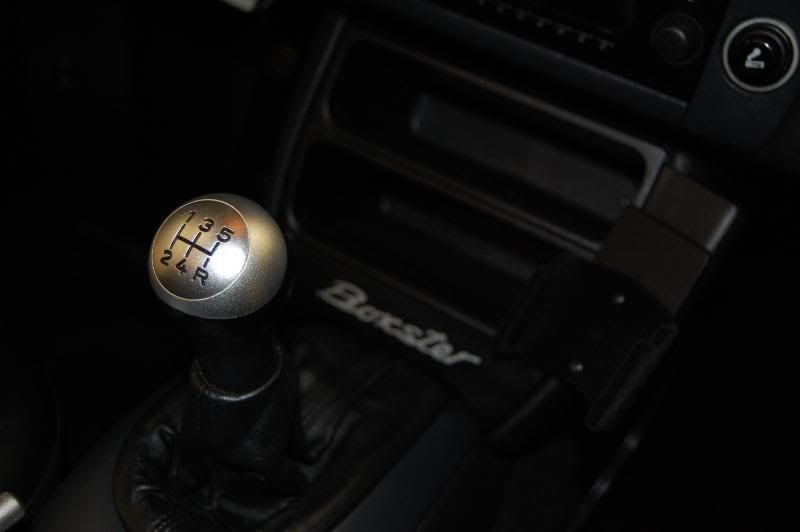
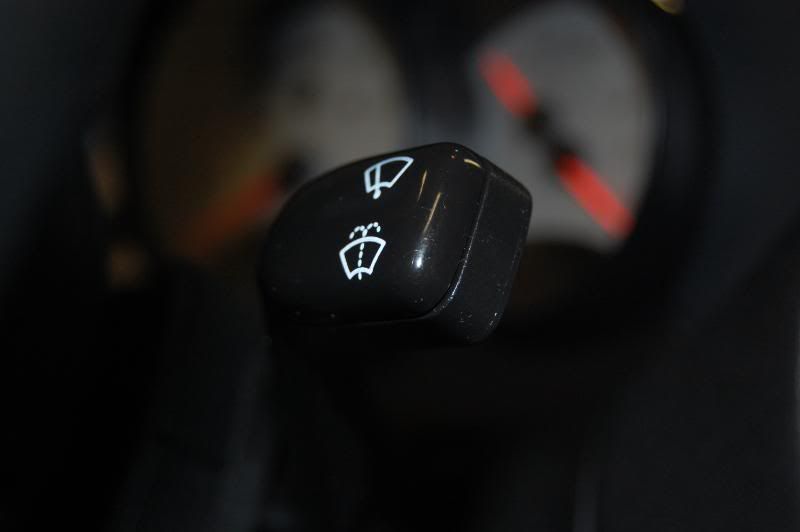
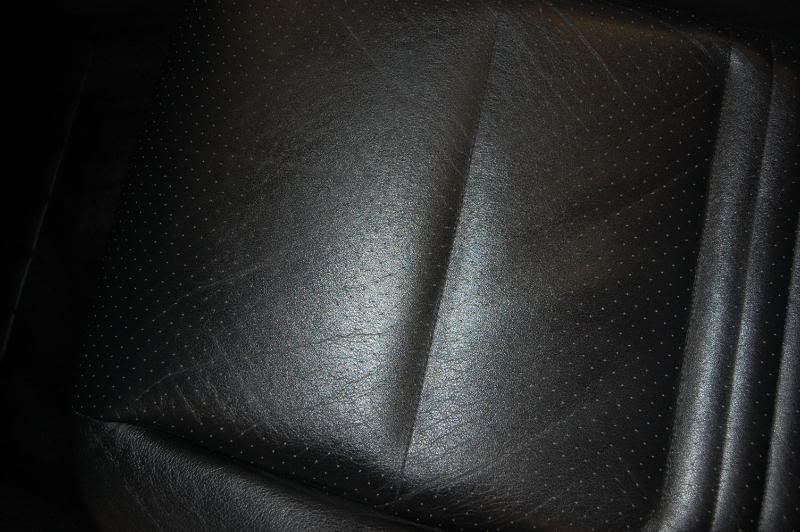
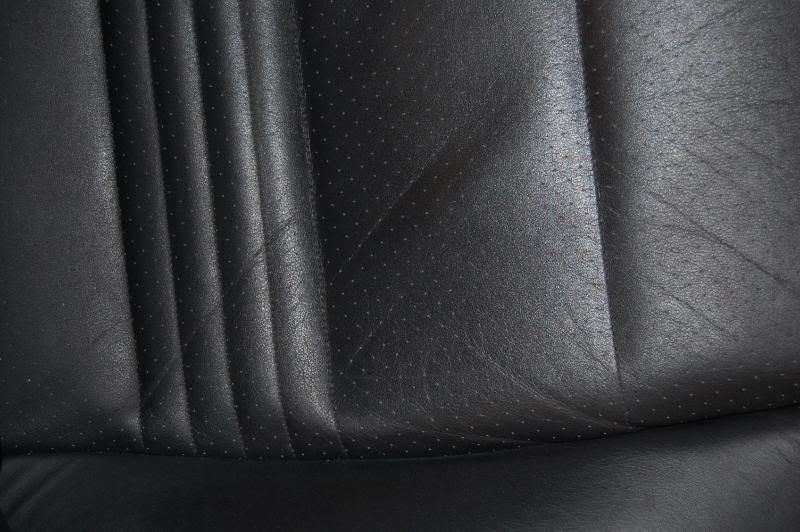
I then moved to the interior cleaning. It was cleaned with various brushes, sponges, compressed air and other various methods once cleaned all leather was protected .. Here are some final interior shots pretty much it was clean at this point besides the finishing touches.
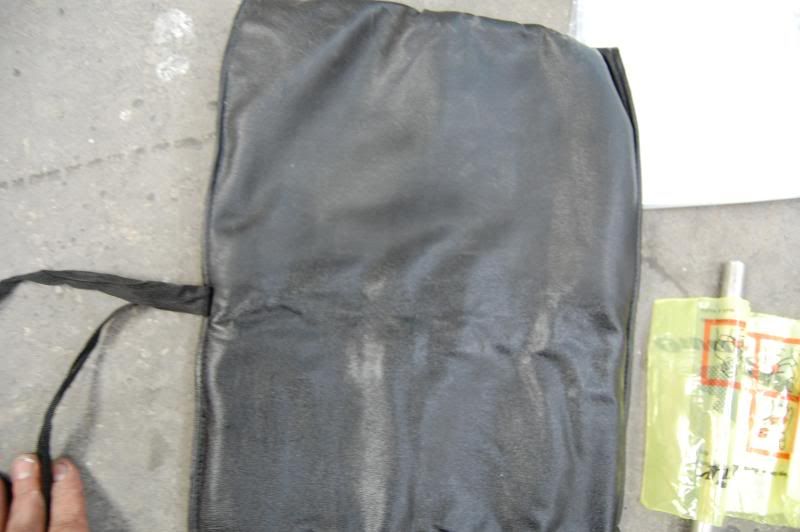
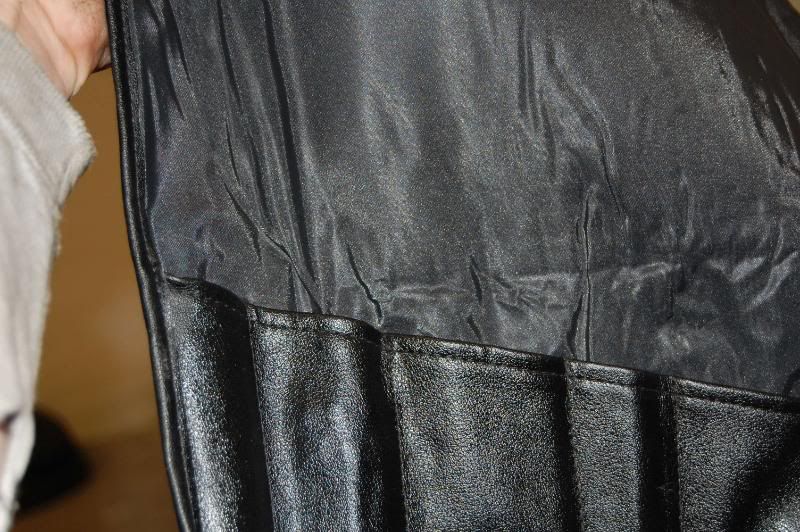
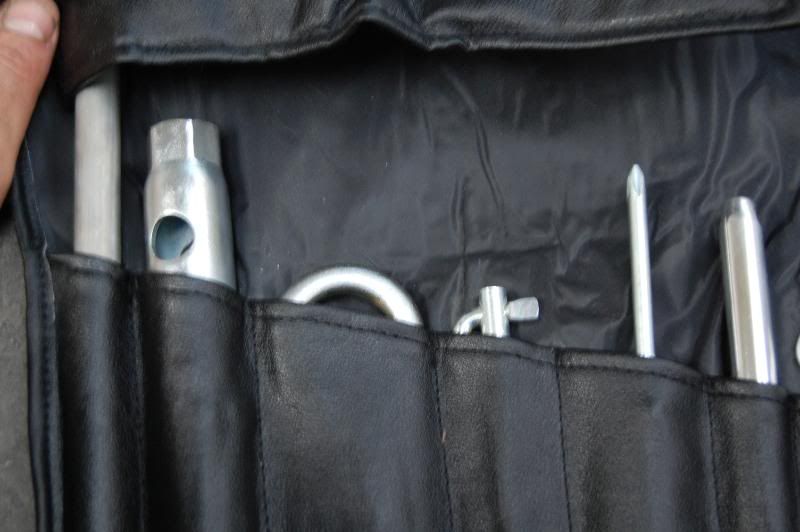
All the tools to the spare tire were polished then I cleaned the tool bag and used leather conditioner on it to ensure a complete protection and lasting life.
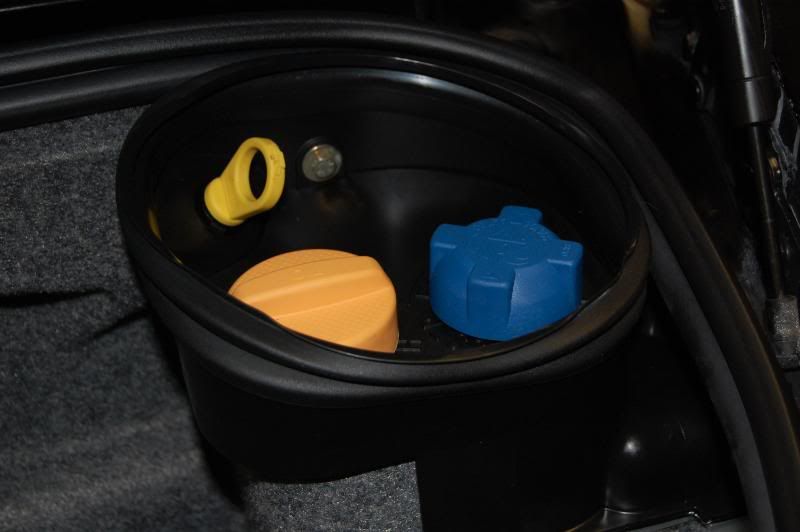
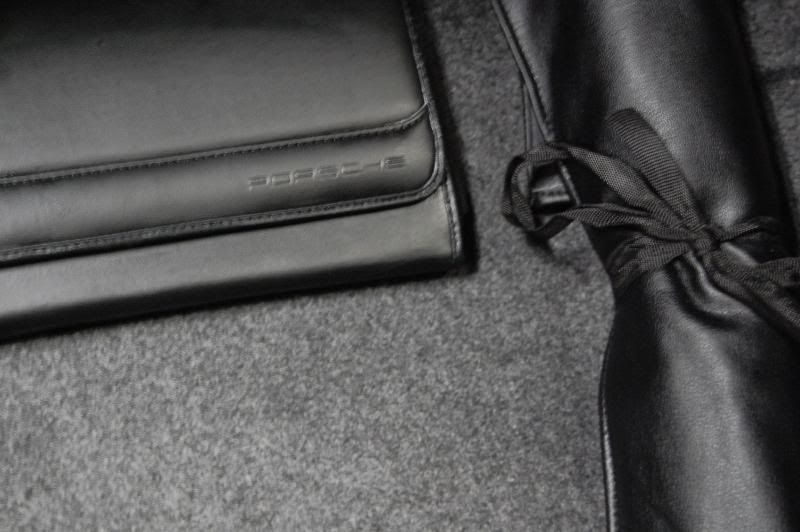
While I was at it I cleaned the owners Manuel books and conditioned them and everything was place in the front cargo area. This was a great added touch!
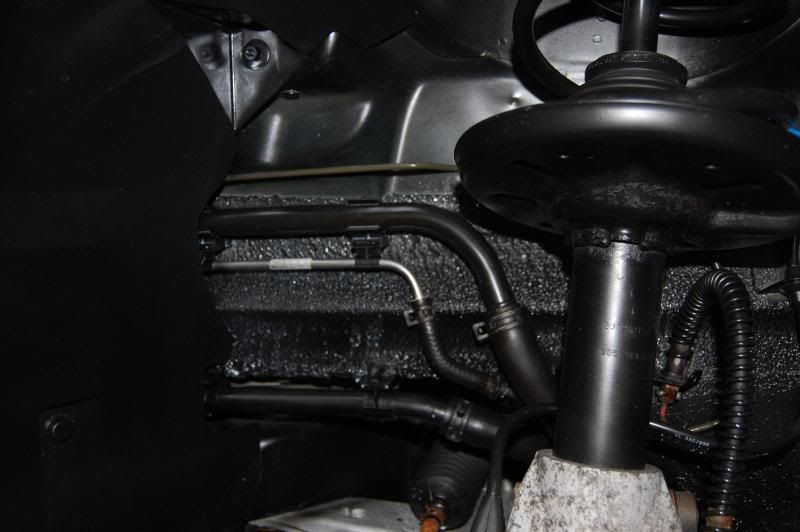
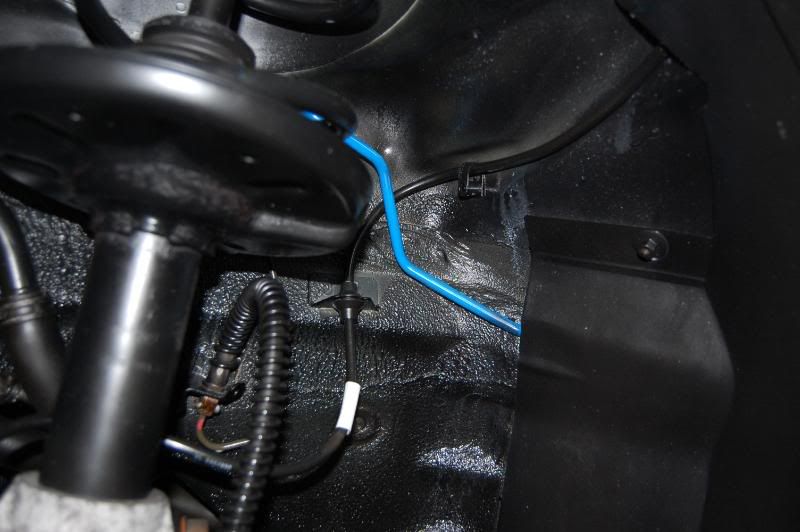
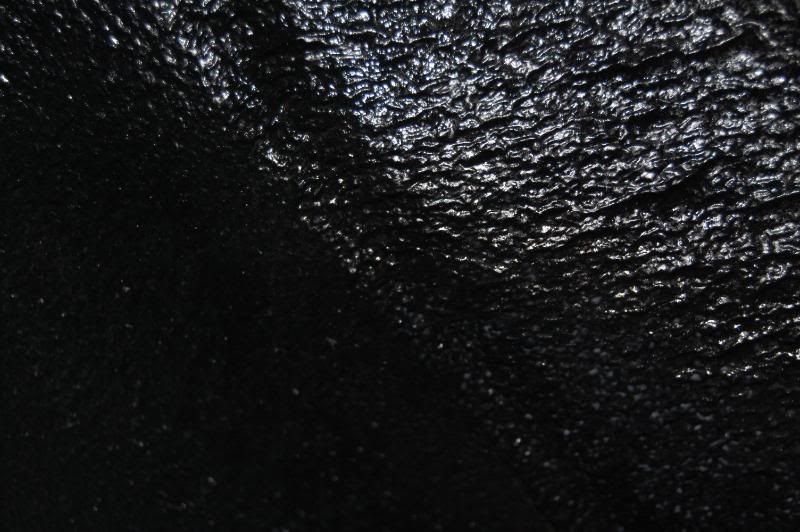
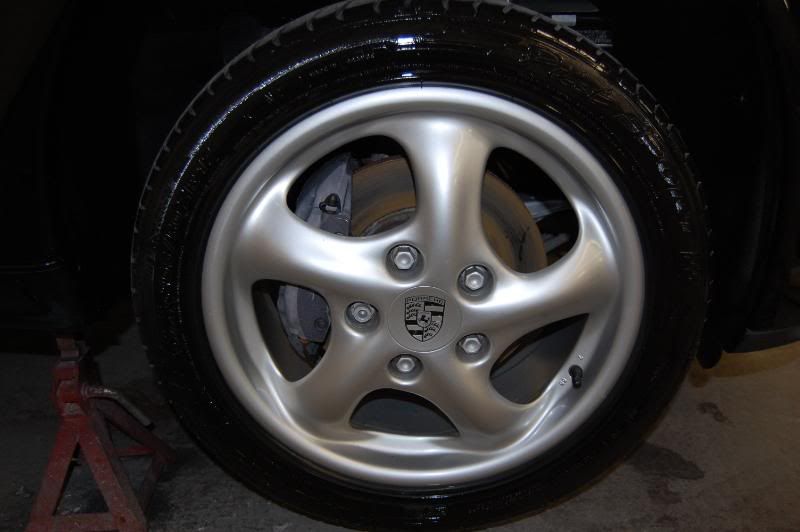
Once the interior was done I cleaned all I the inner wheel wells and arches using steam and Various suspension parts were polished. 3m rubberized undercarriage spray was used in certain area’s to prevent any future rusting and it also adds for a little bit less noisy of a ride. Various parts received a paint resurfacing to get a nice clean look. The wheels were polished with ardex m205 and then sealed with Armored Jacket.
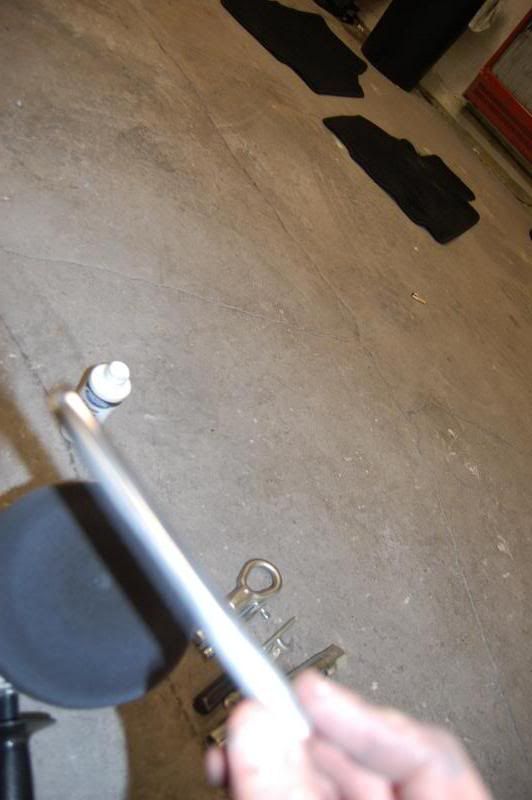
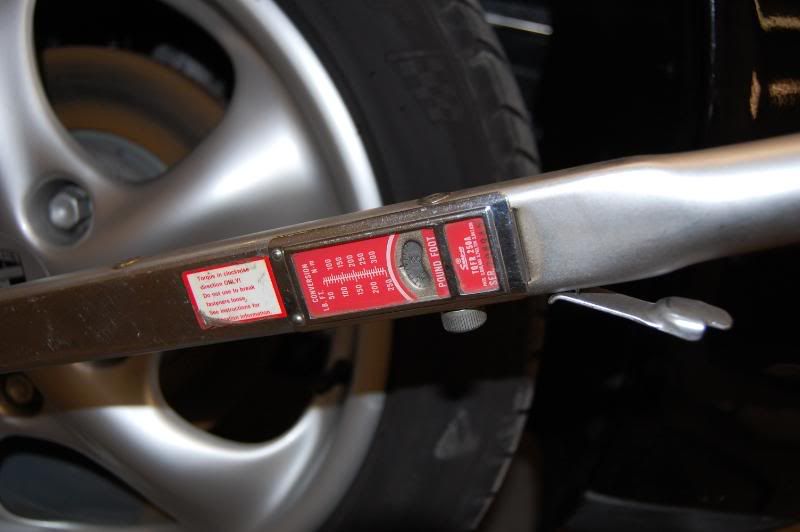
The wheel was mounted and the lug nuts were torqued at 105 pounds of pressure.
All that hard work sure is paying off!
Wet Reflections was the Final LSP for this. It was applied in two coats to ensure a complete even Coverage.
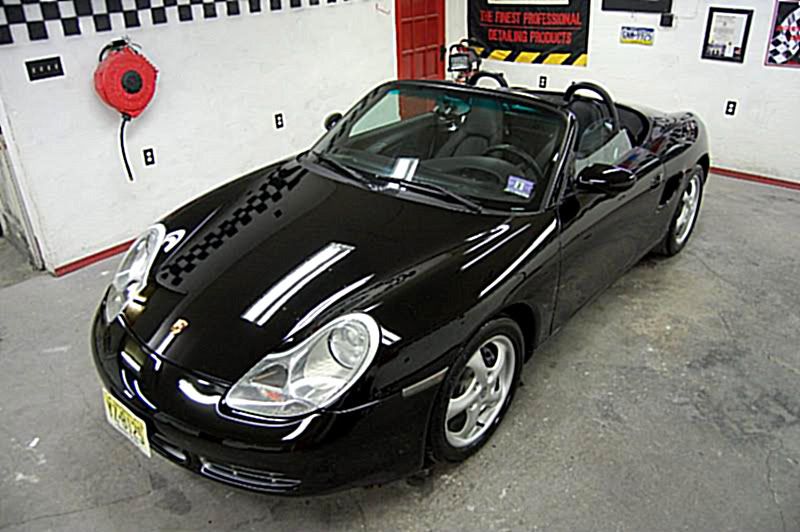
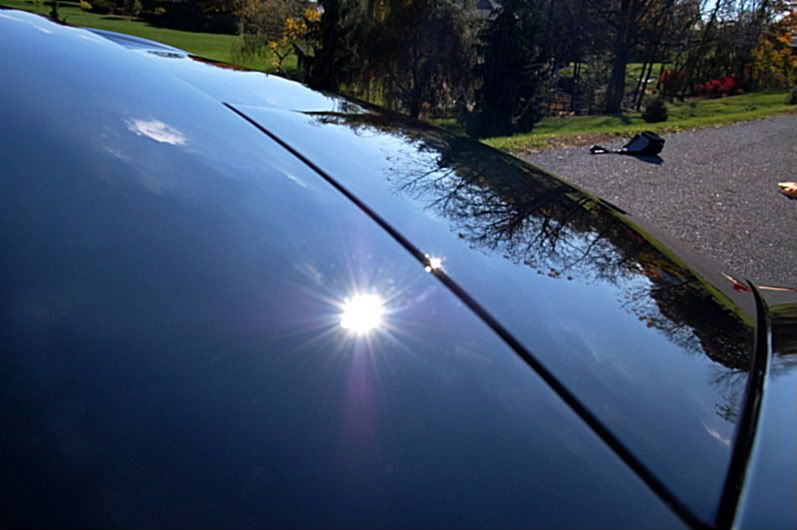
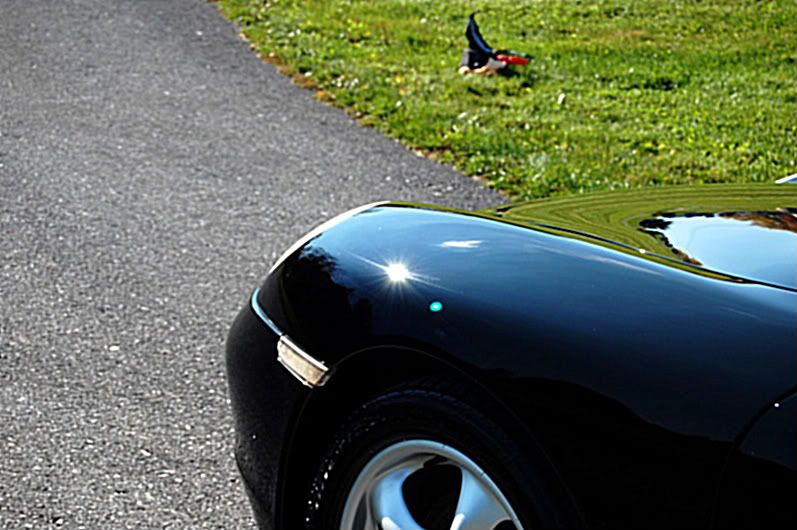
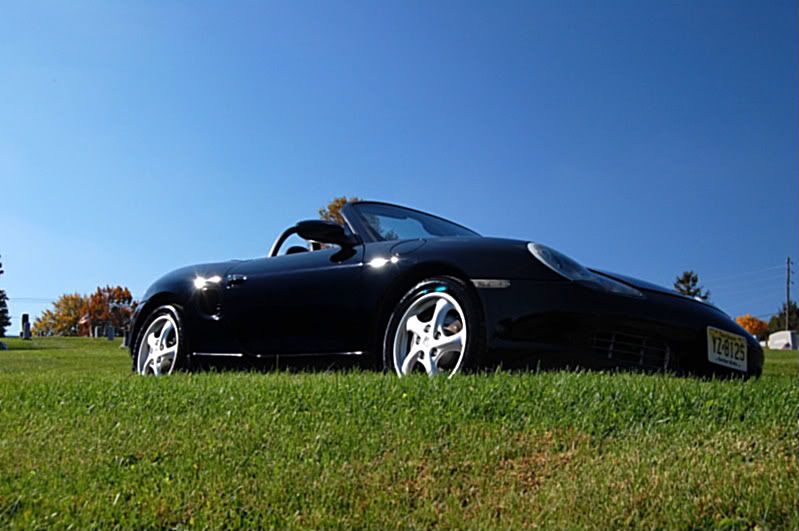
Here are a few outside sun shots for you guys and gals.
Thank you all for reviewing my its been a while since I had the chance to give a good long write up, but hopefully you liked this one. God Bless you all!
::FFFEEWWW:: looks like a lot of work, but it sure paid off. This beautiful ride has new life to enjoy some twisties and back roads. nice attention to detail touches and i look forward to trying that armored jacket
:xyxthumbs Outstanding Job Barry. What a great ressurection.
I got one question How hard was it to get the lugs off? I remember having to do shocks on a Porsche and the lugs were frozen on. The strongest of impact guns couldn't break them. And I wanted to be super cautious considering they are aluminum. Ended up standing on a two foot breaker bar to get them SOB's free.
incredible transformation Barry. I love your attention to detail specially on the parts that customers usually don't pay attention to ...
How do you like Ardex products? I have been using some of them with great results, but I haven't tried their polishes/compounds yet. I love their citrus clean interior smell-good spray ... pretty durable and pleasant.
Looks great now Barry! You told me that this one was going to be special once you got the post put together, and you weren't kidding. Projects like this one are what separate the men from the boys...a true Pro!
Barry... wow. Completely superb. The amount of attention to detail and how to kept taking it to the next level is just inspiring. Thanks for sharing this post!
Heh heh, OK, I'll admit it,...I woulda just run to the Porsche dealer for new ones
3m rubberized undercarriage spray was used in certain area’s to prevent any future rusting...[and]... Various parts received a paint resurfacing to get a nice clean look.
How well do you have to prep for the 3M to adhere? I'd been wondering how you'd deal with the surface rust (my approach woulda taken forever).
Also, interesting that you did this step *after* all the paint correction; I woulda been paranoid about overspray and I usually do the undercarriage stuff first.
Oh, and did you use your top-secret dressing on all the plastics? Like the steering column stalks/etc.?


")
") *I* woulda had complete confidence in ya :hifive:
*I* woulda had complete confidence in ya :hifive: