Todd@RUPES
Just a regular guy
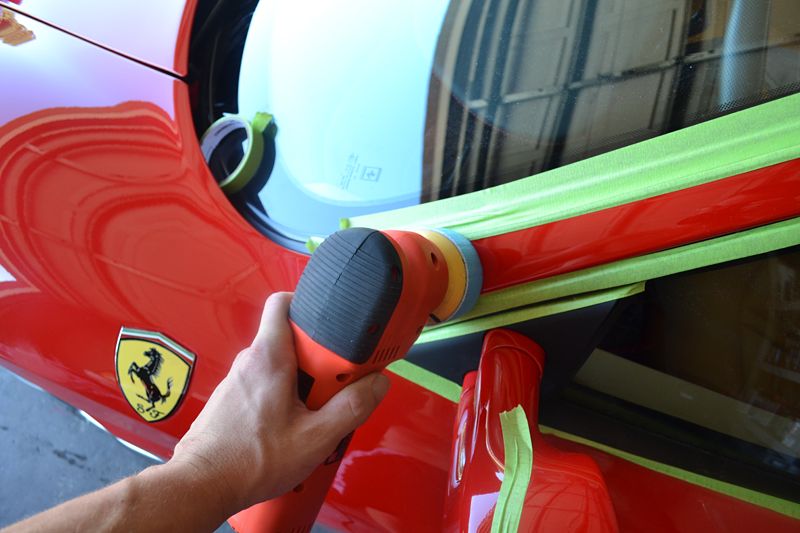
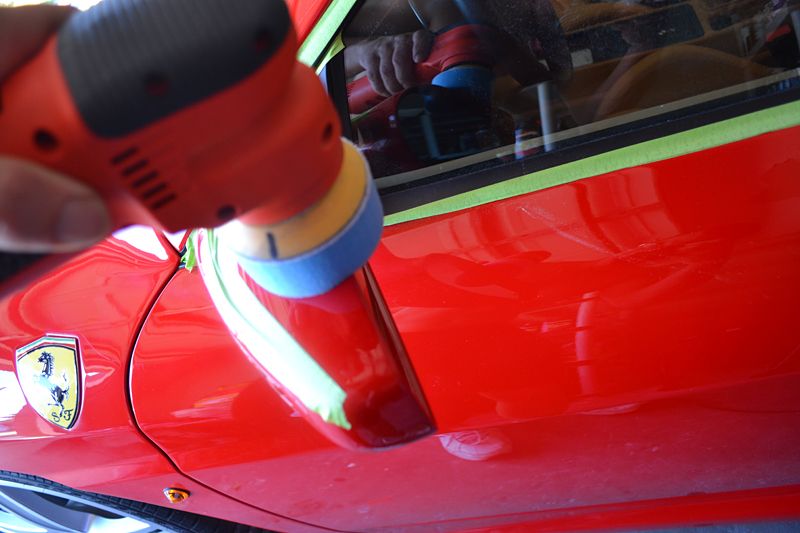
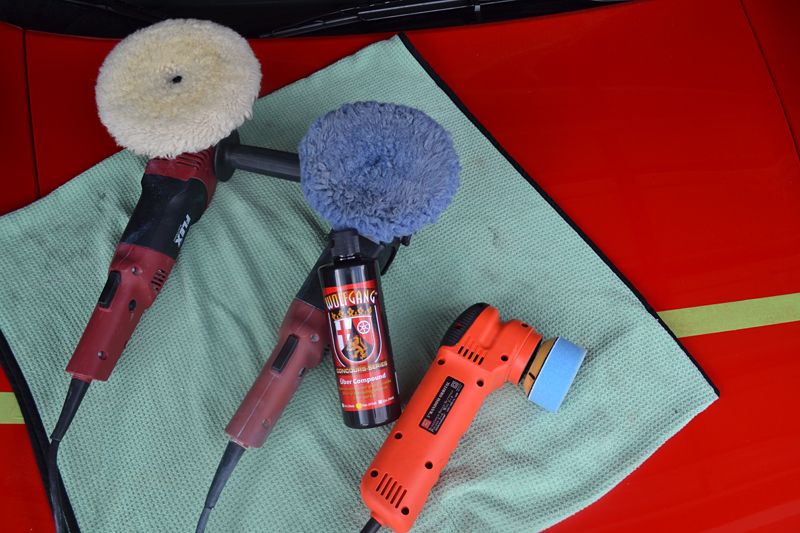
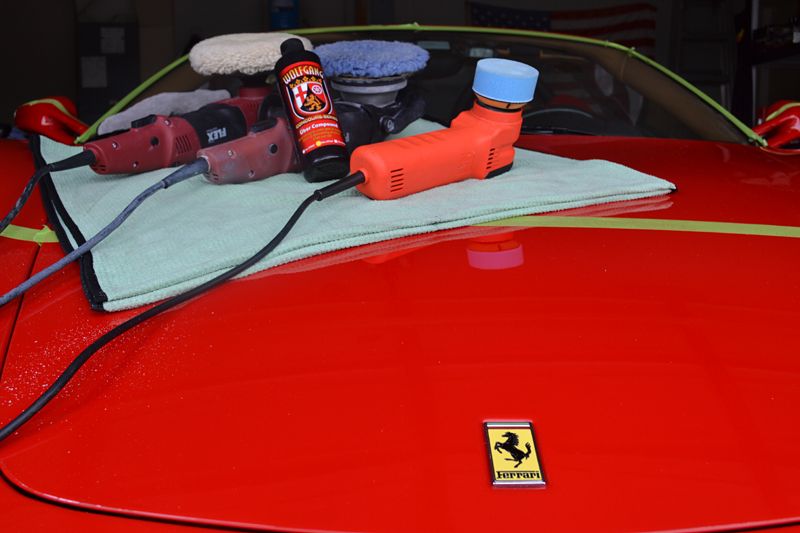
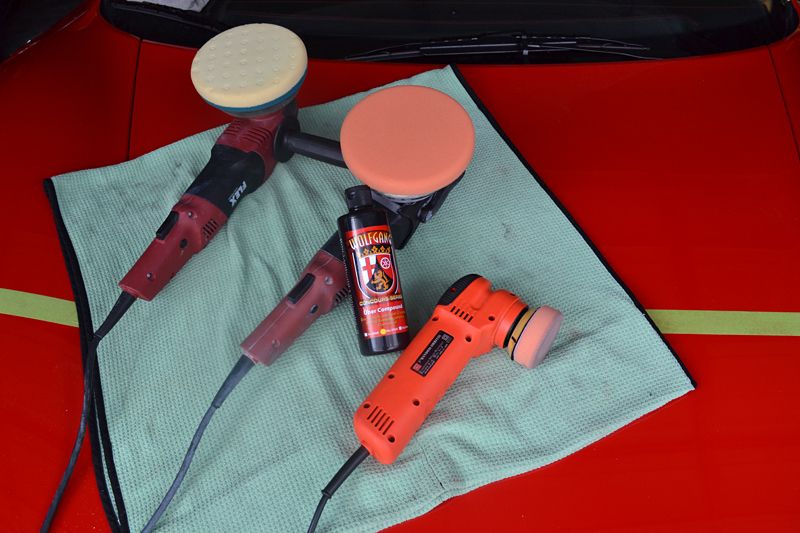
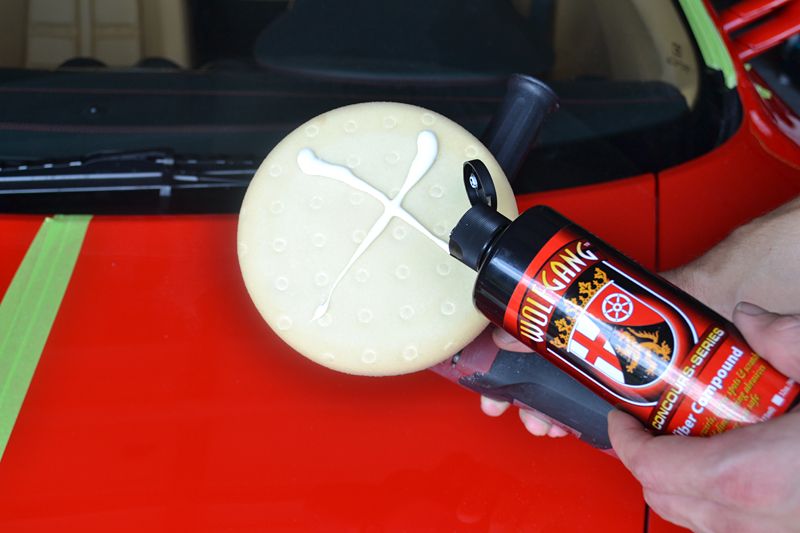
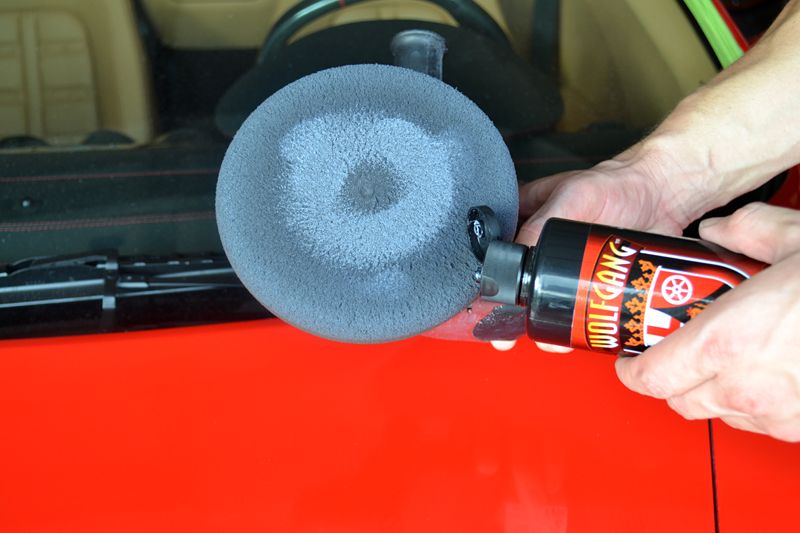
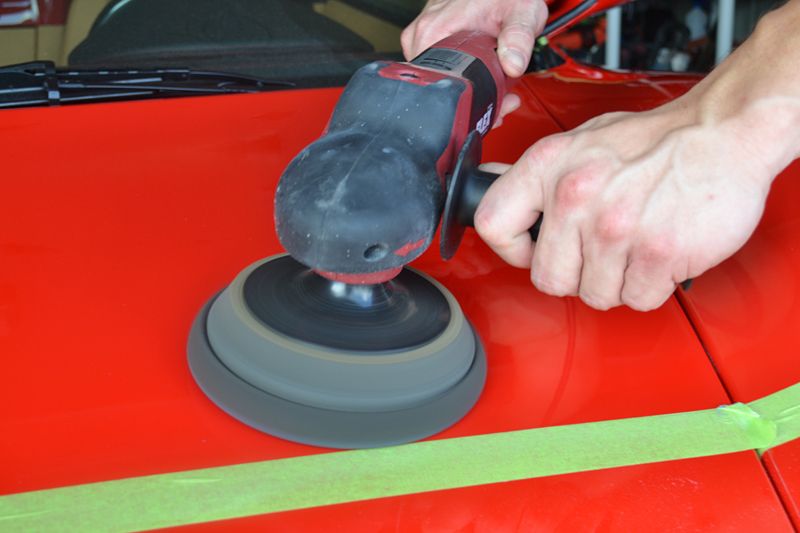
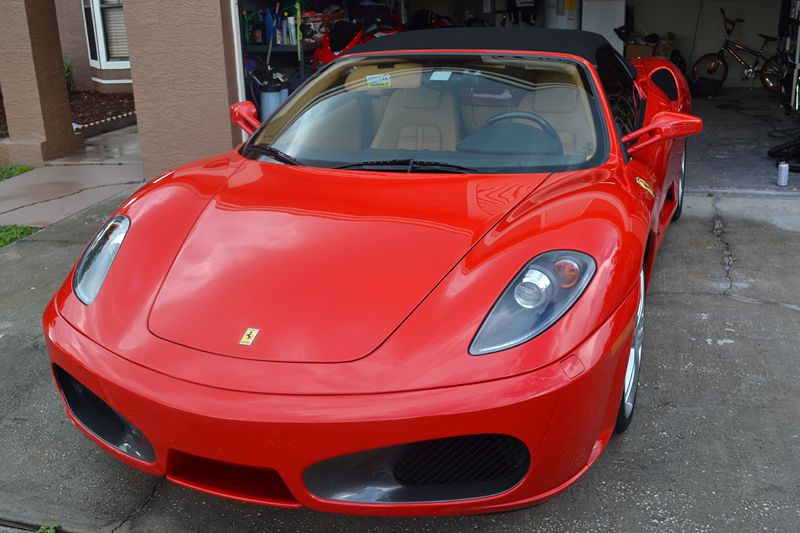
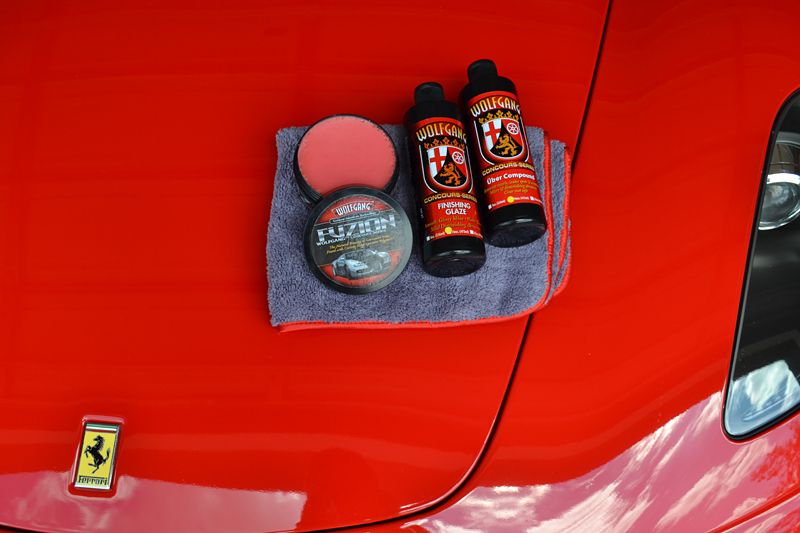
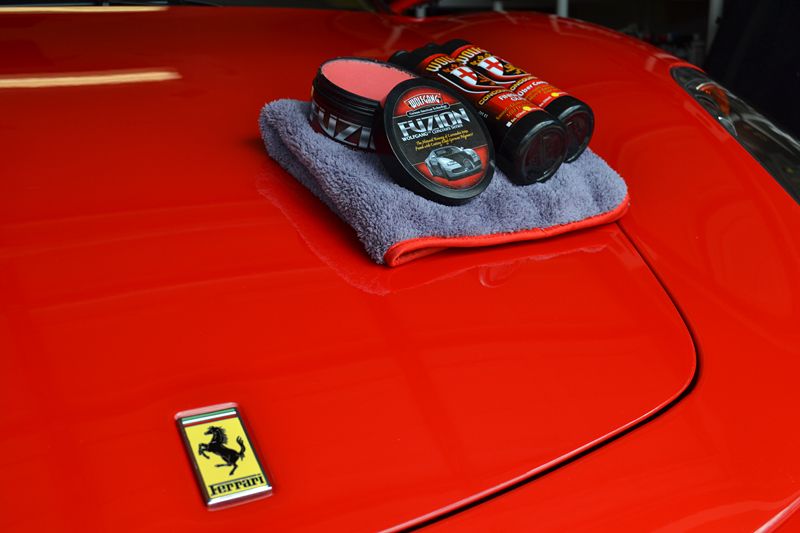
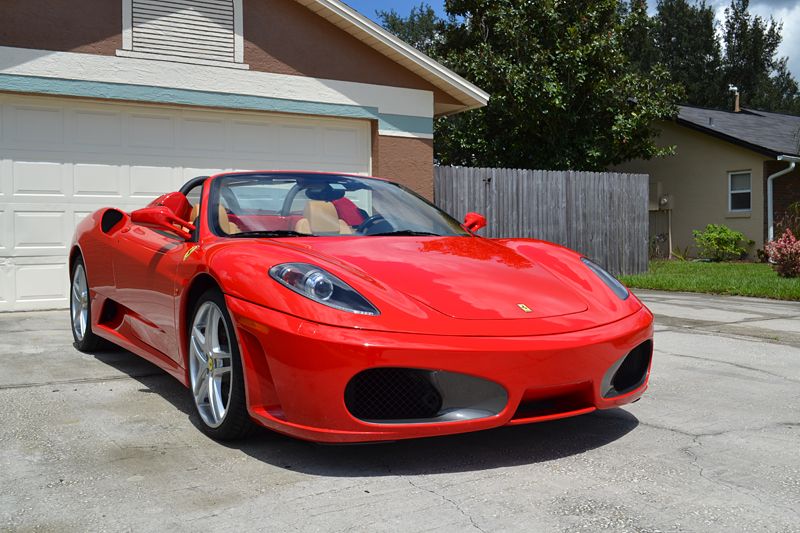
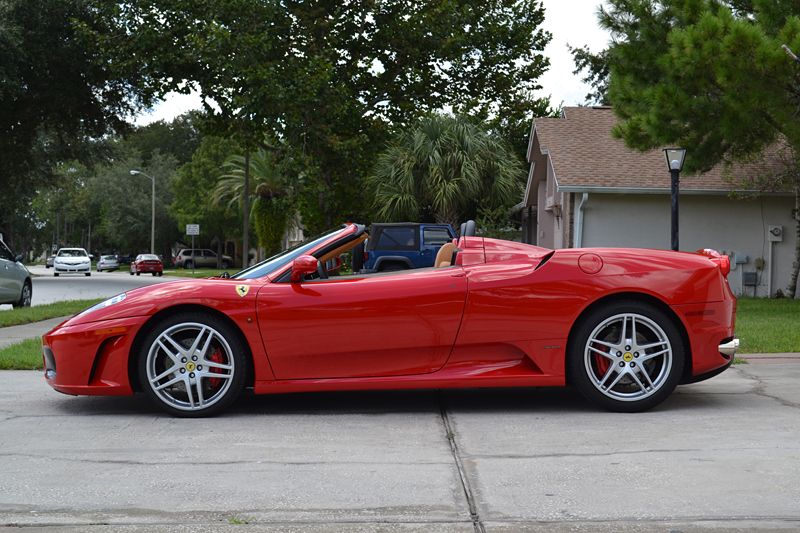
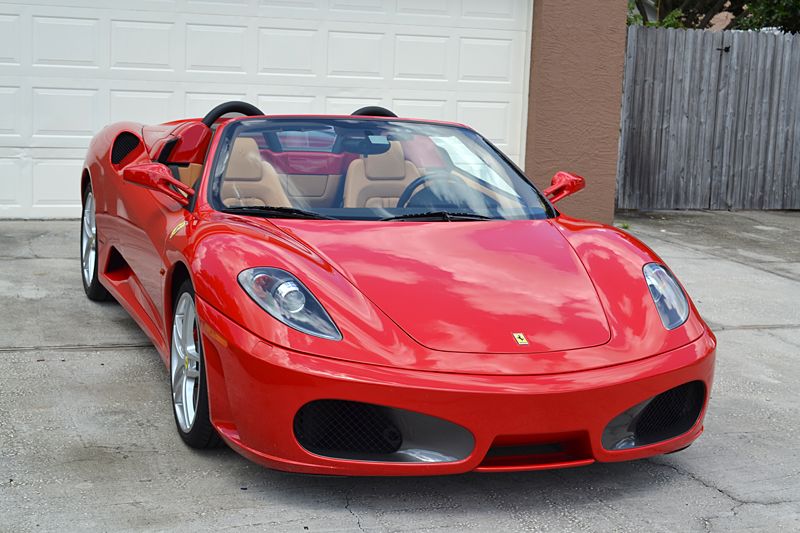
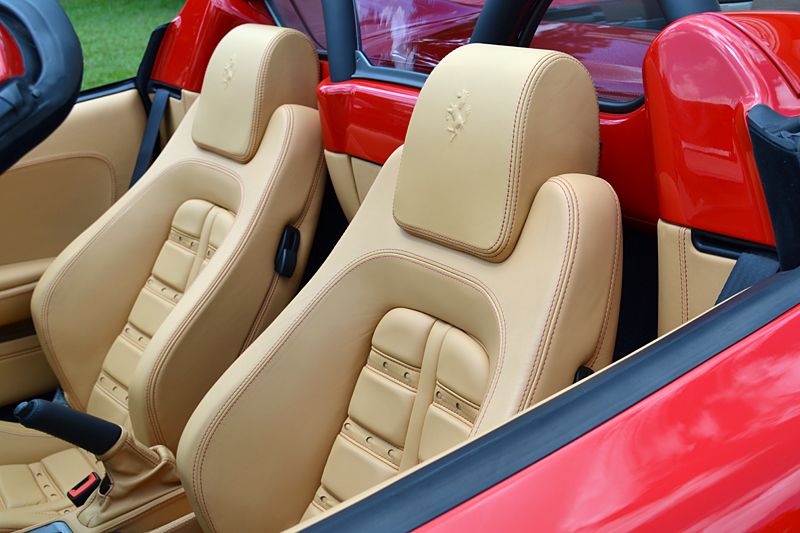
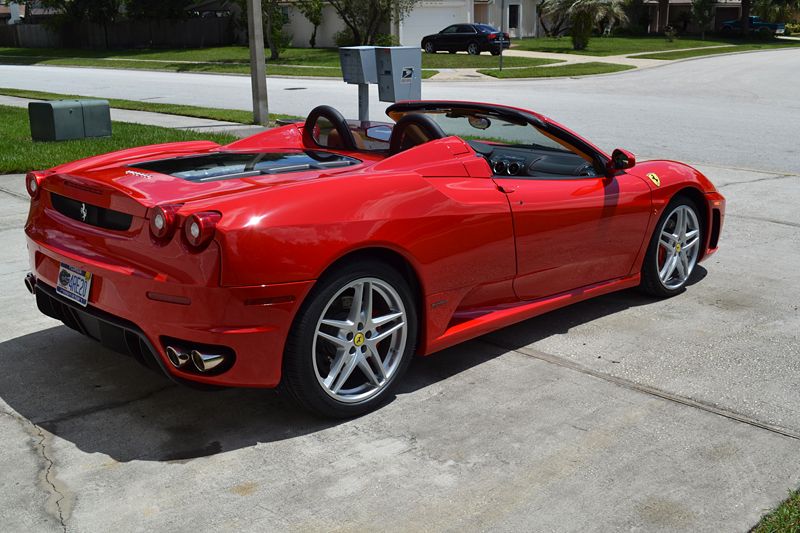
This Ferrari F430 Spider belongs to a long-time client of mine. I was excited to come out of "semi-retirement" and give it some love. Plus it was a chance to play with Wolfgang's excellent Uber Compound.
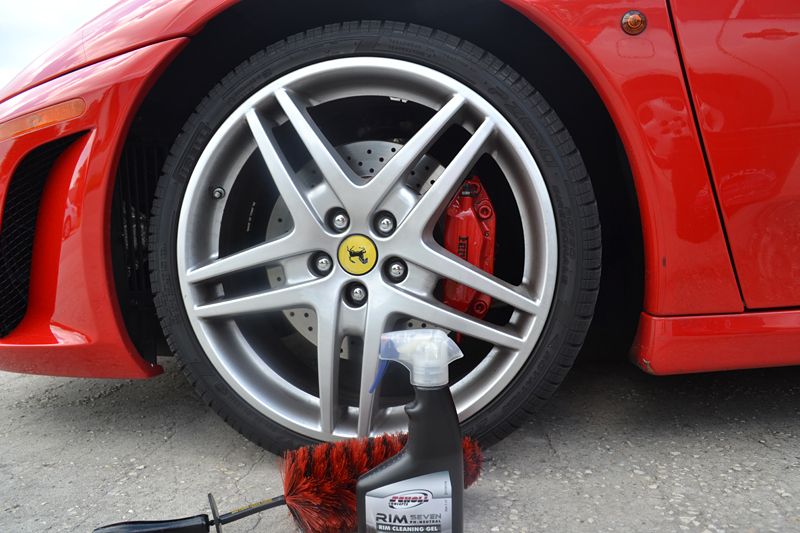
With pretty much every detail I do, I start by washing the car. The way I wash the car is pretty much the same as when I wash my own cars. I start with the wheels, then clean the detail areas, and finally carefully wash the whole body.
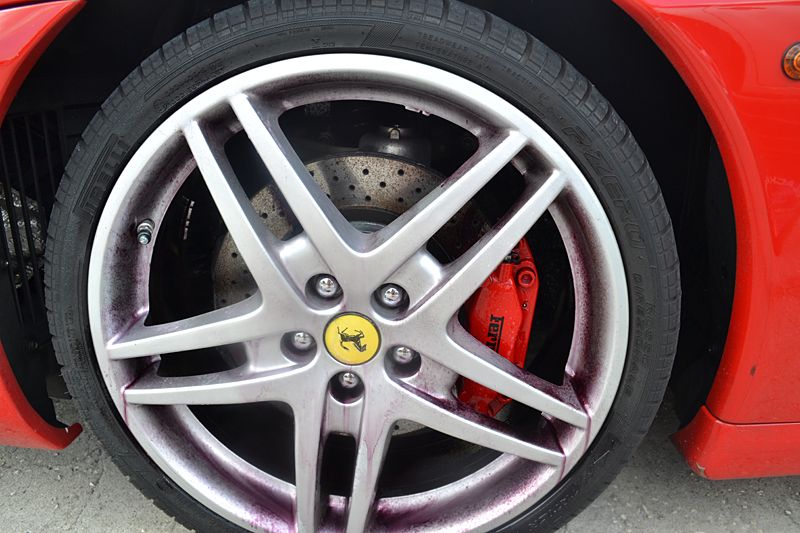
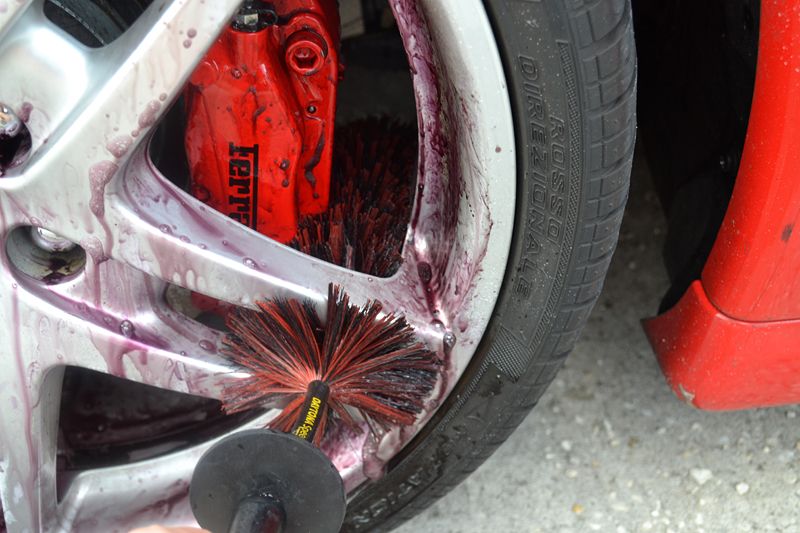
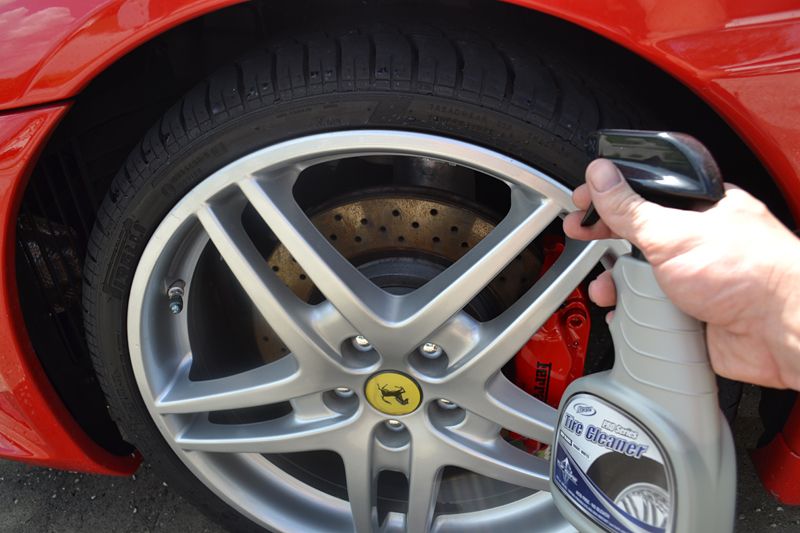
The wheels on this Ferrari had a light coating of brake dust, so it was a create chance to play with Scholl Concepts RIM7 Rim Cleaning Gel. Scholl performed well, scoring the highest wheel cleaning ability and most color-changing effect in the AutopiaForums Wheel Cleaner Review.

In addition to Scholl's, I used a Daytona Speed Master Wheel Brush to clean deep inside the barrels, between the spokes, and in-and-around the brake calipers.
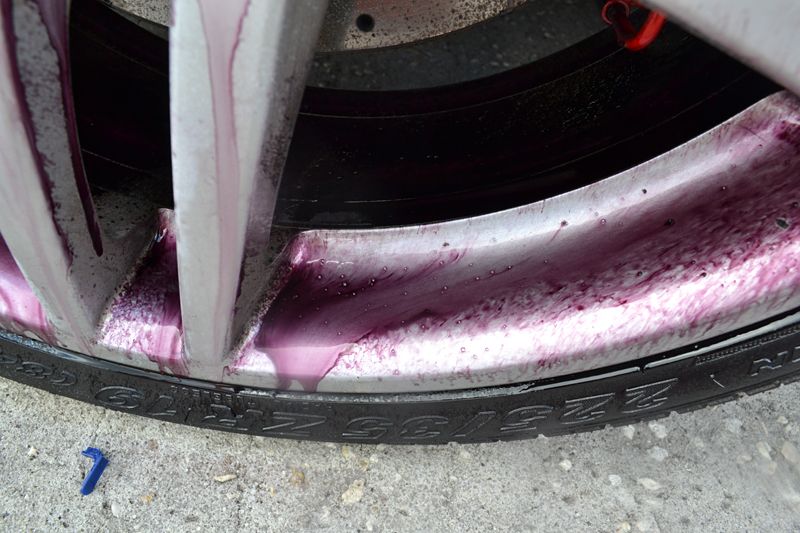
Scholl Concepts RIM7 Rim Cleaning Gel has excellent color-changing properties in addition to its powerful cleaning ability (necessary due to Ferriar's use of very soft sport pads).
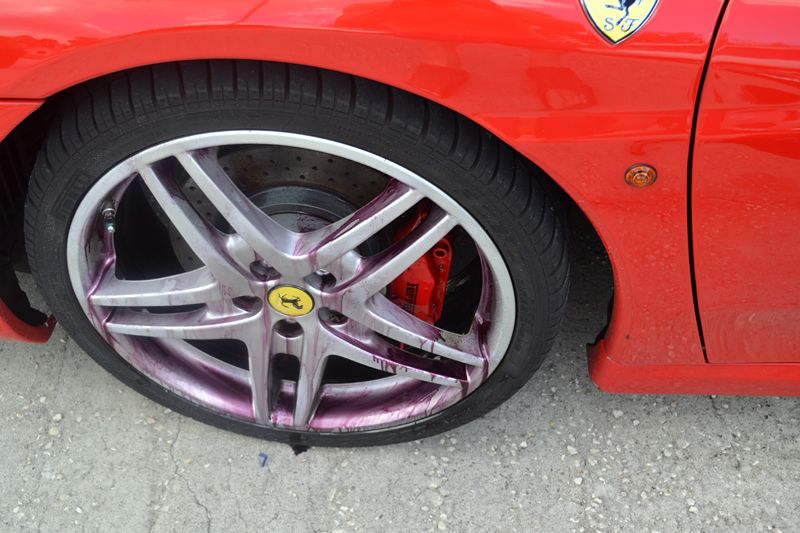
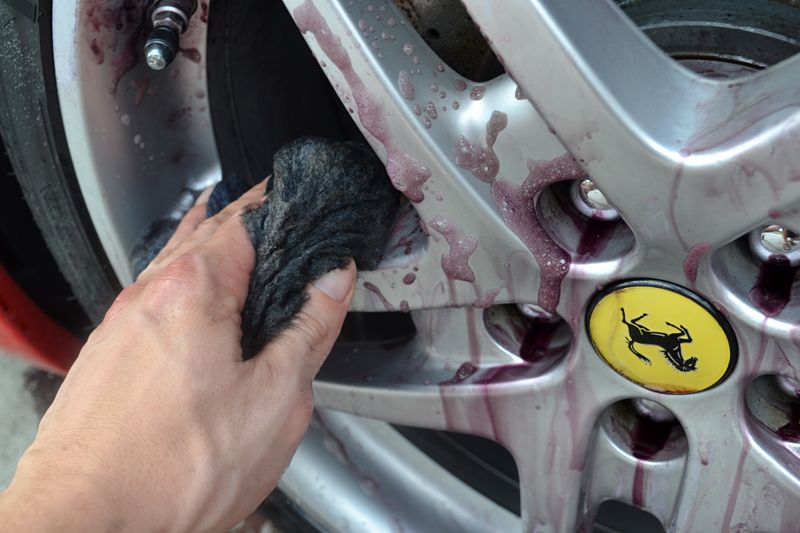
For cleaning the face and spokes of the wheel, I agitated the cleaner with an ultra-soft Lake Country Wool Wheel Wash Mitt. This super-soft, ultra-dense mitt does an excellent job of cleaning even the most delicate surfaces without scratching them.
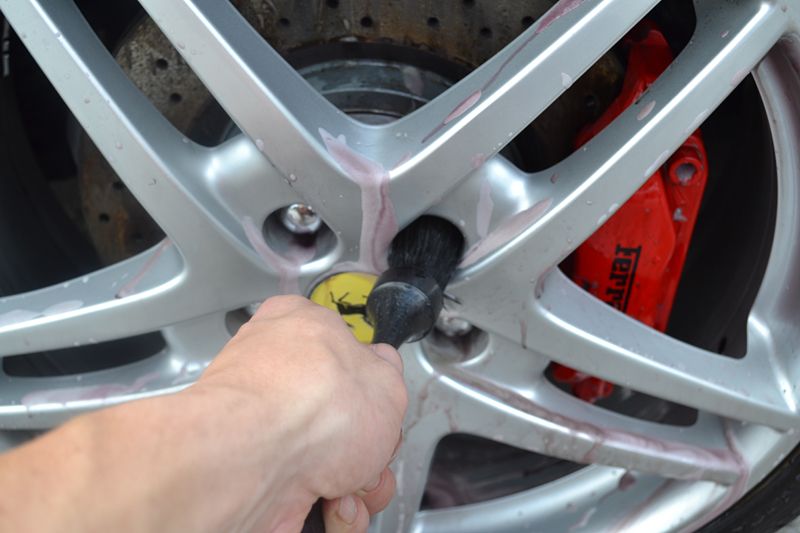
For tidying up the lug recesses and detail surfaces around the brake caliper, I love using a Wheel Woolies Boar's Hair Detail Brush. Not only does it have excellent cleaning power, but as importantly, it will not scratch delicate surfaces. Detailing is more than cleaning, it is preserving the surfaces as well.
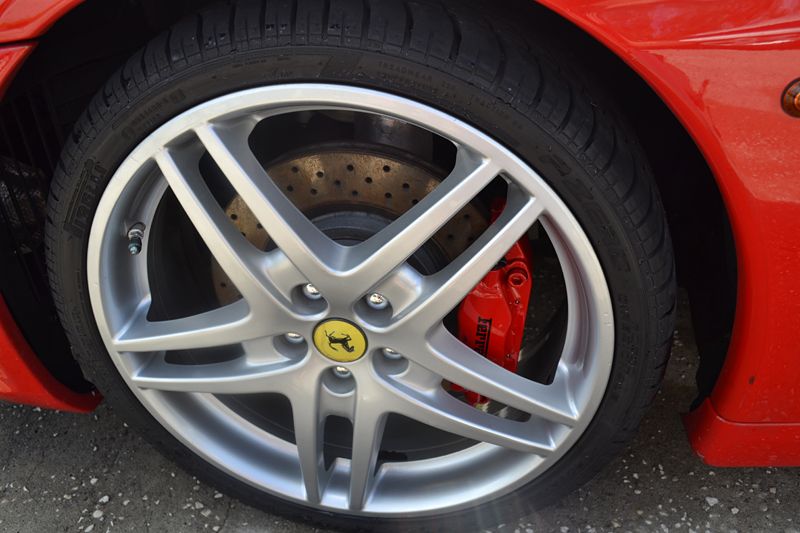
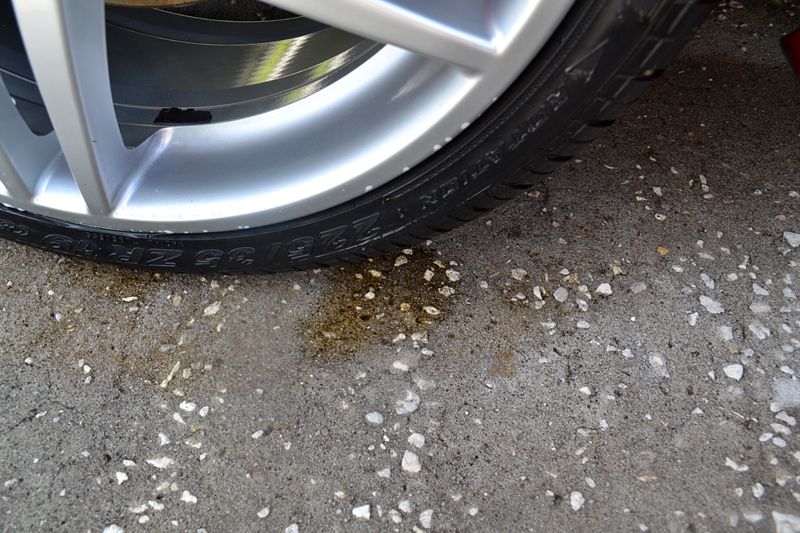
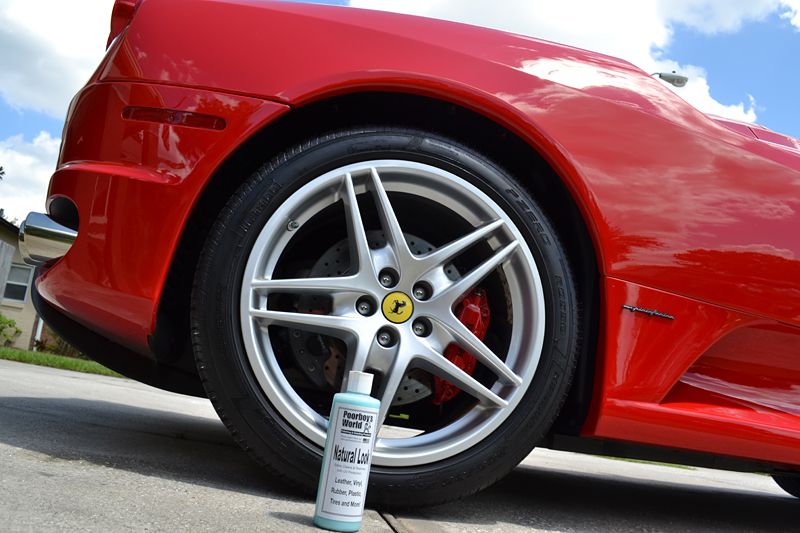
A quick rinse revealed a well detailed wheel. Now it's time to clean the tires and wheel wells.
For the tires, I turned to one of my favorite tire cleaners - TUF SHINE Tire Cleaner.
Even before scrubbing, the brown runoff from the tire showed how flithy this otherwise cleaning-looking tire was, and more importantly, how effective TUF SHINE Tire Cleaner is.
To ensure the tires were perfectly clean, I agitated them with the also-awesome TUF SHINE Tire Brush and rinsed clean.
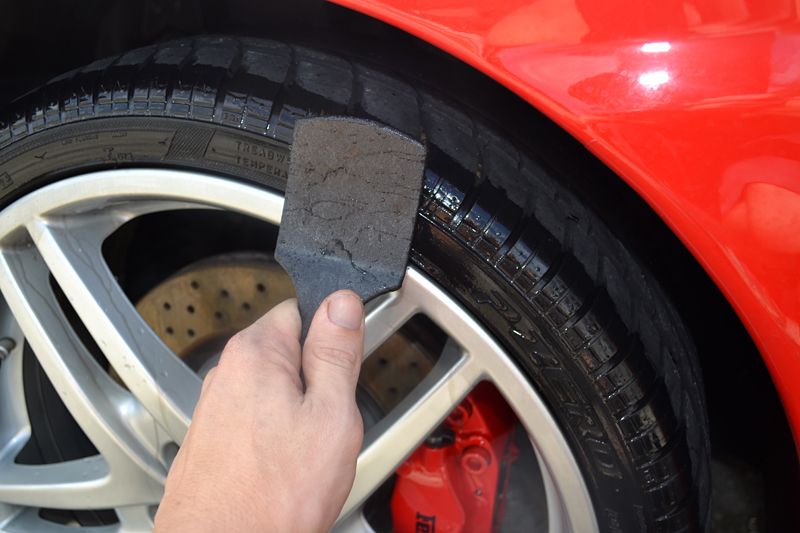
To combat the grime, tar, and bug splatter that gives any detailed car an otherwise unfinished look, I used a 4:1 dilution of BLACKFIRE All-In-One APC.
Cleaning and scrubbing was down with the soft-touch Wheel Woolies (large) Wheel Mop.
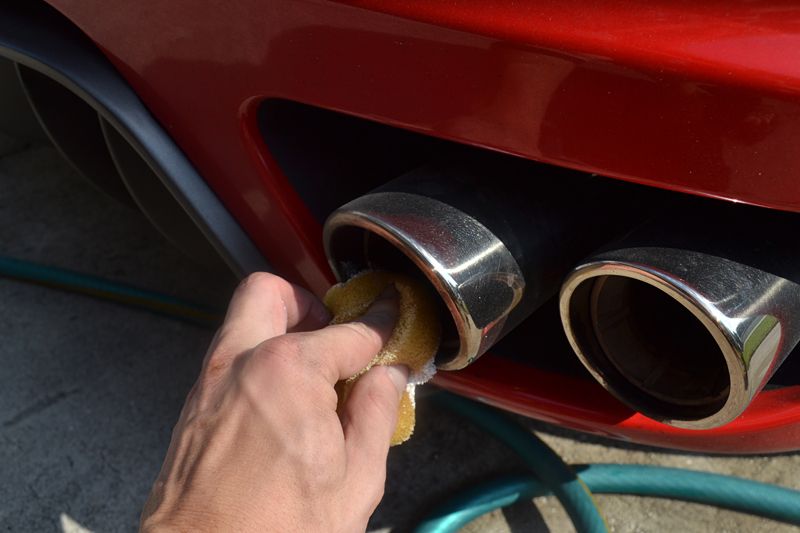
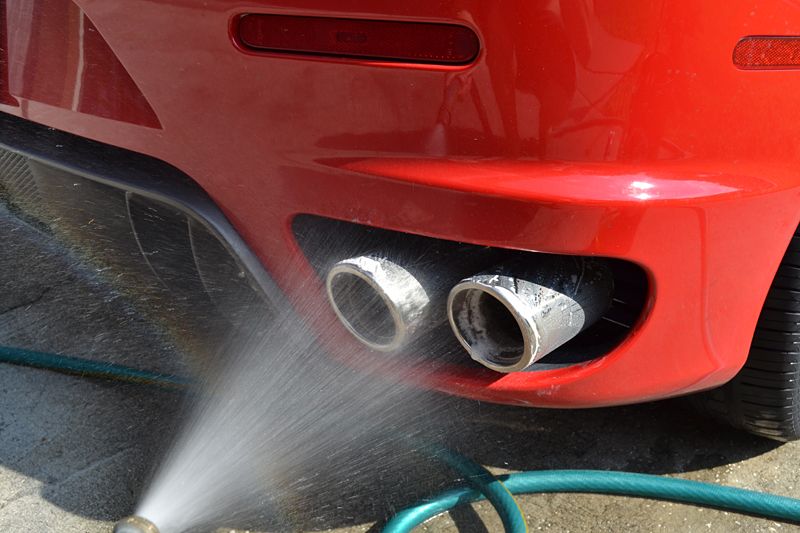
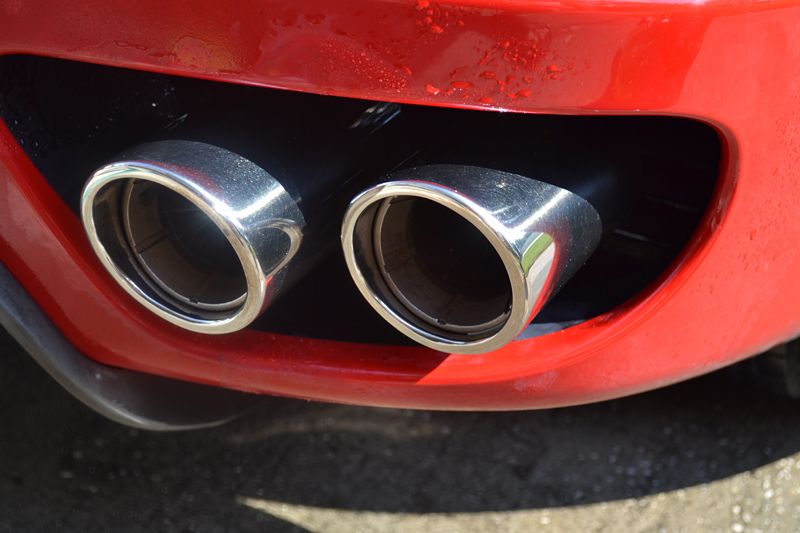
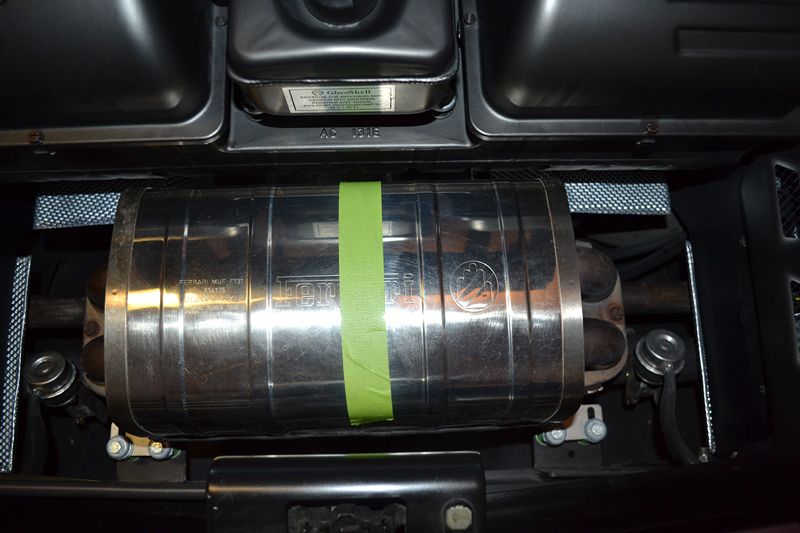
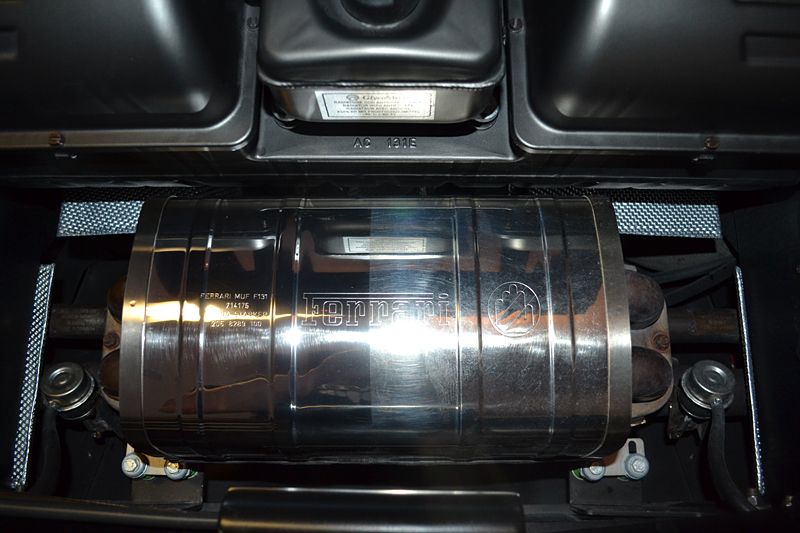
Both the stainless surrounds and rough-cast titanium exhaust pipes had seen better days (probably when this Ferrari was crafted). While the soot of unburned fuel and combustion excess shows that this Ferrari is driven the way it should be, it can be a pain to clean off of the rough-cast titanium inner pipe.

Marine 31 Stainless Steel & Aluminum Brightening Soap provides a good solution. This is a polish & soap combination that will cut through difficult scum and add a light sheen to metal surfaces. This is important because the rough-cast titanium should NOT have a highly-polished, high-gloss finish.
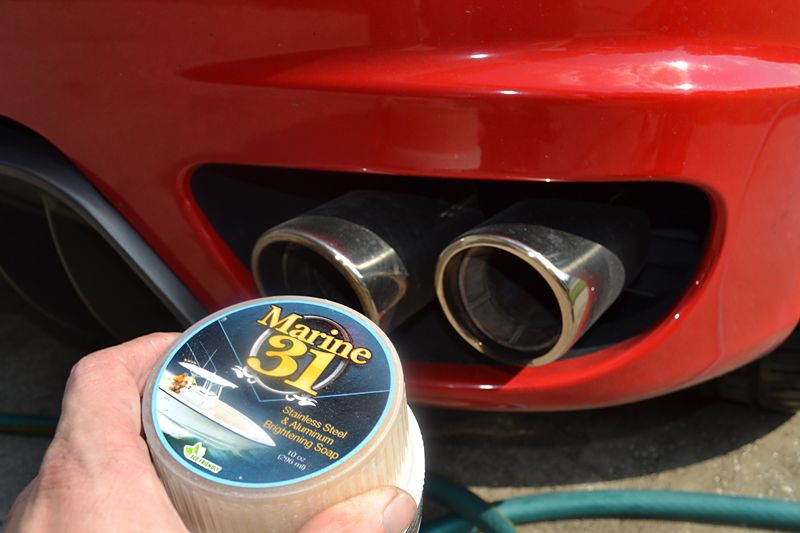
Application is easy. Simply wet the included sponge, dip into the powdered soap/polish and lightly scrub. The polishing agents, effective on brightening metal, also make quick work of the heavy built up of soot.
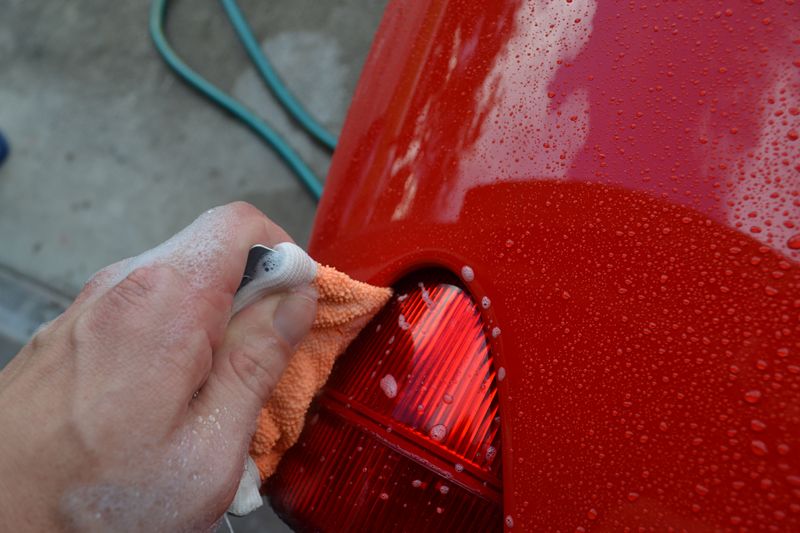
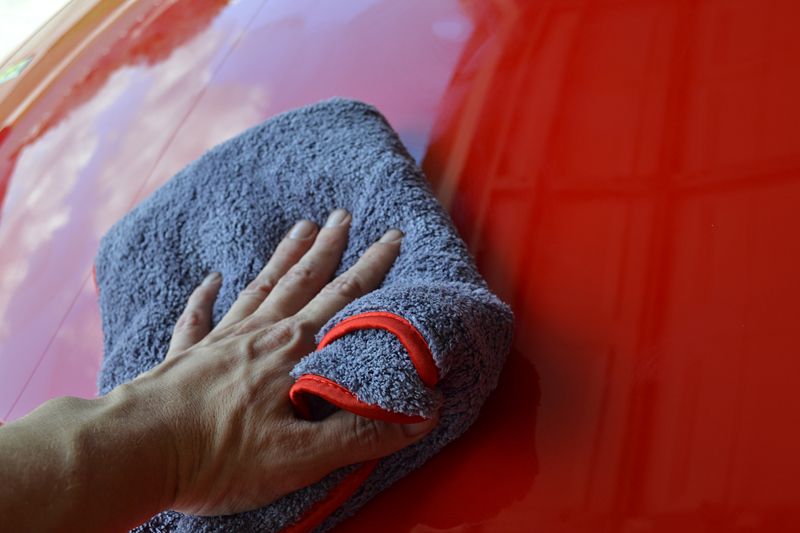
After the detail work was complete I gave the car a bath using BLACKFIRE Wet Diamond Conditioning Shampoo and a Aussie Merino Wool Wash Mitt.
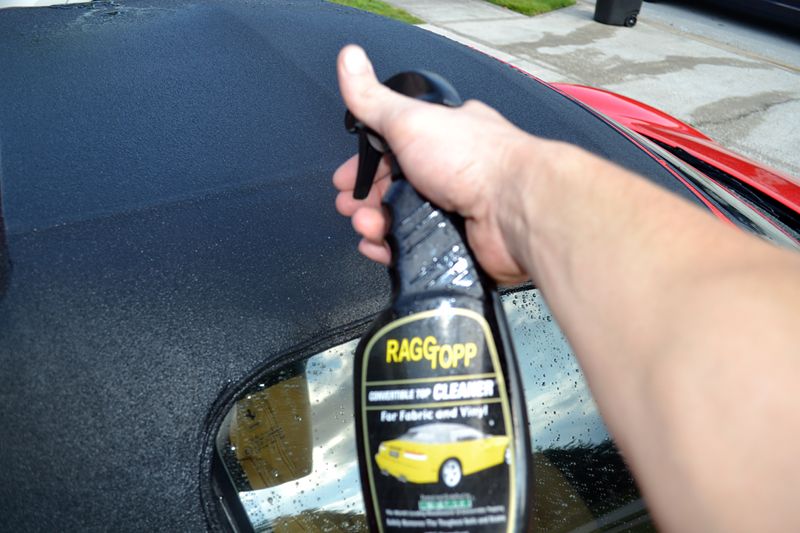
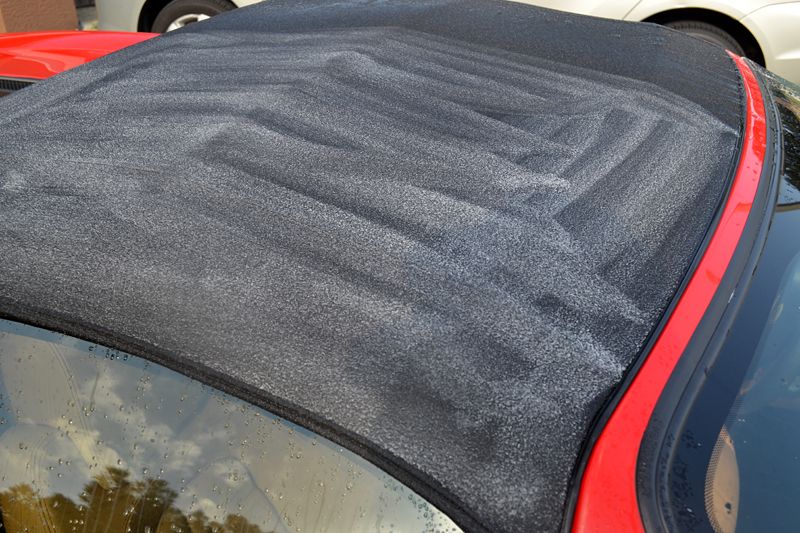
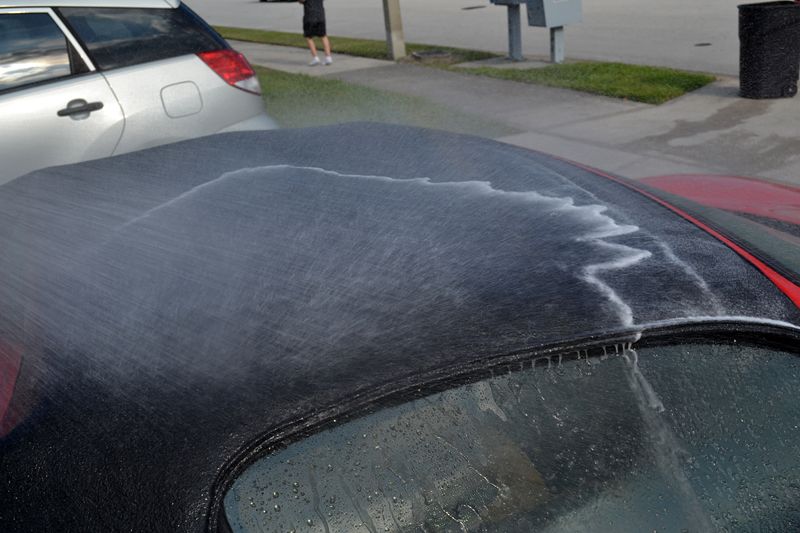
I also washed the top with RaggTopp Fabric and Vinyl Convertible Top Cleaner, which is part of the RaggTopp Convertible Top Cleaner & Protectant Kit I would be using later.
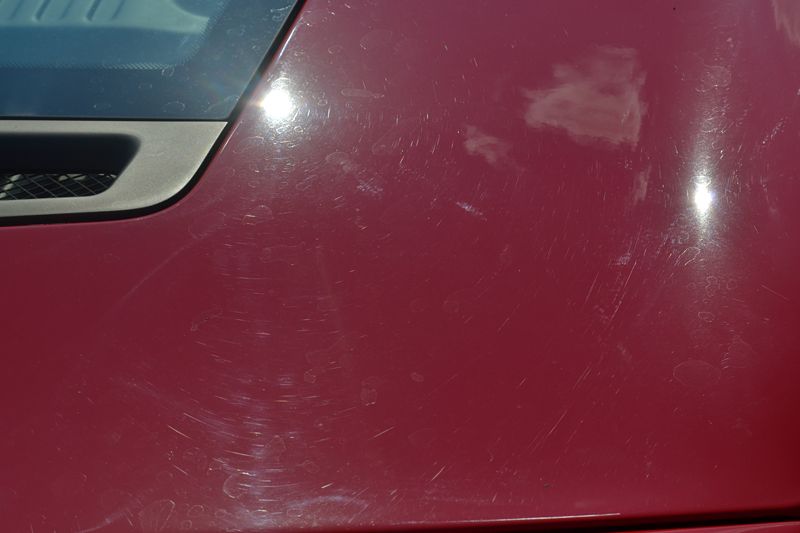
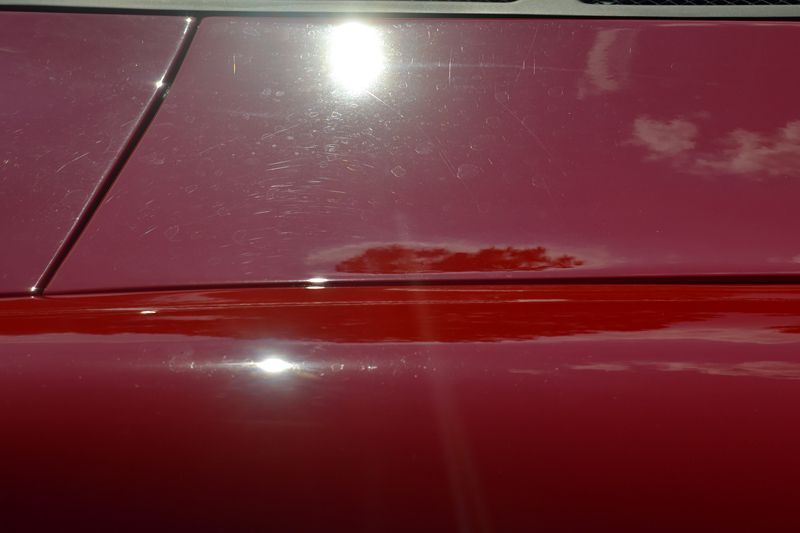
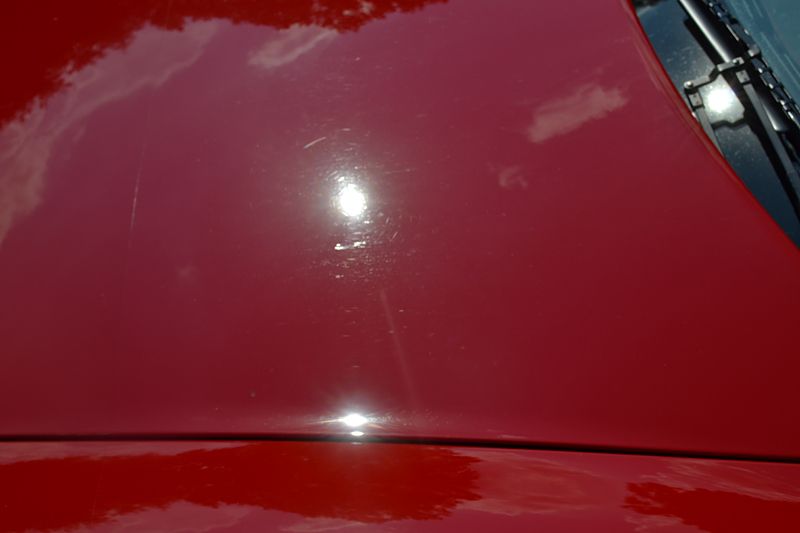
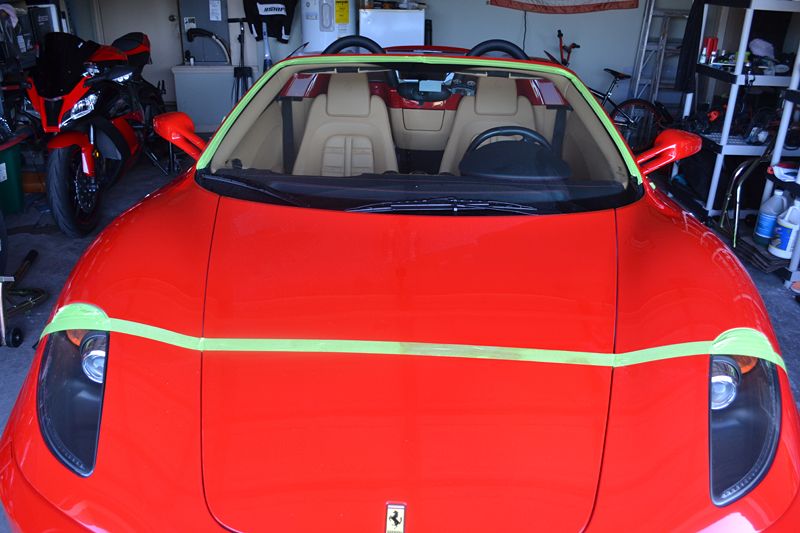
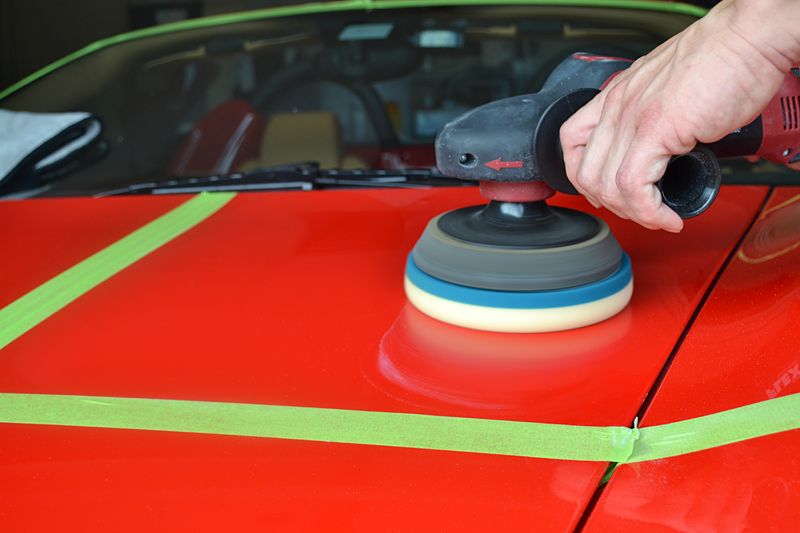
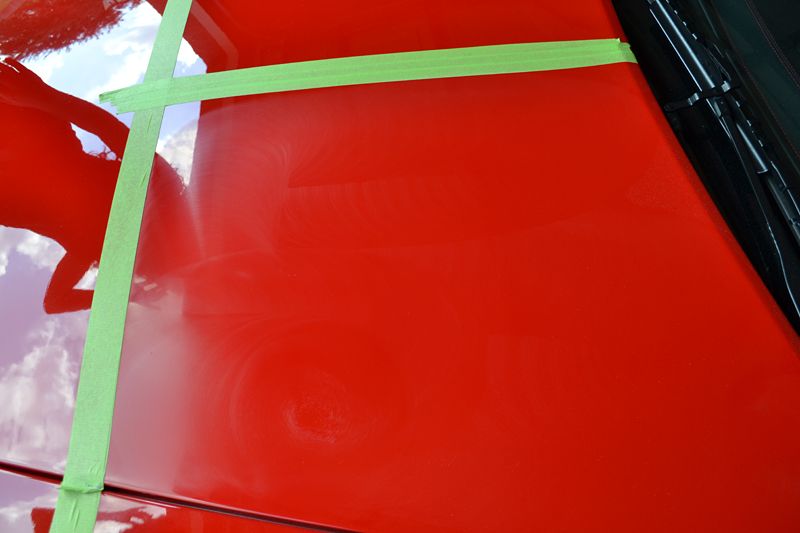
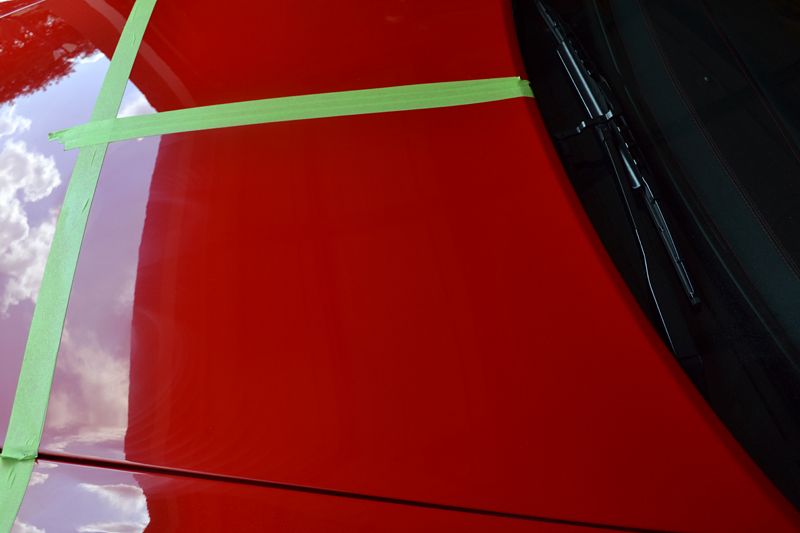
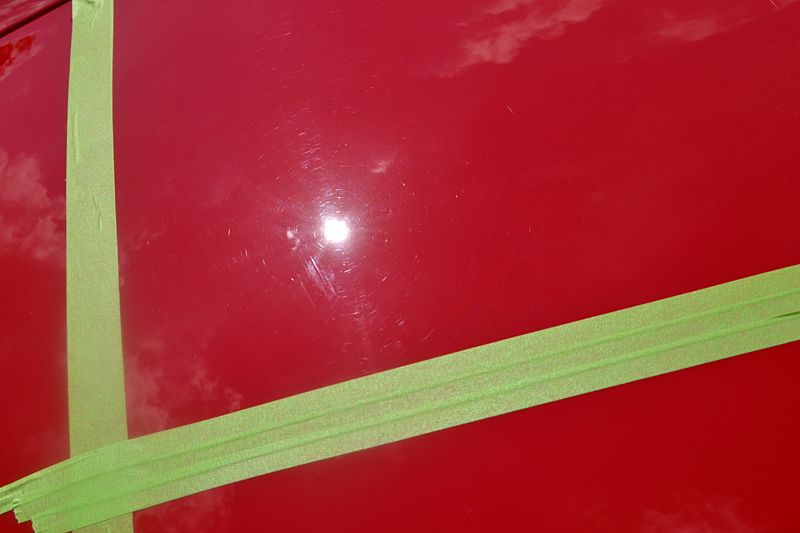
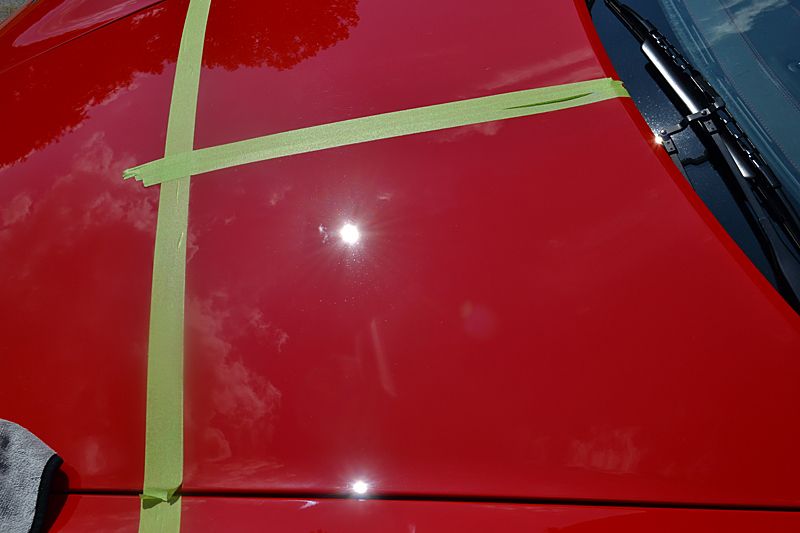
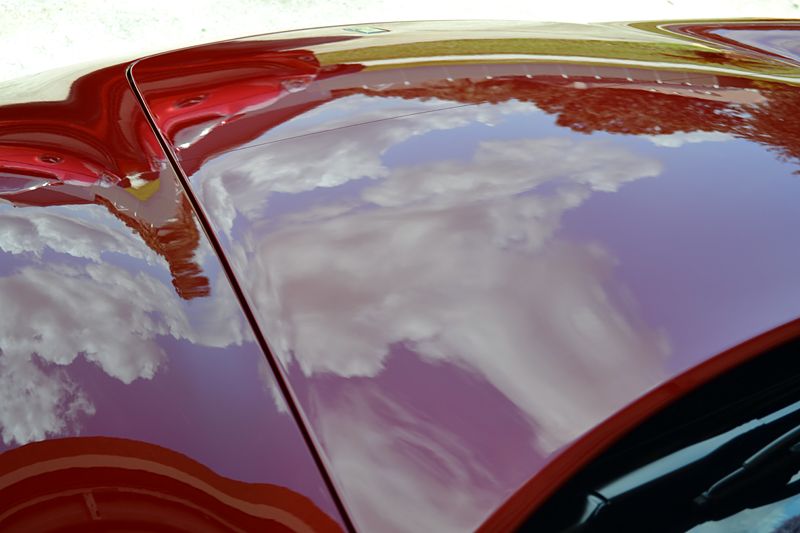
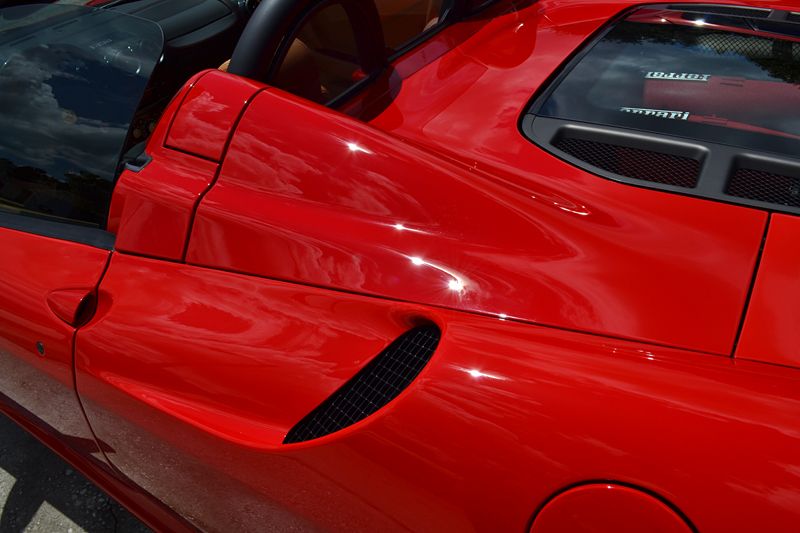
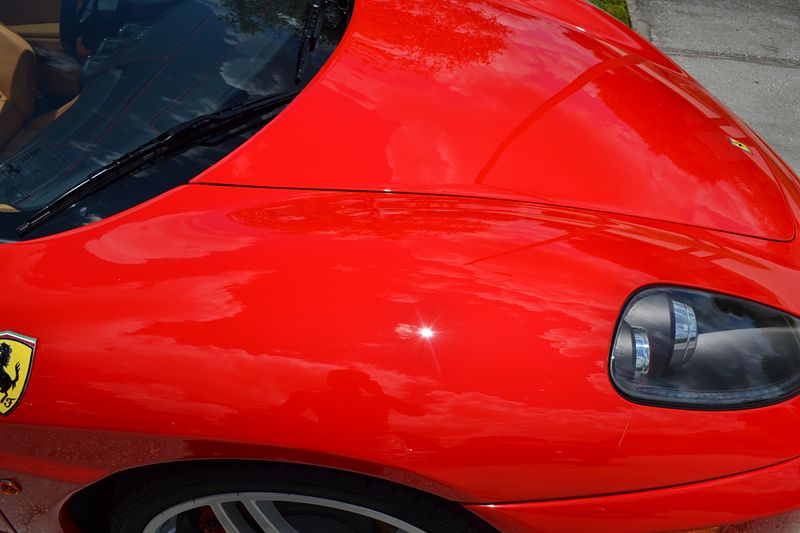
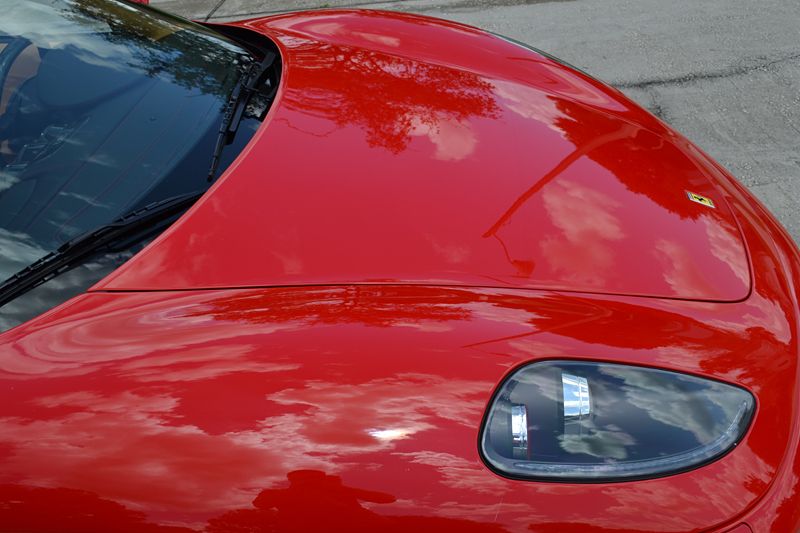
Here are some pictures of the paint after washing. Up close it lacked depth & luster while being riddled with hard water spots and swirl marks.

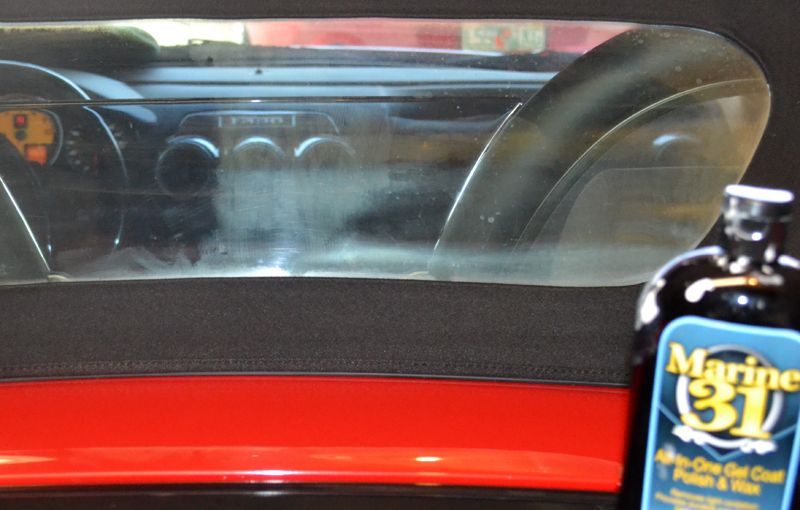
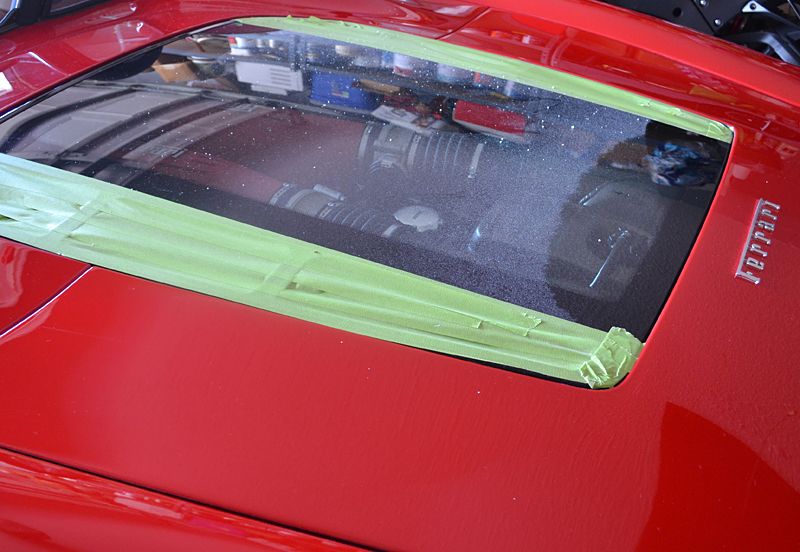
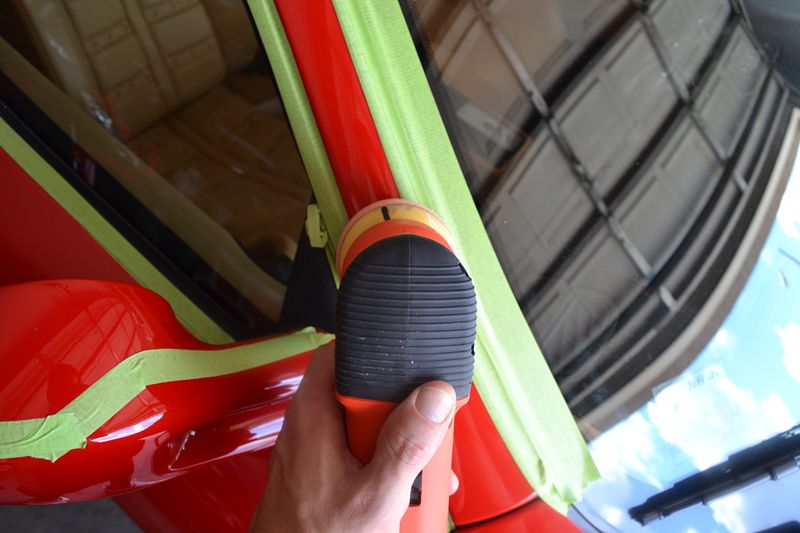
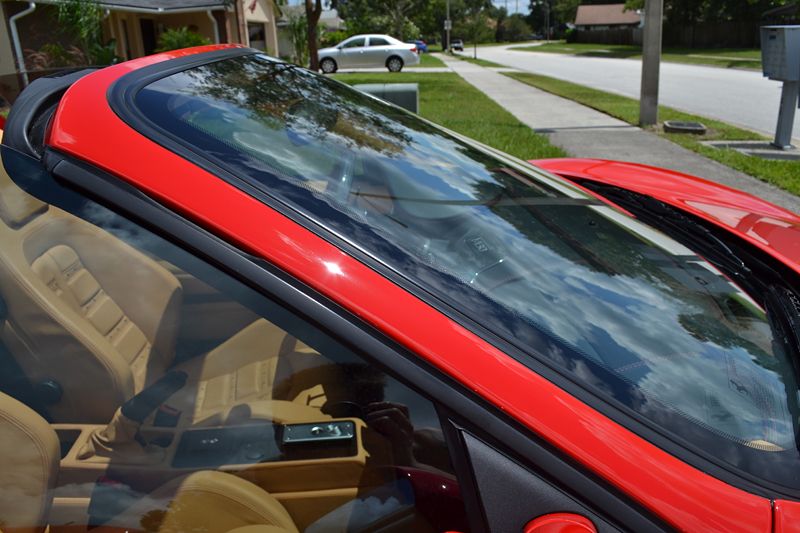
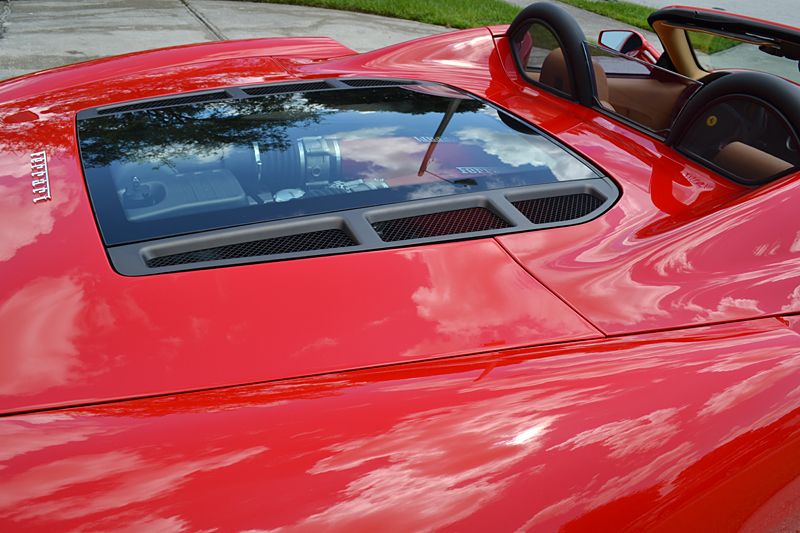
Before starting the paint correction, I wanted to fix a nagging problem that is common to Ferrari convertibles, as well as any other car that has canvas windows - fogging. Fogging occurs when the canvas oxidizes and/or becomes covered in film.
Marine 31 All-In-One Gel Coat Polish & Wax is an excellent abrasive sealant designed for the wet nautical environment. It will easily clean away the fogging while leaving behind a moisture-resistant barrier (helping to stop oxidation in its tracks).
You can see the left (driver's) side part of the window has already been treated and is clear vs. the foggy right side.
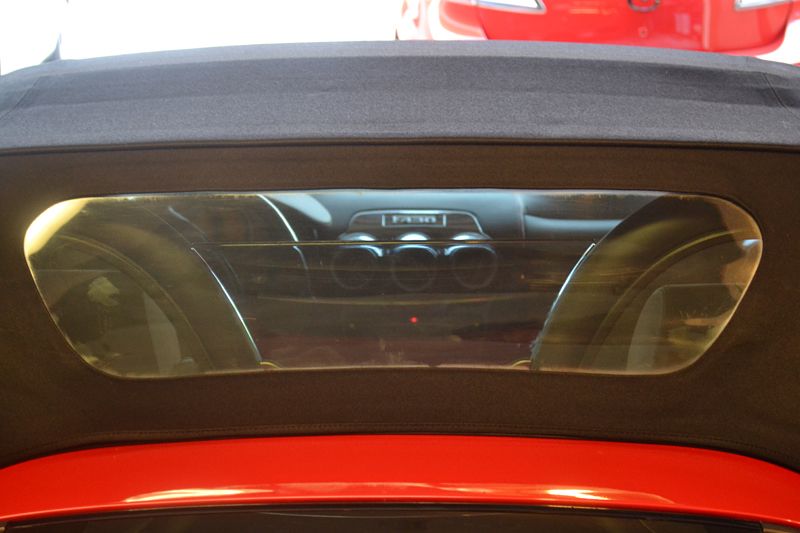
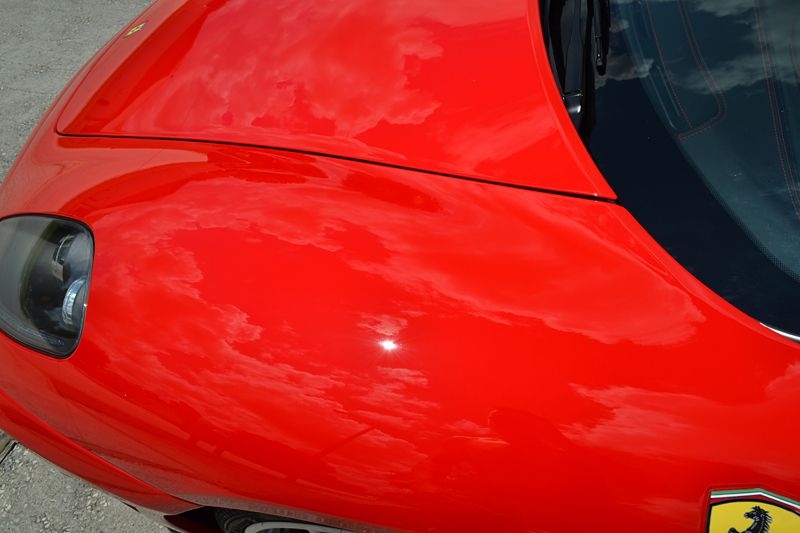
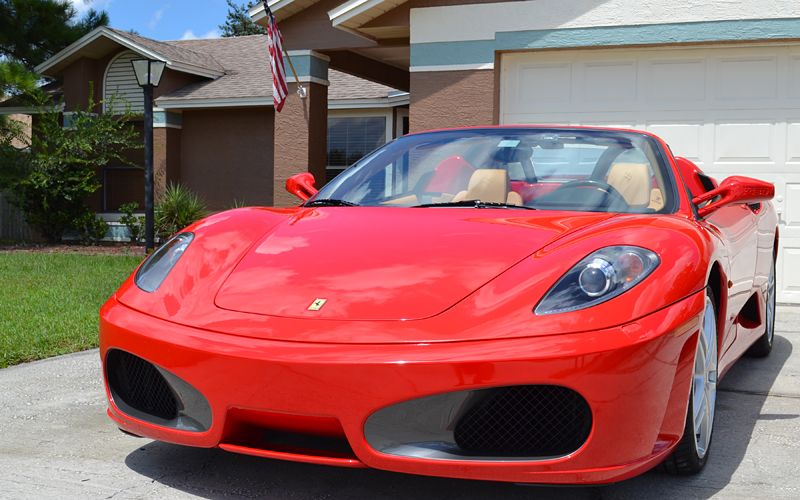
Totally done....
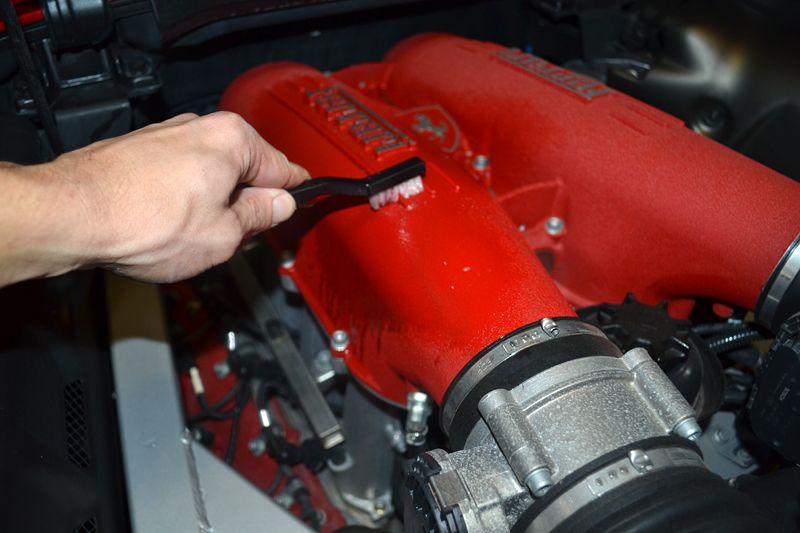
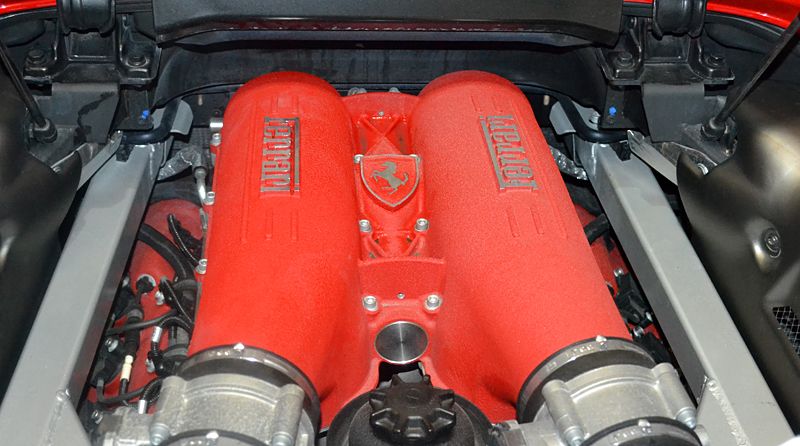
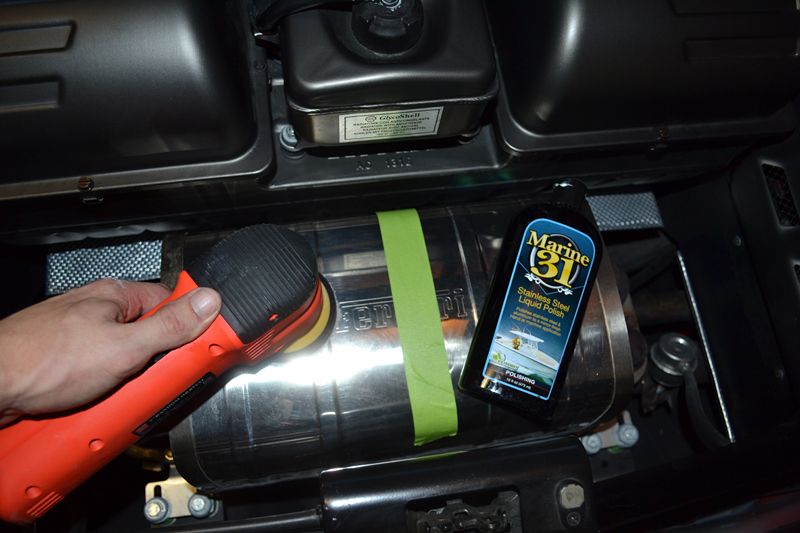
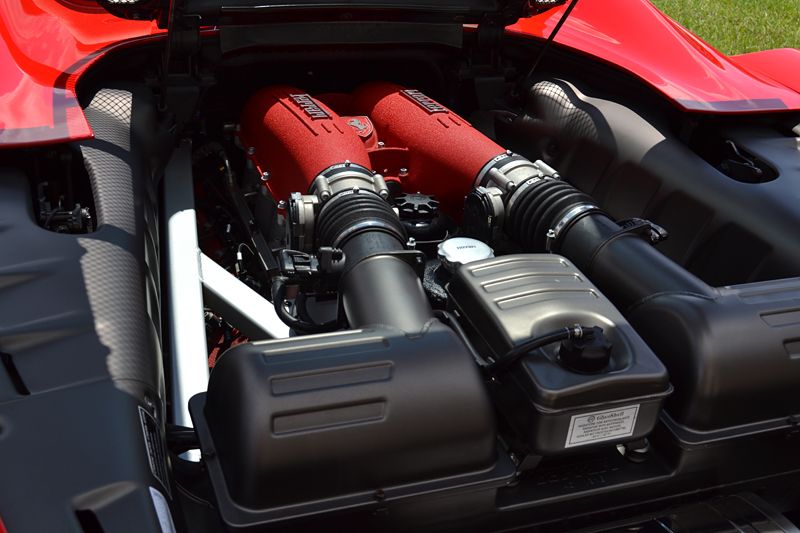
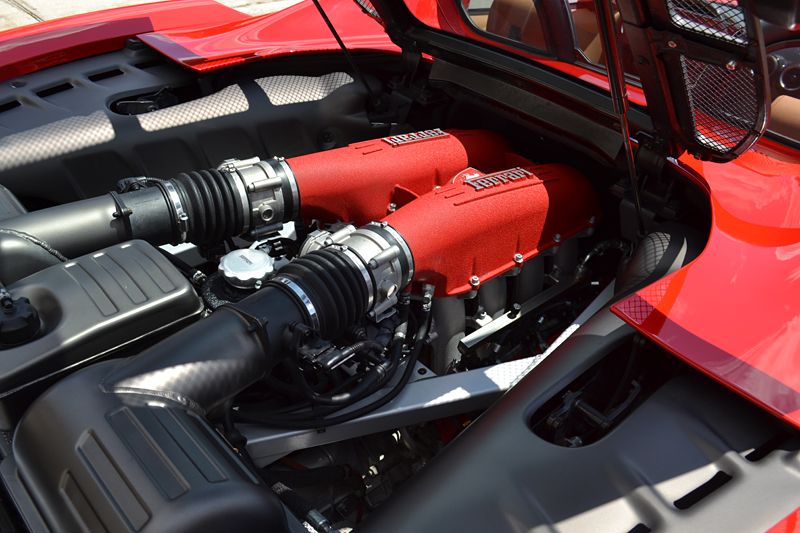
The last area I wanted to detail before starting on the paint was the engine. Italian's have a knack for creating truly functional pieces of art. No where is this better displayed than in the heart of every Ferrari - it's engine.
I personally love engine detailing. It is a matter of cleaning, polishing and enhancing every detail imaginable, from the nuts and bolts to the valve covers. I am convinced that no other aspect of detailing requires you to be as creative or requires as much patience as engine detailing.
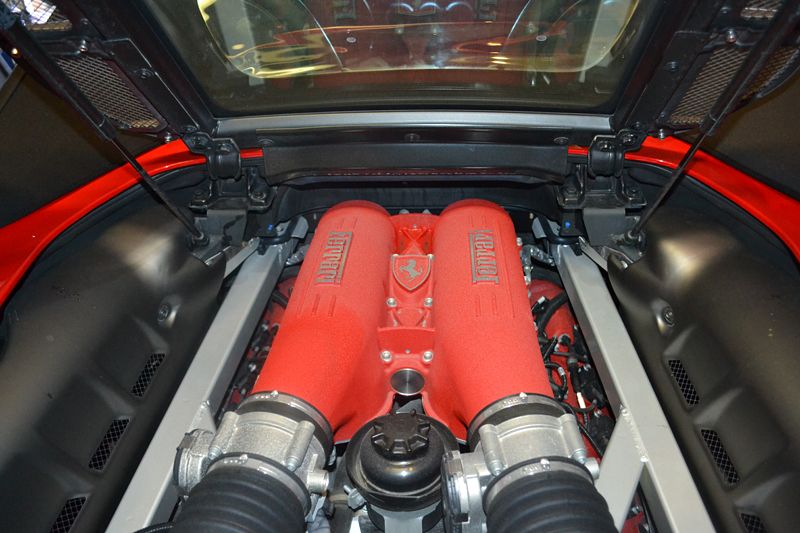
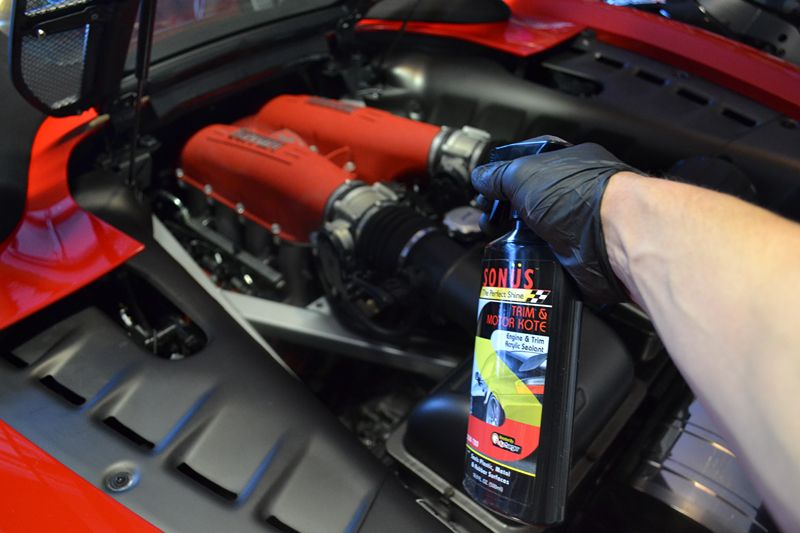
I started by lightly scrubbing the engine bay with a nylon-bristle detail brush and dilute BLACKFIRE All-In-One APC. After cleaning, the solution was then wiped off the surface with an all purpose microfiber dampened by BLACKFIRE Wet Diamond Rinseless Wash, ensuring the surface was clean and free of sticky residues.
With pretty much every detail I do, I start by washing the car. The way I wash the car is pretty much the same as when I wash my own cars. I start with the wheels, then clean the detail areas, and finally carefully wash the whole body.
The wheels on this Ferrari had a light coating of brake dust, so it was a create chance to play with Scholl Concepts RIM7 Rim Cleaning Gel. Scholl performed well, scoring the highest wheel cleaning ability and most color-changing effect in the AutopiaForums Wheel Cleaner Review.
In addition to Scholl's, I used a Daytona Speed Master Wheel Brush to clean deep inside the barrels, between the spokes, and in-and-around the brake calipers.
Scholl Concepts RIM7 Rim Cleaning Gel has excellent color-changing properties in addition to its powerful cleaning ability (necessary due to Ferriar's use of very soft sport pads).
For cleaning the face and spokes of the wheel, I agitated the cleaner with an ultra-soft Lake Country Wool Wheel Wash Mitt. This super-soft, ultra-dense mitt does an excellent job of cleaning even the most delicate surfaces without scratching them.
For tidying up the lug recesses and detail surfaces around the brake caliper, I love using a Wheel Woolies Boar's Hair Detail Brush. Not only does it have excellent cleaning power, but as importantly, it will not scratch delicate surfaces. Detailing is more than cleaning, it is preserving the surfaces as well.
A quick rinse revealed a well detailed wheel. Now it's time to clean the tires and wheel wells.
For the tires, I turned to one of my favorite tire cleaners - TUF SHINE Tire Cleaner.
Even before scrubbing, the brown runoff from the tire showed how flithy this otherwise cleaning-looking tire was, and more importantly, how effective TUF SHINE Tire Cleaner is.
To ensure the tires were perfectly clean, I agitated them with the also-awesome TUF SHINE Tire Brush and rinsed clean.
To combat the grime, tar, and bug splatter that gives any detailed car an otherwise unfinished look, I used a 4:1 dilution of BLACKFIRE All-In-One APC.
Cleaning and scrubbing was down with the soft-touch Wheel Woolies (large) Wheel Mop.
Both the stainless surrounds and rough-cast titanium exhaust pipes had seen better days (probably when this Ferrari was crafted). While the soot of unburned fuel and combustion excess shows that this Ferrari is driven the way it should be, it can be a pain to clean off of the rough-cast titanium inner pipe.
Marine 31 Stainless Steel & Aluminum Brightening Soap provides a good solution. This is a polish & soap combination that will cut through difficult scum and add a light sheen to metal surfaces. This is important because the rough-cast titanium should NOT have a highly-polished, high-gloss finish.
Application is easy. Simply wet the included sponge, dip into the powdered soap/polish and lightly scrub. The polishing agents, effective on brightening metal, also make quick work of the heavy built up of soot.
After the detail work was complete I gave the car a bath using BLACKFIRE Wet Diamond Conditioning Shampoo and a Aussie Merino Wool Wash Mitt.
I also washed the top with RaggTopp Fabric and Vinyl Convertible Top Cleaner, which is part of the RaggTopp Convertible Top Cleaner & Protectant Kit I would be using later.
Here are some pictures of the paint after washing. Up close it lacked depth & luster while being riddled with hard water spots and swirl marks.
Before starting the paint correction, I wanted to fix a nagging problem that is common to Ferrari convertibles, as well as any other car that has canvas windows - fogging. Fogging occurs when the canvas oxidizes and/or becomes covered in film.
Marine 31 All-In-One Gel Coat Polish & Wax is an excellent abrasive sealant designed for the wet nautical environment. It will easily clean away the fogging while leaving behind a moisture-resistant barrier (helping to stop oxidation in its tracks).
You can see the left (driver's) side part of the window has already been treated and is clear vs. the foggy right side.
Totally done....
The last area I wanted to detail before starting on the paint was the engine. Italian's have a knack for creating truly functional pieces of art. No where is this better displayed than in the heart of every Ferrari - it's engine.
I personally love engine detailing. It is a matter of cleaning, polishing and enhancing every detail imaginable, from the nuts and bolts to the valve covers. I am convinced that no other aspect of detailing requires you to be as creative or requires as much patience as engine detailing.
I started by lightly scrubbing the engine bay with a nylon-bristle detail brush and dilute BLACKFIRE All-In-One APC. After cleaning, the solution was then wiped off the surface with an all purpose microfiber dampened by BLACKFIRE Wet Diamond Rinseless Wash, ensuring the surface was clean and free of sticky residues.


")