All Roads Lead To Cavallino- Ferrari 330 GTC- Full concours detail including paint texture removal- Over 60 labor hours

Todd@RUPES

Just a regular guy
A little over six years ago I documented a detail on a Ferrari 512 BBi that I prepared for a concours car show titled The Road To Cavallino. Over the next four years I would prepare 32 cars for this event, winning 22 platinum awards, 6 golds, 2 silvers and 2 best in shows.

Last year I turned down several. opportunities to detail cars for the Cavallino show. Life and my schedule was just too busy. I did not plan preparing any Ferrari's for this years show as well. As they often do, things came together to allow me the opportunity to work on another classic Ferrari.
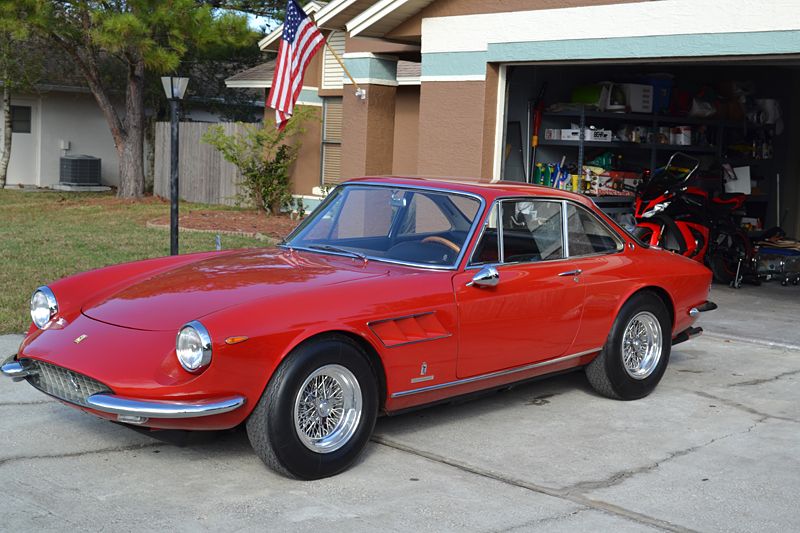
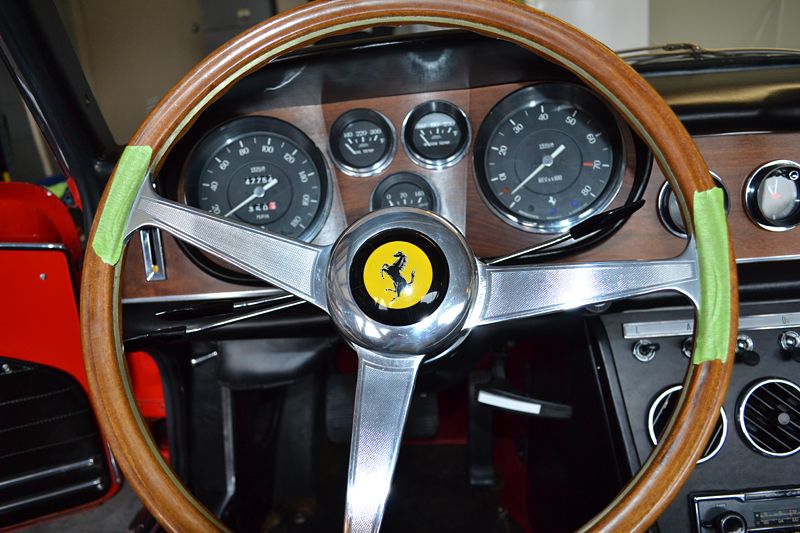
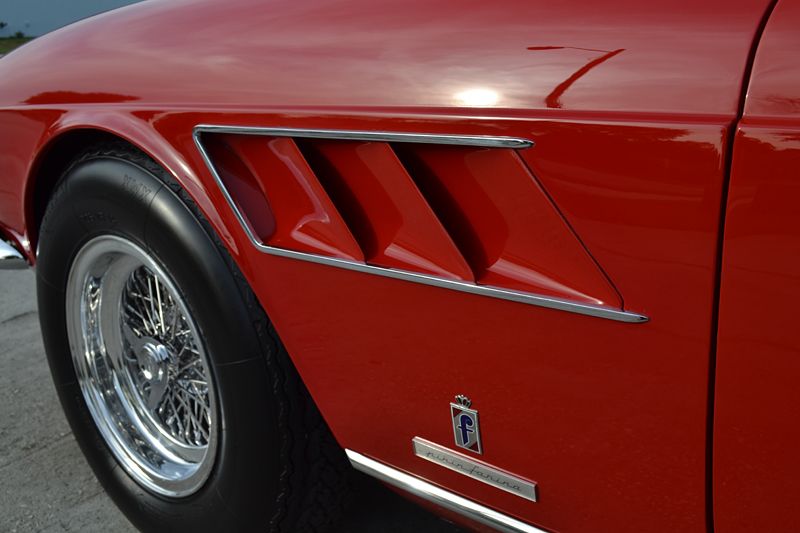
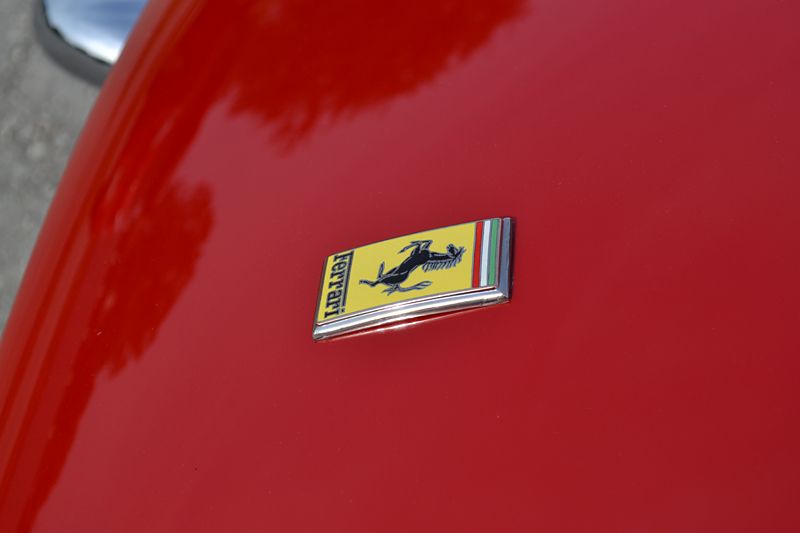
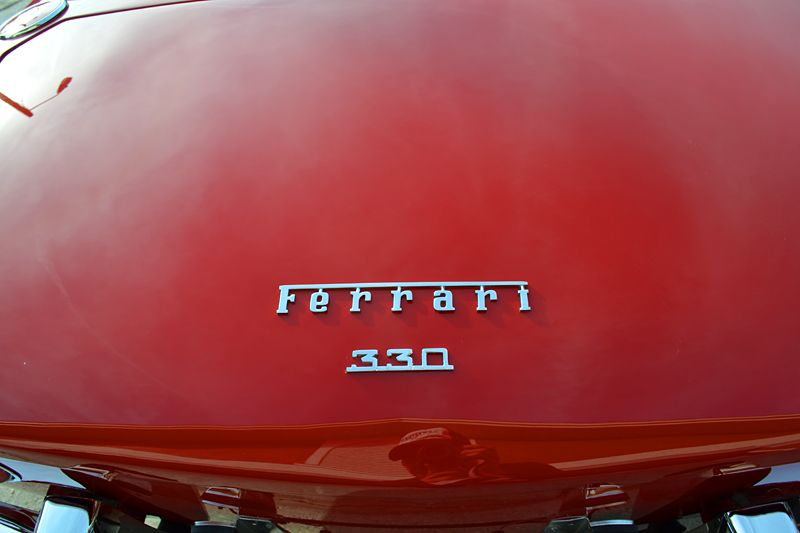
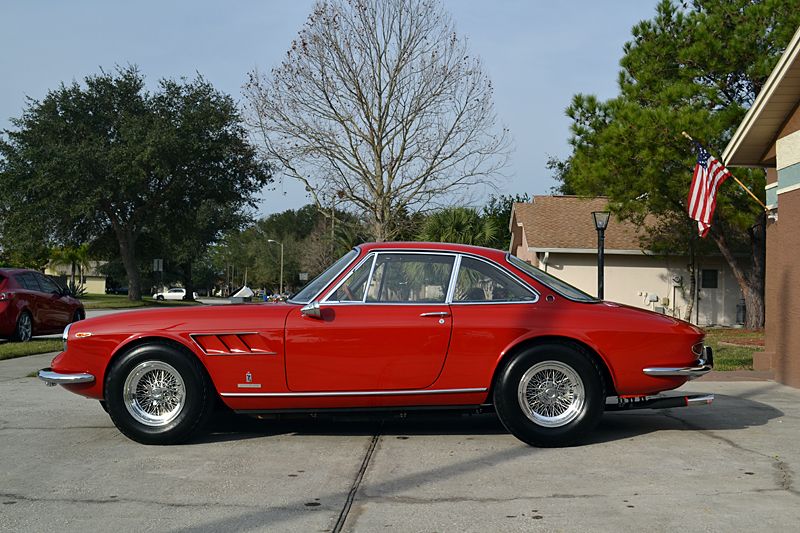
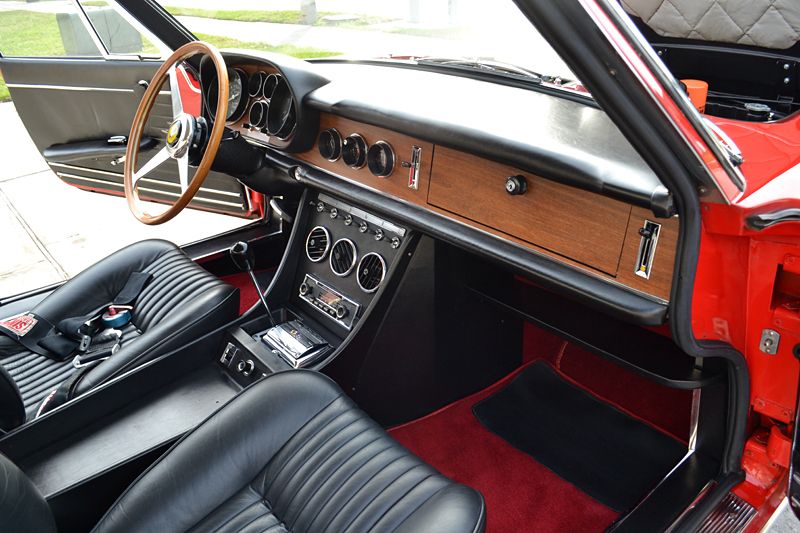
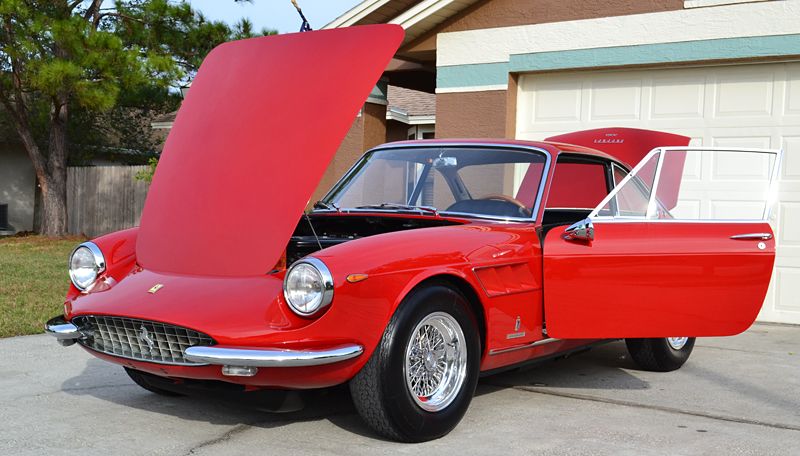
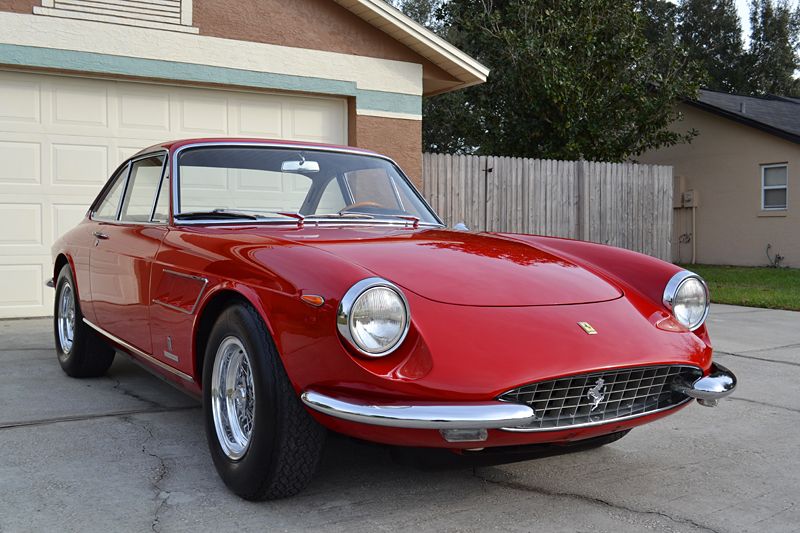
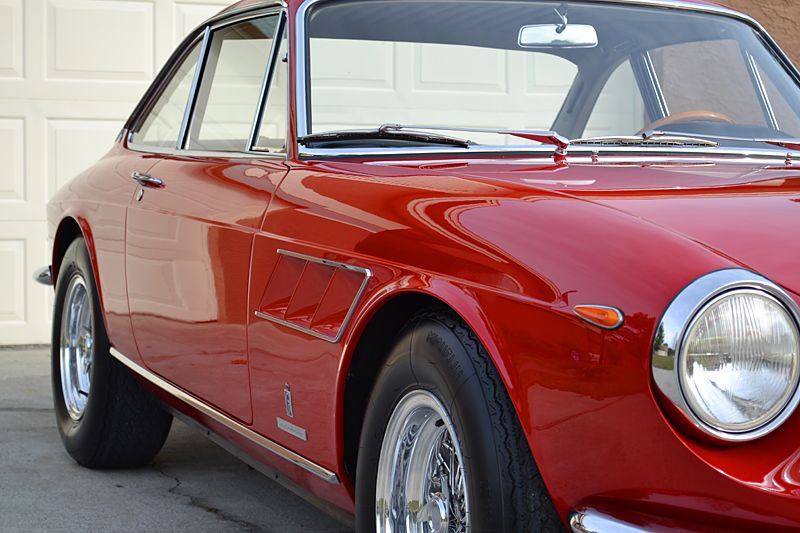
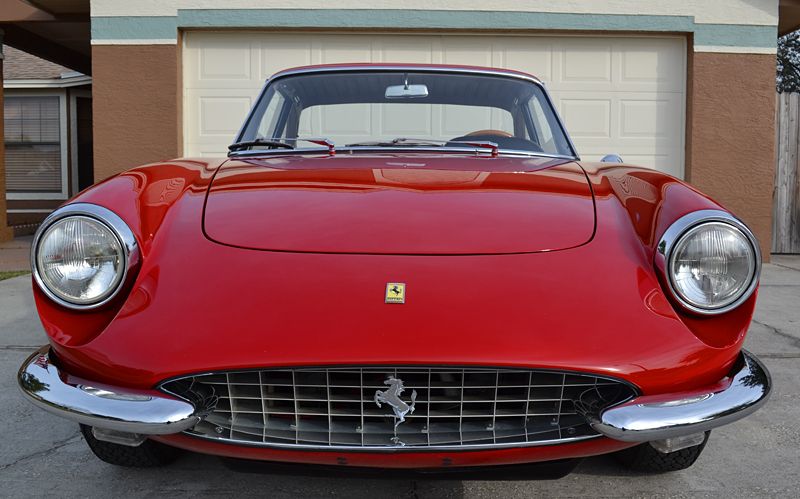
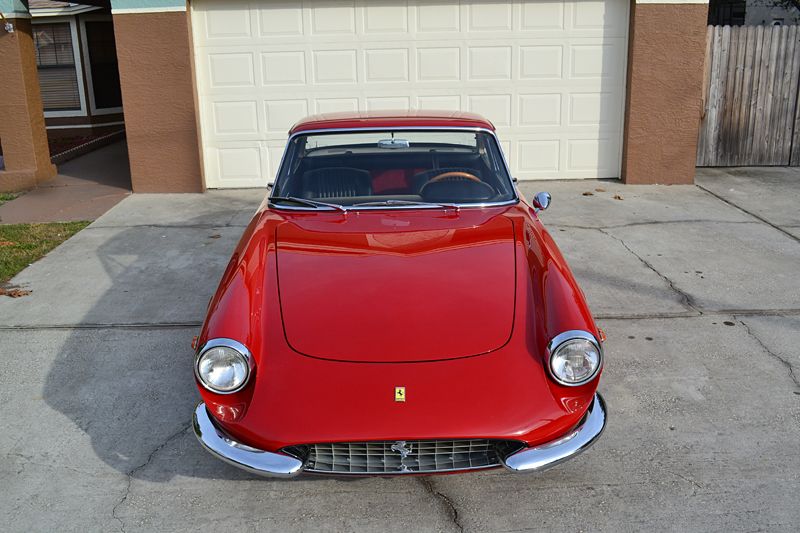
The Ferrari 330 GTC

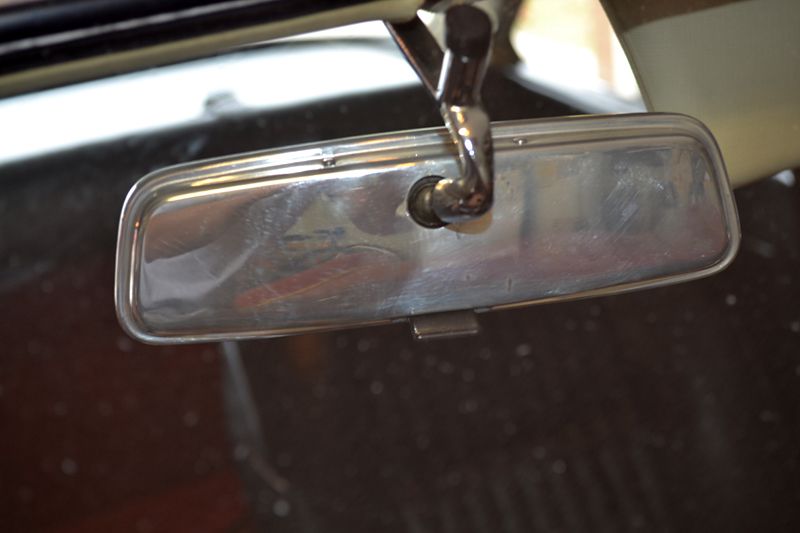
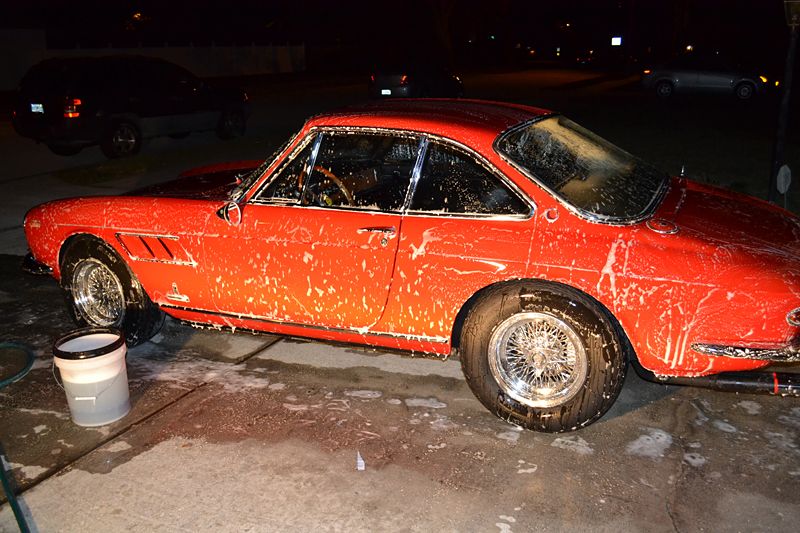
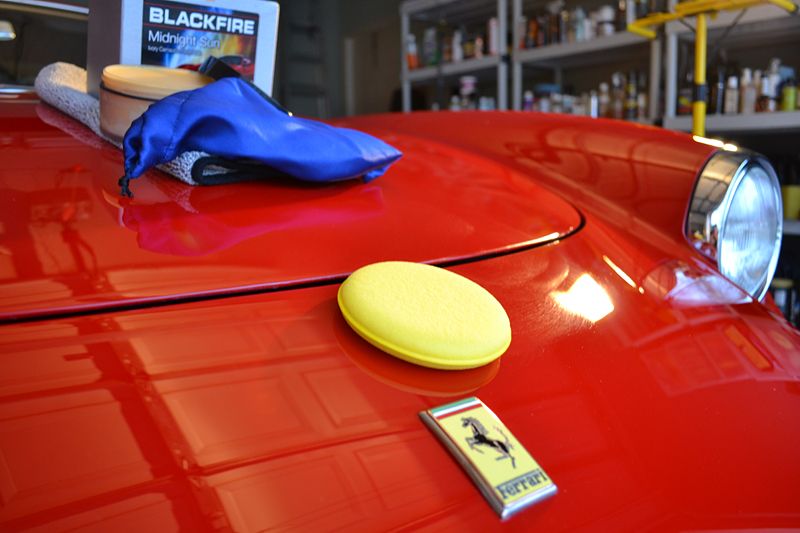
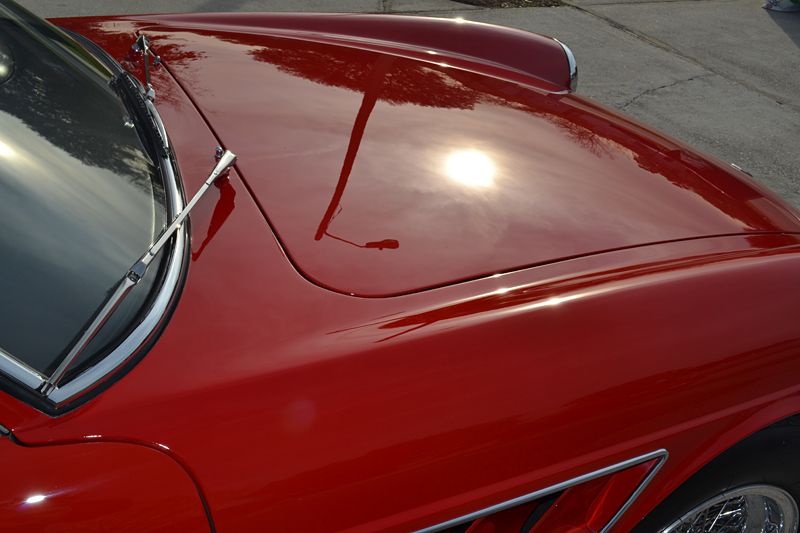
This one was rough, which is the main reason I agreed to work on it. When delivered to my house it was covered in a thick film of dust that covered the paint and hid the numerous paint defects from view.

1.jpg


2.jpg


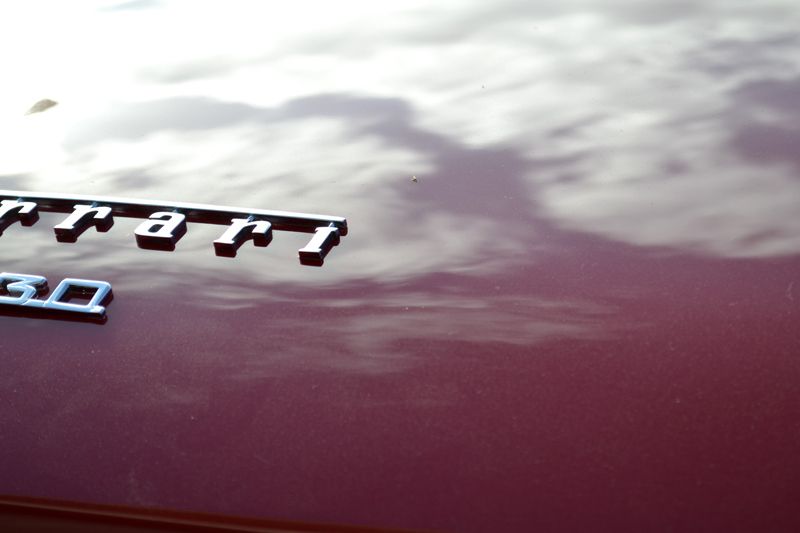
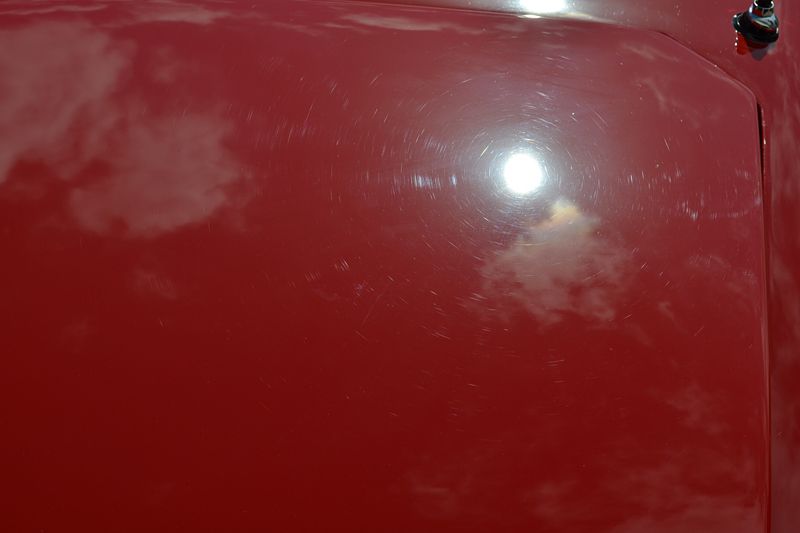
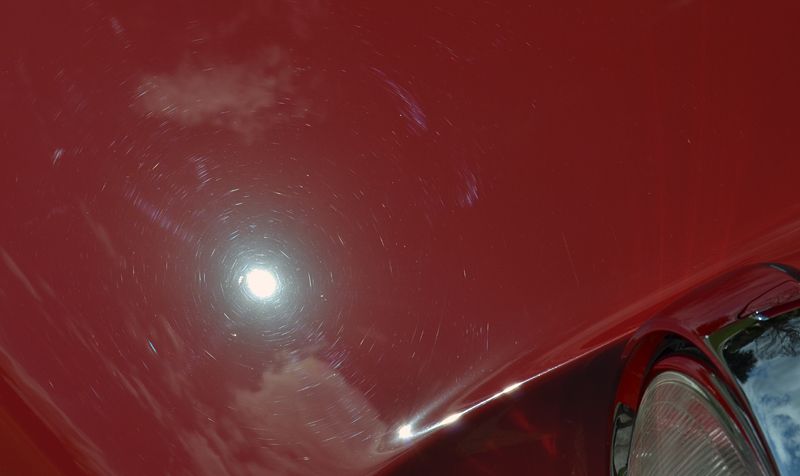
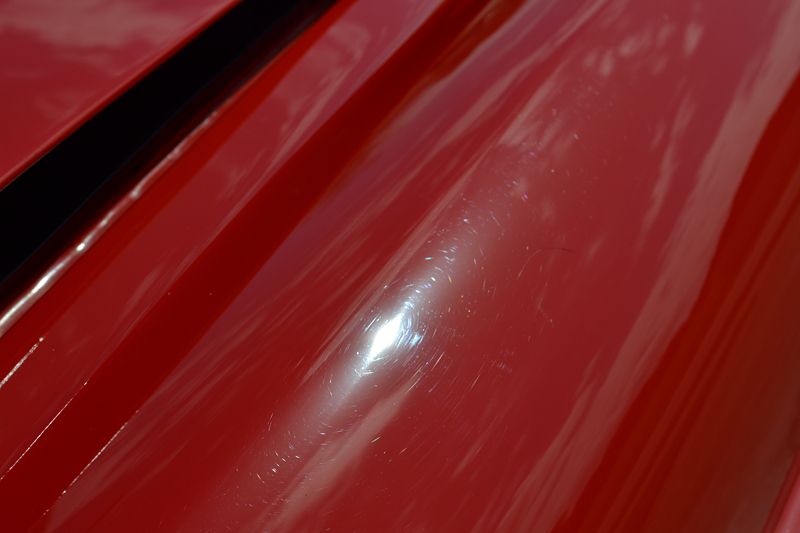
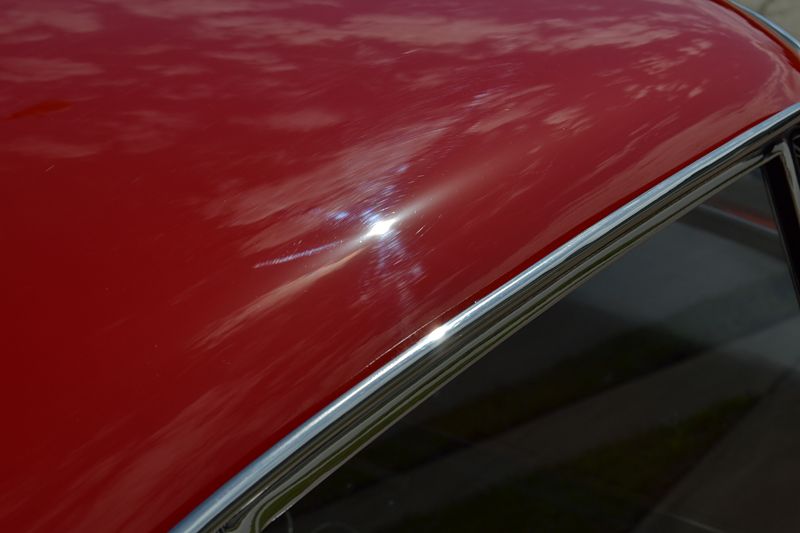
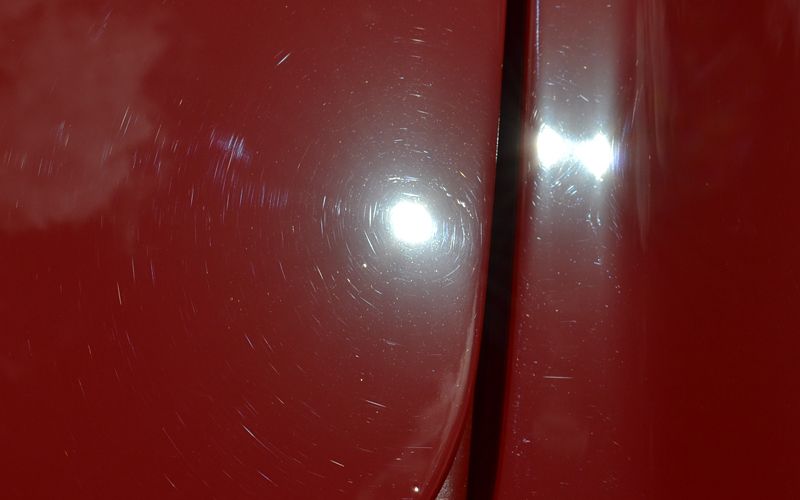
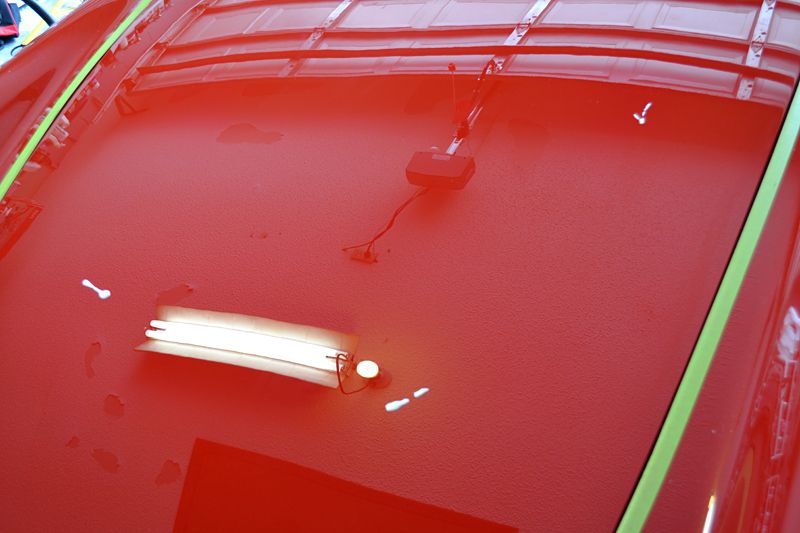
The reflections in the paint appeared cloudy and lifeless. While some swirl marks were visible, even under the blanket of dirt and grime, there had to be a bigger issue.

3.jpg


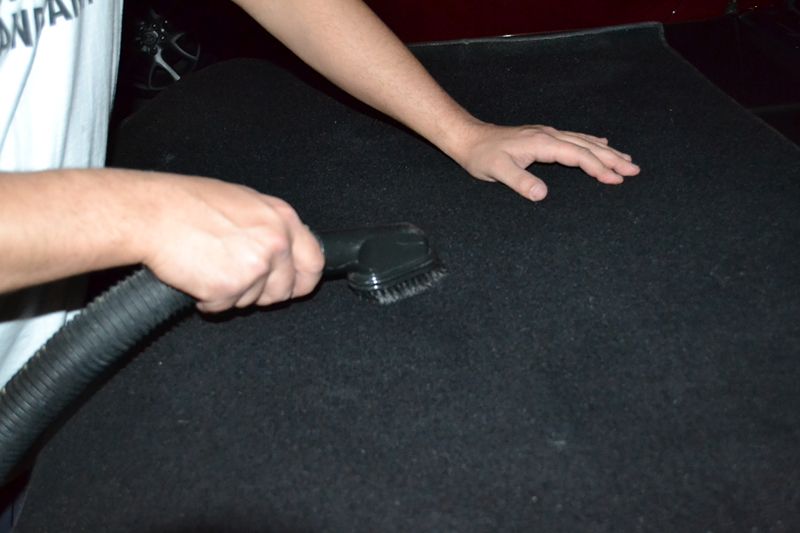
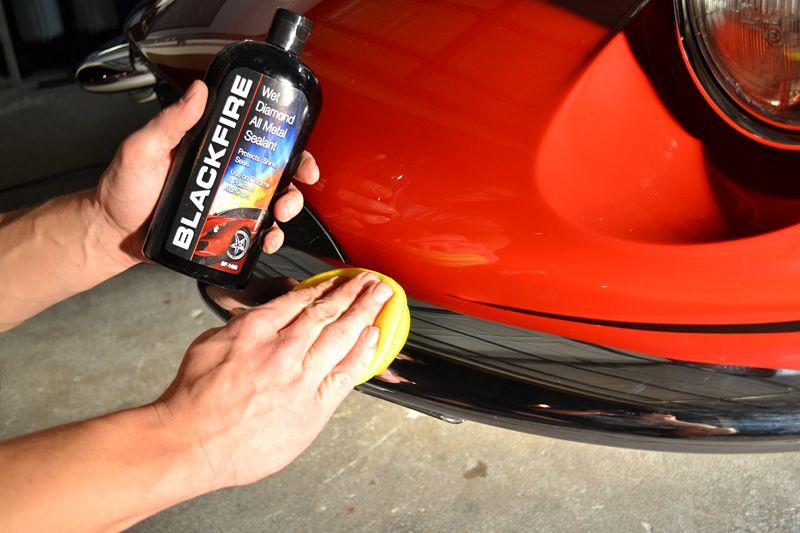
As with all details I like to start with the wheels and tires before washing and decontaminating the rest of the exterior. I gathered my supplies, which included BLACKFIRE Wet Diamond Shampoo, a 5 gallon BLACKFIRE wash bucket, a Daytona Speed Master Brush, a Montana Boar's Hair Wheel Brush, and Tuff Shine's Tire Cleaner & brush.

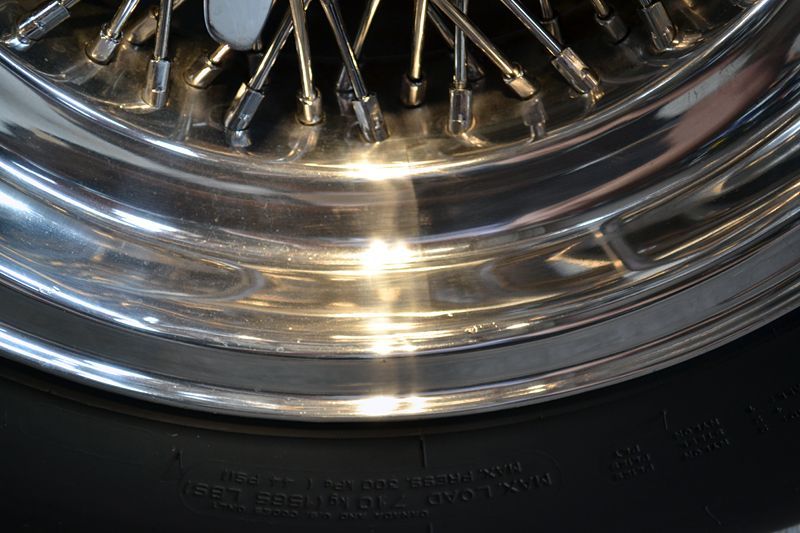
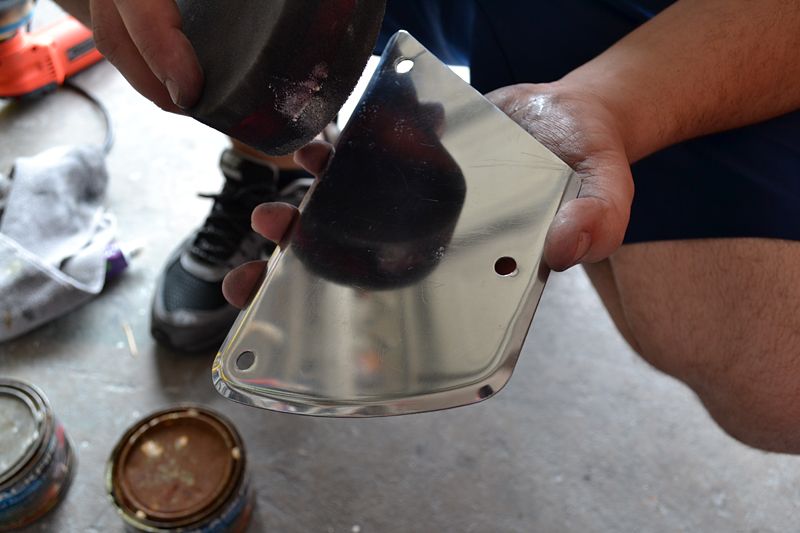
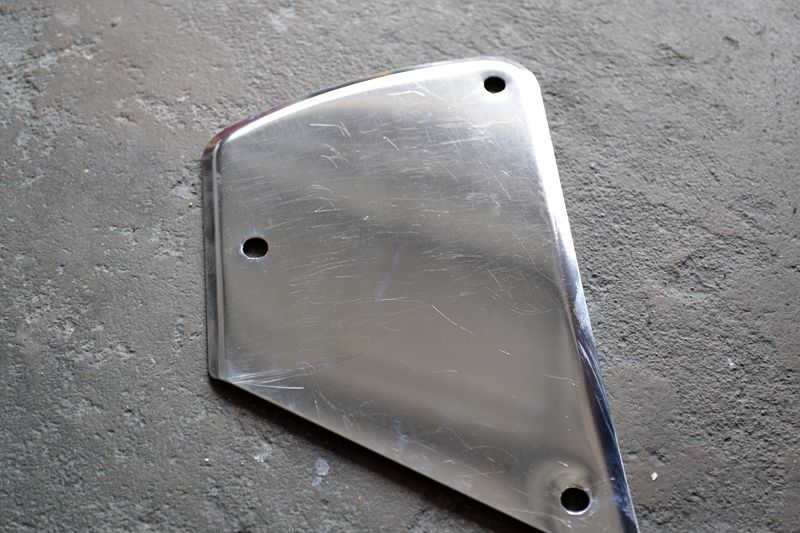
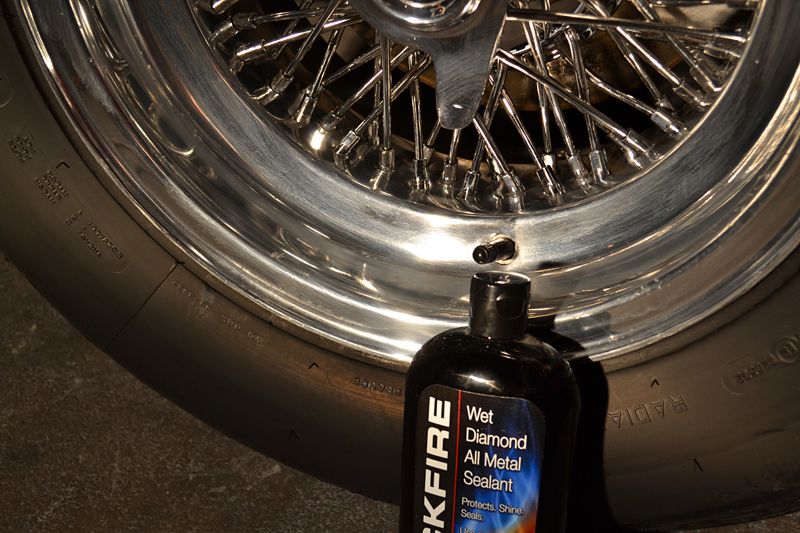
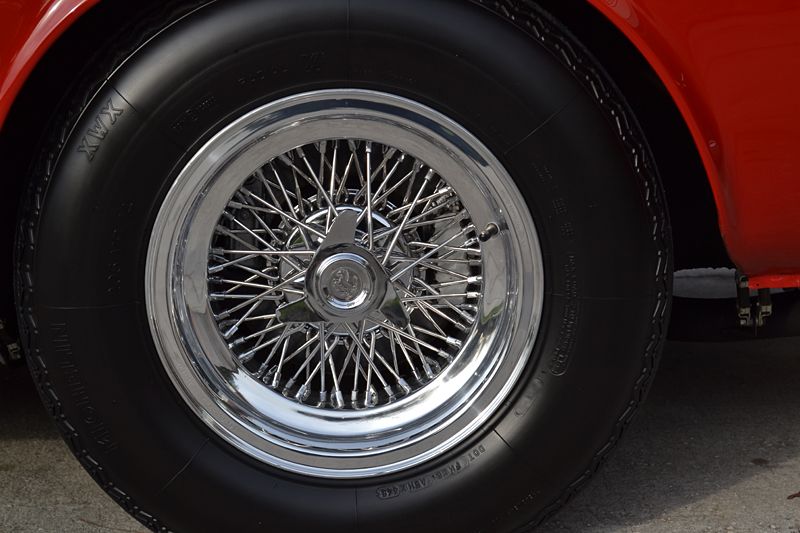
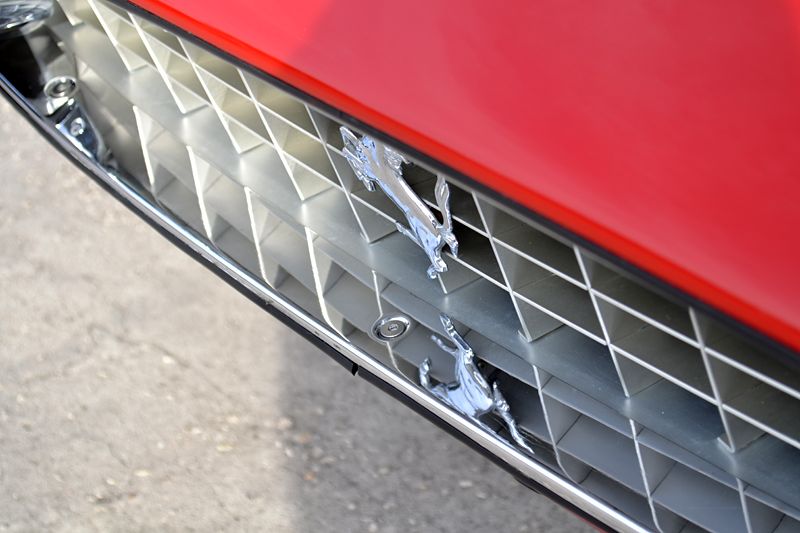
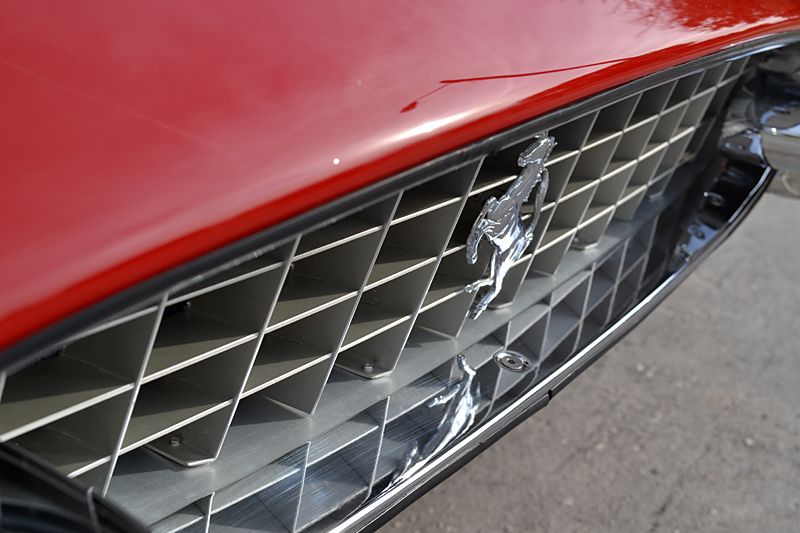
The tires had a thick coating of shiny tire dressing, while the Borrani Spoke Wheels looked dull and lifeless. I immediately called my friend and sometimes detail partner Jerry in to help. Cleaning the wheels is challenging enough. Polishing them is a headache which is why I choose to use Wolfgang Wheel Cleaner. It's powerful cleaning ability helps when working intricate designs. However, it is safe for all wheel finishes and the last thing I wanted was to stain or cloud these hard-to-polish pieces.

5.jpg


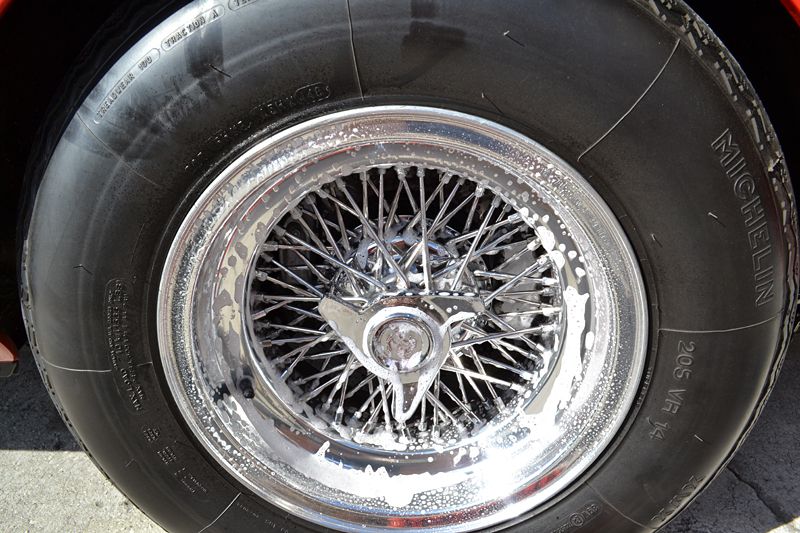
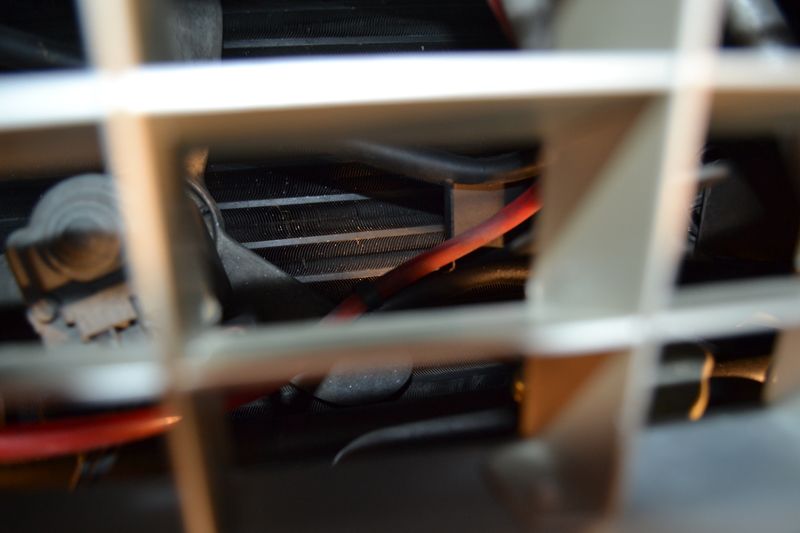
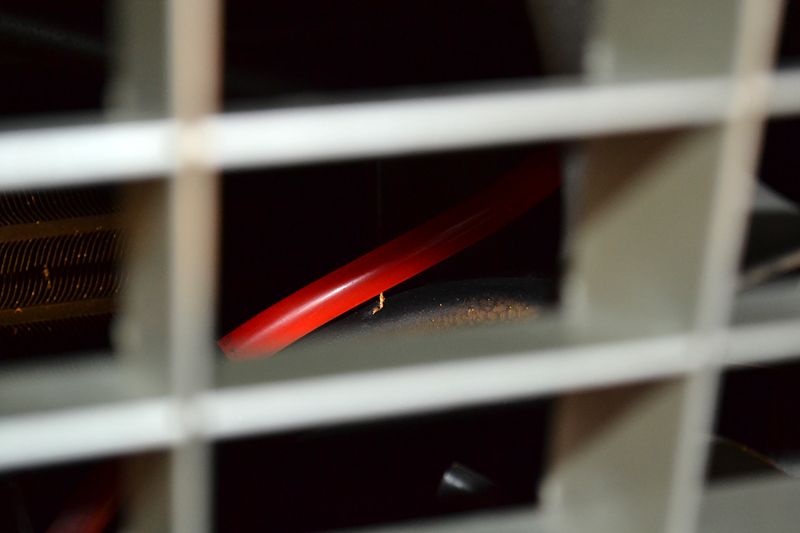
Woflgang attacks break dust and turns the iron content purple. Here you can see it working.

6.jpg


7.jpg


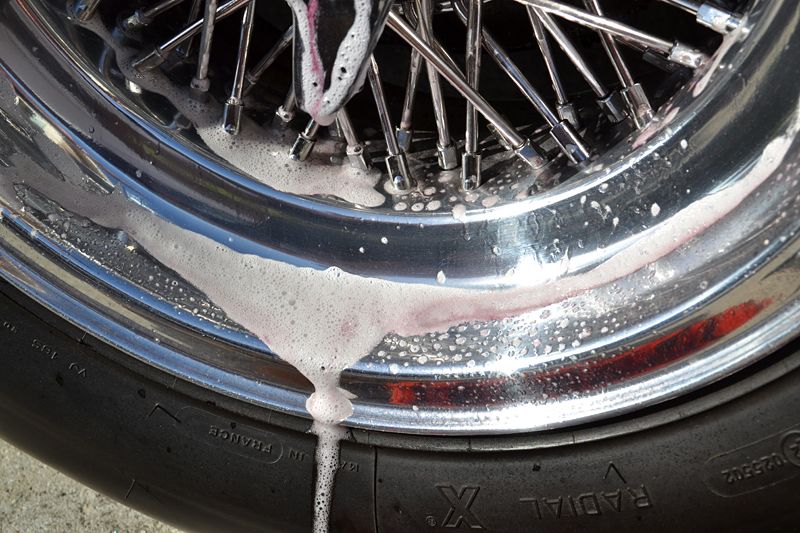
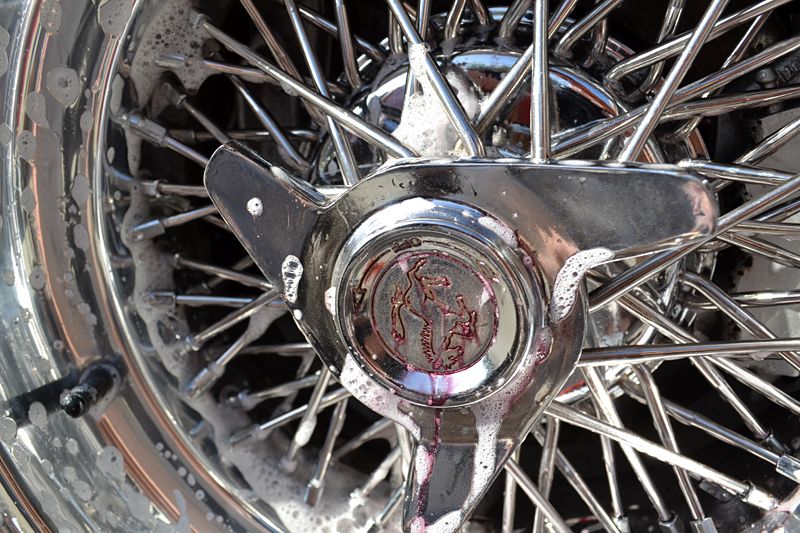
A One Inch Round Detail Brush is perfect for agiating the tight areas between the spokes. Many say classic Borrani wheels are works of art (and I agree), but they are also extremely time consuming to clean and even more tedious to polish. Wolfgang Tire & Wheel Cleaner did an excellent job of removing any brake dust without dulling the delicate aluminum finish.

8.jpg


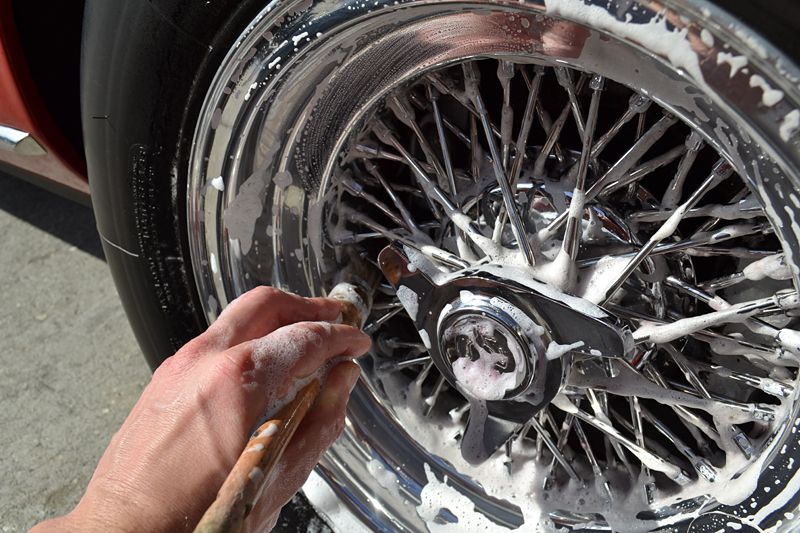
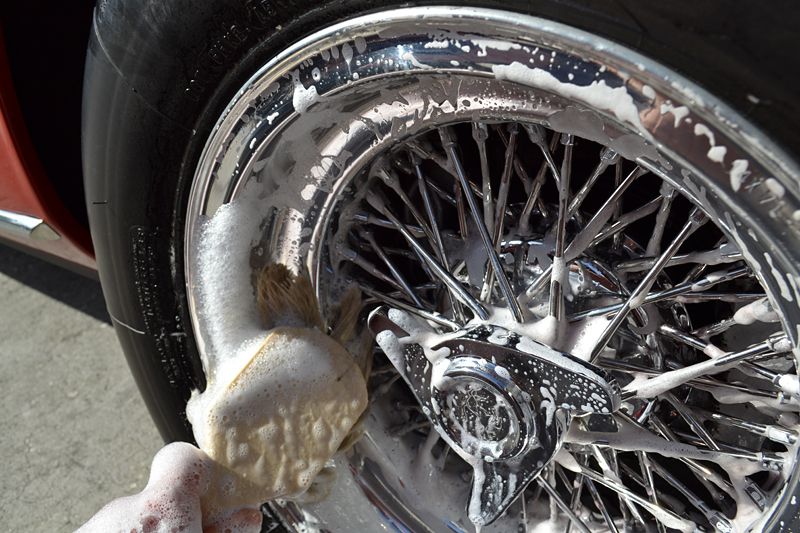
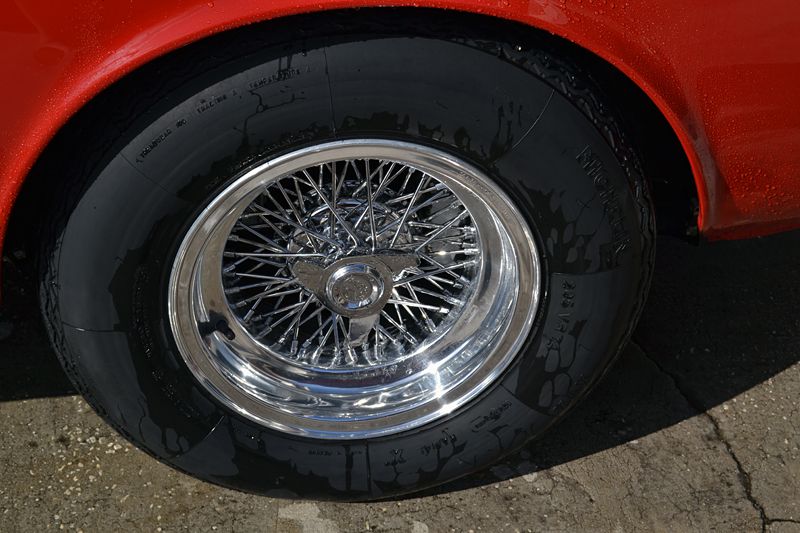
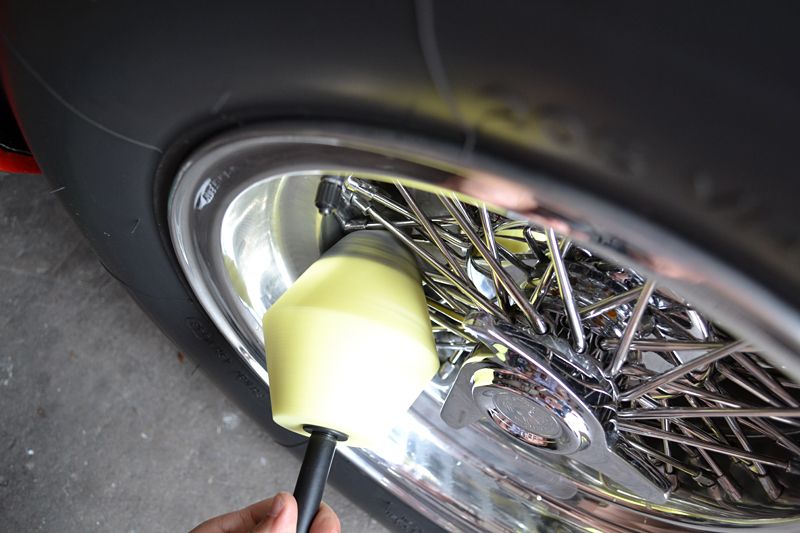
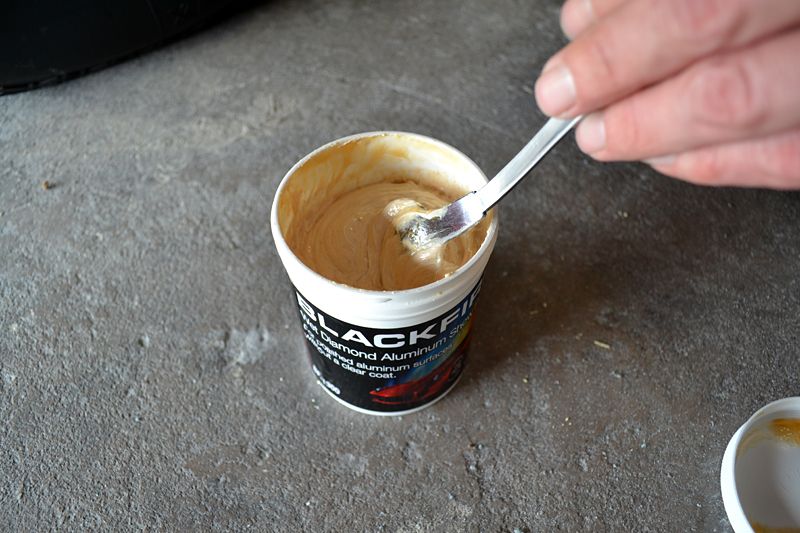
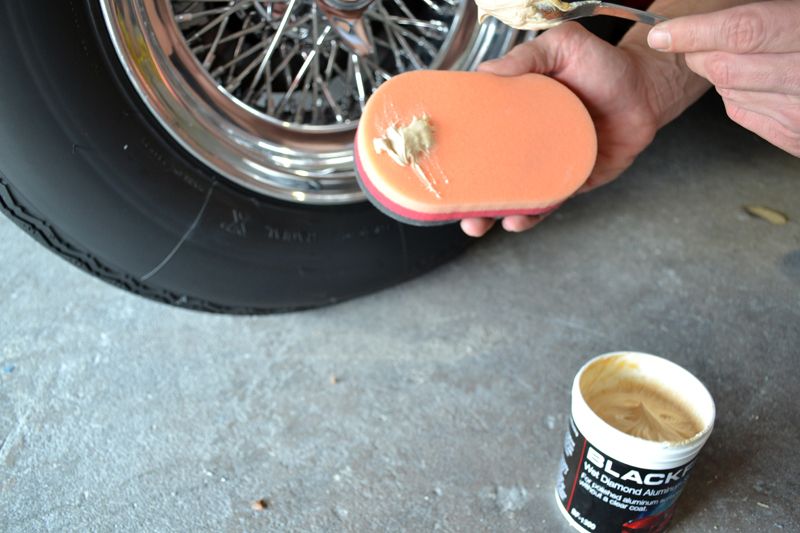
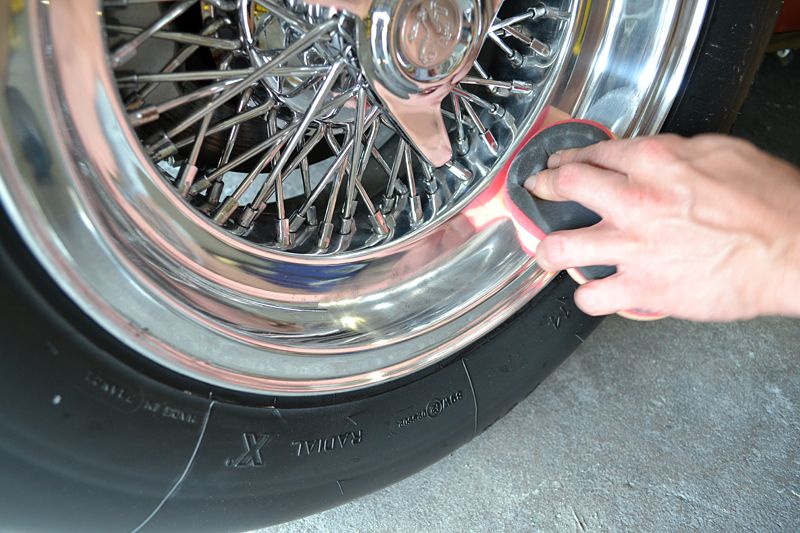
Finally the ultra-soft bristles of the Montana Boar's Hair Wheel Brush (combined with the cleaning power of BLACKFIRE Wet Diamond Conditioning Shampoo) lightly cleaned any stubborn residues without scratching.

The reason for choosing BLACKFIRE Wet Diamond Conditioning Shampoo was simple. It features the same high-quality "Wet Diamond" polymers as other BLACKFIRE products. These polymers attach to the surface and help sheet water away. This is critical in preventing water spots, which can quickly stain aluminum, while working on the other wheels. Always work forward.

9.jpg


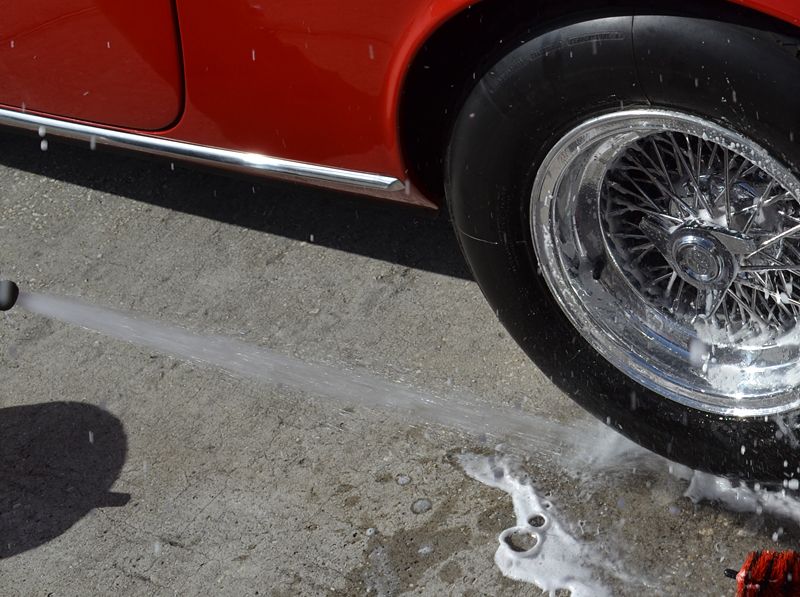
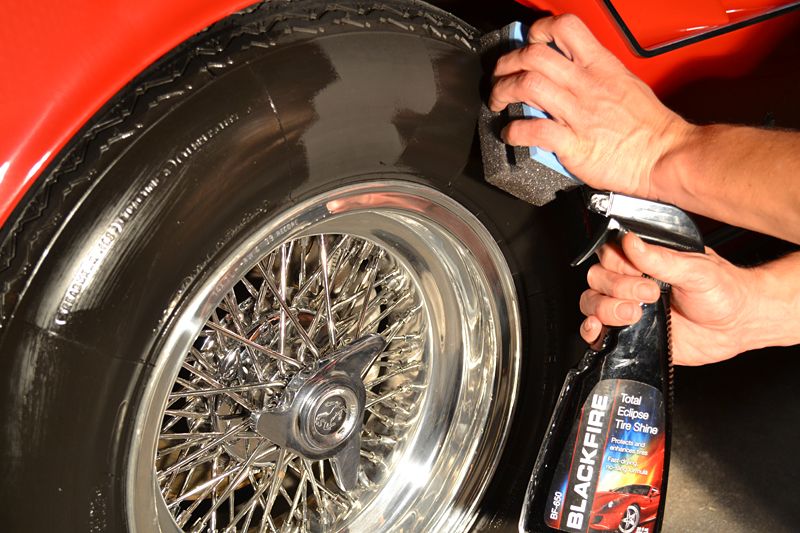
Each wheel was cleaned on at a time. After rinsing the soap off of the wheel I used Tuff Shine Tire Cleaner to attack the baked on silicone-based tire dressing that coated the rubber.

10.jpg


Tuff Shine Tire Cleaner is one of the best dedicated rubber cleaners I have ever used. It made quick work of the stained silicone dressing.

11.jpg


The stiff-bristled Tuf Shine Tire Brush showed the ravages of water against the build up of tire goo & grime.

12.jpg


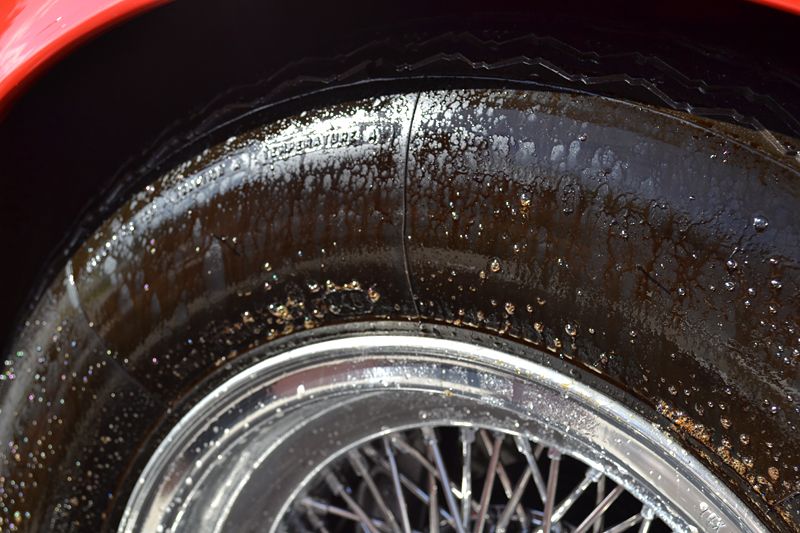
Rinsing away the goop reveled perfectly clean, natural-looking black rubber.

13.jpg


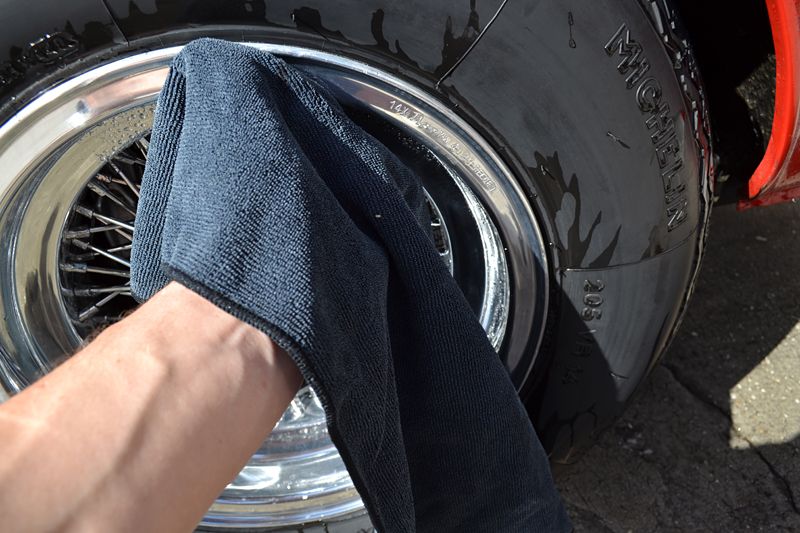
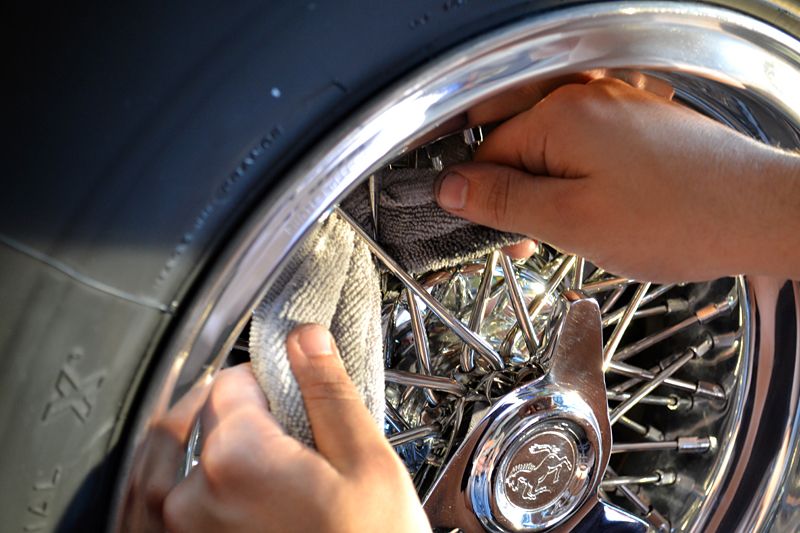
After washing all of the tires and wheels, an All-Purpose & Wheel Microfiber Towel was used to wipe away any lingering water droplets before they could stain the delicate Borrani finish.

14.jpg


Washing classic cars can be a bit of a juxtaposition. On one hand, you have to clean the car, either as the first step in a detailing process or to maintain the shine you created. However, on the other hand, you want to avoid soaking the car with water as much as possible. Classic cars tend to hold water. This quickly can causes frame or body rust.

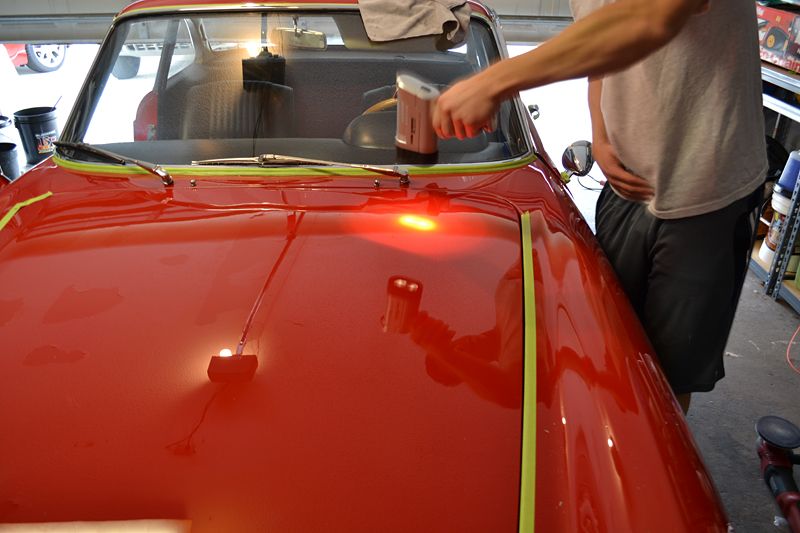
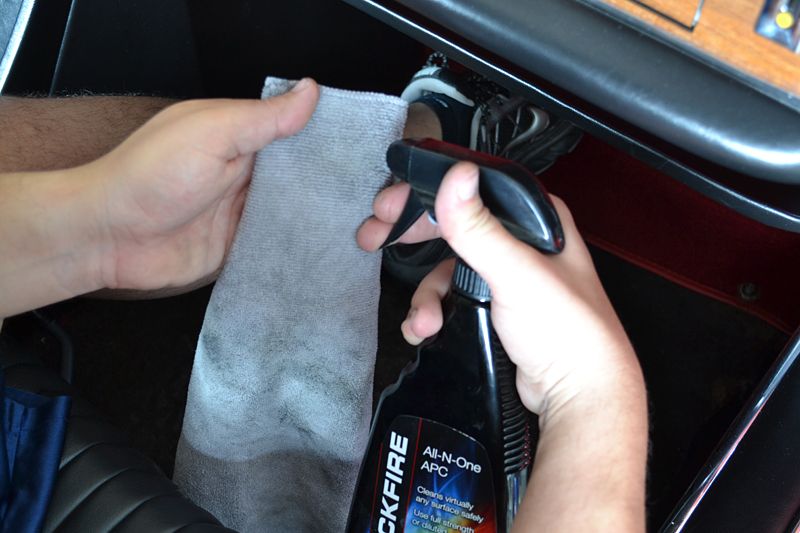
Enter rinseless washing. BLACKFIRE Wet Diamond Rinseless Wash encapsulates dirt and grime with "Wet Diamond" polymers to form a protective shield that allows for safe cleaning -without the use of excess water.

15.jpg


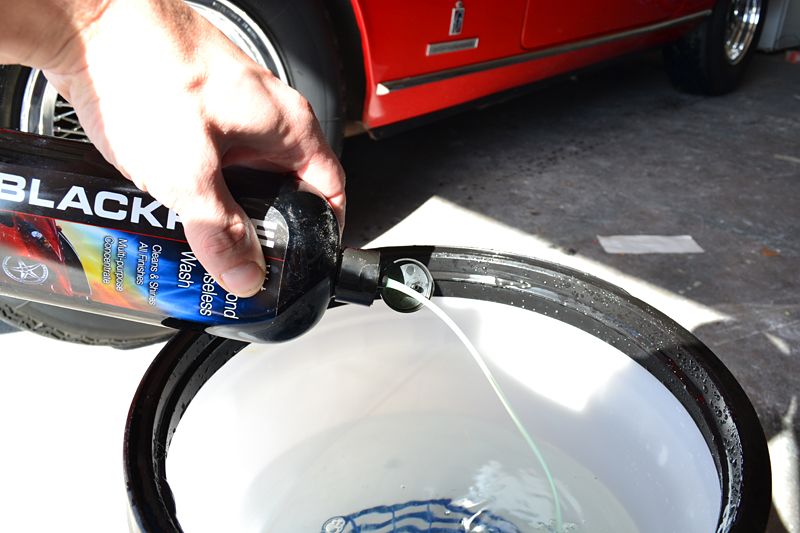
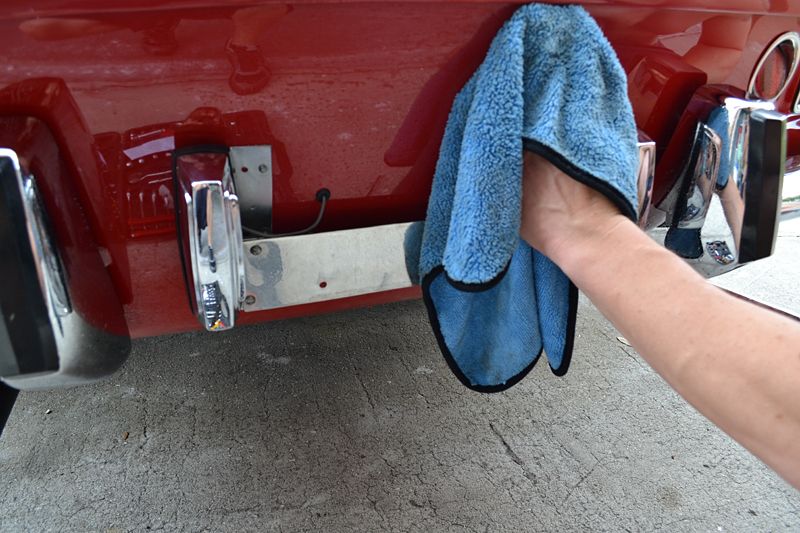
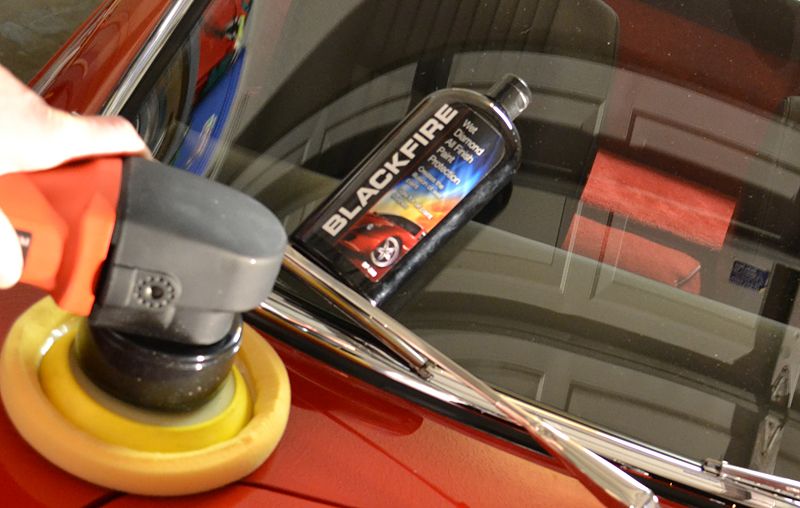
The process is simple. Wipe an ample amount of BLACKFIRE Wet Diamond Rinseless Wash solution over the panel with a soft microfiber (In this case I used a Miracle Towel) then dry that section with a soft microfiber waffle weave towel, such as a Guzzler.

1wash.jpg


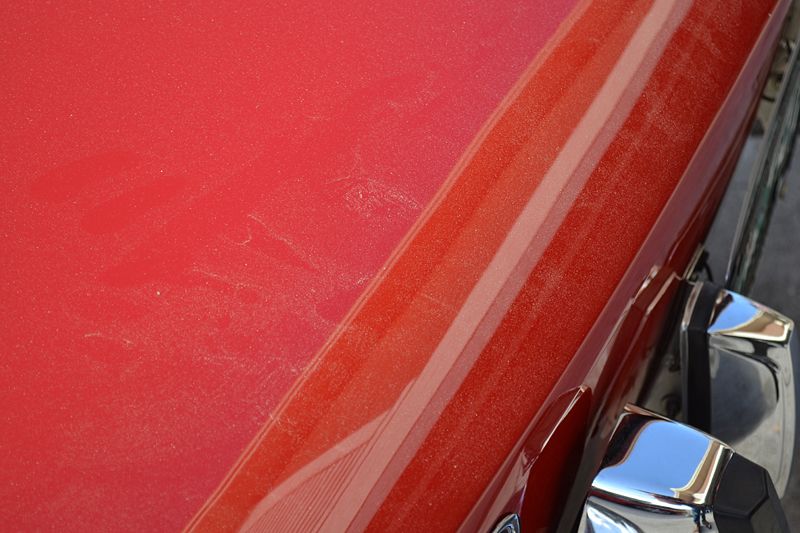
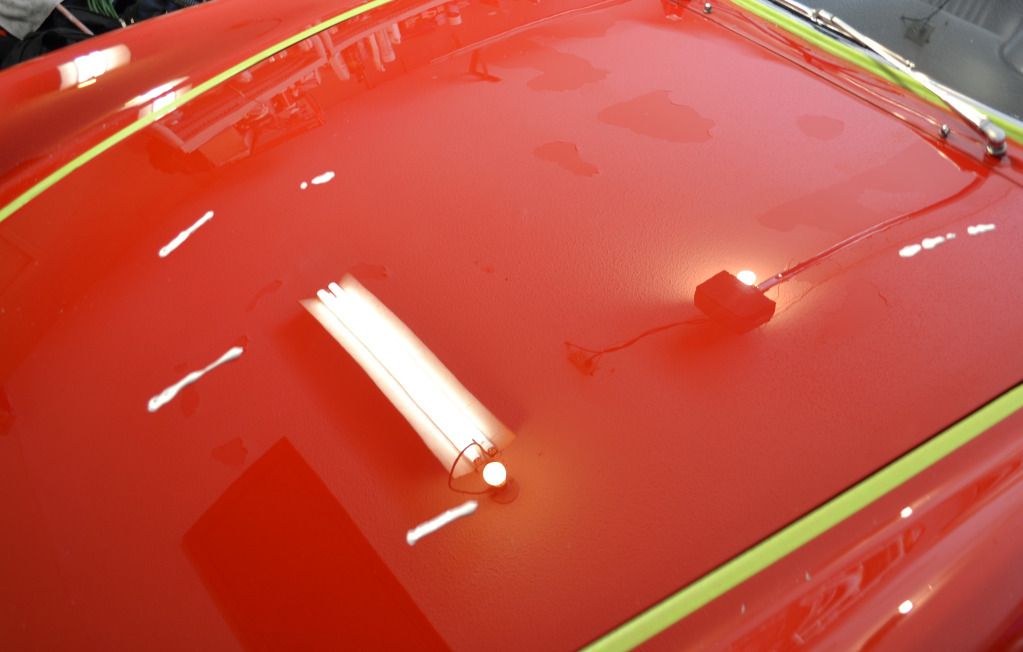
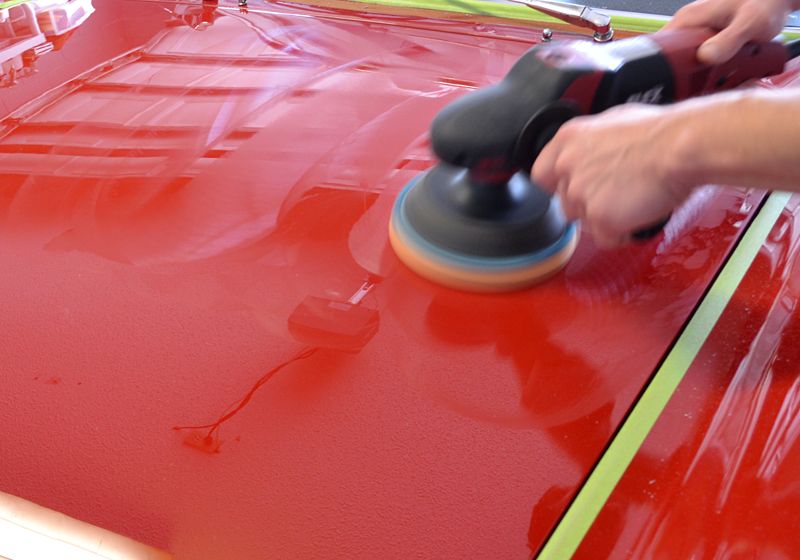
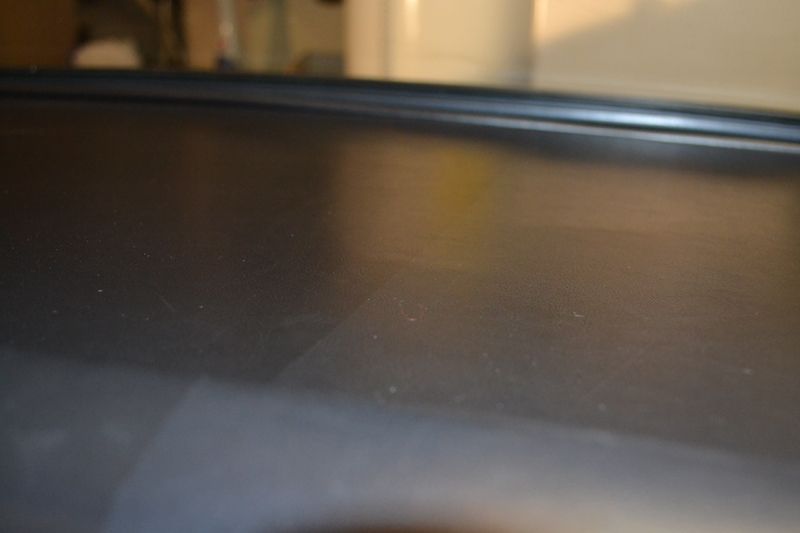
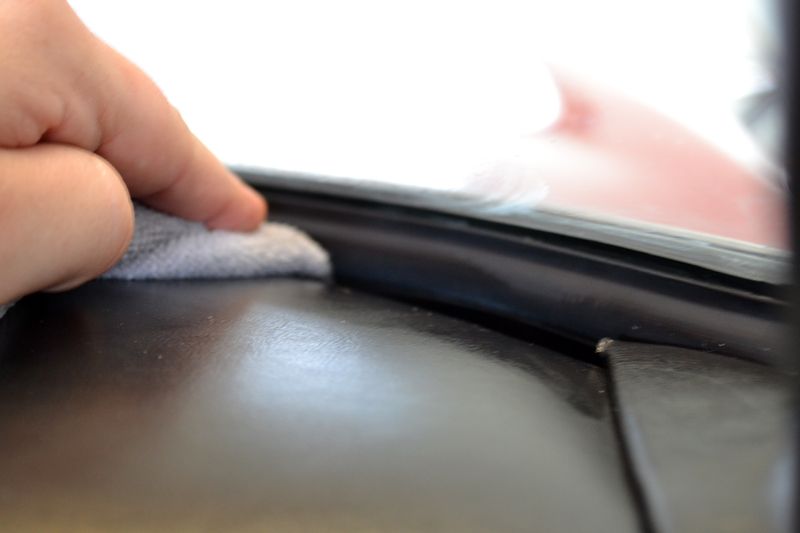
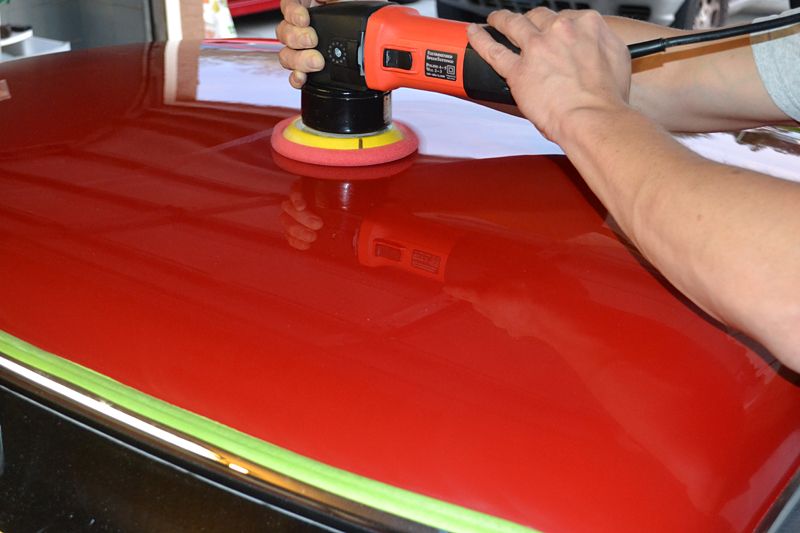
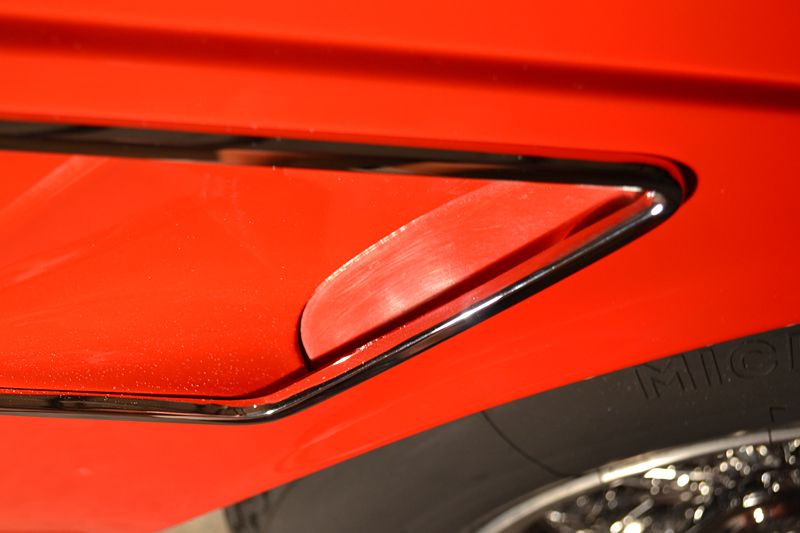
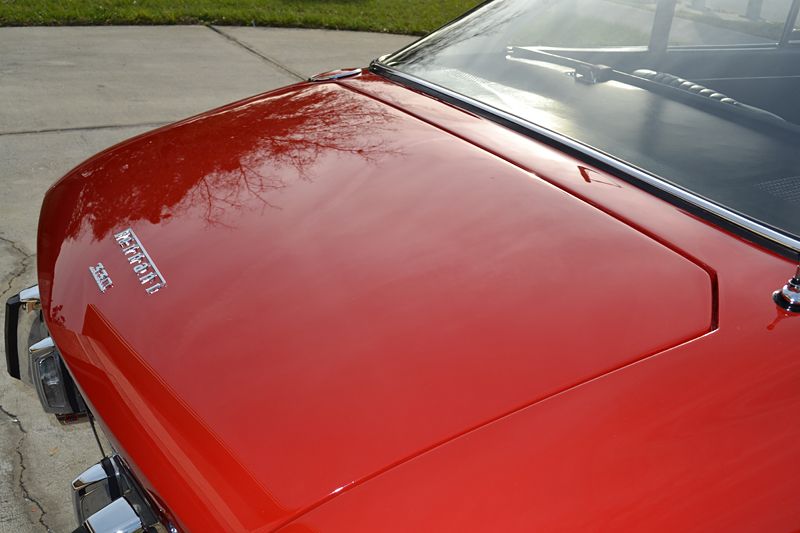
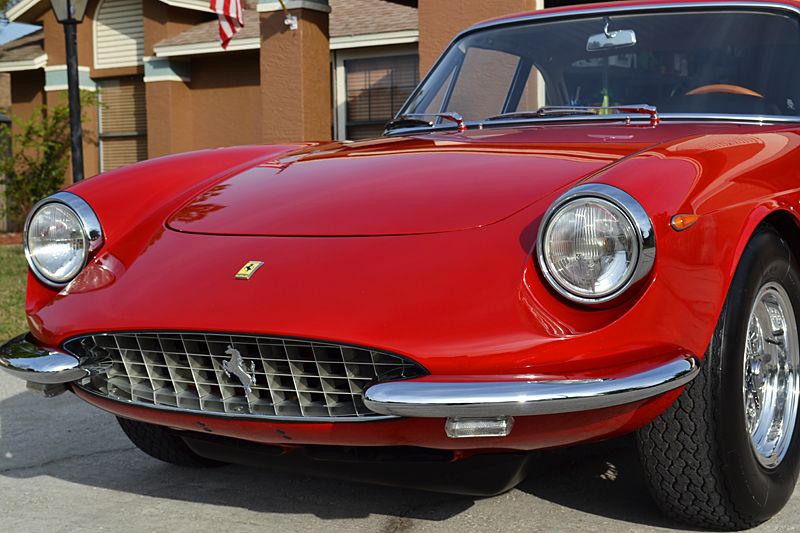
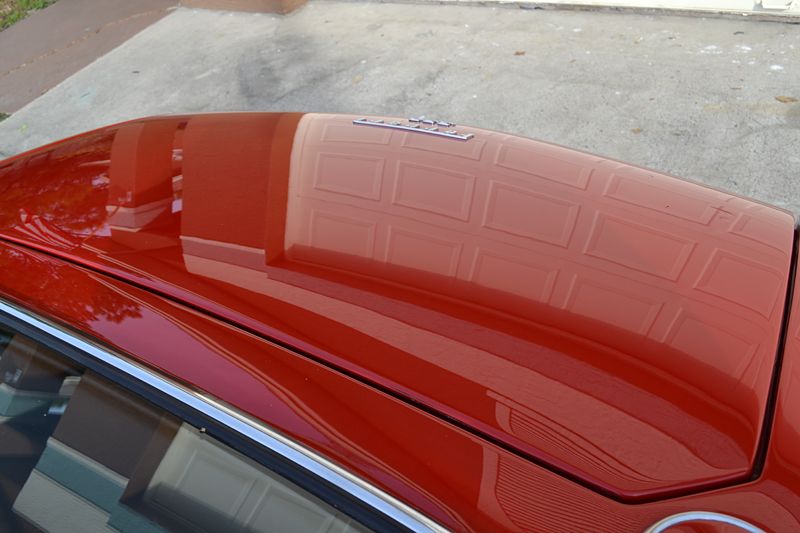
With the paint and exterior free of grime it is time to inspect the finish. Clean paint should feel smooth. The paint on this Ferrari 330 GTC felt rough to the touch, indicating that it was covered in overspray and/or contamination.

16.jpg


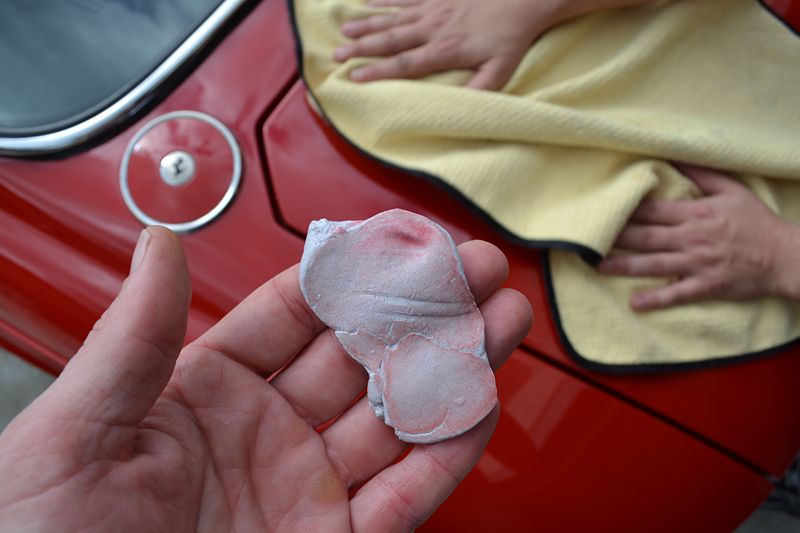
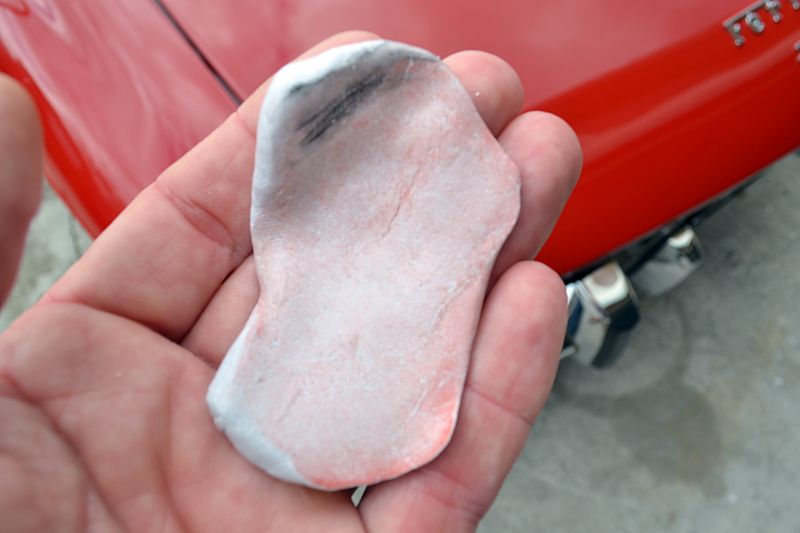
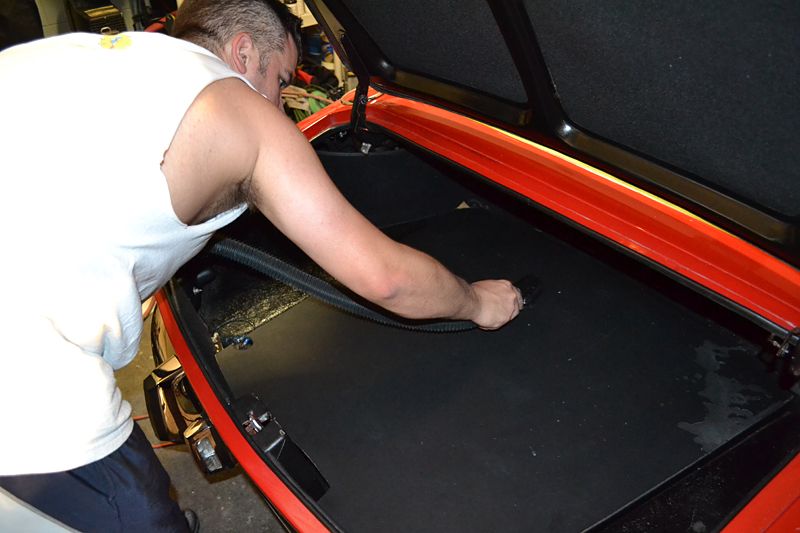
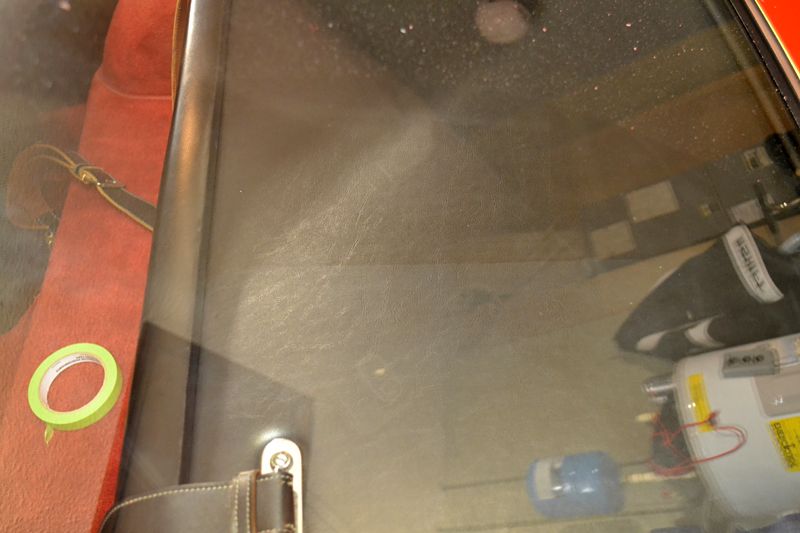
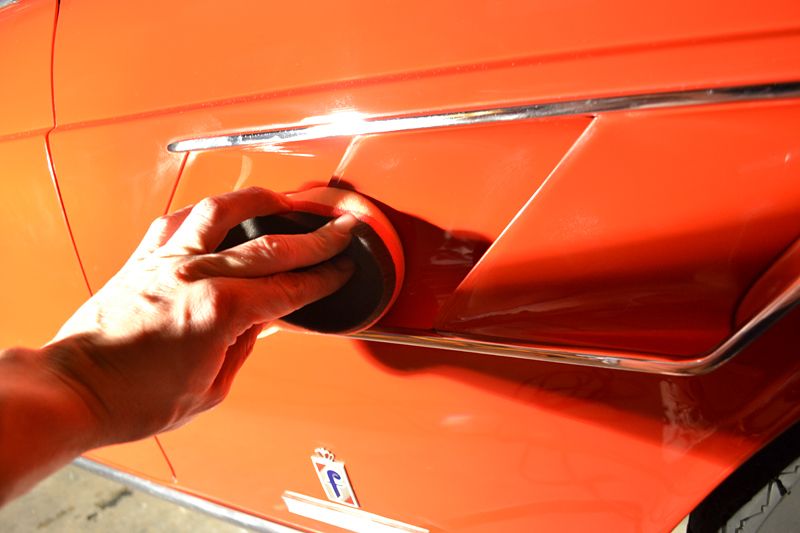
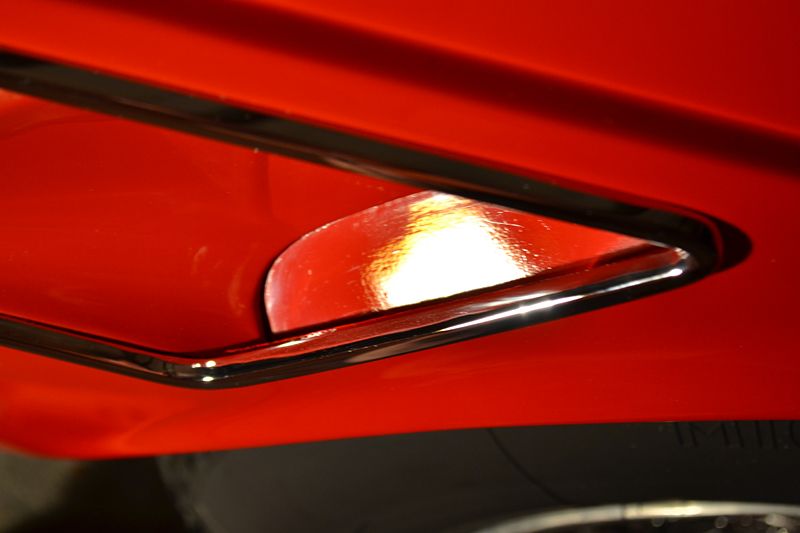
The rough feeling on the paint quickly revealed itself to be red overspray. The BLACKFIRE Poly Clay II detailing clay bar restored a smooth finish quickly.

17.jpg


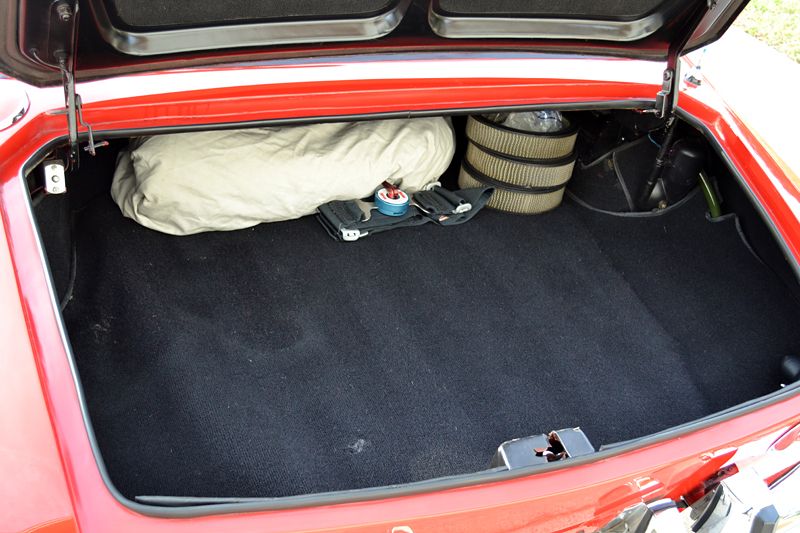
After 1/4 of the trunk.

18.jpg


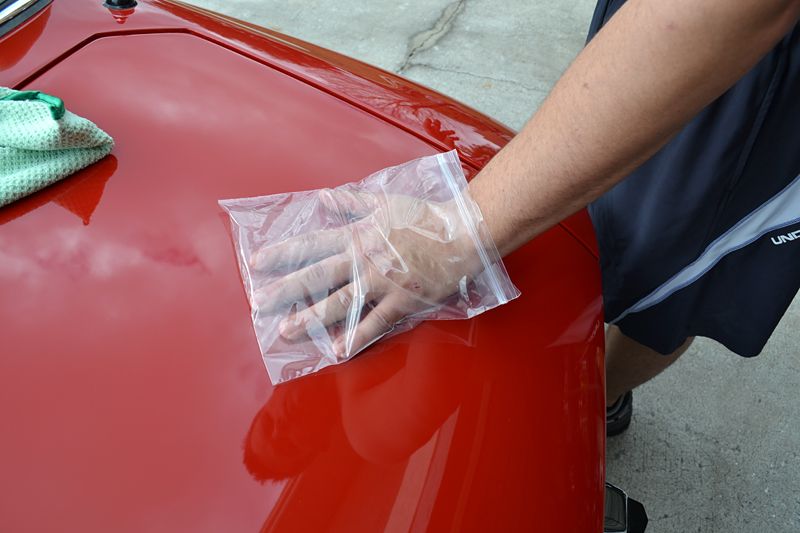
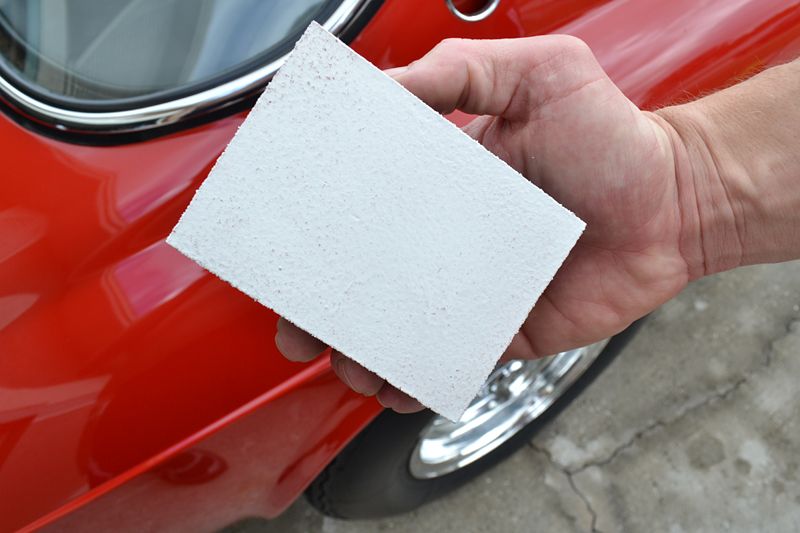
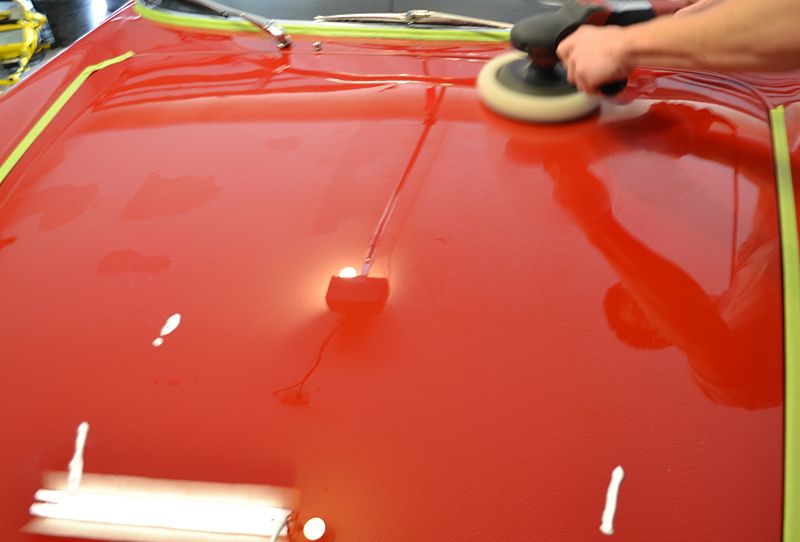
This was also a great time to try the Optimum Opti-Eraser which is a clay bar subsitute. It worked well at cleaning without marring the finish. I ended up using the Opti-Eraser while Jerry worked the rest of the car with the BLACKFIRE Poly Clay II.

20.jpg


19.jpg


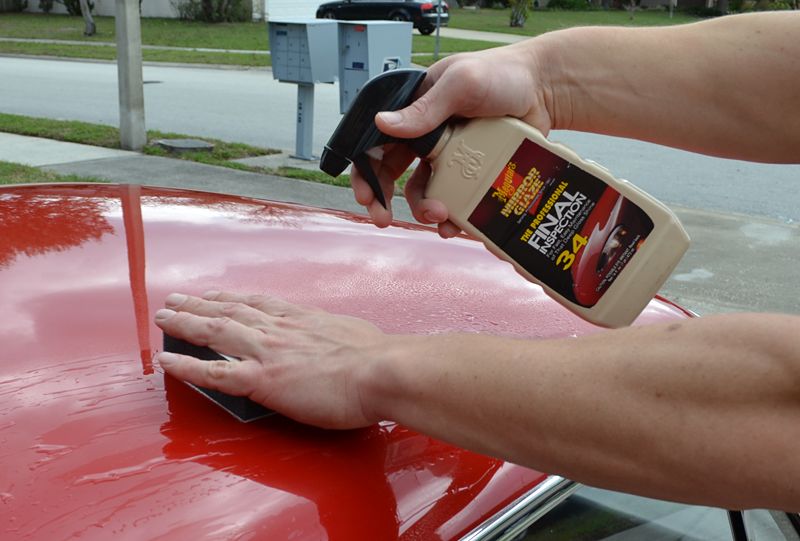
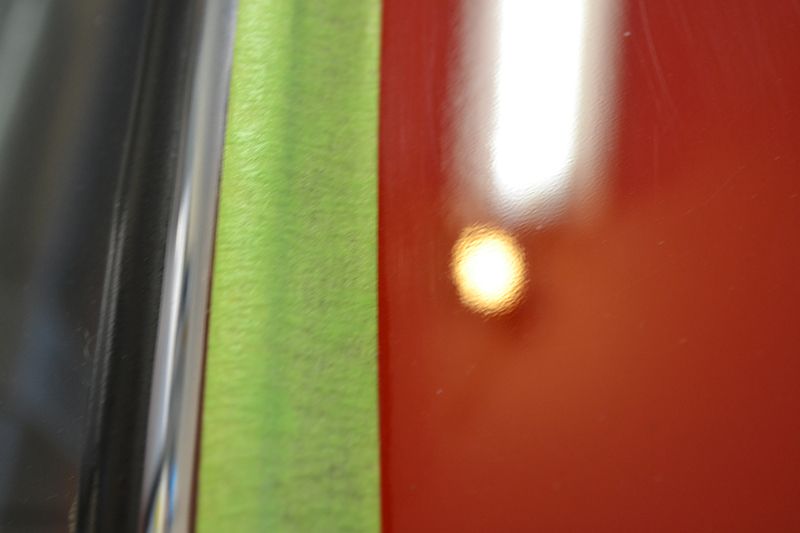
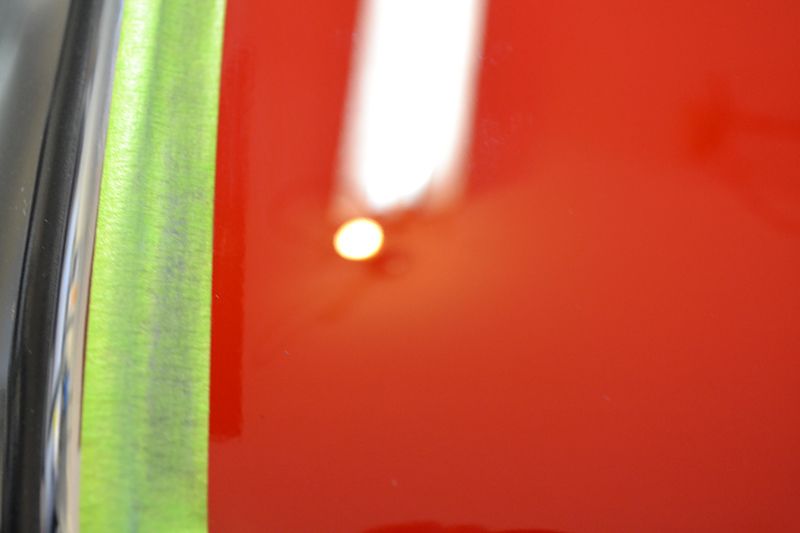
After each square inch of the exterior was clean, smooth, and free of contamination all of the paint was carefully wiped down using Menzenra Top Inspection. The blend of alcohol and detergents will effortlessly remove any residues and reveal the true finish of the paint. In this case, it revealed that the Ferrari was going to need a lot of wok and really push Jerry and I to get it done.

21.jpg


25.jpg


24.jpg


22.jpg


23.jpg


21.jpg
 
The paint on the Ferrari was scared by scratches of all depths, from minor swirl marks to deeper random-isolated deeper scratches (known as RIDS). While paint defects such as scratches will quickly rob paint of its ability to shine, this was not the biggest problem for this Ferrari's paint. The 330 GTC suffered from a paint texture condition known as paint shrinkage.

Paint shrinkage is a paint defect in which excessive surface texture dramatically reduces the shine and blurs the reflections, similar to orange peel. Orange peel is a heavy texture that is noticeable right after the paint has been applied to the car, or shortly after. Paint shrinkage occurs after the paint has been sprayed or cured. It usually resembles a fine, almost leather grain like appearance. It is caused as the remaining chemicals and solvents in the any of the paint systems (primer/base coat/clear coat) escape, reducing the volume of the paint and causing it to wrinkle slightly.

The blurred reflections, lack of clarity, and reduced gloss created by paint shrinkage...

36.jpg


In order to protect this old prancing horse from the dangers of machine polishing, 3M Premium Automotive Masking Tape -03431 was used to mask any areas where polish could damage the soft rubber seals and moldings. Always take your time taping -I find it easier to hold the tape at a distance and use my other hand to precisely press it down- in order to mask the material without overlapping too much onto the paint.

27.jpg


28.jpg


31.jpg


30.jpg


29.jpg


With the body of the Ferrari ready for major paint correction, Jerry turned his attention to the Borrani aluminum spoke wheels. These wheels, a classic by any standard, are also the definition of intricate. Even with the latest tools and polishing cones, polishing a set of Borrani's is an all day affair. Ideally we would have removed each wheel but time (it was noon on Saturday and the car was shipping on Tuesday) eliminating that option.

Jerry started polishing the wheels with a Wolfgang German Polish N' Wax Applicator and FLITZ Metal Polish by hand. This quickly increased the shine on the easy-to-reach areas.

32.jpg


In order to speed up to the process of polishing between the Borrani's spokes and the crevices Jerry used the Meguiar's Brilliant Solutions Wheel Polishing Kit. This kit comes with a special Meguiar's DynaCone Foam Polishing Tool and 4 oz. bottles of their All Metal Wheel Polish and DynaCone Cleaning Solution.

33.jpg


When attached to a standard power drill, the Meguiar's Brilliant Solutions Wheel Polishing Kit gives you access to all of the areas of the wheel.

34.jpg


Even with time-saving attritubes affored by using the Meguiar's system, the Boranni wheels still took the better part of 90 minutes each. Areas had around the spokes hand to be carefully hand polished, using a microfiber towel and a sawing motion.

35.jpg


After machine polishing the wheels, the aluminum had a much brighter luster. Jerry's hard work paid off. For the best possible finish we planned on hand polishing each wheel with the amazingly fine BLACKFIRE Wet Diamond Aluminum Show Polish. This would wait until the end of the detail. 6 hours after staring the wheel polishing project, Jerry was ready to clean the DynaCone Foam Polishing Tool.

Meguiar's includes a DynaCone solution. Fill up a small bucket with hot water and pour the solution on the cone.

37.jpg


38.jpg


Next, massage the solution into the foam cone. Place the cone into the warm (to hot) water and let soak for 15 minutes.

39.jpg


Finally, remove the cone from the water and wring out any residual solution. The result was an almost perfectly clean pad, ready to attack the next set of Boranni wheels we encounter.

39andhalf.jpg


Paint Correction

While Jerry worked on the wheels, and would later work on other detailed areas such as the interior, engine, trunk, wheel arches and more, I was tasked with the job of eliciting the highest gloss possible from the Ferrari's paint.

The Ferrari had two major paint problems that had to be removed in order to give this car a stunning shine that would WOW judges among a sea of other red Ferraris:

  • surface scratches
  • paint shrinkage texture

The previous problem of overspray was cleaned with detailing clay. In the recent past, the only way to remove paint shrinkage (and other texture) from cured paint was to wet sand the paint with various grades of paper, then use a 2 to 4 step polishing process to remove all of the sanding marks and restore a flawless shine.

While this time-honored process still works well, it is very time consuming to complete. Given the time crunch we had to deal with I turned to one of the newer products to hit the US market: CarPro's Orange Peel Removal Pads. Using materials such as velvet and denim, CarPro Orange Peel Removal Pads allow you to level paint texture while polishing the paint.

The benefit of the CarPro Orange Peel Removal Pads is they allow you to level orange peel while polishing away paint defects! These are seriously paint correction tools and should not be used if you do not have a lot of experience with a rotary polisher or a lot experience wet sanding paint.

Below is a general out line of the paint correction process which started at 12PM on day one, ending at 2AM, then continued from 9AM day two and finally ended at 7PM.


First the paint was leveled using a either a CarPro Denim Orange Peel Removal Pad or a CarPro Velvet Orange Peel Removal Pad. This was done using a low-profile Lake Country Flexible Rotary Backing Plate (for maximum leveling) on a FLEX PE14-2-150 Rotary Polisher. The polish of choice was Menzerna's excellent FG400 Fast Gloss Compound.

43.jpg


Next, the surface texture of the paint was inspected. A little bit of Menzerna FG400 was placed over any sections that still had lingering texture. These areas were then re-polished using the above technique until their texture was reduced and the paint was uniform across the panel.

45.jpg


The paint was then inspected using a Swirl Finder Light for any lingering deeper scratches.

Note: The CarPro Orange Peel Removal Pads will remove paint defects such as scratches. However, paint scratches flow with the texture of the paint, which protects the sections of the scratch in the valley of the orange peel from being effectively eliminated. Also some scratches are simply too deep to remove, requiring a different technique to round the edges, rendering them nearly invisible.

46.jpg


Any lingering deeper scratches were marked with small lines of Menzerna FG400.

47.jpg


A Lake Country 4-ply Twisted Wool Pad was used at low speed (with firm pressure) to remove or round away any remaining scratches. This was repeated until all defects were removed, on every square inch of the Ferrari. A DeFelkso PosiTest DFT Electronic Paint Thickness Gauge was used to measure paint removal readings (not pictured).

48.jpg


To remove any residue marring created by either the CarPro Orange Peel Removal Pads or the Lake Country Twisted Wool Pad, I elected to go with Menzerna's SI1500 "Super Intensive Polish" and a Lake Country Hi-Gloss Orange Pad. I also switched to a flexible Meguiar's W66 Soft Buff backing plate for maximum conformability.

SI1500 was worked into the surface with medium pressure and 1500 RPMs until it began to clear up. The pad was then blown clean with compressed air, and pressure and speed were decreased. By extending the polishing session and cleaning the pad, I was able to utilize Menzerna's class leading abrasive technology to deliver surface free of any haze, holograms, or visible paint defects.

49.jpg


Final polishing would be carried out with a dual-action random orbital polish and Menzerna SF4500 later on in the detail, once the car had been cleaned of all polishing dust and and other detailing tasks were completed.
 
Before and After Results -Paint Correction

The beauty of a write up such as this is that you can compress 24-26 hours of paint correction in a few pictures.

Starting with the shrinkage reduction, here is a video I made and uploaded to YouTube....

[ame=http://www.youtube.com/watch?v=SdiskRdogWU]Ferrari 330 GTC Paint Texture Reduction -CarPro Demin & Velvet Orange Peel Removal Pads - YouTube[/ame]


This picture was taken along the edge of the roof line. It clearly shows the the paint shrinkage texture.

51.jpg


After leveling with 2 passes of CarPro's Velvet Orange Peel Removal Pad, FLEX PE14 Rotary Polisher, Menzerna FG400, and a Lake Country Flexible Rotary Backing Plate...

52.jpg


While paint correction continued through day one, into the early morning of day two, and through day two, Jerry continued to detail the details.

All of the carpeting was removed (where applicable), brushed, and vacuumed with a Metro Vac.

53.jpg


54.jpg


The beautiful hand-crafted interior of the Ferrari was wrapped in copious amounts of fine cowhide. Unfortunately, the leather was coated in a greasy film. Leather Masters Leather Strong Cleaner, a leather cleaning brush, and a Witch Green Microfiber Towel was used to thoroughly clean all of the leather.

You can see by the following shots how much shiny grease was removed from the premium hide.

55.jpg


56.jpg


57.jpg


After cleaning, the leather was treated with Leather Masters Vital and protected with Leather Masters Protection Creme.


Certain trim items, such as the aluminum kickplate, showed a lot of weathering and wear. To fully restore the aluminum would take a lot of time and require refinishing with sandpaper, followed by a lot of polishing. Given both the time constraints of this detail and the fact it is acceptable (and often wanted) for the parts to show some patina, we elected to polish the metal but leave the deep scratches intact.

58.jpg


59.jpg


BLACKFIRE's aluminum polishes -Heavy Cut Compound and Fine Polish- where used with a Griot's Garage 3 Inch DA Polisher to remove many of the wear scratches and restore a shine to the kick plate.

60.jpg


61.jpg


While the piece still had a lot of deeper scratches, the gloss and shine of the polished aluminum was dramatically improved.

62.jpg


63.jpg


BLACKFIRE All-N-One APC was diluted with 3 parts water and used to clean all of the rubber seals. The weather stripping and window seal had a thick, almost cosmoline-like coating on it.

64.jpg


67.jpg


66.jpg


BLACKFIRE APC also did a great job of cleaning the detail area such as the gas/brake/clutch pedals.

68.jpg


69.jpg


Jerry also hand polished all of the alumium trim and brightwork that adorned the Ferrari's cock pit...

This is a 50/50 of the steering wheel's spoke.

70.jpg


The rear-view mirror...

71.jpg


73.jpg


The wheel after being polished...

80.jpg


Jerry misted the beautiful Colombo V12 with BLACKFIRE All-N-One APC and wiped with with BLACKFIRE Wet Diamond Rinseless Wash.

81.jpg


Final Polishing

With the majority of detail, interior, trunk, and engine work complete I got started on the final polishing -Menzerna SF4500 was used with a Lake Country Crimson Hydro Tech Pad on a Griot's Garage 6 inch Random Orbital Polisher.

82.jpg


Jerry hand polished some of the tighter areas with a combination of Menerna PF2500 and a Wolfgang German Foam Applicator.

77.jpg


78.jpg


79.jpg


There was caked on wax/polish residue on many of the seams, weather stripping, jambs, emblems and plastic lenses. BLACKFIRE All-N-One APC made quick work of it.

83.jpg


84.jpg


Menzerna PF2500, a Griot's Garage 3 Inch Polisher, a Lake Country Orange Pad, and Jerry's skilled hand polished the original lenses to a high-gloss finish worthy of the now glossy paint.
 
It was getting dark on day two when we rolled the Ferrari out side of it's post polishing bath.

BLACKFIRE Wet Diamond Conditioning Shampoo and a Miracle Towel cleaned any polishing dust from all of the surfaces. There is no need, at this point, to use the Two-Bucket Method since the goal of the post polishing wash is to lightly clean any lingering oils and dust.

86.jpg


The paint was carefully dried with a Cobra Guzzler and Metro Vac MasterBlaster 8 HP


I like to save the final aluminum/brightwork polishing for after the final wash. In my opinion, there is no finer/better aluminum polish then BLACKFIRE Wet Diamond Aluminum Show Car Polish. Jerry use a fresh Wolfgang applicator to hand rub the wheels to a mirror shine.

74.jpg


75.jpg


76.jpg


Any final details were carefully addressed as the clock ran past 10:00 PM on day two. For example, the inside area behind the Ferrar's famous eggcrate grill was detailed with a combination of S100 detailing swabs, BLACKFIRE APC, and soft microfiber towels.

95.jpg


96.jpg


Final Protection:

To give this Ferrari a show car shine that would make the red "pop" in a sea of other red Ferrari's I chose to use BLACKFIRE's "Wet-Ice over Fire" Combination Kit. The combination of Wet Diamond's famous polymer shine and the premium dripping gloss of Midnight Sun Ivory Carnauba Wax is a combination I have used with great success on the lawns of Cavallino and Pebble Beach.

The first step in creating the "Wet-Ice over Fire" shine is to lay down a thin layer of BLACKFIRE Wet Diamond All Finishing Paint Protection. I used a Gold 6 Inch Kompressor Pad.

87.jpg


All BLACKFIRE Wet Diamond All Finishing Paint Protection to haze for 15 minutes and then wipe clean with a soft microfiber towel. I used a Supreme 530 to make sure I wouldn't mark or scratch the perfectly polished Ferrari Red paint. You want to wait at least 4 hours (longer is better up to 12 hours) before applying the Midnight Sun Ivory Carnauba Wax, so Jerry and I turned out attention to the other exterior details.

The wheels, bumpers, exterior and interior brightwork was hand coated with BLACKFIRE Wet Diamond Acrylic All Metal Sealant.

89.jpg


90.jpg


The tires were perfected with BLACKFIRE Total Eclipse Tire Spray.

91.jpg


After wiping away the sealant... the result was stunning!

93.jpg


This was the end of day two. It was pushing midnight and the exterior needed only one final step! The surface was allowed to cure overnight.
 
After giving the BLACKFIRE Wet Diamond 15 hours to cure, the final topper, BLACKFIRE Midnight Sun Ivory Carnauba Paste, as added as the last step in creating an award winning shine.

94.jpg


[ame=http://www.youtube.com/watch?v=j7B_fbccAXM]BLACKFIRE Midnight Sun Ivory Carnuaba Wax - YouTube[/ame]


And with out further delay.... The after photos

99.jpg


100.jpg


101.jpg


102.jpg


103.jpg


104.jpg


105.jpg


106.jpg


107.jpg


108.jpg


109.jpg


110.jpg


111.jpg


112.jpg


113.jpg


114.jpg


115.jpg


116.jpg


117.jpg


118.jpg


119.jpg


120.jpg


121.jpg


122.jpg


With the detail complete, the Ferrari was loaded onto an enclosed trailer. The last step for me was to wash all of my towels using BLACKFIRE Microfiber Cleaner & Restorer.


123.jpg
 
very nice todd. i'm always amazed at your patience to do whatever it takes for that immaculate finish on your details.
 
Todd, this is amazing work!! A huge amount of time went into this detail and it shows!!!

Btw, as a heads up, I think that some of pictures may be a little off. I read text and then found the corresponding pictures after a few scrolls next to non-corresponding text.
 
very nice todd. i'm always amazed at your patience to do whatever it takes for that immaculate finish on your details.

Thank you. It is an obsession, that as of yet, has found no limits. I always thinking of ways to do better, do it faster and improve my thought process. New technology, such as the CarPro Orange Peel Removal Pads, has really allowed me to do more in less time.

Thats just amazing work, I love your attention to detail.

Thank you!

Todd, this is amazing work!! A huge amount of time went into this detail and it shows!!!

Btw, as a heads up, I think that some of pictures may be a little off. I read text and then found the corresponding pictures after a few scrolls next to non-corresponding text.

I'll take a look. Things get lost in formatting (or moved around). Thank you for the compliment!
 
Todd..simply amazing as always. I never tire of seeing your work. I still remember some of your epic threads on Ferraris from years ago :)
 
Loved the write up! Was this the car you had to run off to do when I saw you in FL? You should have taken one of the rupes machines with you, I'm confident that would have saved some time too.

Great seeing you again, and wow that car was truly detailed!

Cheers,
GREG
 
Back
Top