Yellow 01 Ferrari 360 Spyder

Rickrack

New member
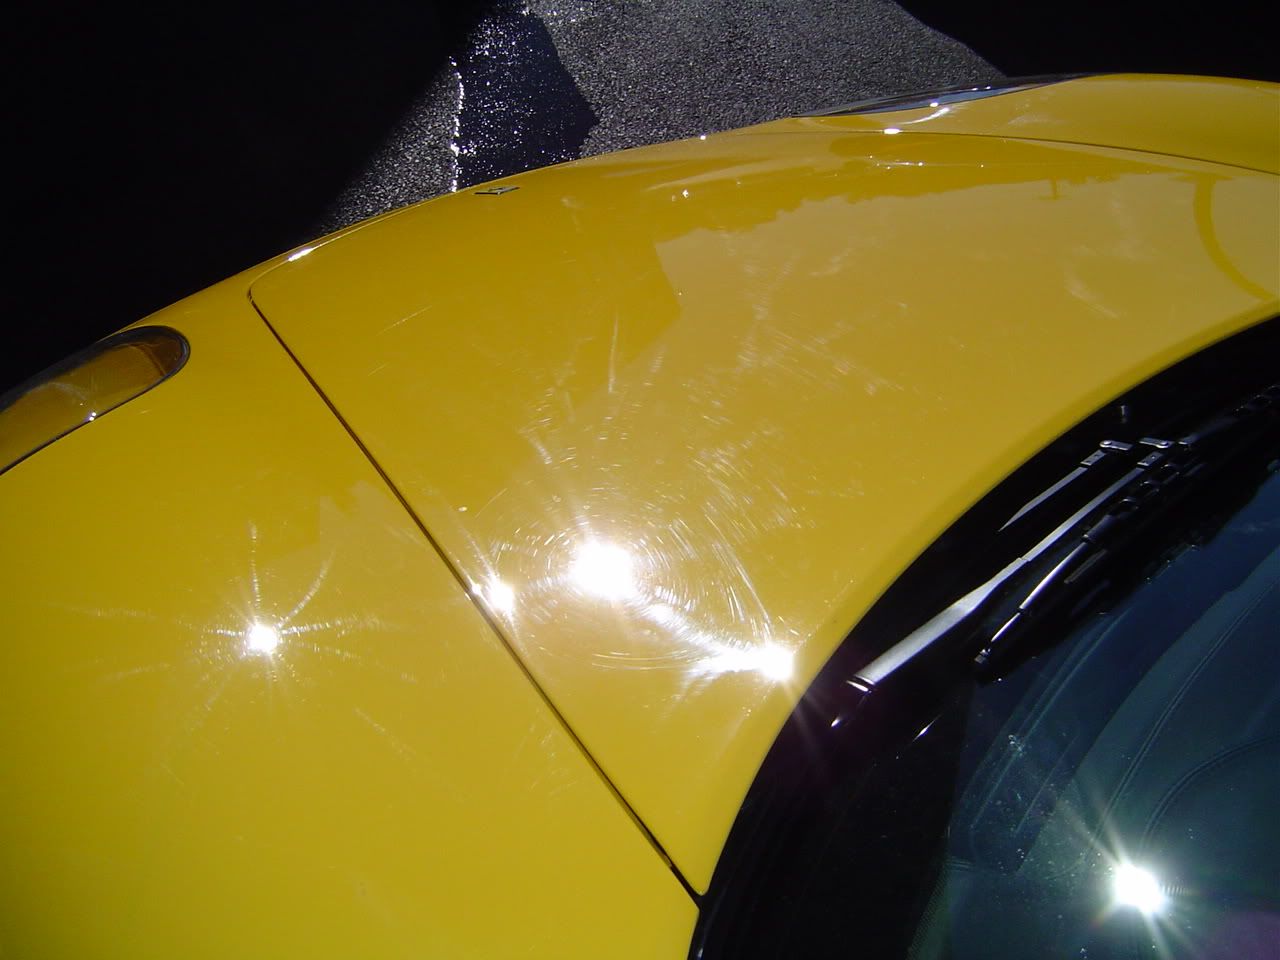
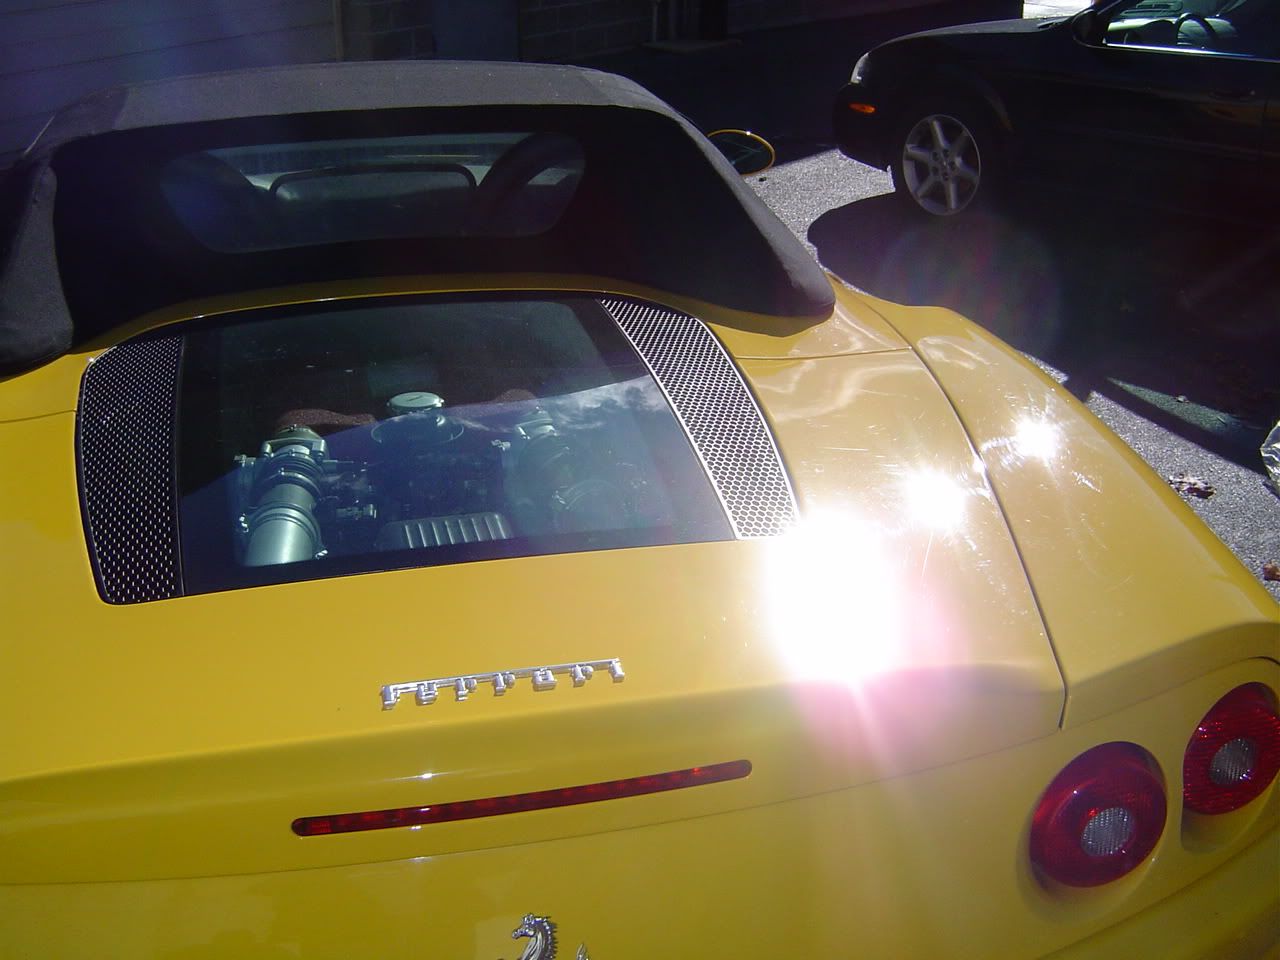
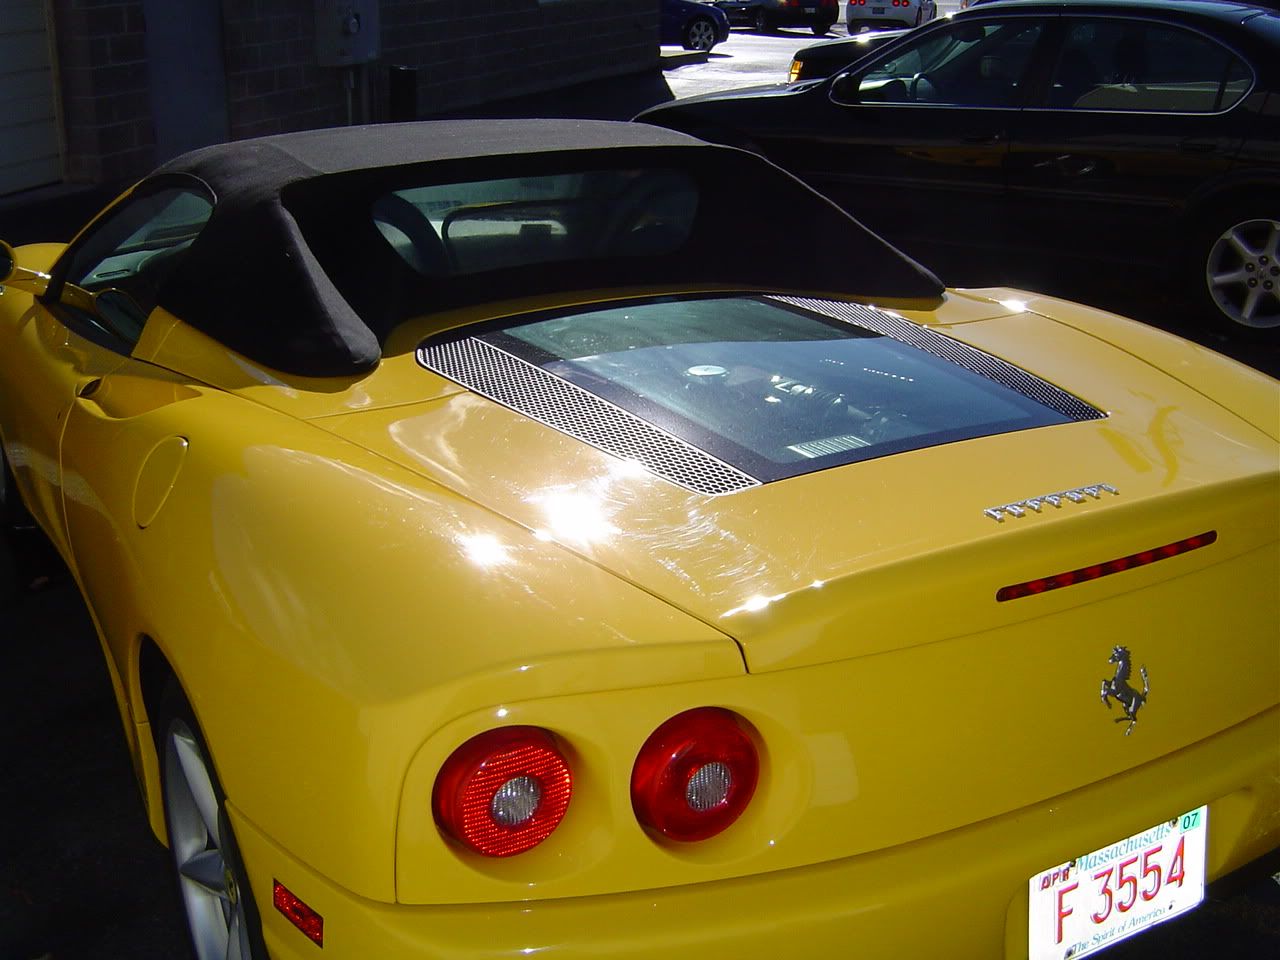
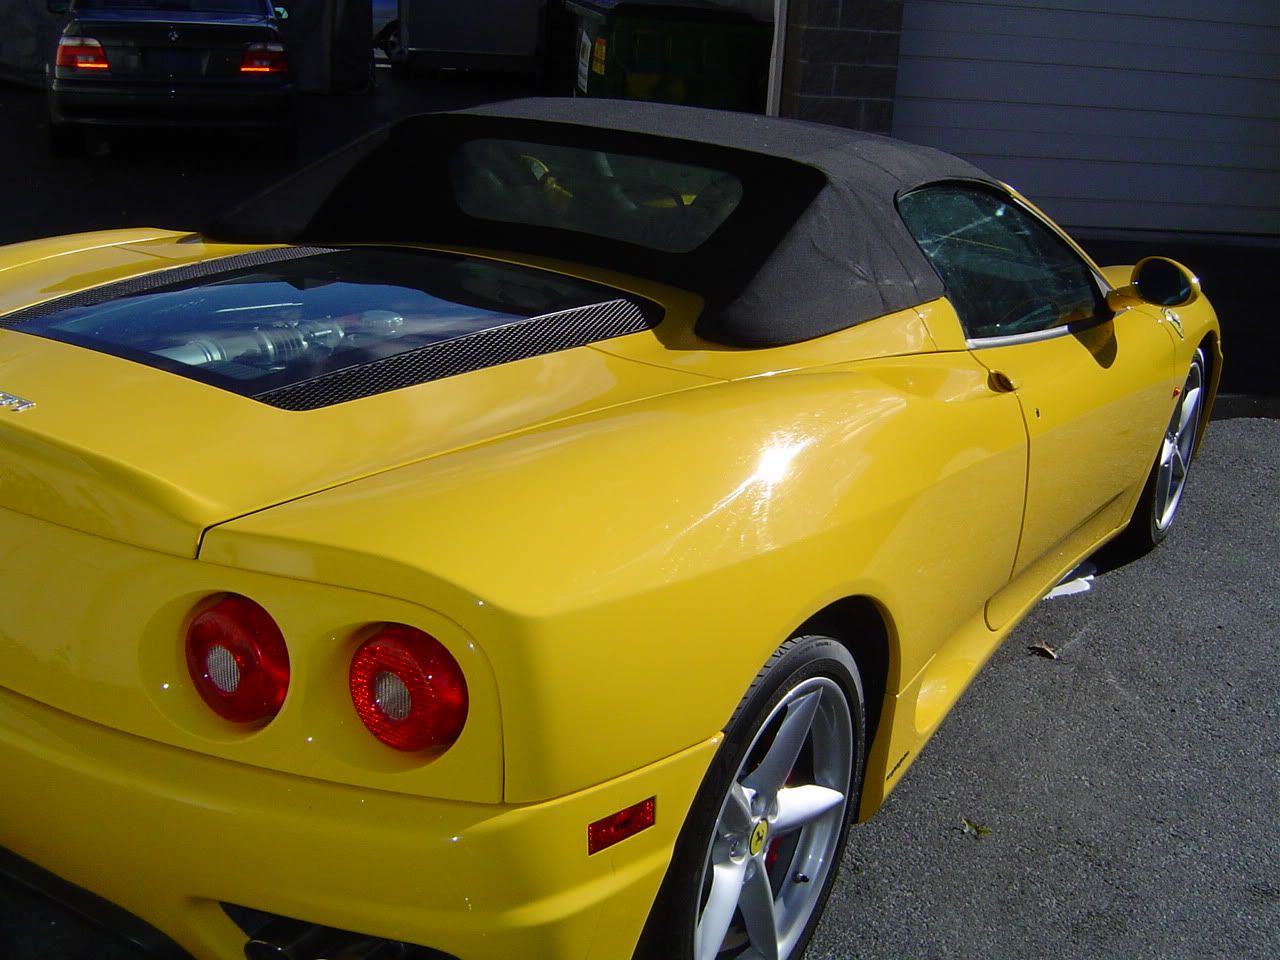
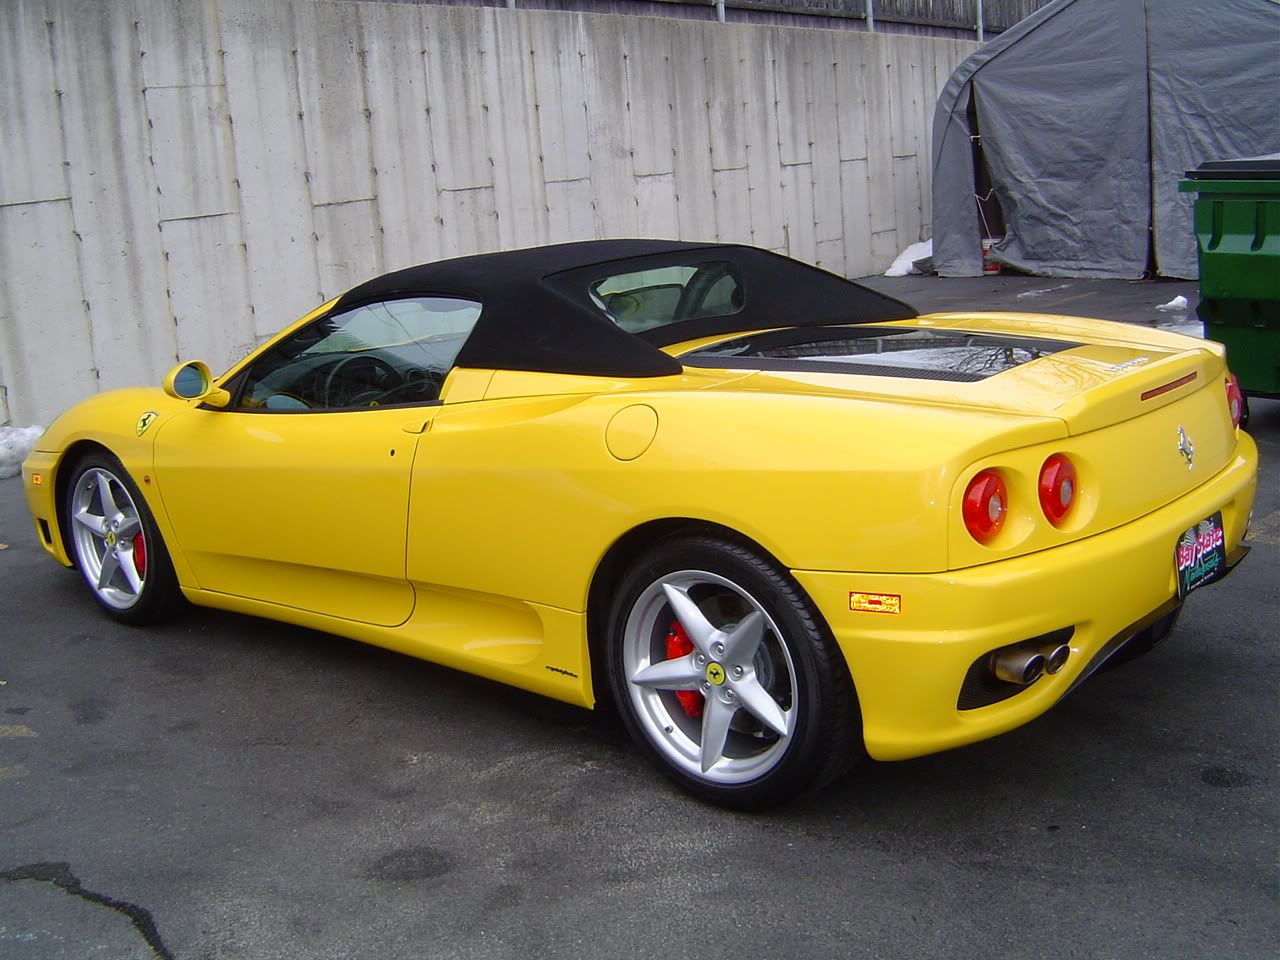
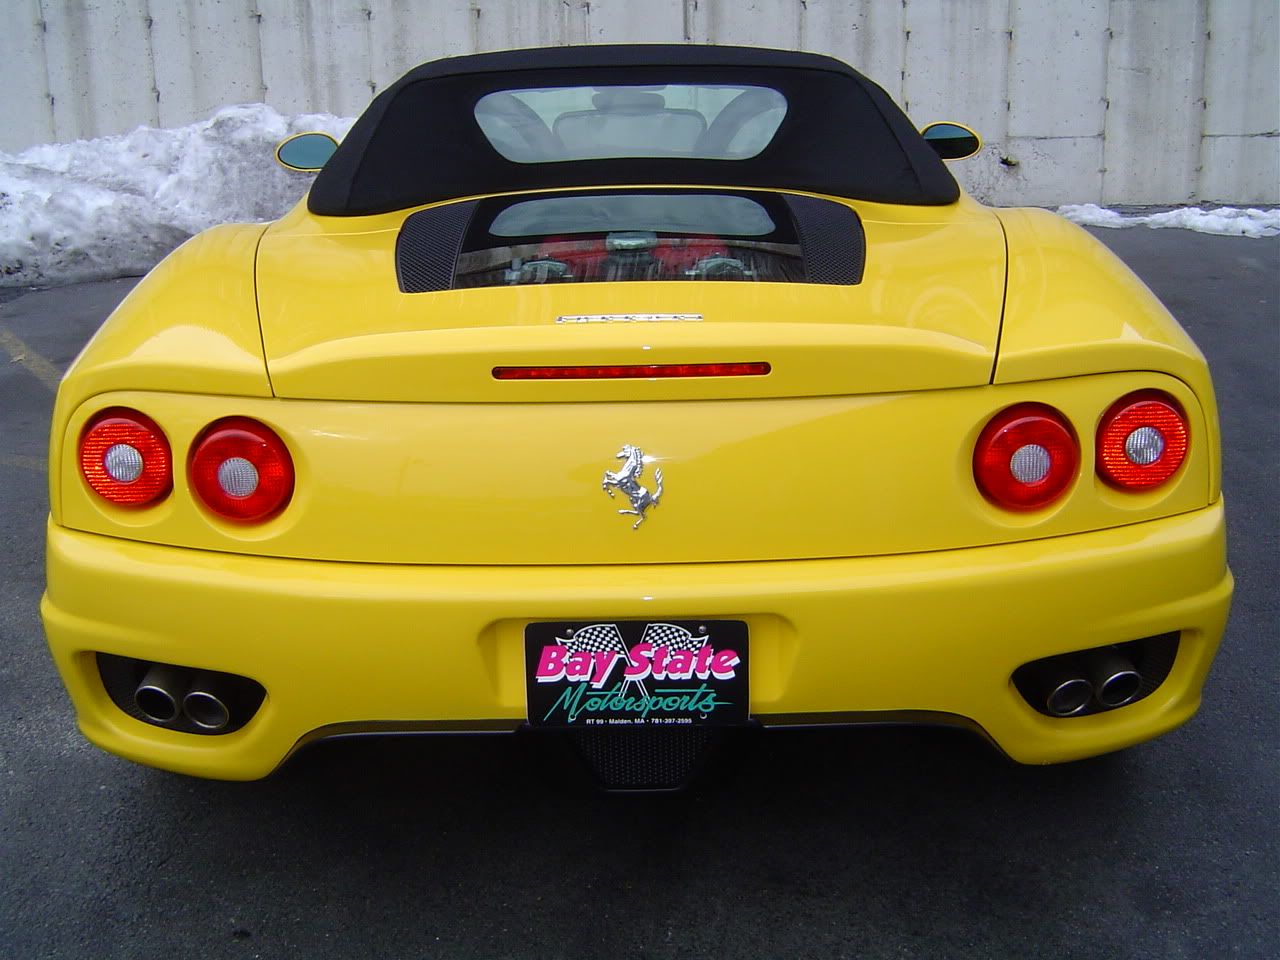
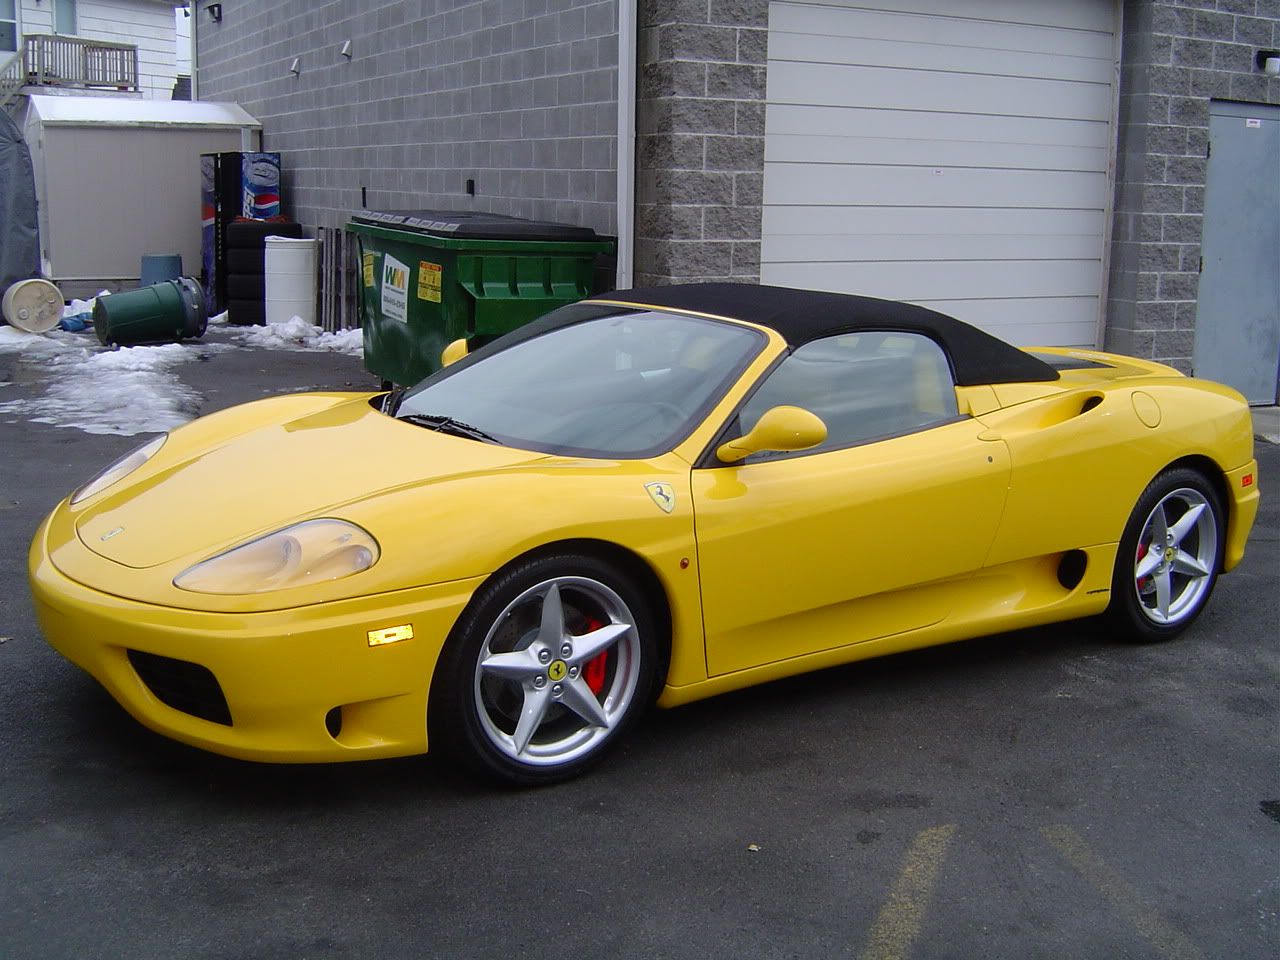
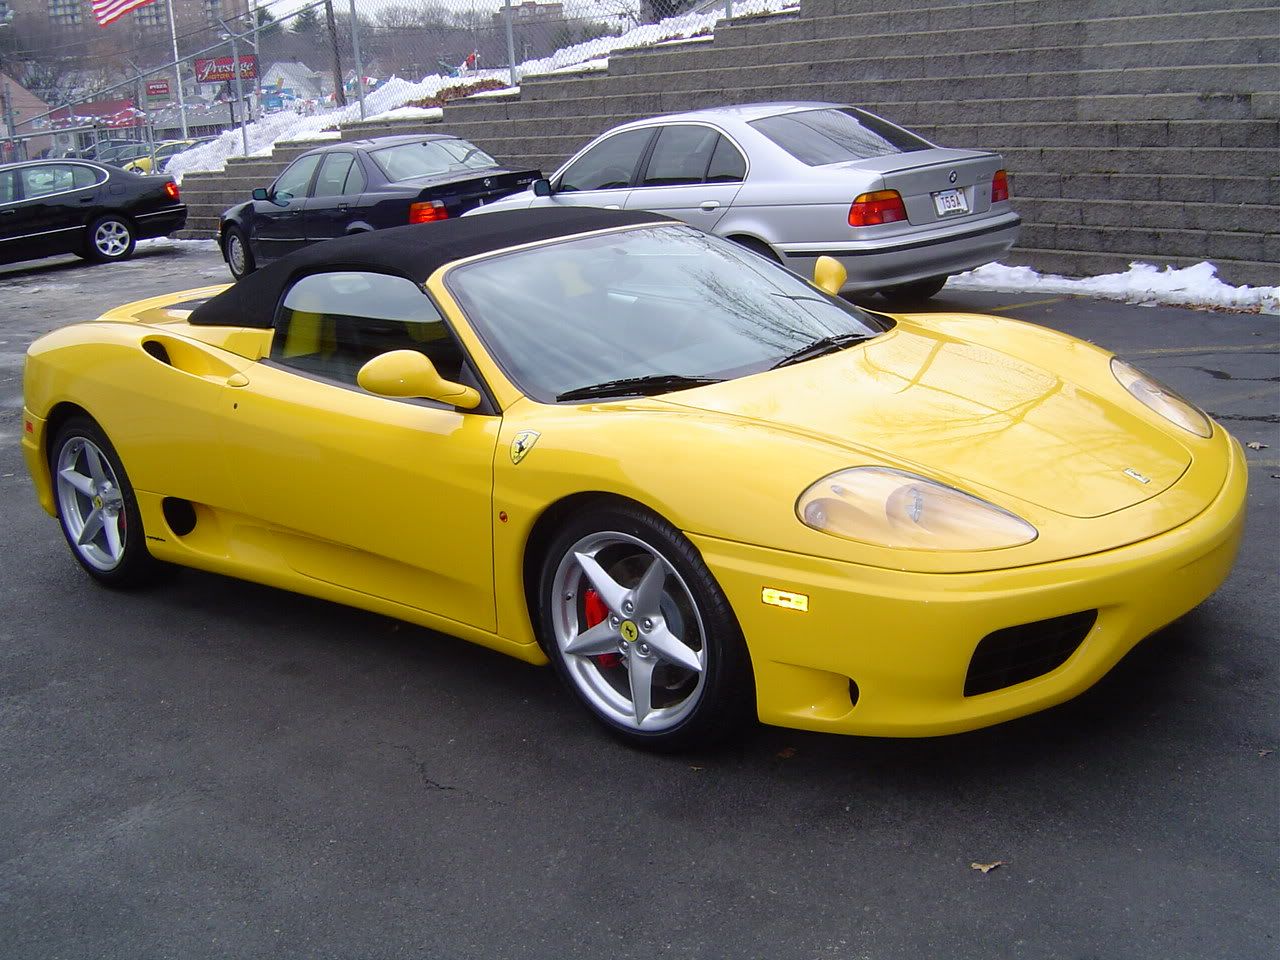
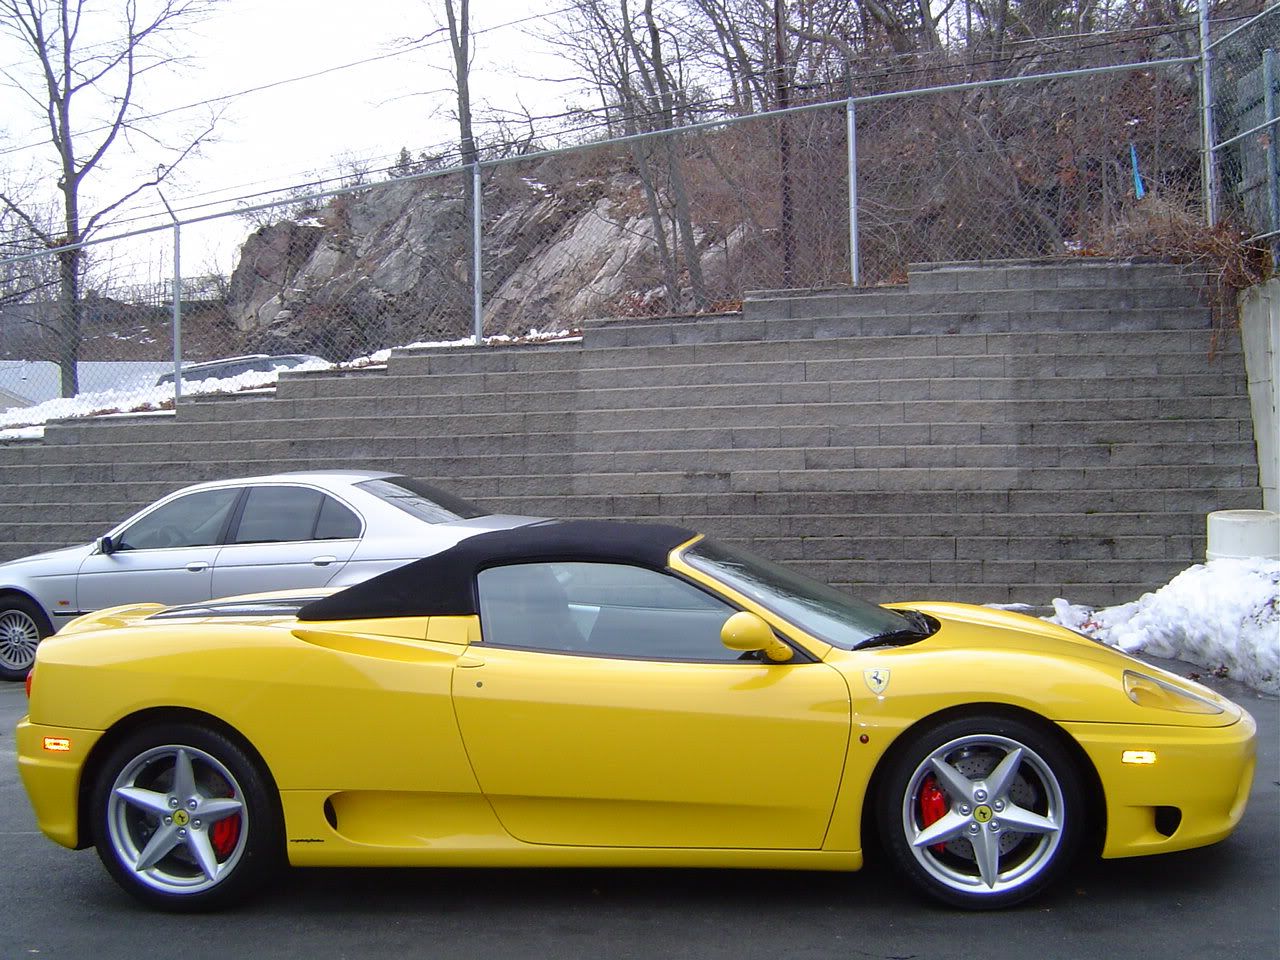
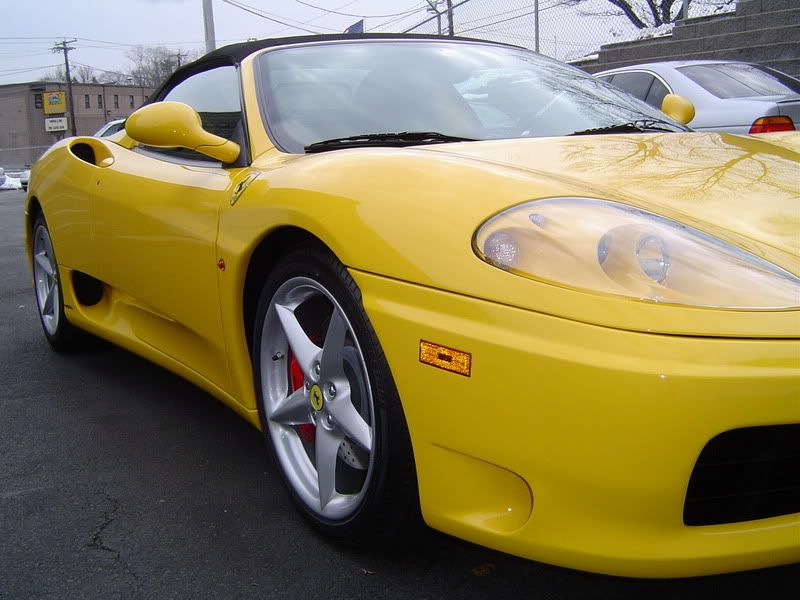
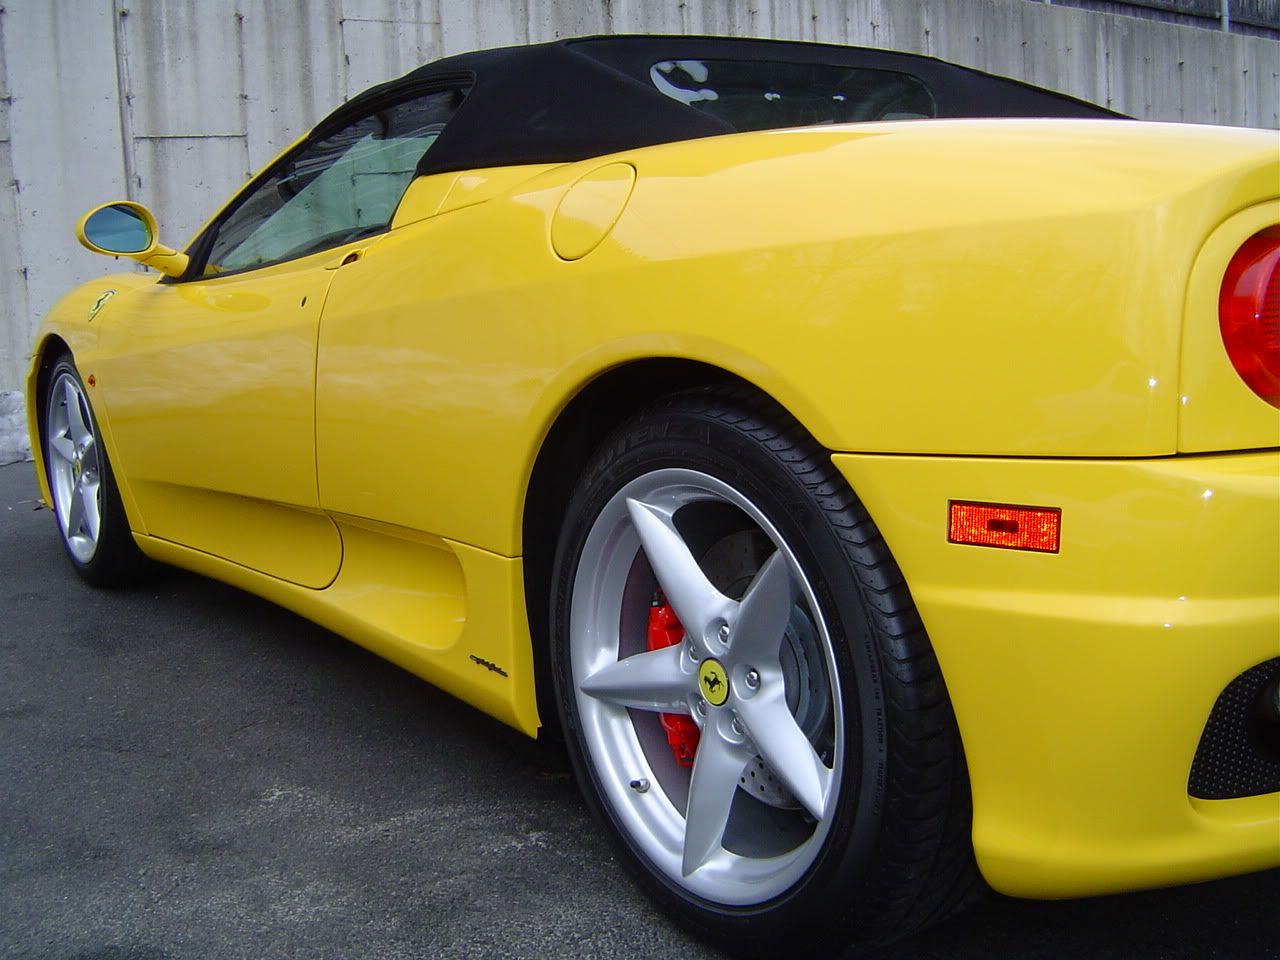
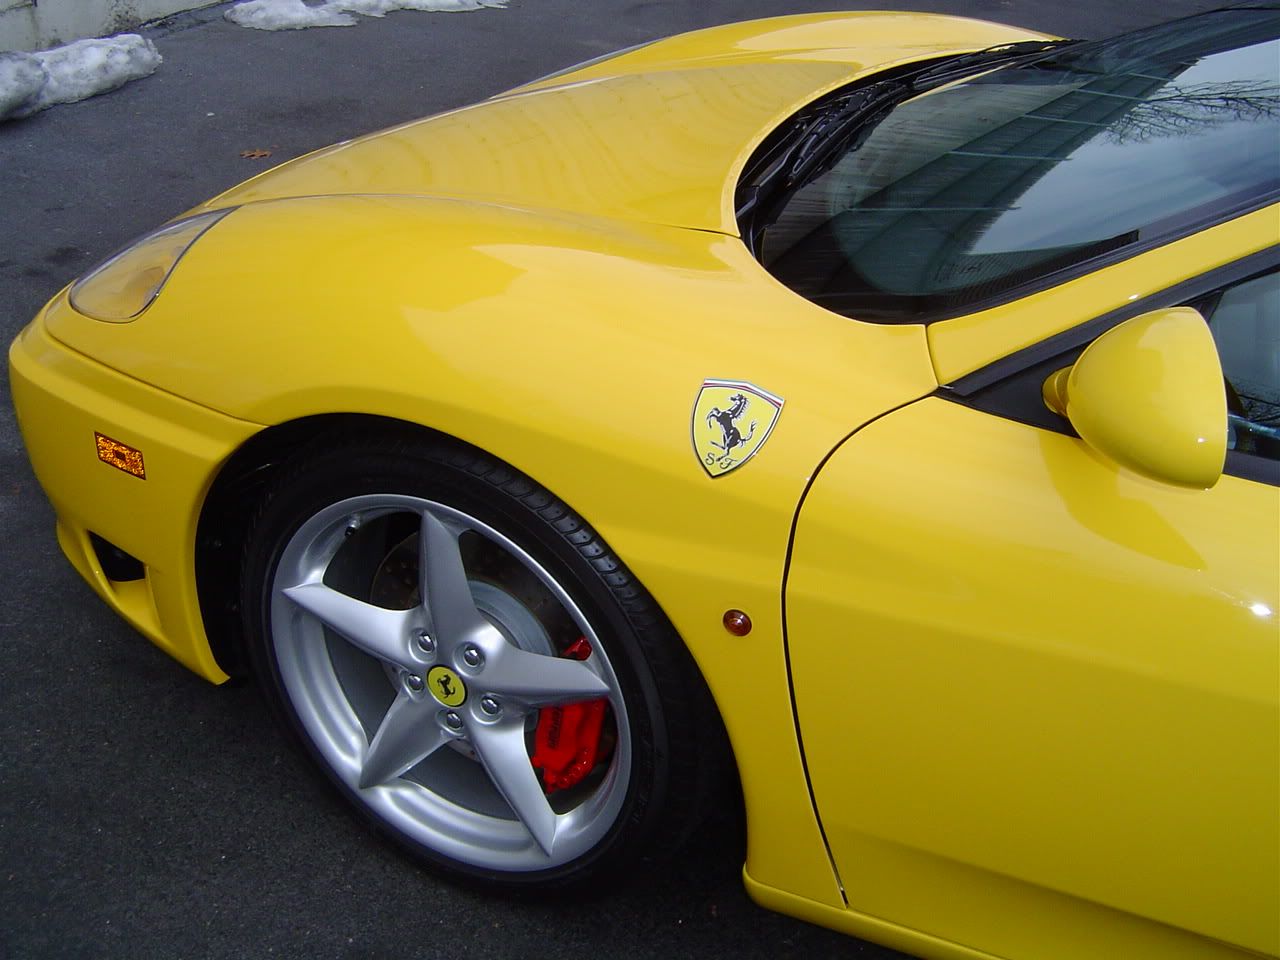
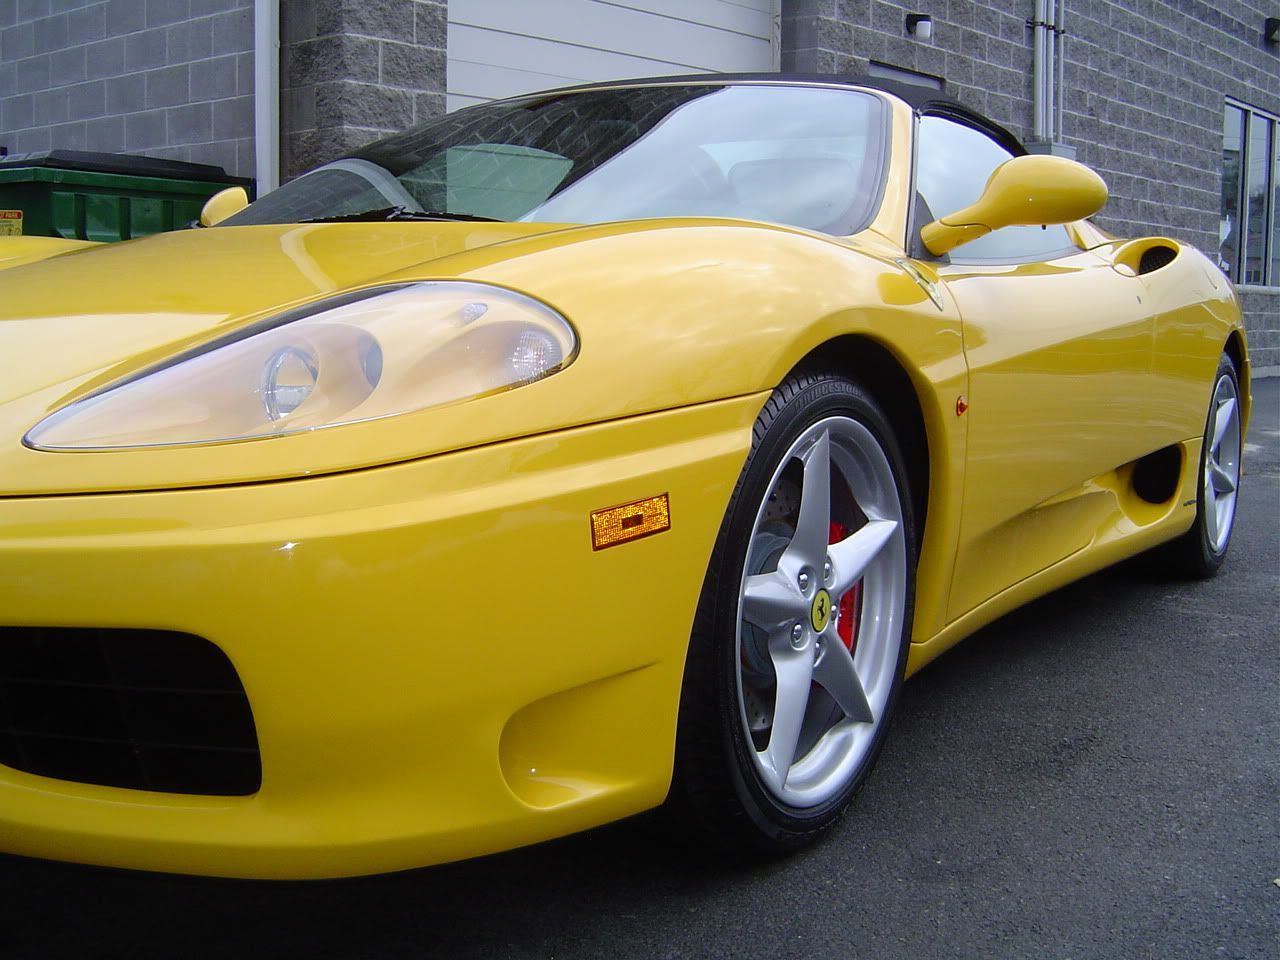
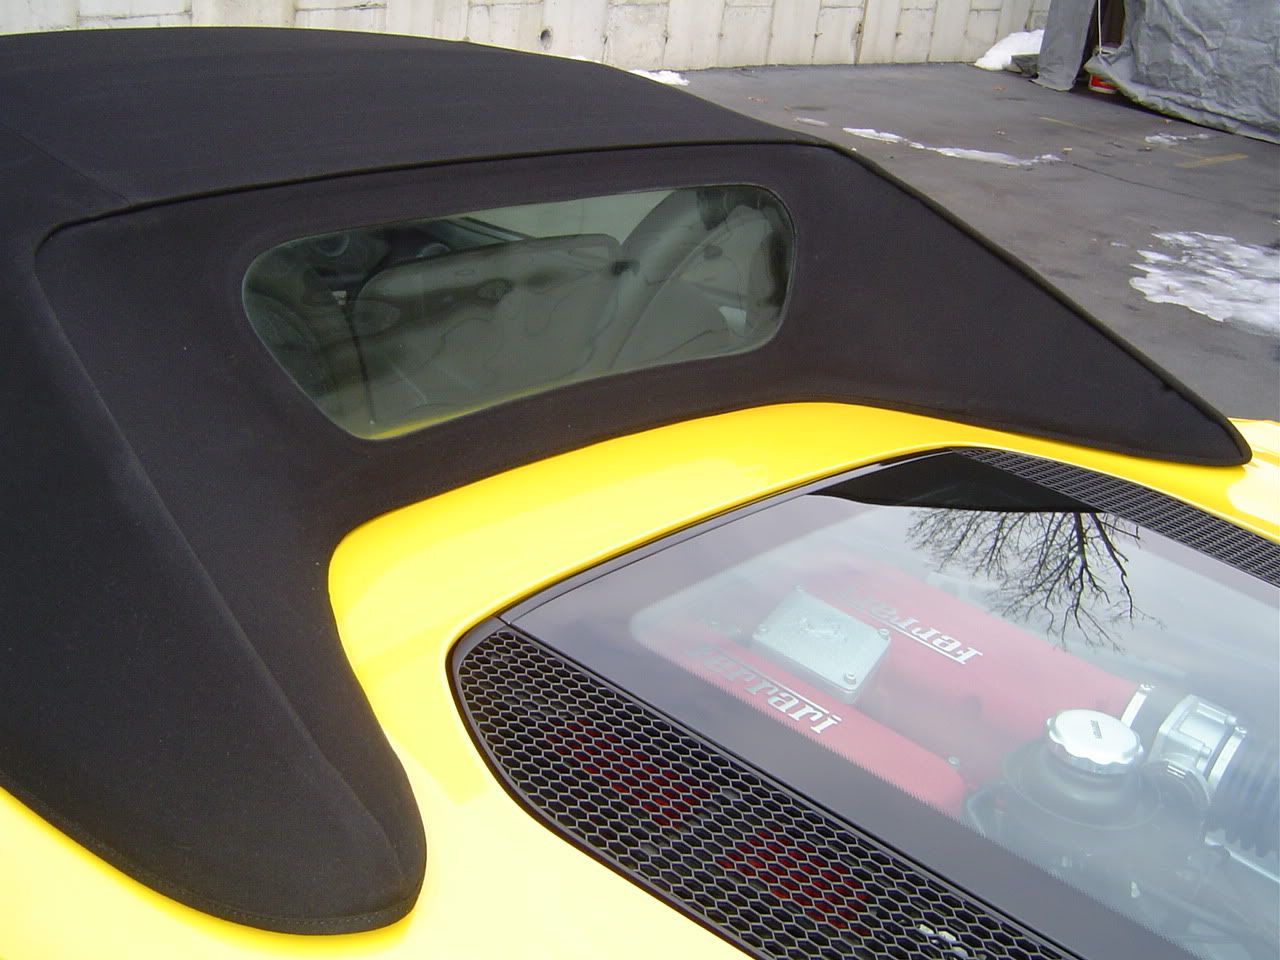
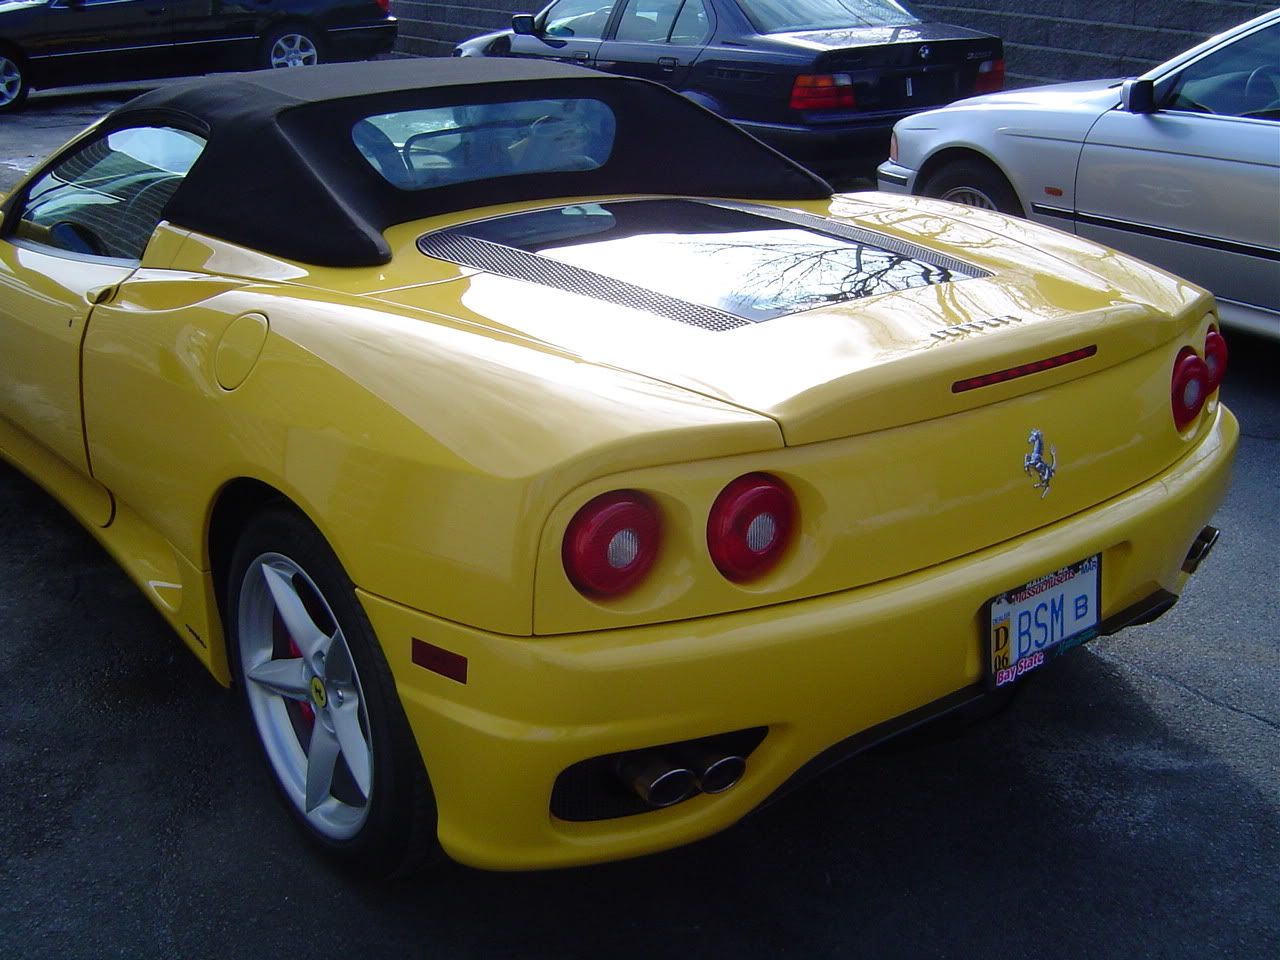
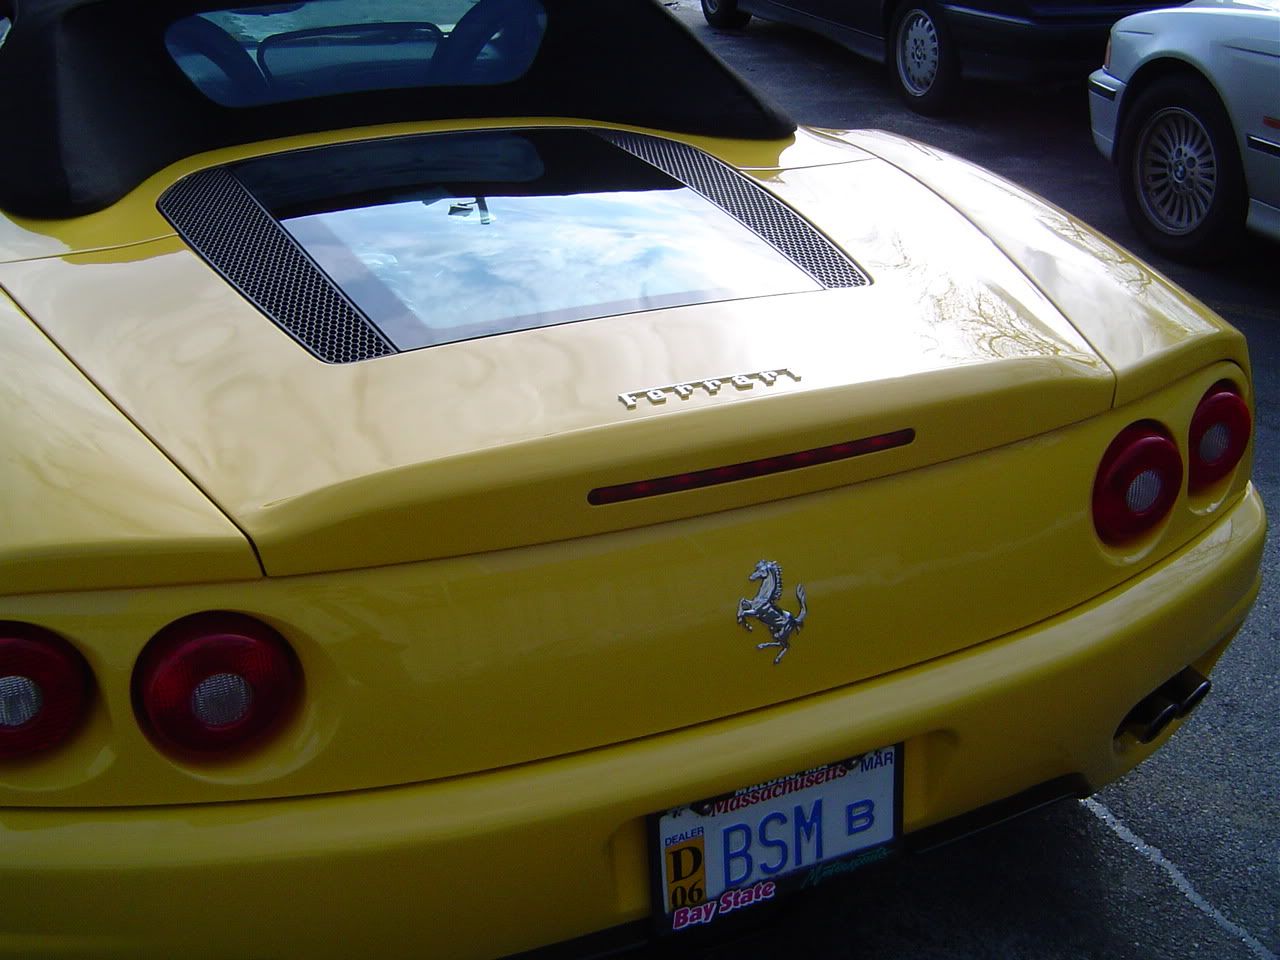
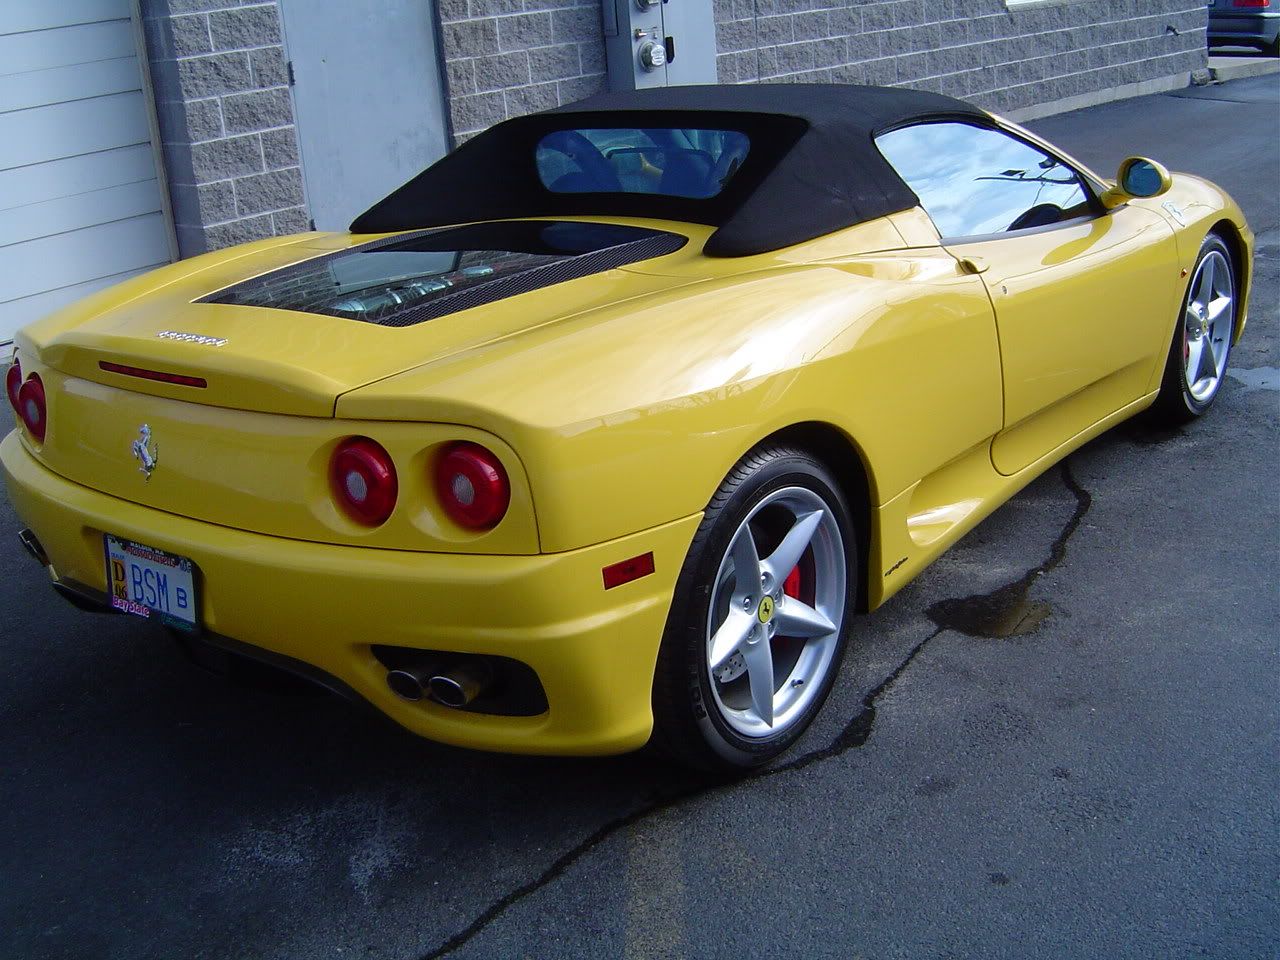
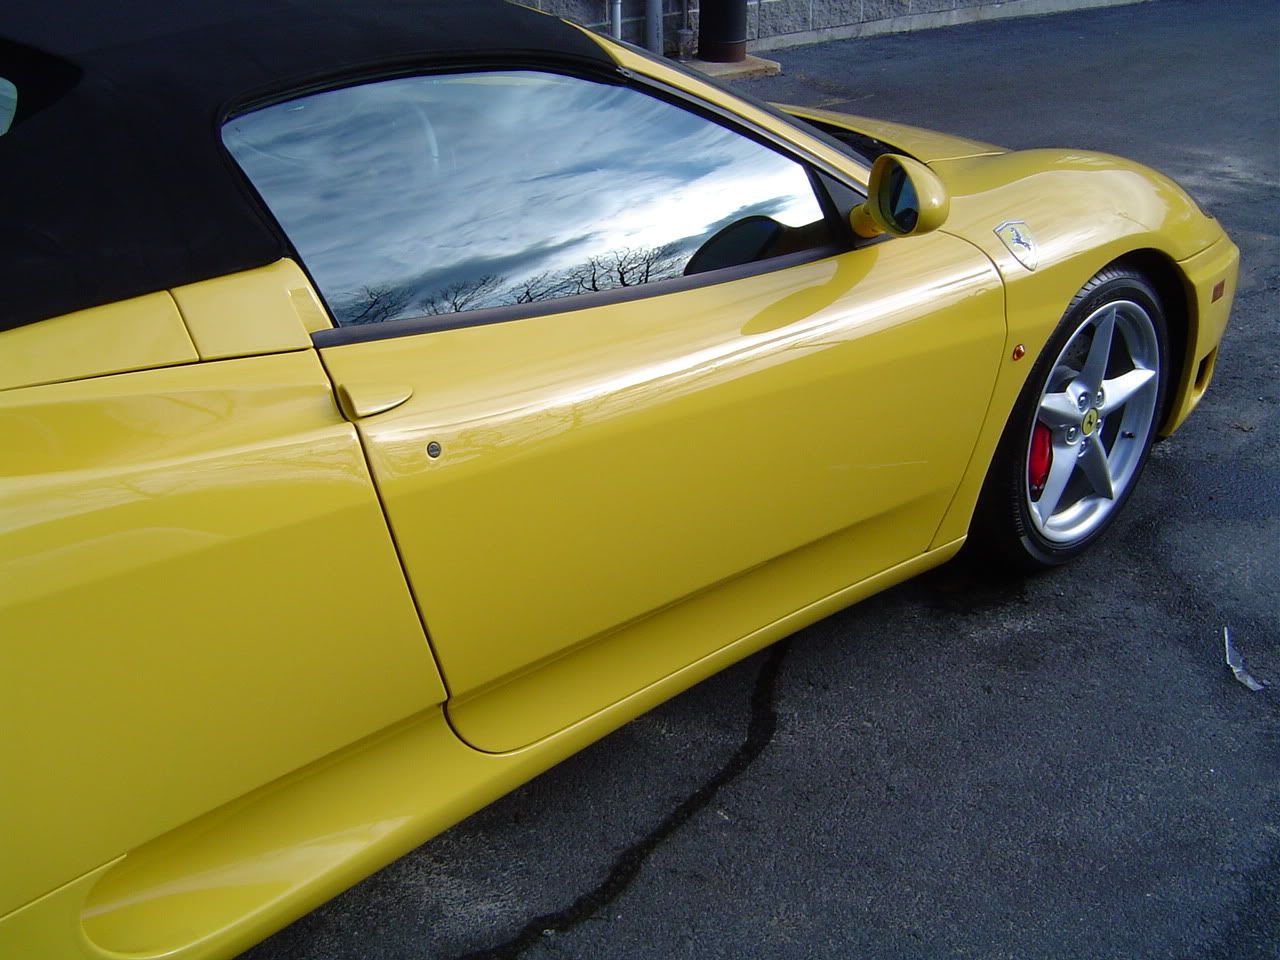
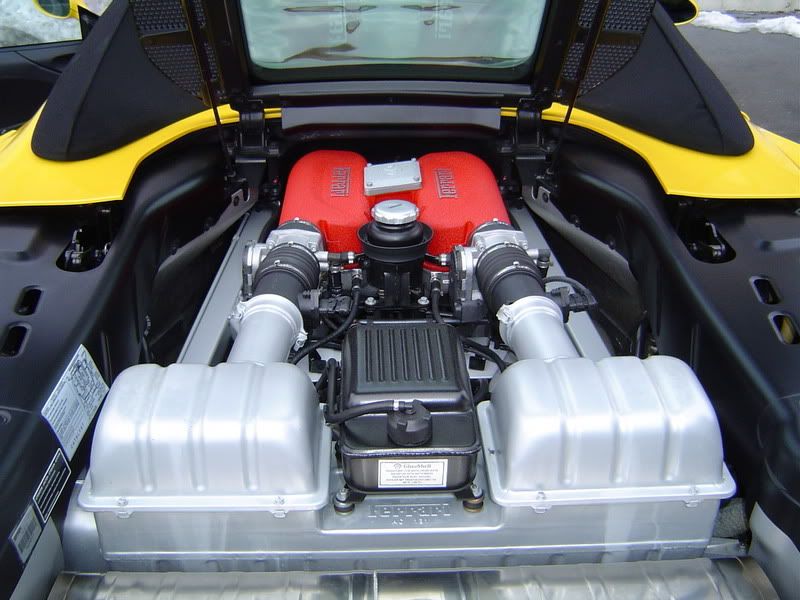
This car was in kinda rough shape when it first came in. Some of you might remember my "Ferrari Touch-Up" post a couple months back http://autopia.org/forum/showthread.php?t=63544 . Well, this is the car that I did the touch up on. I have been meaning to put up the pictures for a while, but I have been pretty busy. As you can see from the pictures, the paint was pretty swirly and the rims had some curb marks which I had repaired by a local guy I use. The engine compartment was fithy as well as the interior. The previous owner only had it for the summer and then traded it back in in this condition. The guy had kids and was afraid he was going to ruin such a beutiful car, so he decided to get out of it. He definitely didn't treat this car like a Ferrari should be treated, but oh well that's what I'm for !!


Here are a few of the before pictures:

2a3f2c66.jpg


22164aa0.jpg


323699a4.jpg


e5a67ee8.jpg


a880a26d.jpg


eebdb7bb.jpg


334dc29b.jpg


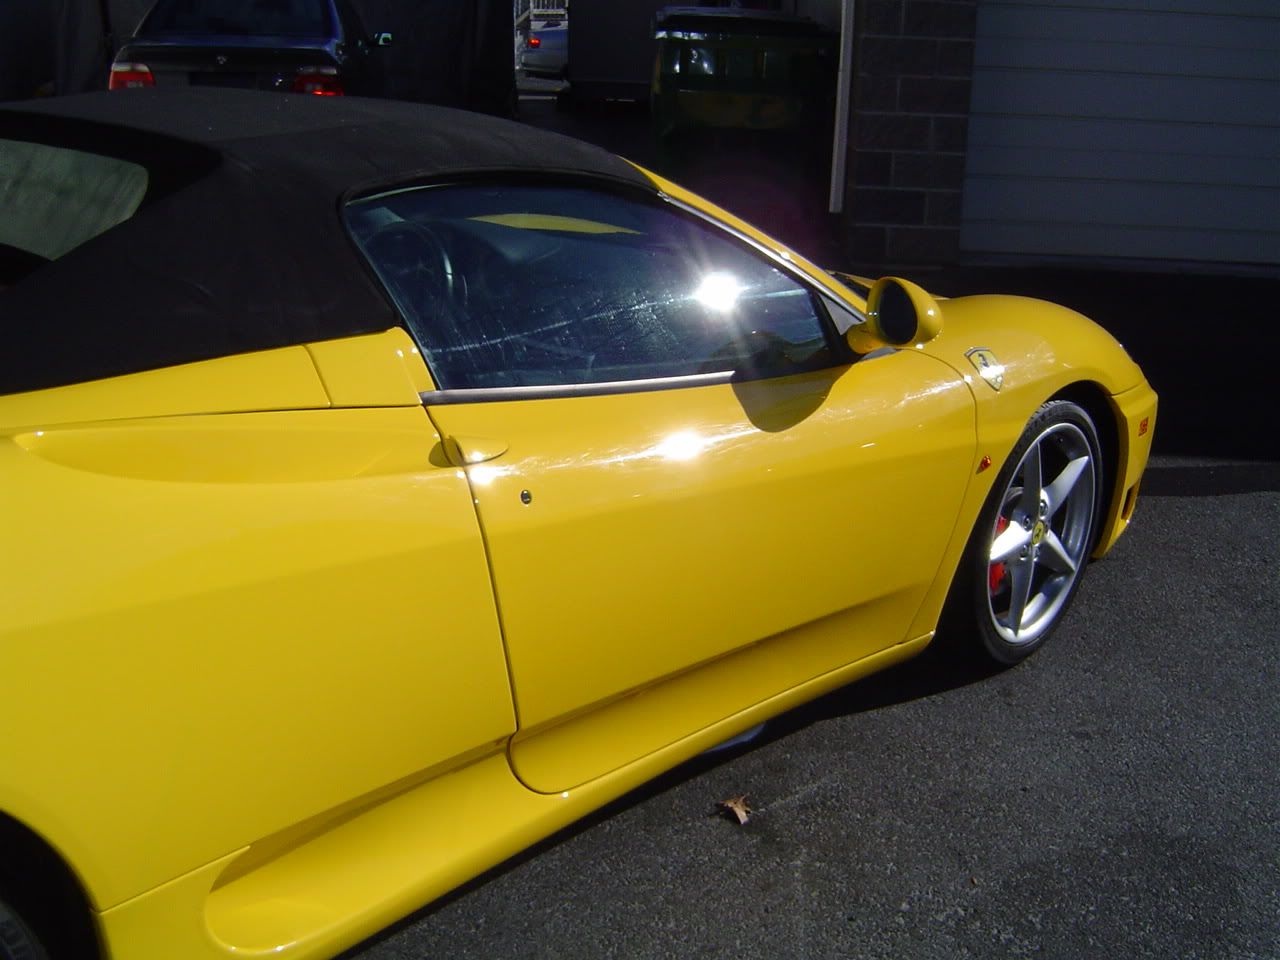
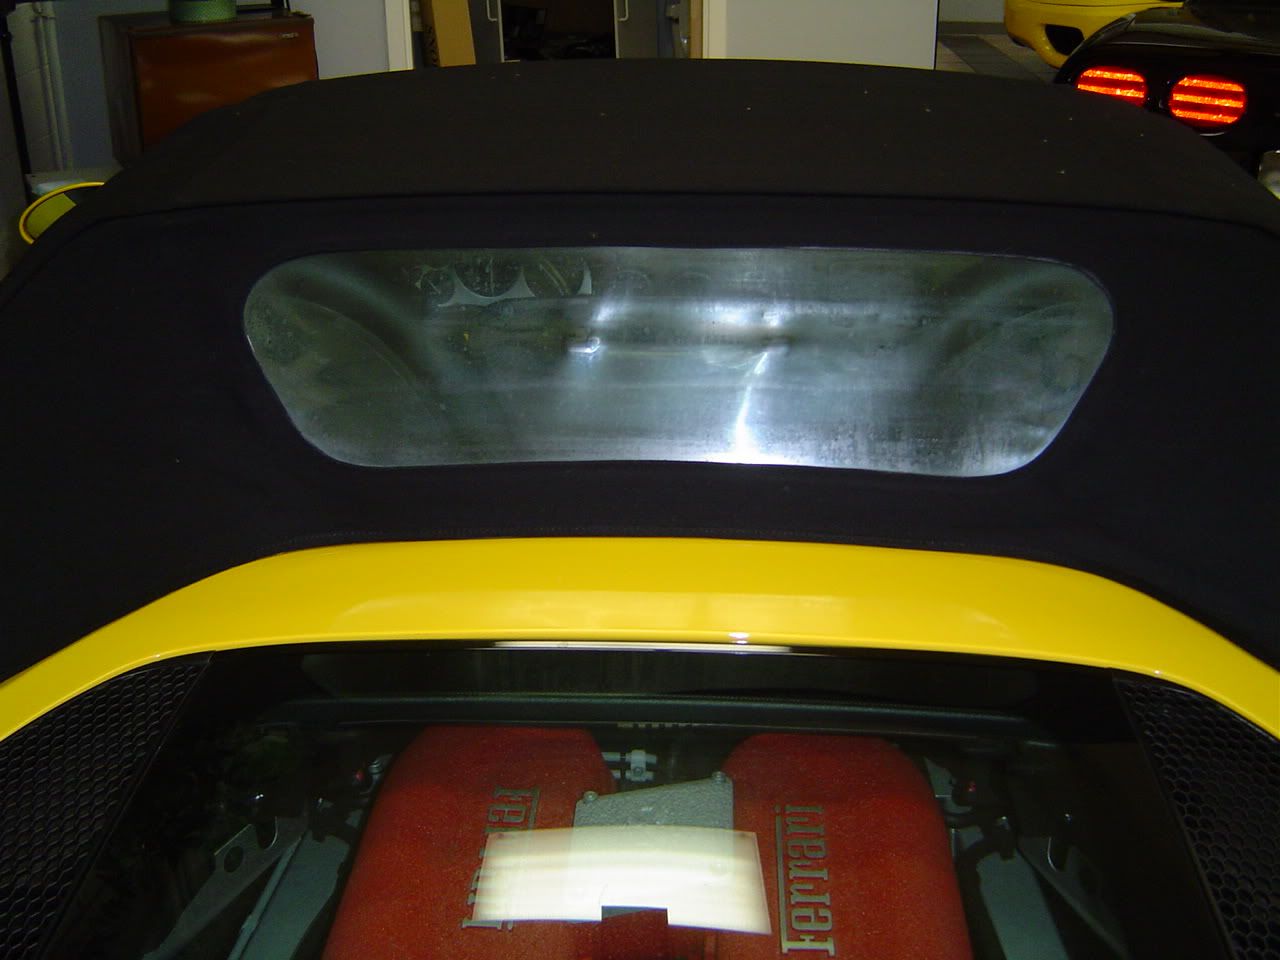
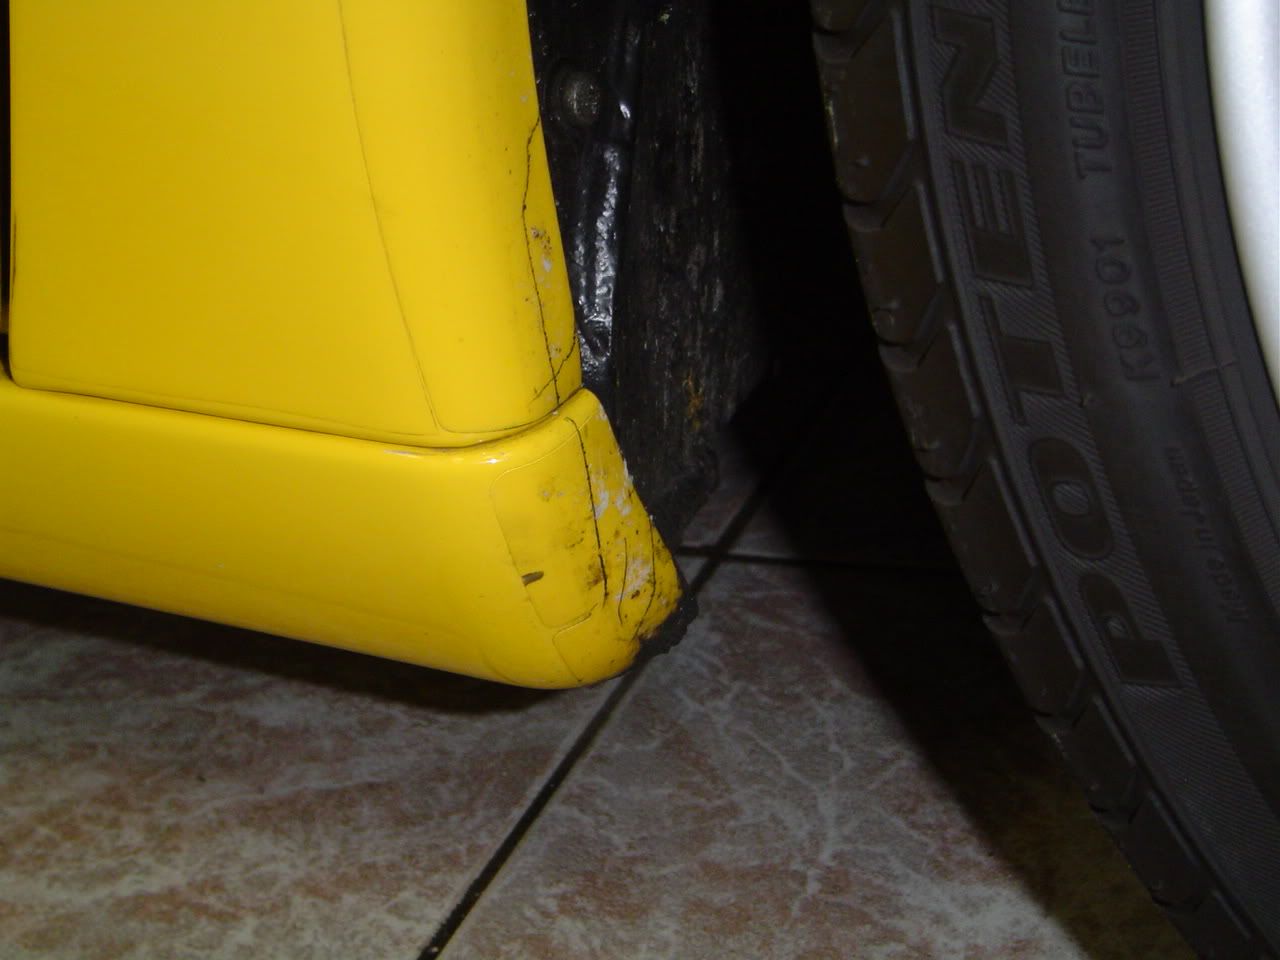
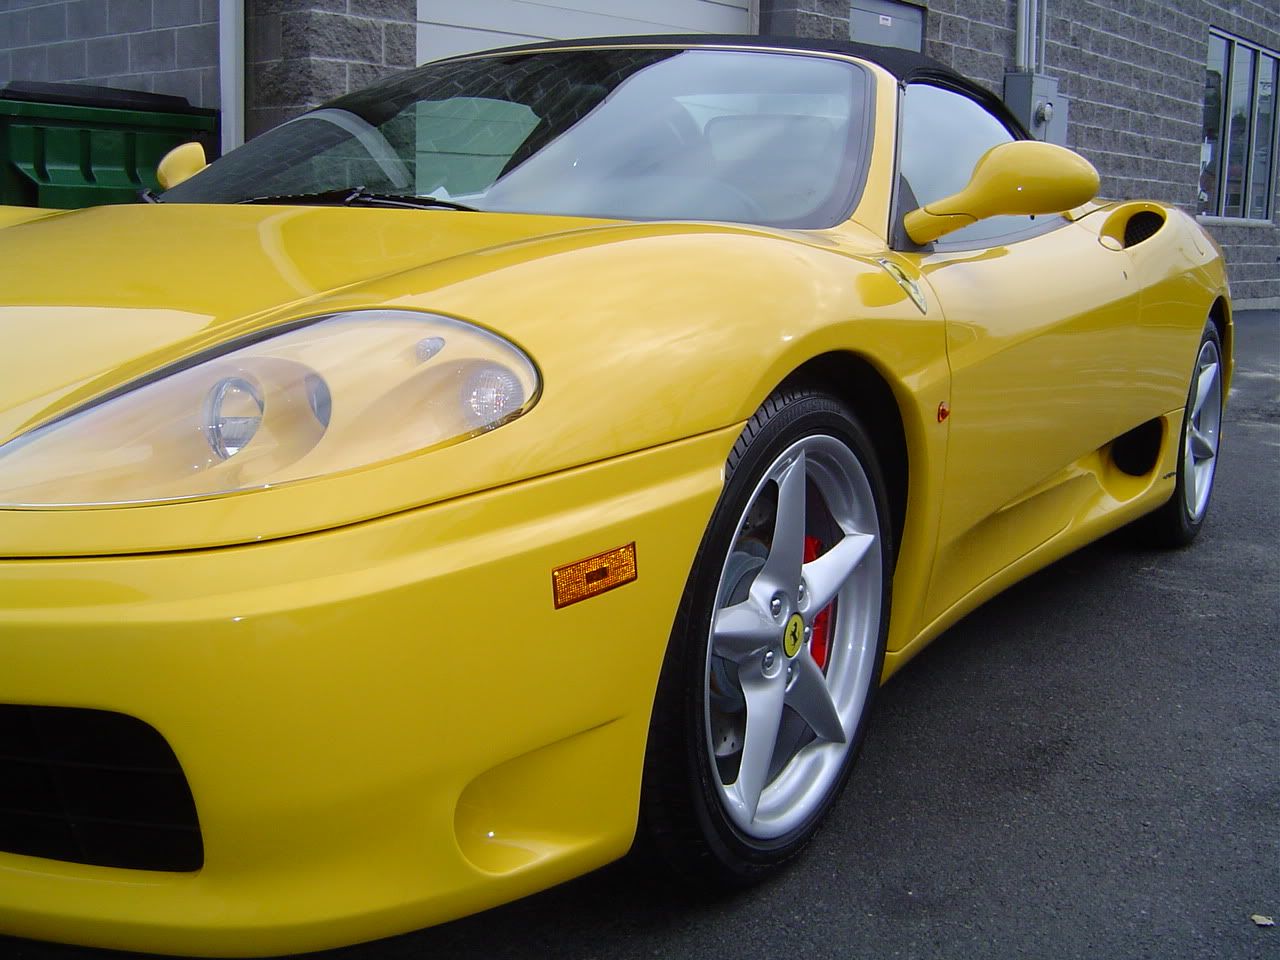
I will describe my process in a few moments along with the after pictures...
 
arrrgh the shame the shame you need to warn people here before showing the horror of it all. A 360 vert and thats how he cared for it. needles under his toenails would be too good for him. One interesing thing I noticed is that for 200k the darn car has a plastic window on the convertible ***!!!
 
Here is my process.


Washed complete exterior


Cleaned wheels & engine compartment


Touched up & wetsanded scratches


Trimmed loose, discolored edges off the 3M protection


Clayed exterior with Opti-Clay


Buffed exterior with Menzerna IP with foam polishing pad by rortary


Buffed exterior with Menzerna Final Polish II with finishing pad


Hand application of AIO


RMG by had


Hand application of P21S


Polished wheels with AIO


Dresses tires with Super Blue Dressing


Polished exhaust tips with Wicked Metal Polish


Here are the afters:

19703615.jpg


9f102f14.jpg


9cbb0d2c.jpg


4717eaa3.jpg


47319bd8.jpg


0c731f19.jpg


e72a5416.jpg
 
gmblack3a said:
Rick, Looks great!


Do you avoid the areas where the 3M is when polishing?


I polish right over the 3M, but I try to stay away from the edges and keep my speed on the slowest setting possible. Buffing the 3M makes a pretty big difference in the way it looks in the sun. Sometimes if the 3M is in real good shape I will do it by hand, but I usually just buff over it.
 
An awesome job as always Rick!! I think your dealership needs to have a screening process so that people like these cannot get their hands on such a nice car and ruin it. Also, I'm shocked to see that Ferrari verts have plastic rear windows. Plastic windows are a major PITA.
 
Rick, How do you like that metal polish you use? I see you use it a lot. Does it work well on neglected exhaust tips?


How did you trim the frayed edges of the 3M without cutting the paint?


BTW, that Ferrari looks amazing as all your work always does.
 
RickRack said:
I polish right over the 3M, but I try to stay away from the edges and keep my speed on the slowest setting possible. Buffing the 3M makes a pretty big difference in the way it looks in the sun. Sometimes if the 3M is in real good shape I will do it by hand, but I usually just buff over it.


Thanks for the info. :bigups
 
audicoupej said:
Rick, How do you like that metal polish you use? I see you use it a lot. Does it work well on neglected exhaust tips?


How did you trim the frayed edges of the 3M without cutting the paint?


BTW, that Ferrari looks amazing as all your work always does.


Honestly, It's probably the easiest metal polish I have ever used. It works unbelievable on aluminum. Typically other aluminum polishes are a pain to wipe off the black haze after polishing, but this stuff just wipes off just like wax. My buddy has his CDL license and uses this stuff on the aluminum tanks & wheels on his triaxle dump truck that is probably one of the cleanest trucks around. He got me hooked on this stuff and haven't felt the need to try anything else because it is so easy to use. You should try some. You will not be disappointed. Here is the link http://wickedproducts.com/wickedshop/scripts/


For trimming the 3M, I conned my 3M guy into giving up one of his tools to cut the plastic without damaging the paint underneath. The tool has a setting so the sharp blade will not go completely through the plastic and damage the paint. I would not attempt to do this with a razorblade unless you are exteremely careful.
 
Thank you, thank you, thank you for sparing this gorgeoups automobile from the horrors it was used to!!!! Simply stunning work on a stunning car. Its almost my dream car, take the same color combo and put it on an F355 Spyder something about the design of the 355 really gets me. I love most Ferraris though, except for the 612 yuck.
 
Back
Top