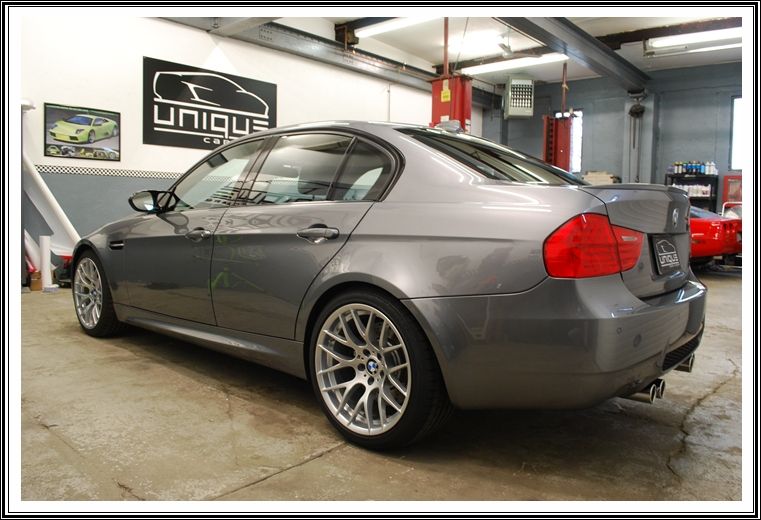
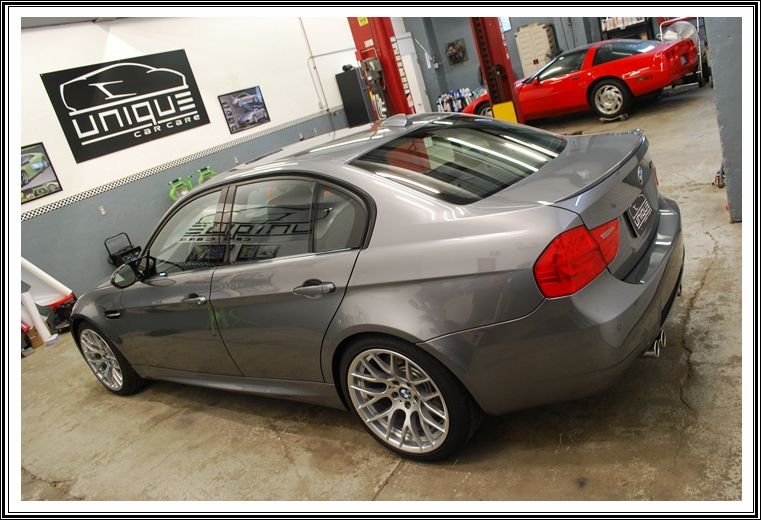
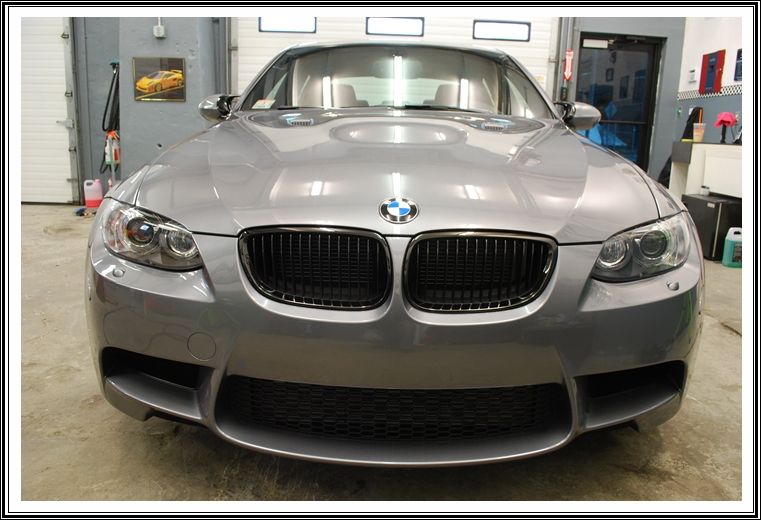
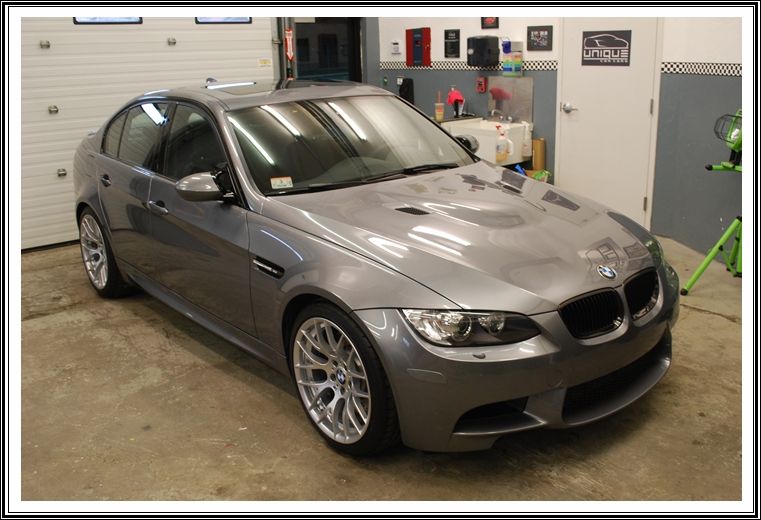
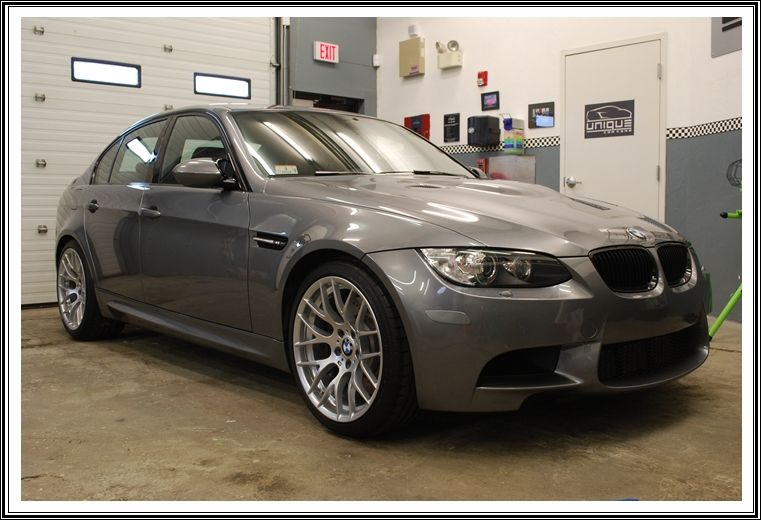
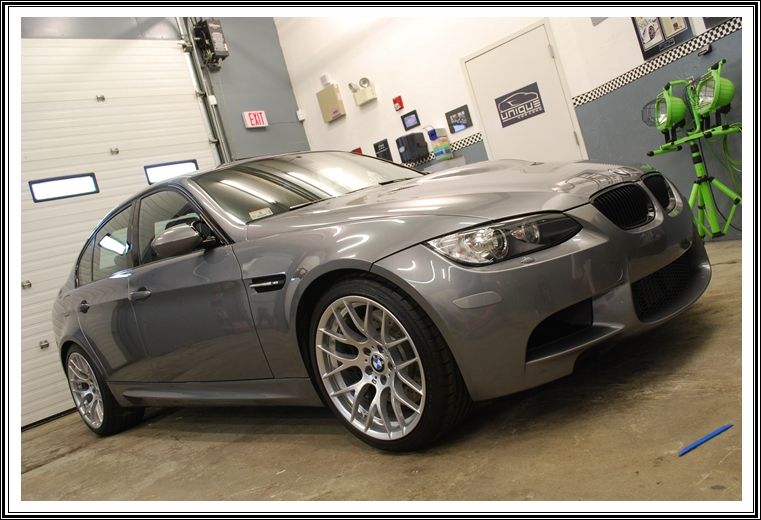
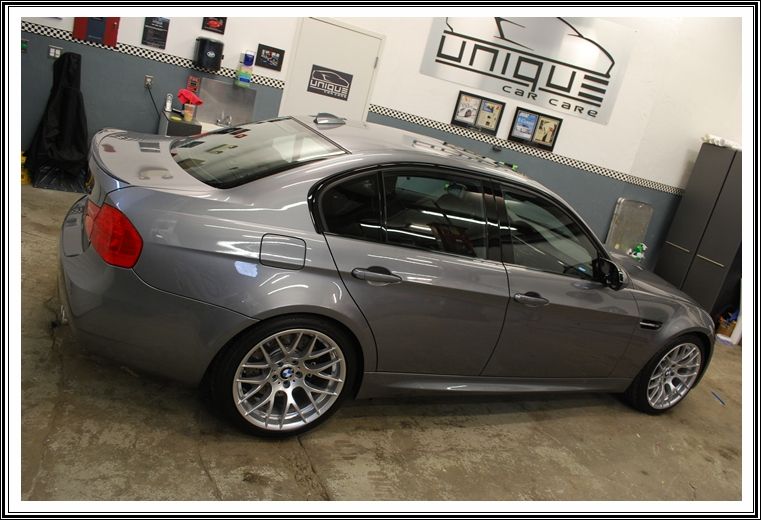
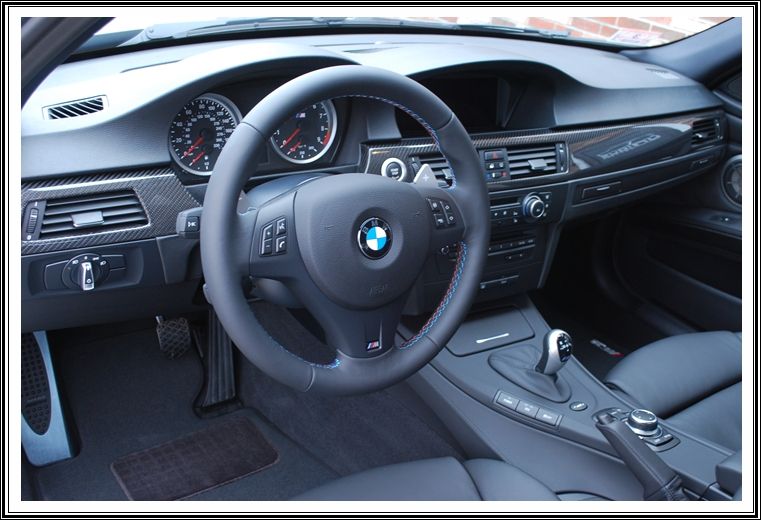
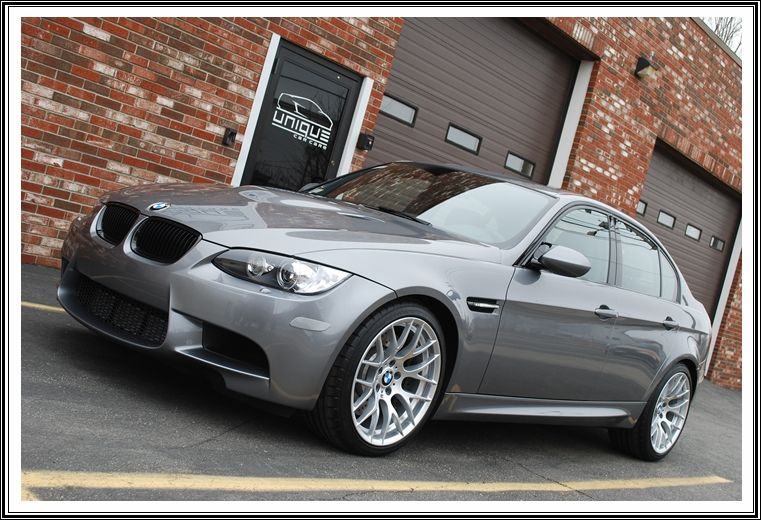
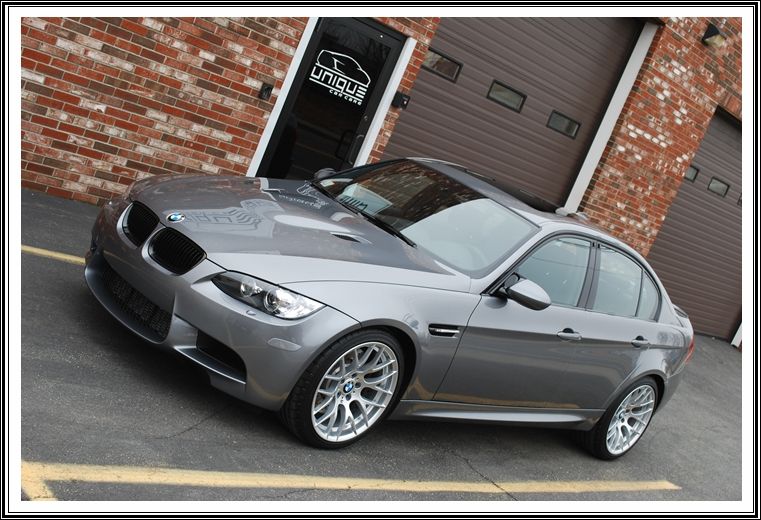
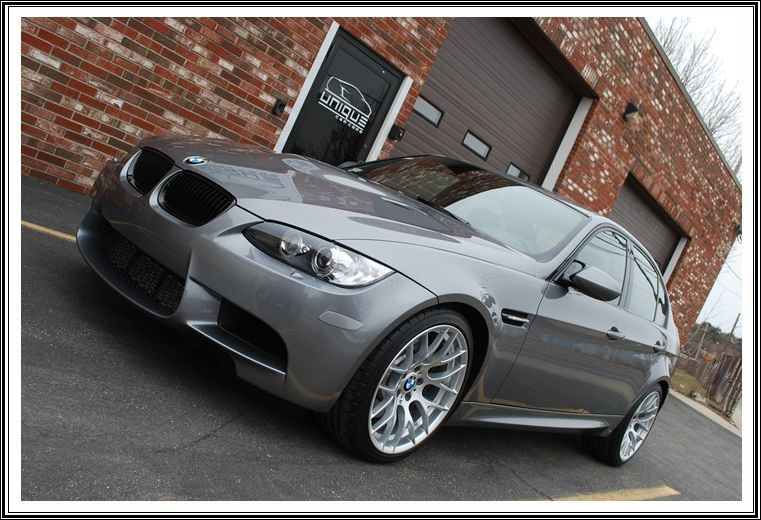
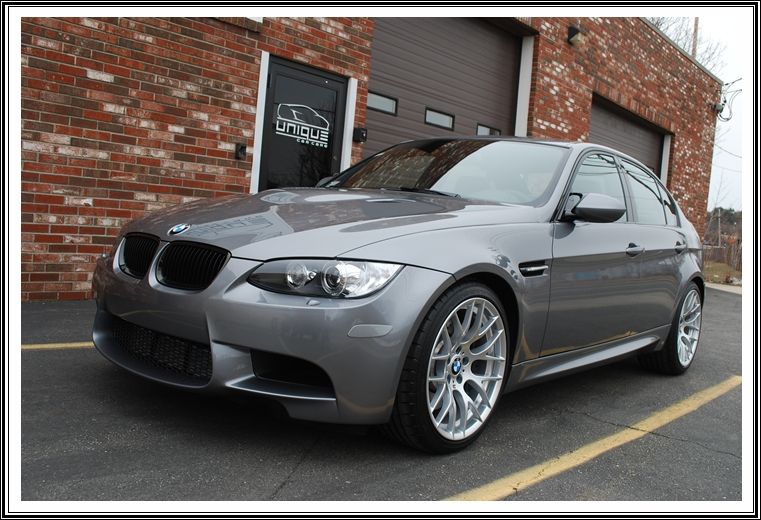
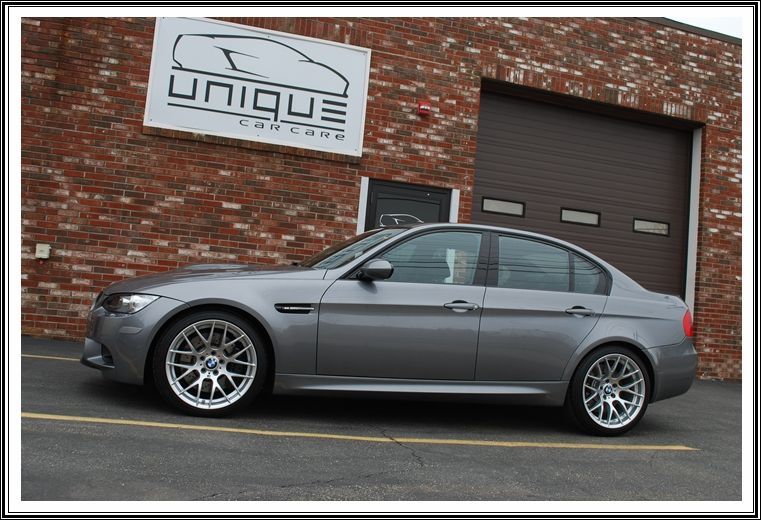
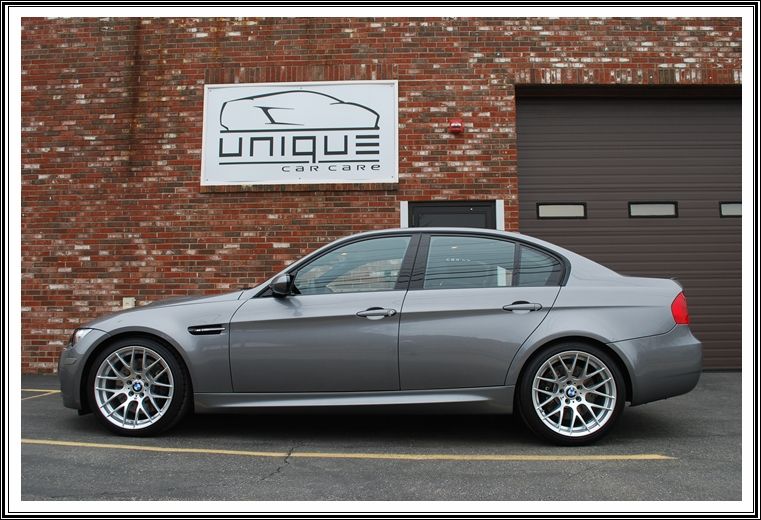
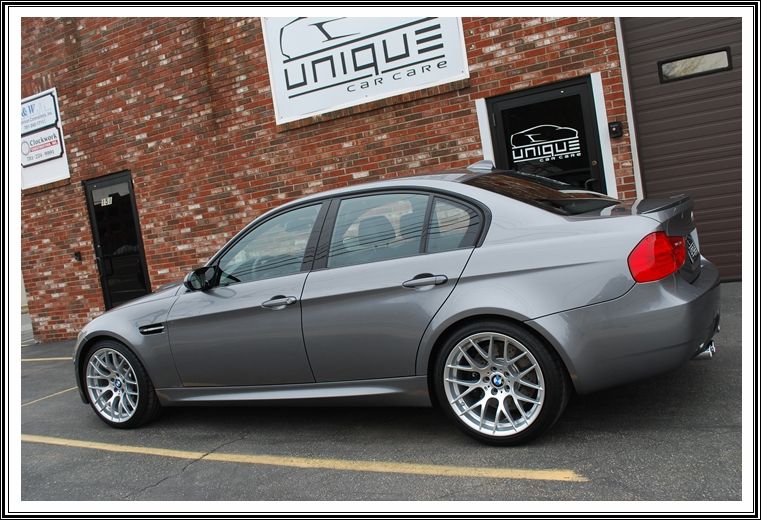
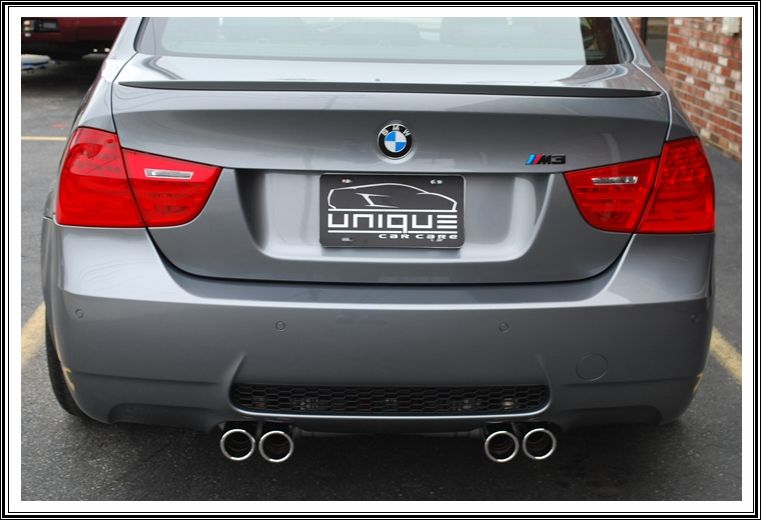
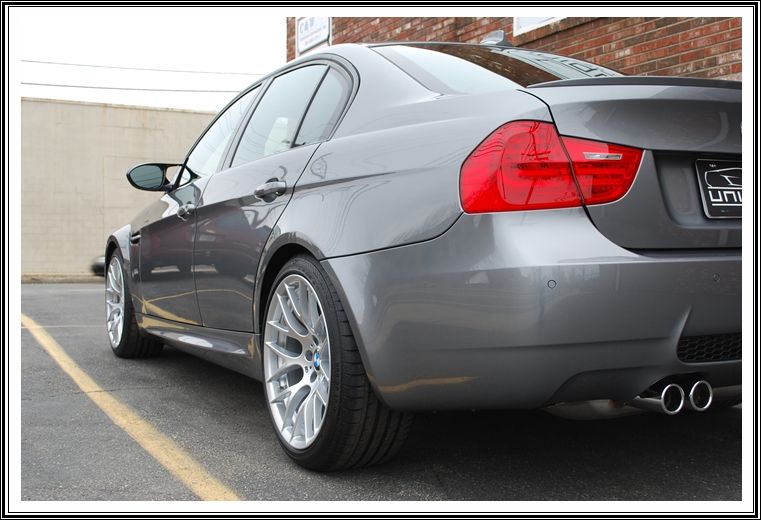
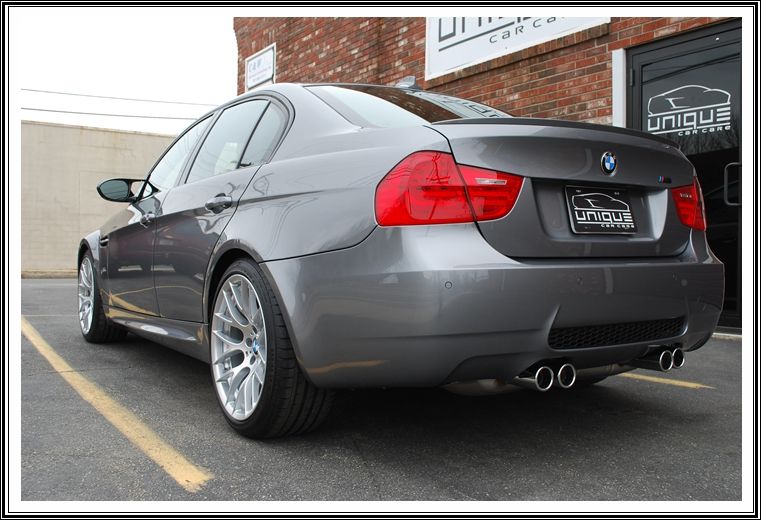
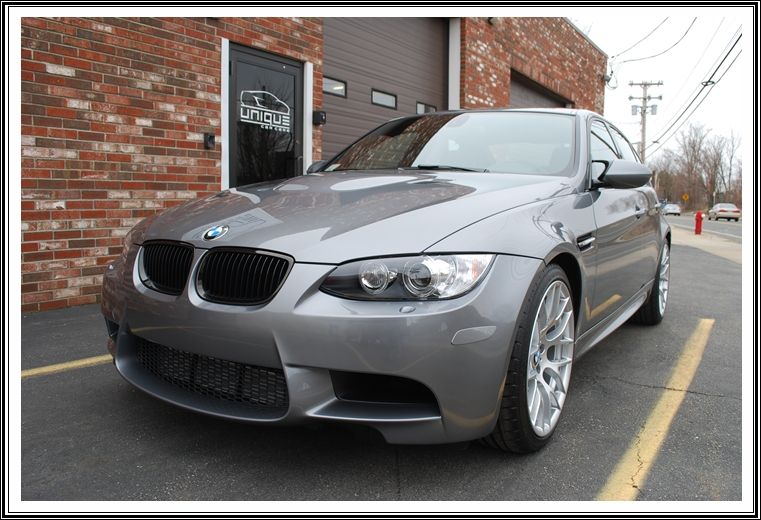
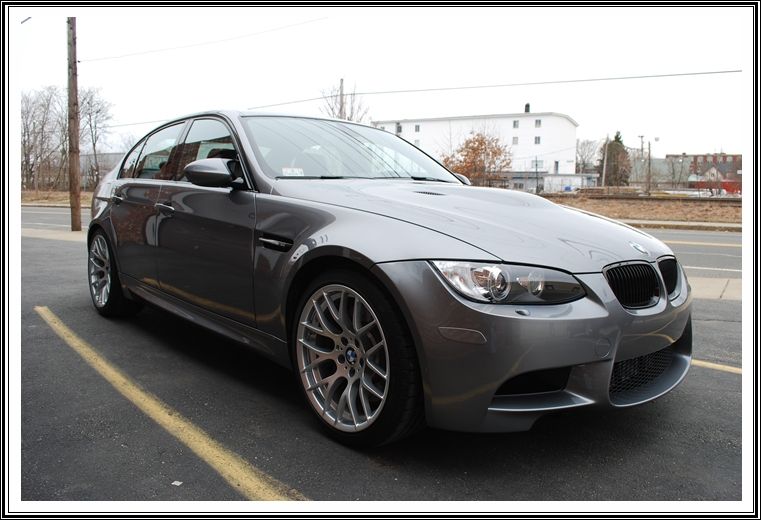
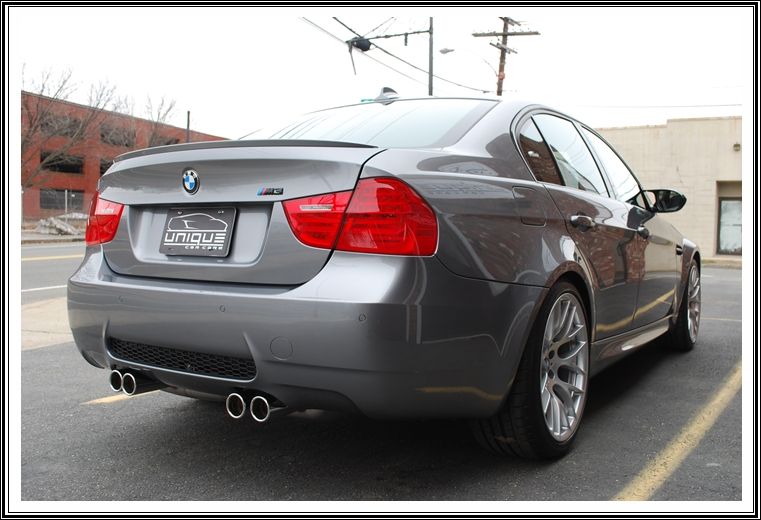
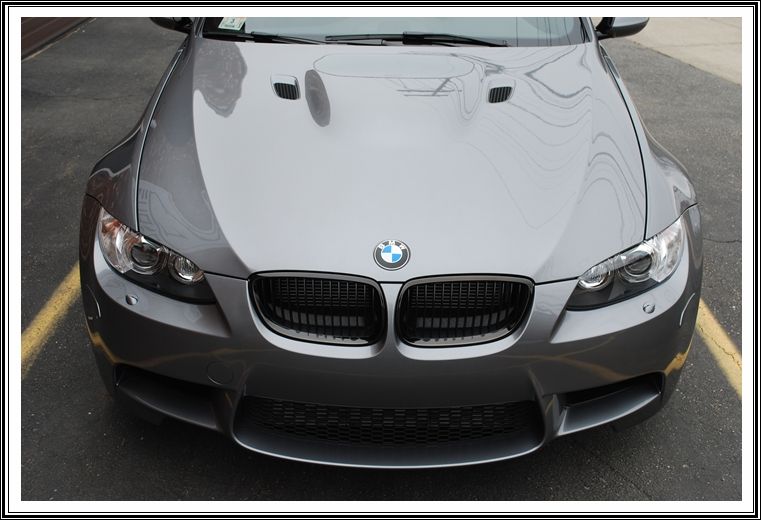
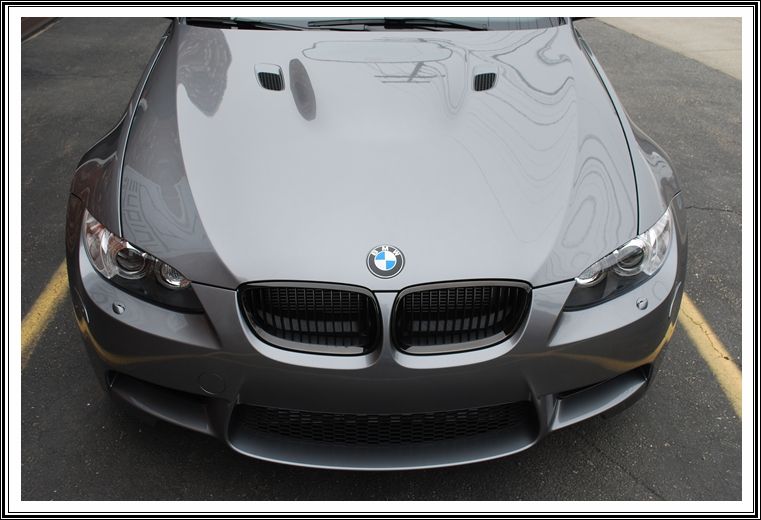
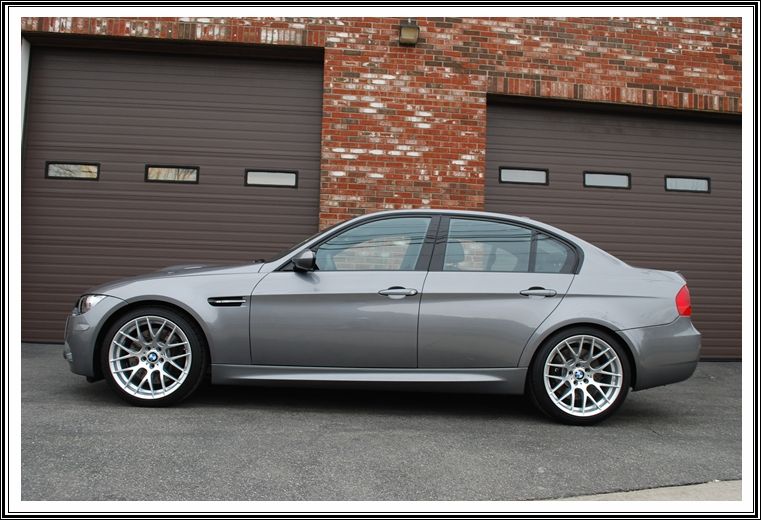
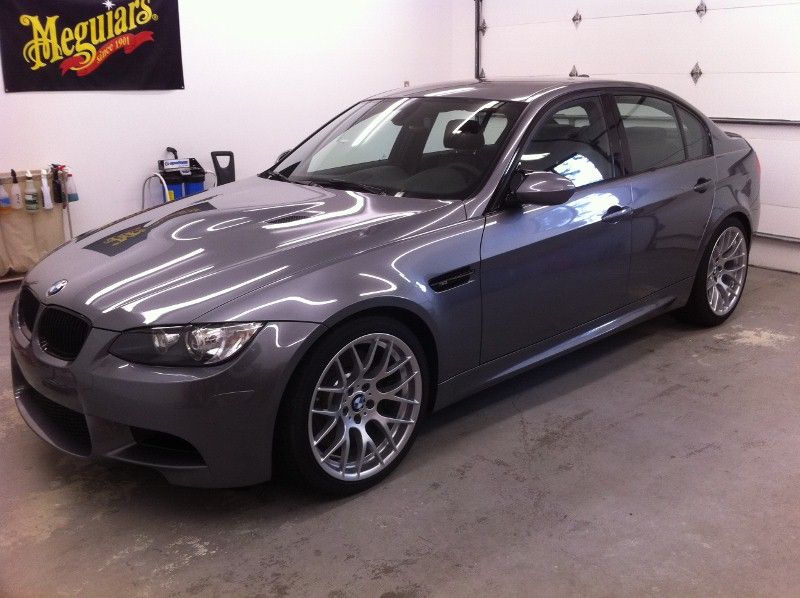
This beautiful BMW M3 was scheduled for a new car prep and custom clear bra install to get it off on the right track. The owner specifically told the dealership NOT to prep the car before delivery, in fear that they would inflict damage to the paint (which dealerships are famous for).
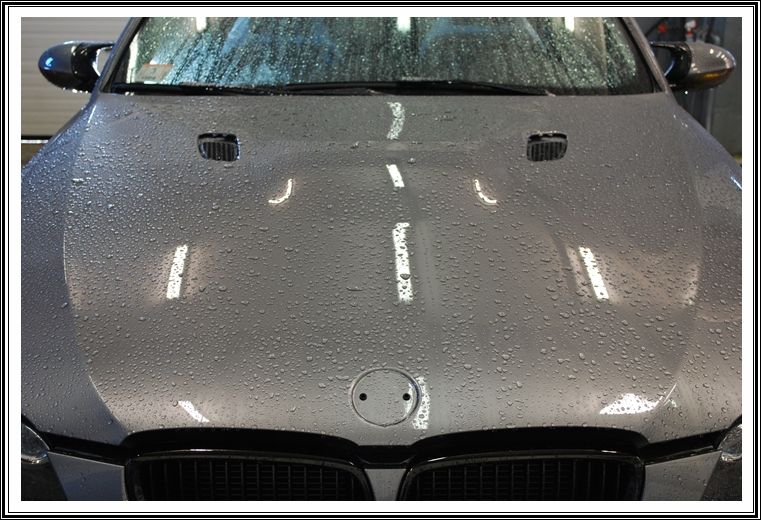
I started by giving the exterior an extensive wash. I noticed the paint was beading water, which usually means there is some sort of protection present.

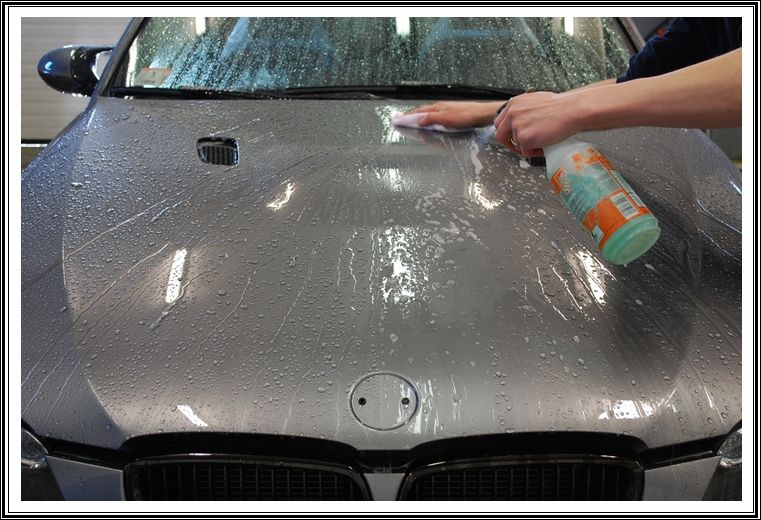
In order to properly prep the paint for the clear bra install, I washed the exterior with a degreaser to strip and protection that was present.
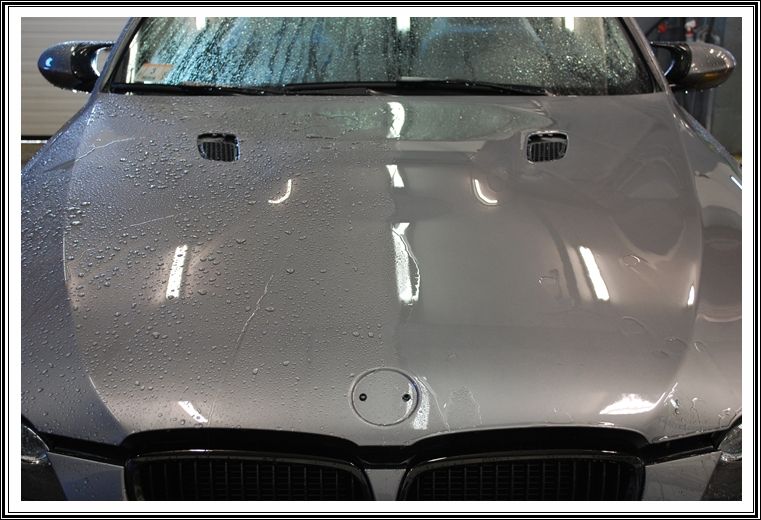
Notice the difference from the left (water beading) and the right (sheeting water). When the water stops beading, it is a pretty good indicator that there is no protection present.
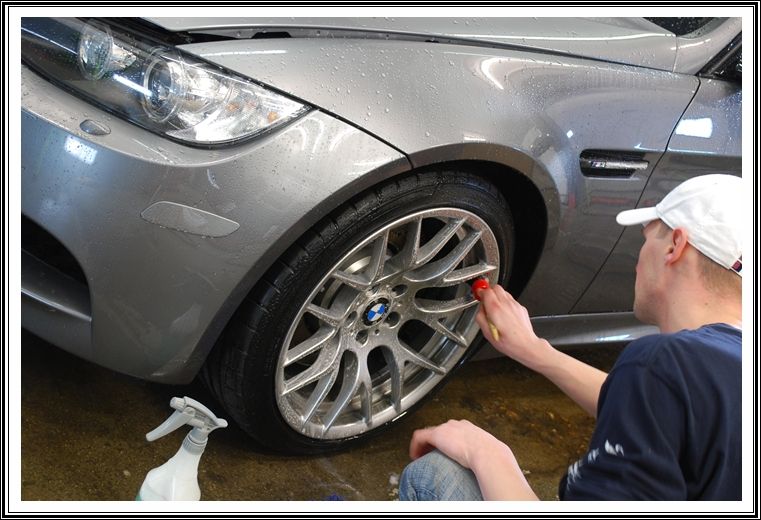
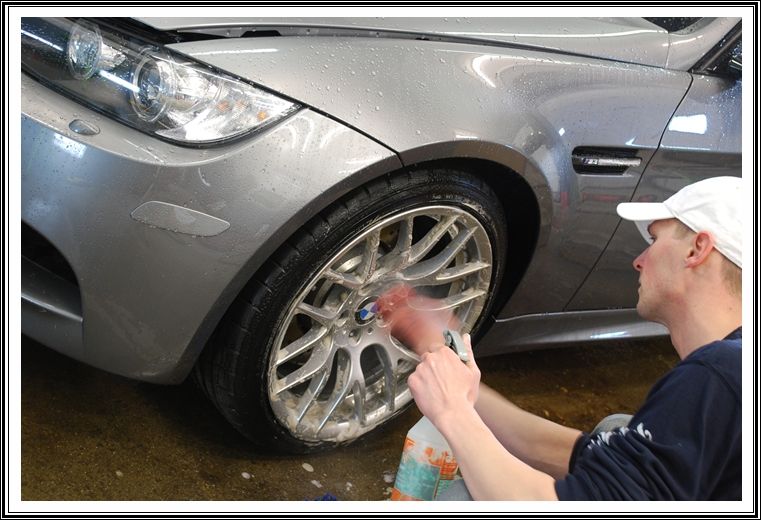
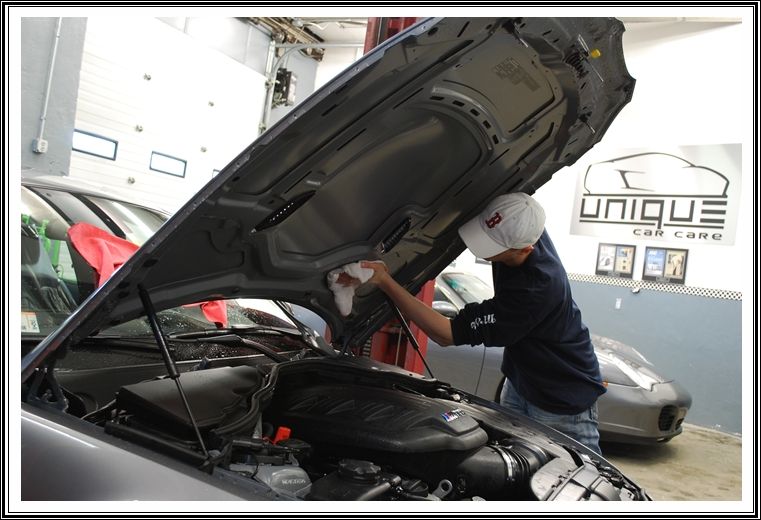
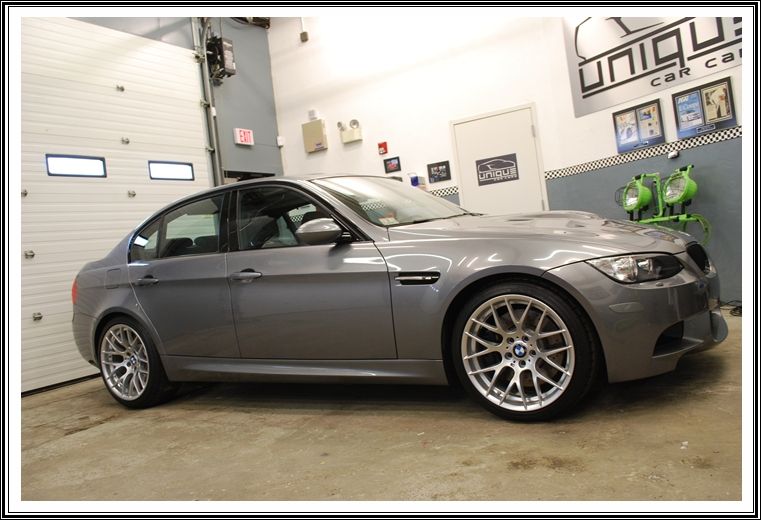
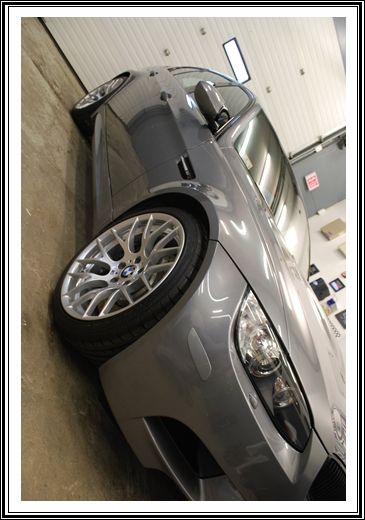
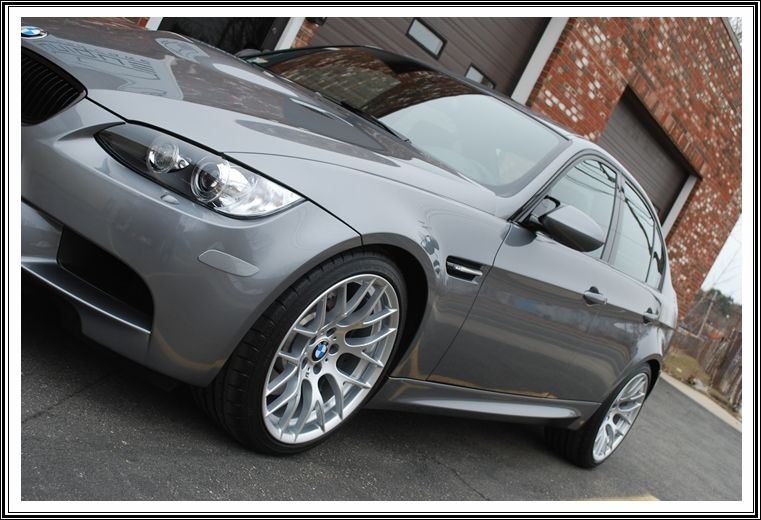
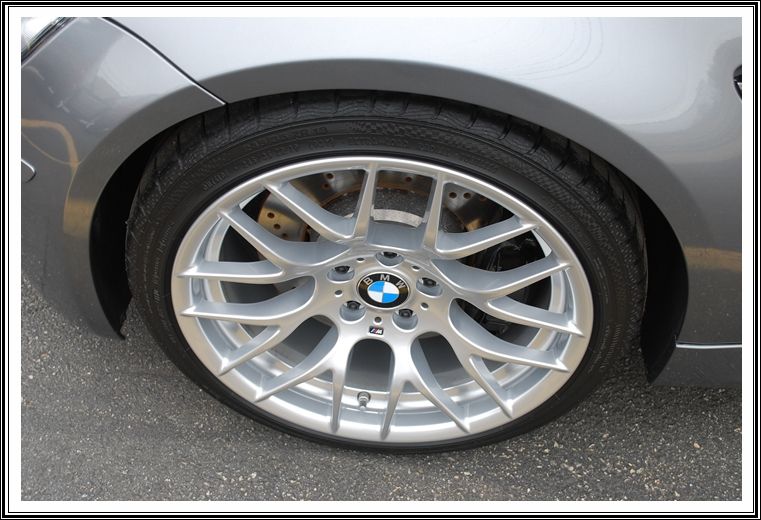
After the wash, I gave the exterior a claybar treatment to remove any bonded contaminants from the paint surface. All wheels and tires were extensively cleaned, and the engine compartment was given a quick once over.
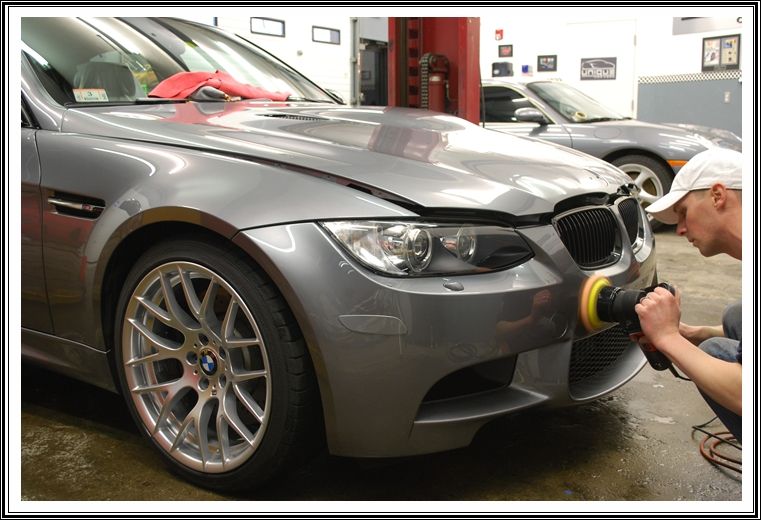
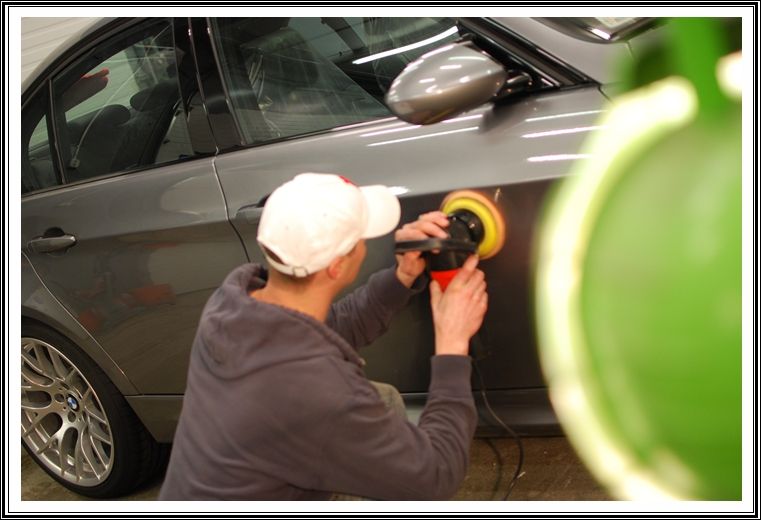
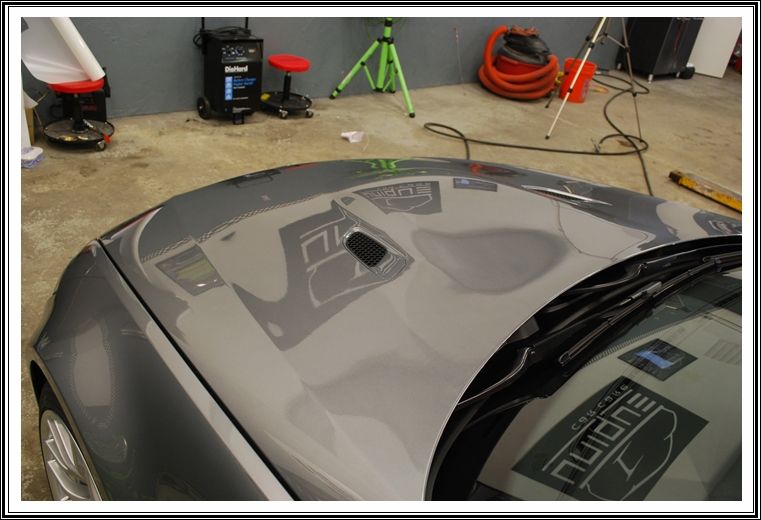
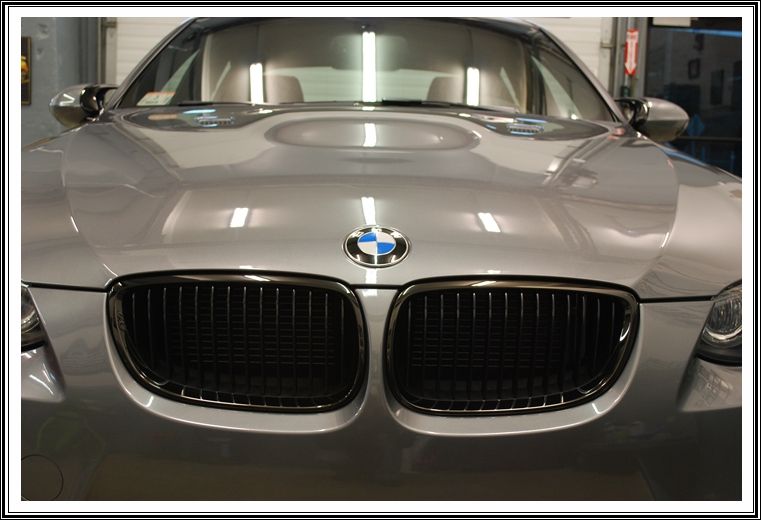
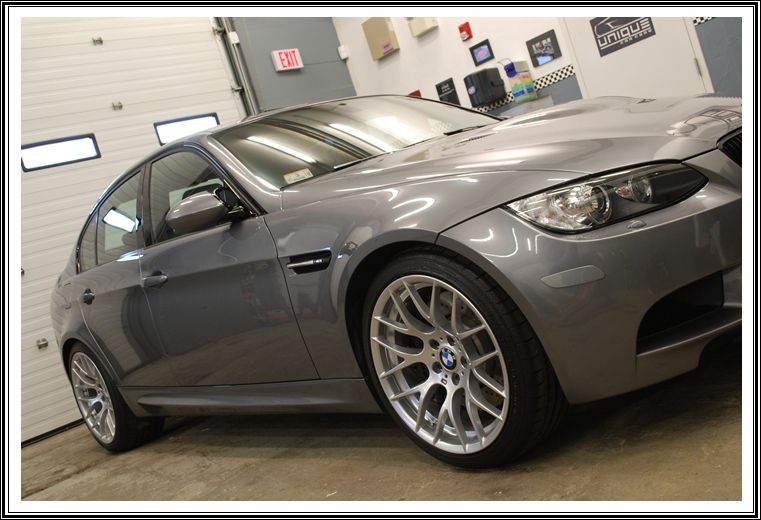
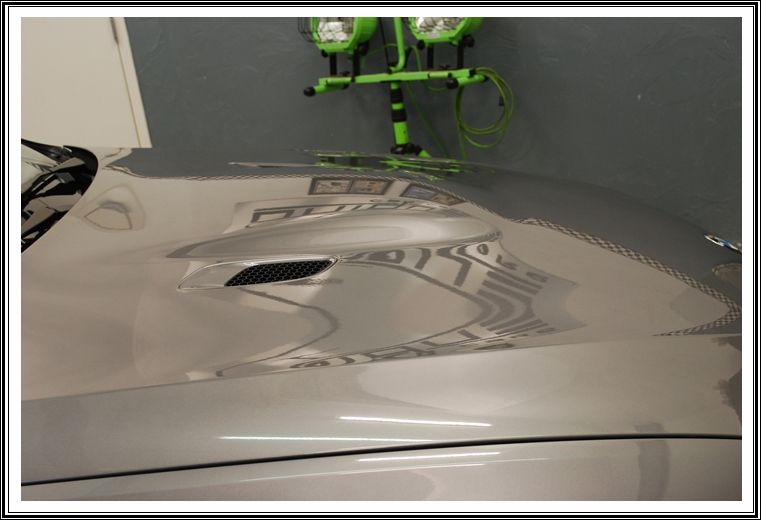
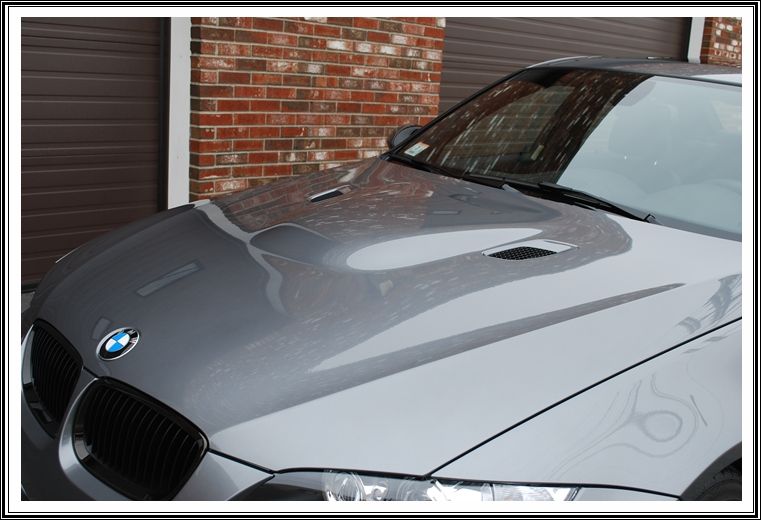
Even though this car is brand new, the owner wanted to have the exterior polished to ensure the paint was as perfect as possible. I buffed the complete exterior with Menzerna Power Finish using an orange pad via Griots DA polisher.
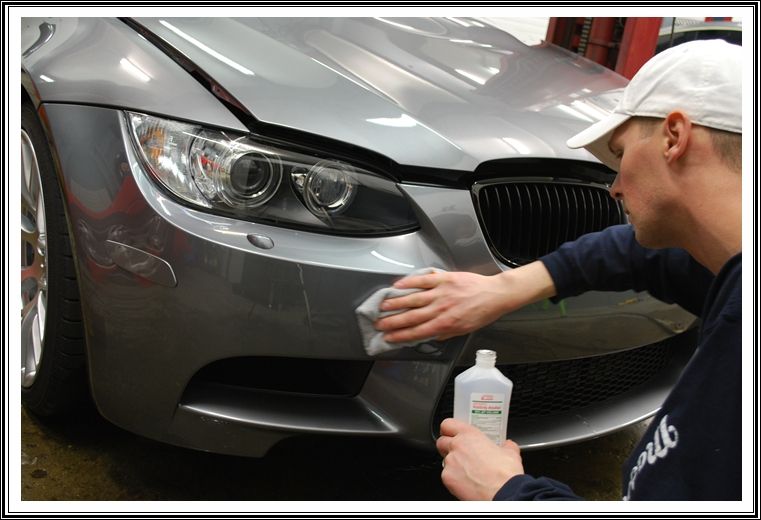
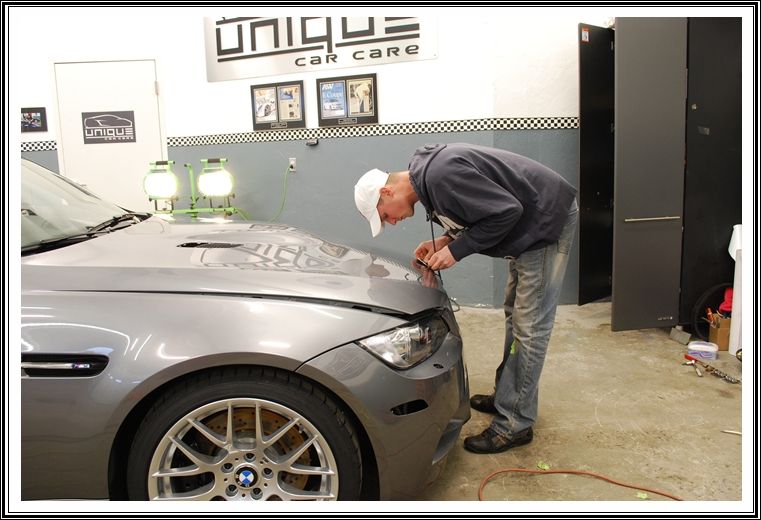
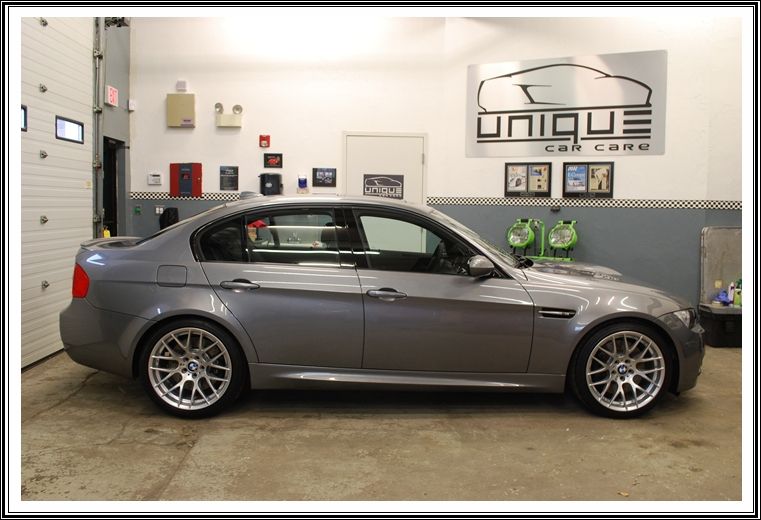
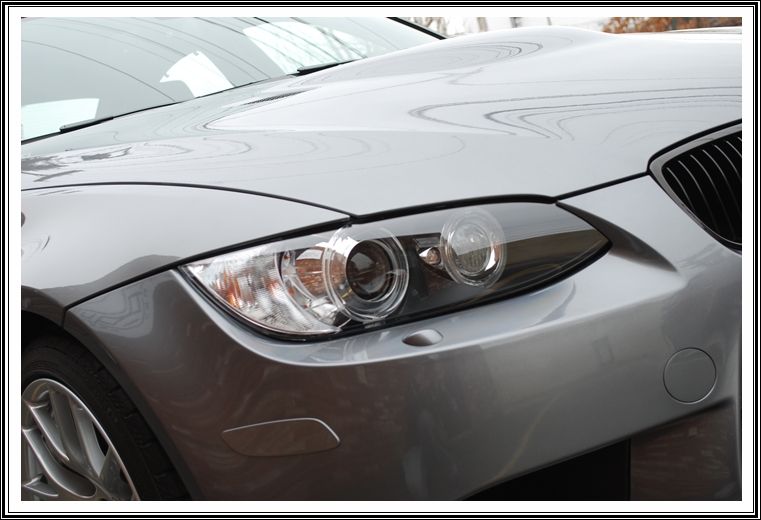
After the polishing, I wiped down the complete exterior with alcohol to remove any polishing oils and ensure a perfect surface for the film to adhere to. I inspected the paint carefully under halogen lighting to make sure there weren’t any defects present before the clear film install.
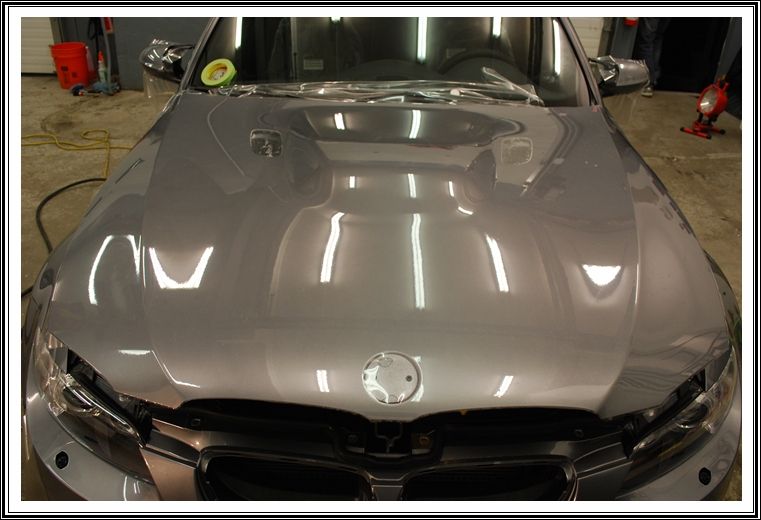
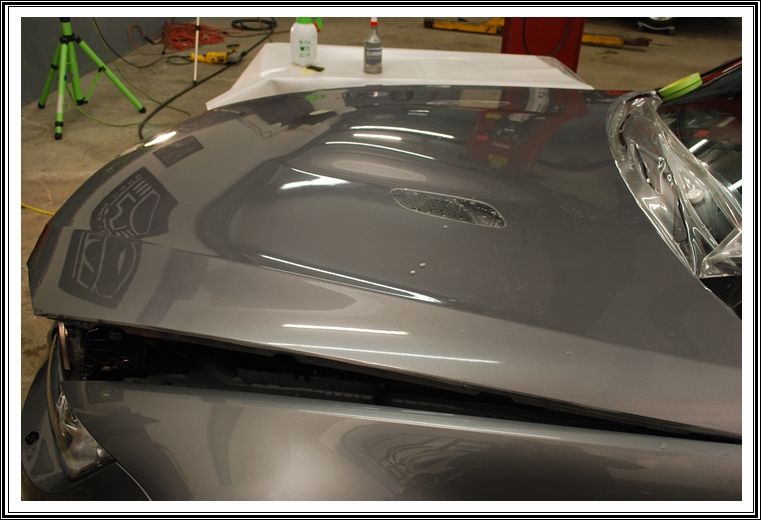
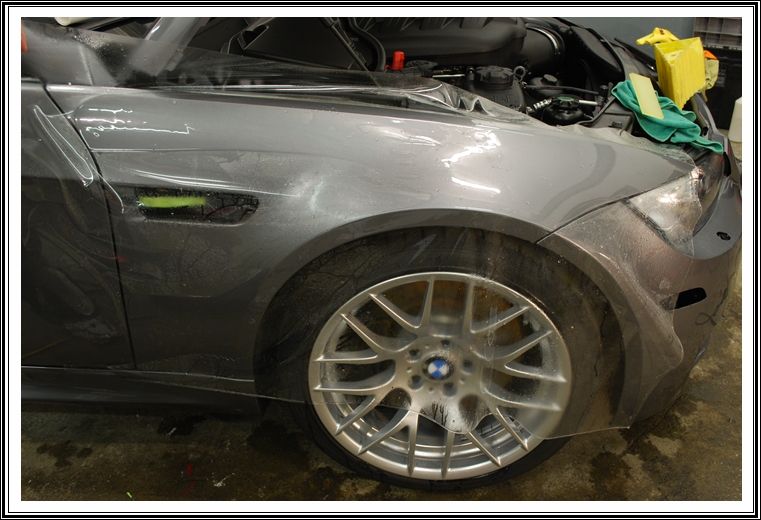
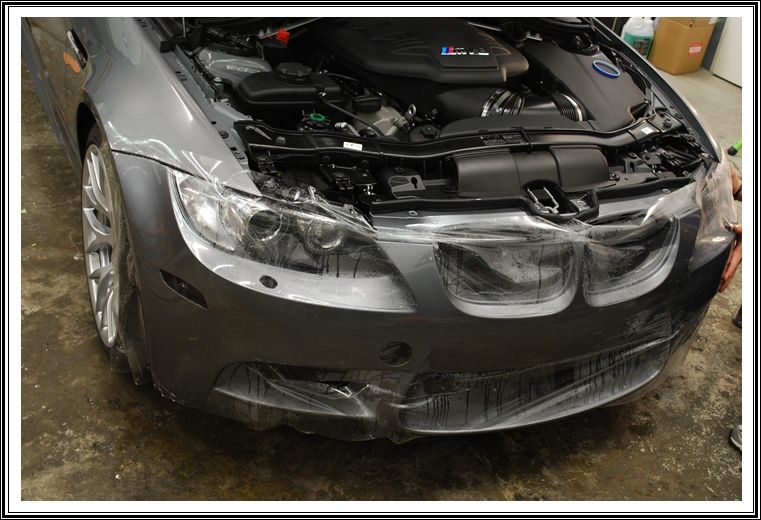
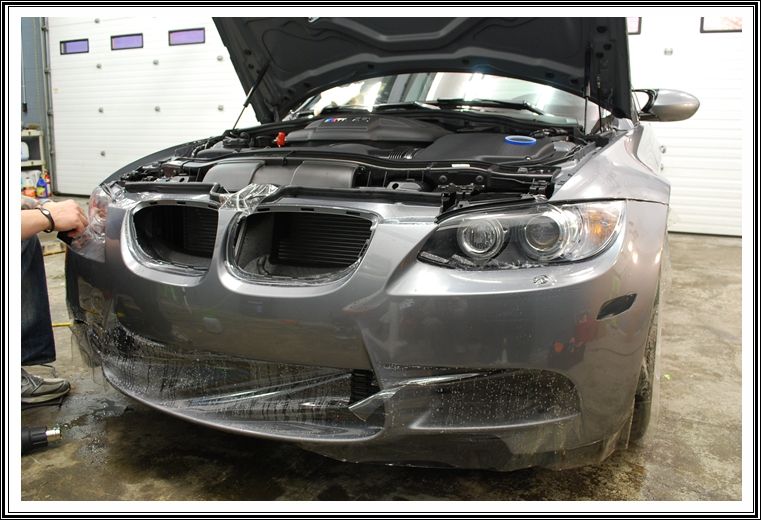
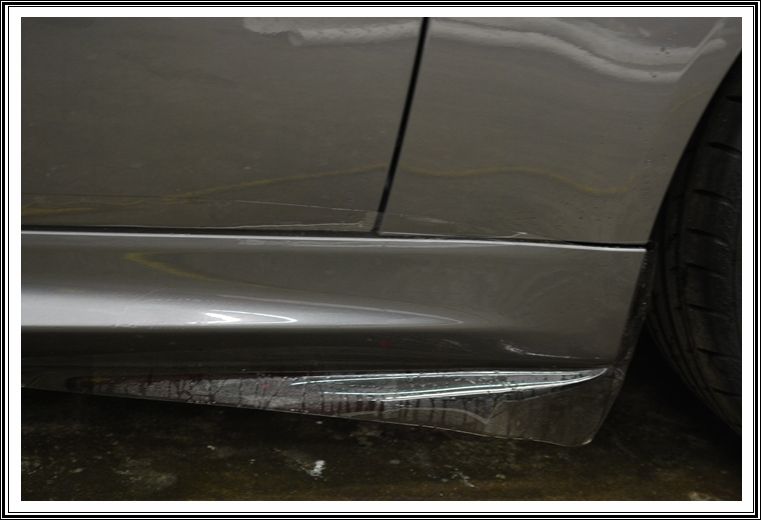
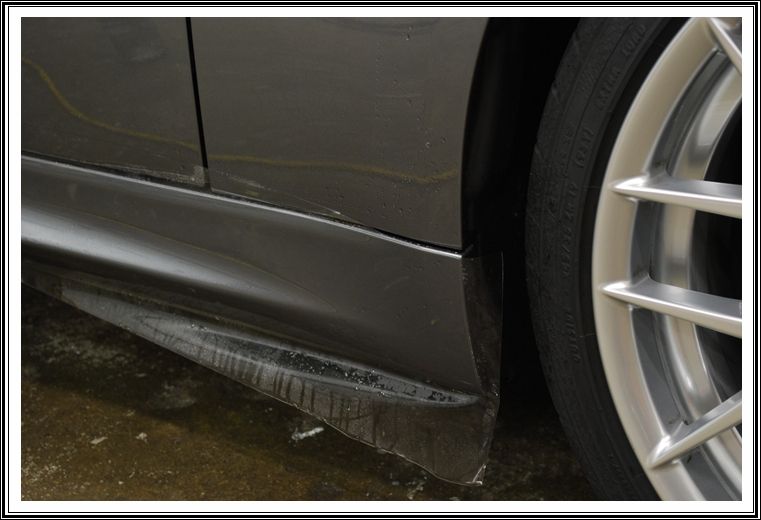
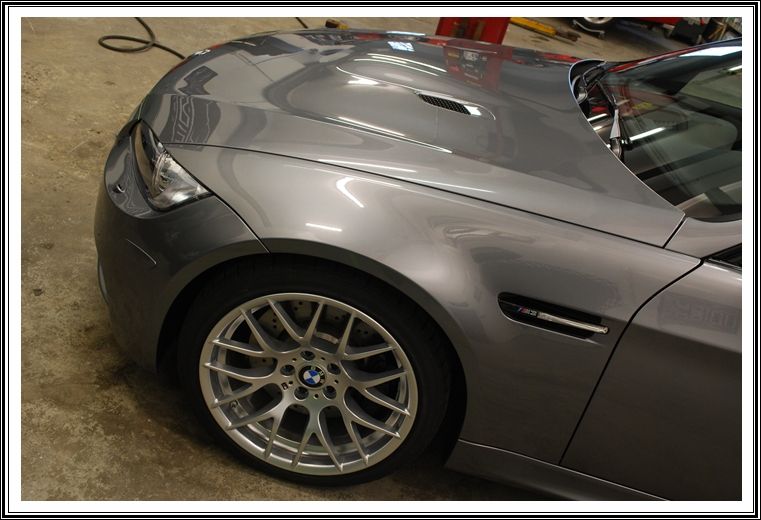
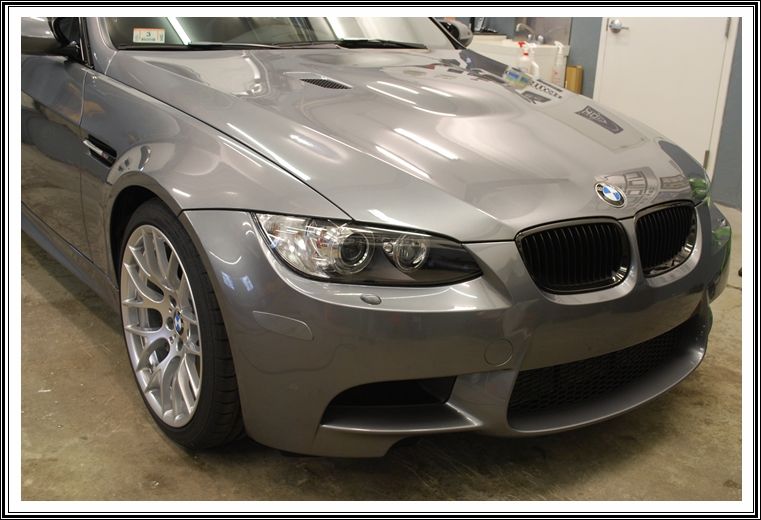
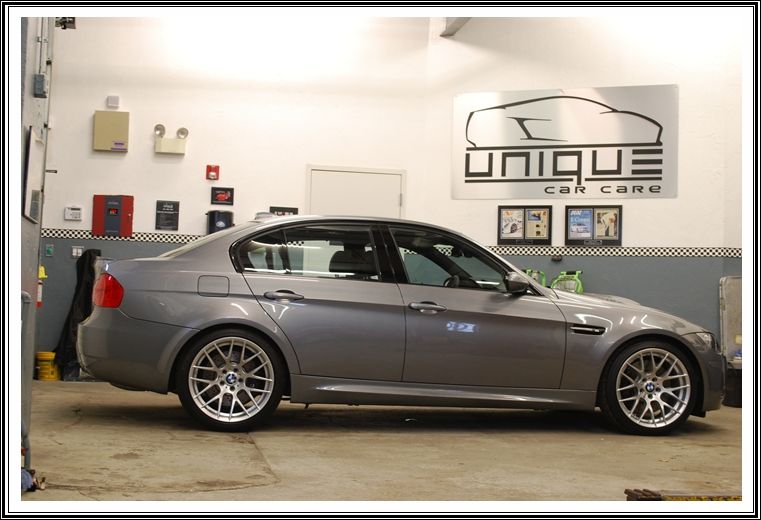
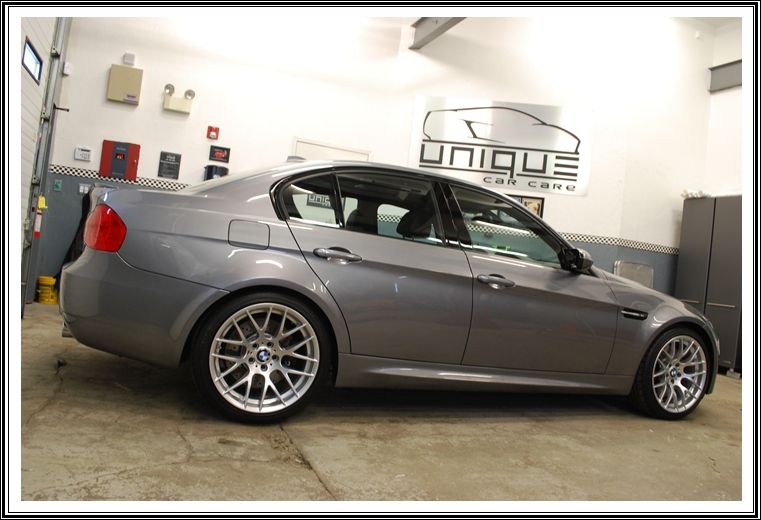
Our plans for the film install was to wrap the complete front-end (full hood, full fenders, front bumper & mirrors), as well as the rocker panels and a rear splash guard behind the rear wheels. Because of the complex curves of the bumper, we decided to go with a precut piece of film instead of custom cut, but I wasn’t satisfied with the coverage. The film didn’t wrap over the edges and some of the openings for the reflectors and headlight washers just didn’t look right. So what now? Take it off!
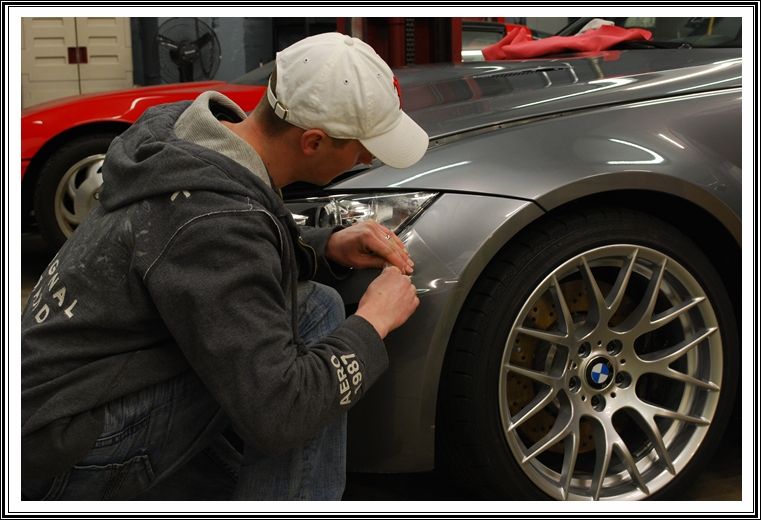
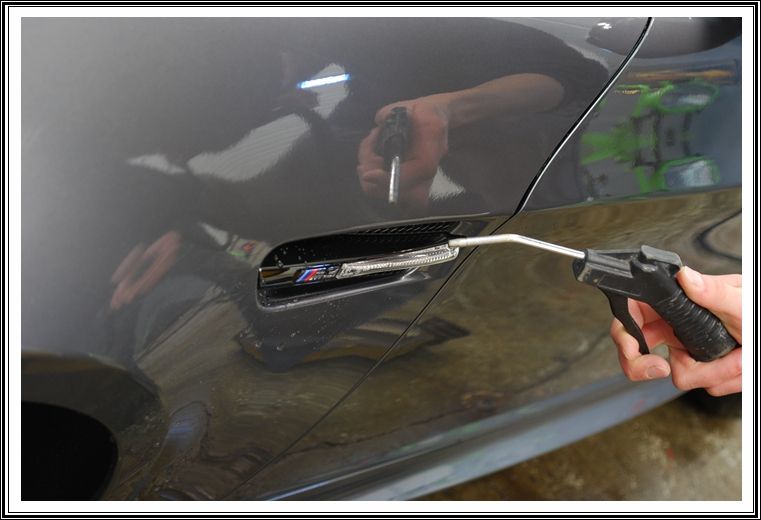
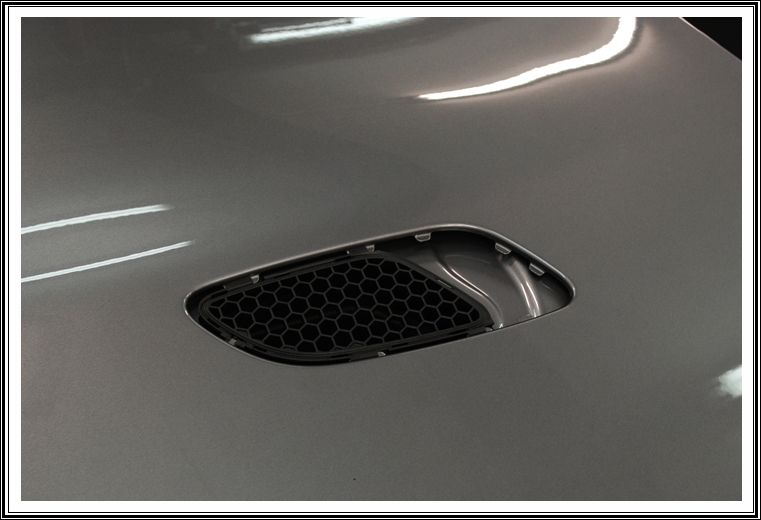
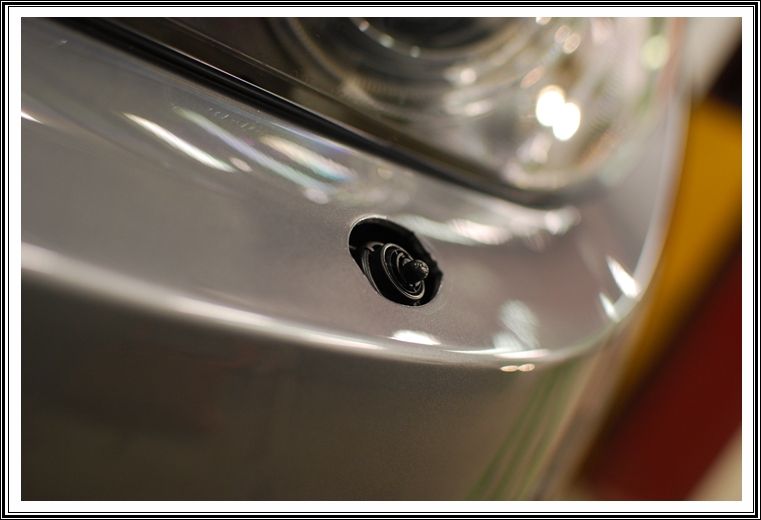
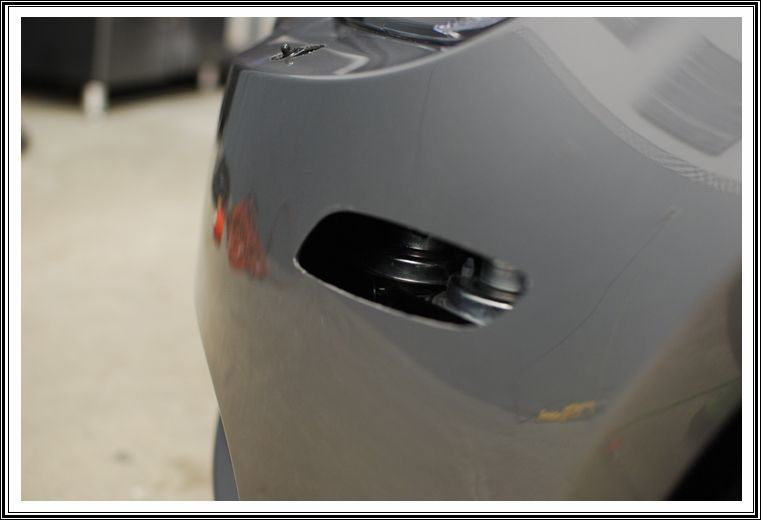
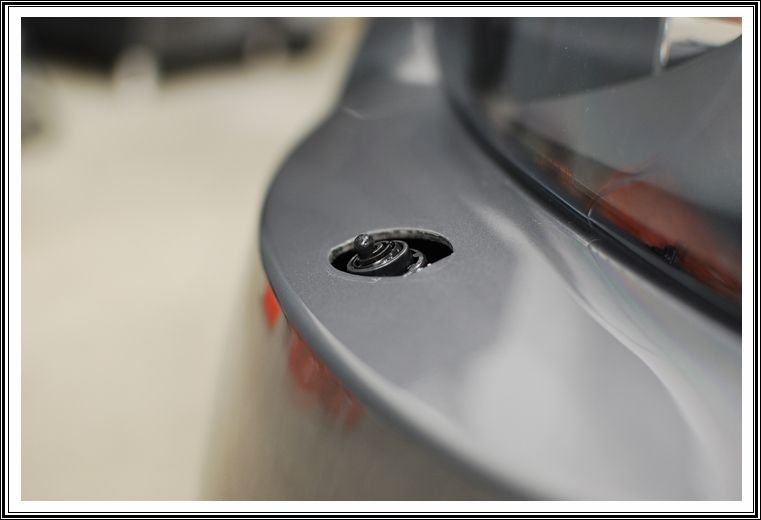
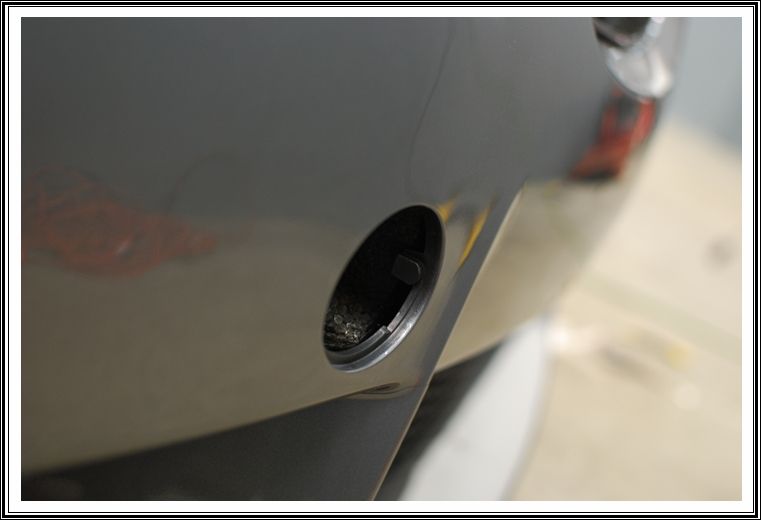
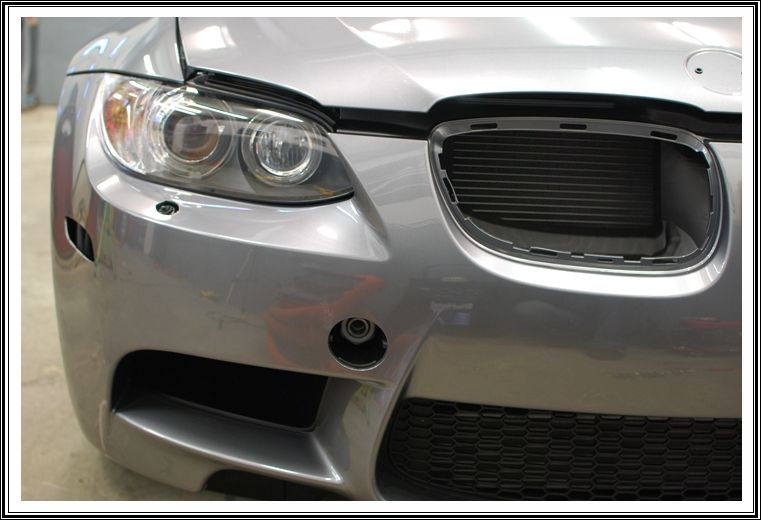
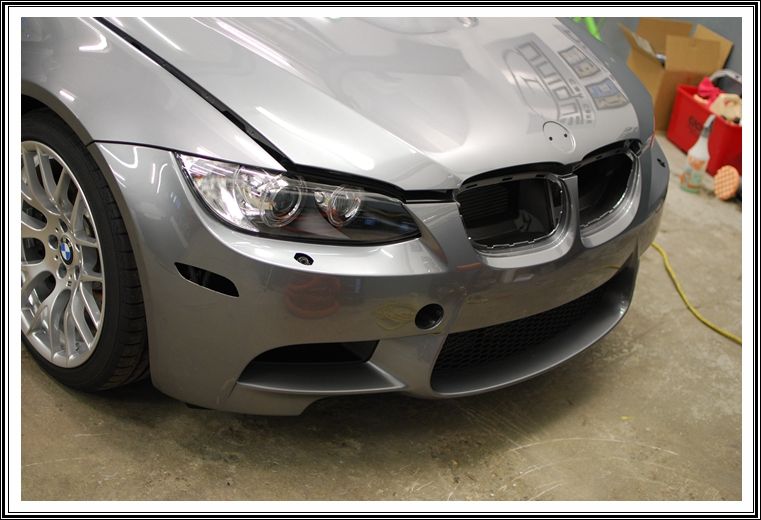
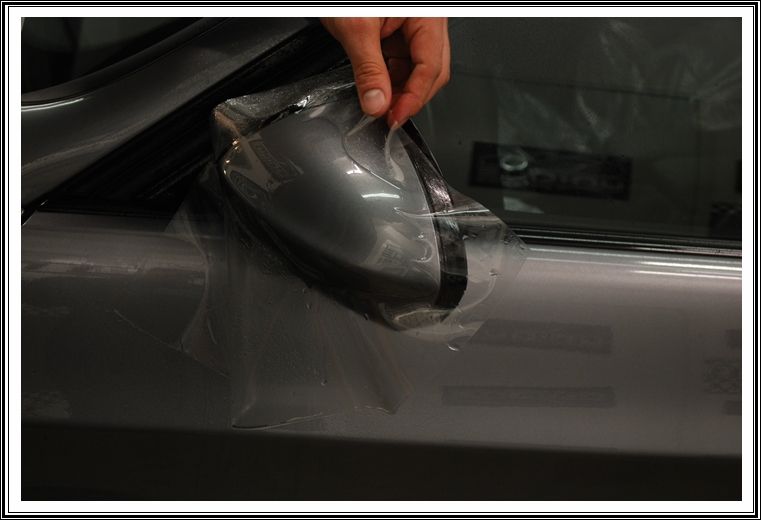
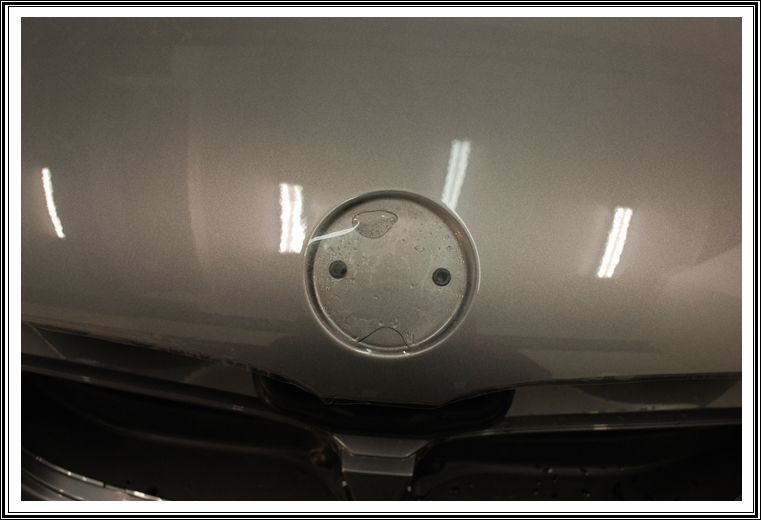
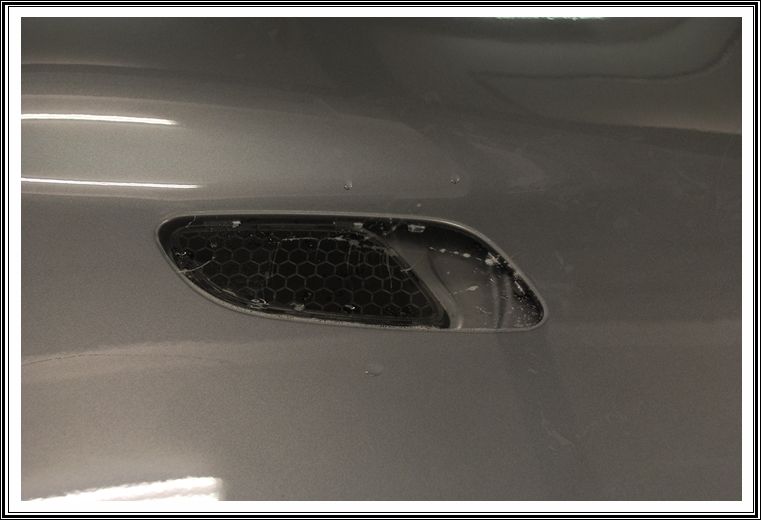
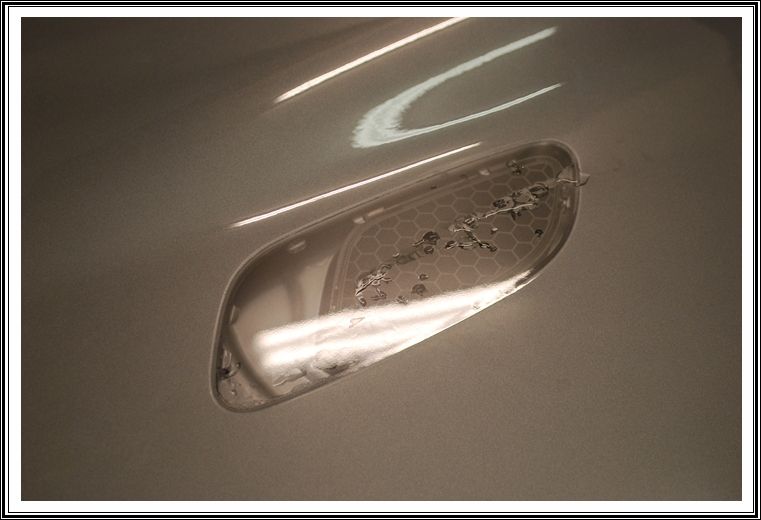
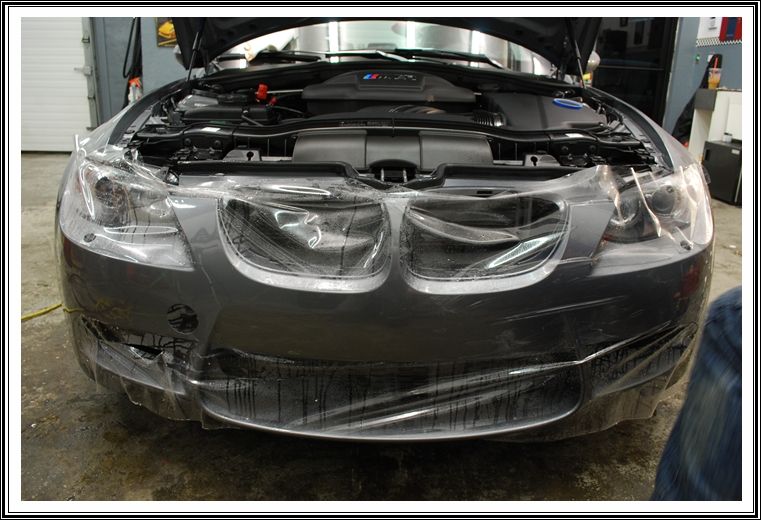
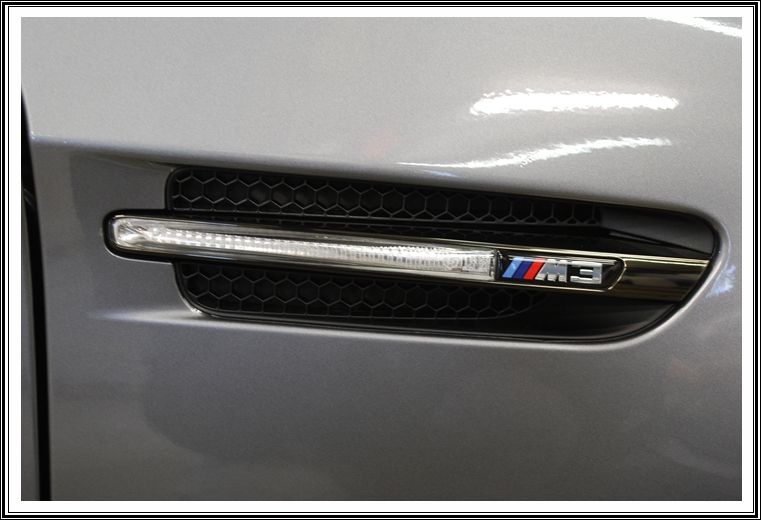
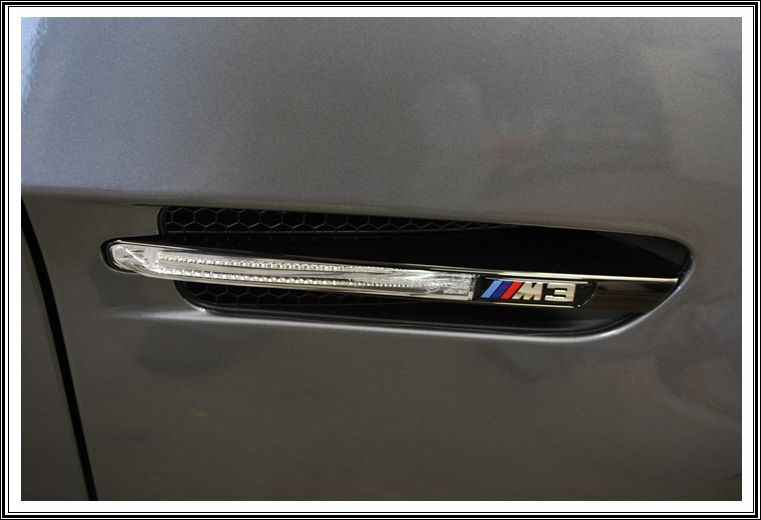
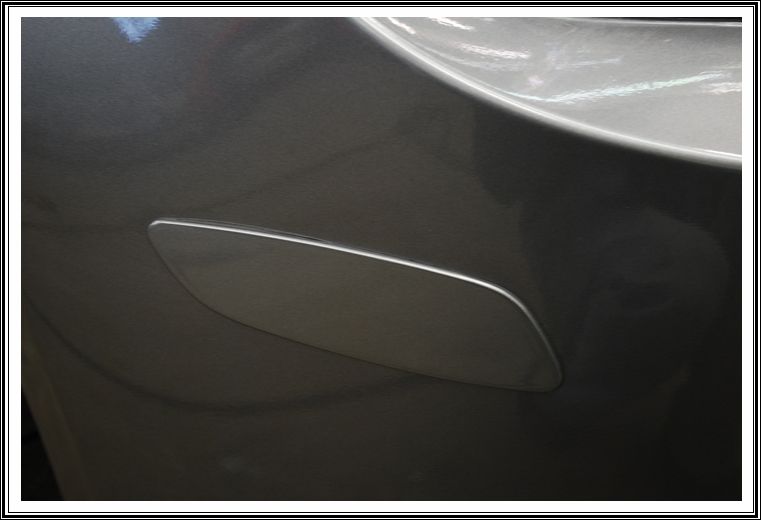
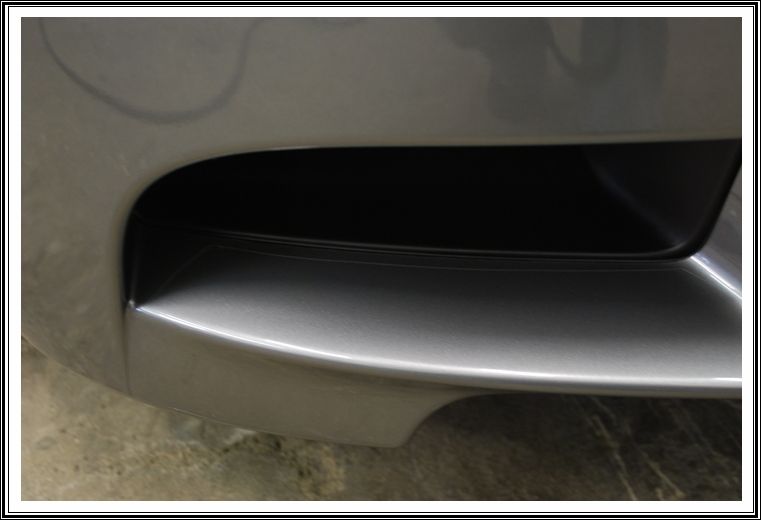
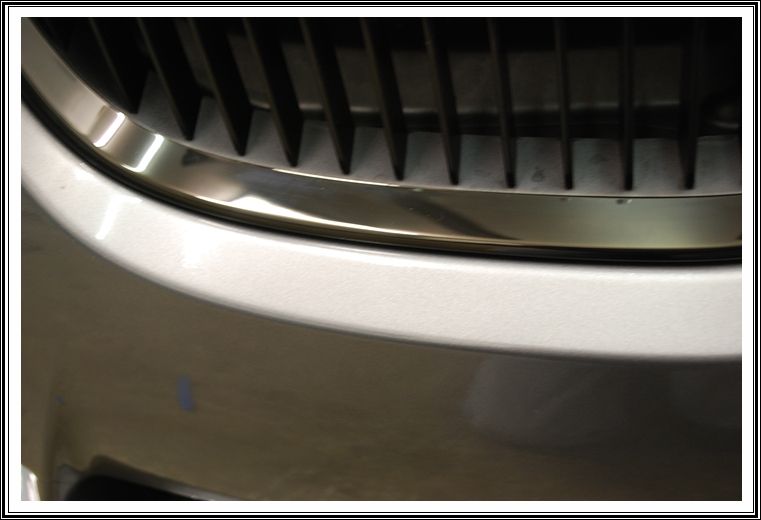
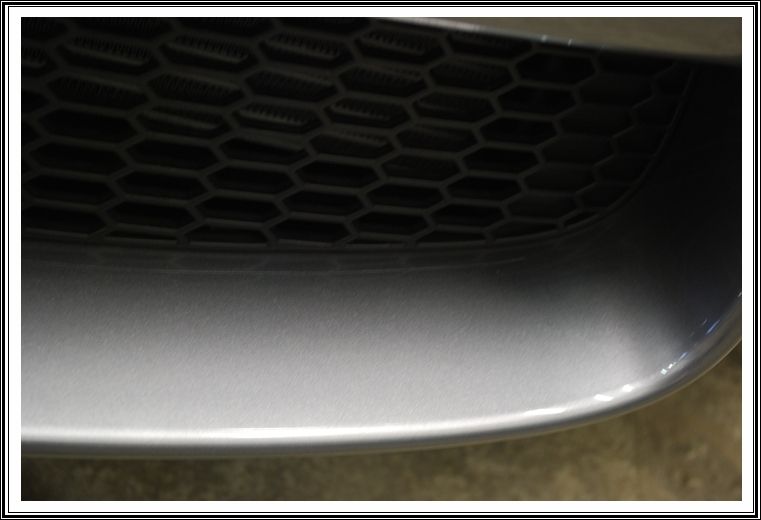
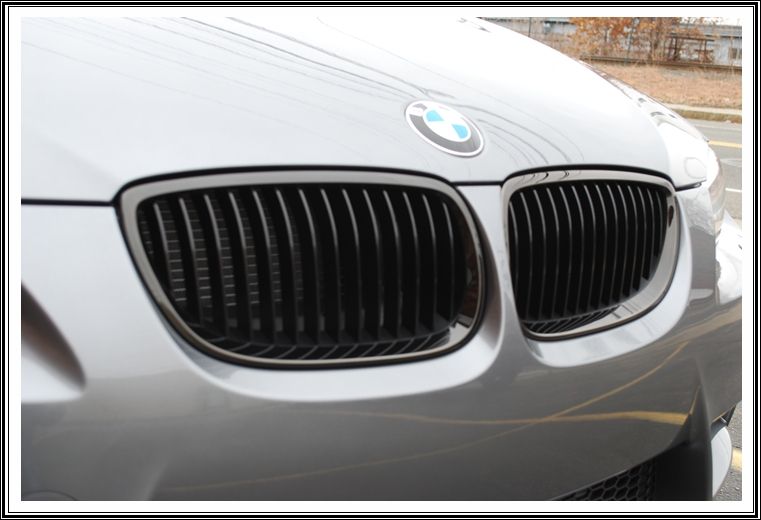
After removing the film on the bumper that we had just installed, I decided to take things a step further and remove as many little pieces as possible to avoid having seams around them. This included the headlight washers, reflectors, kidney grills, fender inserts and hood inserts. By having these little pieces removed, we would be able to cover the entire paint surface with film and avoid having gaps around them for a 99% seamless install.

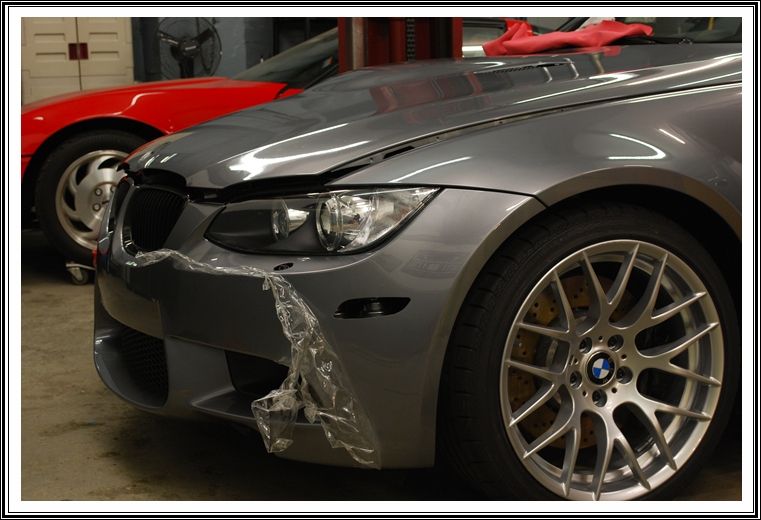
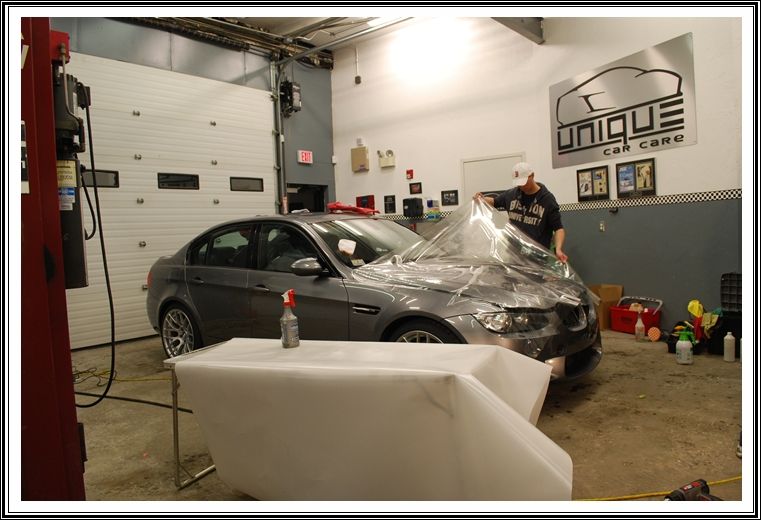
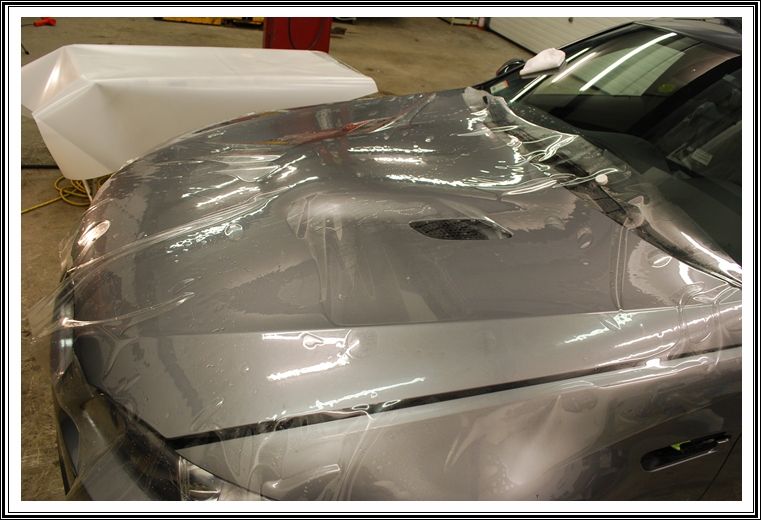
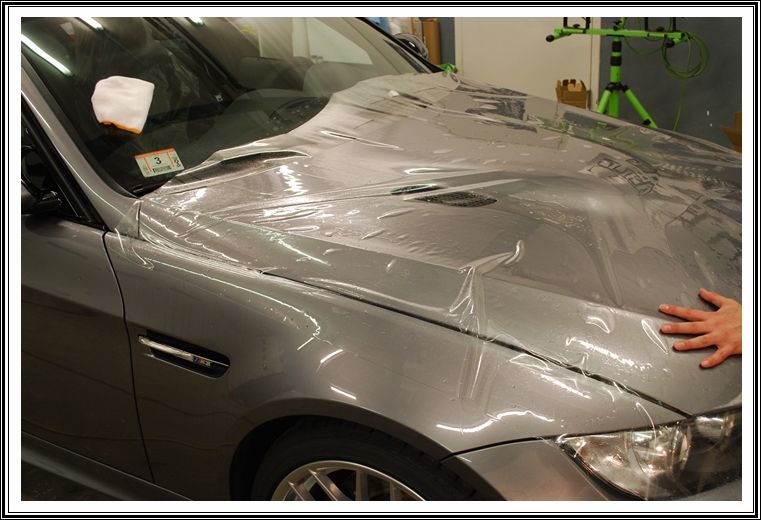
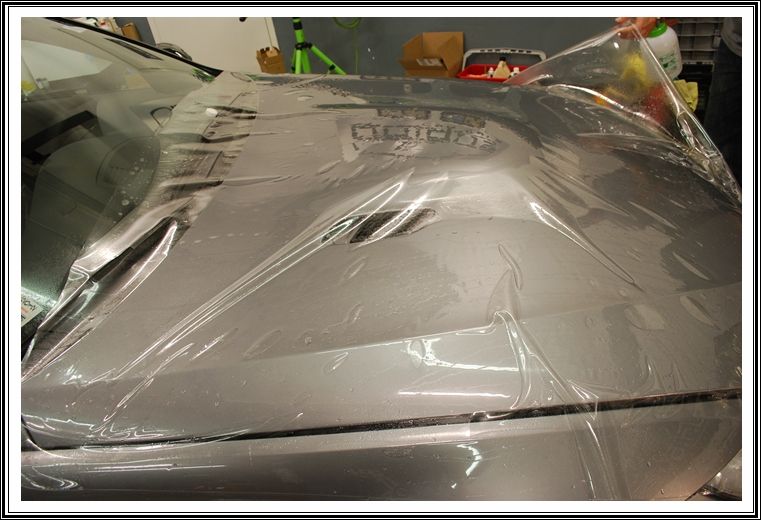
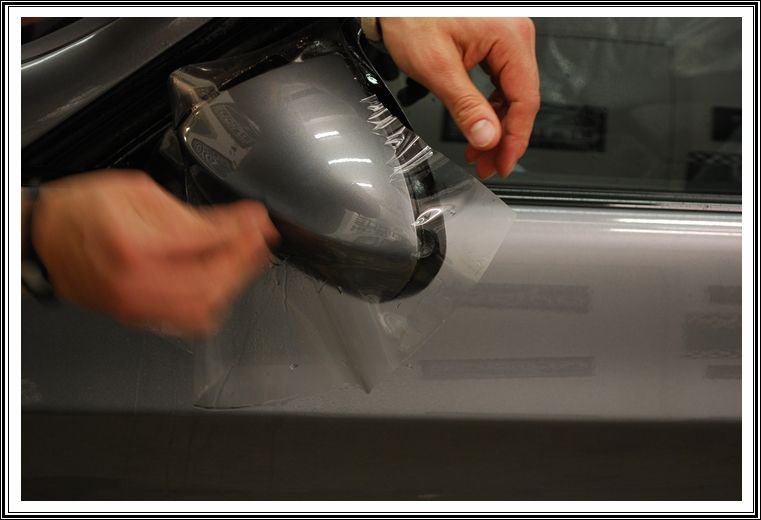
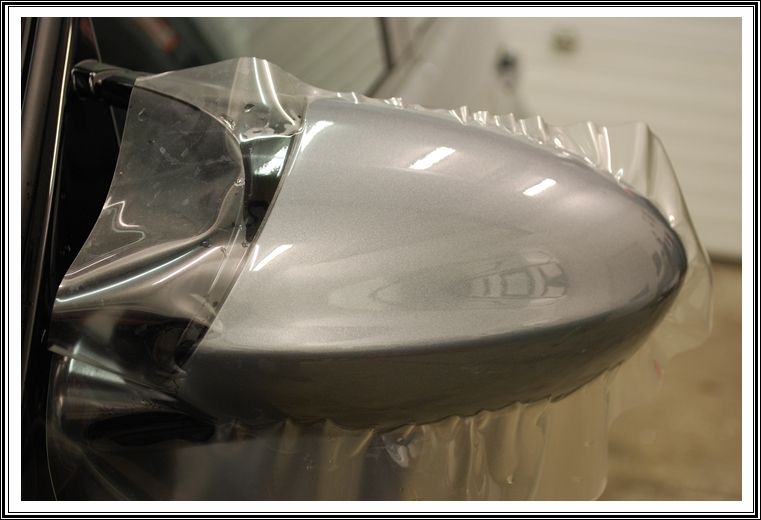
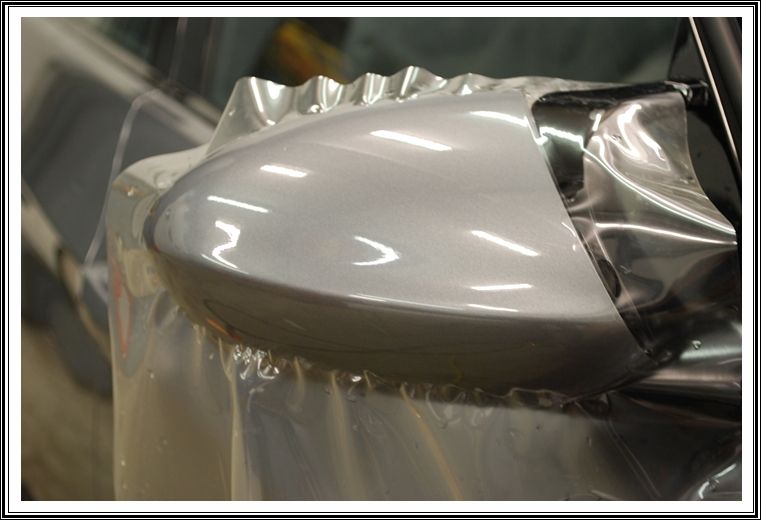
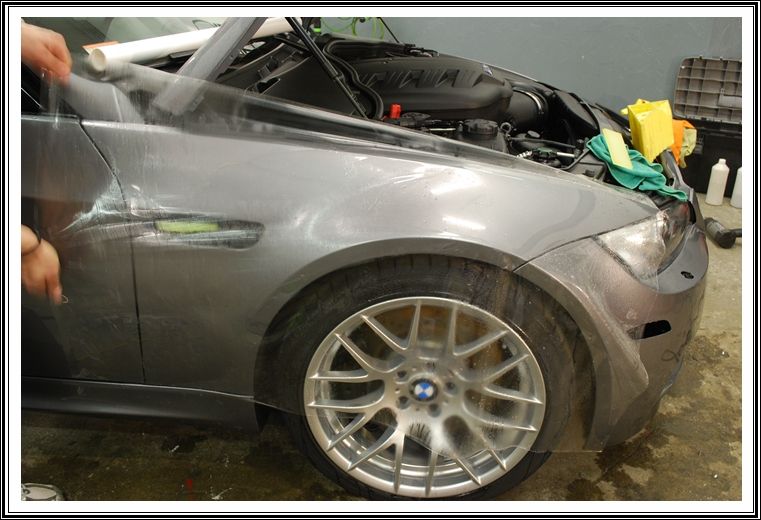
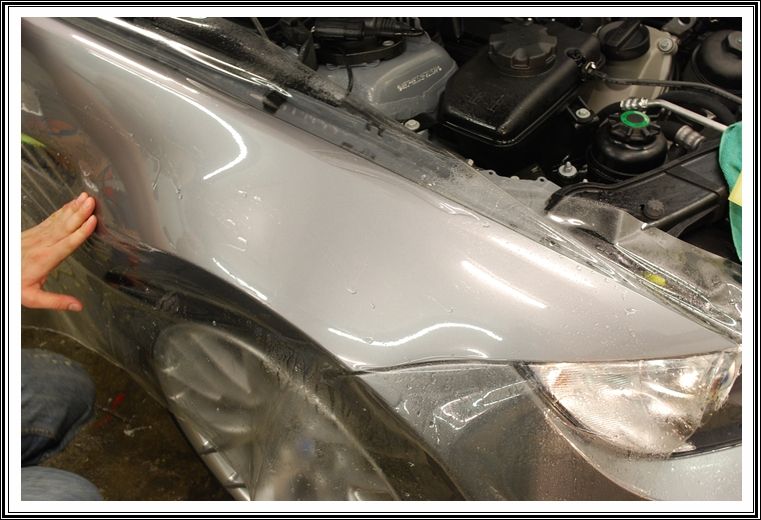
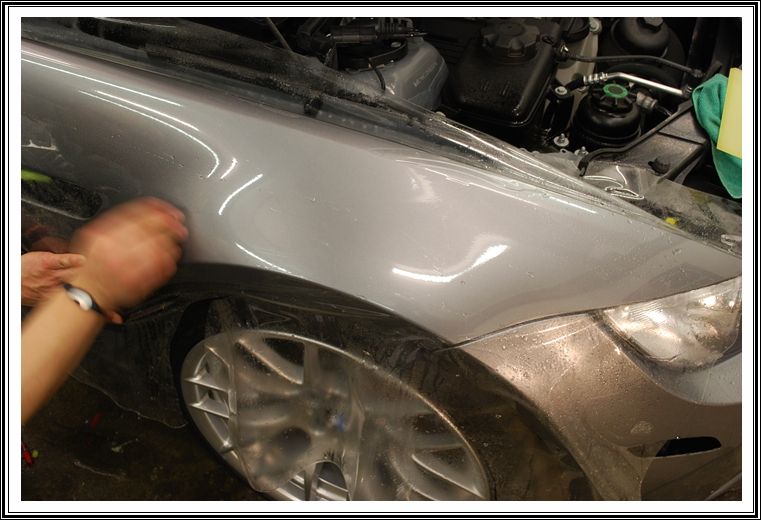
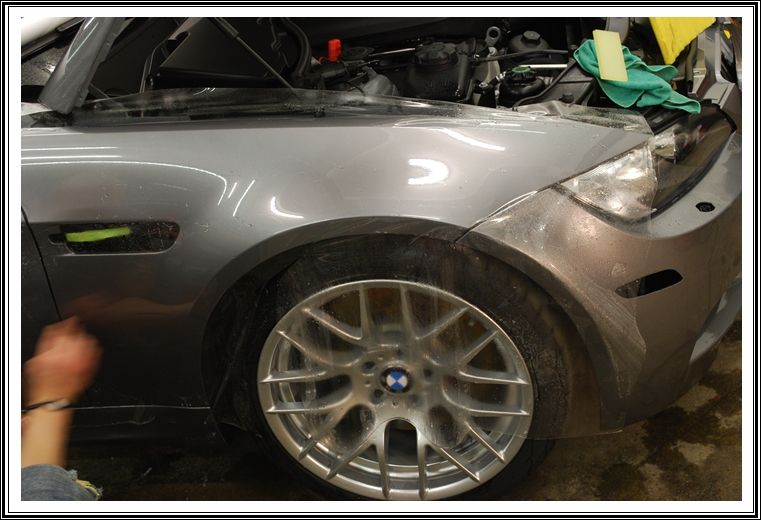
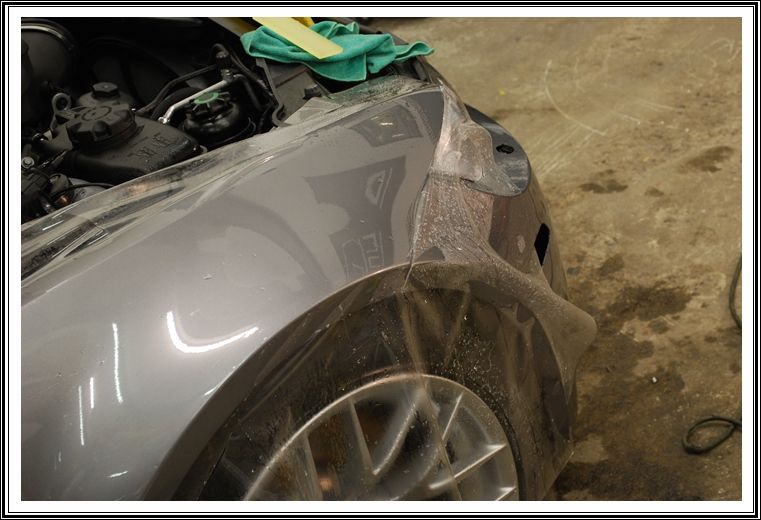
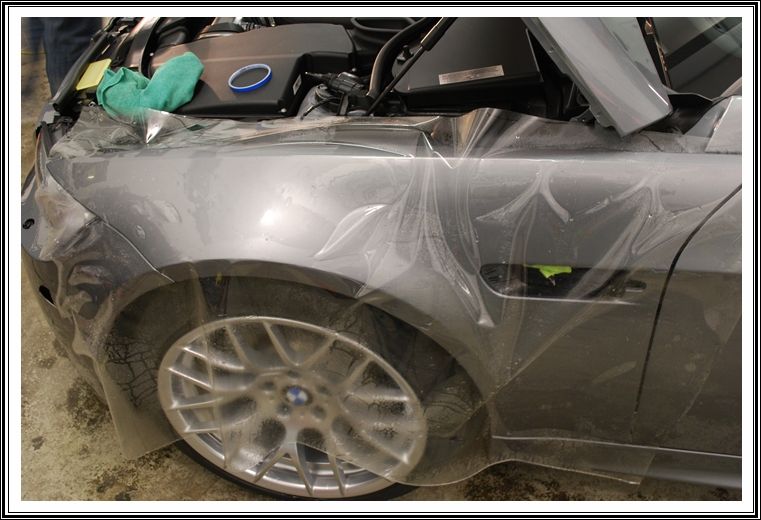
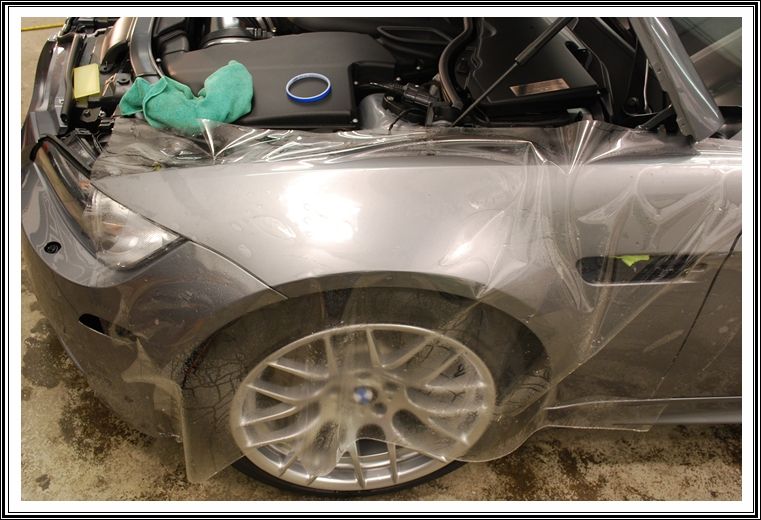
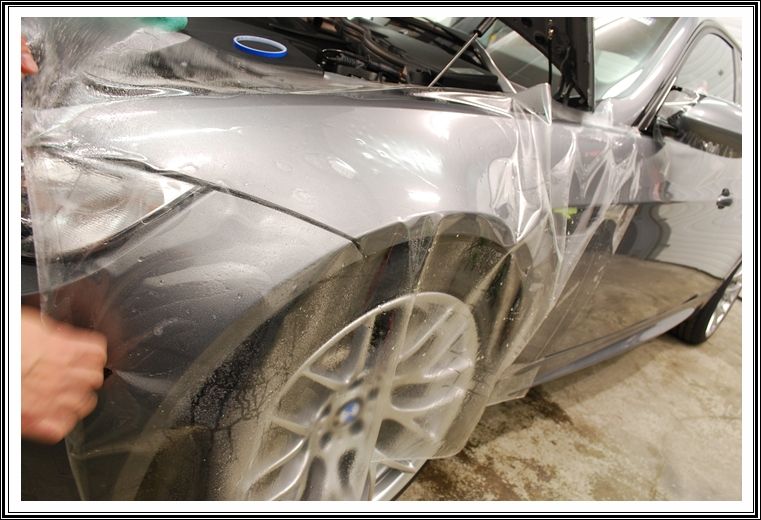
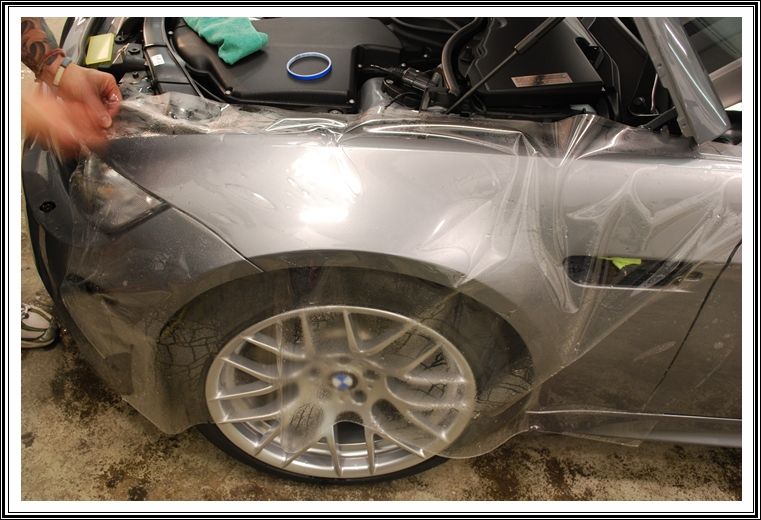
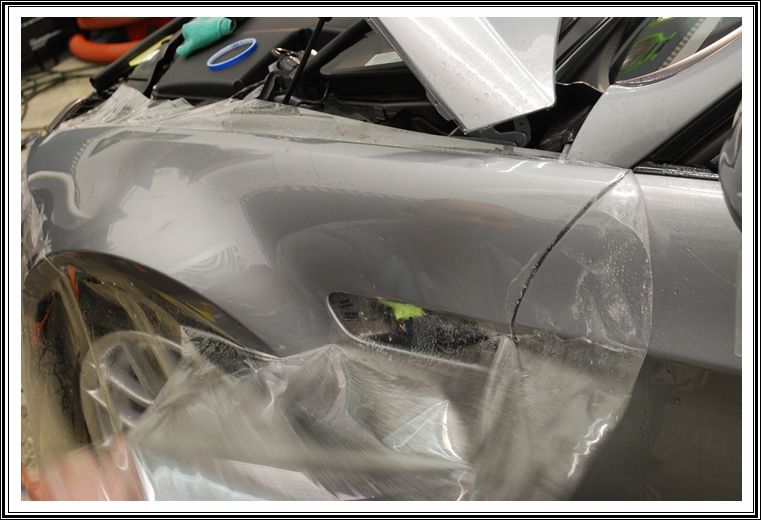
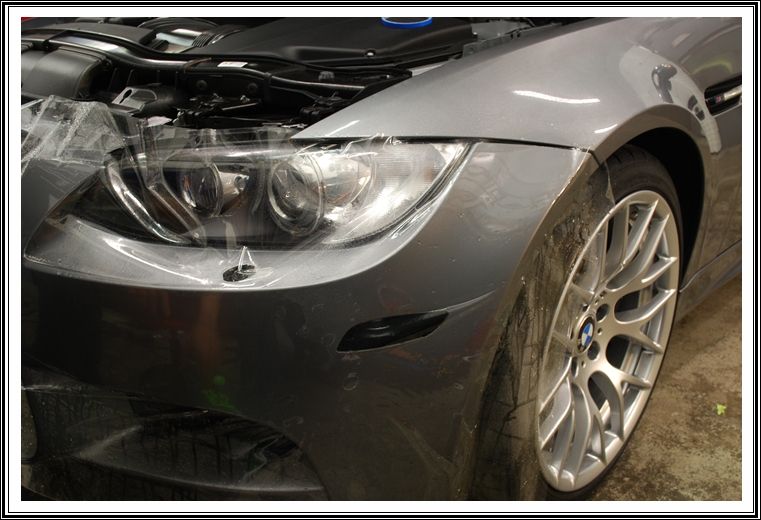
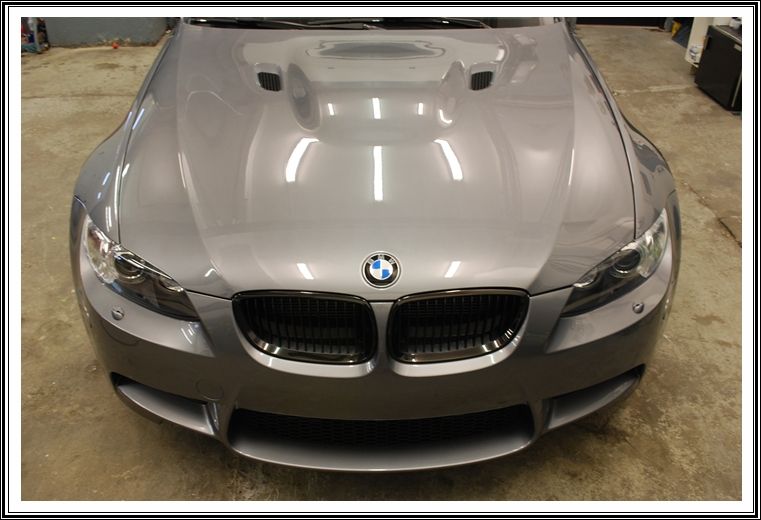
Here are some pictures during the install. We used bulk film instead of precut in order to wrap all the edges over to avoid seams.

I started by giving the exterior an extensive wash. I noticed the paint was beading water, which usually means there is some sort of protection present.
In order to properly prep the paint for the clear bra install, I washed the exterior with a degreaser to strip and protection that was present.
Notice the difference from the left (water beading) and the right (sheeting water). When the water stops beading, it is a pretty good indicator that there is no protection present.
After the wash, I gave the exterior a claybar treatment to remove any bonded contaminants from the paint surface. All wheels and tires were extensively cleaned, and the engine compartment was given a quick once over.
Even though this car is brand new, the owner wanted to have the exterior polished to ensure the paint was as perfect as possible. I buffed the complete exterior with Menzerna Power Finish using an orange pad via Griots DA polisher.
After the polishing, I wiped down the complete exterior with alcohol to remove any polishing oils and ensure a perfect surface for the film to adhere to. I inspected the paint carefully under halogen lighting to make sure there weren’t any defects present before the clear film install.
Our plans for the film install was to wrap the complete front-end (full hood, full fenders, front bumper & mirrors), as well as the rocker panels and a rear splash guard behind the rear wheels. Because of the complex curves of the bumper, we decided to go with a precut piece of film instead of custom cut, but I wasn’t satisfied with the coverage. The film didn’t wrap over the edges and some of the openings for the reflectors and headlight washers just didn’t look right. So what now? Take it off!
After removing the film on the bumper that we had just installed, I decided to take things a step further and remove as many little pieces as possible to avoid having seams around them. This included the headlight washers, reflectors, kidney grills, fender inserts and hood inserts. By having these little pieces removed, we would be able to cover the entire paint surface with film and avoid having gaps around them for a 99% seamless install.
Here are some pictures during the install. We used bulk film instead of precut in order to wrap all the edges over to avoid seams.


")