I'm finally getting around to doing this write up. I think the reason it has taken me so long is because I wanted to not think about this evil car for a while! Why? Well...this was done in mid-summer in Arizona...think 110+ degrees. The car was black. The car was dealership-afied on more than a couple panels...the paint was GOD AWEFUL hard...yeah...this baby was something else. But today we had a relatively "easy" 9 hour detail on a Chrysler SRT 8...so i've managed to muster up the courage to go through these photos and relive this wonderful experience lol.
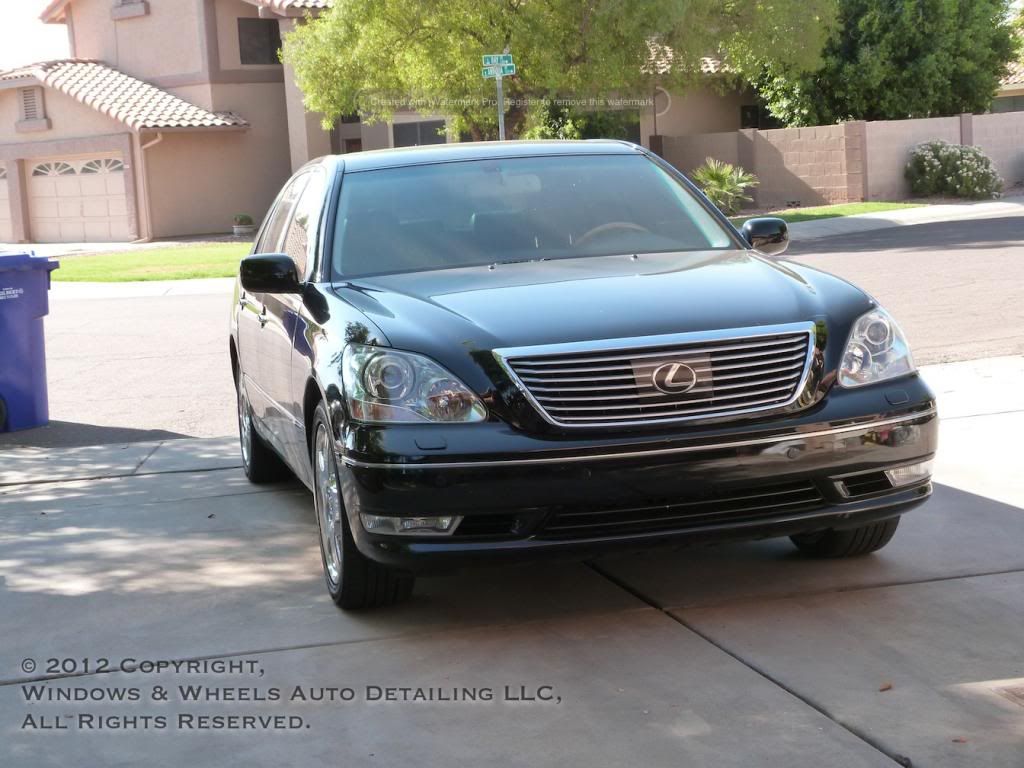
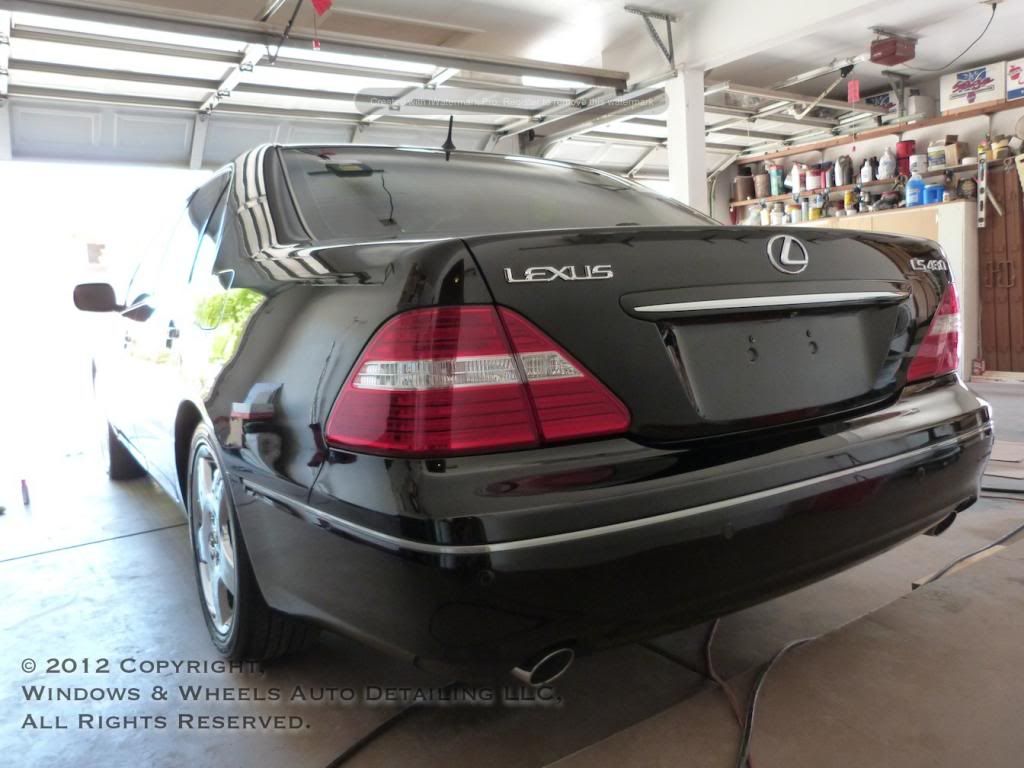
Here it is...satan car:
Suuure, it looks fairly innocent. Its pretty and luxurious and clean. The owner was a detailers kinda guy. Very clean, very detail oriented...liked his things to look NICE. I'll put it this way, we did a maintenance wash on this thing a few weeks after the detail...and in his text he insisted it was FILTHY (exact word). We get there..its a little dusty...no mud...no tar...no bugs...just the expected normal 'time for a wash' dirt. So on the one hand, this was very cool to have an owner who really appreciates the work that goes into our craft...he actually got our contact info from detailing forums. On the other hand...the pressure was on as well....he'd seen the photos...but he wanted to see if what he saw online would be the same as what he'd see in person. So these were all very interesting factors...but hey, we were up for it")
We had seen satan before we actually detailed it...the owner pointed out some concern spots to us...it looked like the dealership had done its evil dance on a few areas and left some nice gifts for us to work with.
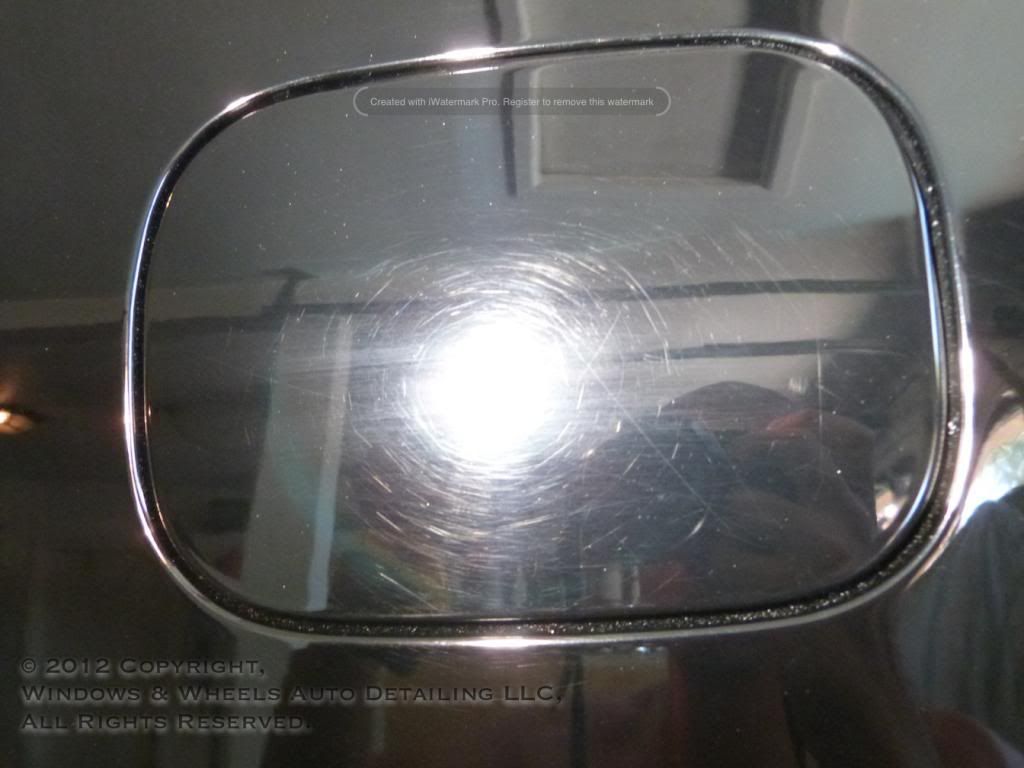
What was first shown to us was something we couldn't do a lot about:
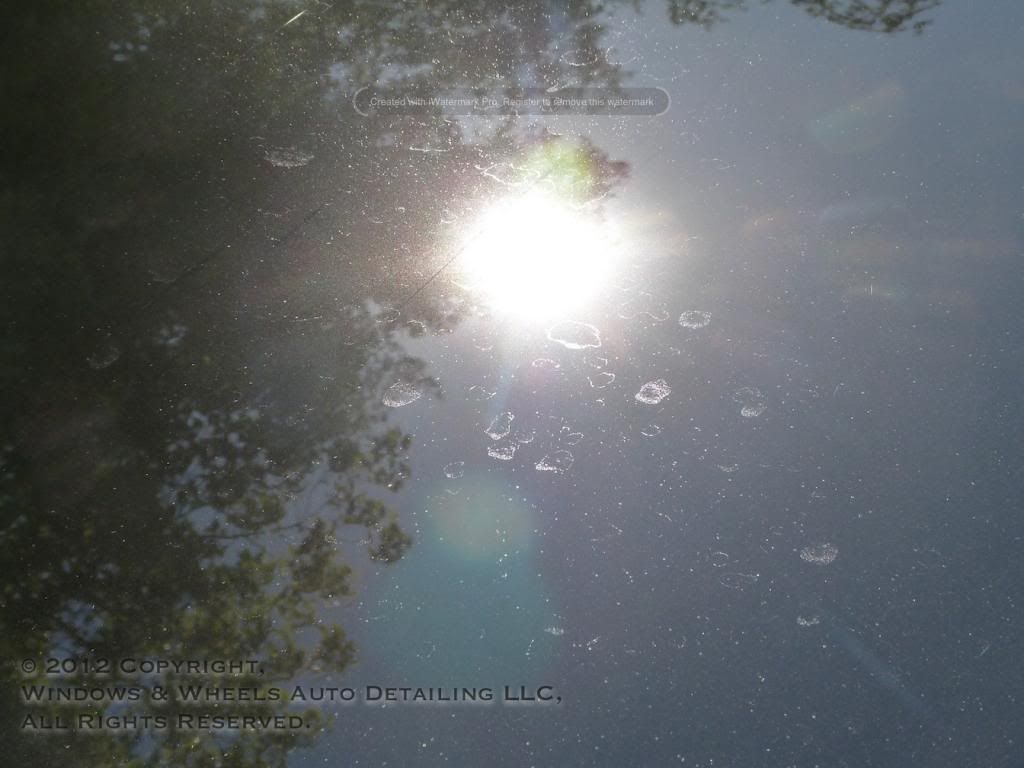
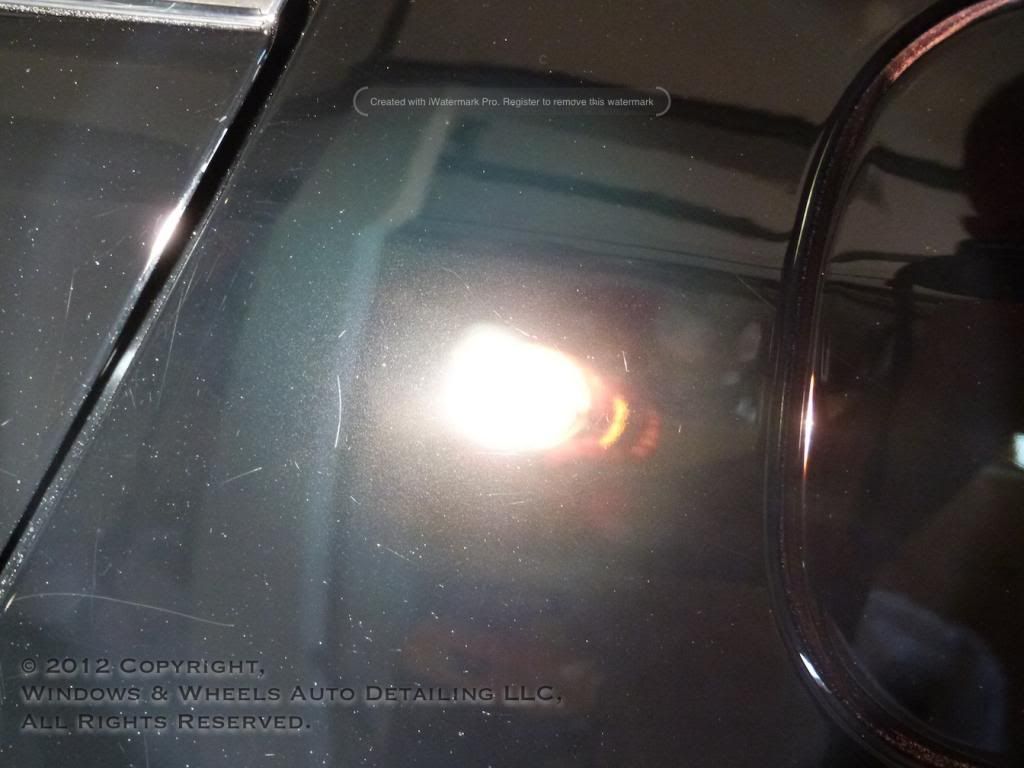
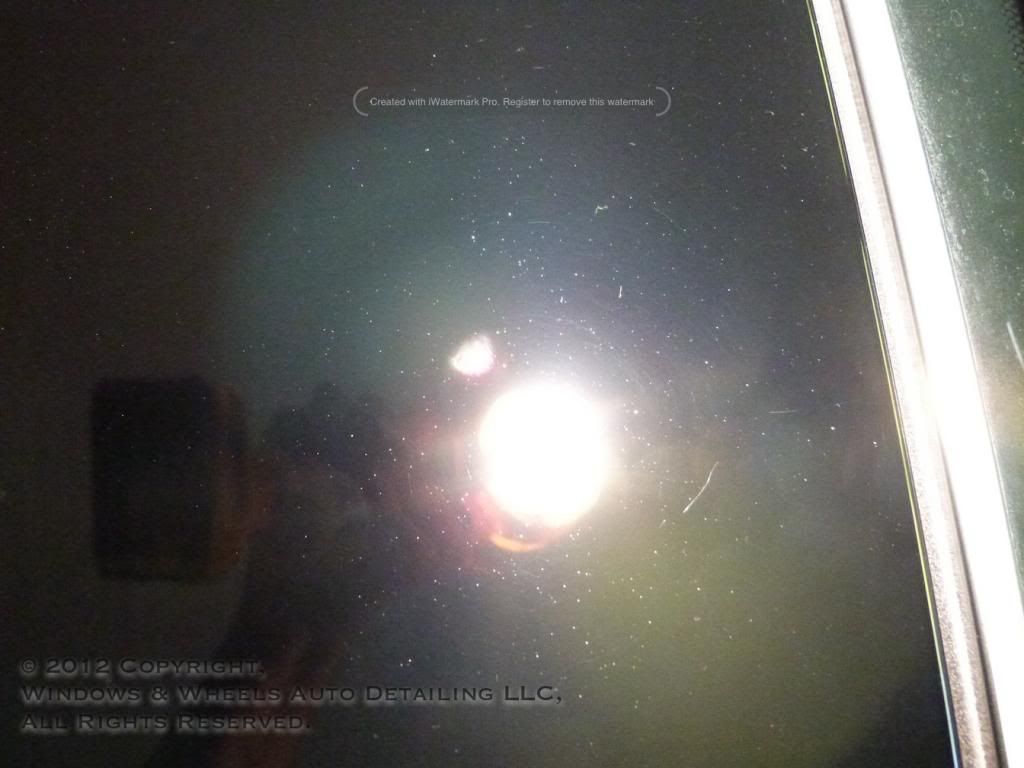
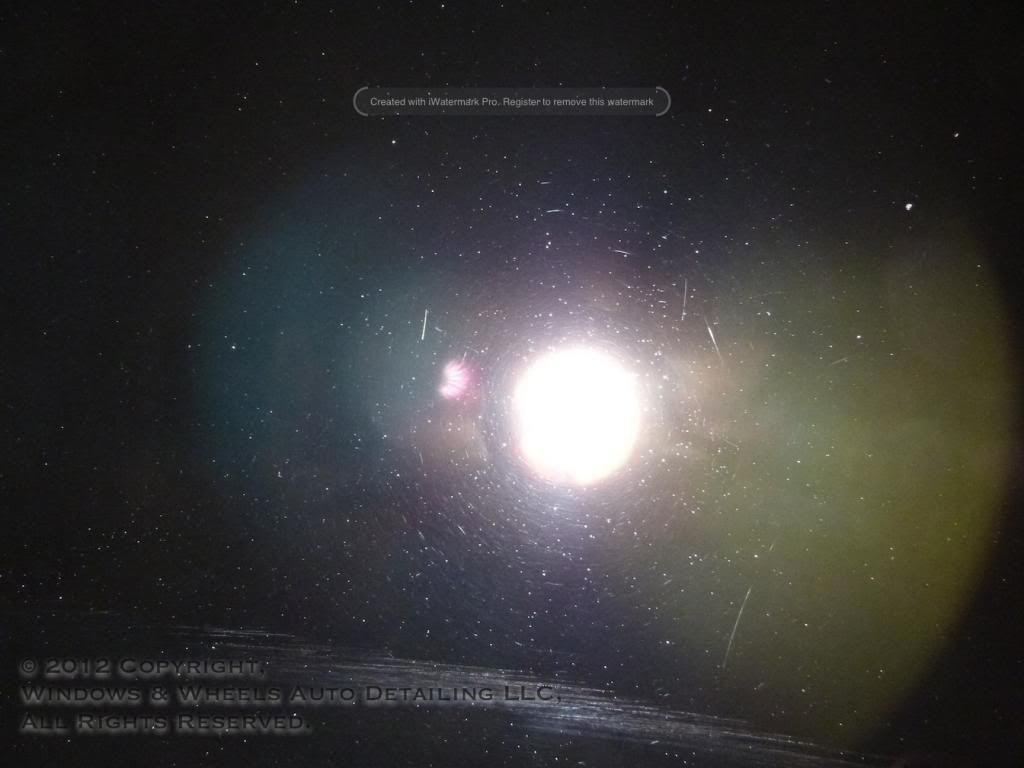
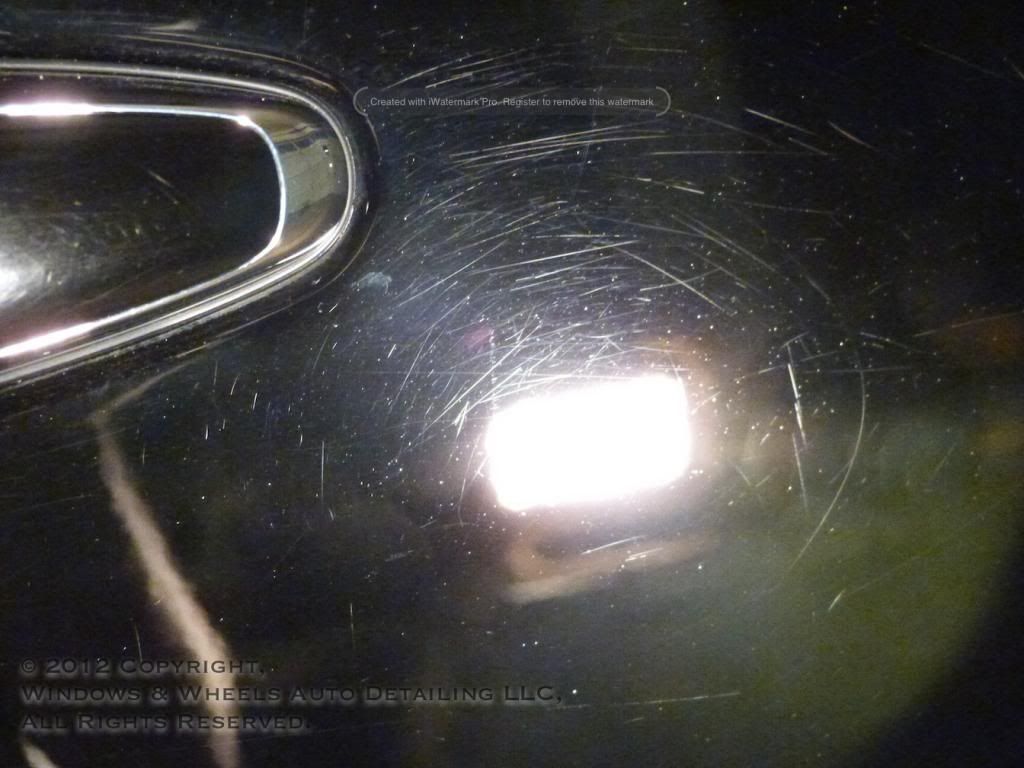
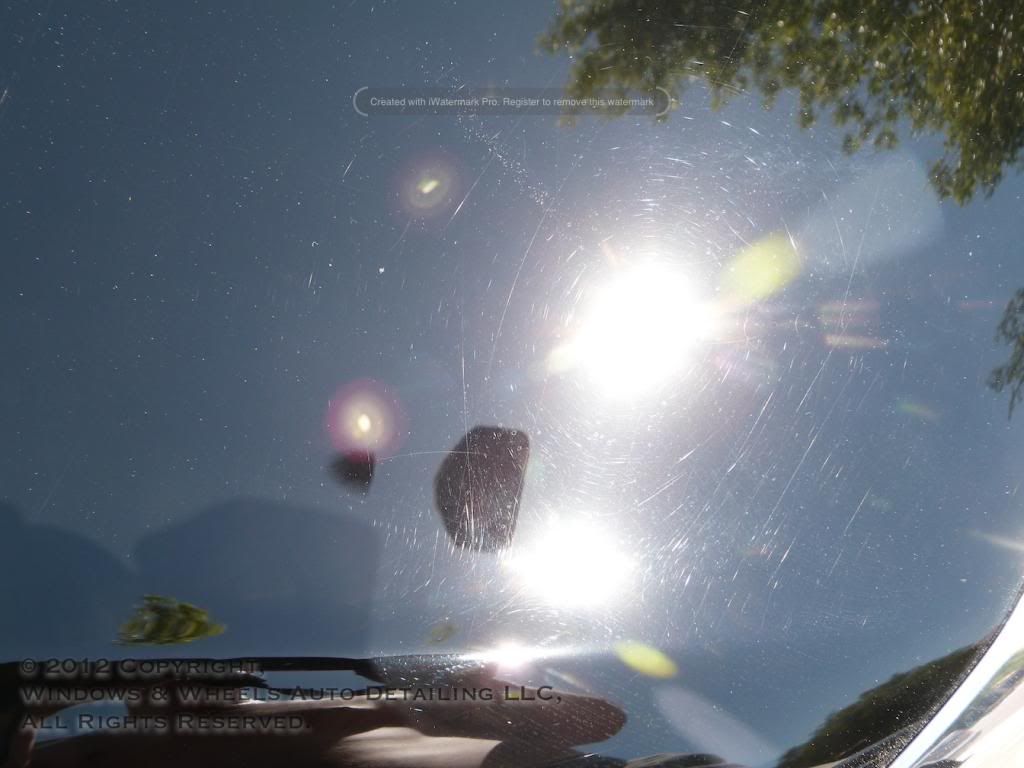
Yes, deep, etched in water spots.
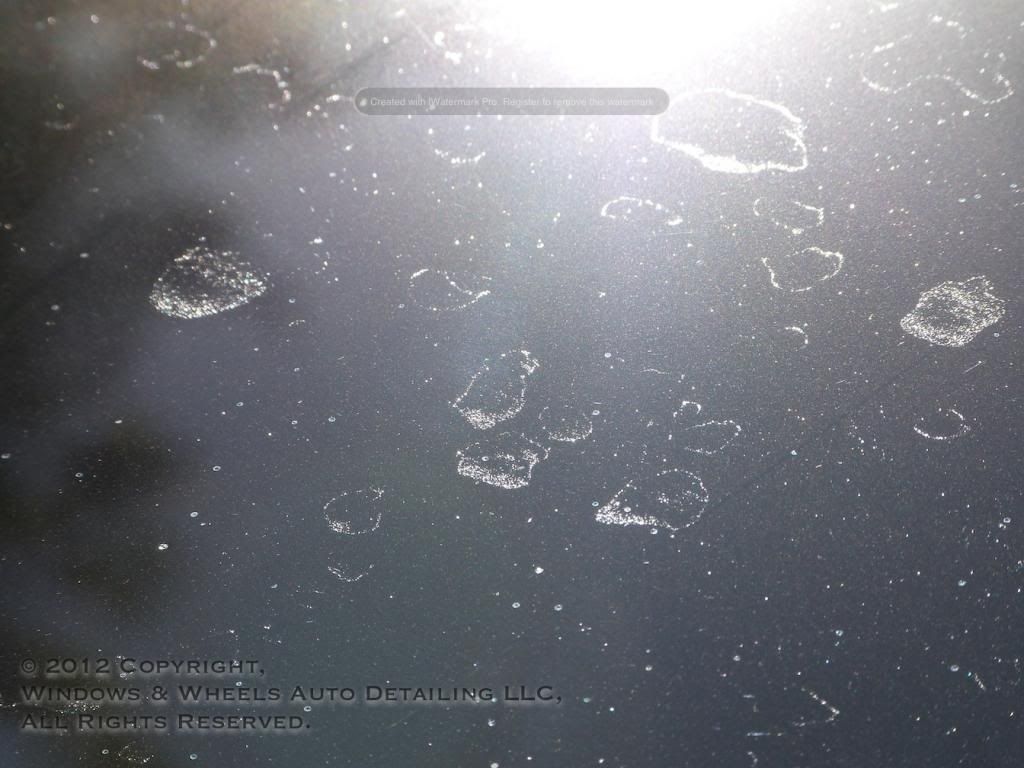
Look closely and you can see the actual blistering on some of the deeper ones. As detailers, we hate to see things like this...because its out of our hands...but again, our customer was knowledgeable about such things and told us before we could even say a word, that he didn't think much could be done with those.
Some of the "lighter" (hah, yeah, lighter) ones we were able to remove and it did make an improvement, but we'll get to that soon enough
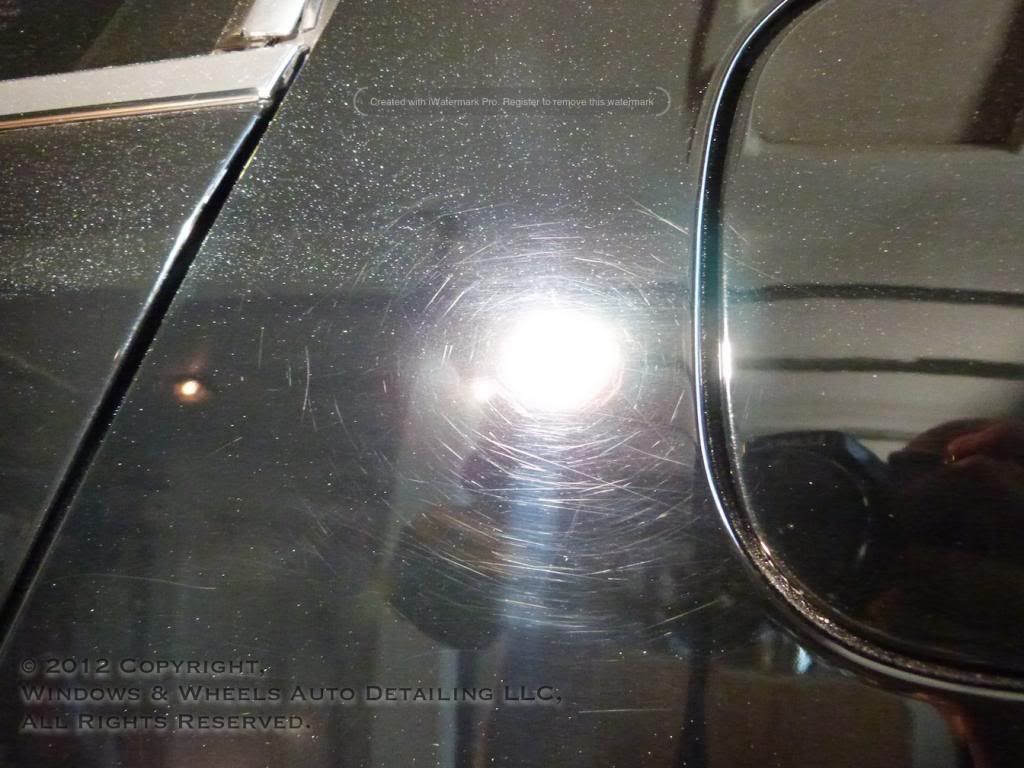
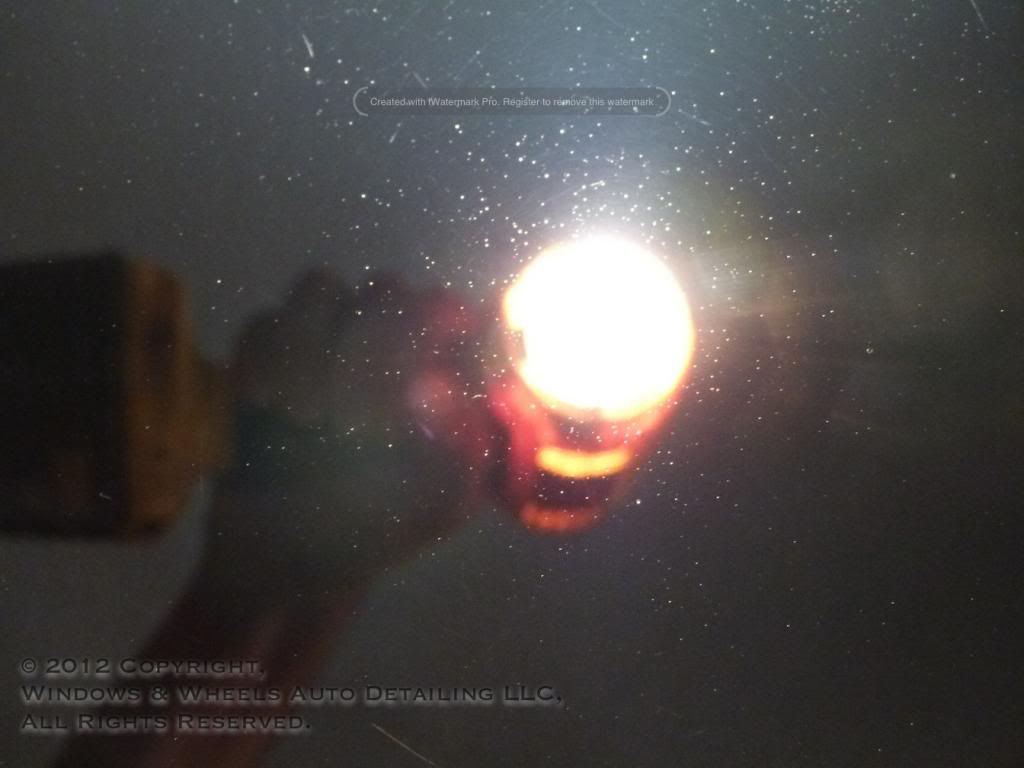
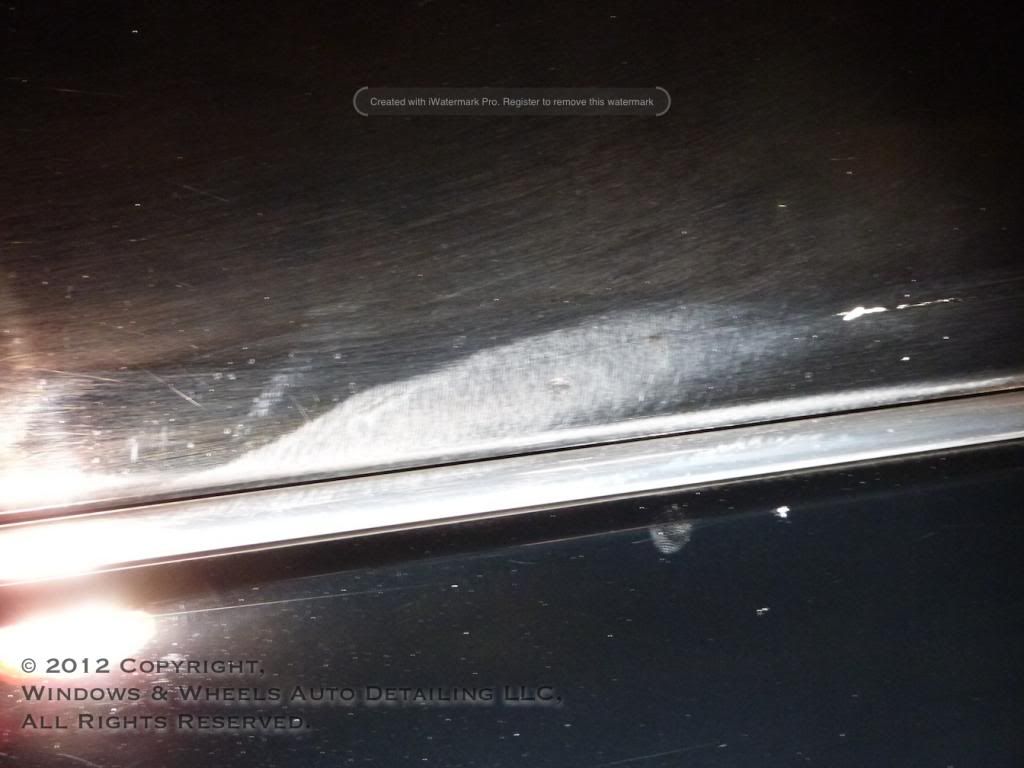
Now as for the dealerships gifts to us...well...
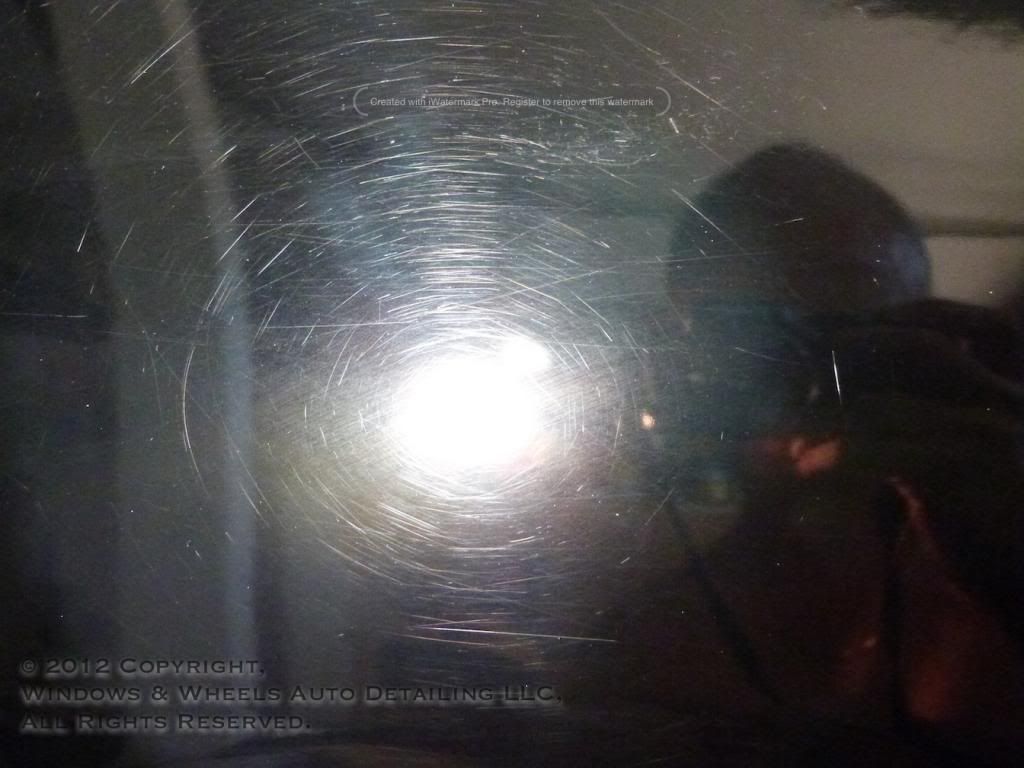
Yeah..i know...it hurts.
Yes....painful. Told you...satan!
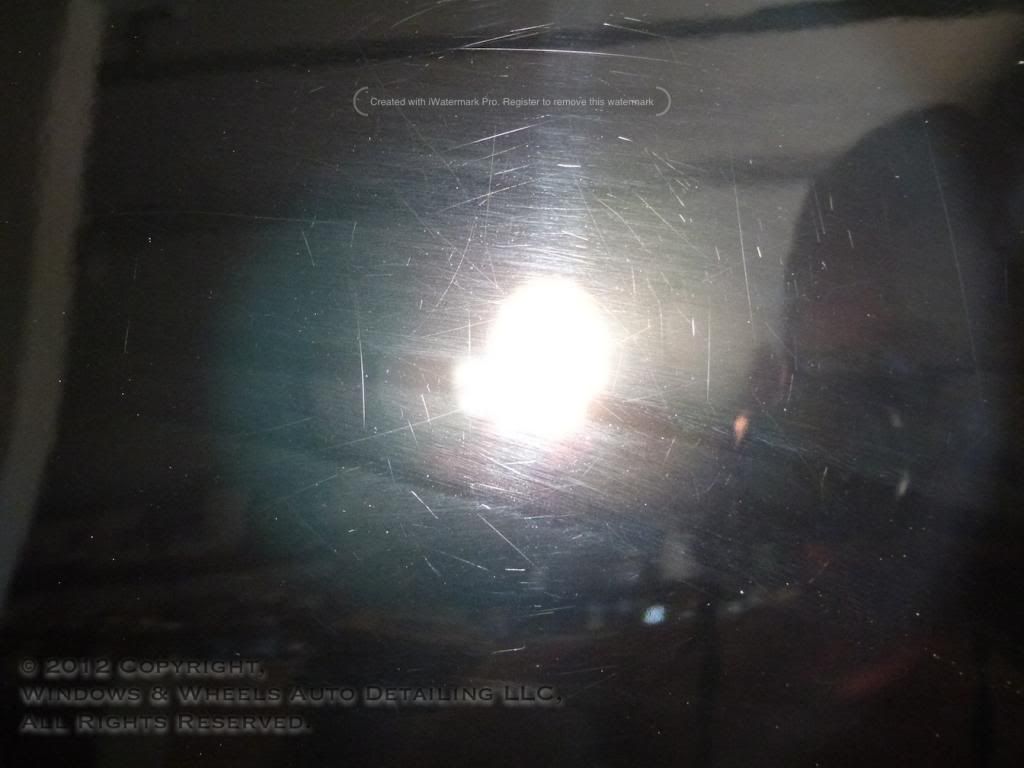
This kinda looked like a cat did a tap dance on the side of the car...
Do i even need to say anything more at this point? I think you get it...it was bad...VERY bad. Like i said, there were about 2 or 3 panels that were in much worse condition than the rest and required a TON of attention. 3+ compounding passes per section was not uncommon....some wet sanding was also required on one of the doors. These guys were deep and this paint was HARD.
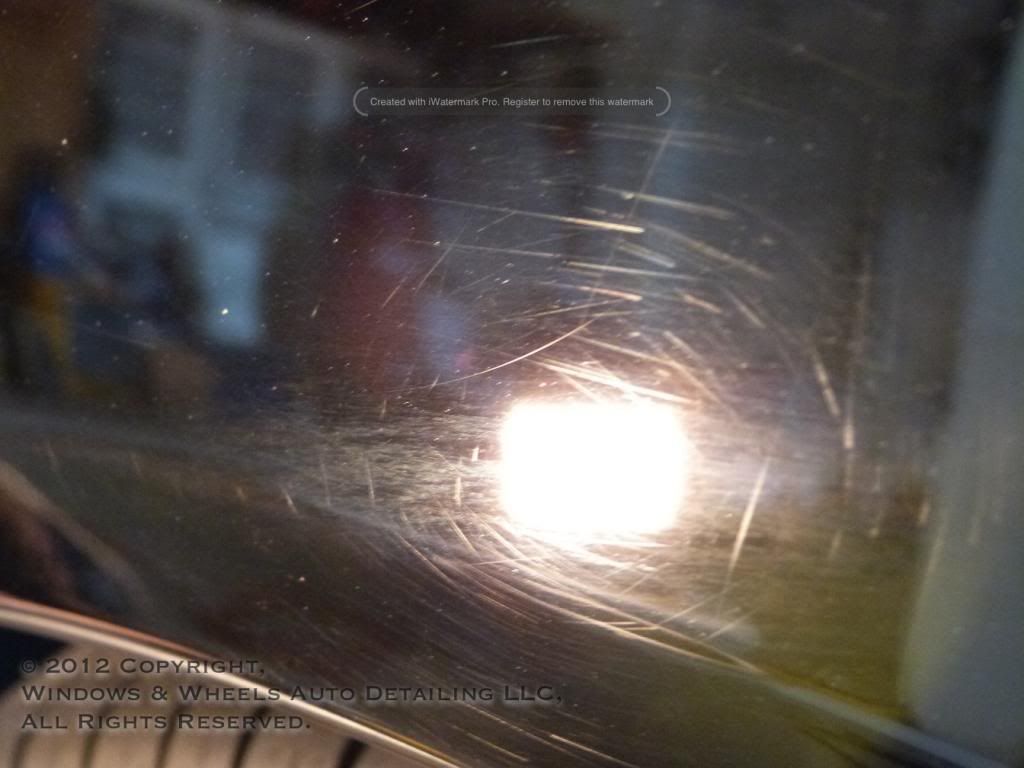
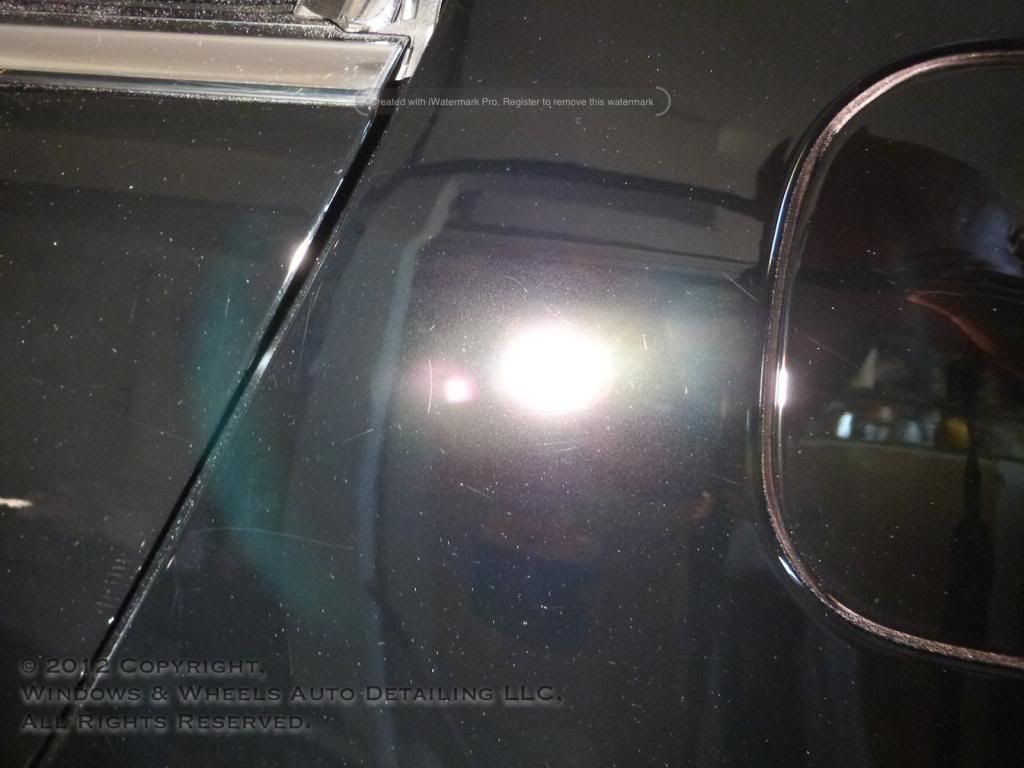
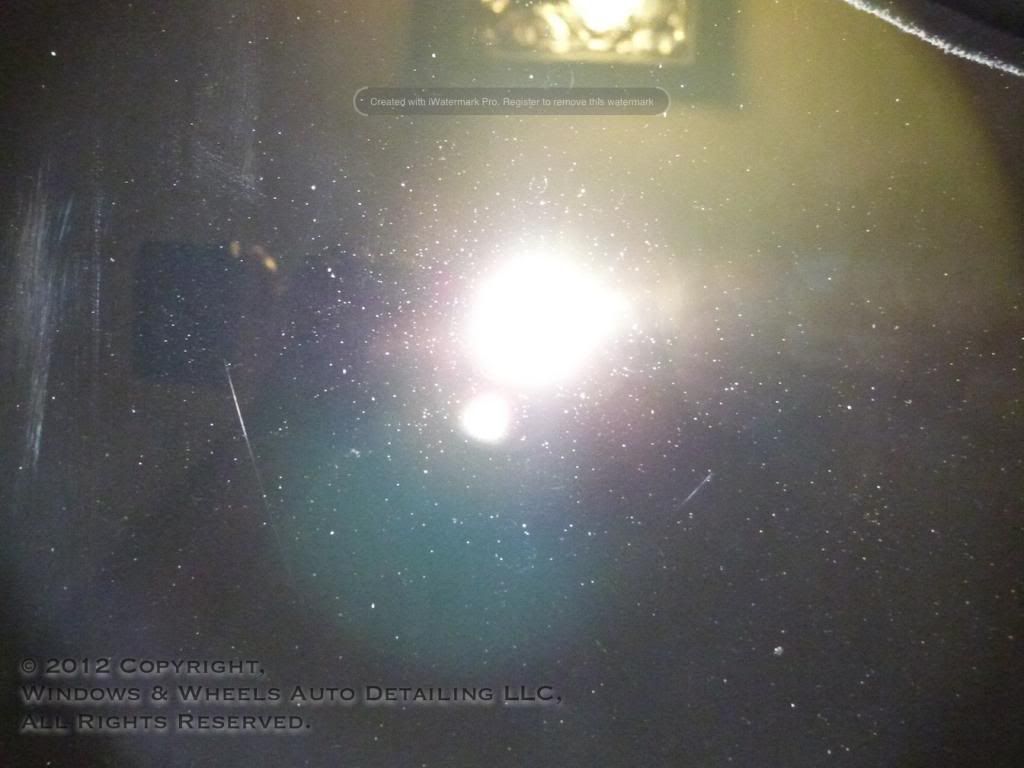
Had a few lighter water spots in some places...these were able to be removed:
We opted to attack these areas first...hoping if we cut off the head the body would die lol...of course it doesnt work like that but hey, it made us feel better.
Working on the drivers quarter panel first..we were able to get a significant improvement....a few deep guys remained even after several compounding passes...but it was no where near what it looked like before.
Before:
After:
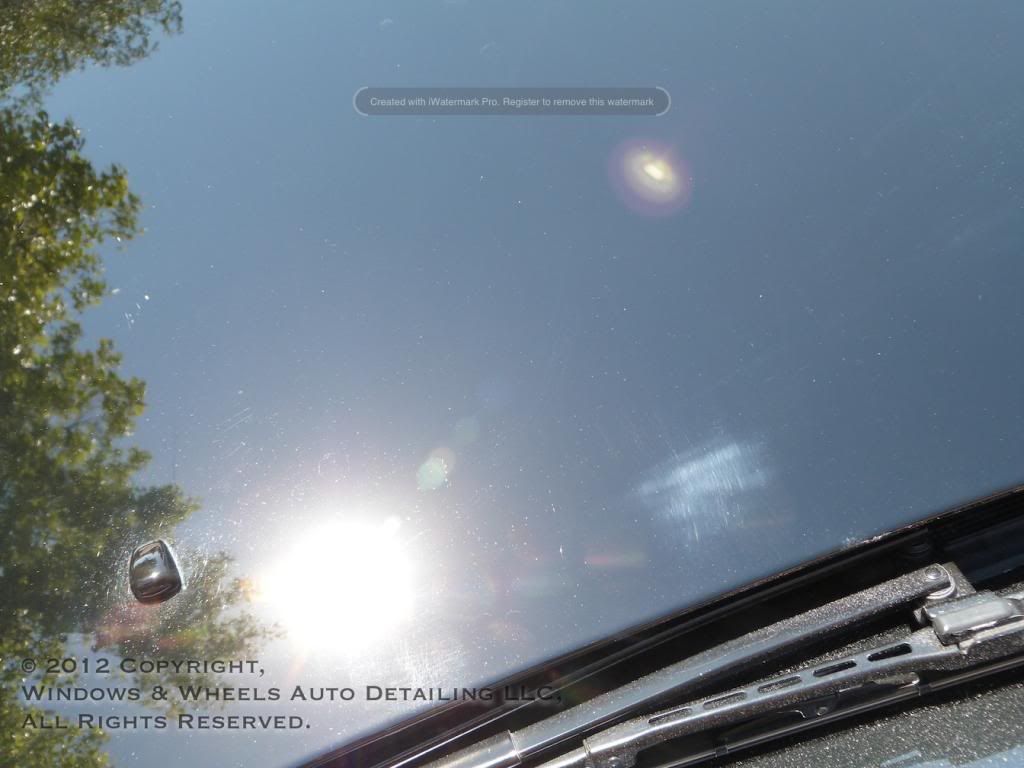
We also decided to take on the roof where some of the water spots were at:

This panel came out quite well. Working those spots on the edge of the window line isn't easy...requires a steady hand and very slow arm movement...but they came out:
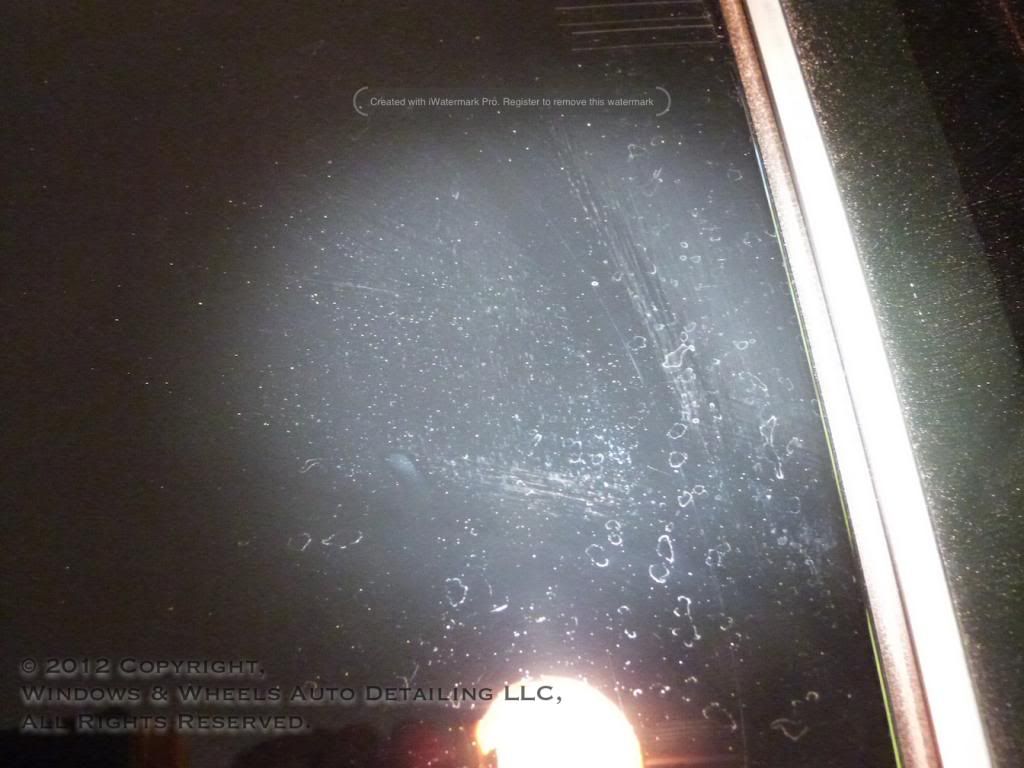
Now for some reason these very small white dots remained on the top....we weren't totally sure what they were...we figured it was probably sand blasted from highway driving, but these small specks could not be removed:
There were also some lovelies on the rear part of the roof too:

Please excuse the residue that was left...but you can see it came out quite nice after a couple of compound passes (slow grueling ones but still...)
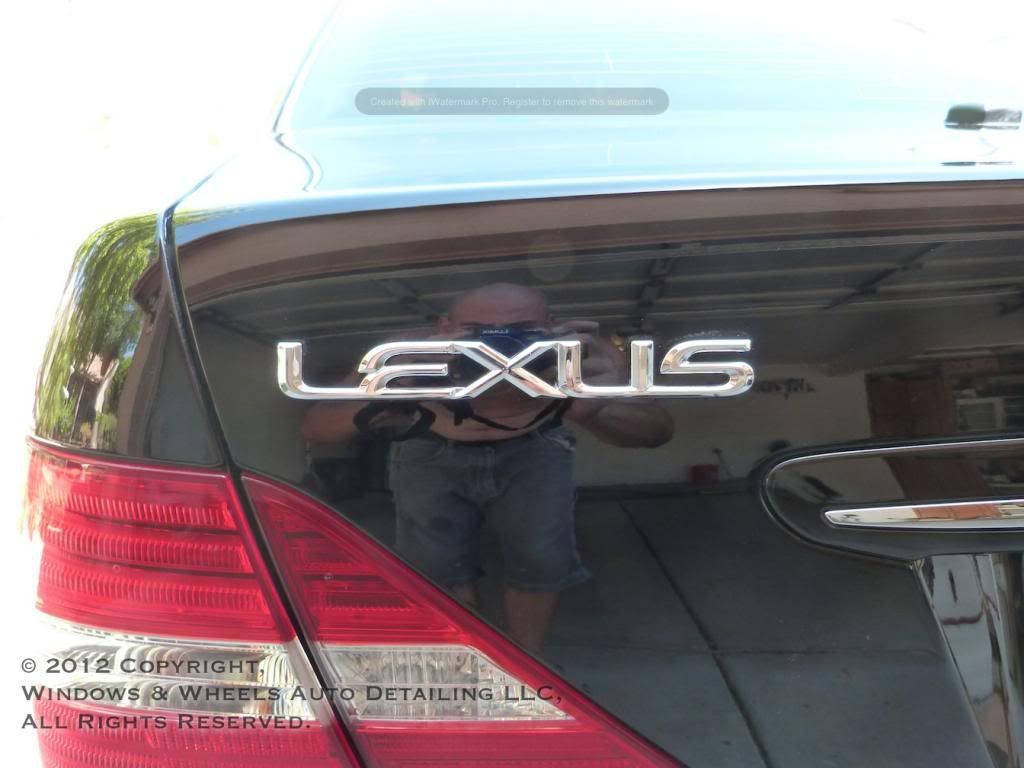
Now, onto a bit of an interesting part about this car...this particular year/model actually had TINTED clear. Luckily we had read about this before hand, so we didnt freak out when we saw this:
Usually if you start seeing black paint when doing a base coat/clear coat car...it means you burned through lol....but in this case the clear actually had a light black tint to it. It gave the reflections a different dynamic for sure. I also have to give Lexus props...the orange peel on this car...in an age where MANY new cars have orange peel so bad that it looks like serious waves....was minimal...it was actually a very good paint job on in that regard.
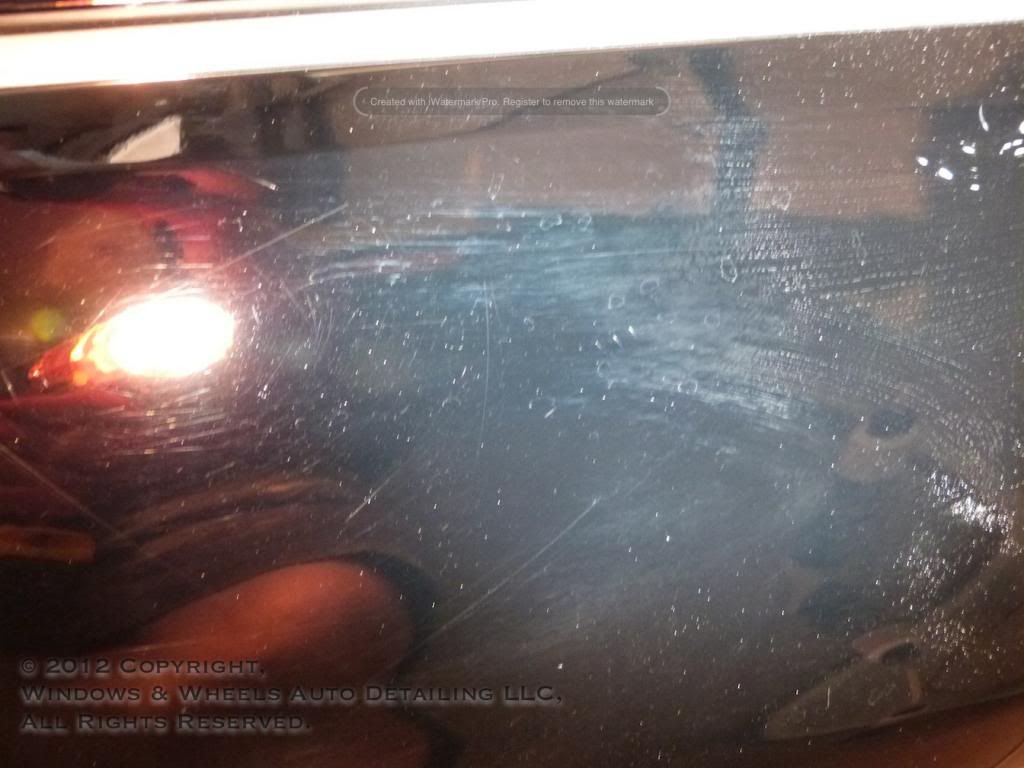
Over on the passenger side rear door..there were also a few jewels left in store for us:
This isn't compound, these are sanding marks that were left uncut/polished
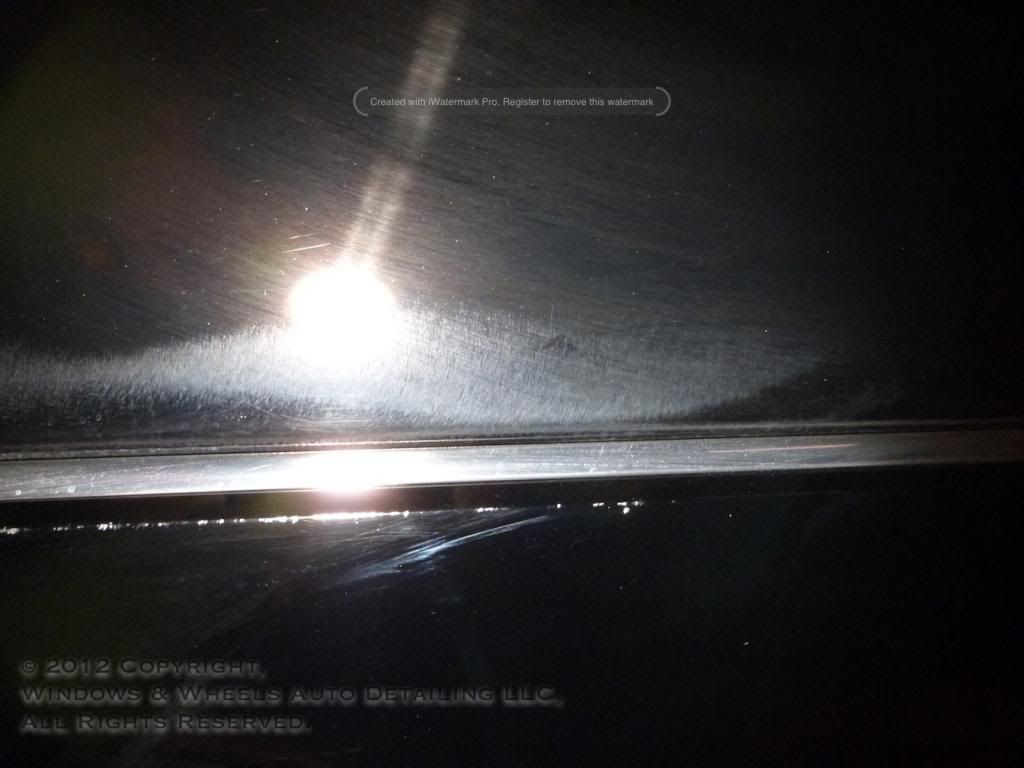
Those were nice ones...right up against the bottom of the door panel. Sanding marks obviously need a very heavy cut to remove them..but they also require a lot of finesse since they're right on the edge of the panel where the paint is thin.
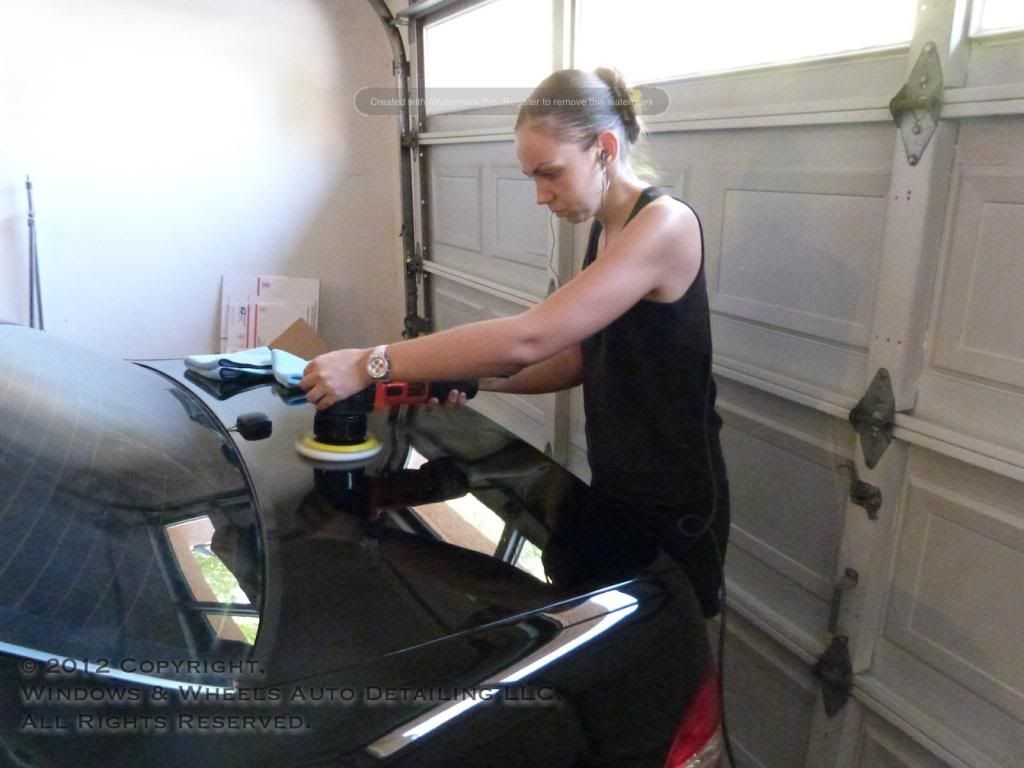
A quick note...remember when i said while we were doing all this it was BLAZING hot...over 110 degrees...i wasn't kidding. My sister and i both were sweating buckets and took very few breaks other than to down some water. Additionally we had the garage door closed so that we could control the lighting as best as we possibly could...so that we could effectively see what we were working with (VERY important on black especially). And when i say we were sweating buckets....thats no lie...this is the back of my sisters shirt:
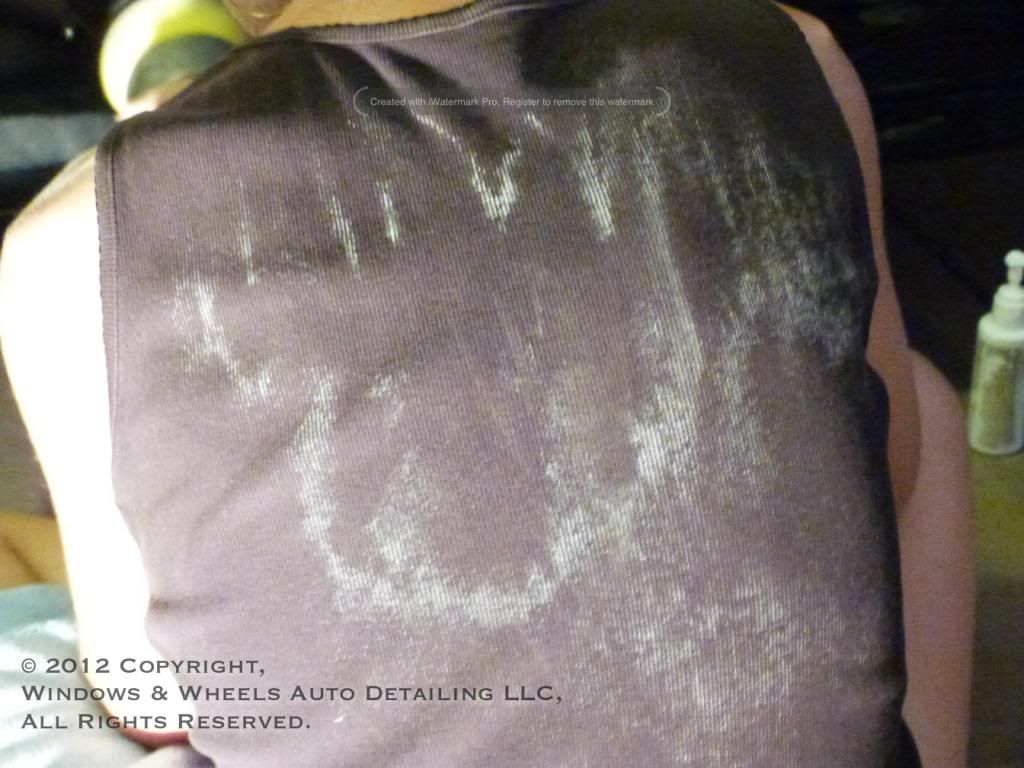
The white is salt from the sweat. My shirt looked the same...
Back to the paint :-D
The sanding marks took some work (of course) but did come out. The compounding step left some haze, but Dani was following up behind me with the finishing polish to remove any haze that was instilled:
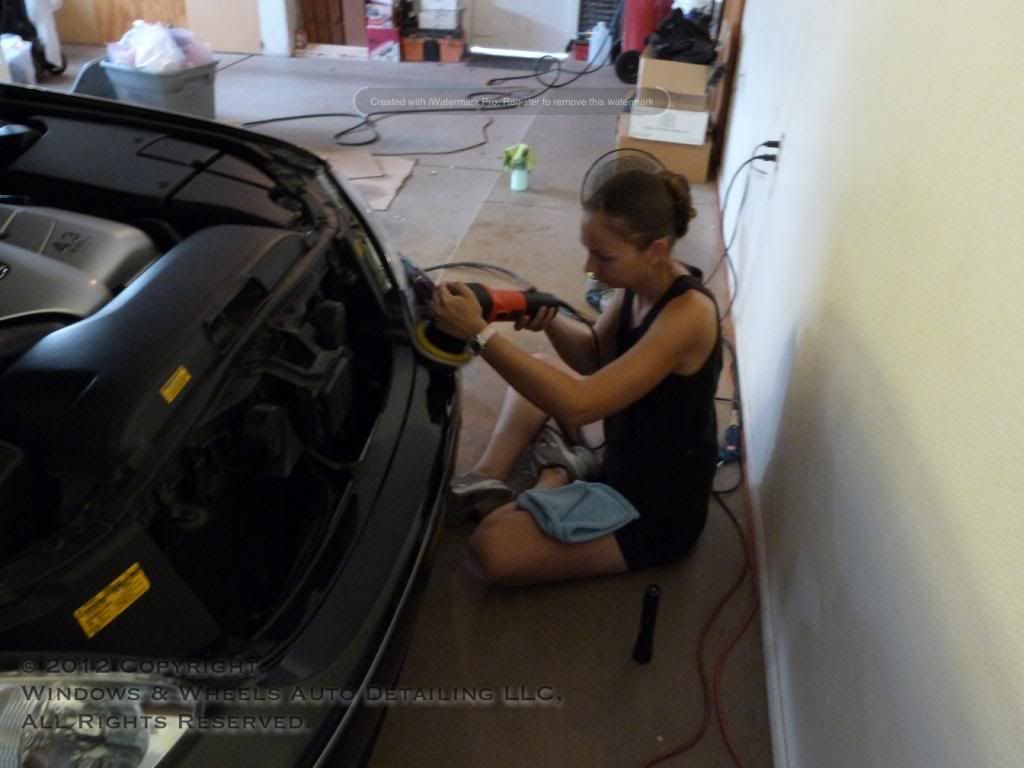
Here she is, cleaning up the trunk:
Popped the trunk open to insure we could get all of the paint on the bumper:
As you can tell, we were making progress. Very SLOWLY, but things were getting better.
Apparently satan got mad and decided to kick up a dust storm from hell outside:
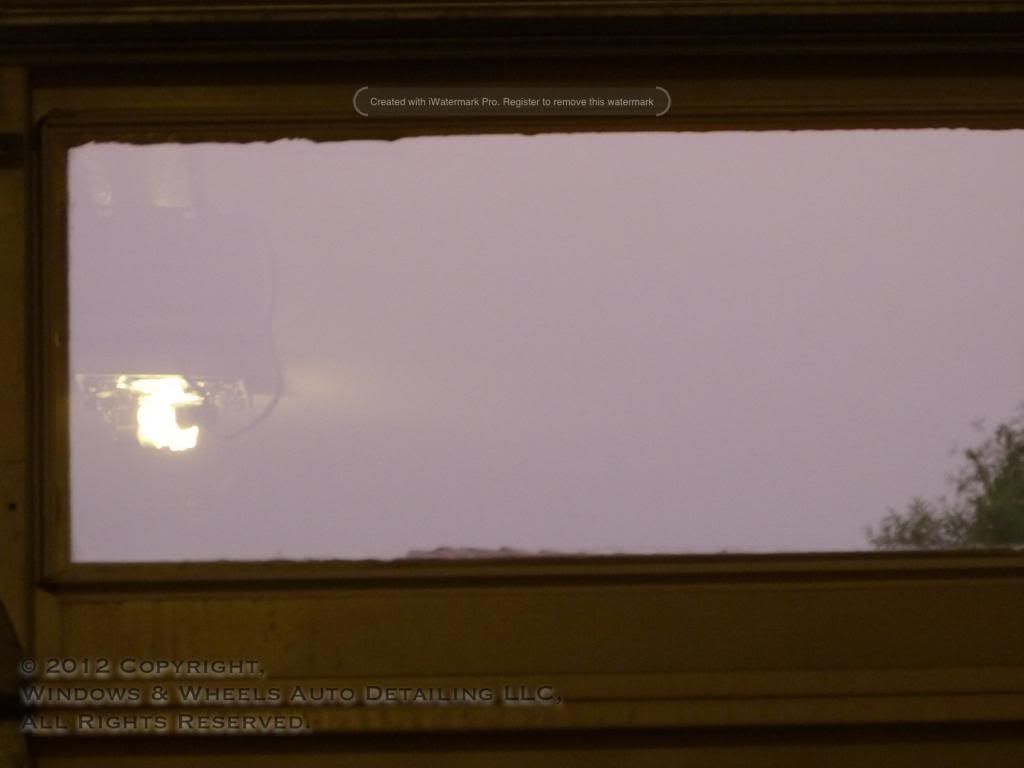
Yeah, those aren't your everyday clouds...thats an Arizona monsoon storm. Wind, LOTS of dust and just enough rain to really screw everything up!
Luckily we were inside...but now not only was it hot, it started to get humid as well! Fun!
After working over 10 hours the first day, we decided to call it a day and get a little rest...some well deserved rest lol...but not much because we were up early the next morning to get back at it.
Morning came, the sun was up...it was hot as hell AGAIN (during the summer months our LOWS are many times in the 90's) and it was time to finish this beast up.
We have a few more deep guys to go after:
Sorry about the compounding dust left in the after pic:

You can see, we got very good correction here. And trust me, this is HARD to do. Many thanks to Kevin Brown for advising me to cut down one of my microfiber pads to fit exactly onto my backing plate. This really helped to increase the cut of the edge of my pad, which was 100% necessary in areas like this...where deep scratches came directly up to the door handle....a very difficult area to cut to say the least. It basically takes as much time to cut the paint around that little door handle as it usually does to do 1 or 2 20x20" sections. Time consuming, frustrating, but very rewarding when seeing the end result.
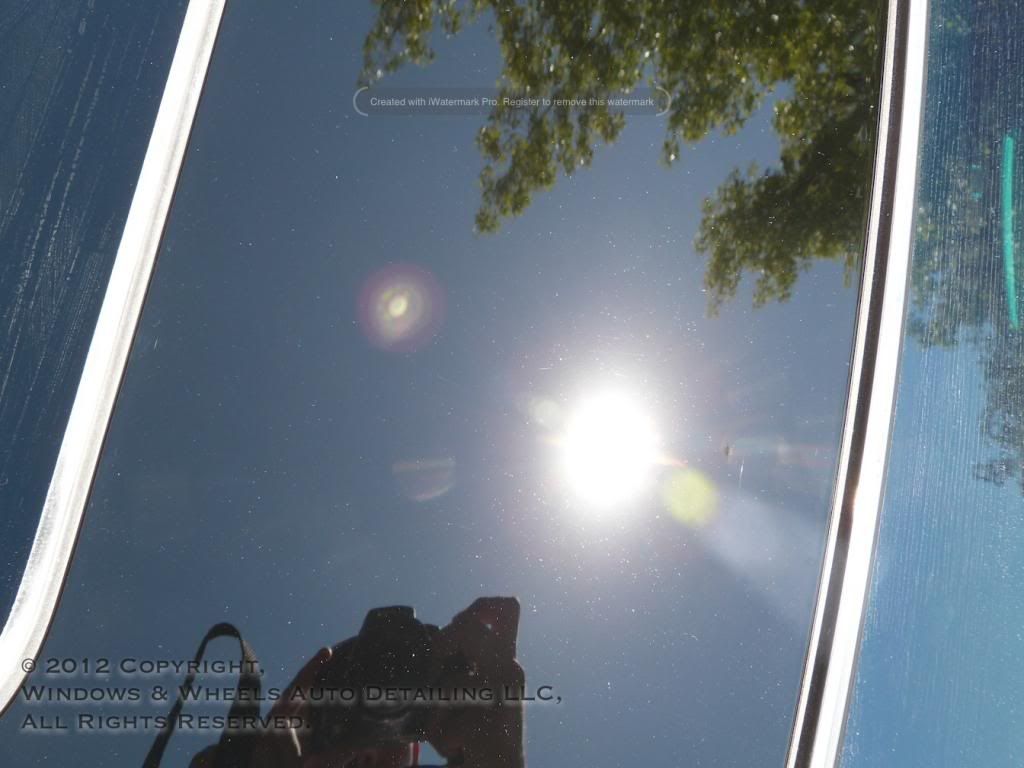
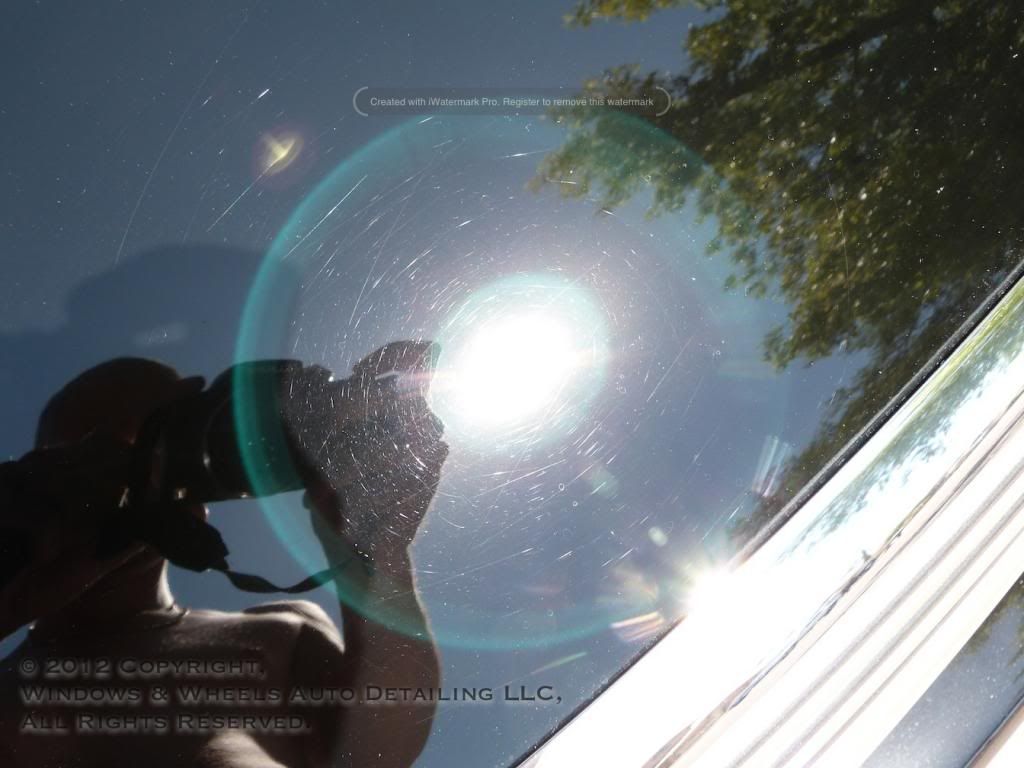
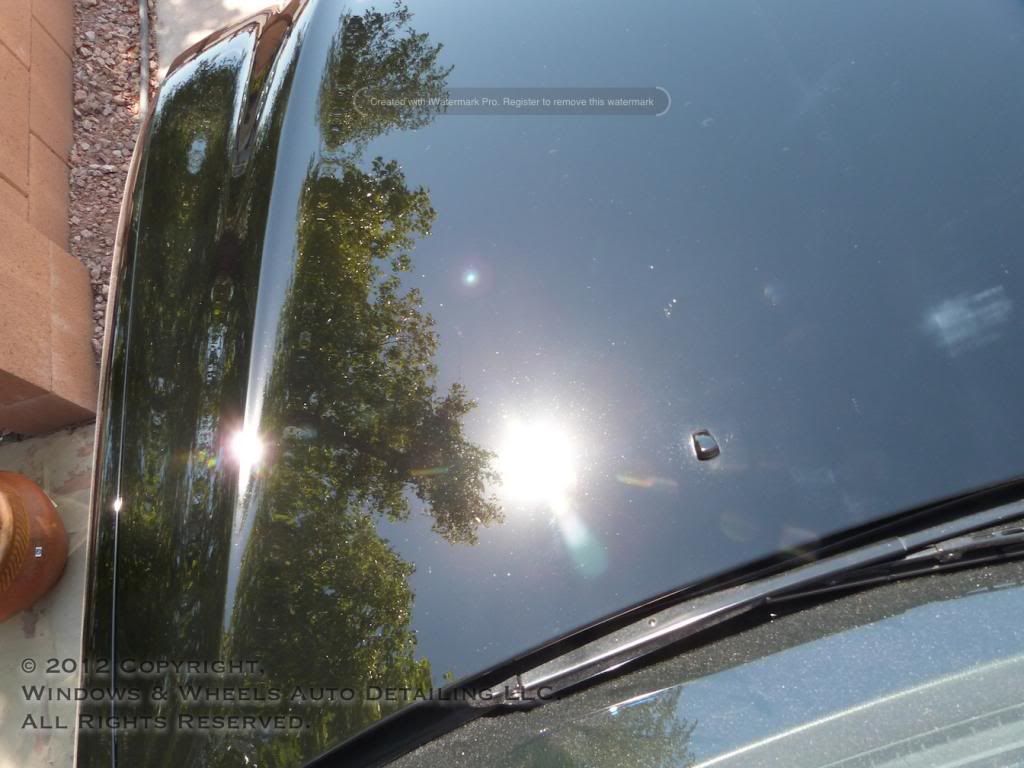
When the sun got nice and high, we decided to pull her out and take a look in the sun. What we saw was very pleasing:
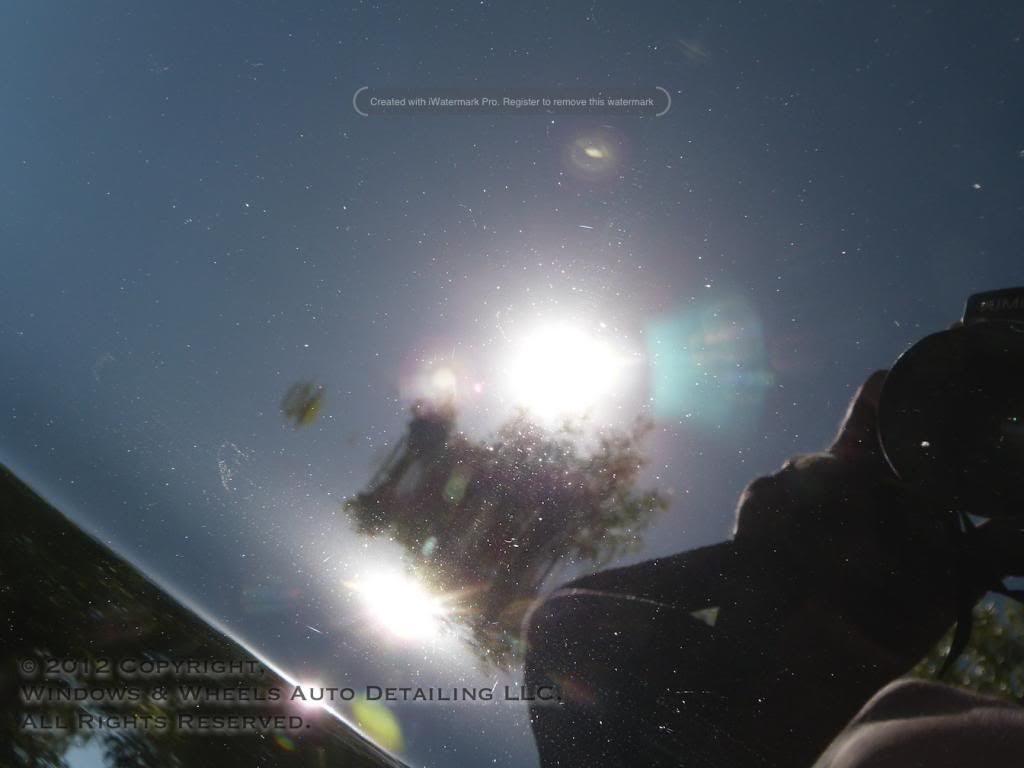
And remember those retched roof water spots from before...well they were no where to be seen:
As for the hood, we had cut and polished only half....the sun was in a great spot to be able to get some good shots of both the finished and unfinished sides.
This was the side we had not yet done:
Here is a 50/50 shot...angle was a bit off...but right side is undone...left side is finished:
Here it is again with the sun more so on the finished side:
You can see that quite a few of those water spots were removed. The ugly deeper ones got lighter, but were not completely gone unfortunately...but thats one of those situations where you just have to know when to say when...trust me, we put a lot of time and effort into trying to remove them, but they had blistered up too bad.
Now that the fun was done...we pulled it back in...finished what cutting and polishing we had left and then pulled it out to give it a quick rinse off to knock all the compounding dust off. We then pulled it back in (quickly...by this time we were well over 100 degrees again) and did an ONR wash on it to remove any remanding dust and polishing oils.
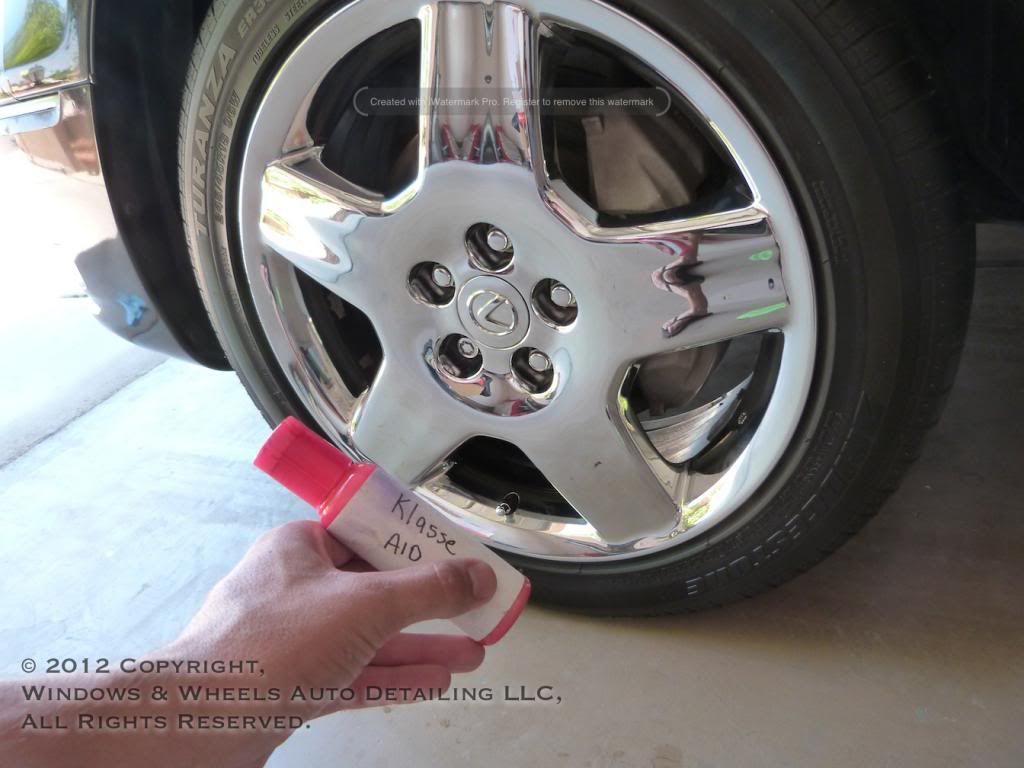
Next we applied our wax...we used Blackfire Wet Diamond Sealant. While it cured...we went around and polished up the rims:
A friend of ours had sent us a little Klasse All in One sample...we wouldn't use this on paint...but to clean up the rims and add a little extra gloss and protection, it was perfect!
Shiny:

Next, since we were at home...i powered up the compressor and attached my mini HVLP spray gun and put in some Meguiars All Seasons dressing
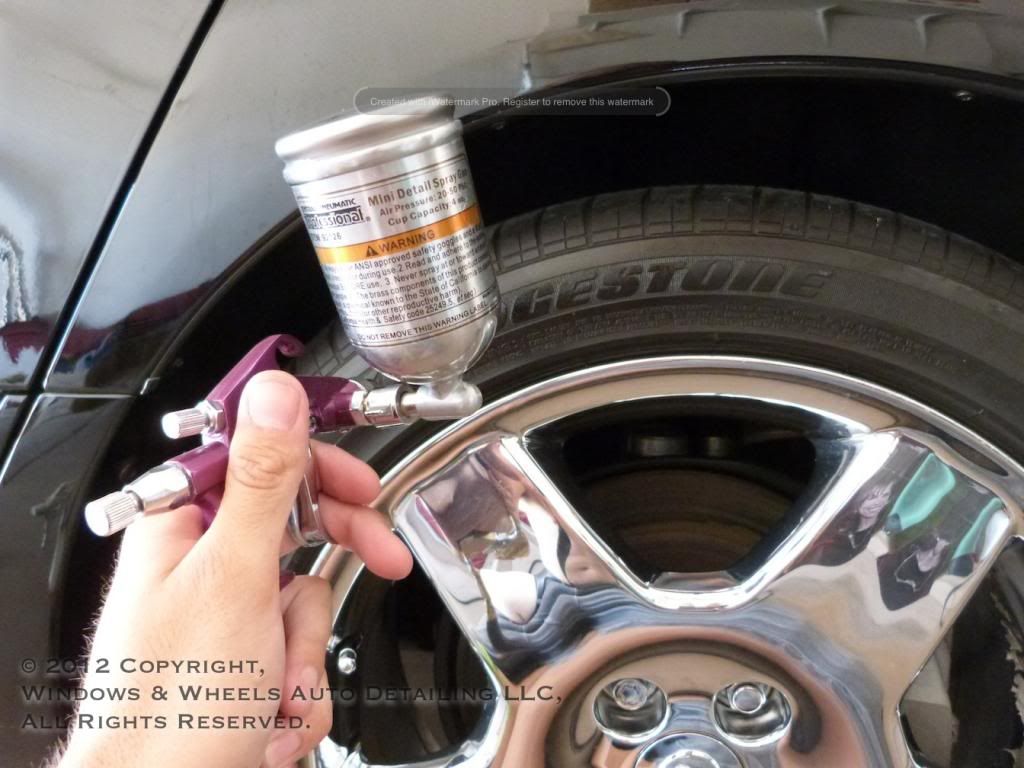
The HVLP gun allowed me to apply a very even coat of dressing onto the tires and also into the wheel wells. This was particularly helpful for very hard to reach areas in the wells where normally i wouldn't be able to reach without removing the tires.
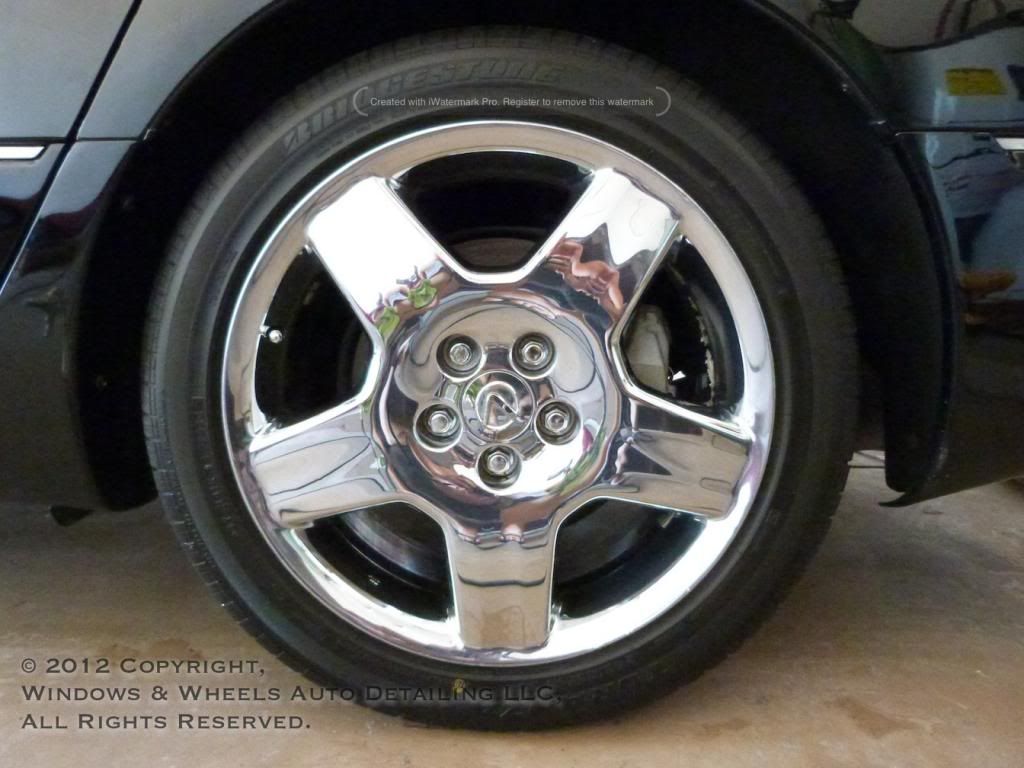
Here's the tire all finished:
By the time we'd done all four tires..the sealant had cured and was ready for removal:

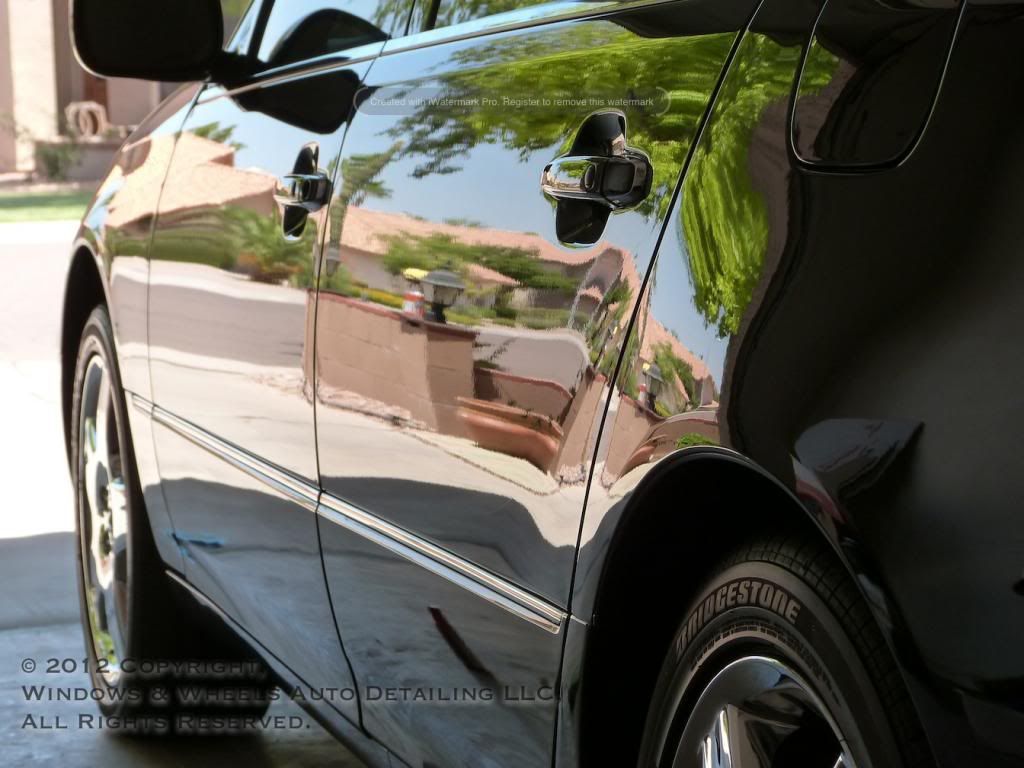
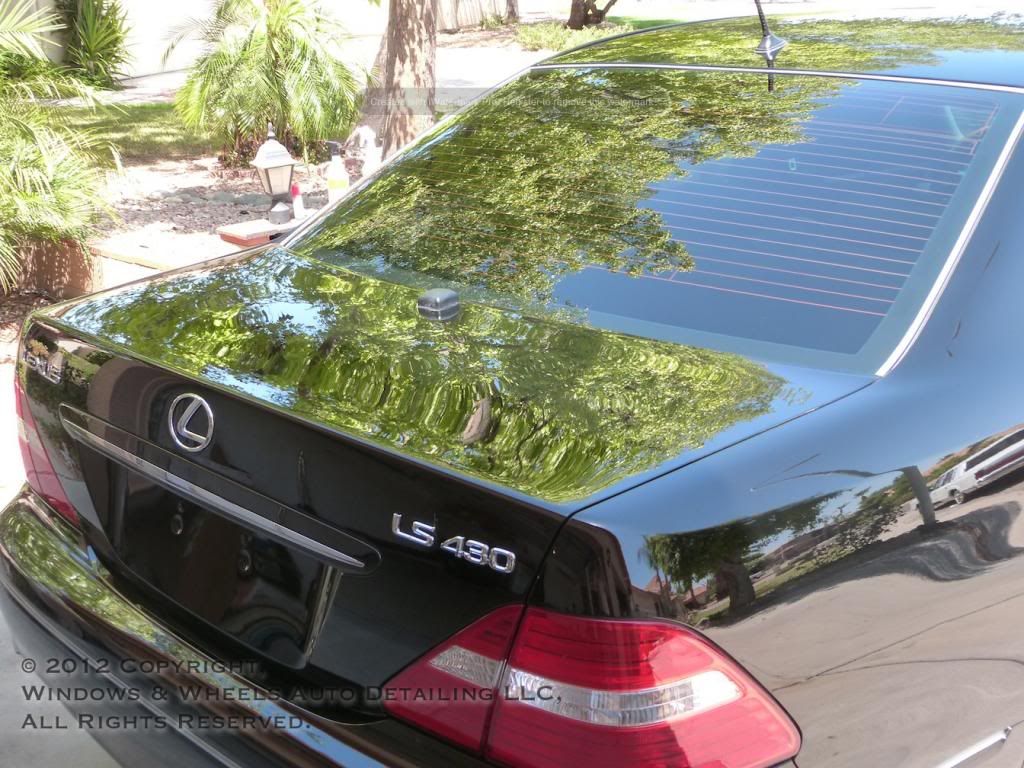
Heres a quick reflection shot...as you can see...not very much peel...a fairly crisp reflection for a factory paint job:
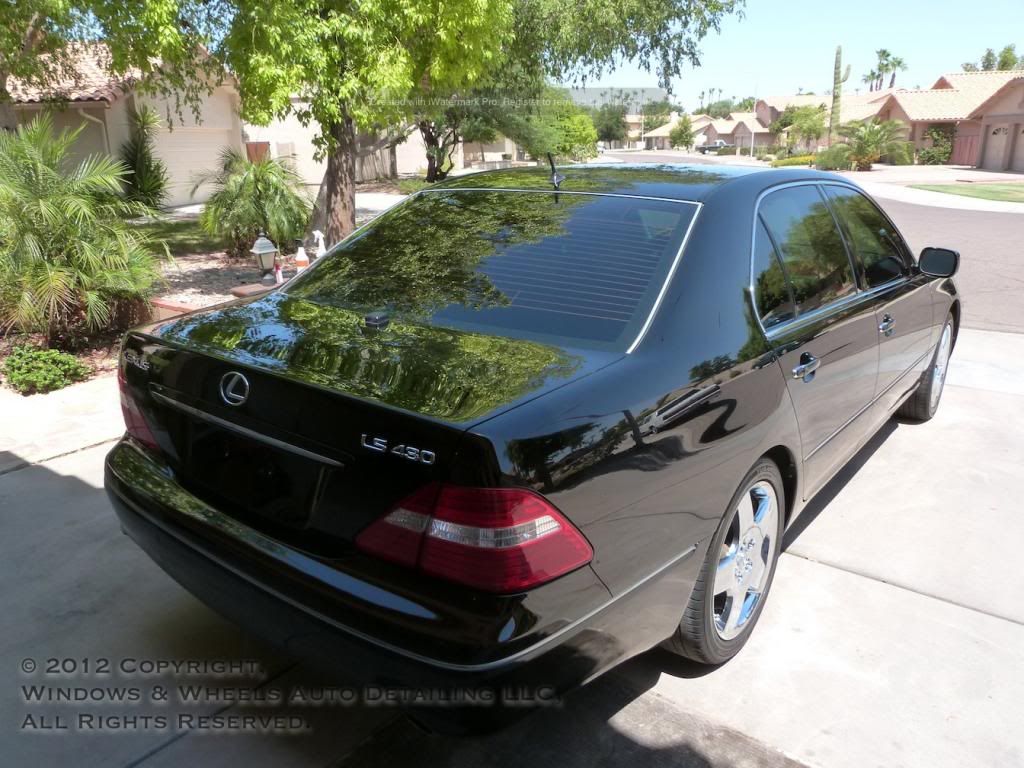
Finally, it was time to pull the hell beast out into the sun and find out if we had truly transformed it into a beauty:
Out she goes...
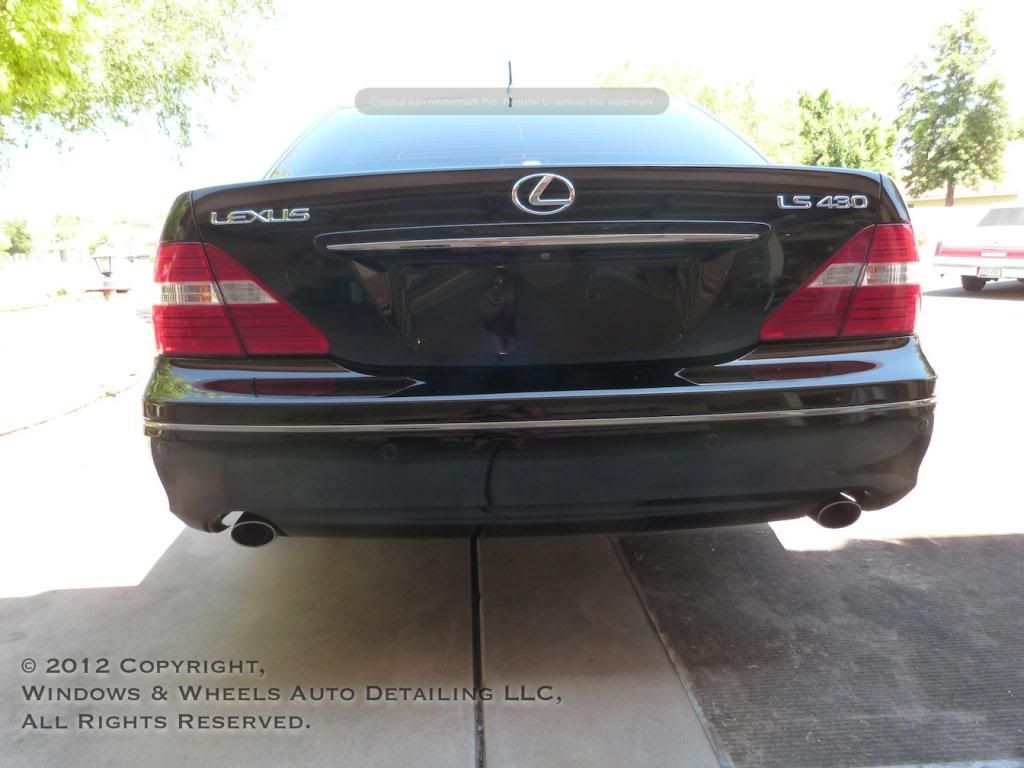
Clean...polished...sealed...and very glossy:
Tips were also cleaned and polished:
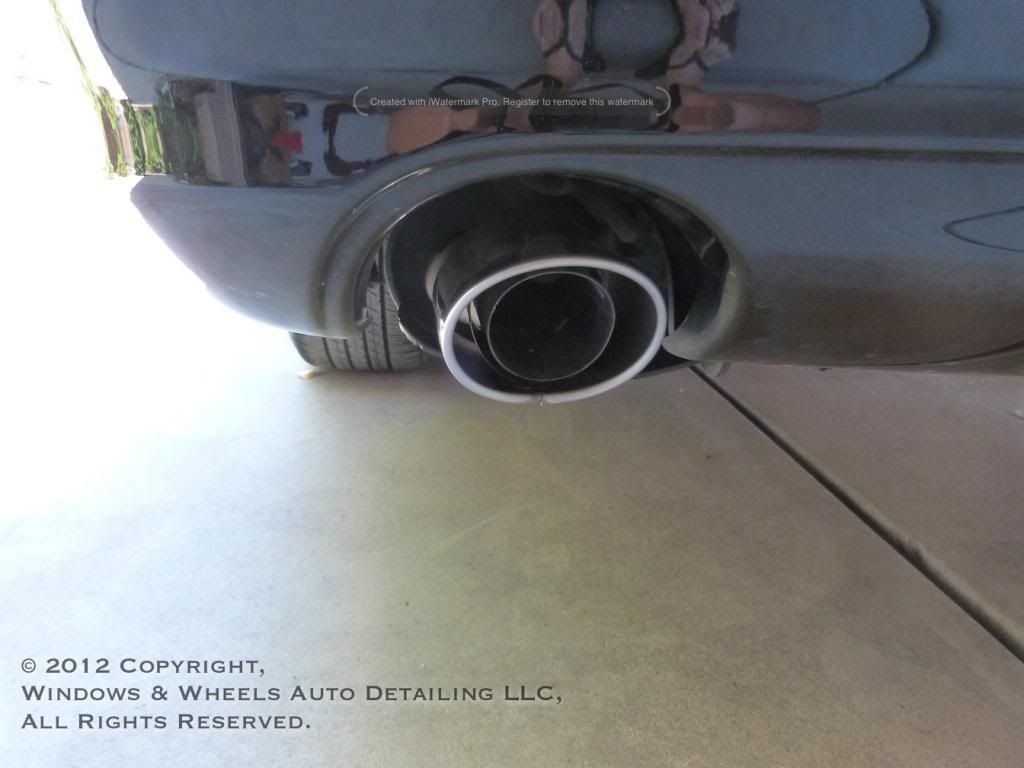
Check out that pool of color...
Complete and ready to go home:

All in all this car took us around 30 combined hours to complete. it was more work than anticipated but, that doesn't matter. I'm not a Tom Brady fan by any stretch of the imagination, but i respect he's one hell of a QB and i also respect what i once heard him say....it was something to the effect of "When you become a professional, you stop looking at the clock to see when you are finished working...and just keep working until the job is done."
Well, that what we try to do.
As always, i hope you all enjoyed the write up...the photos...and the detail.
Thanks for reading!
Here it is...satan car:
Suuure, it looks fairly innocent. Its pretty and luxurious and clean. The owner was a detailers kinda guy. Very clean, very detail oriented...liked his things to look NICE. I'll put it this way, we did a maintenance wash on this thing a few weeks after the detail...and in his text he insisted it was FILTHY (exact word). We get there..its a little dusty...no mud...no tar...no bugs...just the expected normal 'time for a wash' dirt. So on the one hand, this was very cool to have an owner who really appreciates the work that goes into our craft...he actually got our contact info from detailing forums. On the other hand...the pressure was on as well....he'd seen the photos...but he wanted to see if what he saw online would be the same as what he'd see in person. So these were all very interesting factors...but hey, we were up for it
We had seen satan before we actually detailed it...the owner pointed out some concern spots to us...it looked like the dealership had done its evil dance on a few areas and left some nice gifts for us to work with.
What was first shown to us was something we couldn't do a lot about:
Yes, deep, etched in water spots.
Look closely and you can see the actual blistering on some of the deeper ones. As detailers, we hate to see things like this...because its out of our hands...but again, our customer was knowledgeable about such things and told us before we could even say a word, that he didn't think much could be done with those.
Some of the "lighter" (hah, yeah, lighter) ones we were able to remove and it did make an improvement, but we'll get to that soon enough
Now as for the dealerships gifts to us...well...
Yeah..i know...it hurts.
Yes....painful. Told you...satan!
This kinda looked like a cat did a tap dance on the side of the car...
Do i even need to say anything more at this point? I think you get it...it was bad...VERY bad. Like i said, there were about 2 or 3 panels that were in much worse condition than the rest and required a TON of attention. 3+ compounding passes per section was not uncommon....some wet sanding was also required on one of the doors. These guys were deep and this paint was HARD.
Had a few lighter water spots in some places...these were able to be removed:
We opted to attack these areas first...hoping if we cut off the head the body would die lol...of course it doesnt work like that but hey, it made us feel better.
Working on the drivers quarter panel first..we were able to get a significant improvement....a few deep guys remained even after several compounding passes...but it was no where near what it looked like before.
Before:
After:
We also decided to take on the roof where some of the water spots were at:
This panel came out quite well. Working those spots on the edge of the window line isn't easy...requires a steady hand and very slow arm movement...but they came out:
Now for some reason these very small white dots remained on the top....we weren't totally sure what they were...we figured it was probably sand blasted from highway driving, but these small specks could not be removed:
There were also some lovelies on the rear part of the roof too:
Please excuse the residue that was left...but you can see it came out quite nice after a couple of compound passes (slow grueling ones but still...)
Now, onto a bit of an interesting part about this car...this particular year/model actually had TINTED clear. Luckily we had read about this before hand, so we didnt freak out when we saw this:
Usually if you start seeing black paint when doing a base coat/clear coat car...it means you burned through lol....but in this case the clear actually had a light black tint to it. It gave the reflections a different dynamic for sure. I also have to give Lexus props...the orange peel on this car...in an age where MANY new cars have orange peel so bad that it looks like serious waves....was minimal...it was actually a very good paint job on in that regard.
Over on the passenger side rear door..there were also a few jewels left in store for us:
This isn't compound, these are sanding marks that were left uncut/polished
Those were nice ones...right up against the bottom of the door panel. Sanding marks obviously need a very heavy cut to remove them..but they also require a lot of finesse since they're right on the edge of the panel where the paint is thin.
A quick note...remember when i said while we were doing all this it was BLAZING hot...over 110 degrees...i wasn't kidding. My sister and i both were sweating buckets and took very few breaks other than to down some water. Additionally we had the garage door closed so that we could control the lighting as best as we possibly could...so that we could effectively see what we were working with (VERY important on black especially). And when i say we were sweating buckets....thats no lie...this is the back of my sisters shirt:
The white is salt from the sweat. My shirt looked the same...
Back to the paint :-D
The sanding marks took some work (of course) but did come out. The compounding step left some haze, but Dani was following up behind me with the finishing polish to remove any haze that was instilled:
Here she is, cleaning up the trunk:
Popped the trunk open to insure we could get all of the paint on the bumper:
As you can tell, we were making progress. Very SLOWLY, but things were getting better.
Apparently satan got mad and decided to kick up a dust storm from hell outside:
Yeah, those aren't your everyday clouds...thats an Arizona monsoon storm. Wind, LOTS of dust and just enough rain to really screw everything up!
Luckily we were inside...but now not only was it hot, it started to get humid as well! Fun!
After working over 10 hours the first day, we decided to call it a day and get a little rest...some well deserved rest lol...but not much because we were up early the next morning to get back at it.
Morning came, the sun was up...it was hot as hell AGAIN (during the summer months our LOWS are many times in the 90's) and it was time to finish this beast up.
We have a few more deep guys to go after:
Sorry about the compounding dust left in the after pic:
You can see, we got very good correction here. And trust me, this is HARD to do. Many thanks to Kevin Brown for advising me to cut down one of my microfiber pads to fit exactly onto my backing plate. This really helped to increase the cut of the edge of my pad, which was 100% necessary in areas like this...where deep scratches came directly up to the door handle....a very difficult area to cut to say the least. It basically takes as much time to cut the paint around that little door handle as it usually does to do 1 or 2 20x20" sections. Time consuming, frustrating, but very rewarding when seeing the end result.
When the sun got nice and high, we decided to pull her out and take a look in the sun. What we saw was very pleasing:
And remember those retched roof water spots from before...well they were no where to be seen:
As for the hood, we had cut and polished only half....the sun was in a great spot to be able to get some good shots of both the finished and unfinished sides.
This was the side we had not yet done:
Here is a 50/50 shot...angle was a bit off...but right side is undone...left side is finished:
Here it is again with the sun more so on the finished side:
You can see that quite a few of those water spots were removed. The ugly deeper ones got lighter, but were not completely gone unfortunately...but thats one of those situations where you just have to know when to say when...trust me, we put a lot of time and effort into trying to remove them, but they had blistered up too bad.
Now that the fun was done...we pulled it back in...finished what cutting and polishing we had left and then pulled it out to give it a quick rinse off to knock all the compounding dust off. We then pulled it back in (quickly...by this time we were well over 100 degrees again) and did an ONR wash on it to remove any remanding dust and polishing oils.
Next we applied our wax...we used Blackfire Wet Diamond Sealant. While it cured...we went around and polished up the rims:
A friend of ours had sent us a little Klasse All in One sample...we wouldn't use this on paint...but to clean up the rims and add a little extra gloss and protection, it was perfect!
Shiny:
Next, since we were at home...i powered up the compressor and attached my mini HVLP spray gun and put in some Meguiars All Seasons dressing
The HVLP gun allowed me to apply a very even coat of dressing onto the tires and also into the wheel wells. This was particularly helpful for very hard to reach areas in the wells where normally i wouldn't be able to reach without removing the tires.
Here's the tire all finished:
By the time we'd done all four tires..the sealant had cured and was ready for removal:
Heres a quick reflection shot...as you can see...not very much peel...a fairly crisp reflection for a factory paint job:
Finally, it was time to pull the hell beast out into the sun and find out if we had truly transformed it into a beauty:
Out she goes...
Clean...polished...sealed...and very glossy:
Tips were also cleaned and polished:
Check out that pool of color...
Complete and ready to go home:
All in all this car took us around 30 combined hours to complete. it was more work than anticipated but, that doesn't matter. I'm not a Tom Brady fan by any stretch of the imagination, but i respect he's one hell of a QB and i also respect what i once heard him say....it was something to the effect of "When you become a professional, you stop looking at the clock to see when you are finished working...and just keep working until the job is done."
Well, that what we try to do.
As always, i hope you all enjoyed the write up...the photos...and the detail.
Thanks for reading!