KR CoolShine
New member
Don:
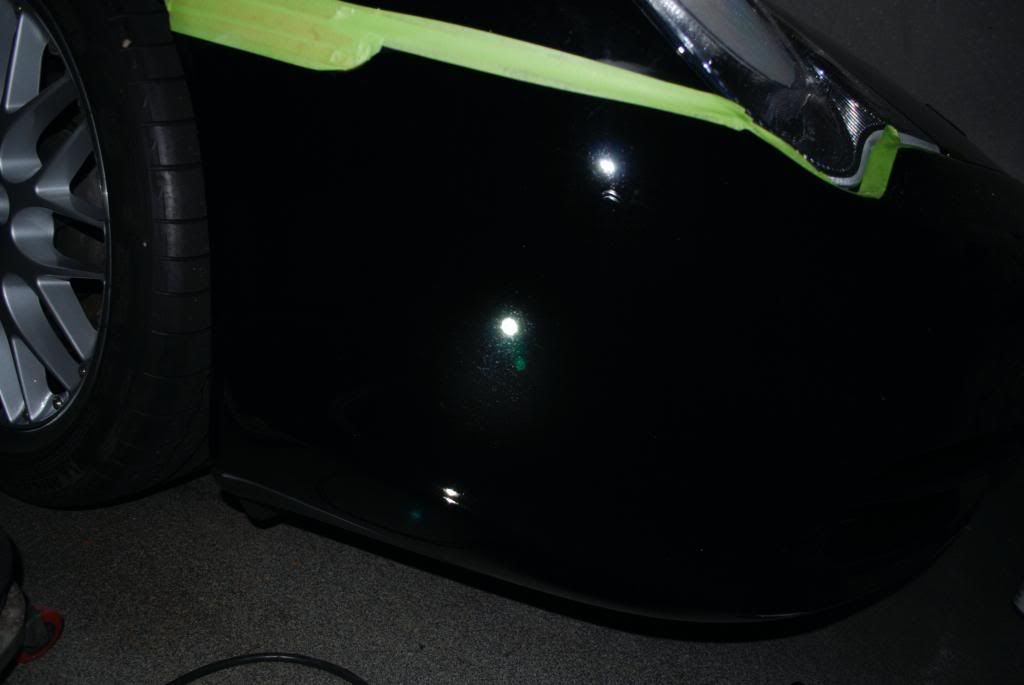
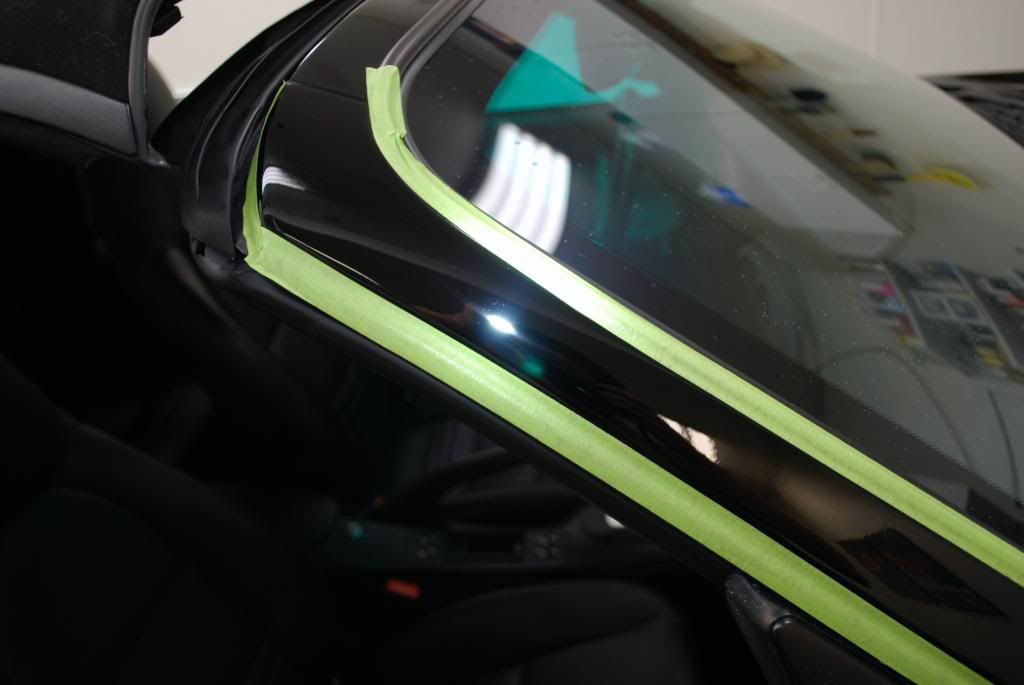
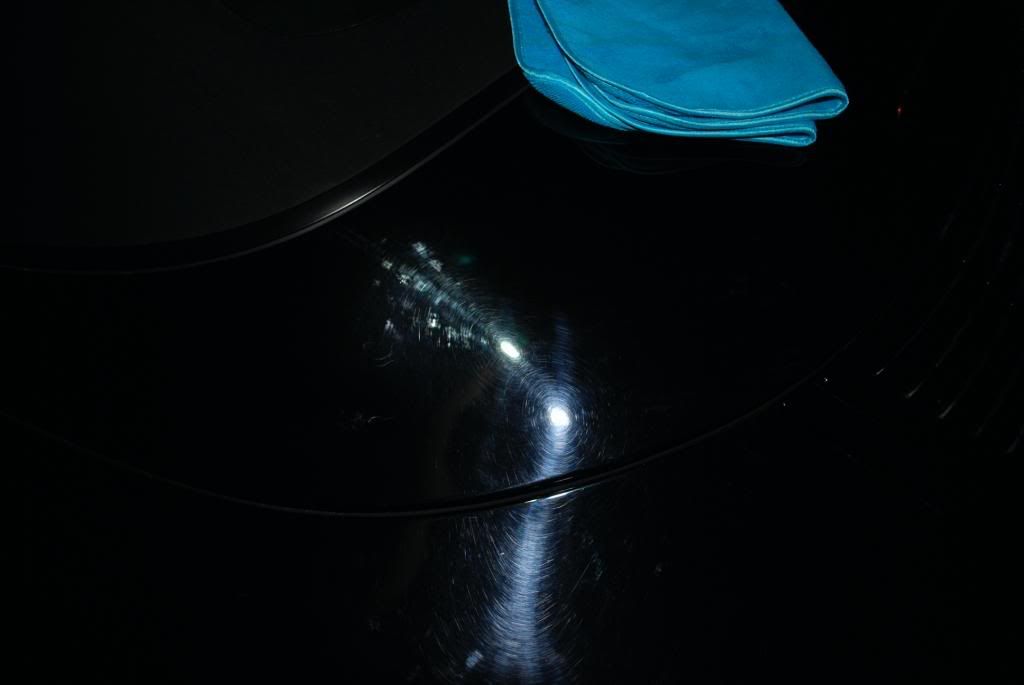
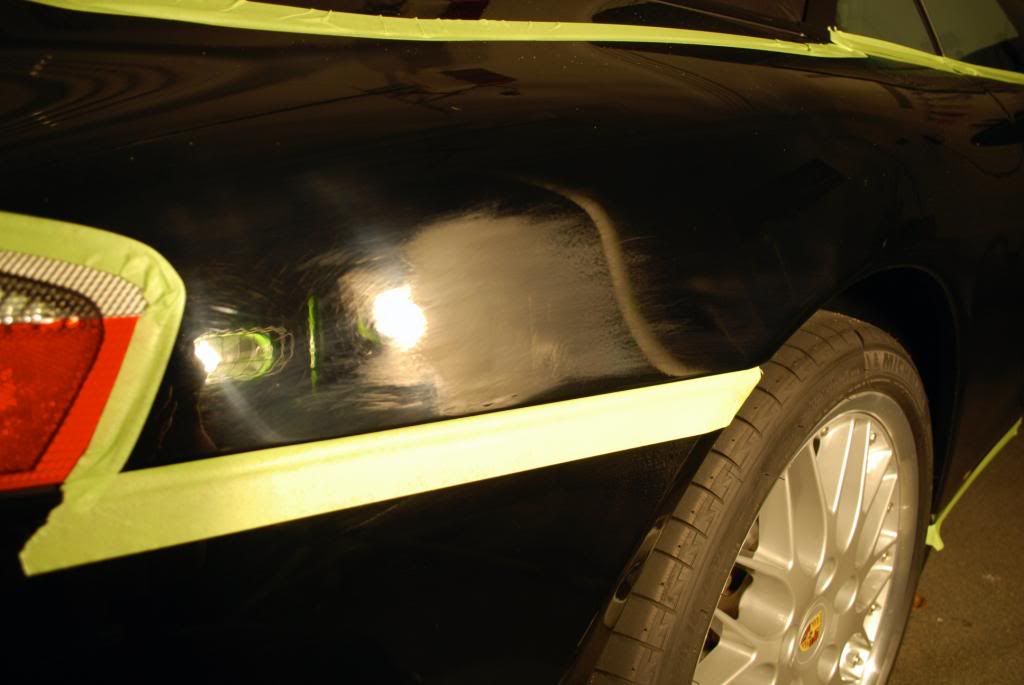
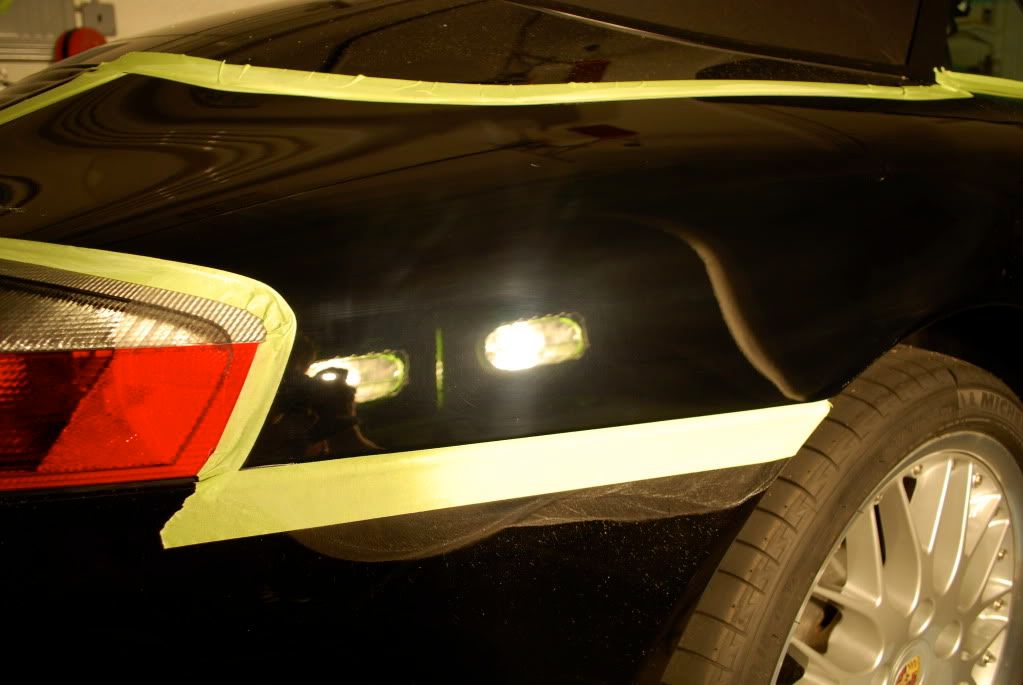
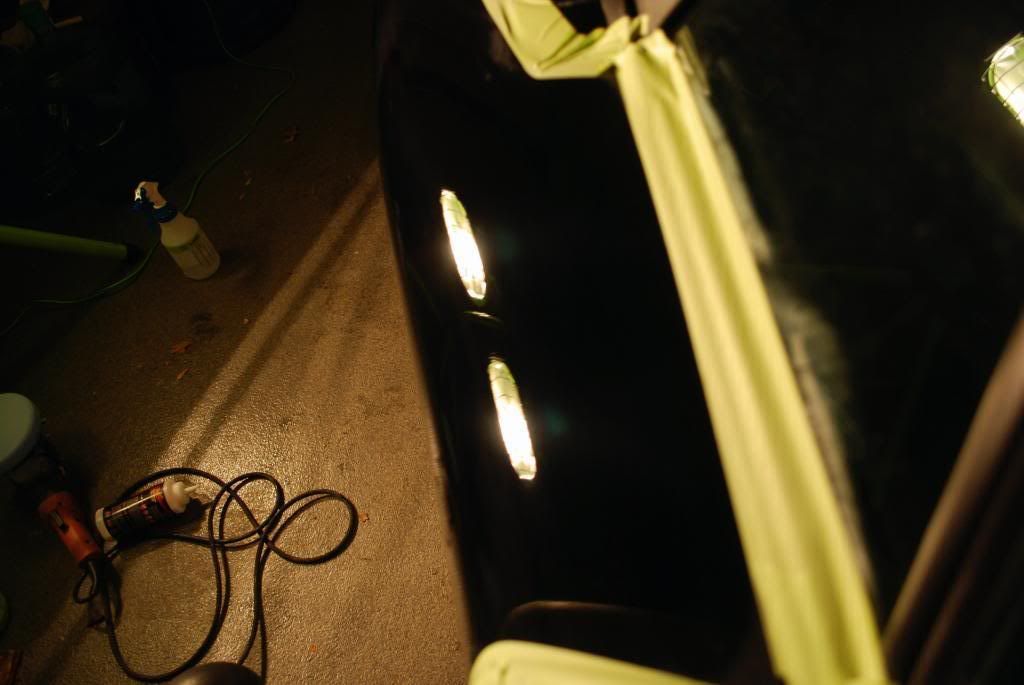
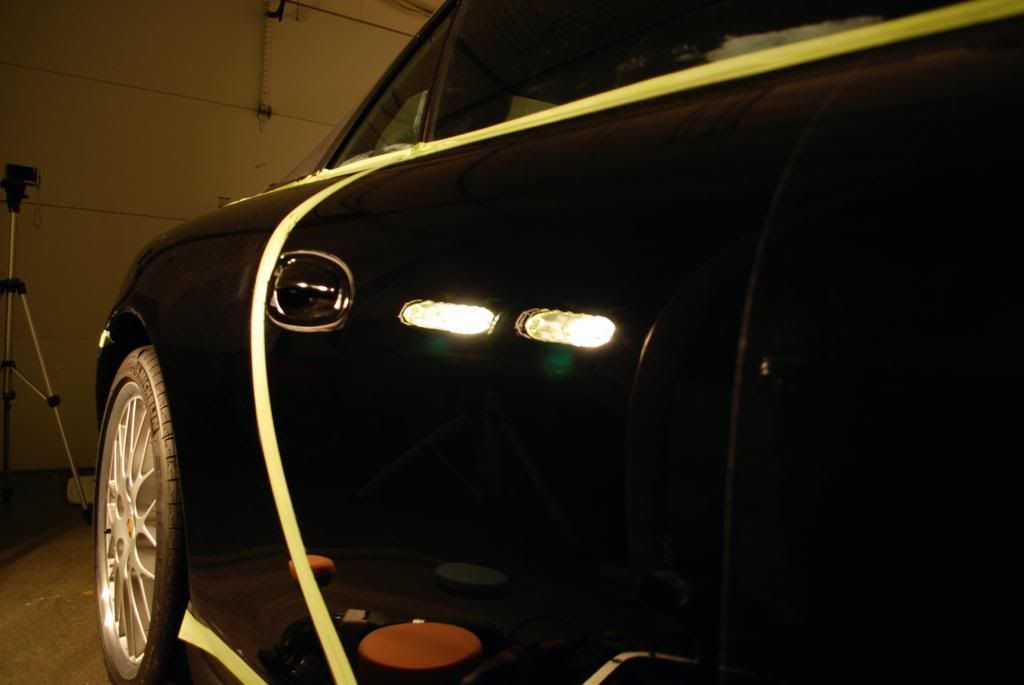
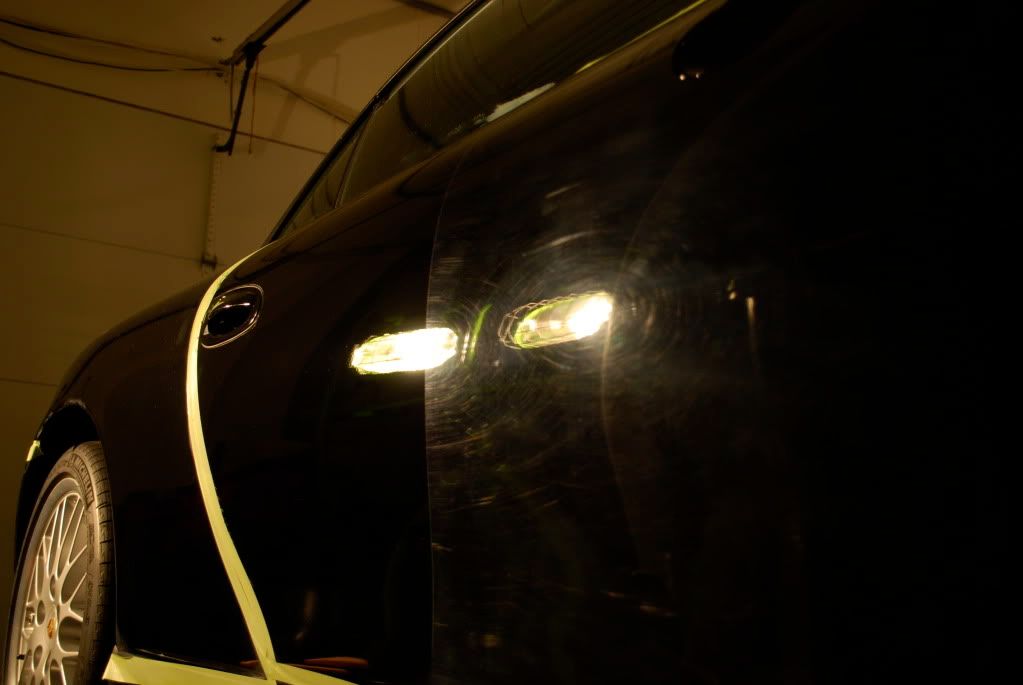
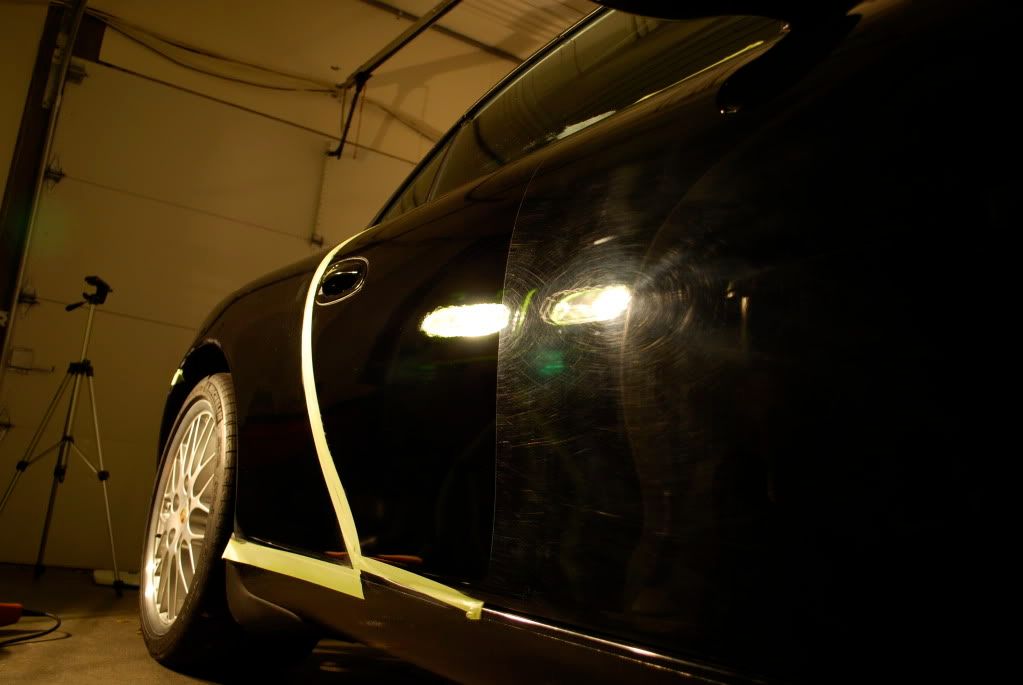
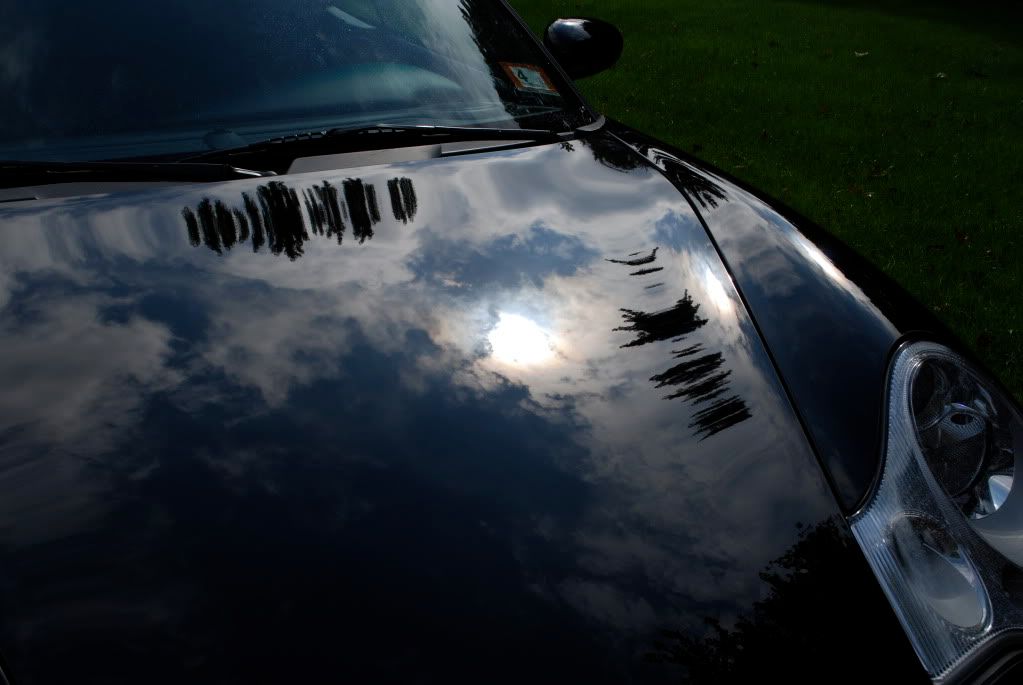
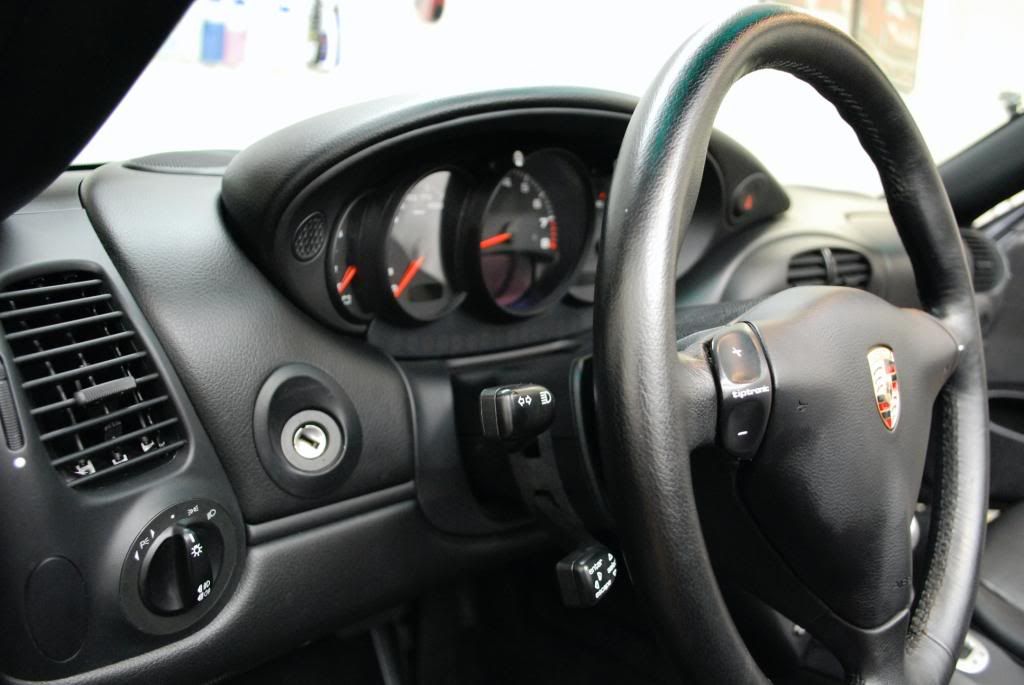
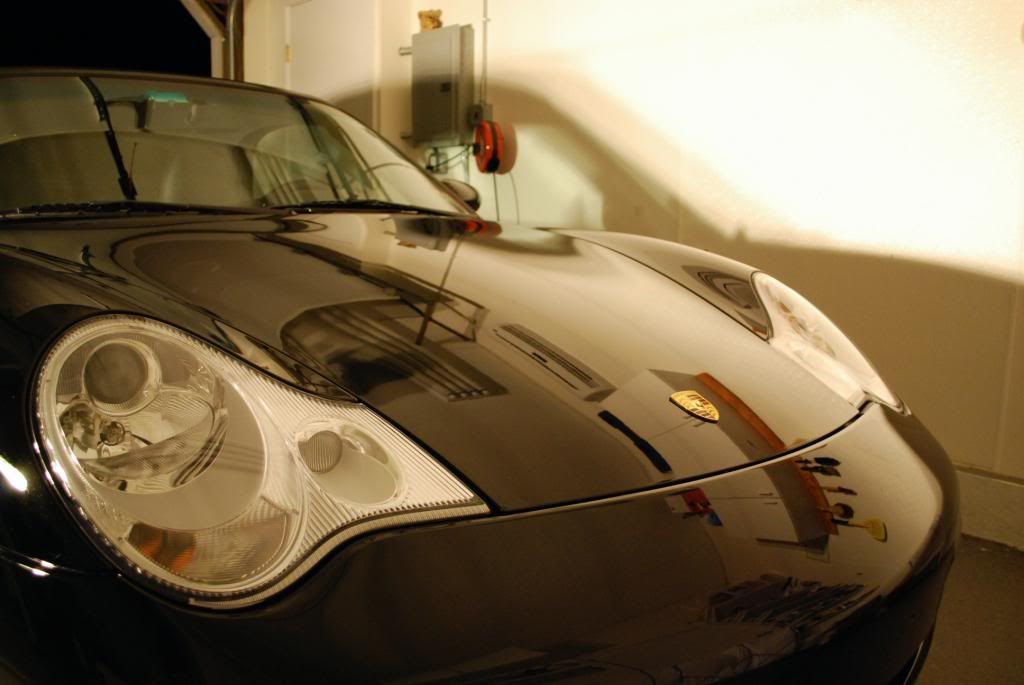
You mean like this?
You mean like this?
Follow along with the video below to see how to install our site as a web app on your home screen.
Note: This feature may not be available in some browsers.


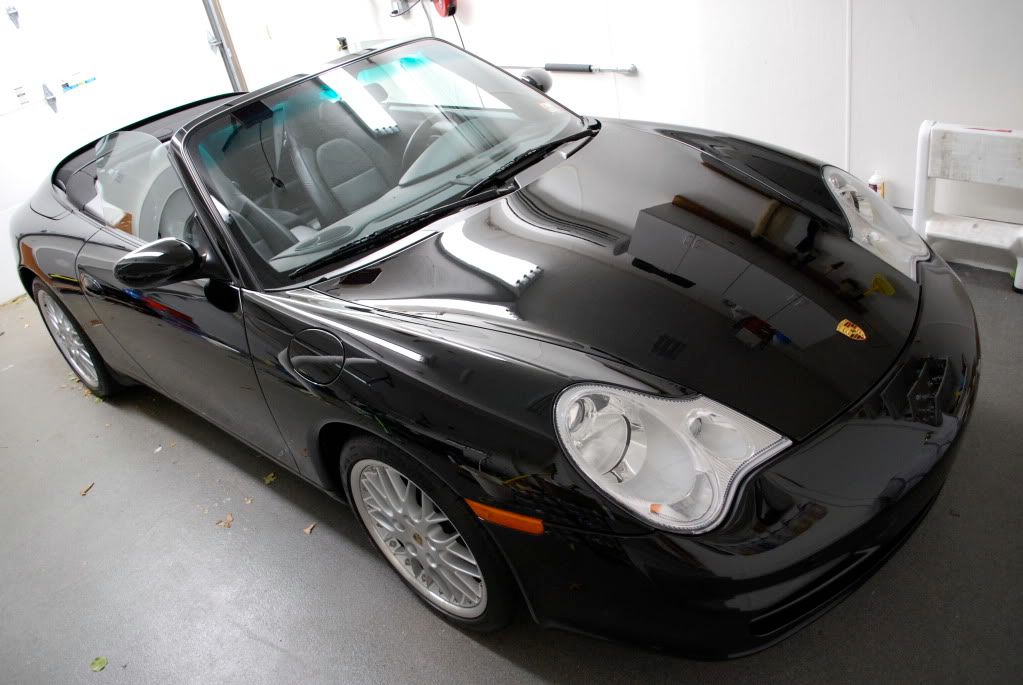
David -
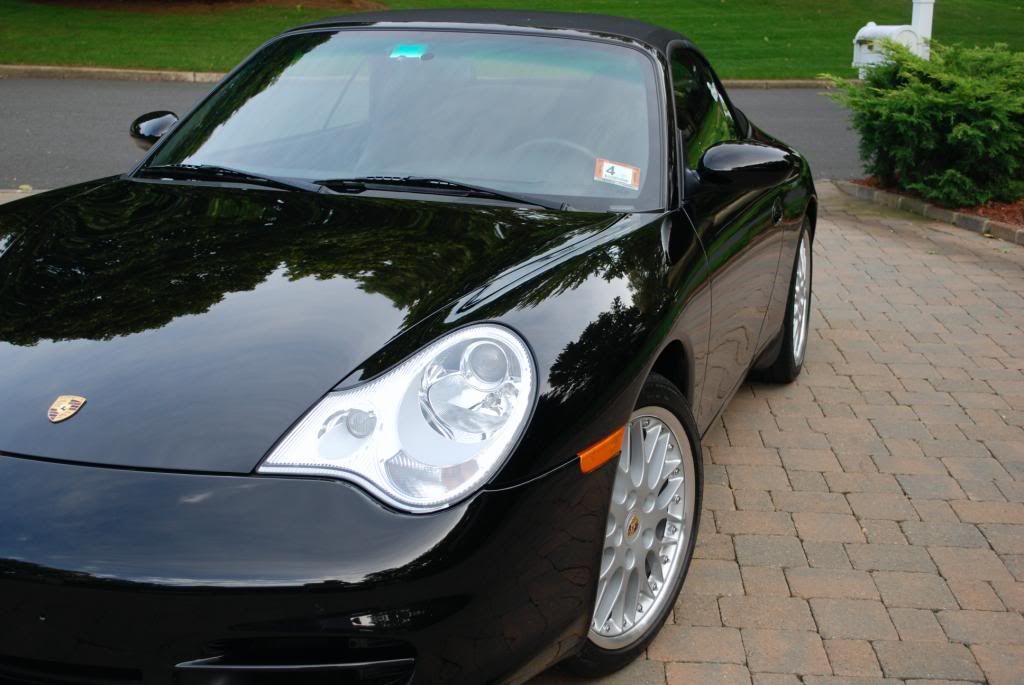
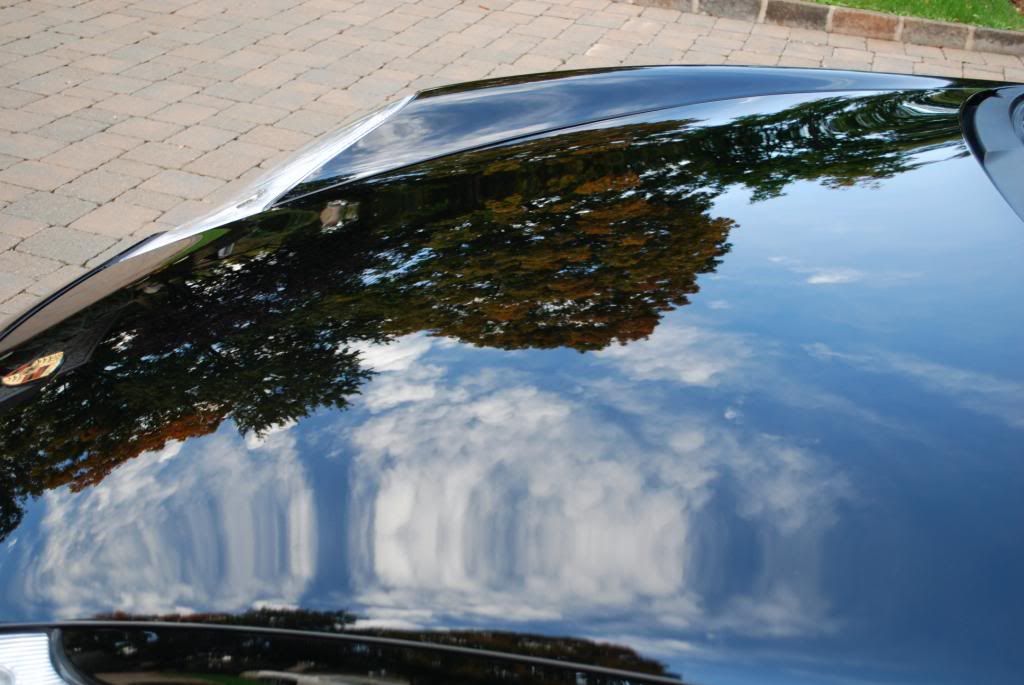
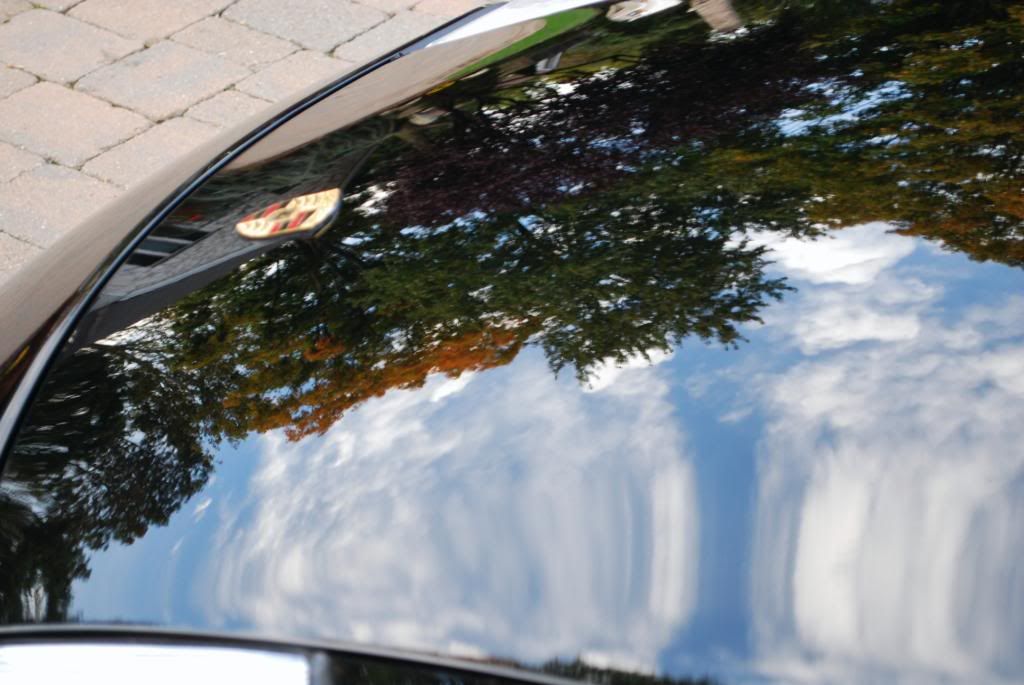
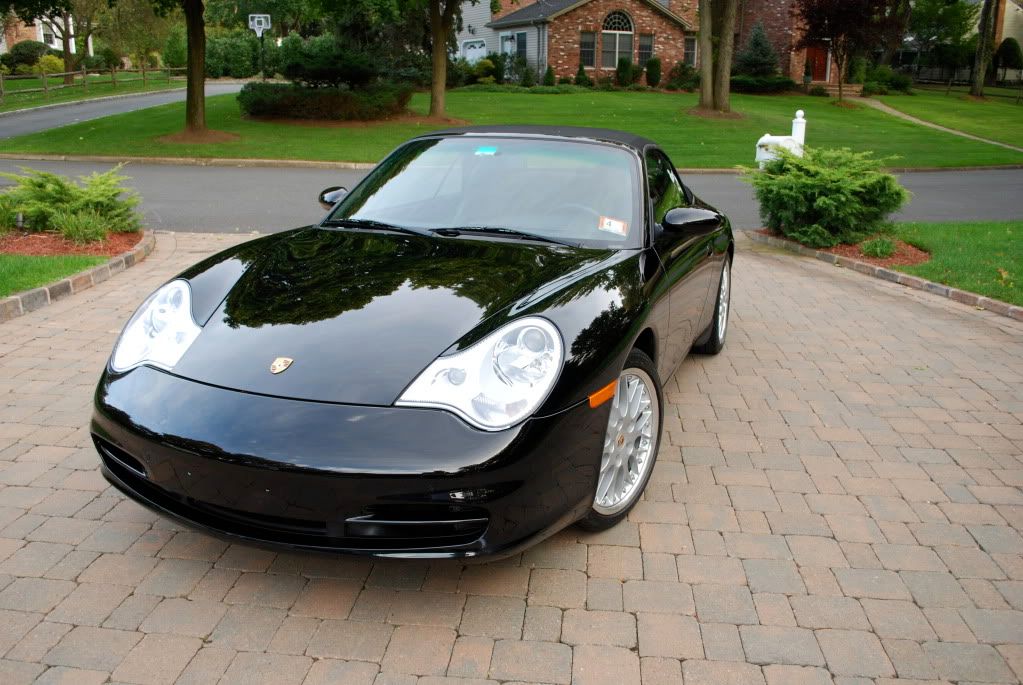
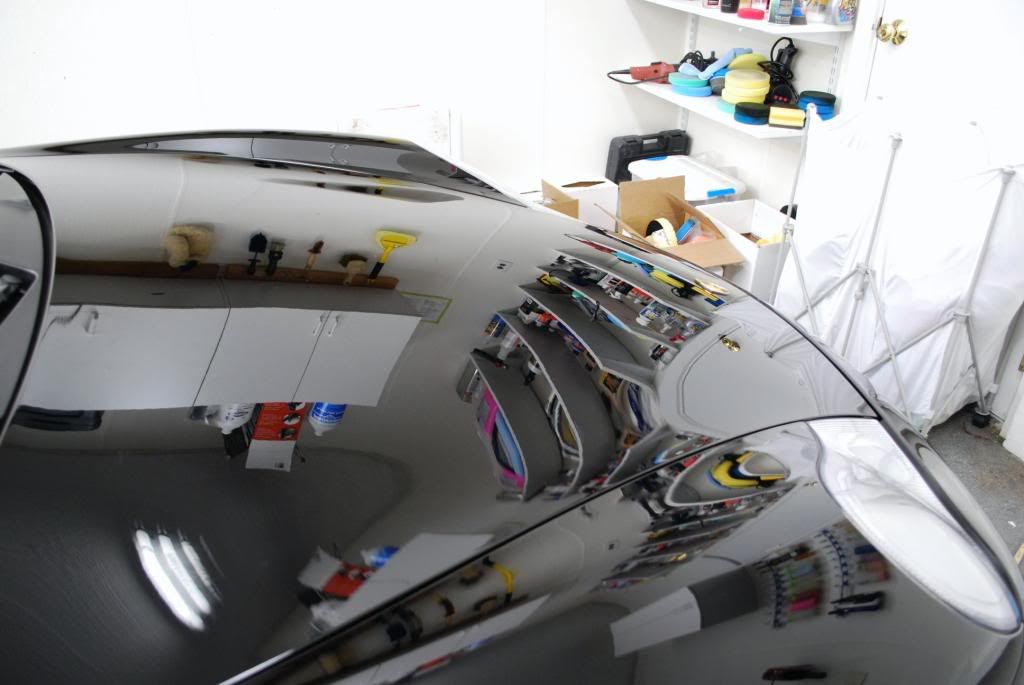
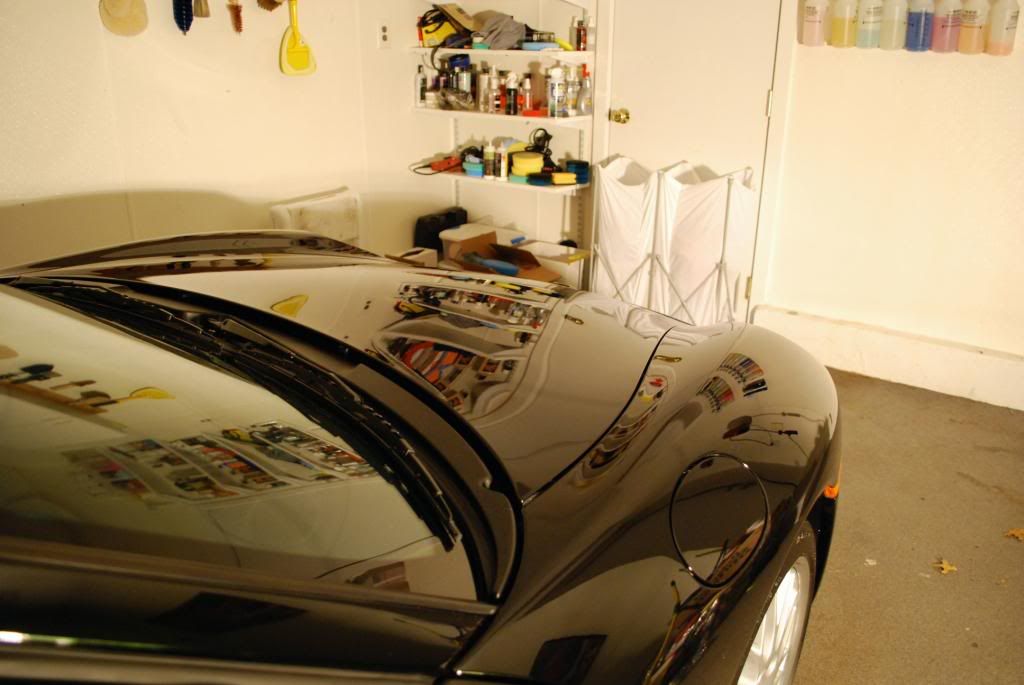
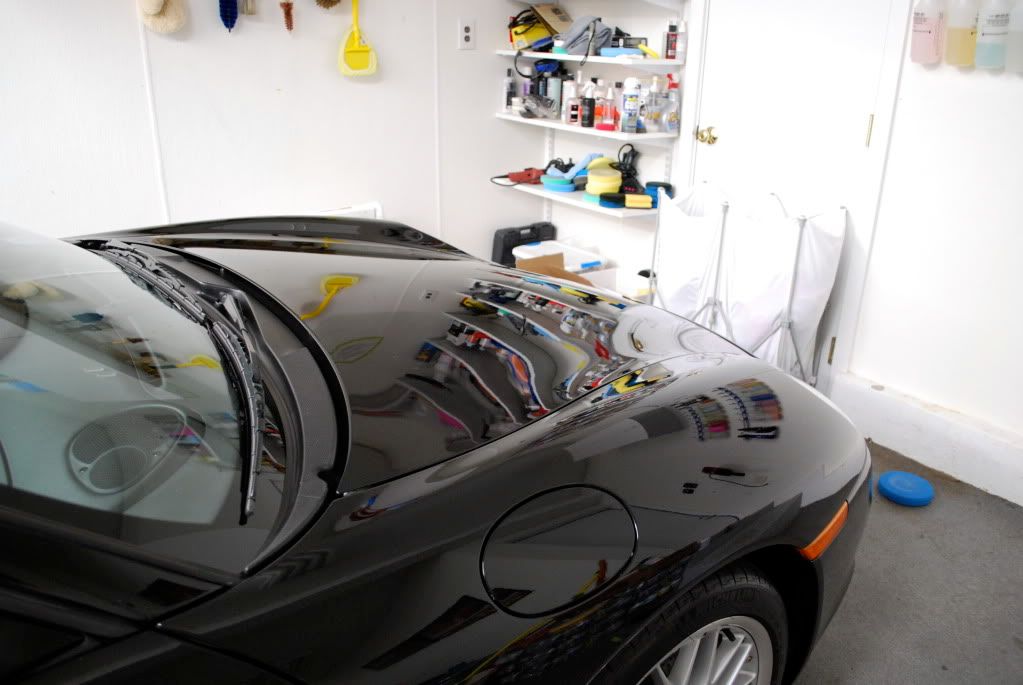
Another AWESOME Detail !!!
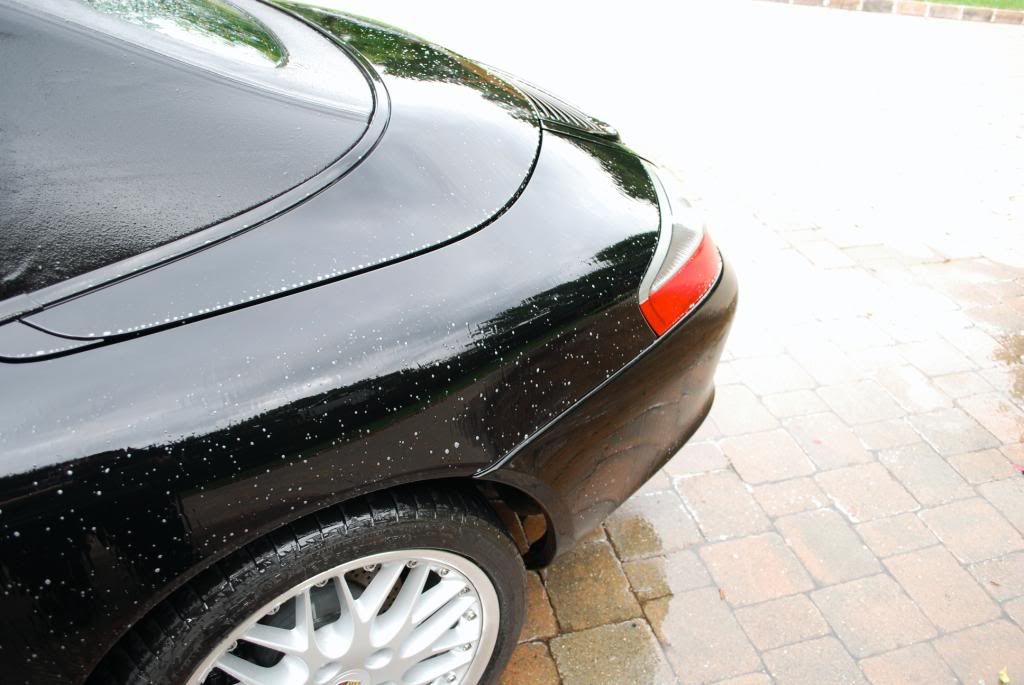
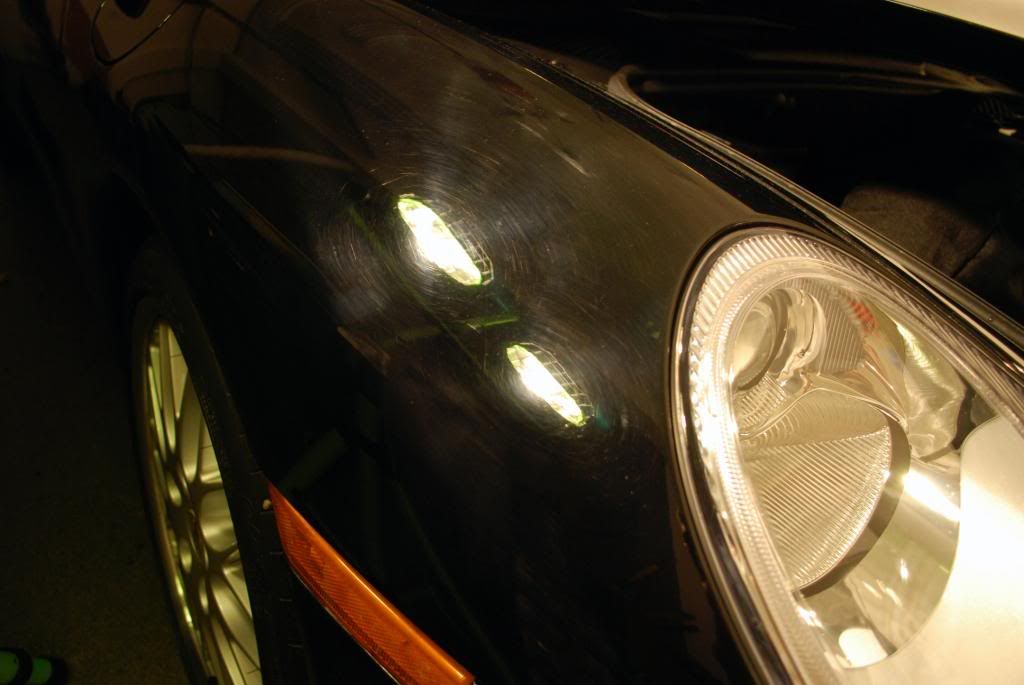
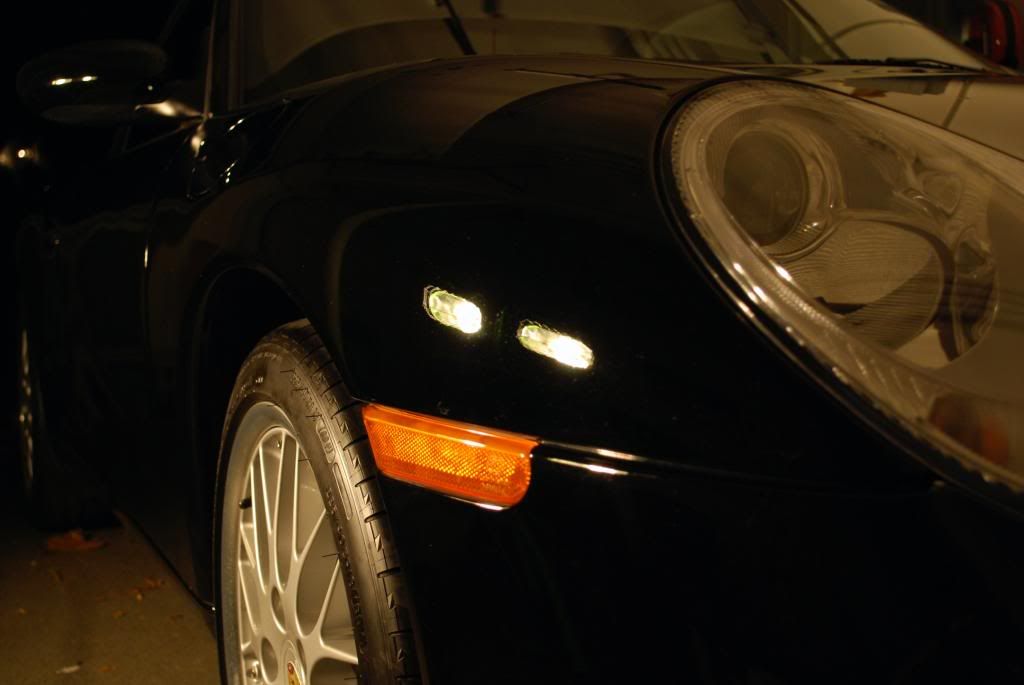
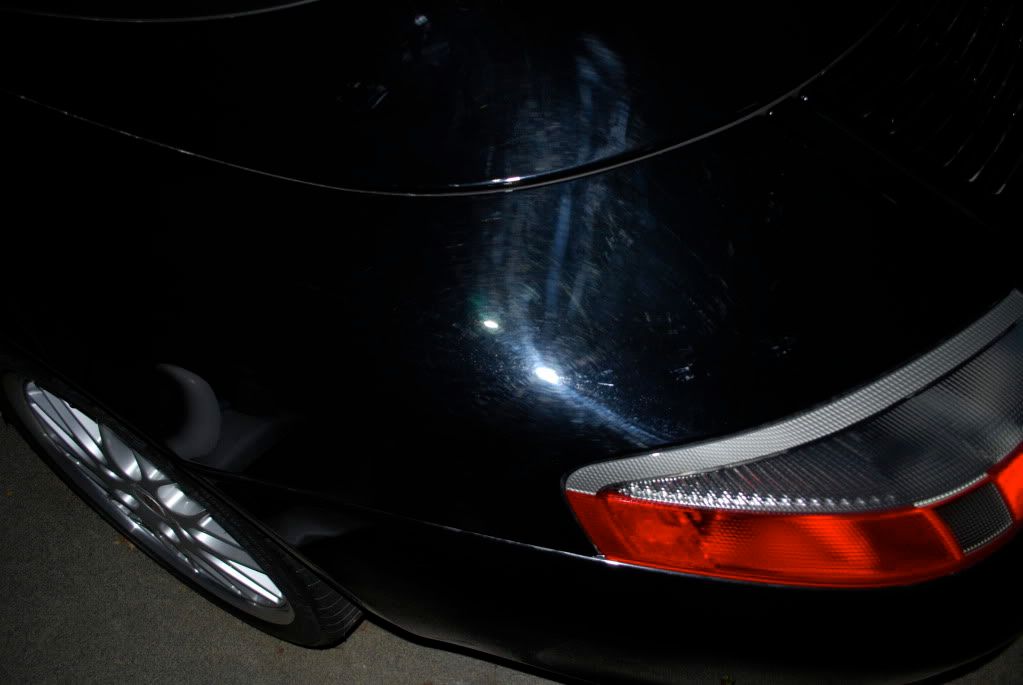
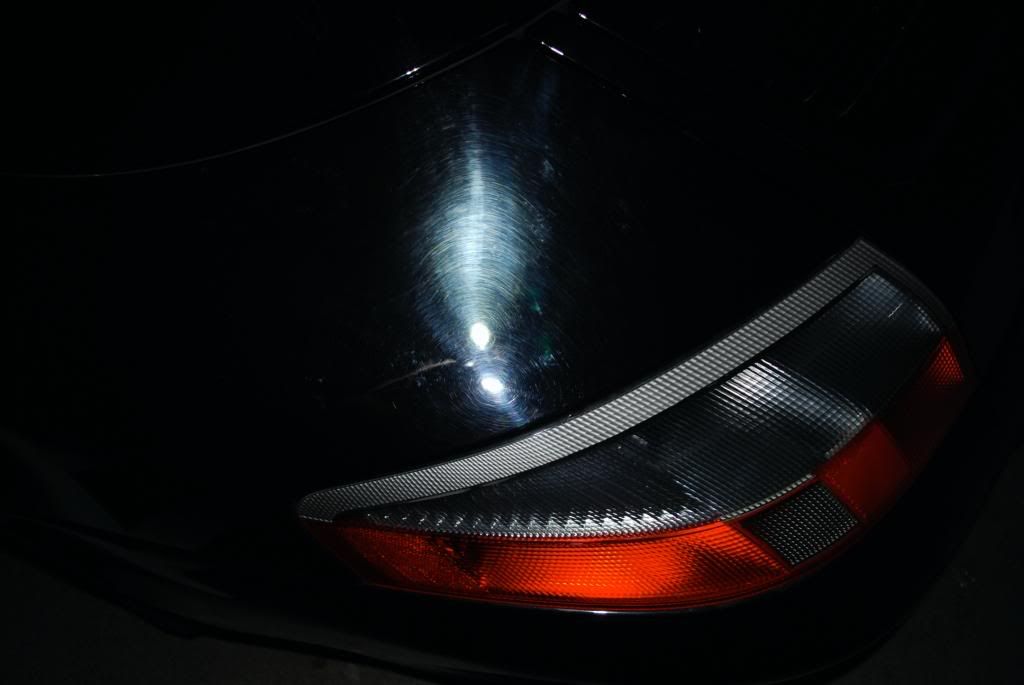
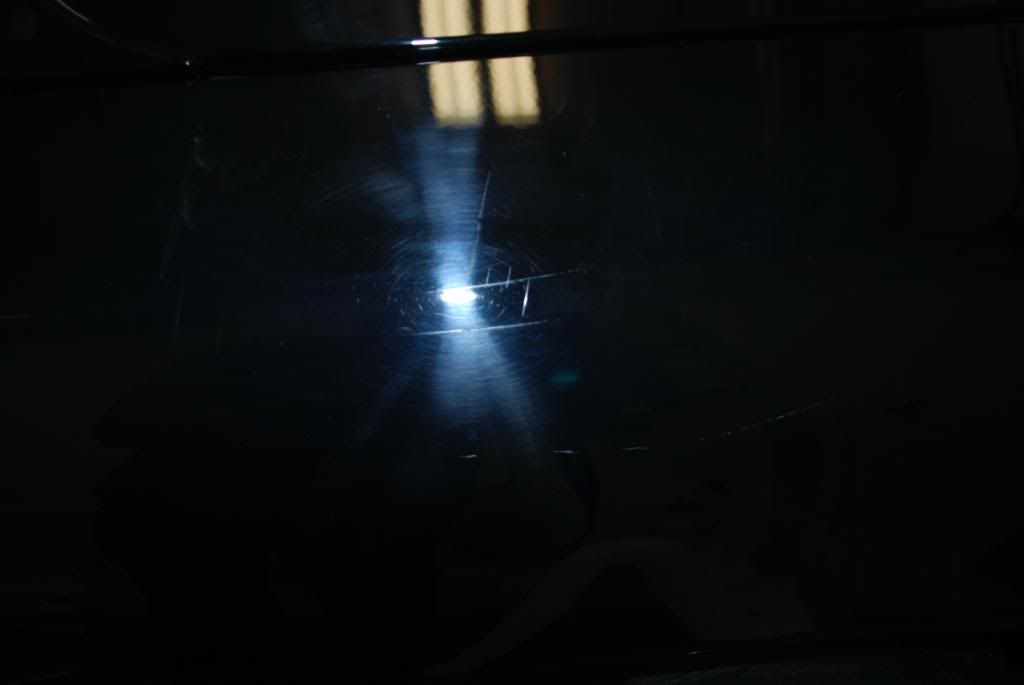
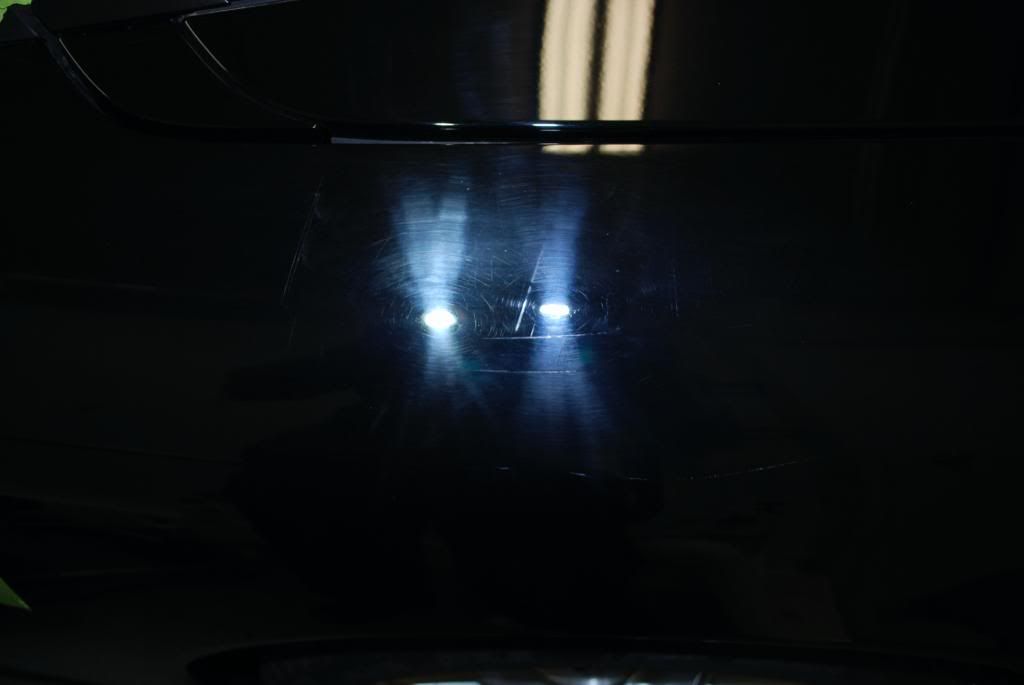
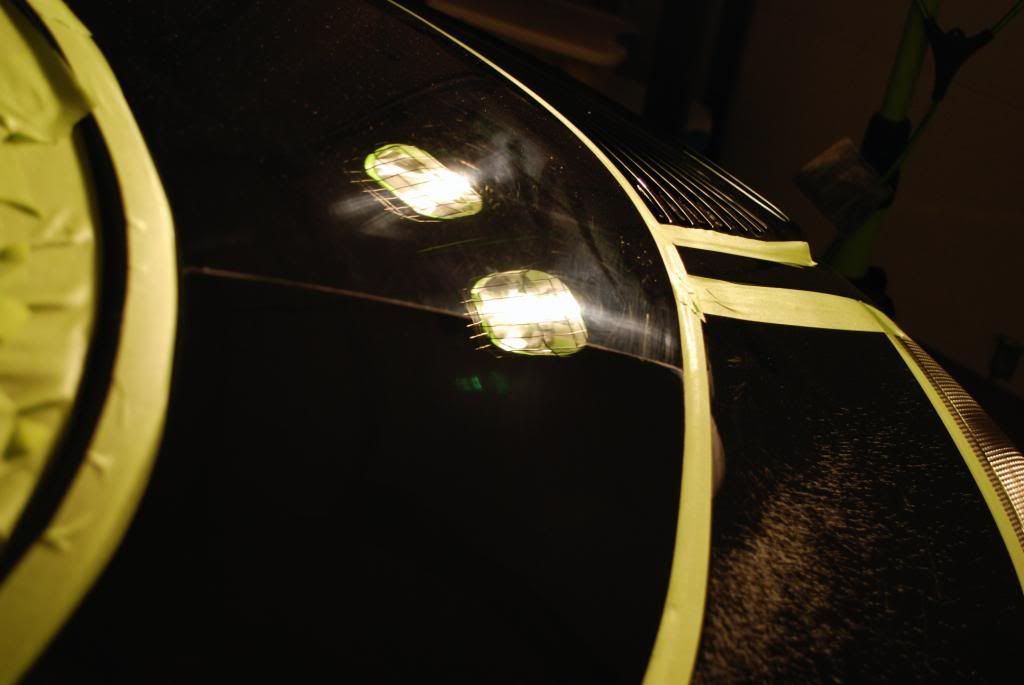
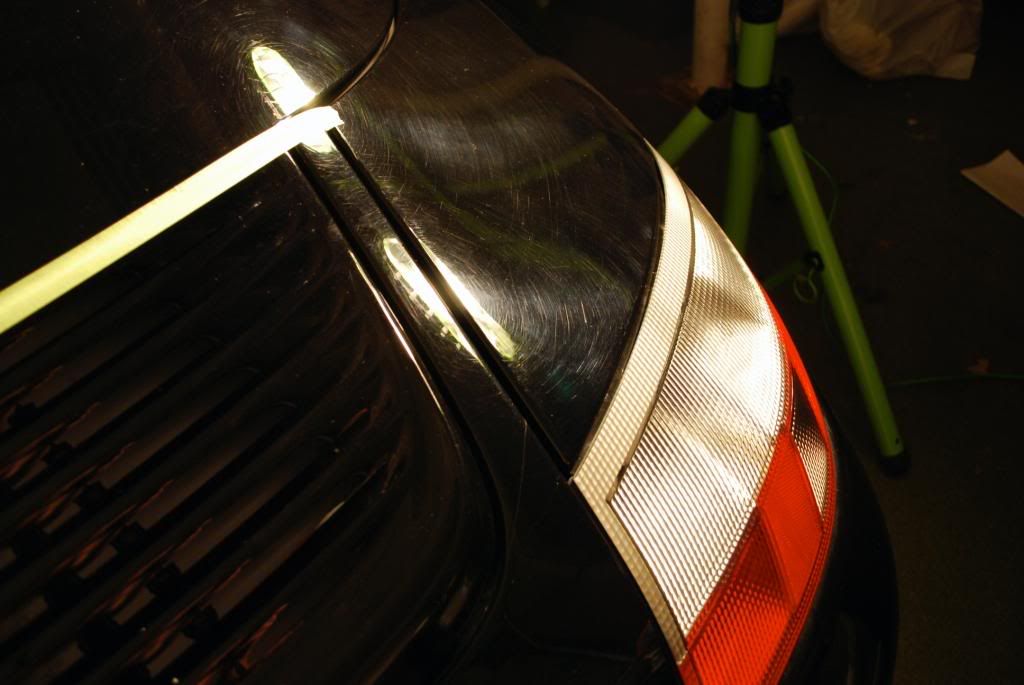
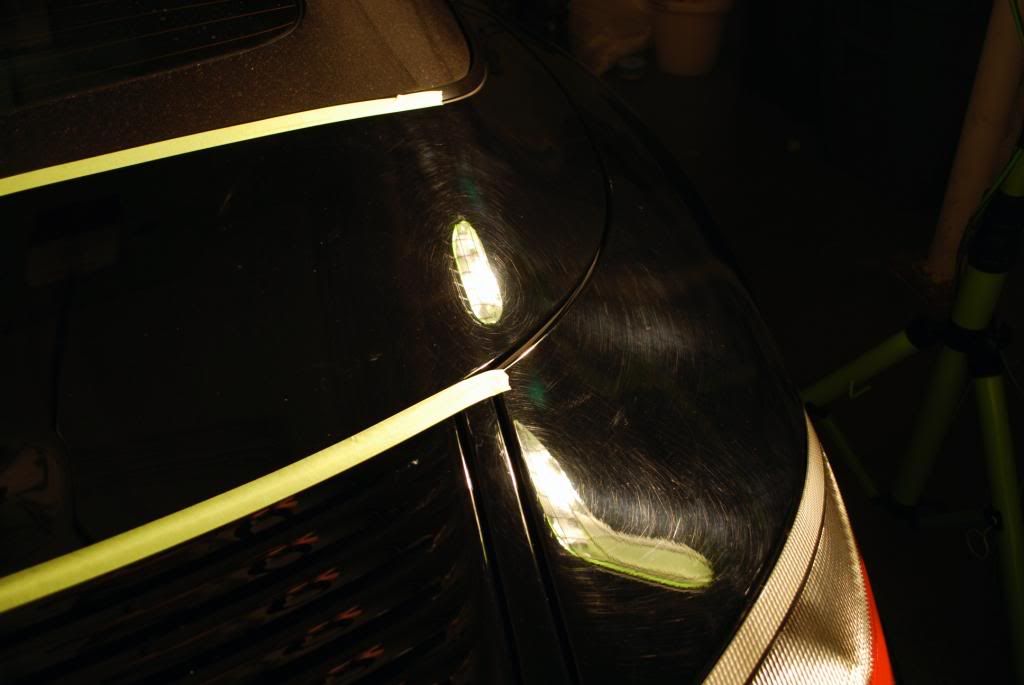
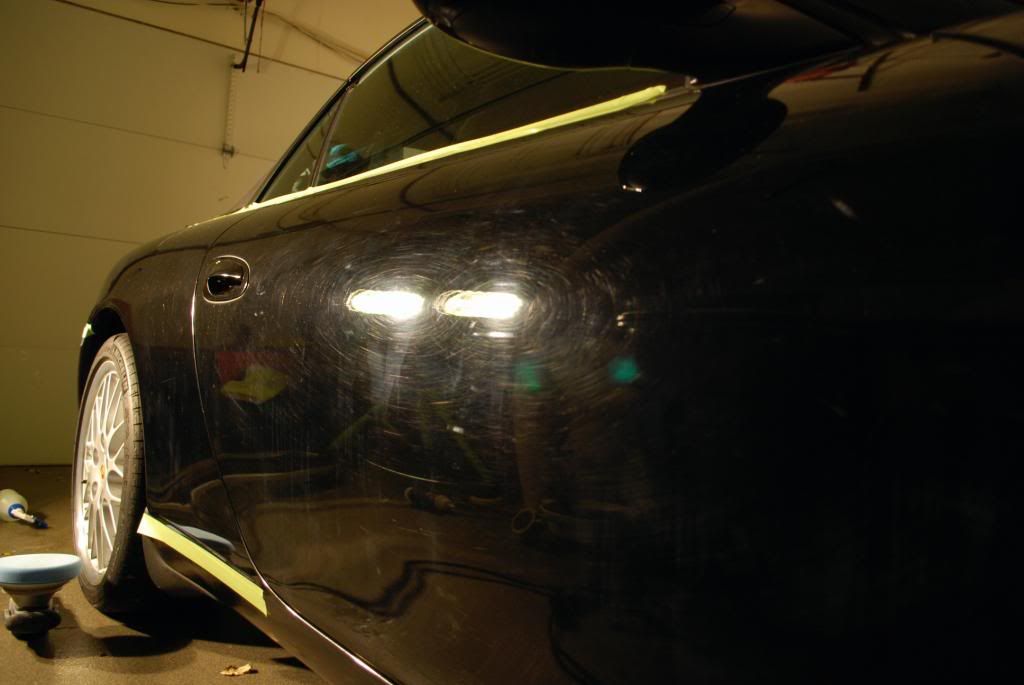
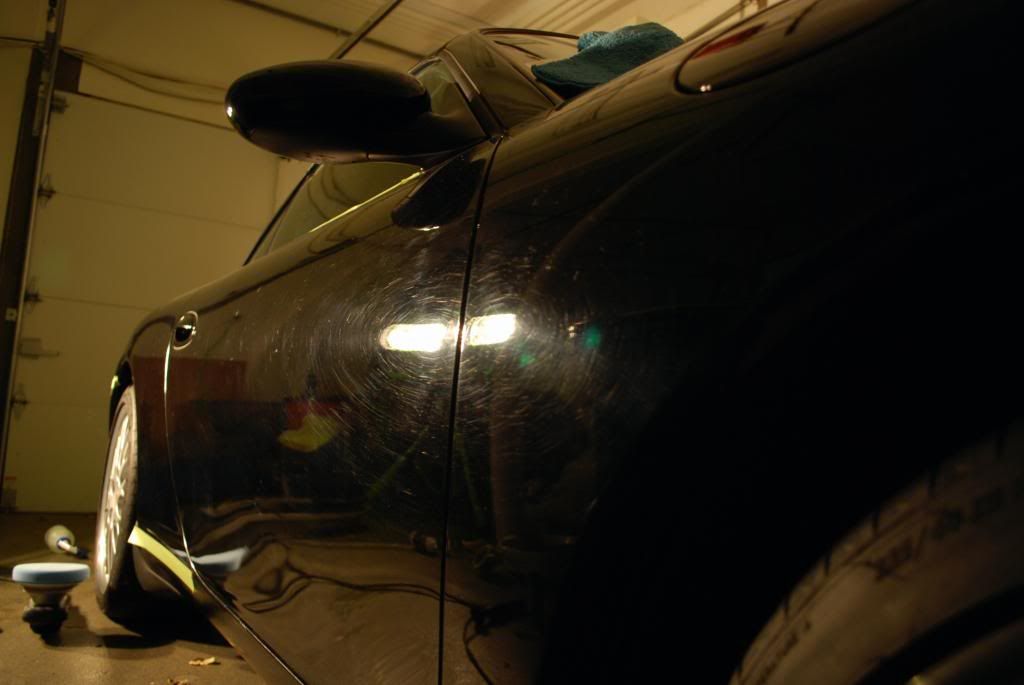
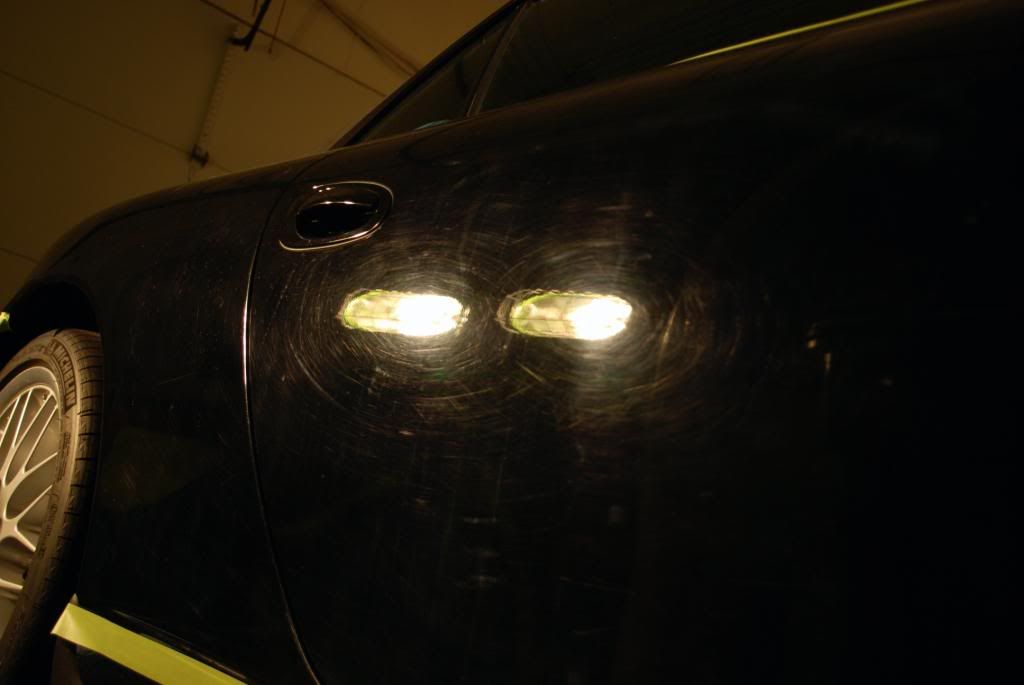
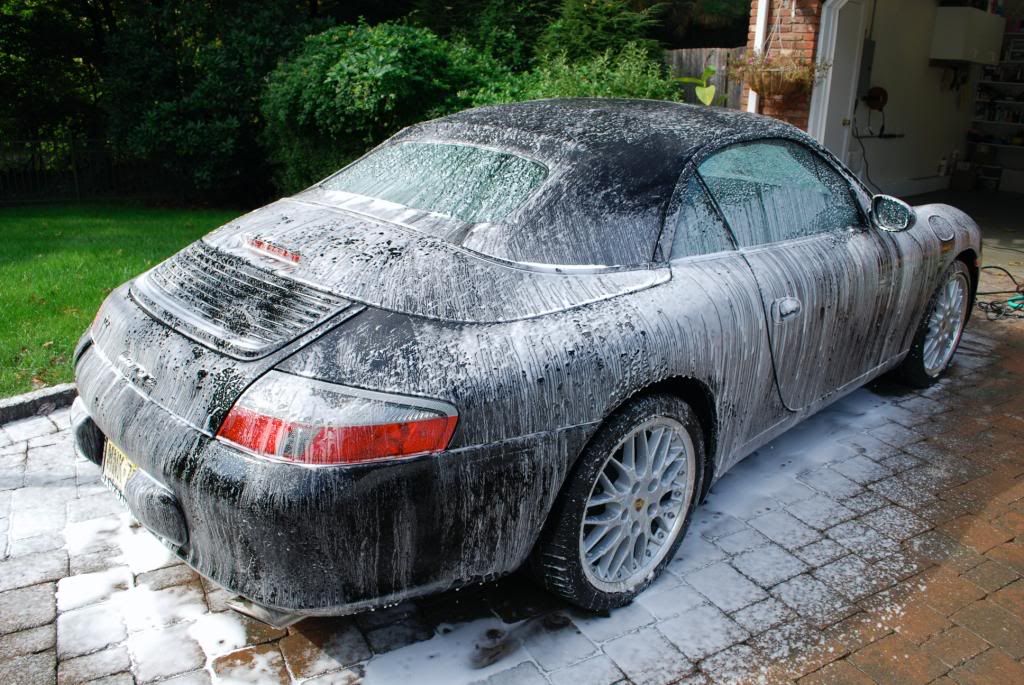
I did a 1997 black 911 Targa, that I thought was swirled, but it was nothing like the way newer one you did!
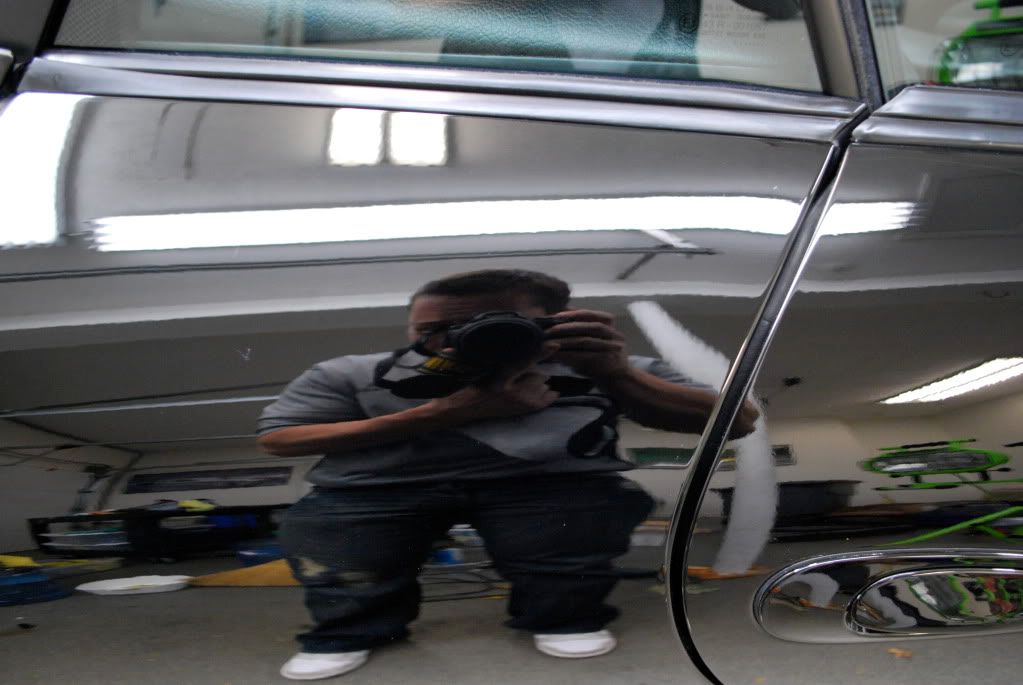
I am continually amazed at the amount of skills you have and how well you use them.
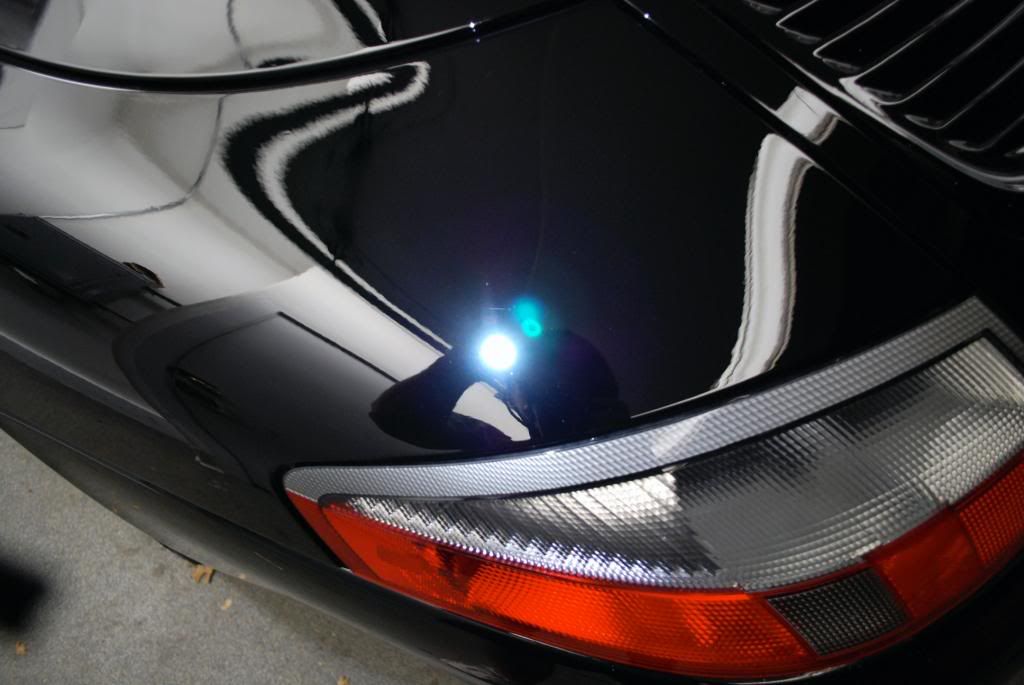
Congratulations on the unbelieveable turnaround on this !! It is so easy to see why people bring you their nice cars - you make them way way nicer than they could have every imagined...
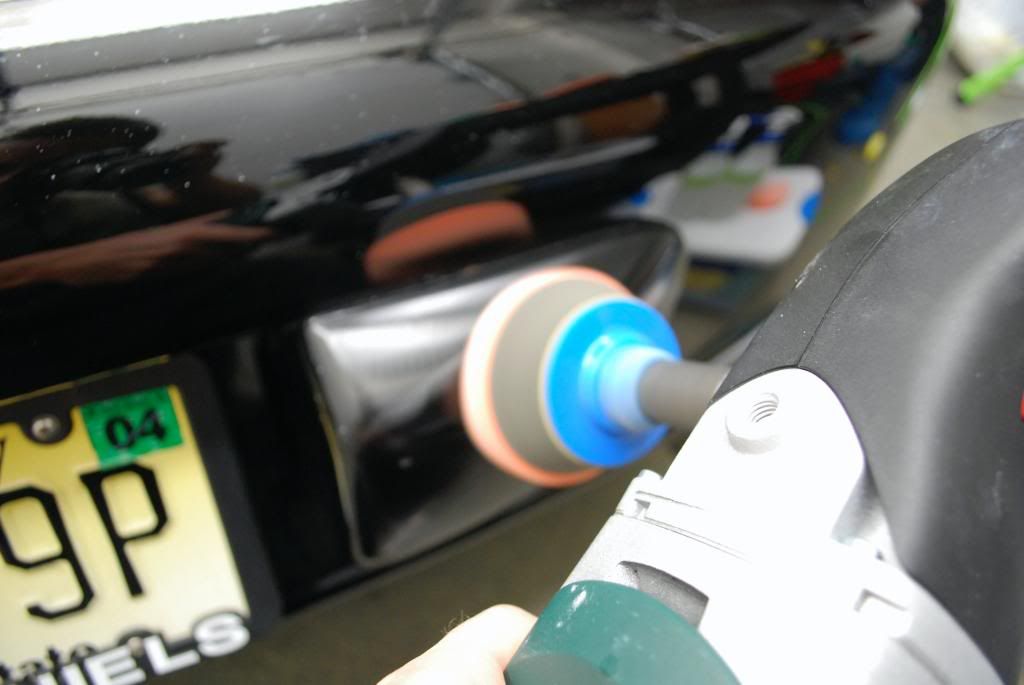
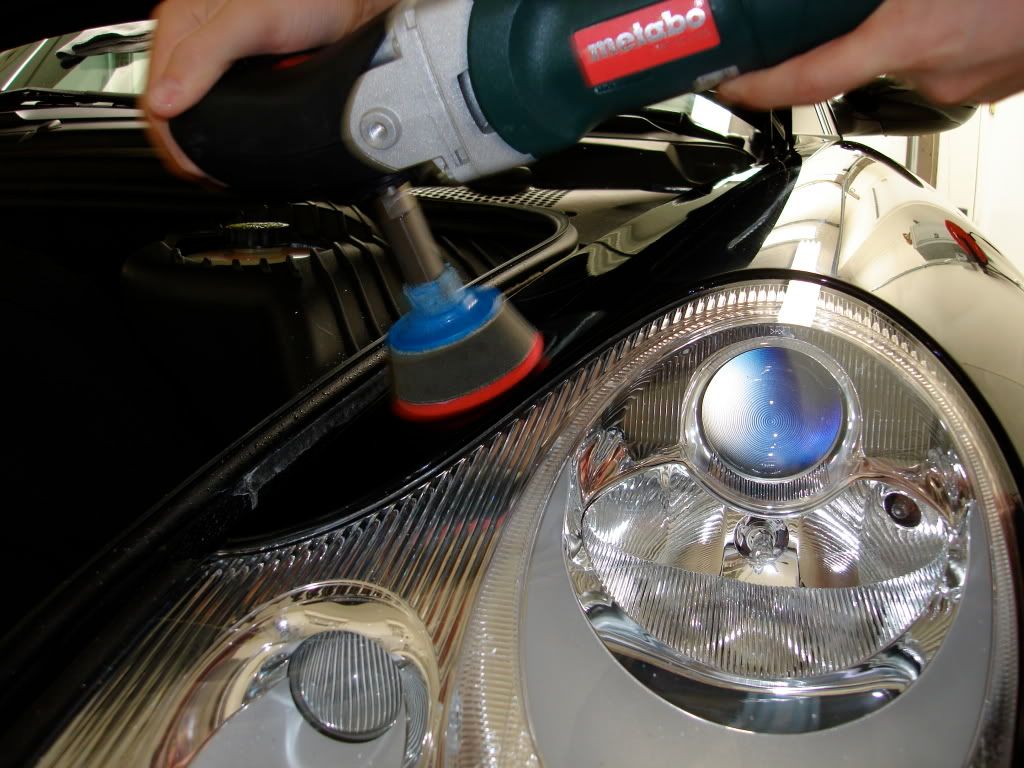
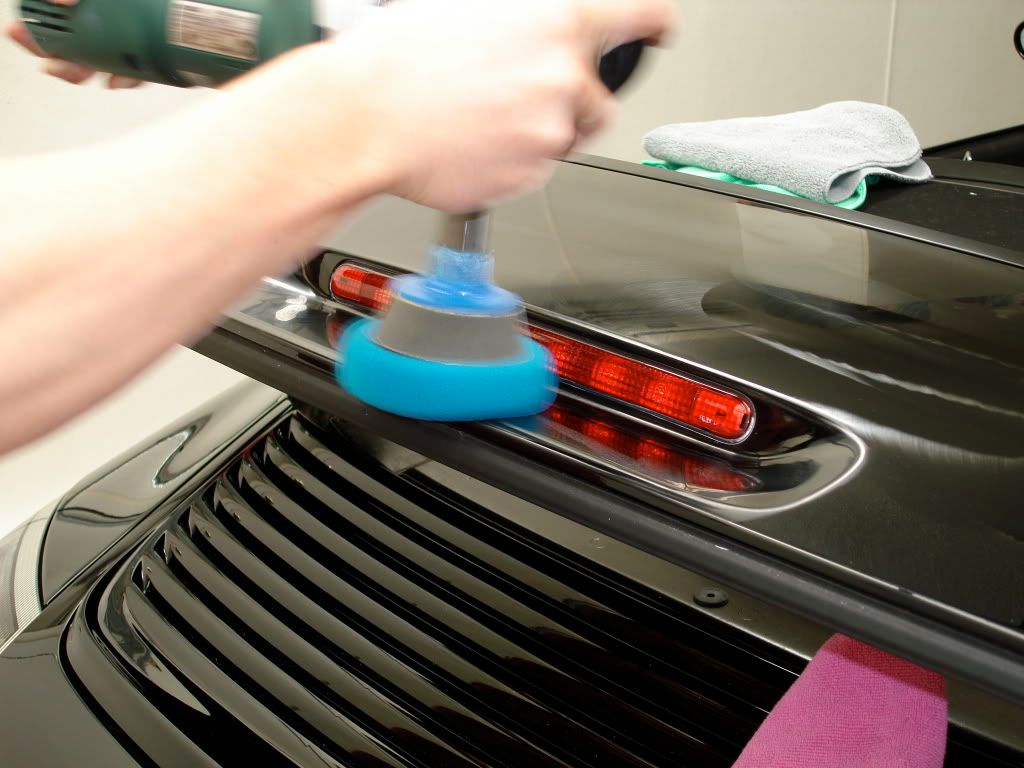
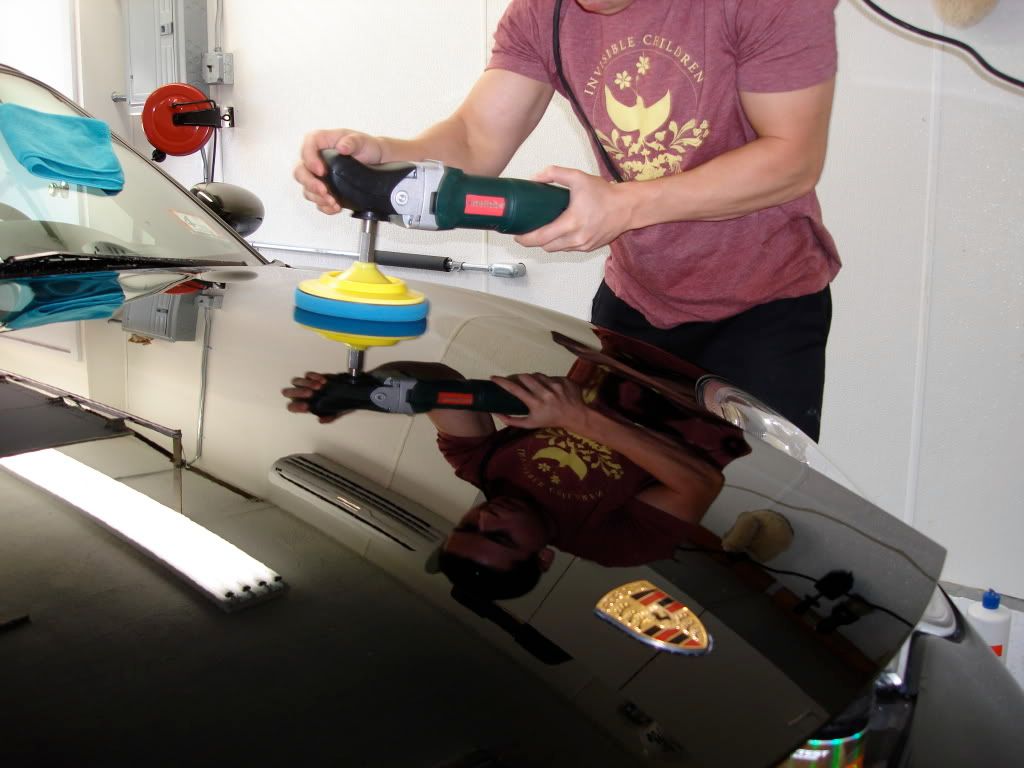
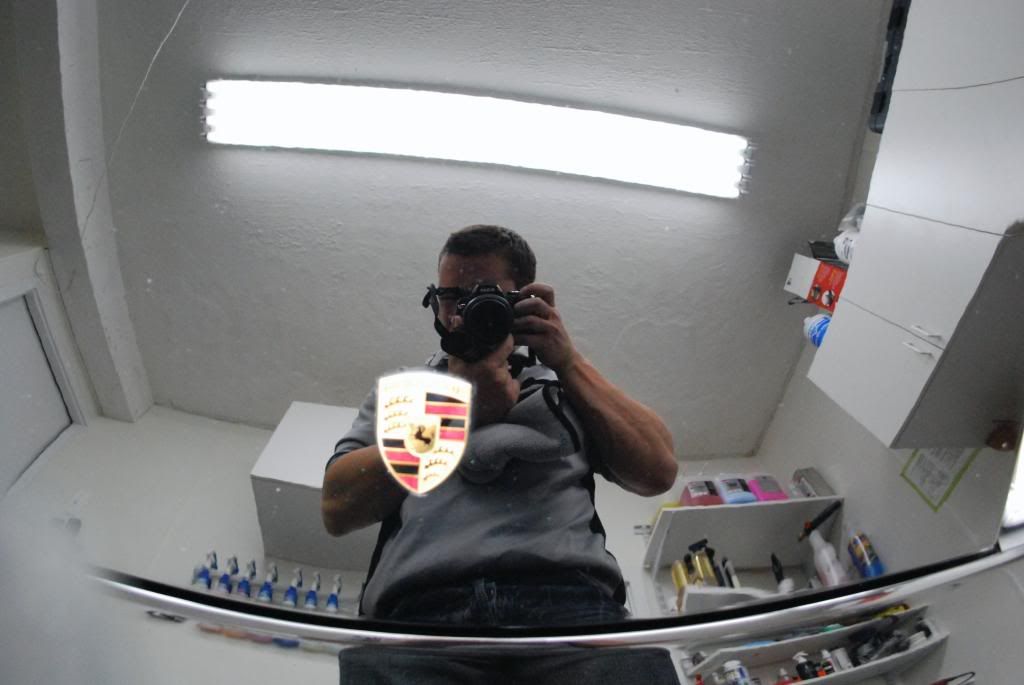
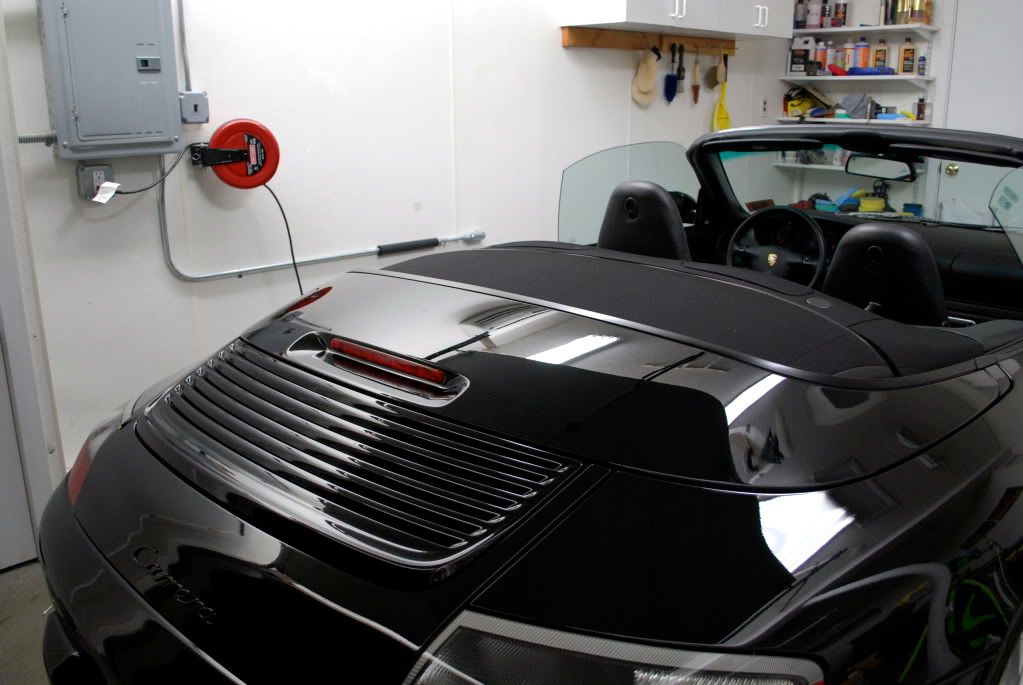
I want to ask you, where do you get that extension that looks to be a few inches long, that goes from your buffer to the backing plate?? I sure would like to get a few in different lengths if they have them. Pls advise.. Thanks!
Dan F
Fantastic job, David! Great write-up also.
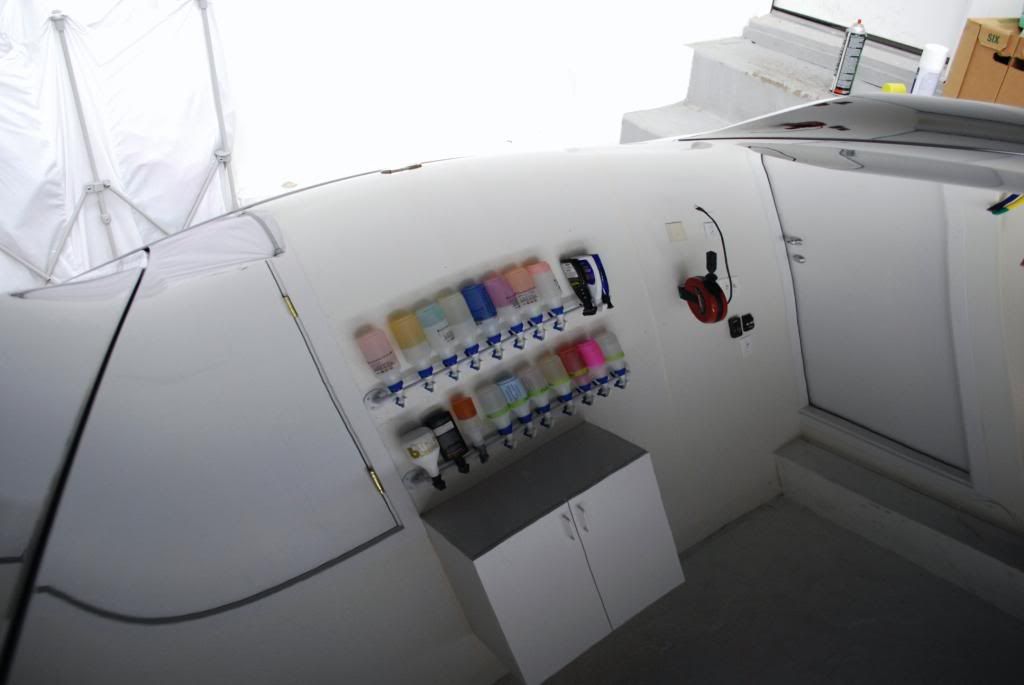
I'll be looking for the backing plate extensions too. And the towel bar/spray bottle hanger... what a great, simple idea!
Thanks for posting.

")