Navigation
Install the app
How to install the app on iOS
Follow along with the video below to see how to install our site as a web app on your home screen.
Note: This feature may not be available in some browsers.
More options
Style variation
You are using an out of date browser. It may not display this or other websites correctly.
You should upgrade or use an alternative browser.
You should upgrade or use an alternative browser.
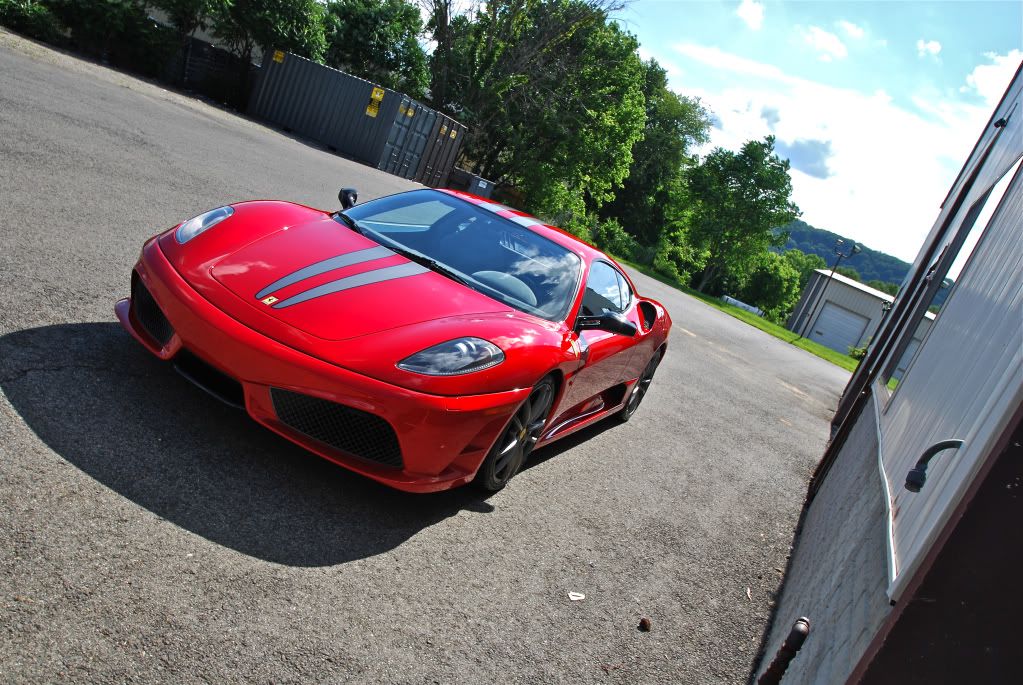
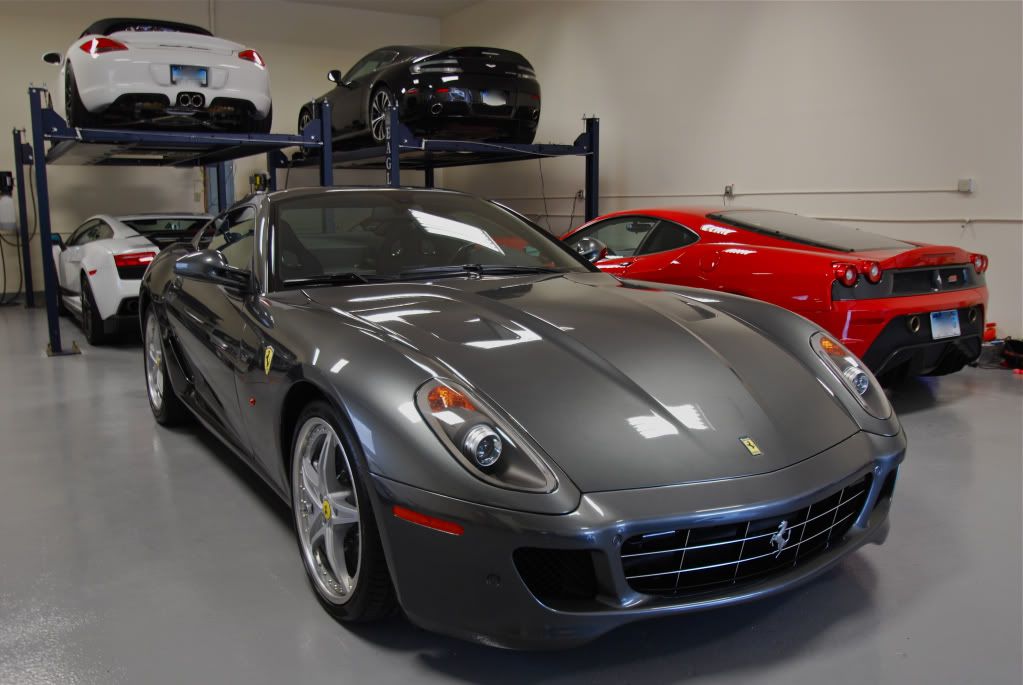
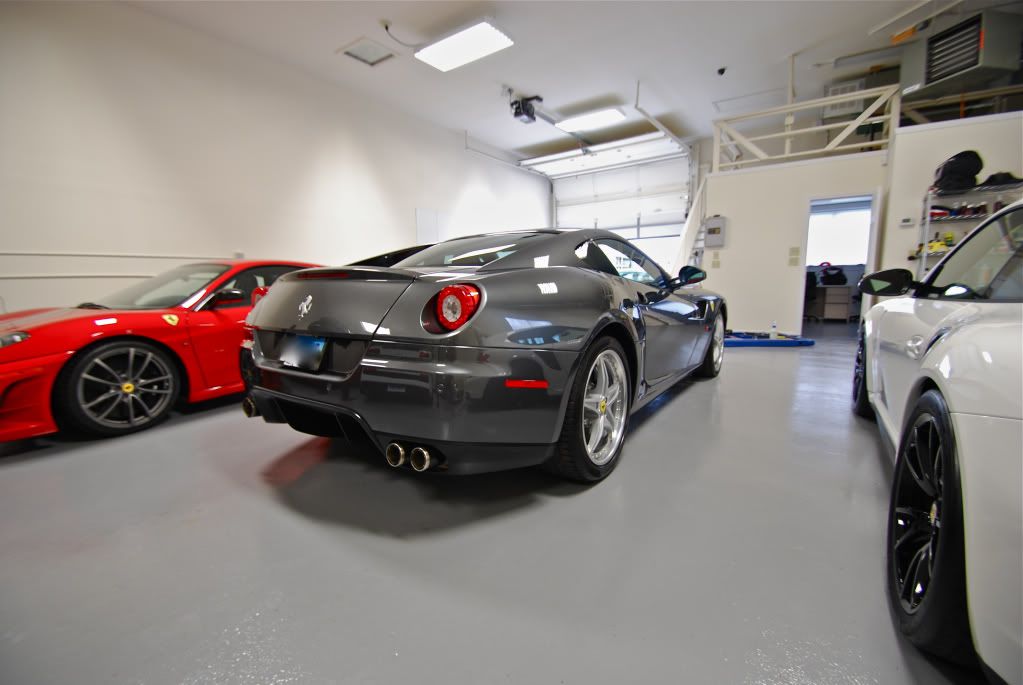
Street Dreams Detail - Exotics Collection 350+pics
- Thread starter nonwelder
- Start date
If you plan to wax with Souveran twice a month, your best bet is to give the car a good wash, dry, wipe down with Crystal Mist or EF Clear Pearl, then apply your wax. I would limit removing the wax to every 4-6 months. Souveran will layer very nicely. If you remove it each time, you're missing out on getting a really deep, wet looking finish.
db
db
Street Dreams
New member
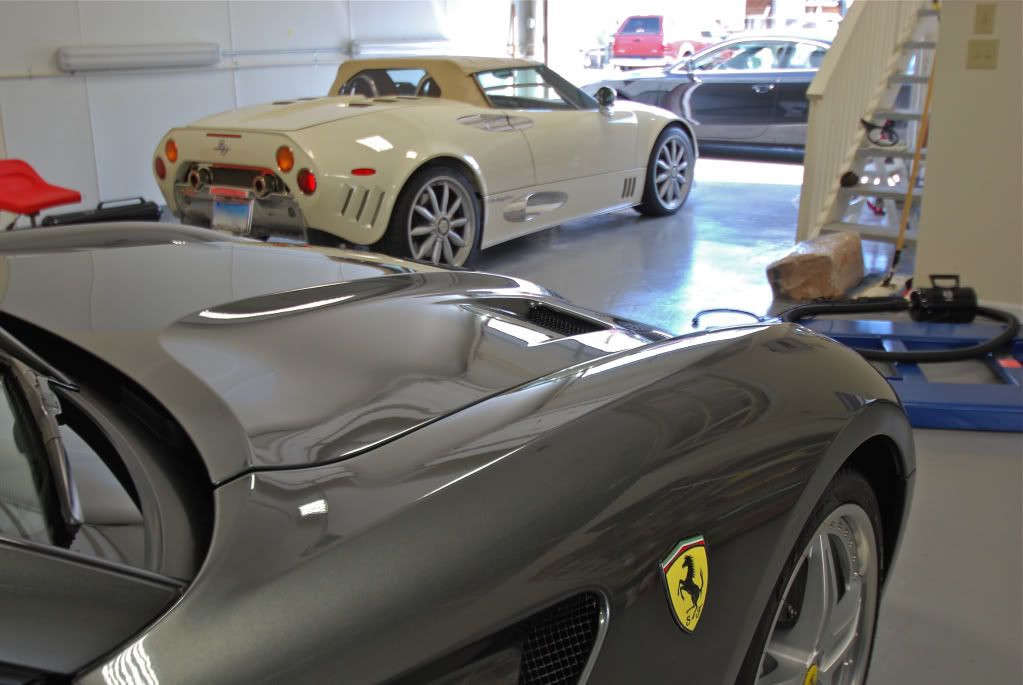
This summer has been a bit hectic with detailing and finally I have time to share some of my recent work.
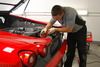
I rarely do mobile detailing anymore but I was glad to spend some time and do a bit of traveling to attend to this private collection in Connecticut.
The cars range from Ferrari, Porsche, Aston Martin, Lamborghini, Spyker and a few others. There were a lot of cars done over a period of time so the process in which I went about cleaning, correcting and protecting them will be presented to you as I remember it best.
I do not have a lengthy header nor fancy title for this thread and I promise I will not post the "copy and pasted" technical specs of every car seen here. This is a thread simply about fine cars and detailing. This is what I love and these are the cars I love to work on, hope you enjoy the pictures!
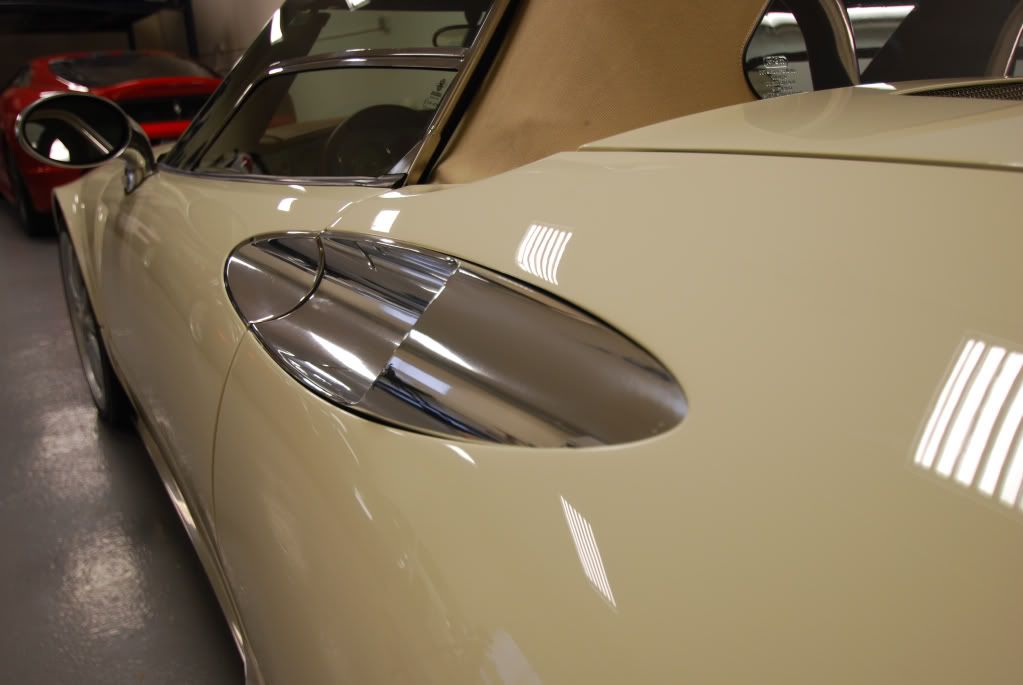
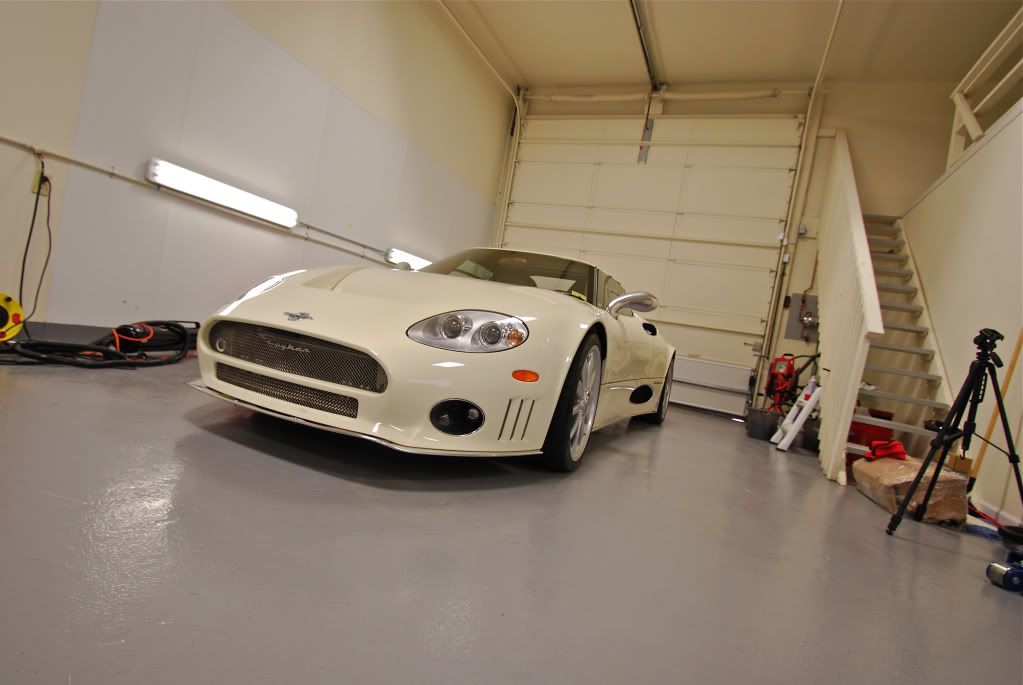
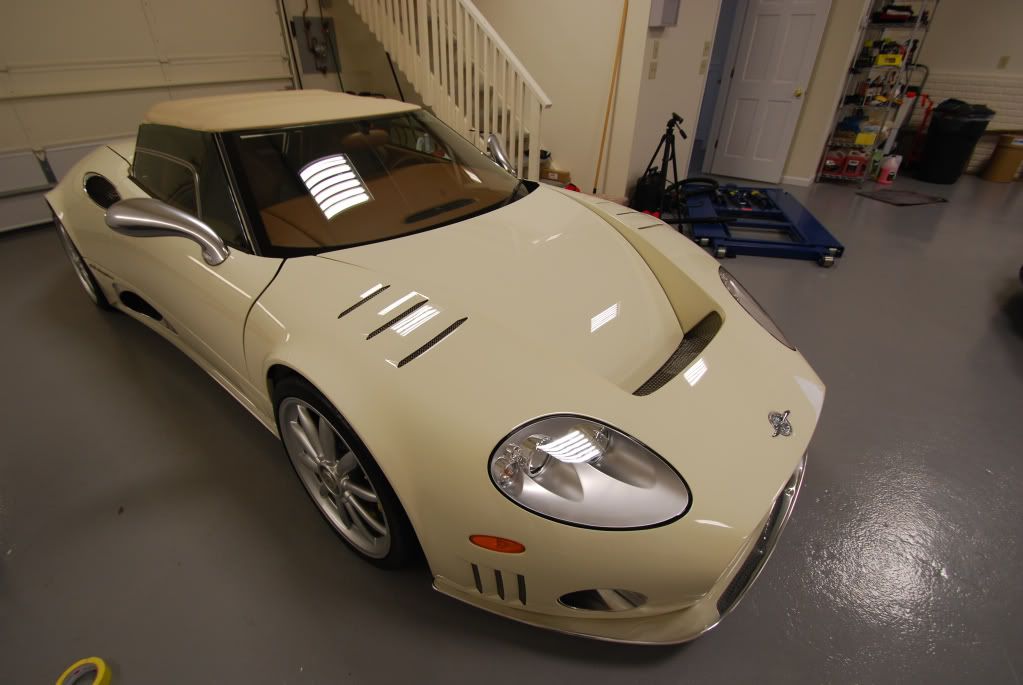
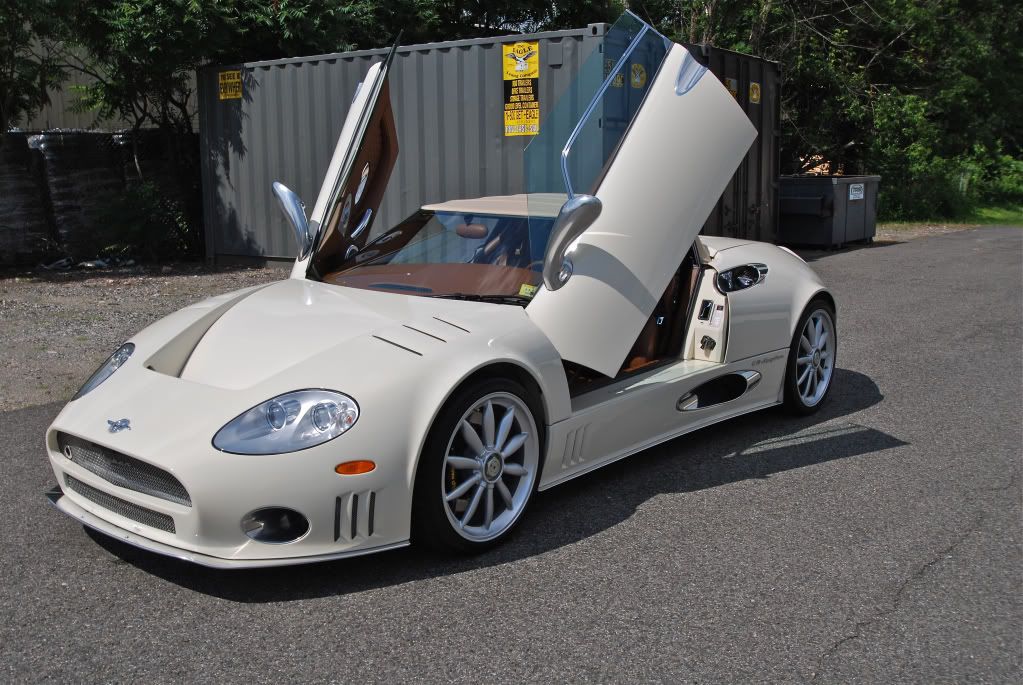
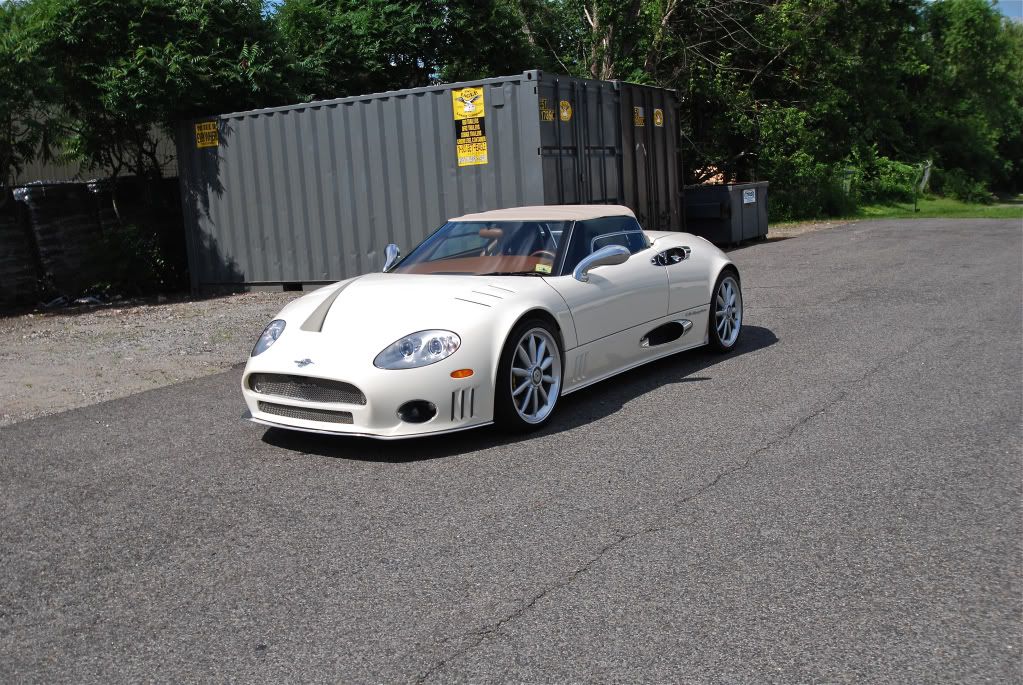
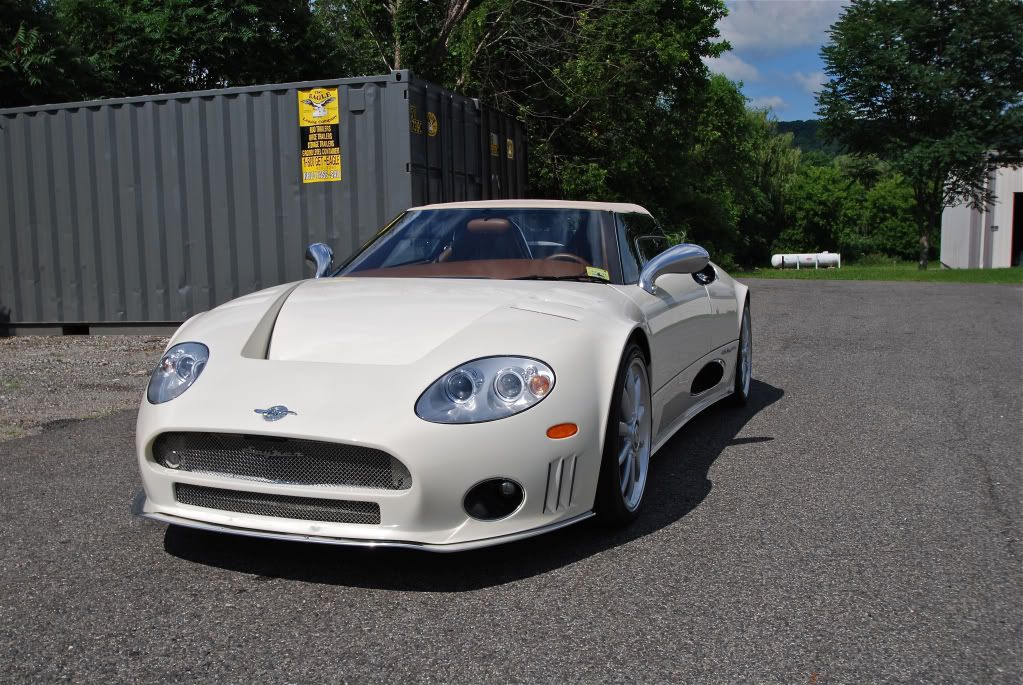
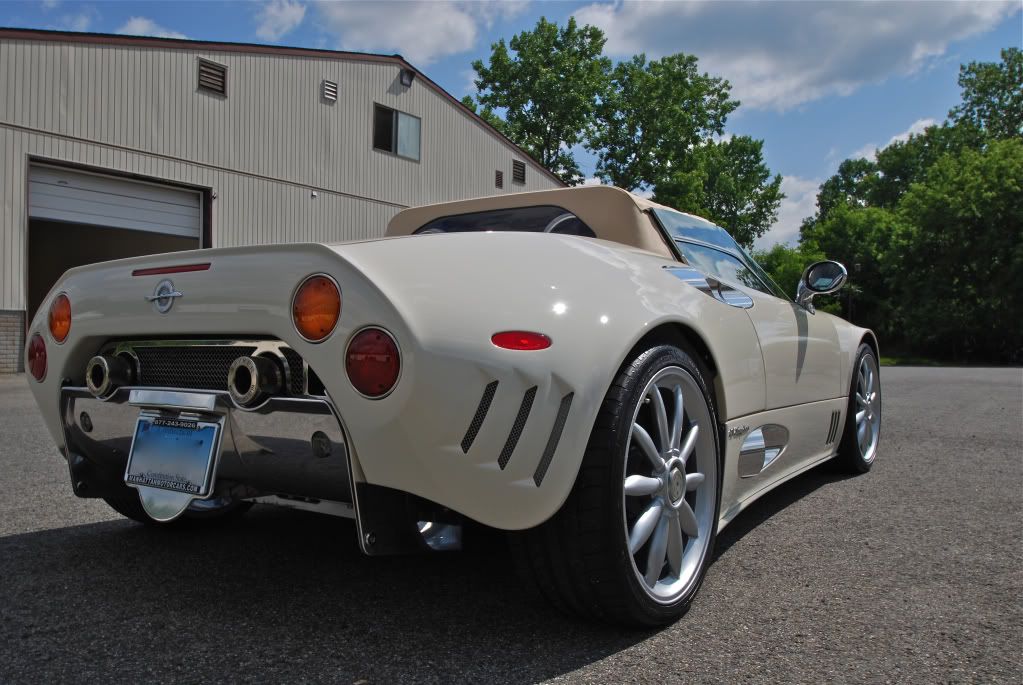
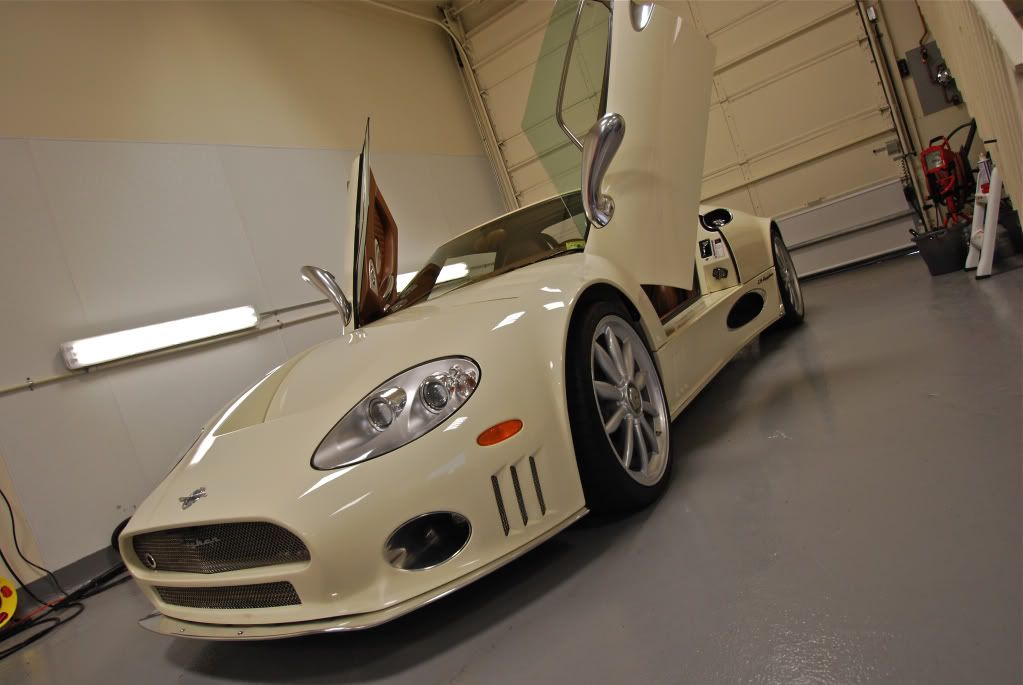
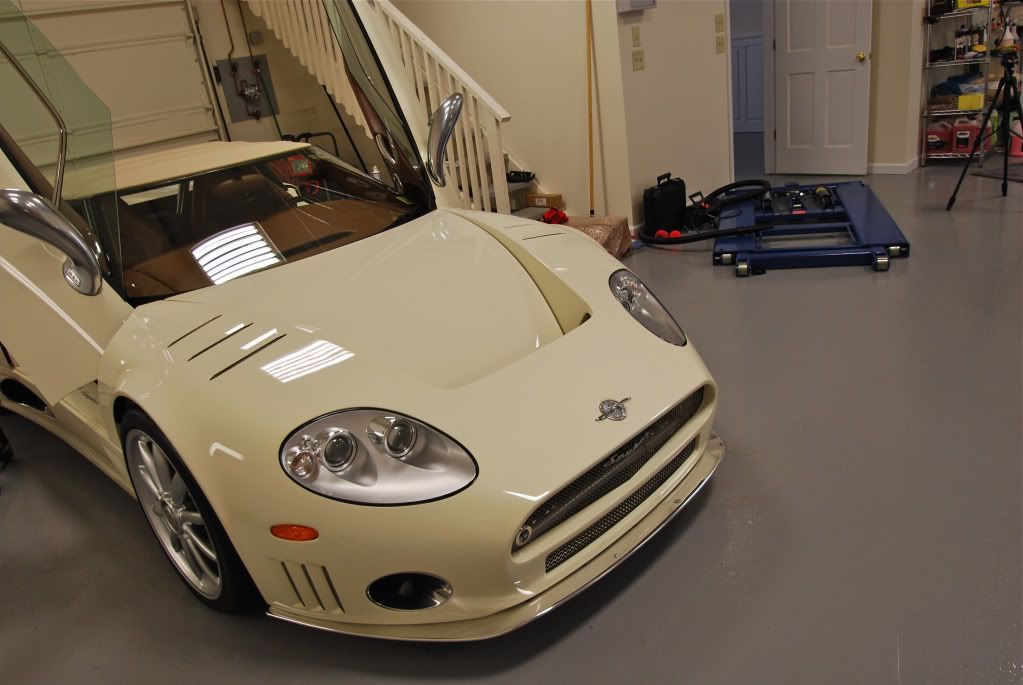
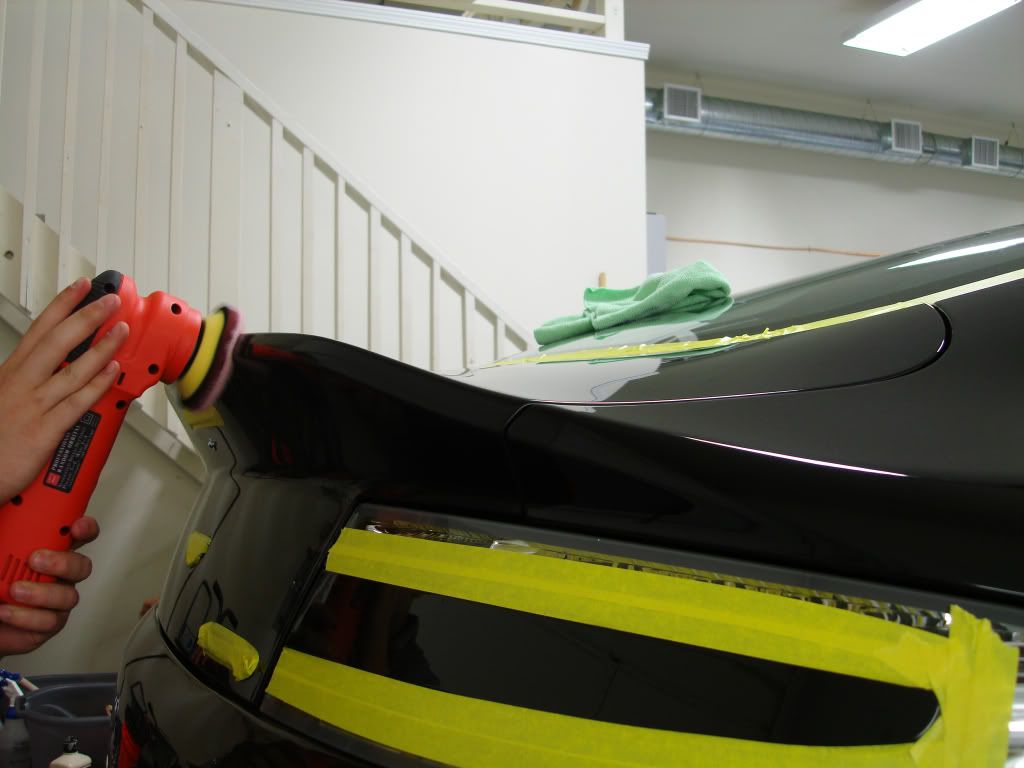
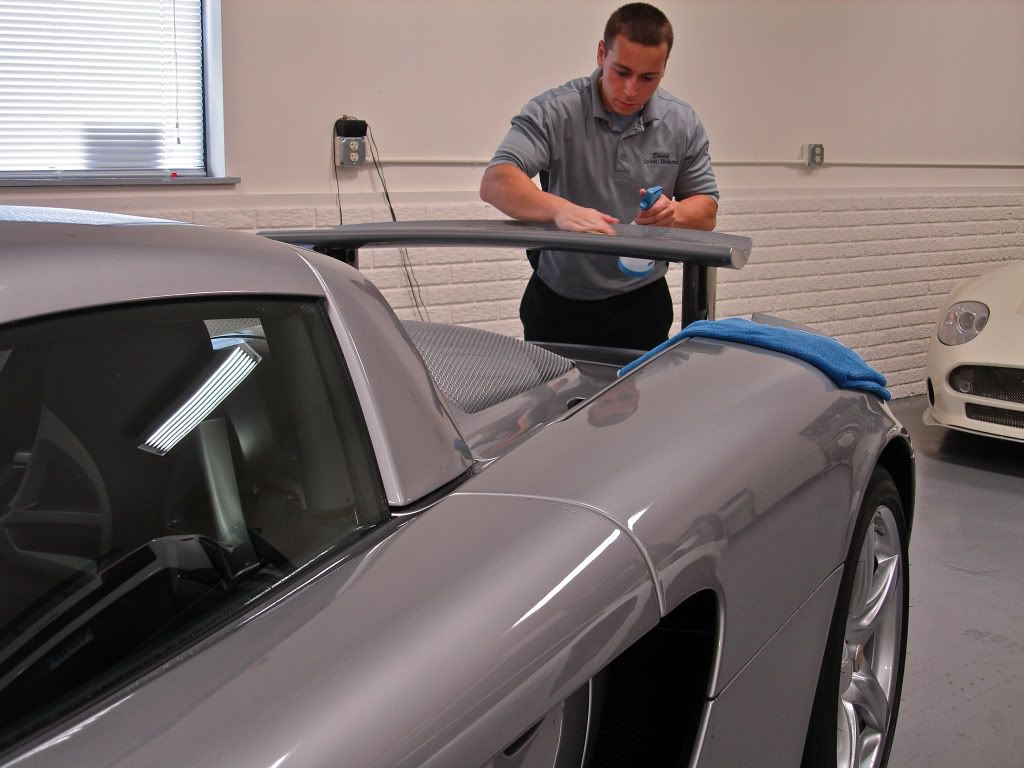
I'll begin with the Spyker C8 (note the cars in the writeup are posted in random order not in the order of completion)
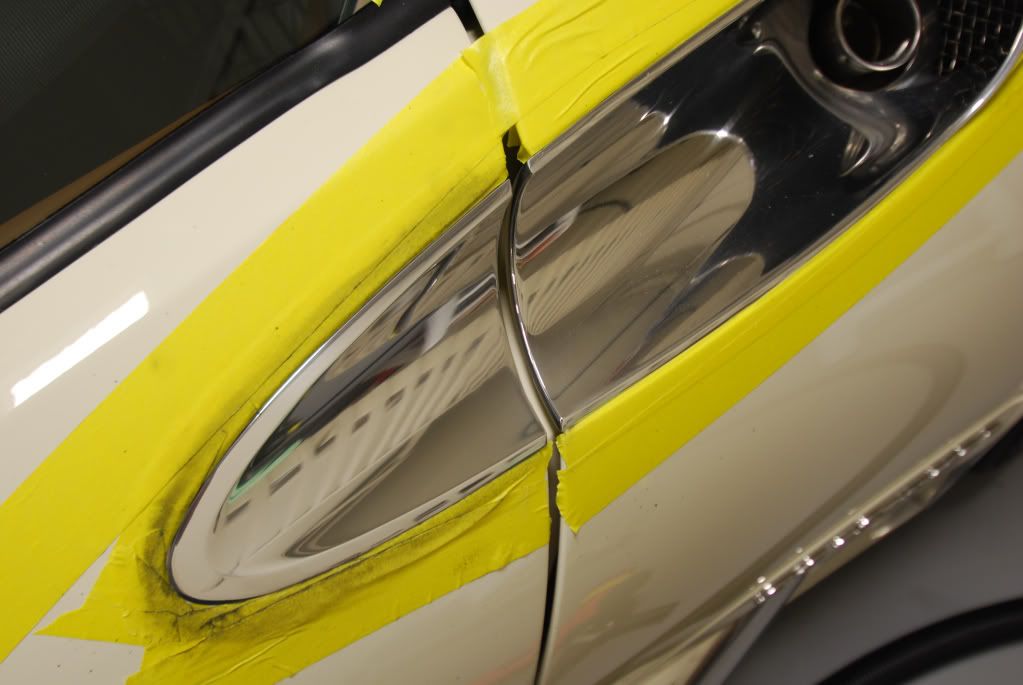
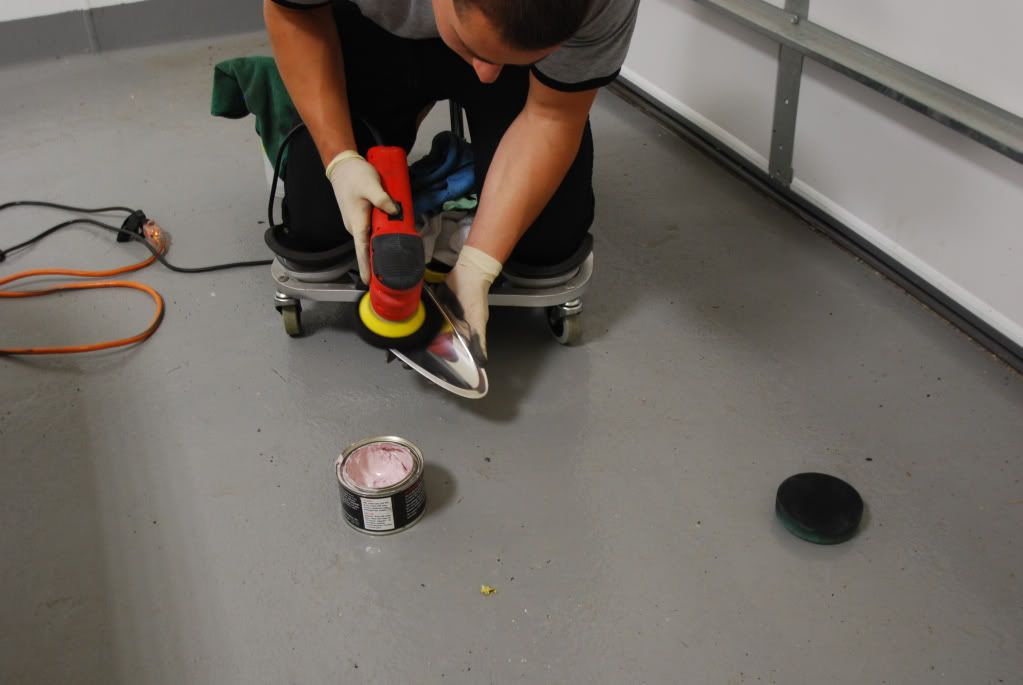
After washing and prepping the car I began correction on all the aluminum metalwork. It took a good amount of time to sort out the best method of correction and even then it became a very tedious process.
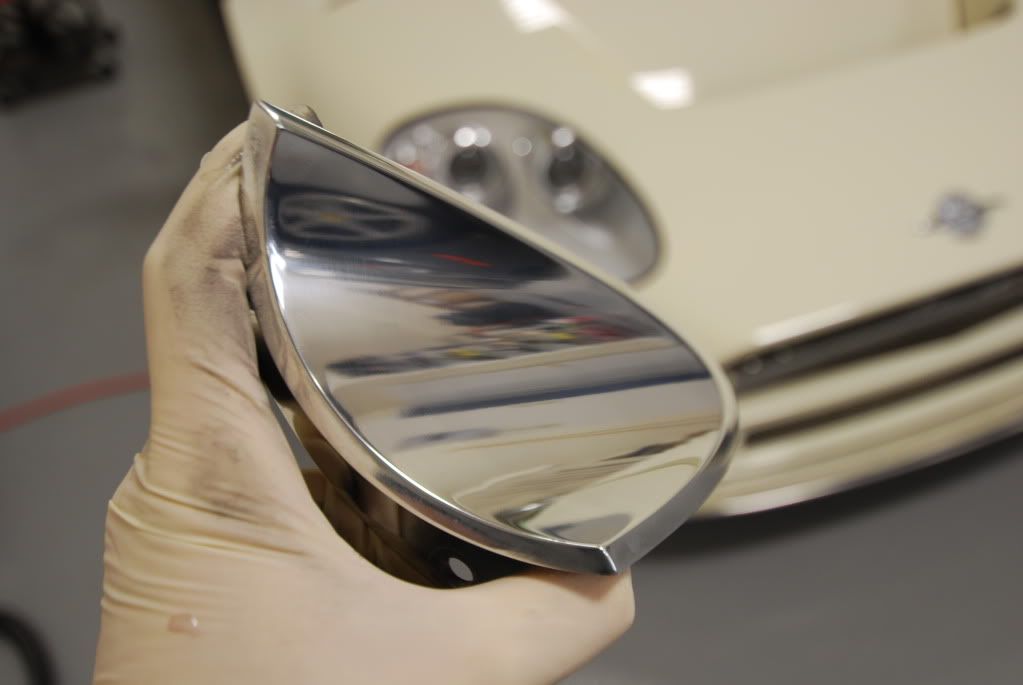
Here is a 50/50 shot of the drivers side mirror housing. By the end of working on this car I had used various metal polishes including Blackfire heavy cut and fine cut, Swissvax metal polish and White Diamond, by hand, DA machine and rotary.
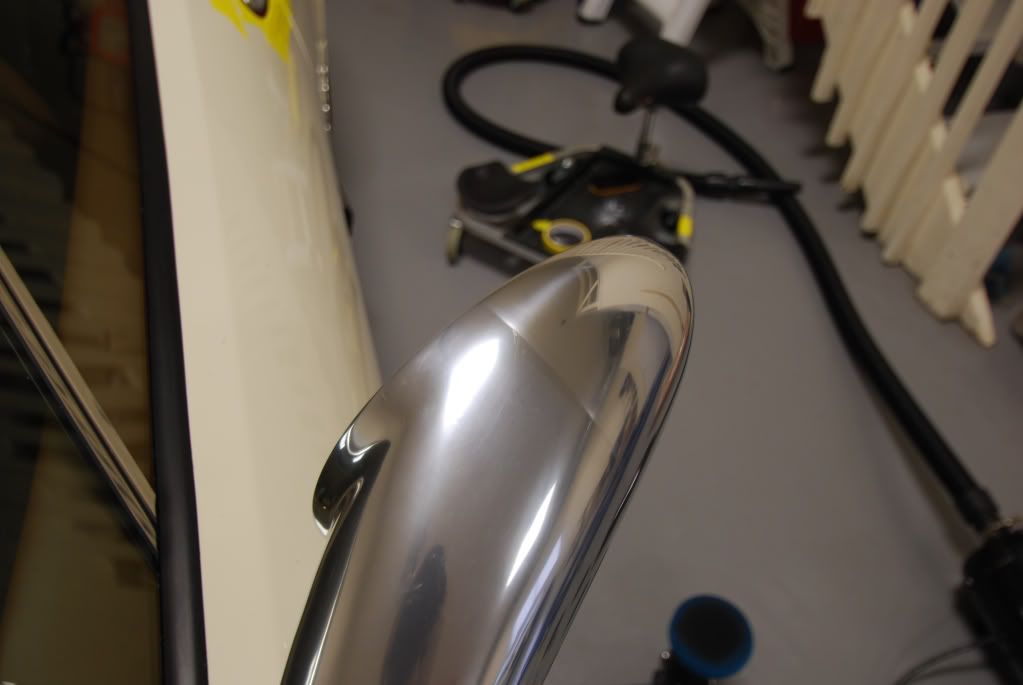
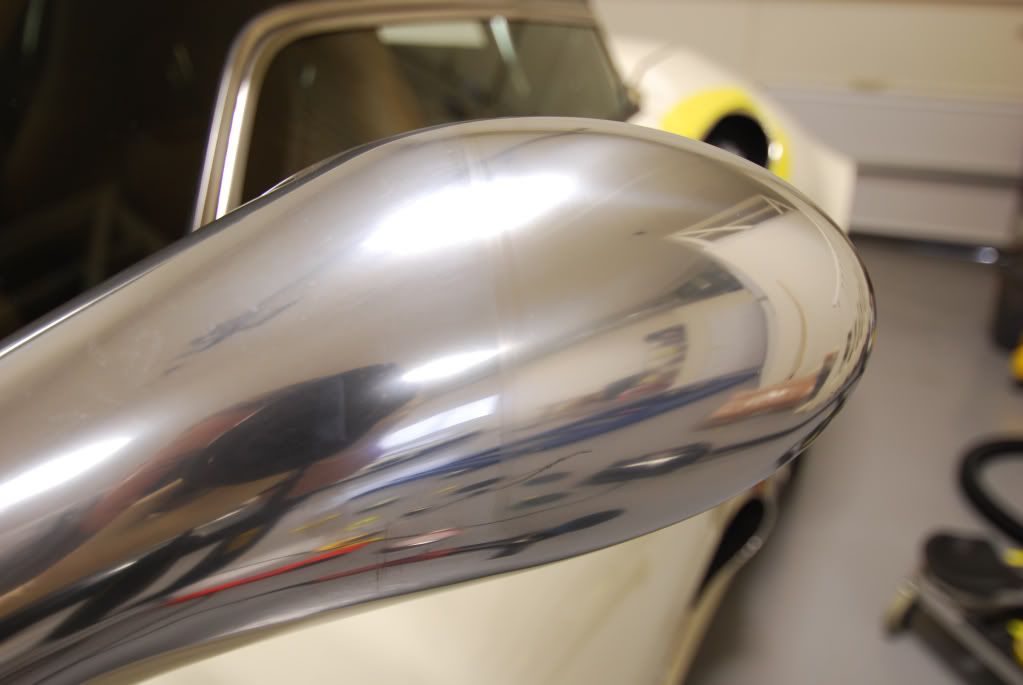
Working around the rest of the car, some improvement in gloss
I later decided to remove whatever pieces I could to allow for better angles when polishing
Before
After
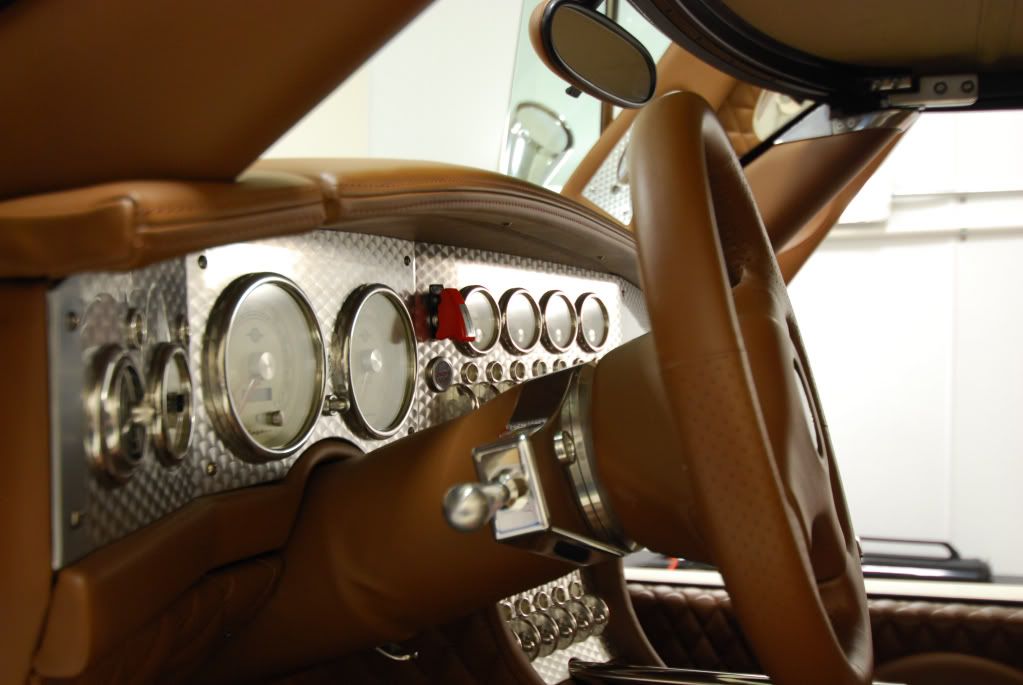
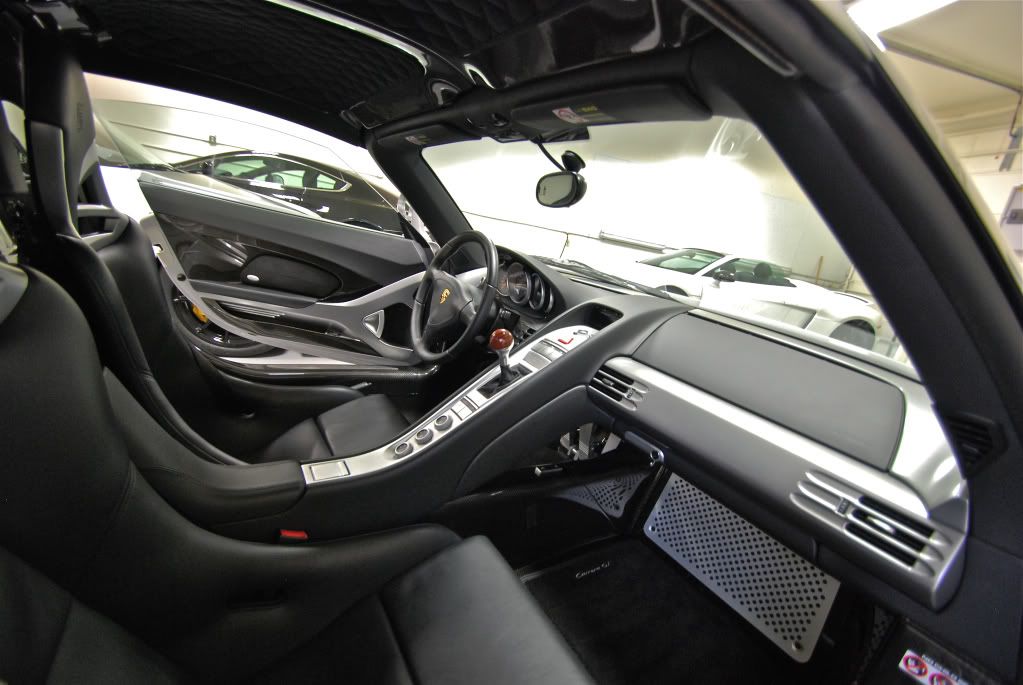
After all exterior metal work was finished I moved onto the interior, also full of aluminum which needed polishing
Work on the steering column...
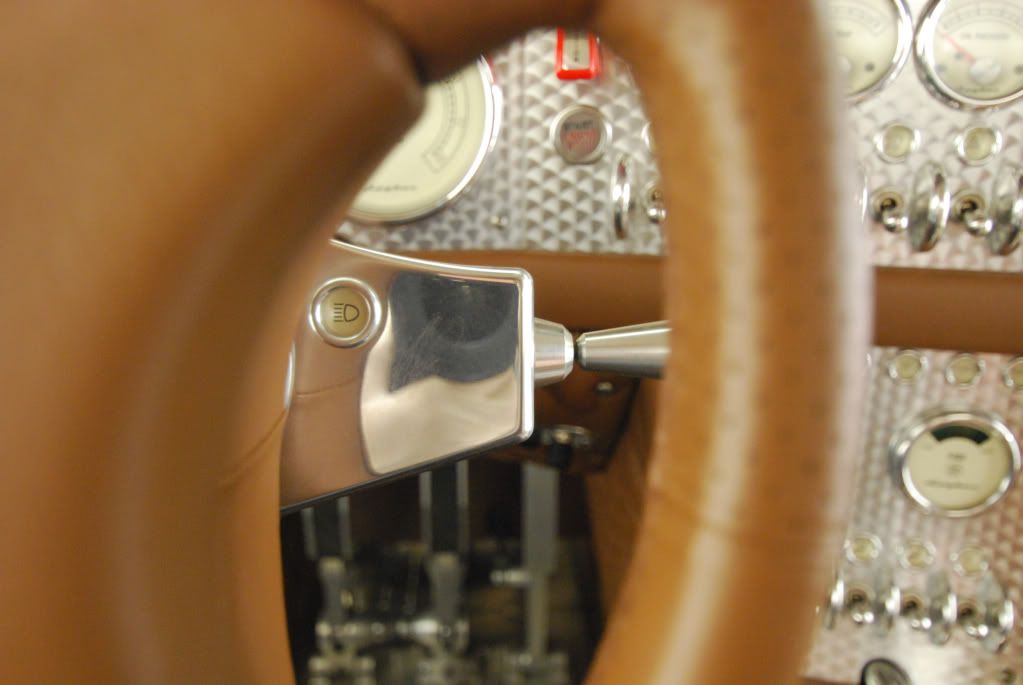
Finished
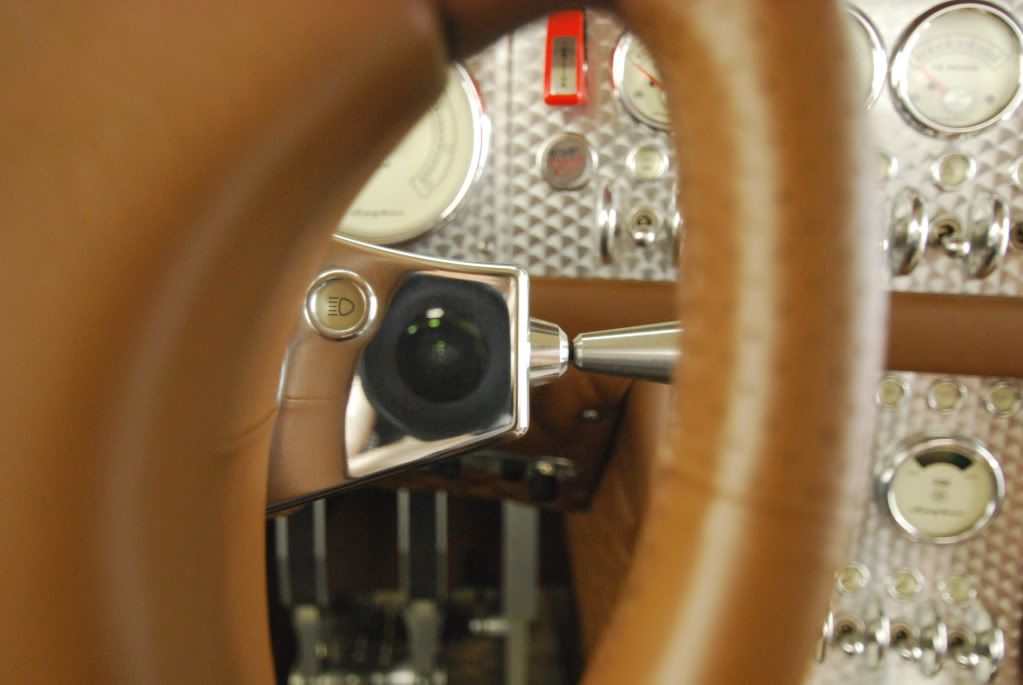
Difference in clarity from polishing, dullness in the aluminum is being removed after 2-3 hits with the metal compound on a short nap MF towel
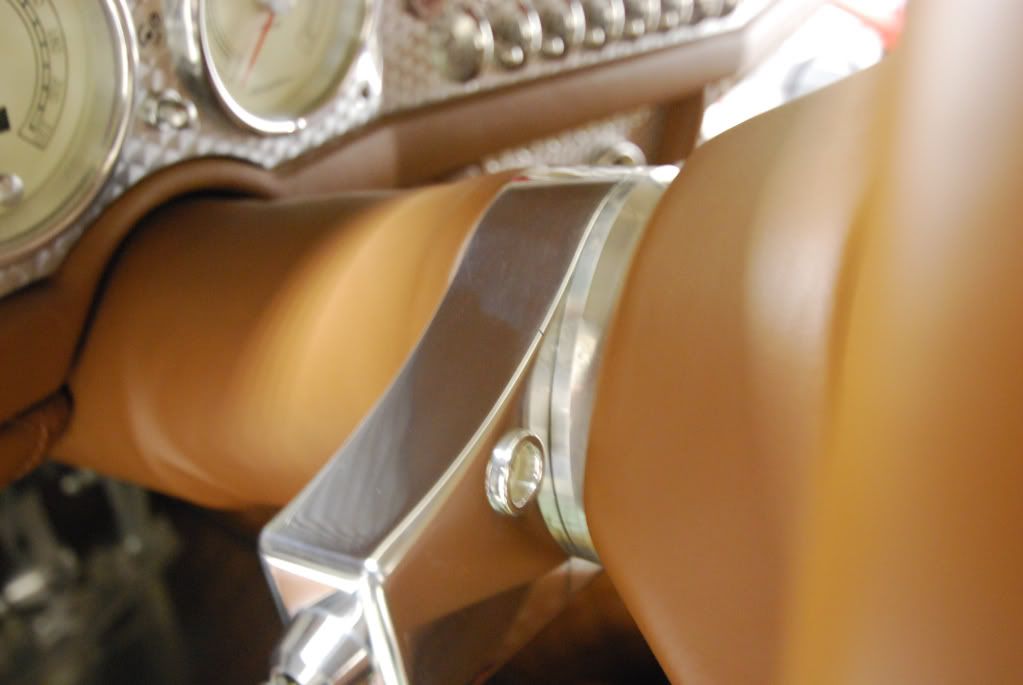
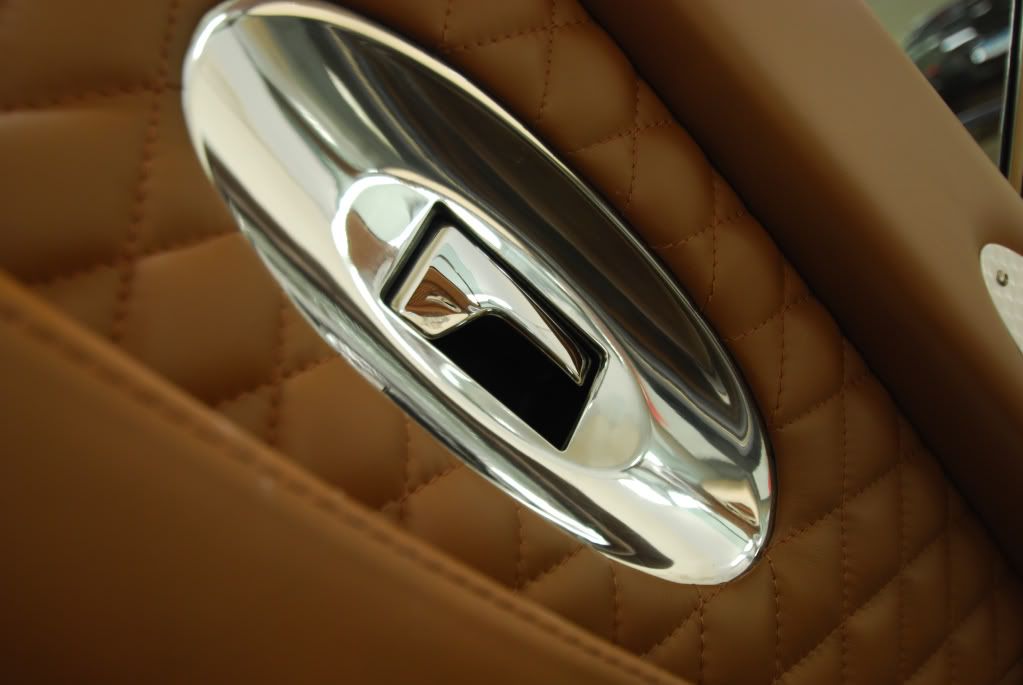
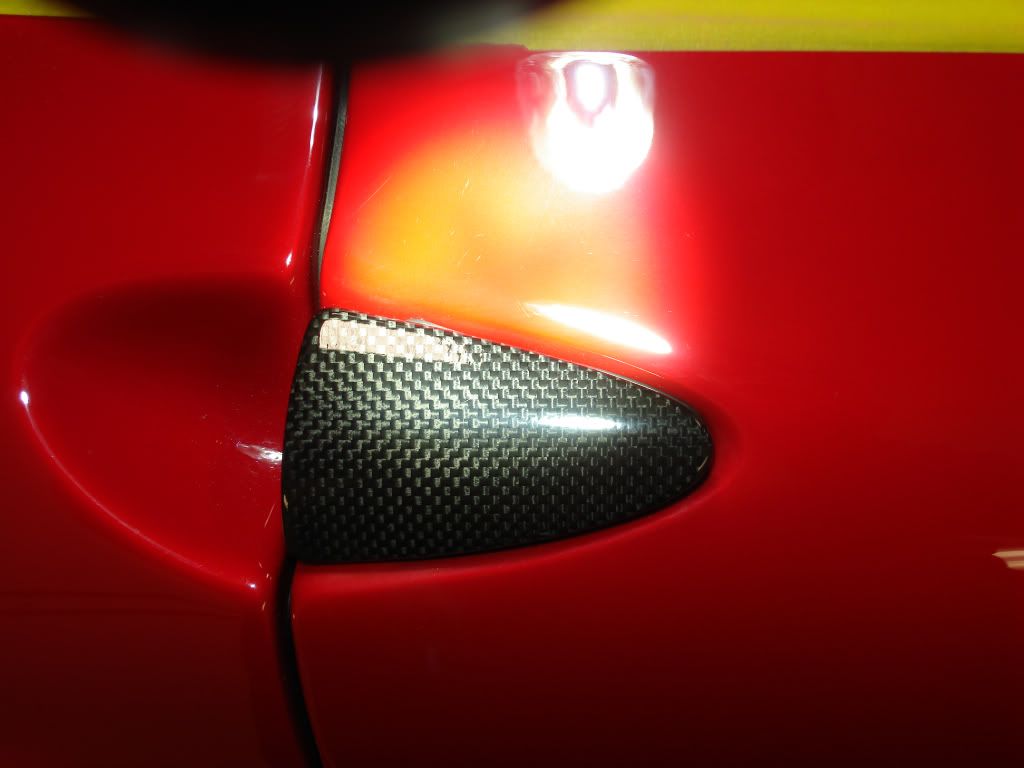
Door handle housing needed some attention as well
Before
During

After
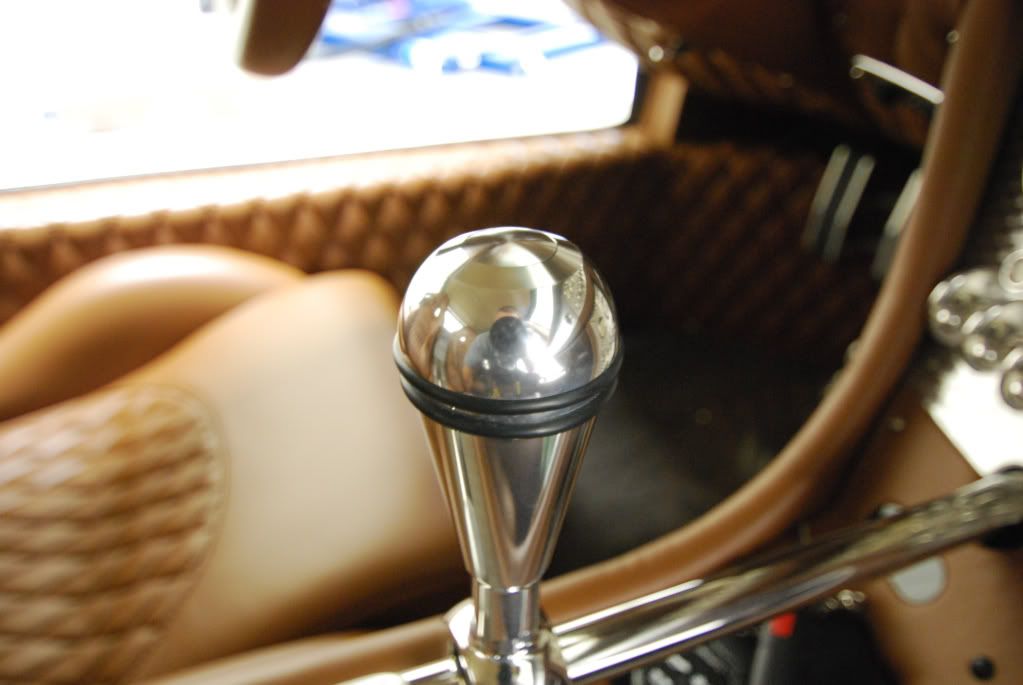
Slight improvement made on the shift knob, before
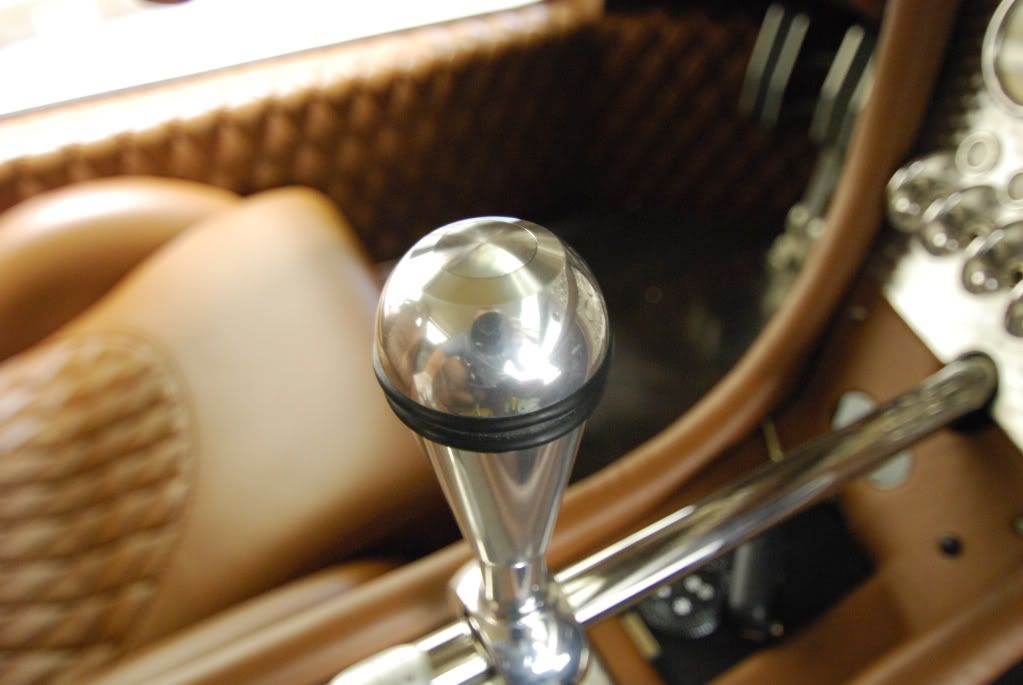
Finished
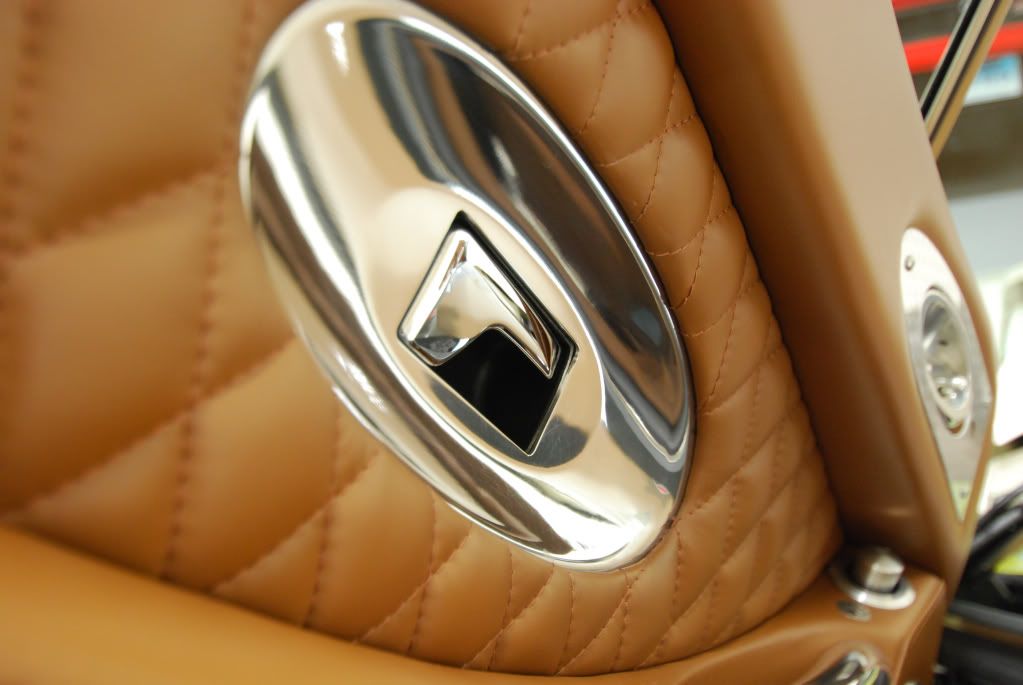
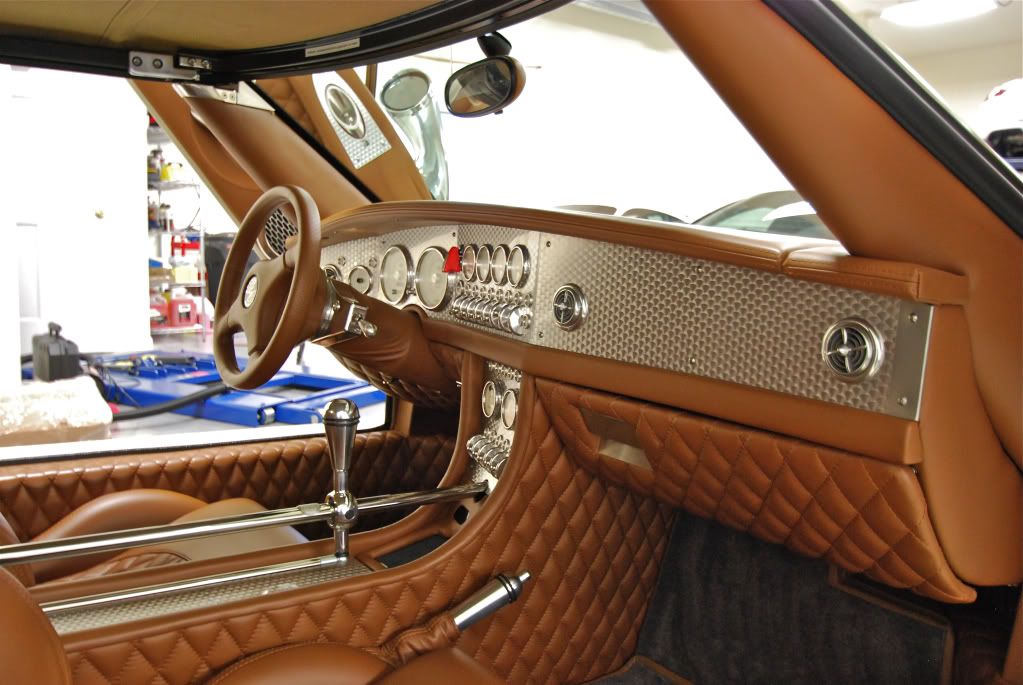
After all interior metal work was polished the leather (shall I say about 17.5 cows worth) was cleaned and conditioned. For this I cleaned the leather with Leatherique pristine clean and followed up with Leather Masters protection cream.
Some interior shots after full detailing, this really is a fantastic car just to sit in!
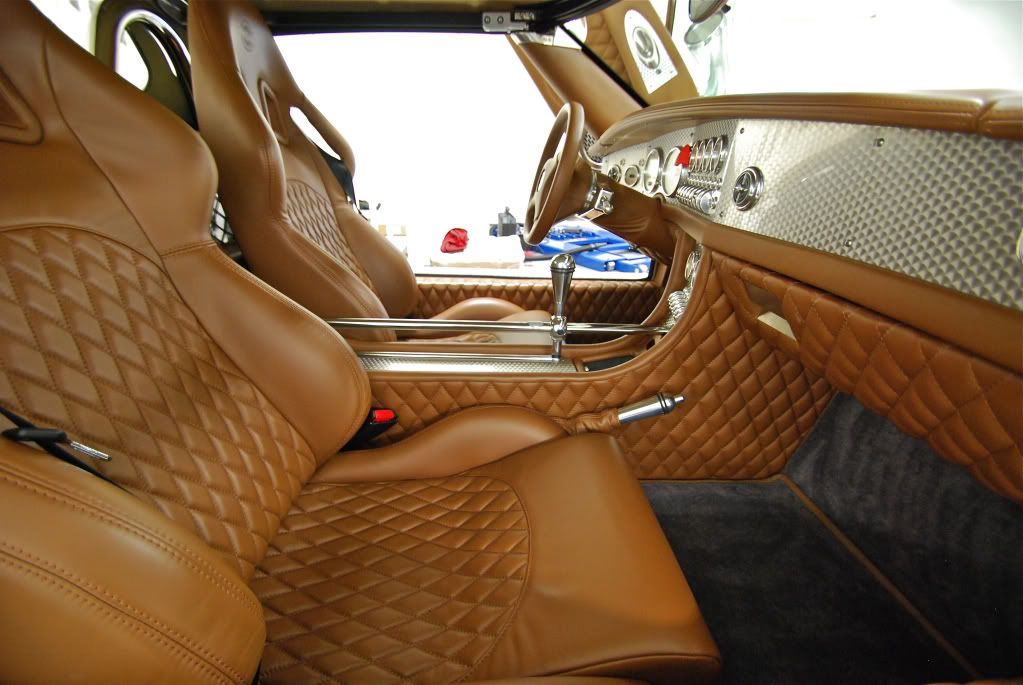
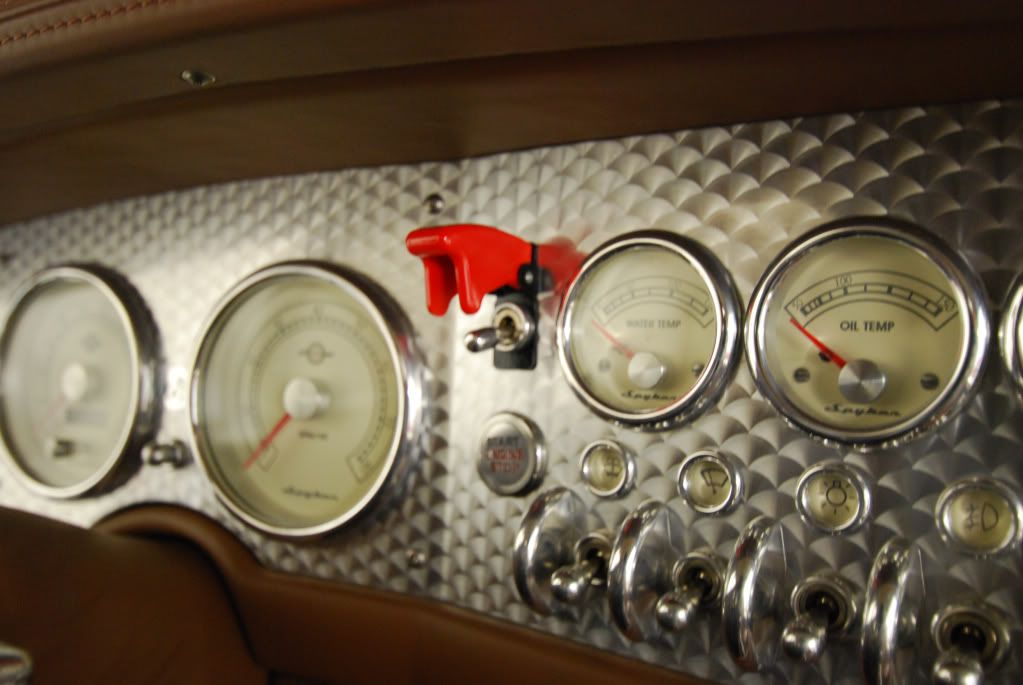
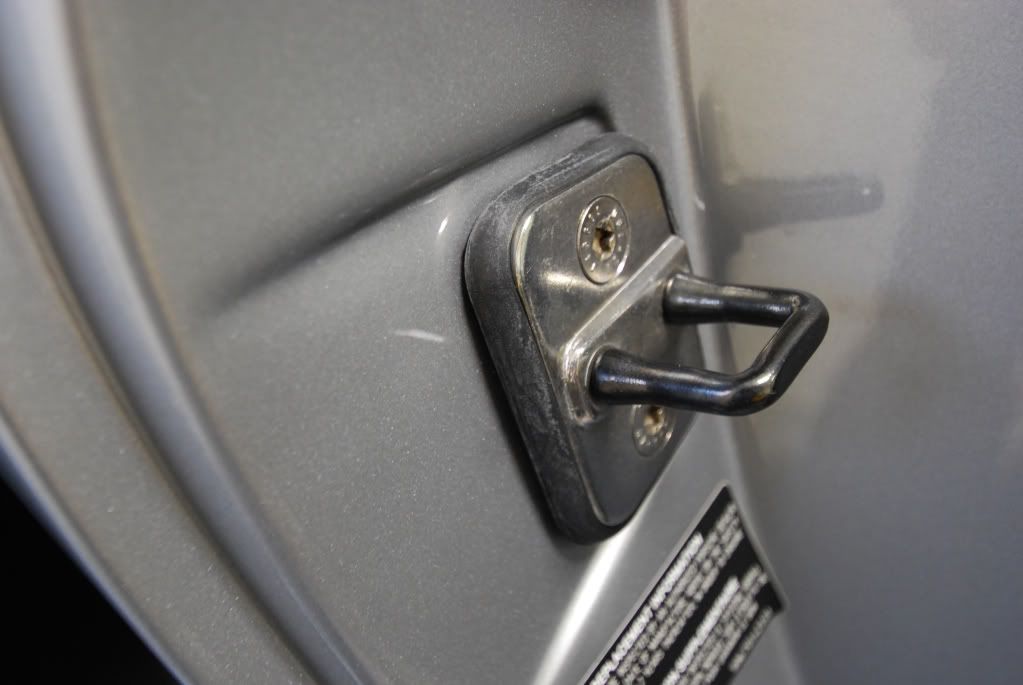
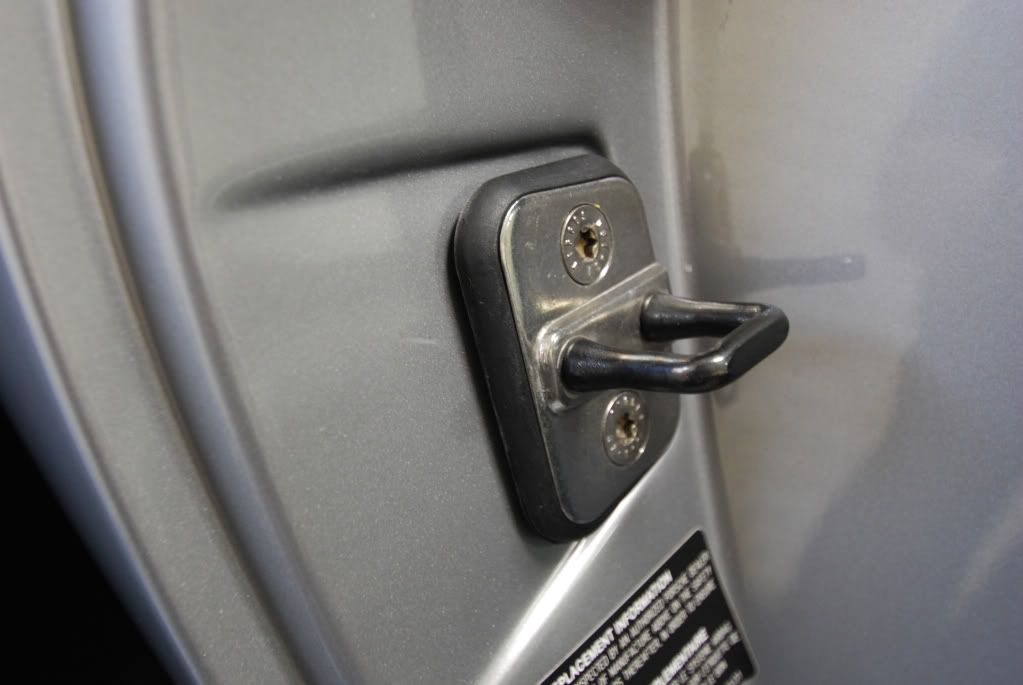
A proper ignition switch for a car with no power brakes or power steering
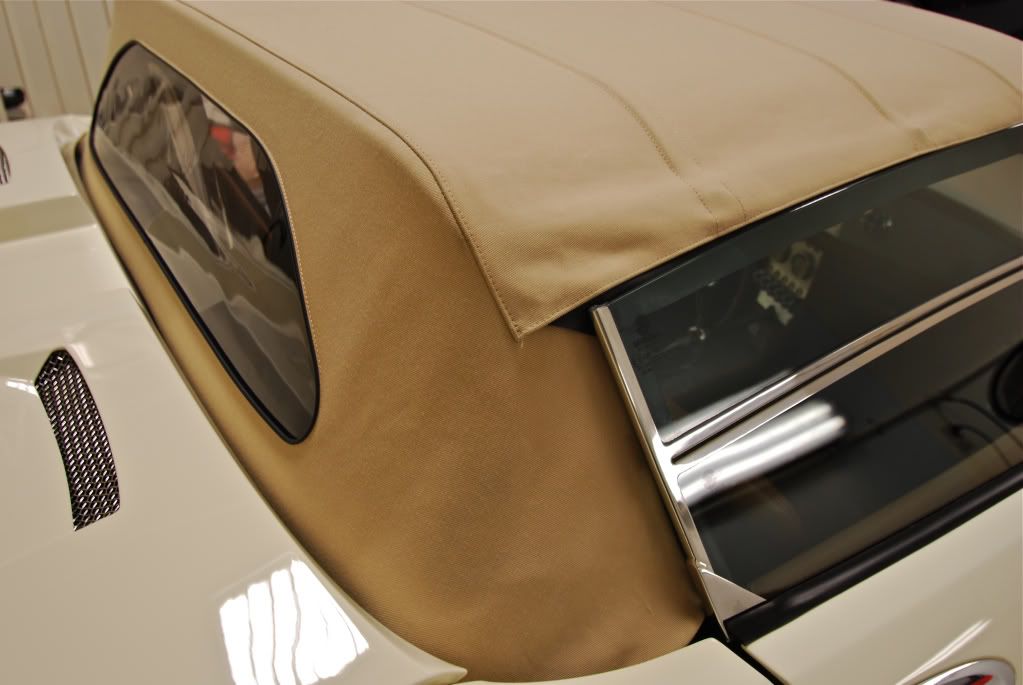
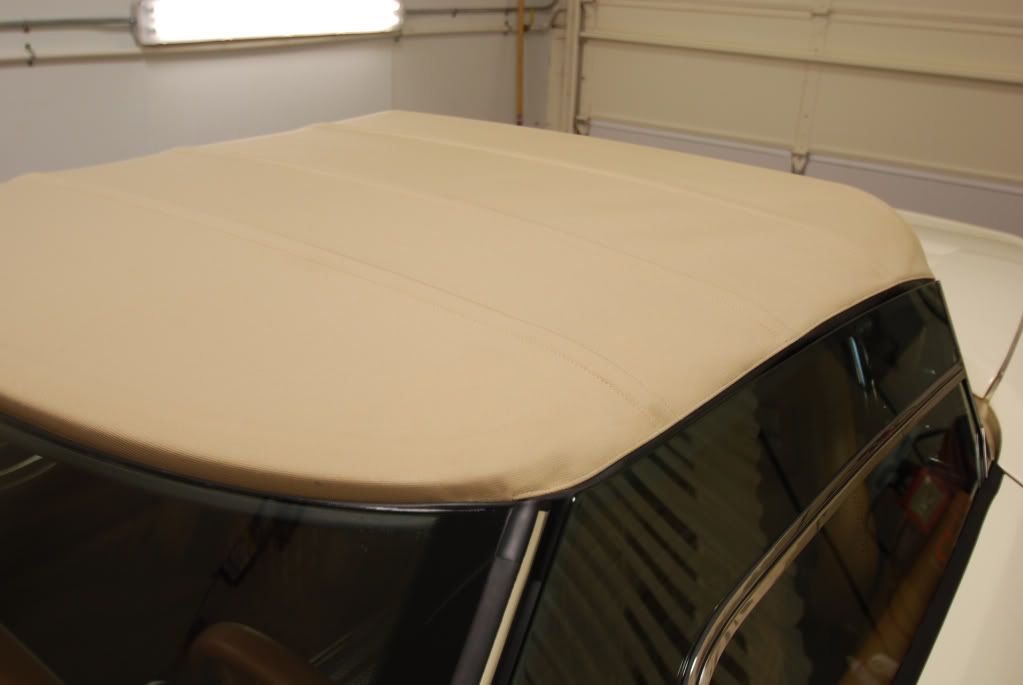
The soft top of the Spyker had some water damage and staining, during the wash process several applications of diluted APC cleaner and a soft brush were used to lift the stains...
Before staining
Same area (car is now turned around) after cleaning and protection. For protection 303 fabric guard was used, 2 applications over 2 days
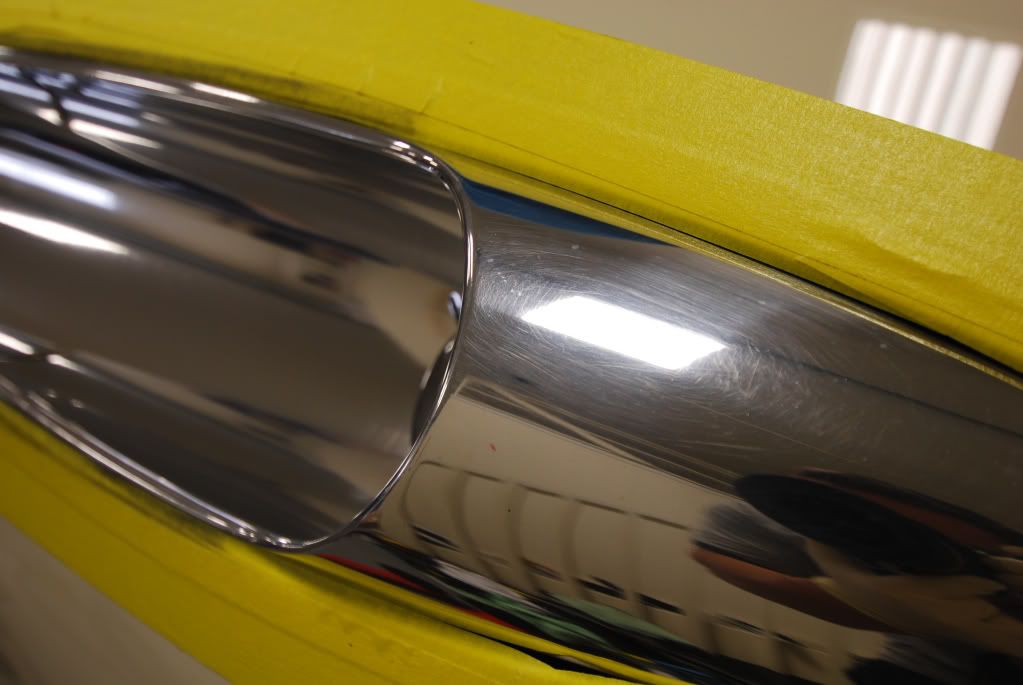
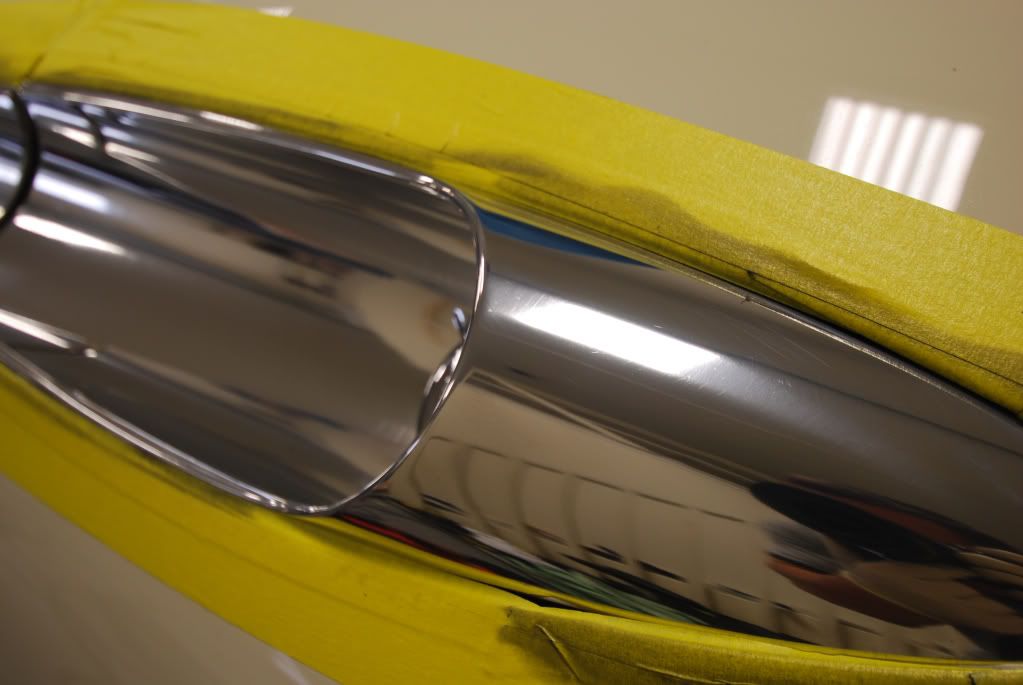
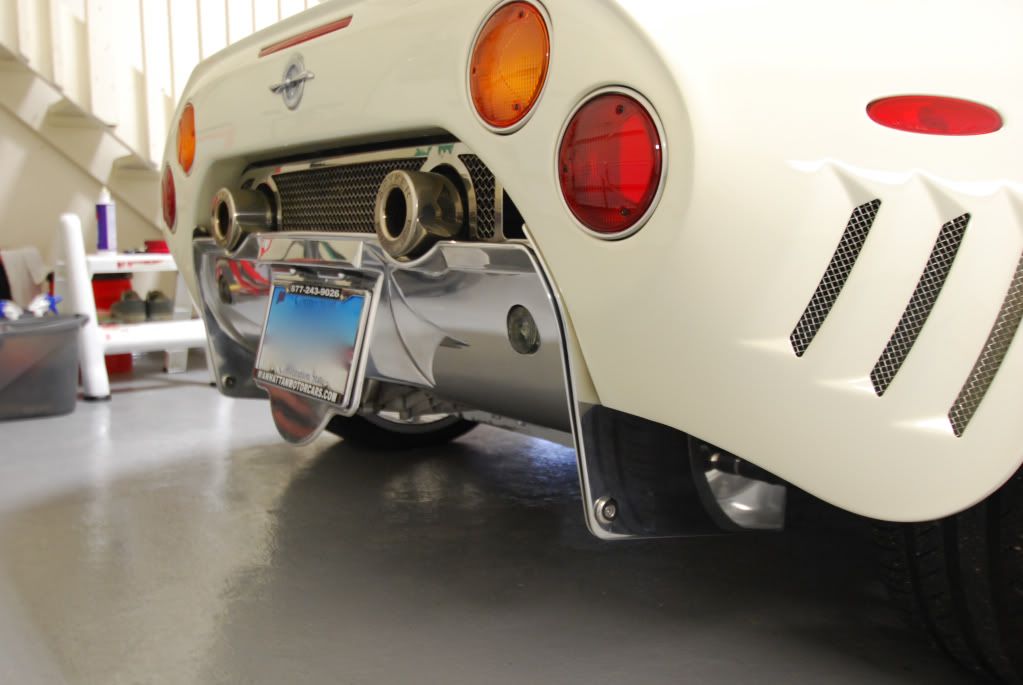
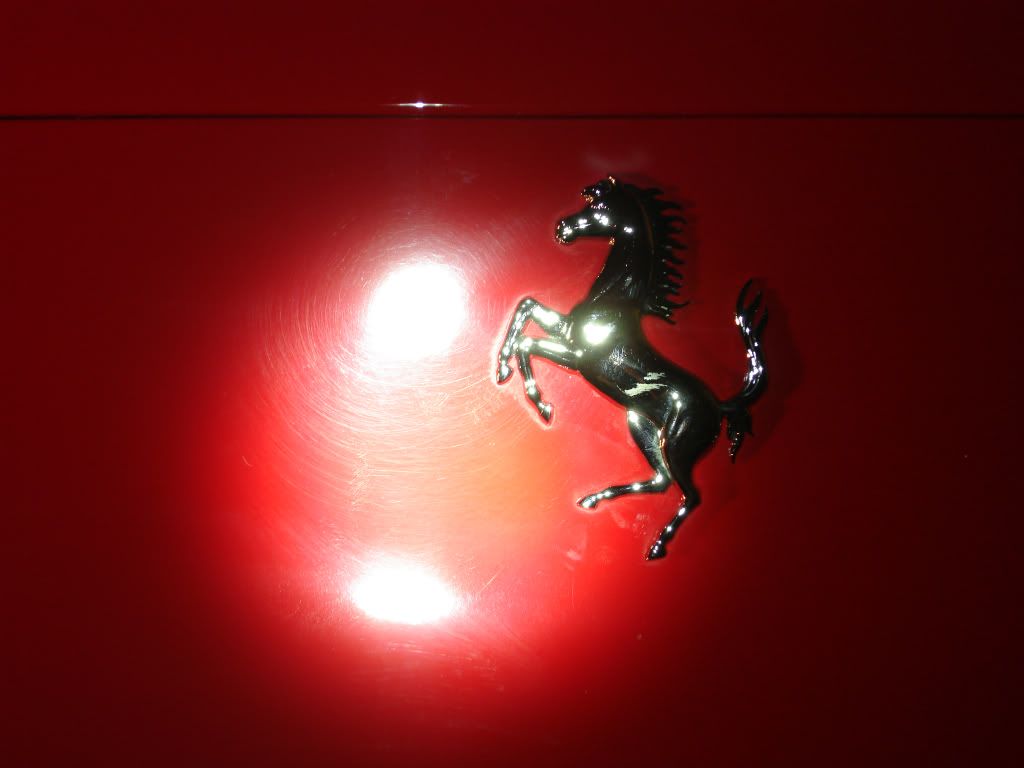
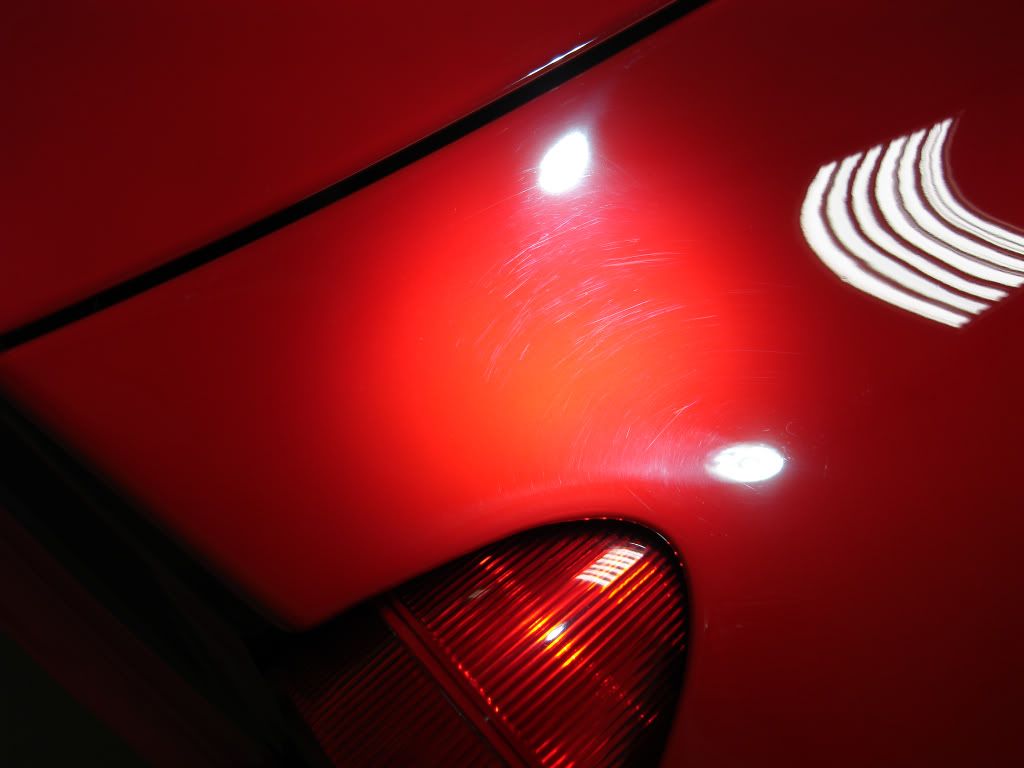
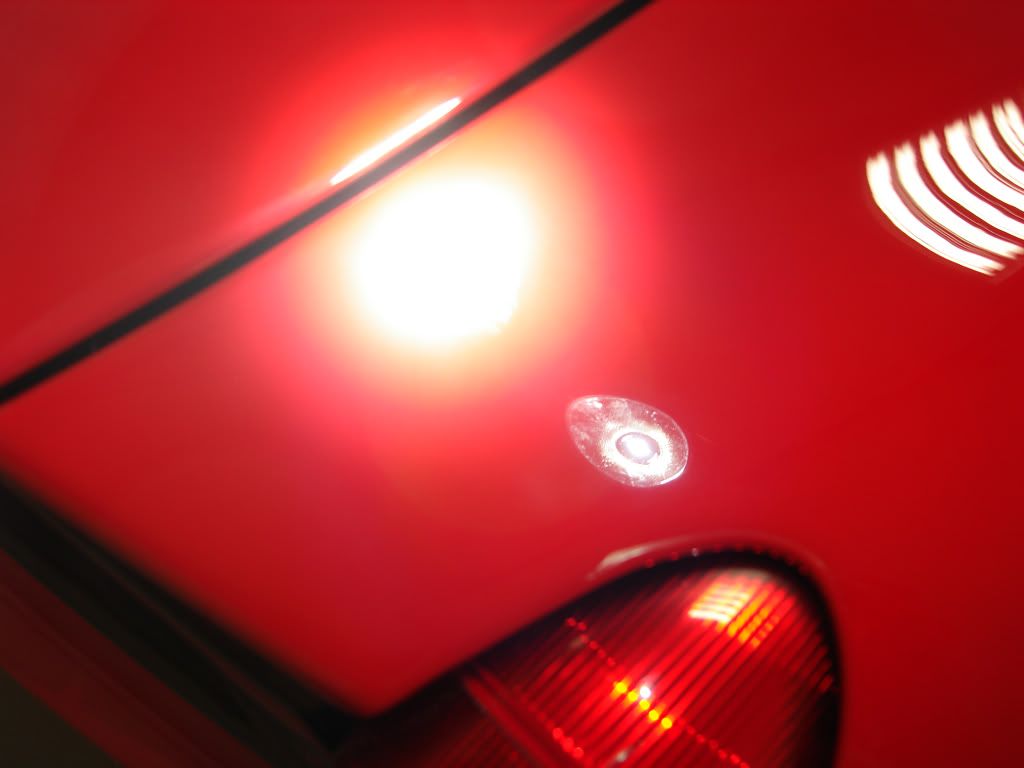
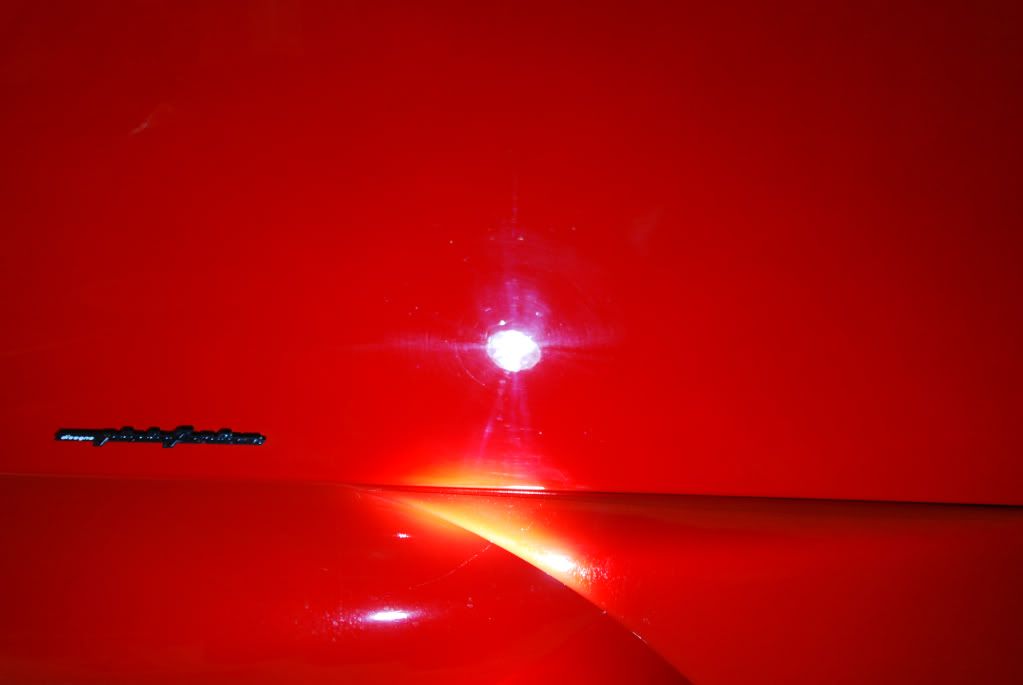
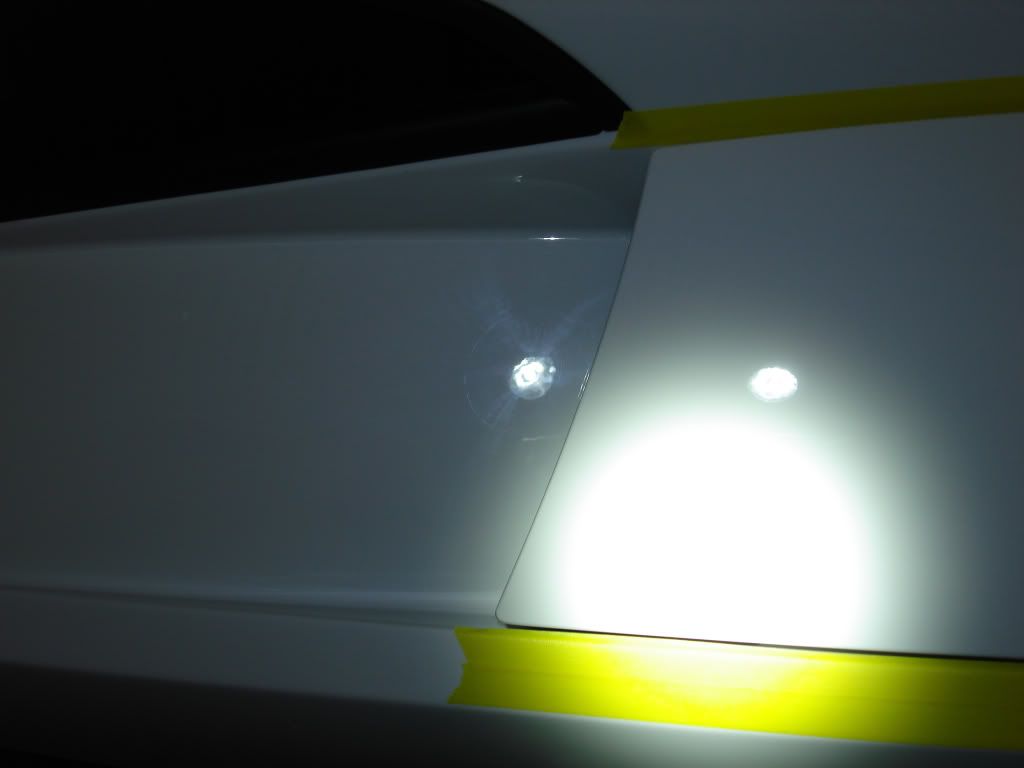
The paintwork on the Spyker was in excellent shape, 106FA on the rotary was used to remove slight marring and bring up the gloss, for protection Wolfs Body Wrap (a nano sealant) was used.
All paint areas were protected...
Finished photos

I rarely do mobile detailing anymore but I was glad to spend some time and do a bit of traveling to attend to this private collection in Connecticut.
The cars range from Ferrari, Porsche, Aston Martin, Lamborghini, Spyker and a few others. There were a lot of cars done over a period of time so the process in which I went about cleaning, correcting and protecting them will be presented to you as I remember it best.
I do not have a lengthy header nor fancy title for this thread and I promise I will not post the "copy and pasted" technical specs of every car seen here. This is a thread simply about fine cars and detailing. This is what I love and these are the cars I love to work on, hope you enjoy the pictures!
I'll begin with the Spyker C8 (note the cars in the writeup are posted in random order not in the order of completion)
After washing and prepping the car I began correction on all the aluminum metalwork. It took a good amount of time to sort out the best method of correction and even then it became a very tedious process.
Here is a 50/50 shot of the drivers side mirror housing. By the end of working on this car I had used various metal polishes including Blackfire heavy cut and fine cut, Swissvax metal polish and White Diamond, by hand, DA machine and rotary.
Working around the rest of the car, some improvement in gloss
I later decided to remove whatever pieces I could to allow for better angles when polishing
Before
After
After all exterior metal work was finished I moved onto the interior, also full of aluminum which needed polishing
Work on the steering column...
Finished
Difference in clarity from polishing, dullness in the aluminum is being removed after 2-3 hits with the metal compound on a short nap MF towel
Door handle housing needed some attention as well
Before
During
After
Slight improvement made on the shift knob, before
Finished
After all interior metal work was polished the leather (shall I say about 17.5 cows worth) was cleaned and conditioned. For this I cleaned the leather with Leatherique pristine clean and followed up with Leather Masters protection cream.
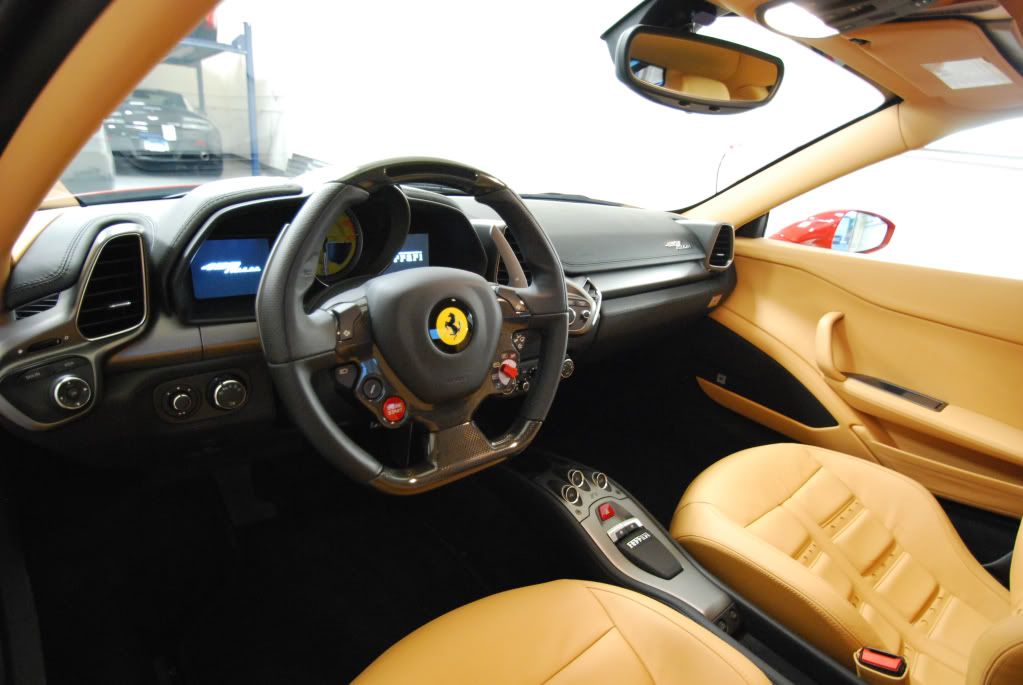
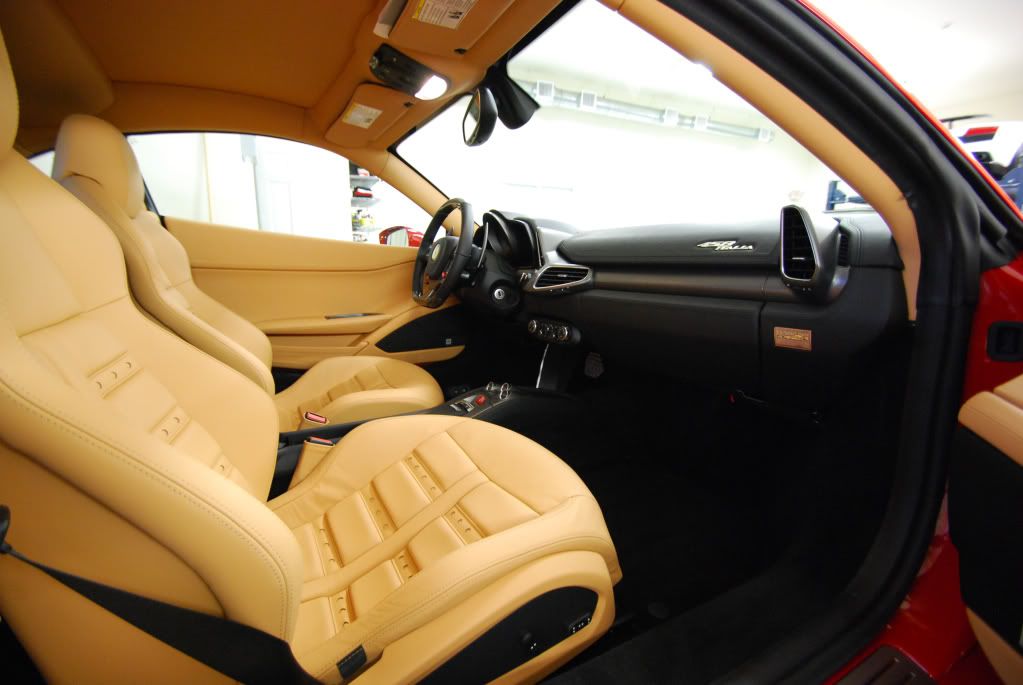
Some interior shots after full detailing, this really is a fantastic car just to sit in!
A proper ignition switch for a car with no power brakes or power steering
The soft top of the Spyker had some water damage and staining, during the wash process several applications of diluted APC cleaner and a soft brush were used to lift the stains...
Before staining
Same area (car is now turned around) after cleaning and protection. For protection 303 fabric guard was used, 2 applications over 2 days
The paintwork on the Spyker was in excellent shape, 106FA on the rotary was used to remove slight marring and bring up the gloss, for protection Wolfs Body Wrap (a nano sealant) was used.
All paint areas were protected...
Finished photos
Street Dreams
New member
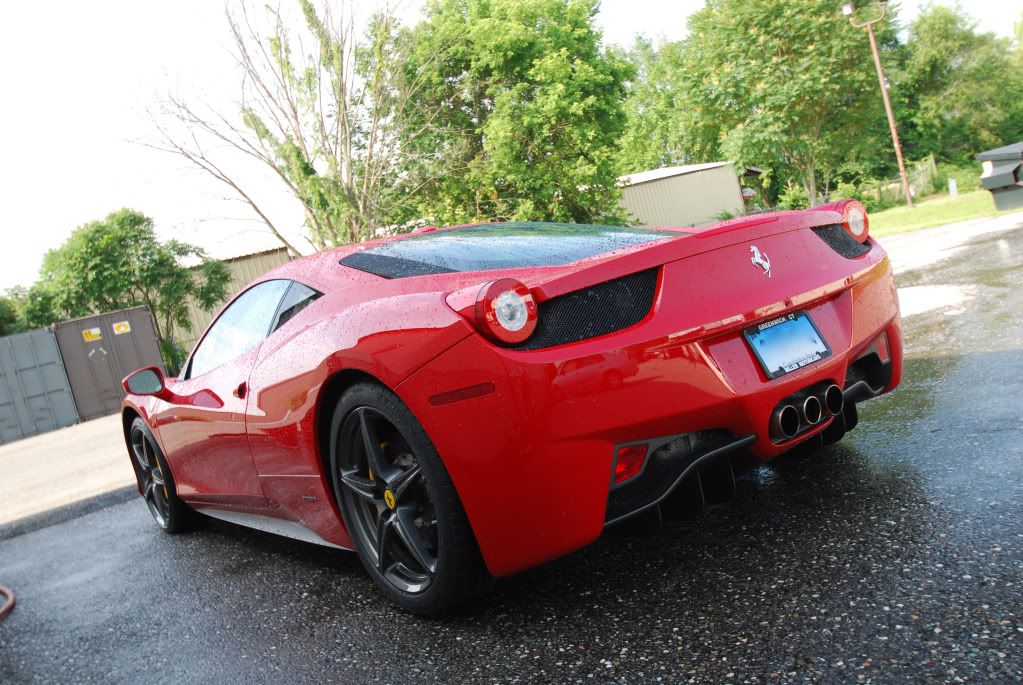
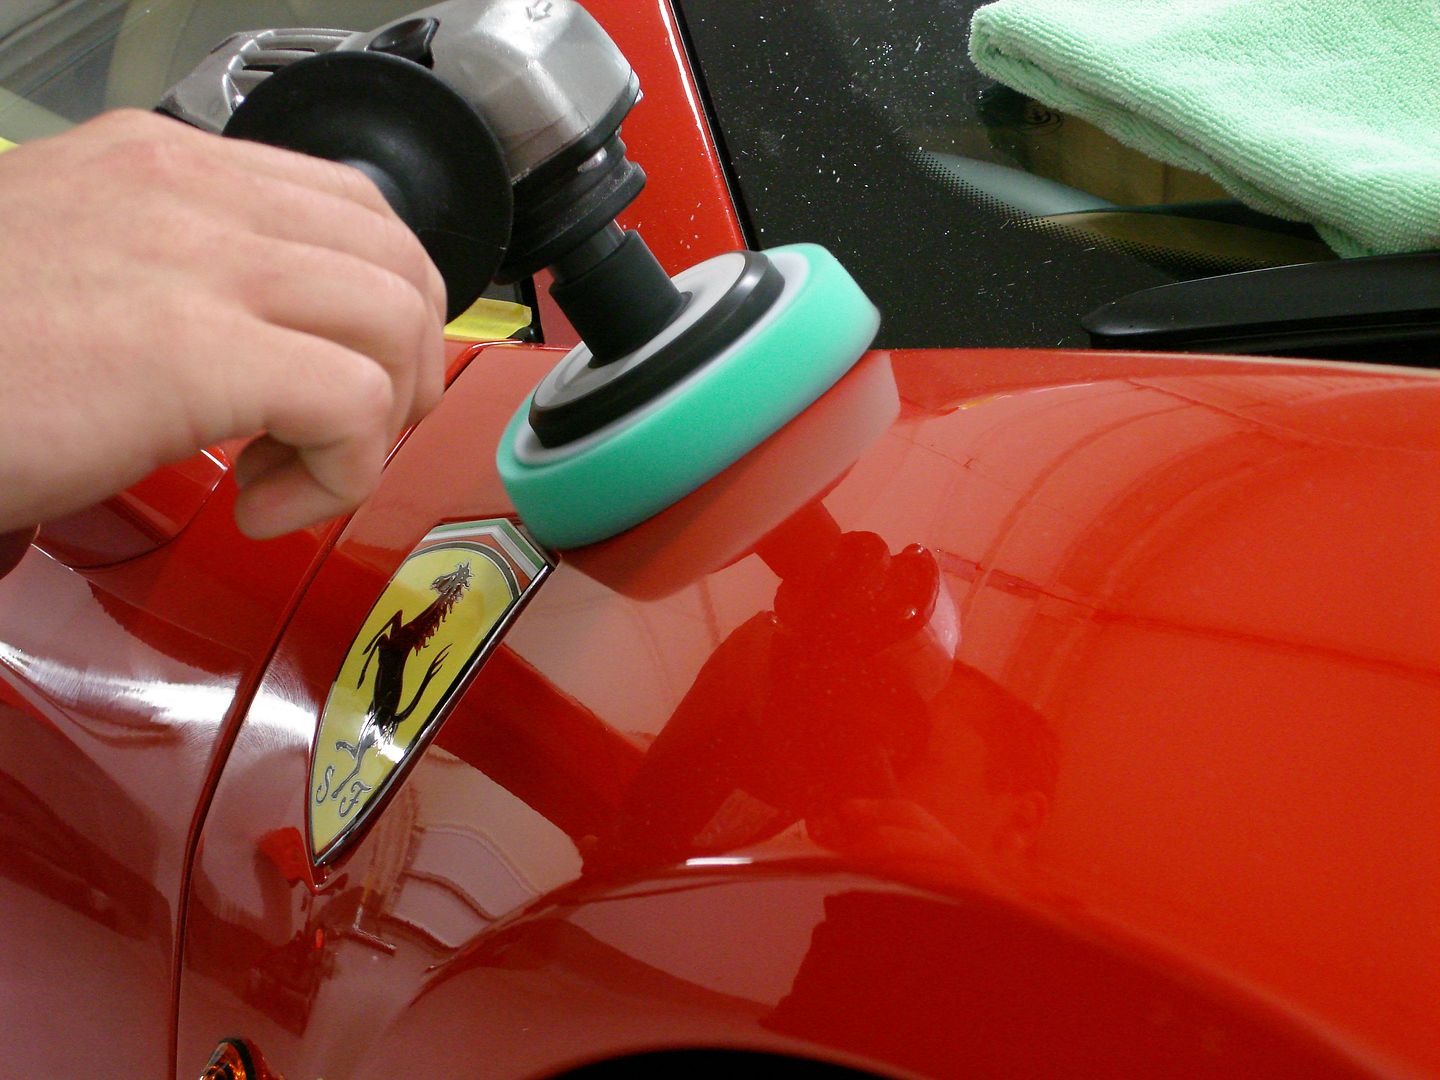
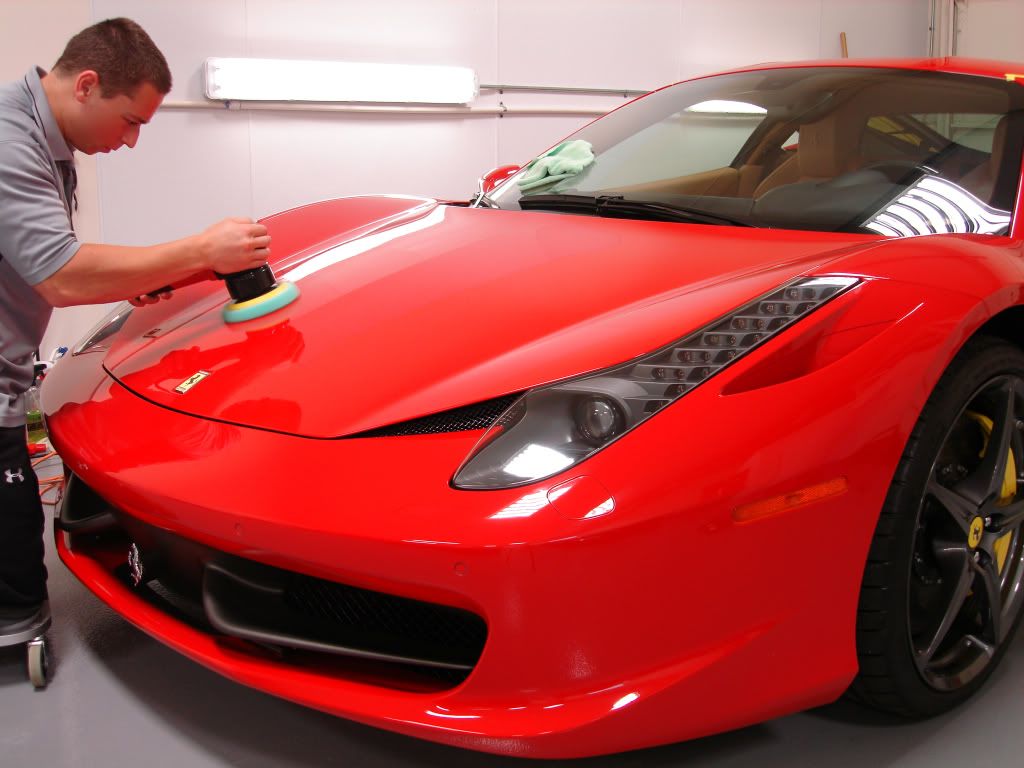
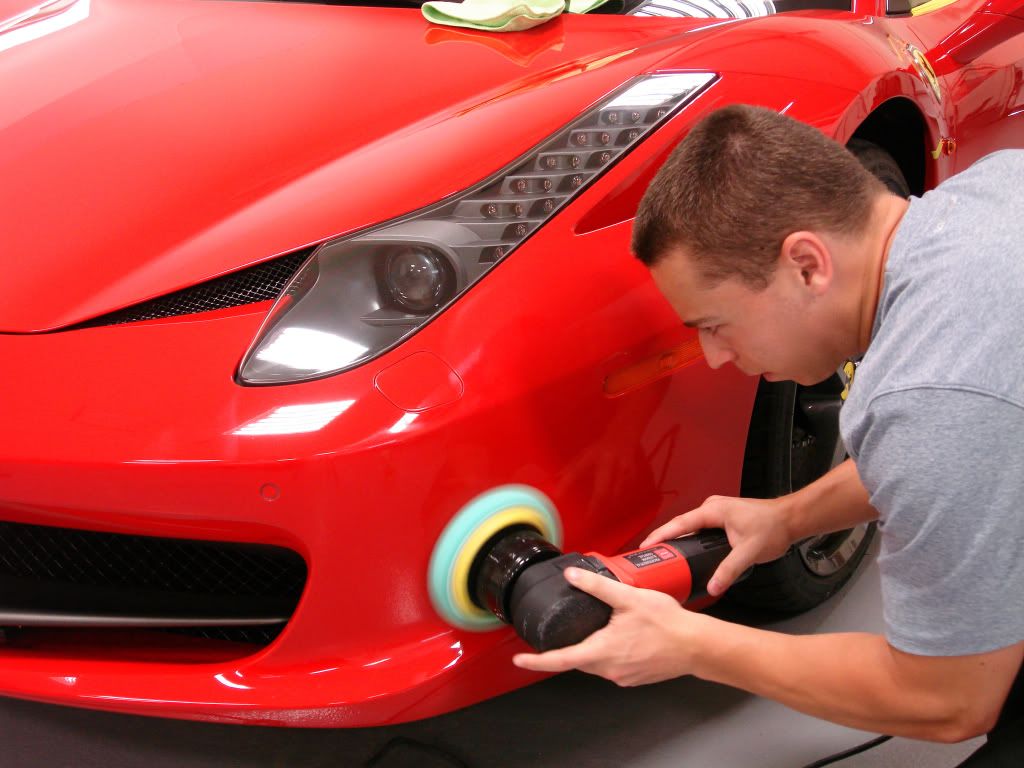
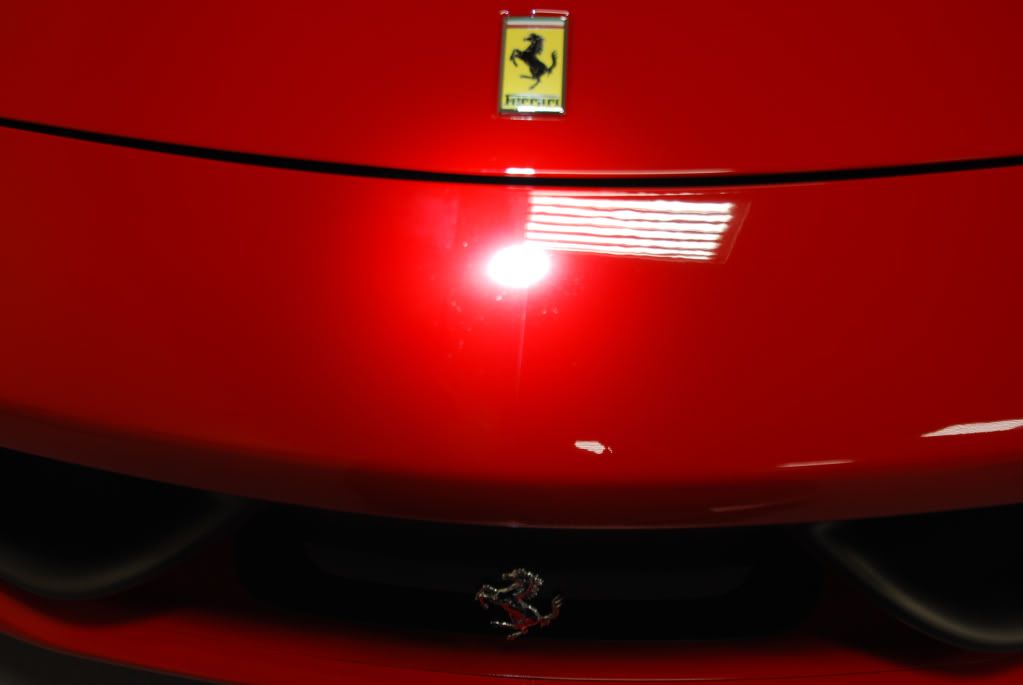
Next up: Ferrari 458 Italia
... I knew this car was going to need some serious correction work as most EVERY modern Ferrari coming out of the factory in Maranello has major paint issues. This should not be the case as owners wait months to years for a car and pay enough money for it, the least they could do would give it a proper refinishing from the factory.
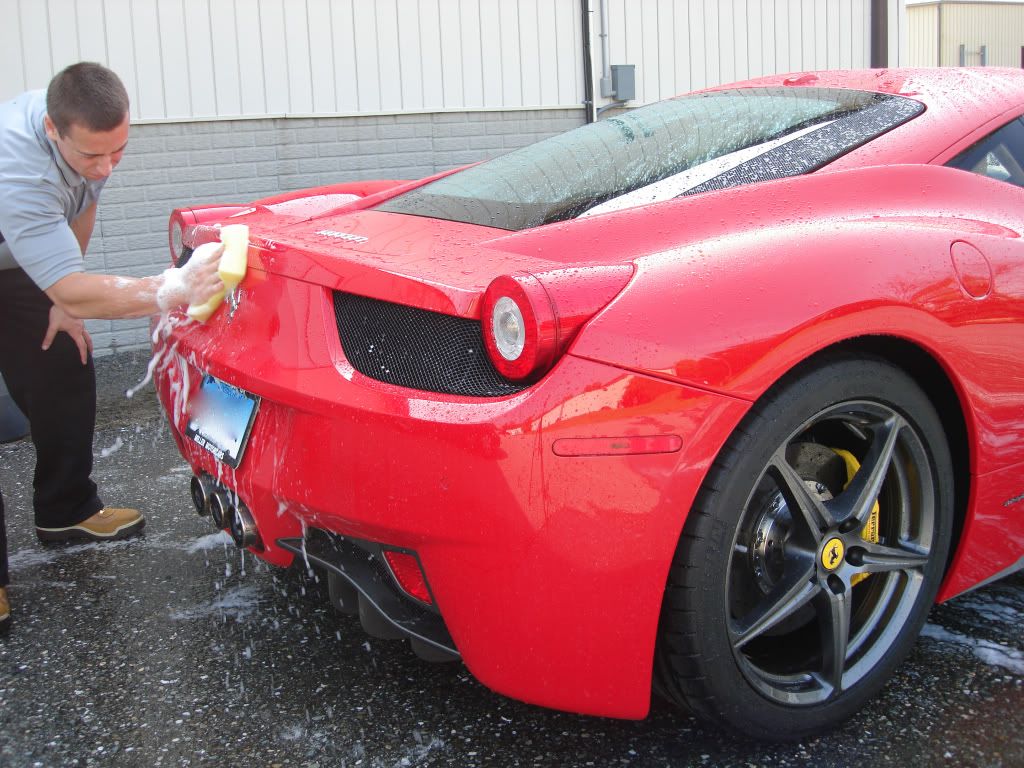
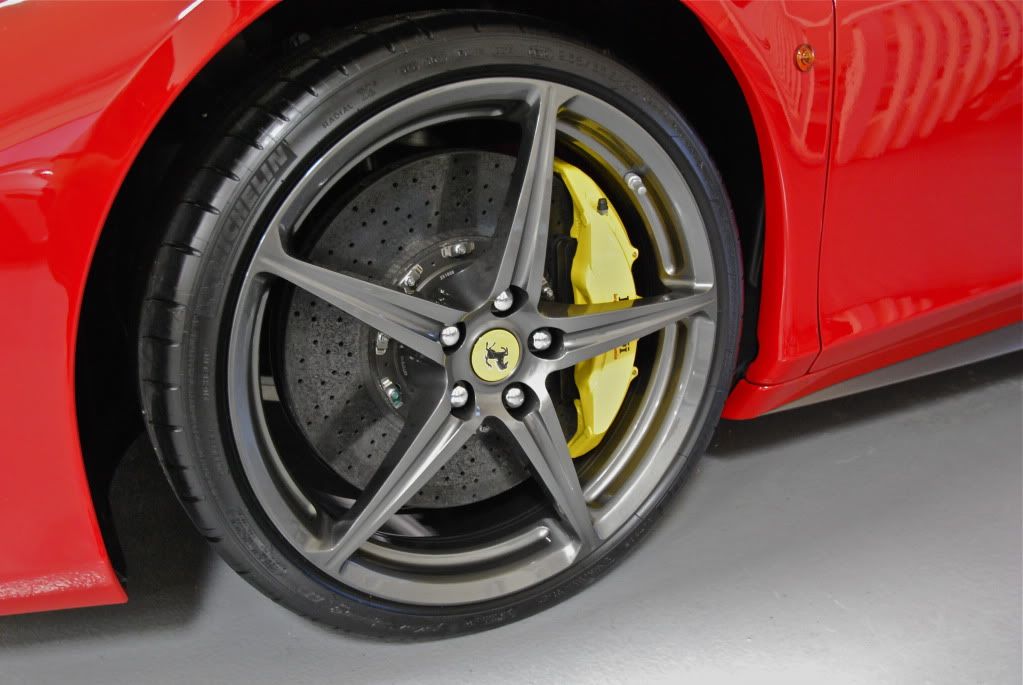
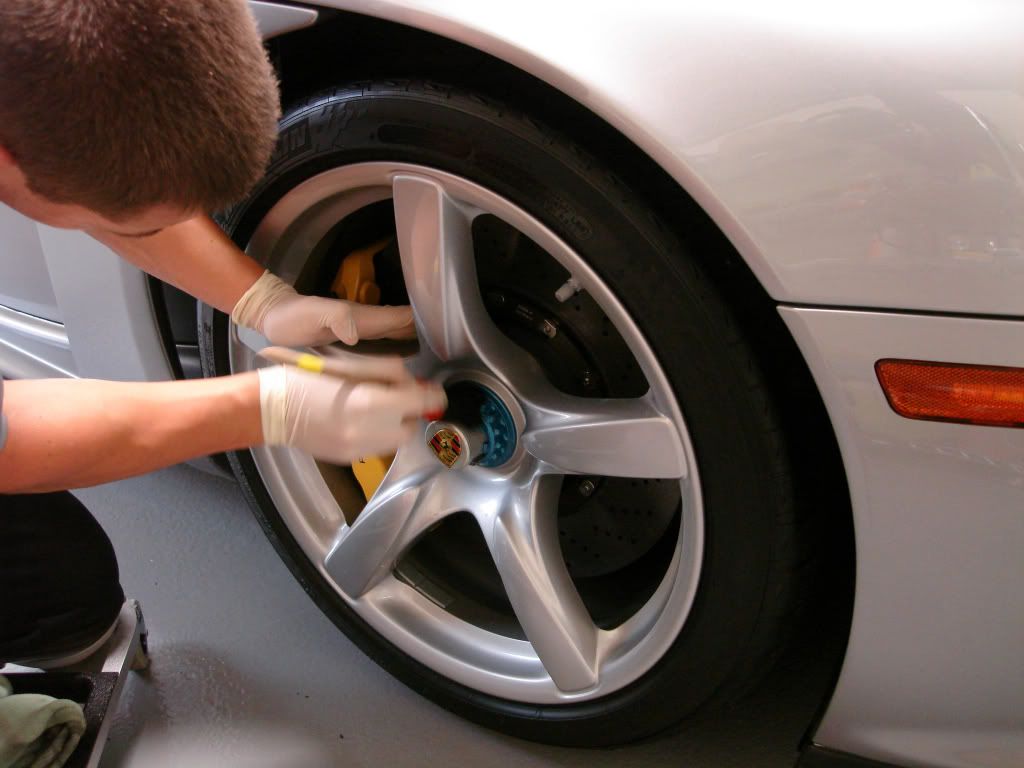
Began with a full prep wash to remove all prior protection. As usual I treated the wheels to a gentle mix of soap and water and pH wheel cleaner in a bottle... for carbon ceramic brakes thats all I really ever use.
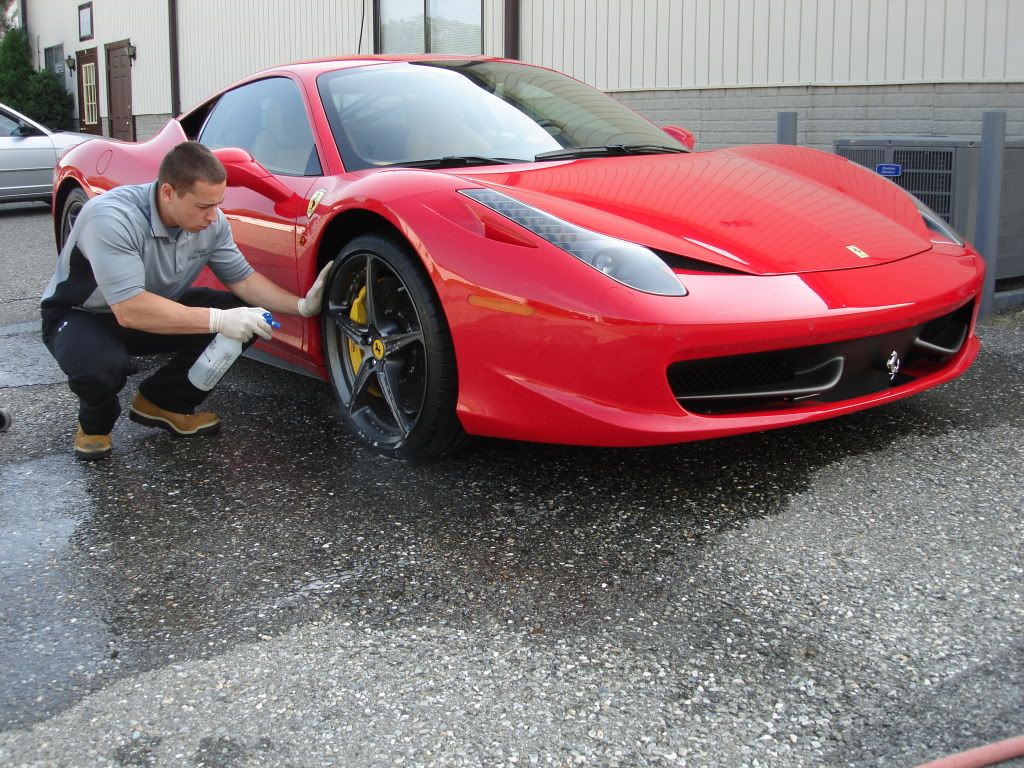
Citrus wash was used with a DD foam sponge
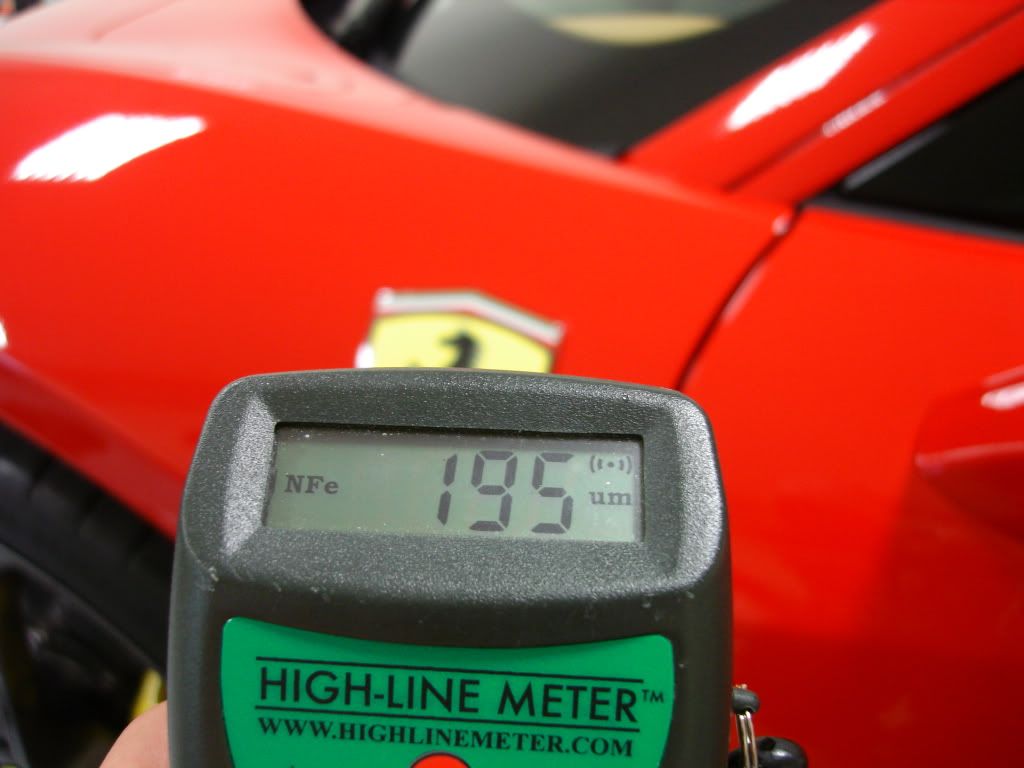
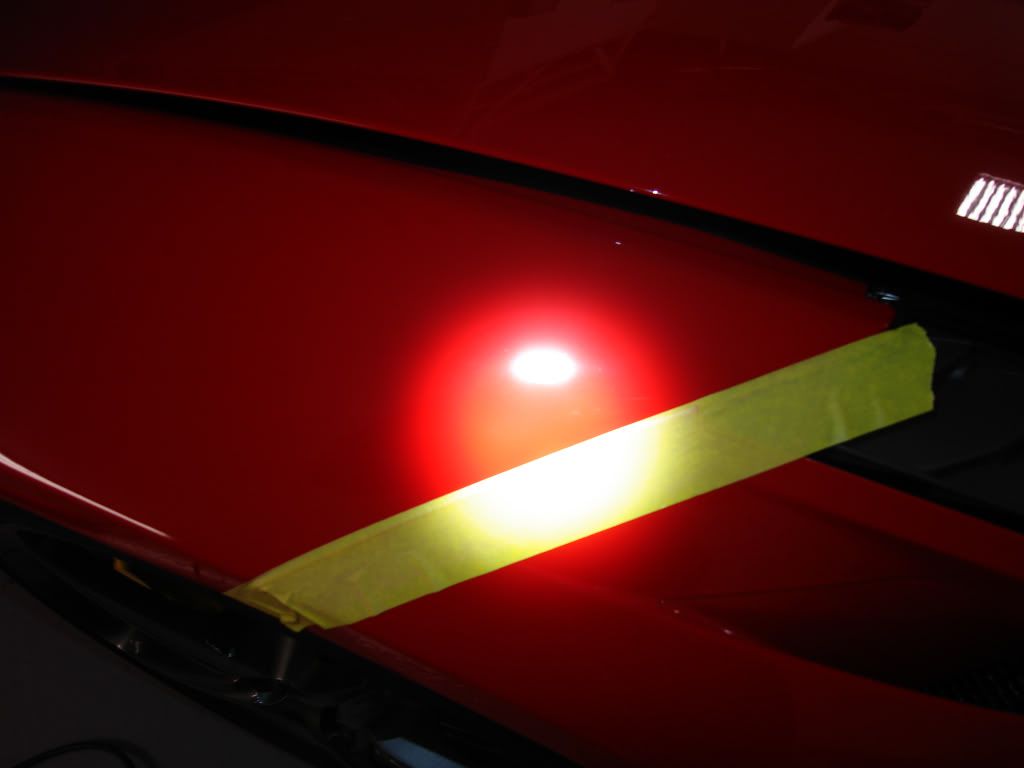
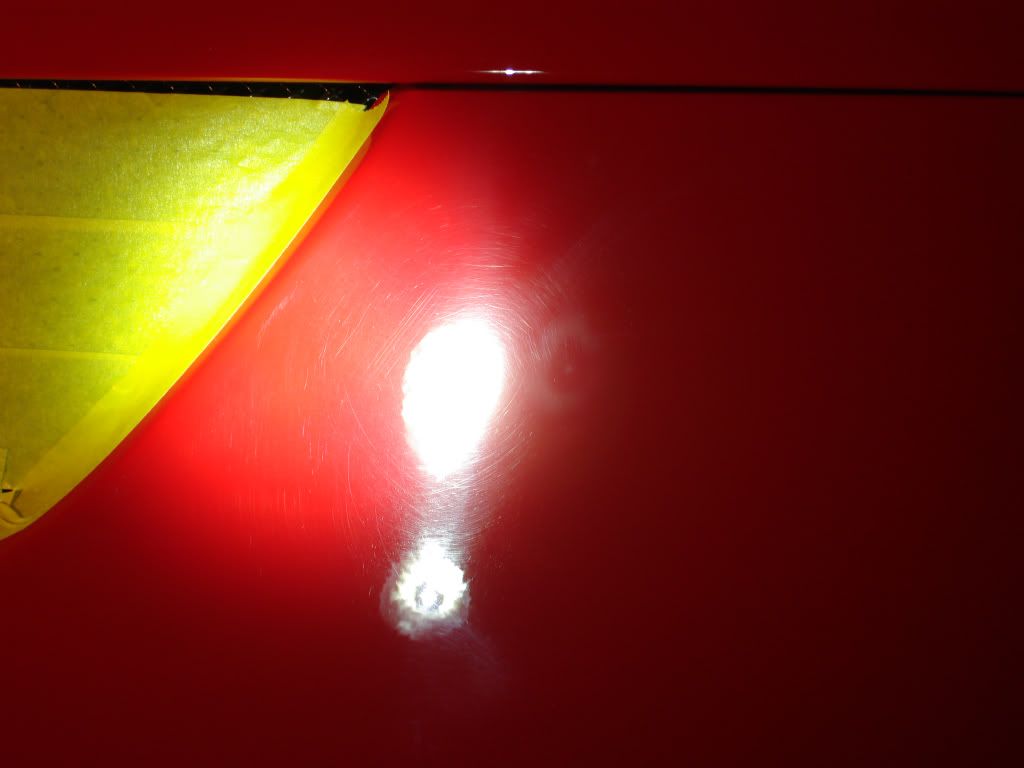
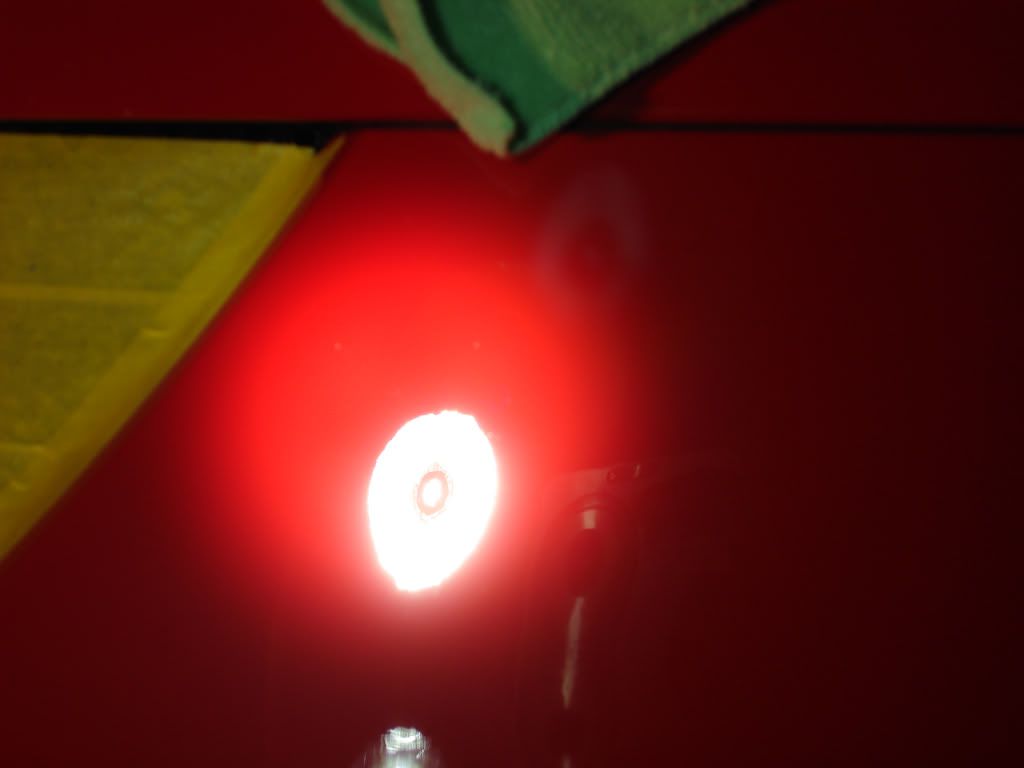
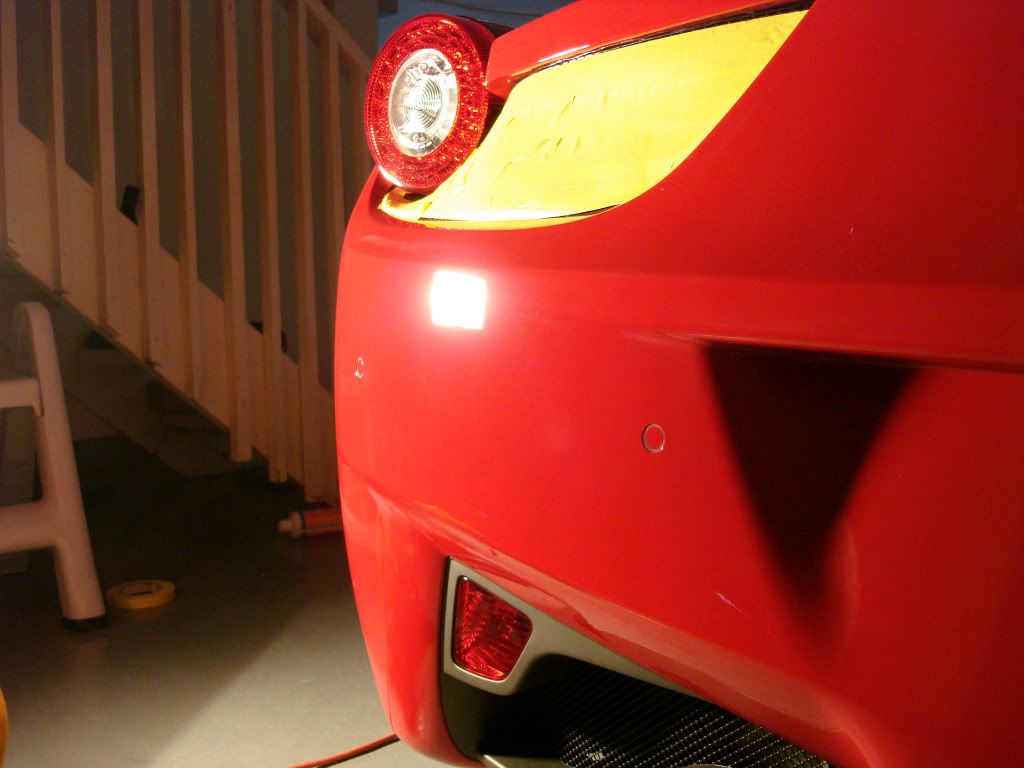
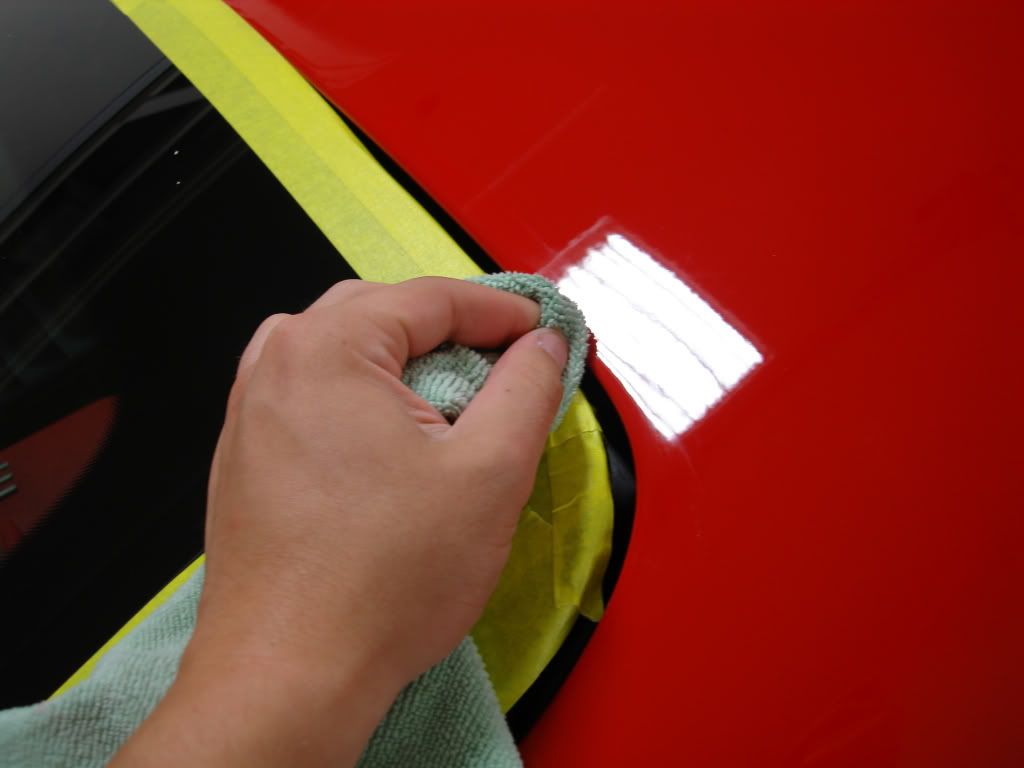
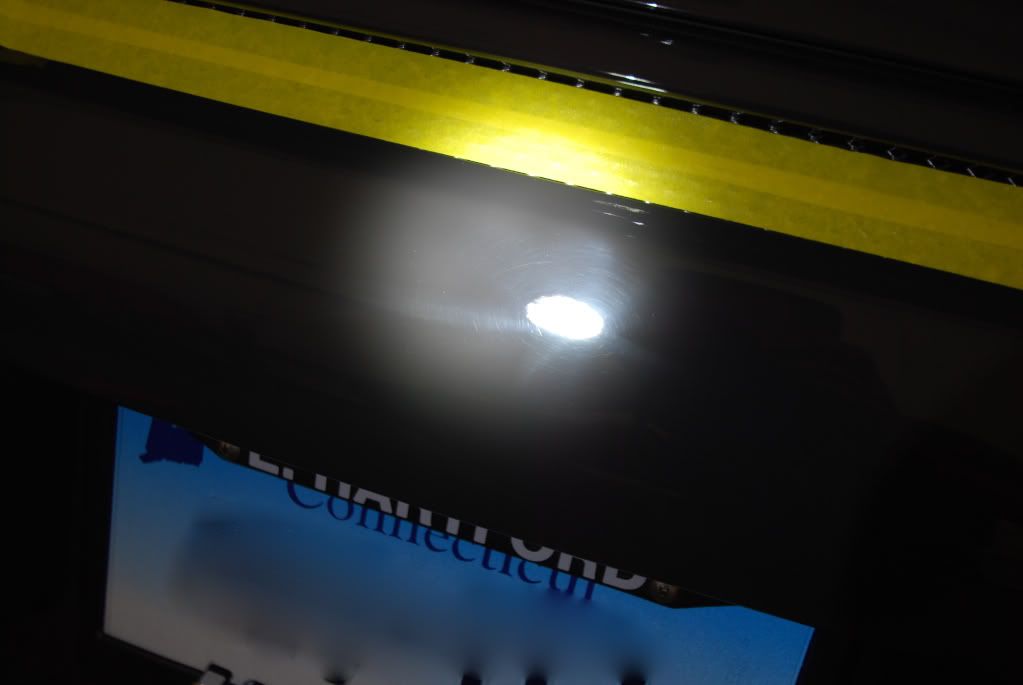
After claying, drying and a few IPA wipedowns I measured the paint using an electronic paint thickness gauge as I went around the car taping off vents, edges and clear bra seams...

190-200+ microns across the board
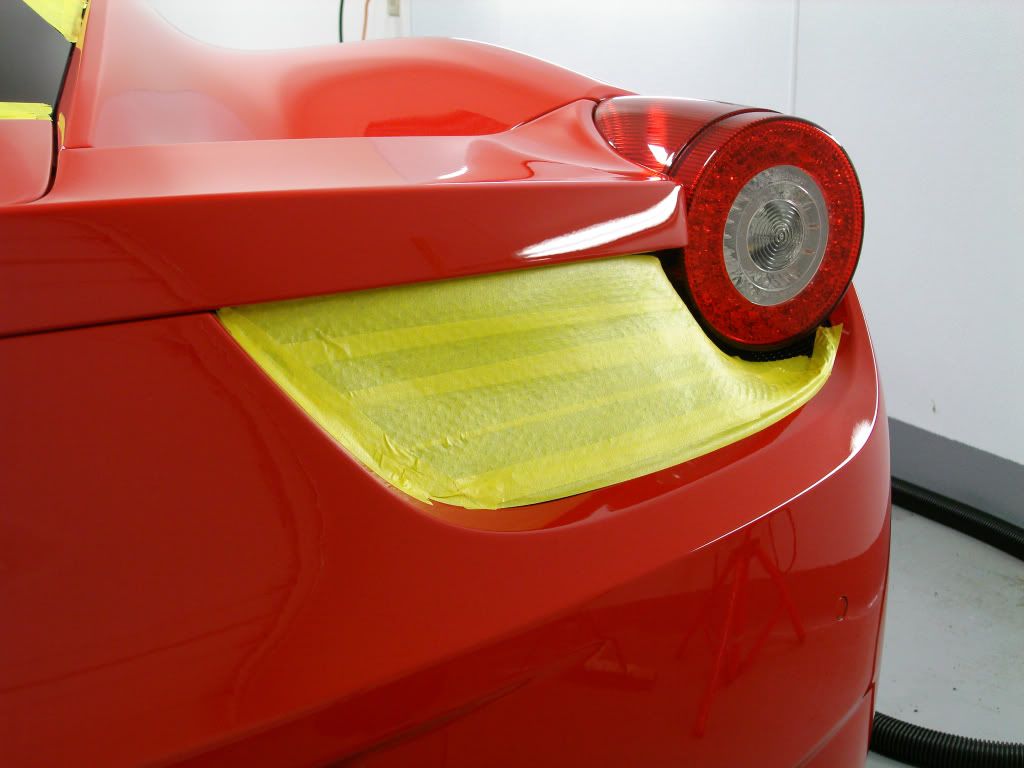
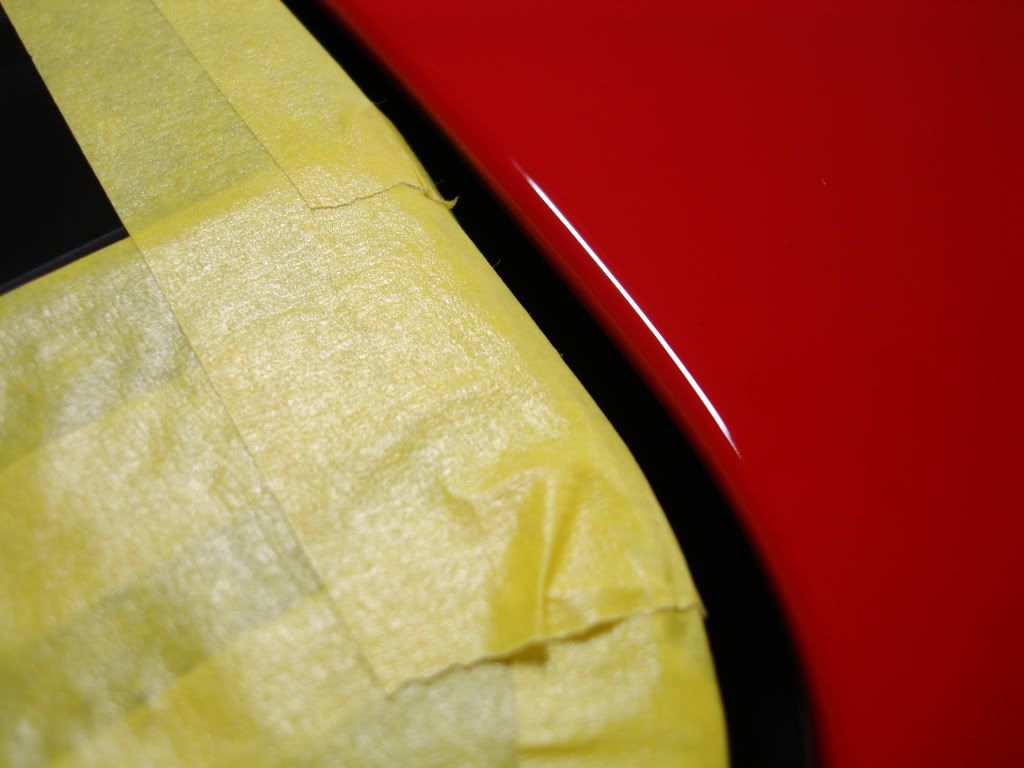
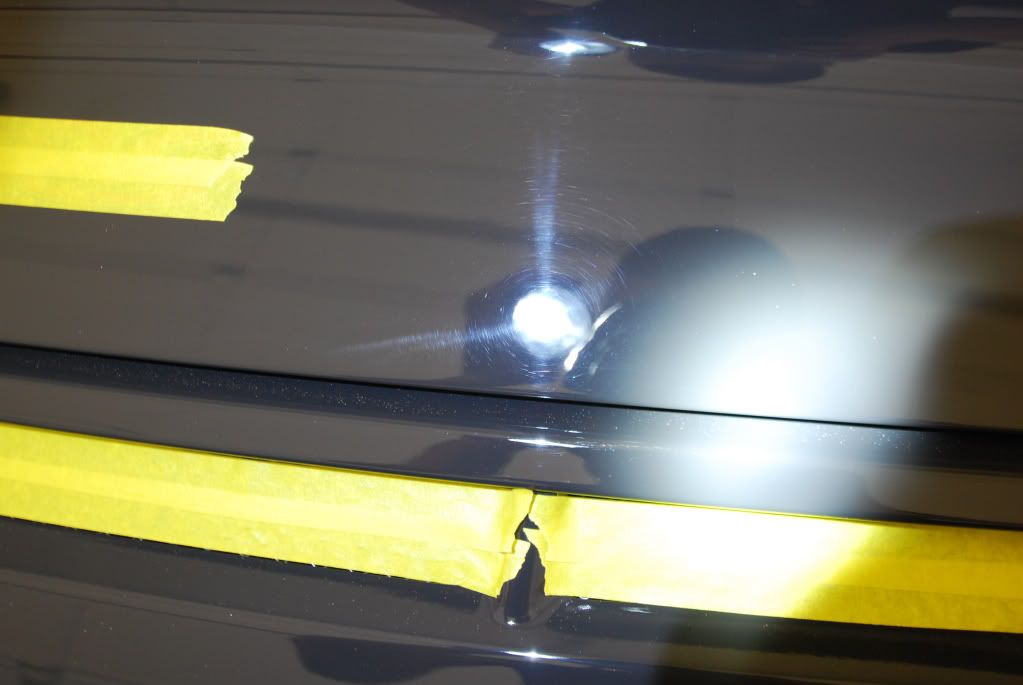
A proper tape job is well worth the time, especially when working on any exotic car. Lots of air vents, ducts and clear film to consider.
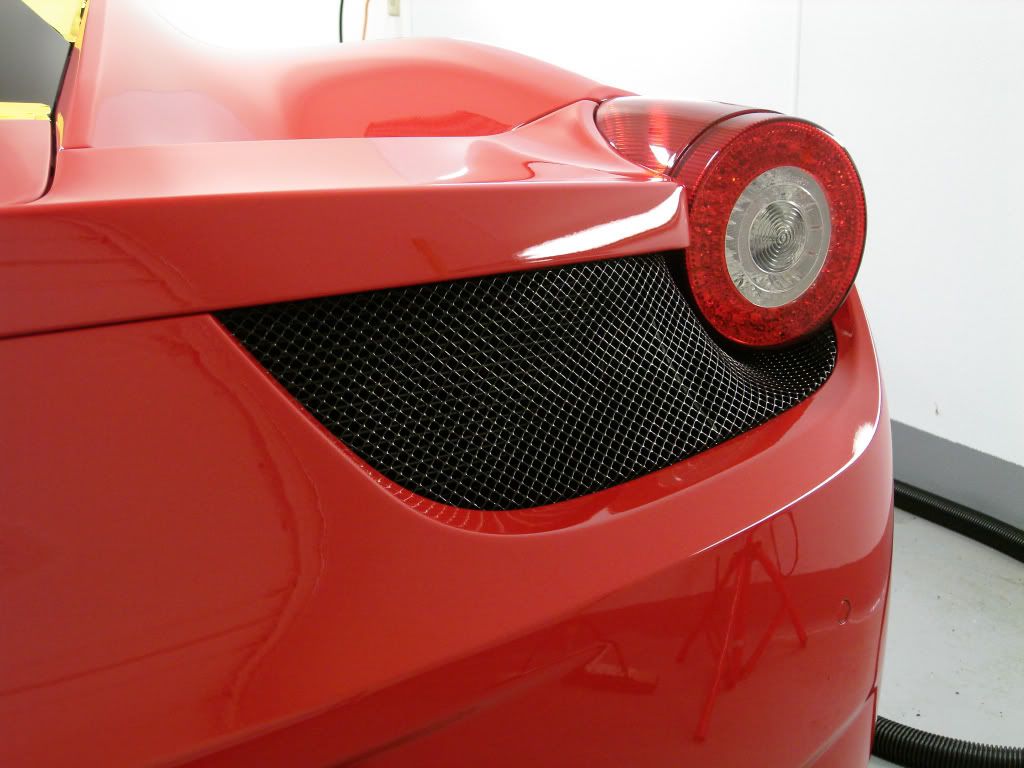
All mesh grilles were tapes off, getting polish sling inside the mesh or behind it would be a nightmare to fix.
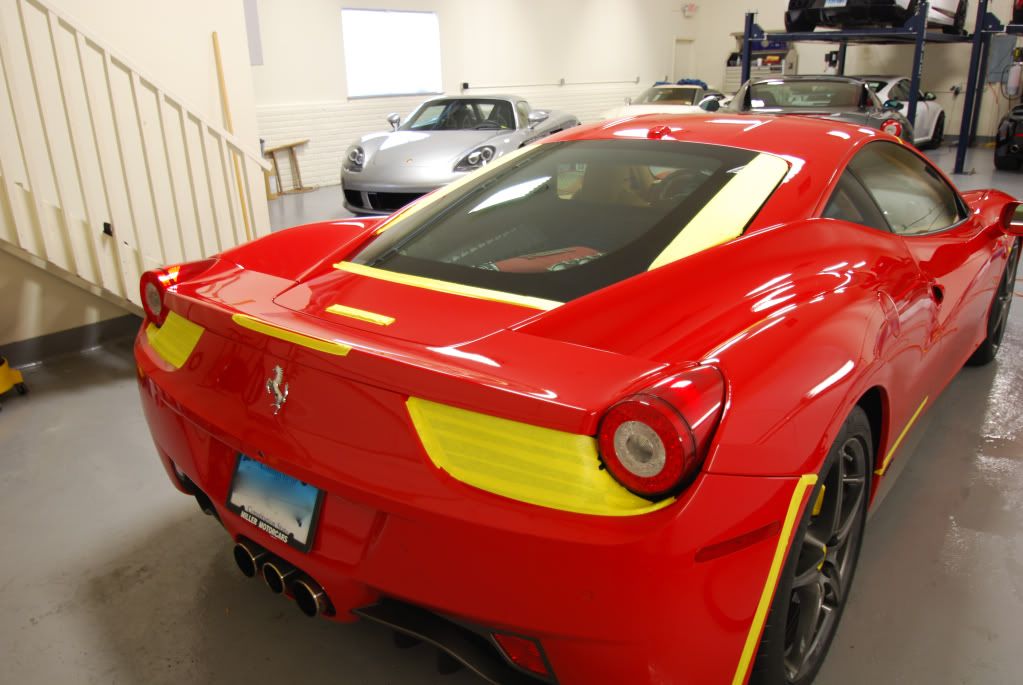
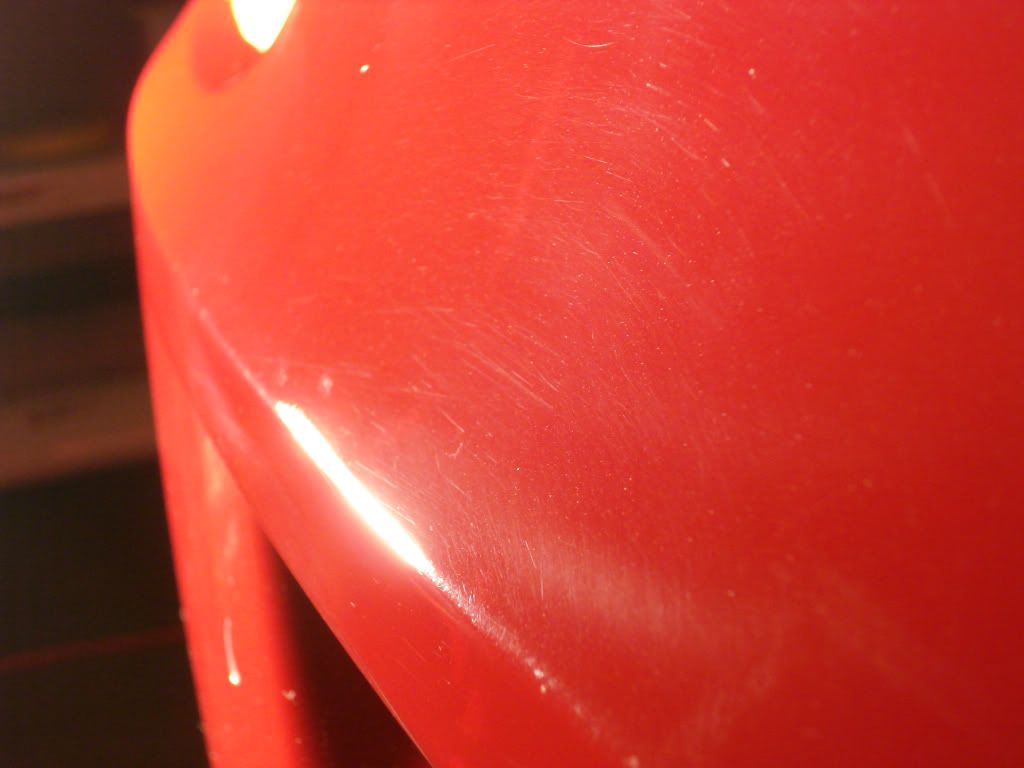
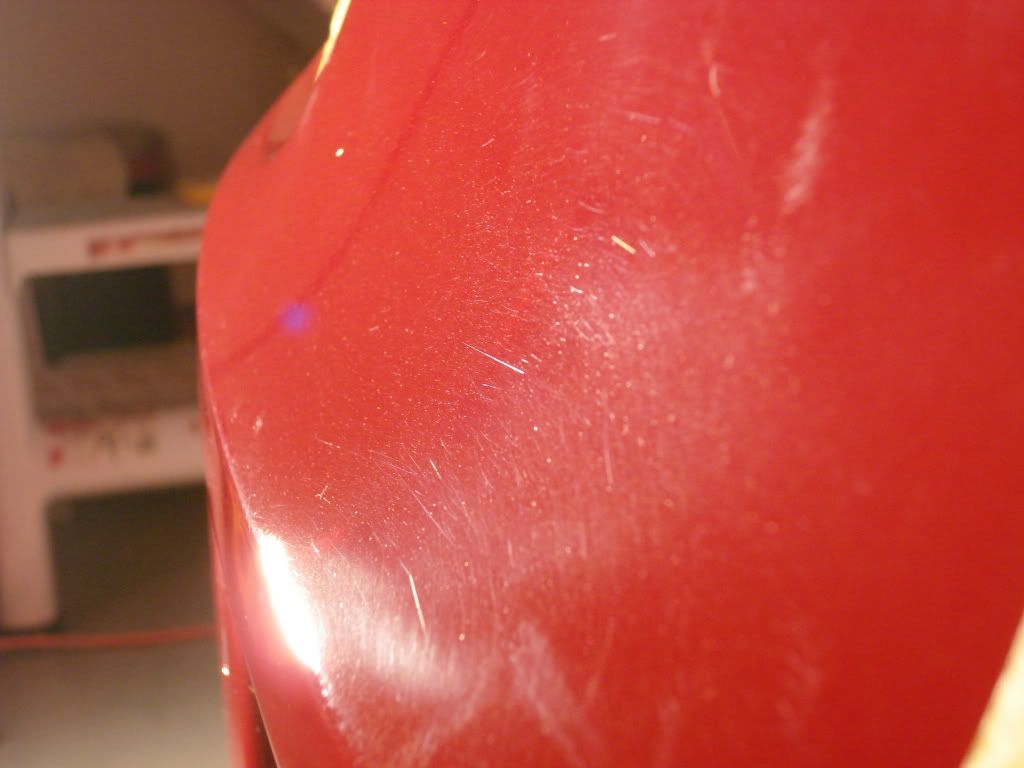
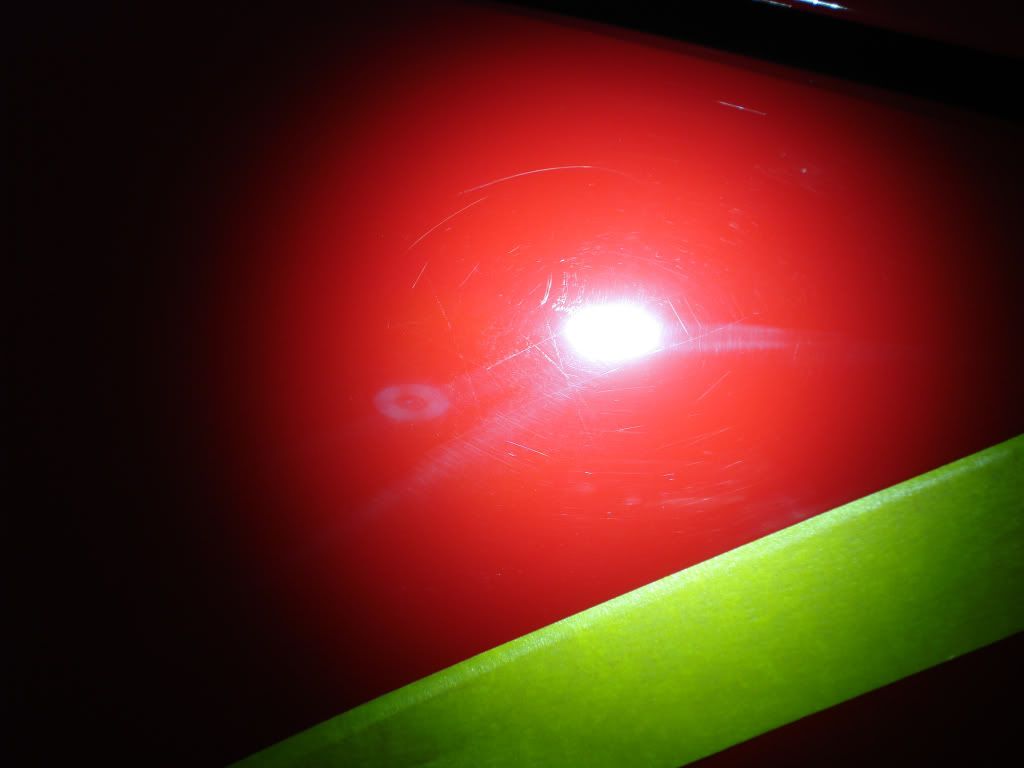
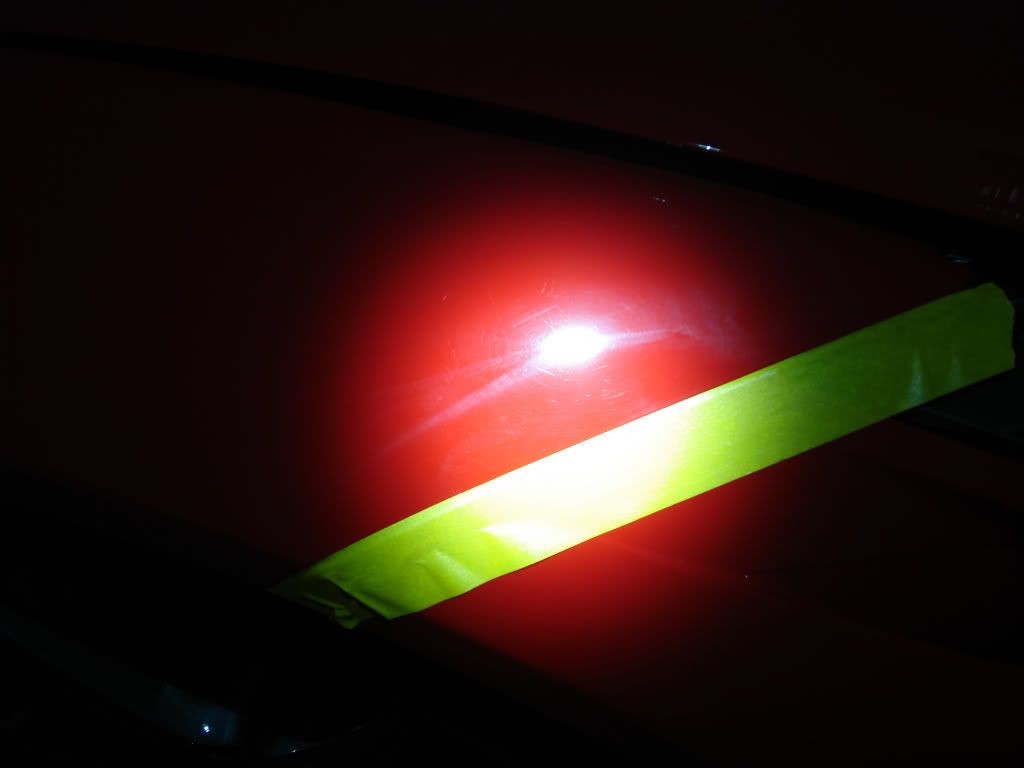
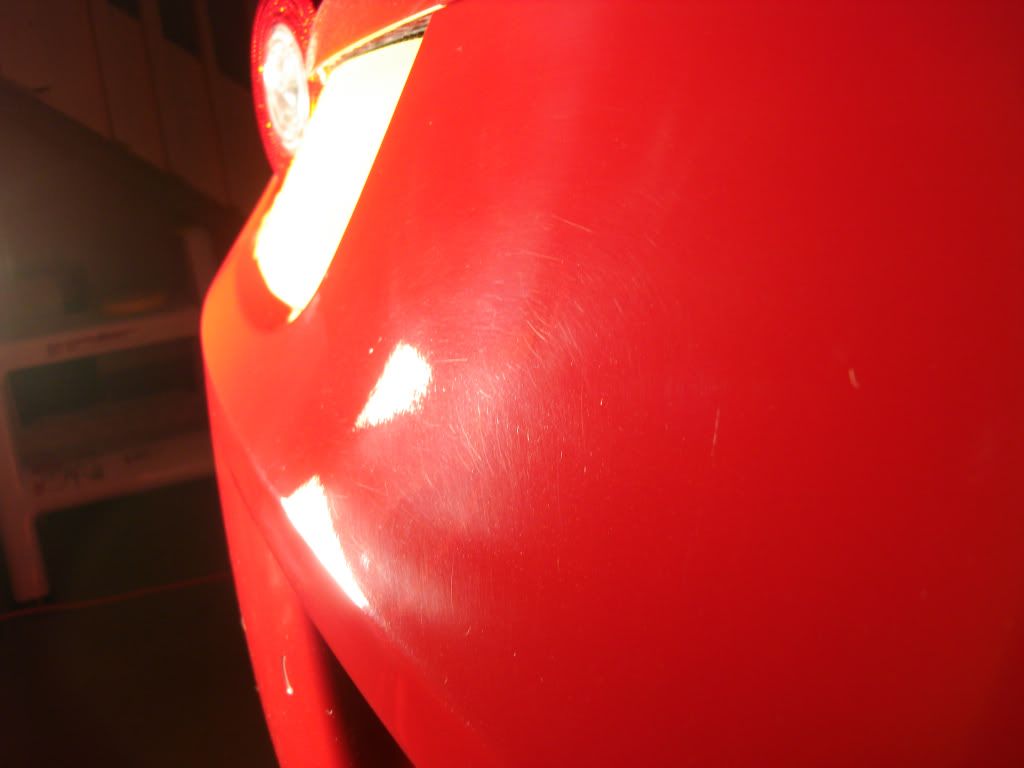
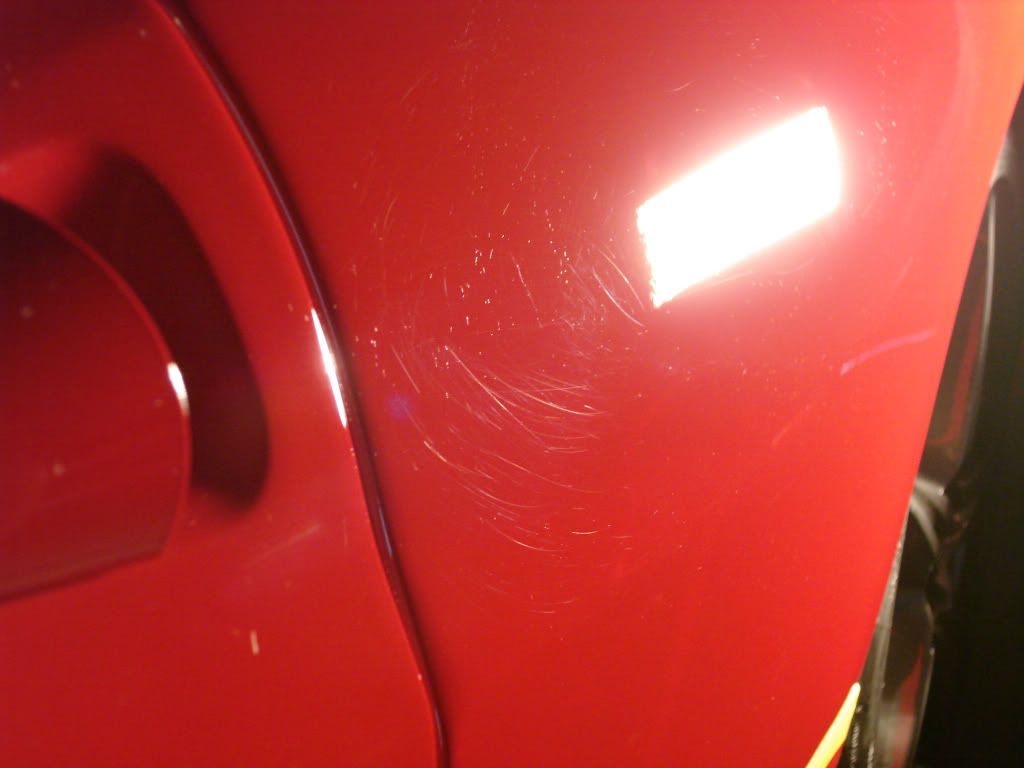
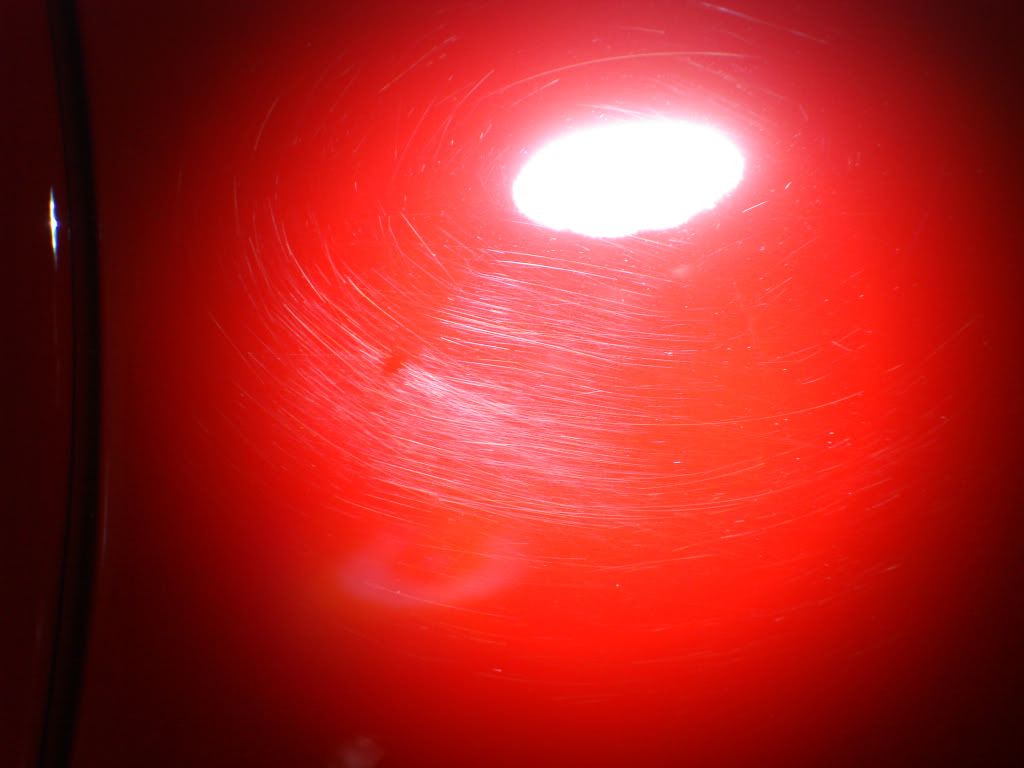
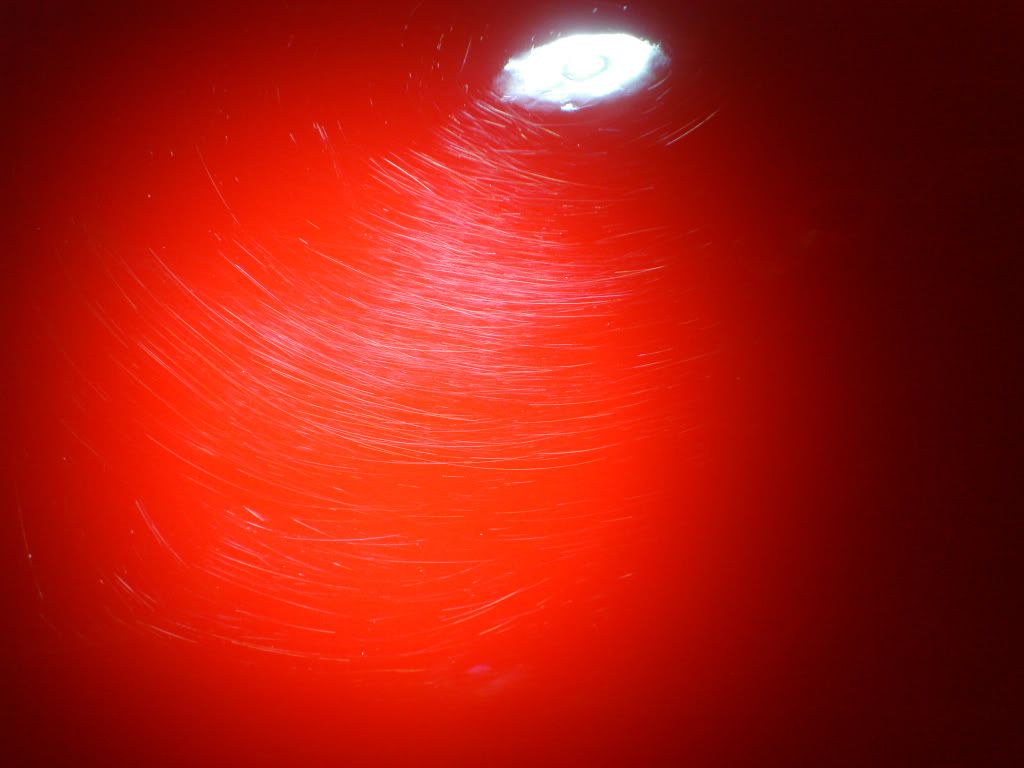
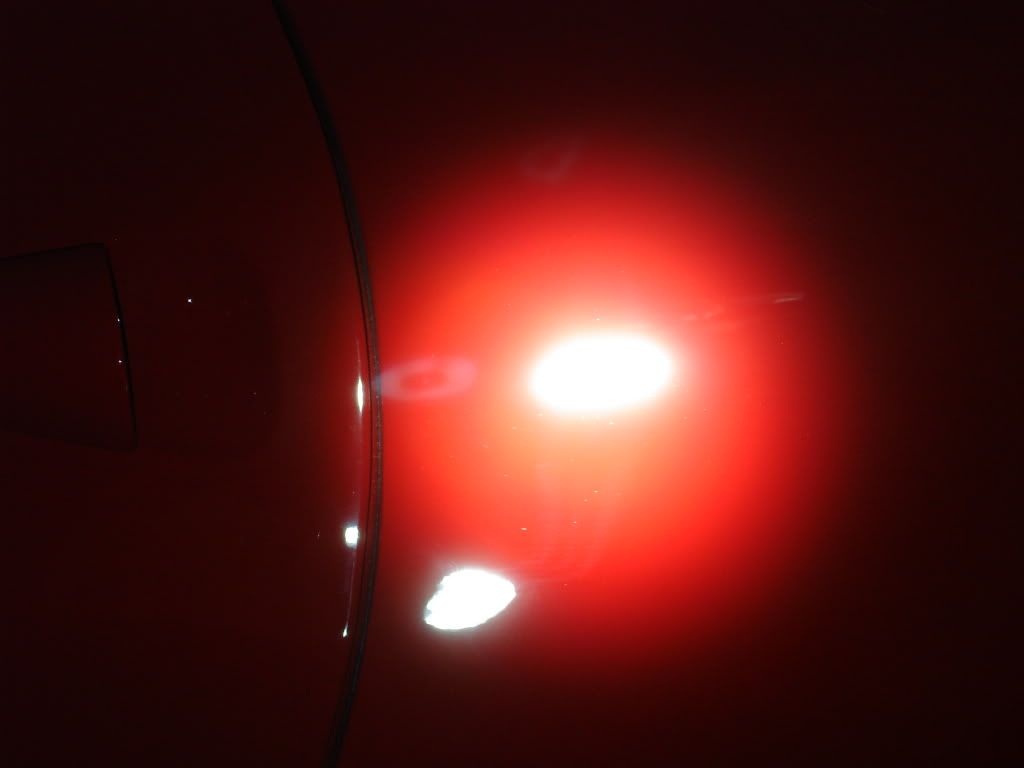
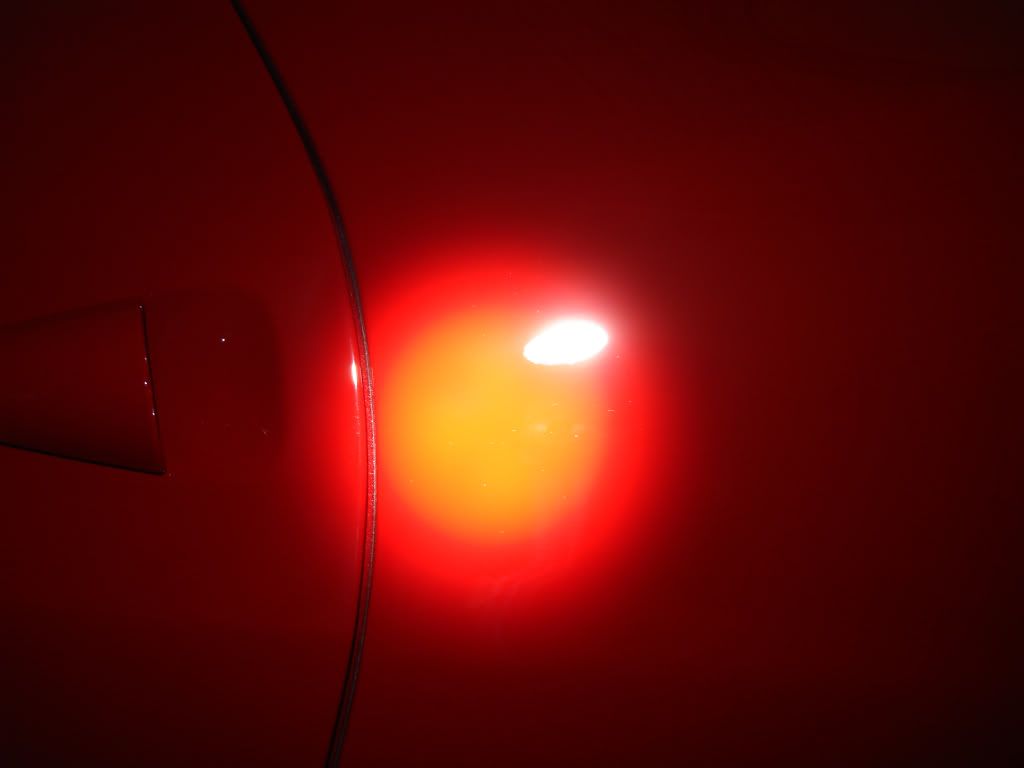
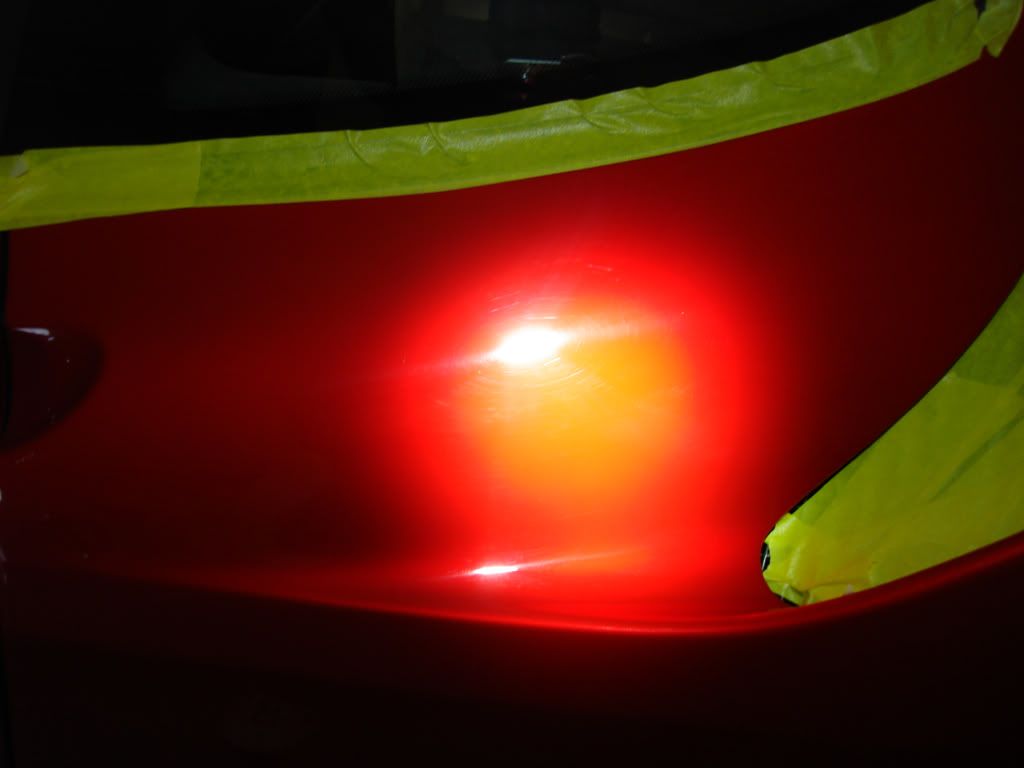
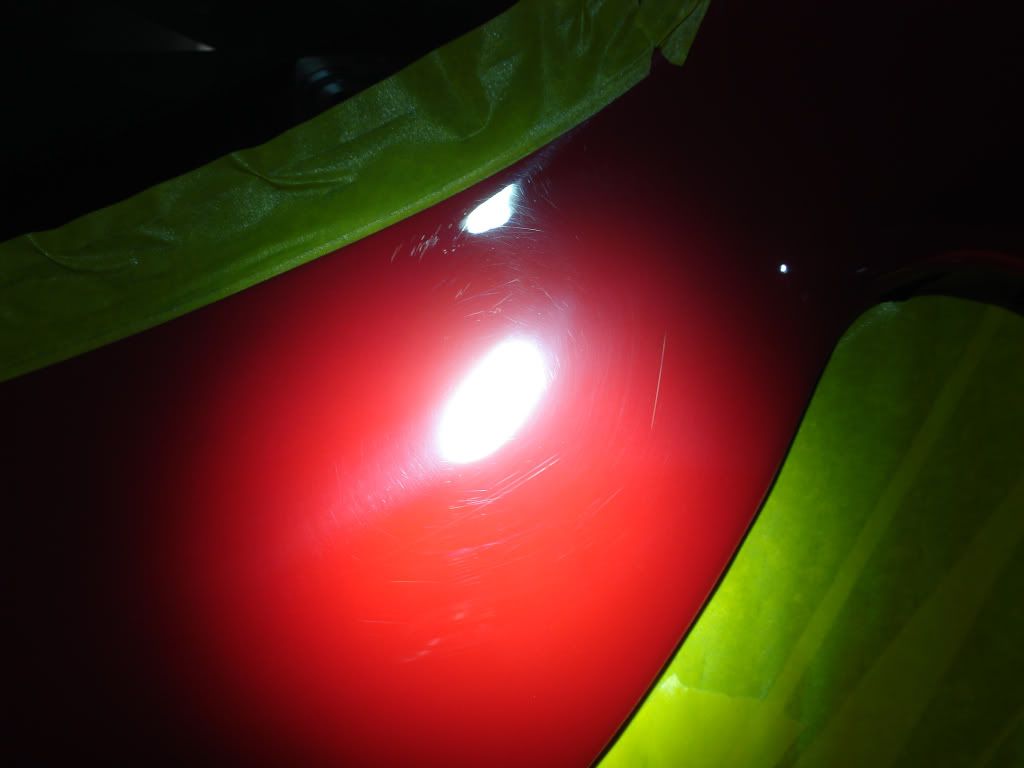
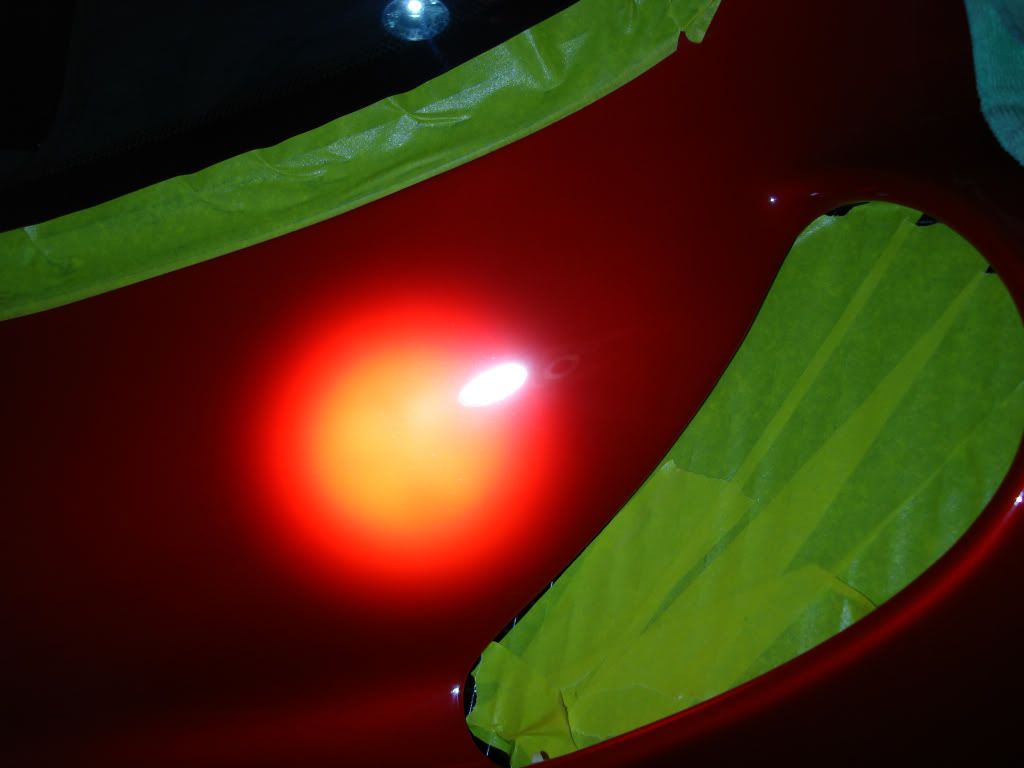
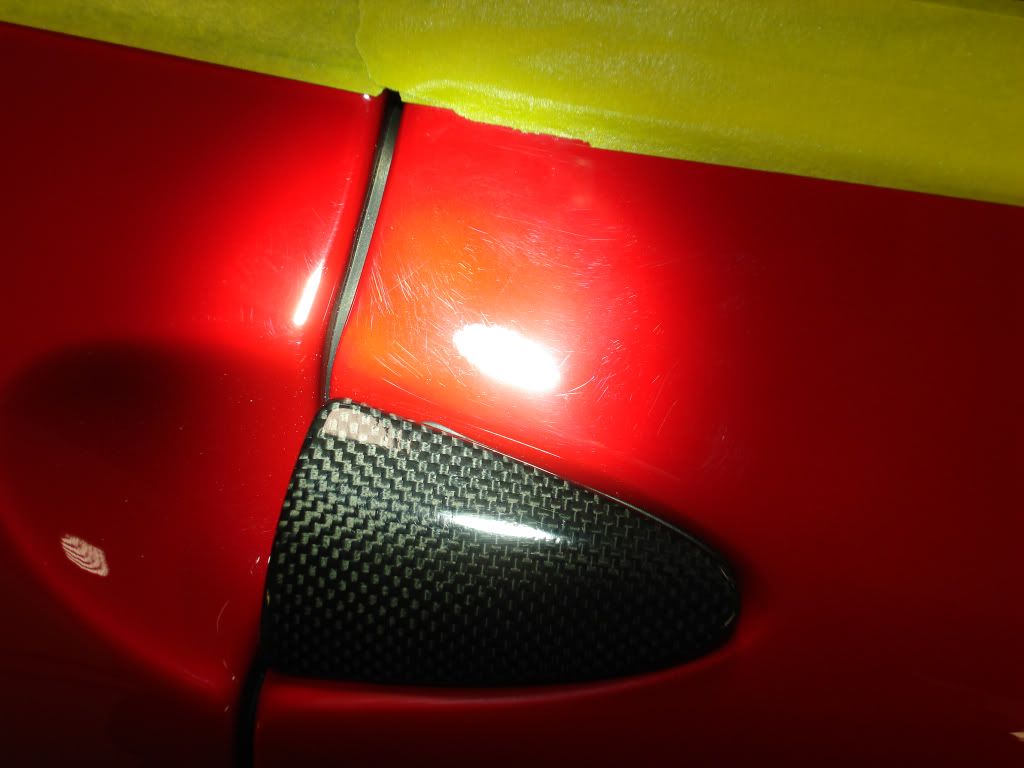
The finish of the 458 looked poor even before the wash, once everything was clean and stripped 100% the term "bad factory finish" took on a new meaning. This car had several areas where huge clusters of swirls, RIDS and even sanding scratches were left behind.
Example of factory defects:
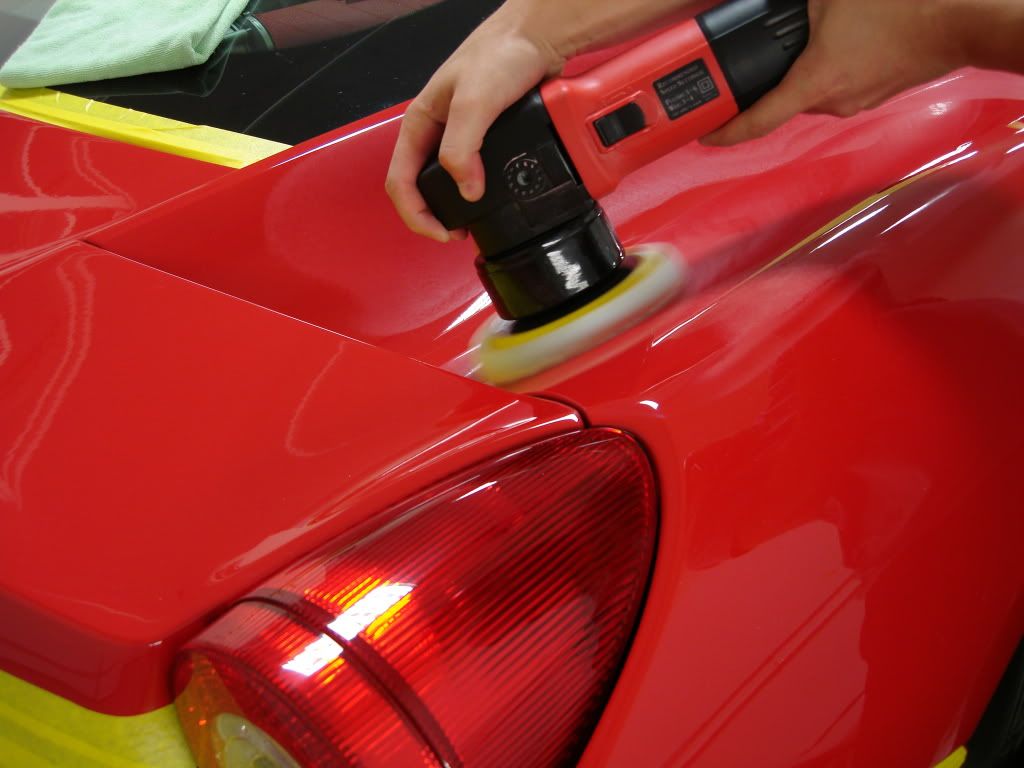
Onto correction, both rotary and DA machines were used to get the finish as close to 100% as possible. Several areas require multiple hits of compounding to yield a high level of correction.
Front fender before
After 3 rounds of compounding using M105 and D300
An then onto refining the paint using Menzerna powerfinish on a green polishing pad
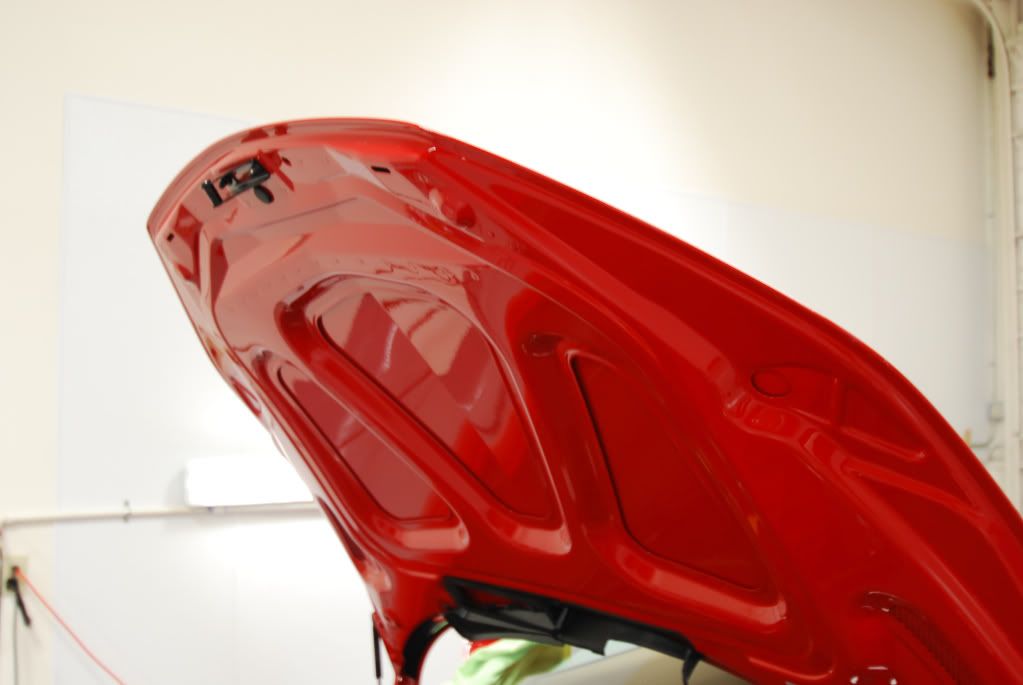
The hood of the 458 had clear film so I switched up to a DA machine for cooler operating temps and a smoother glide over the plastic
50/50 on front nose which had clear film
Surbuffing' the roof...

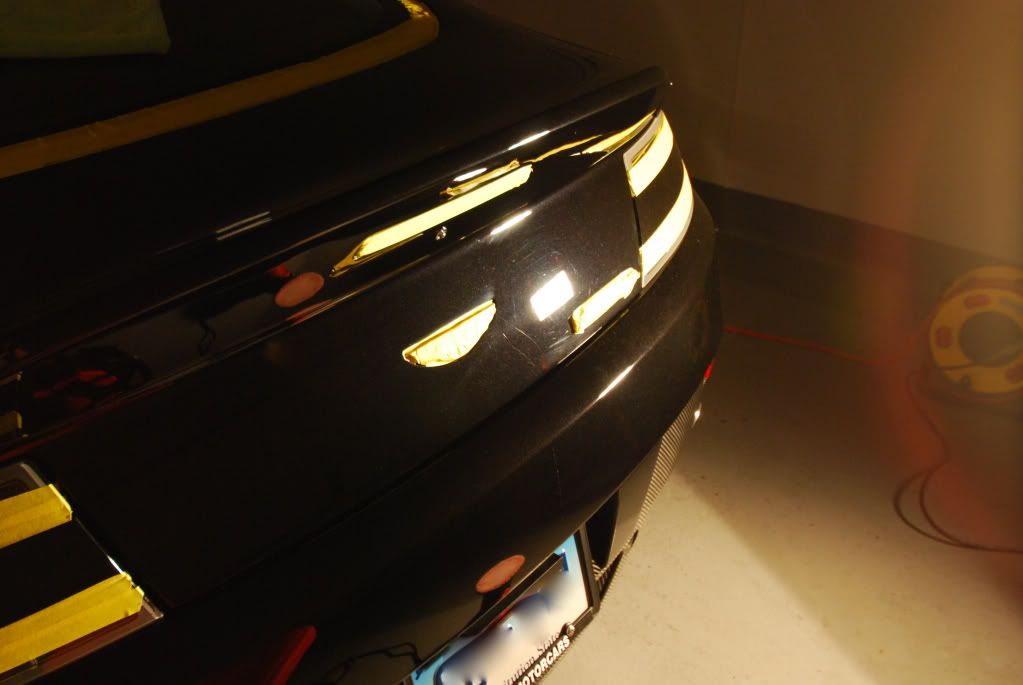
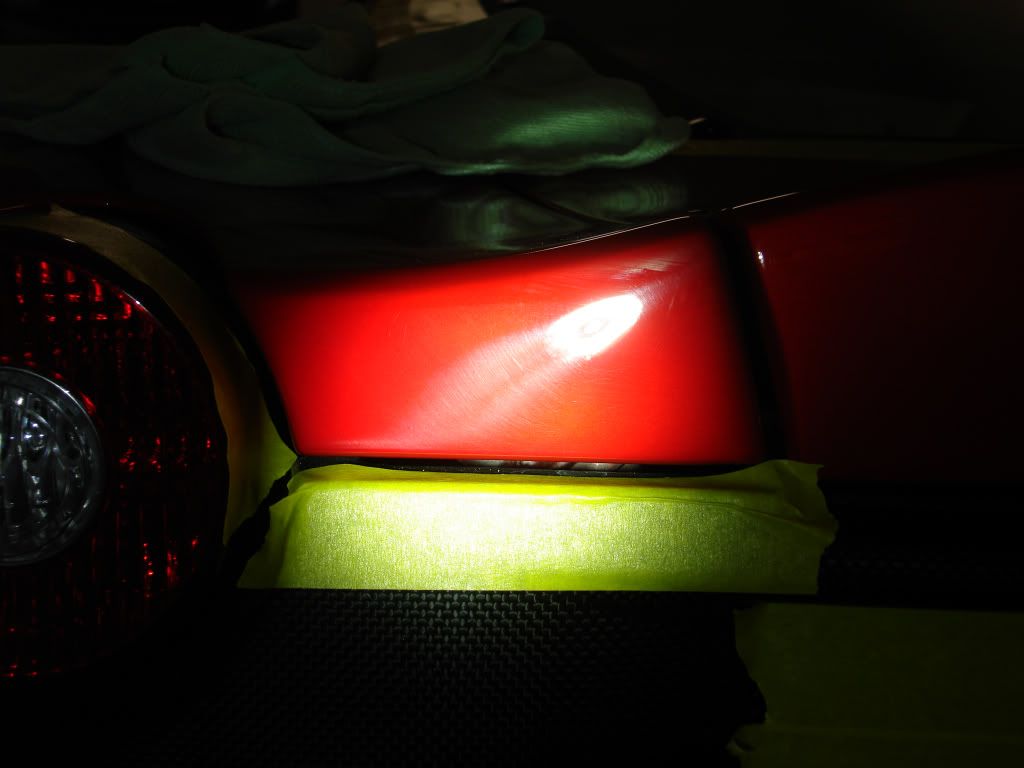
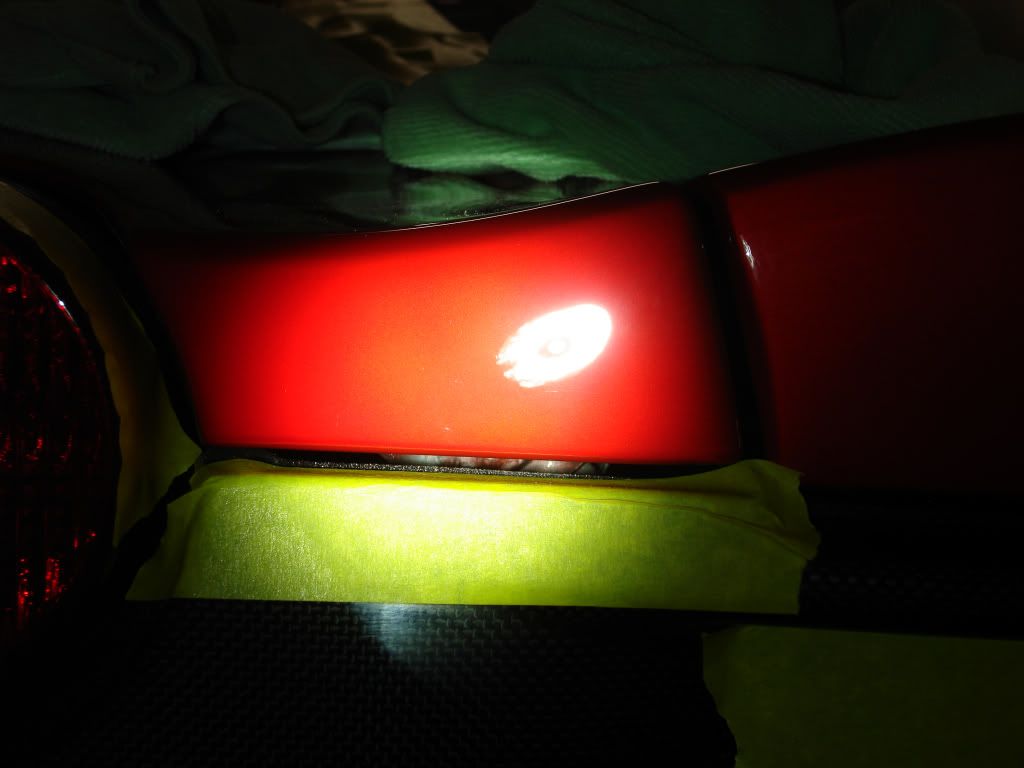
The rear section of the Italia was by far the most severely hacked area. I spent over 5hours alone just on rear bumper getting it perfect.
Some before and afters...
50/50

License plate recess before
After, compounding haze needs to be finished down
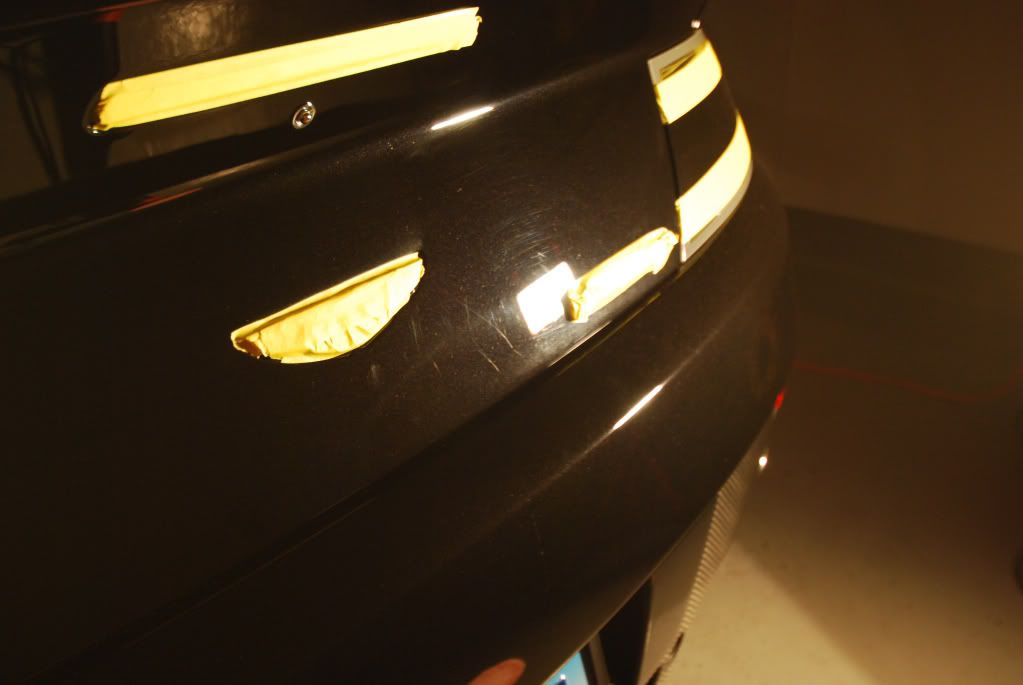
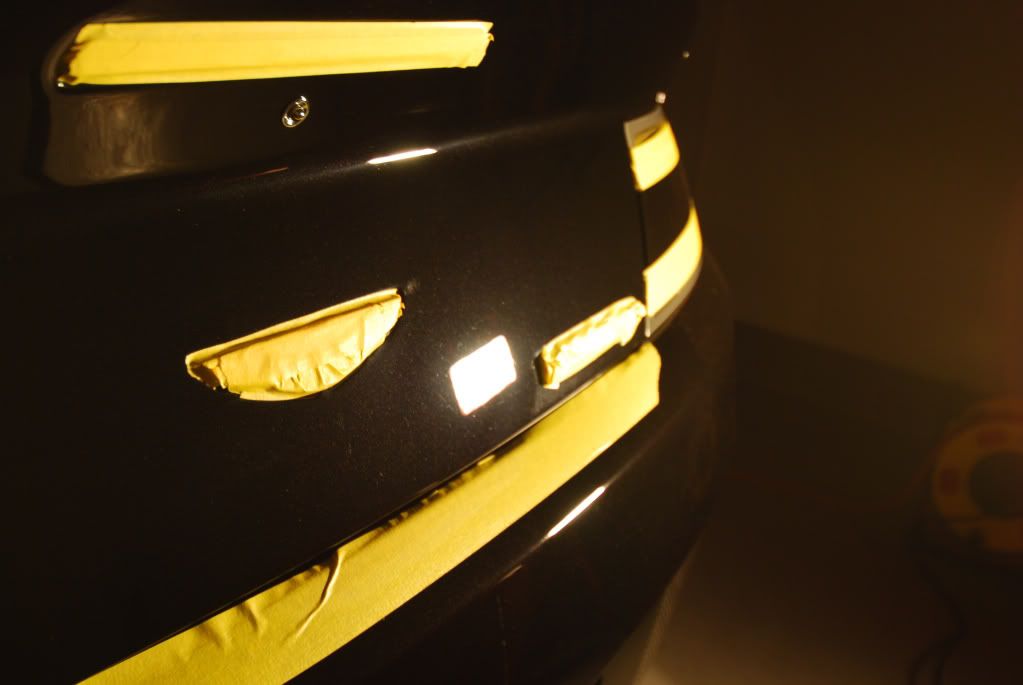
Holograms + sanding scratches left from factory...

And then removed as needed through compounding, no polish stages carried out yet
Sorting out defects on the decklid, both 5" and 3" pads were used to correct this area
The drivers rear quarter had a large cluster of defects which could be seen even without addition lighting...
After
and again after proper finishing
After all compounding and polishing steps the car was dusted and wiped again with IPA before the final polishing stage using Menzerna PO85rd on a black finishing foam
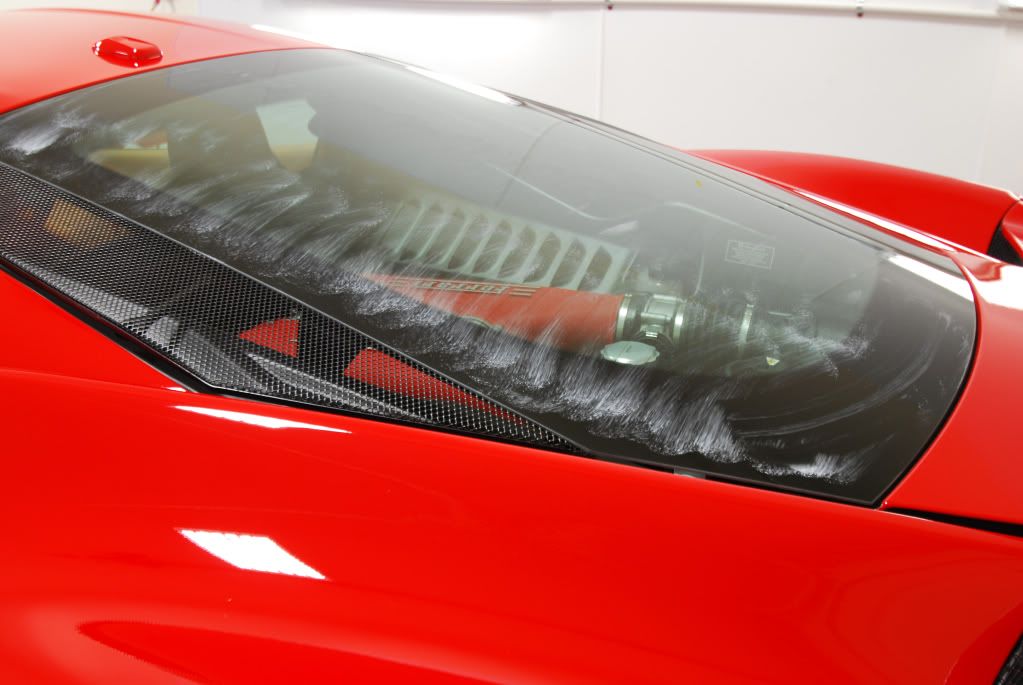
before that some sling off the engine needed to be removed, faint but still noticible...
Some tarminator + 3M adhesive remover helped to lift the sling after a few applications
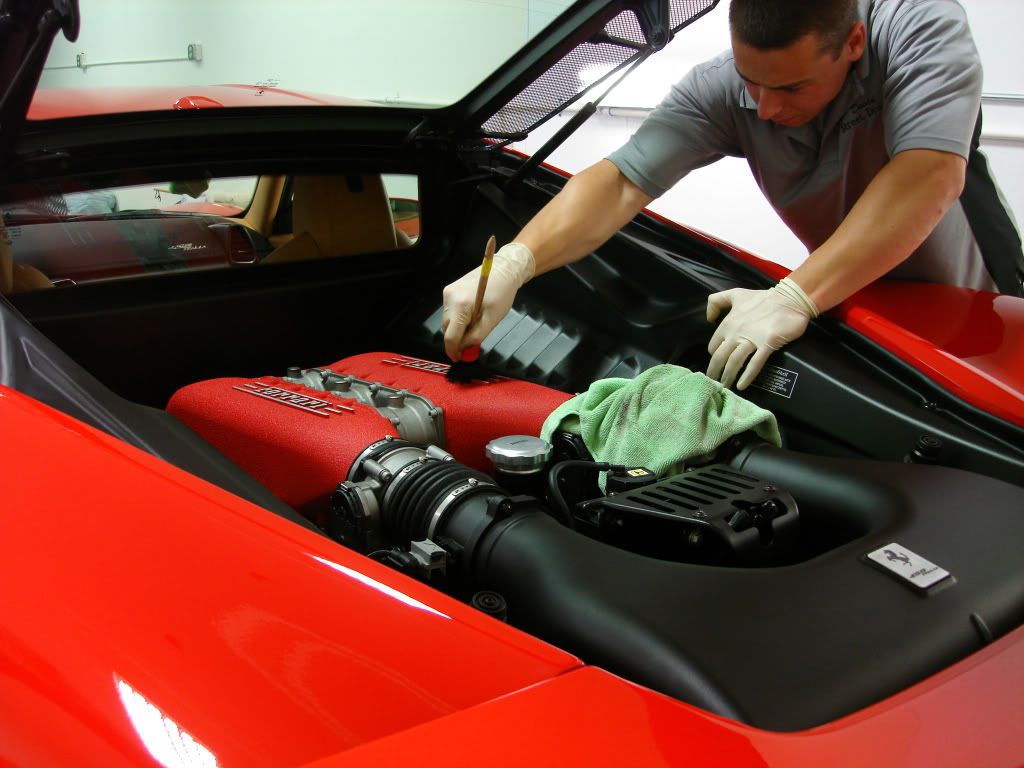
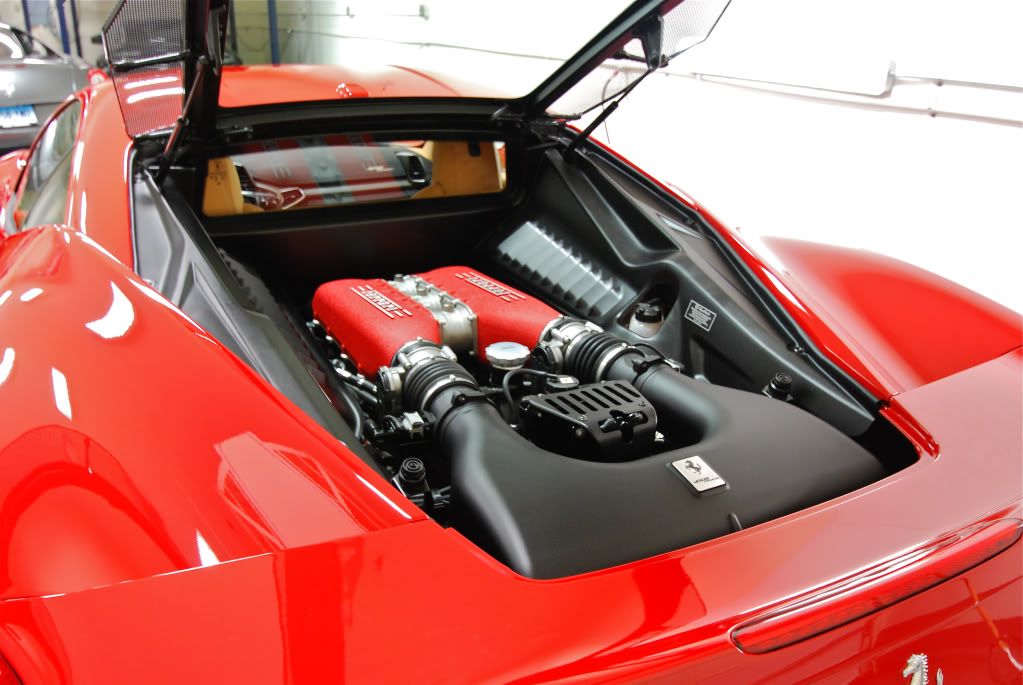
The engine needed a bit of work as well, fairly dirty and some plastic components were dried out
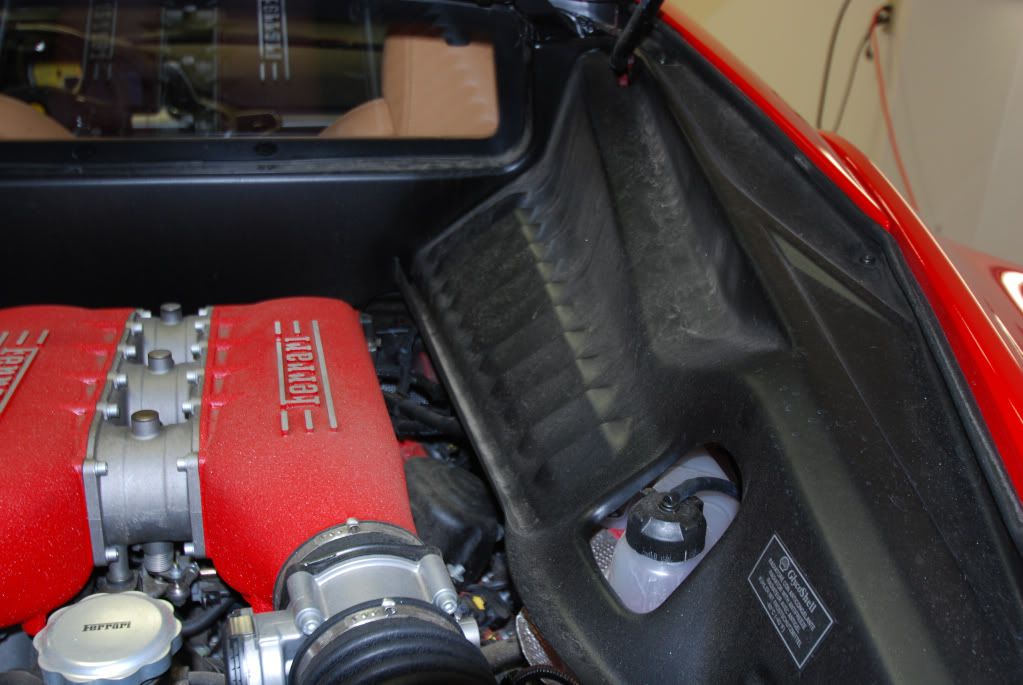
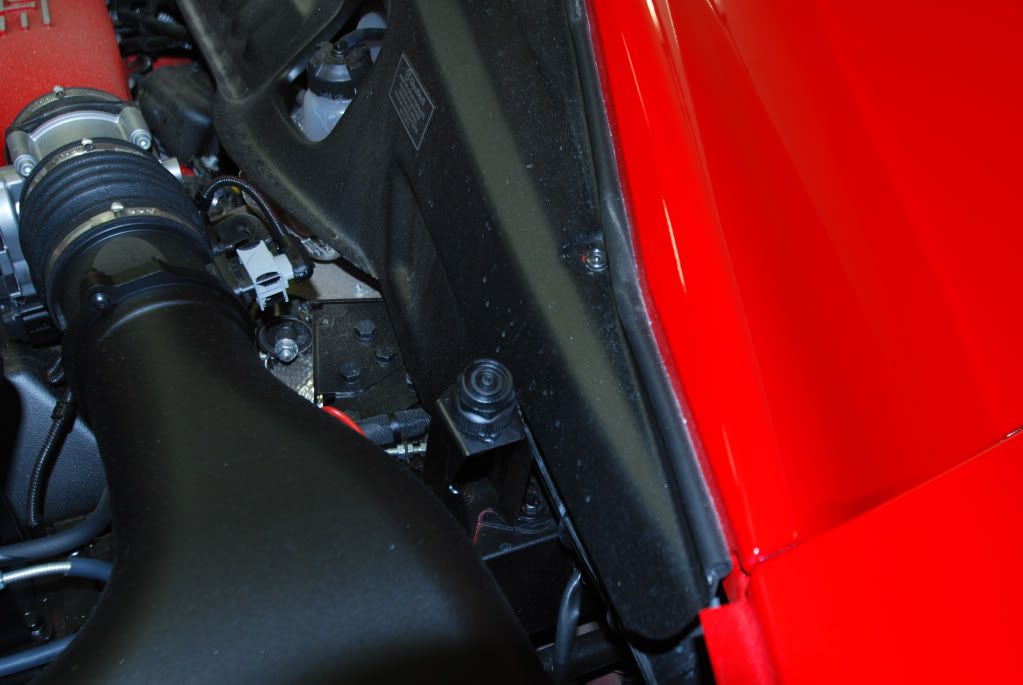
This is after I did a full cleaning and dressing of 1 side of the engine... shows the difference pretty well I'd say
... for those of your wondering, the red engine block was also dressed with a a little formula I've been tweaking with and it seems to be the only thing that works well on Ferrari engine blocks being that they are porous and hard to dress properly
... I knew this car was going to need some serious correction work as most EVERY modern Ferrari coming out of the factory in Maranello has major paint issues. This should not be the case as owners wait months to years for a car and pay enough money for it, the least they could do would give it a proper refinishing from the factory.
Began with a full prep wash to remove all prior protection. As usual I treated the wheels to a gentle mix of soap and water and pH wheel cleaner in a bottle... for carbon ceramic brakes thats all I really ever use.
Citrus wash was used with a DD foam sponge
After claying, drying and a few IPA wipedowns I measured the paint using an electronic paint thickness gauge as I went around the car taping off vents, edges and clear bra seams...
190-200+ microns across the board
A proper tape job is well worth the time, especially when working on any exotic car. Lots of air vents, ducts and clear film to consider.
All mesh grilles were tapes off, getting polish sling inside the mesh or behind it would be a nightmare to fix.
The finish of the 458 looked poor even before the wash, once everything was clean and stripped 100% the term "bad factory finish" took on a new meaning. This car had several areas where huge clusters of swirls, RIDS and even sanding scratches were left behind.
Example of factory defects:
Onto correction, both rotary and DA machines were used to get the finish as close to 100% as possible. Several areas require multiple hits of compounding to yield a high level of correction.
Front fender before
After 3 rounds of compounding using M105 and D300
An then onto refining the paint using Menzerna powerfinish on a green polishing pad
The hood of the 458 had clear film so I switched up to a DA machine for cooler operating temps and a smoother glide over the plastic
50/50 on front nose which had clear film
Surbuffing' the roof...
The rear section of the Italia was by far the most severely hacked area. I spent over 5hours alone just on rear bumper getting it perfect.
Some before and afters...
50/50
License plate recess before
After, compounding haze needs to be finished down
Holograms + sanding scratches left from factory...
And then removed as needed through compounding, no polish stages carried out yet
Sorting out defects on the decklid, both 5" and 3" pads were used to correct this area
The drivers rear quarter had a large cluster of defects which could be seen even without addition lighting...
After
and again after proper finishing
After all compounding and polishing steps the car was dusted and wiped again with IPA before the final polishing stage using Menzerna PO85rd on a black finishing foam
before that some sling off the engine needed to be removed, faint but still noticible...
Some tarminator + 3M adhesive remover helped to lift the sling after a few applications
The engine needed a bit of work as well, fairly dirty and some plastic components were dried out
This is after I did a full cleaning and dressing of 1 side of the engine... shows the difference pretty well I'd say
... for those of your wondering, the red engine block was also dressed with a a little formula I've been tweaking with and it seems to be the only thing that works well on Ferrari engine blocks being that they are porous and hard to dress properly
Street Dreams
New member
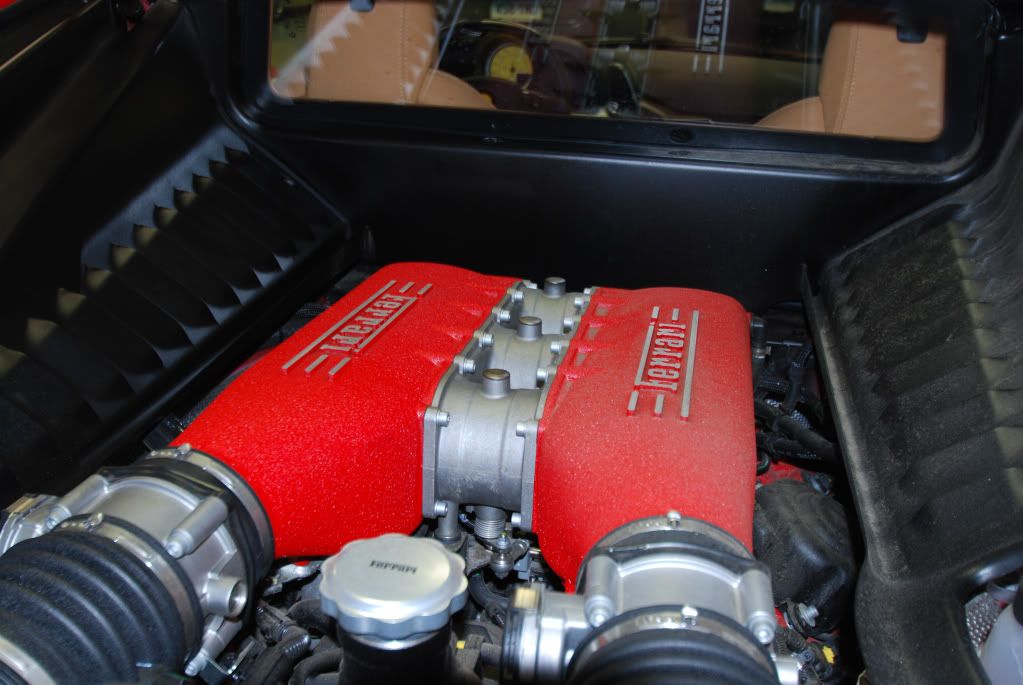
Finished engine
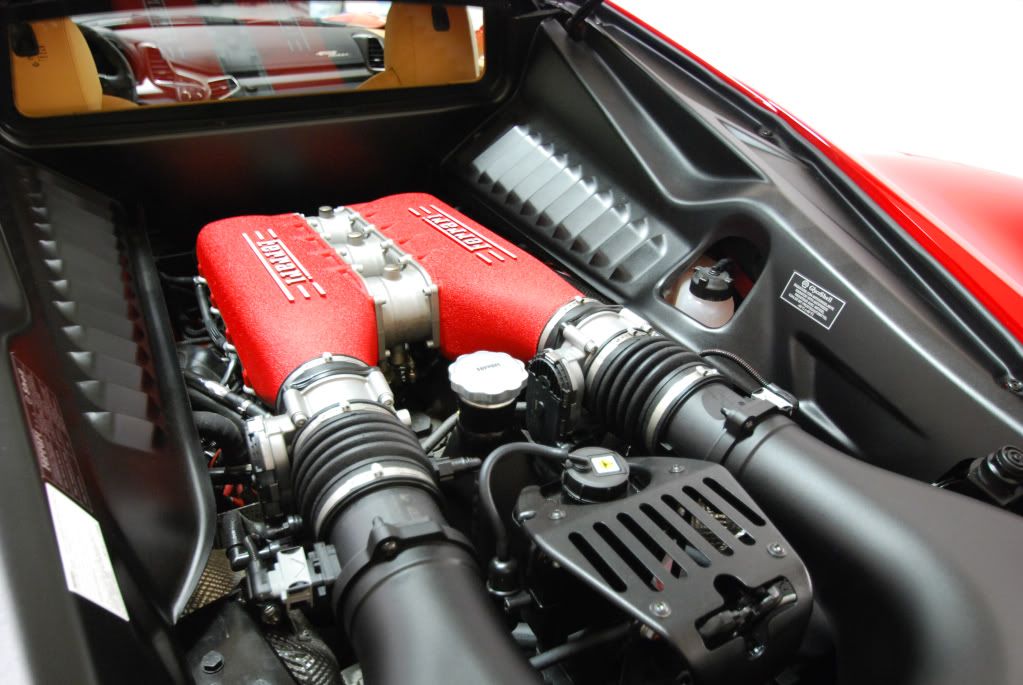
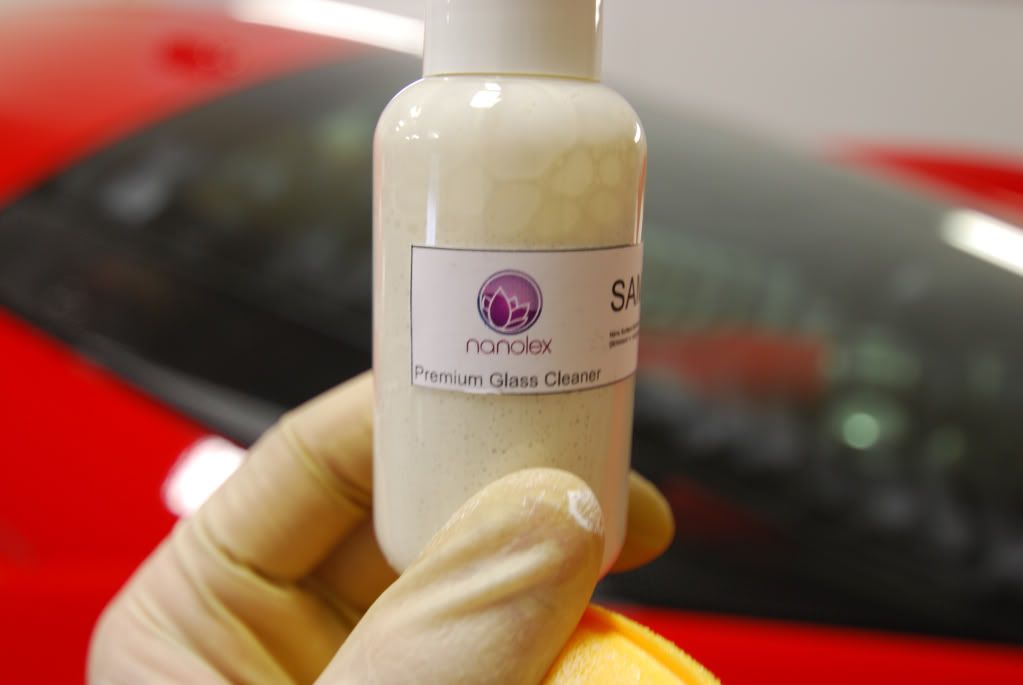
Engine cover coated with Nanolex, premium glass cleaner followed by premium glass sealant
Left to haze and buffed off with a damp glass MF towel
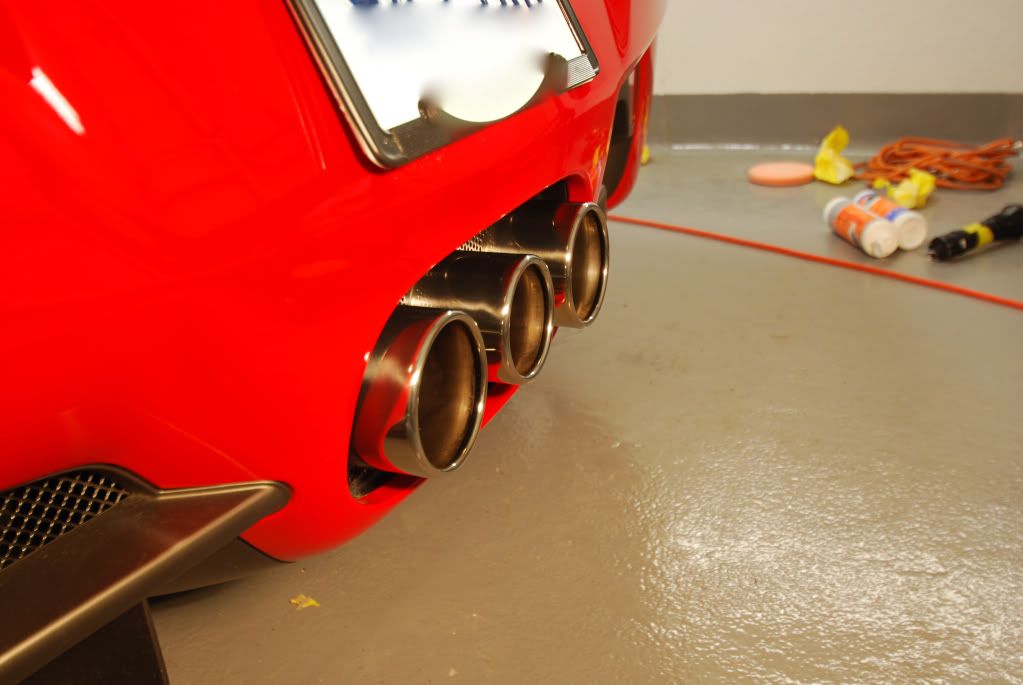
The exhaust tips trio cleaned up nicely
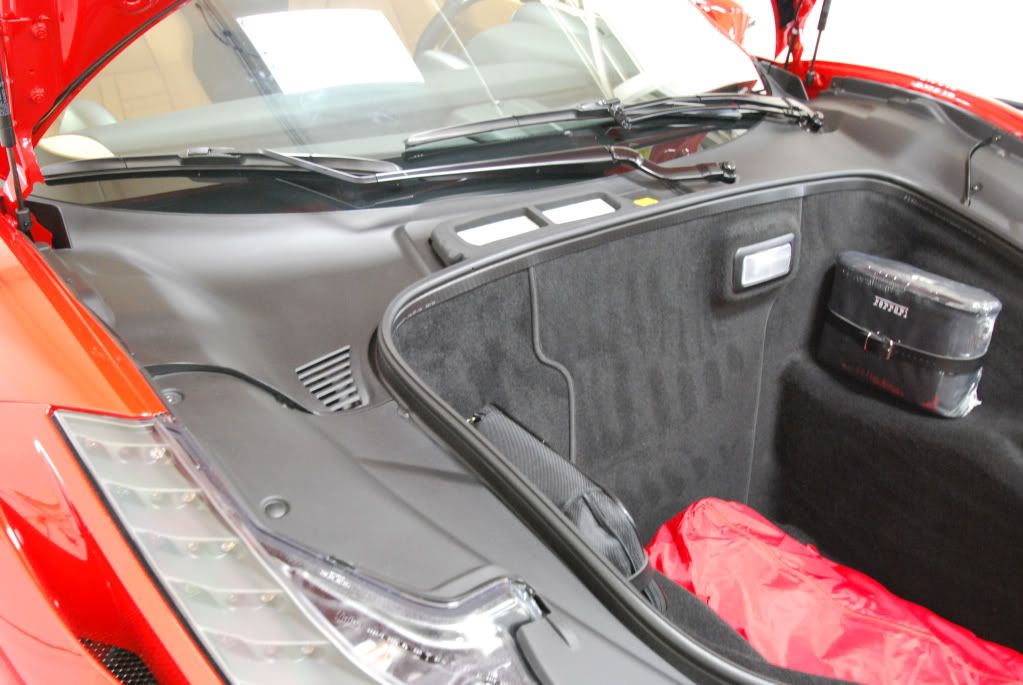
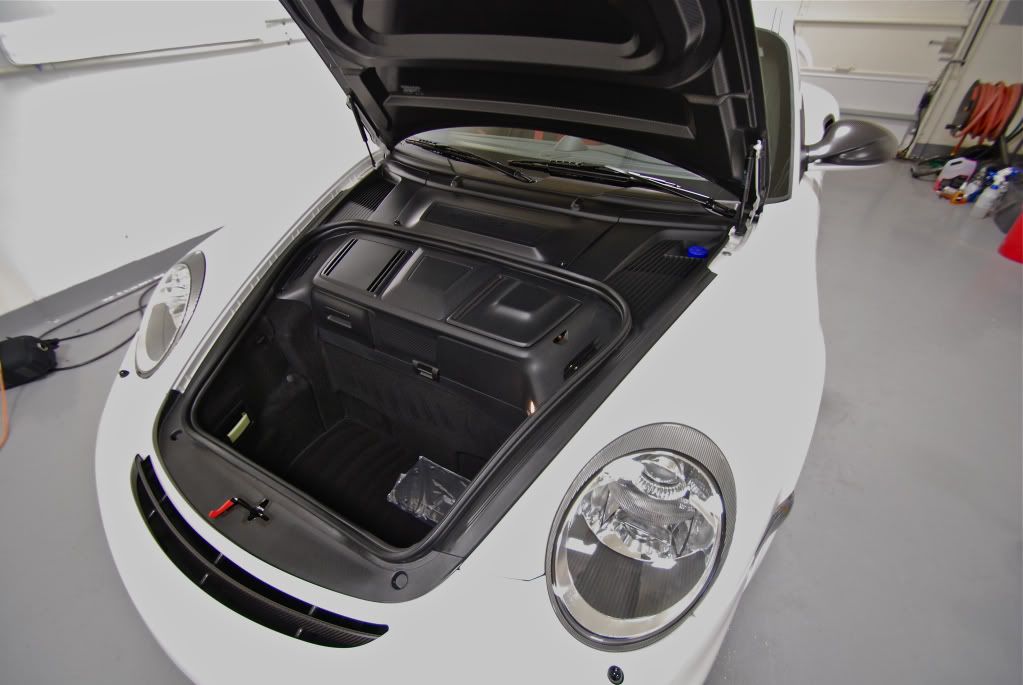
Tidied up trunk and underside of hood protected with Aquartz reload
Interior was treated as well
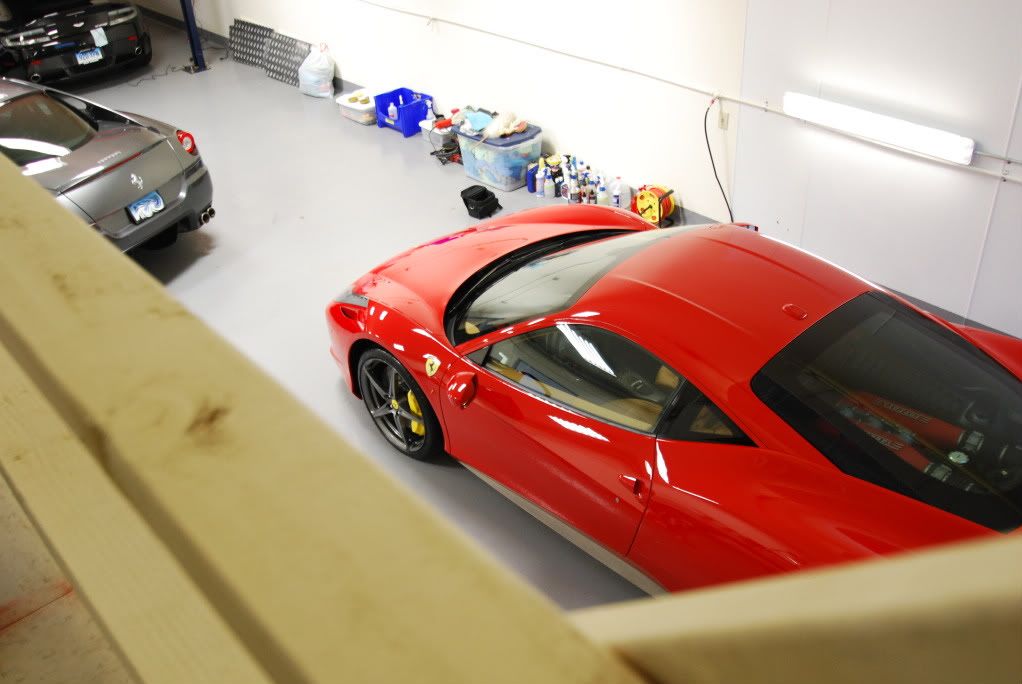
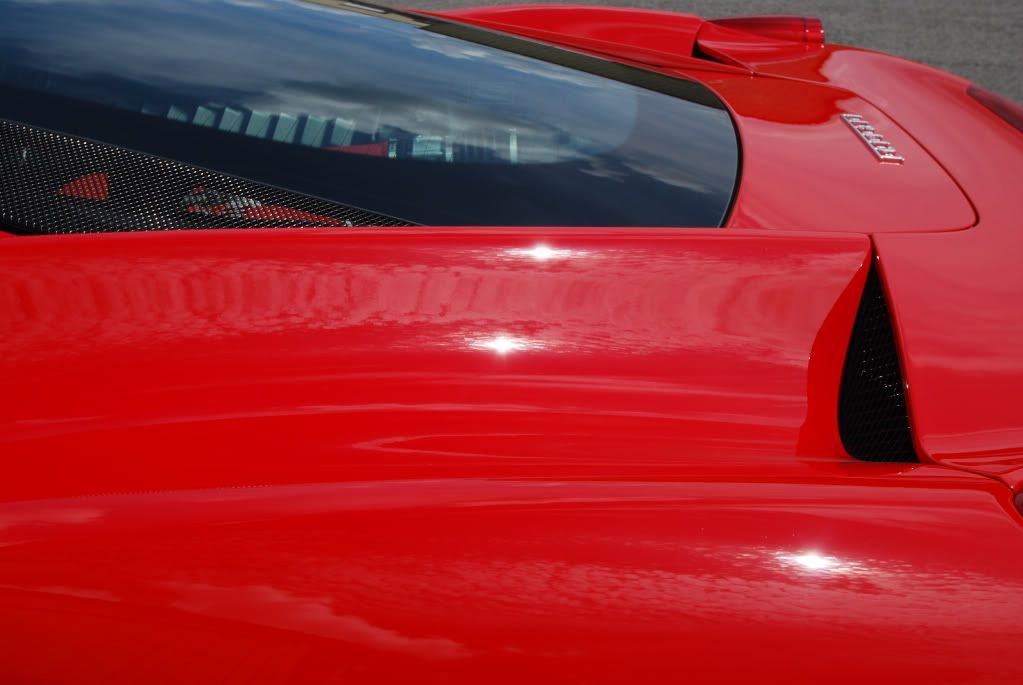
End result after 3 days work...
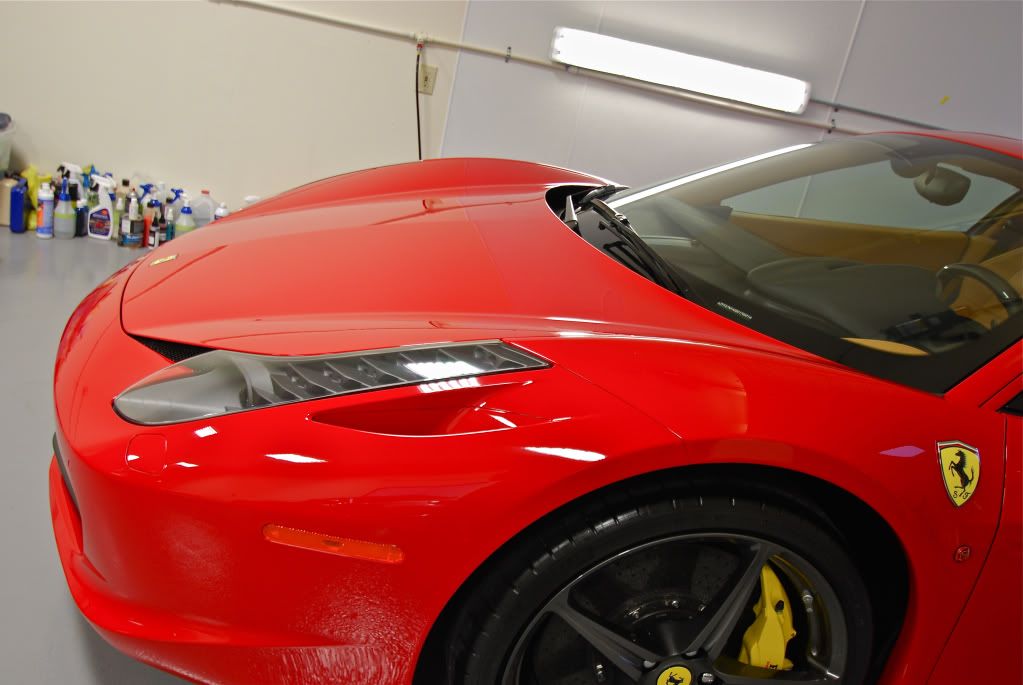
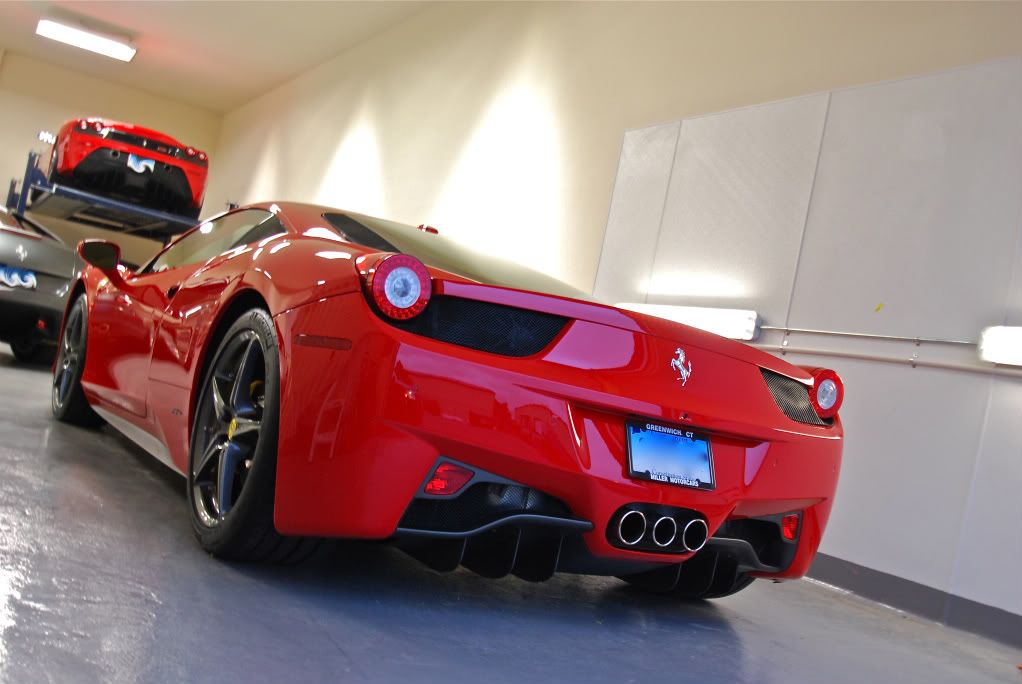
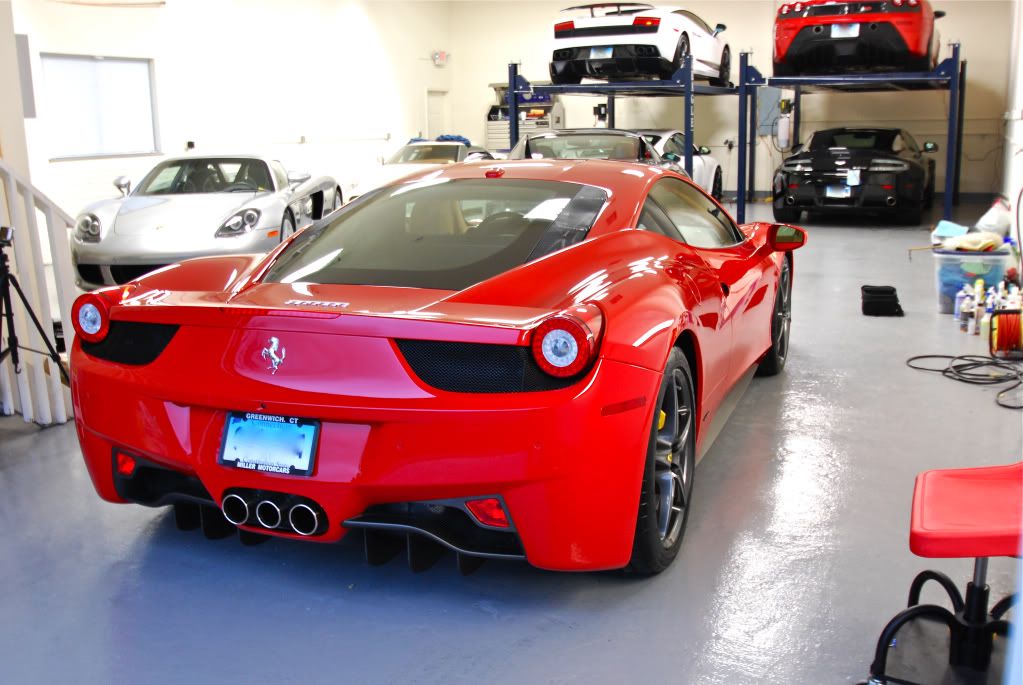
*The car was driven the following day during a rally, here are a few shots outside AFTER the 458 spent the day on the highway cruise
Still pretty clean after a days worth of driving

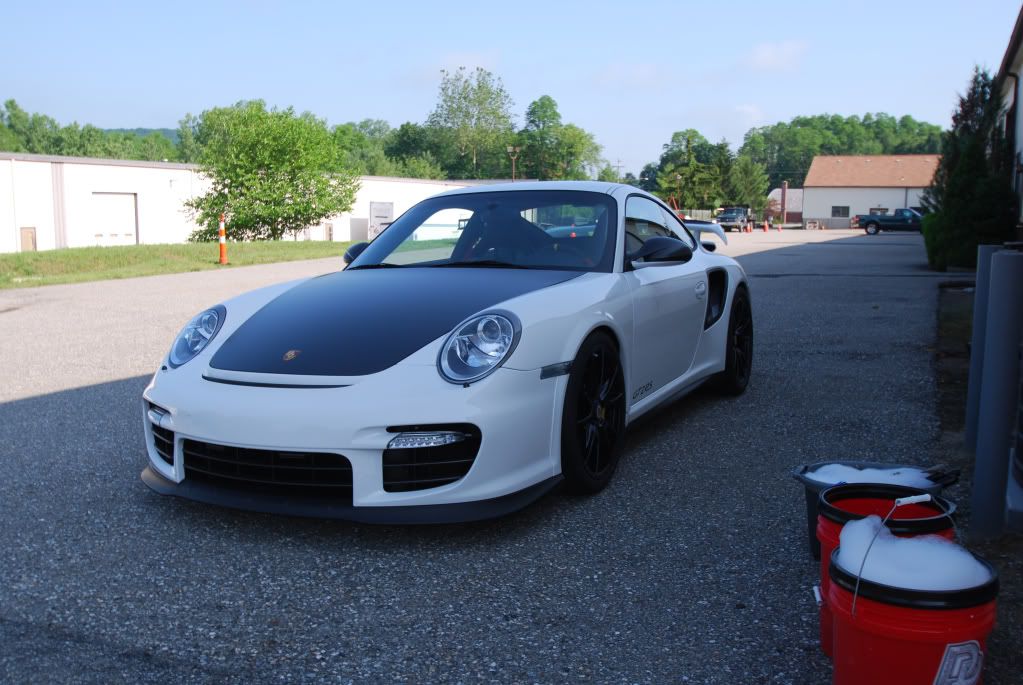
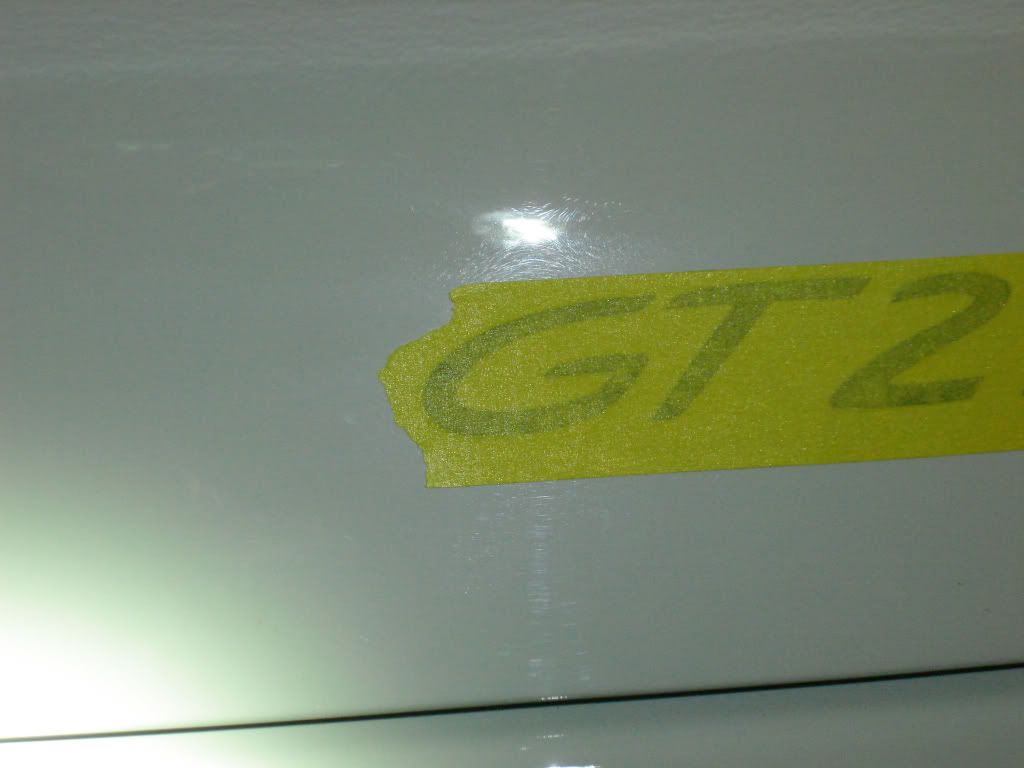
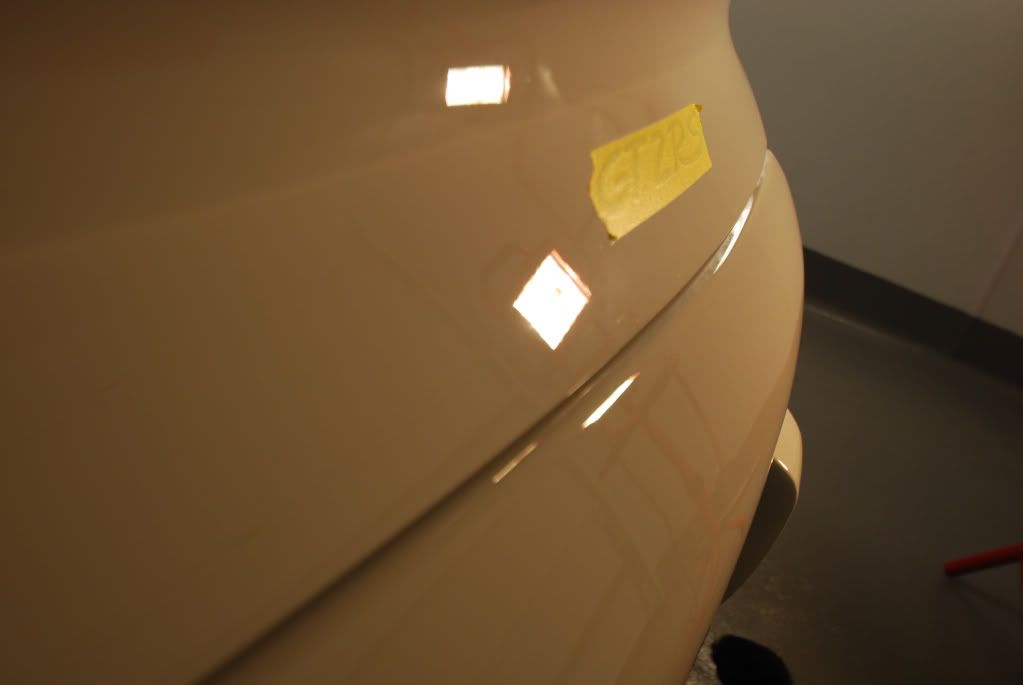
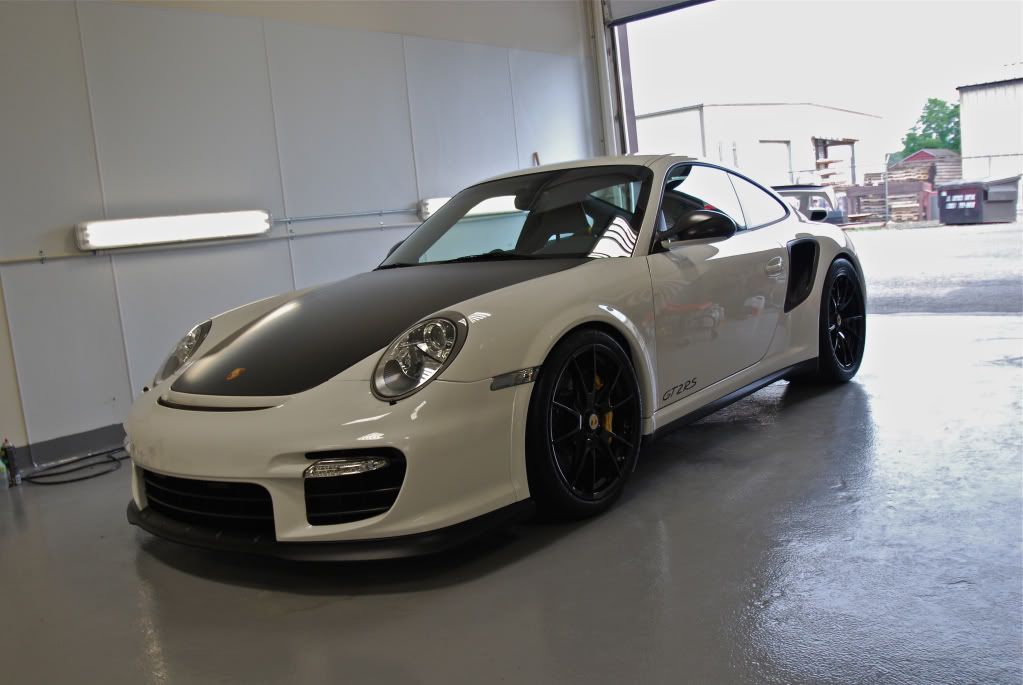
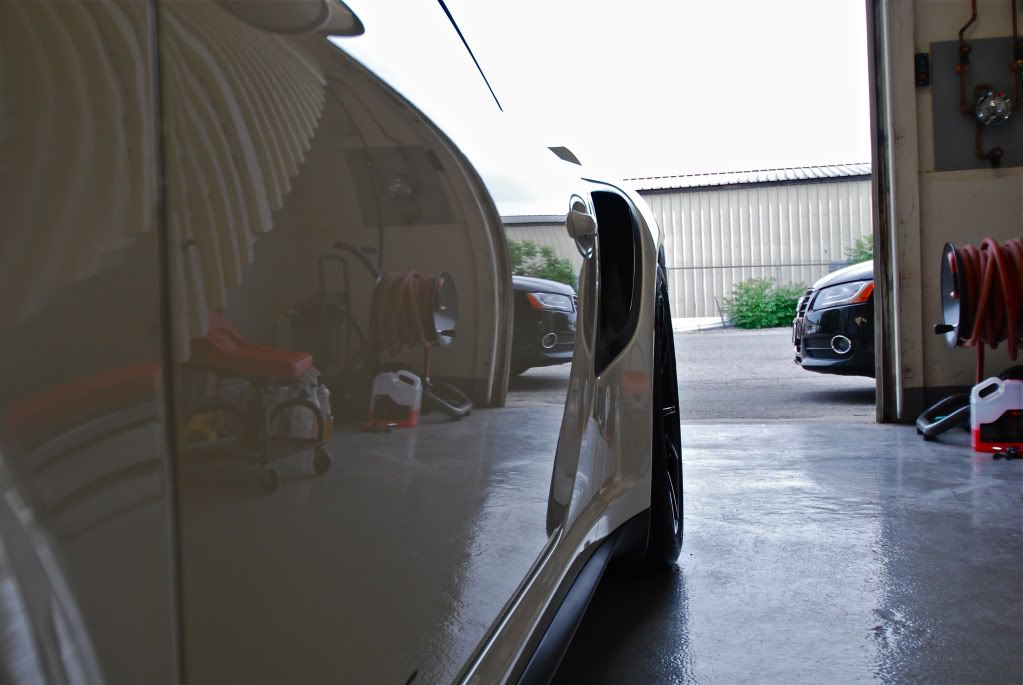
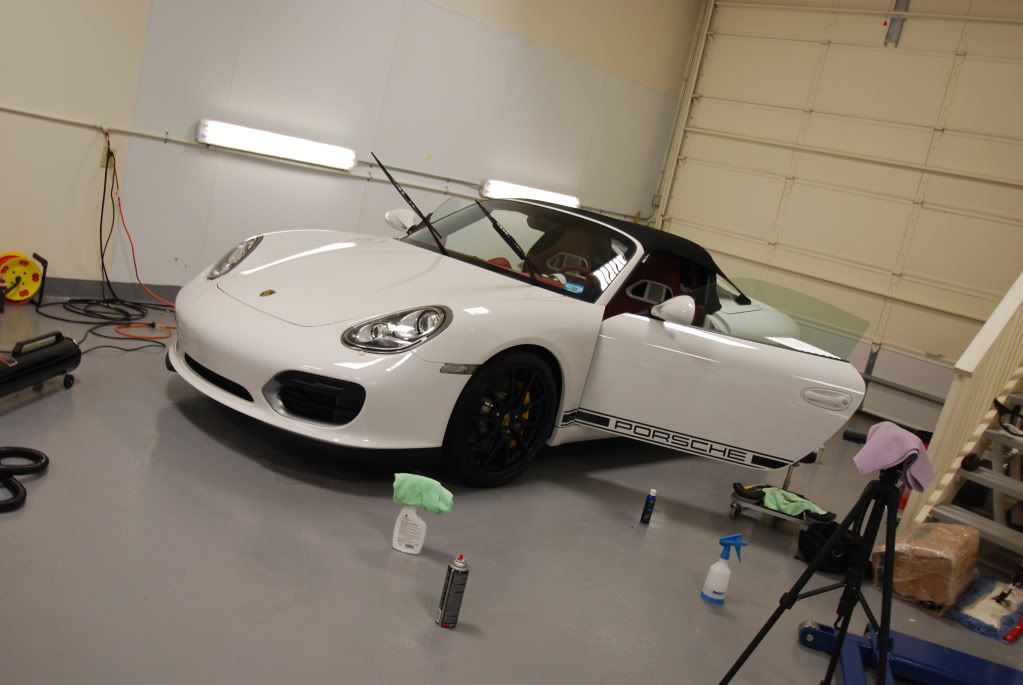
Next up Porsche GT2 RS
Prep stage, 2 buckets ready
Body of the car was then clayed
Some tape lines were still left on the car from delivery
3M adhesive remover made easy work of it

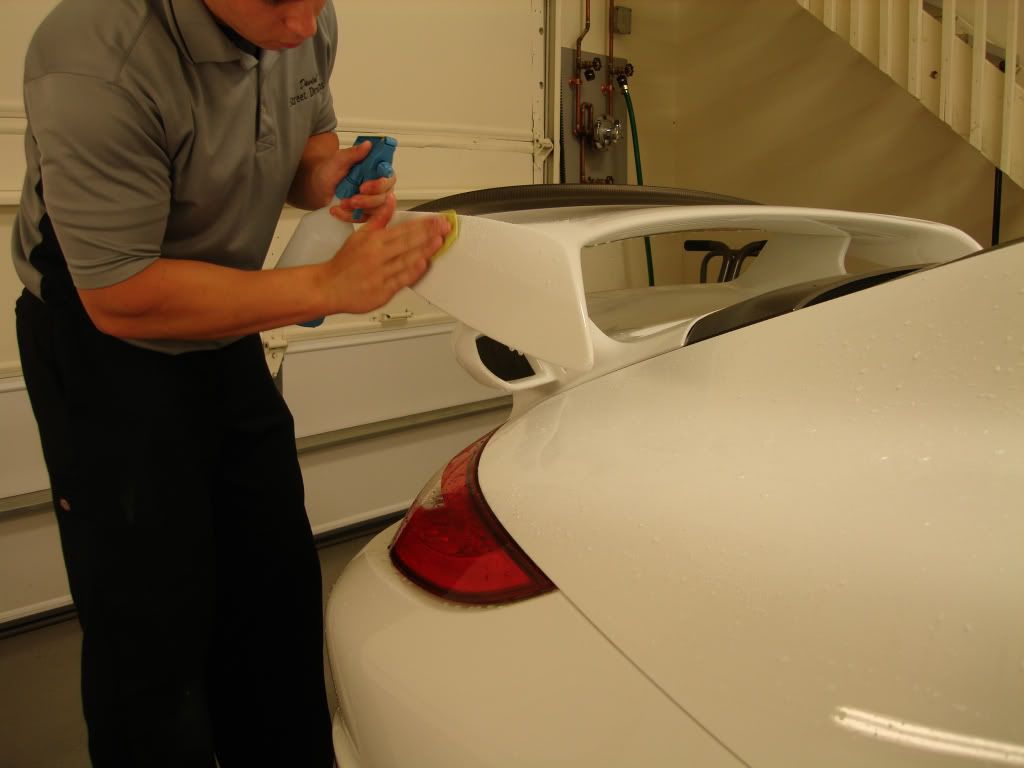
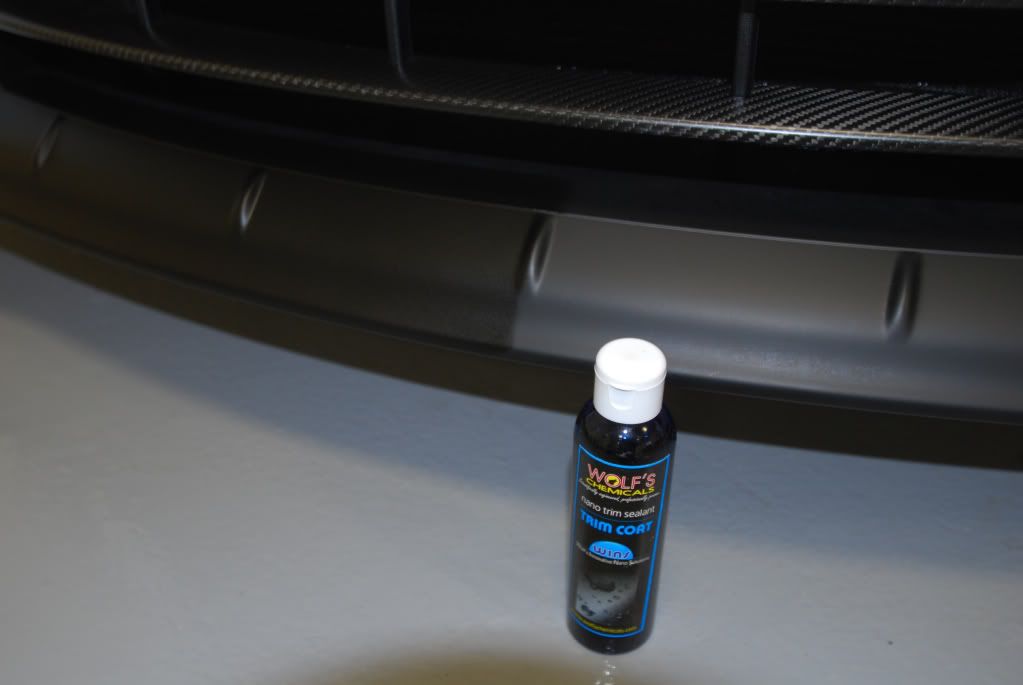
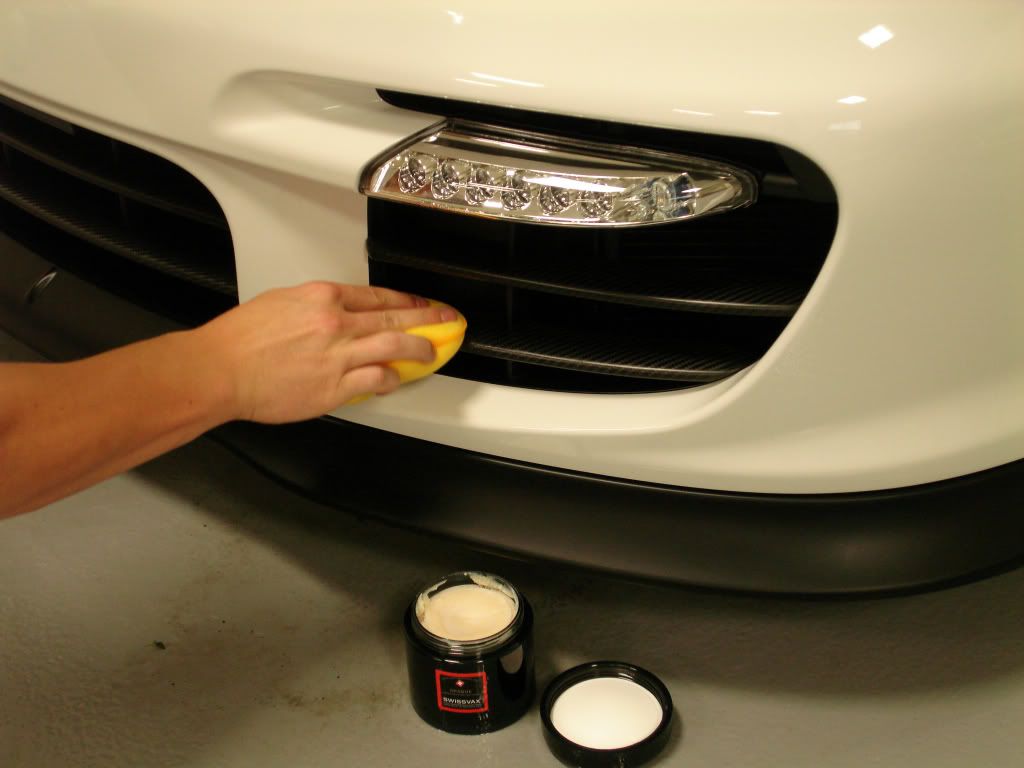
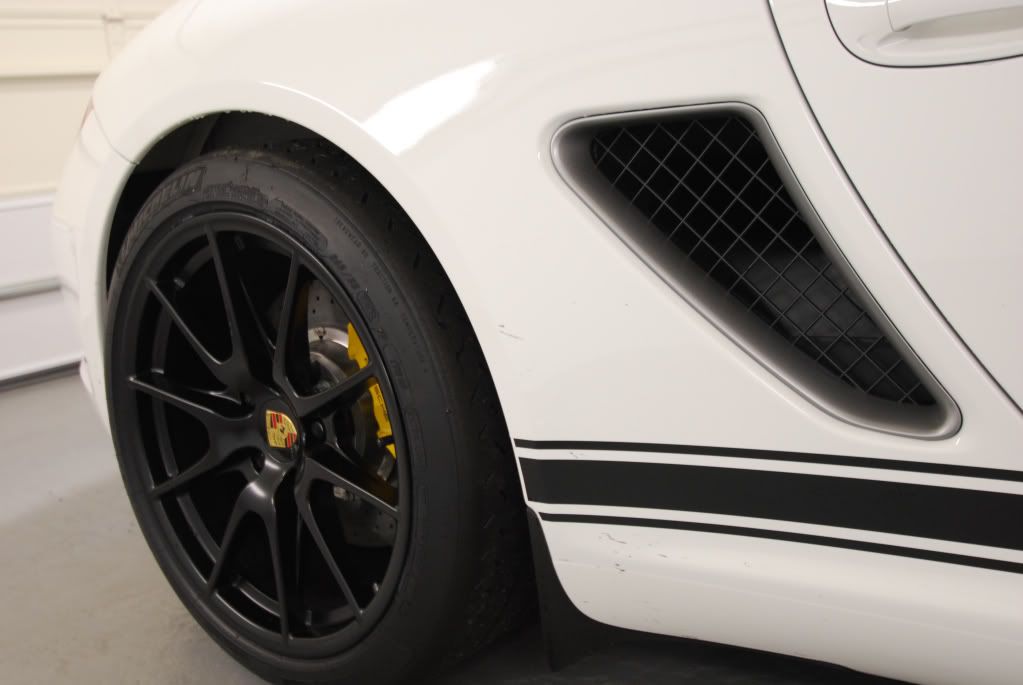
I treated all plastic trim and body pieces with Wolfs trim coat, so far this has proven to be an outstanding product that is extremely easy to use. Mind you this GT2 RS is still fairly new so the front spoiler was far from "faded" to begin with... little 50/50 of the trim coat
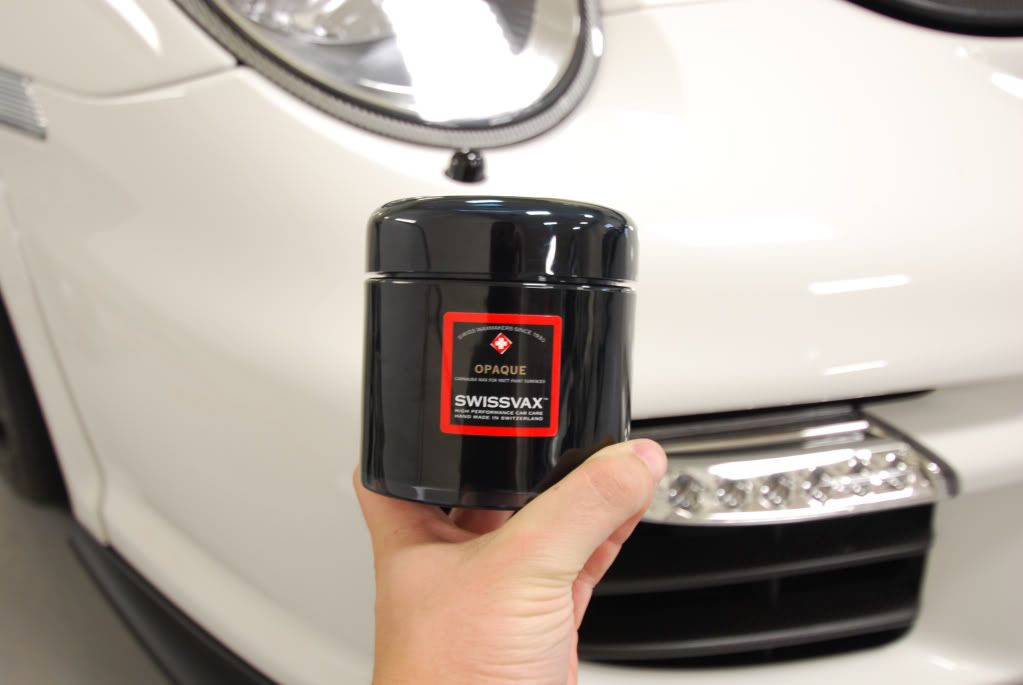
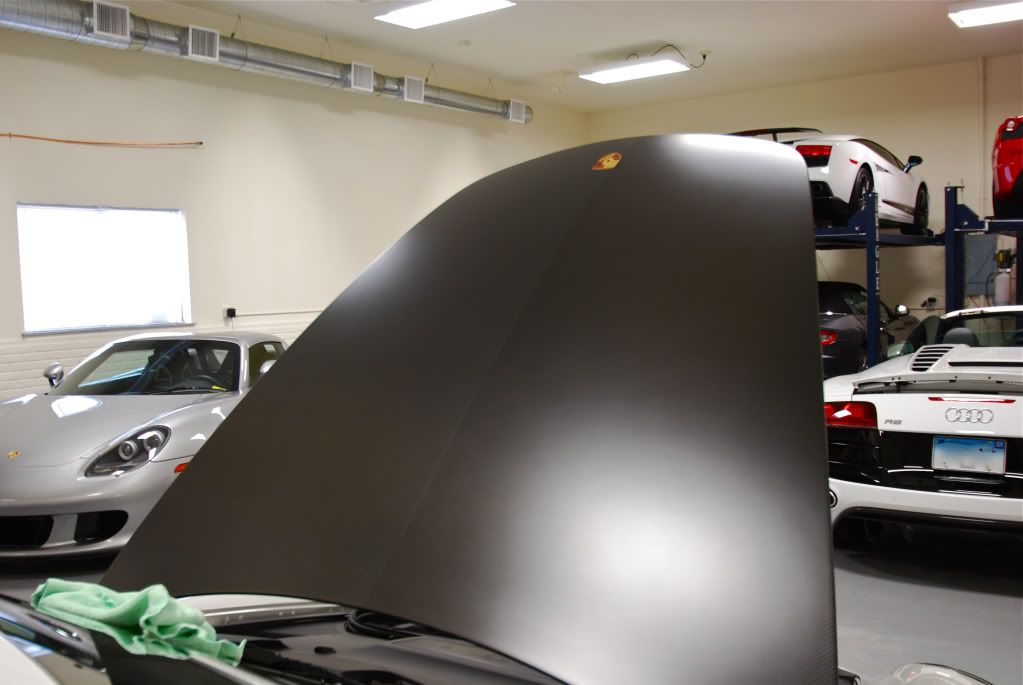
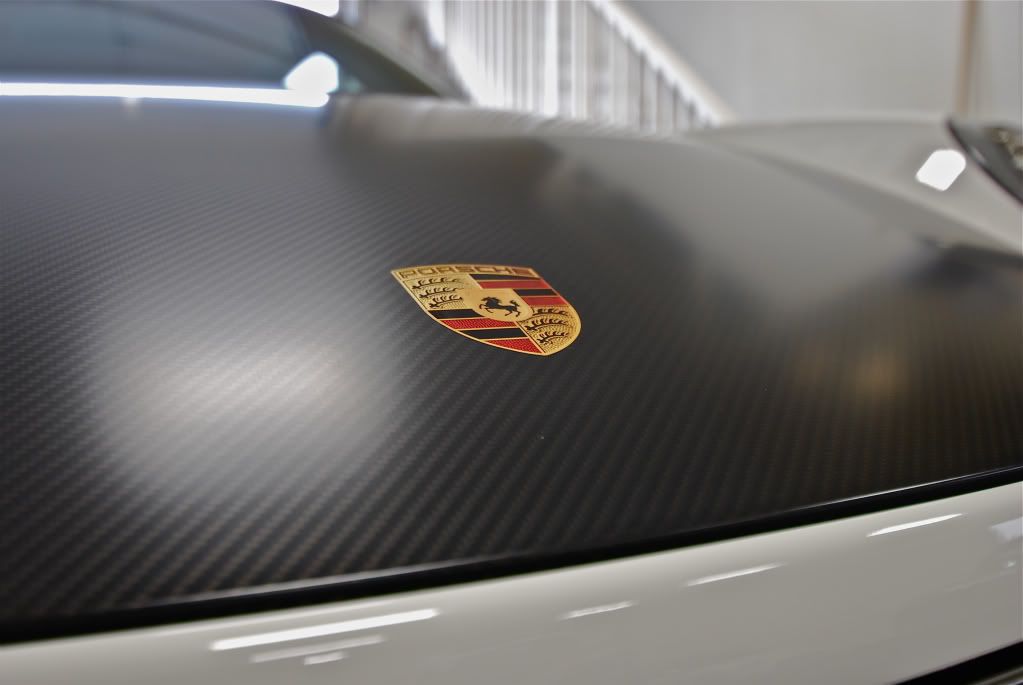
The matte carbon wrapped hood and other pieces of the car were treated with the Swissvax Opaque line of products, as nothing else will really work.
First the Opaque pre cleaner was used to prep for the later wax. Very simply product just lightly mist and wipe. (Left side already done)
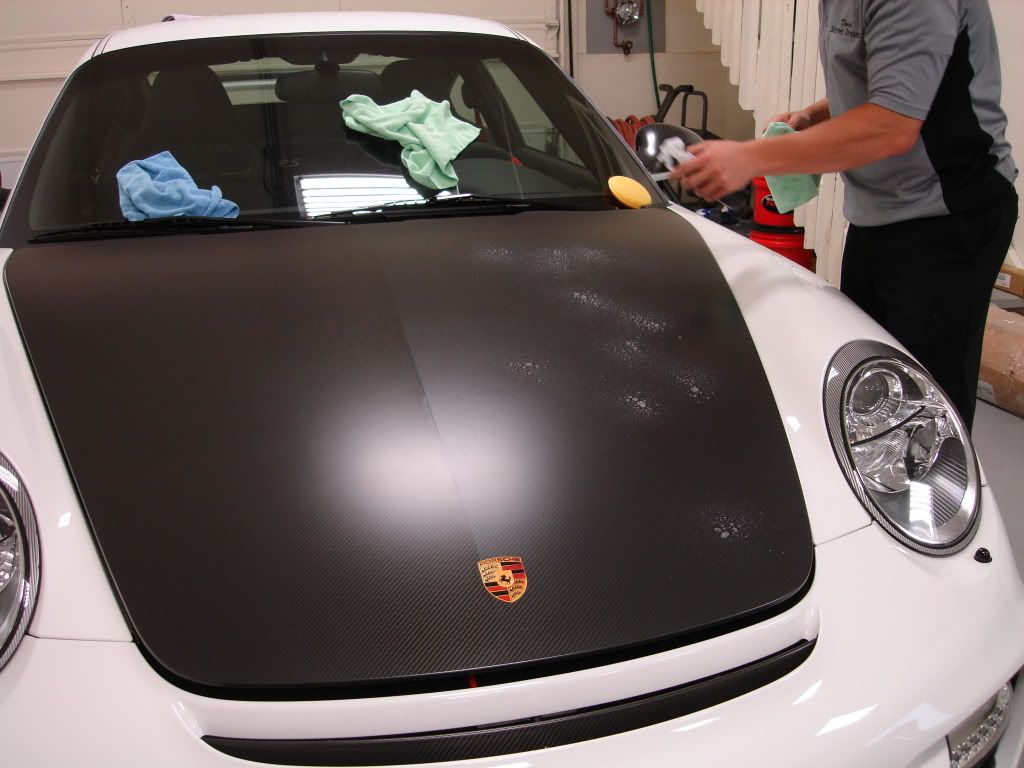
Then came the application of the wax, most of you know I am not a big fan of carnauba waxes but in this case Opaque worked beautifully...
One side finished to show difference
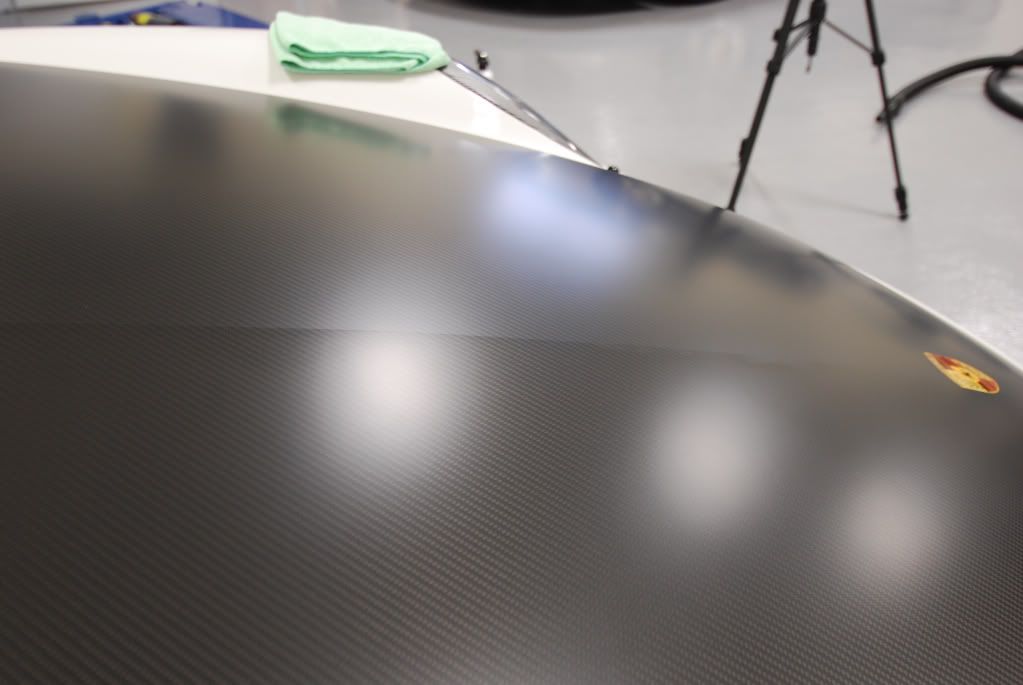
All other carbon wrapped areas were treated the same way
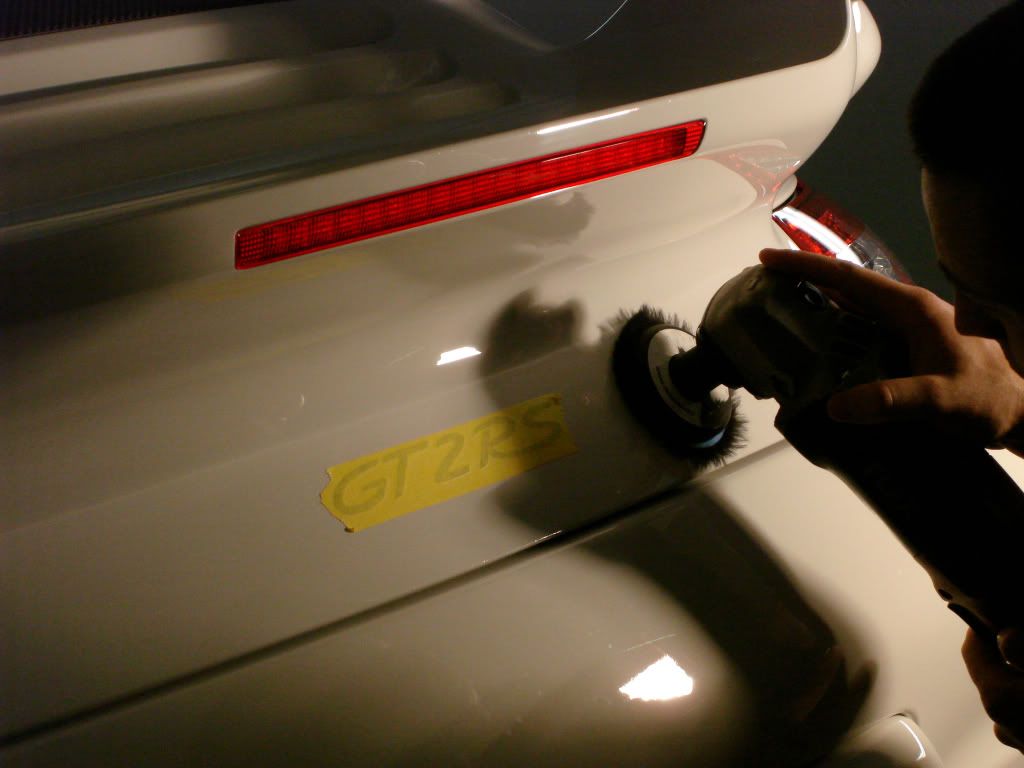
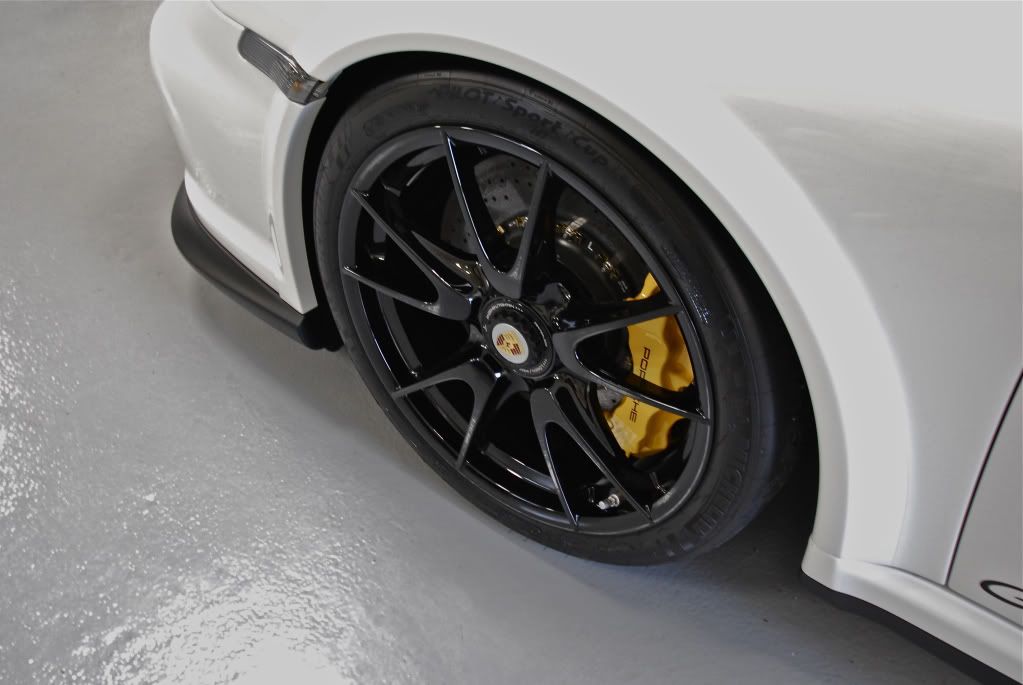
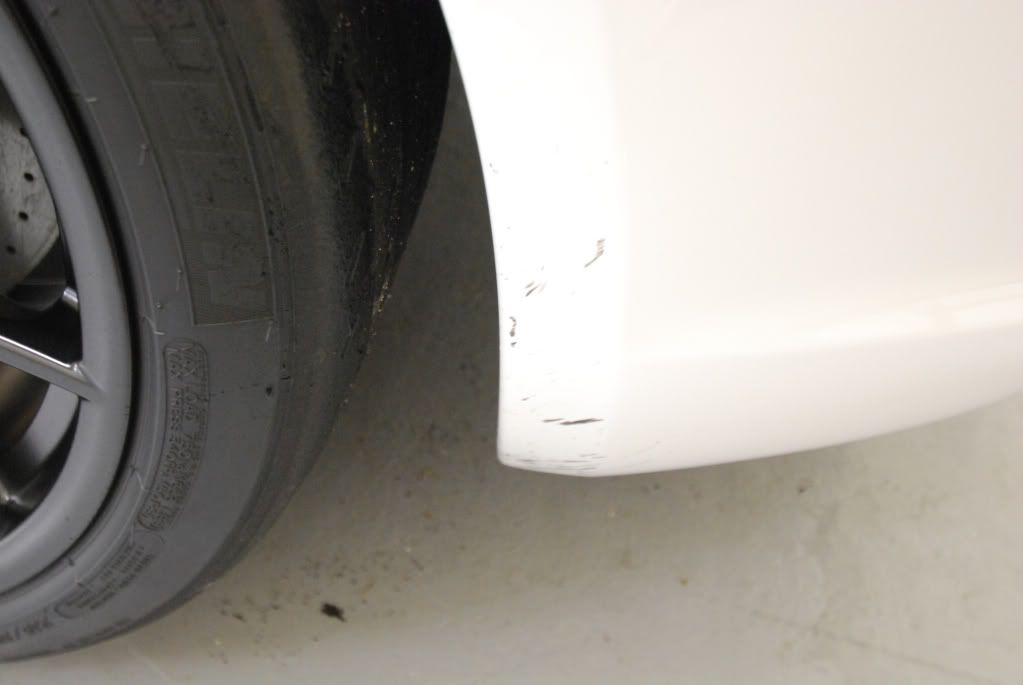
For the paint correction part of the detail most of my efforts were focused on the rear tail section as it was riddled with factory defects and very dull
Example: Pigtailing and sanding marks

Tufbuf wool pad and Meguiars M105 was used to remove the defects, followed by Menzerna powerfinish on a green pad and then 85rd
Before
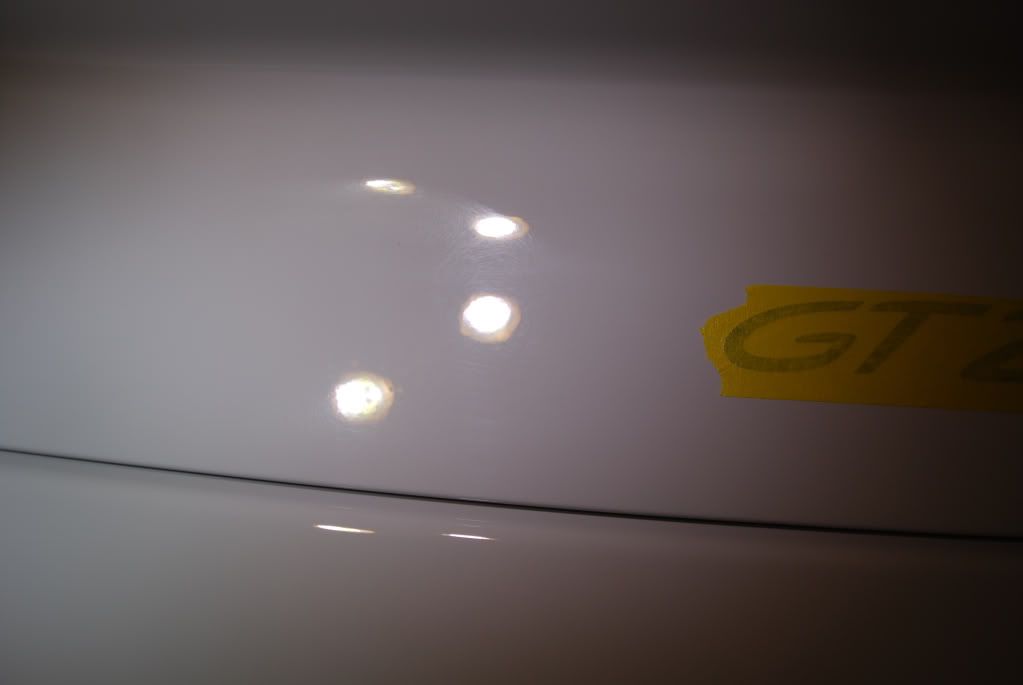
After
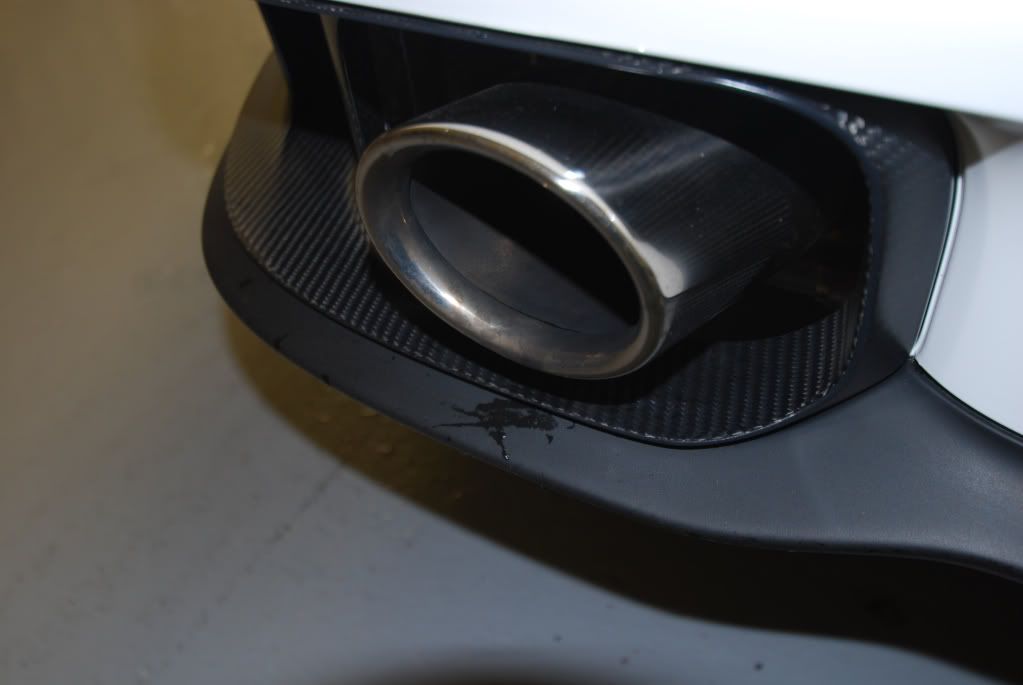
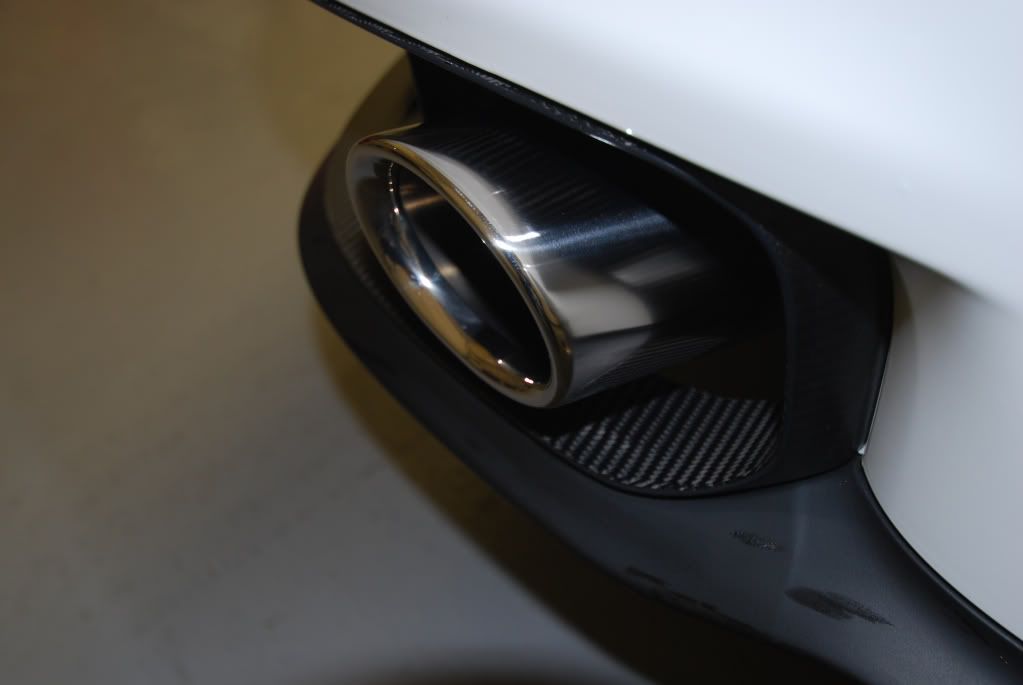
Exhaust tips treated, before
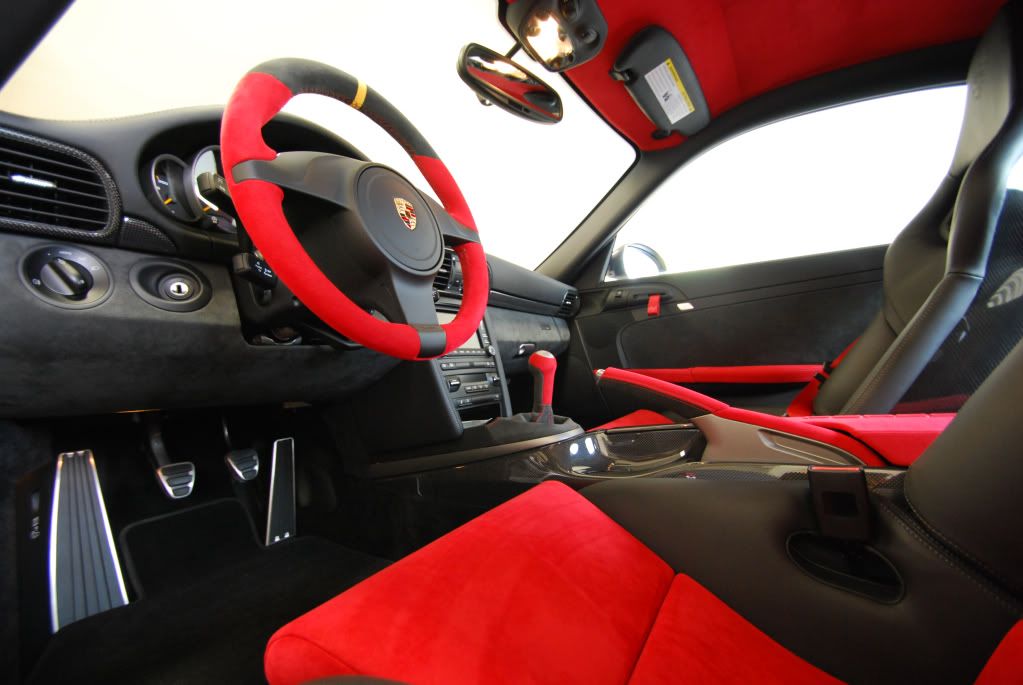
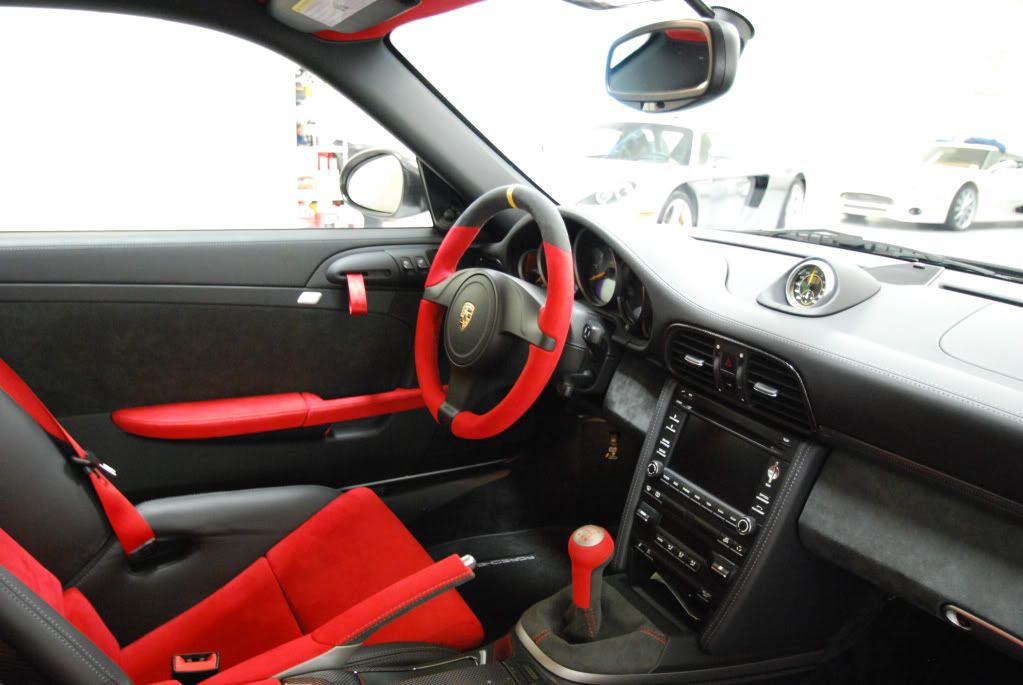
Small details on the interior

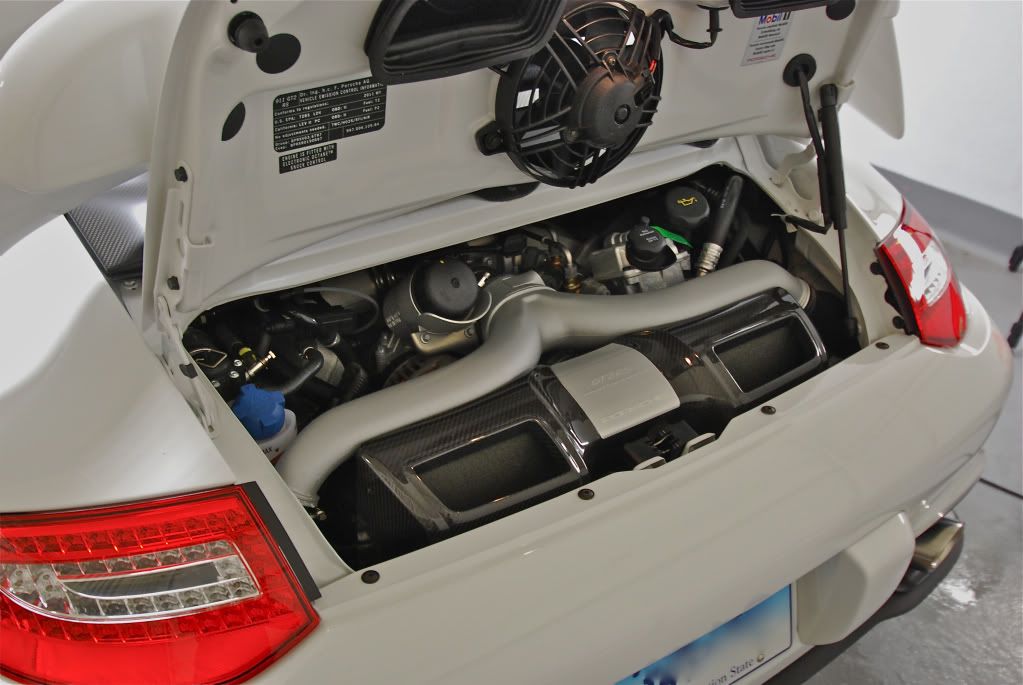
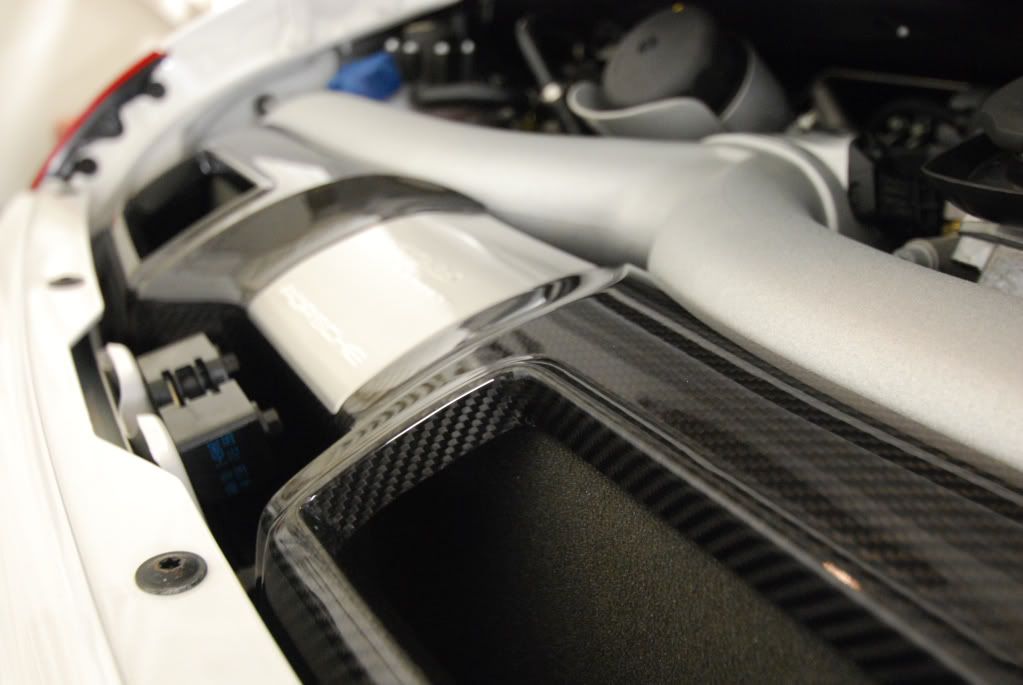
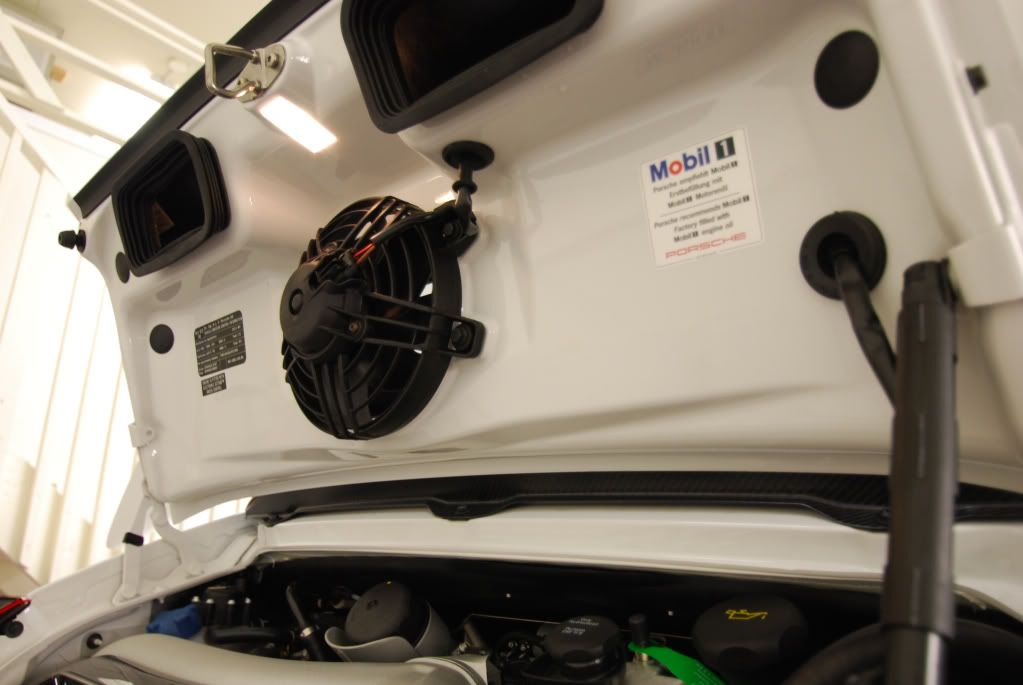
Engine cleaned and all carbon polished with 106FA then protected with Aquartz Reload
Engine cover coated with Nanolex, premium glass cleaner followed by premium glass sealant
Left to haze and buffed off with a damp glass MF towel
The exhaust tips trio cleaned up nicely
Tidied up trunk and underside of hood protected with Aquartz reload
Interior was treated as well
End result after 3 days work...
*The car was driven the following day during a rally, here are a few shots outside AFTER the 458 spent the day on the highway cruise
Still pretty clean after a days worth of driving
Next up Porsche GT2 RS
Prep stage, 2 buckets ready
Body of the car was then clayed
Some tape lines were still left on the car from delivery
3M adhesive remover made easy work of it
I treated all plastic trim and body pieces with Wolfs trim coat, so far this has proven to be an outstanding product that is extremely easy to use. Mind you this GT2 RS is still fairly new so the front spoiler was far from "faded" to begin with... little 50/50 of the trim coat
The matte carbon wrapped hood and other pieces of the car were treated with the Swissvax Opaque line of products, as nothing else will really work.
First the Opaque pre cleaner was used to prep for the later wax. Very simply product just lightly mist and wipe. (Left side already done)
Then came the application of the wax, most of you know I am not a big fan of carnauba waxes but in this case Opaque worked beautifully...
One side finished to show difference
All other carbon wrapped areas were treated the same way
For the paint correction part of the detail most of my efforts were focused on the rear tail section as it was riddled with factory defects and very dull
Example: Pigtailing and sanding marks
Tufbuf wool pad and Meguiars M105 was used to remove the defects, followed by Menzerna powerfinish on a green pad and then 85rd
Before
After
Exhaust tips treated, before
Small details on the interior
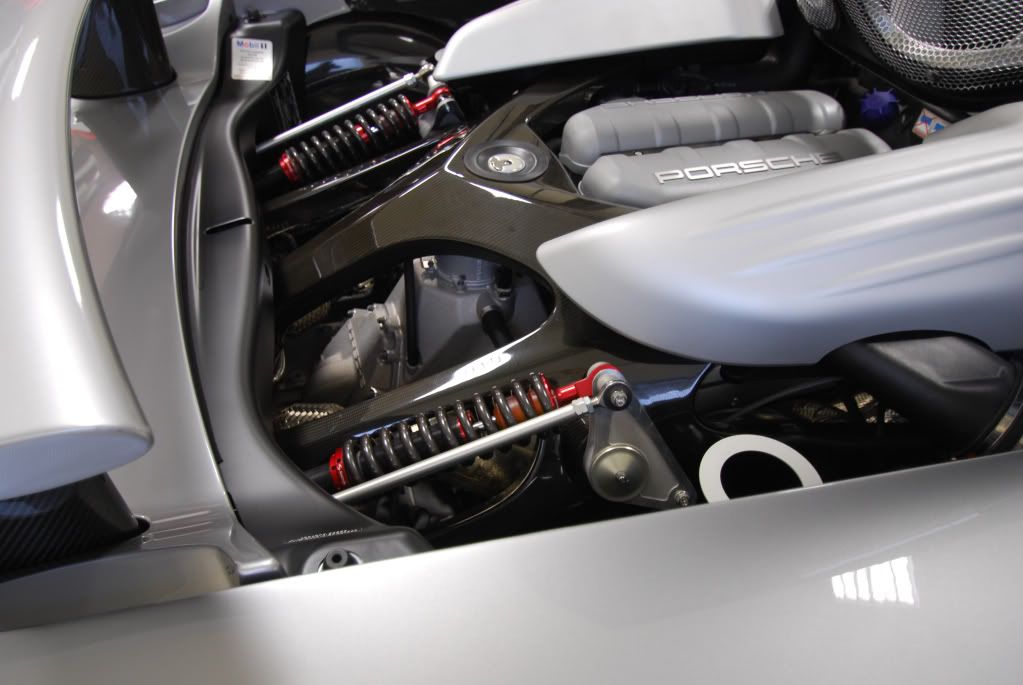
Engine cleaned and all carbon polished with 106FA then protected with Aquartz Reload
Street Dreams
New member
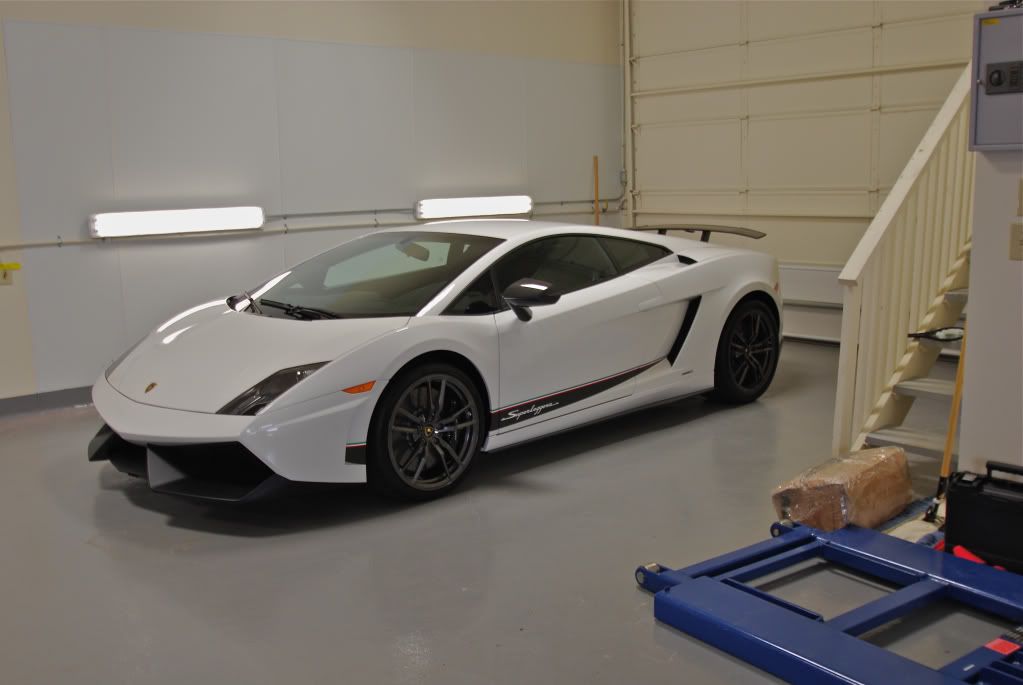
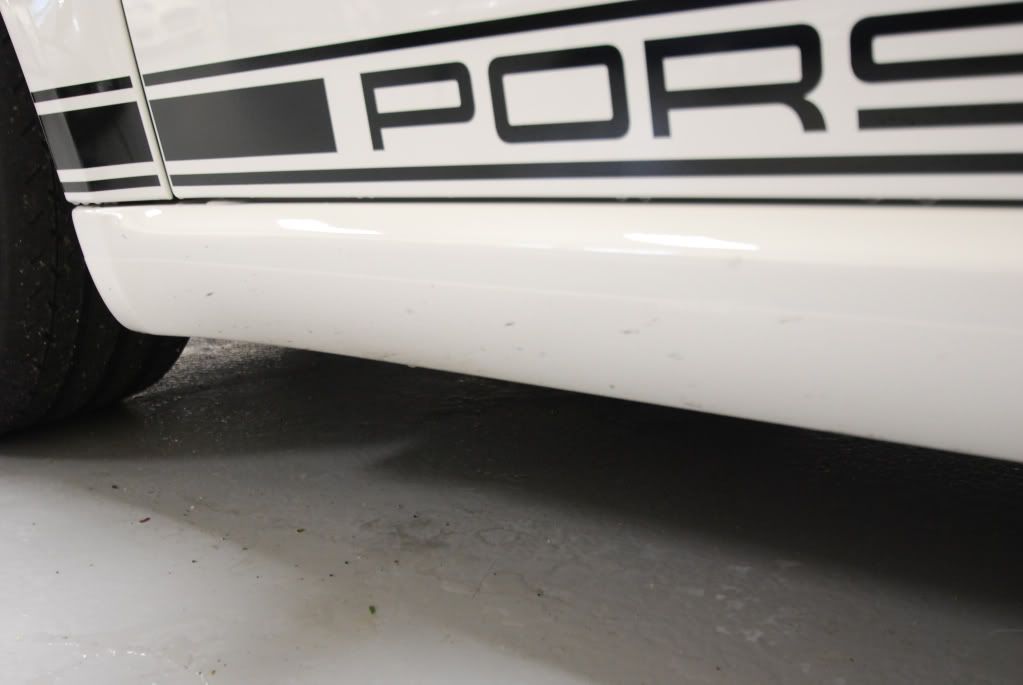
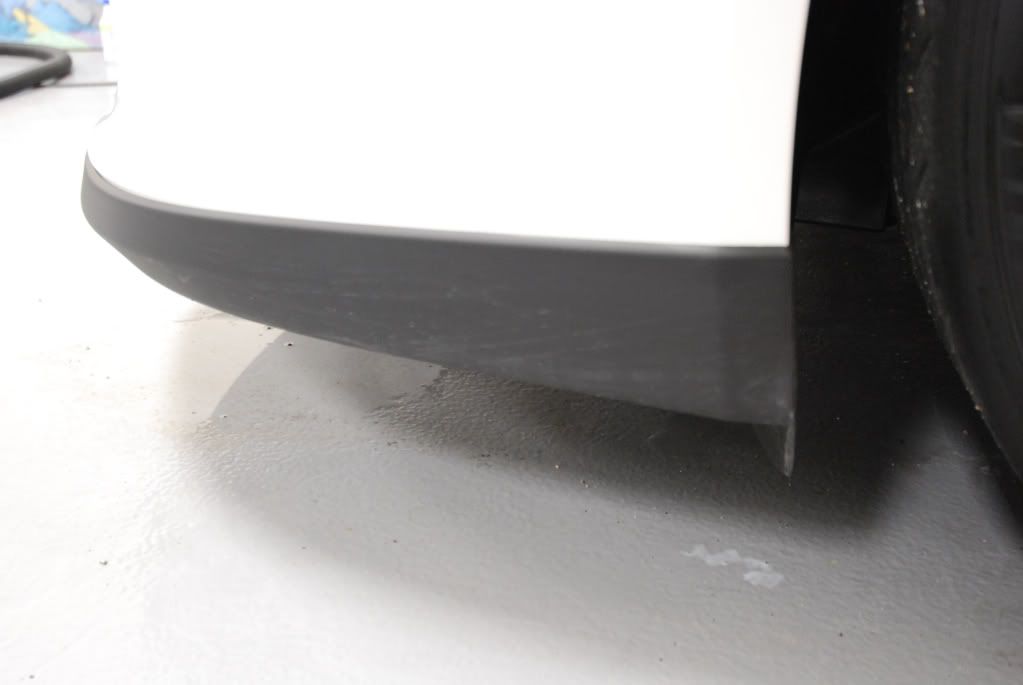
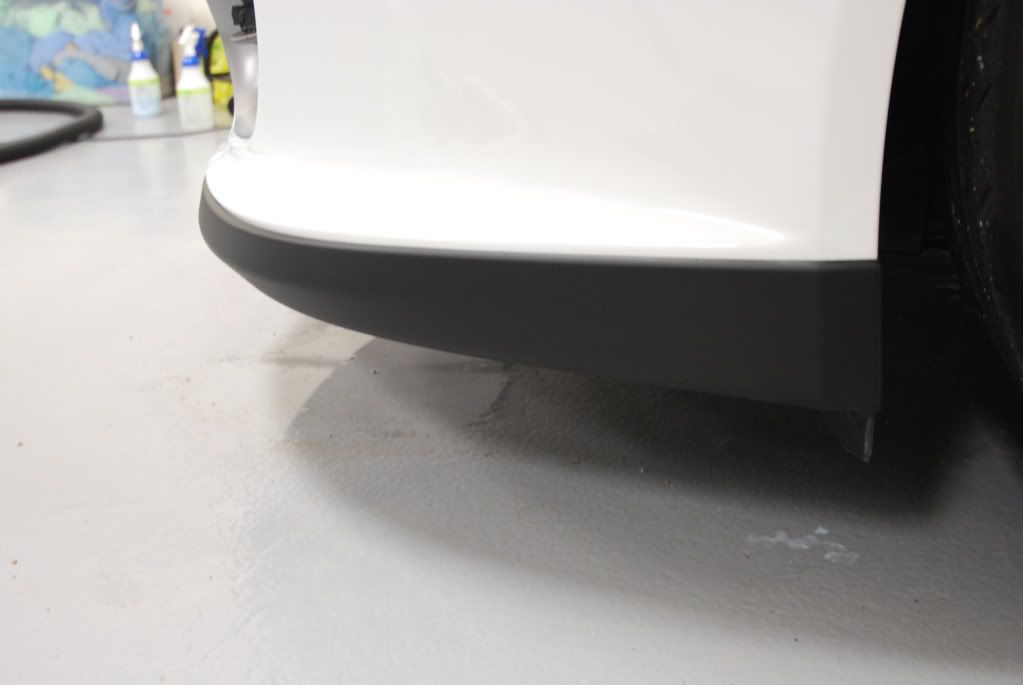
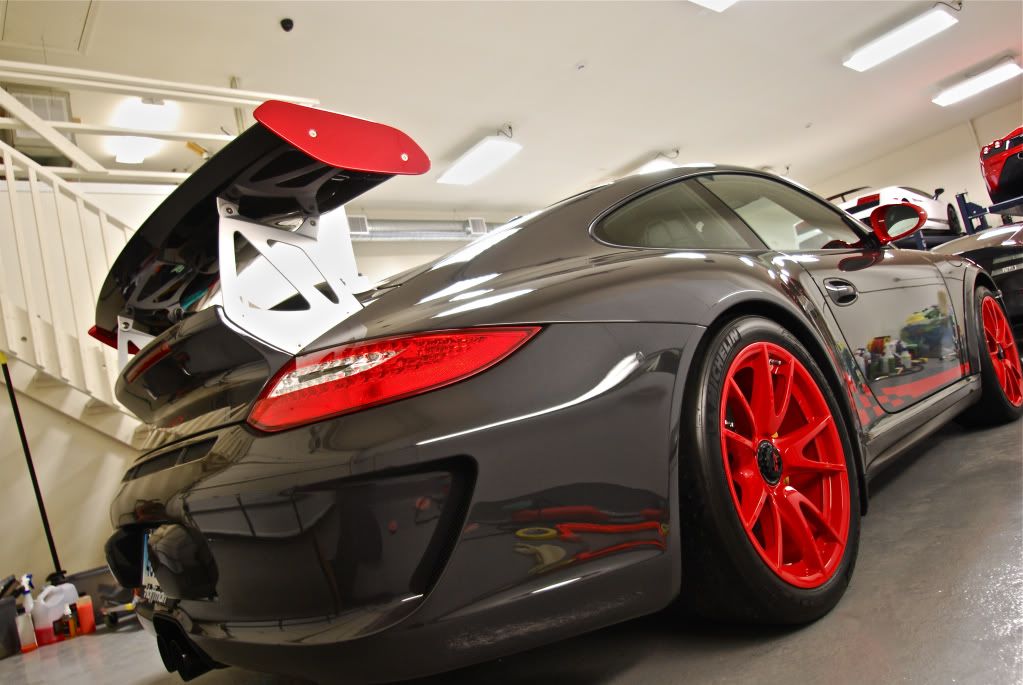
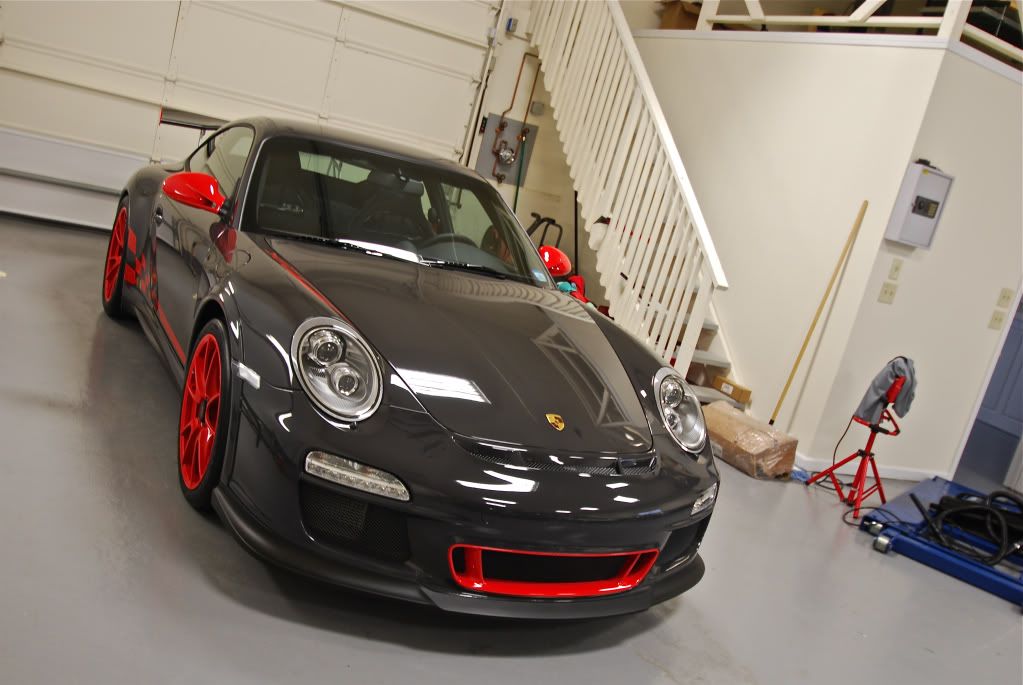
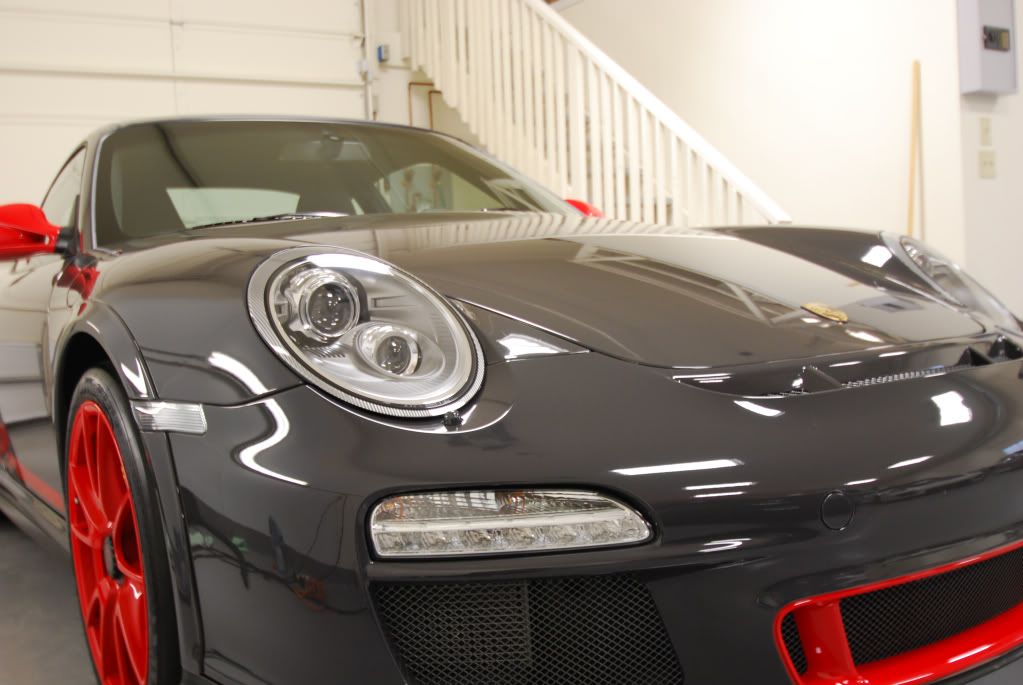
Paint LSP was Wolfs Body Wrap
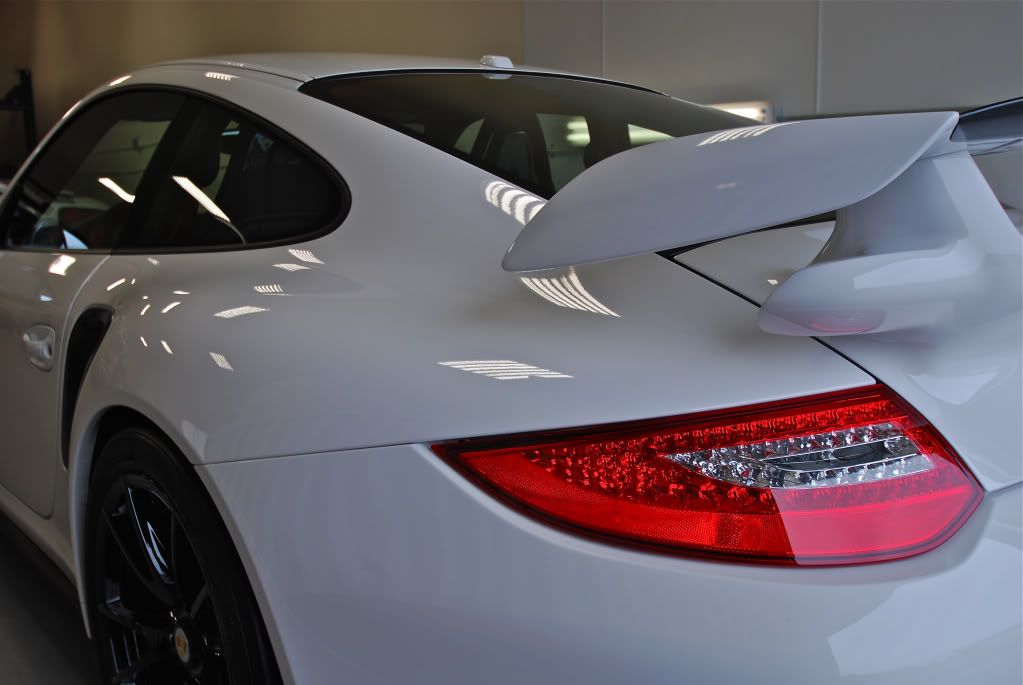
Finished photos
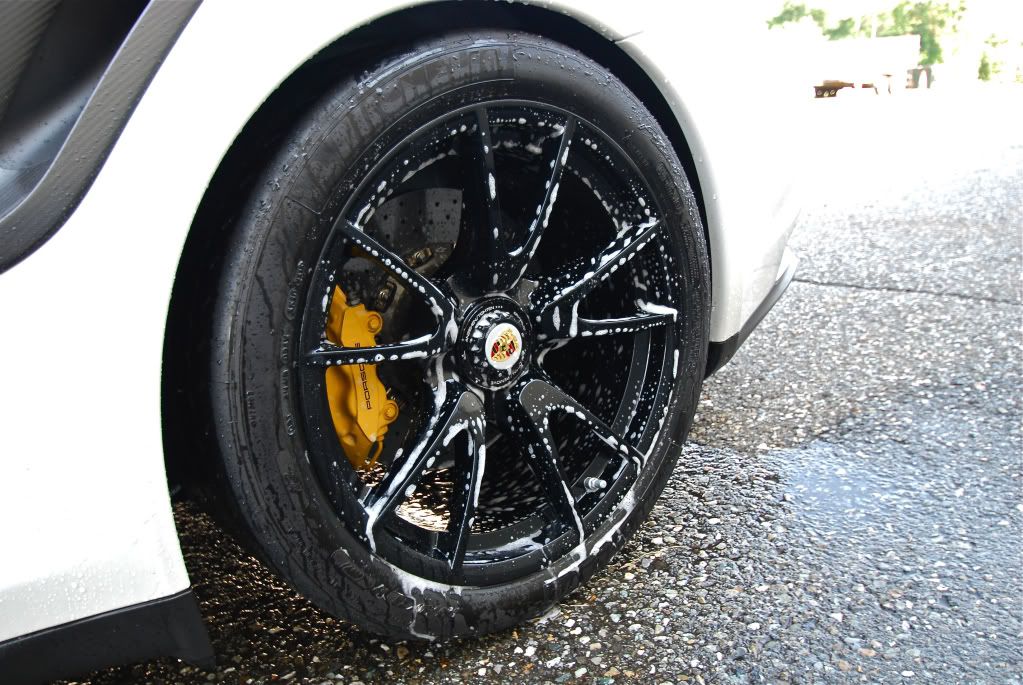
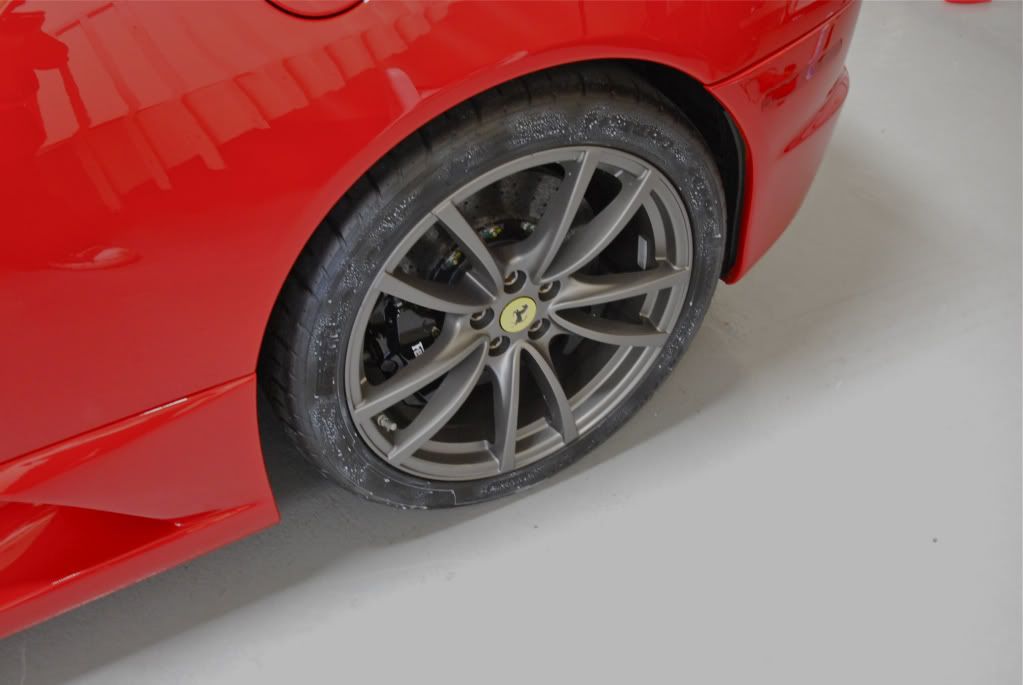
Wheels sealed using with Aquartz and tires dressed with Auto Werkes tire dressing
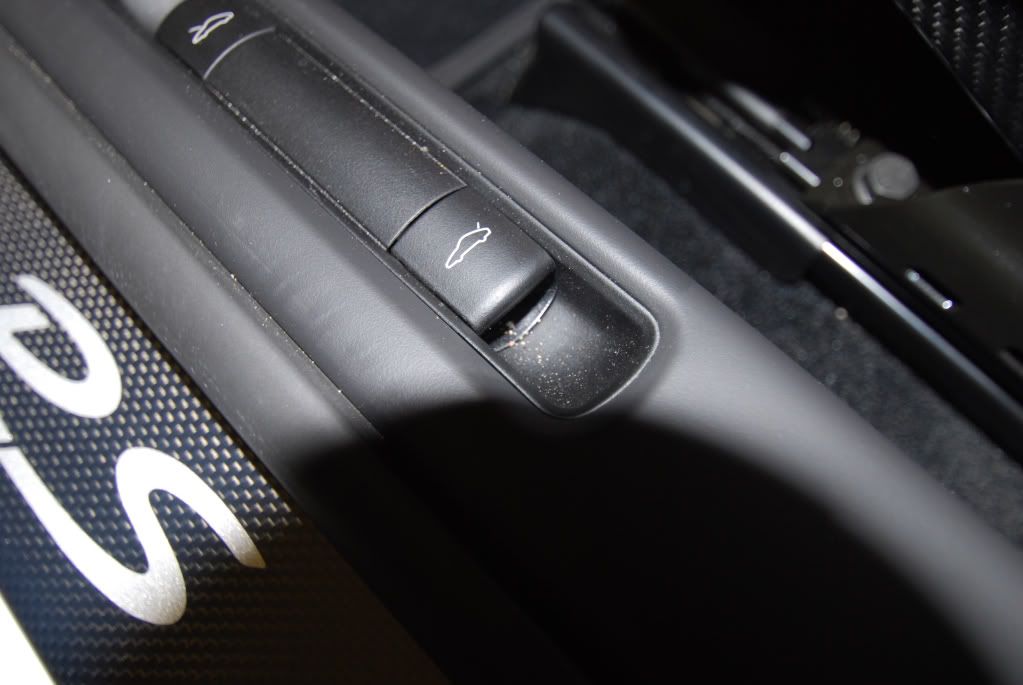
The art of saving weight, no metal Porsche crest
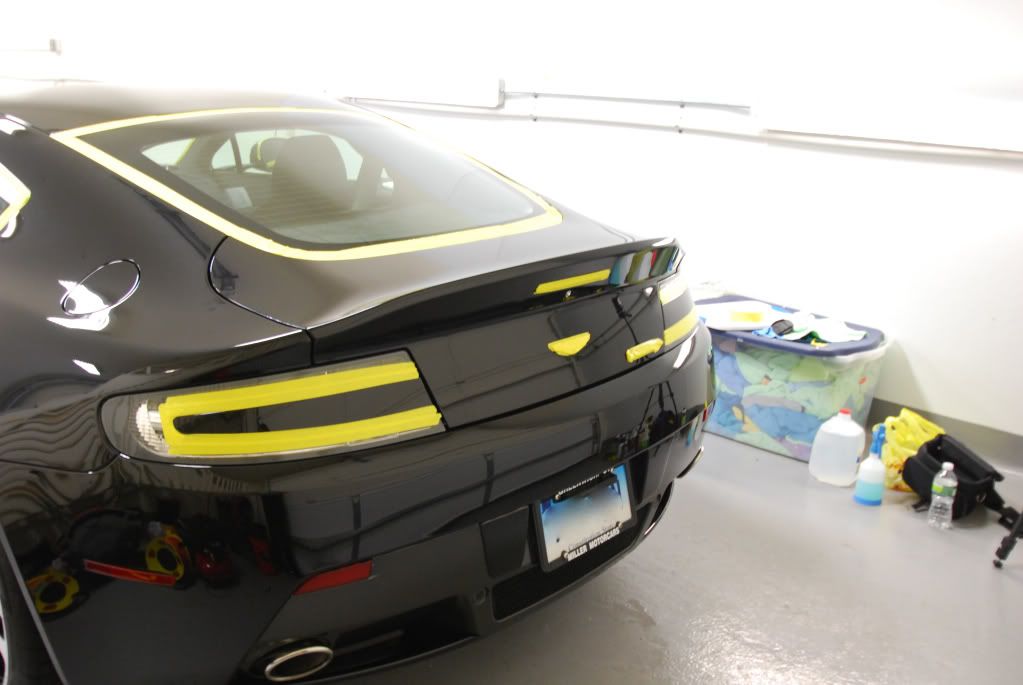
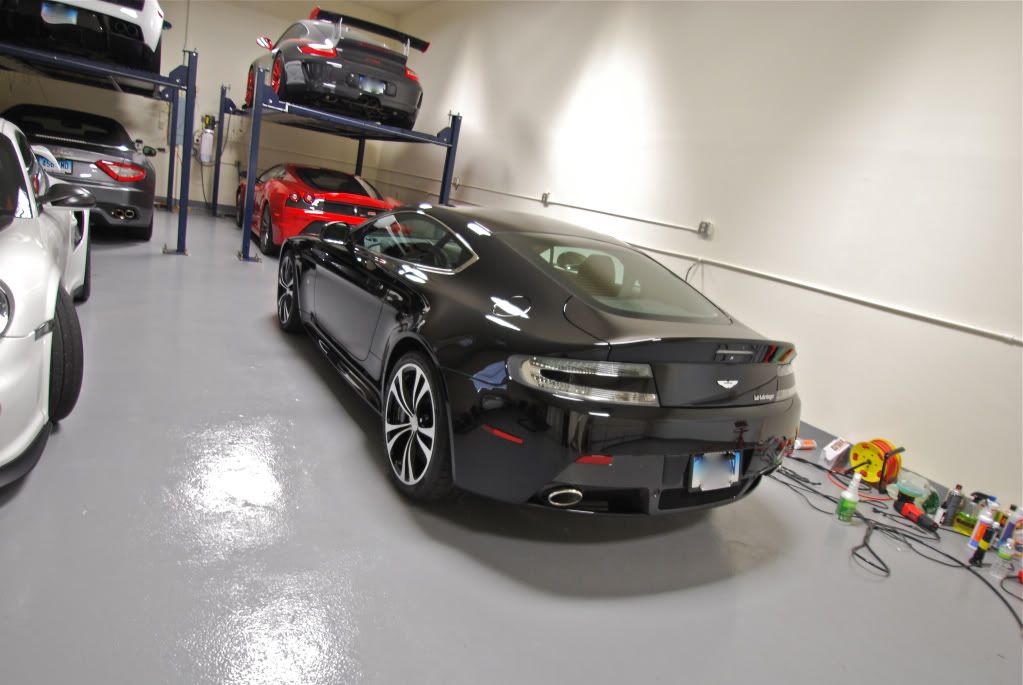
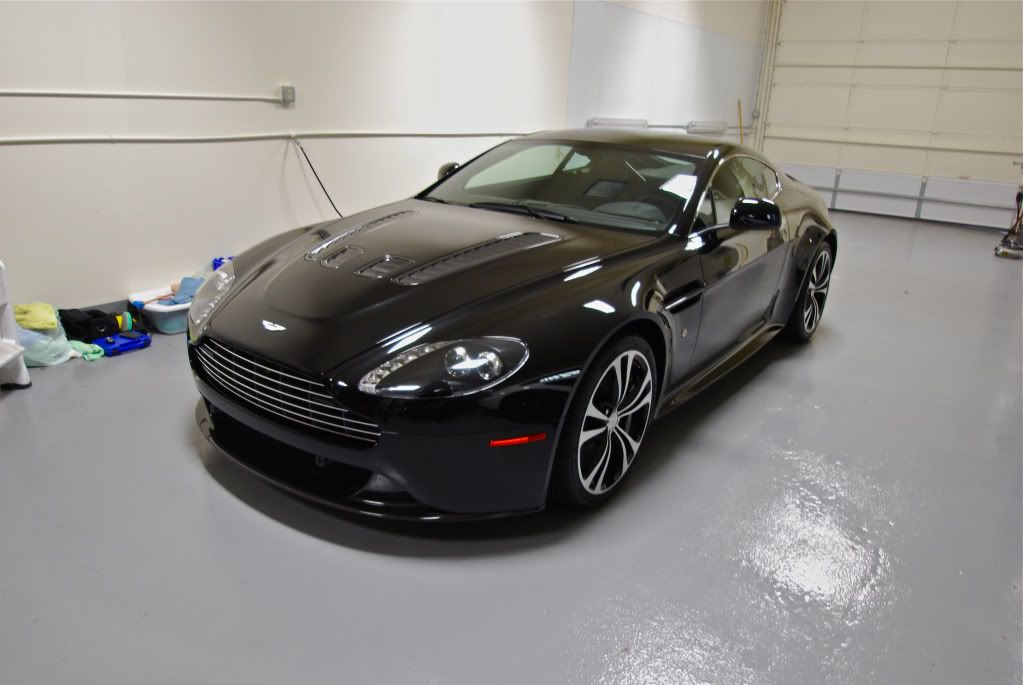
Next up: Aston Martin V12 Vantage
Prep wash using lambswool mitt, something I rarely use anymore but always nice for a somewhat clean car
Drying the car with a metro blaster, hands down the most efficient way to dry... this thing is very powerful!
Claying to remove bonded contaminants
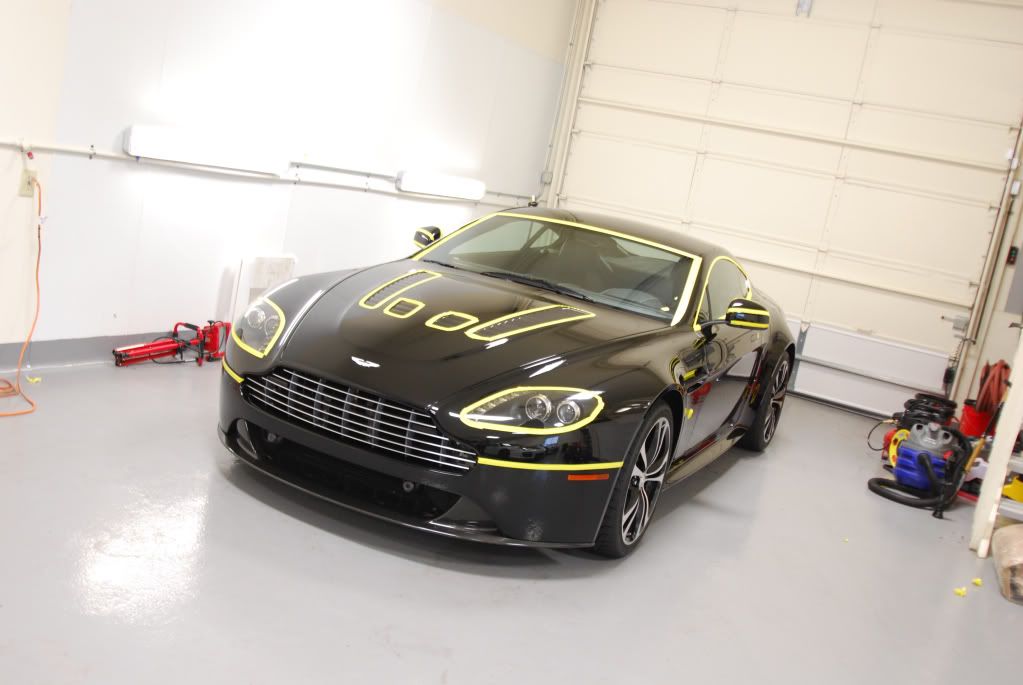
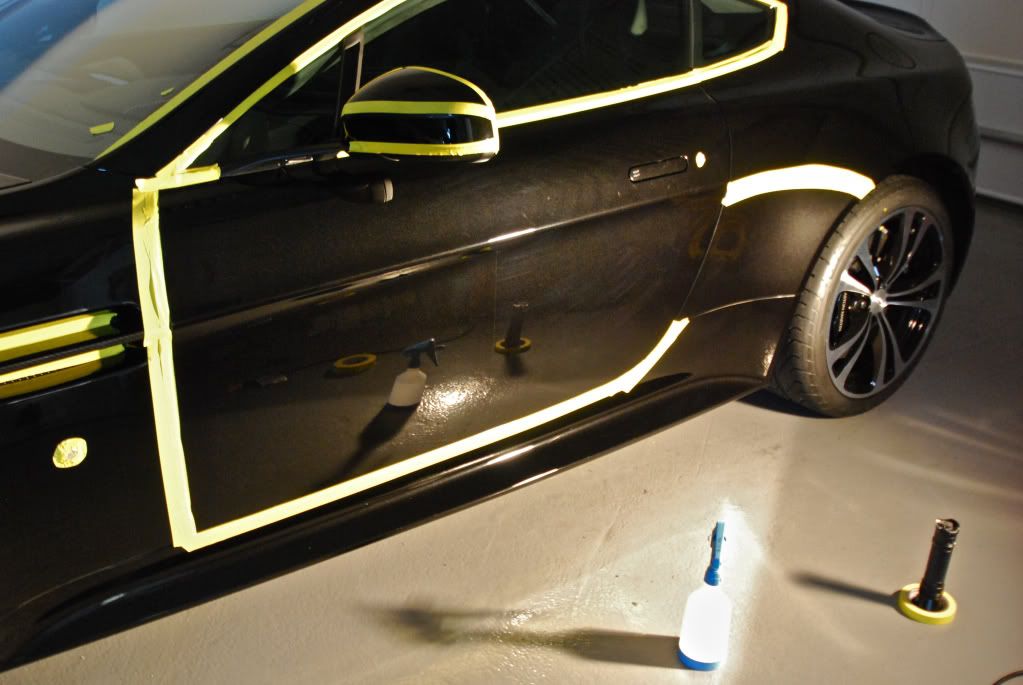
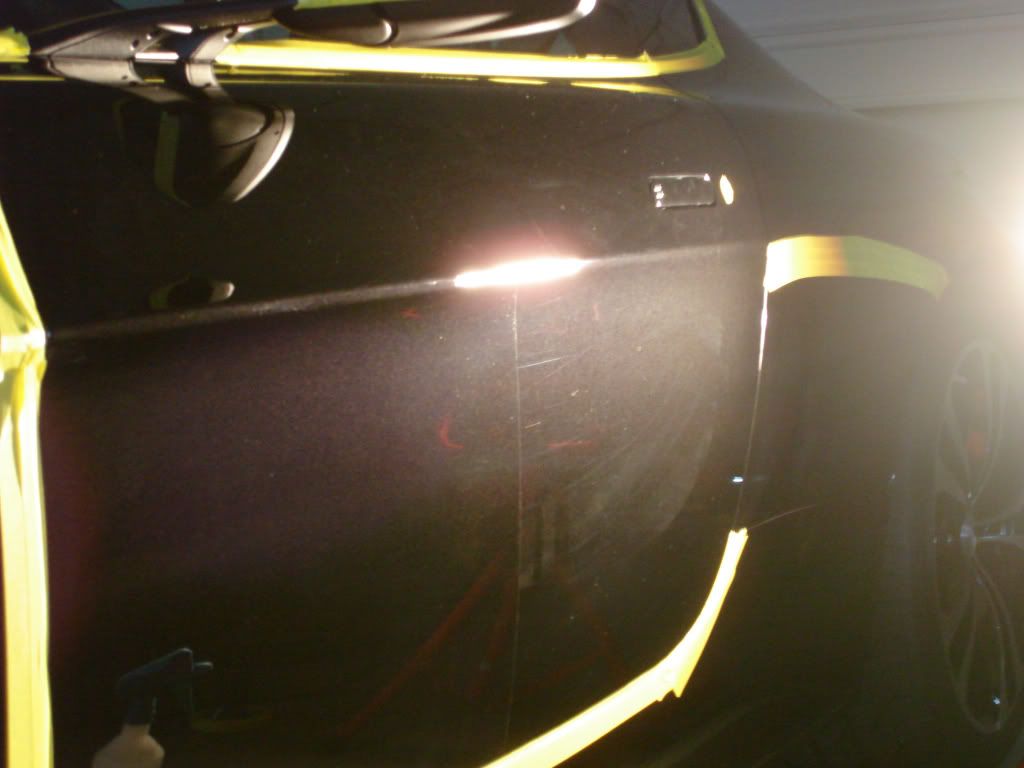
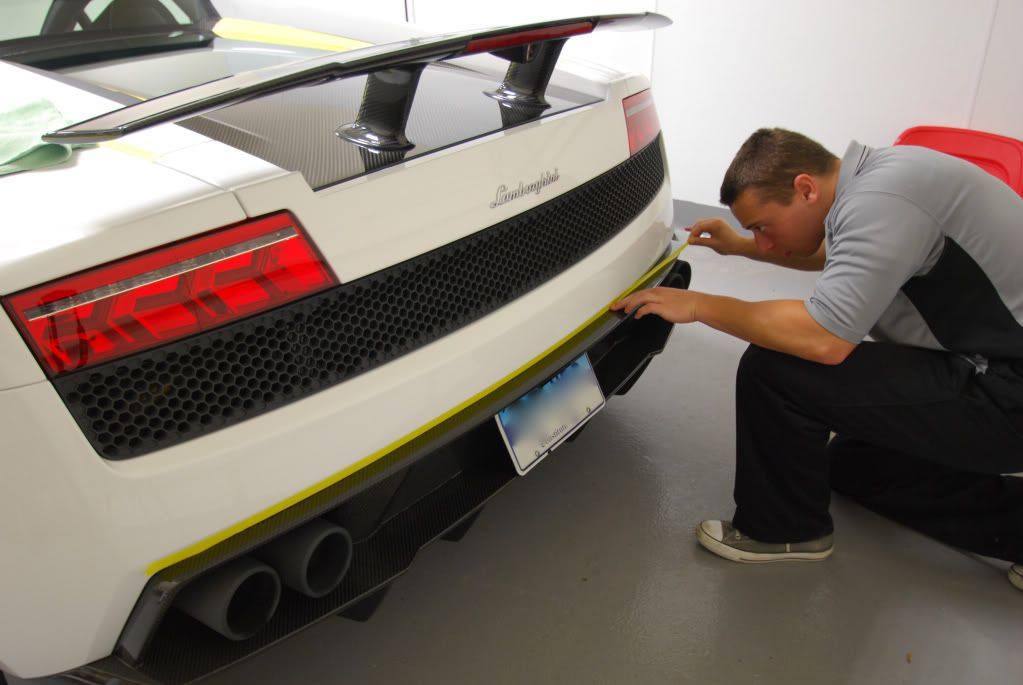
Car was taped up as needed. Lots of clear film to consider, vents etc.
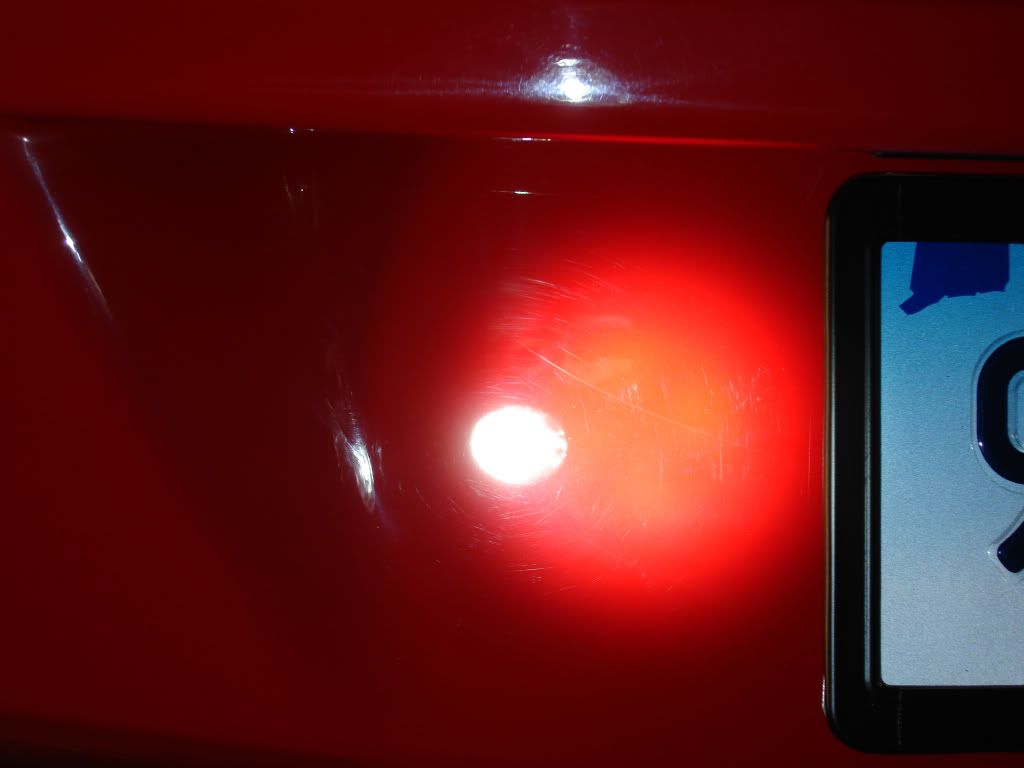
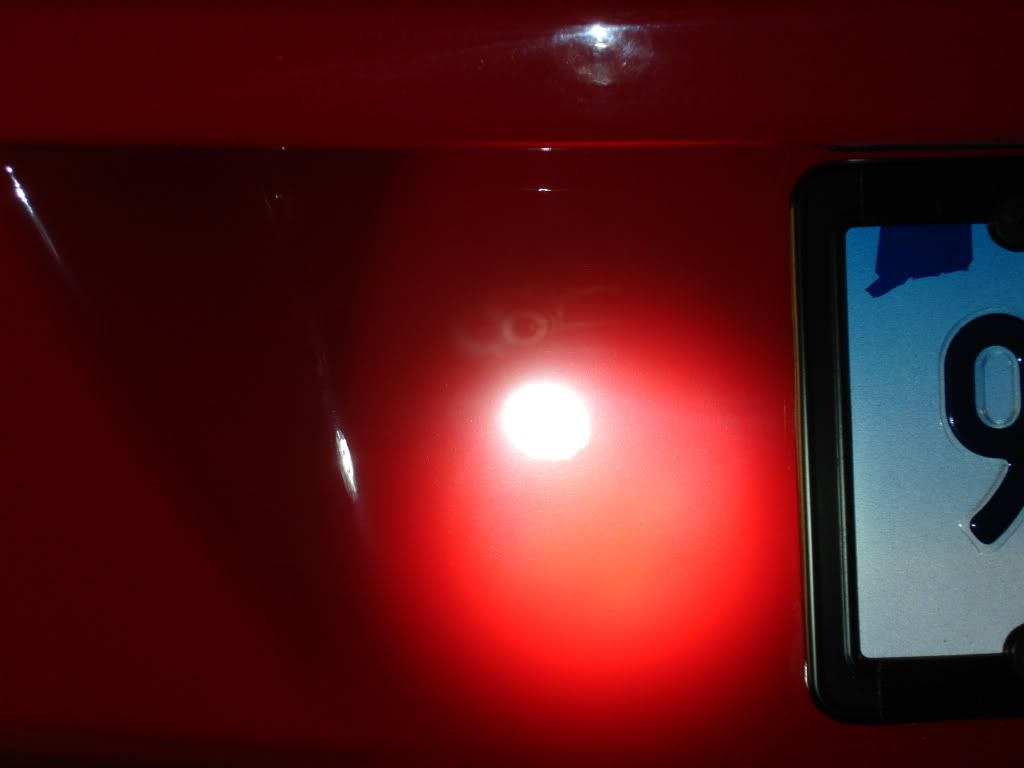
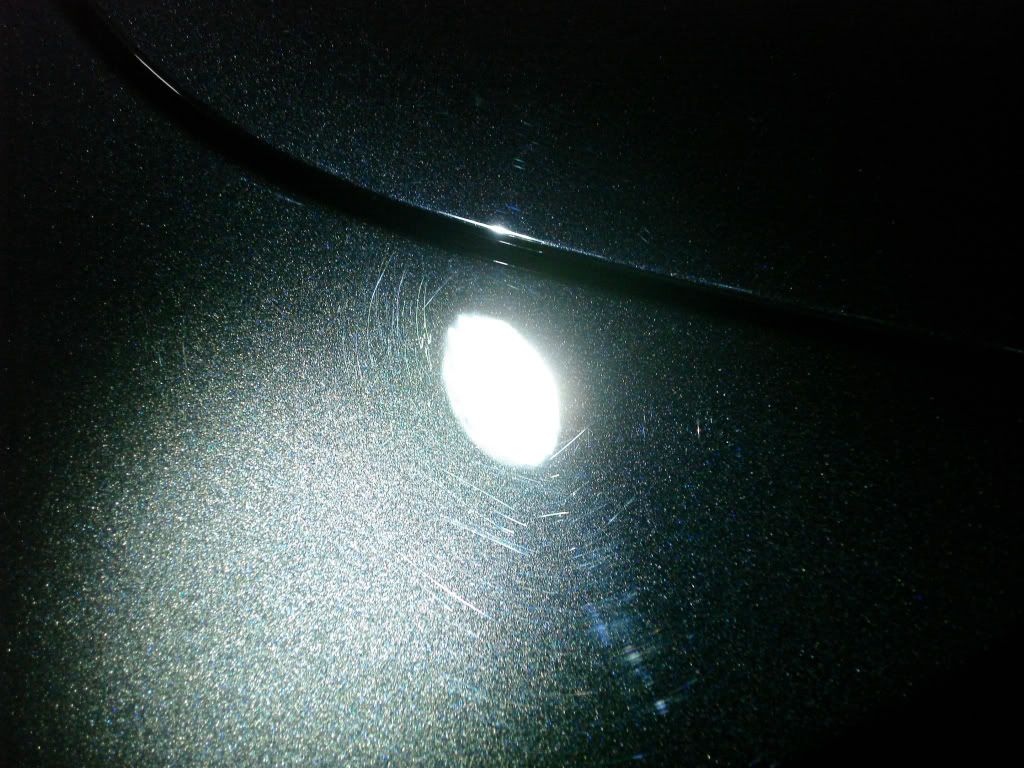
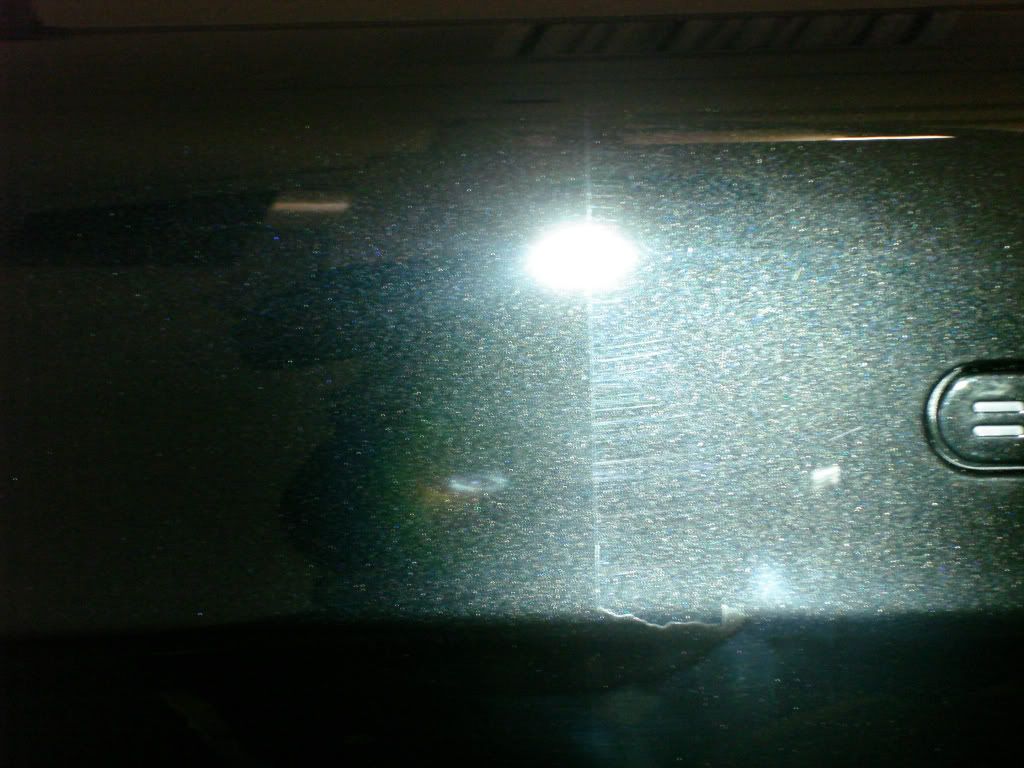
Astons as well as Ferrari are known for poor factory finishing. This car was no exception. Buffer trails/holograms, sanding scratches, pig-tailing all found in the finish.
Example of some haphazard buffing (mind you this is a new car)
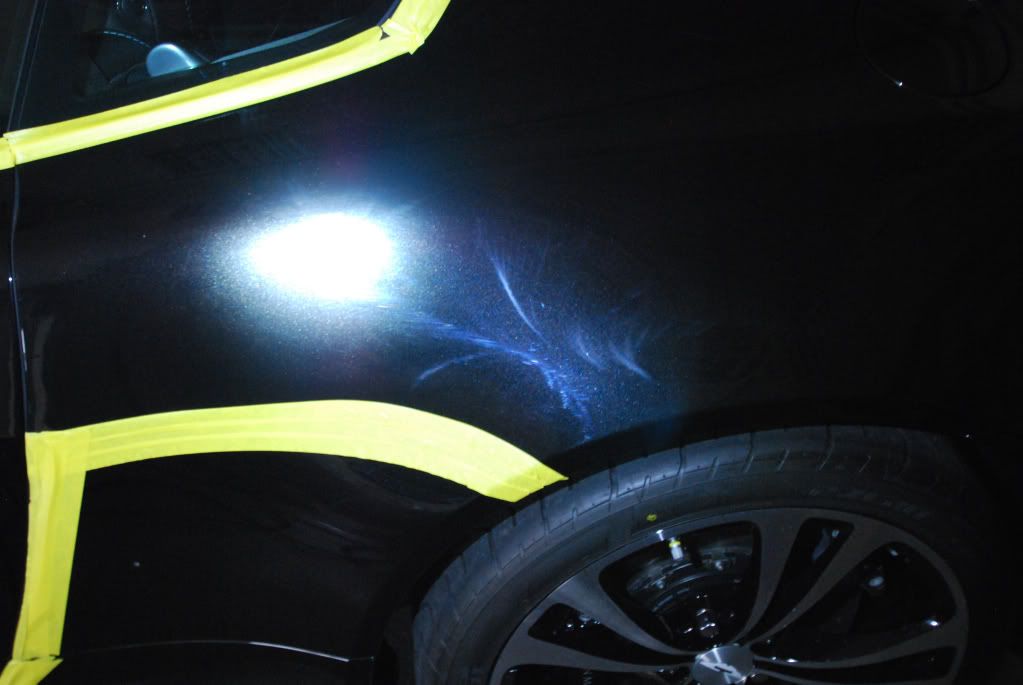
More defects
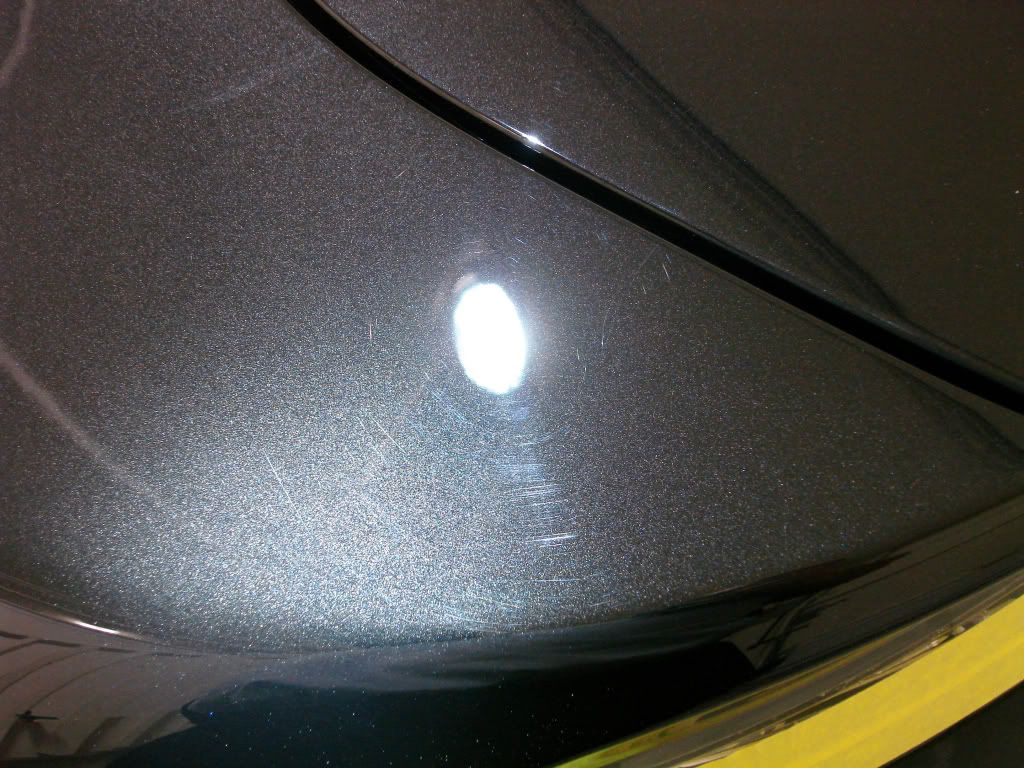
50/50 on door, swirls, RIDS and haze removed from left side...
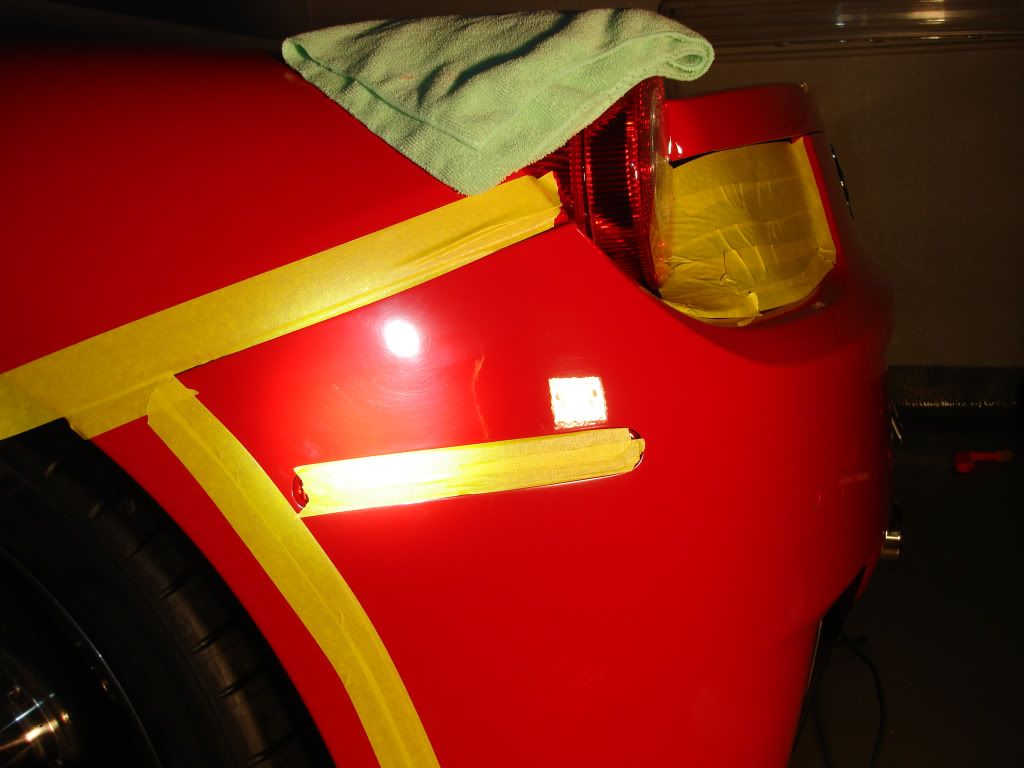
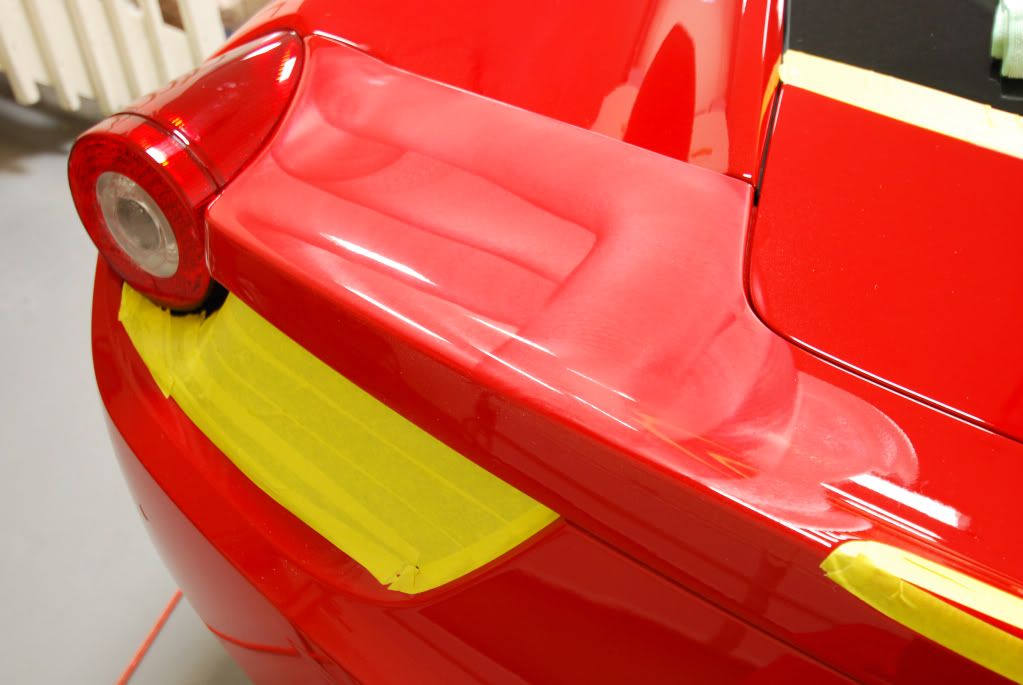
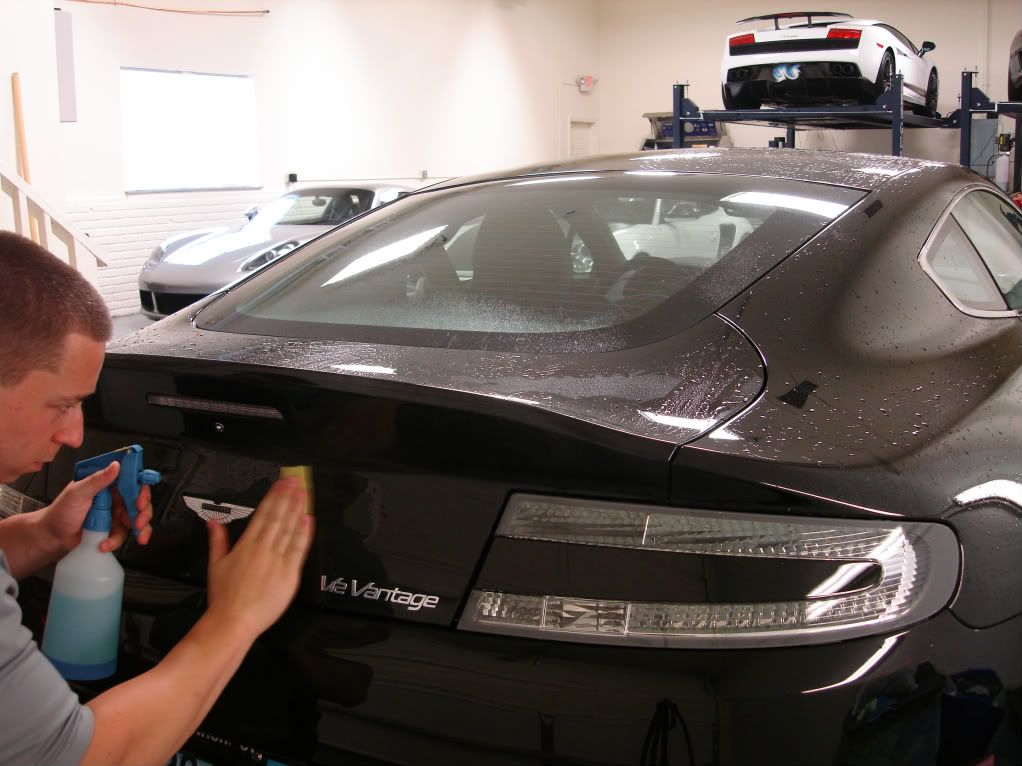
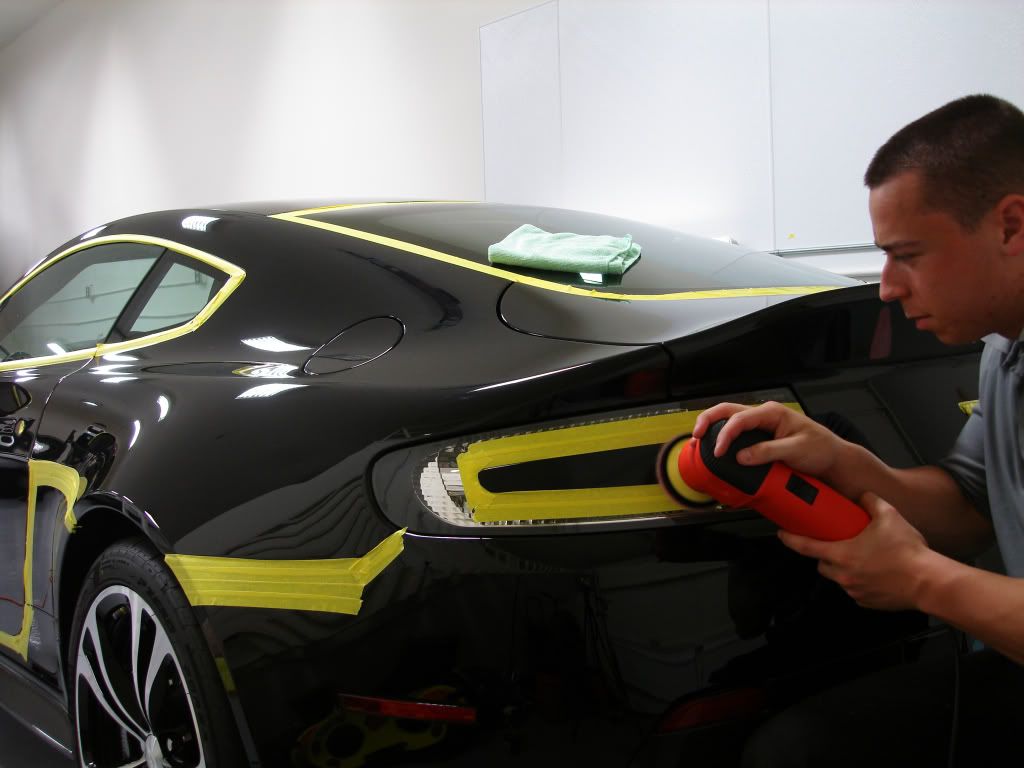
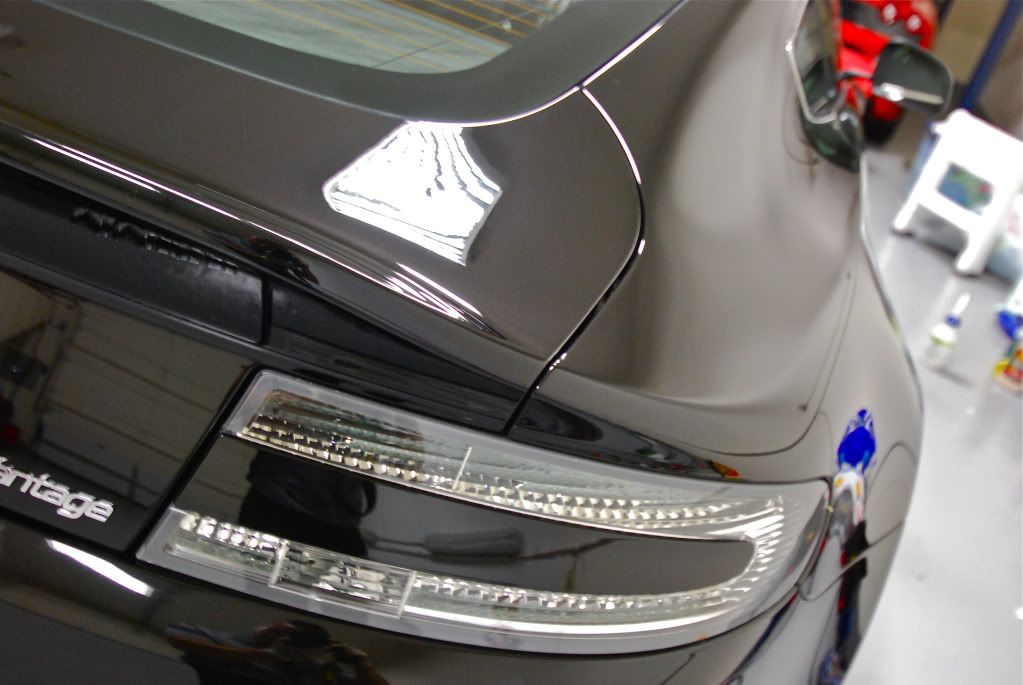
Correction on strip in taillight housing (where taping comes in handing again)
Even the tiny areas need attention...
Trunk section required some extra time working with smaller 3" pads and M105
Before
After
Finished with Wolfs Body Wrap, 2x
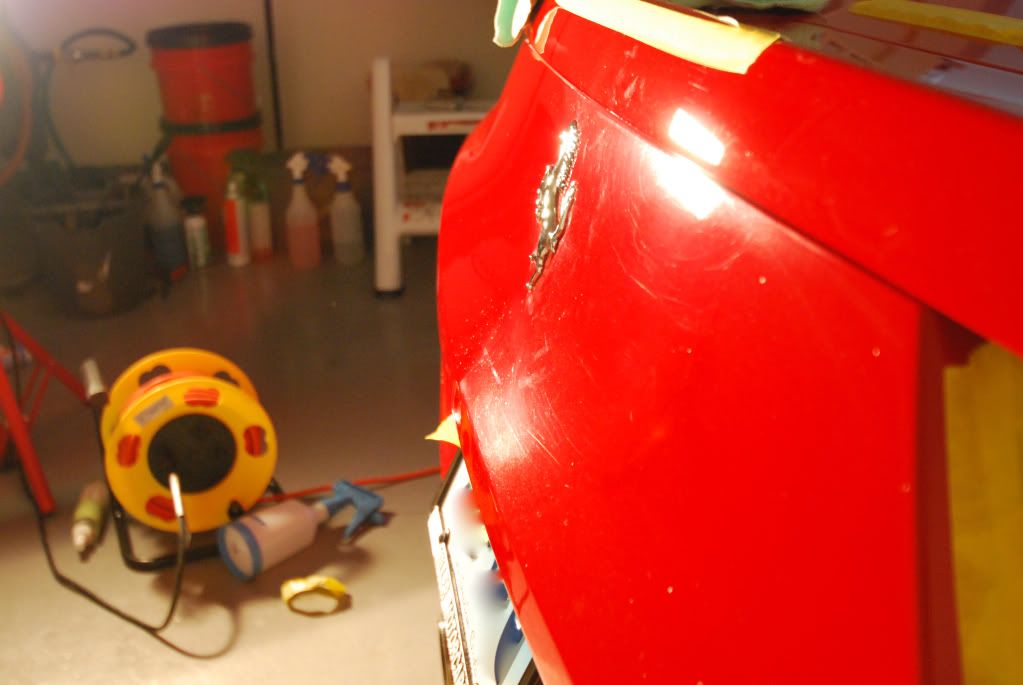
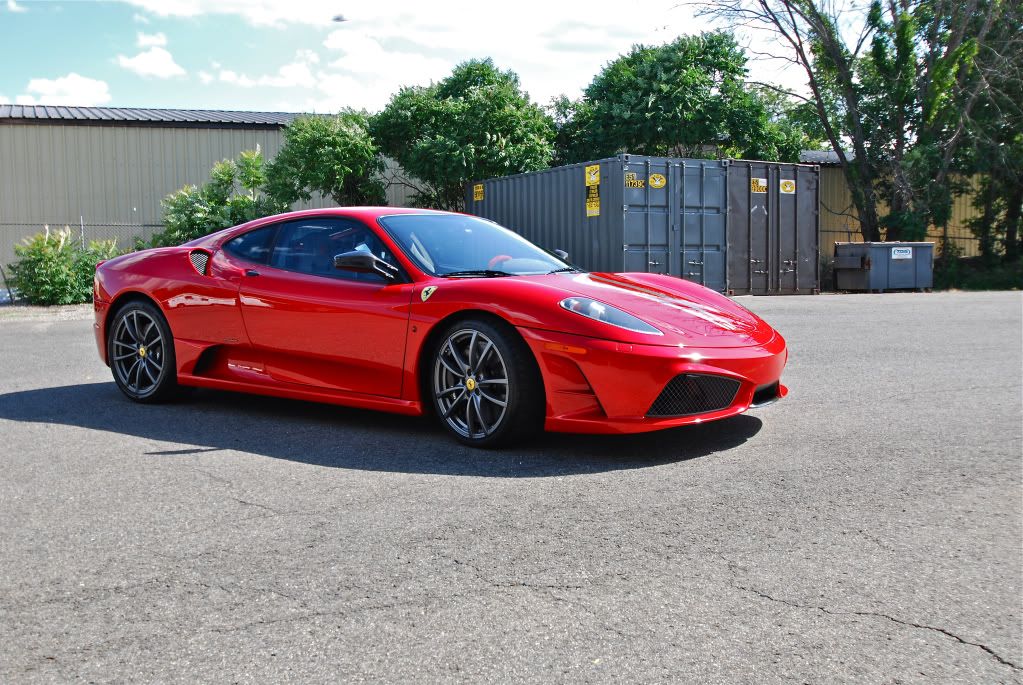
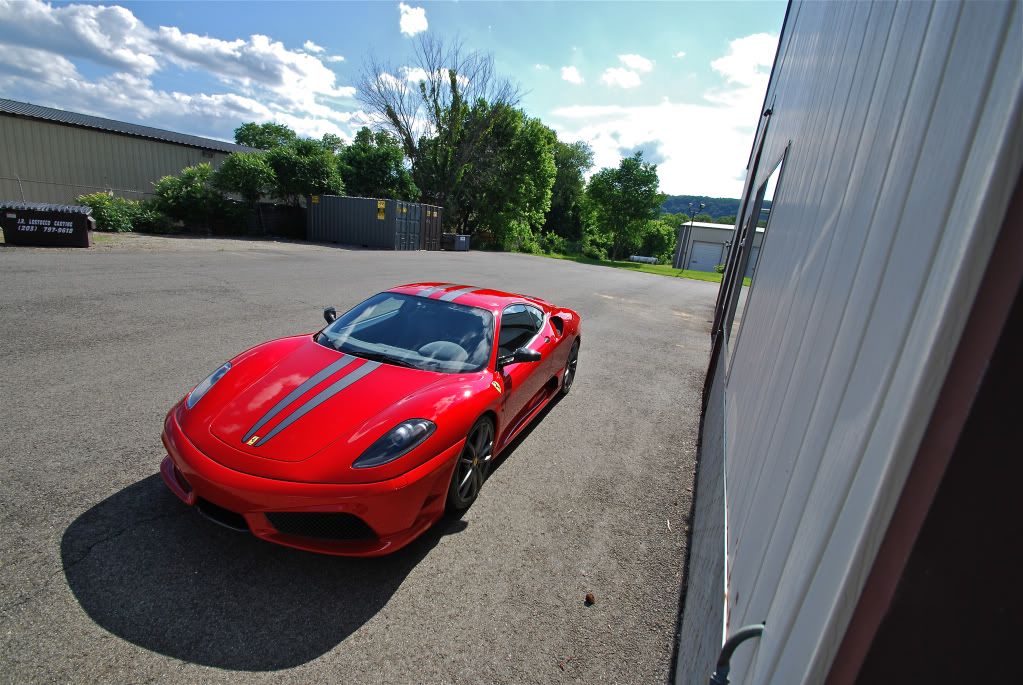
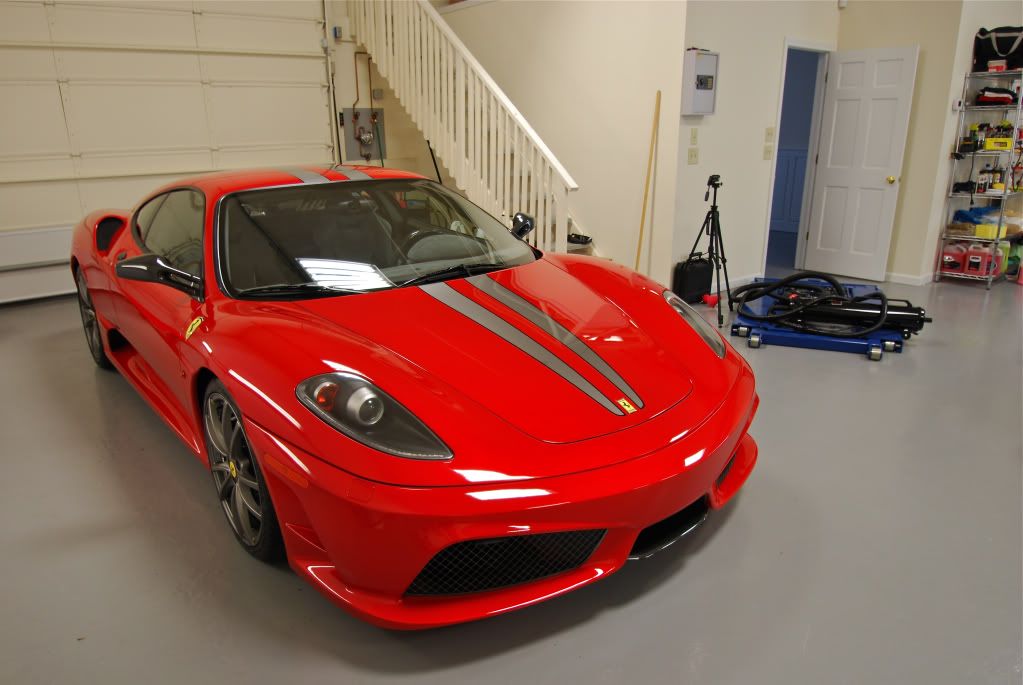
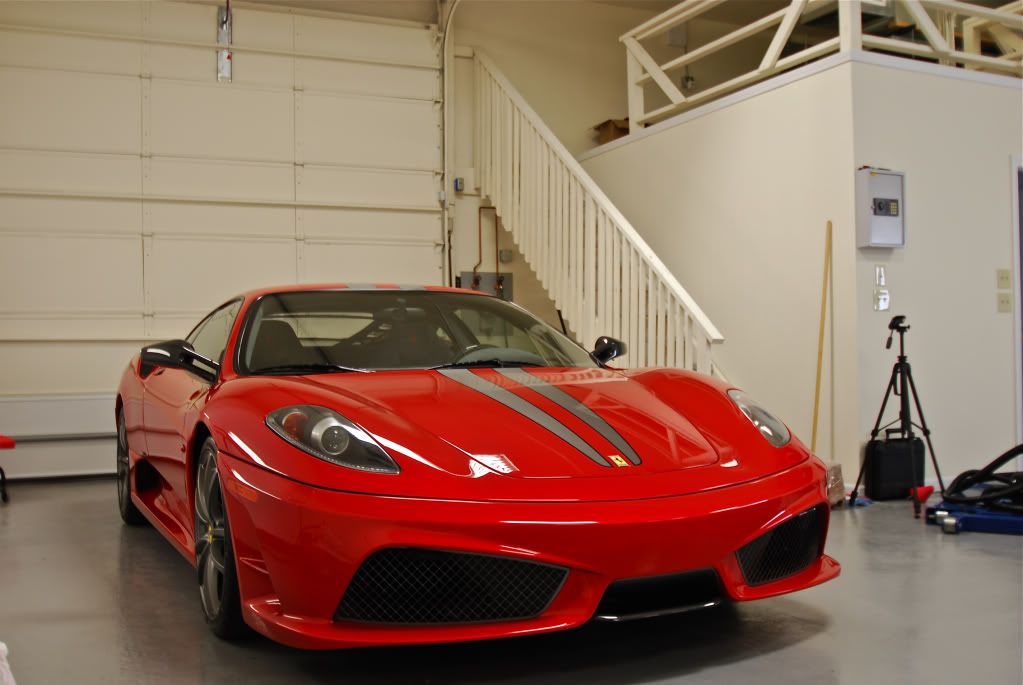
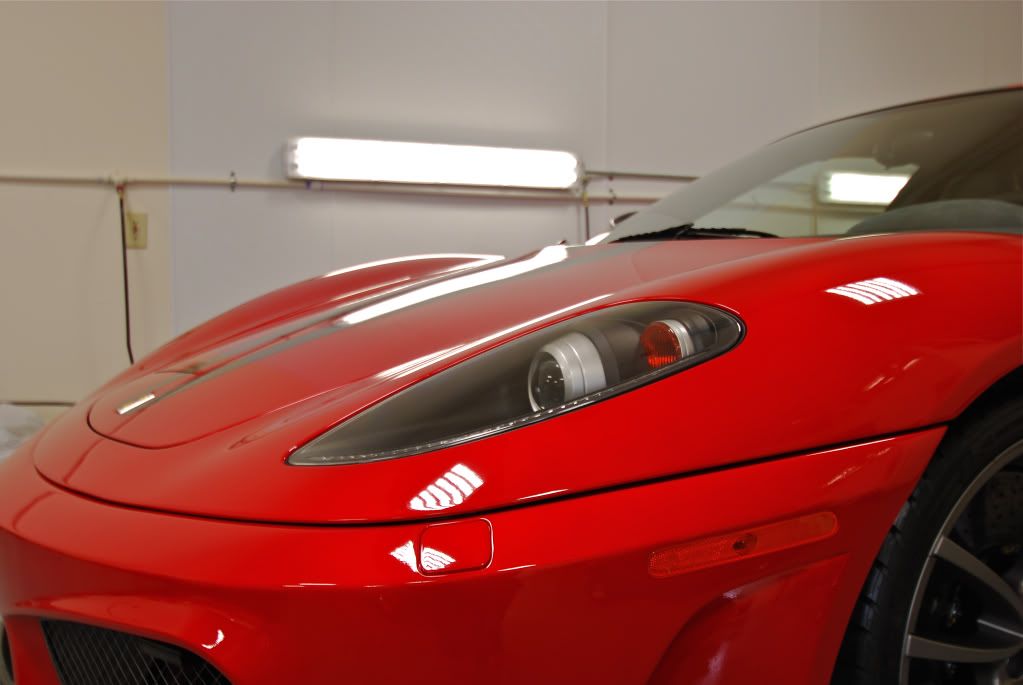
Next: Ferrari 430 Scuderia
Also a victim of poor factory finishing, not as bad as the 458 luckily
After the wash, blowing water off the clear film

Spot compounding the carbon mirrors using the Megs MF cutting disc
Before:
After:
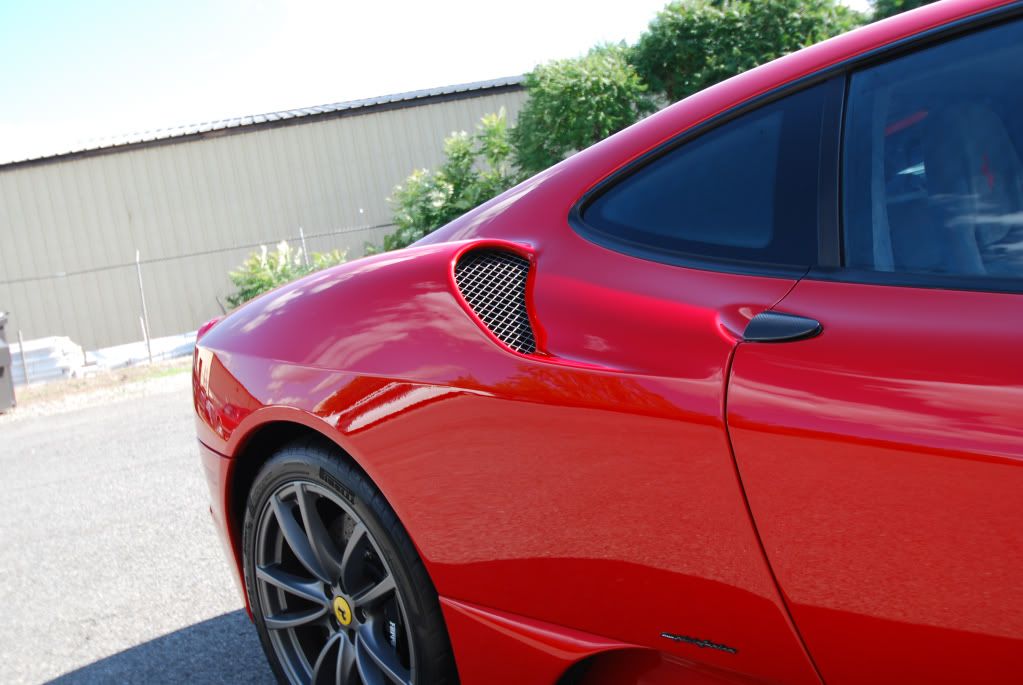
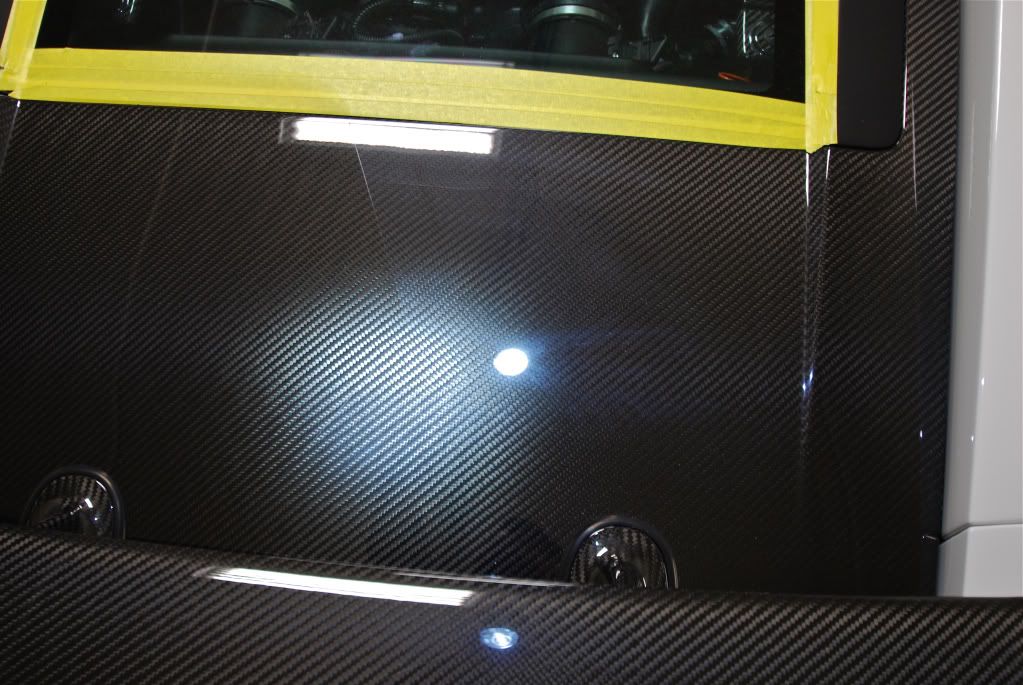
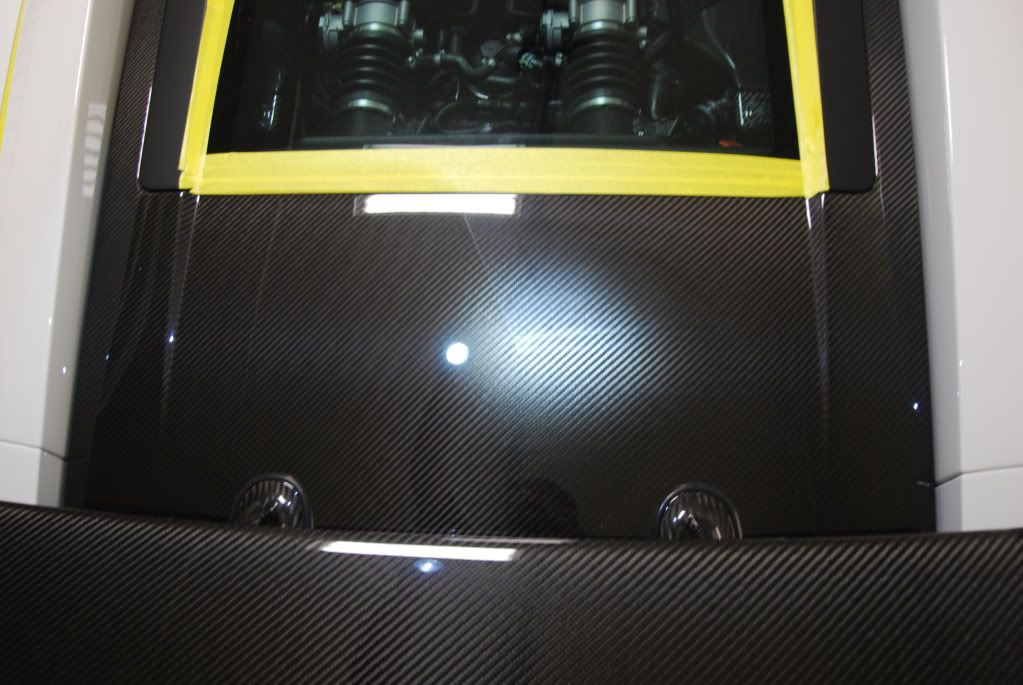
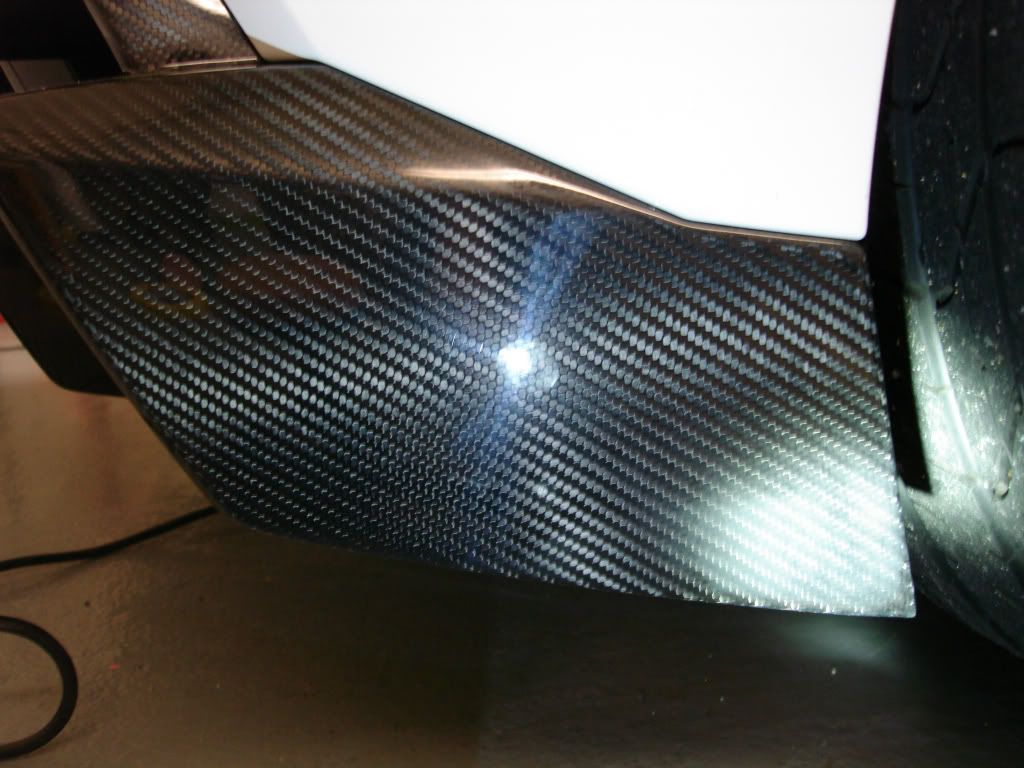
Carbon backs sealed as well
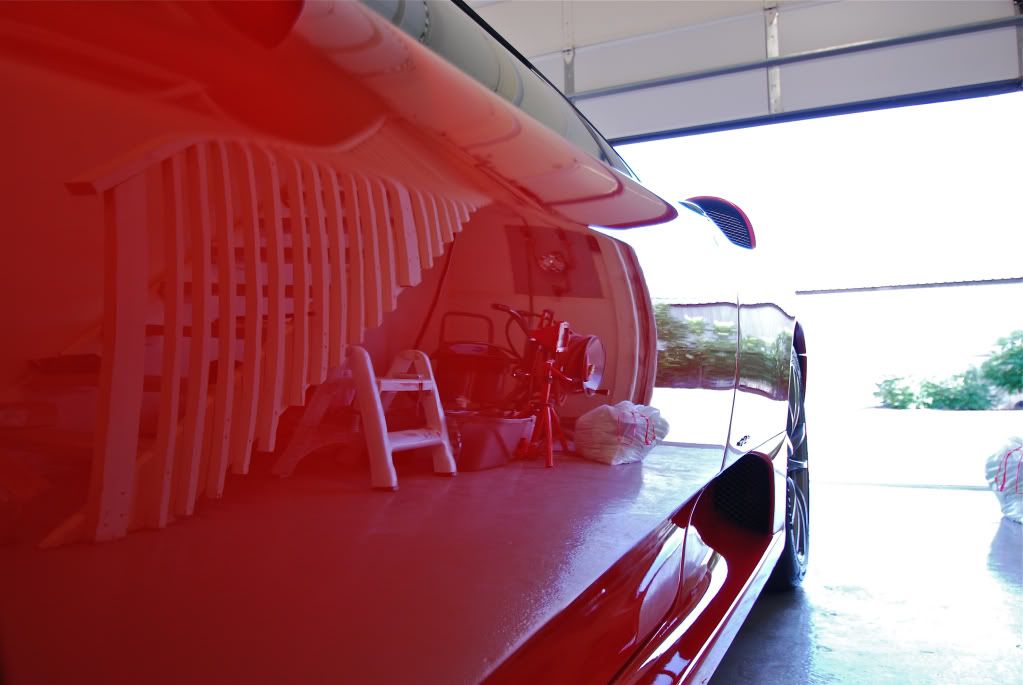
Finished photos
Wheels sealed using with Aquartz and tires dressed with Auto Werkes tire dressing
The art of saving weight, no metal Porsche crest
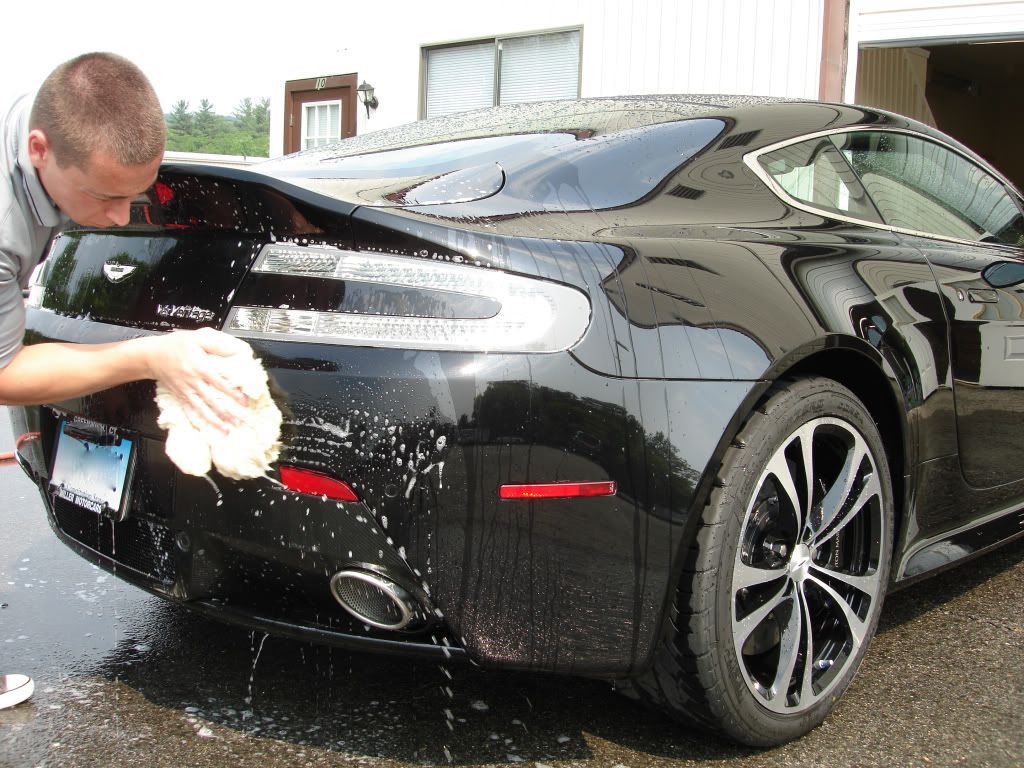
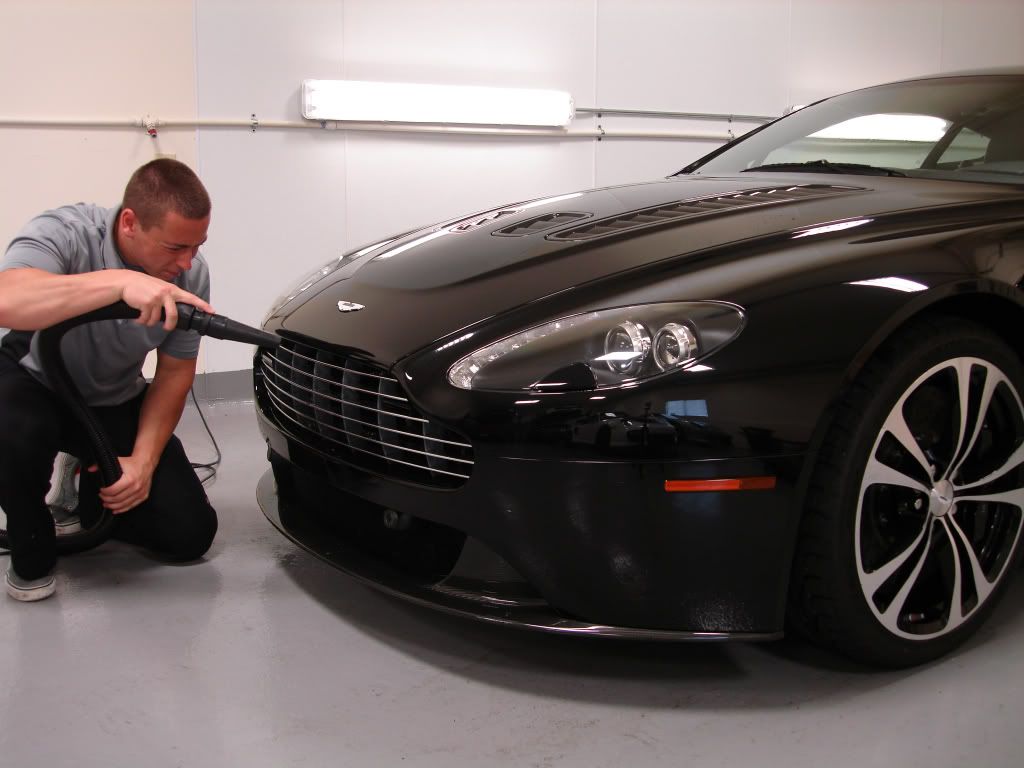
Next up: Aston Martin V12 Vantage
Prep wash using lambswool mitt, something I rarely use anymore but always nice for a somewhat clean car
Drying the car with a metro blaster, hands down the most efficient way to dry... this thing is very powerful!
Claying to remove bonded contaminants
Car was taped up as needed. Lots of clear film to consider, vents etc.
Astons as well as Ferrari are known for poor factory finishing. This car was no exception. Buffer trails/holograms, sanding scratches, pig-tailing all found in the finish.
Example of some haphazard buffing (mind you this is a new car)
More defects
50/50 on door, swirls, RIDS and haze removed from left side...
Correction on strip in taillight housing (where taping comes in handing again)
Even the tiny areas need attention...
Trunk section required some extra time working with smaller 3" pads and M105
Before
After
Finished with Wolfs Body Wrap, 2x
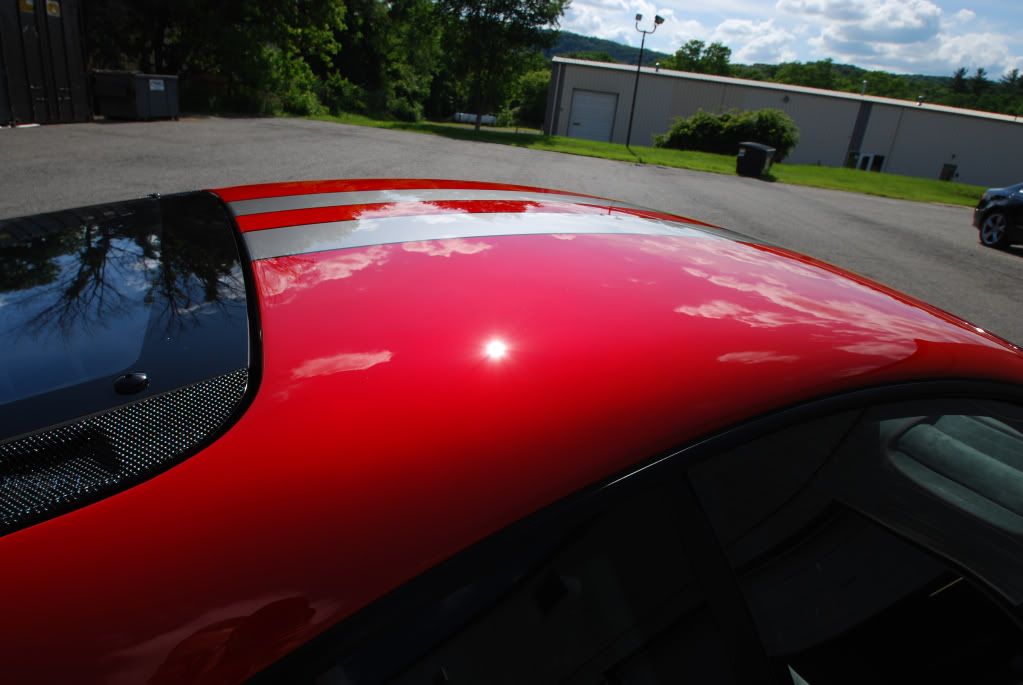
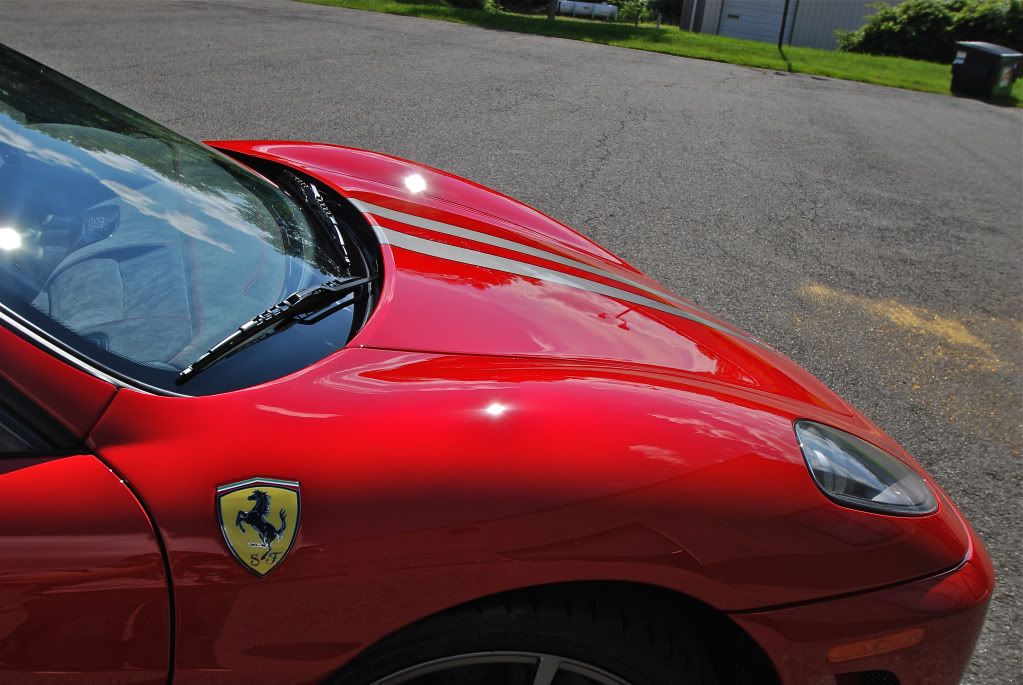
Next: Ferrari 430 Scuderia
Also a victim of poor factory finishing, not as bad as the 458 luckily
After the wash, blowing water off the clear film
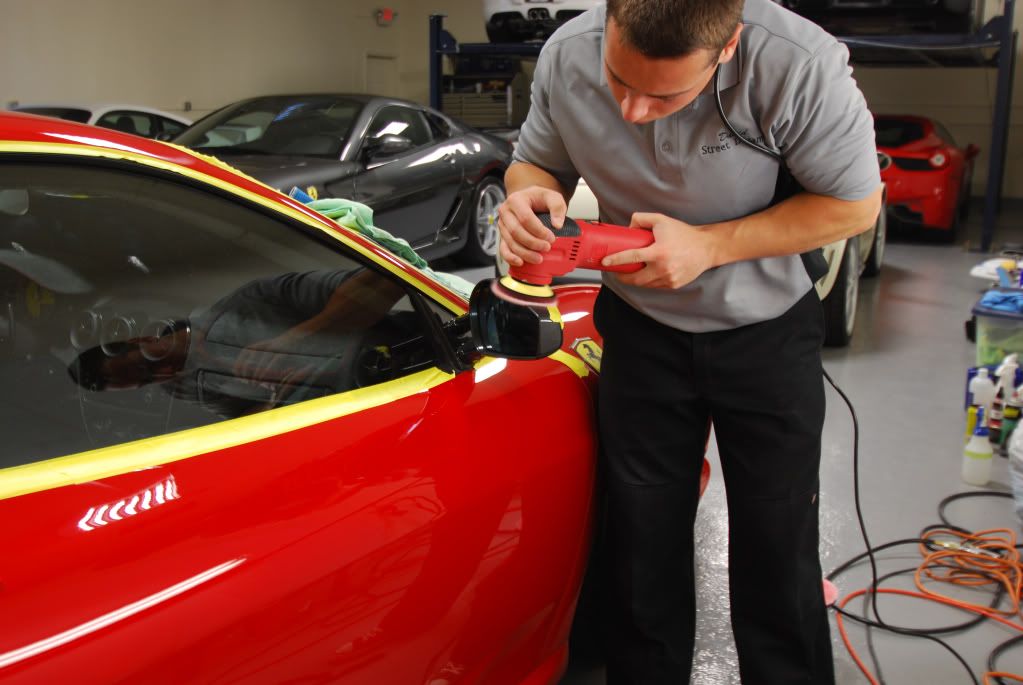
Spot compounding the carbon mirrors using the Megs MF cutting disc
Before:
After:
Carbon backs sealed as well
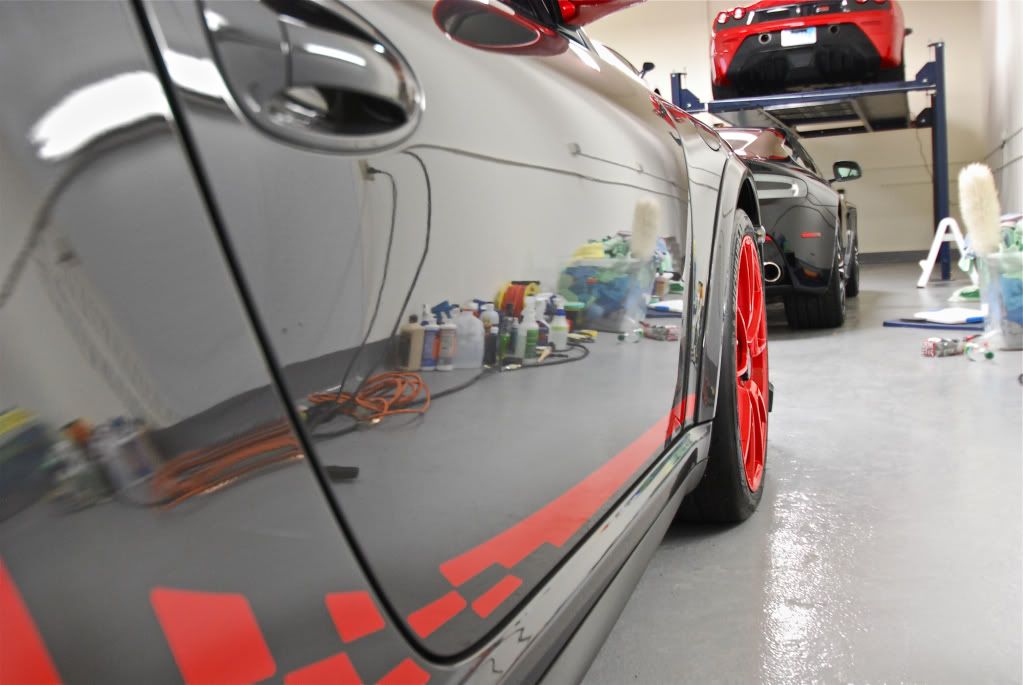
Street Dreams
New member
Tires dressed with Autowerks Exclusive tire dressing, left to sit for 10 minutes and then buffed down, probably one of the best looking dressings I have used so far
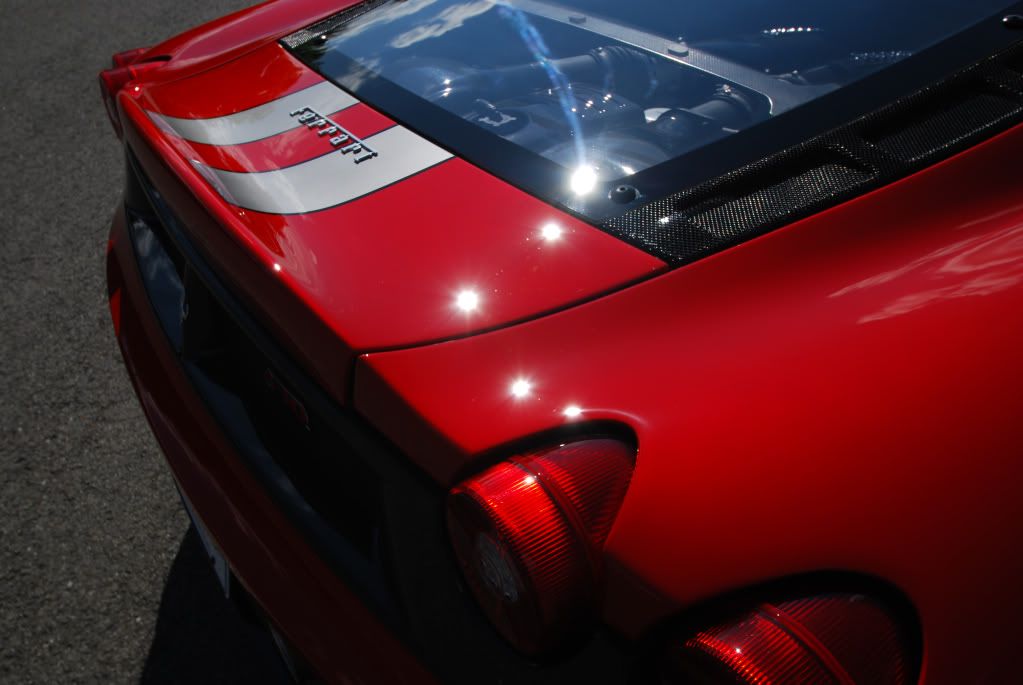
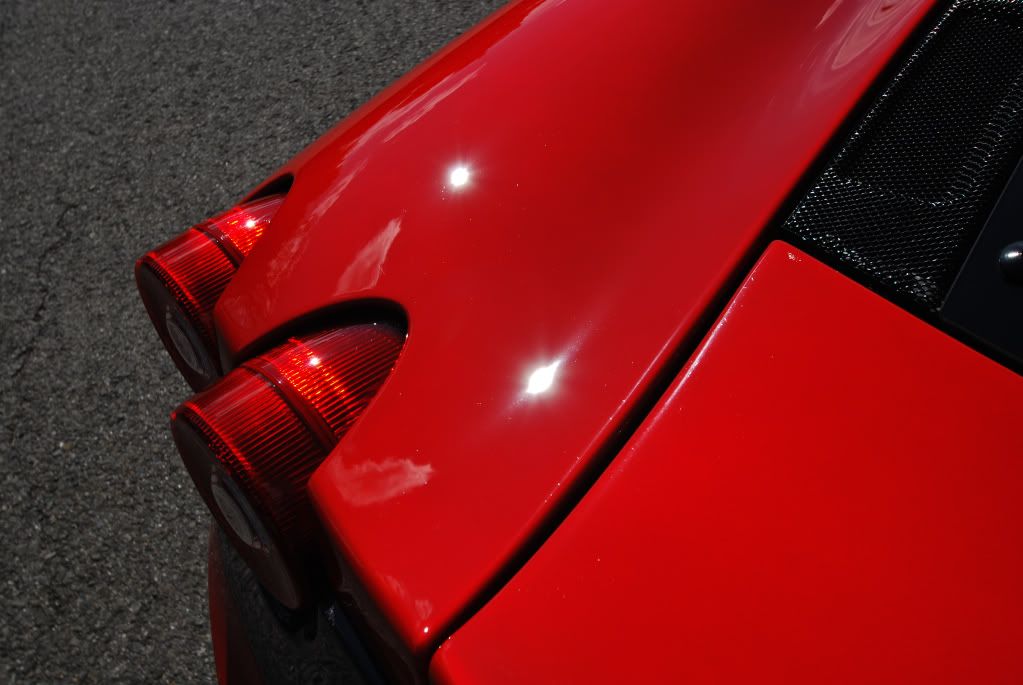
Finished pictures + sun shots

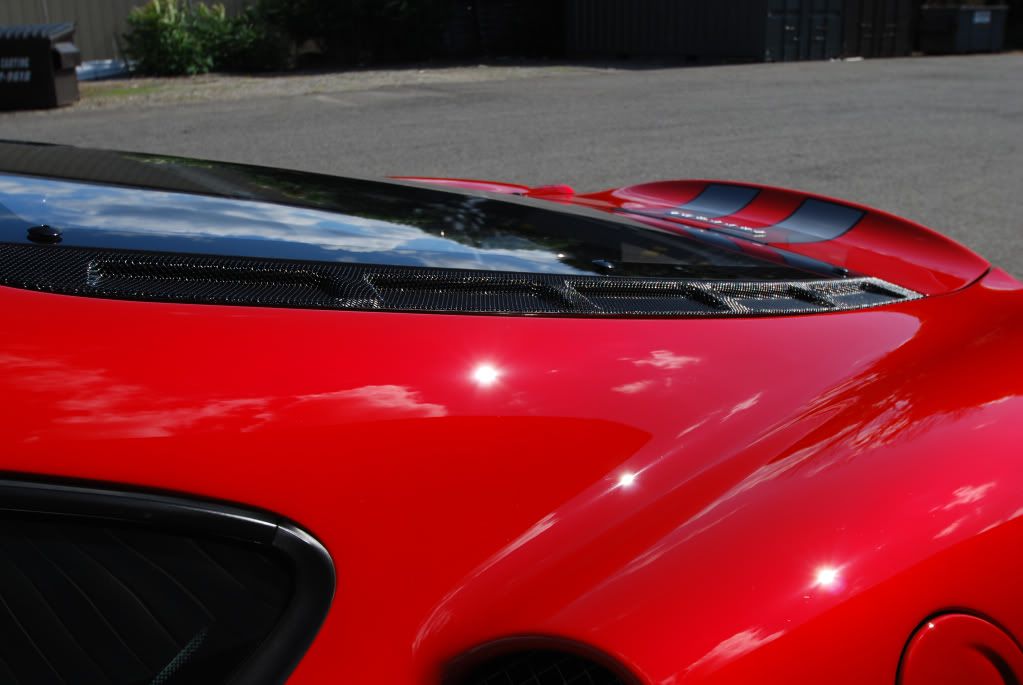
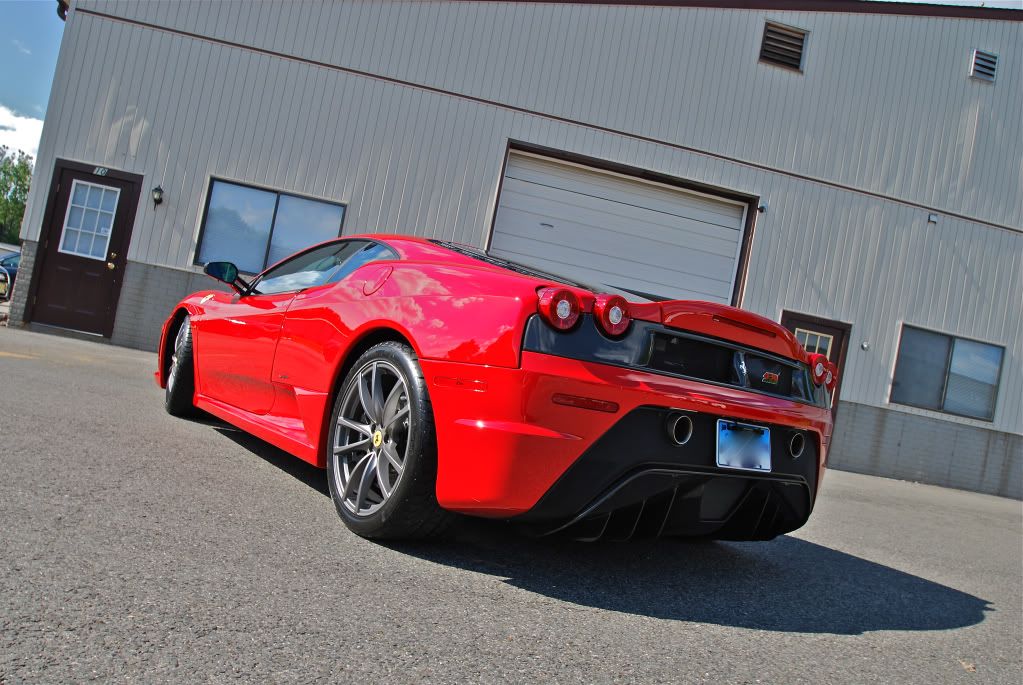
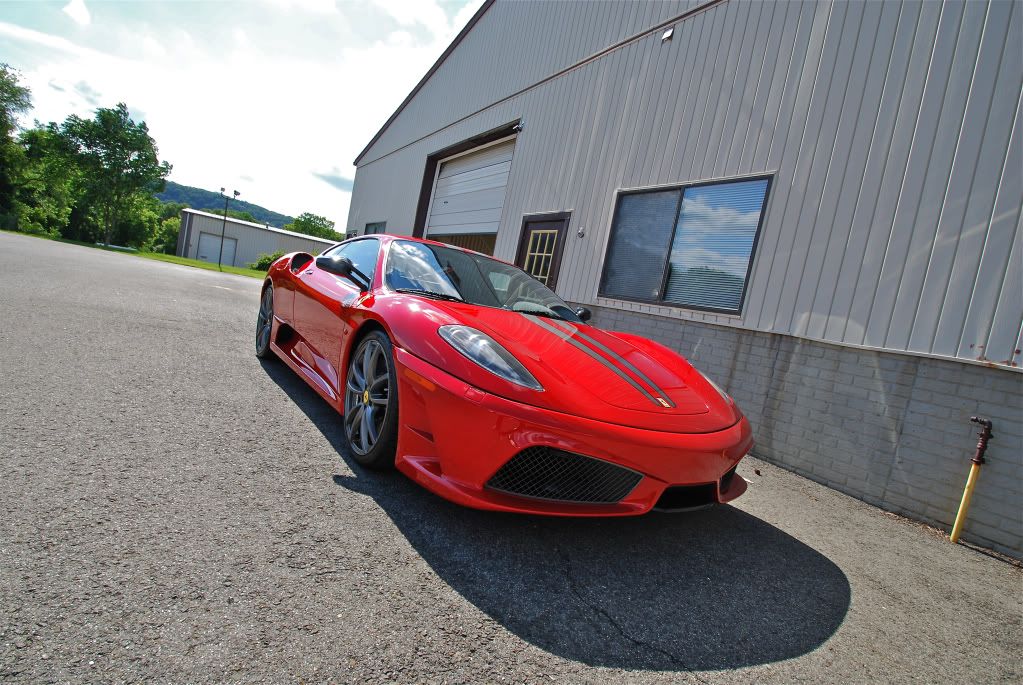
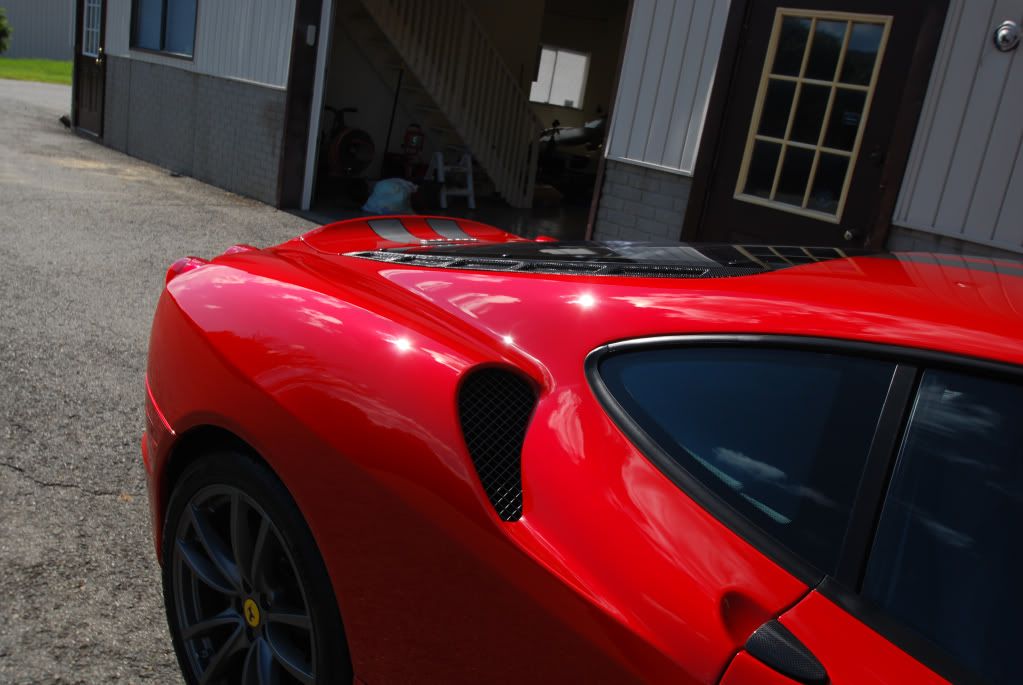
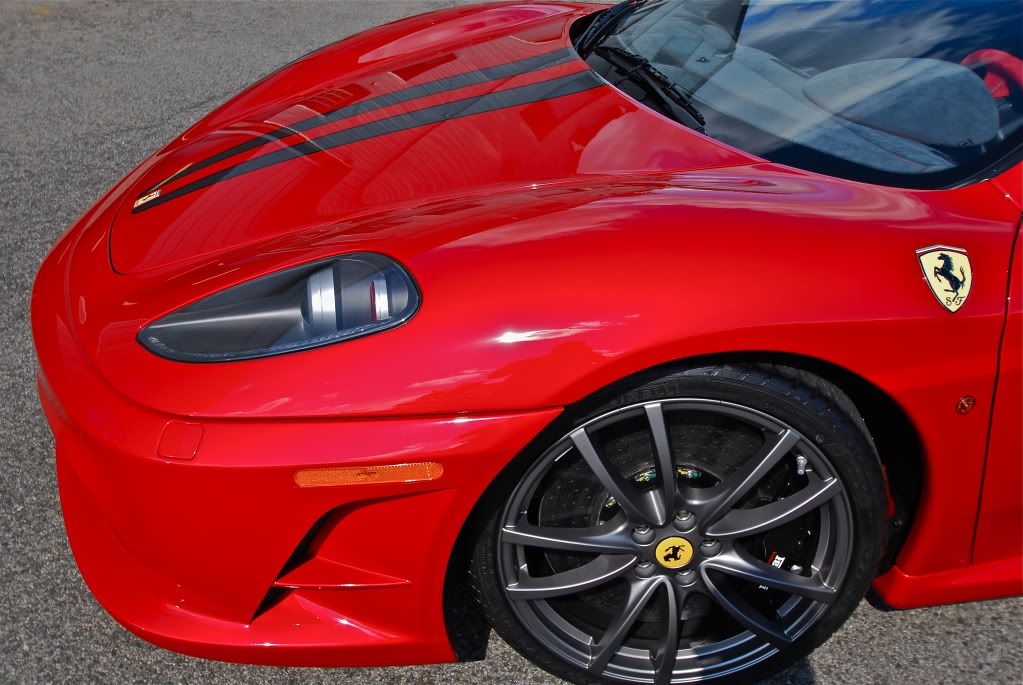
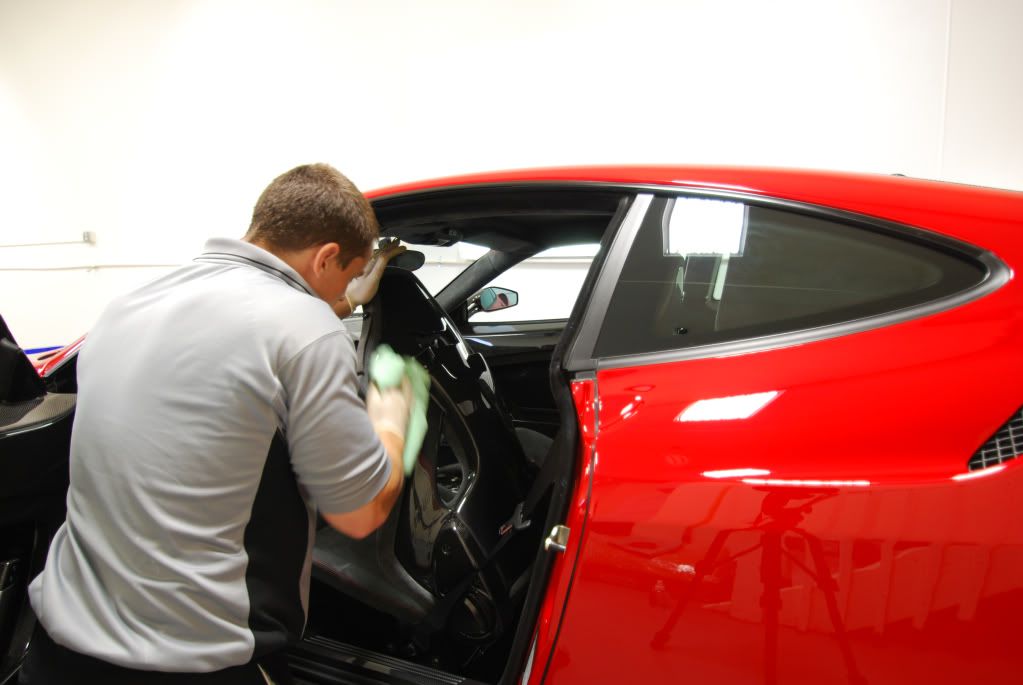
Back inside for a final wipedown
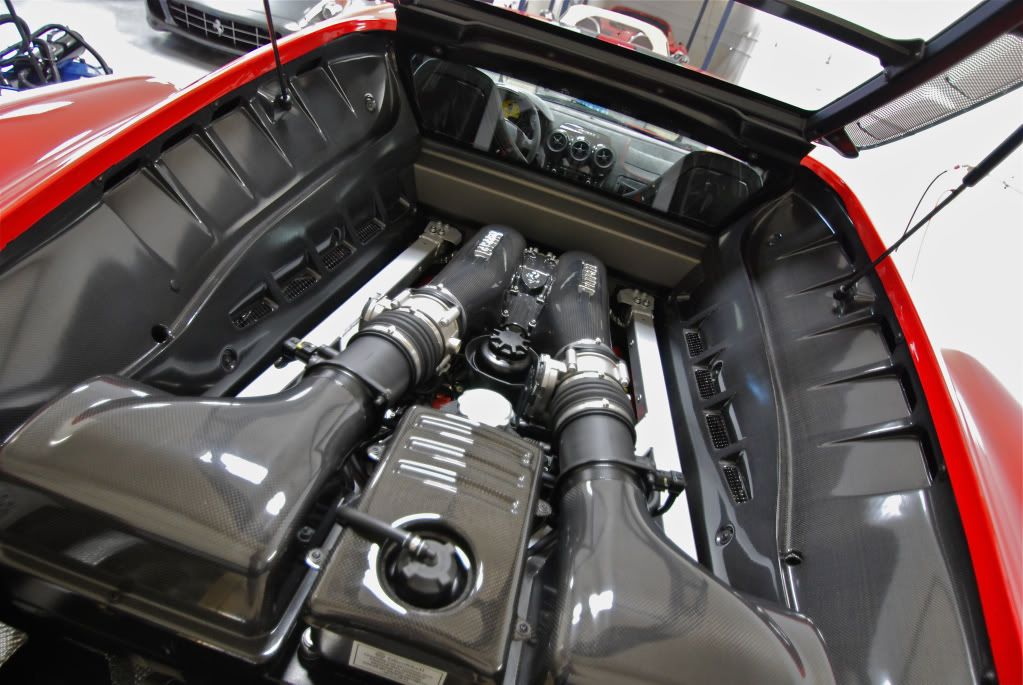
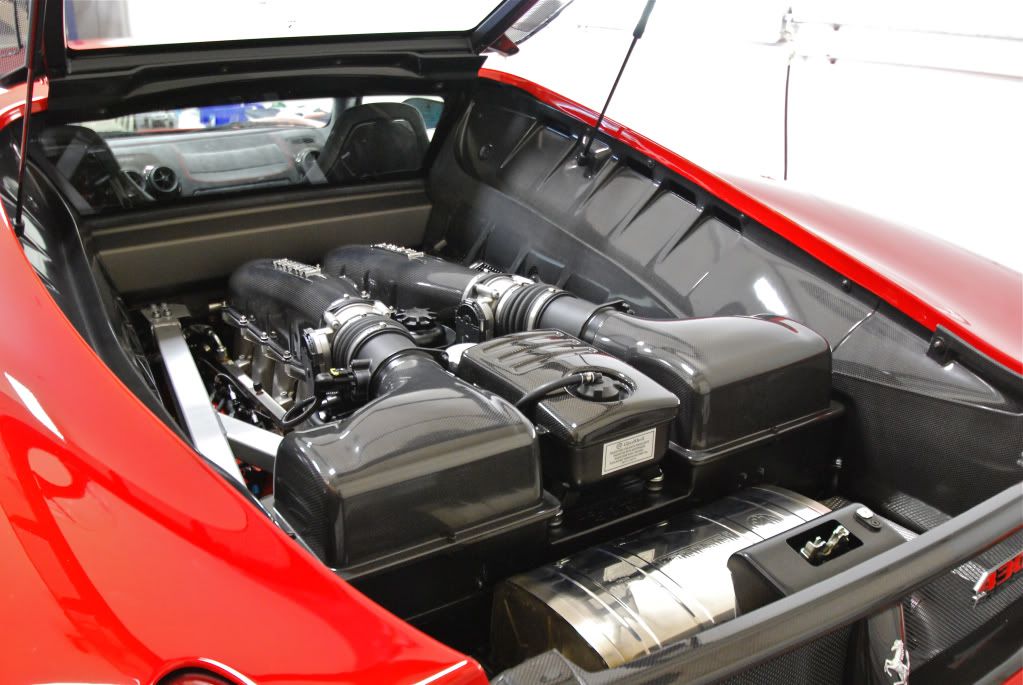
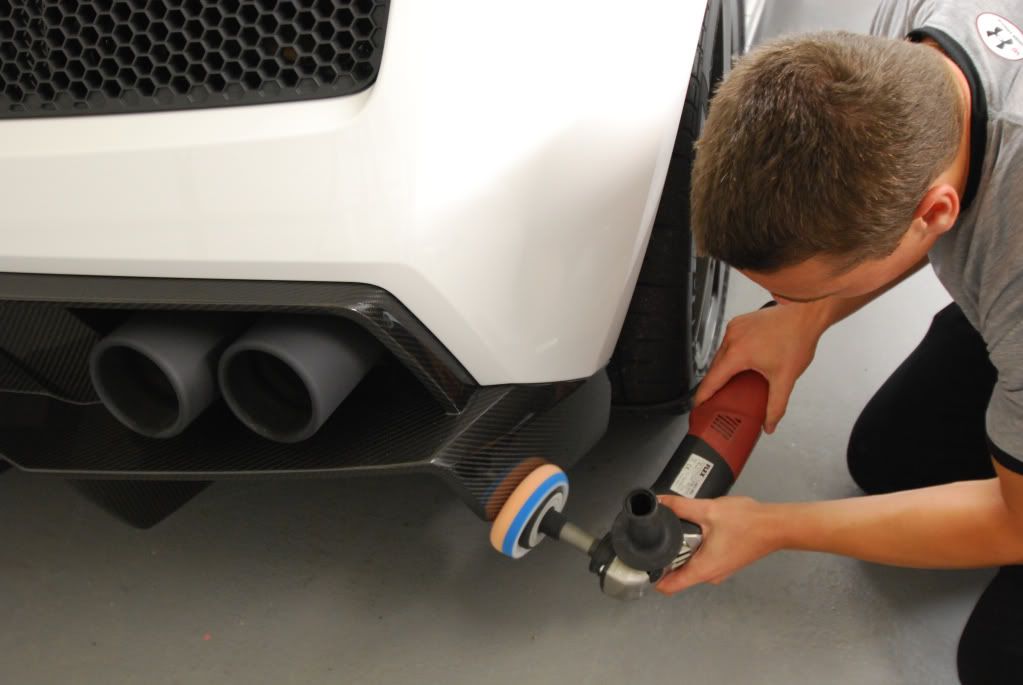
Engine finished, carbon fiber polished + protected along with alu. exhaust can
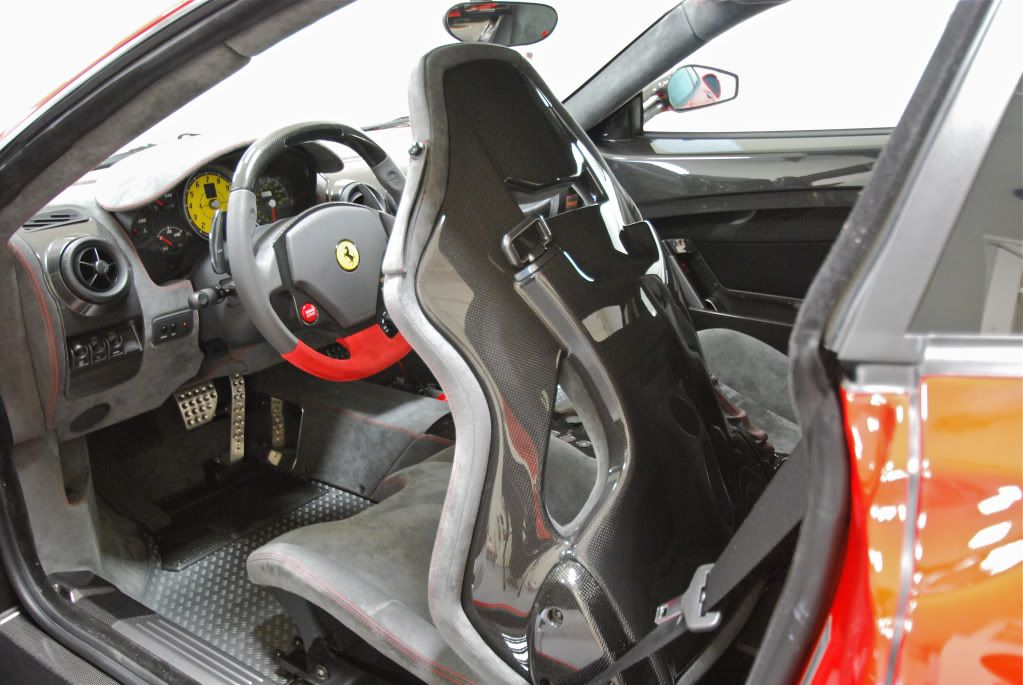
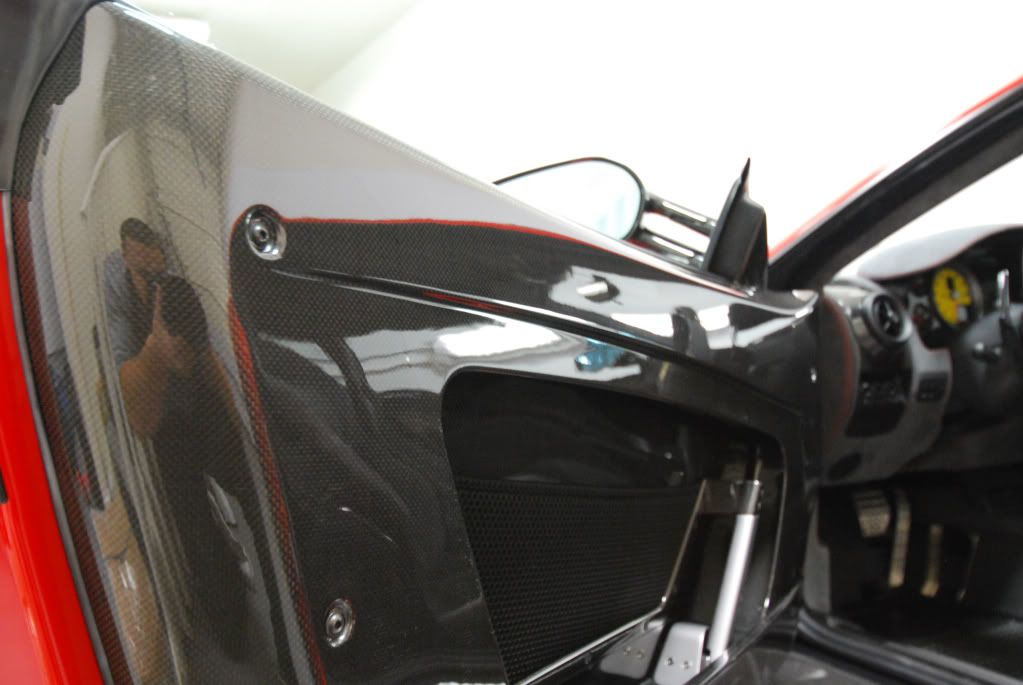
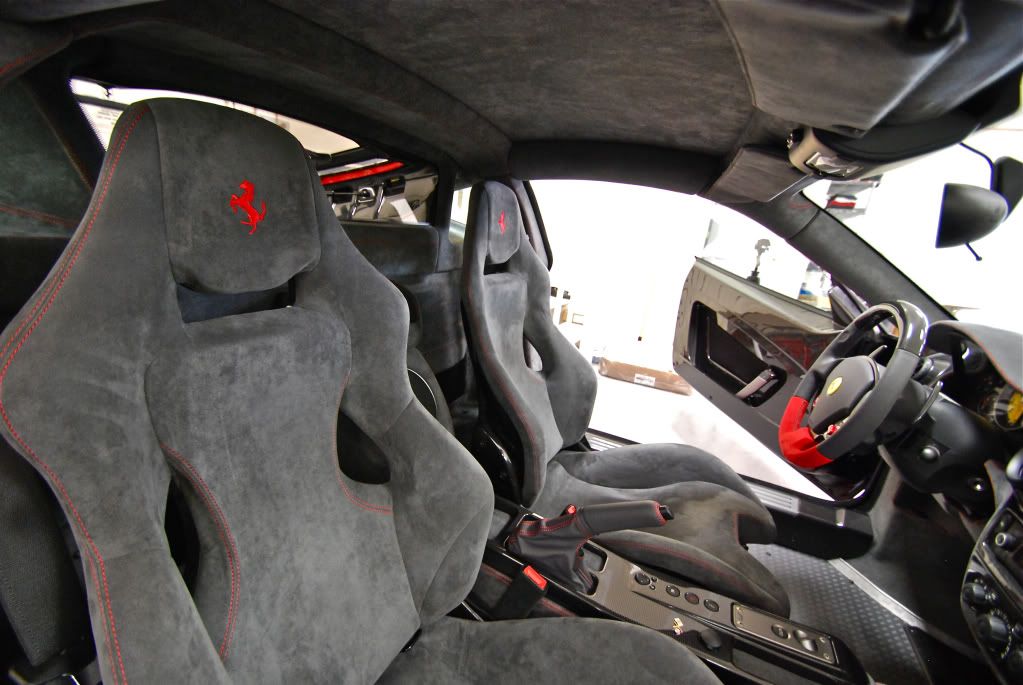
Interior finished
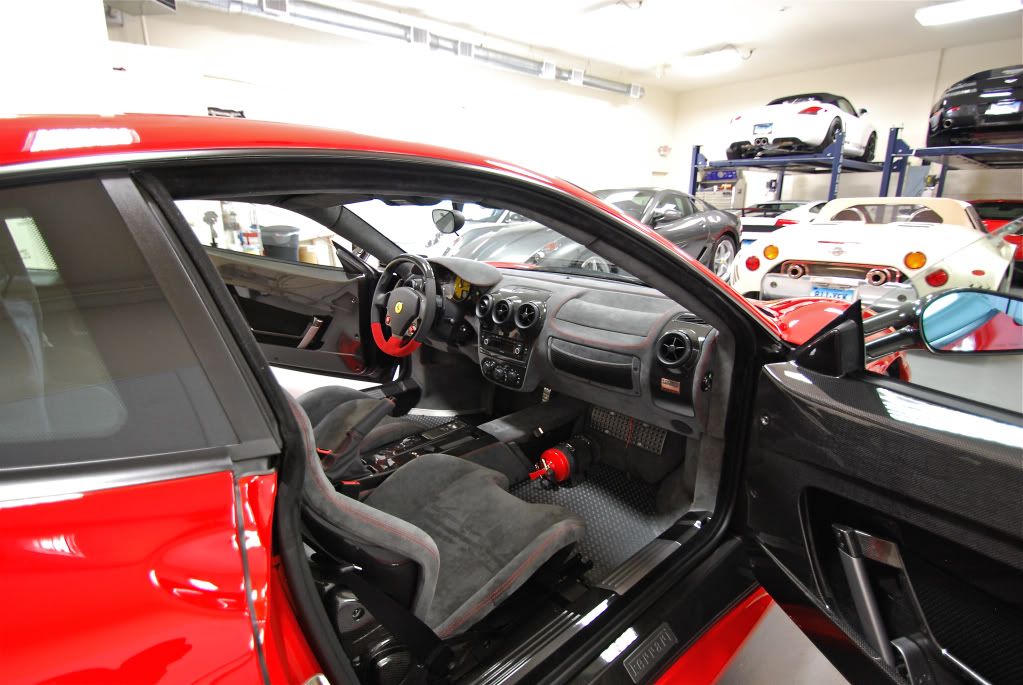
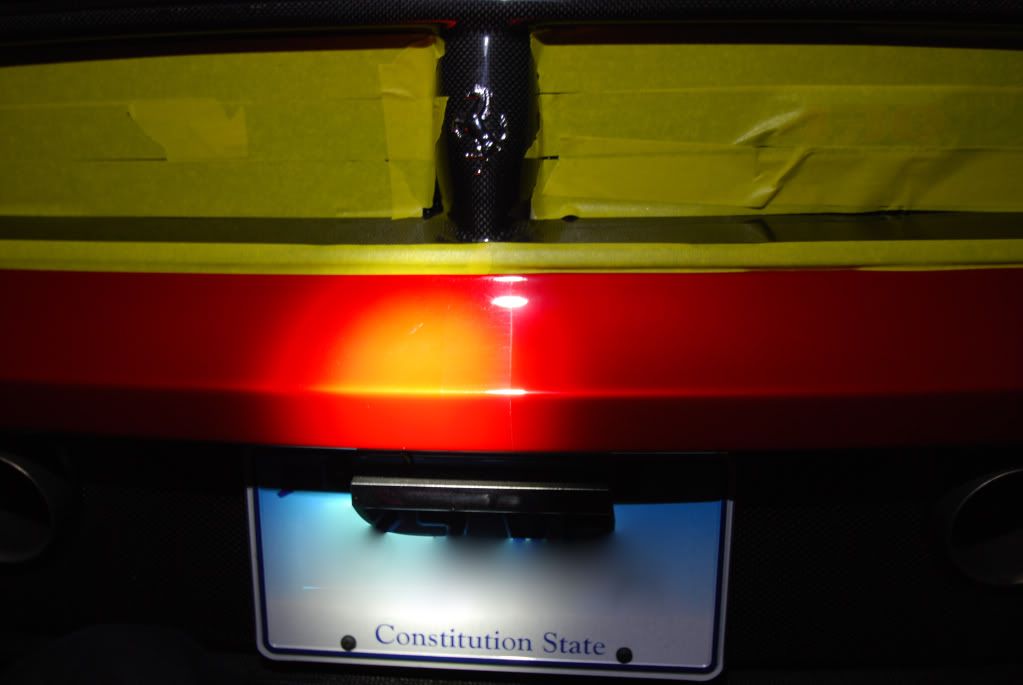
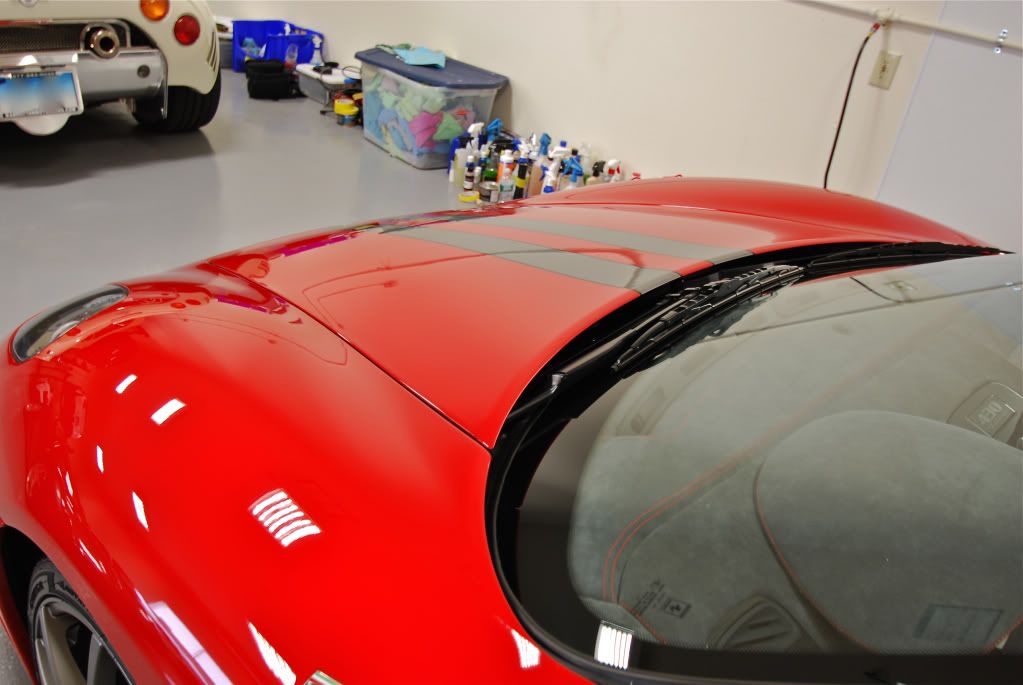
A beautiful sight, alcantara wrapped fire extinguisher atop diamond plate floor board (no mats come with a Scuderia)
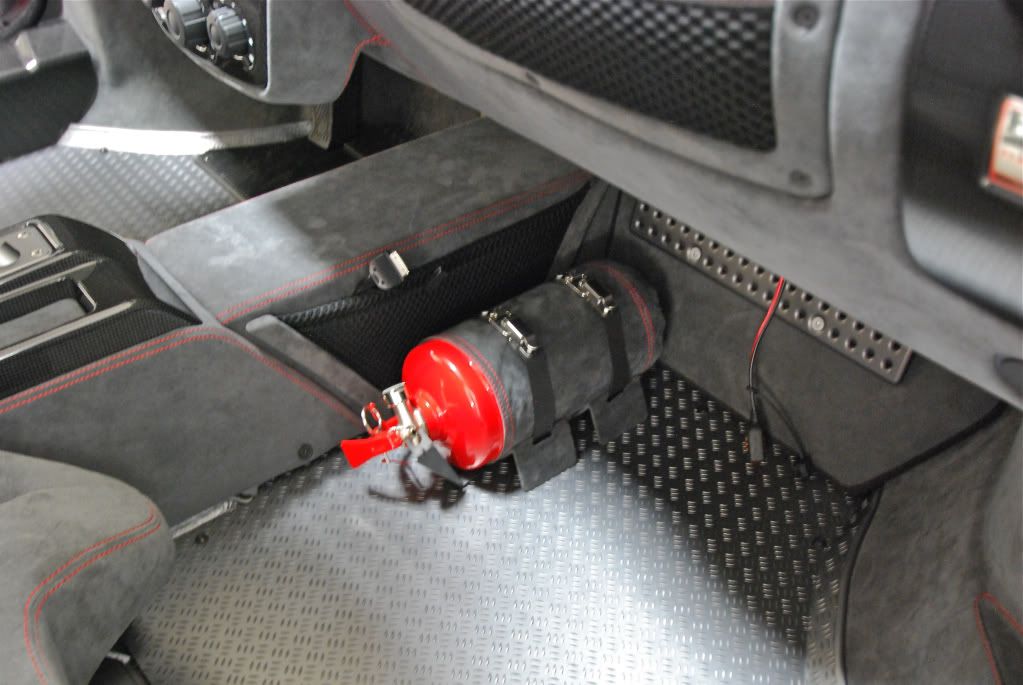

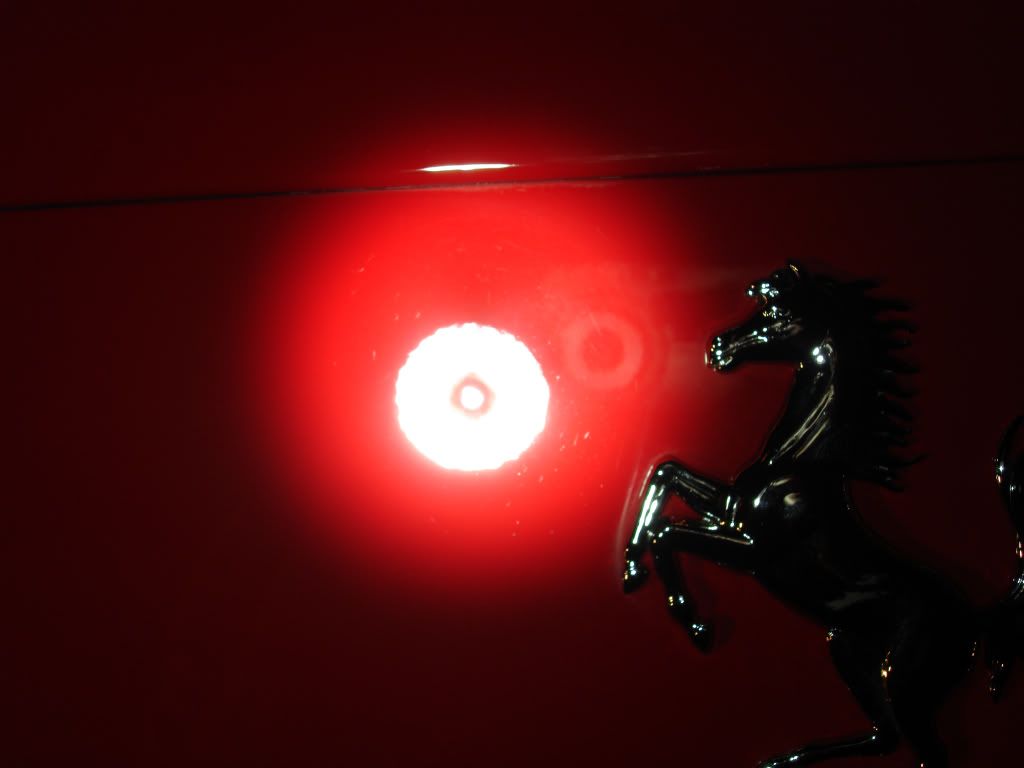
My favorite pic of the detail...
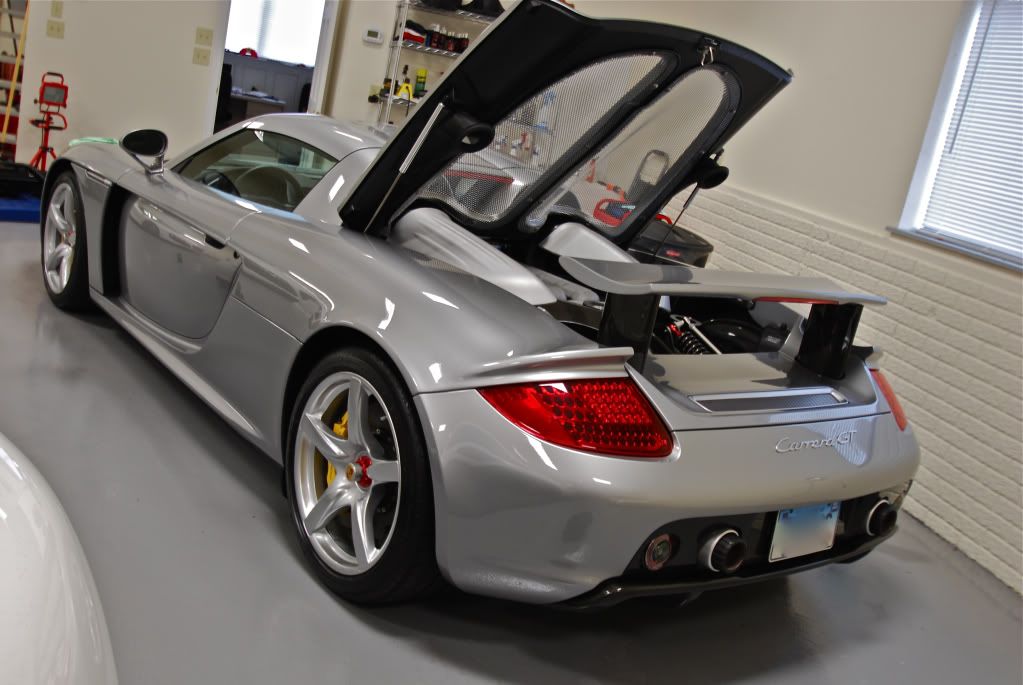
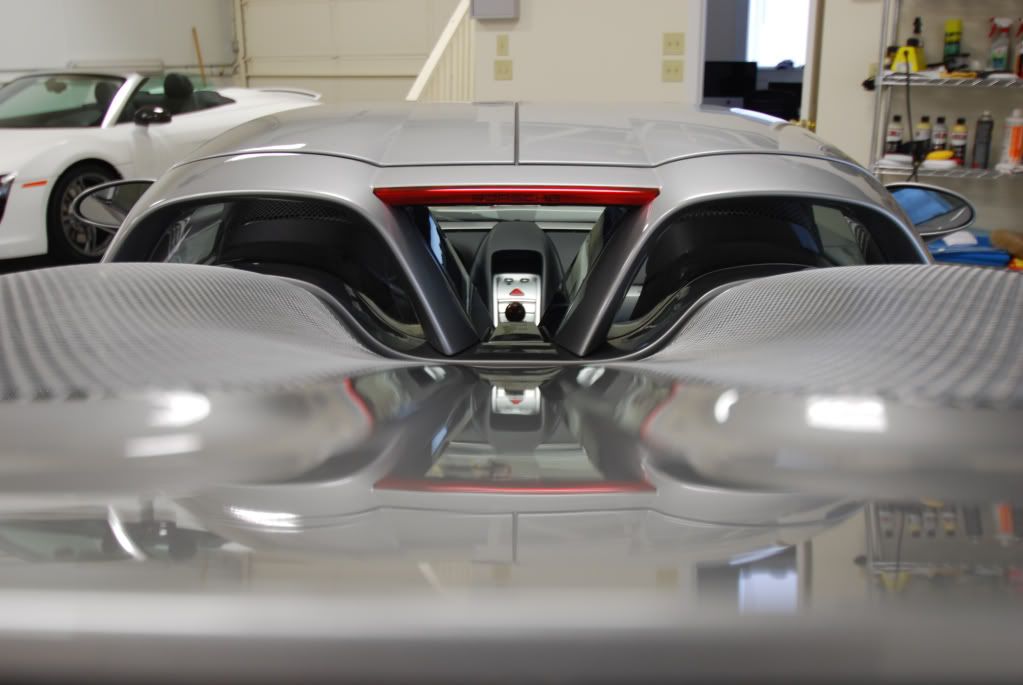
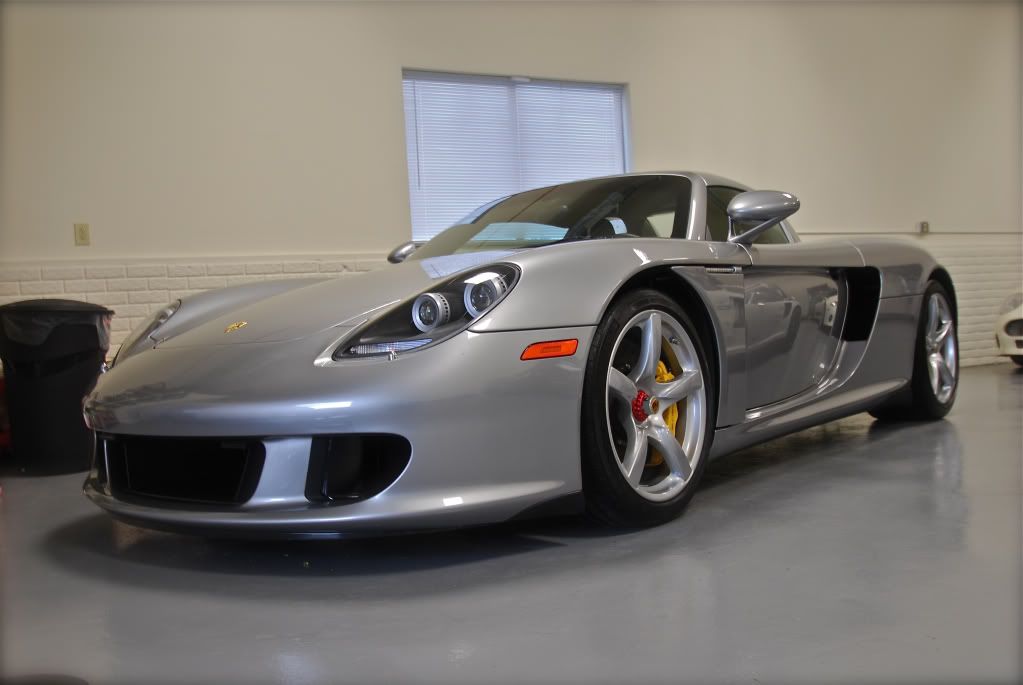
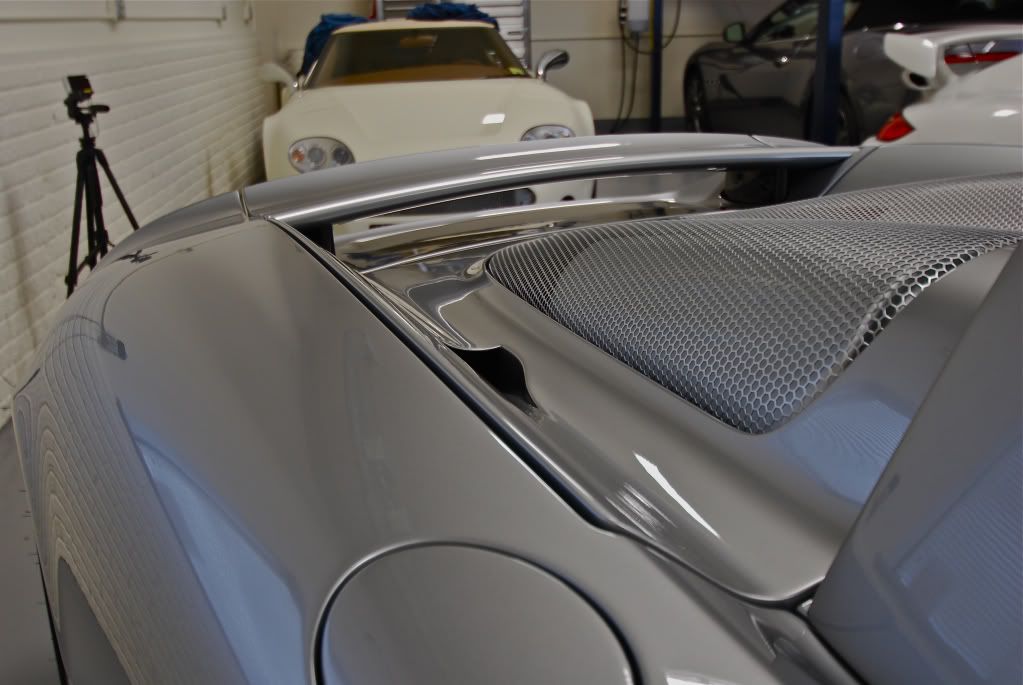
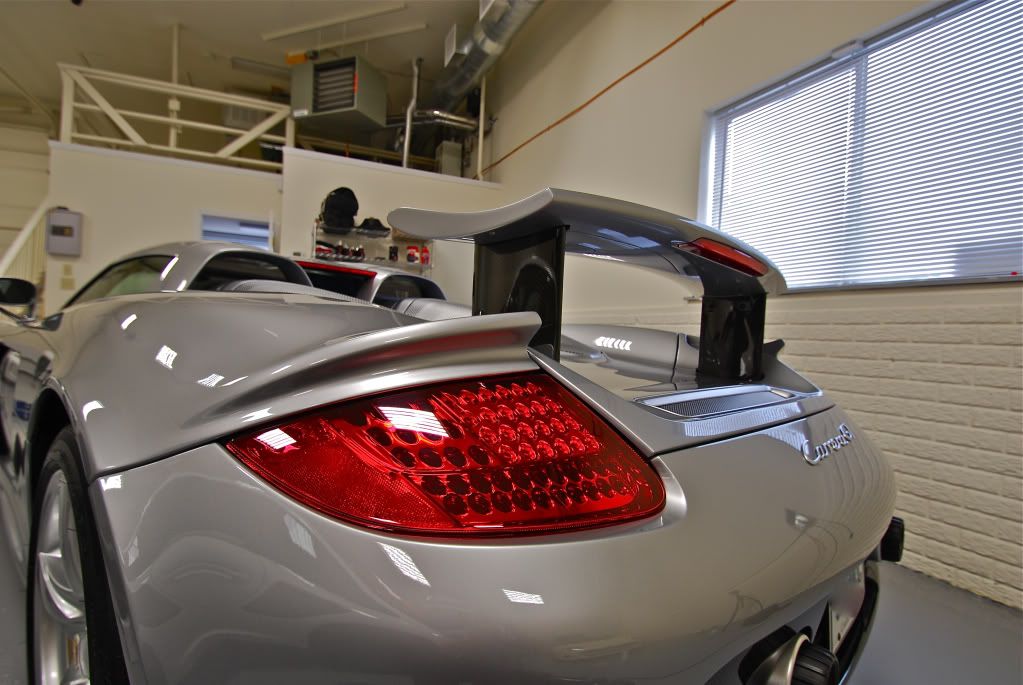
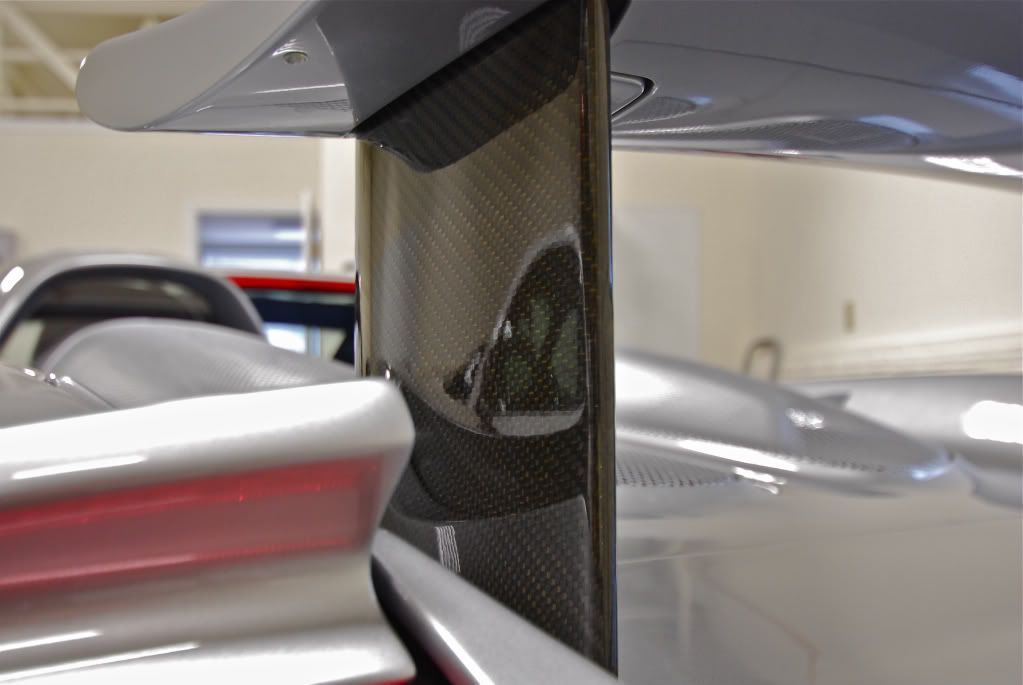
Next up: Porsche Carerra GT
This is the second C-GT in GT Silver I have done, really a stunning color and perfectly fitting on this car.
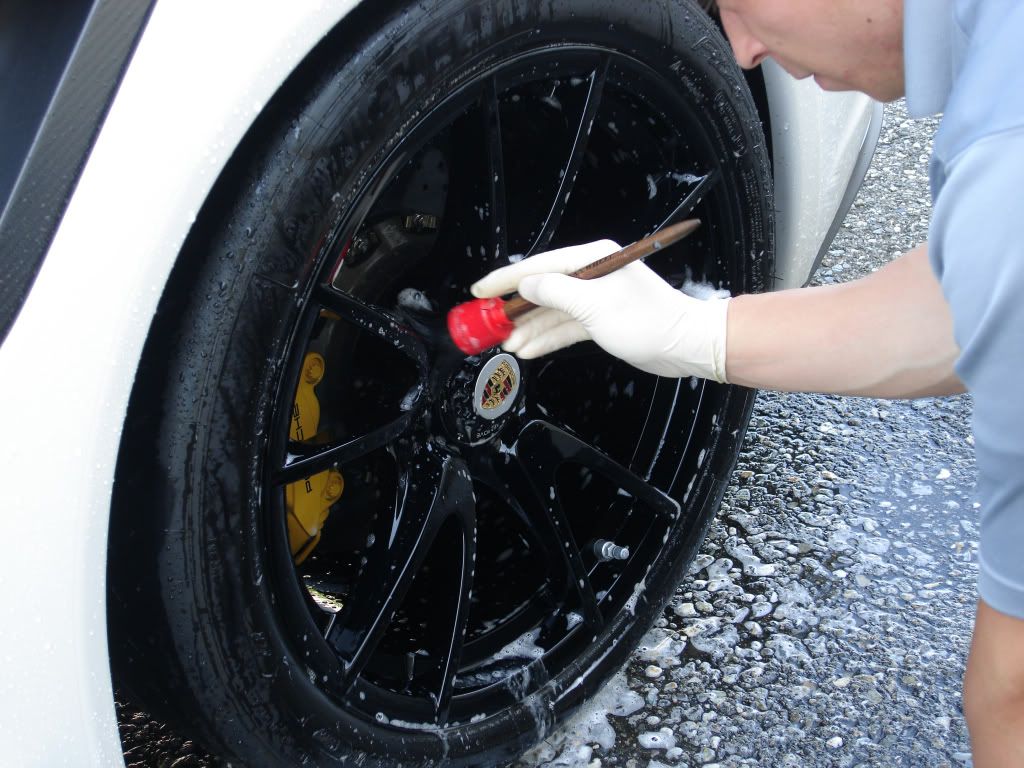
Cleaning the wheels and tires

Difference between a partially cleaned tire and a fully cleaned tire.... Sometimes cleaning tires just once is not enough. If you want your tire dressing of choice to work properly you need completely stripped rubber as seen on the left side, right side still has old dressing caked in which needs to be removed
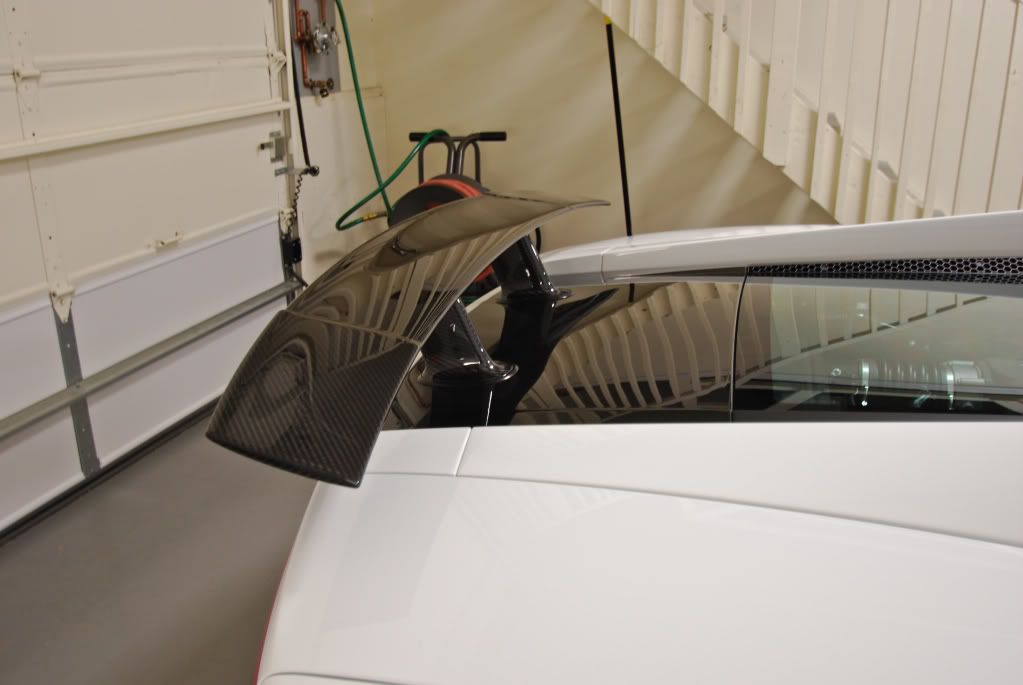
Wing raised to clay and polish as needed
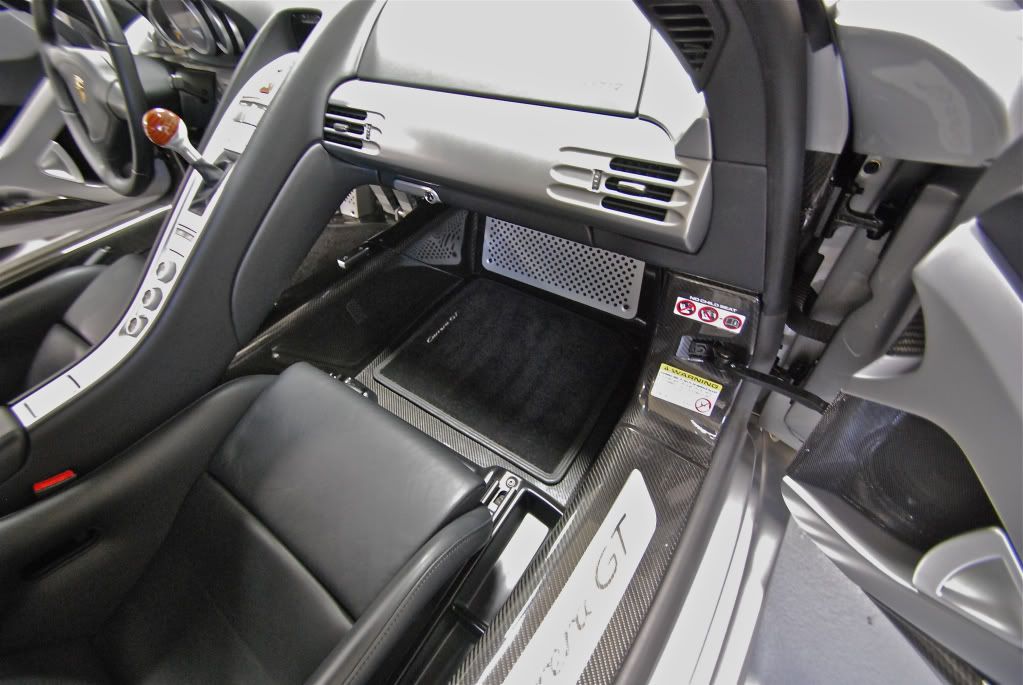
Interior work, all dried out trim and seals were treated
Leather treated with Leather Masters cleaner and conditioner, doorjambs protected with Aquartz reload
In my opinion one of the coolest/underrated features of this car, the wood grain shift knob
Finished pictures + sun shots
Back inside for a final wipedown
Engine finished, carbon fiber polished + protected along with alu. exhaust can
Interior finished
A beautiful sight, alcantara wrapped fire extinguisher atop diamond plate floor board (no mats come with a Scuderia)
My favorite pic of the detail...
Next up: Porsche Carerra GT
This is the second C-GT in GT Silver I have done, really a stunning color and perfectly fitting on this car.
Cleaning the wheels and tires
Difference between a partially cleaned tire and a fully cleaned tire.... Sometimes cleaning tires just once is not enough. If you want your tire dressing of choice to work properly you need completely stripped rubber as seen on the left side, right side still has old dressing caked in which needs to be removed
Wing raised to clay and polish as needed
Interior work, all dried out trim and seals were treated
Leather treated with Leather Masters cleaner and conditioner, doorjambs protected with Aquartz reload
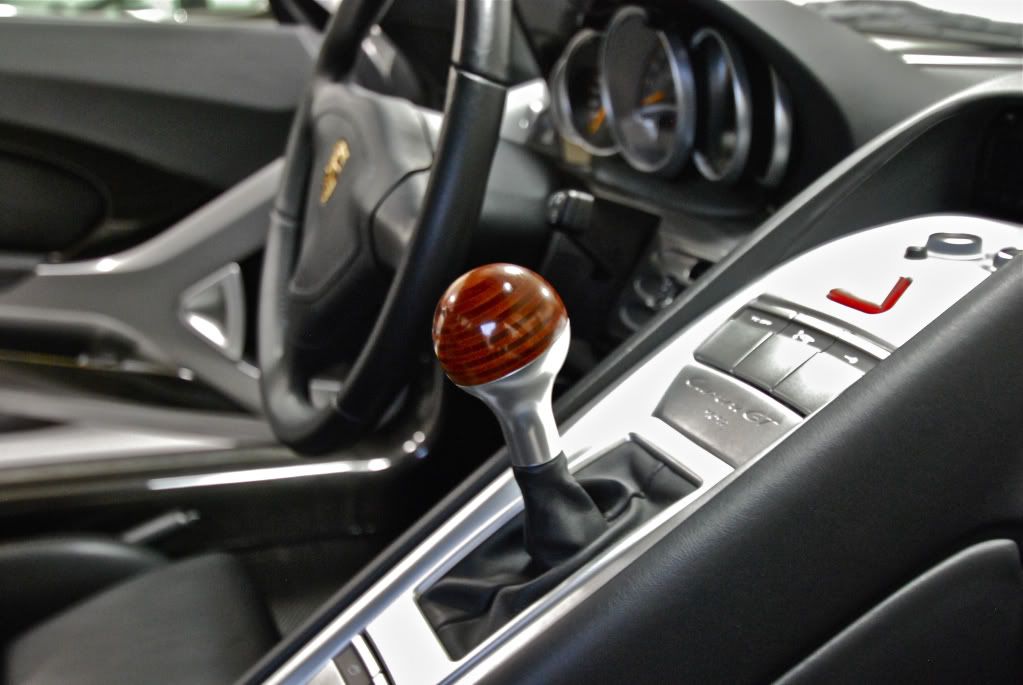
In my opinion one of the coolest/underrated features of this car, the wood grain shift knob
Street Dreams
New member
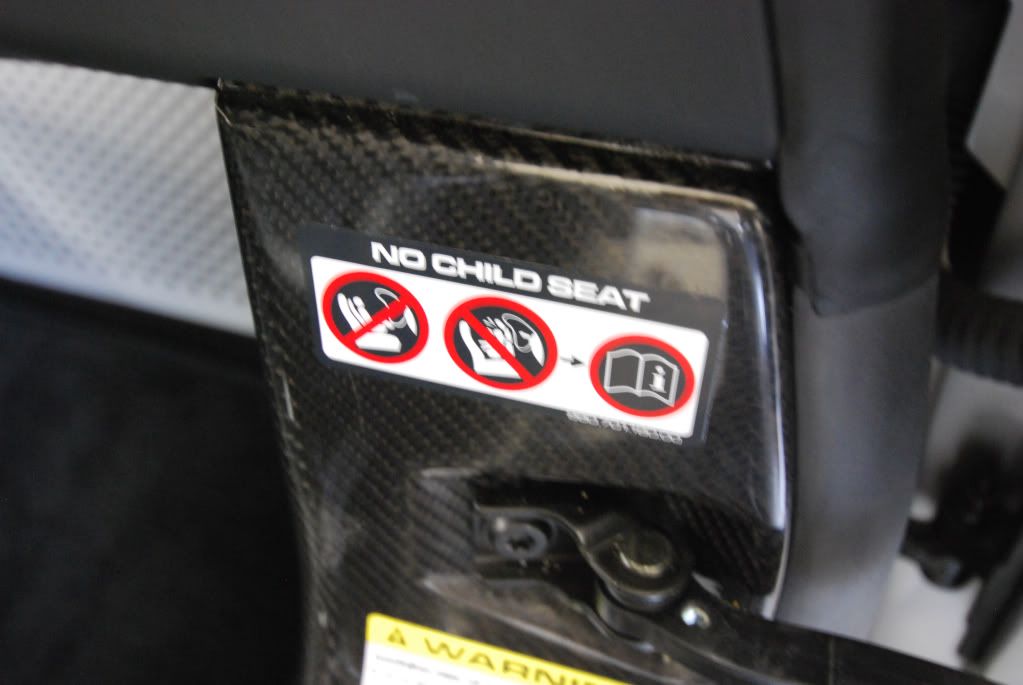
Attentional all potential Carerra GT buyers, your infant unfortunately cannot ride with you to school, or at trackdays :tiptoe:
Paint polished with PO85rd on a finishing pad, LSP was Wofls Body Wrap
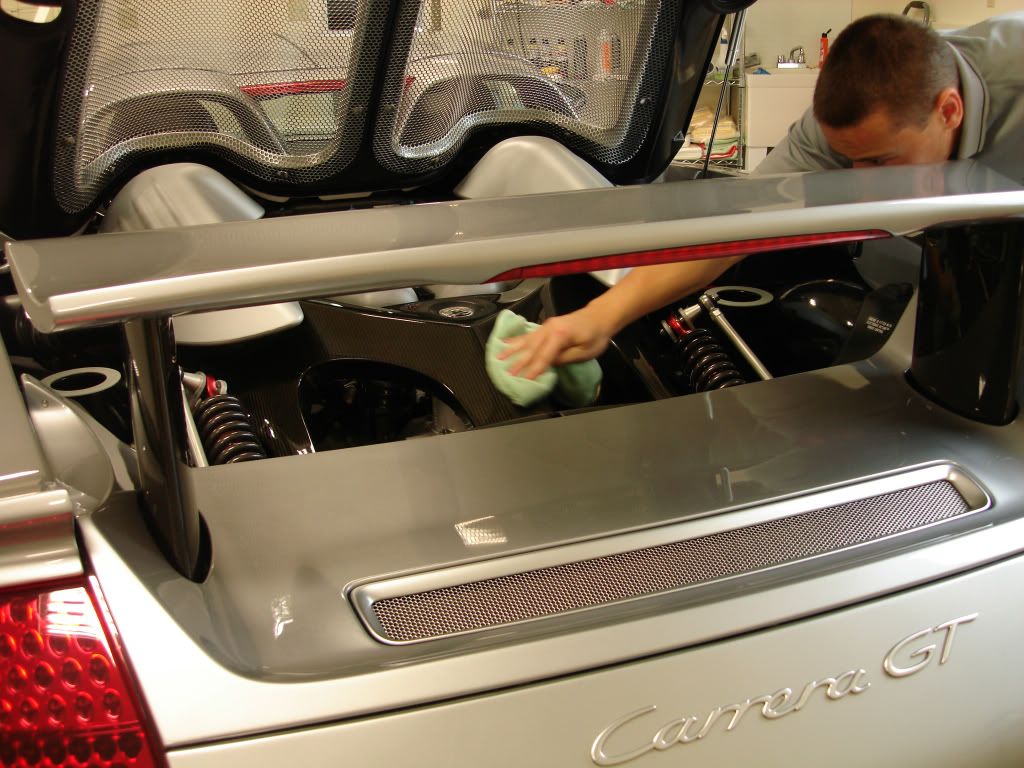
Engine bay and carbon bits detailed/protected
Finished with Wolfs Body Wrap

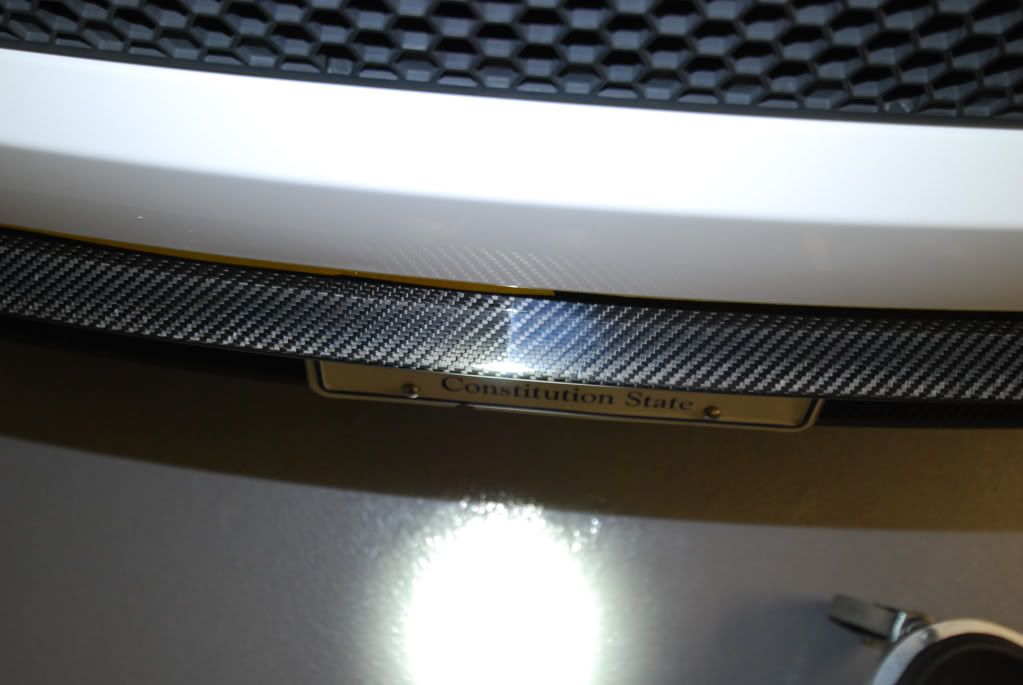
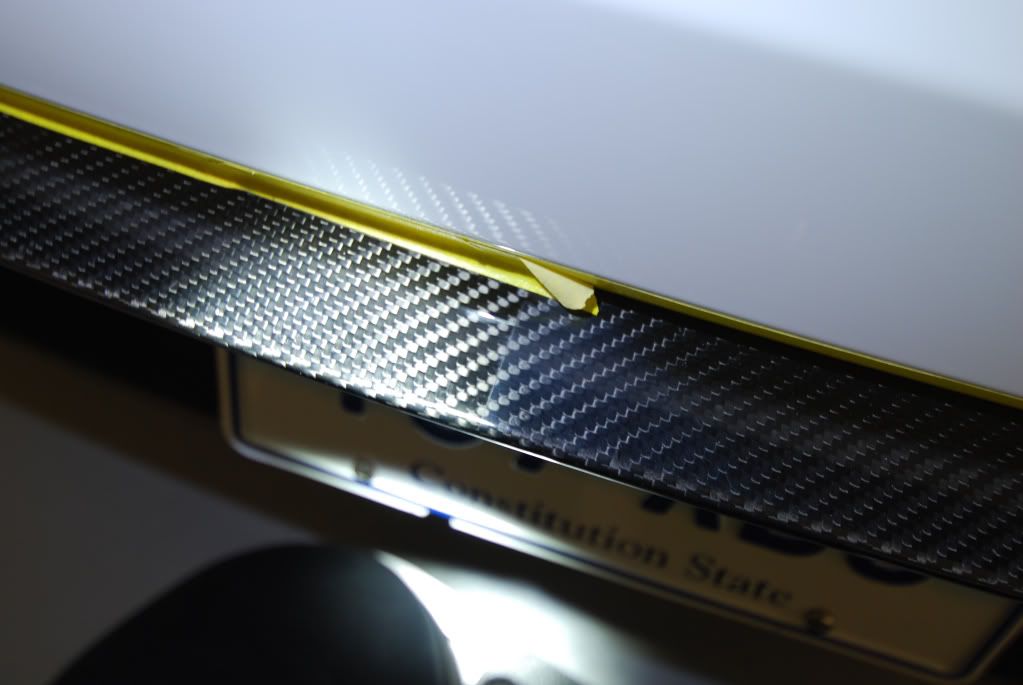
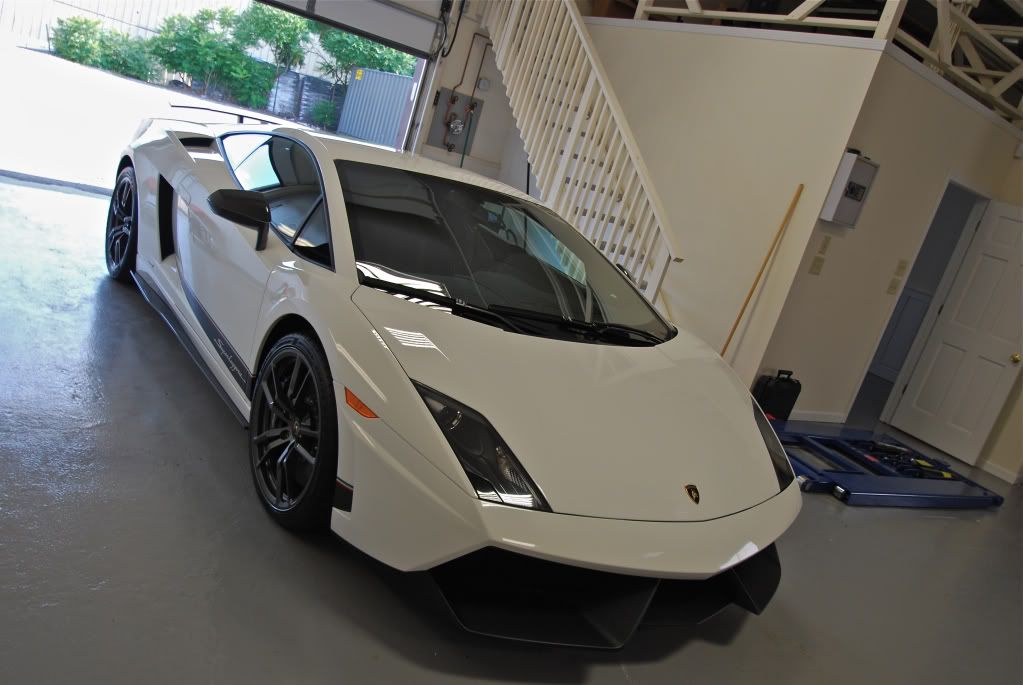
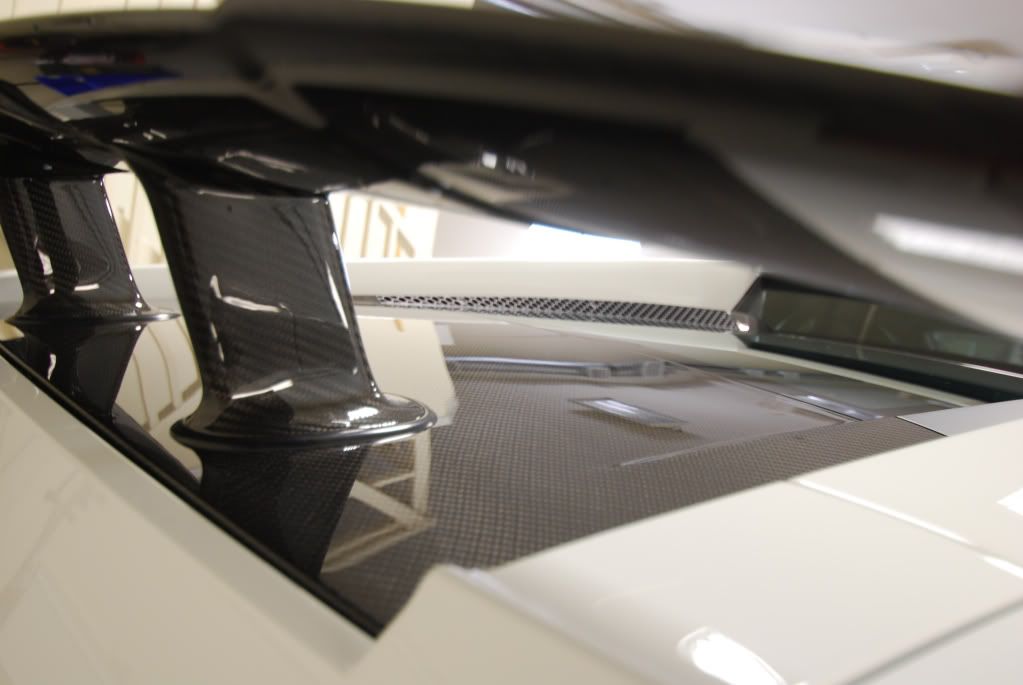
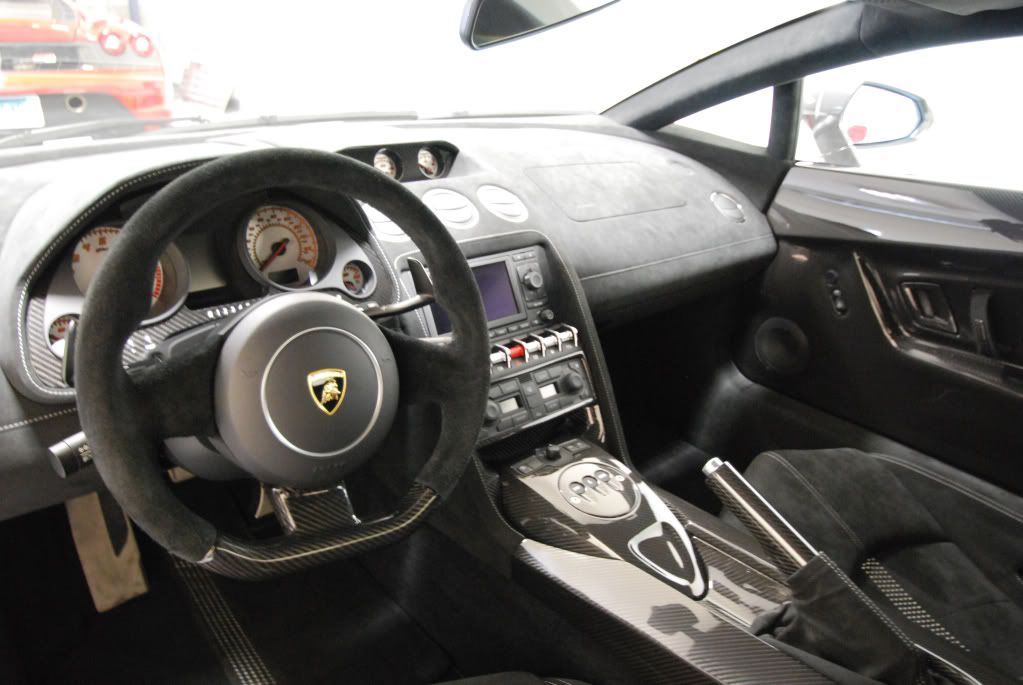
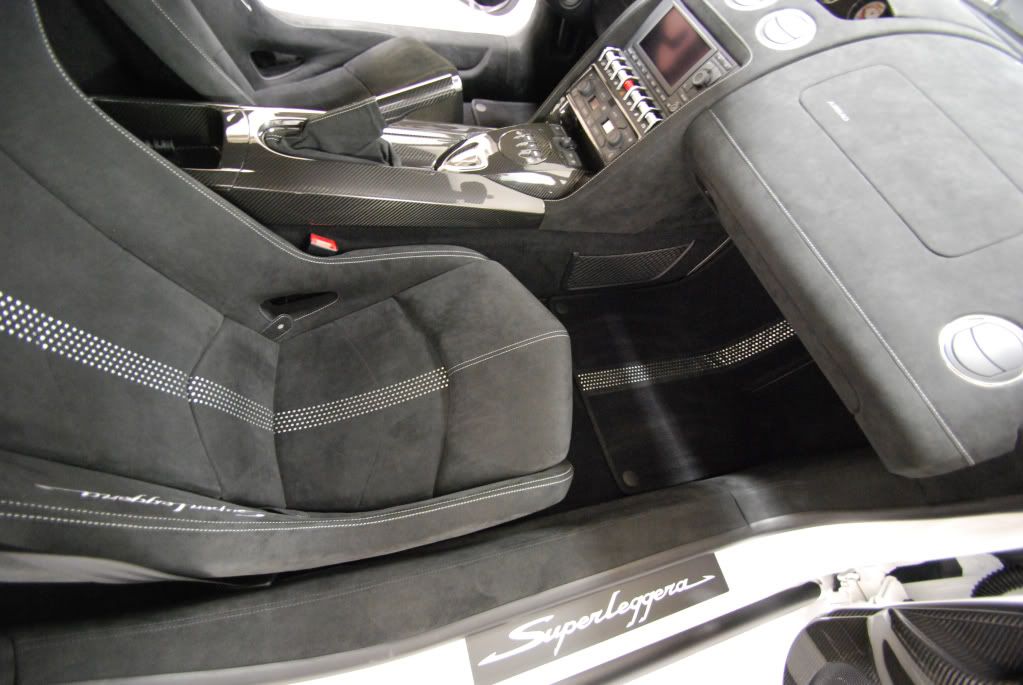
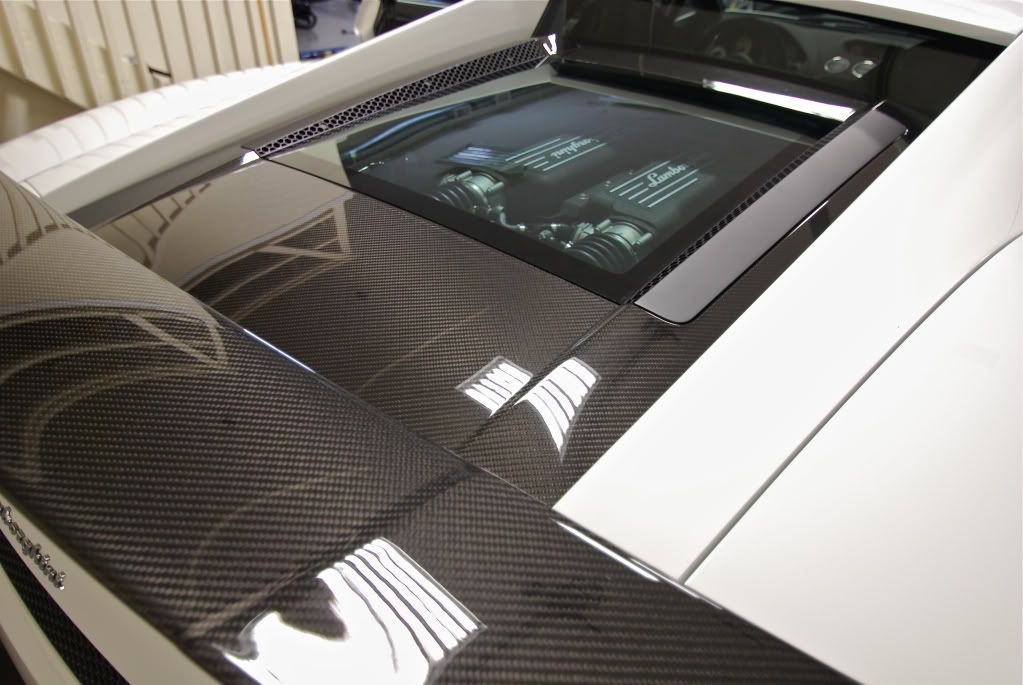
Next: Lamborghini LP570-4 Superleggera
This car was in generally clean shape but the finish in some areas needed a lot of work polishing work to show its full potential.
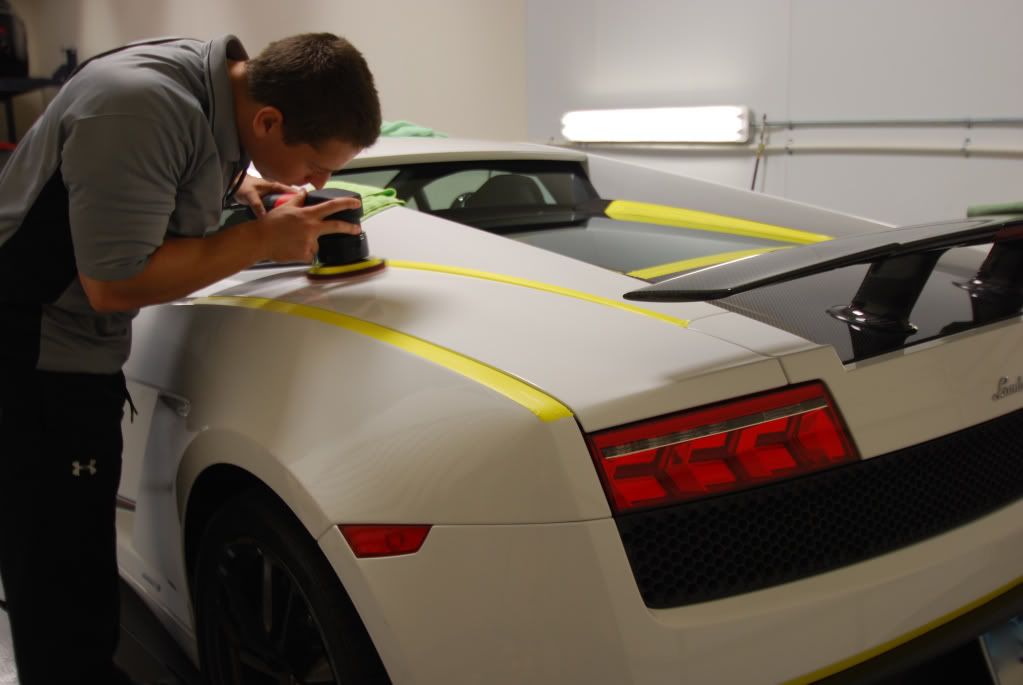
After prep I taped off all necessary areas
Removing defects and haze with Meguiars M105 and the MF cutting disc, this was a fairly slow process as Lamborghini paint is quite hard
Before shots of the finish

Buffer trails
50:50
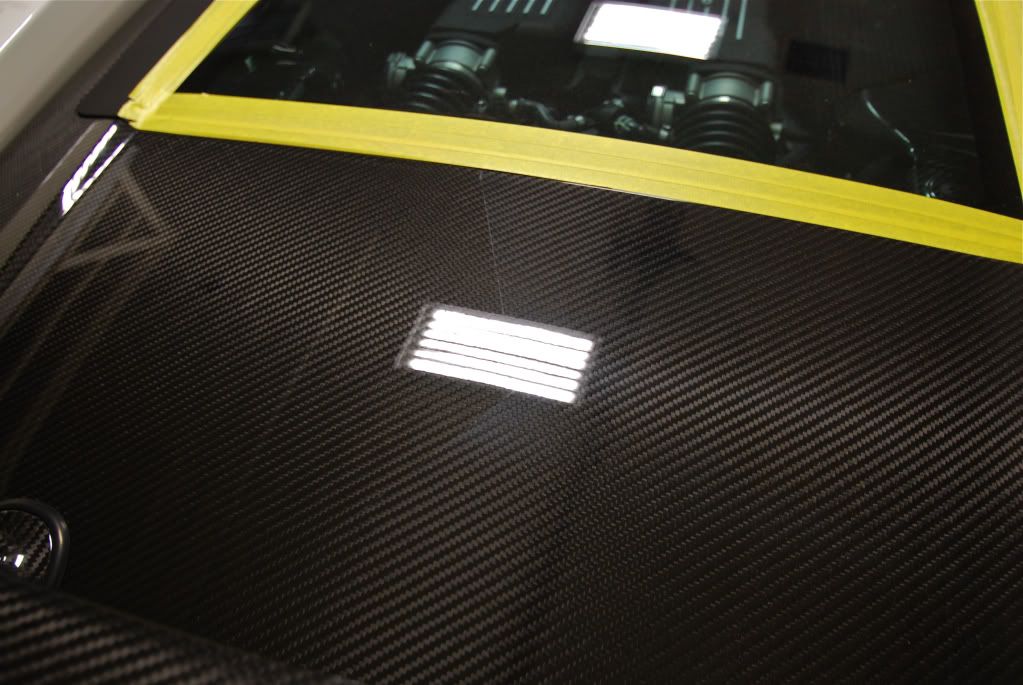
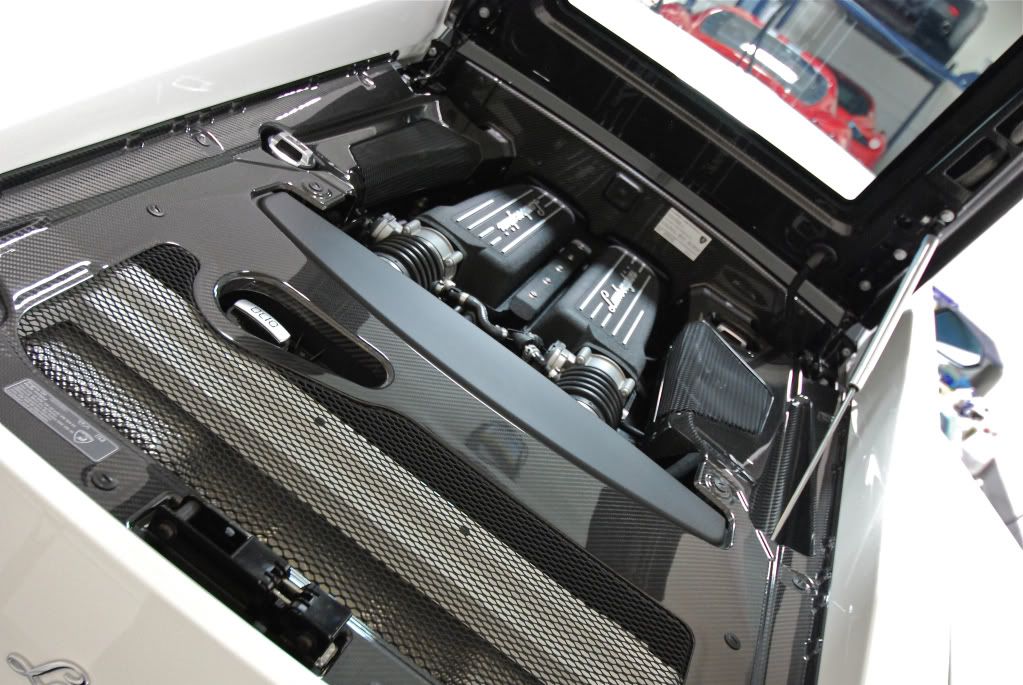
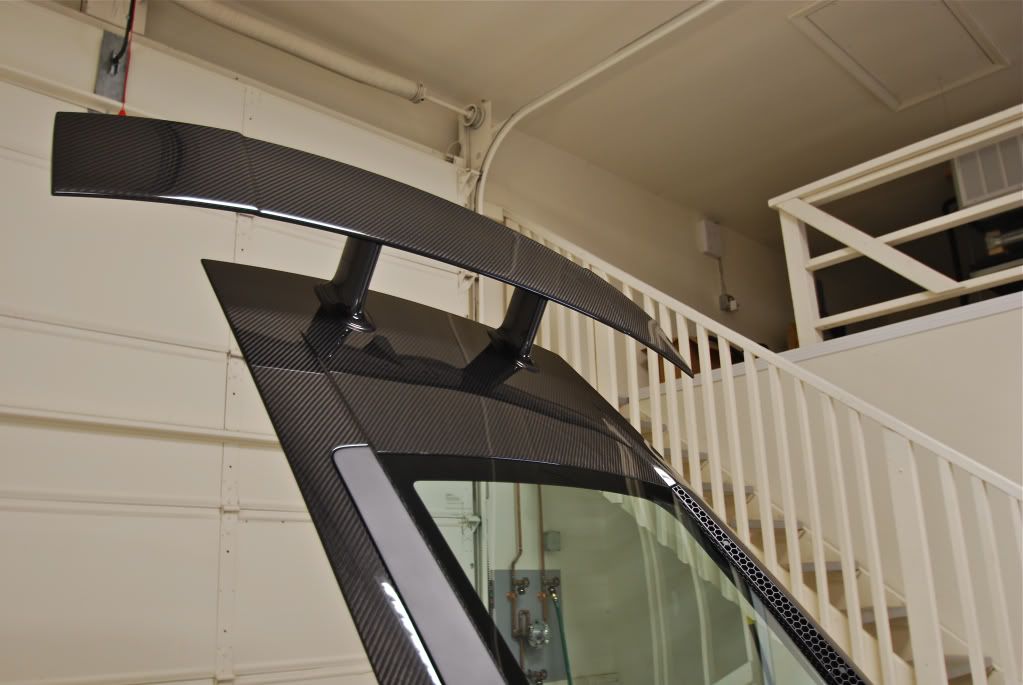
Carbon fiber engine cover had the same issues, needed a few polishing stages to get back to 100%
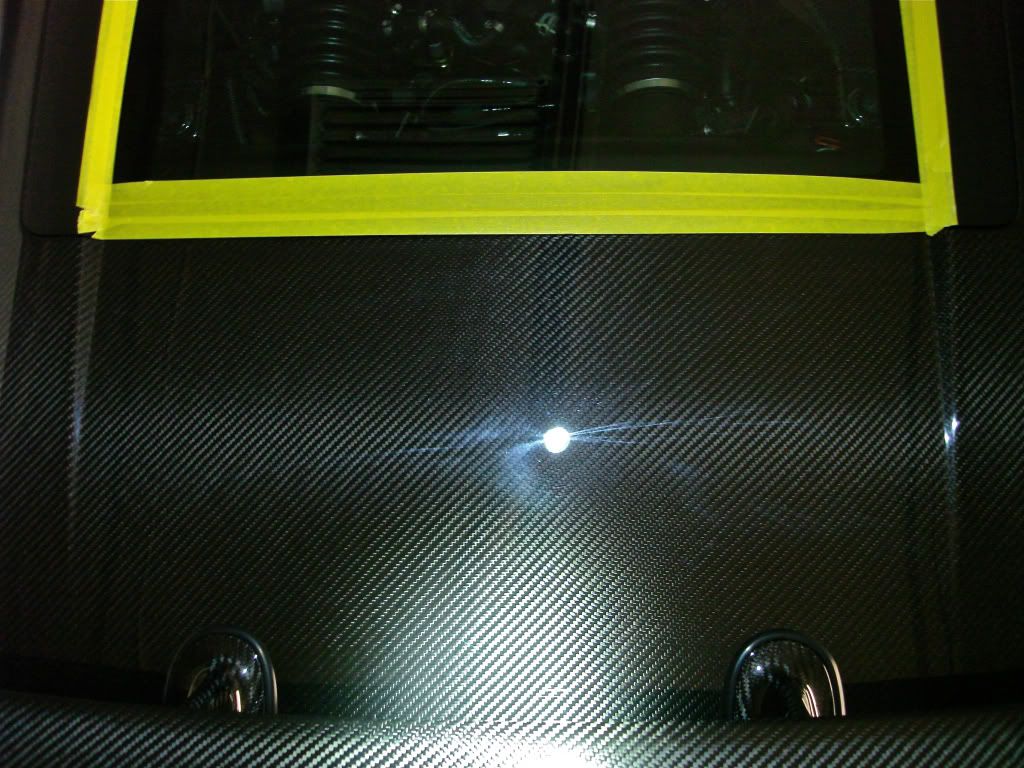
50:50 note the difference in color and clarity between the polished and unpolished side
Smallers areas done in 3" pads

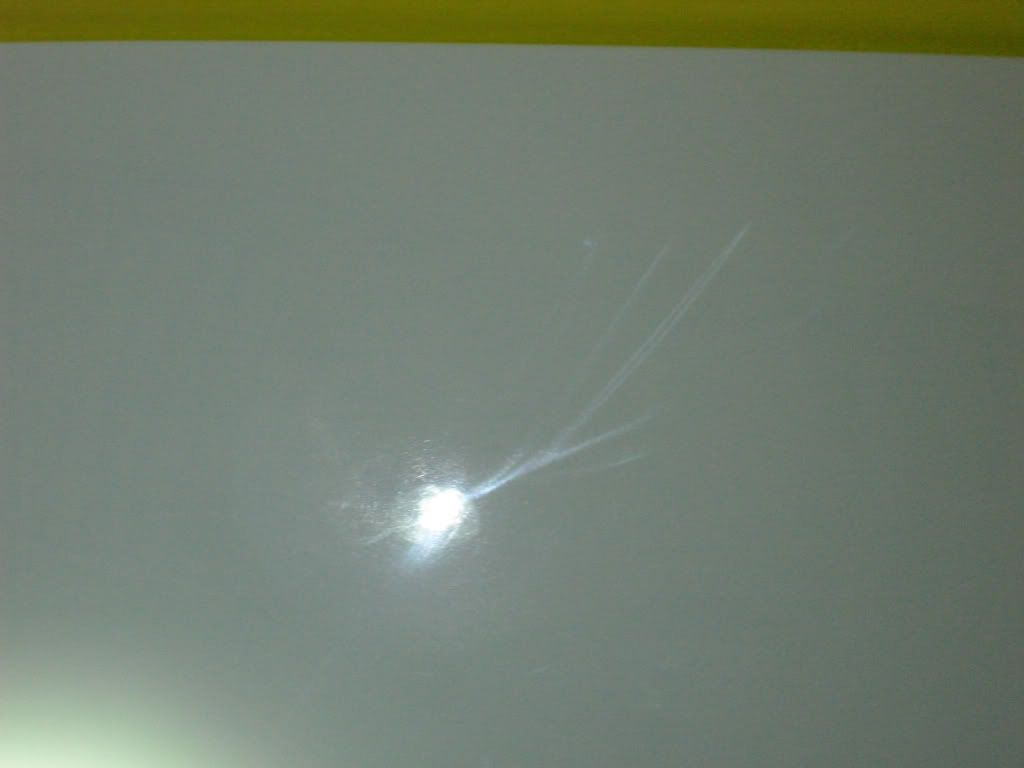
The whole rear bumper/diffuser needed a lot of work. Factory sanding scratches here were blatant and some had not even been attempted to get polished out.
Example:

After
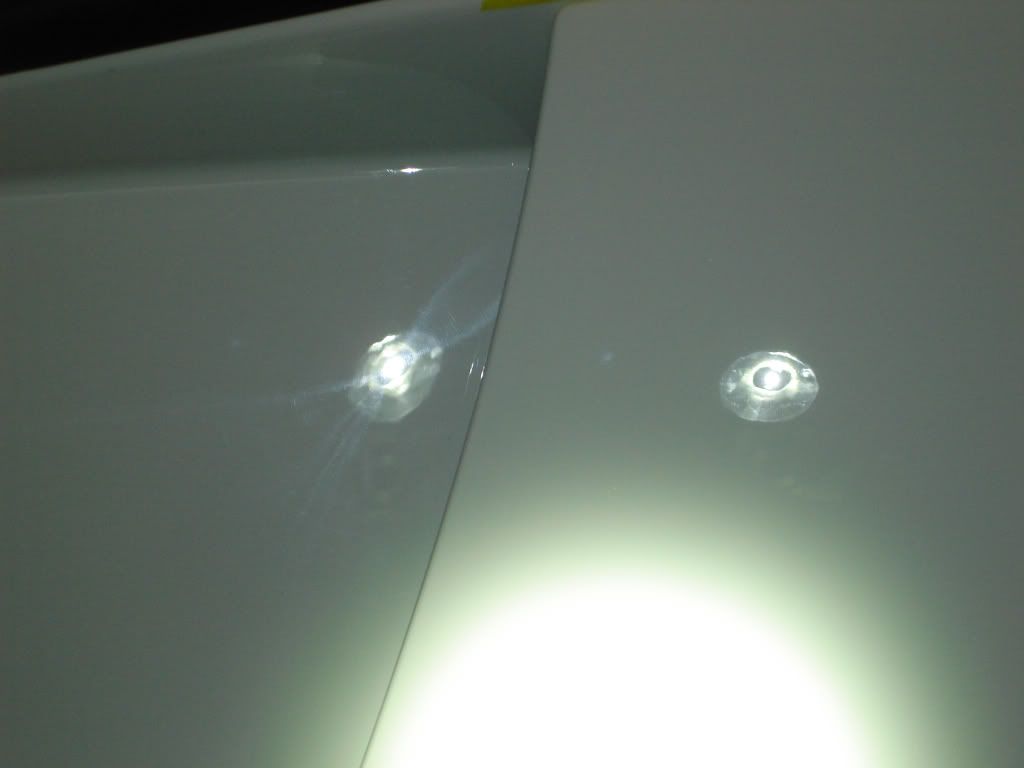
CF by the license plate made for a tight fit during correction but again holograms and swirls needed to be removed
50:50 lots of haze on the CF before polishing
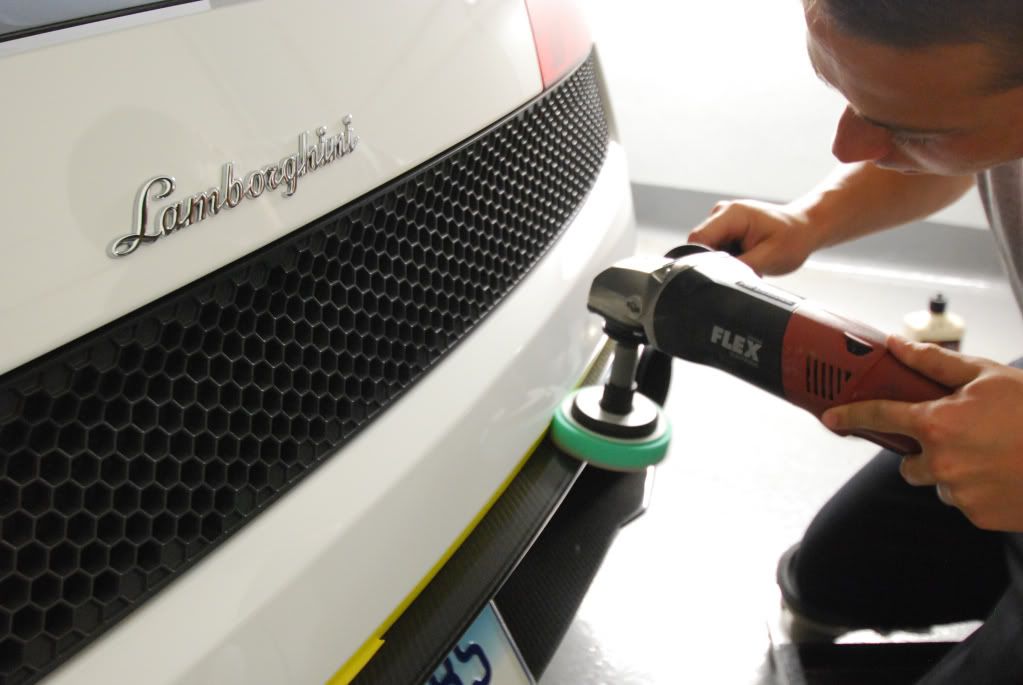
Applying Wolfs Trim Coat to the front splitter, gives a nice jetness to black plastic

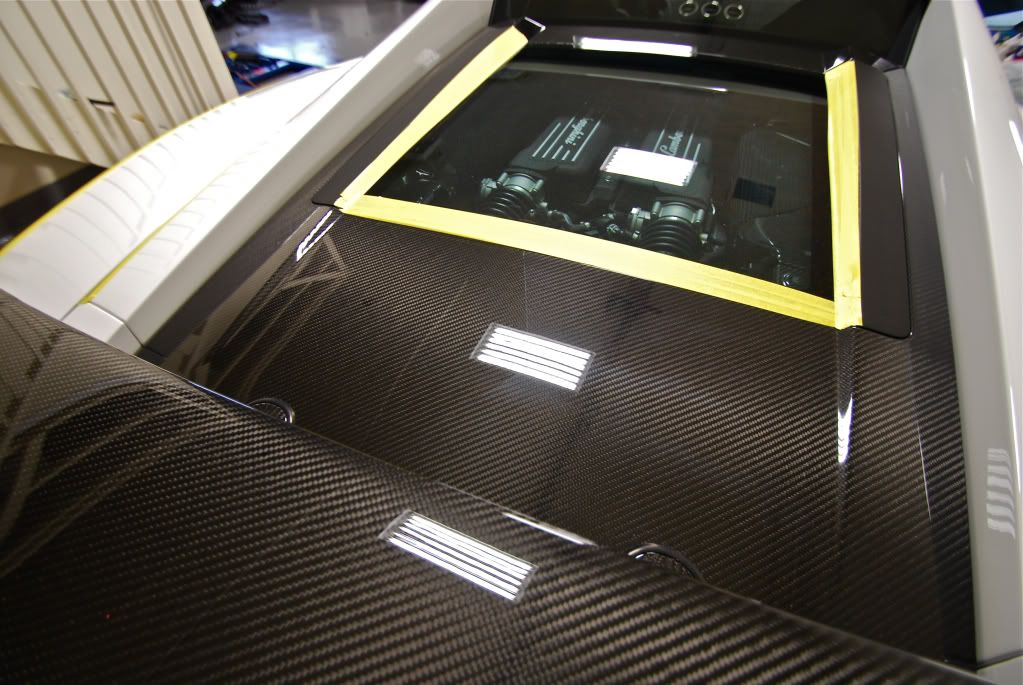
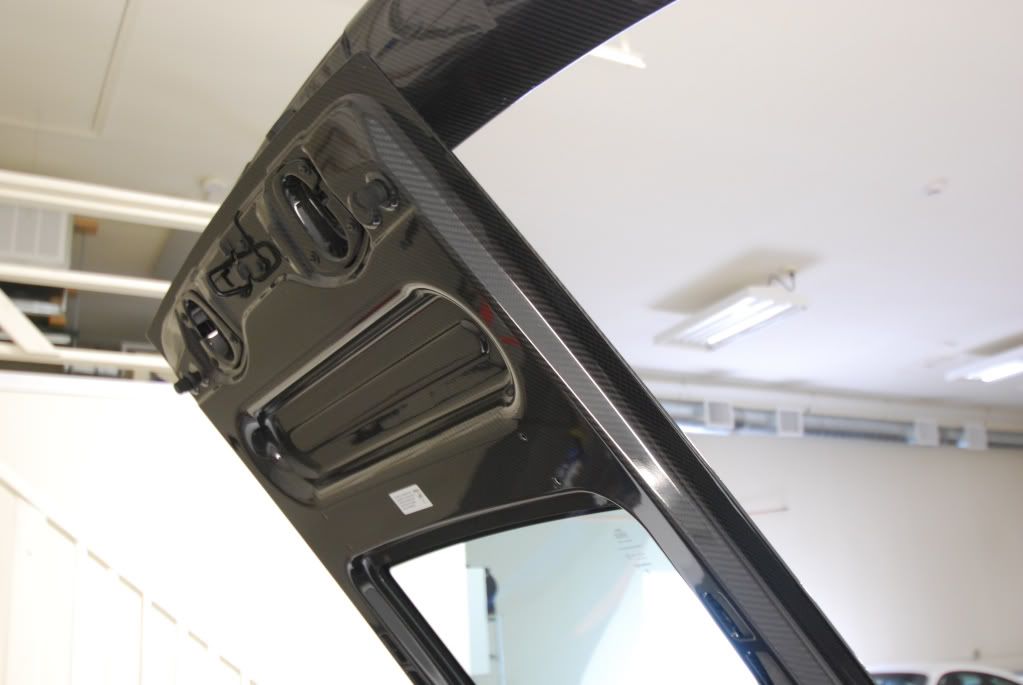
Engine bay dialed in and carbon fiber sealed
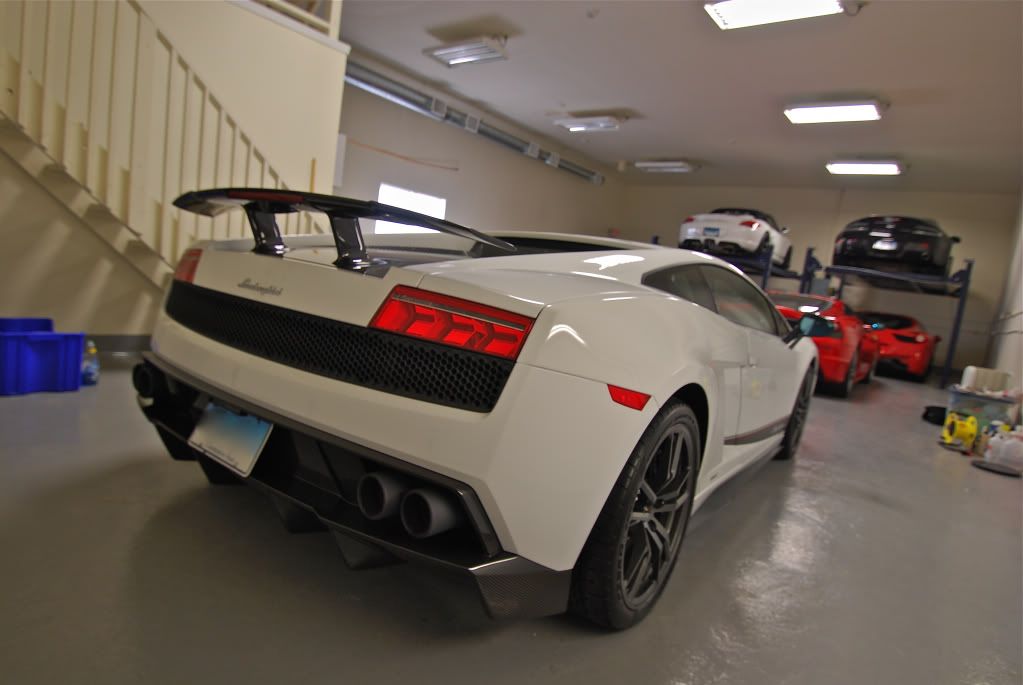
Final photos
Next: Ferrari 599 HGTE in Grigio Silverstone
Correction carried out with Menzerna Powerfinish on a LC tangerine hydro pad
Finished down with M205, not my choice finishing polish for all paints but on harder metallic finishes it works beautifully
Broken down after a short time polishing followed by an IPA wipedown
Engine wiped down, plastics treated with 303 protectant
Paint polished with PO85rd on a finishing pad, LSP was Wofls Body Wrap
Engine bay and carbon bits detailed/protected
Finished with Wolfs Body Wrap
Next: Lamborghini LP570-4 Superleggera
This car was in generally clean shape but the finish in some areas needed a lot of work polishing work to show its full potential.
After prep I taped off all necessary areas
Removing defects and haze with Meguiars M105 and the MF cutting disc, this was a fairly slow process as Lamborghini paint is quite hard
Before shots of the finish
Buffer trails
50:50
Carbon fiber engine cover had the same issues, needed a few polishing stages to get back to 100%
50:50 note the difference in color and clarity between the polished and unpolished side
Smallers areas done in 3" pads
The whole rear bumper/diffuser needed a lot of work. Factory sanding scratches here were blatant and some had not even been attempted to get polished out.
Example:
After
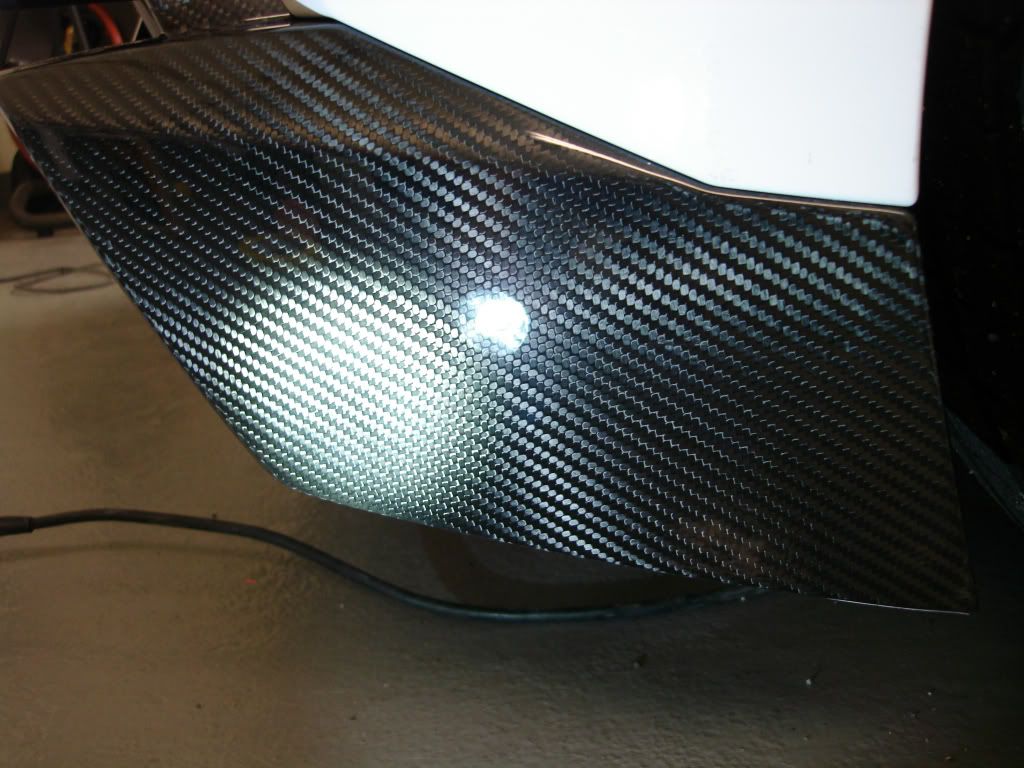
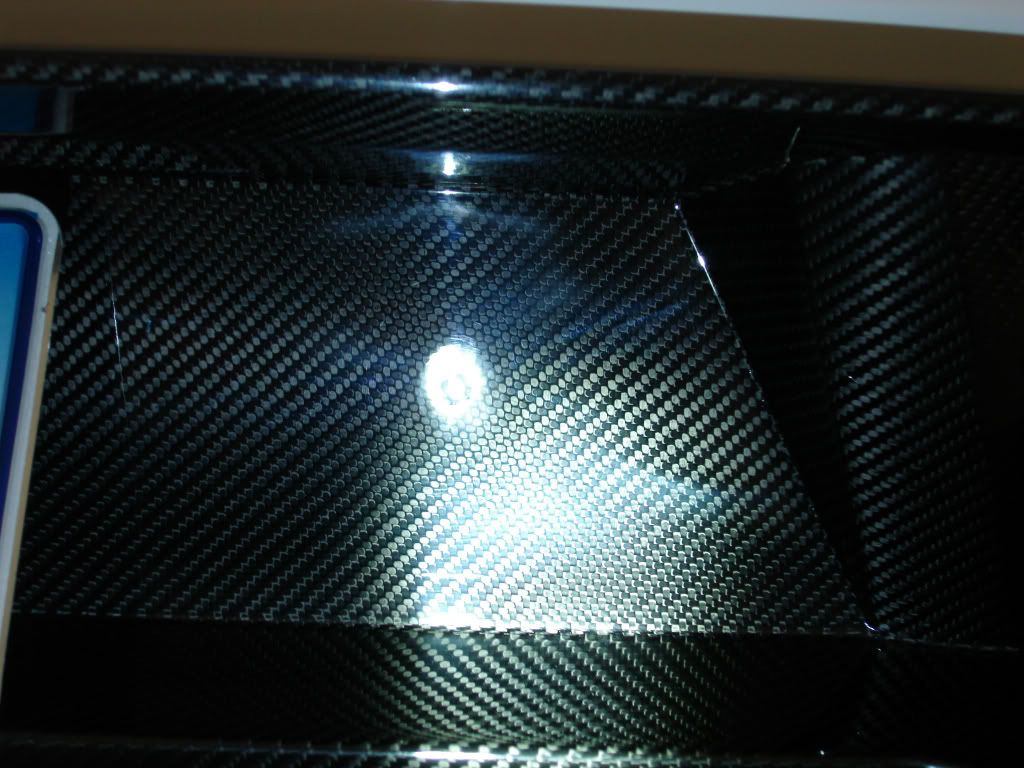
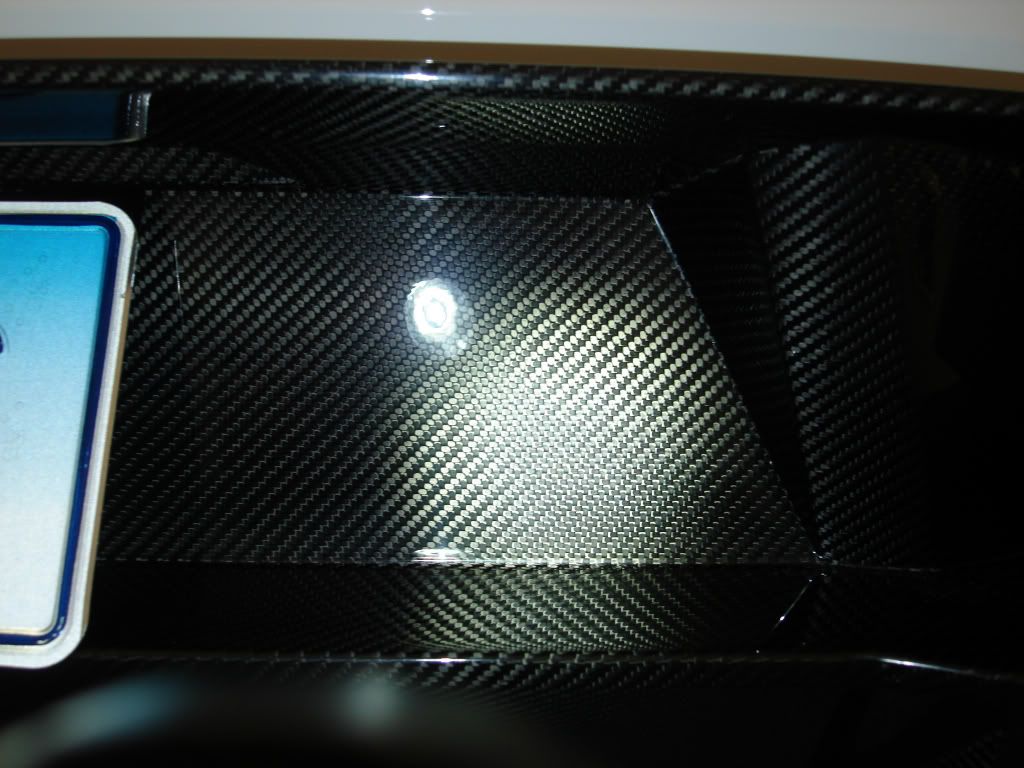
CF by the license plate made for a tight fit during correction but again holograms and swirls needed to be removed
50:50 lots of haze on the CF before polishing
Applying Wolfs Trim Coat to the front splitter, gives a nice jetness to black plastic
Engine bay dialed in and carbon fiber sealed
Final photos
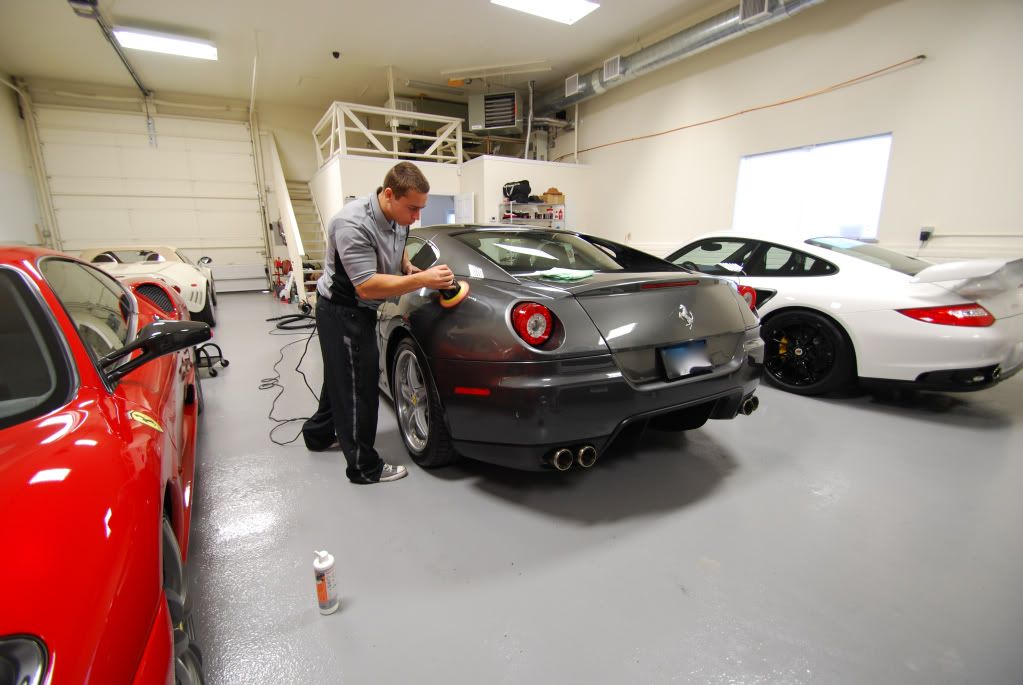
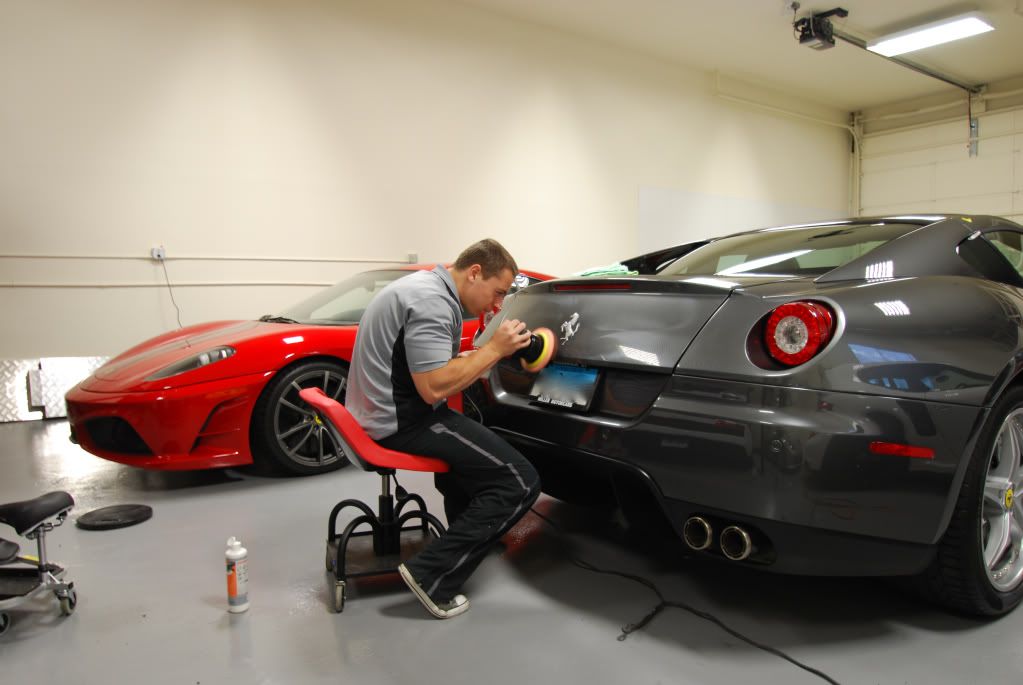
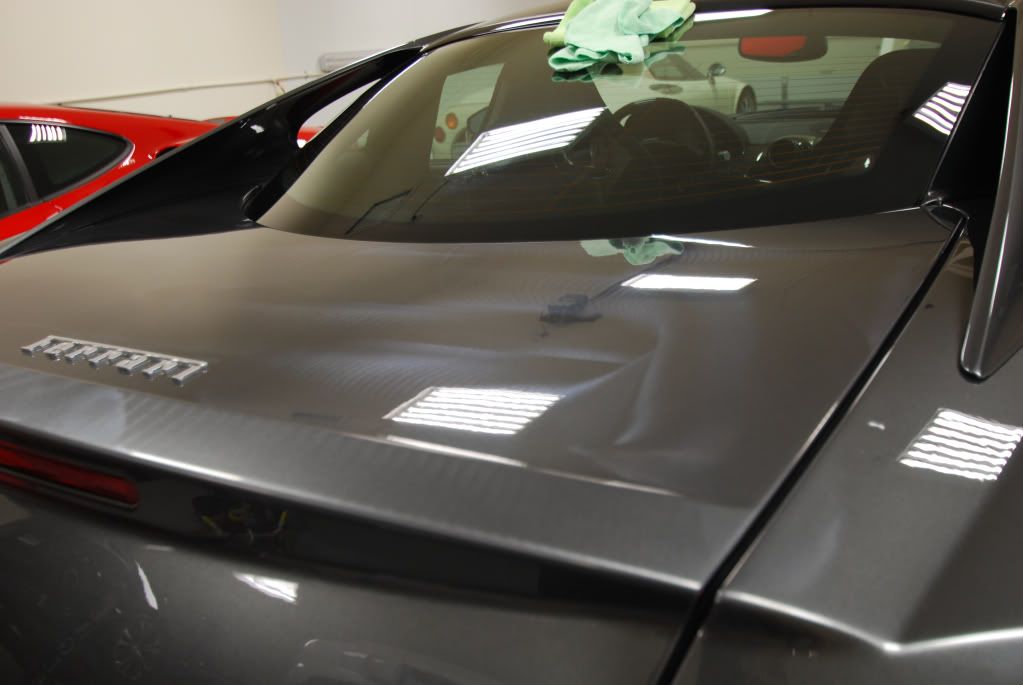
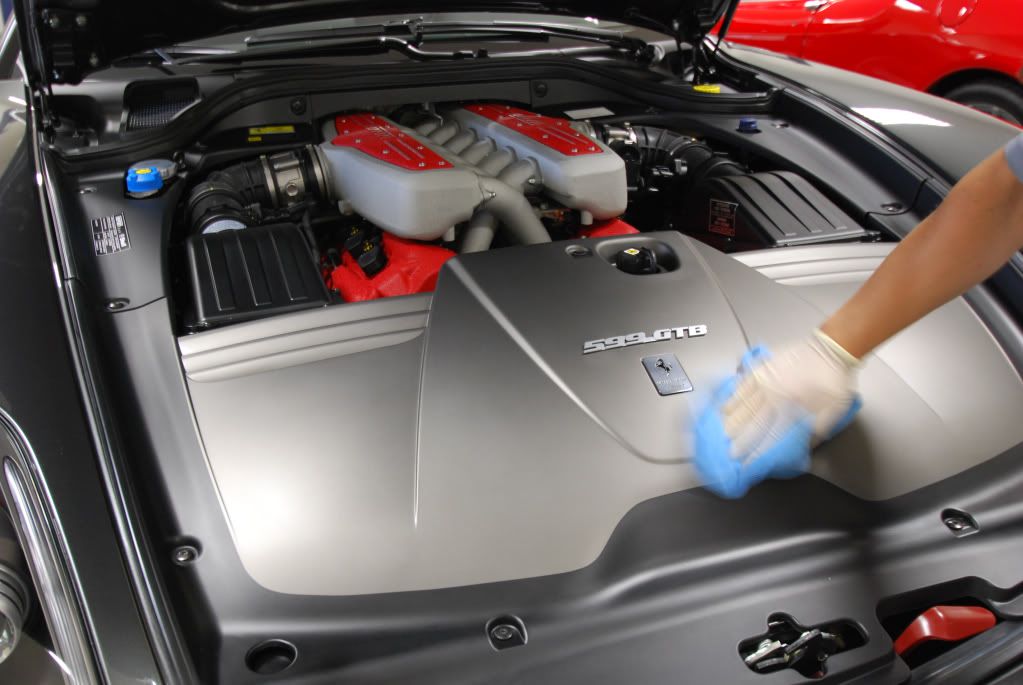
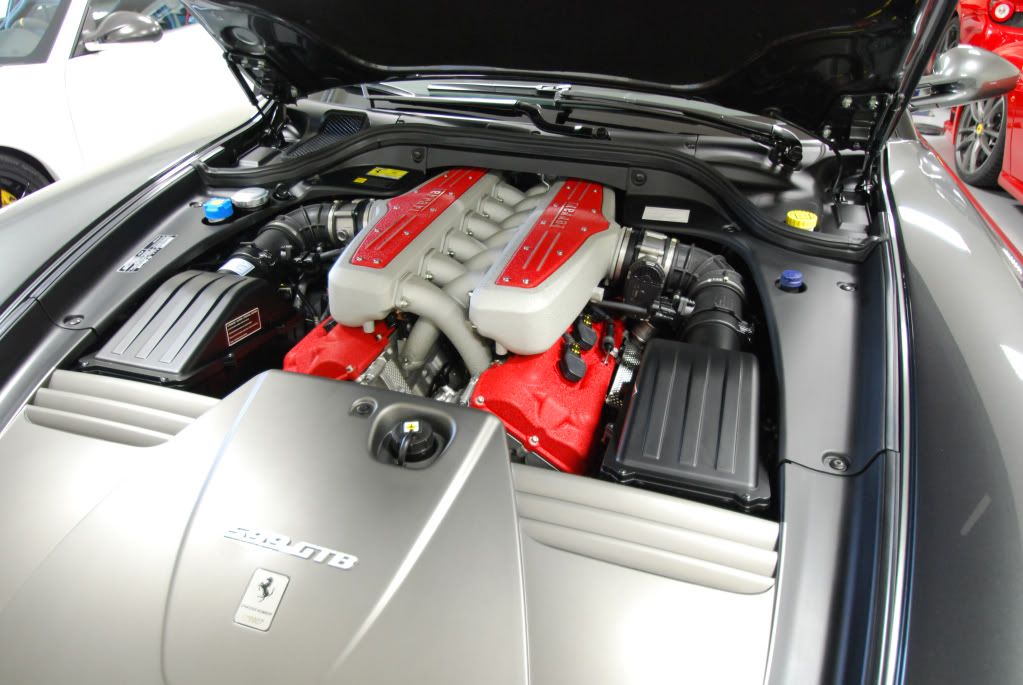
Next: Ferrari 599 HGTE in Grigio Silverstone
Correction carried out with Menzerna Powerfinish on a LC tangerine hydro pad
Finished down with M205, not my choice finishing polish for all paints but on harder metallic finishes it works beautifully
Broken down after a short time polishing followed by an IPA wipedown
Engine wiped down, plastics treated with 303 protectant
Street Dreams
New member
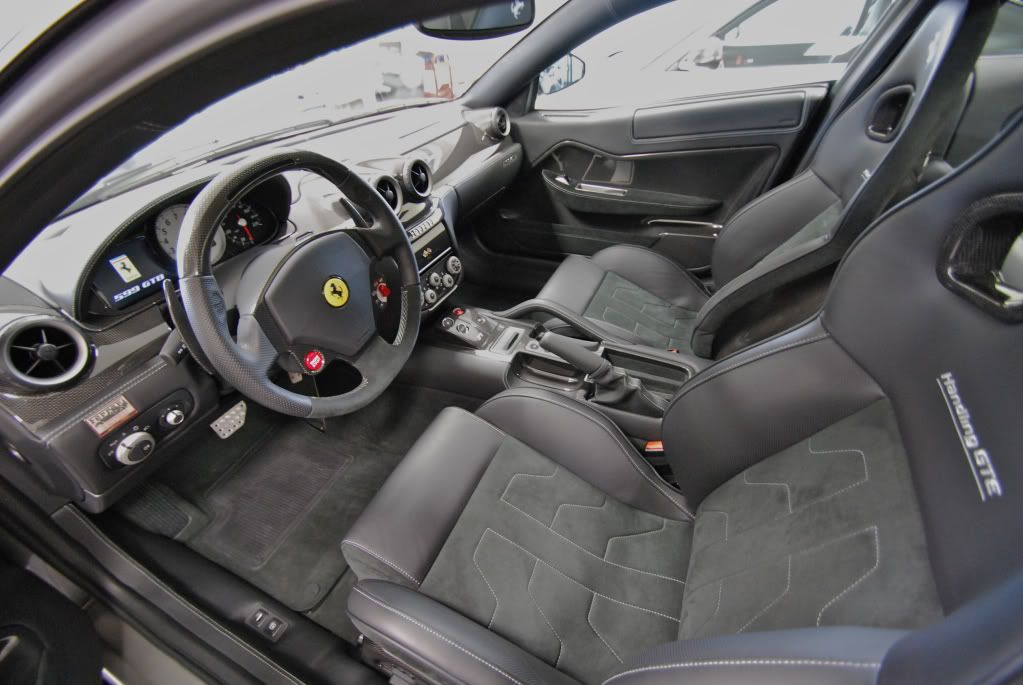
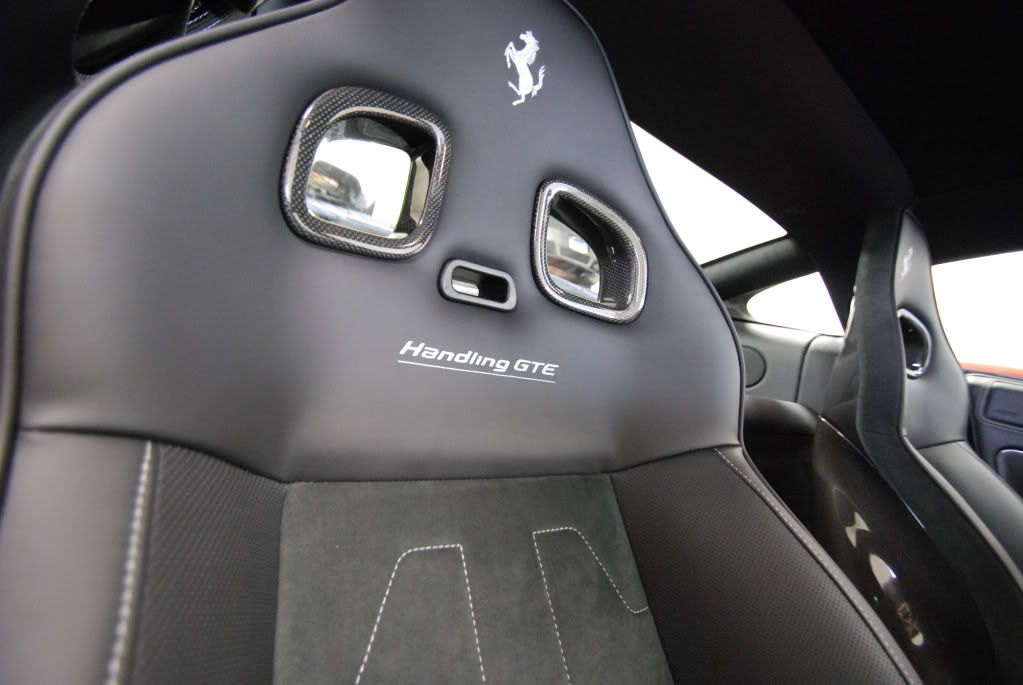
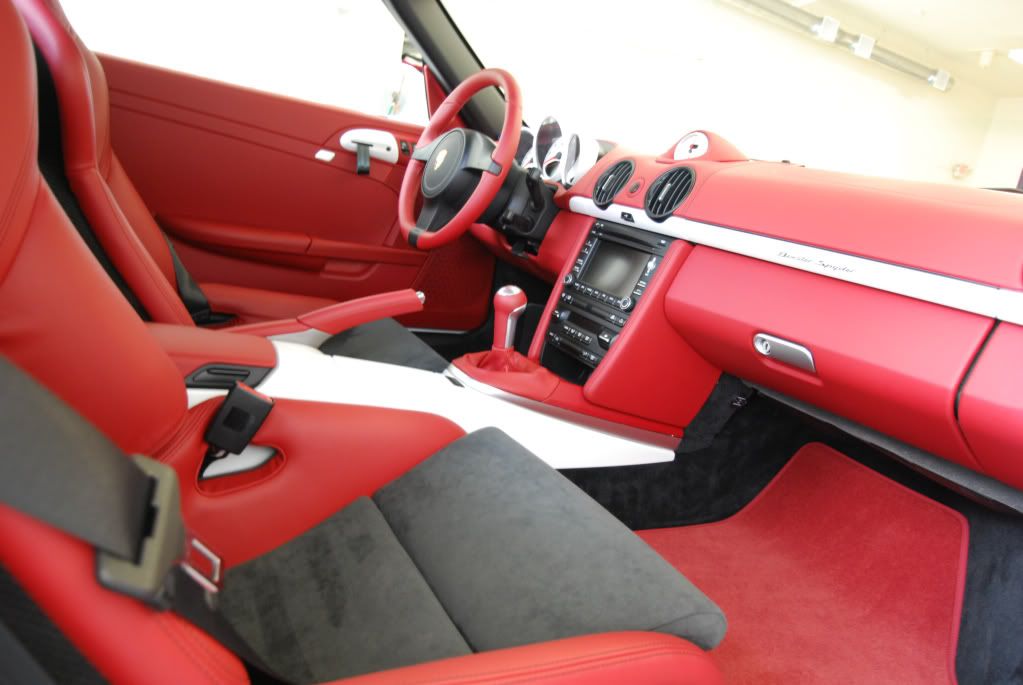
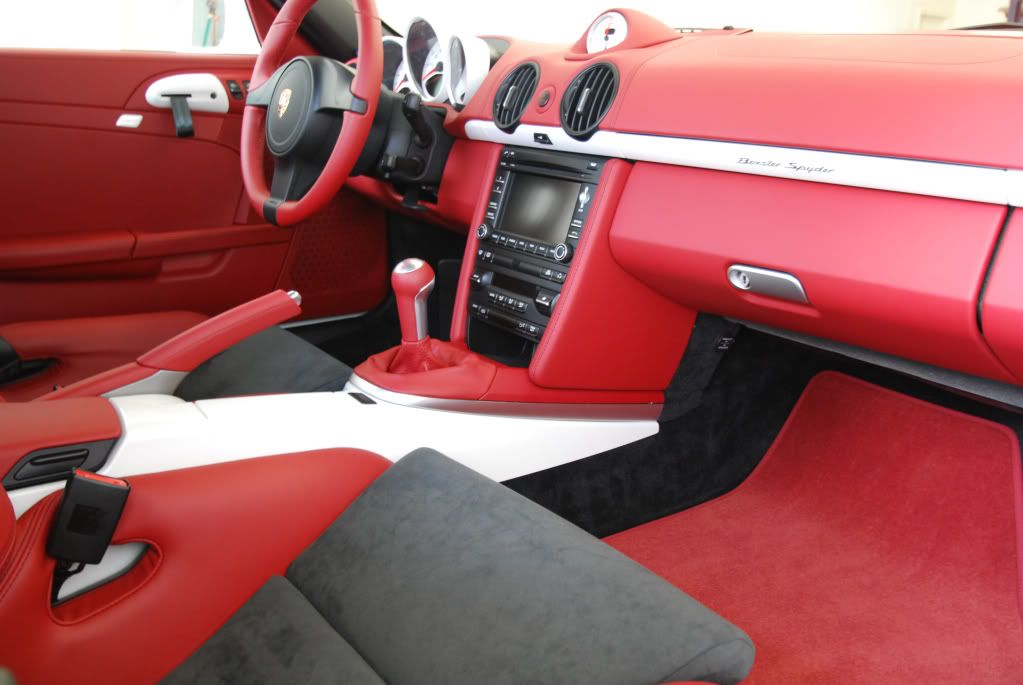
The interior of this 599 is one of my favorites. All alcantara and leather treated. And yes the HGTE comes with alcantara floormats as well.
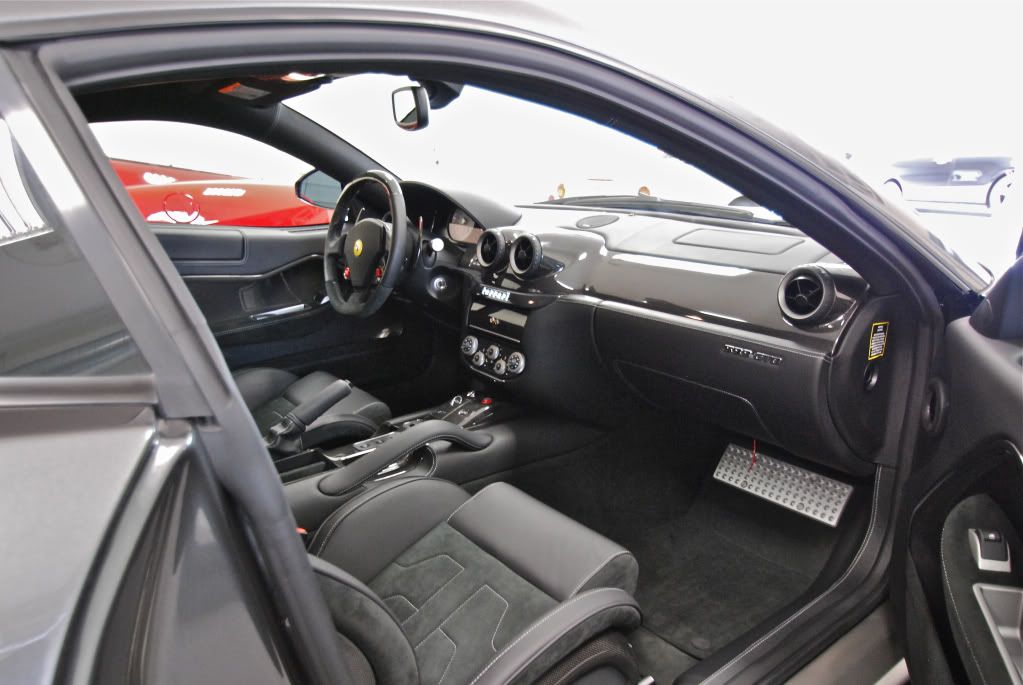
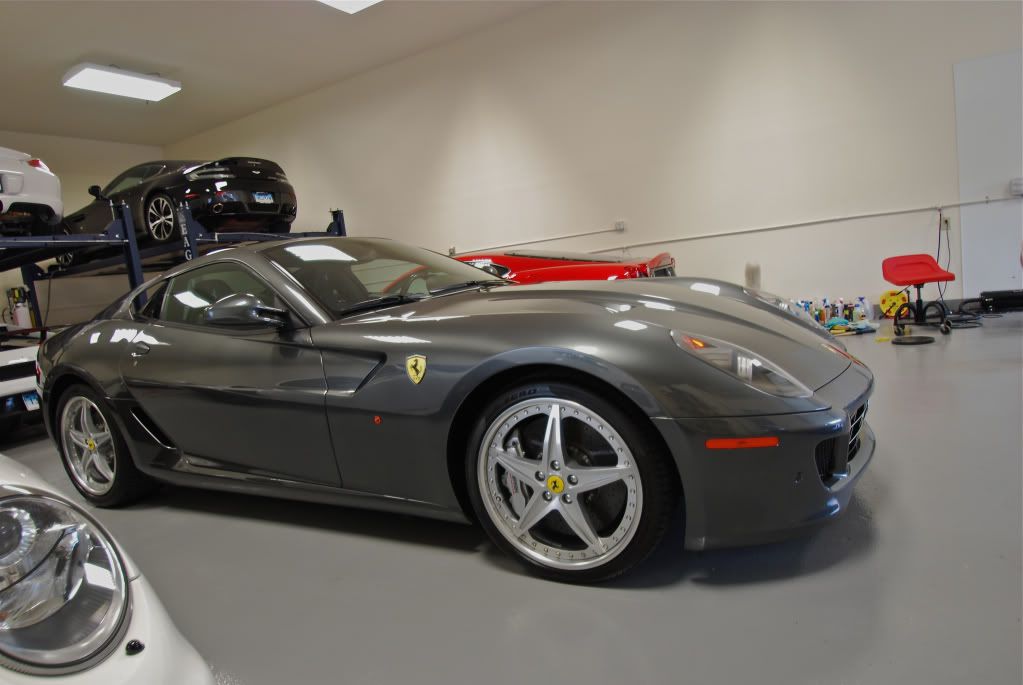
Final photos
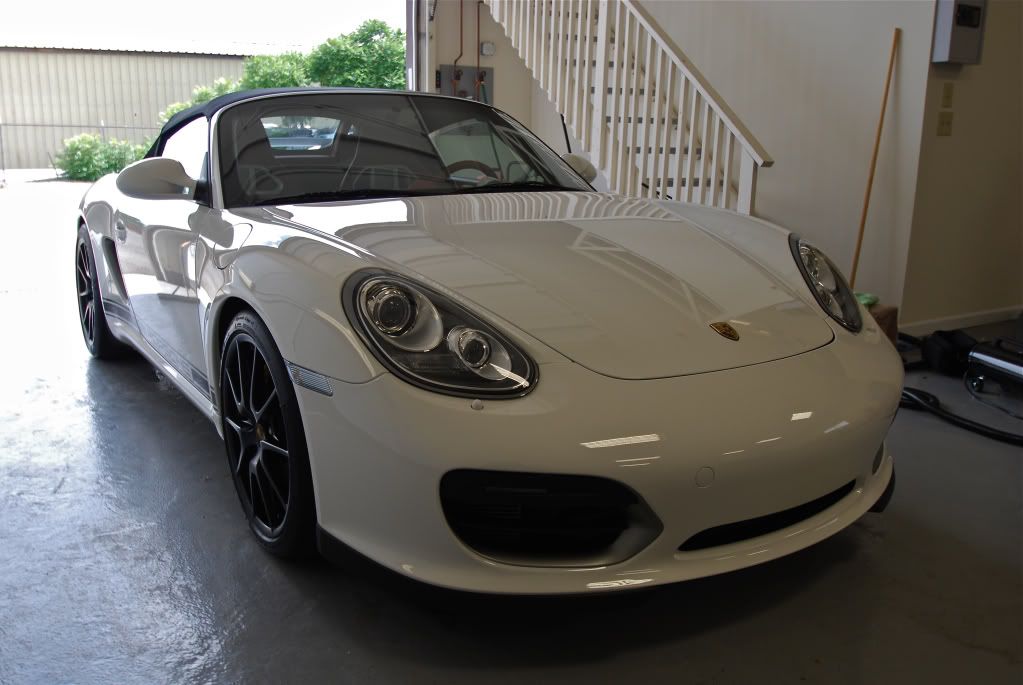
Next: Porsche Boxster Spyder
This car needed a good detail after some time at the track. Main goal was to clean up the paint, remove tar spots and rubber marks from track days and apply protection. Did not take very many pics of this detail.
Rubber marks
Before
After

Dried out front lip
After


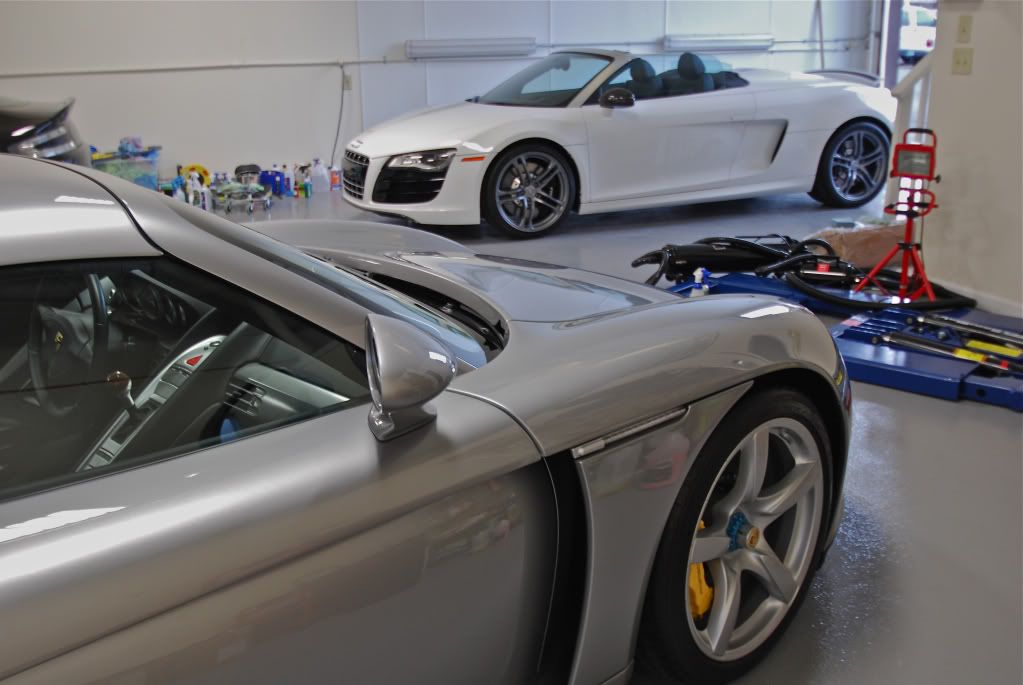
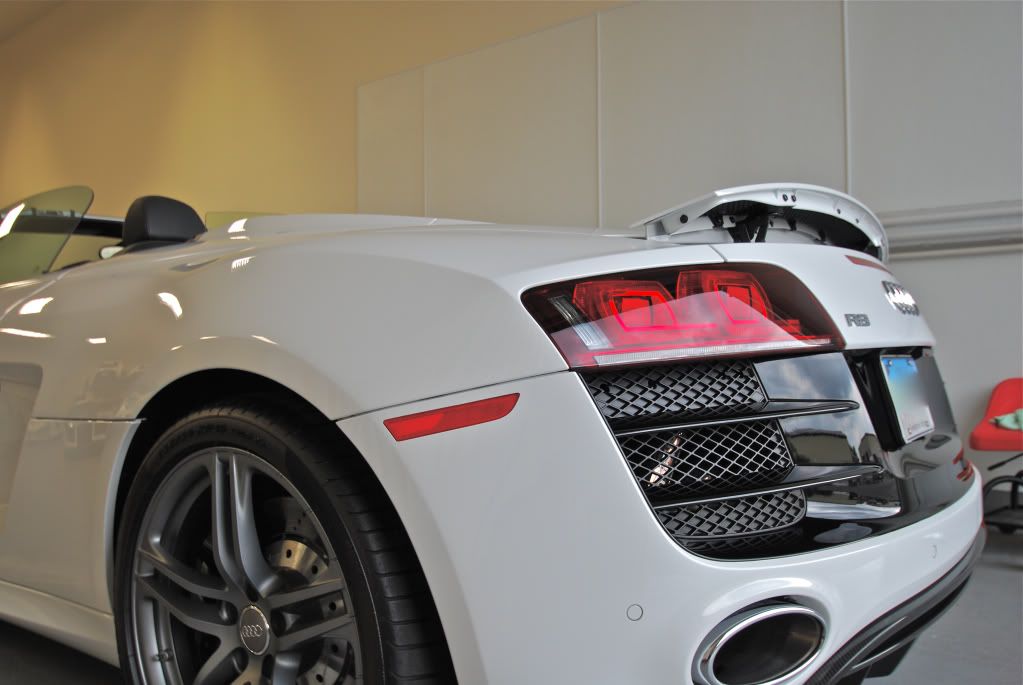
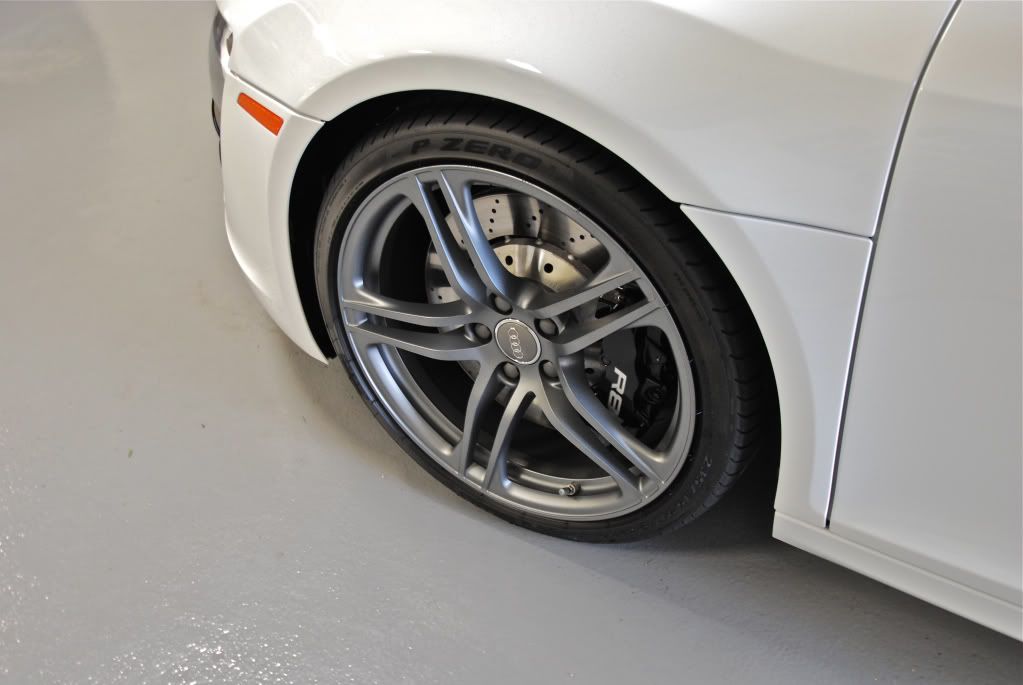
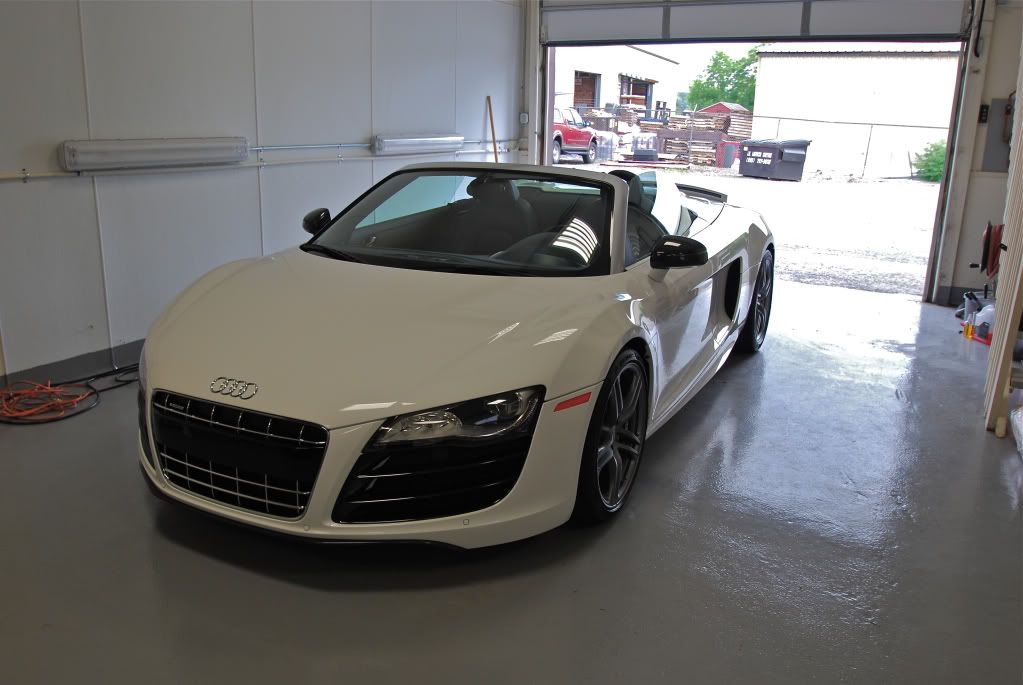
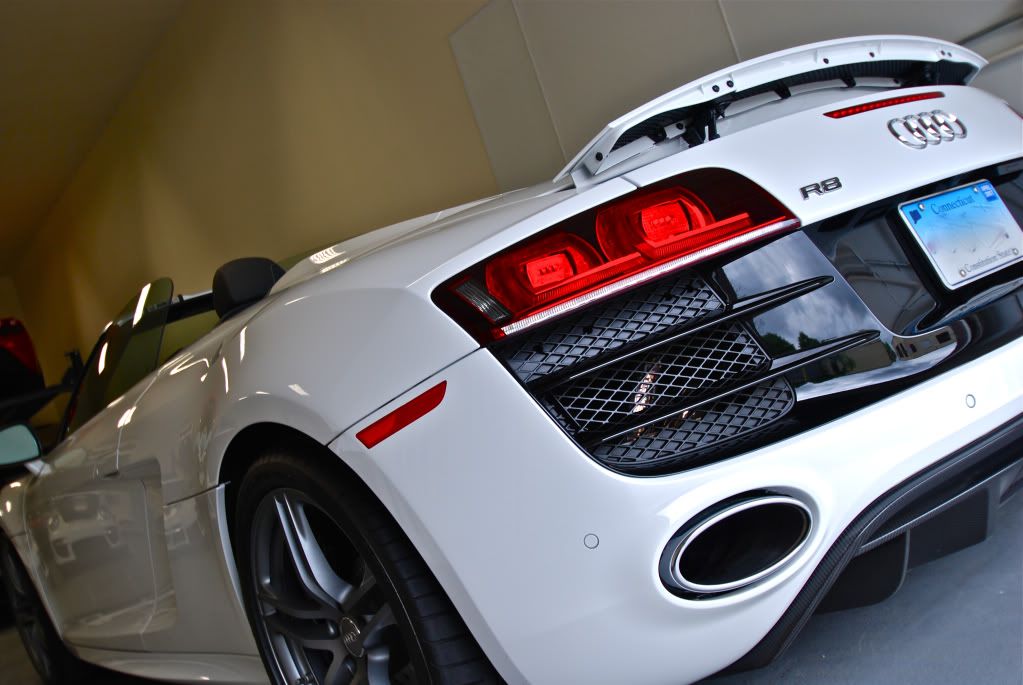
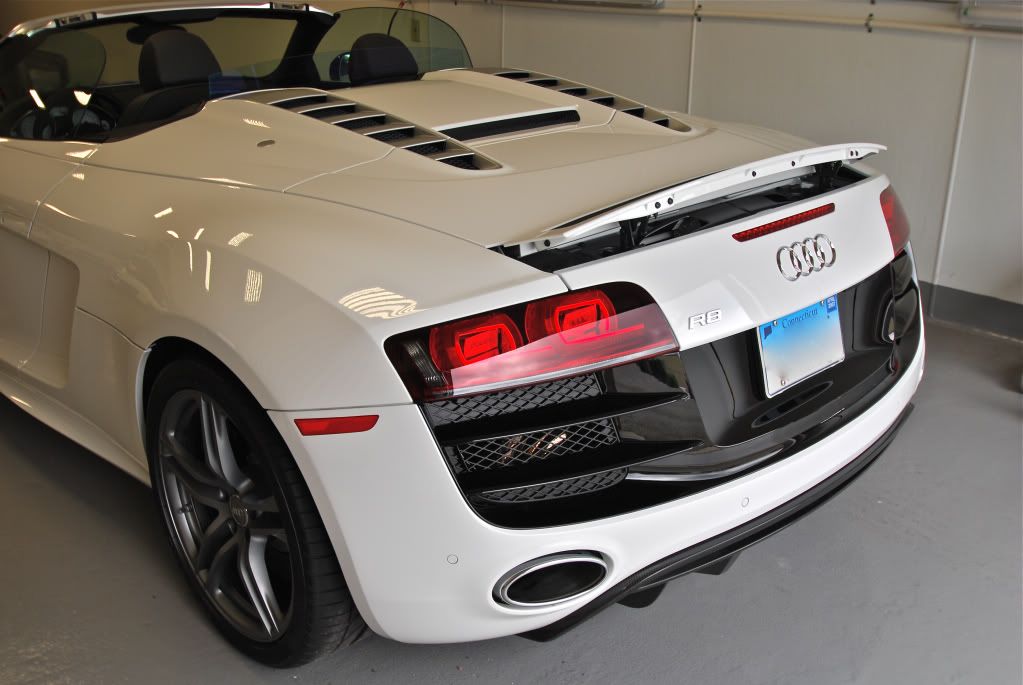
Next: Audi R8 V10
Done quite a few R8's this year but still enjoying working on them! This car recieved a minor paint correction with the exception of the rear black plastic section which needed full correction.
Some after shots

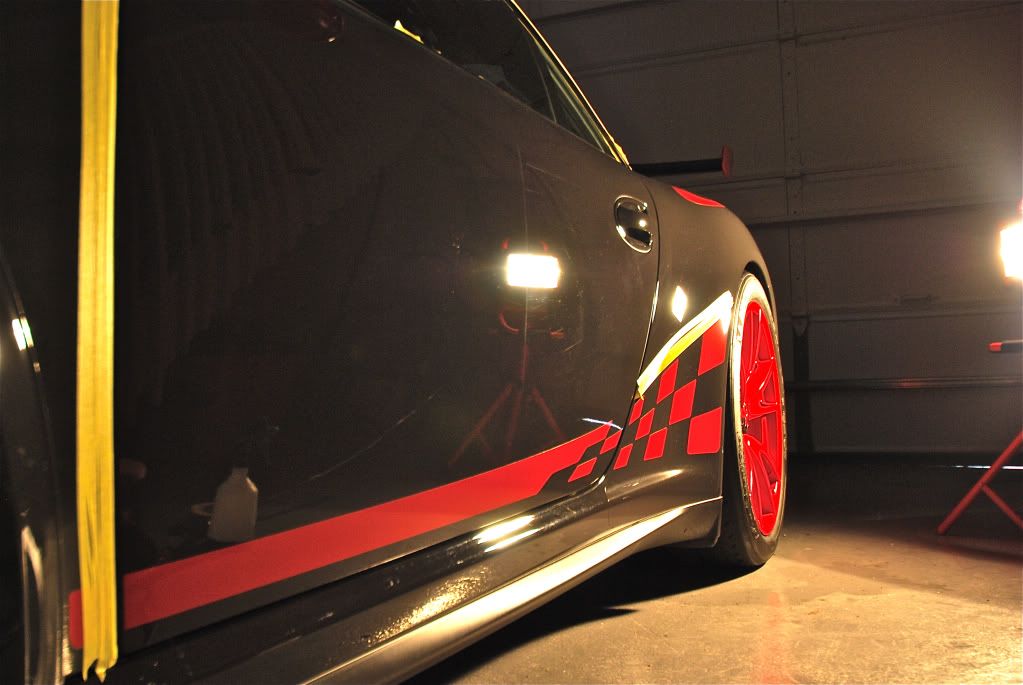
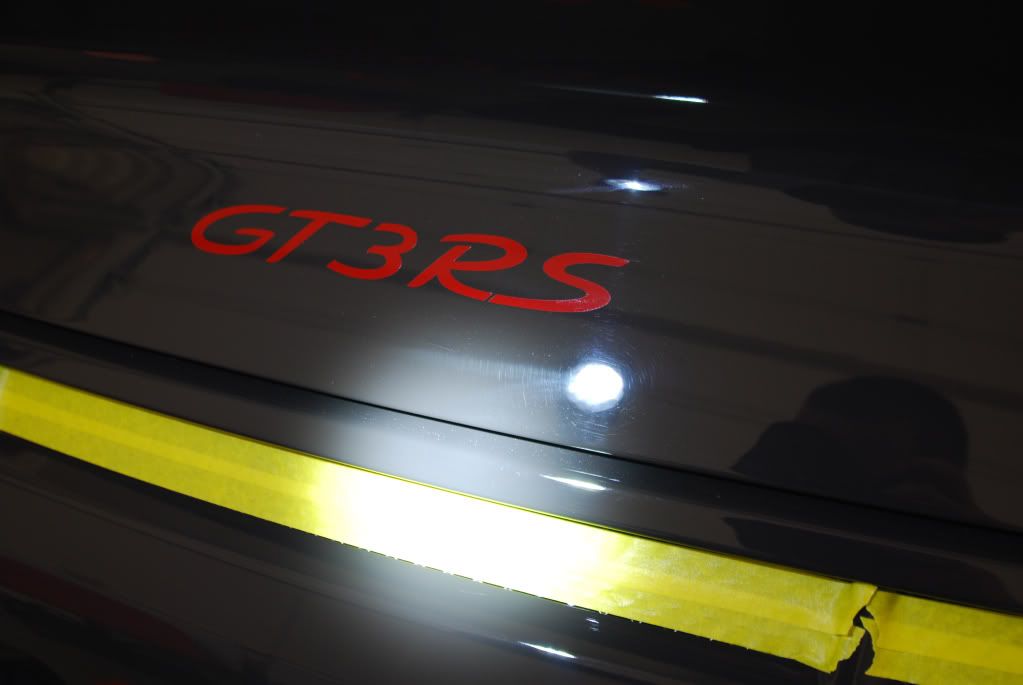
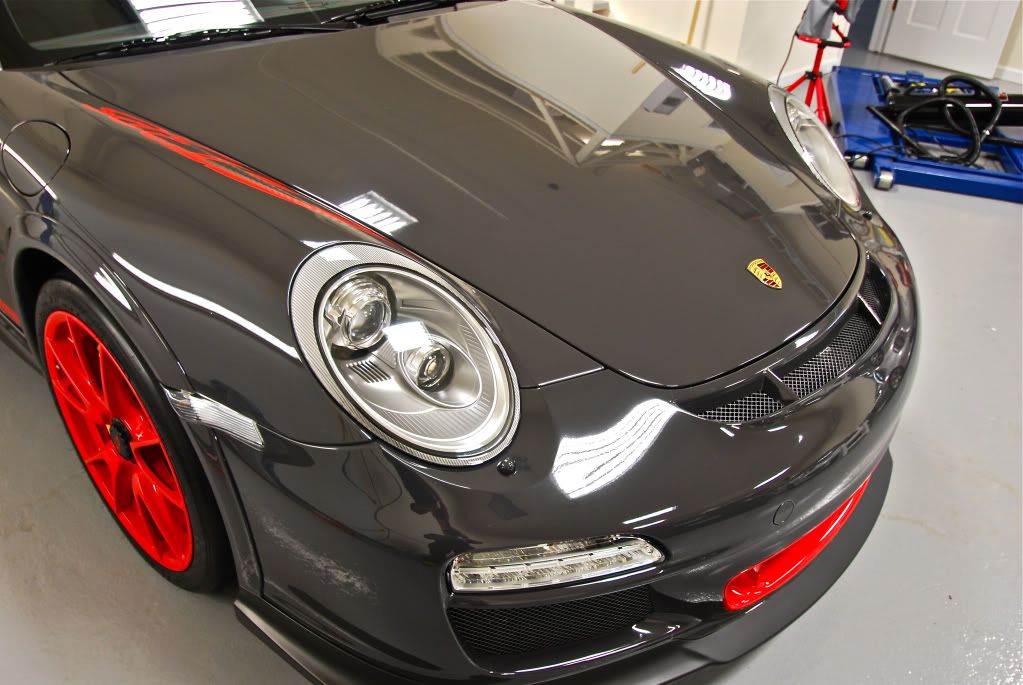
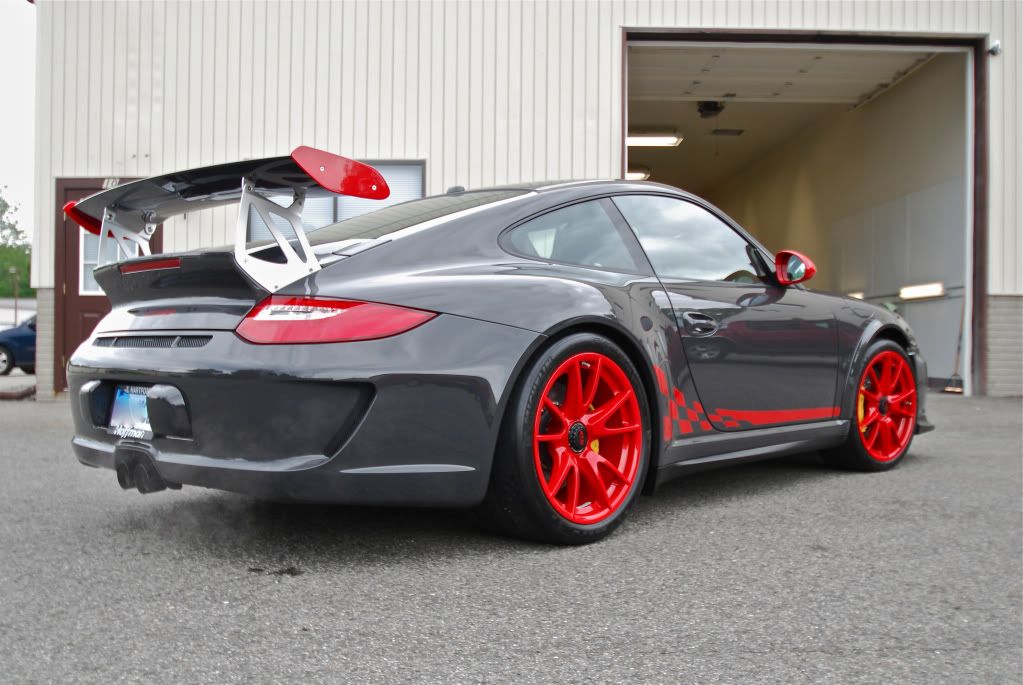
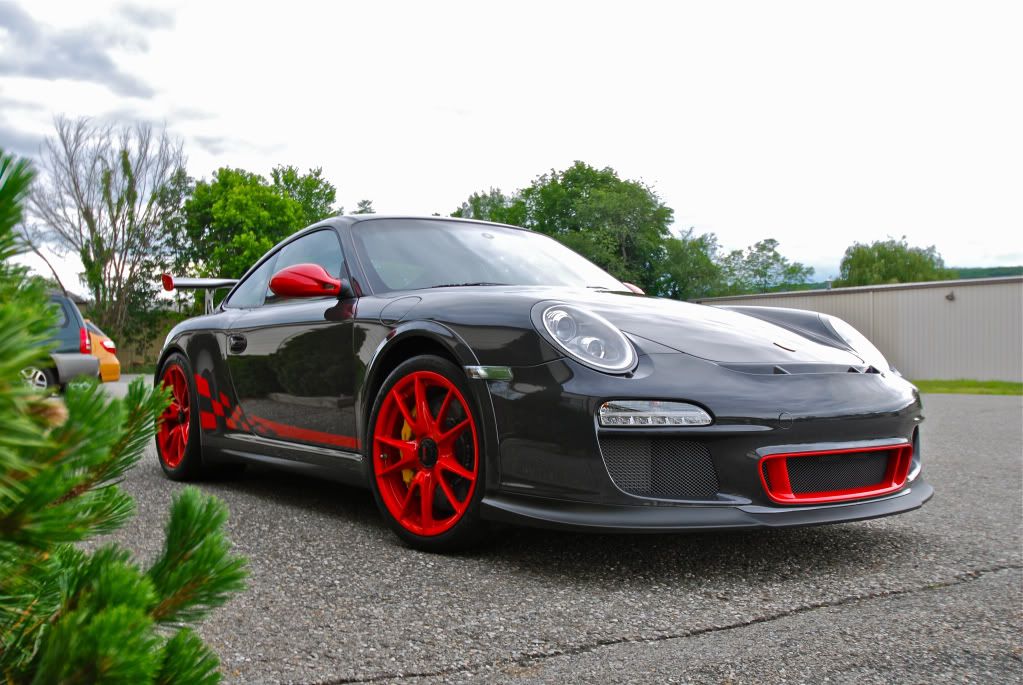
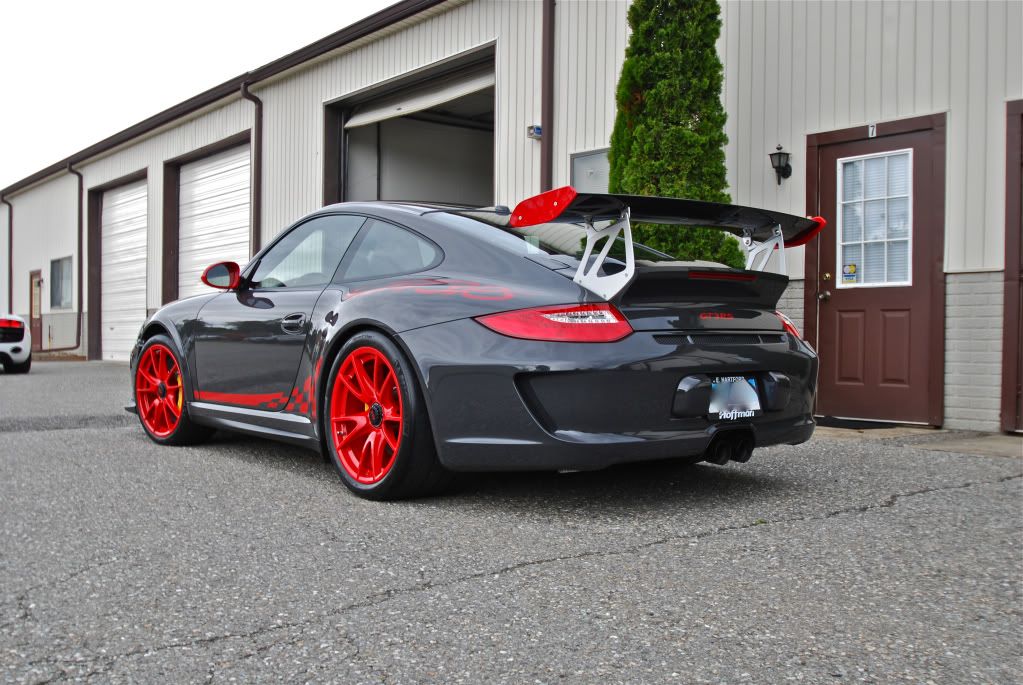
And finally a Porsche GT3 RS
The RS received a full paint correction detail.
50:50 on driver door after correction
Closeup of defects after compounding 1 side, notice although defects are removed gloss is seriously lacking. This is where final polishing makes the difference
Just like on the GT2 RS the defects on the rear section far more severe than the rest of the car
After compounding

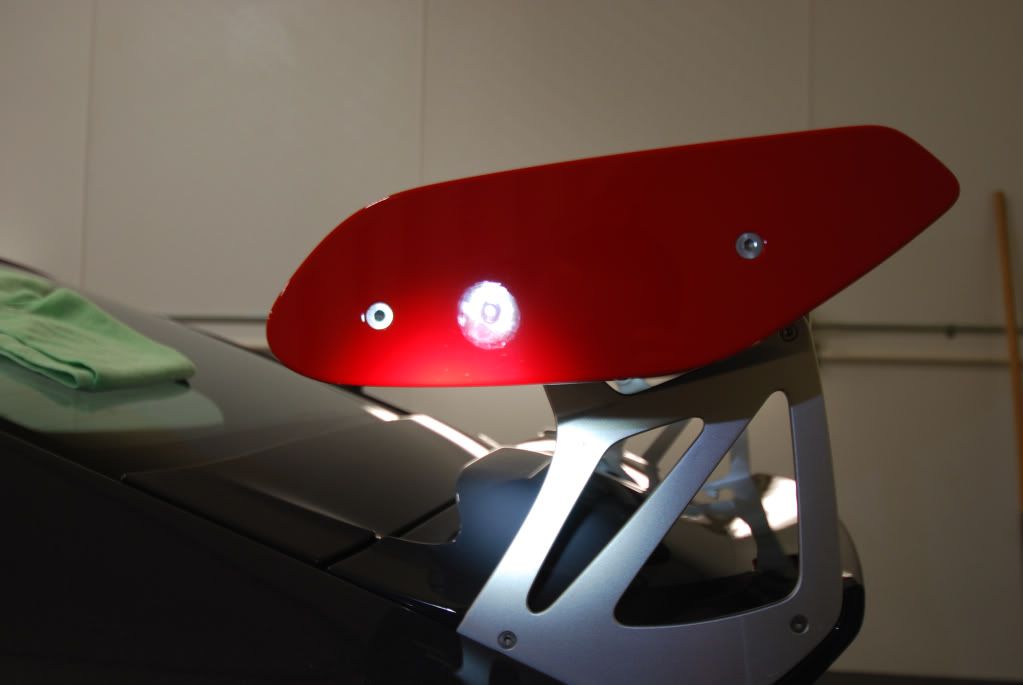
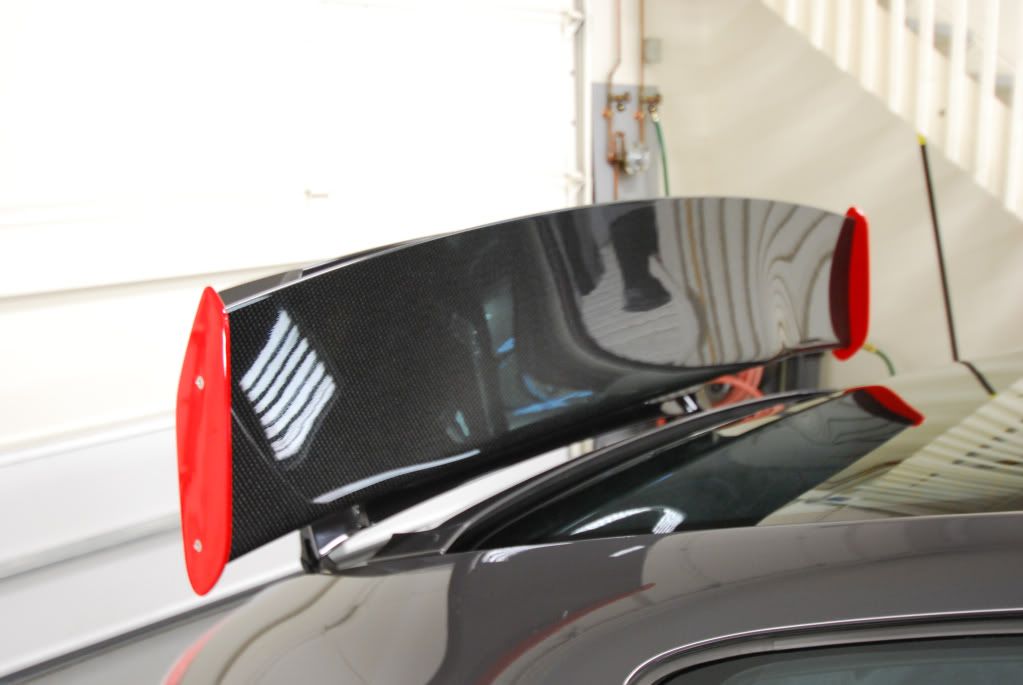
Wing polished top and sides
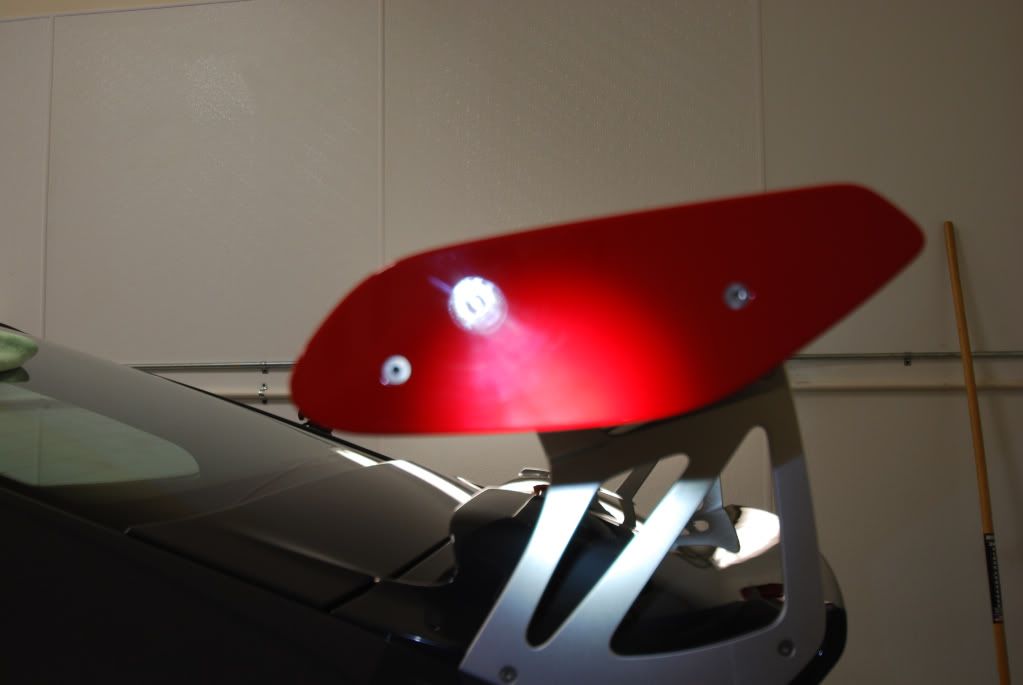
After

Polishing stage with 203s after M105
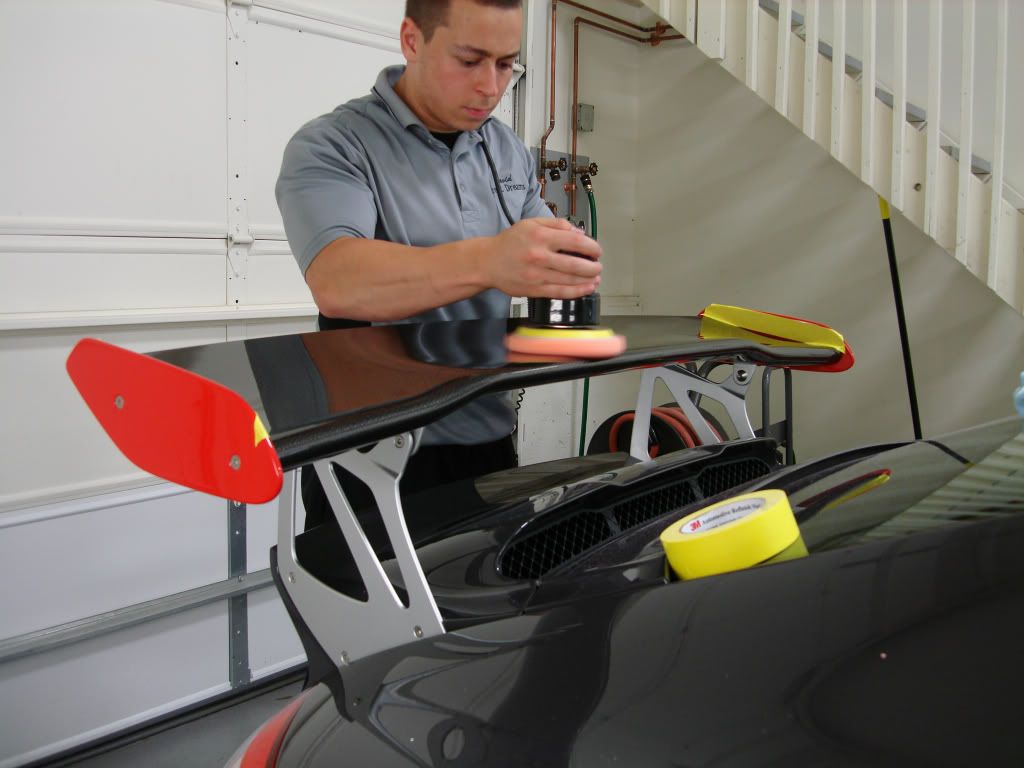
After final finishing with PO85rd
Working on the hood, as usual I popped it so I could polish all the way to the edge on both the hood and fenders without running onto an adjacent panel
(using a wax tub works great for Porsche hoods to stay open)
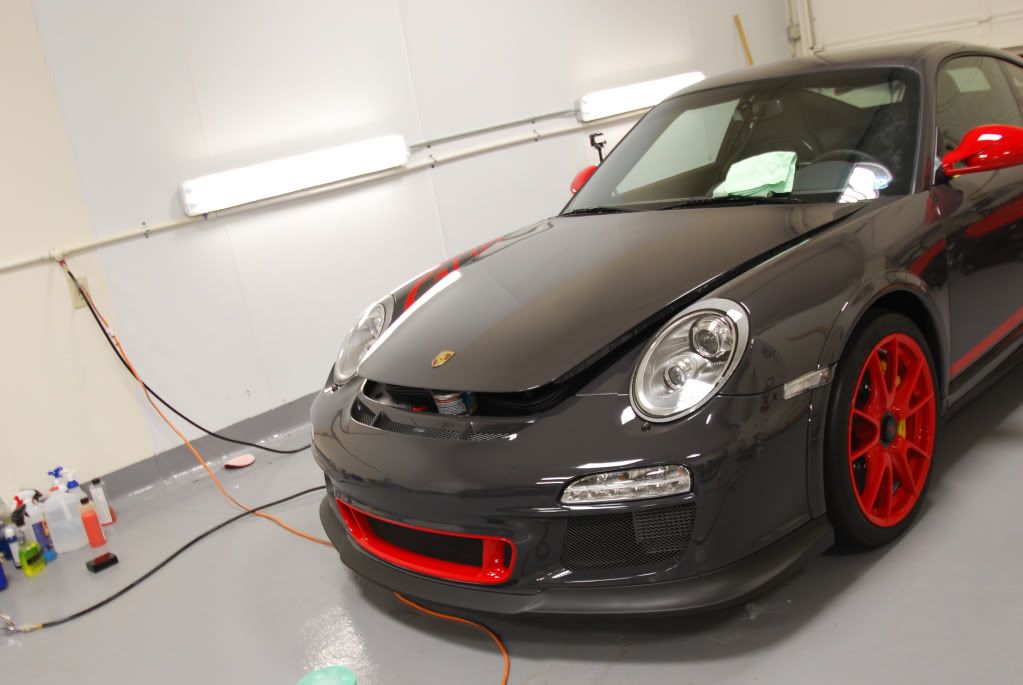
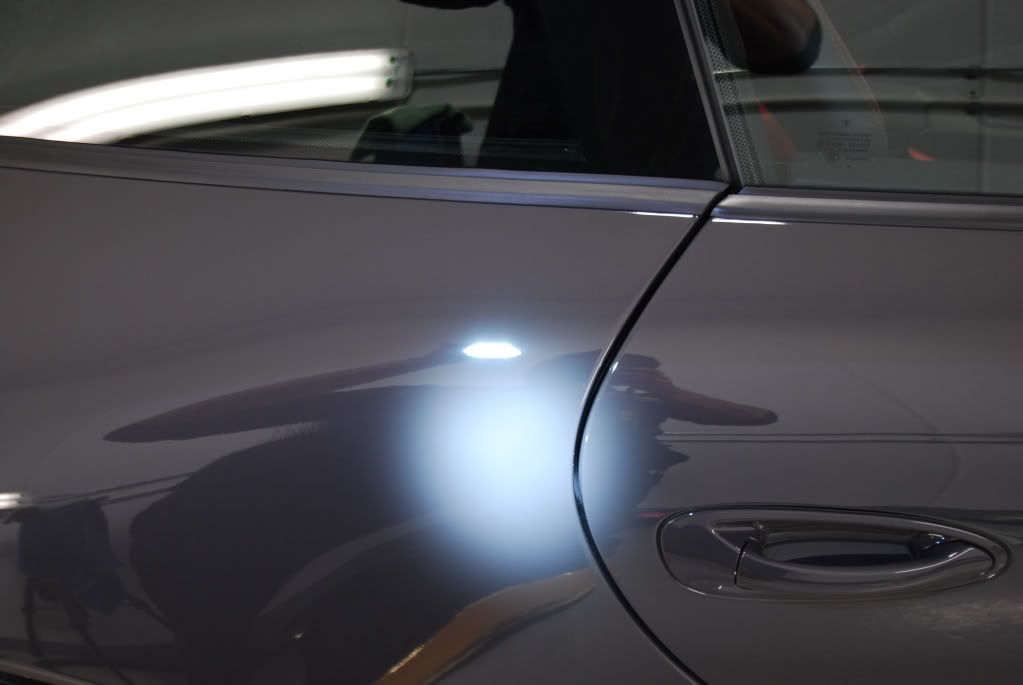
Finished down before LSP under the LED light
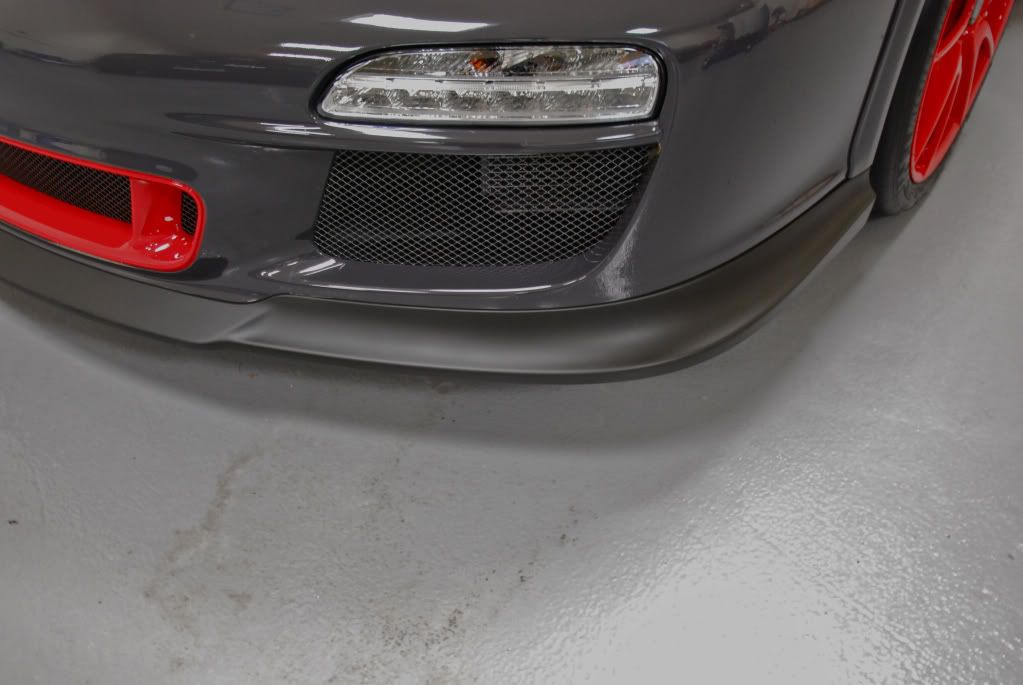
Wolfs trim coat to the rescue again on the RS front lip
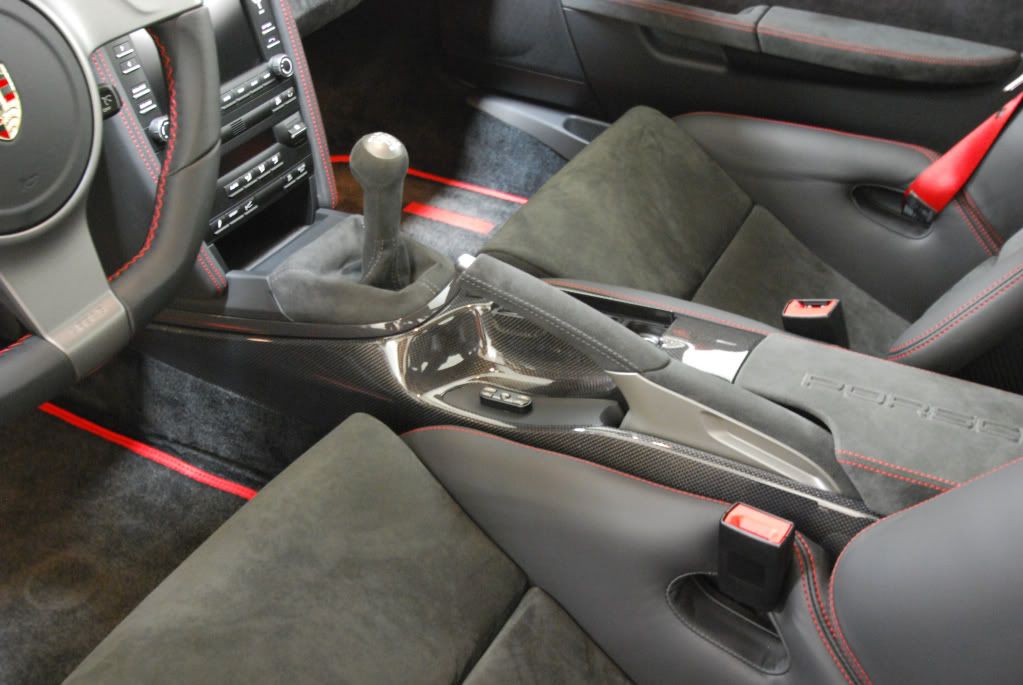
Interior treated, all carbon bits treated with Aquartz reload
Finished shots

Final photos
Next: Porsche Boxster Spyder
This car needed a good detail after some time at the track. Main goal was to clean up the paint, remove tar spots and rubber marks from track days and apply protection. Did not take very many pics of this detail.
Rubber marks
Before
After
Dried out front lip
After
Next: Audi R8 V10
Done quite a few R8's this year but still enjoying working on them! This car recieved a minor paint correction with the exception of the rear black plastic section which needed full correction.
Some after shots
And finally a Porsche GT3 RS
The RS received a full paint correction detail.
50:50 on driver door after correction
Closeup of defects after compounding 1 side, notice although defects are removed gloss is seriously lacking. This is where final polishing makes the difference
Just like on the GT2 RS the defects on the rear section far more severe than the rest of the car
After compounding
Wing polished top and sides
After
Polishing stage with 203s after M105
After final finishing with PO85rd
Working on the hood, as usual I popped it so I could polish all the way to the edge on both the hood and fenders without running onto an adjacent panel
(using a wax tub works great for Porsche hoods to stay open)
Finished down before LSP under the LED light
Wolfs trim coat to the rescue again on the RS front lip
Interior treated, all carbon bits treated with Aquartz reload
Finished shots
Street Dreams
New member
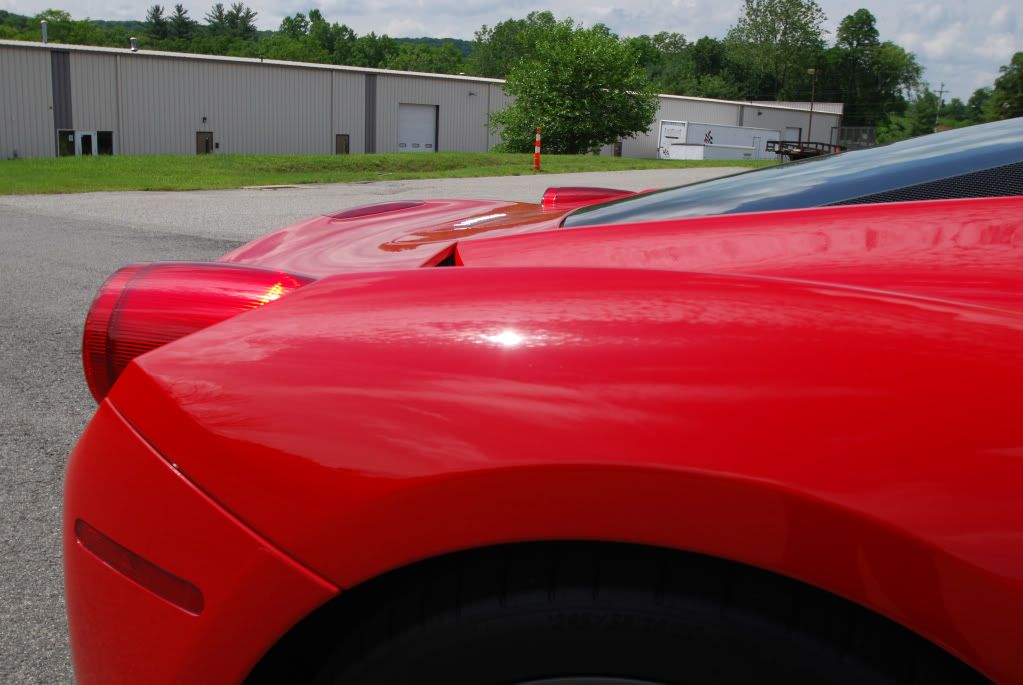
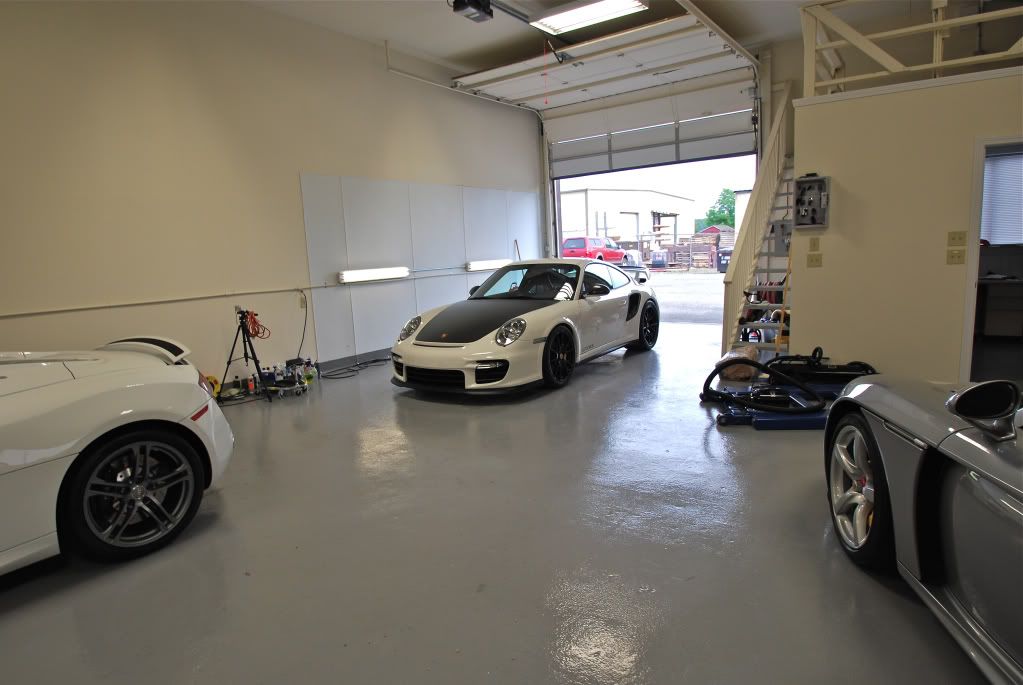
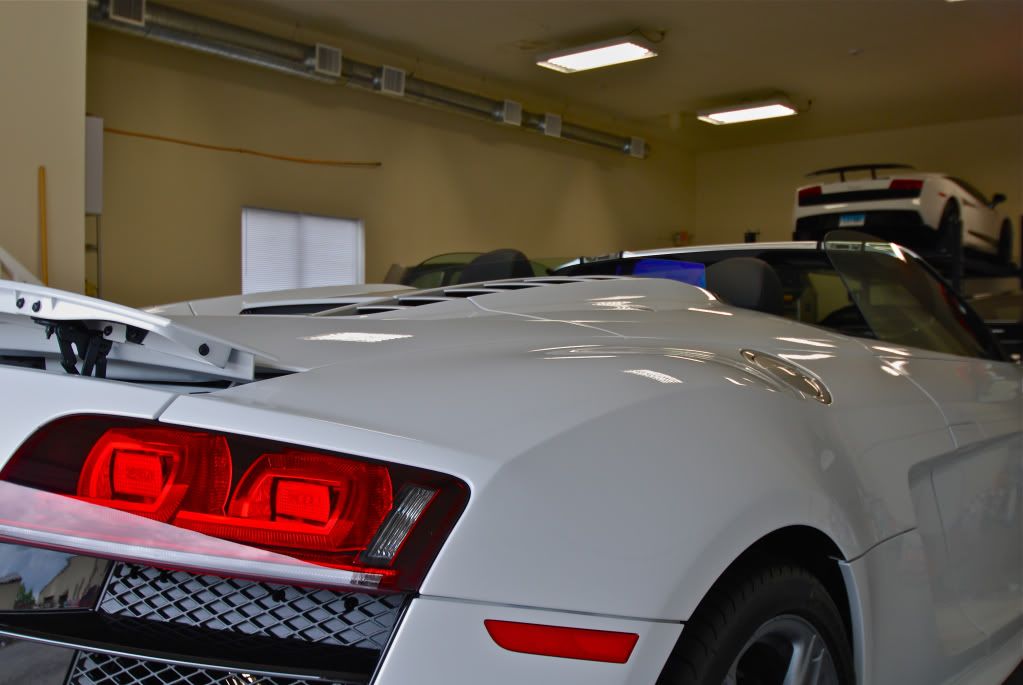
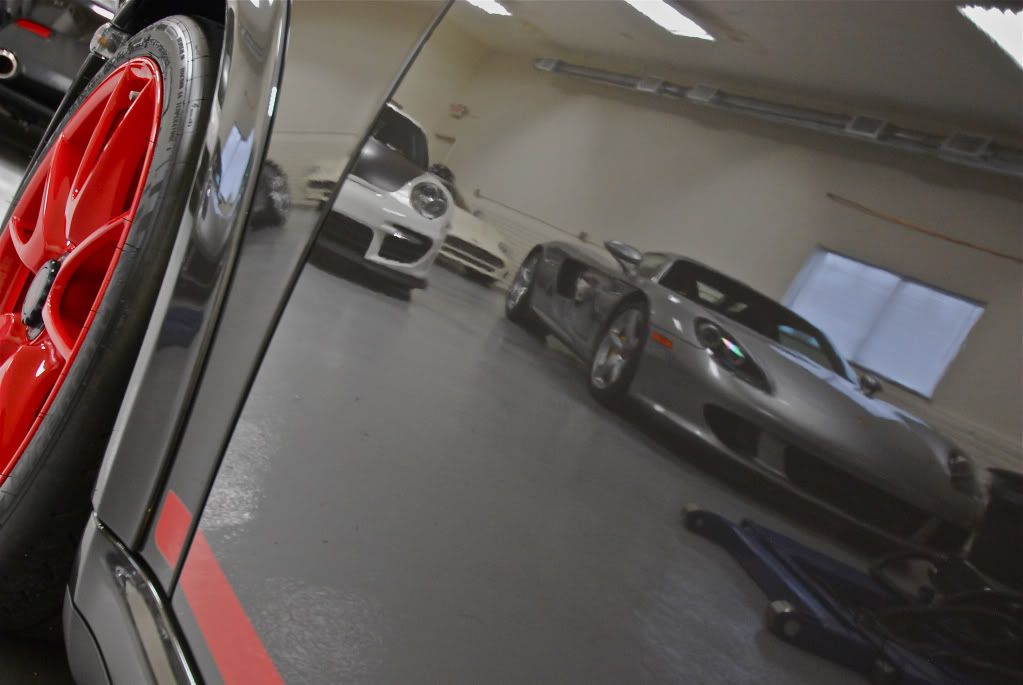
So basically we have here grandfather, father, and son.... and by that I mean Carerra GT, GT2 RS and GT3 3 RS
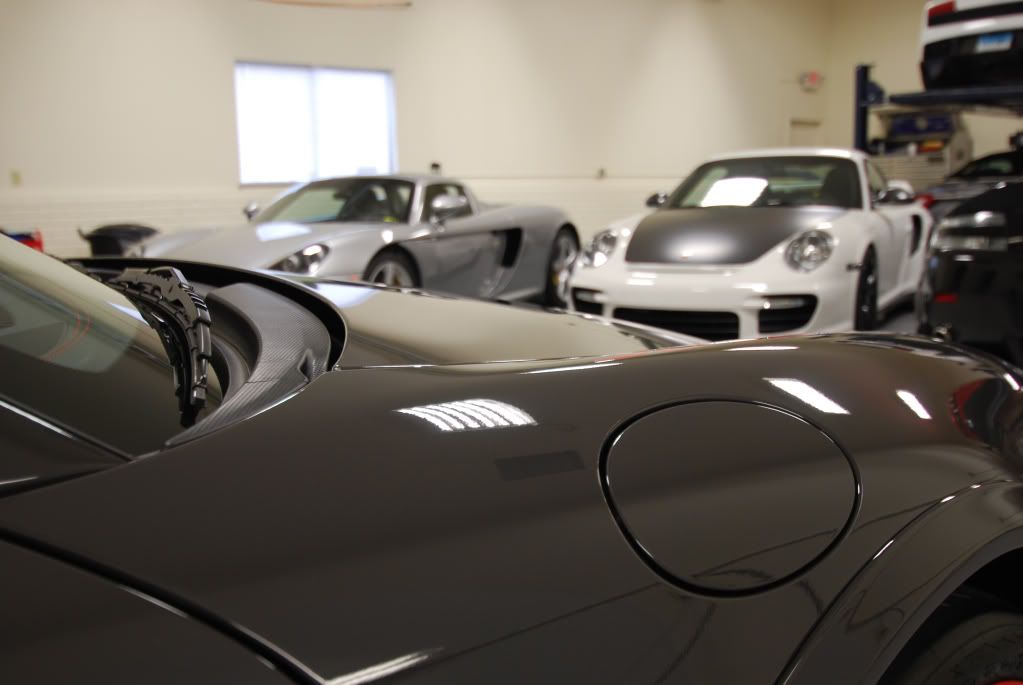
It was overcast and the rain was holding off so I pulled it out for a few pics
Again Autowerkes tire dressing looking great on the tires, wheel were protected with Nanolex wheel sealant

This was a very long thread in case you were unaware of the obnoxious amount of pictures I posted. Instead of putting up a bunch of different writeups I decided to just put it all together and display it as one.
I thank you for taking the time to read it and enjoy the pictures.
Please stay tuned for part 2...
It was overcast and the rain was holding off so I pulled it out for a few pics
Again Autowerkes tire dressing looking great on the tires, wheel were protected with Nanolex wheel sealant
This was a very long thread in case you were unaware of the obnoxious amount of pictures I posted. Instead of putting up a bunch of different writeups I decided to just put it all together and display it as one.
I thank you for taking the time to read it and enjoy the pictures.
Please stay tuned for part 2...
imported_JSFM35X
New member
Bravo. I am consistently amazed at the quality of the work you produce. The metal work on the Spiker is amazing. Working on this level of exotics make this post a fantastic read for a car guy like me but it does not take away from the unbelievable correction and protection work you provided the cars. When I read your opening header I thought David is so lucky to be able to experience/work on cars like the GT2 which is a unicorn to me! I would love to put that car through its paces. By the end of the write up I changed my mind. The owner is lucky to have found and hired you for this collection.
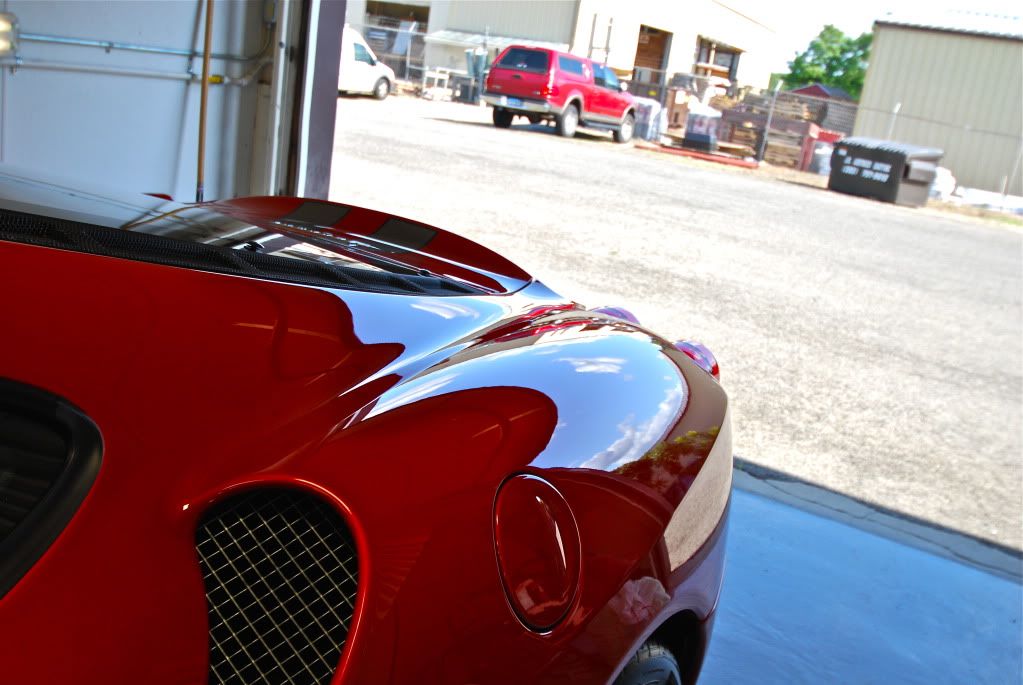
The final outside picture of the Scud is a poster shot!
Thanks for pointing out the importance of cleaning the tire. I never did this before you mentioned this in a previously post and it makes a huge difference in the way the dressing looks and lasts. Is Auto Works a new dressing. Never heard of it? Better than SW Pneu?
I can't wait to see the rest in part 2!
You are in a category all your own my friend. The write up, pictures and detailed step by step-product by product details make your posts fit for the all time library of super high end detailing. Keep up the good work!
Thanks for sharing you work and expertise. I enjoyed reading it.
I would love to head more about the wolf line.
Street Dreams
New member
Thanks everyone!
imported_glfahlc
New member
what a stable of rides!!!! your work is spot on as usual steve. i'm always impressed with the awesome cars you get to detail.
BIOLINK
Icon Detailing
Dave, I love this post. For a guy who isn't mobile that is a lot of time away from home. Nice work!
Todd@RUPES
Just a regular guy
SPEECHLESS!!!!!!!!!!
EPIC!!!!!!!!!!
Seriously love the style, the photos, the documentation, and most importantly the quality of the work which is beyond reproach. You have simply surpassed the elite.
EPIC!!!!!!!!!!
Seriously love the style, the photos, the documentation, and most importantly the quality of the work which is beyond reproach. You have simply surpassed the elite.
imported_JSFM35X
New member
SPEECHLESS!!!!!!!!!!
EPIC!!!!!!!!!!
Seriously love the style, the photos, the documentation, and most importantly the quality of the work which is beyond reproach. You have simply surpassed the elite.
Coming from Todd that is a serious compliment.