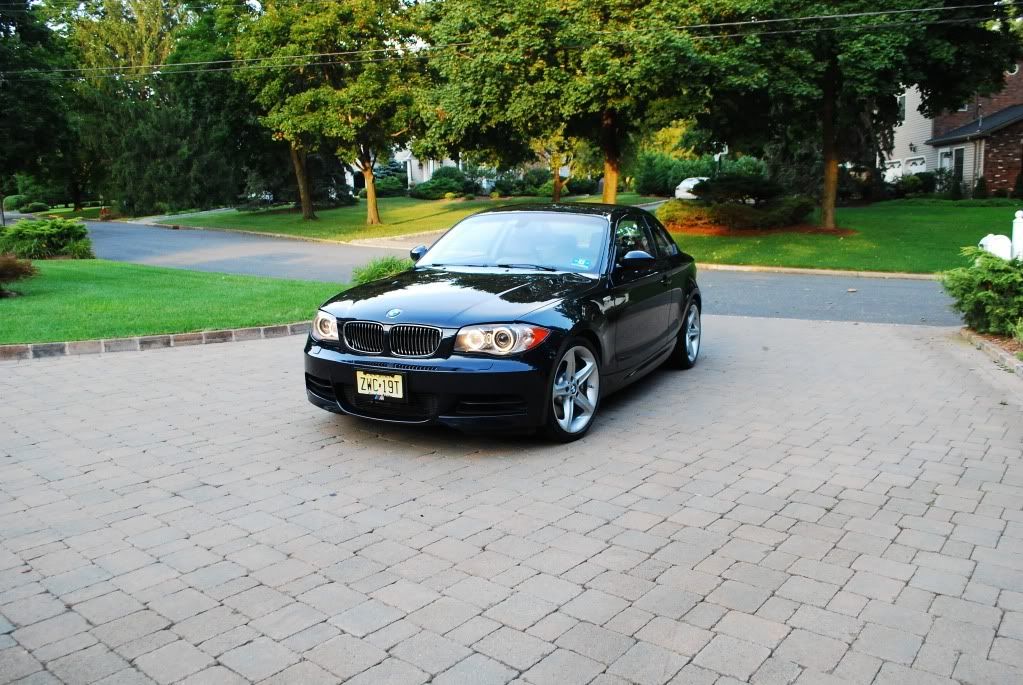
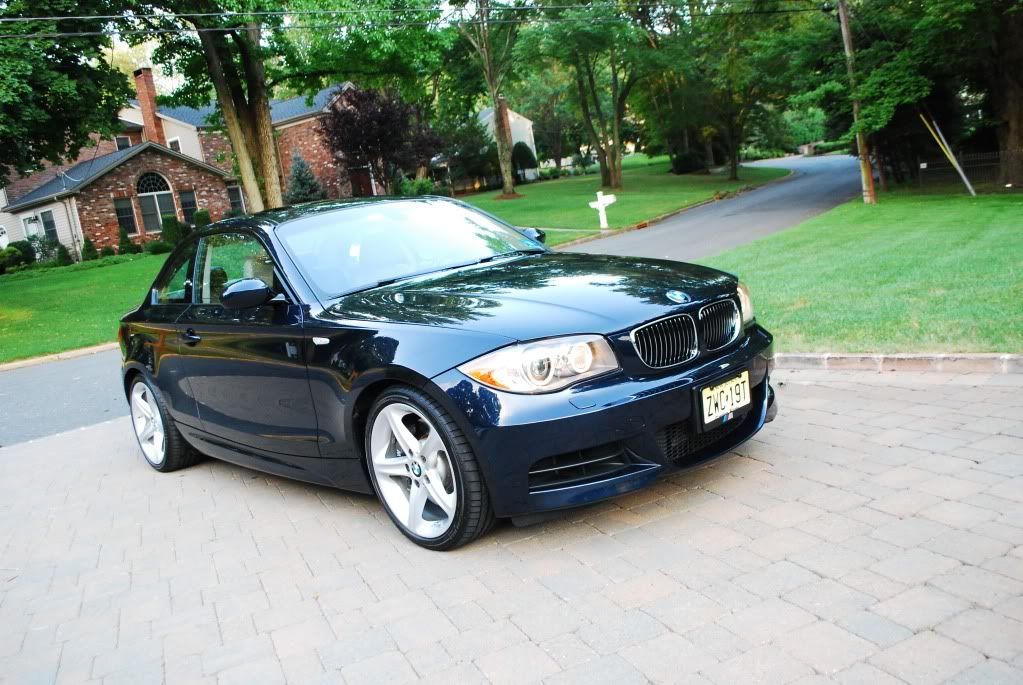
Complete 4 day paintwork restoration on a Monaco Blue BMW 135i.
Backstory, in bullets:
-Car was bought with 10k miles on it
-New owner saw car on dealer lot looking clean and very glossy (glaze fillers)
-After a few weeks of washing the gloss was lost and real finish revealed
-Paintwork had very little depth, clarity or wetness and new owner wanted all of the latter brought back to the car
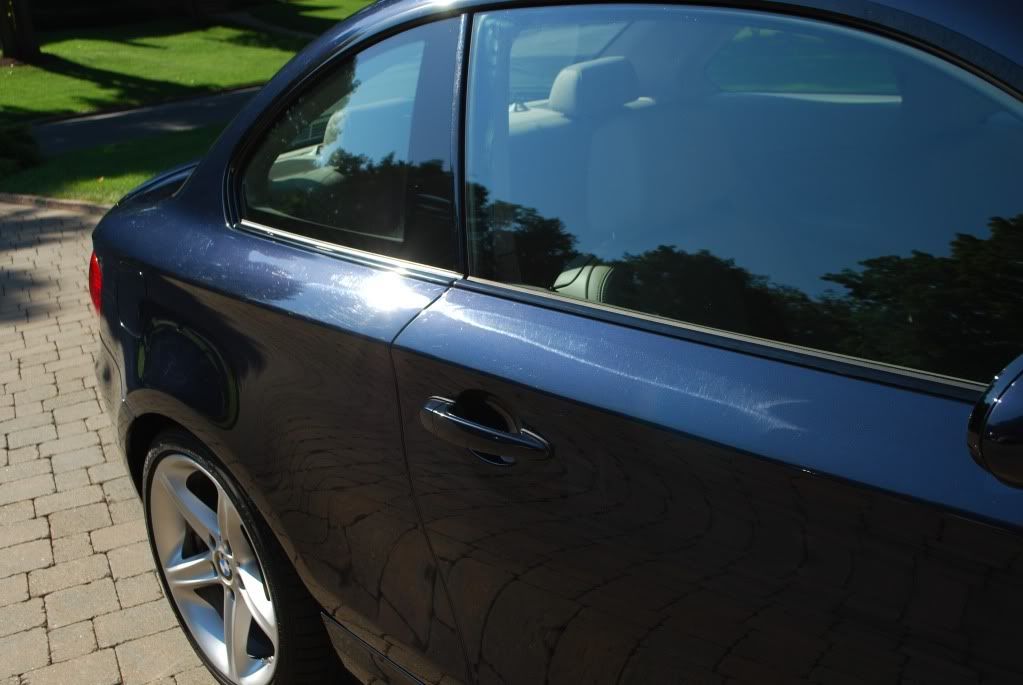
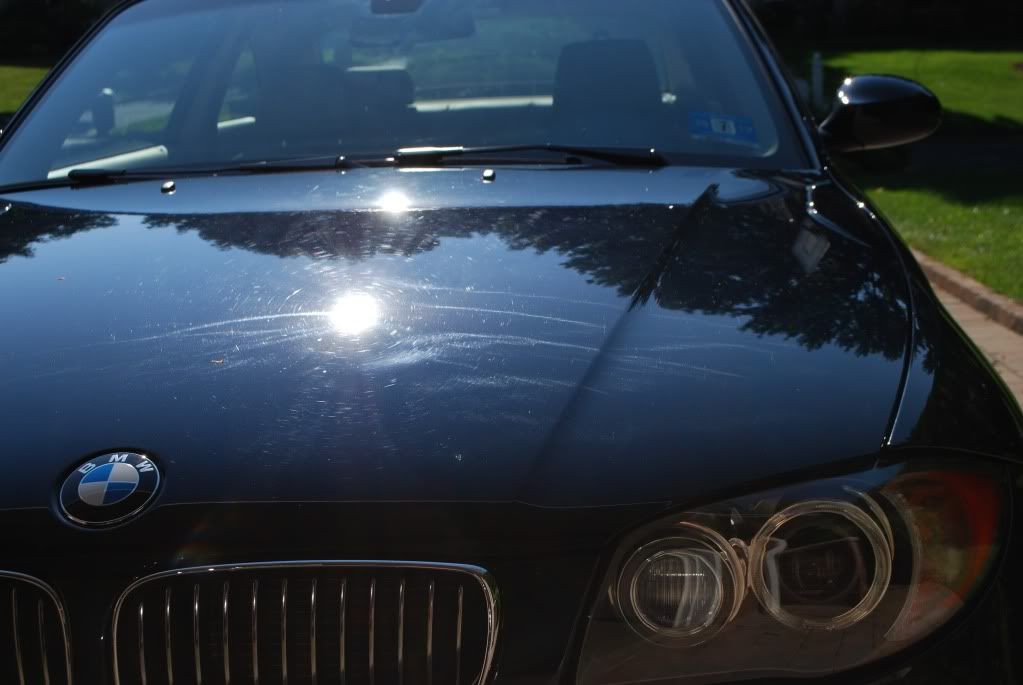
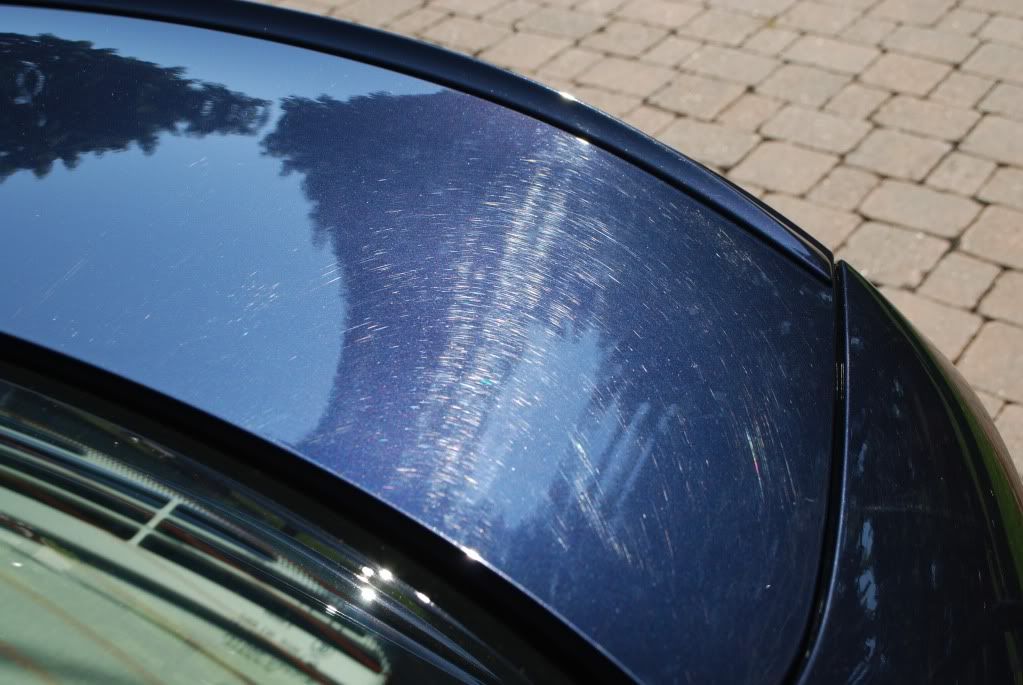
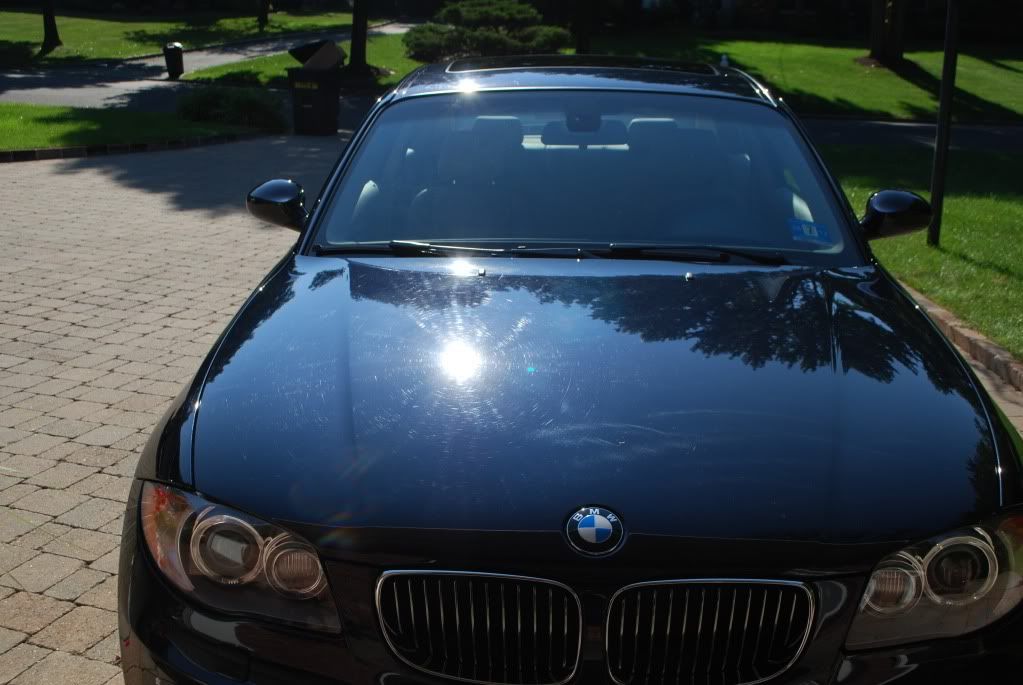
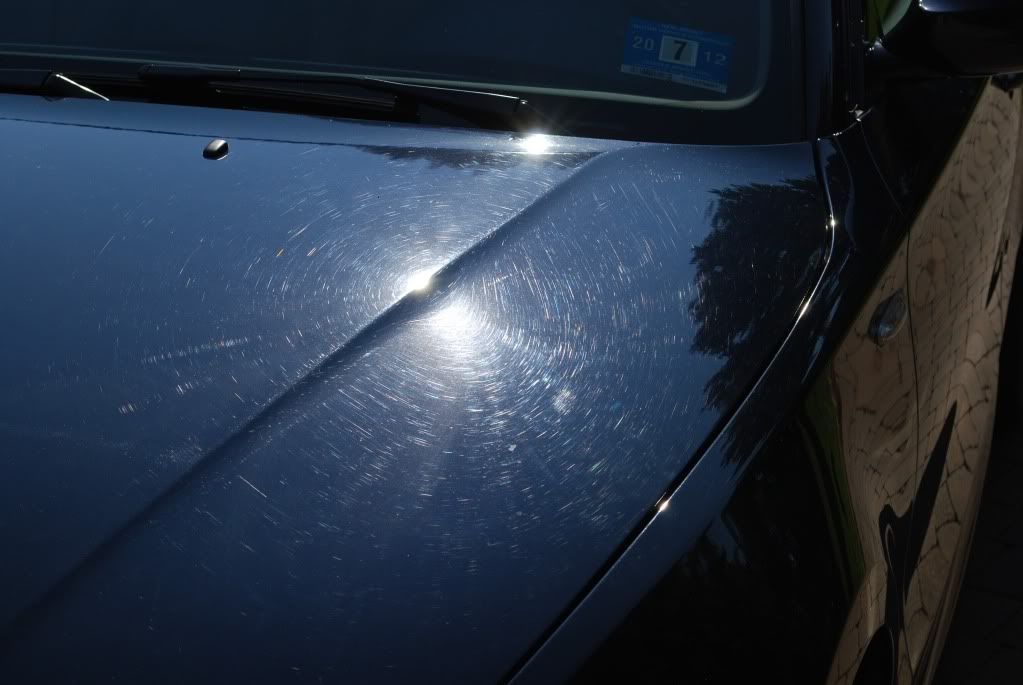
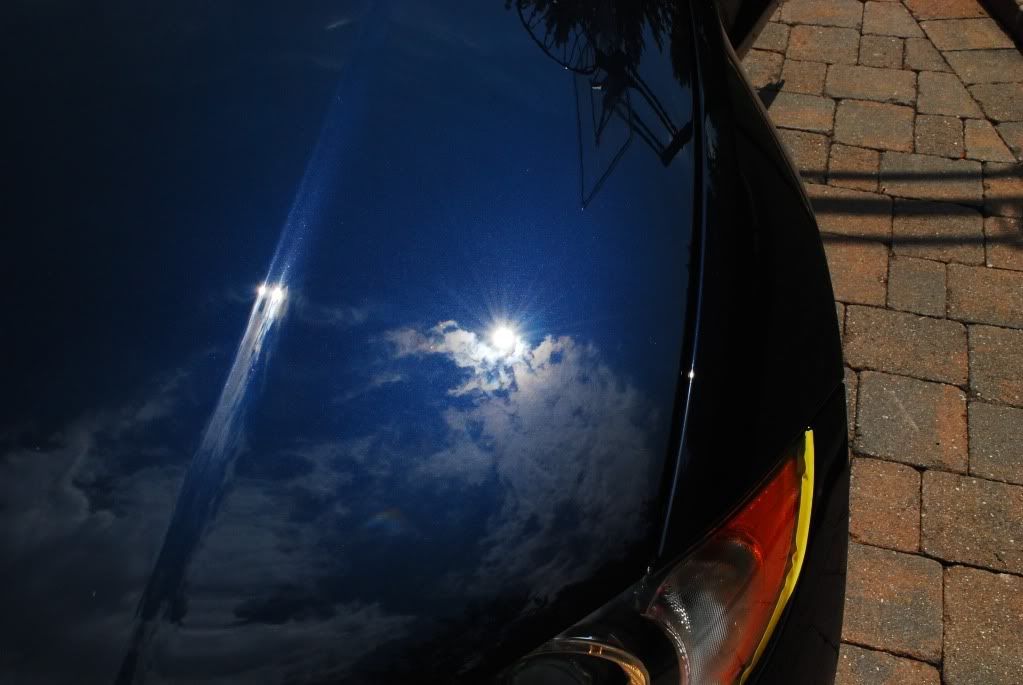
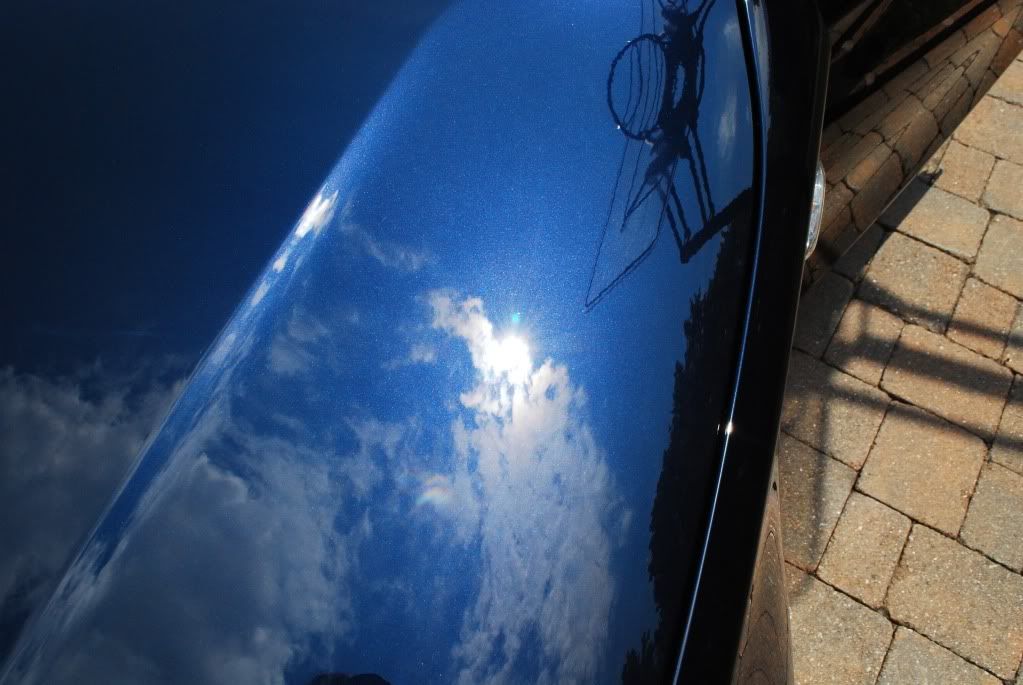
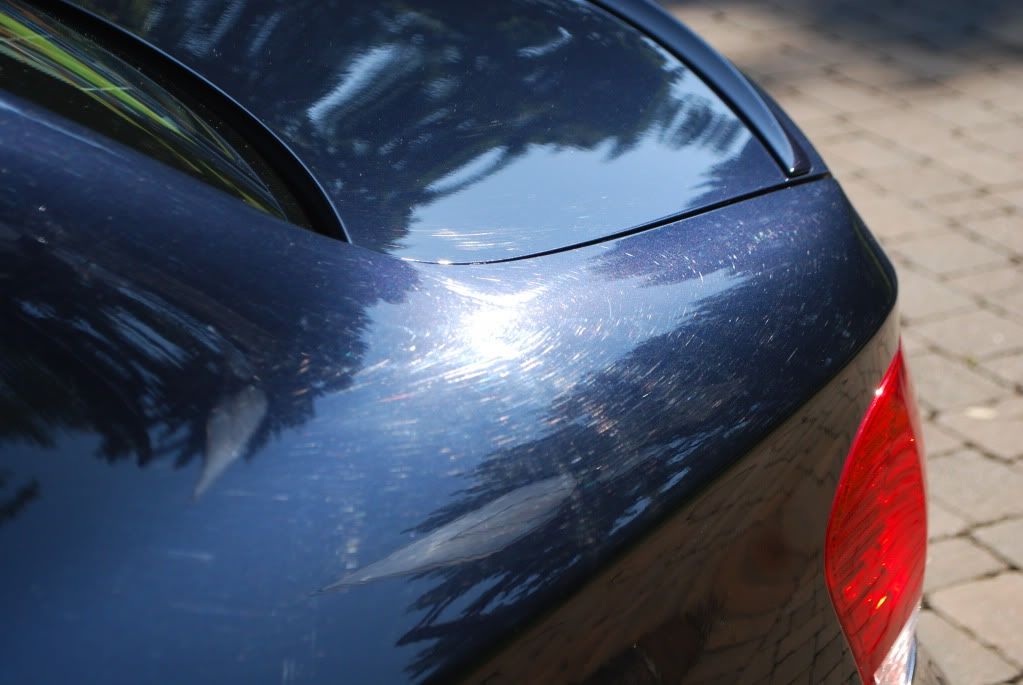
Some before pictures in sunlight. Car had lots of RIDS, swirls and was covered in machine holograms as the dealer attempted to fix the prior damage and ended up making it worse. Along with that caked up wax and polish residue was left in nearly every crack and crevice.
If you dislike lots of correction shots and 50/50's this writeup may not be for you. The main focus was the correcting the finish as NO interior work and NO engine detail was carried out on this detail.

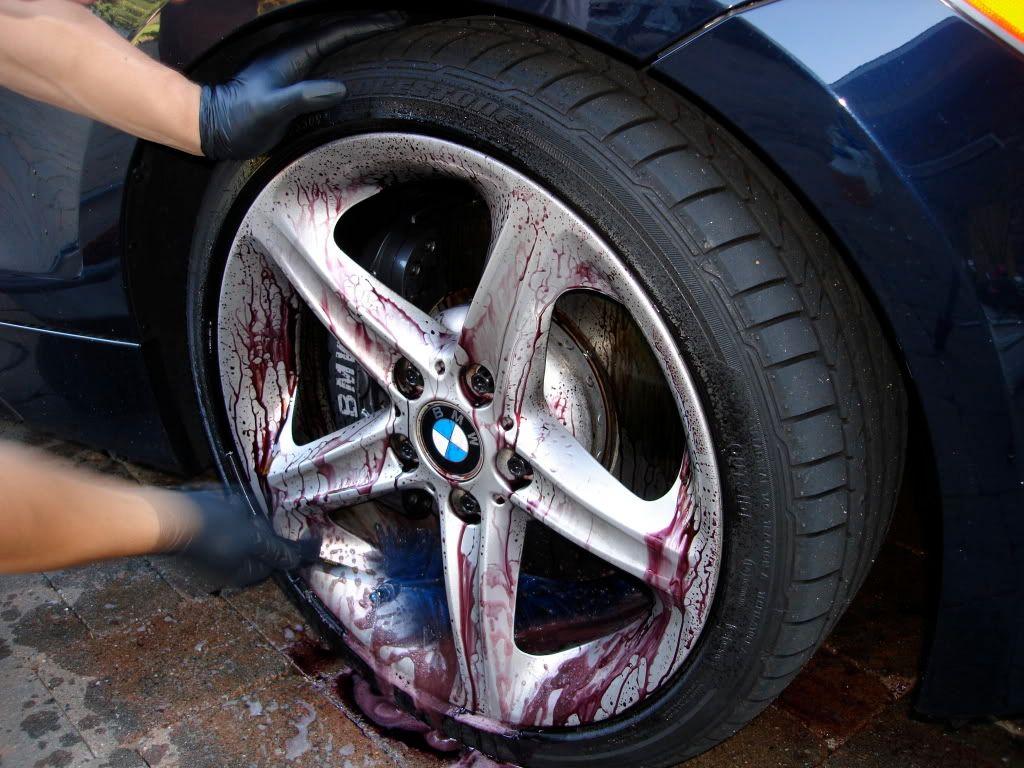
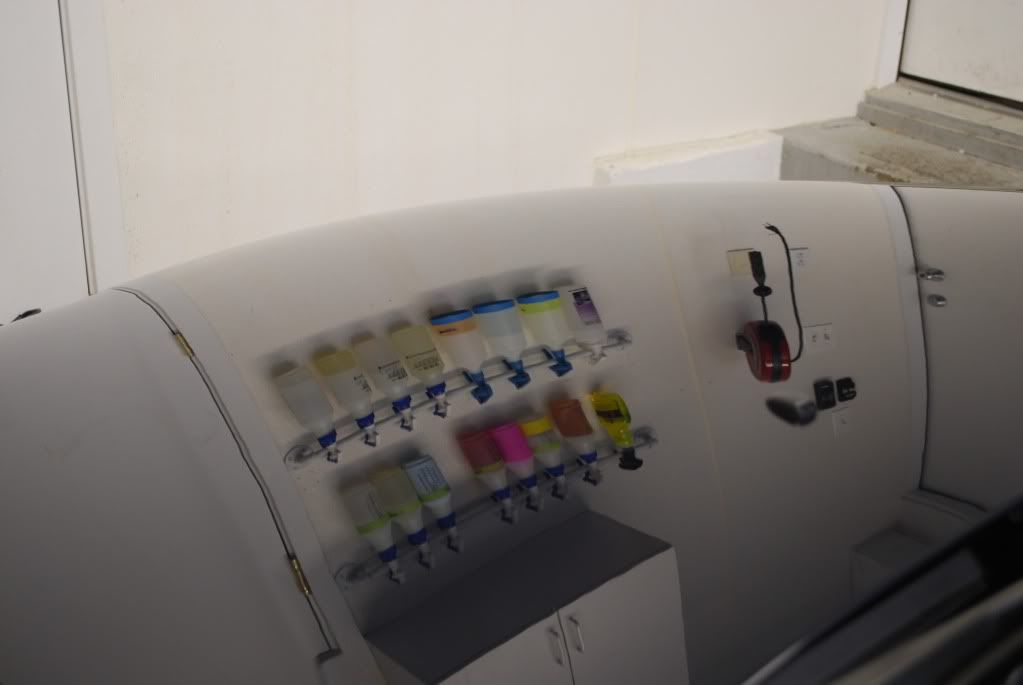
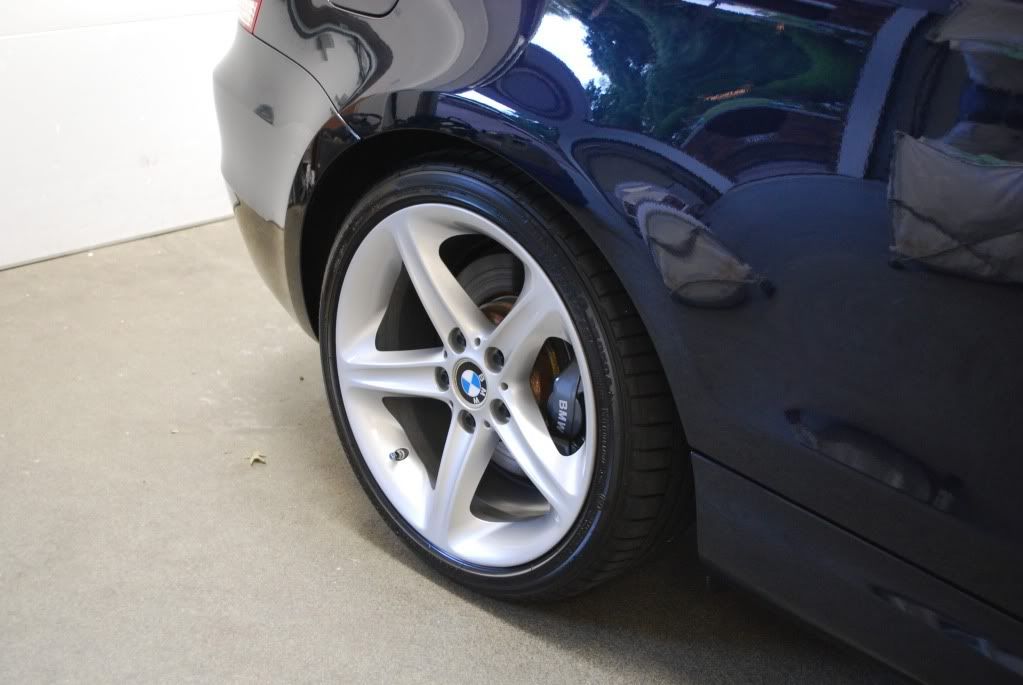
Wheels cleaned using Sonax wheel cleaner applied to the wheel DRY followed by Iron Cut
Car was beading well due to obvious glaze fillers left over from the dealership, all of which needed to be stripped off 100% before correction. The above sun shots were after the wash stage (no IPA yet)
- Pressure washed the finish followed by a 5 minute foaming using CG citrus wash
- Foam rinsed off and the car was sprayed down with Optimum Power Clean at a 5:1 dilution
- Finally a 2 bucket wash was carried out with a strong mixture of straight Dawn
Clayed using a riccardo bar with ONR as lubrication in a Kwazar bottle, which is an absolute must for at least your wheel cleaner and clay lube.
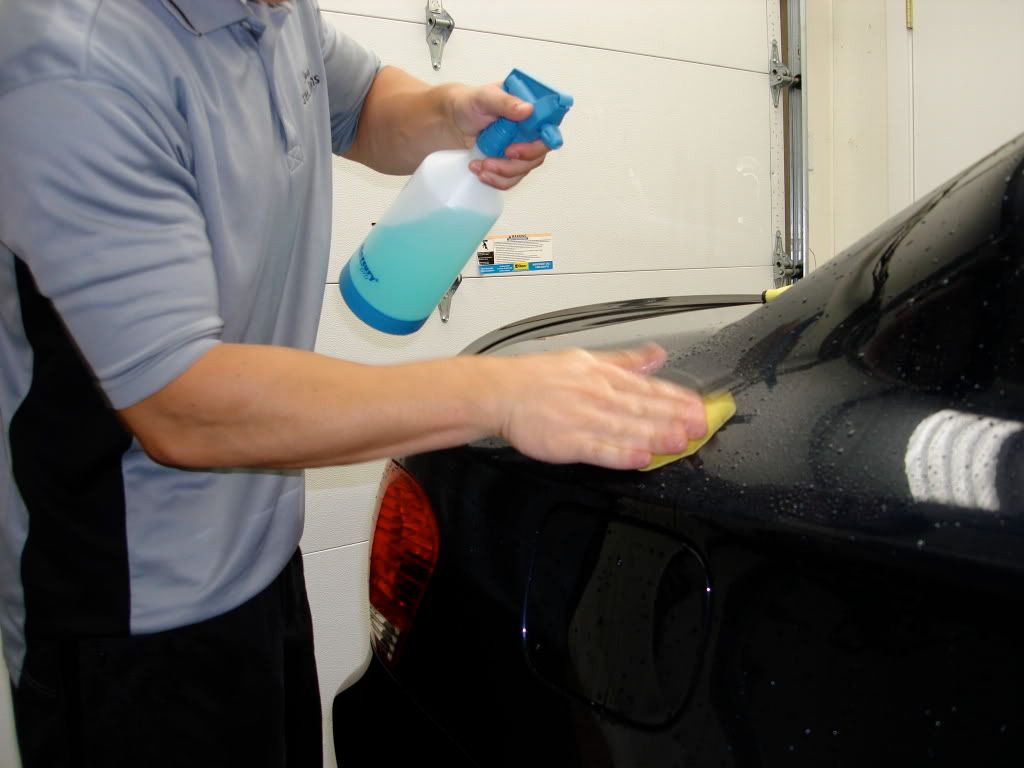
After clay the finished was wiped with straight IPA multiple times until it was squeaky clean.
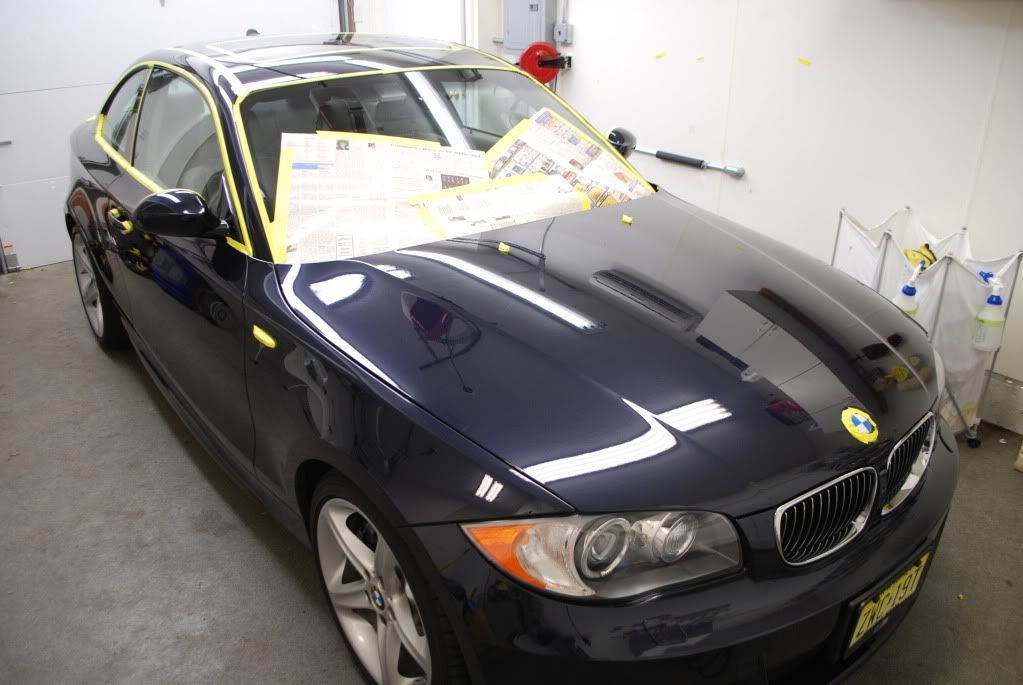
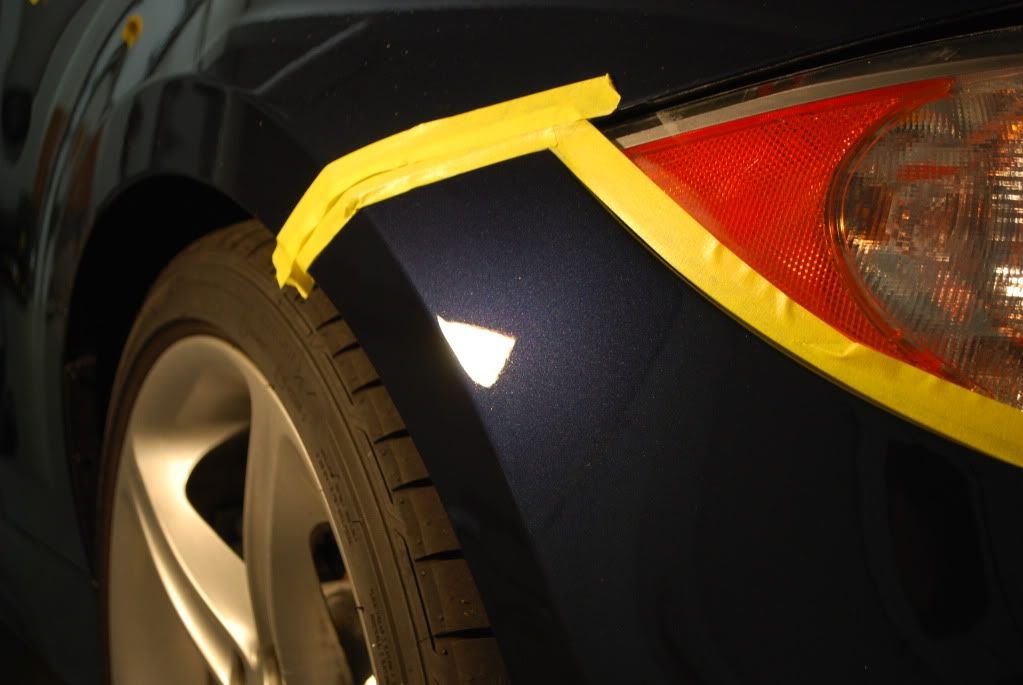
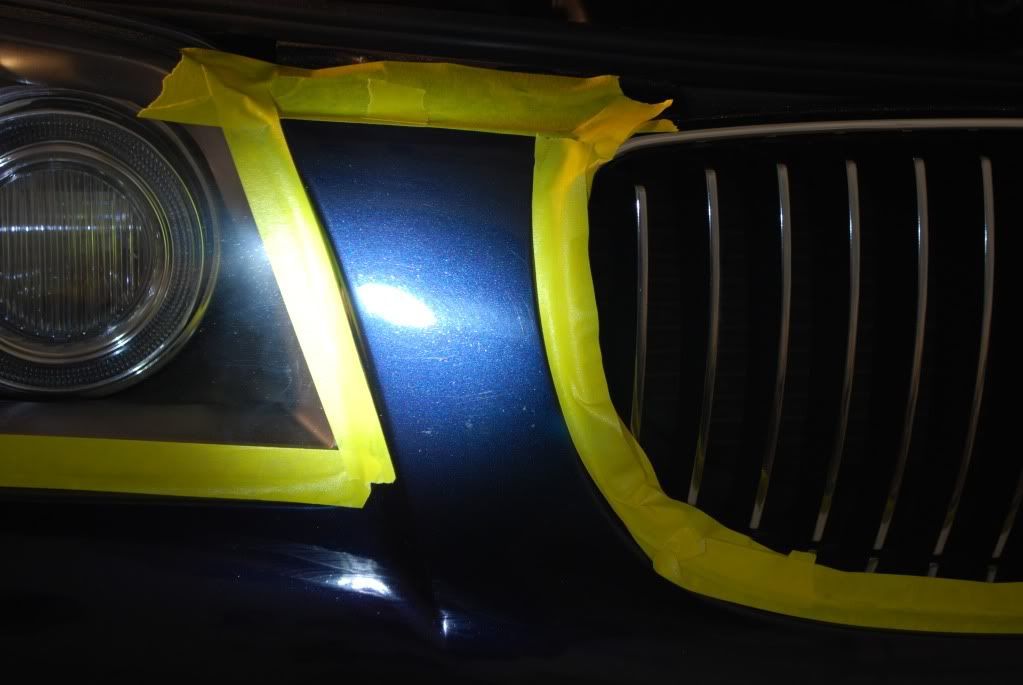
Here is the car all prepped and masked after taking the necessary paint readings
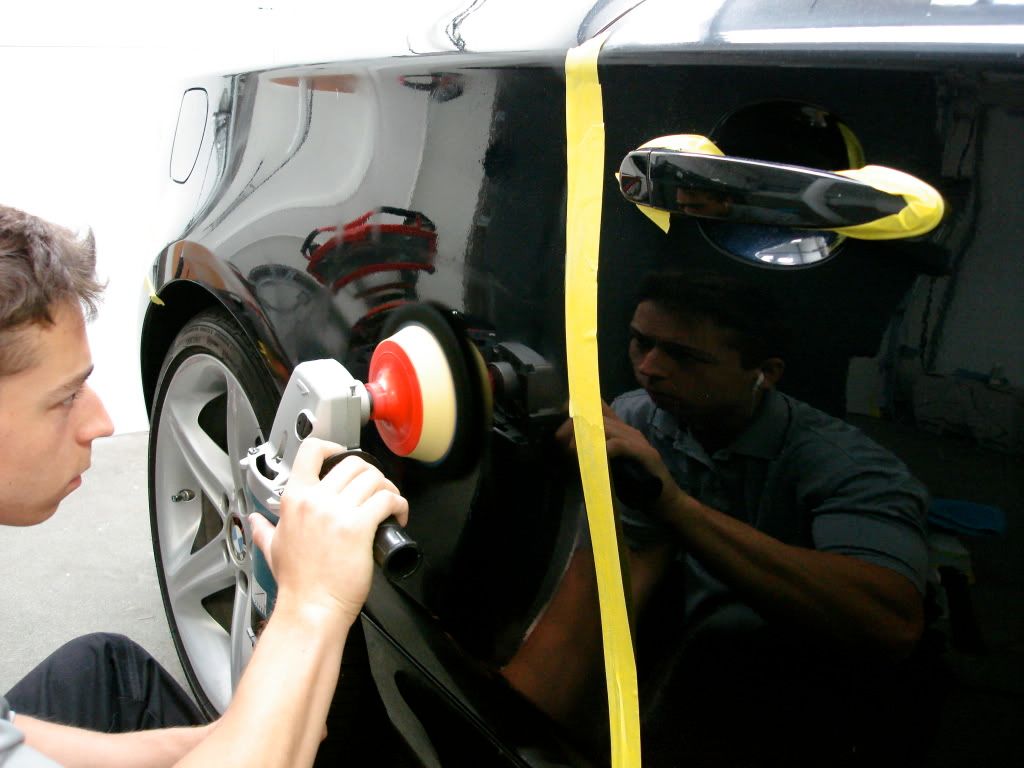
Onto correction. After a bit of time playing around with combinations I decided on a process which yielded me the best result, safely. I began playing with foam pads but that was yielding me only 80-85% correction while generating a lot of heat. I decided wool was need to correct the car properly.
Process as follows
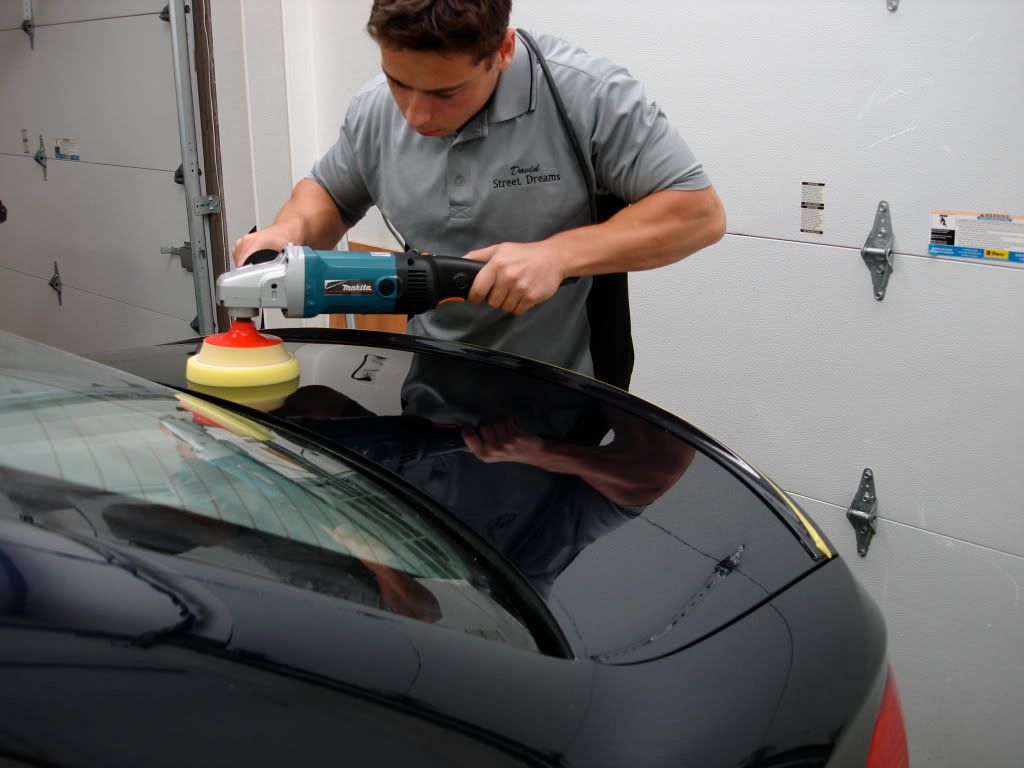
M105 on black wool pad (2x)
Menzerna SIP on DD Yellow Cutting Pad
Menzerna 106FA on a LC tangerine hydro
Menzerna PO85rd on a DD Black pad
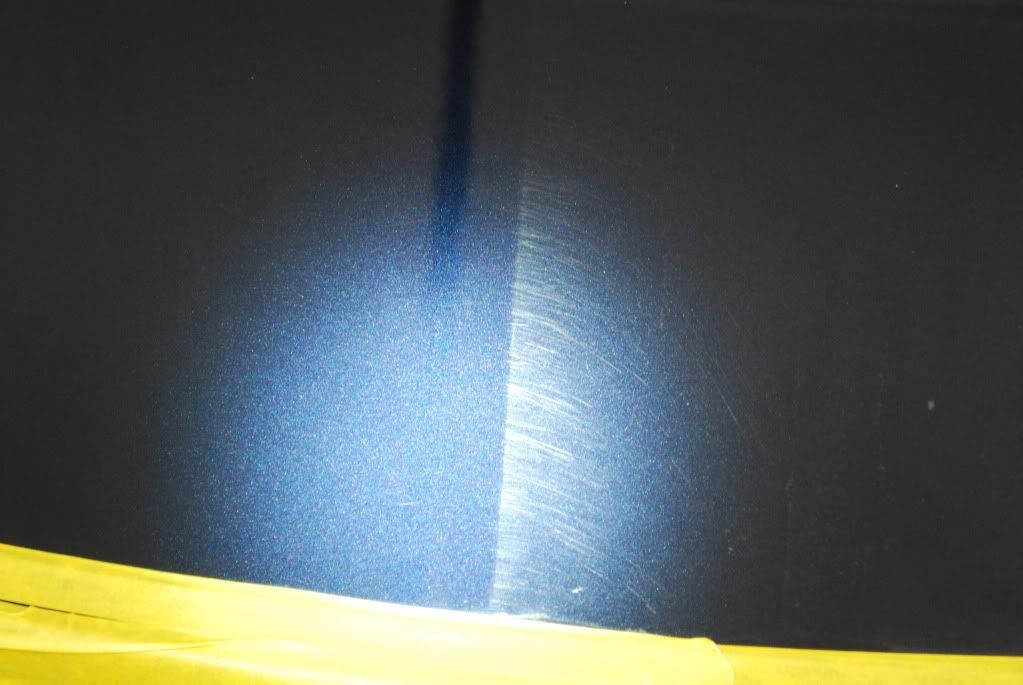
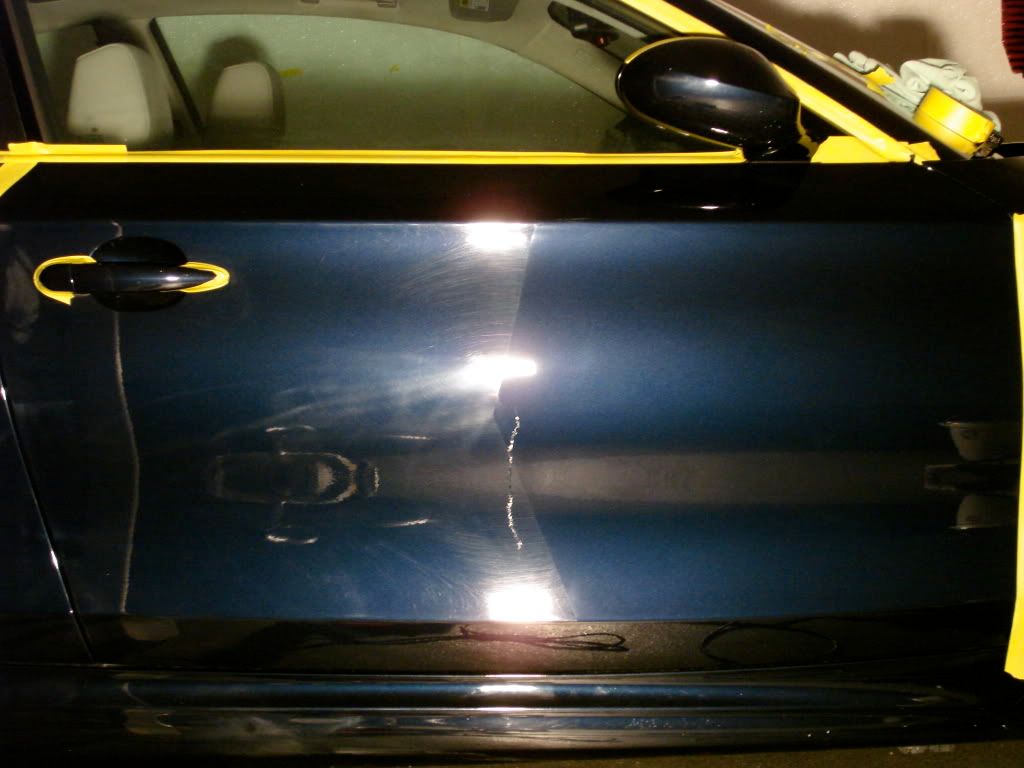
All 50/50 and correction shots taken after the first 2 correction steps (no finishing polishes) and straight IPA wipedowns to ensure zero filling
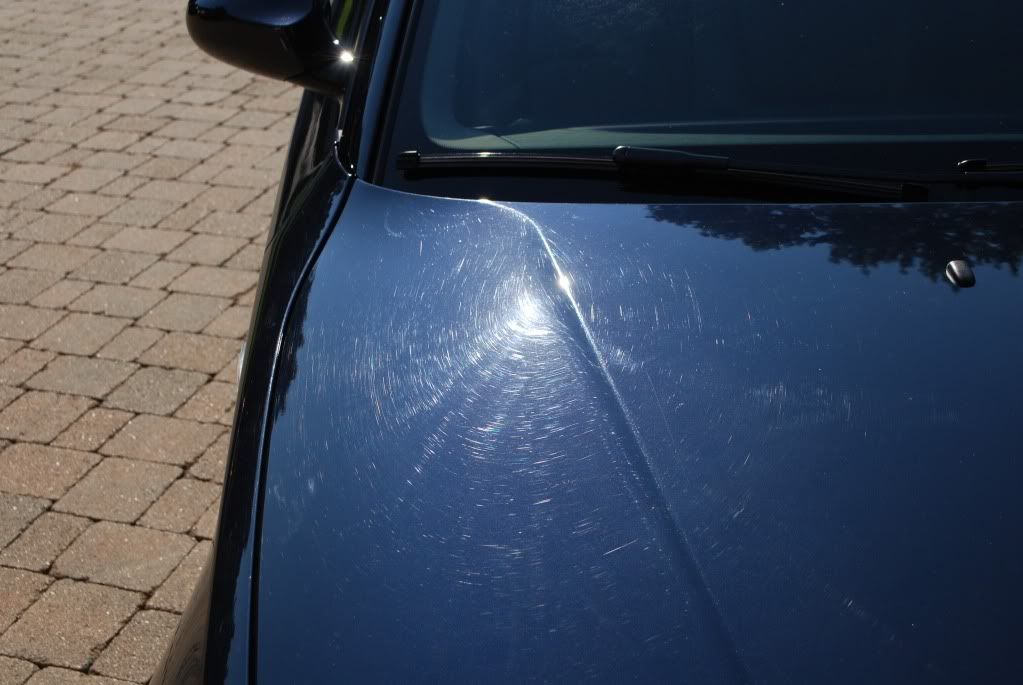
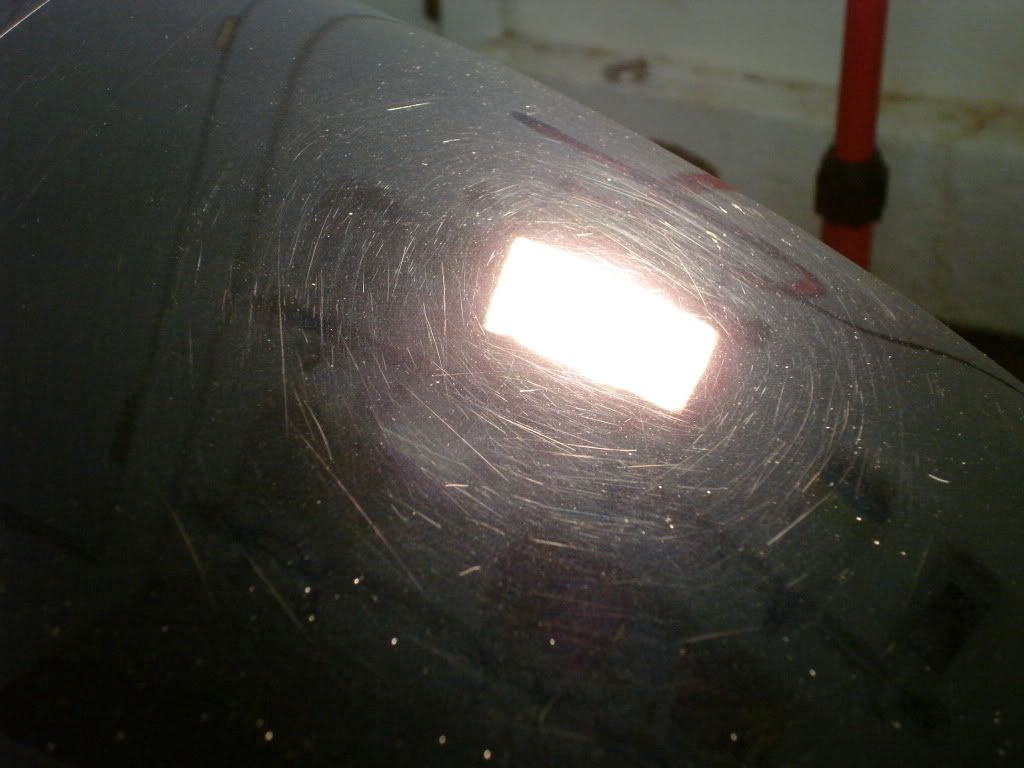
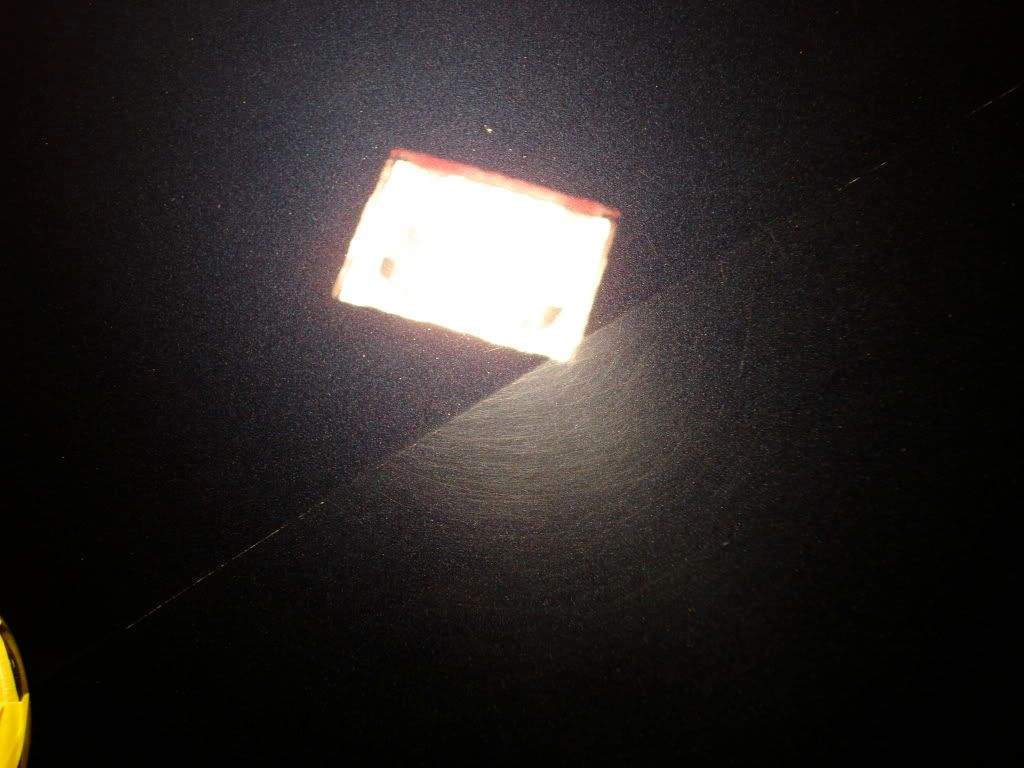
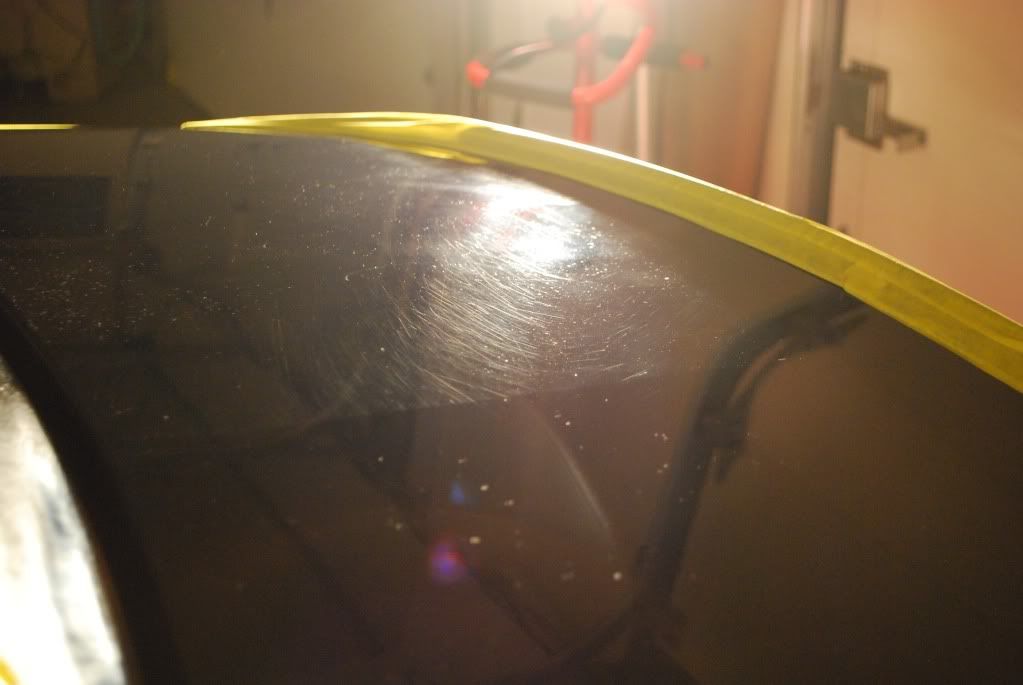
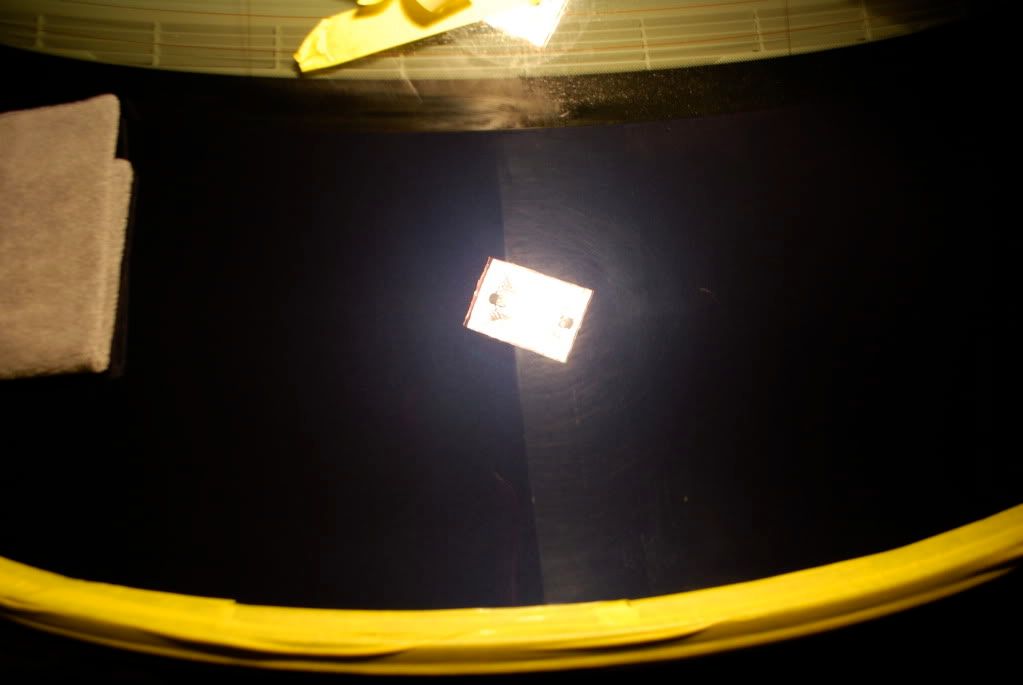
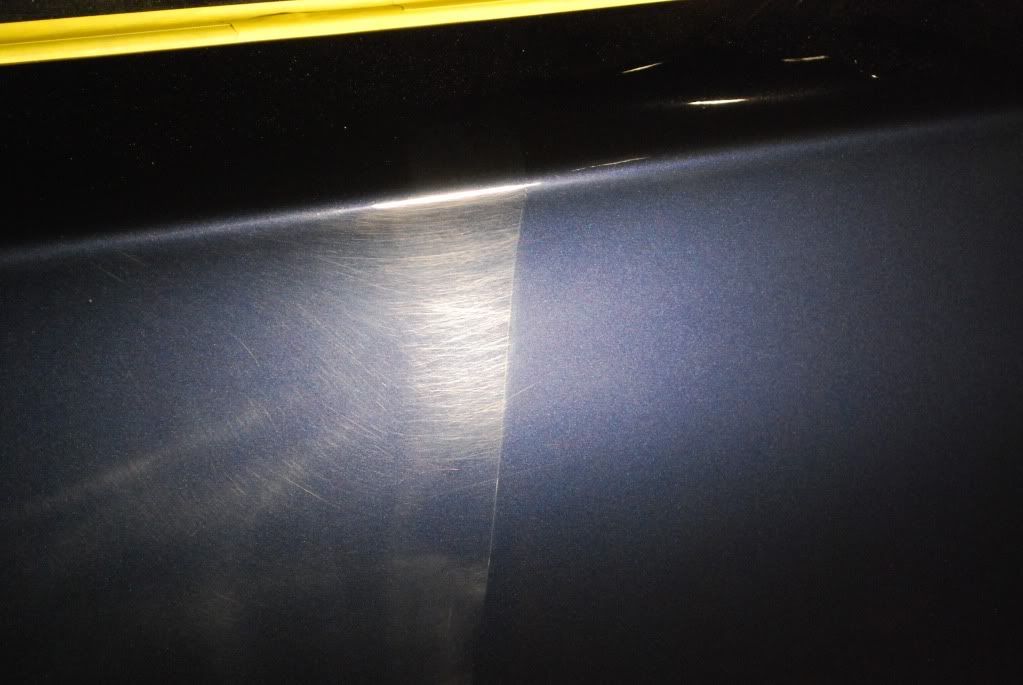
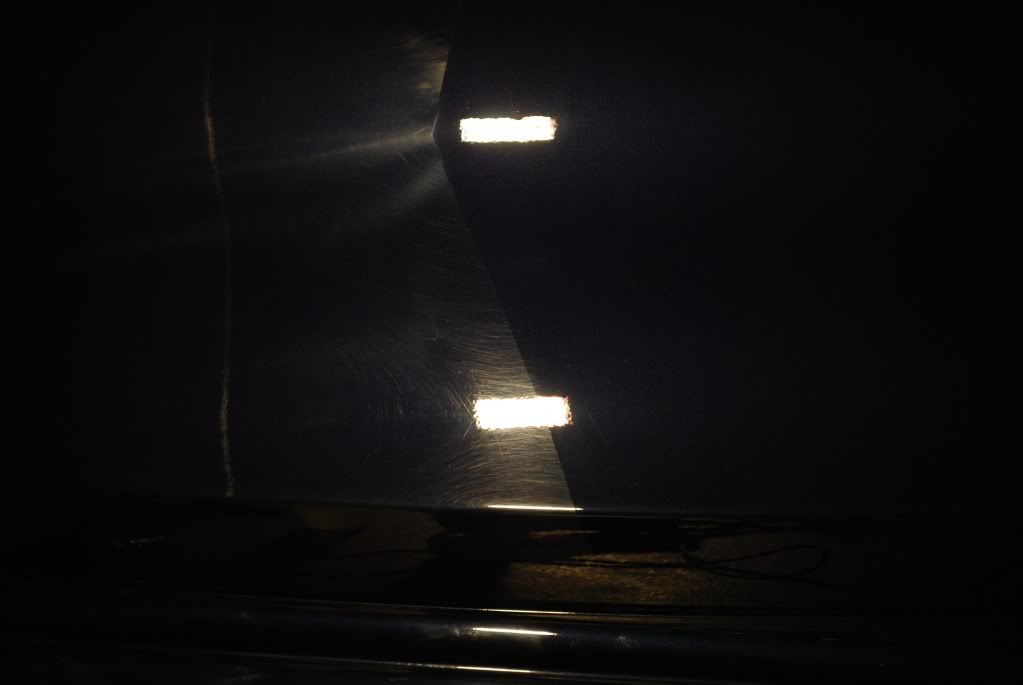
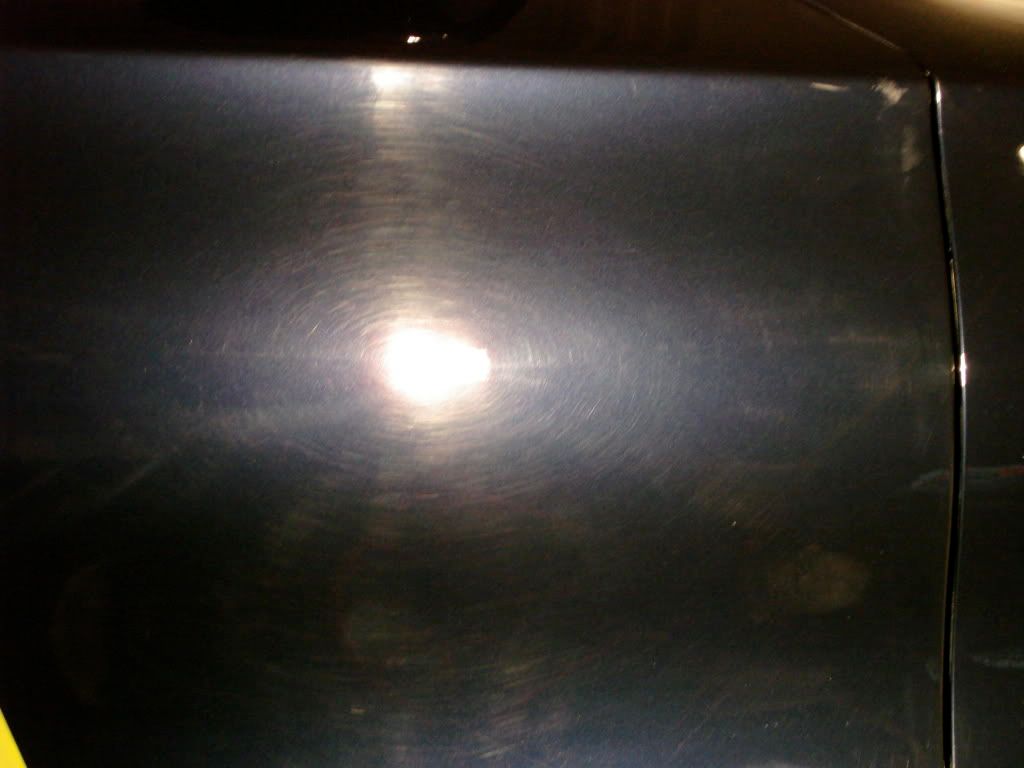
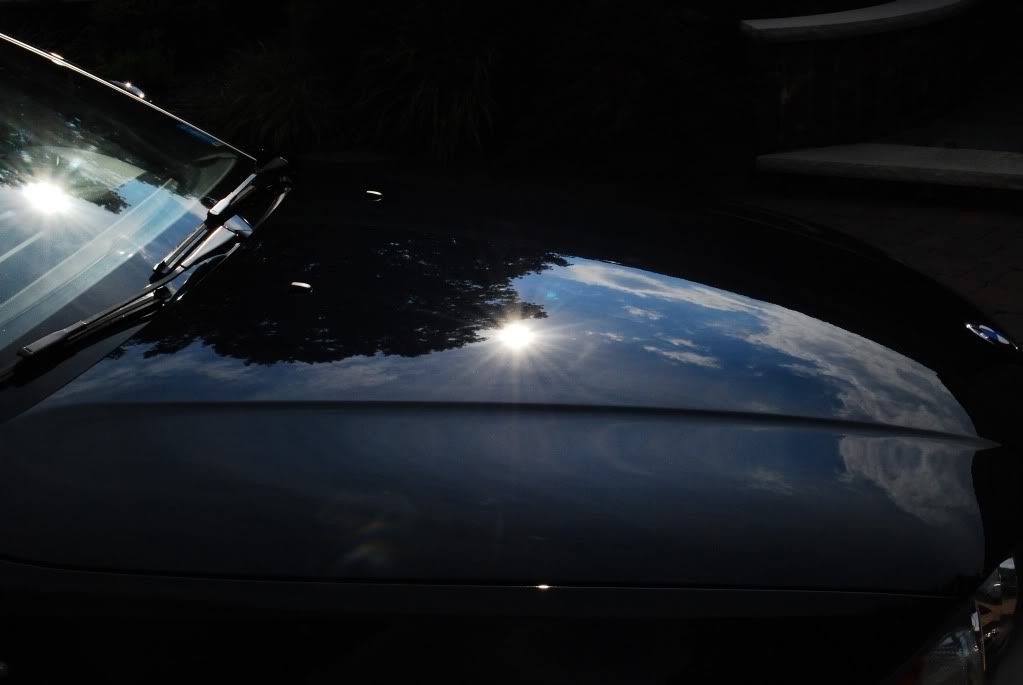
Hood under the halogens, deep RIDS
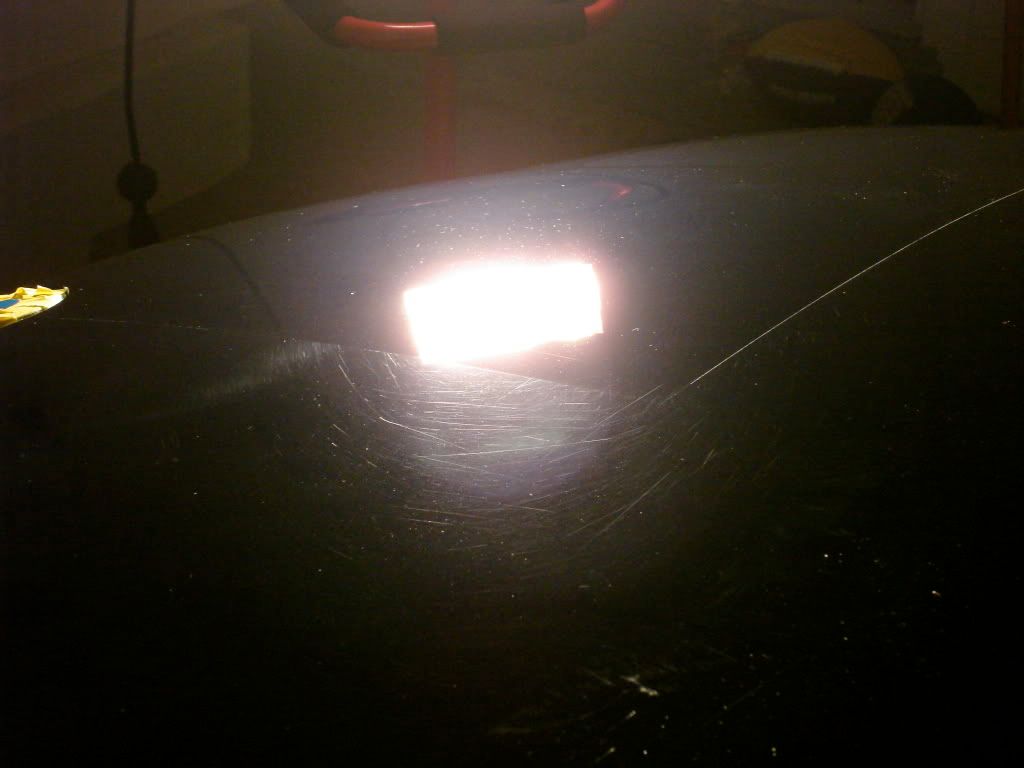
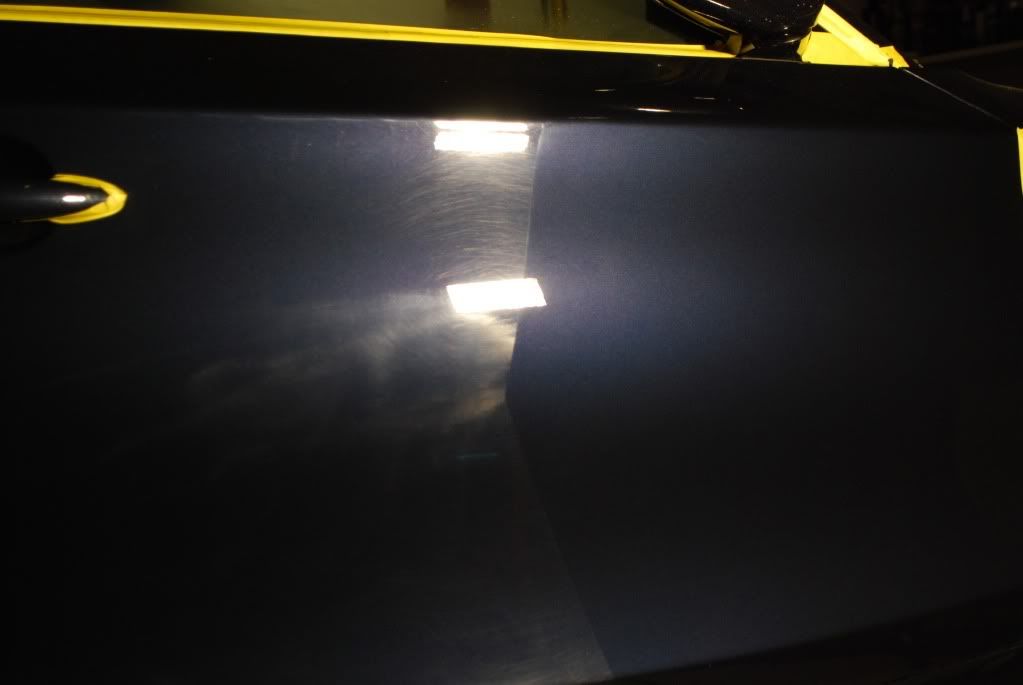
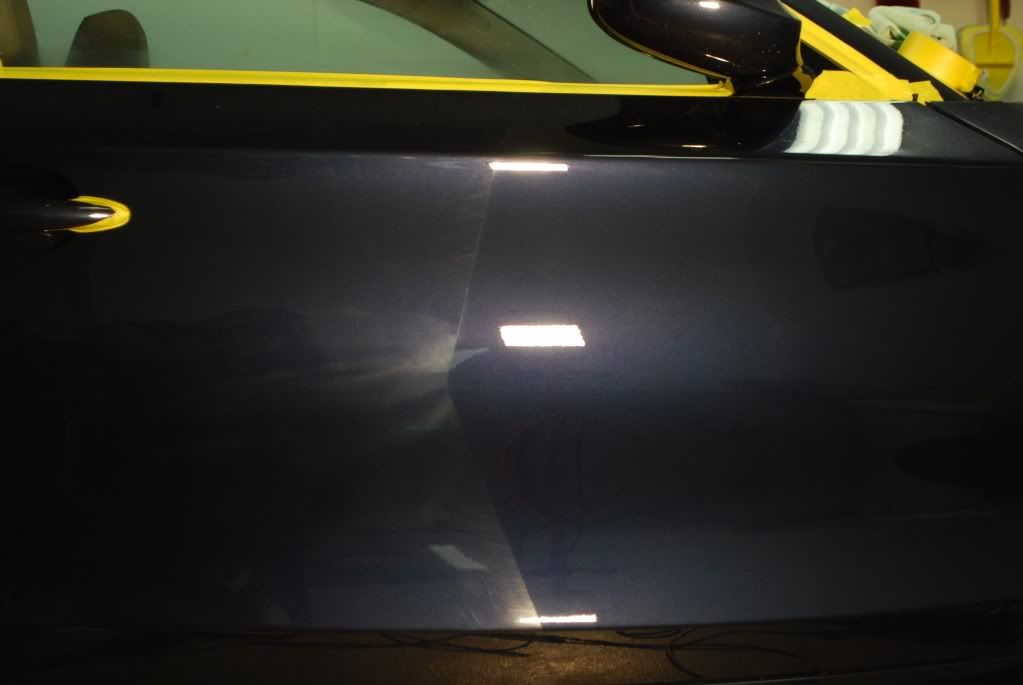
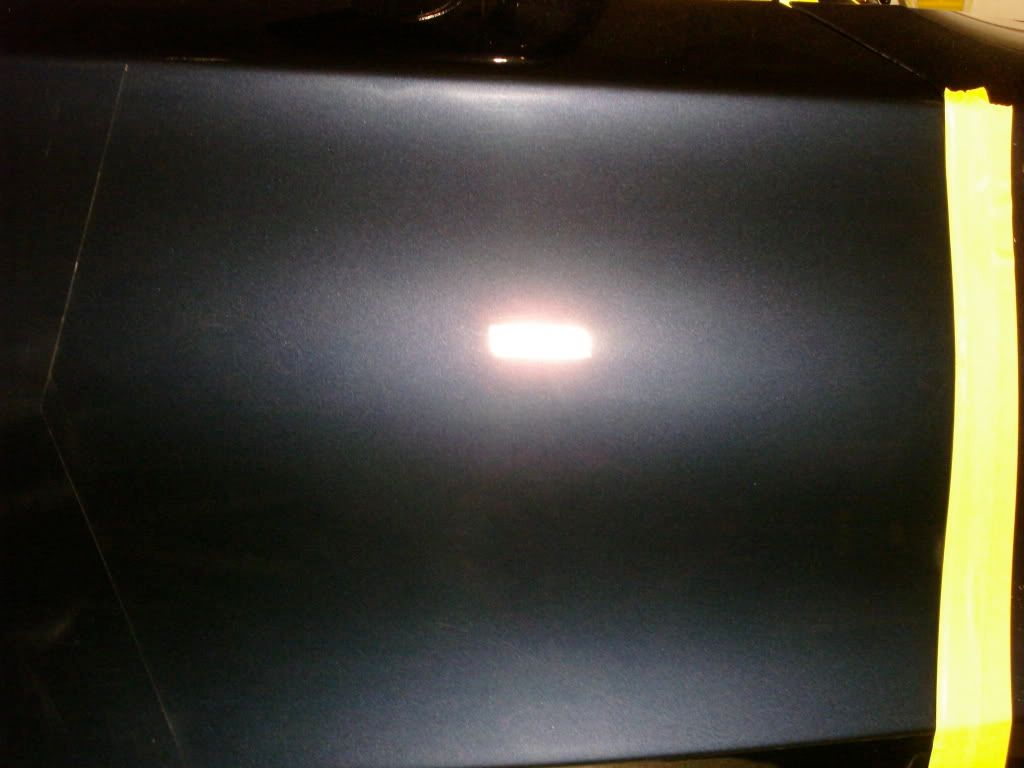
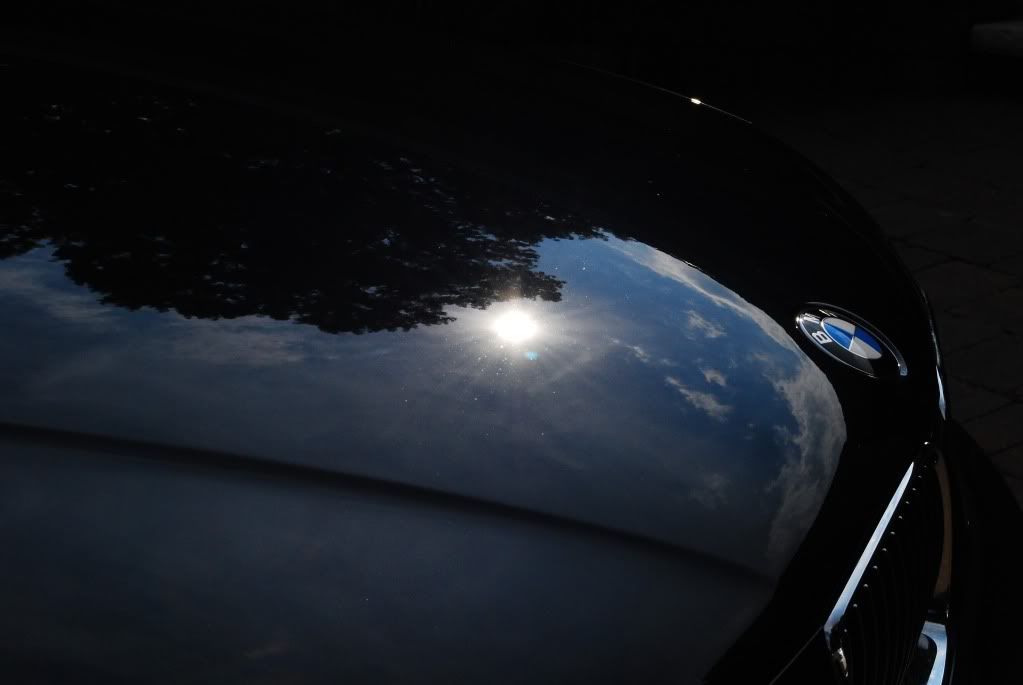
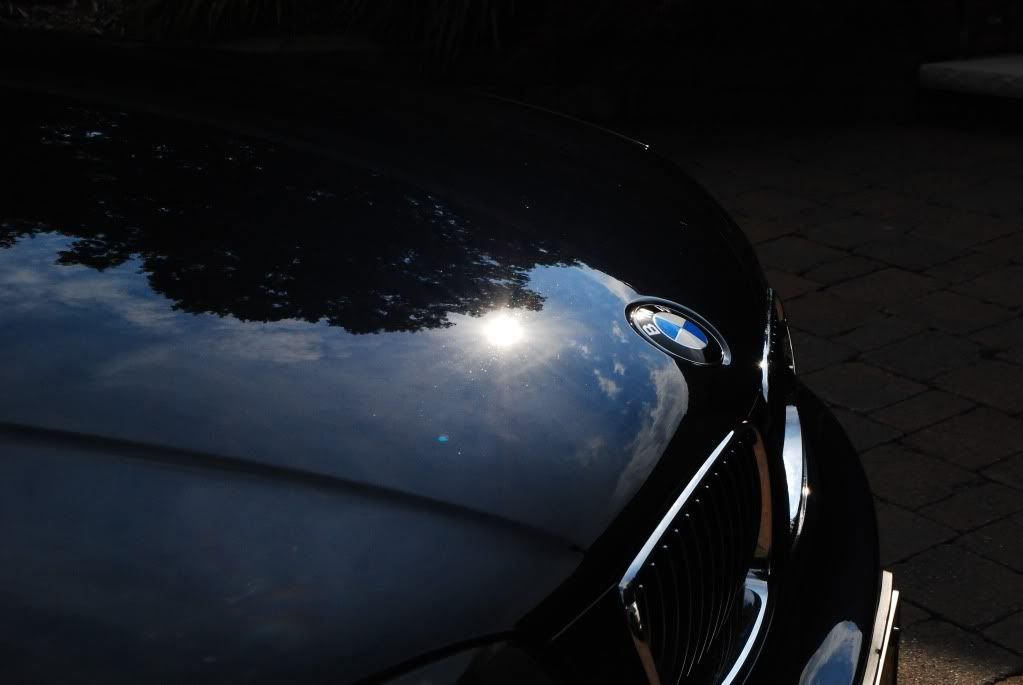
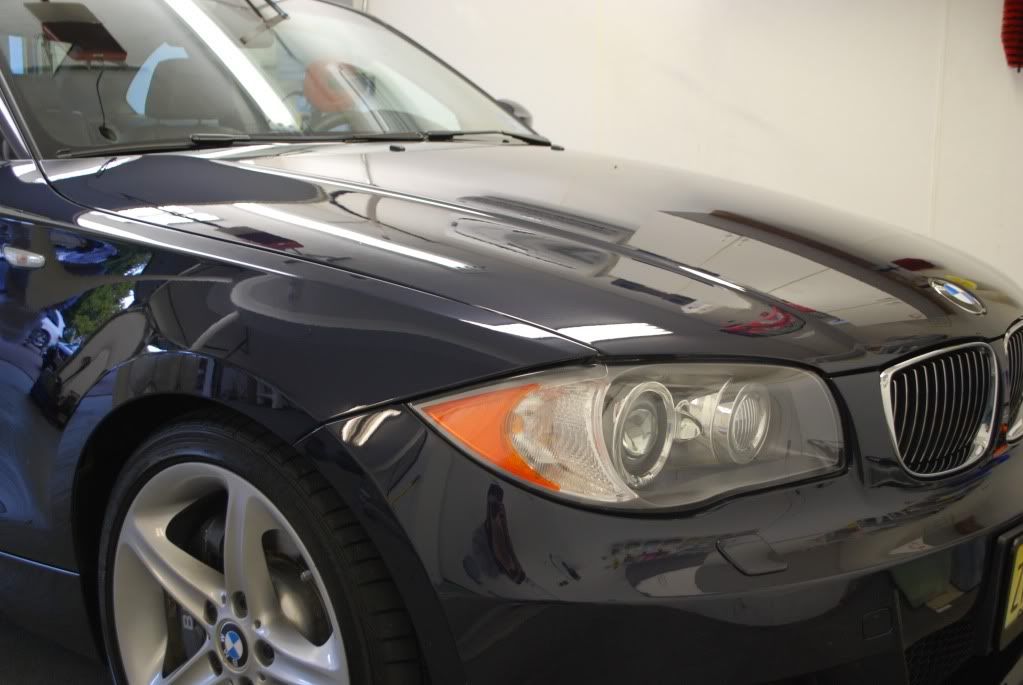
After wool and foam compounding, great difference in clarity without using a lightsource.
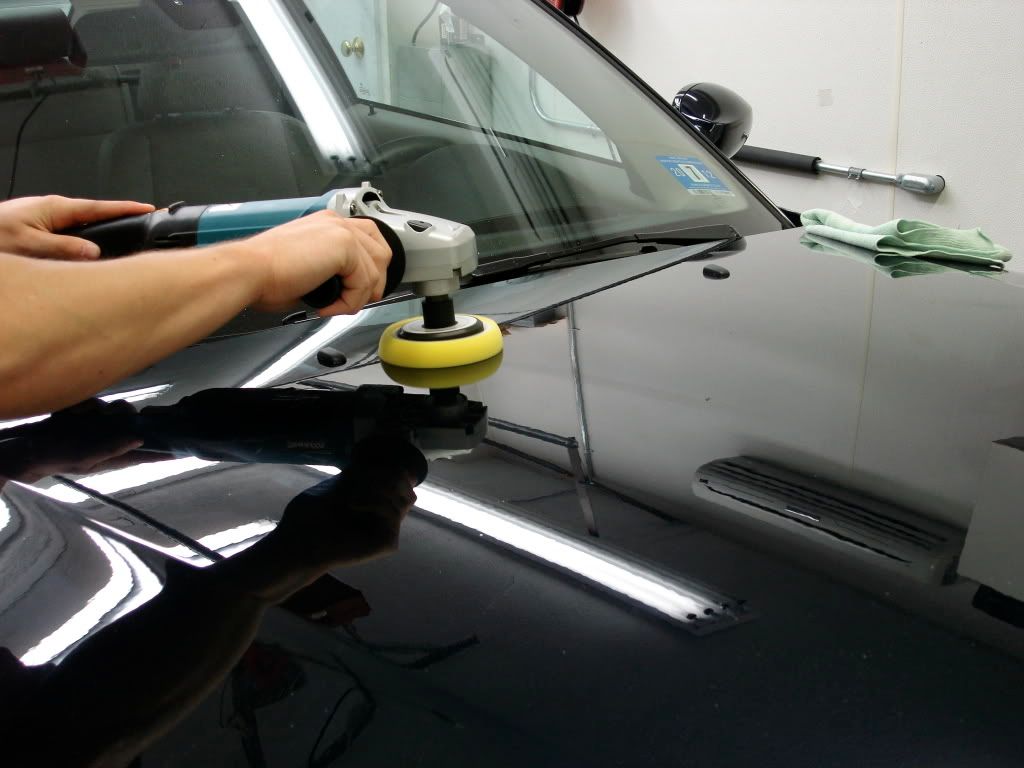
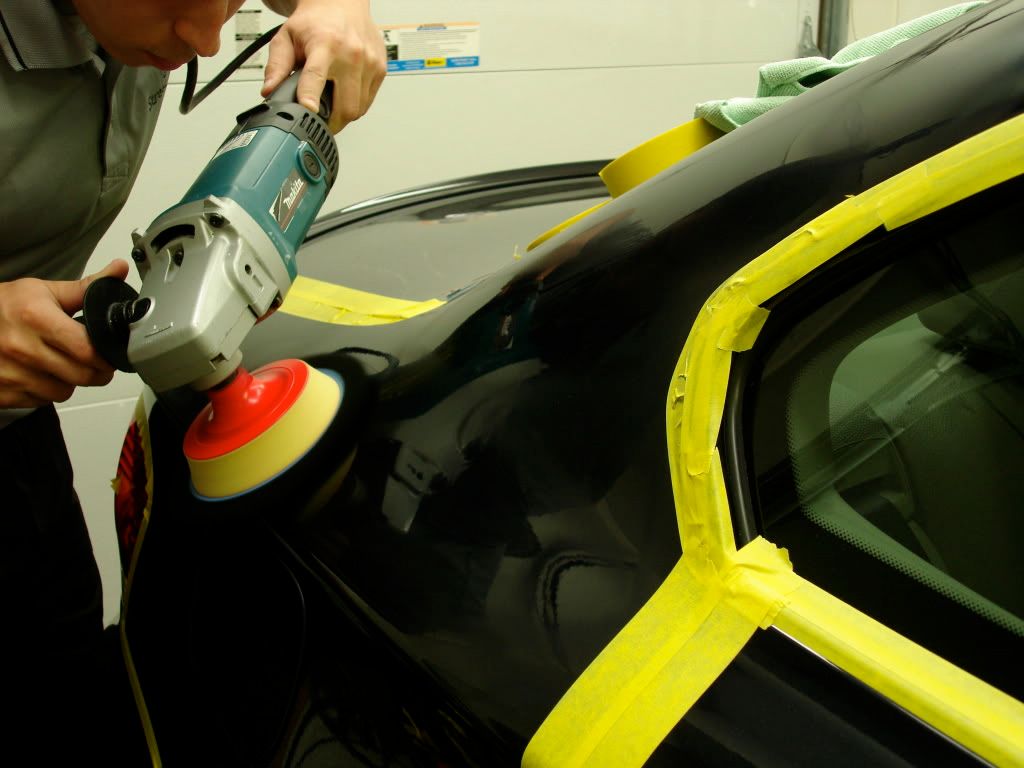
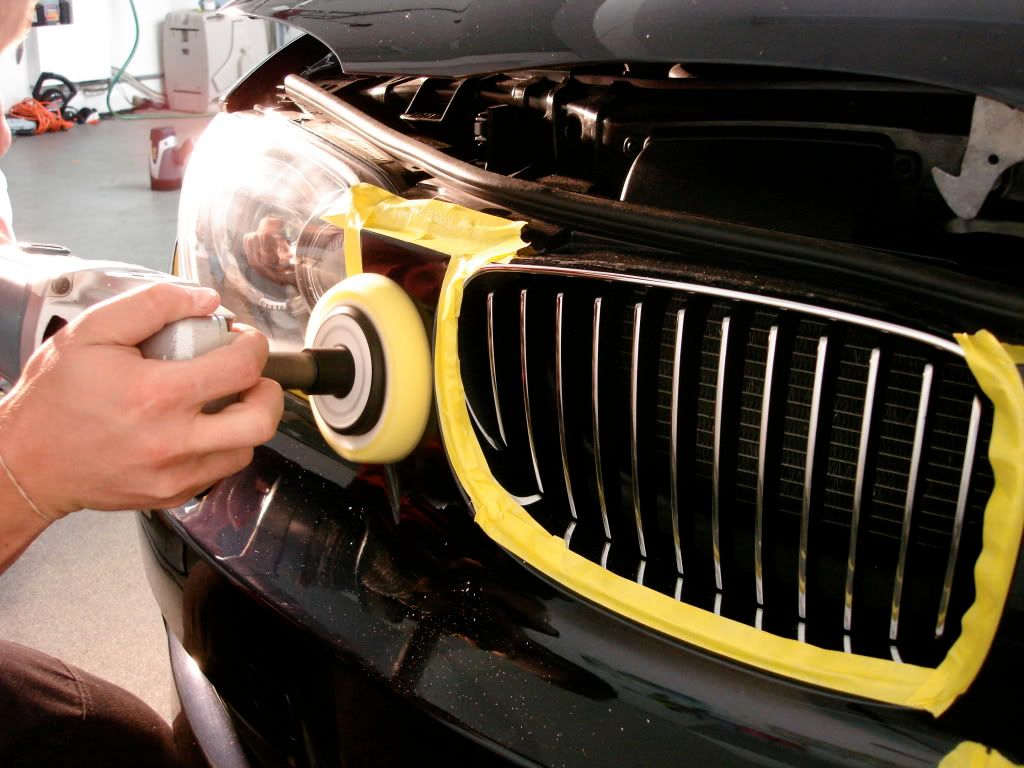
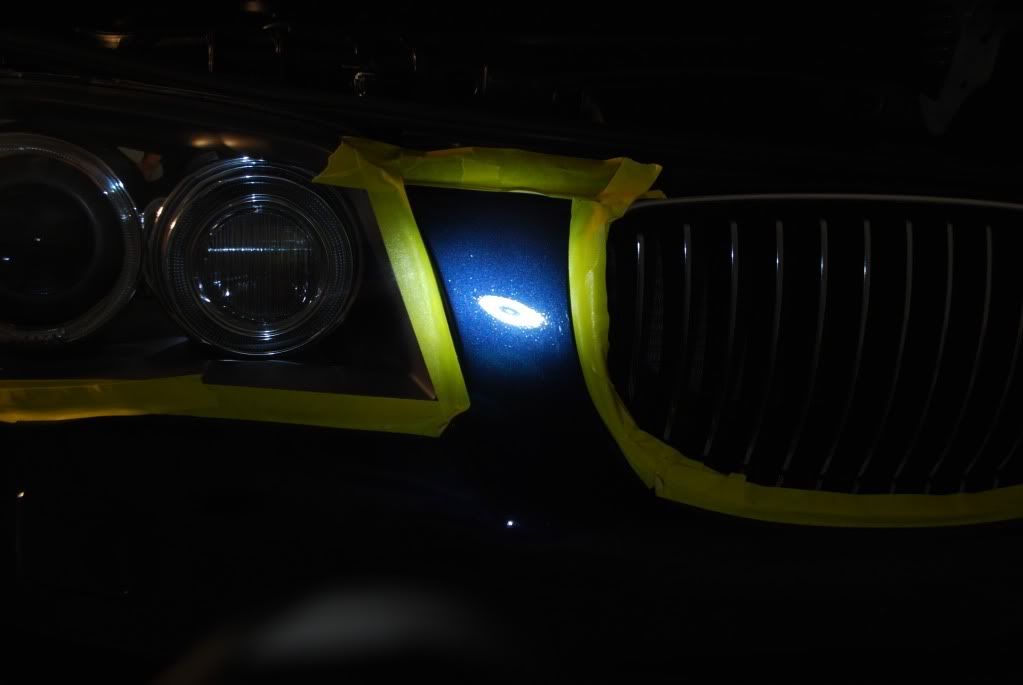
Light compounding with 4" foam around the washers, tape removed after wool so I could clean up the areas tightly around the washers and also remove some of the tape lines left behind after compounding.
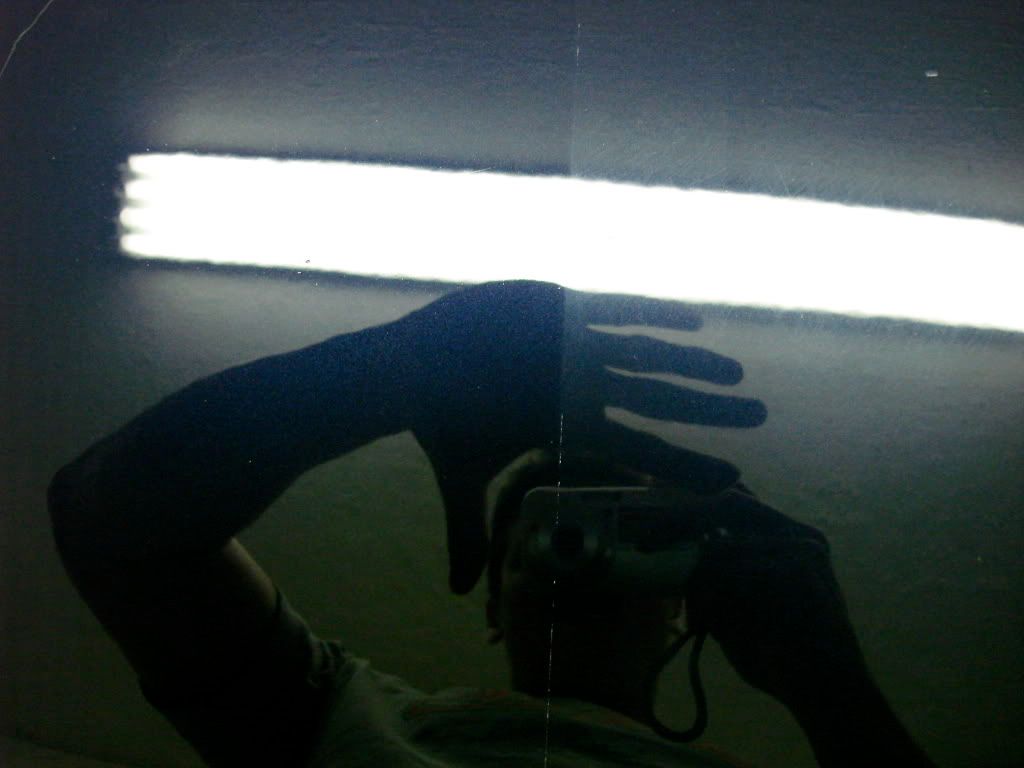
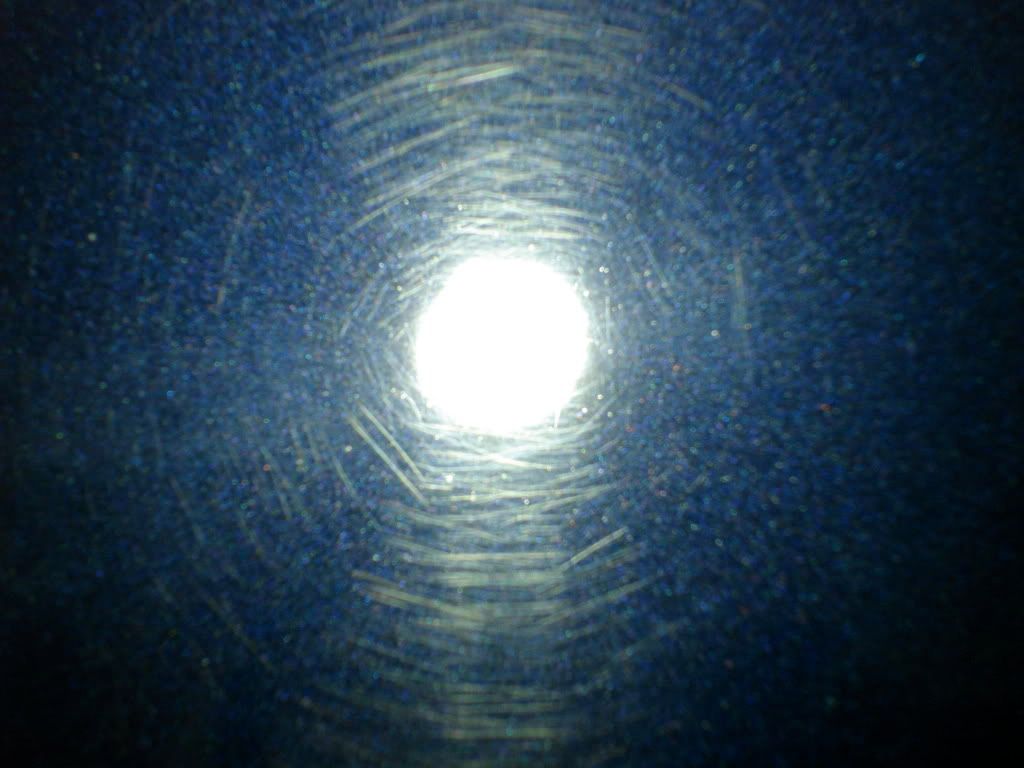
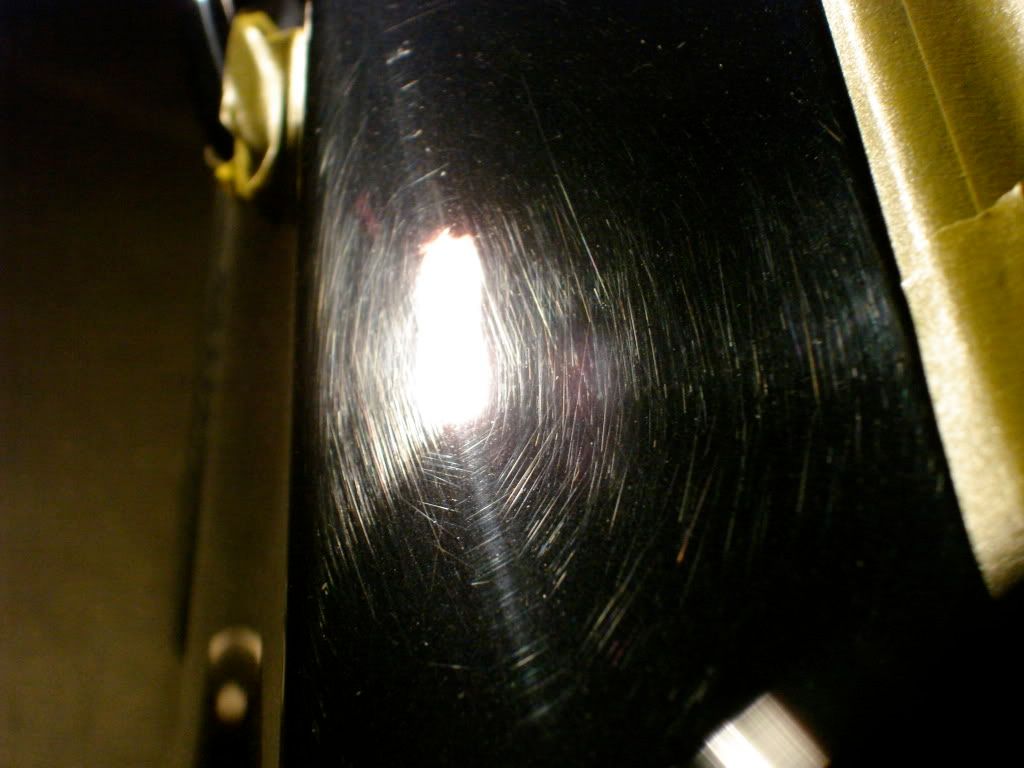
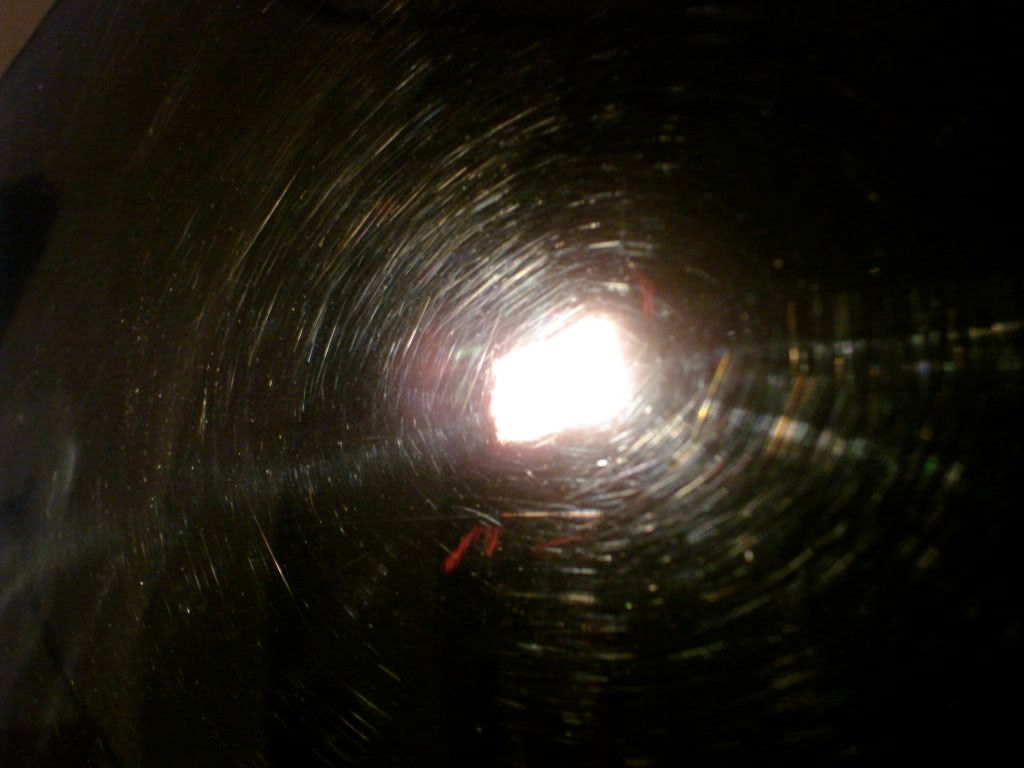
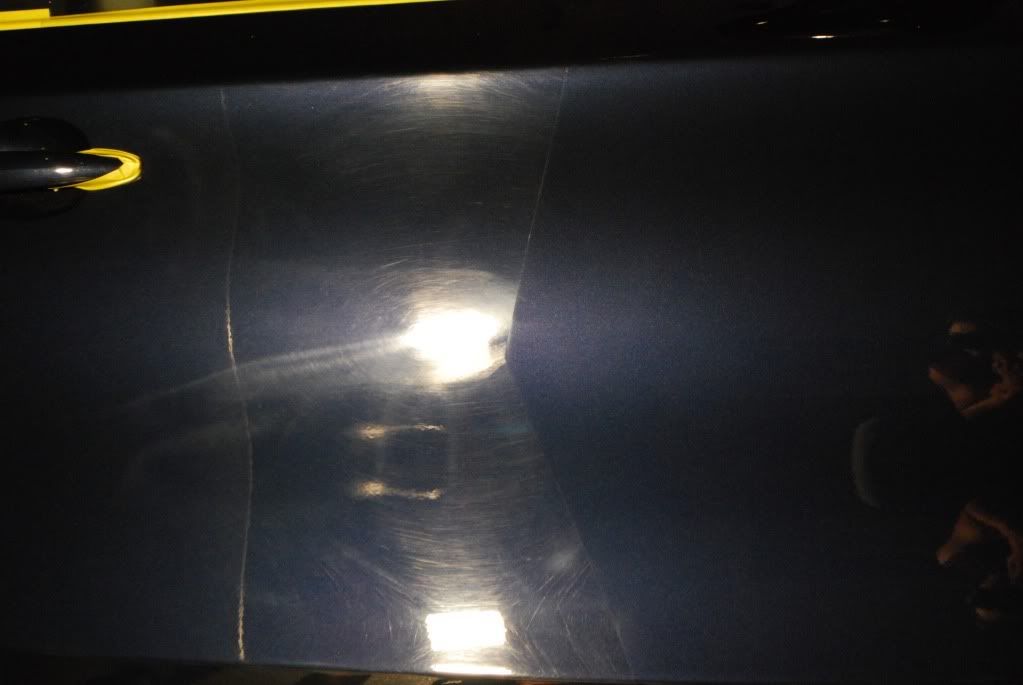
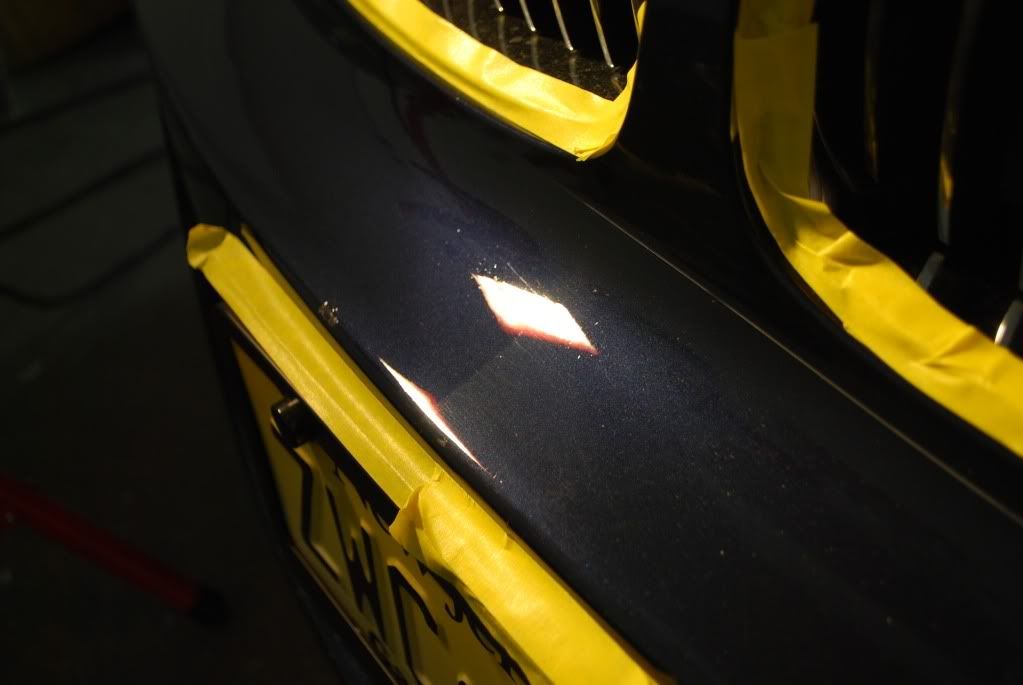
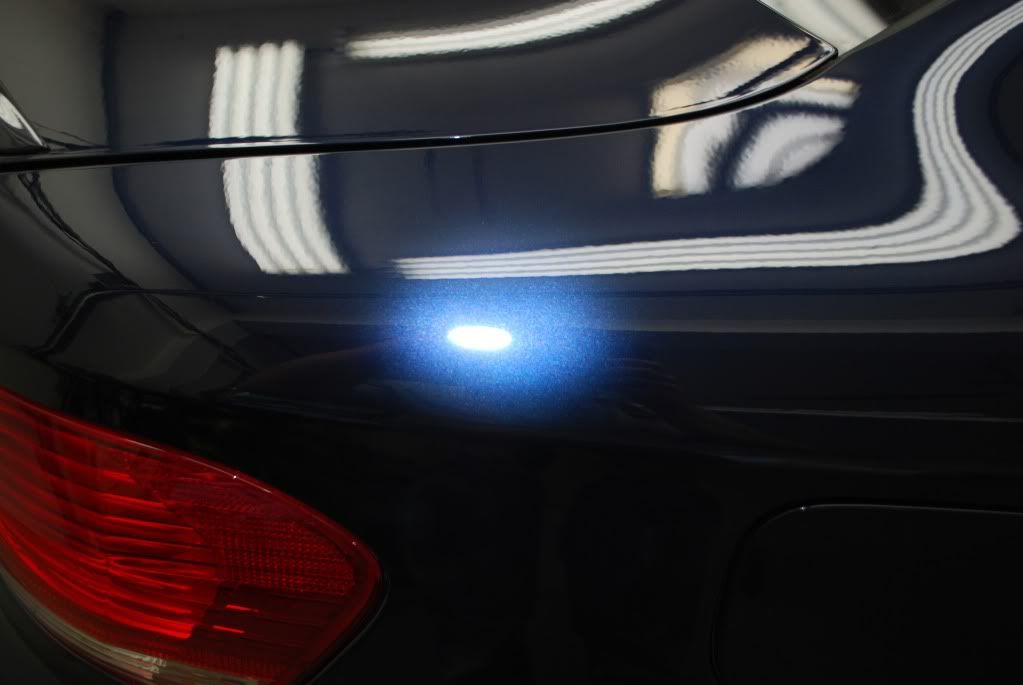
Closeup of defects under Fenix TK40
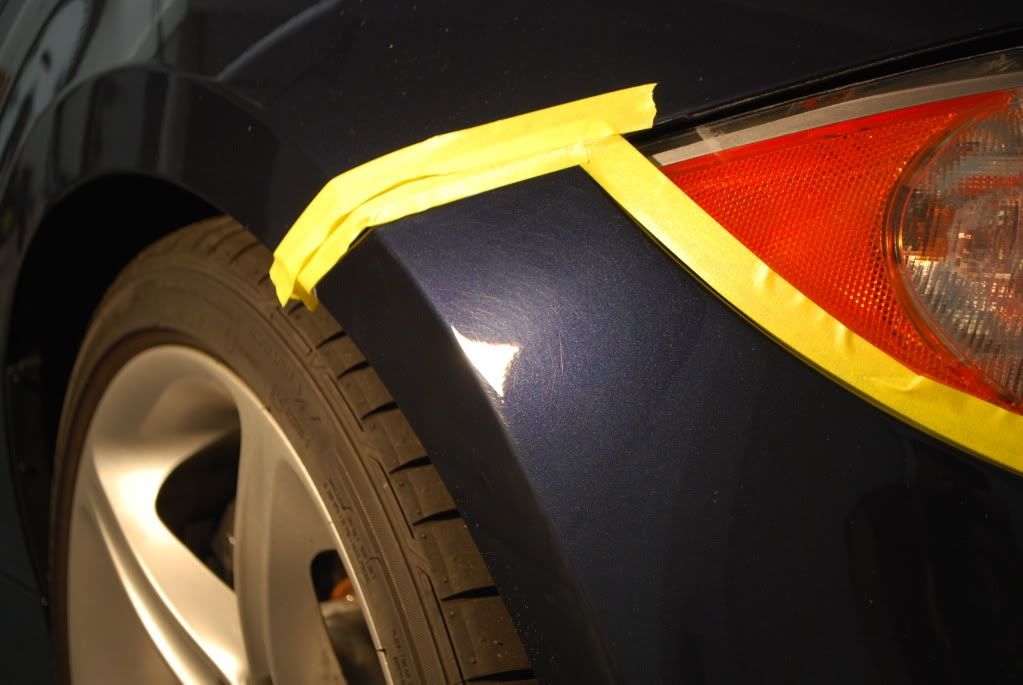
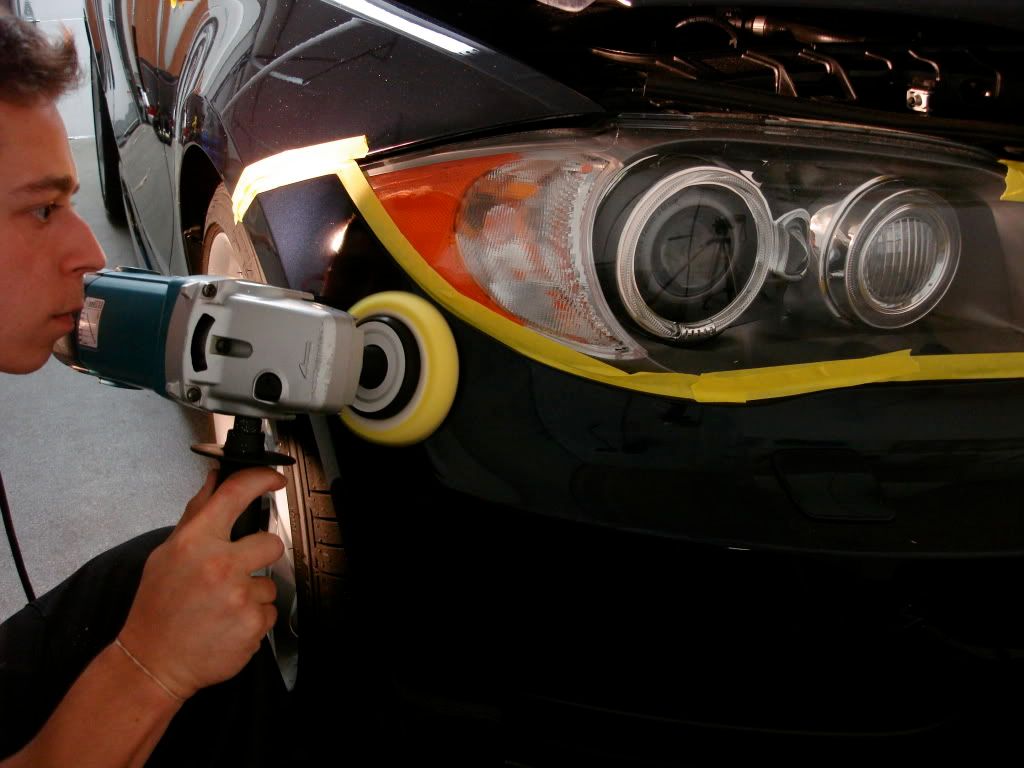
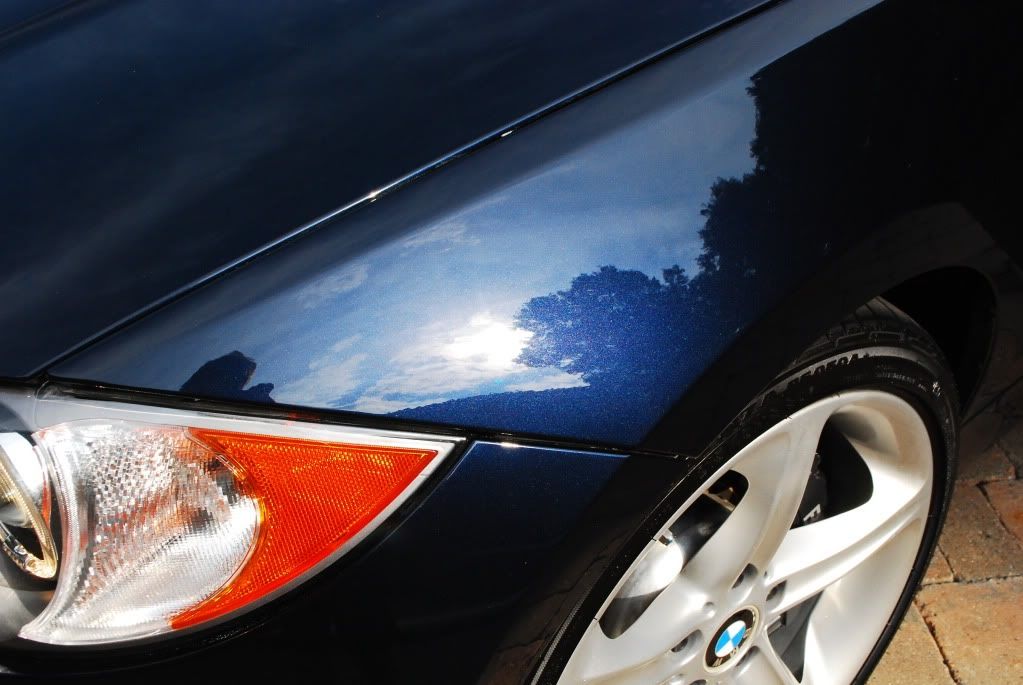
Front fender was done entirely with 4" wool and 4" cutting pads as larger pads made for uneven correction on the contours
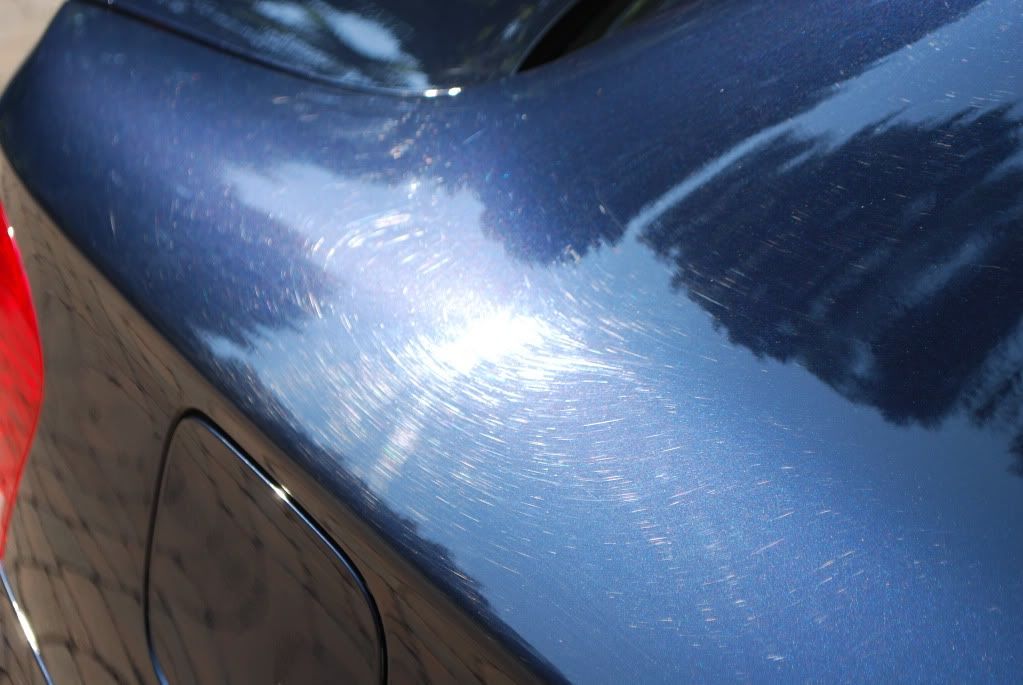
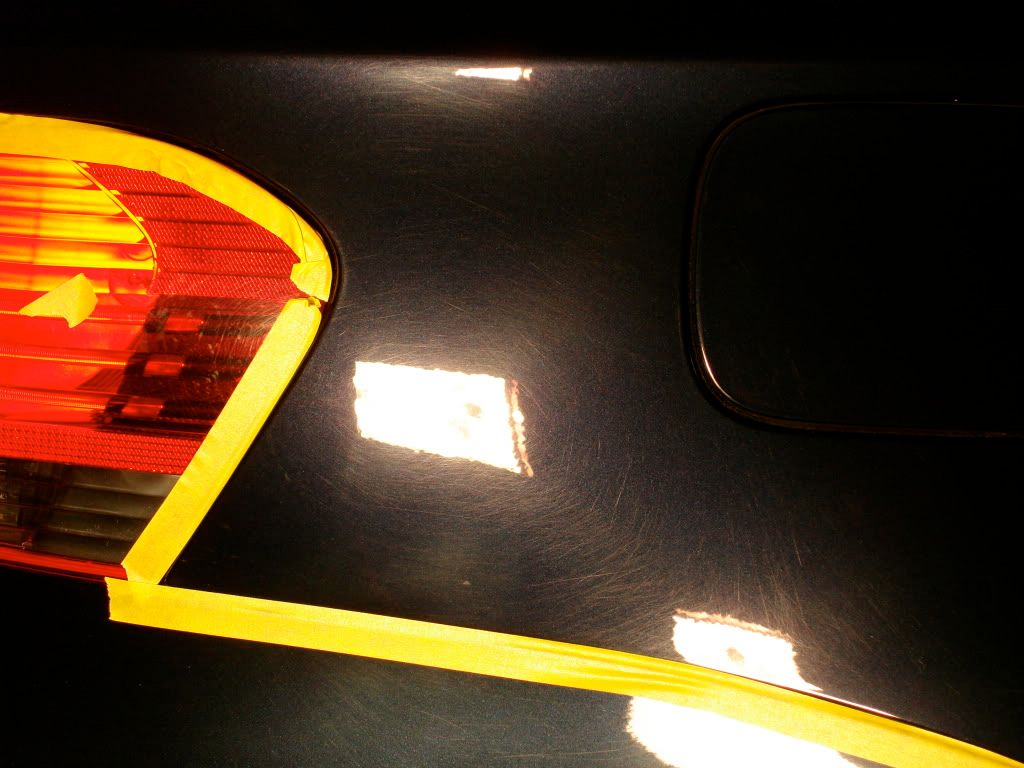
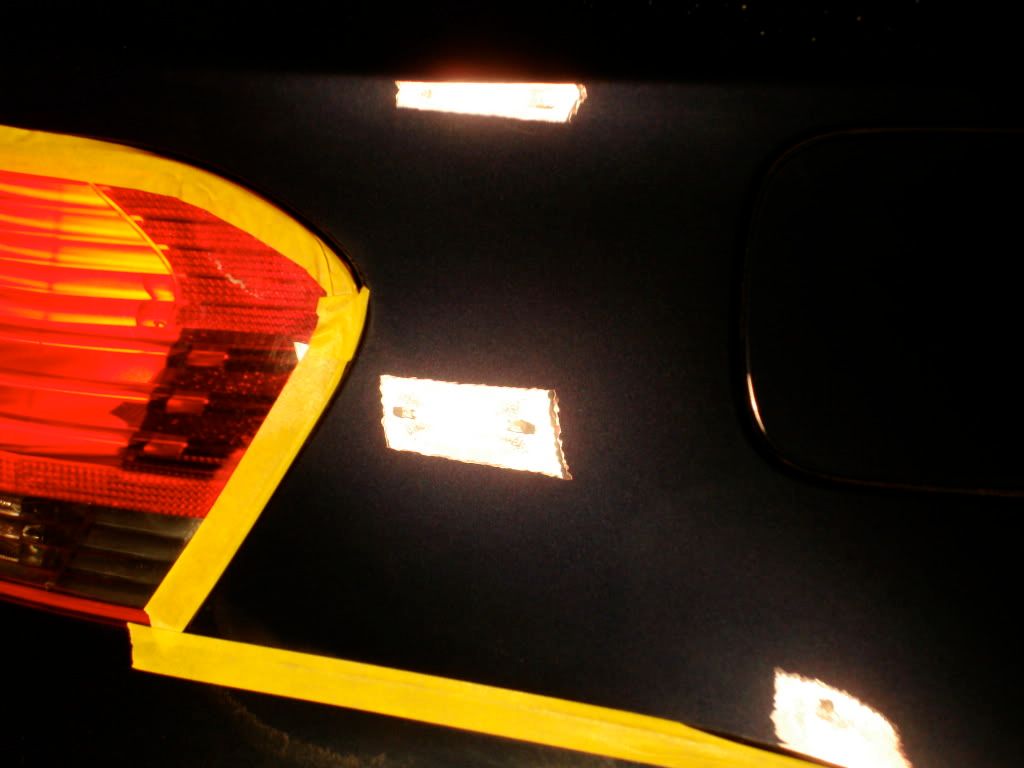
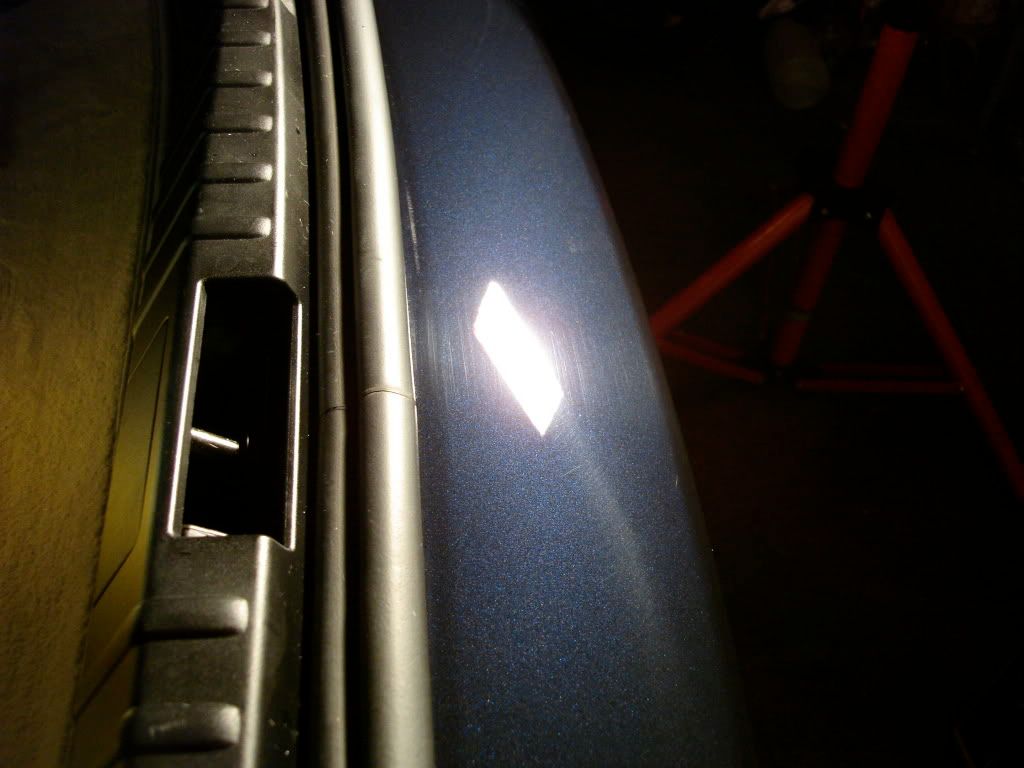
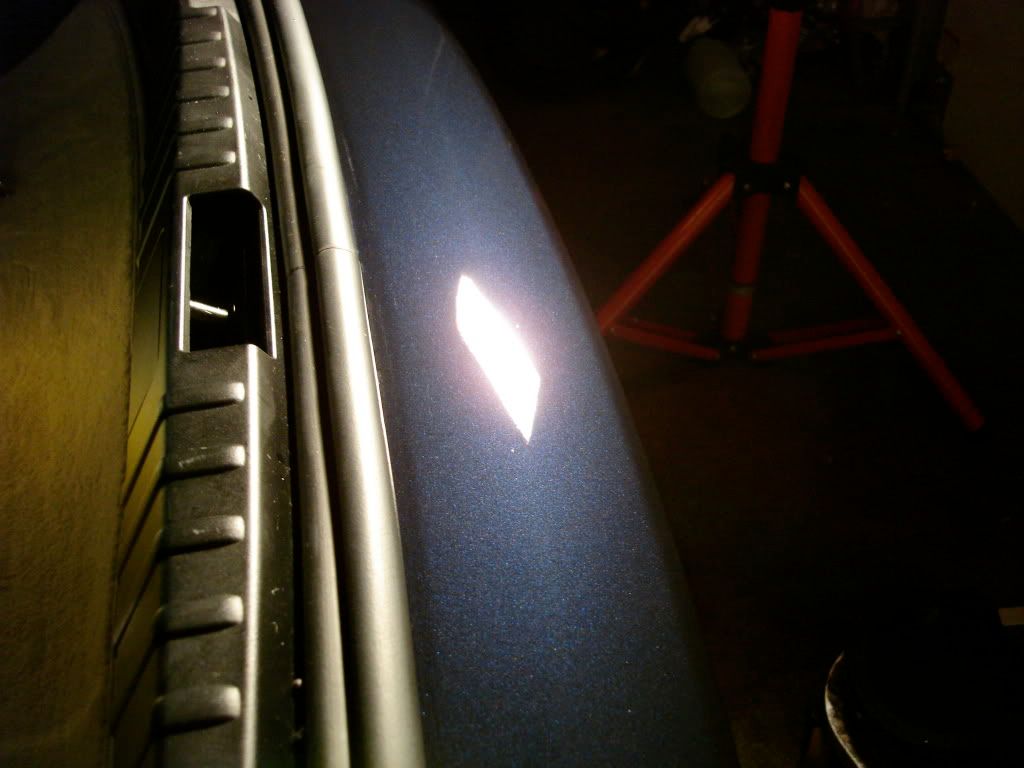
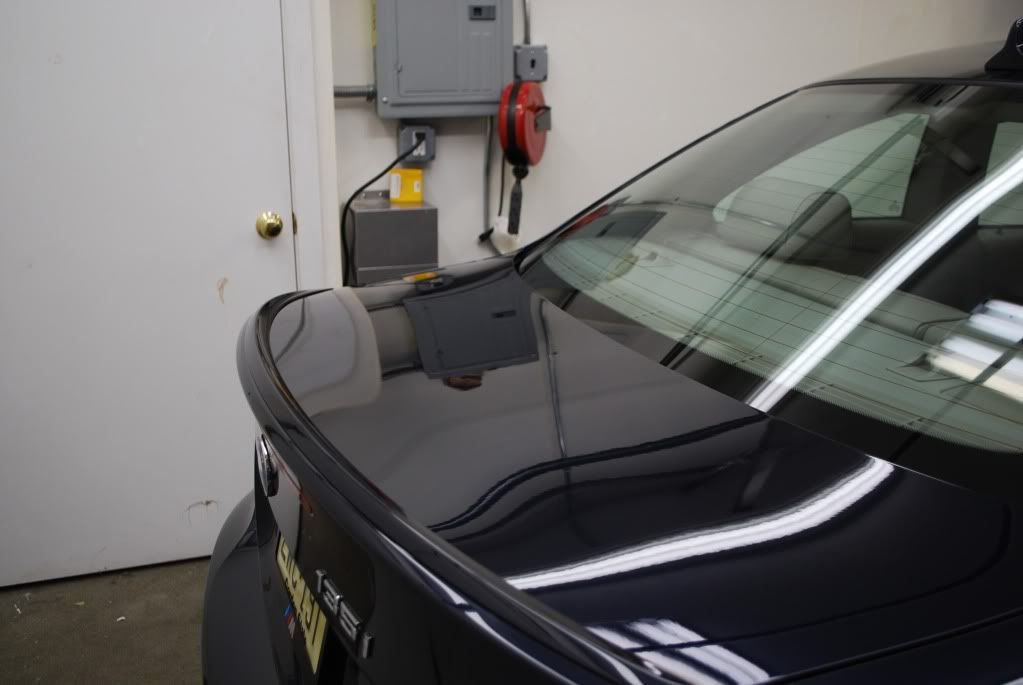
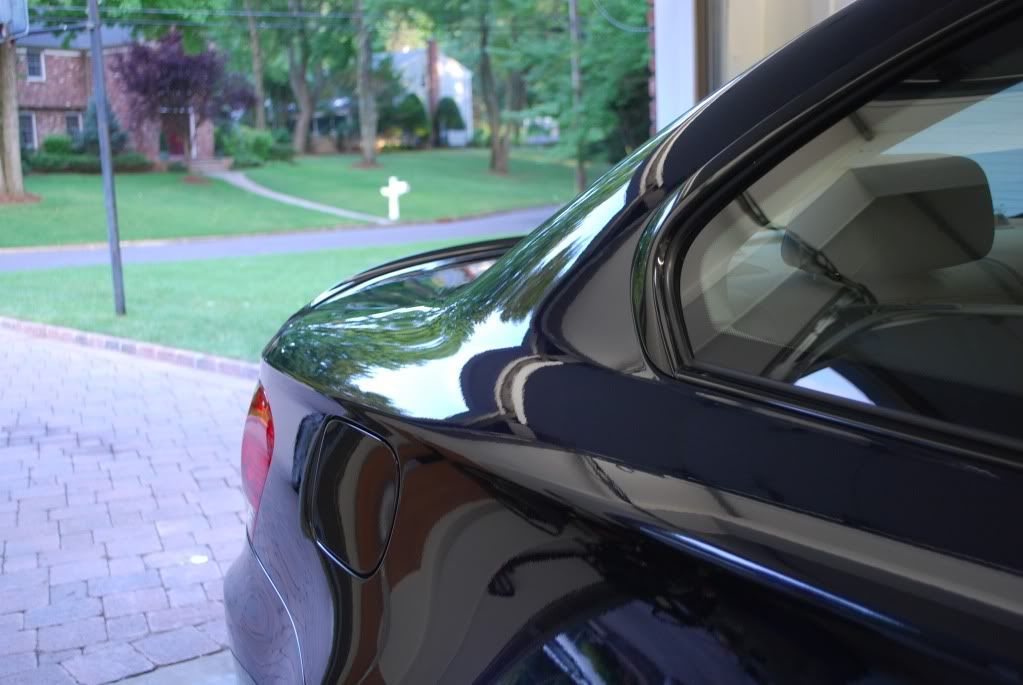
Trunk section, some more serious RIDS
Cleaning up the wool holograms with a DD cutting pad
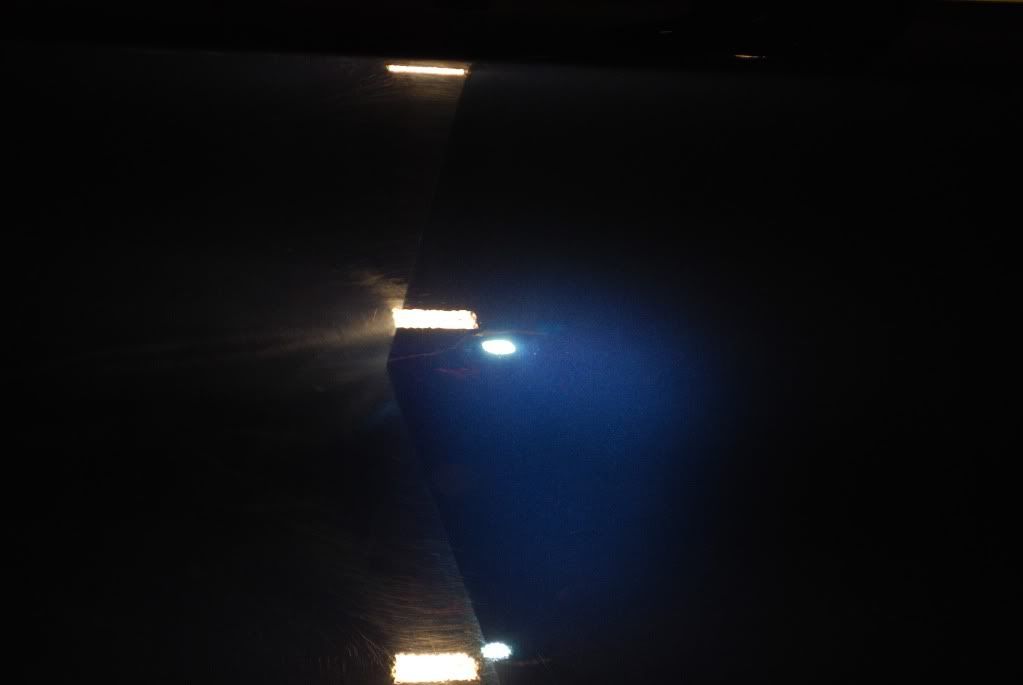
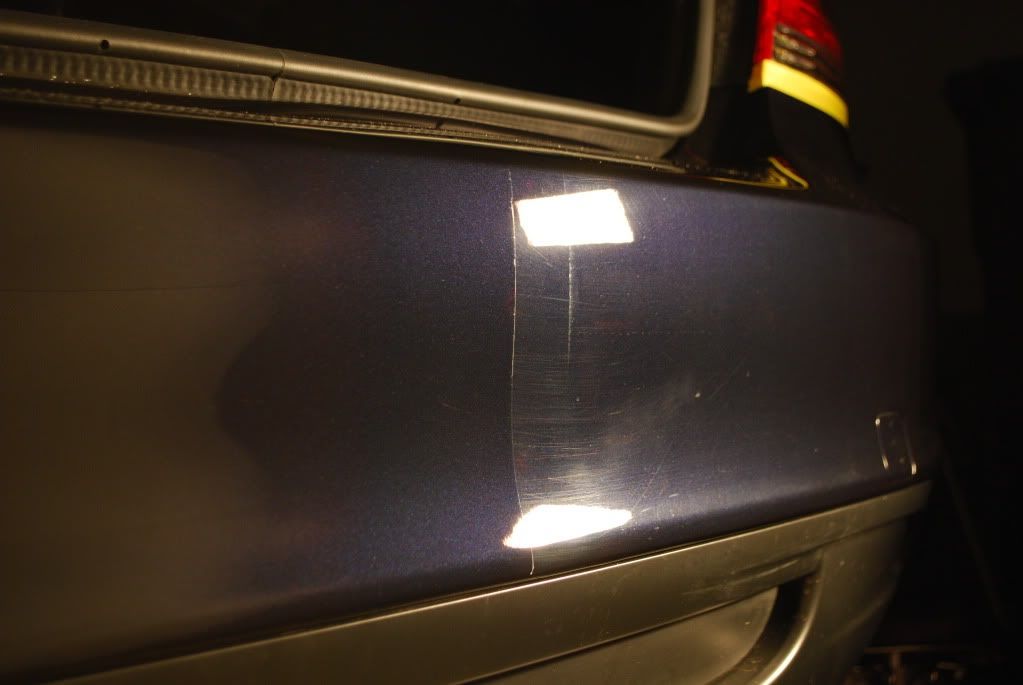
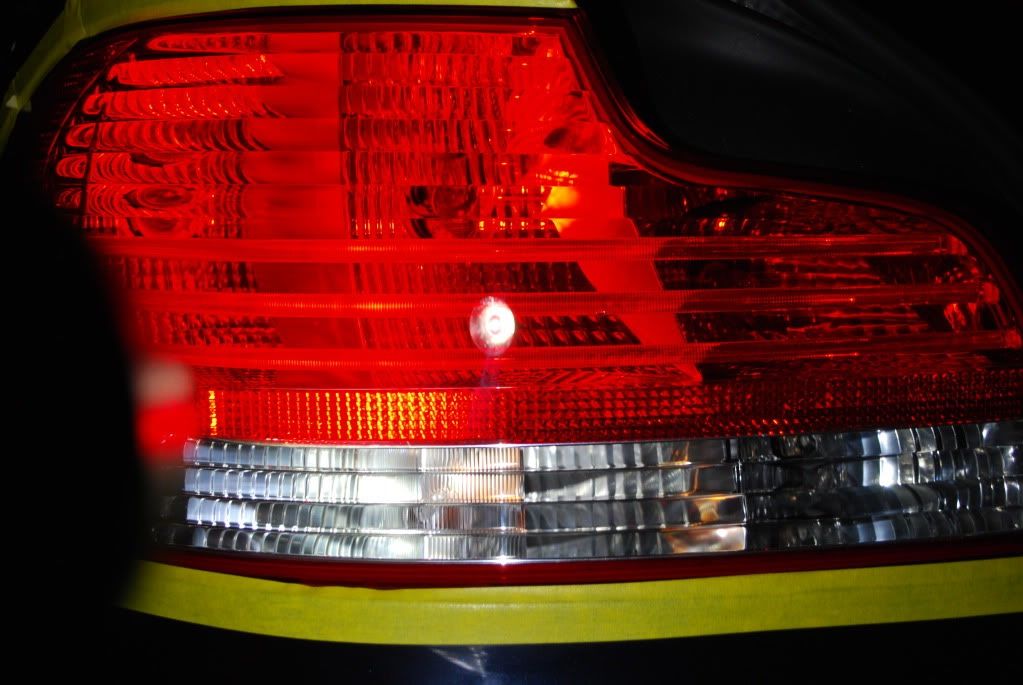
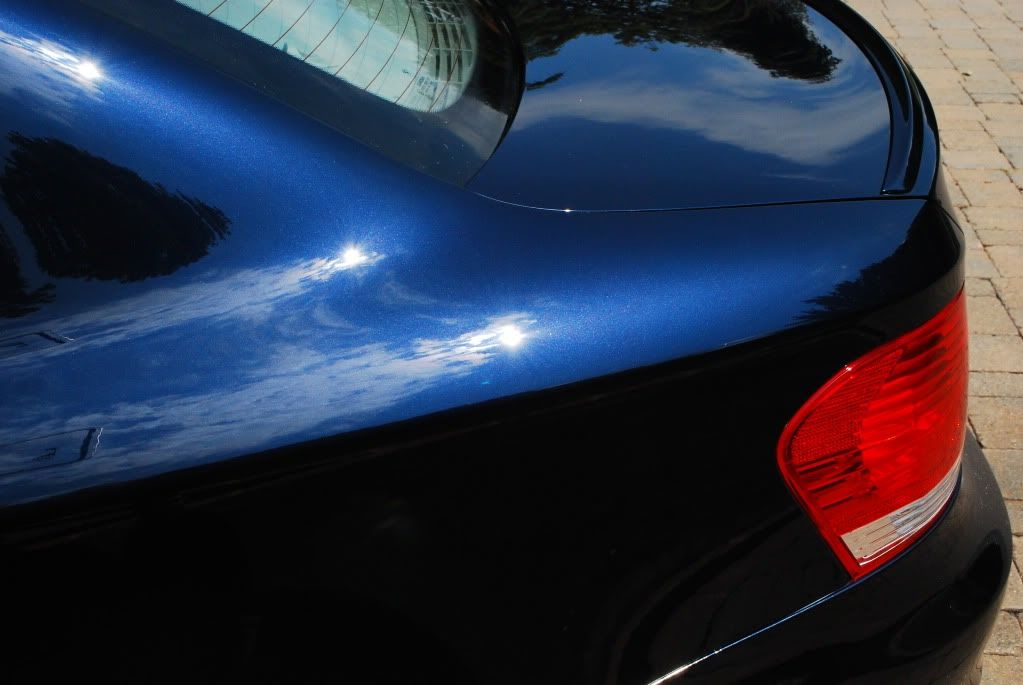
50/50 Trunk under halogen
Closer view
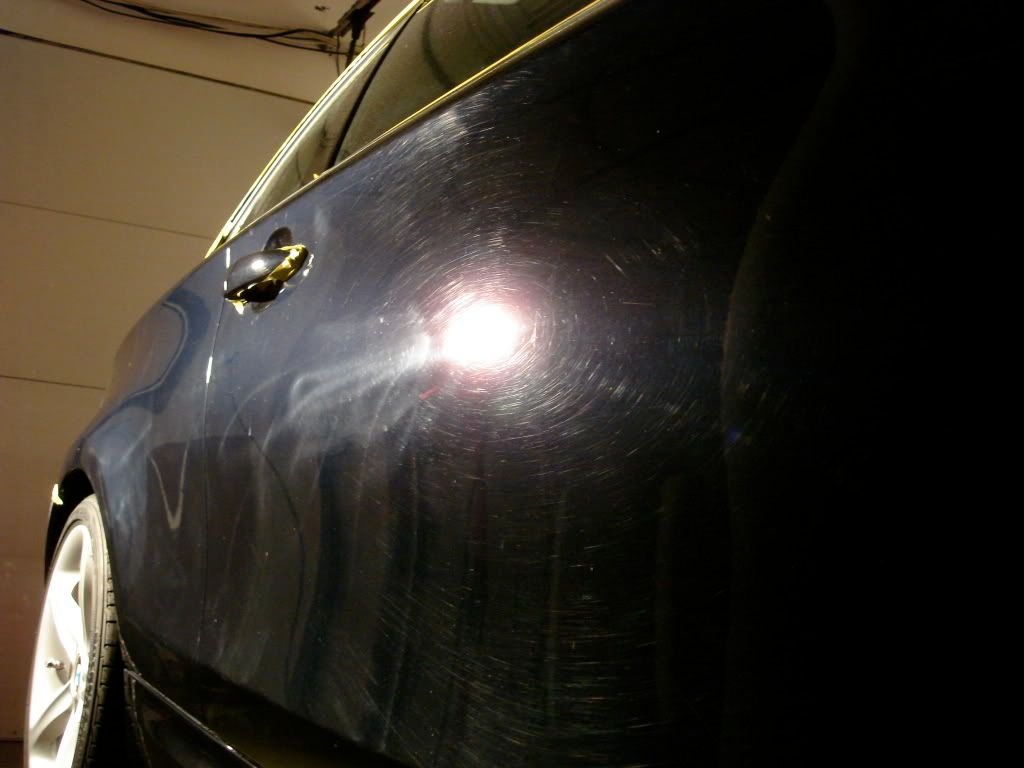
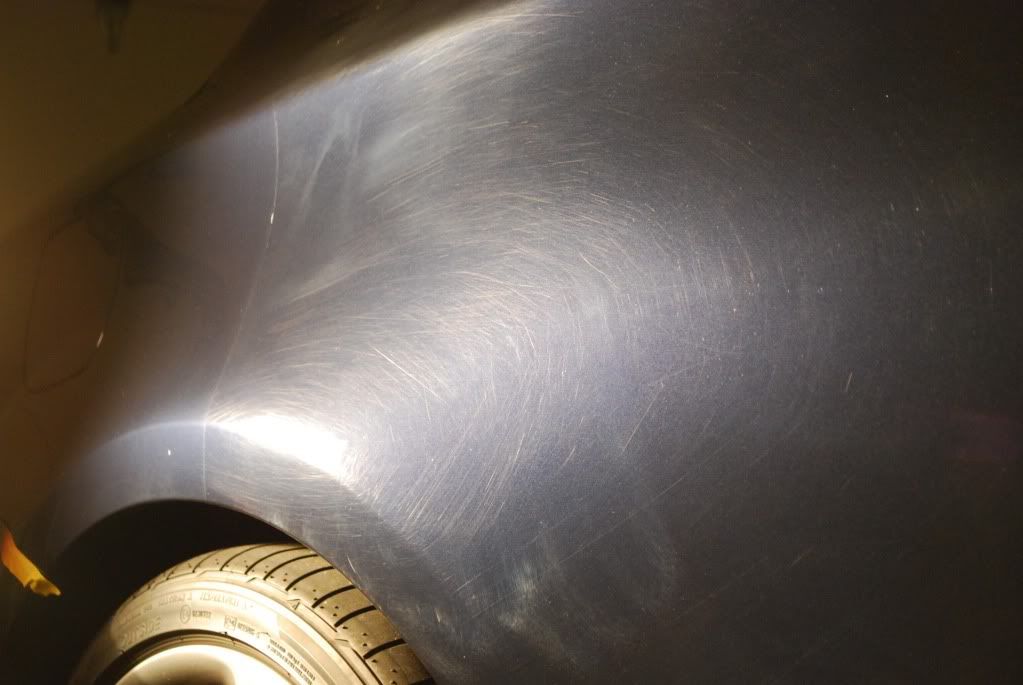
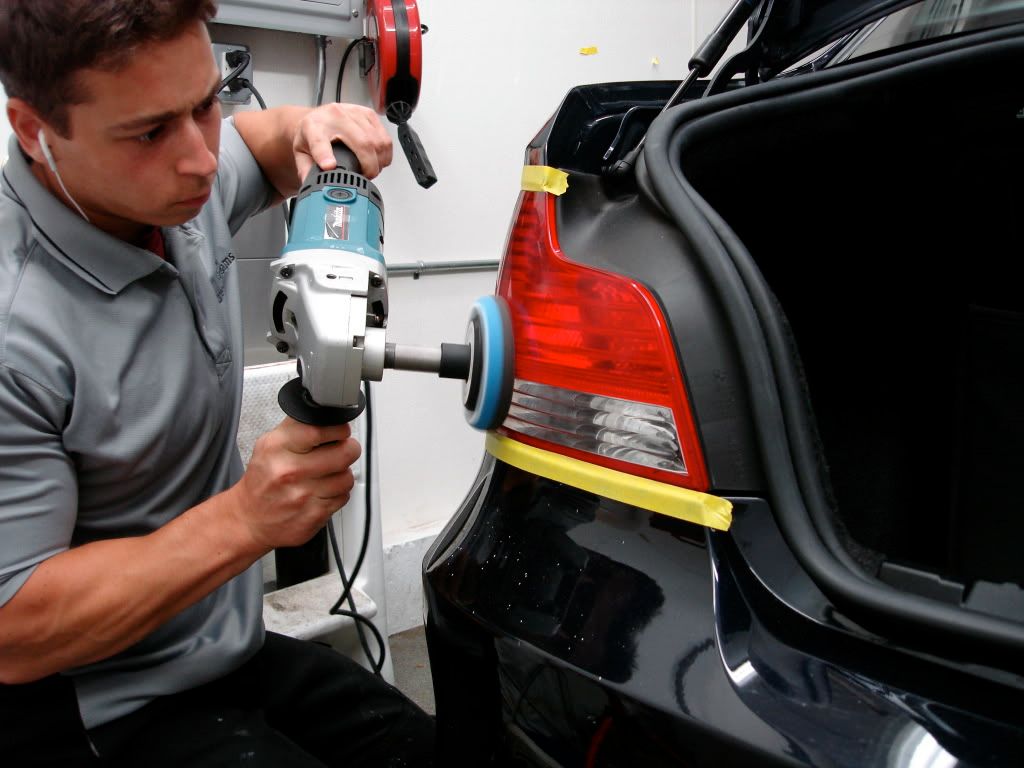
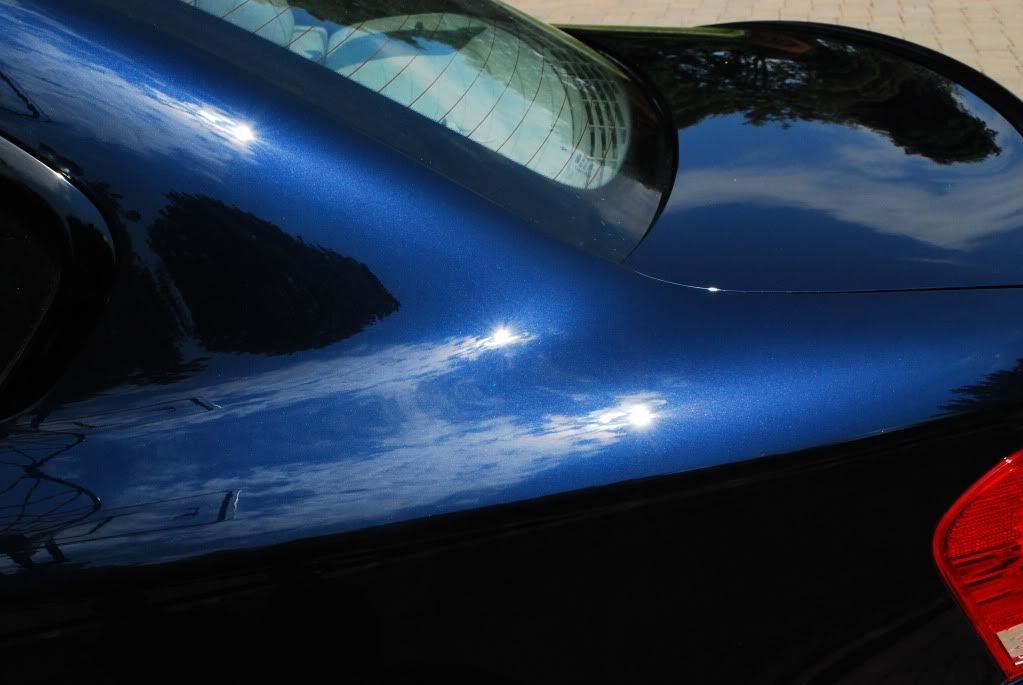
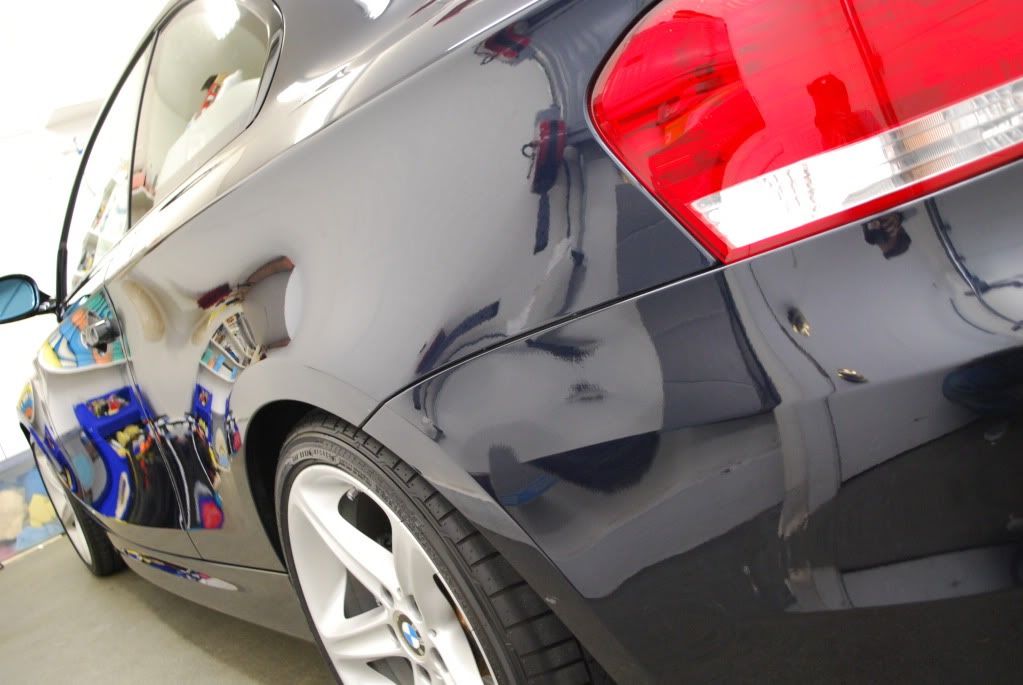
Wooling out the rear quarter
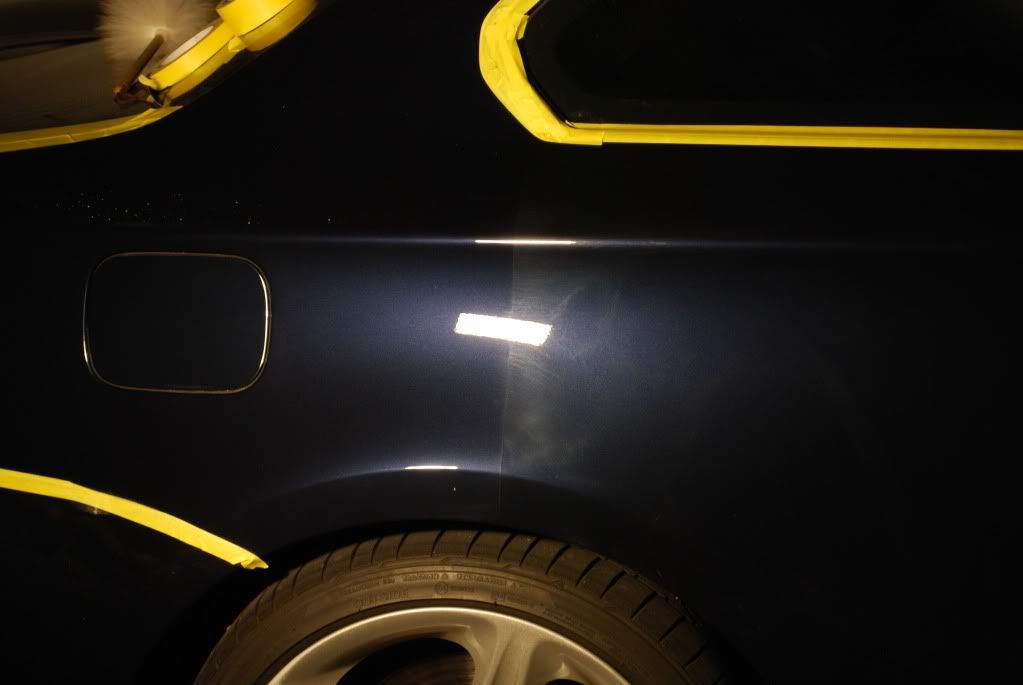
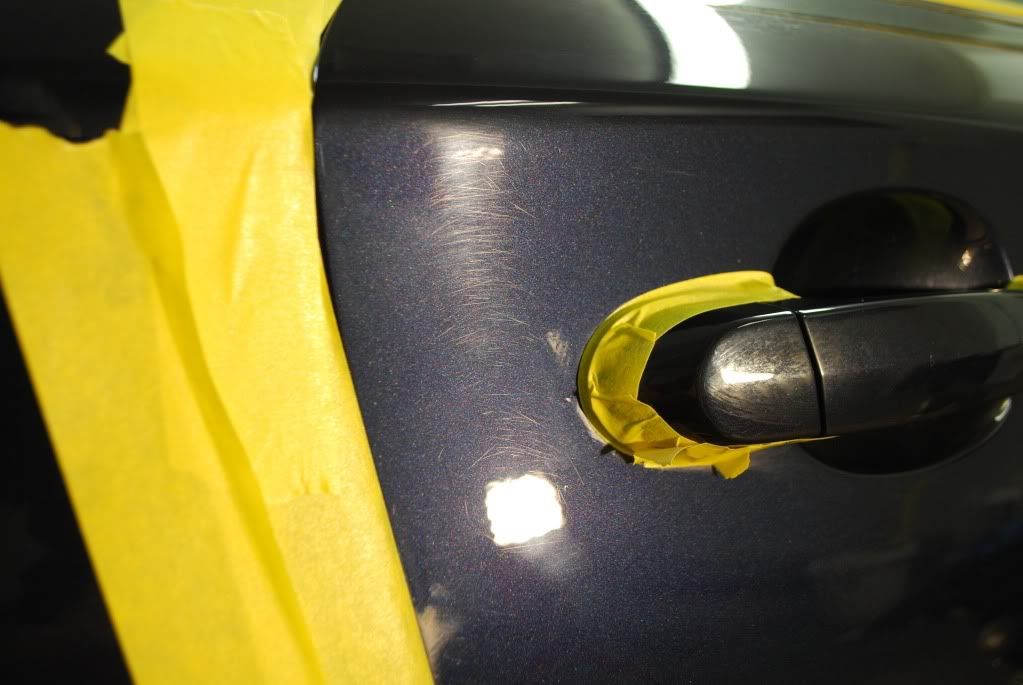
Before
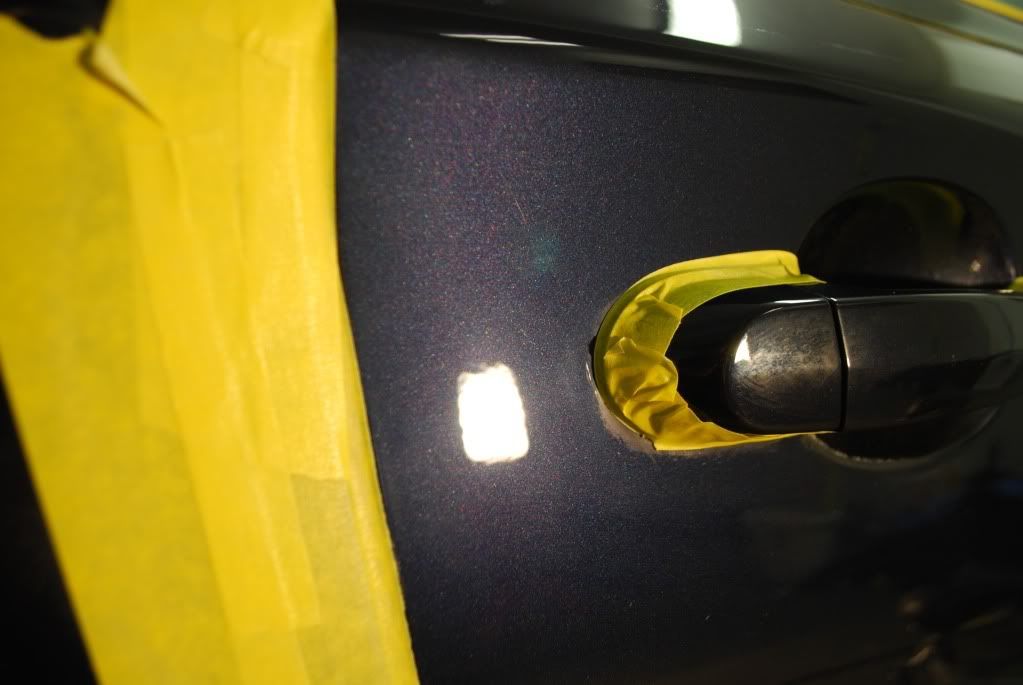
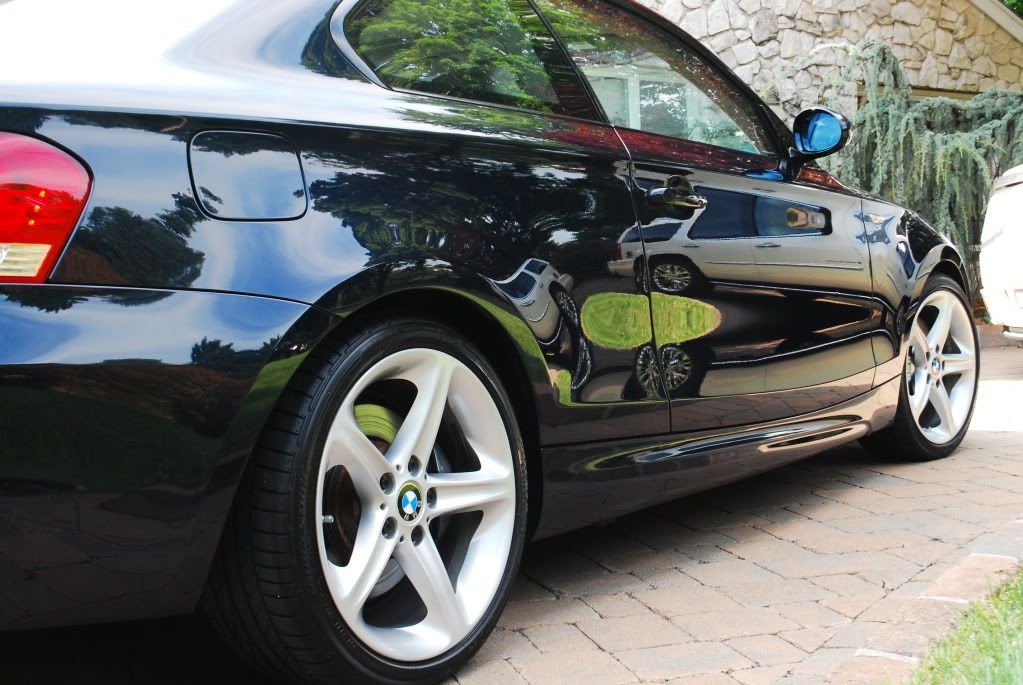
After
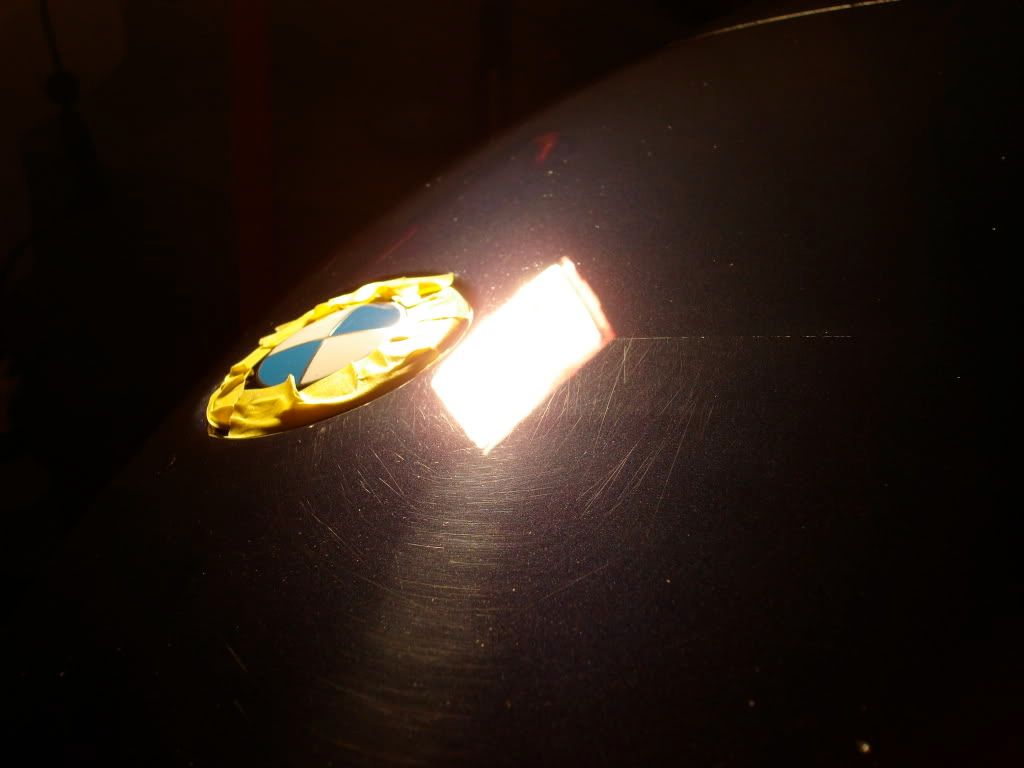
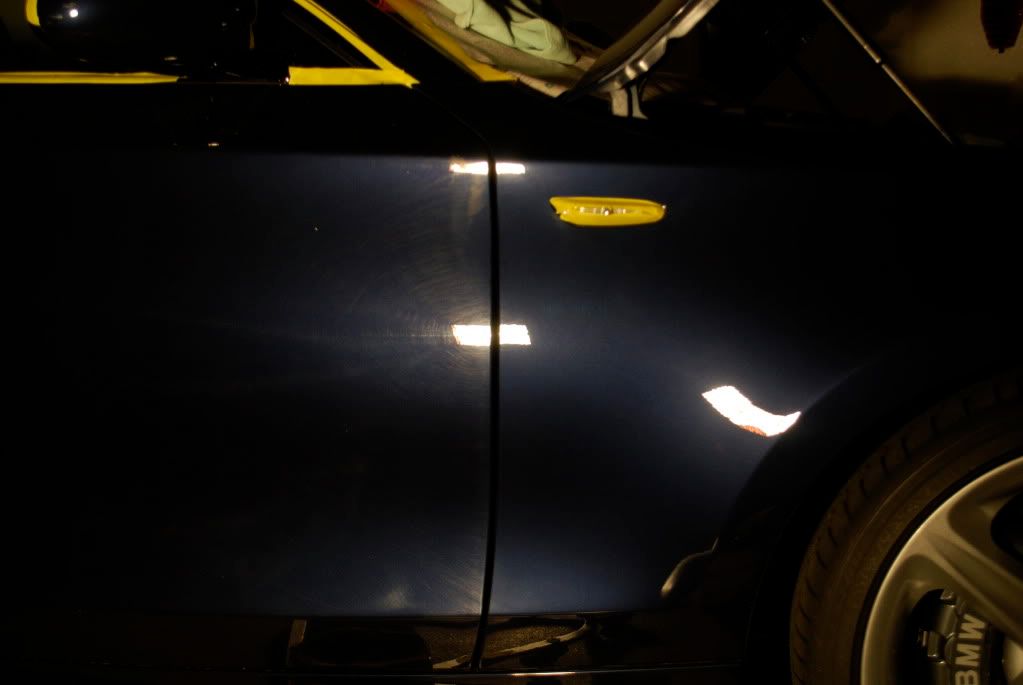
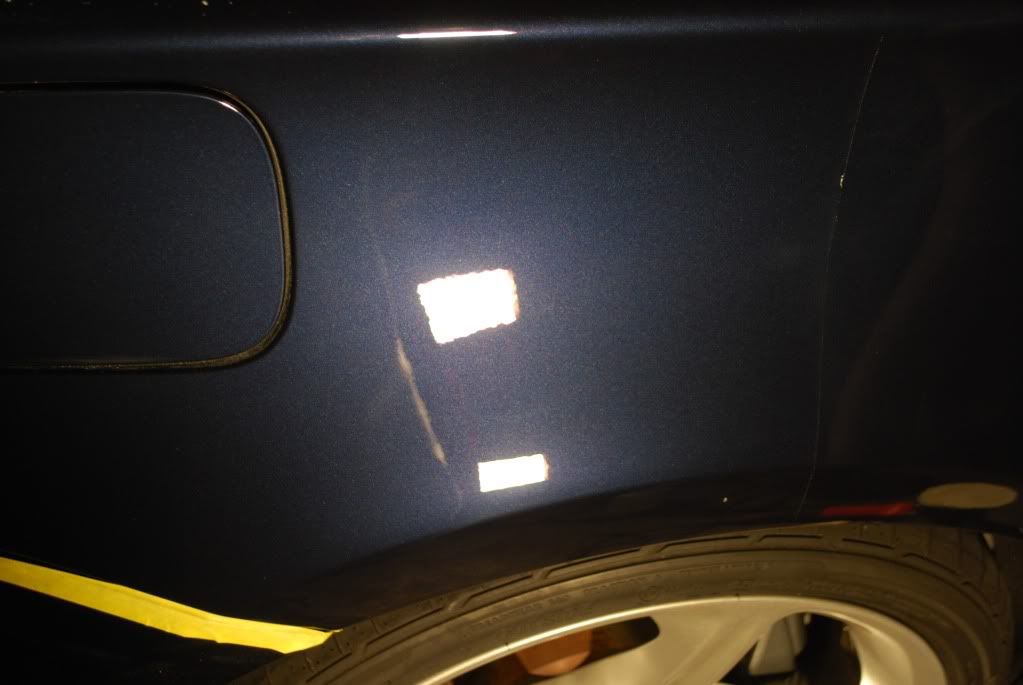
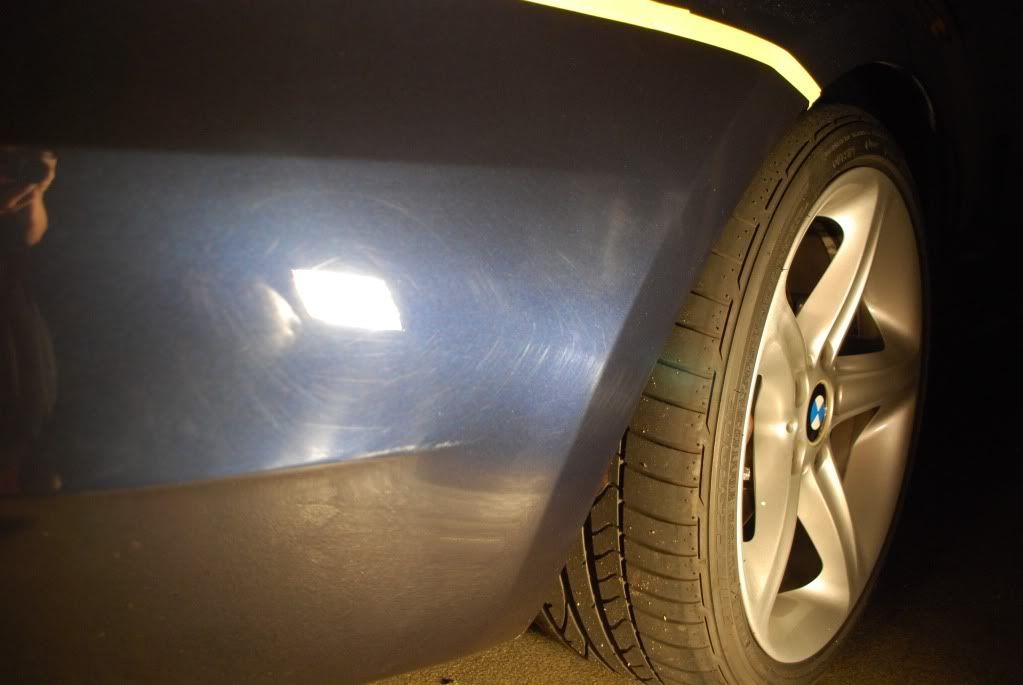
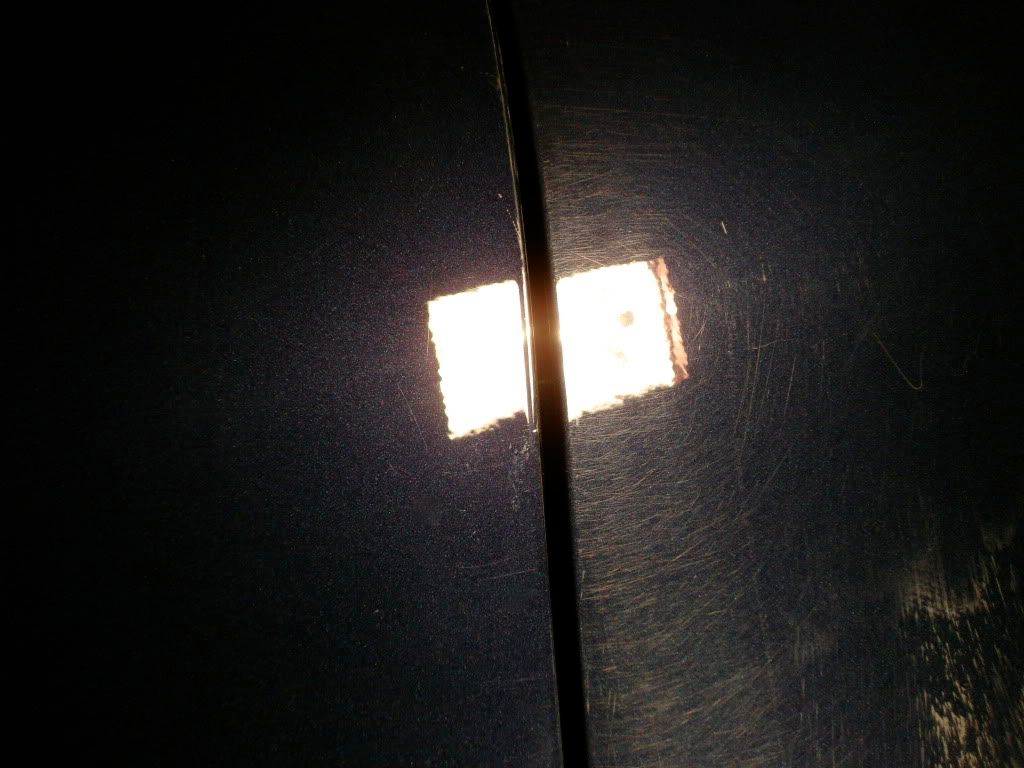
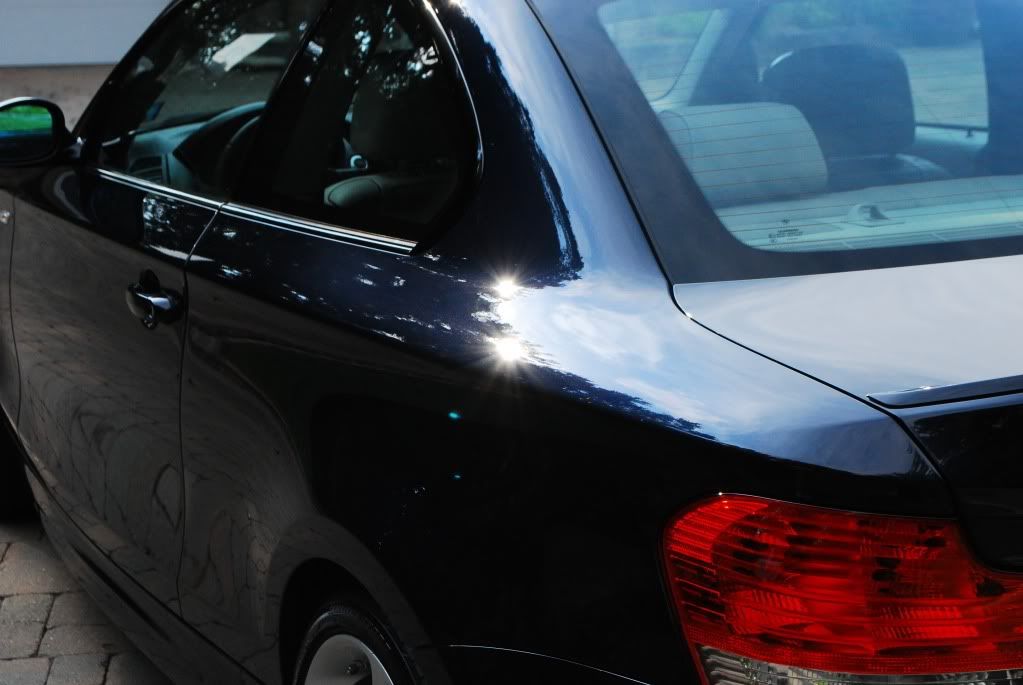
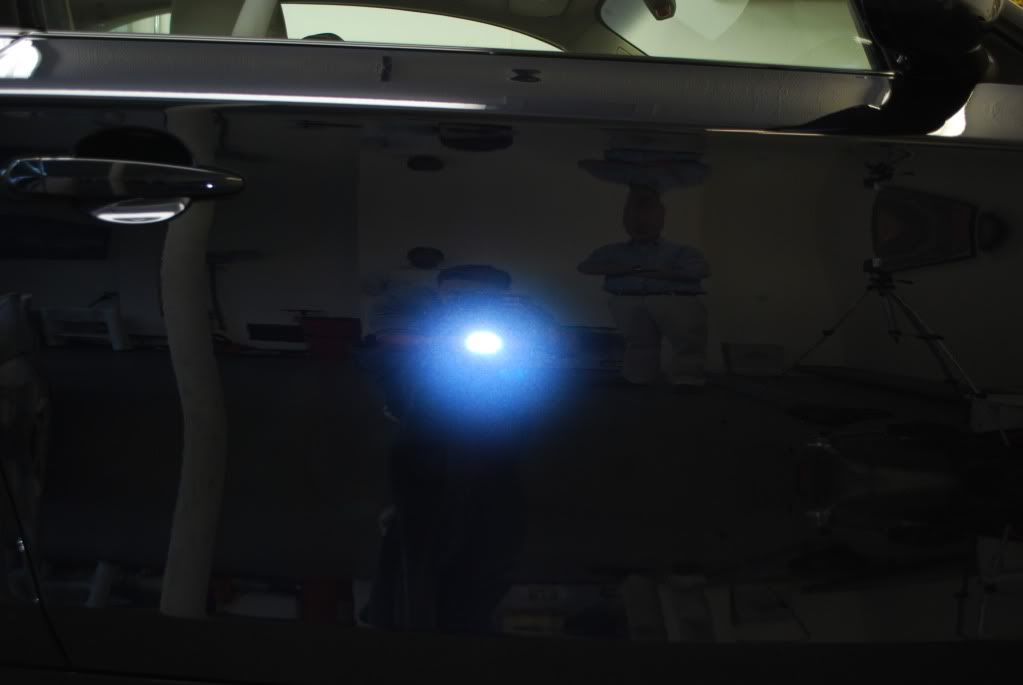
Here is a great example of 2 things, first being general neglect from the original owner and second is heavy machine holograms left by the dealer
Backstory, in bullets:
-Car was bought with 10k miles on it
-New owner saw car on dealer lot looking clean and very glossy (glaze fillers)
-After a few weeks of washing the gloss was lost and real finish revealed
-Paintwork had very little depth, clarity or wetness and new owner wanted all of the latter brought back to the car
Some before pictures in sunlight. Car had lots of RIDS, swirls and was covered in machine holograms as the dealer attempted to fix the prior damage and ended up making it worse. Along with that caked up wax and polish residue was left in nearly every crack and crevice.
If you dislike lots of correction shots and 50/50's this writeup may not be for you. The main focus was the correcting the finish as NO interior work and NO engine detail was carried out on this detail.
Wheels cleaned using Sonax wheel cleaner applied to the wheel DRY followed by Iron Cut
Car was beading well due to obvious glaze fillers left over from the dealership, all of which needed to be stripped off 100% before correction. The above sun shots were after the wash stage (no IPA yet)
- Pressure washed the finish followed by a 5 minute foaming using CG citrus wash
- Foam rinsed off and the car was sprayed down with Optimum Power Clean at a 5:1 dilution
- Finally a 2 bucket wash was carried out with a strong mixture of straight Dawn
Clayed using a riccardo bar with ONR as lubrication in a Kwazar bottle, which is an absolute must for at least your wheel cleaner and clay lube.
After clay the finished was wiped with straight IPA multiple times until it was squeaky clean.
Here is the car all prepped and masked after taking the necessary paint readings
Onto correction. After a bit of time playing around with combinations I decided on a process which yielded me the best result, safely. I began playing with foam pads but that was yielding me only 80-85% correction while generating a lot of heat. I decided wool was need to correct the car properly.
Process as follows
M105 on black wool pad (2x)
Menzerna SIP on DD Yellow Cutting Pad
Menzerna 106FA on a LC tangerine hydro
Menzerna PO85rd on a DD Black pad
All 50/50 and correction shots taken after the first 2 correction steps (no finishing polishes) and straight IPA wipedowns to ensure zero filling
Hood under the halogens, deep RIDS
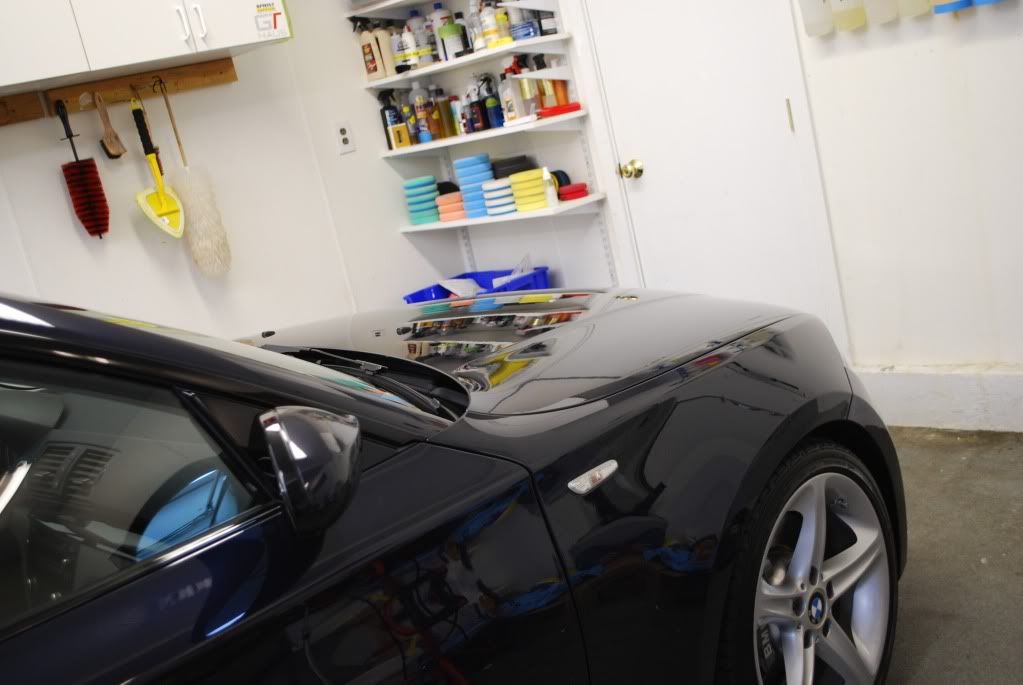
After wool and foam compounding, great difference in clarity without using a lightsource.
Light compounding with 4" foam around the washers, tape removed after wool so I could clean up the areas tightly around the washers and also remove some of the tape lines left behind after compounding.
Closeup of defects under Fenix TK40
Front fender was done entirely with 4" wool and 4" cutting pads as larger pads made for uneven correction on the contours
Trunk section, some more serious RIDS
Cleaning up the wool holograms with a DD cutting pad
50/50 Trunk under halogen
Closer view
Wooling out the rear quarter
Before
After
Here is a great example of 2 things, first being general neglect from the original owner and second is heavy machine holograms left by the dealer


 icture:
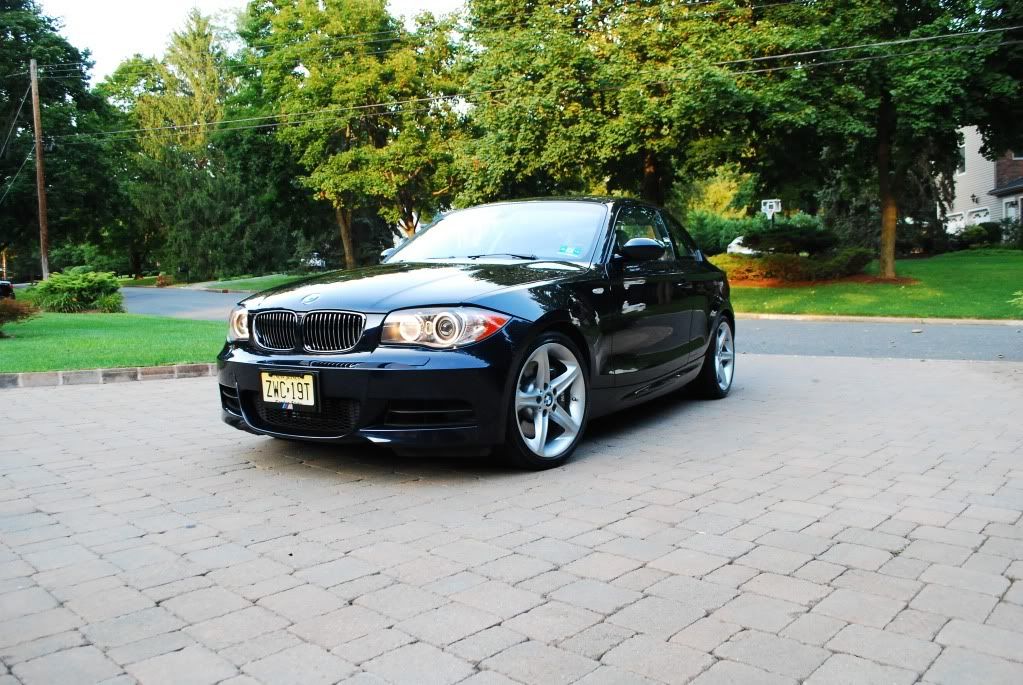
")