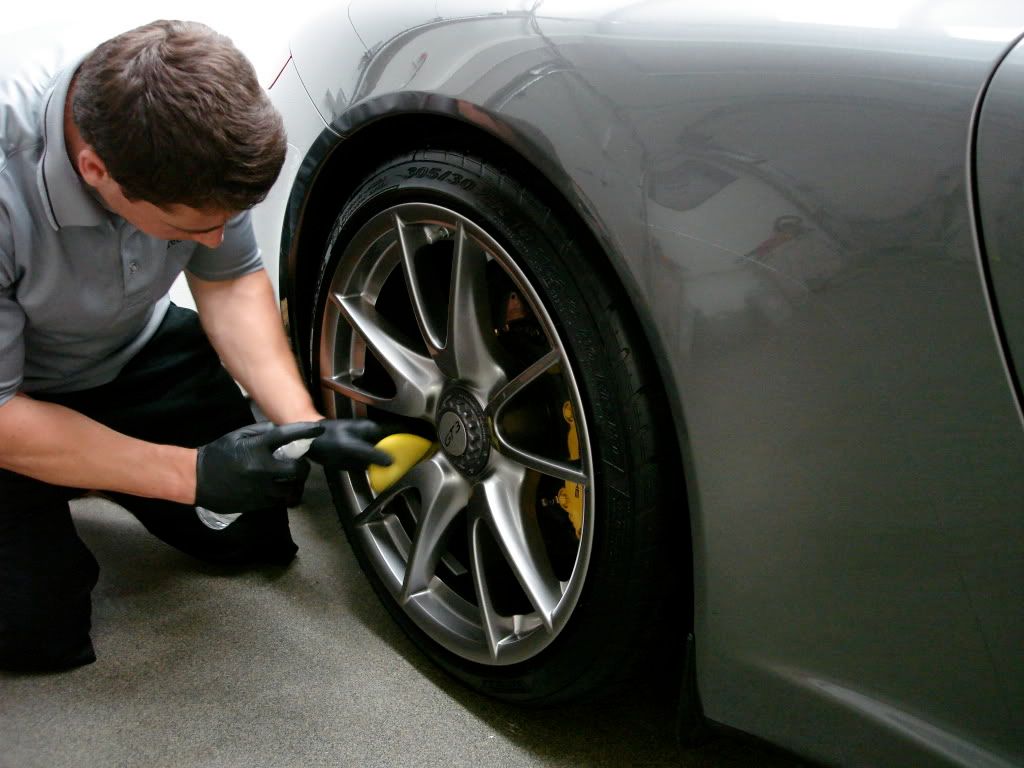
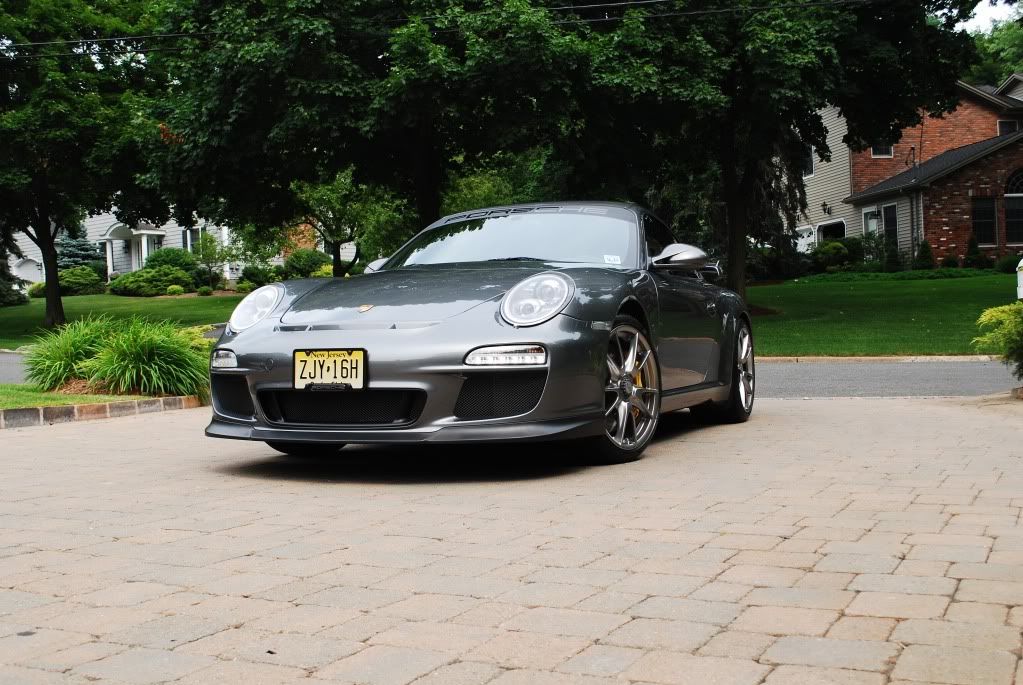
Booked for a complete new car prep and paint correction, car is driven almost daily.
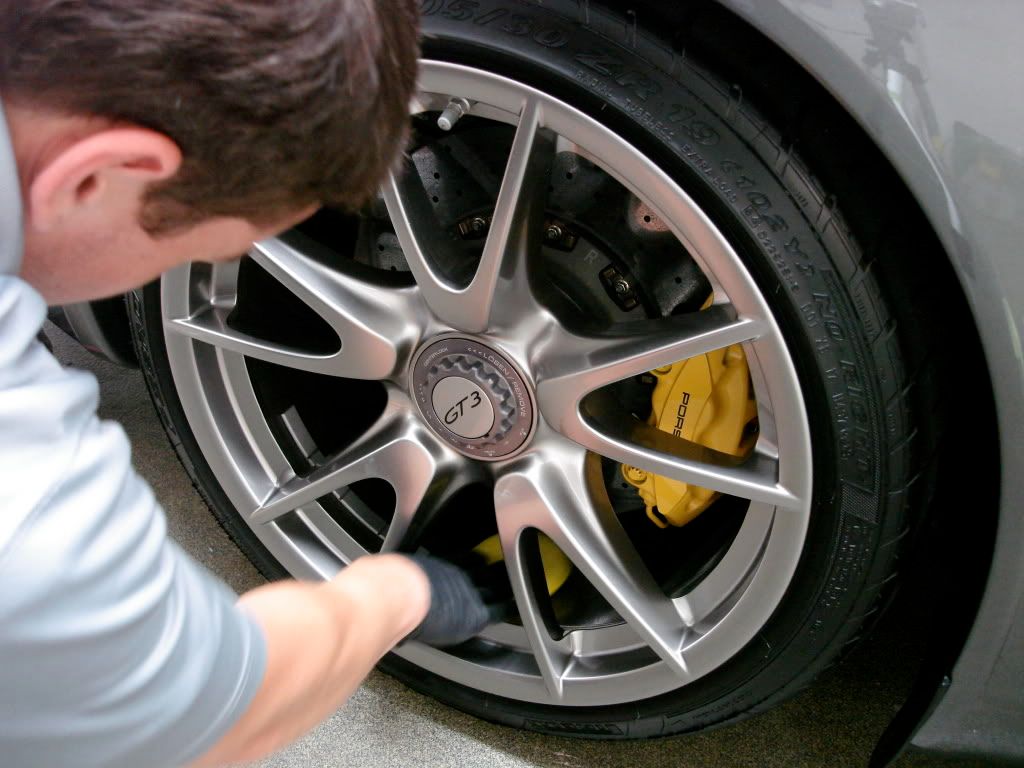
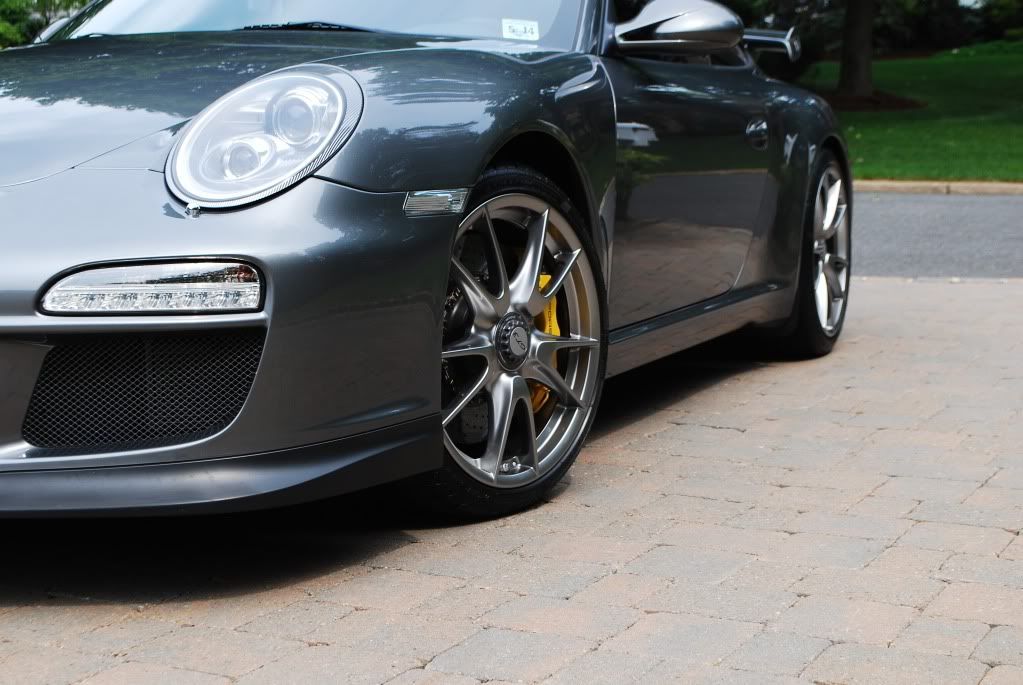
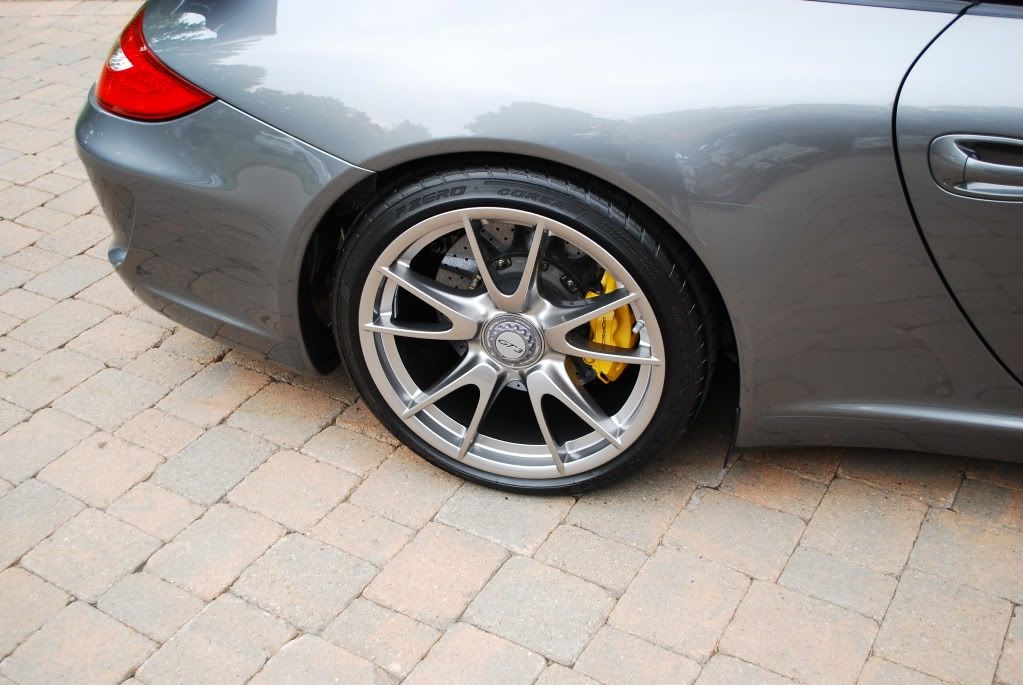
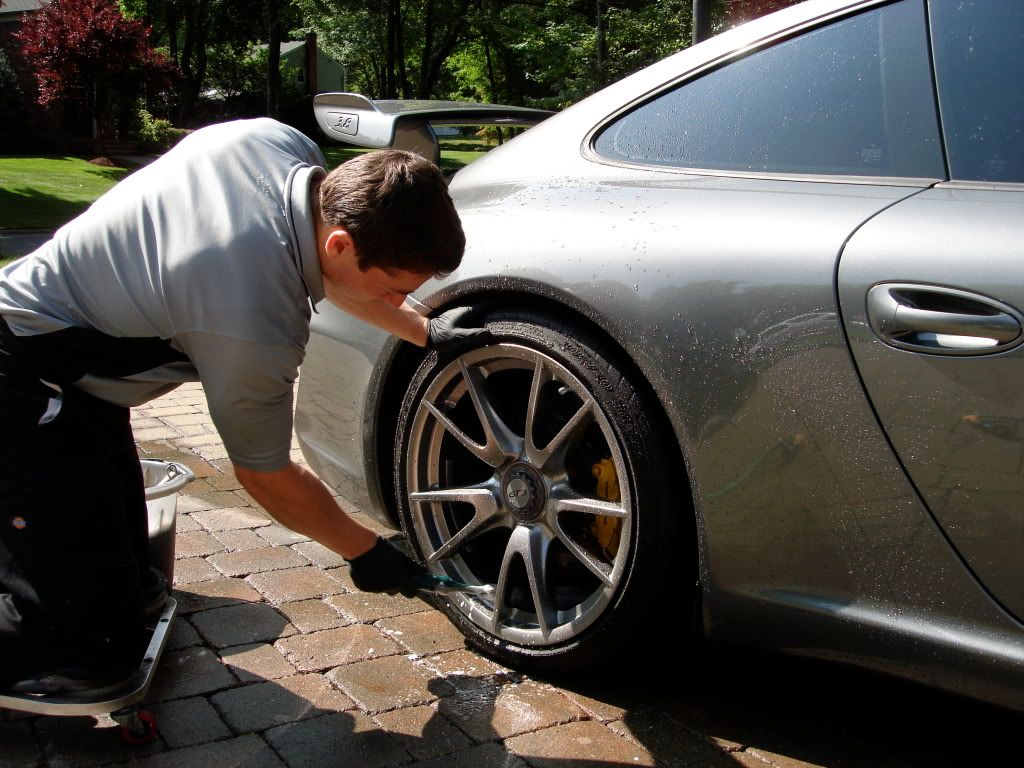
Wheels and tires first. Porsche carbon ceramic brakes = no wheel cleaner. Some pH car shampoo mixed in a bucket was all that was needed. Tires/wheel wells scrubbed as well.
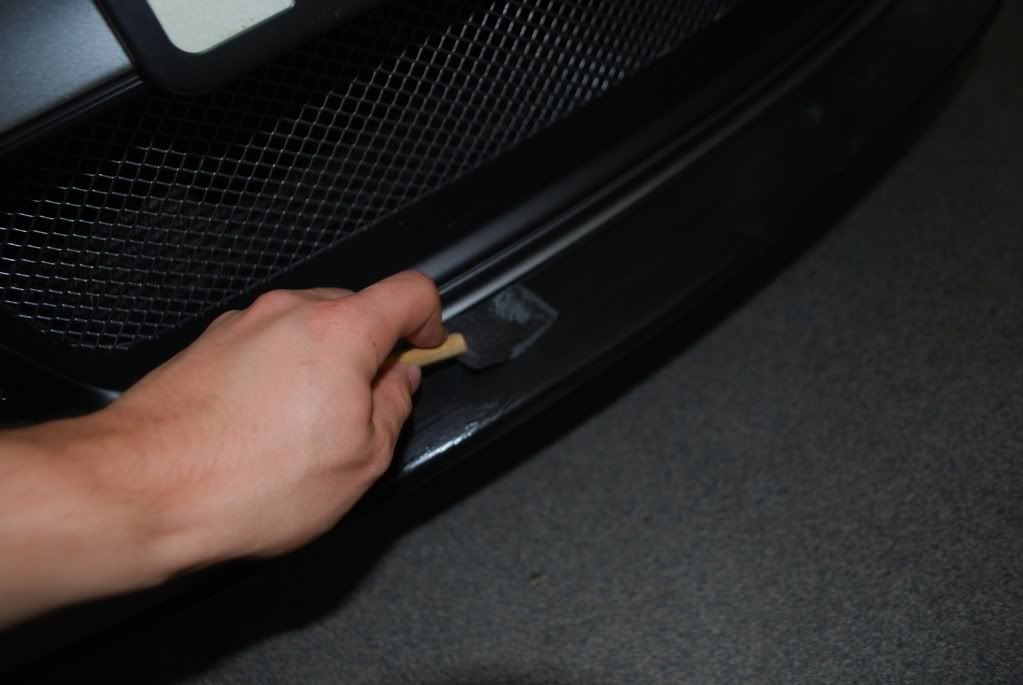
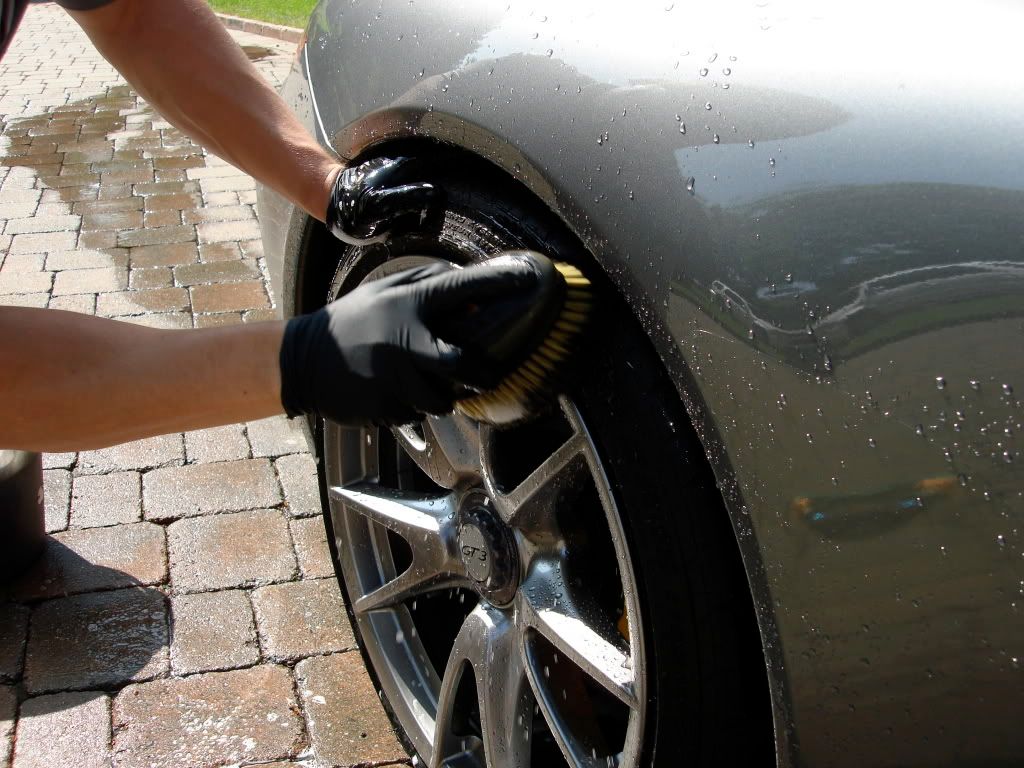
Removing dealership dressing from tires
Car was prepped at the dealer and wearing some kind of wax or glaze which needed to be completely stripped
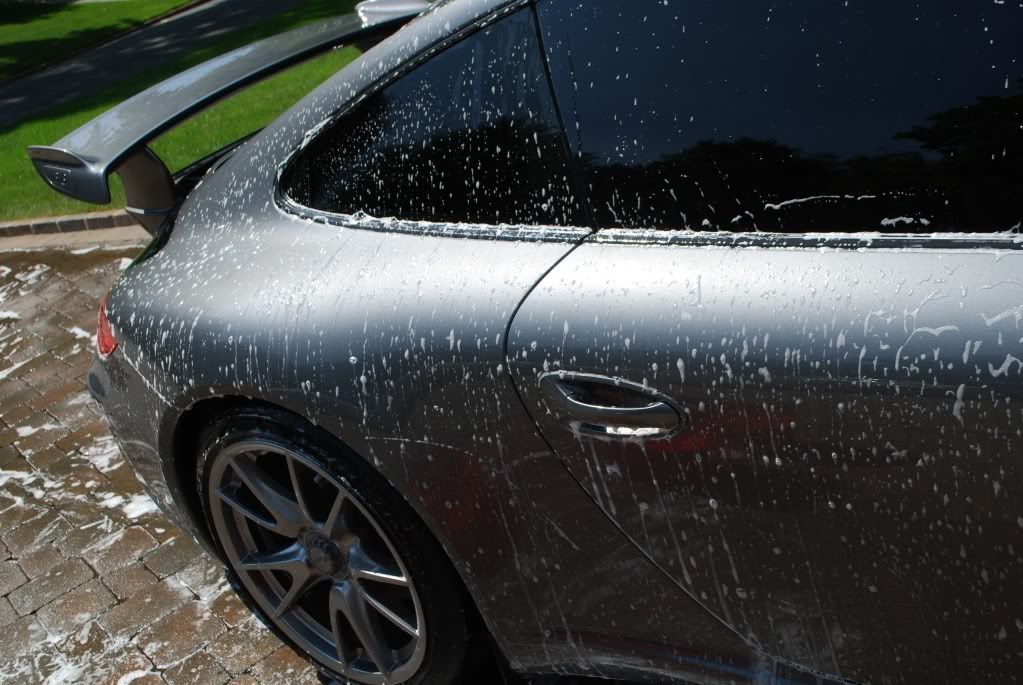
Started with a pre-soak using diluted Optimum powerclean
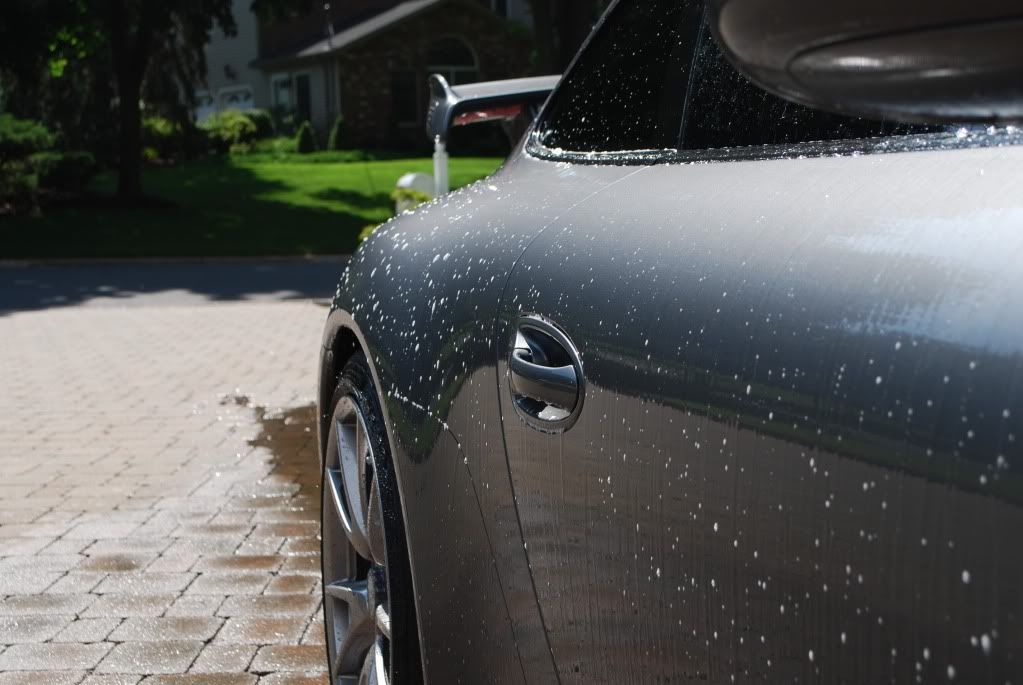
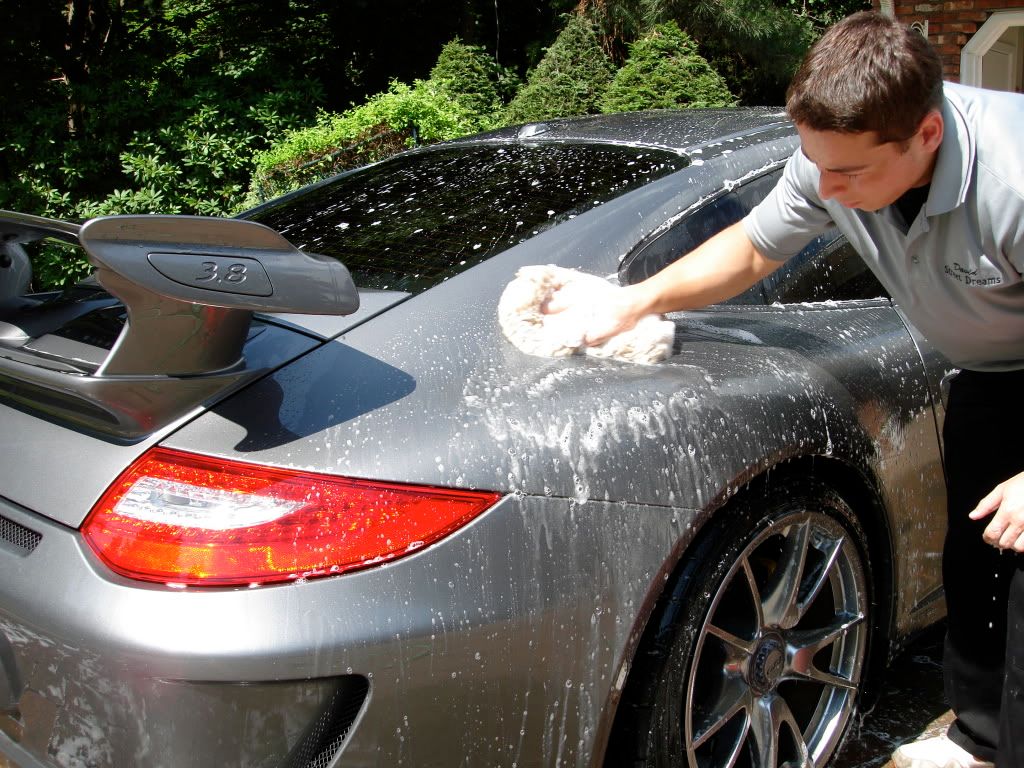
Followed by foaming with CG citrus wash + Dawn
Lastly the 2 bucket wash with a lambswool mitt and CG citrus shampoo as well
Used the electric blower to blow out the crevices and wheels

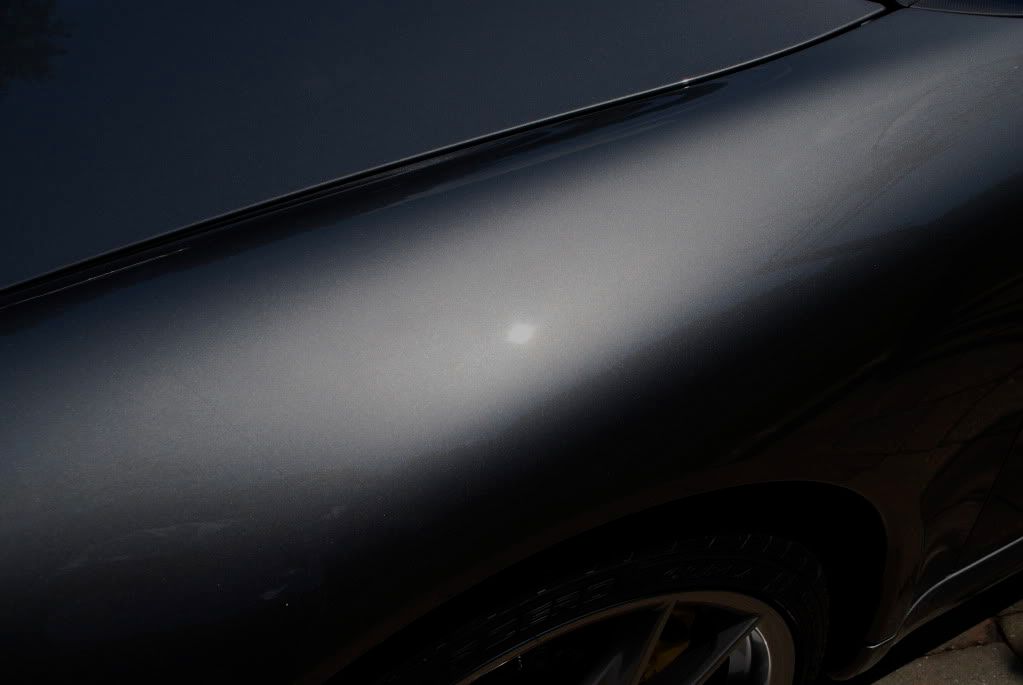
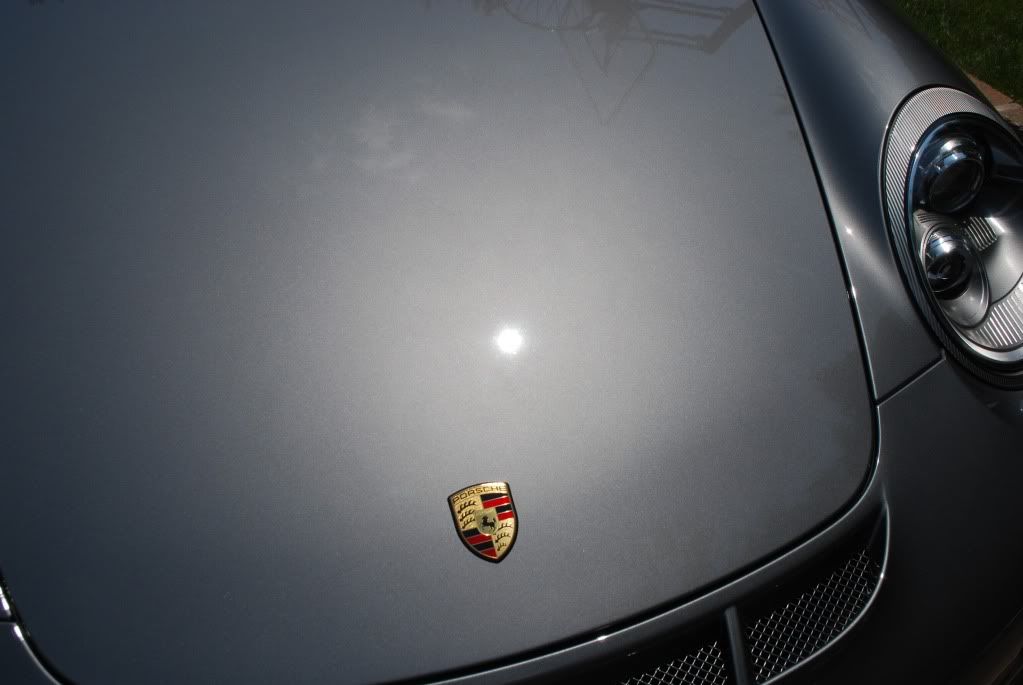
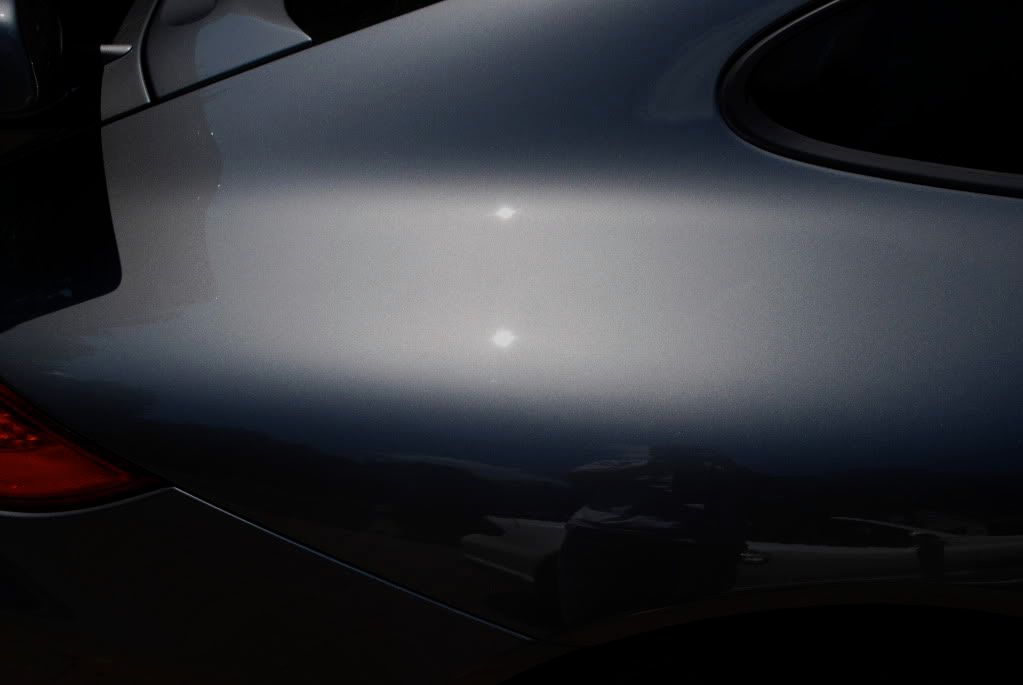
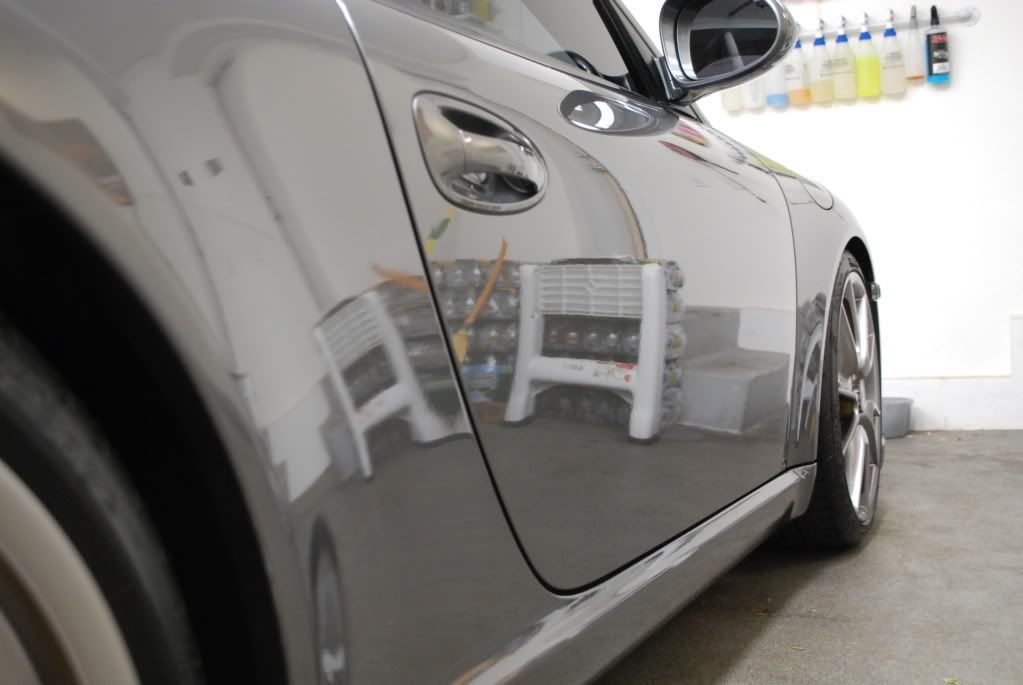
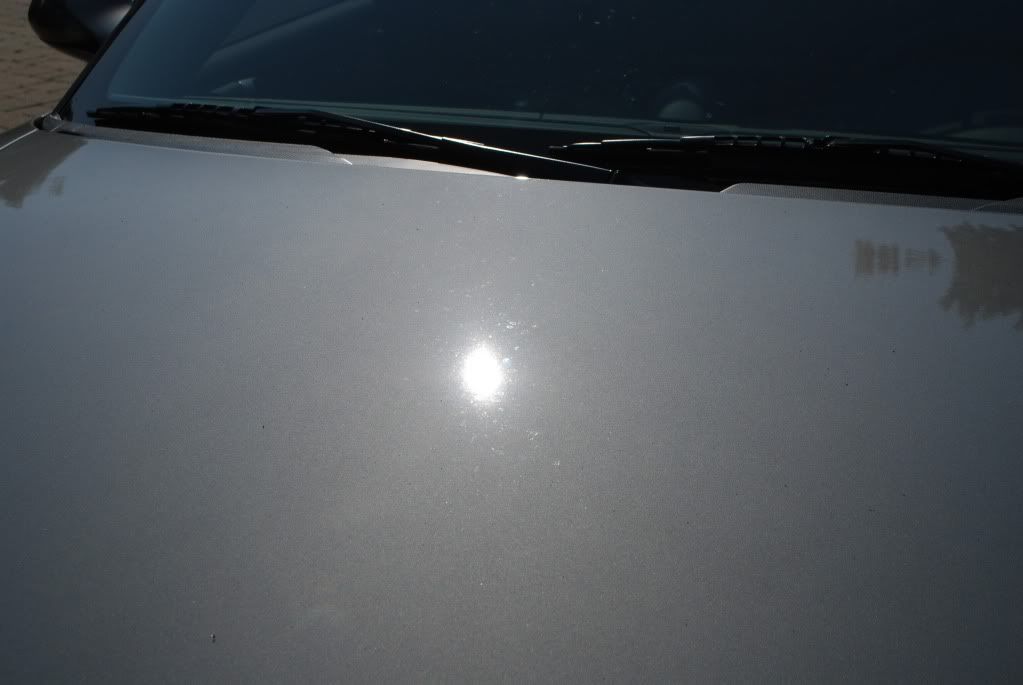
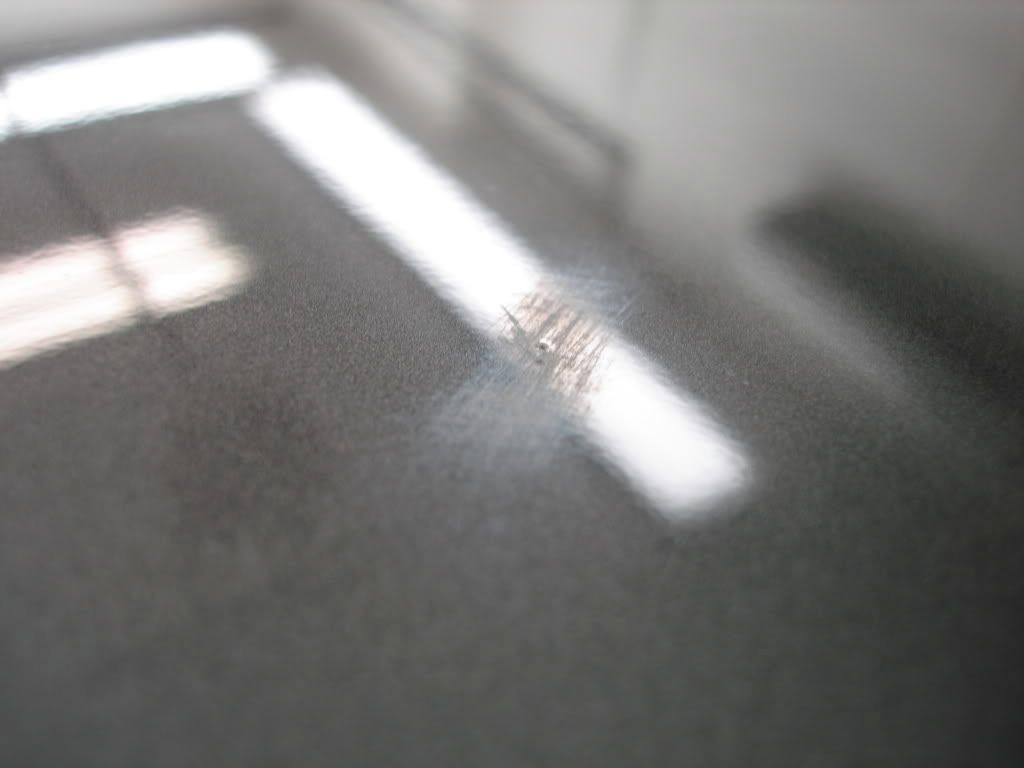
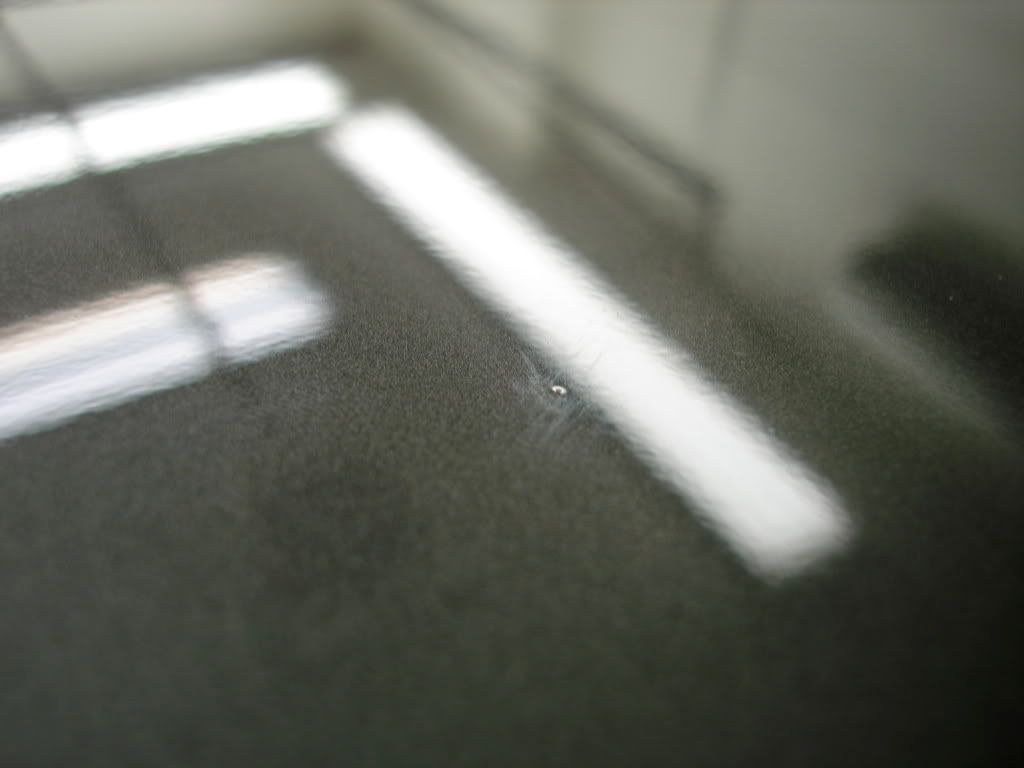
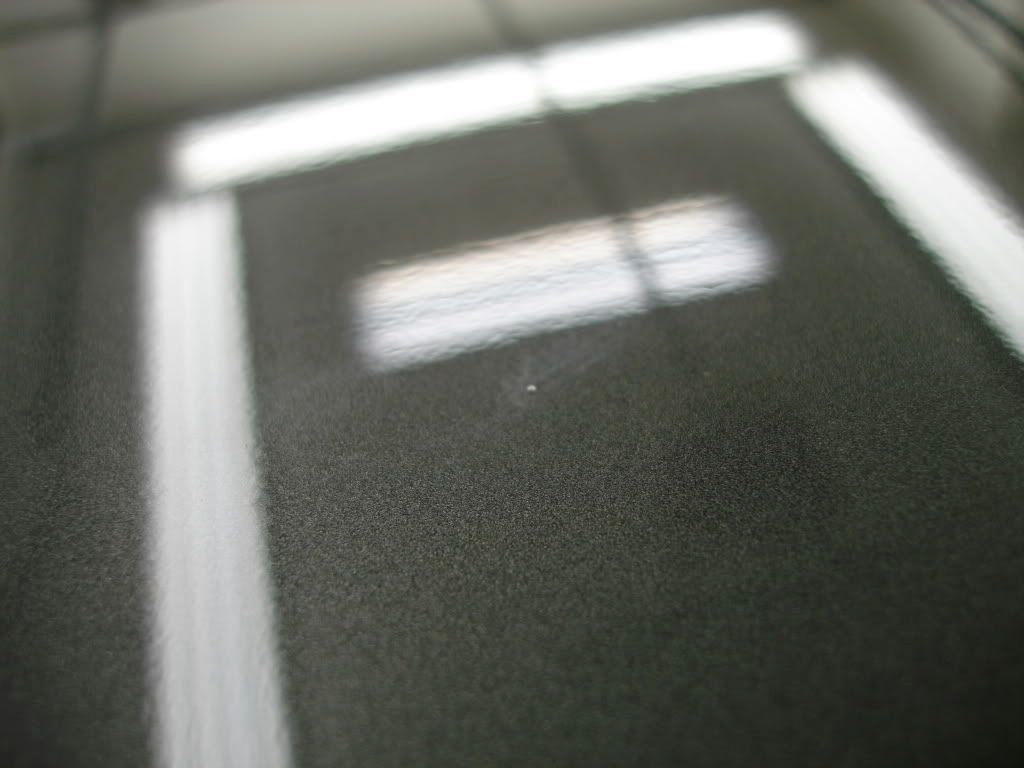
Some shots of the defects in sunlight
RIDS + holograms
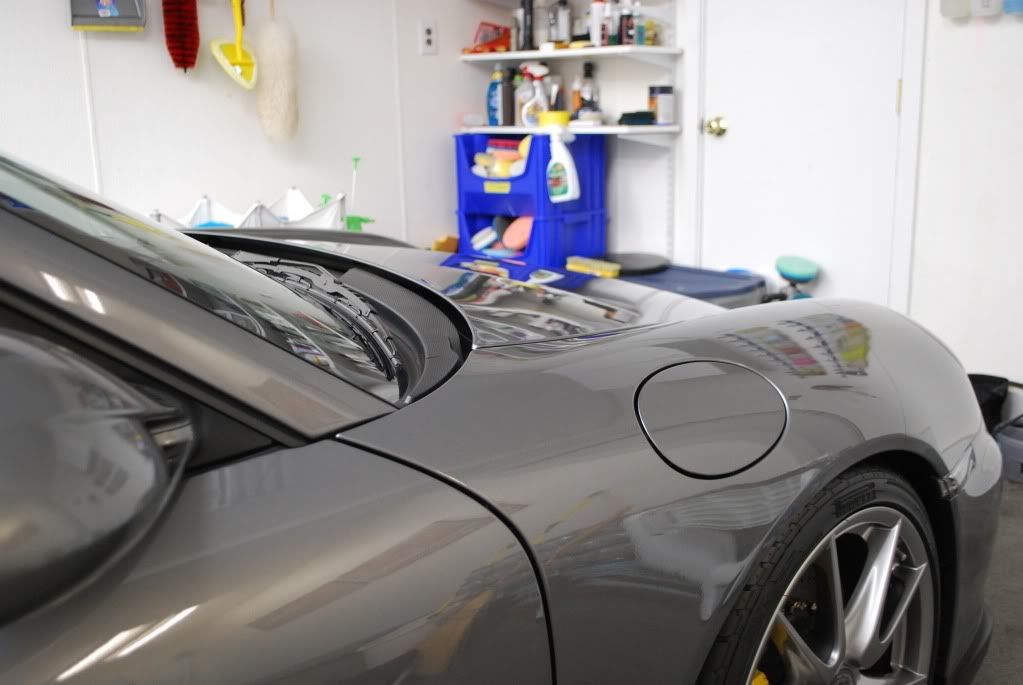
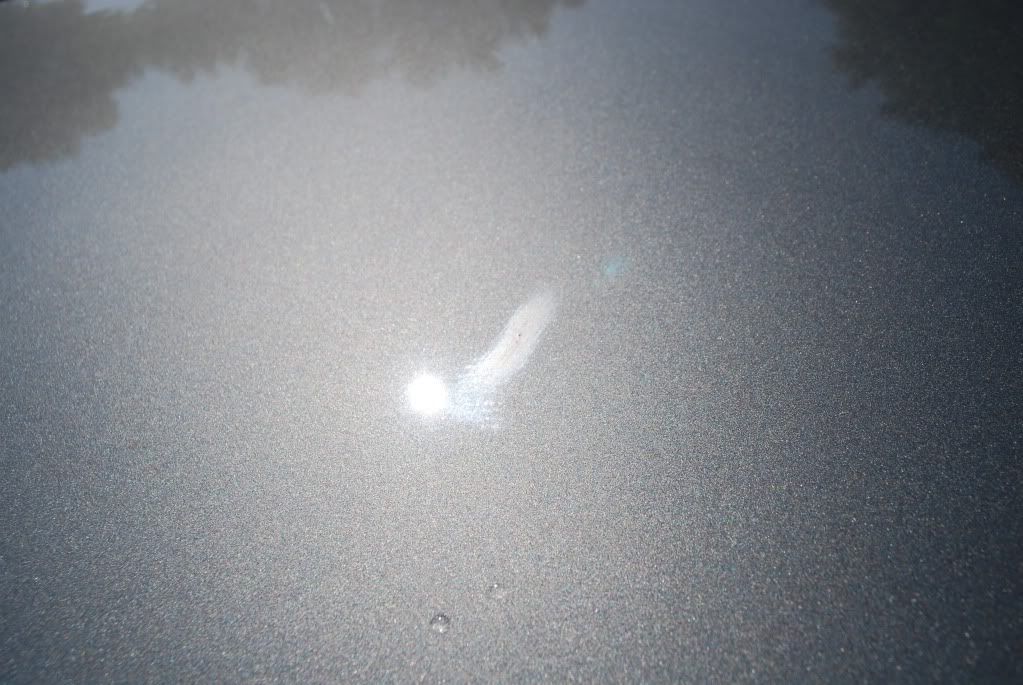
Water etch on the film, entire front hood has clear film as front bumper
A piece of tar on the film which tried to be removed left a 1 inch long gouge of scratches
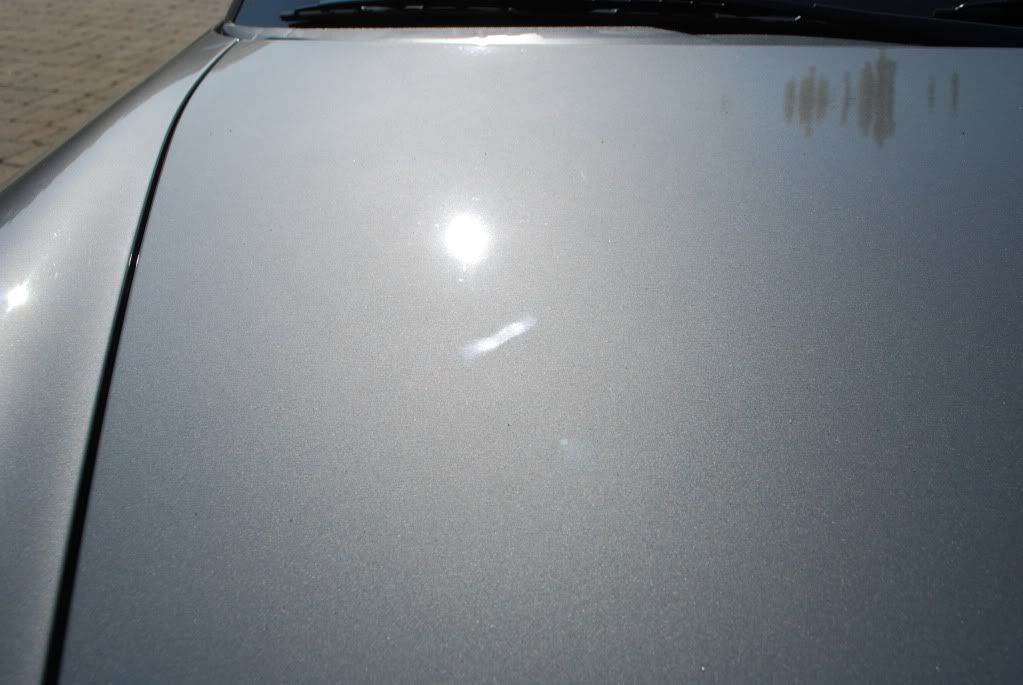
Up close
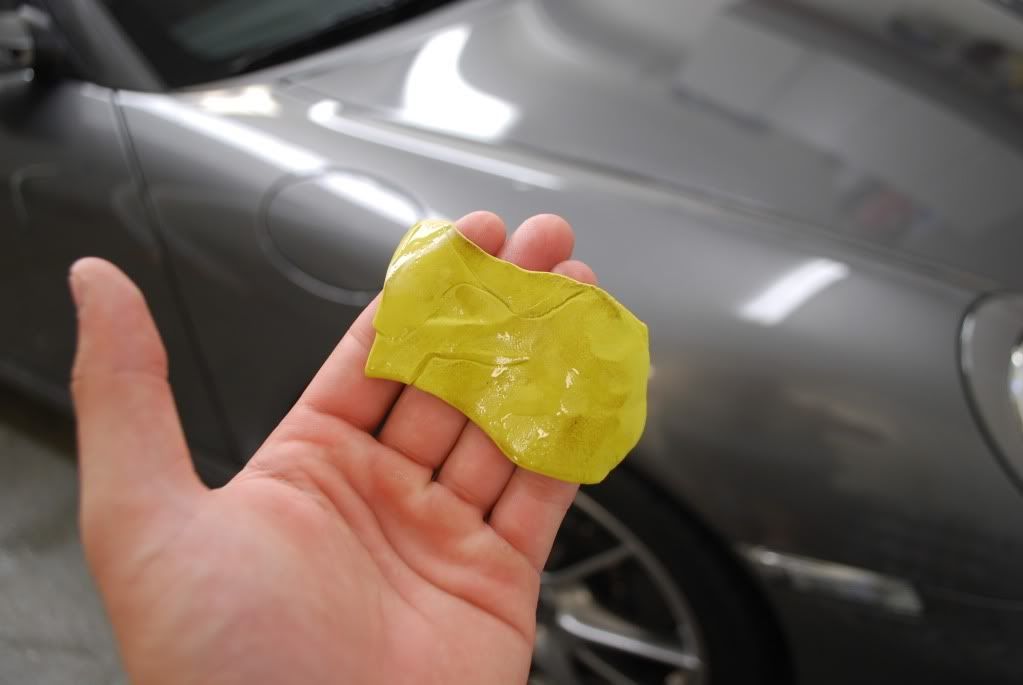
Brought inside for claying, paint only... do not clay clear film as you can seriously marr it.
Clay after passenger door
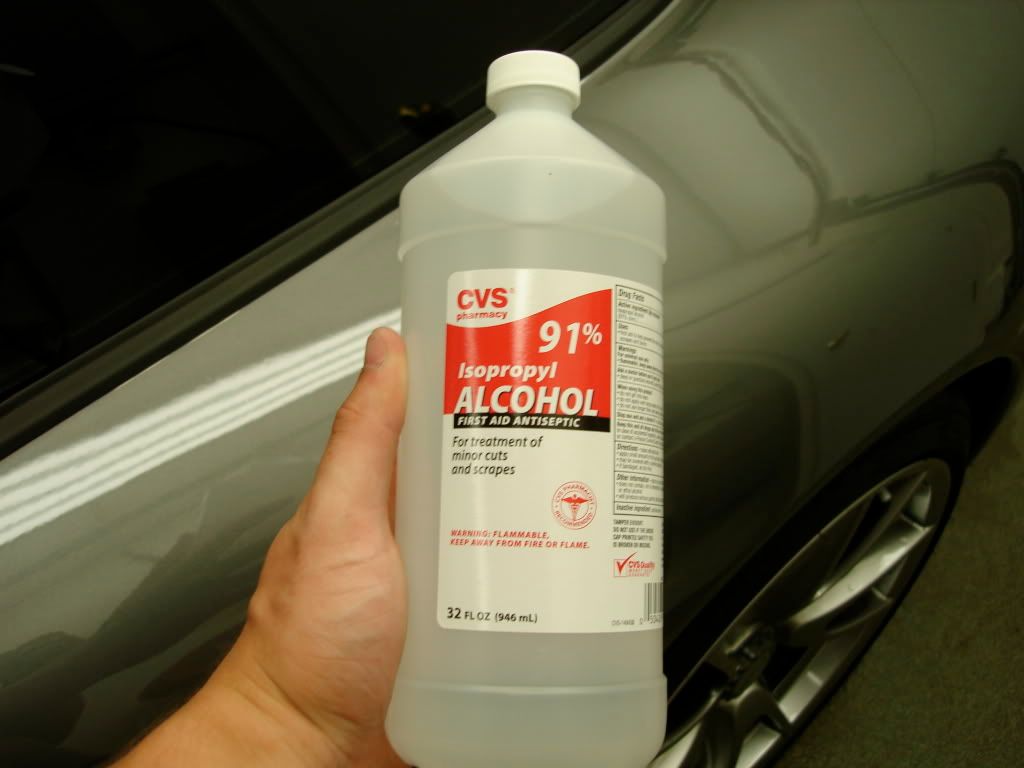
After claying I prepped the car for correction using IPA mixture, again took caution on the film and opted not to use any IPA as the alcohol can dry out the plastic
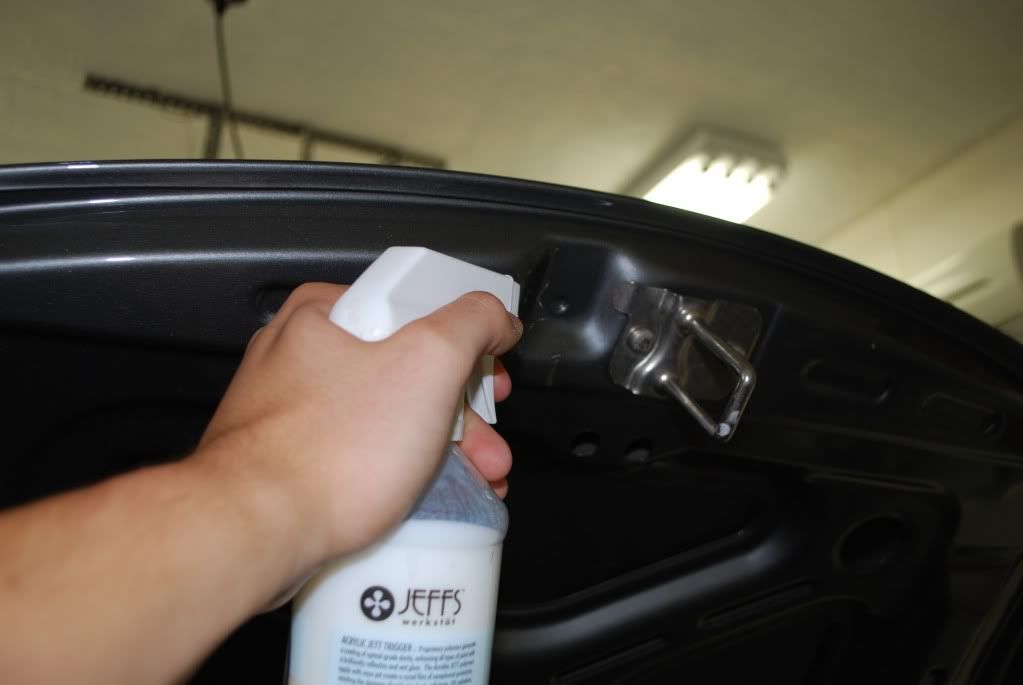
Paint treated with IPA/water for prep and after each polishing stage..
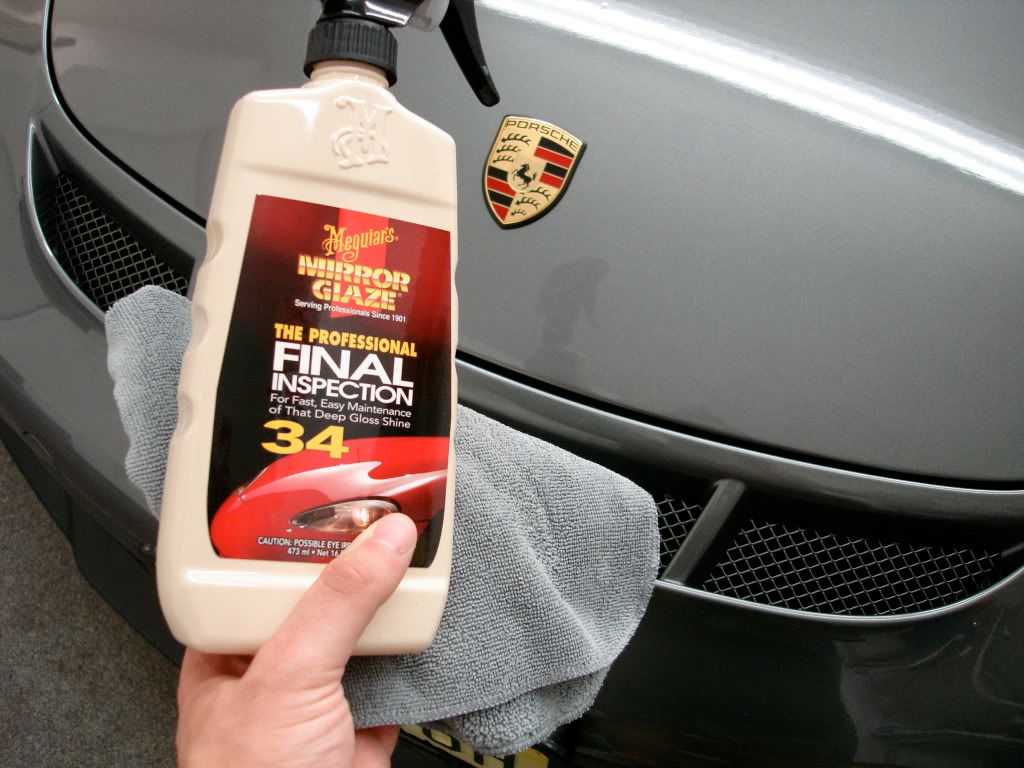
For wiping down film I like final inspection, slick enough not to mar yet does a fine job cleaning without adding any real protection (which is what you want for prep and post polishing)
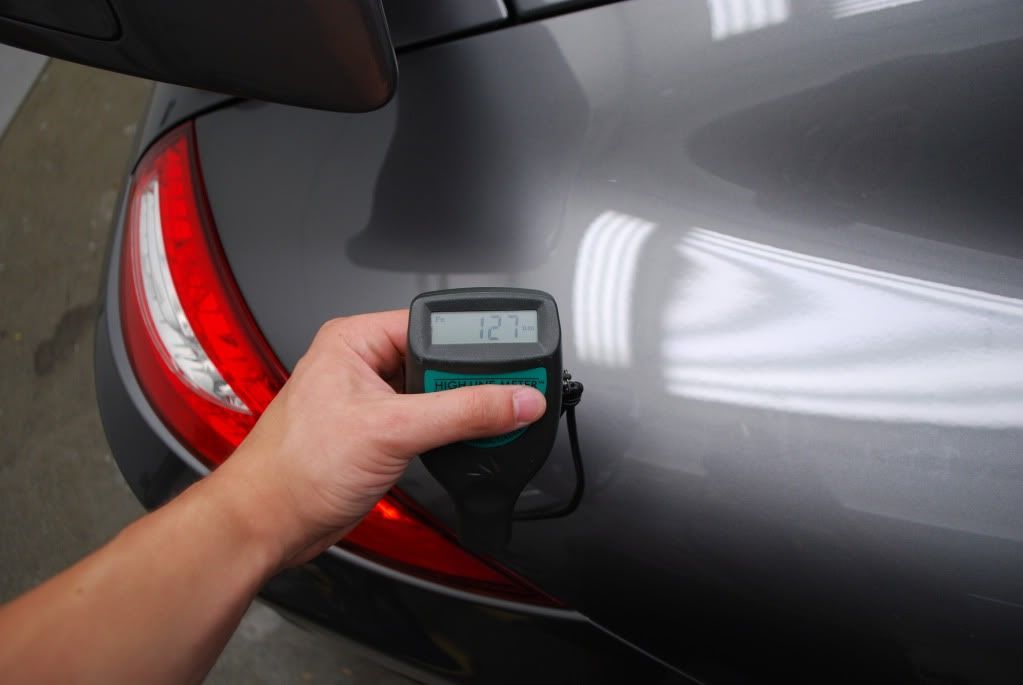
After taping up trim and badges I measured the paint, standard readings, no dangerously low areas
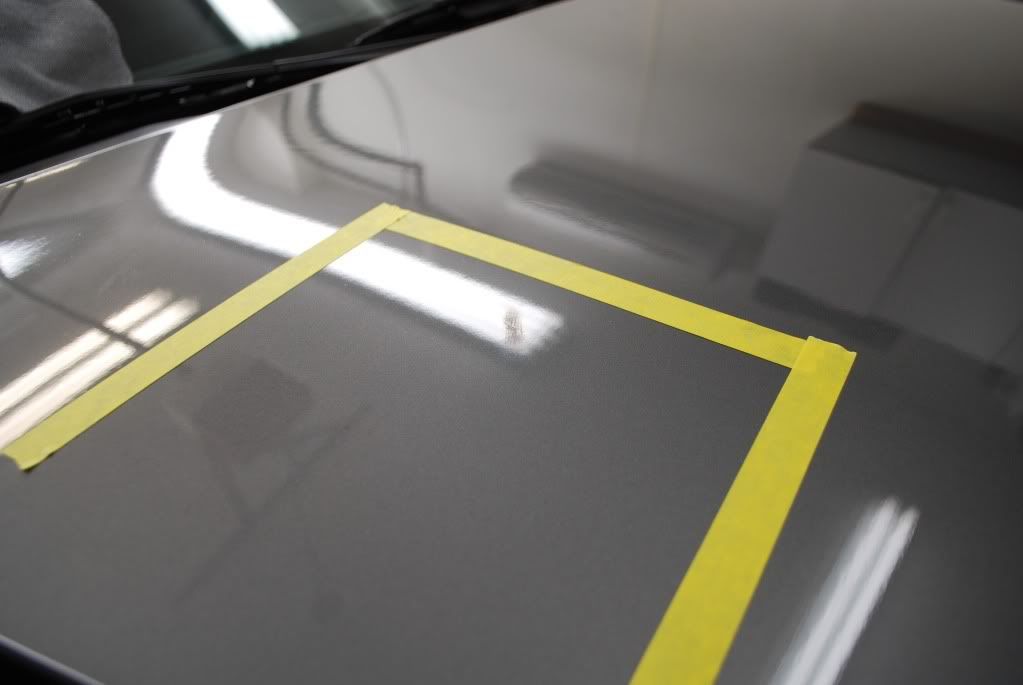
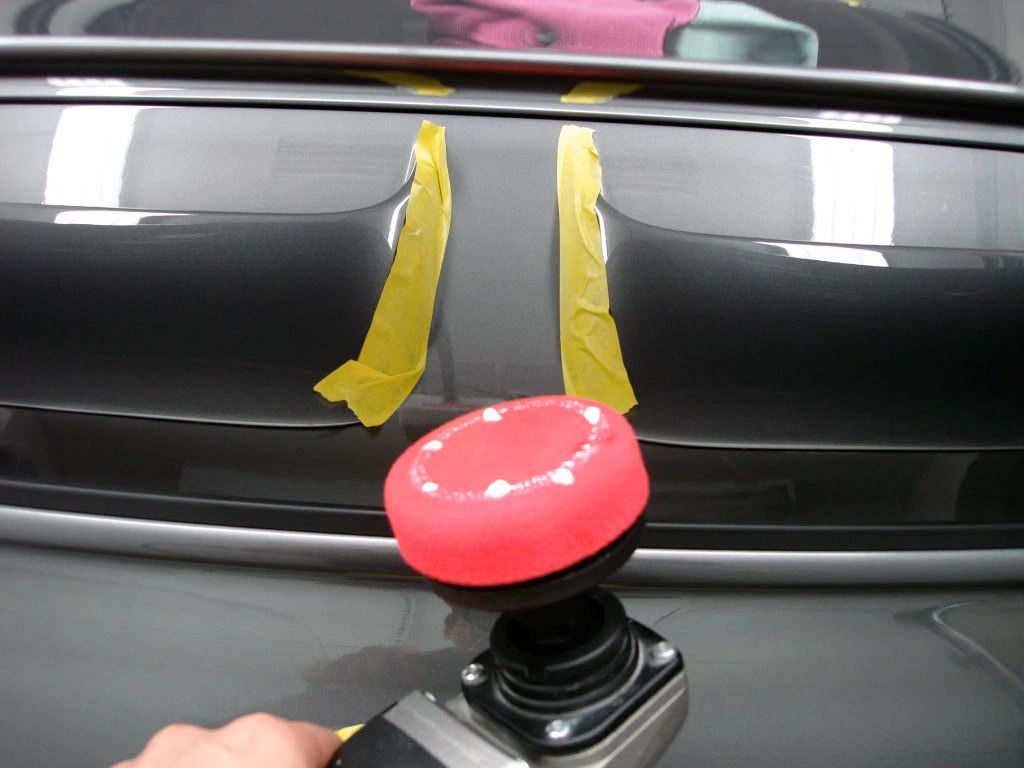
Onto correction, started with the hood clear film and the scratches. Taped off the one area which needed extra work, then taped up all edges and lines where the film ends
Up close of the cluster
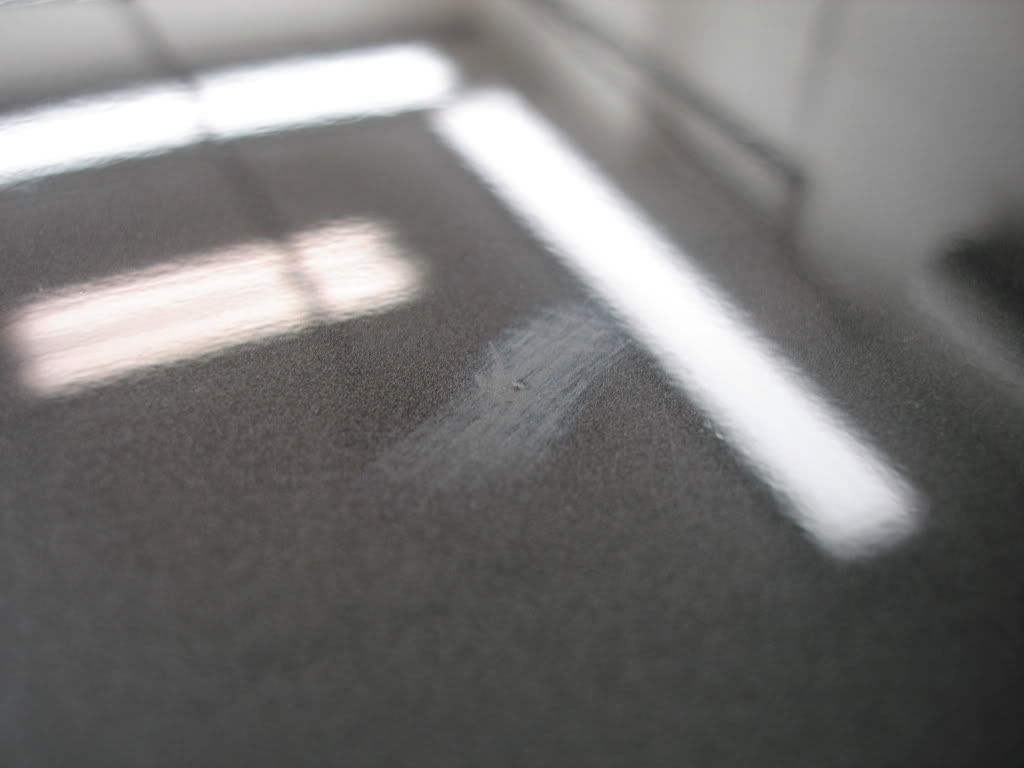
Some of the deeper marks showing through
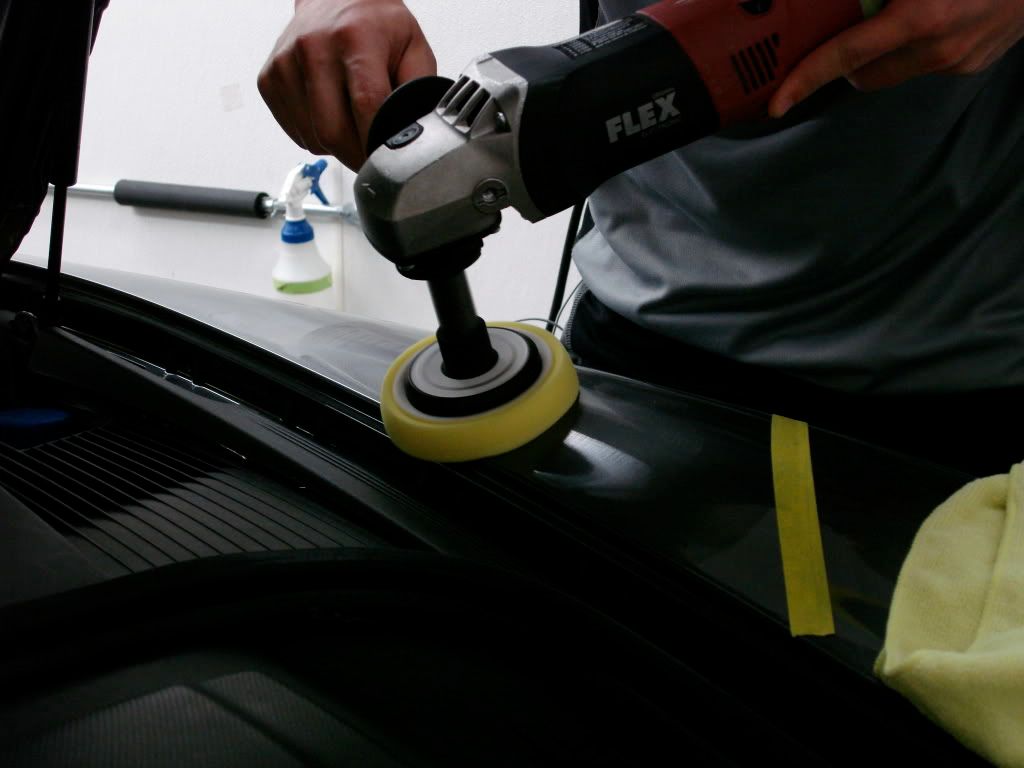
As most of you know I prefer using a DA machine on film, I began correcting this area with the DA, cutting pad and M105 even after several passes only minor marks were removed.
I opted to use a 3" pad on the rotary with the same combo and overloaded the pad with M105 liquid to keep the heat down and reduce the cut of the pad just a tad as to not burn the film. After 2 hits with the combo I was able to cut out a good bit more defect from the spot. The deeper marks would not budge short of wetsanding.
Although not 100% it was lightened quite a bit...
After the spot compounding was done I moved back to DA machine to clean up the rest of the film, this was a 3 step process.
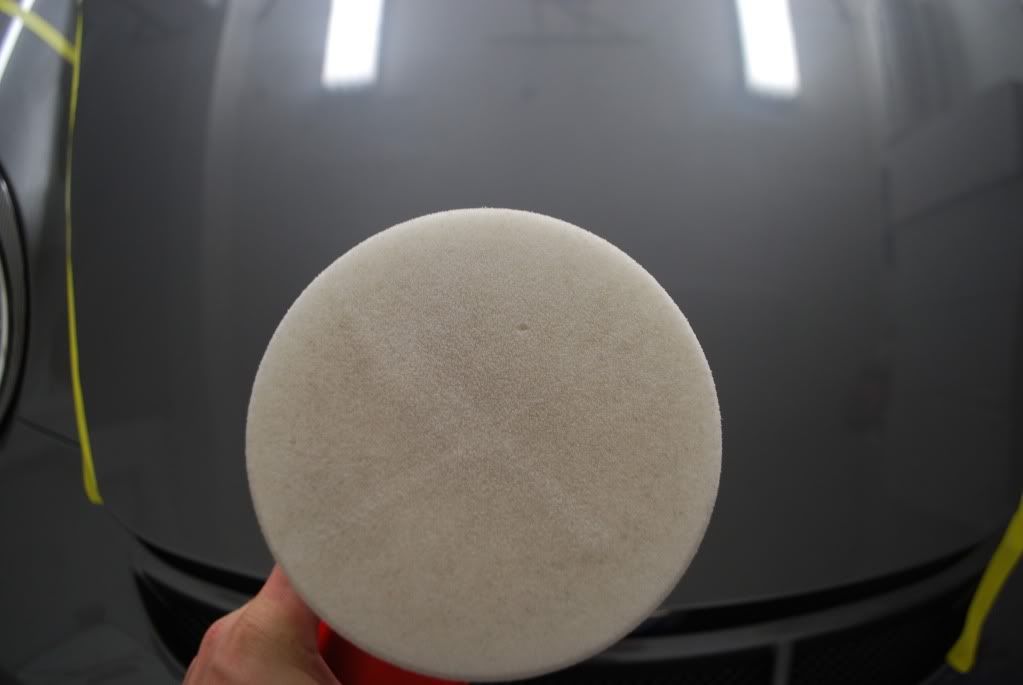
As for people say that you CANNOT improve gloss on clear film heres a bit of proof...
White polishing pad after a 2x2 area, you would be surprised how much dirt is pulled out of the plastic when polishing. I changed out the pad 4 times to keep working clean. I moved onto the finish stage only when my pads showed clean foam after polishing.
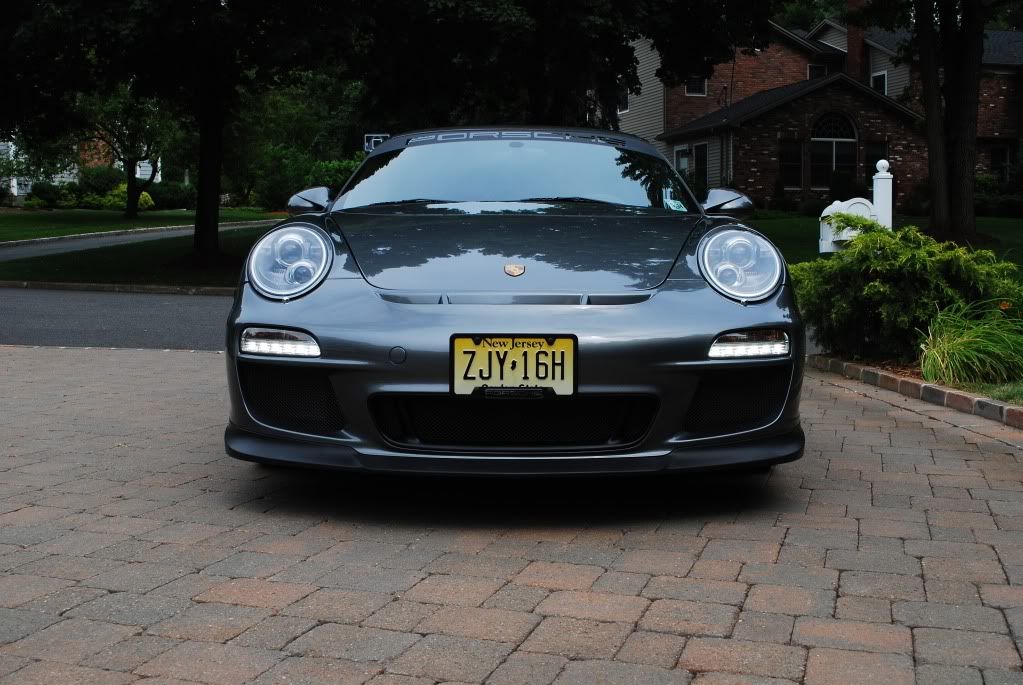
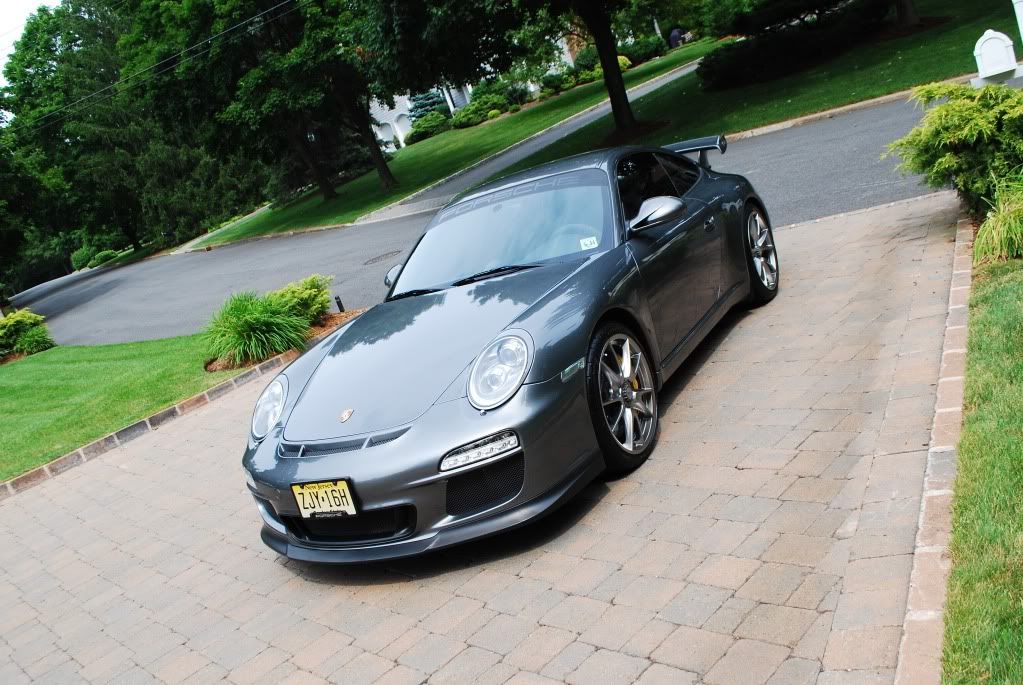
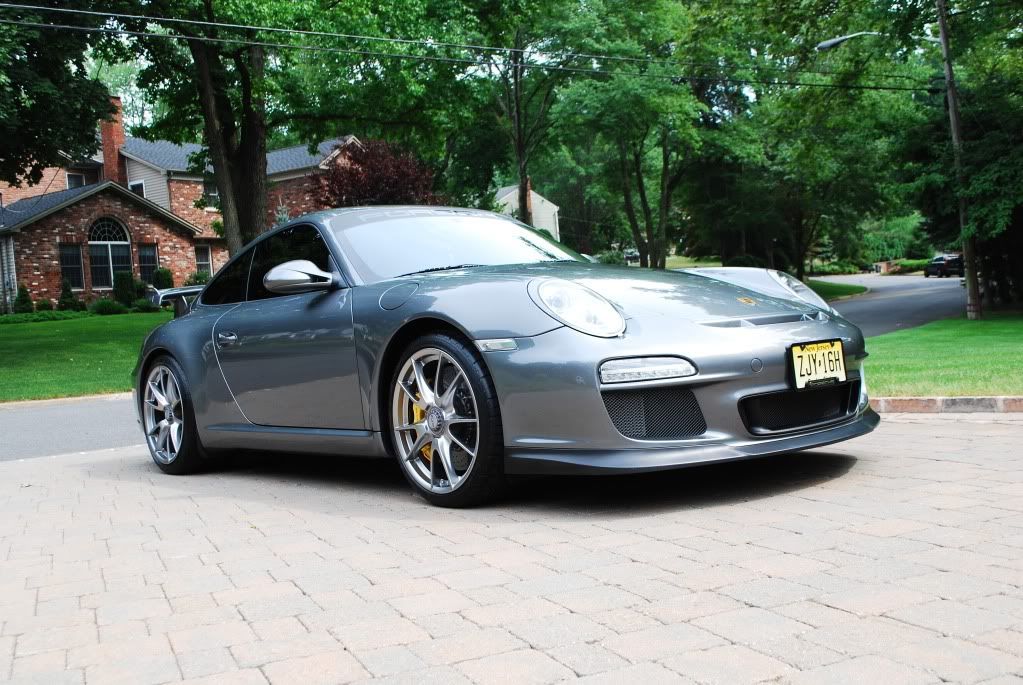
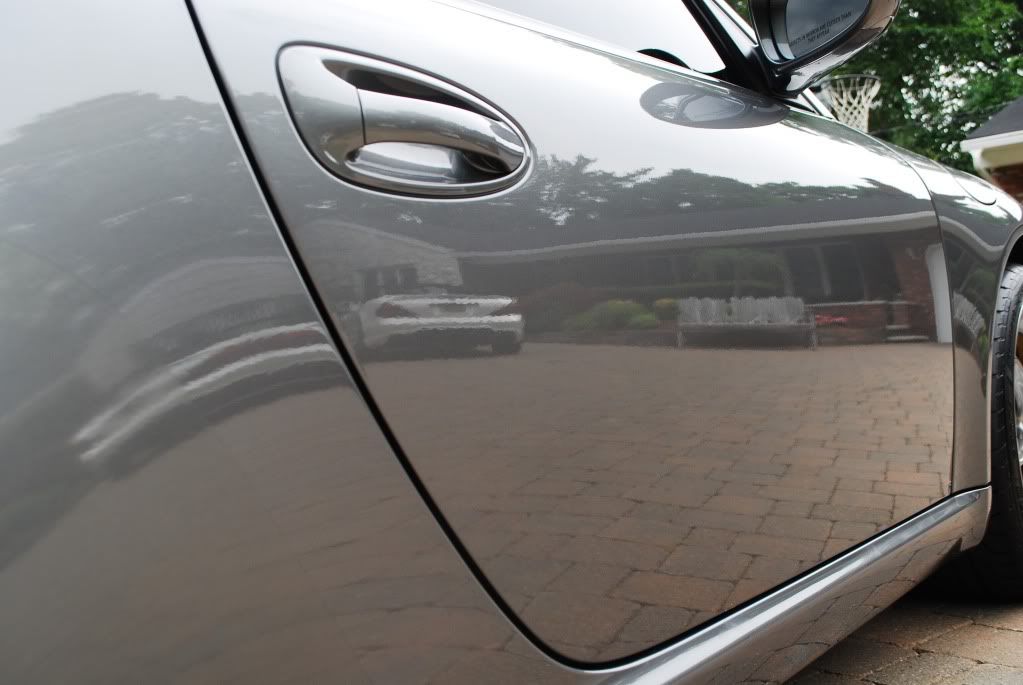
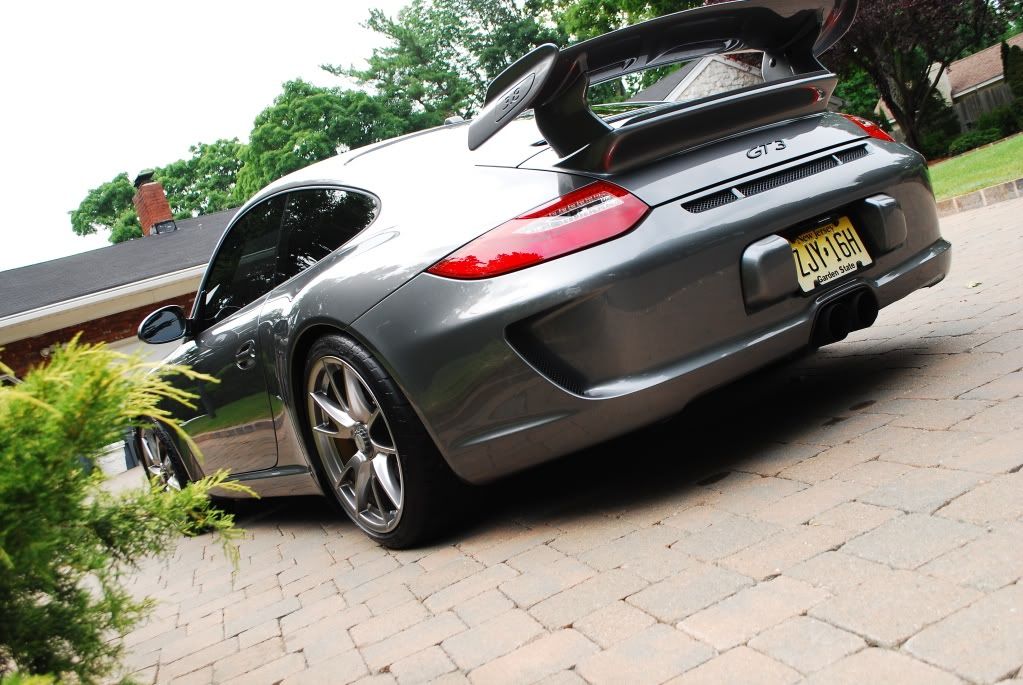
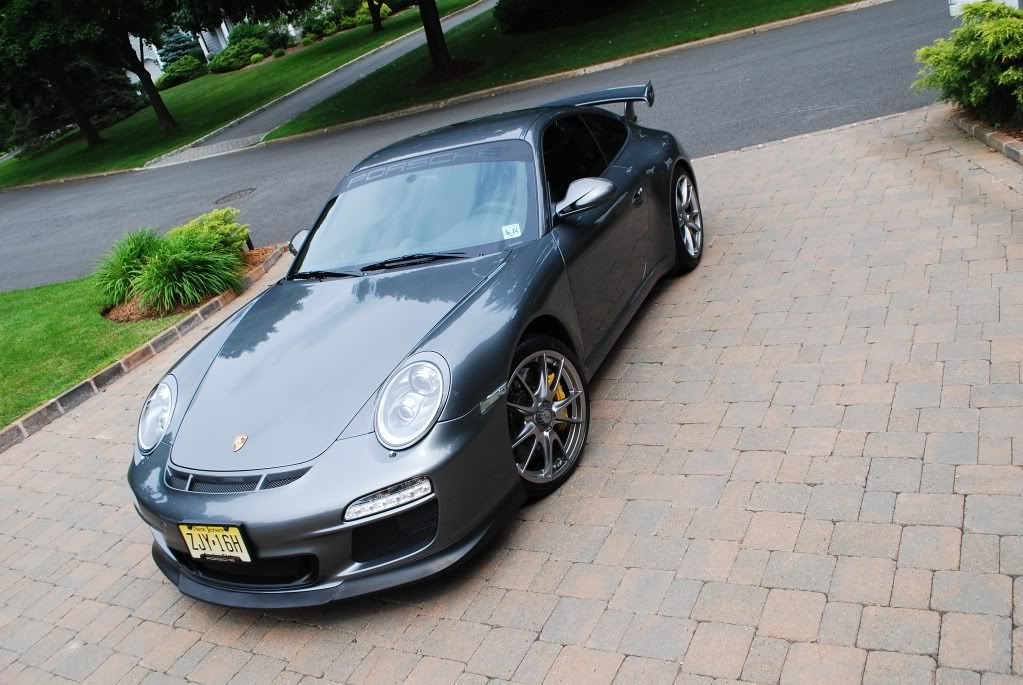
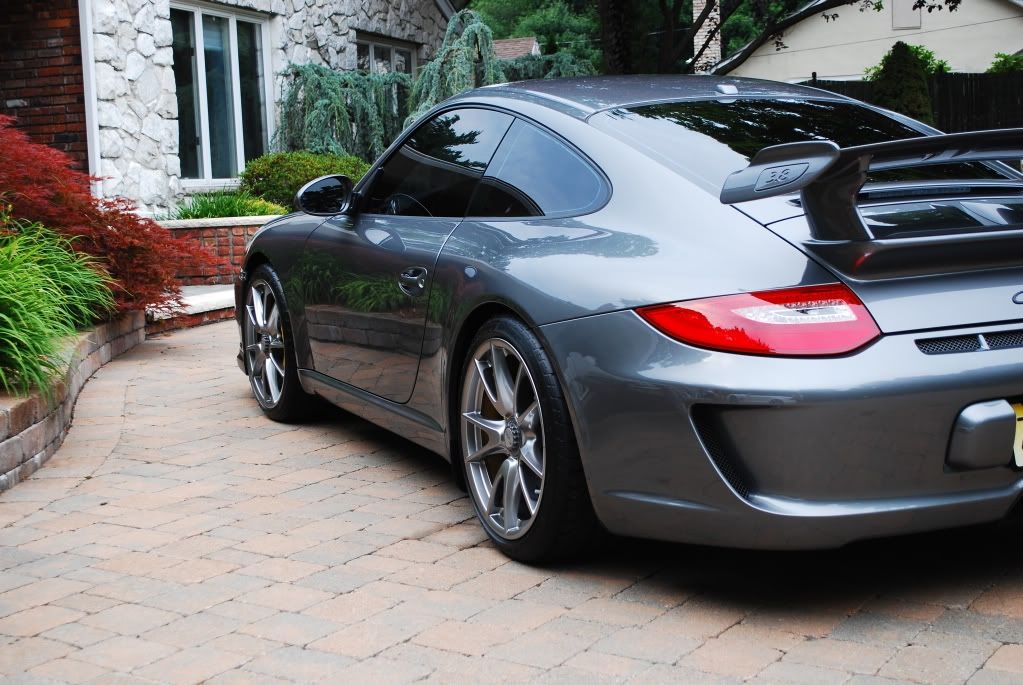
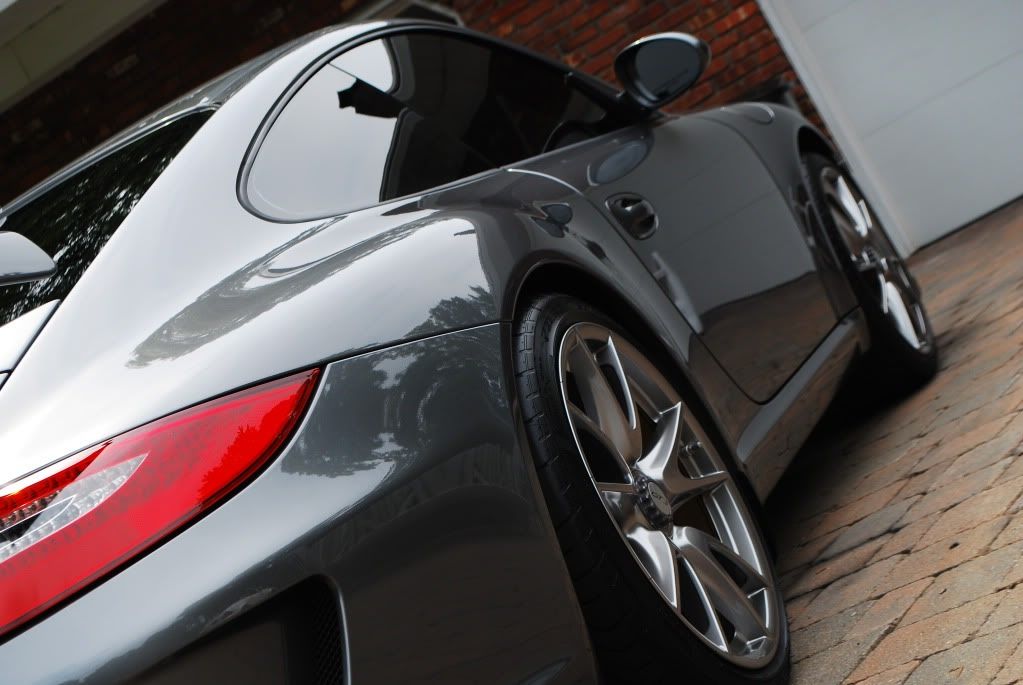
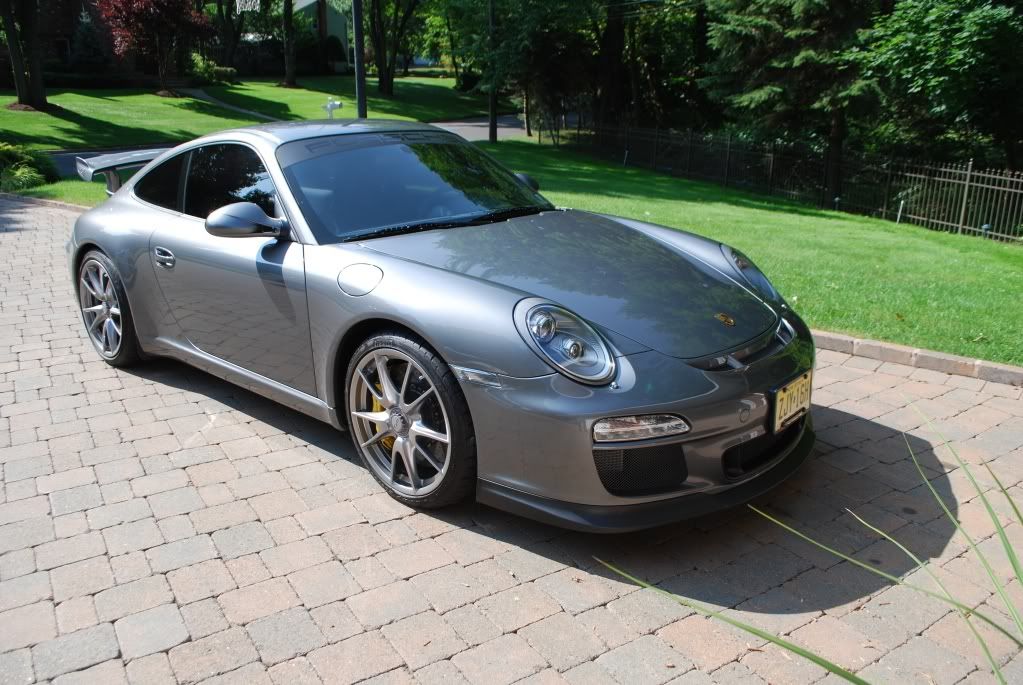
All finished

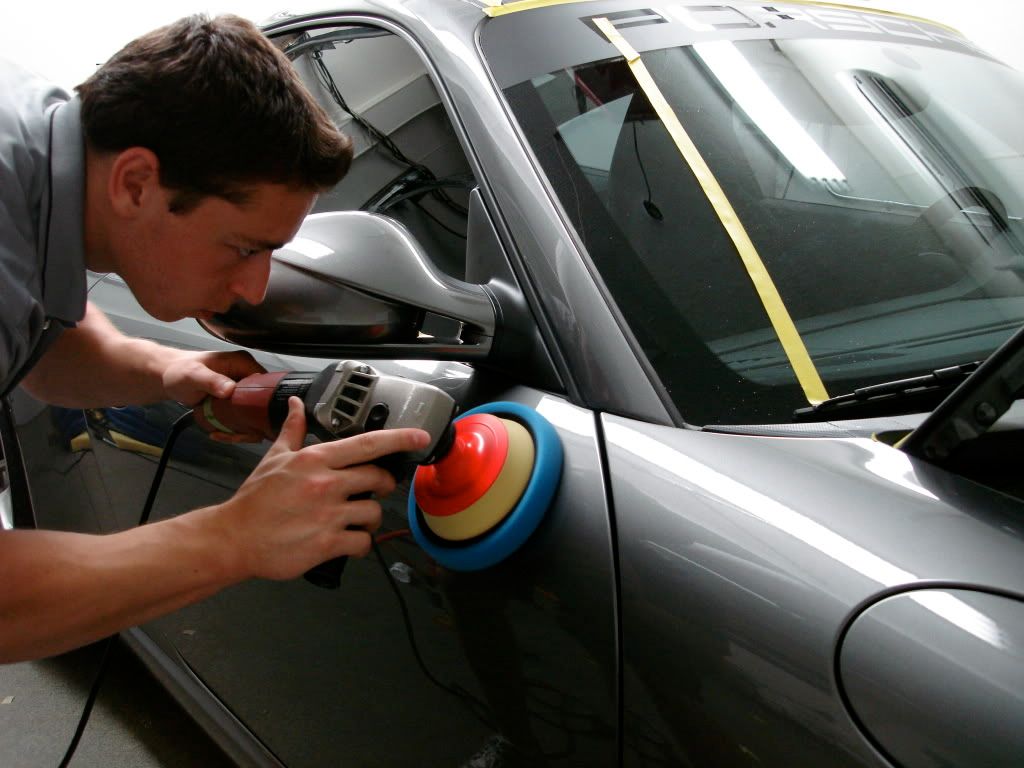
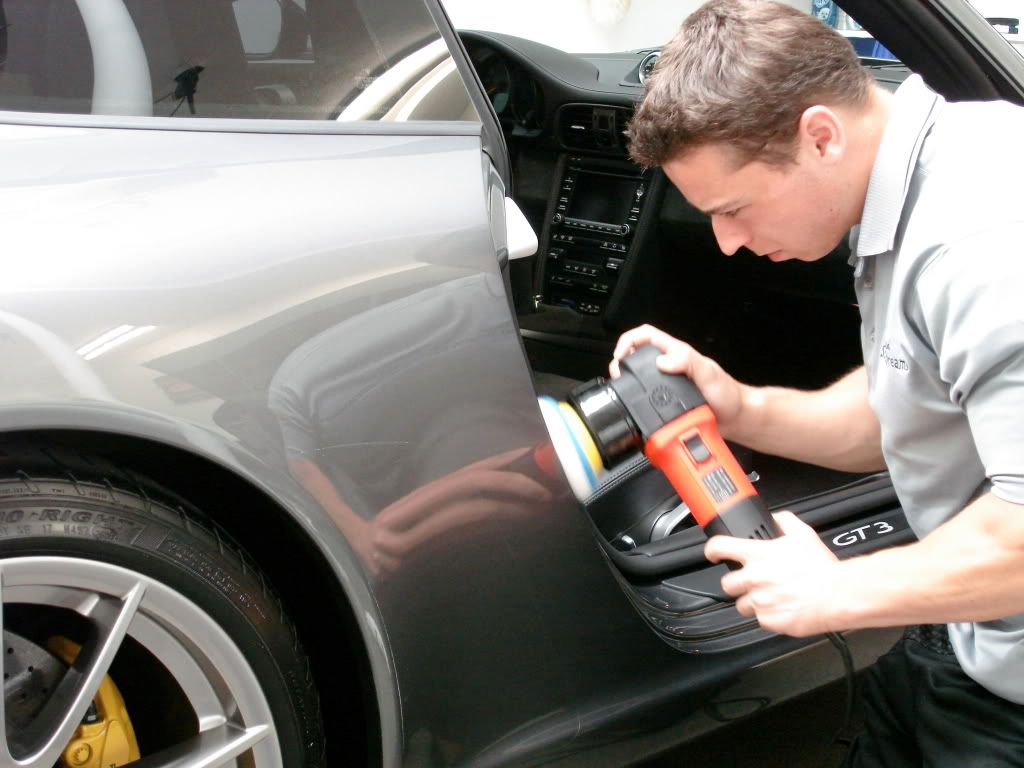
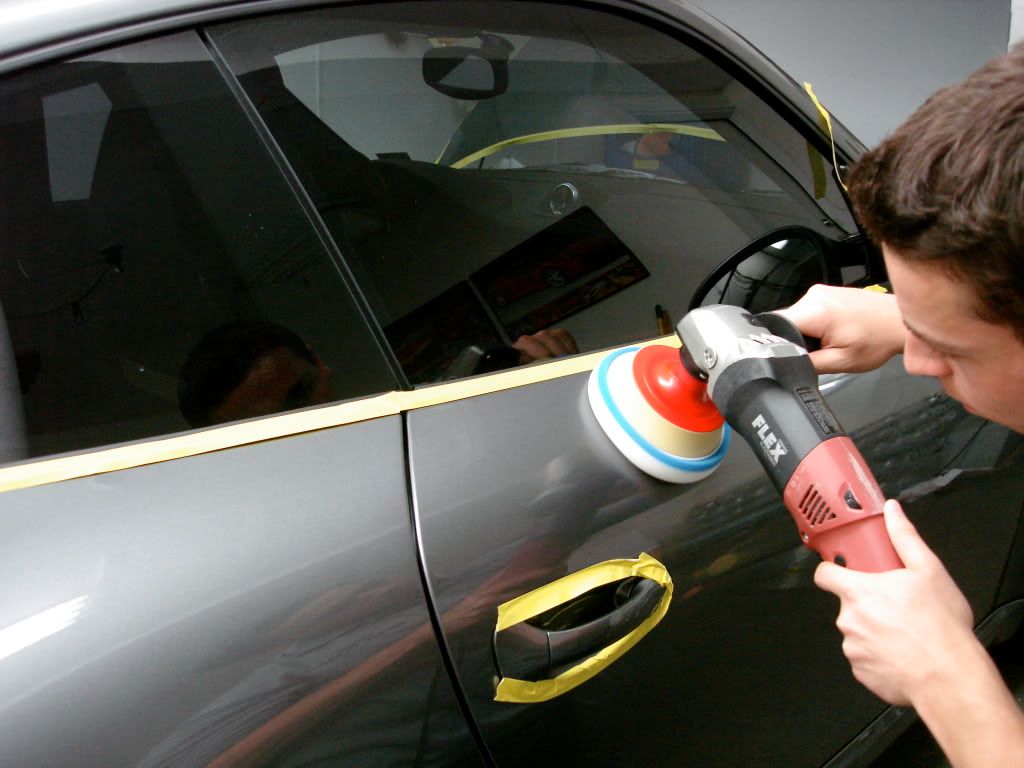
Moving onto the rest of the car I used the rotary for both cutting and finishing.
Passenger door correction shots
50/50 left side shows the holograms left by the dealer
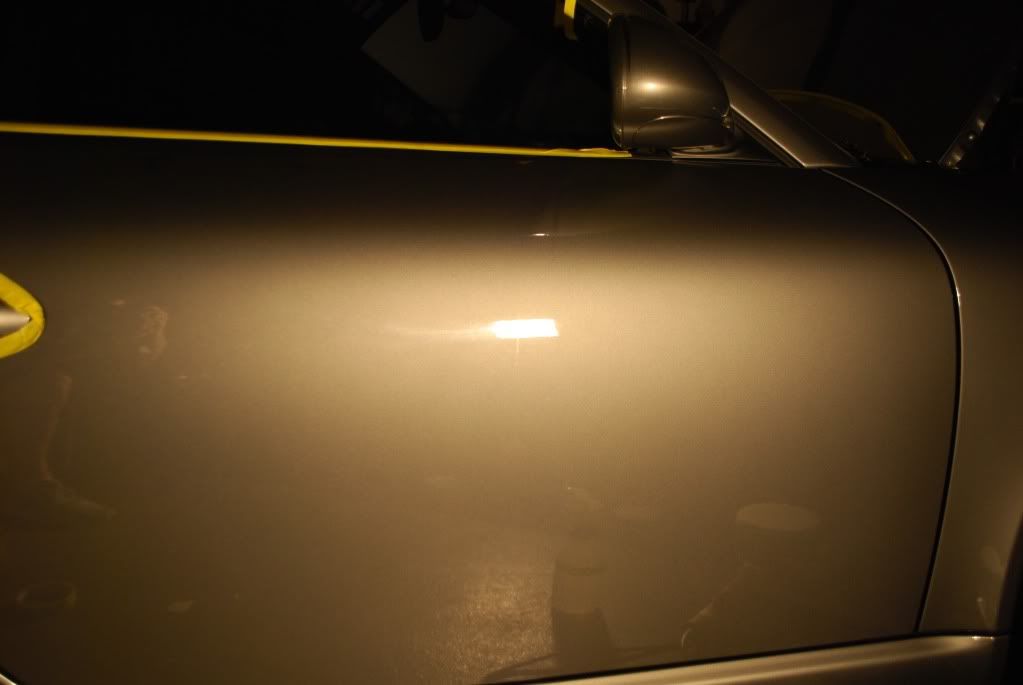
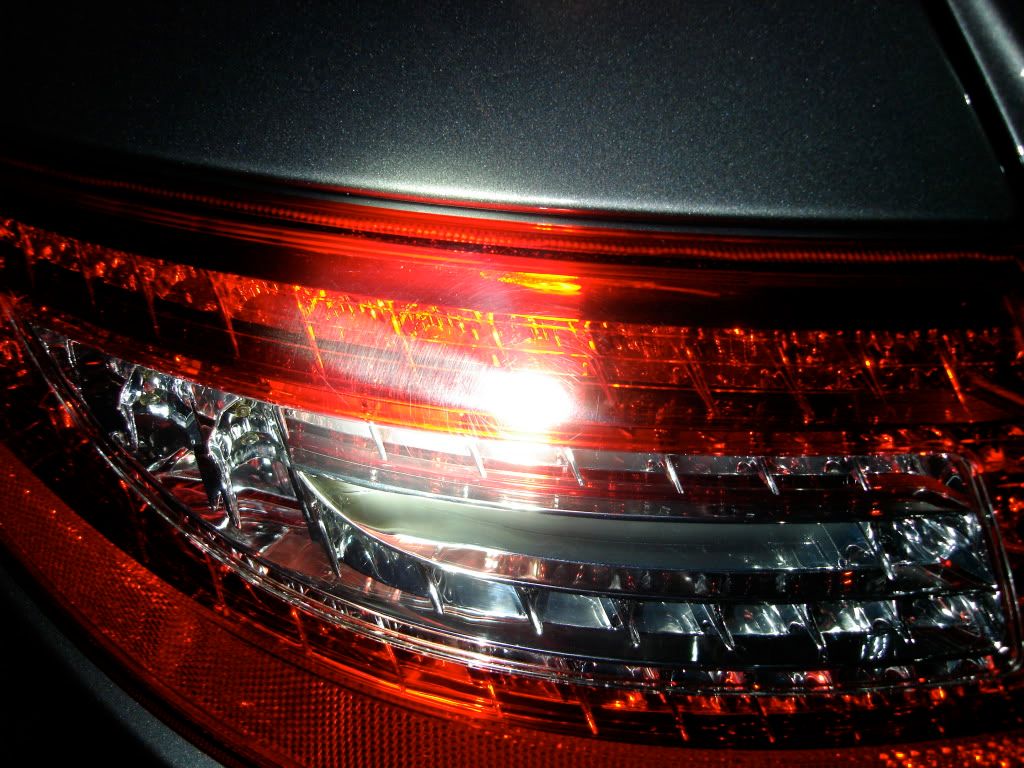
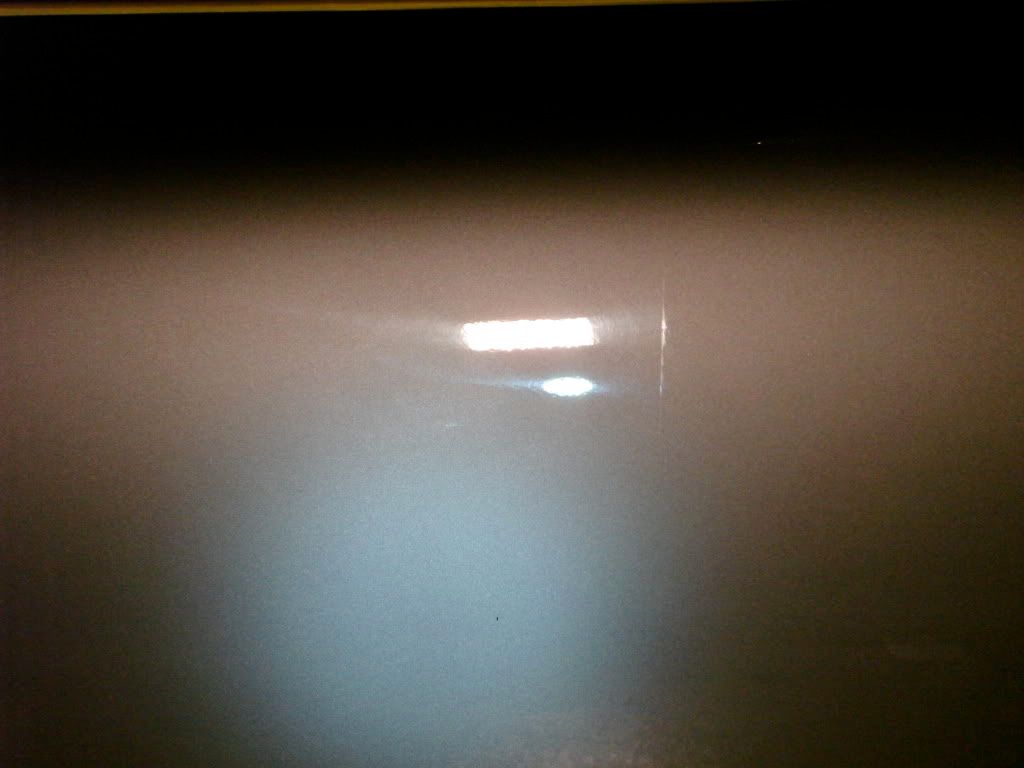
Close ups using halogen and the Fenix TK40 LED
Haze before
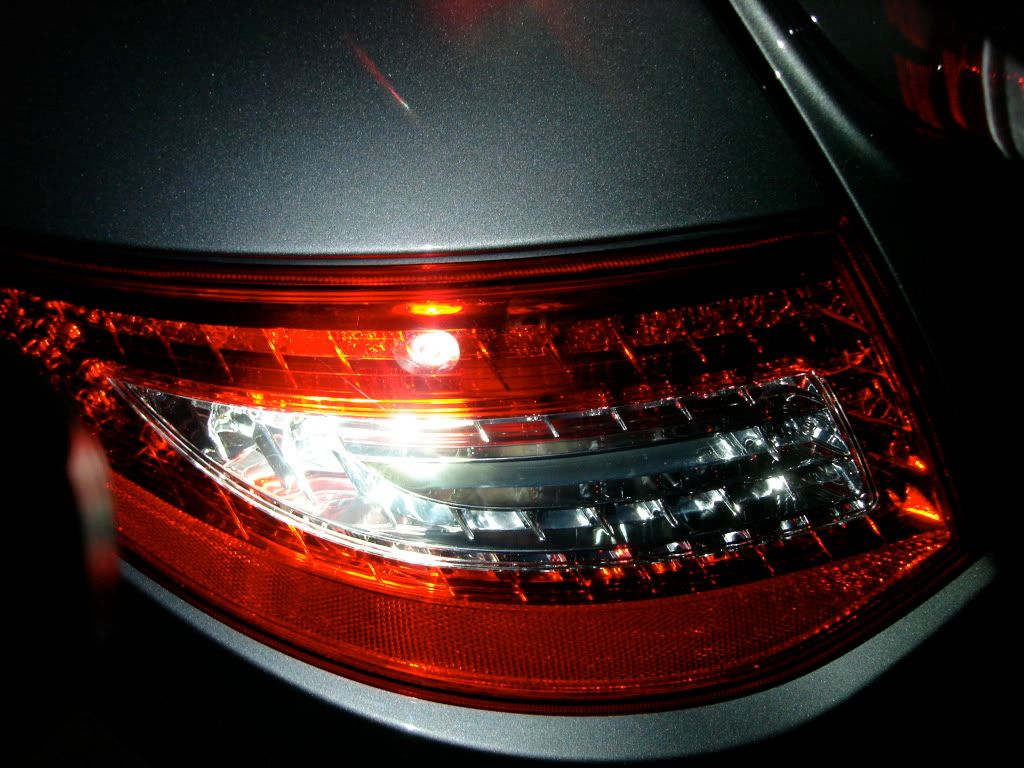
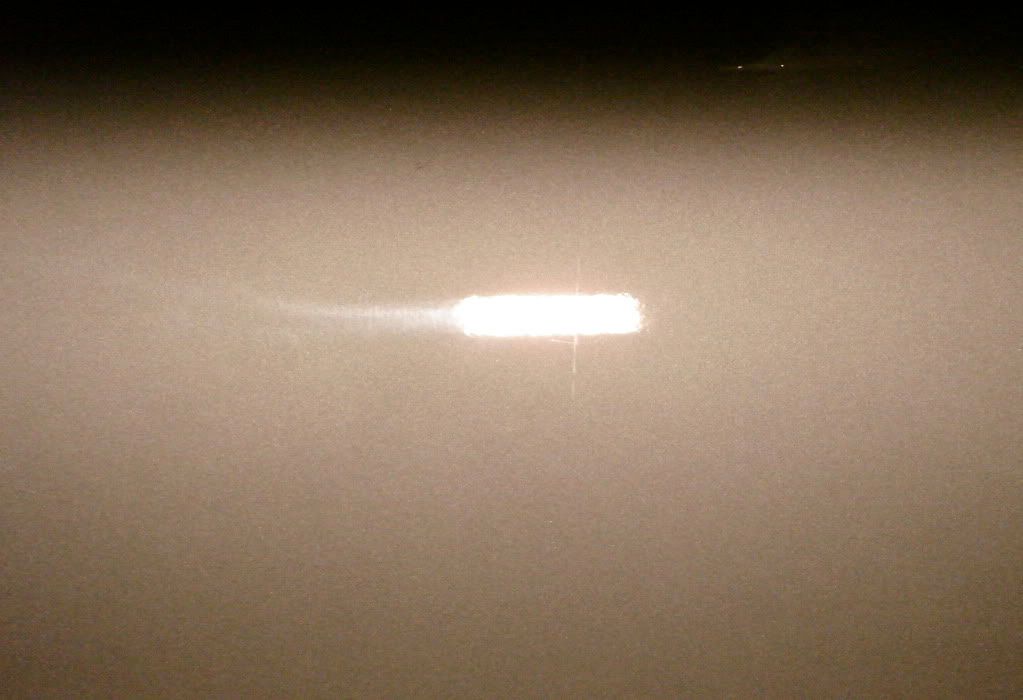
After polishing
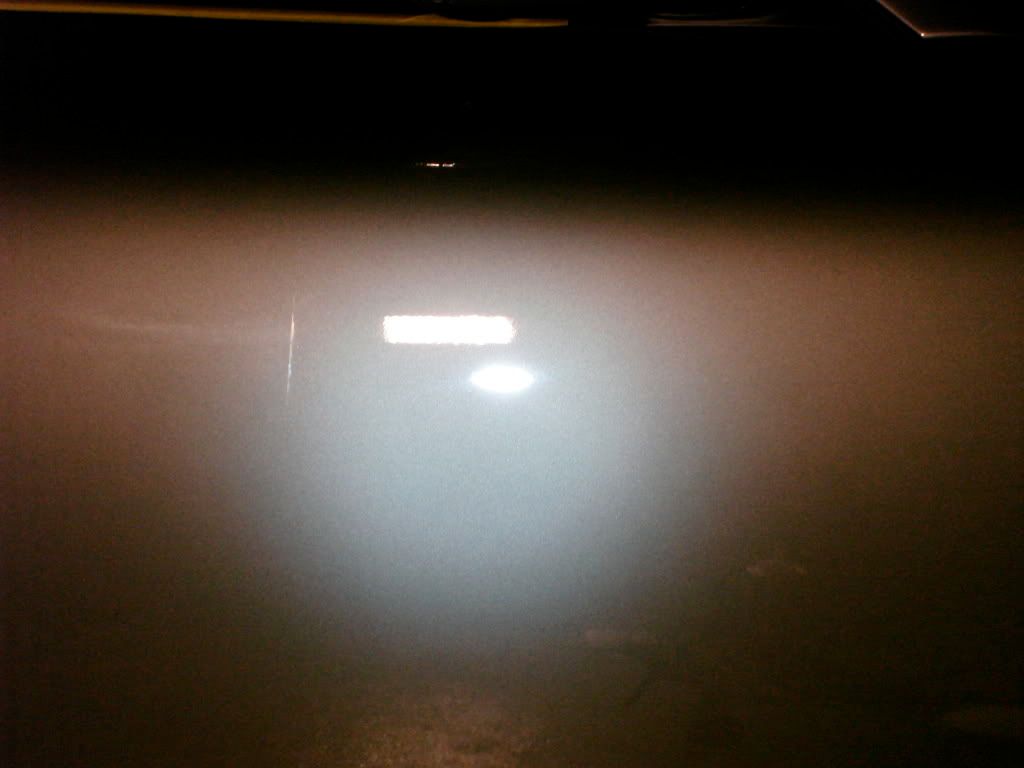
50/50 difference in clarity and a hologram split in 2
Cleaning up after compounding
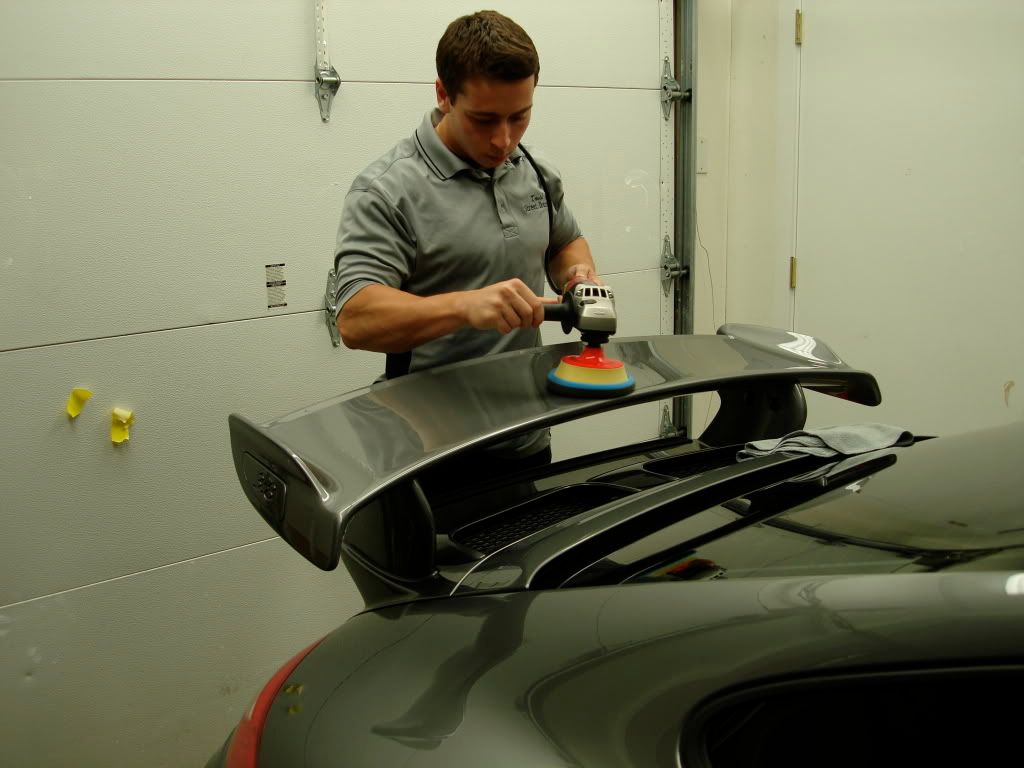
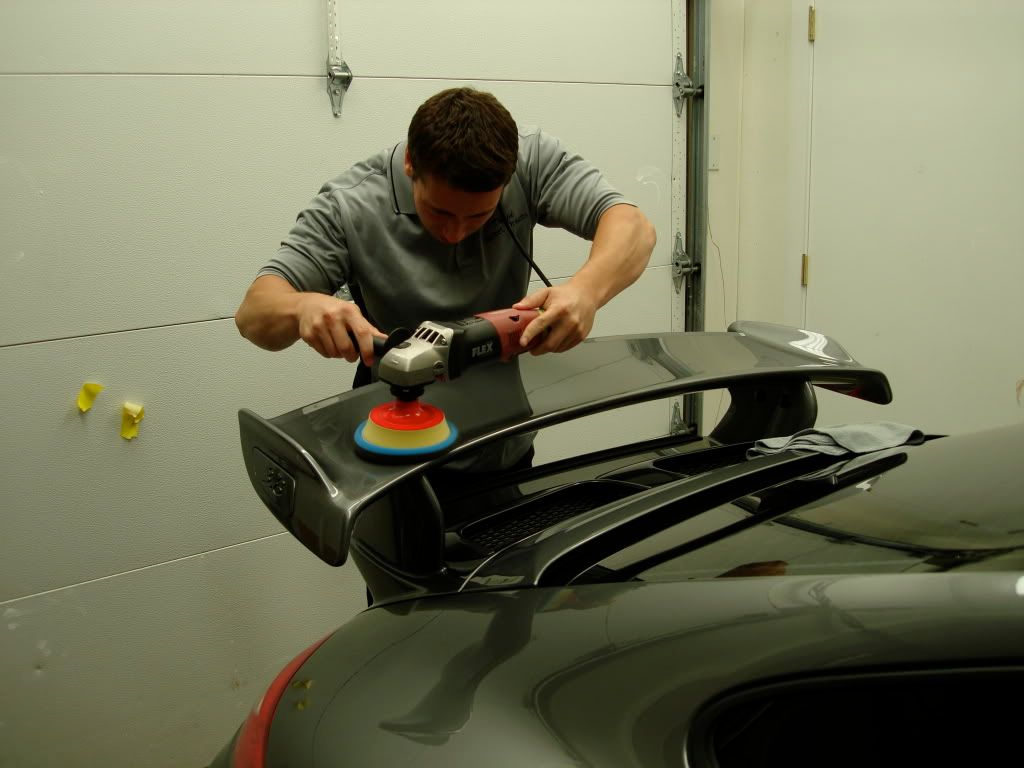
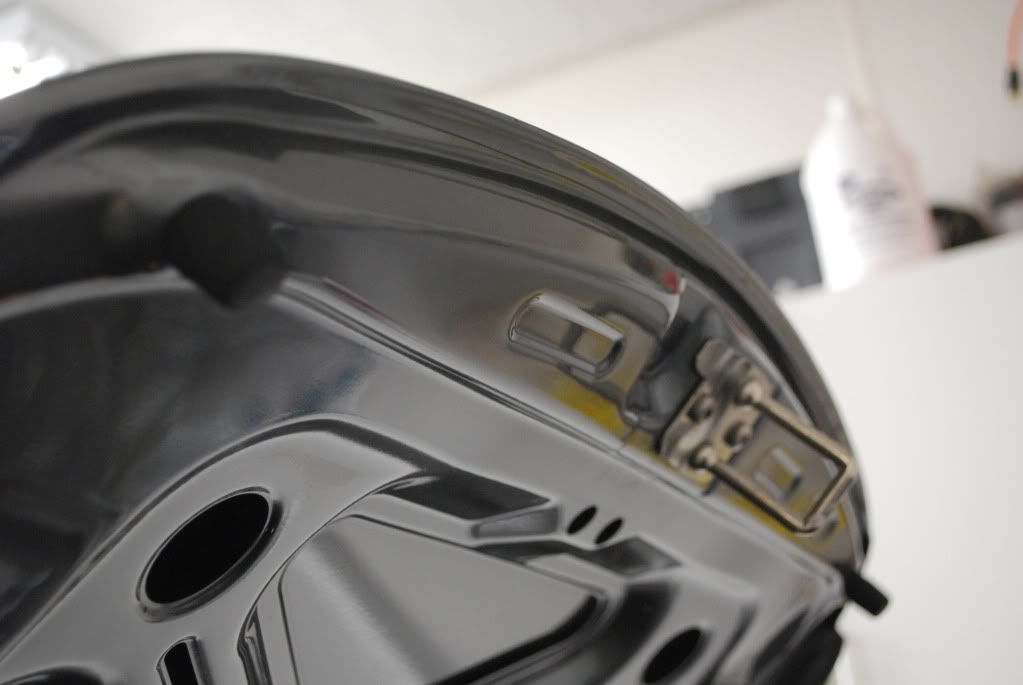
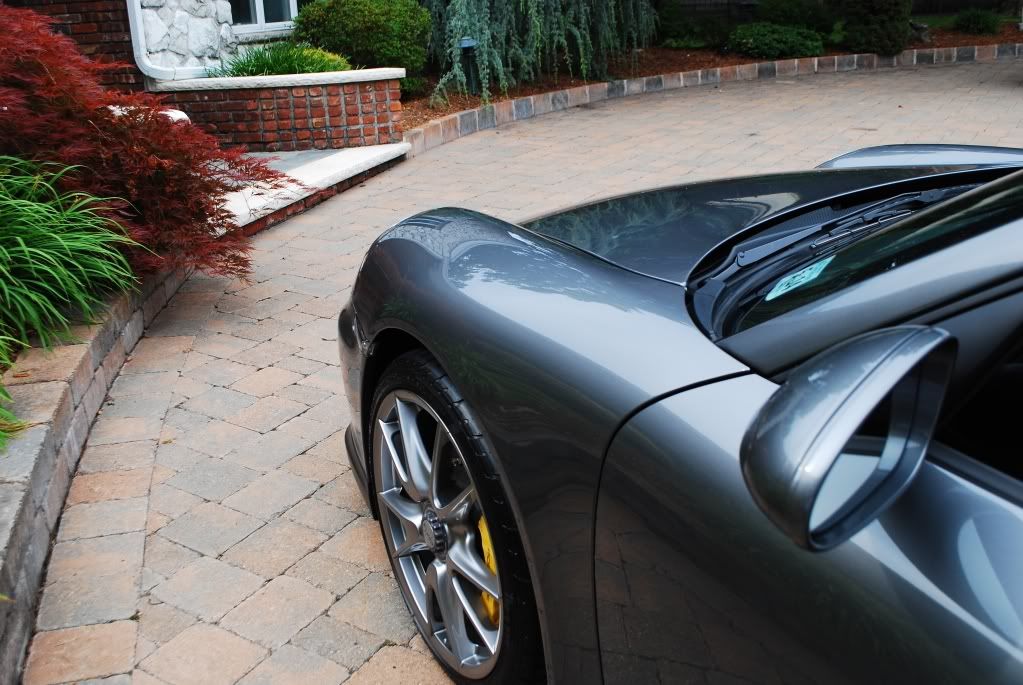
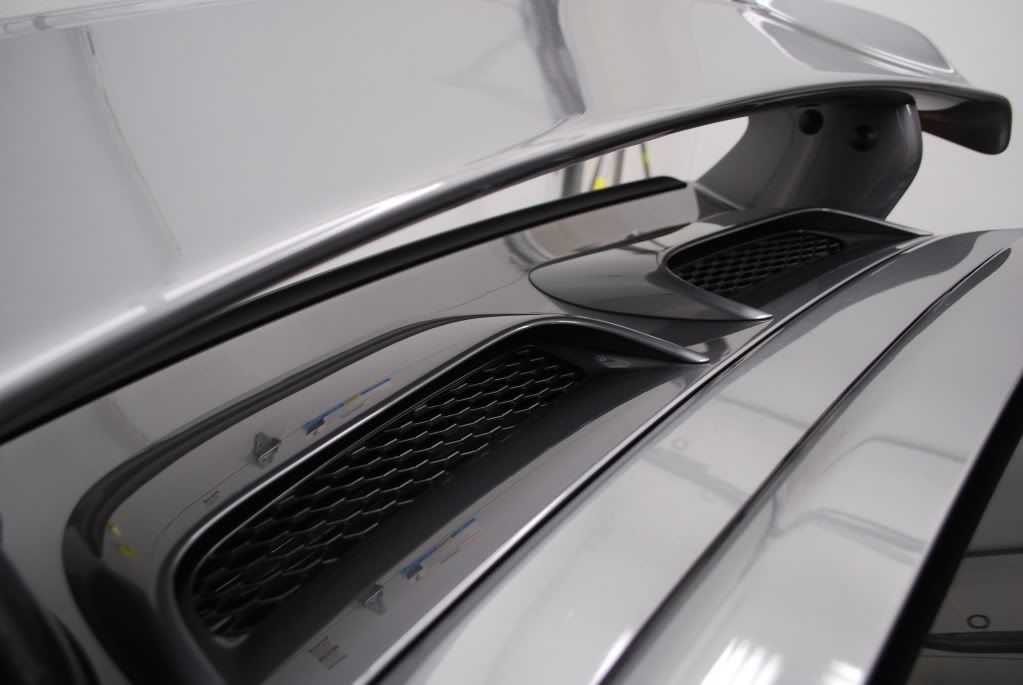
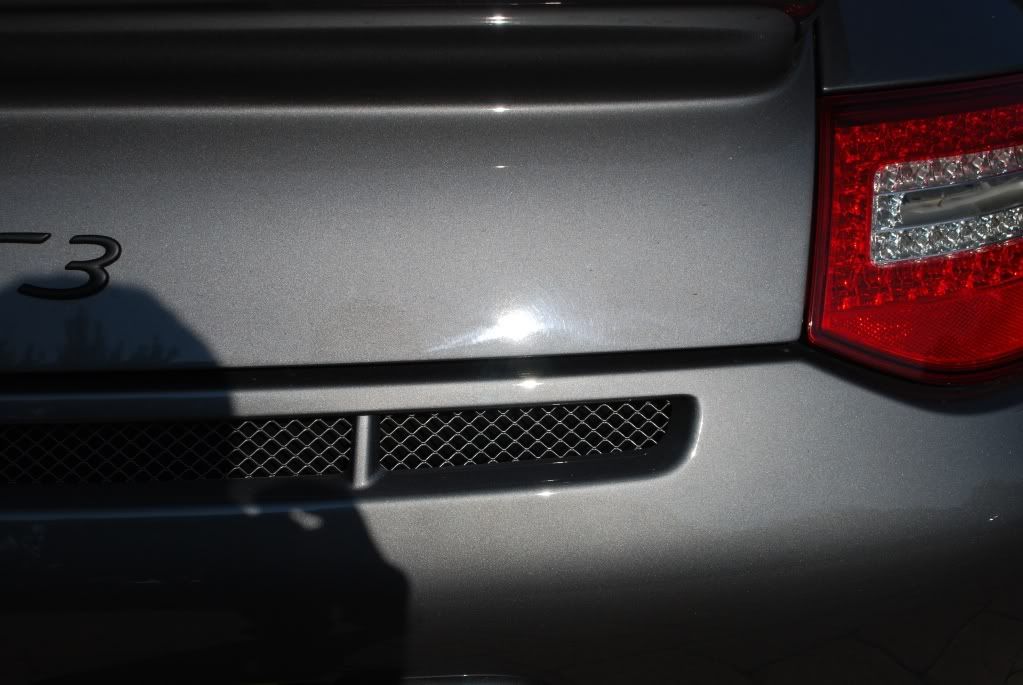
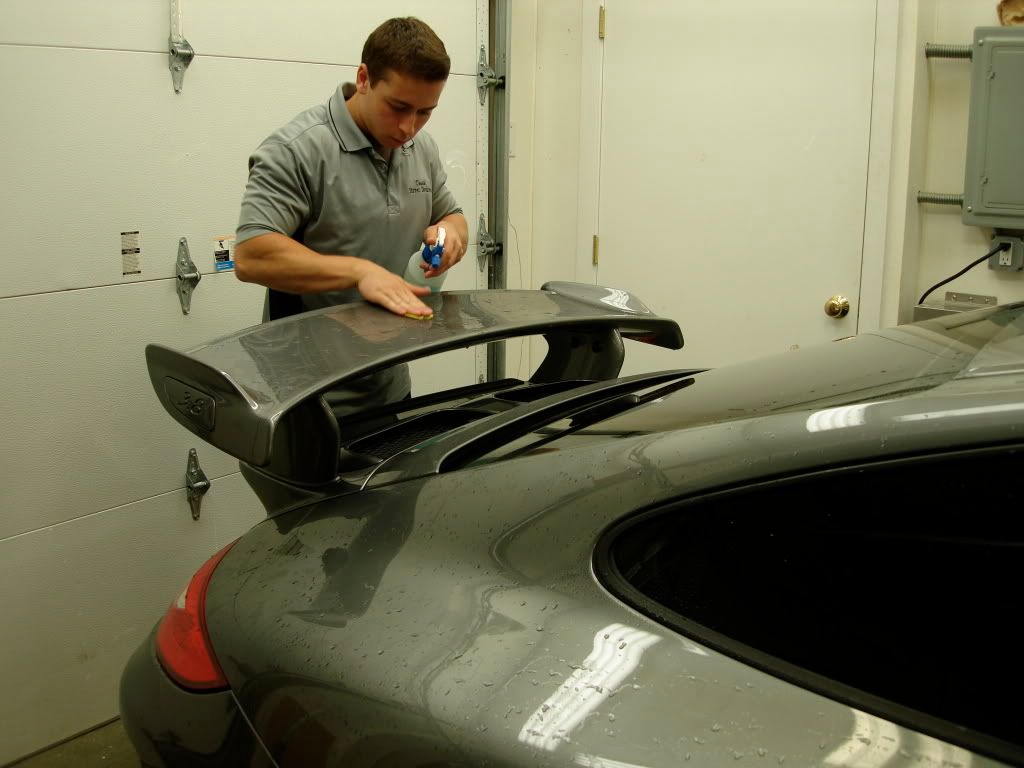
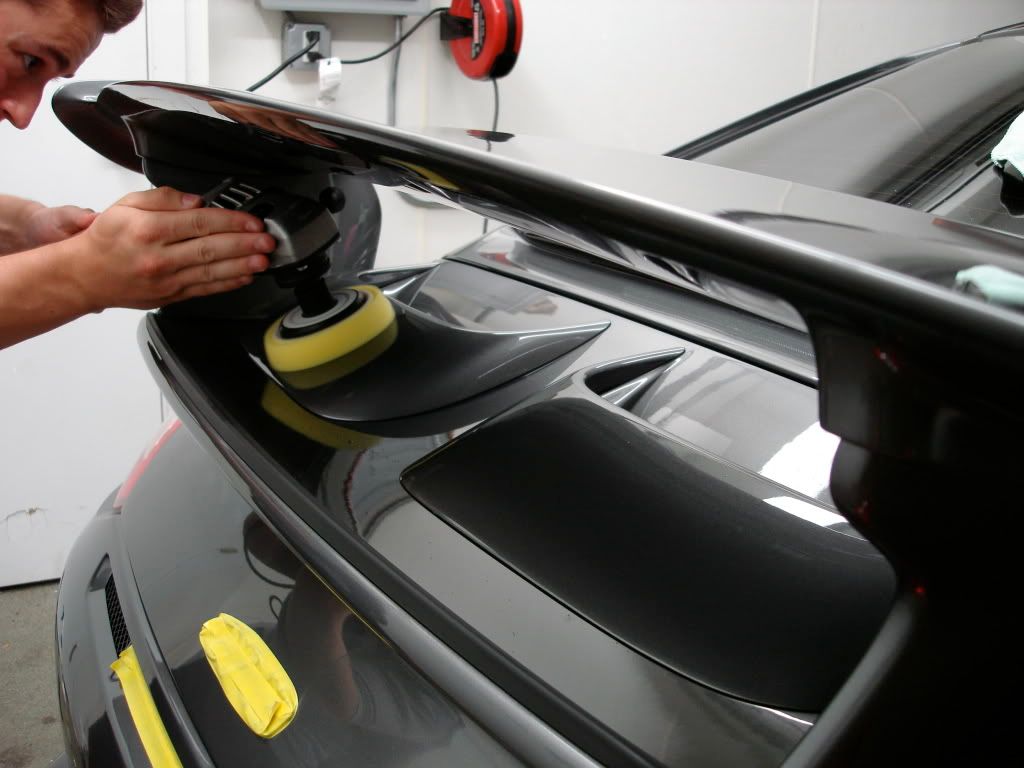
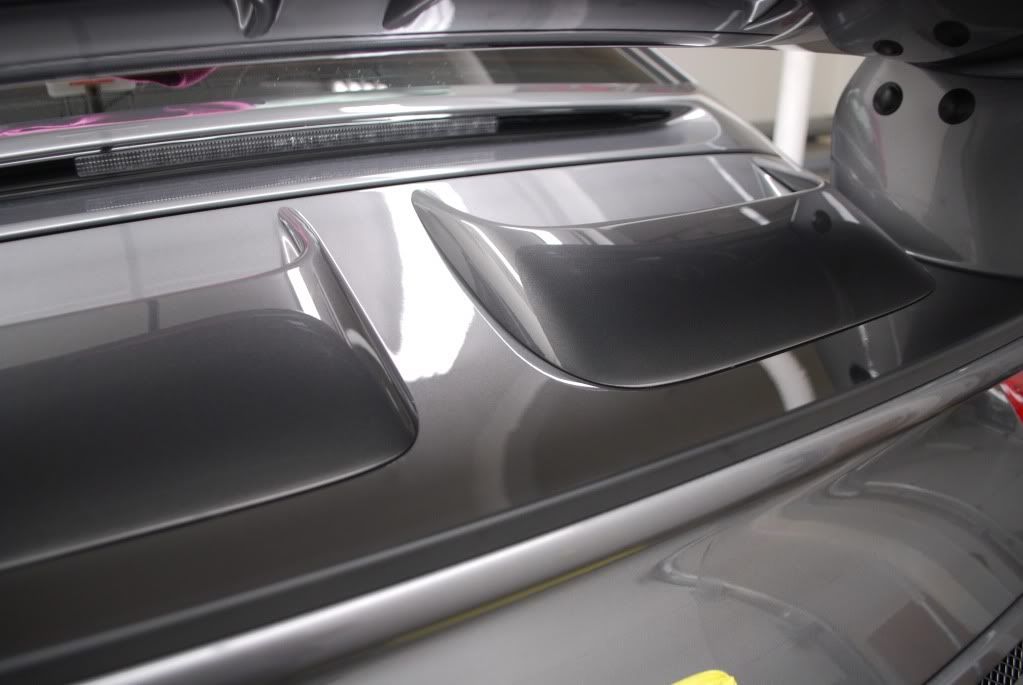
Working rear wing area, lots of tight spaces took a bit of time to get perfect
Light compoudning
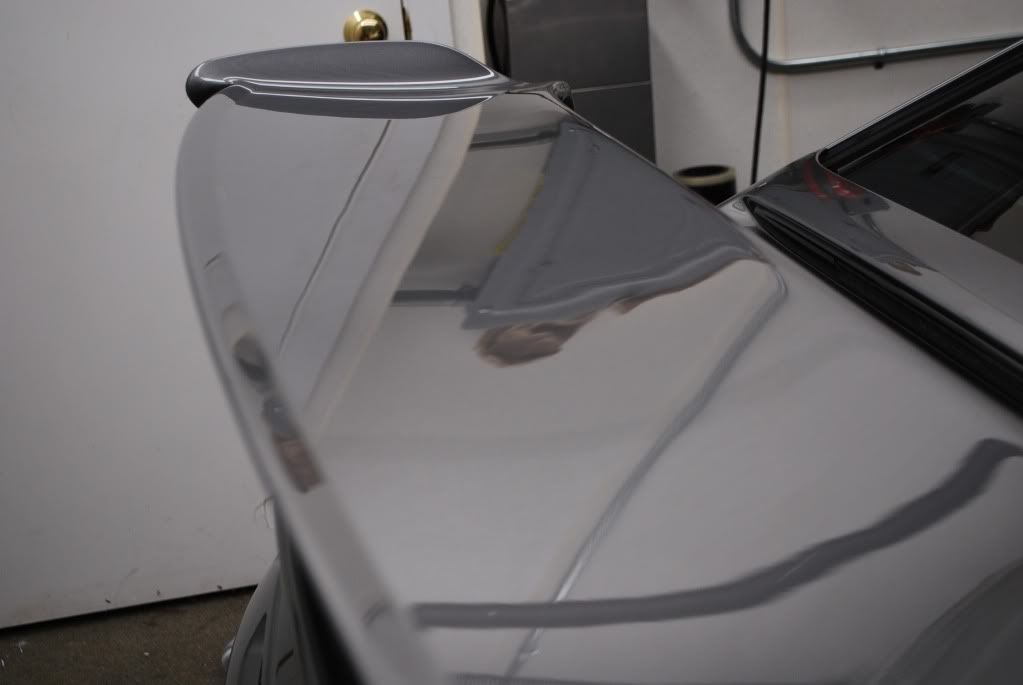
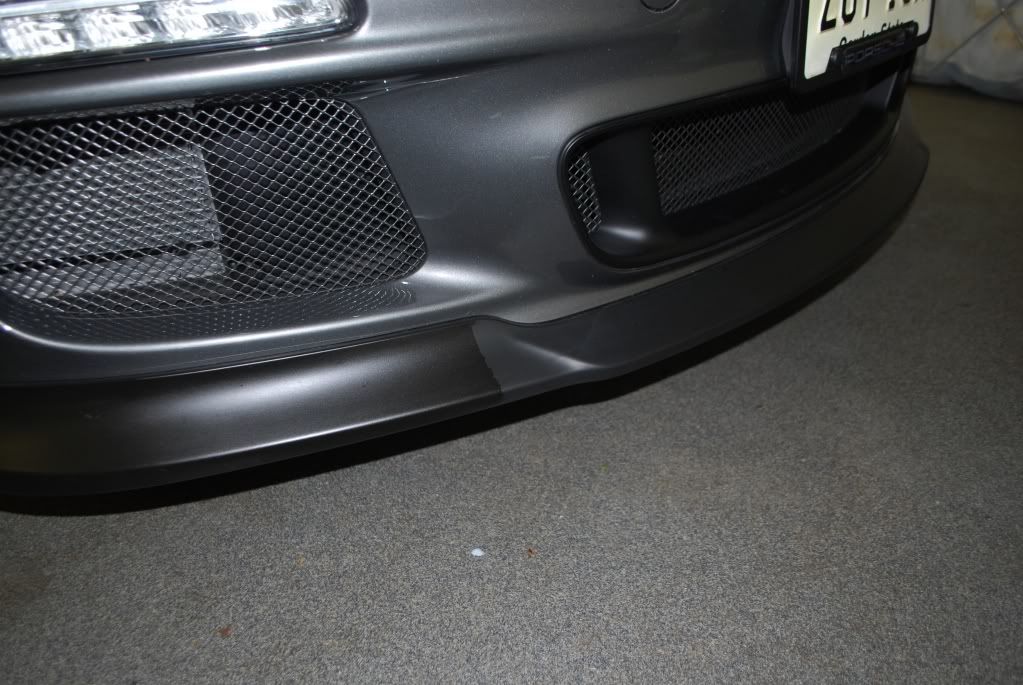
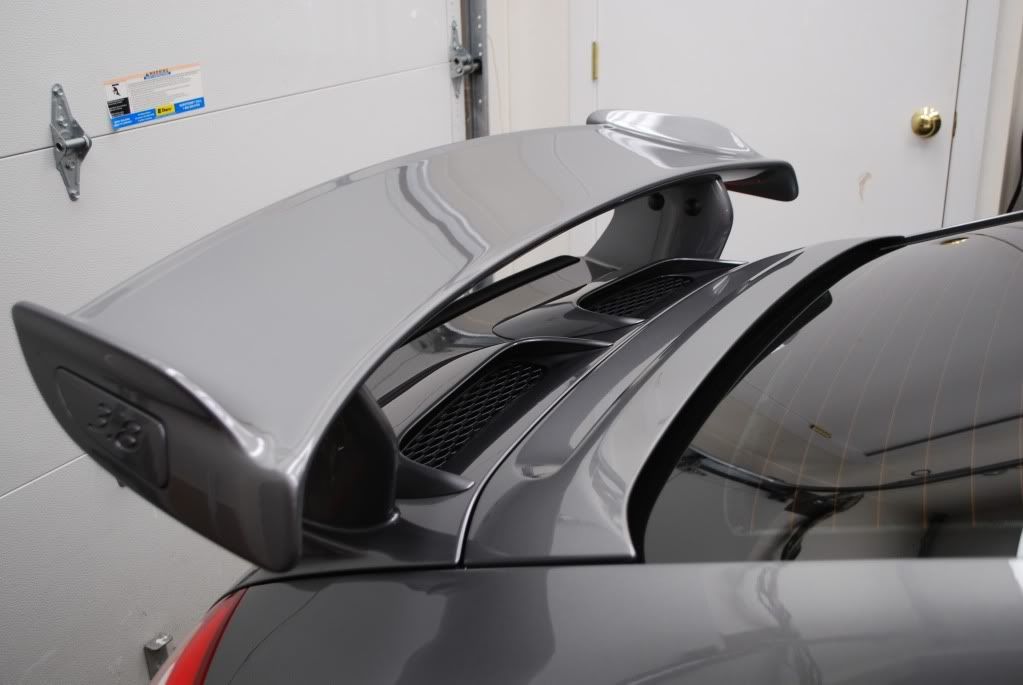
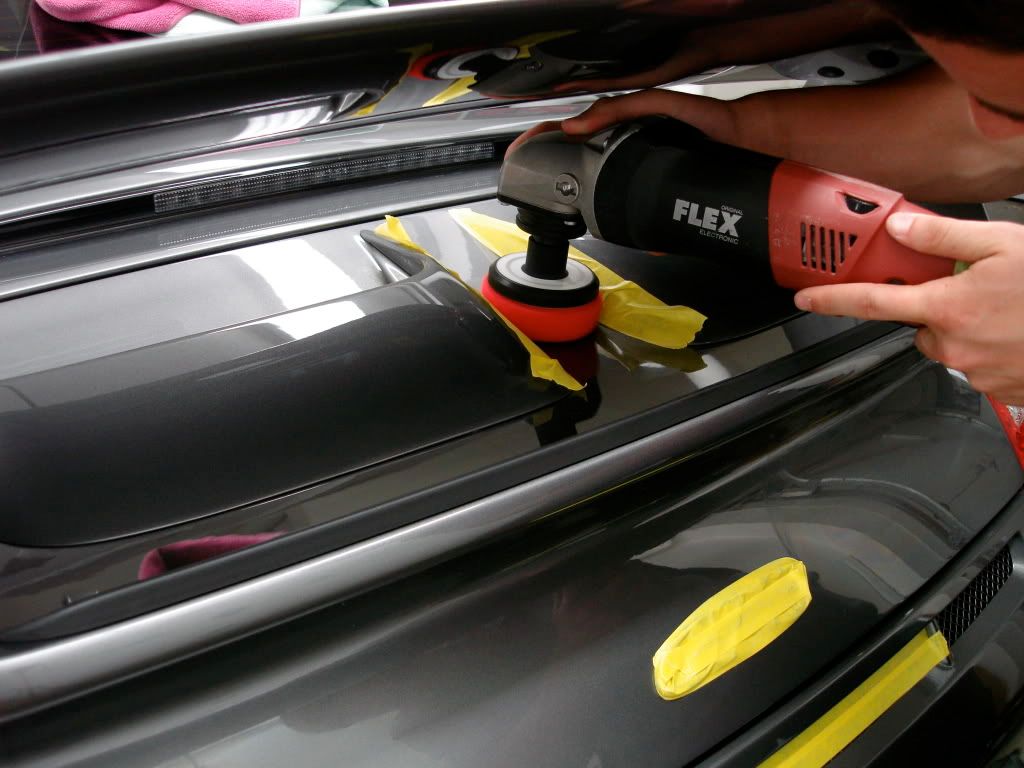
Finishing, switched up to the 3" pad to get in between the two ducts
Wheels and tires first. Porsche carbon ceramic brakes = no wheel cleaner. Some pH car shampoo mixed in a bucket was all that was needed. Tires/wheel wells scrubbed as well.
Removing dealership dressing from tires
Car was prepped at the dealer and wearing some kind of wax or glaze which needed to be completely stripped
Started with a pre-soak using diluted Optimum powerclean
Followed by foaming with CG citrus wash + Dawn
Lastly the 2 bucket wash with a lambswool mitt and CG citrus shampoo as well
Used the electric blower to blow out the crevices and wheels
Some shots of the defects in sunlight
RIDS + holograms
Water etch on the film, entire front hood has clear film as front bumper
A piece of tar on the film which tried to be removed left a 1 inch long gouge of scratches
Up close
Brought inside for claying, paint only... do not clay clear film as you can seriously marr it.
Clay after passenger door
After claying I prepped the car for correction using IPA mixture, again took caution on the film and opted not to use any IPA as the alcohol can dry out the plastic
Paint treated with IPA/water for prep and after each polishing stage..
For wiping down film I like final inspection, slick enough not to mar yet does a fine job cleaning without adding any real protection (which is what you want for prep and post polishing)
After taping up trim and badges I measured the paint, standard readings, no dangerously low areas
Onto correction, started with the hood clear film and the scratches. Taped off the one area which needed extra work, then taped up all edges and lines where the film ends
Up close of the cluster
Some of the deeper marks showing through
As most of you know I prefer using a DA machine on film, I began correcting this area with the DA, cutting pad and M105 even after several passes only minor marks were removed.
I opted to use a 3" pad on the rotary with the same combo and overloaded the pad with M105 liquid to keep the heat down and reduce the cut of the pad just a tad as to not burn the film. After 2 hits with the combo I was able to cut out a good bit more defect from the spot. The deeper marks would not budge short of wetsanding.
Although not 100% it was lightened quite a bit...
After the spot compounding was done I moved back to DA machine to clean up the rest of the film, this was a 3 step process.
As for people say that you CANNOT improve gloss on clear film heres a bit of proof...
White polishing pad after a 2x2 area, you would be surprised how much dirt is pulled out of the plastic when polishing. I changed out the pad 4 times to keep working clean. I moved onto the finish stage only when my pads showed clean foam after polishing.
All finished
Moving onto the rest of the car I used the rotary for both cutting and finishing.
Passenger door correction shots
50/50 left side shows the holograms left by the dealer
Close ups using halogen and the Fenix TK40 LED
Haze before
After polishing
50/50 difference in clarity and a hologram split in 2
Cleaning up after compounding
Working rear wing area, lots of tight spaces took a bit of time to get perfect
Light compoudning
Finishing, switched up to the 3" pad to get in between the two ducts