zmcgovern45
New member
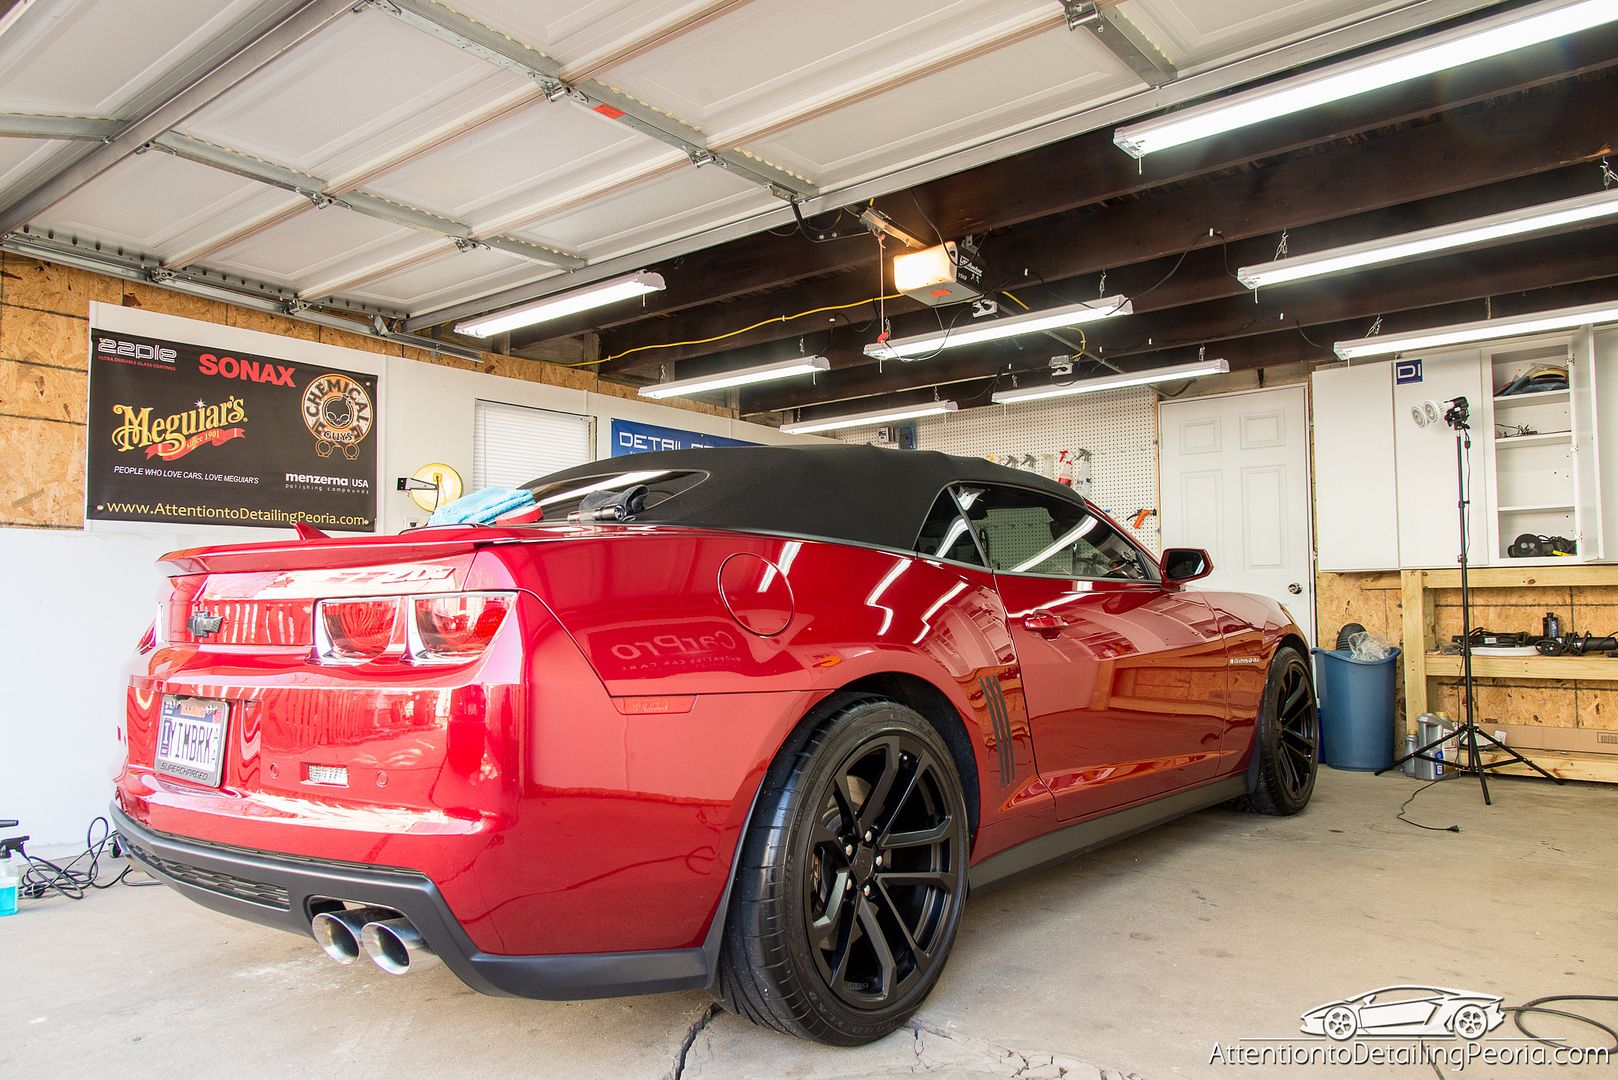
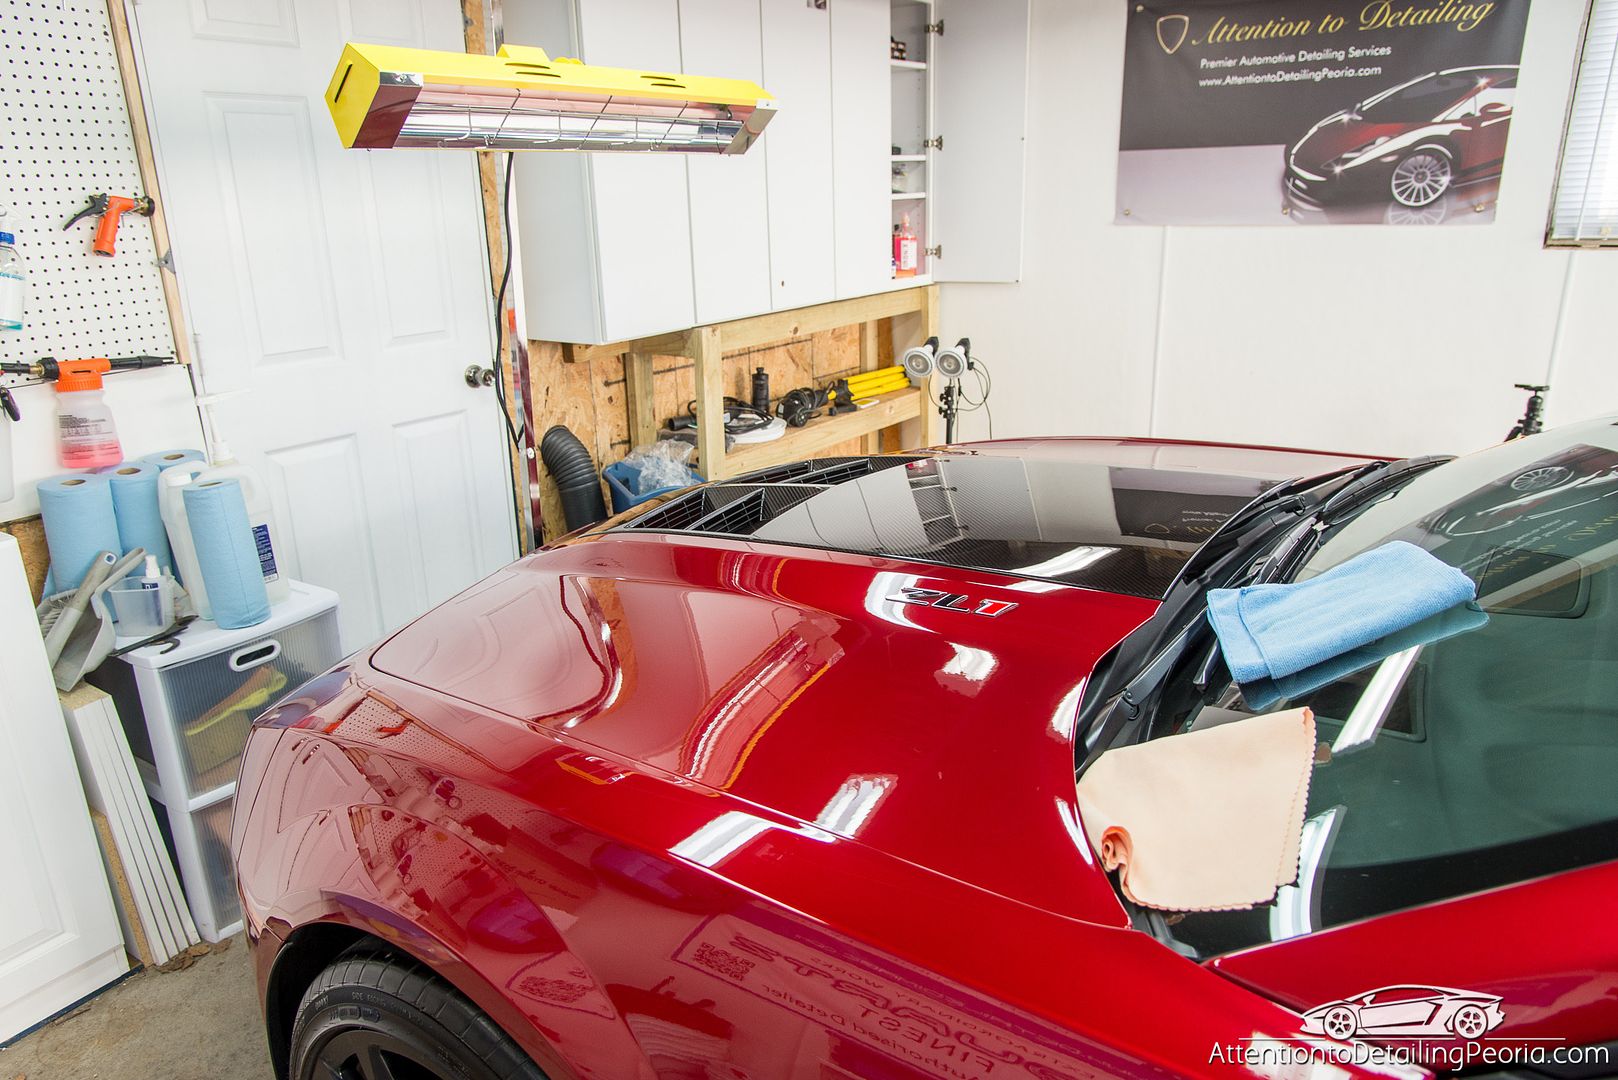
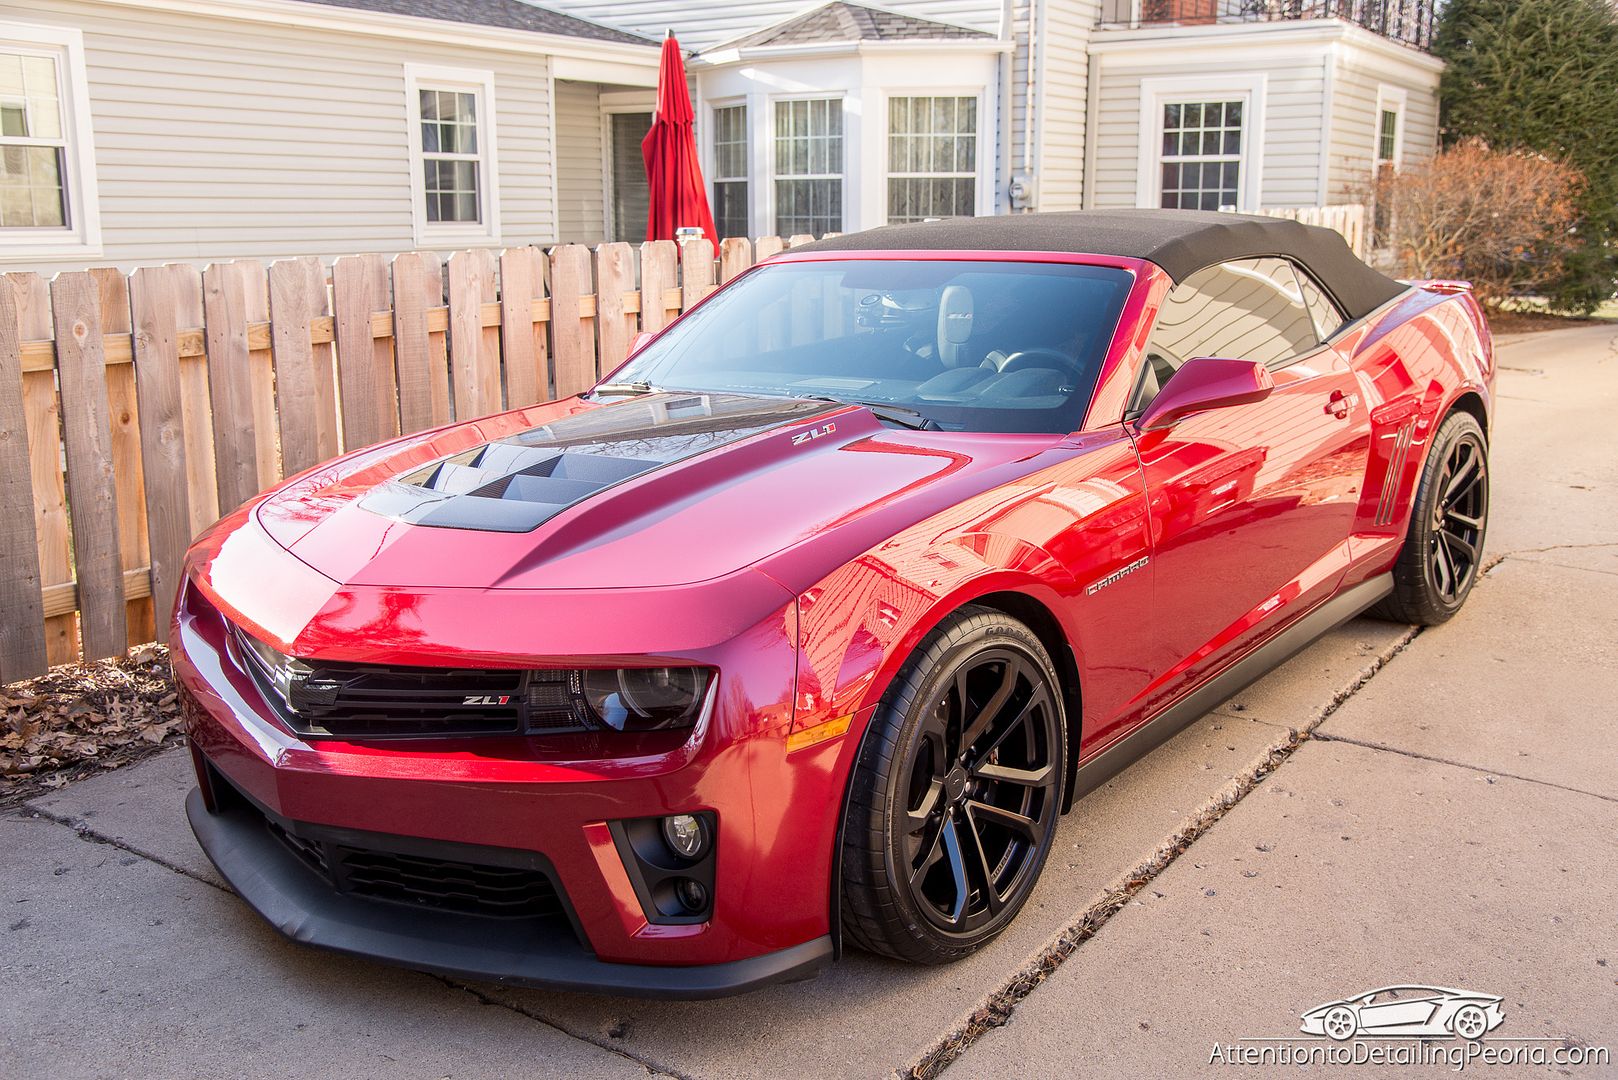
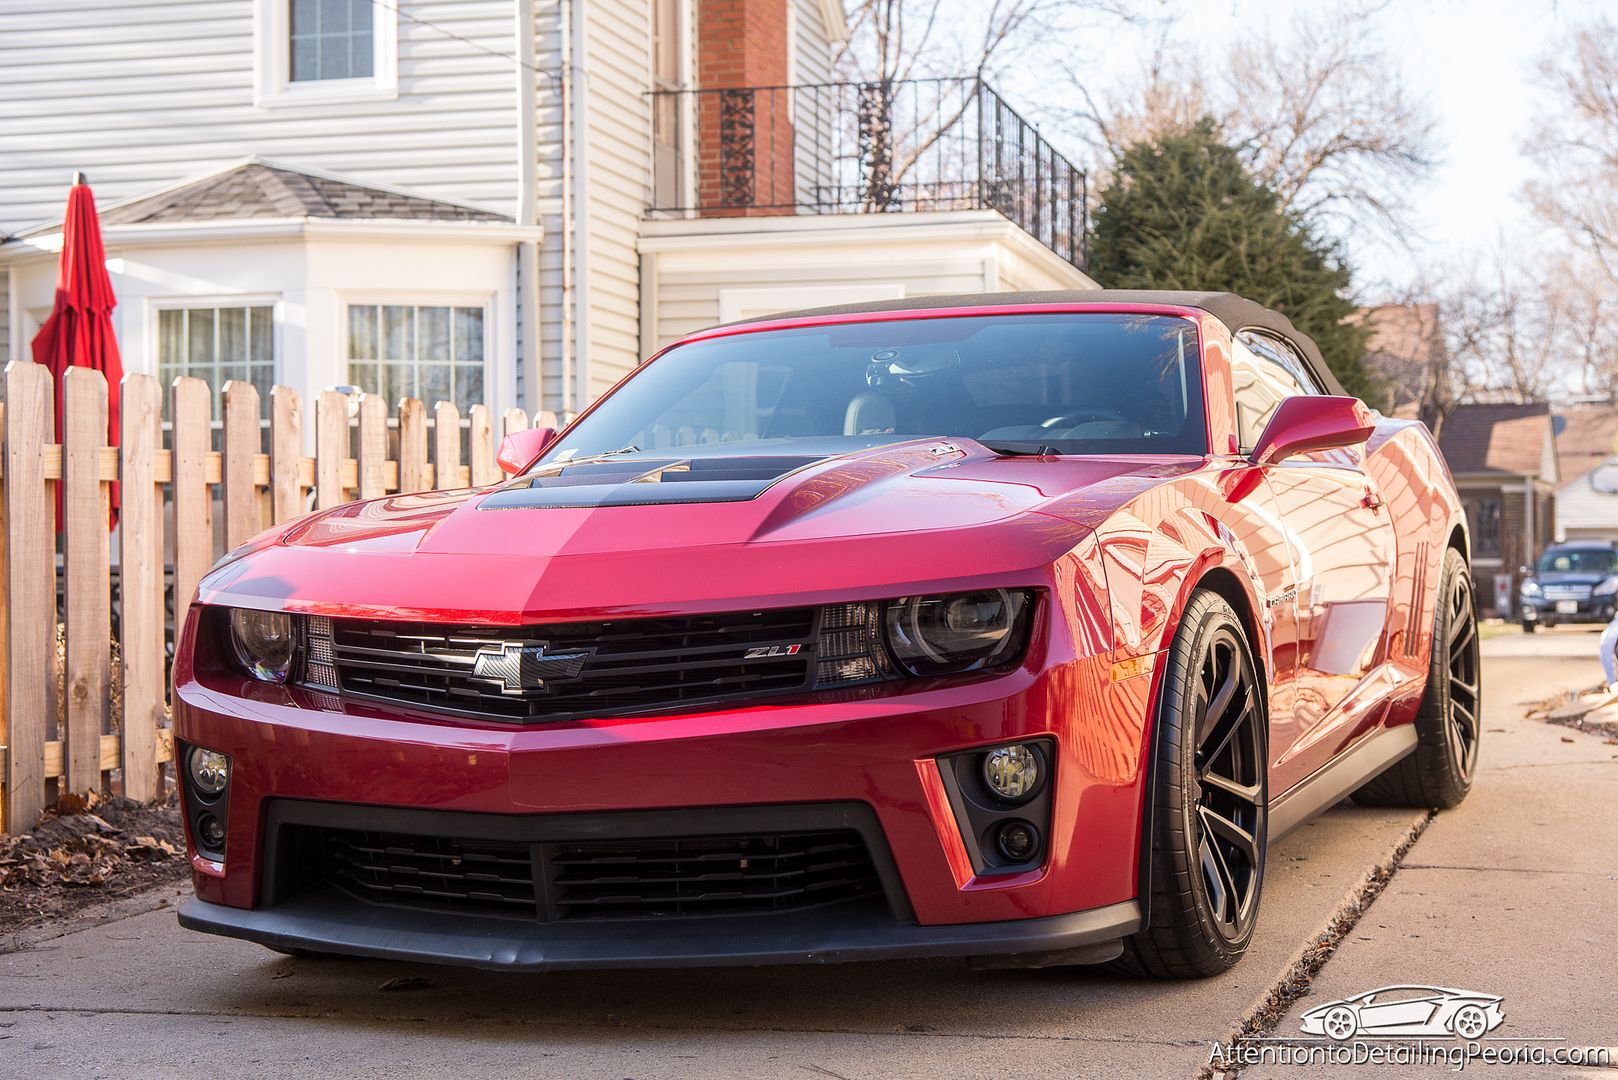
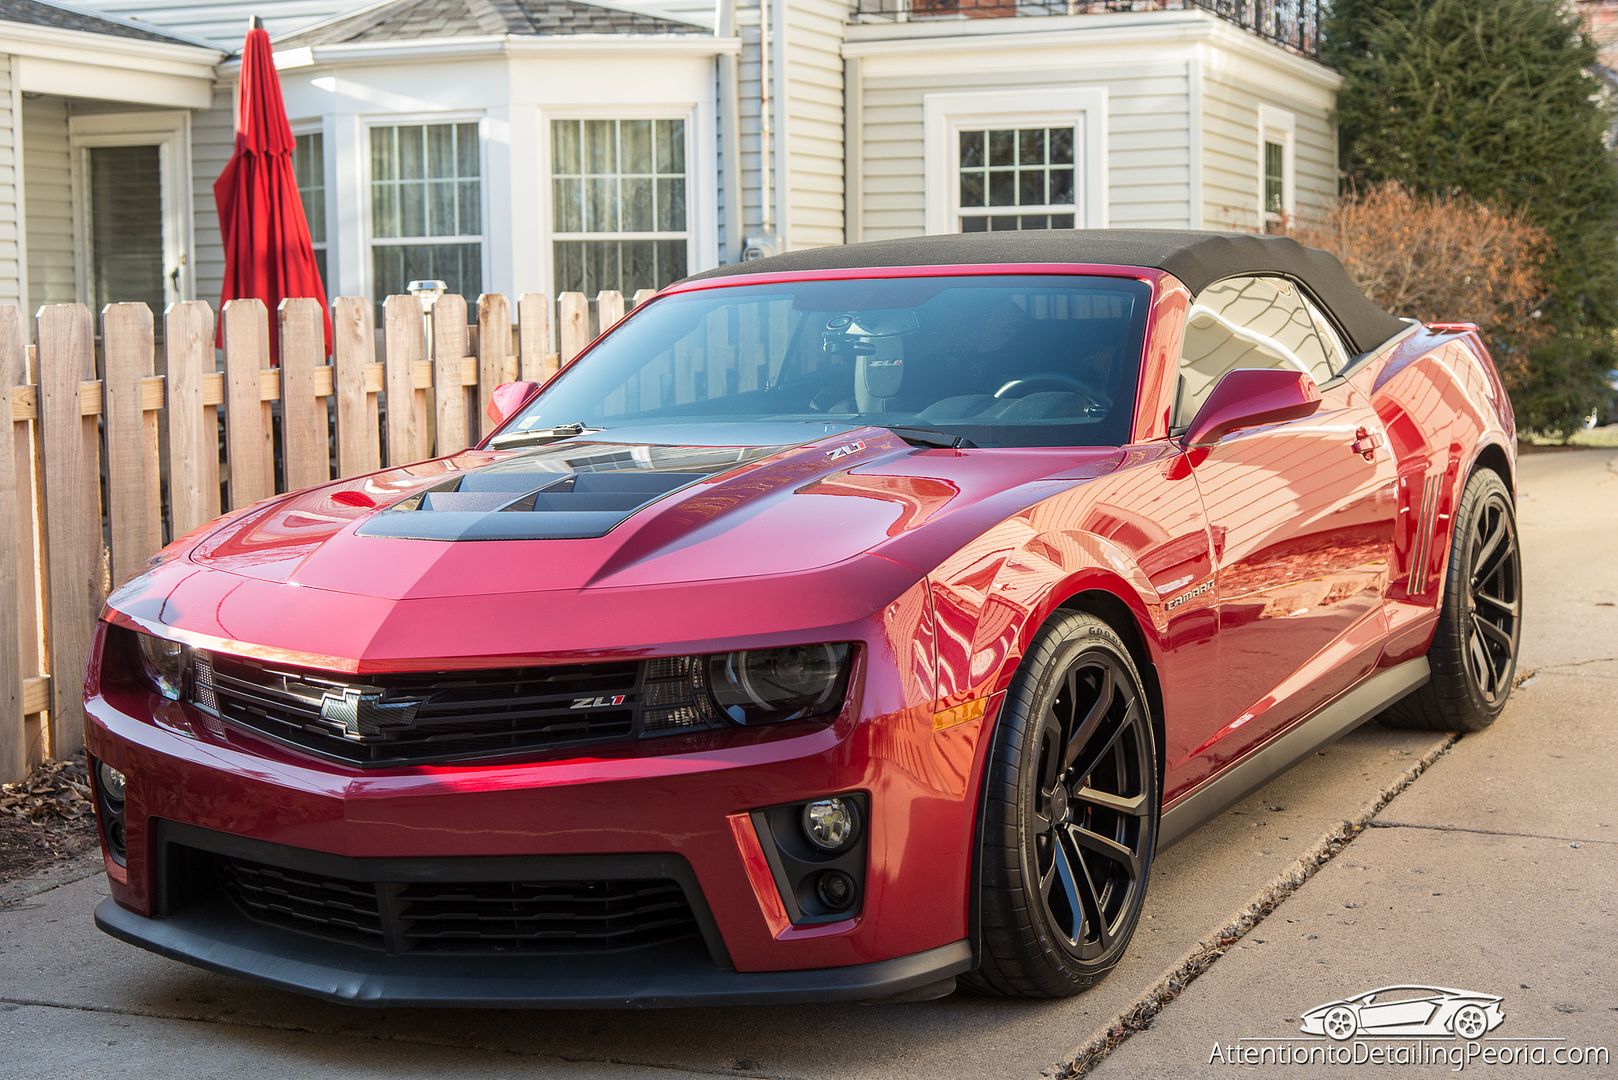
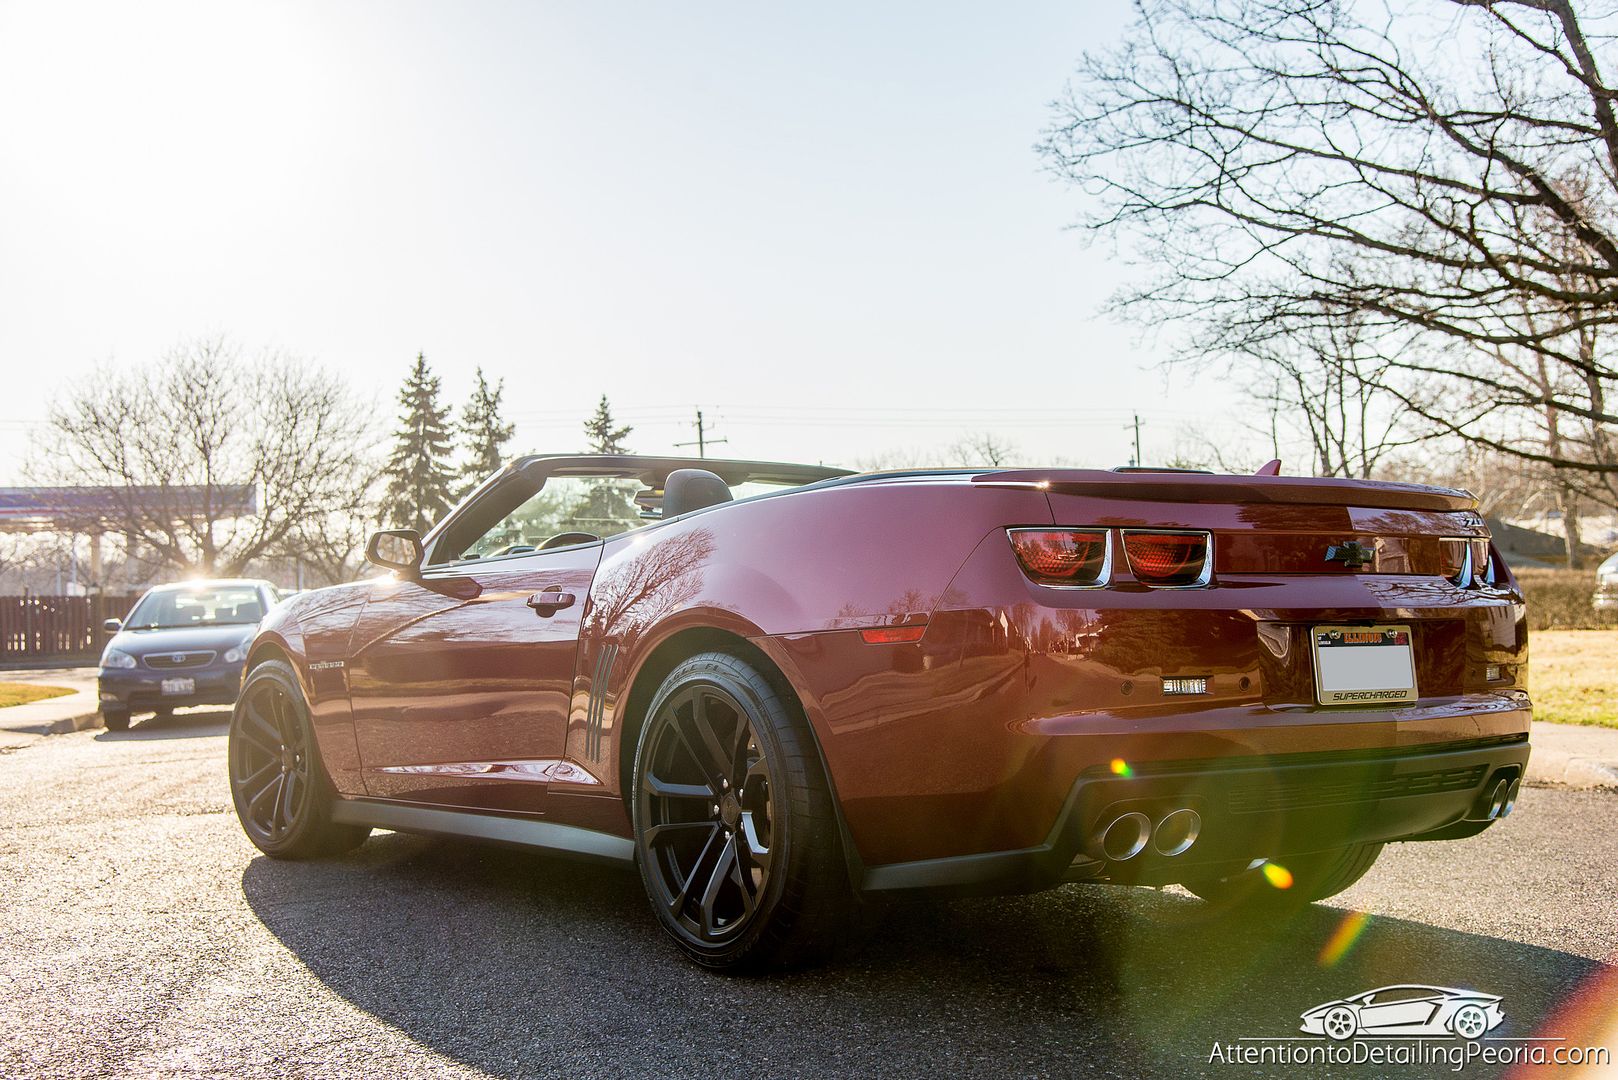
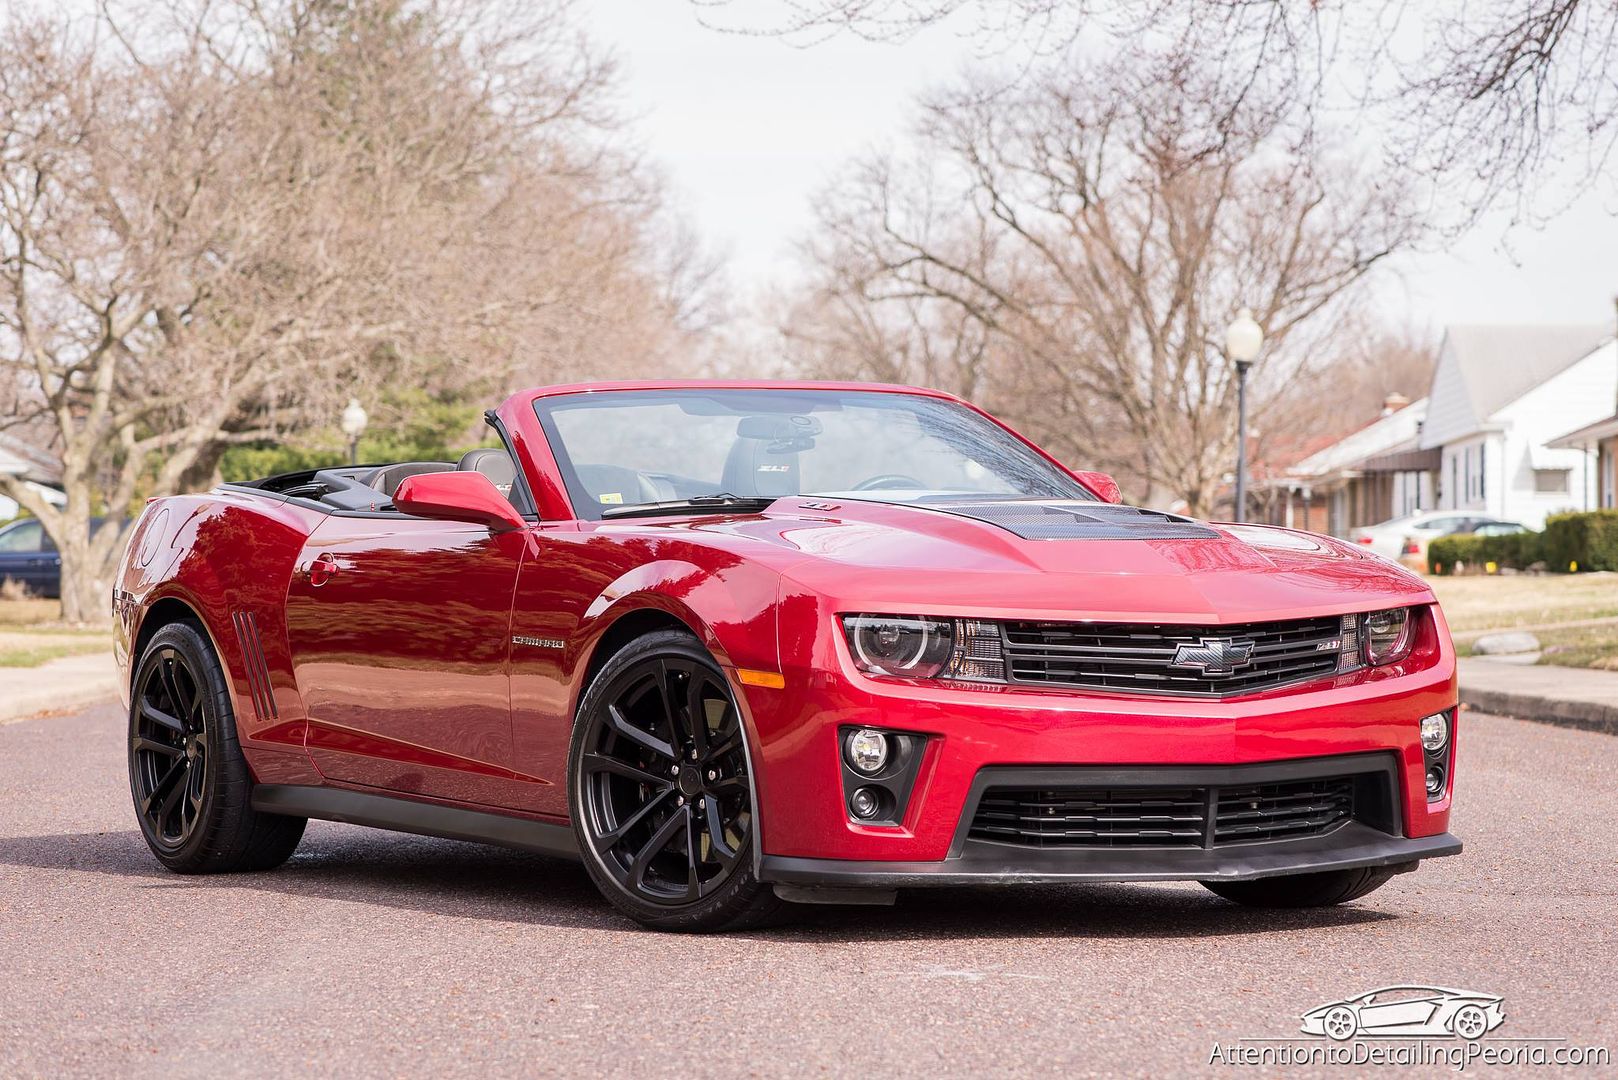
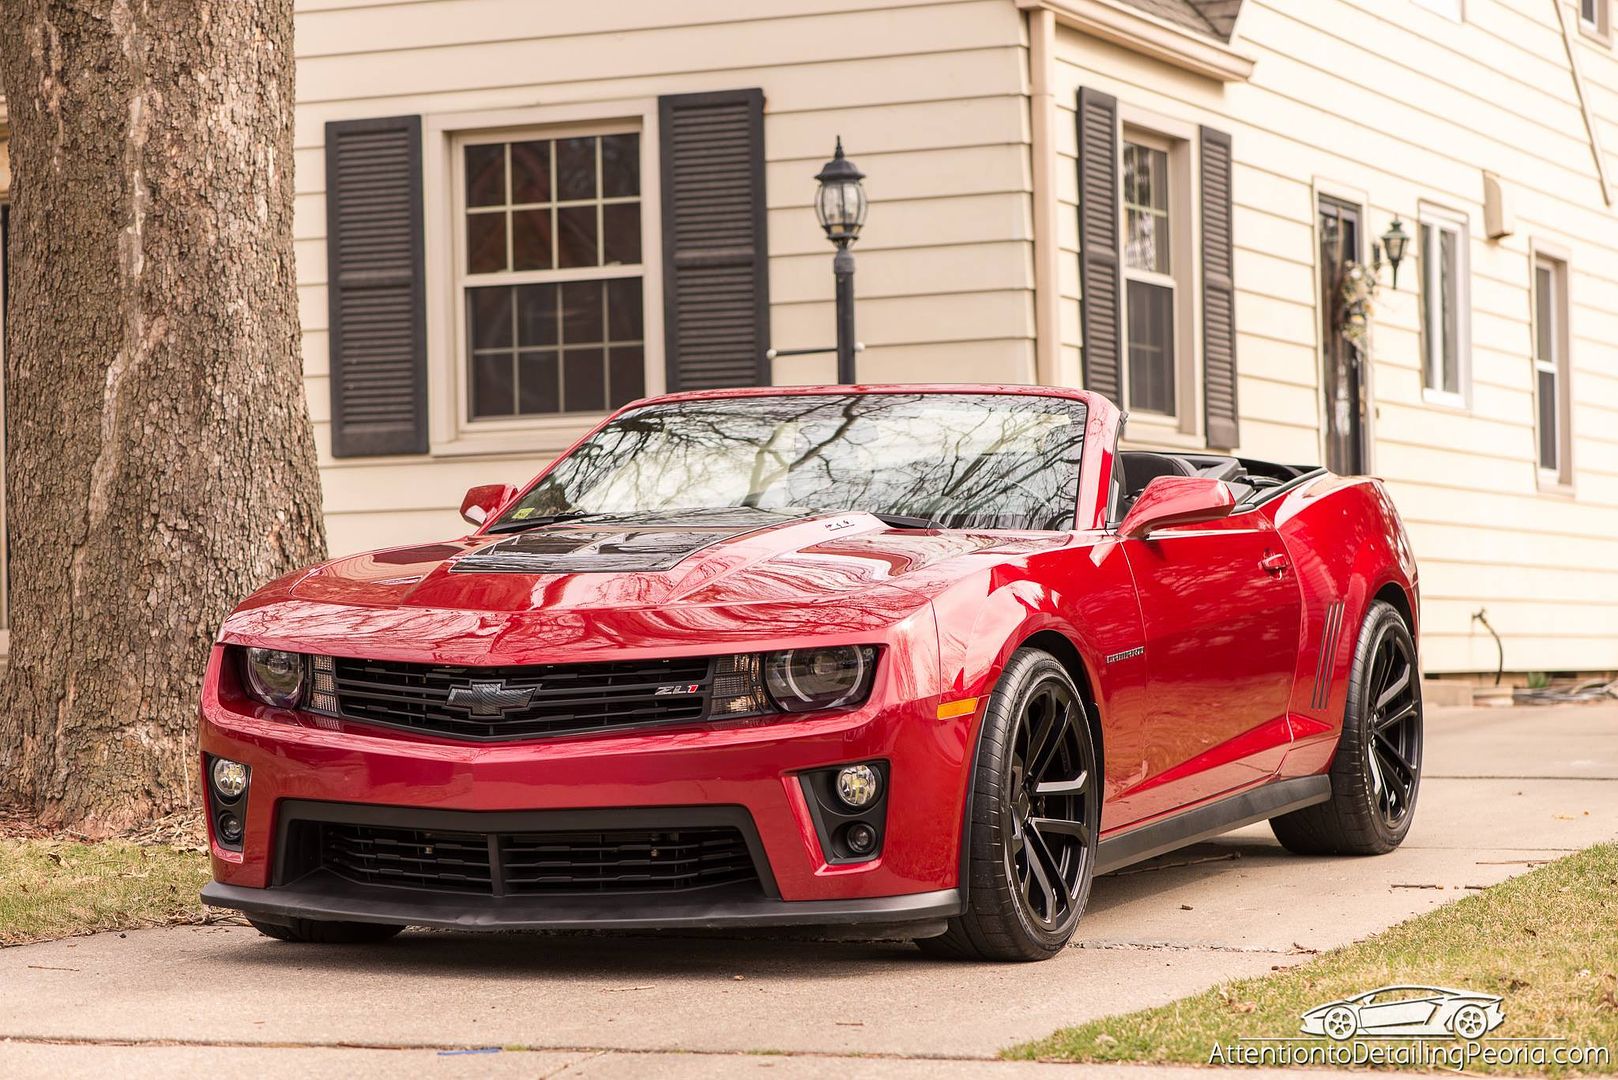
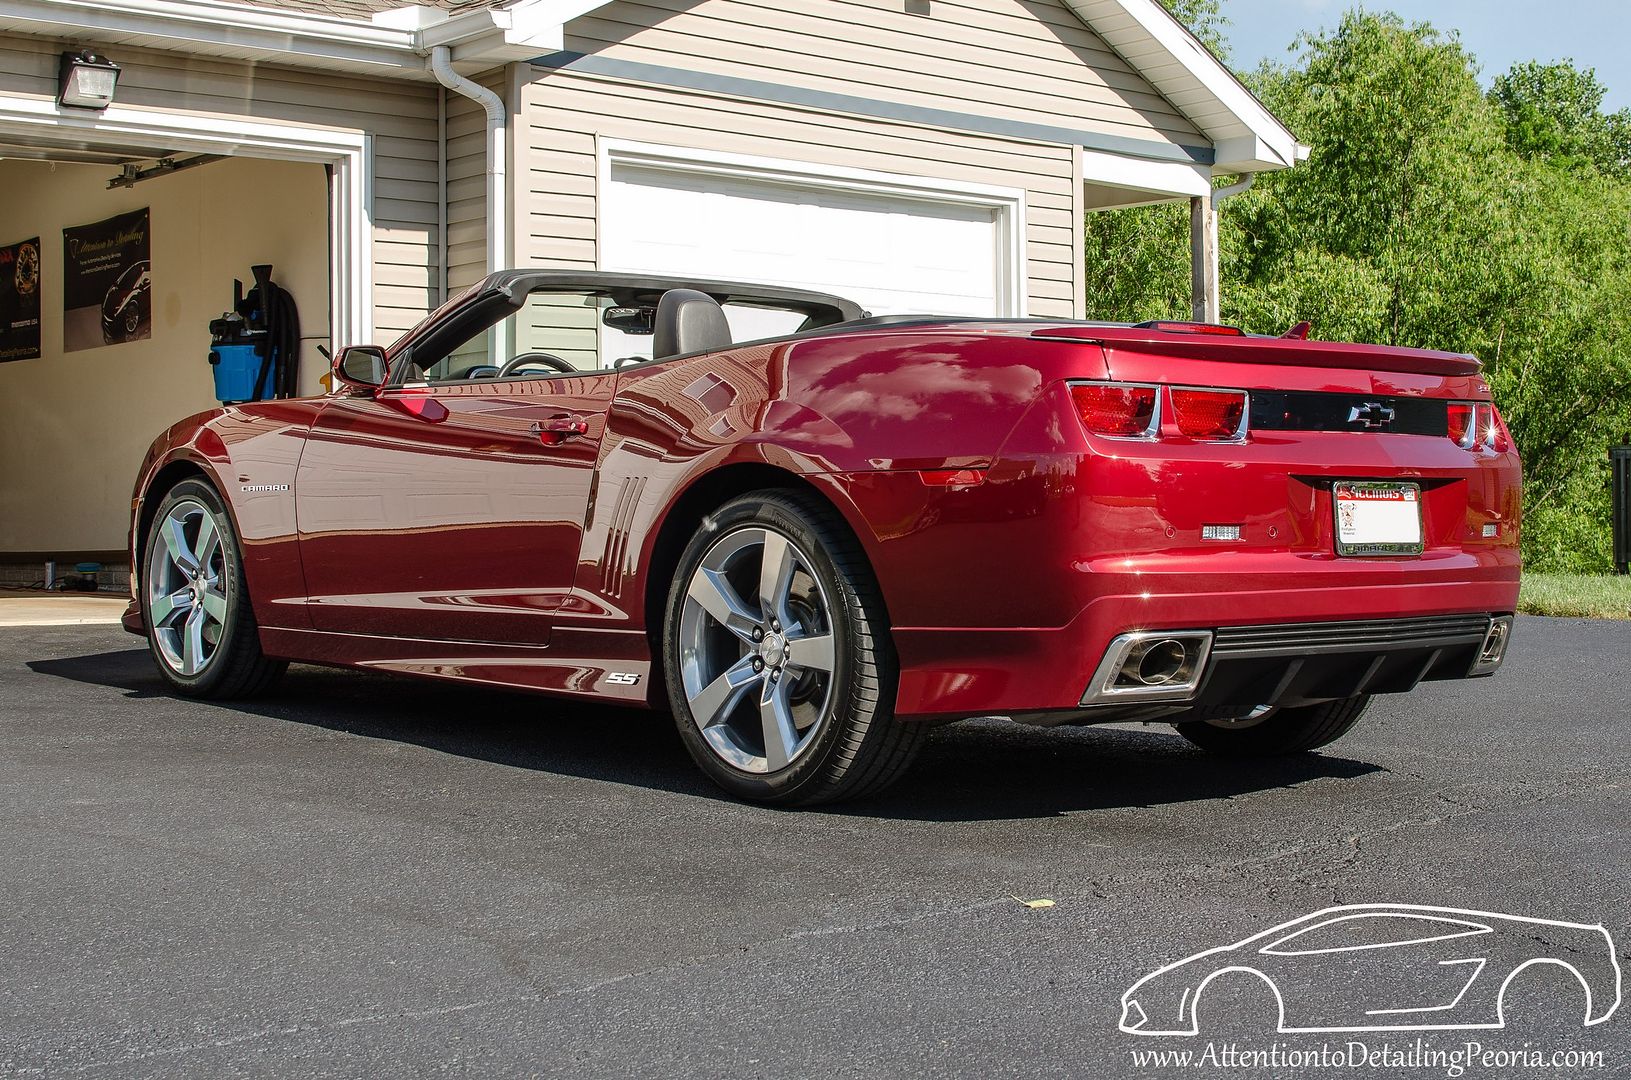
This vehicle belongs to a returning client who had purchased this Camaro recently. We decided on a one step correction process to remove the majority of the swirls in the paint to create a deep, wet looking shine. The paint was then protected with Americana Car Care's Americoat Acrylic paint coating for added protection and ease of maintenance. In the end, the car looked great. We were able to achieve a good amount of correction for just one step, and made a great improvement to the appearance of the vehicle.
**note: the front end was not worked on at this time as the bumper was just painted**
It is technically Spring, however we were working in temps near freezing for the majority of this project. Hopefully temps will get back up to normal before our next project (another Camaro).
Process
Tires: Tuf Shine Tire Cleaner & Tire Brush
Wheels: Citrus Wash, Wheel Woolies, Boars Hair Brushes
Wash: ONR
Decontaminate: Nanoskin Fine Grade Wash Mitt with Nanoskin Glide
Paint Thickness Readings with Defelsko PosiTest Combo Gauge
Tape Trim & Areas of Concern with CarPro Automotive Tape
Correction: HD Adapt on White Lake Country Polishing Pads via Rupes LHR21ES, Rupes LHR75E, and Griot's Garage 3rd Gen
Surface Prep: CarPro Eraser
Paint Protection: Americoat Acrylic Coating
Tire Dressing: CarPro PERL
Wheel Sealant: CarPro HydrO2
Metal Polish: CG Metal Polish
Glass: Meguiar's D120
Trim: 303 Aerospace Protectant
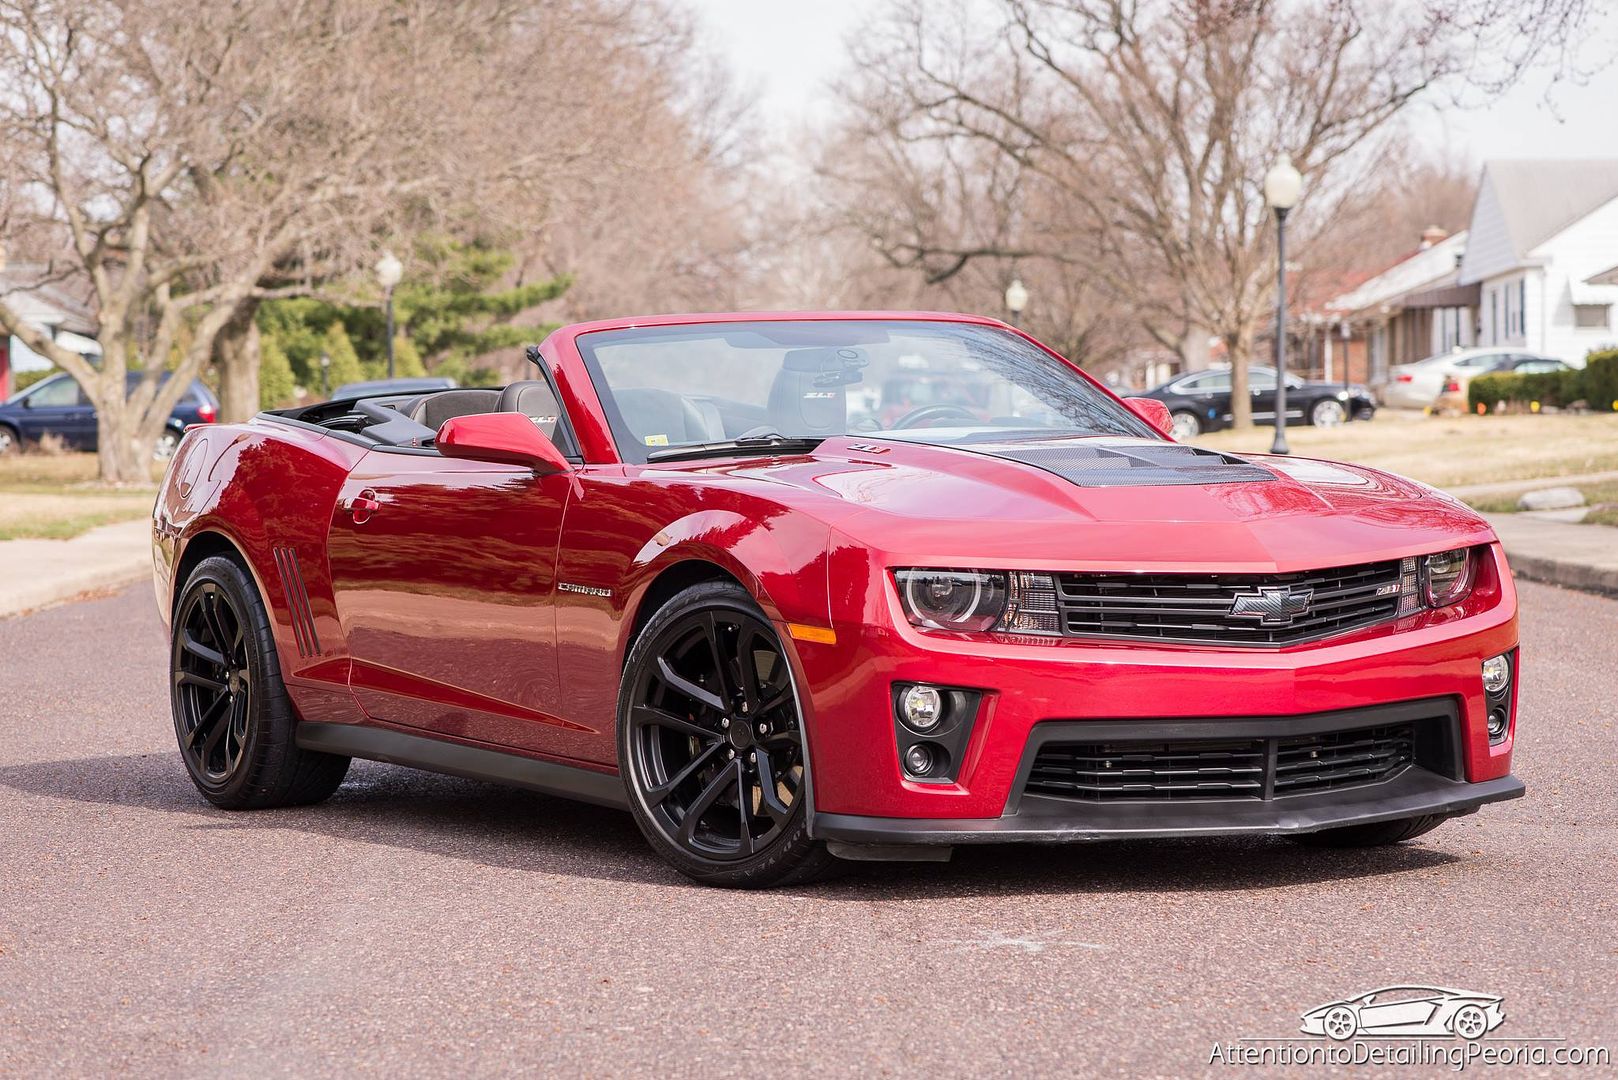
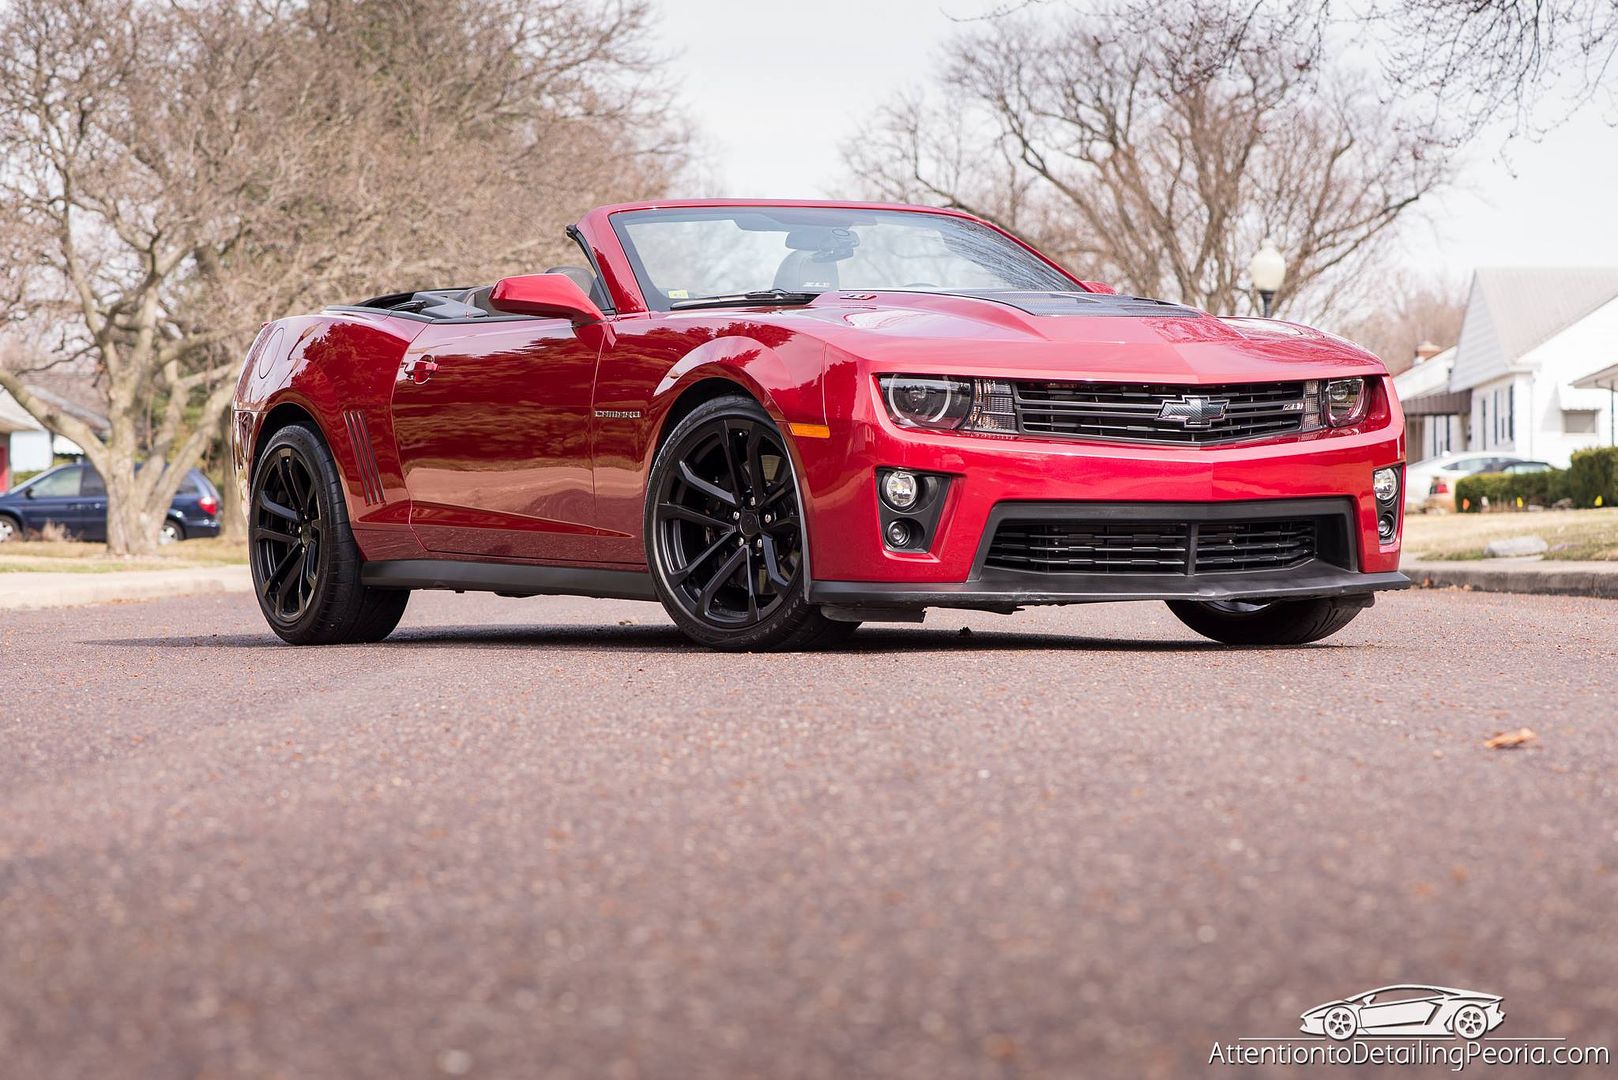
Before
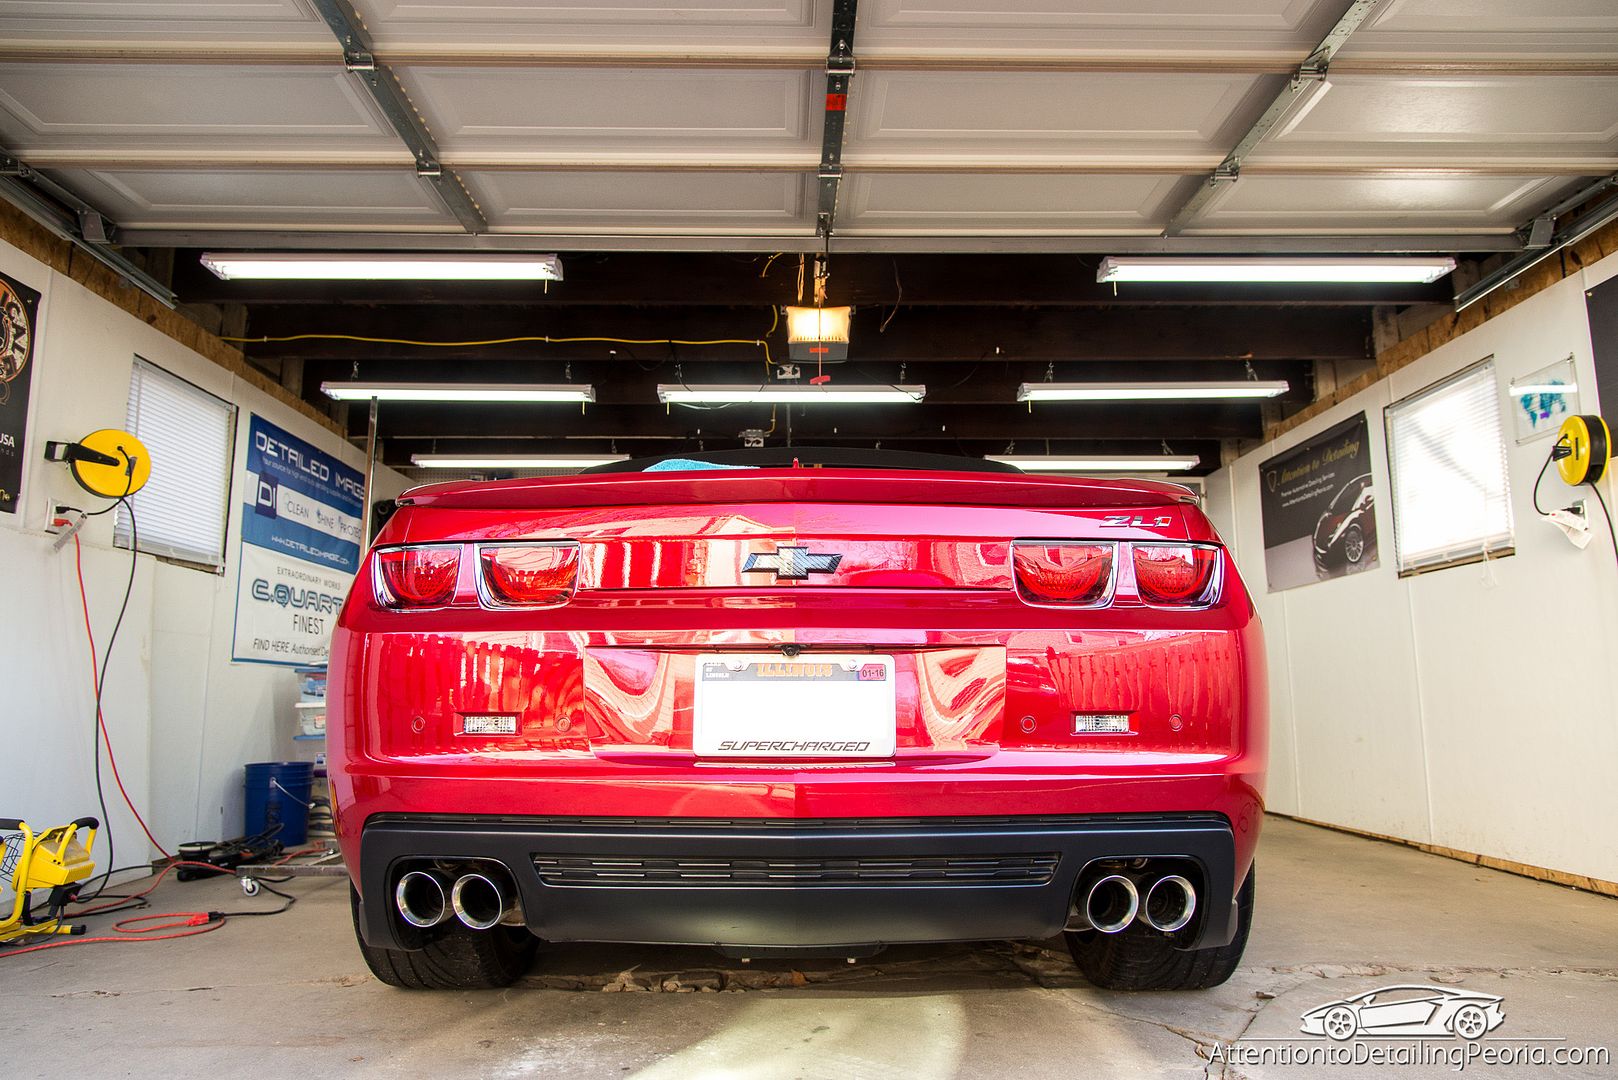
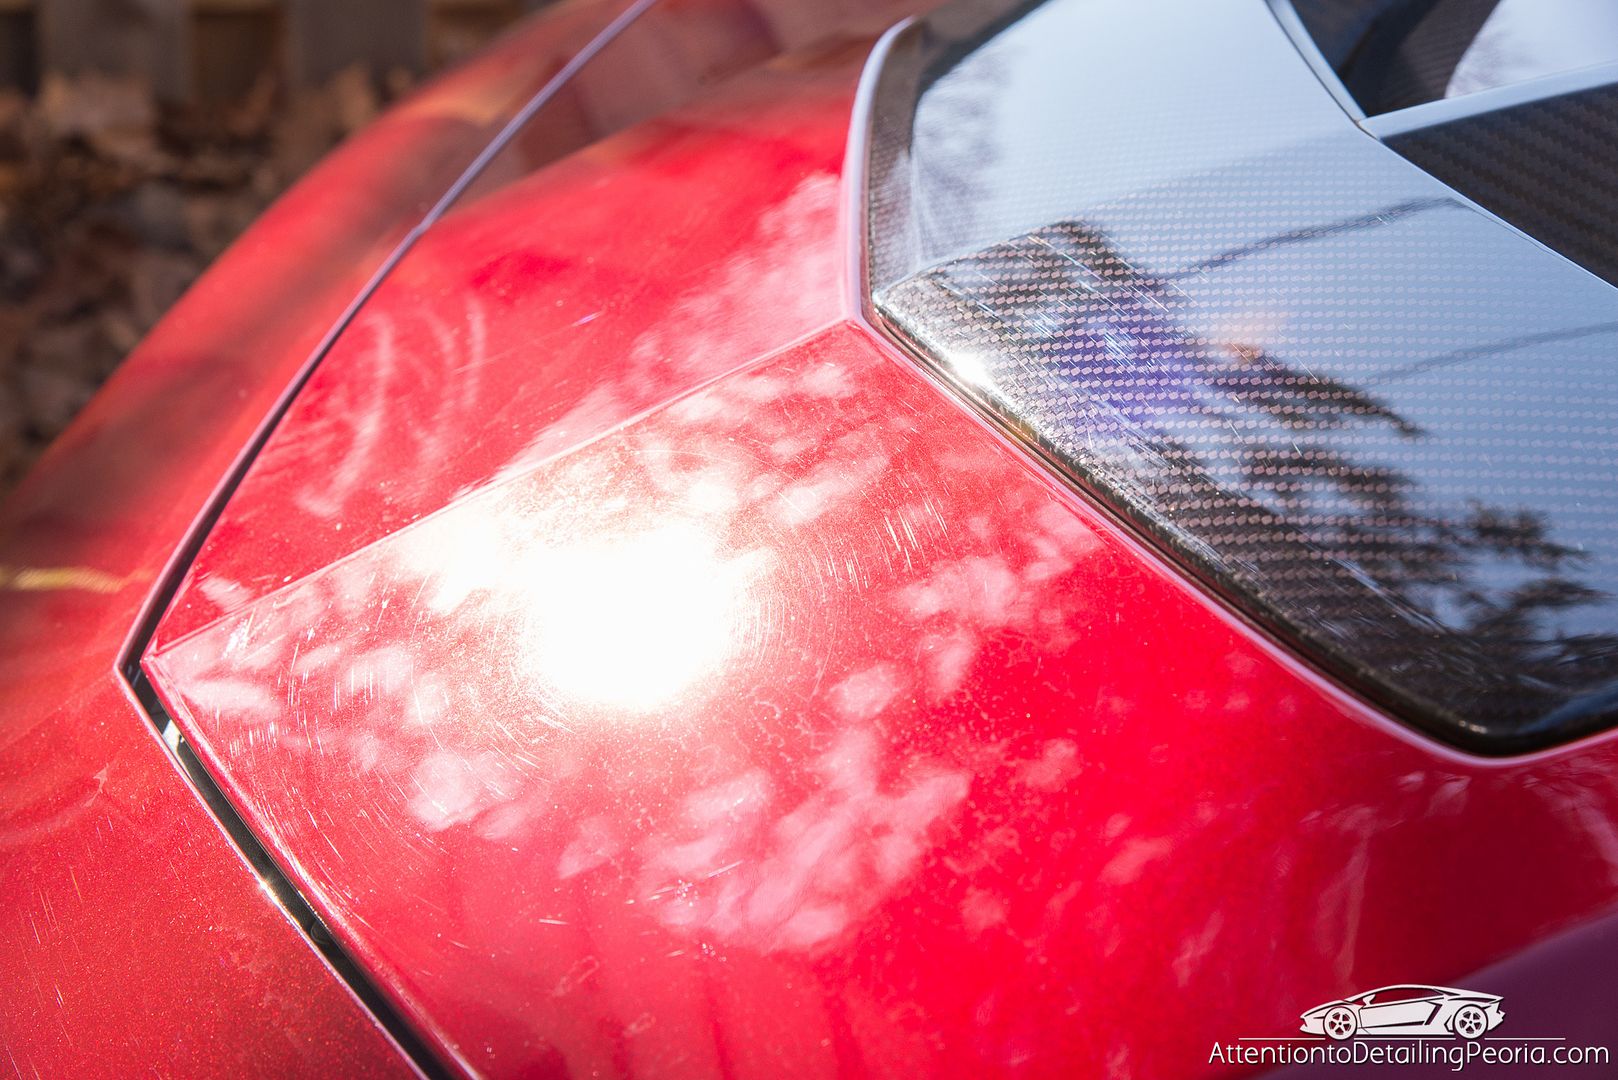
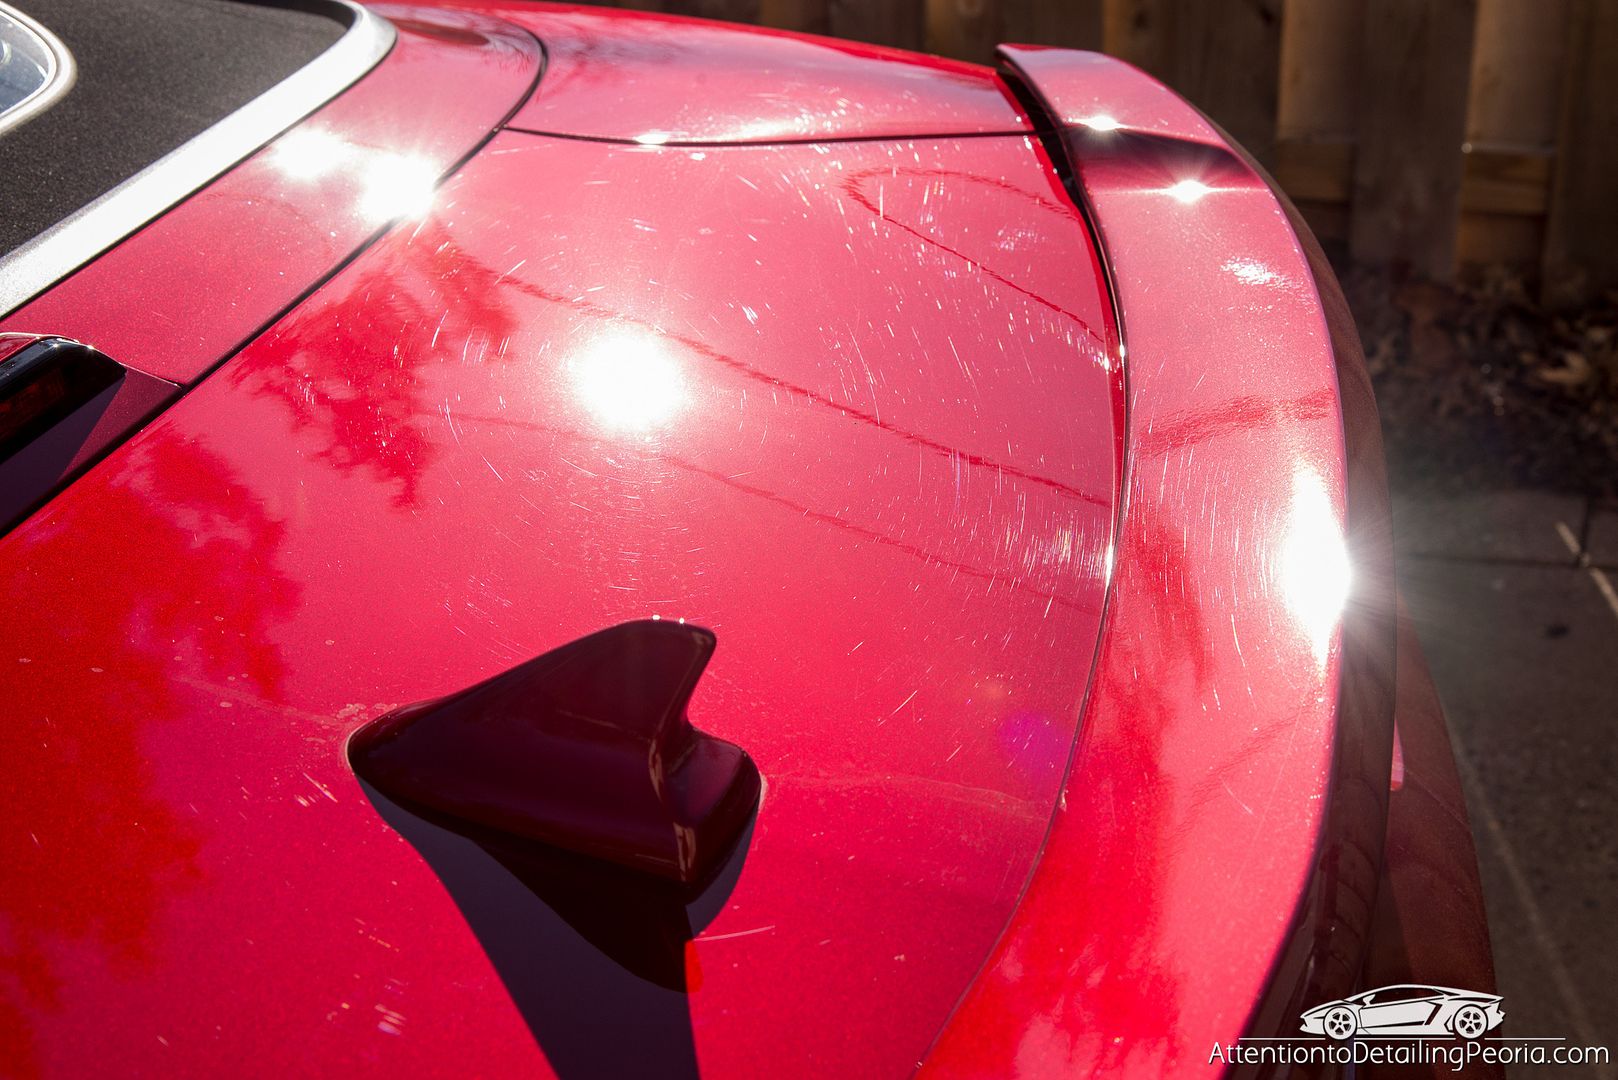
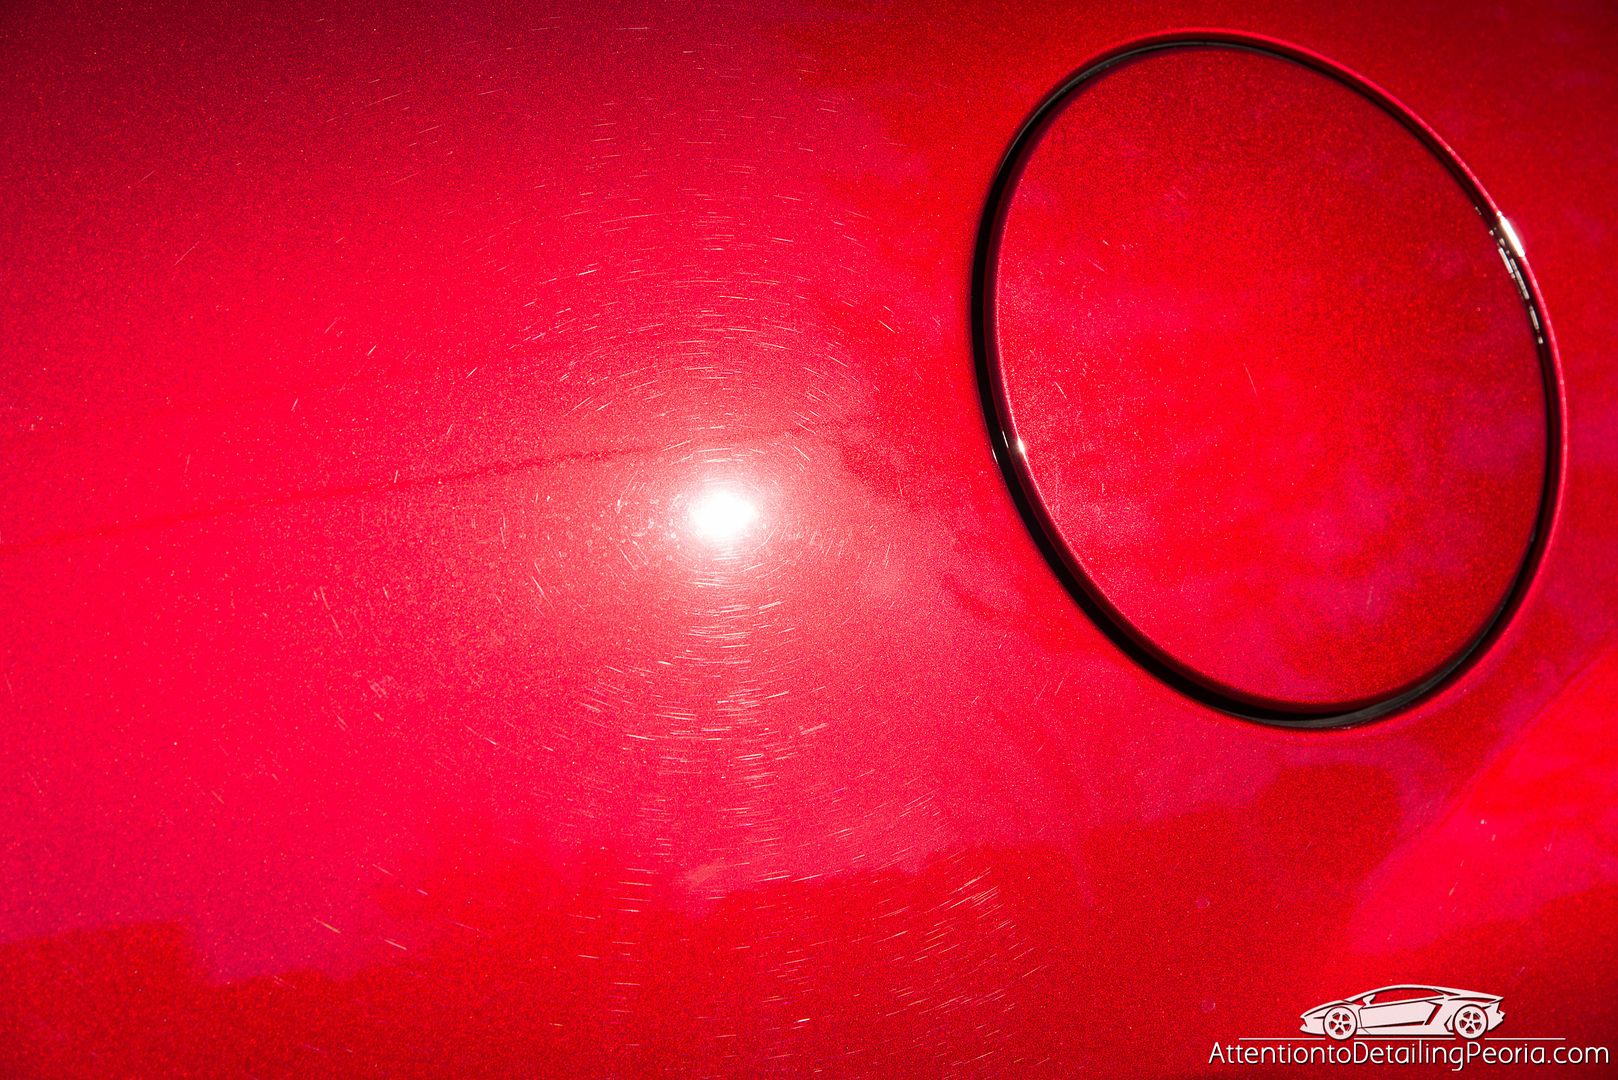
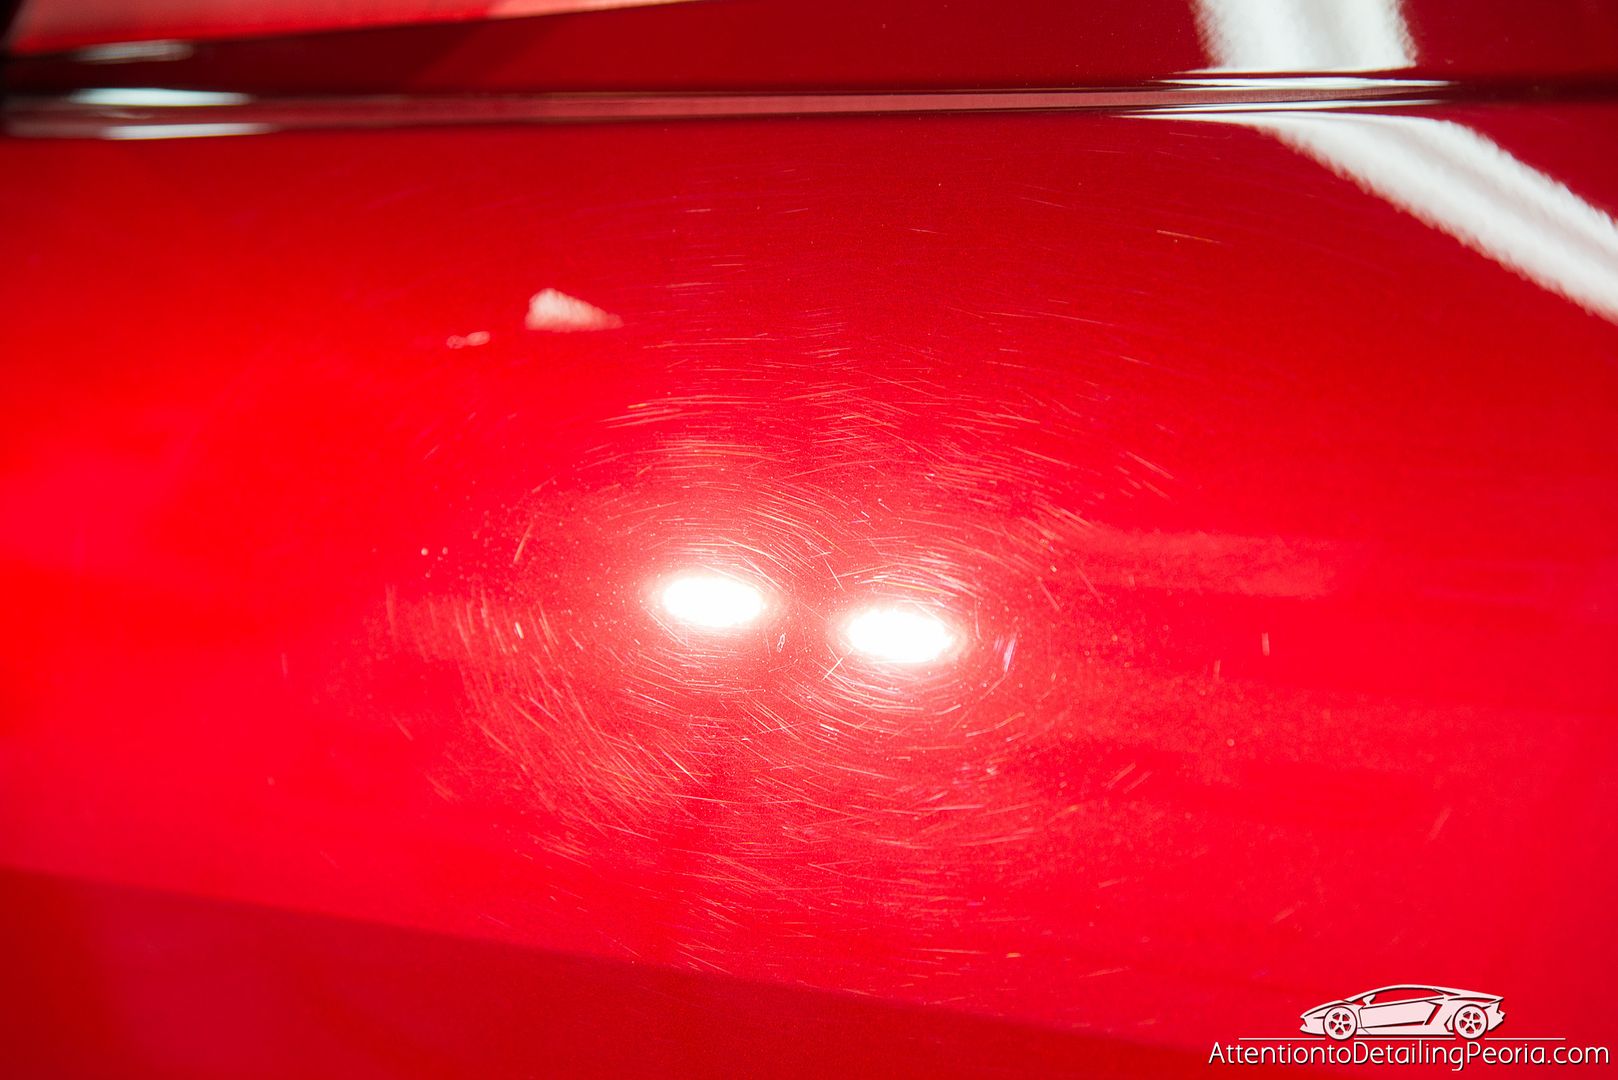
Inspecting the car before we got started. Swirls and scratches were clearly visible on all surfaces.
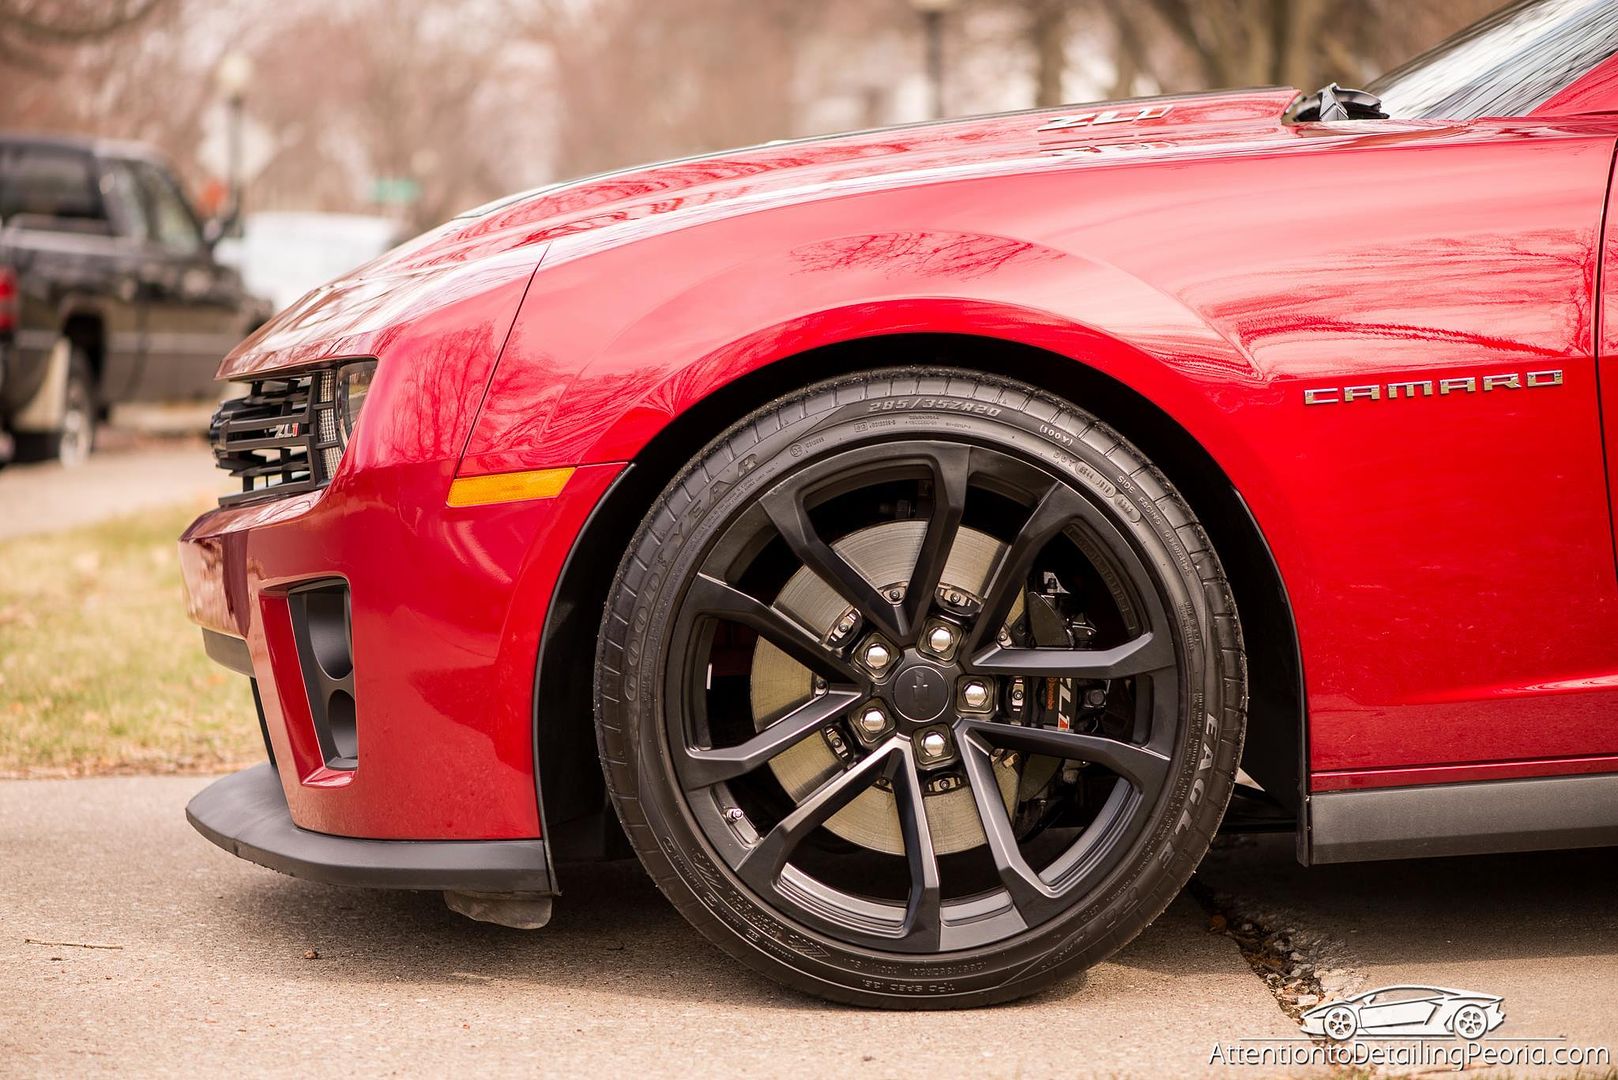
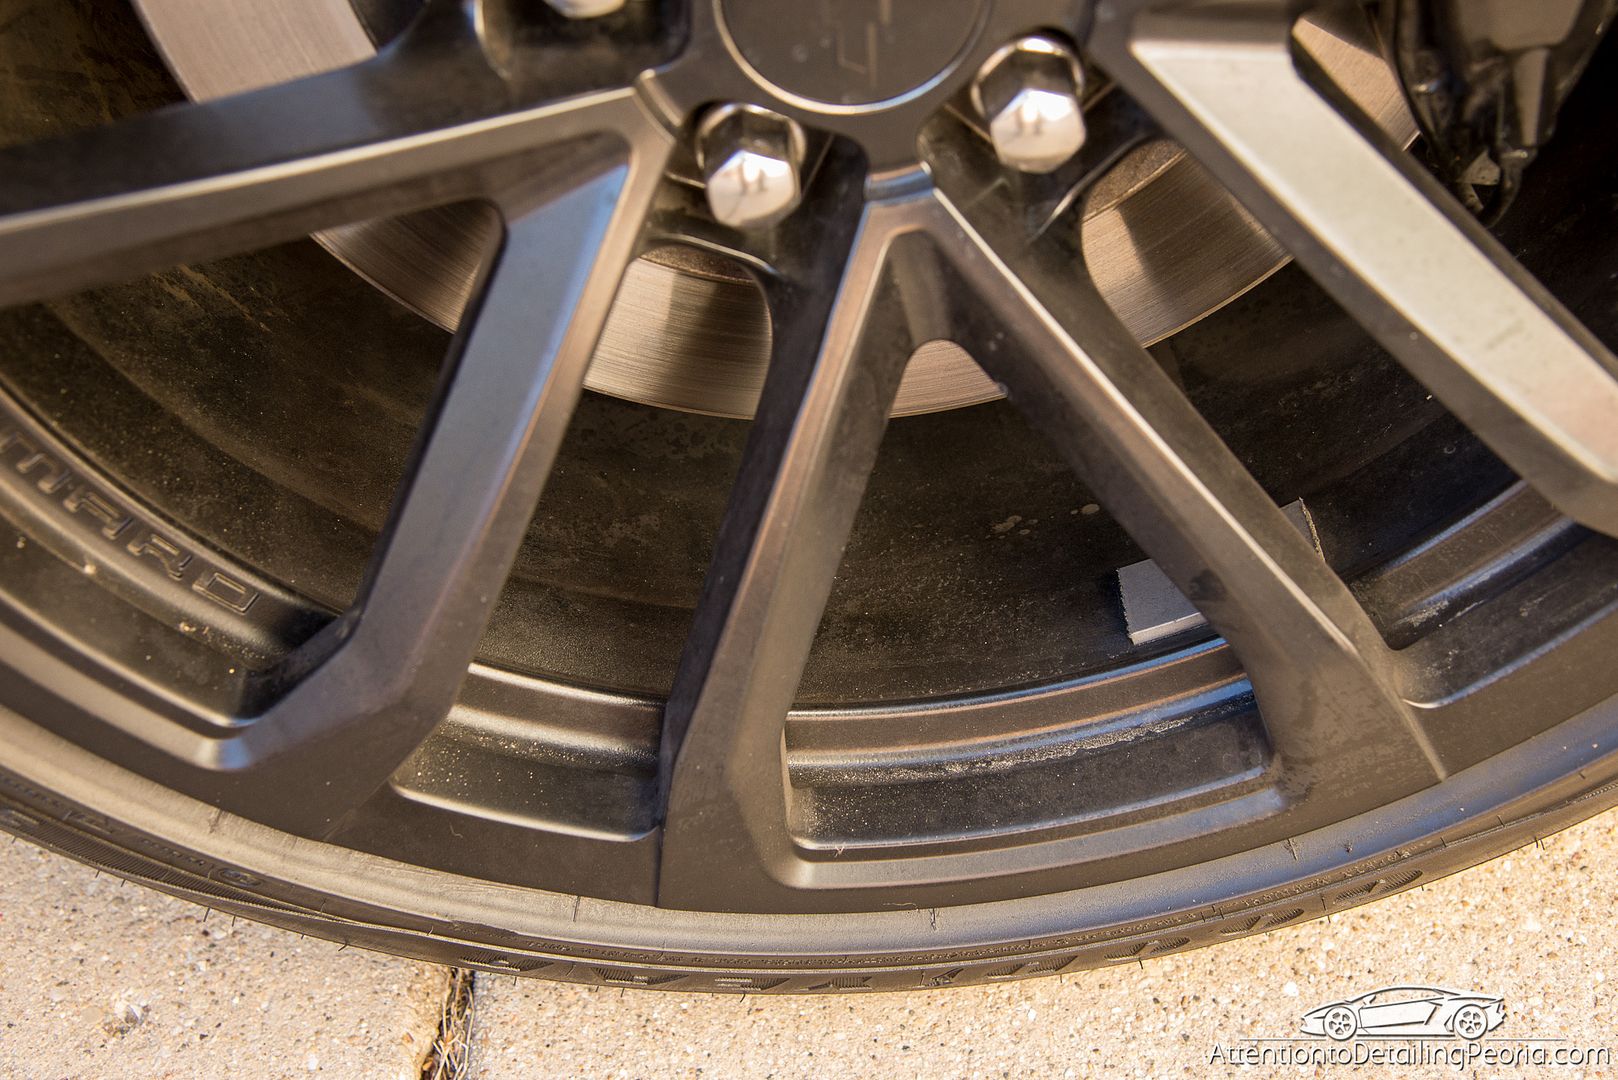
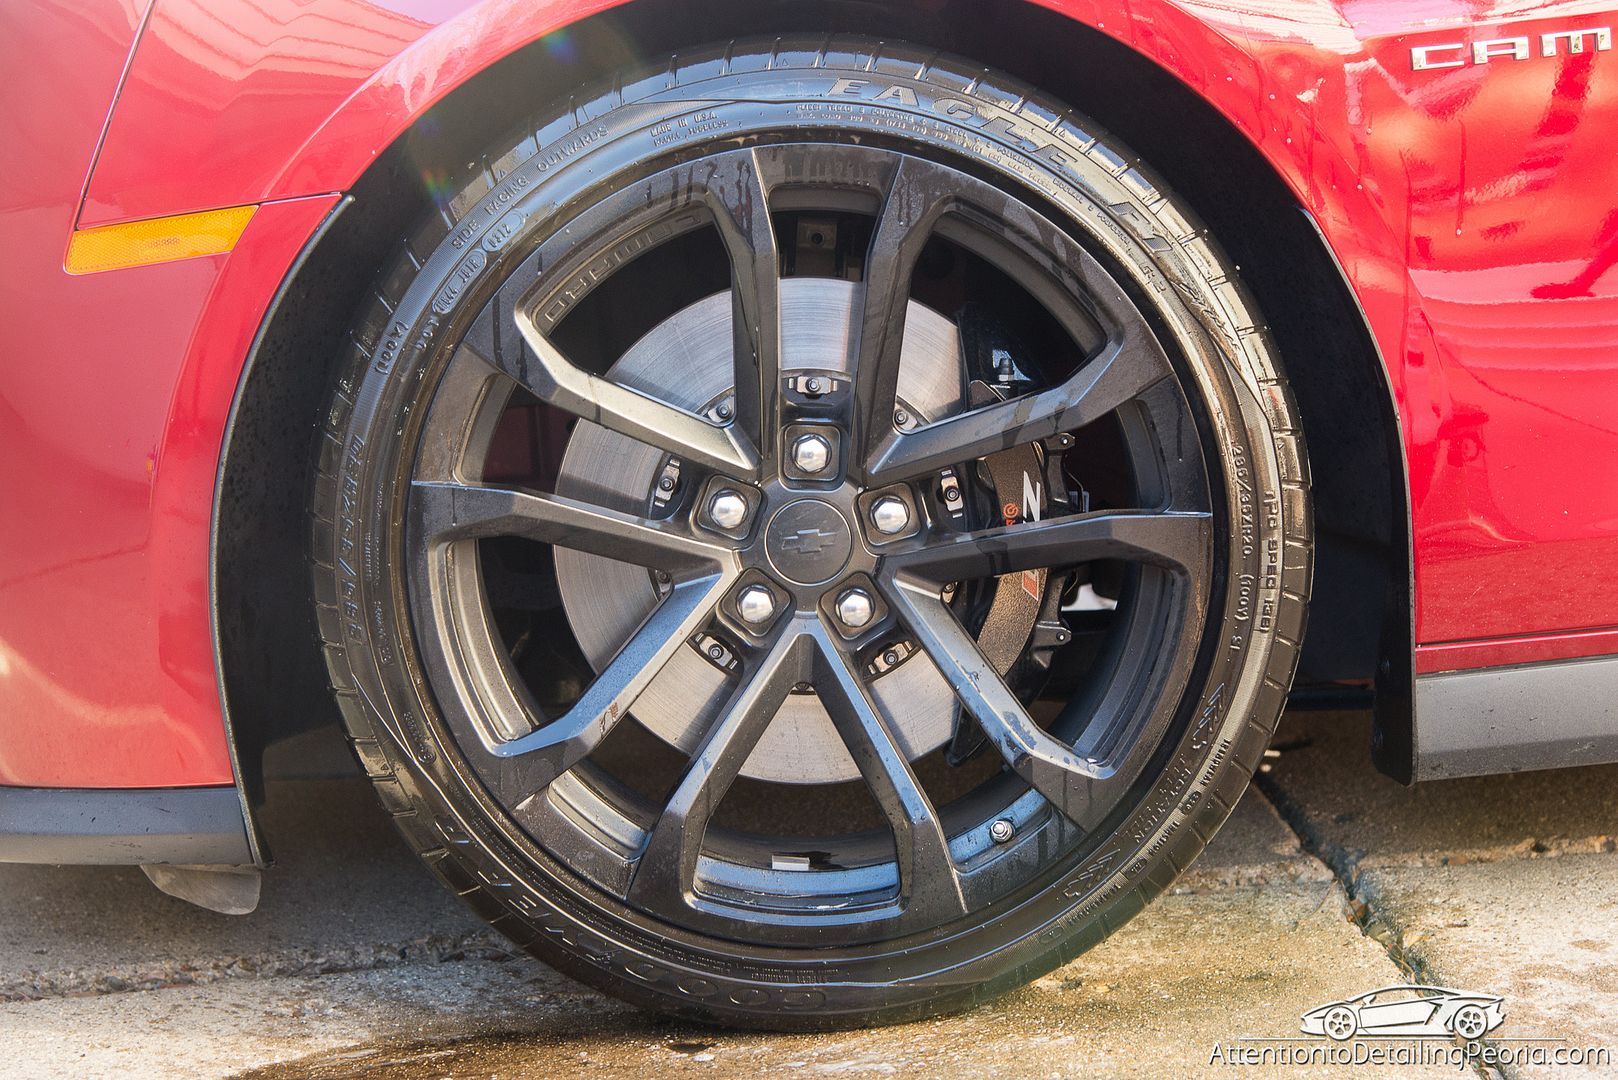
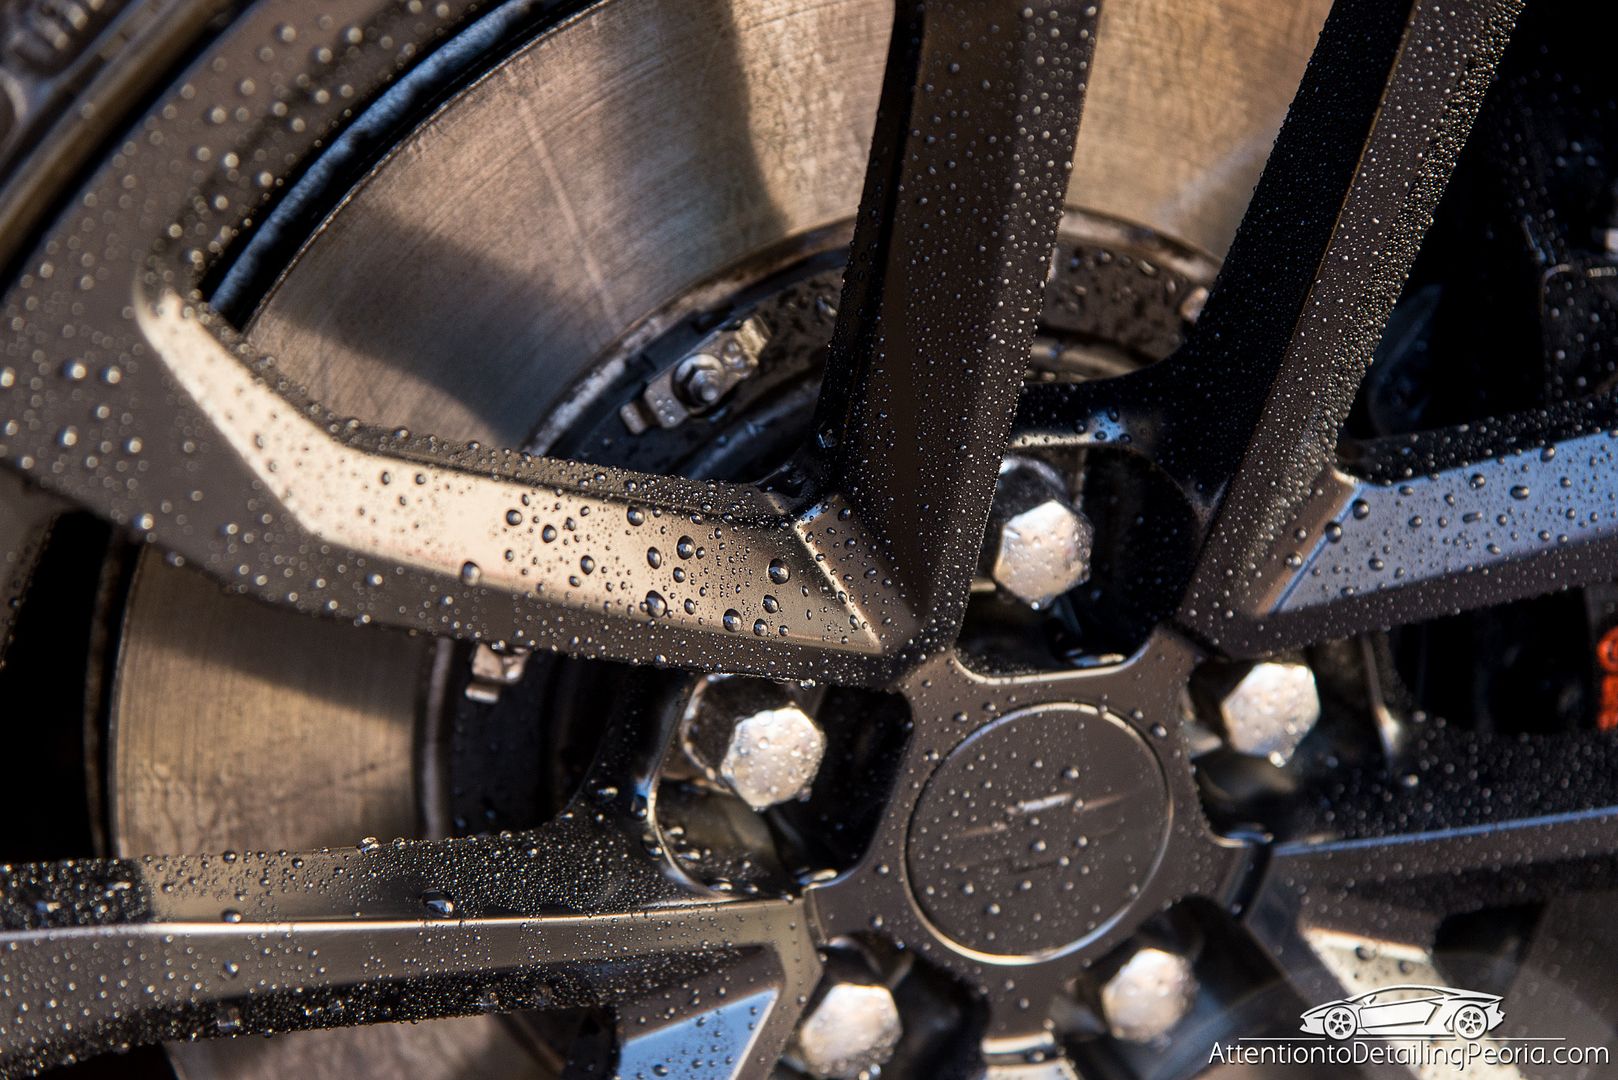
The wheels were not too bad, but needed some cleaning. The satin black finish also showed signs of improper care as there were stains that indicated a harsh cleaner may have been used in the past.
During
We began by cleaning the tires. They were covered in a greasy tire dressing and plenty of dirt. Notice the grime that is running off of the tires as the tire cleaner goes to work.
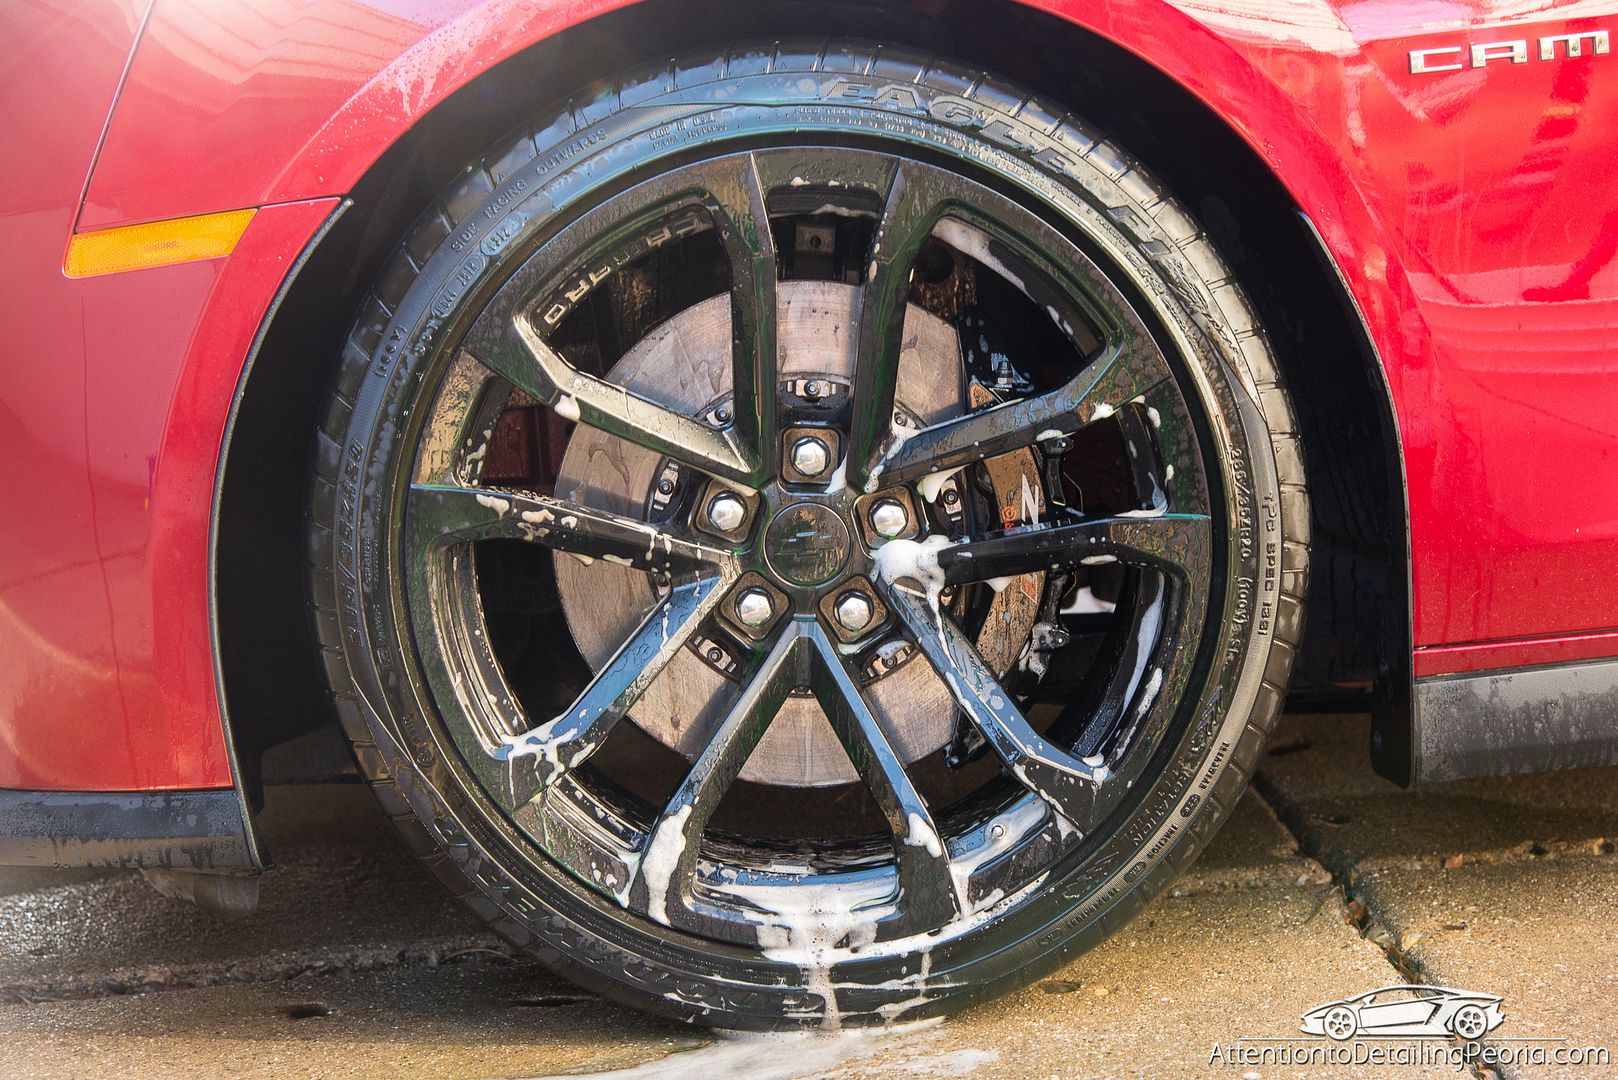
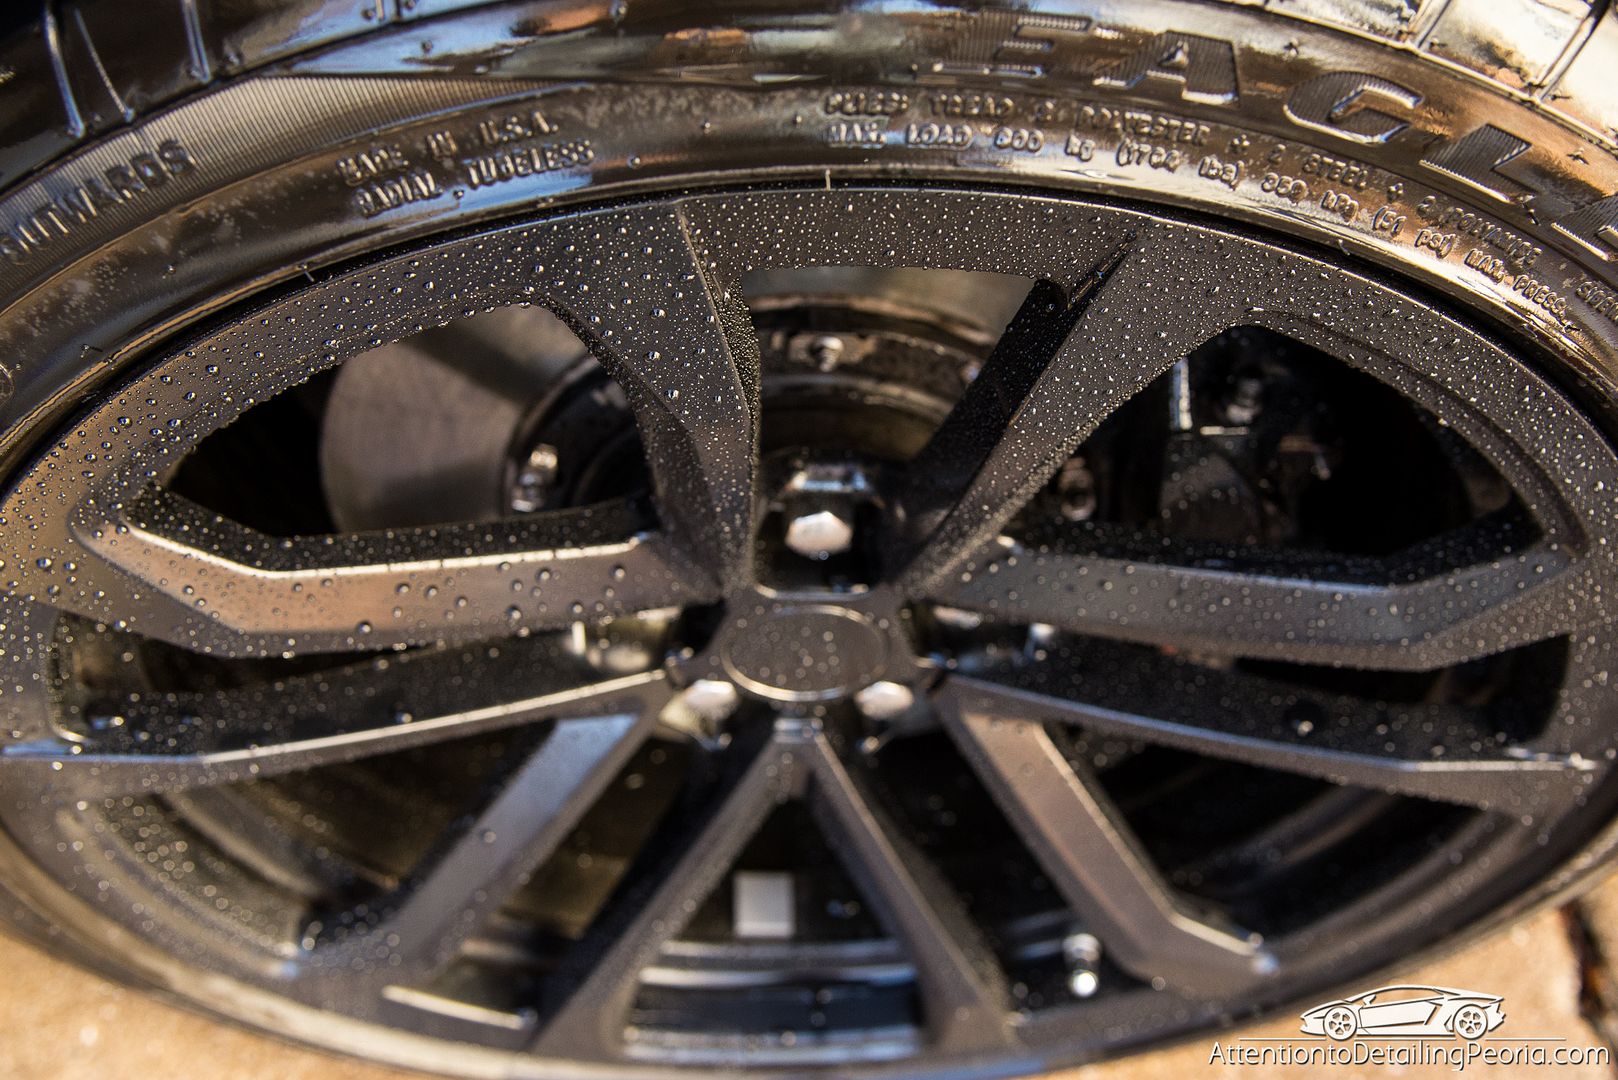
Once the rubber was clean, we began cleaning the wheels with a gentle soap and water solution
The wheels were then sealed with CarPro HydrO2
After the paint was thoroughly cleaned and decontaminated, the car was brought inside for further inspection. The paint looked considerably worse after it had been properly cleaned and the bare paint was revealed.
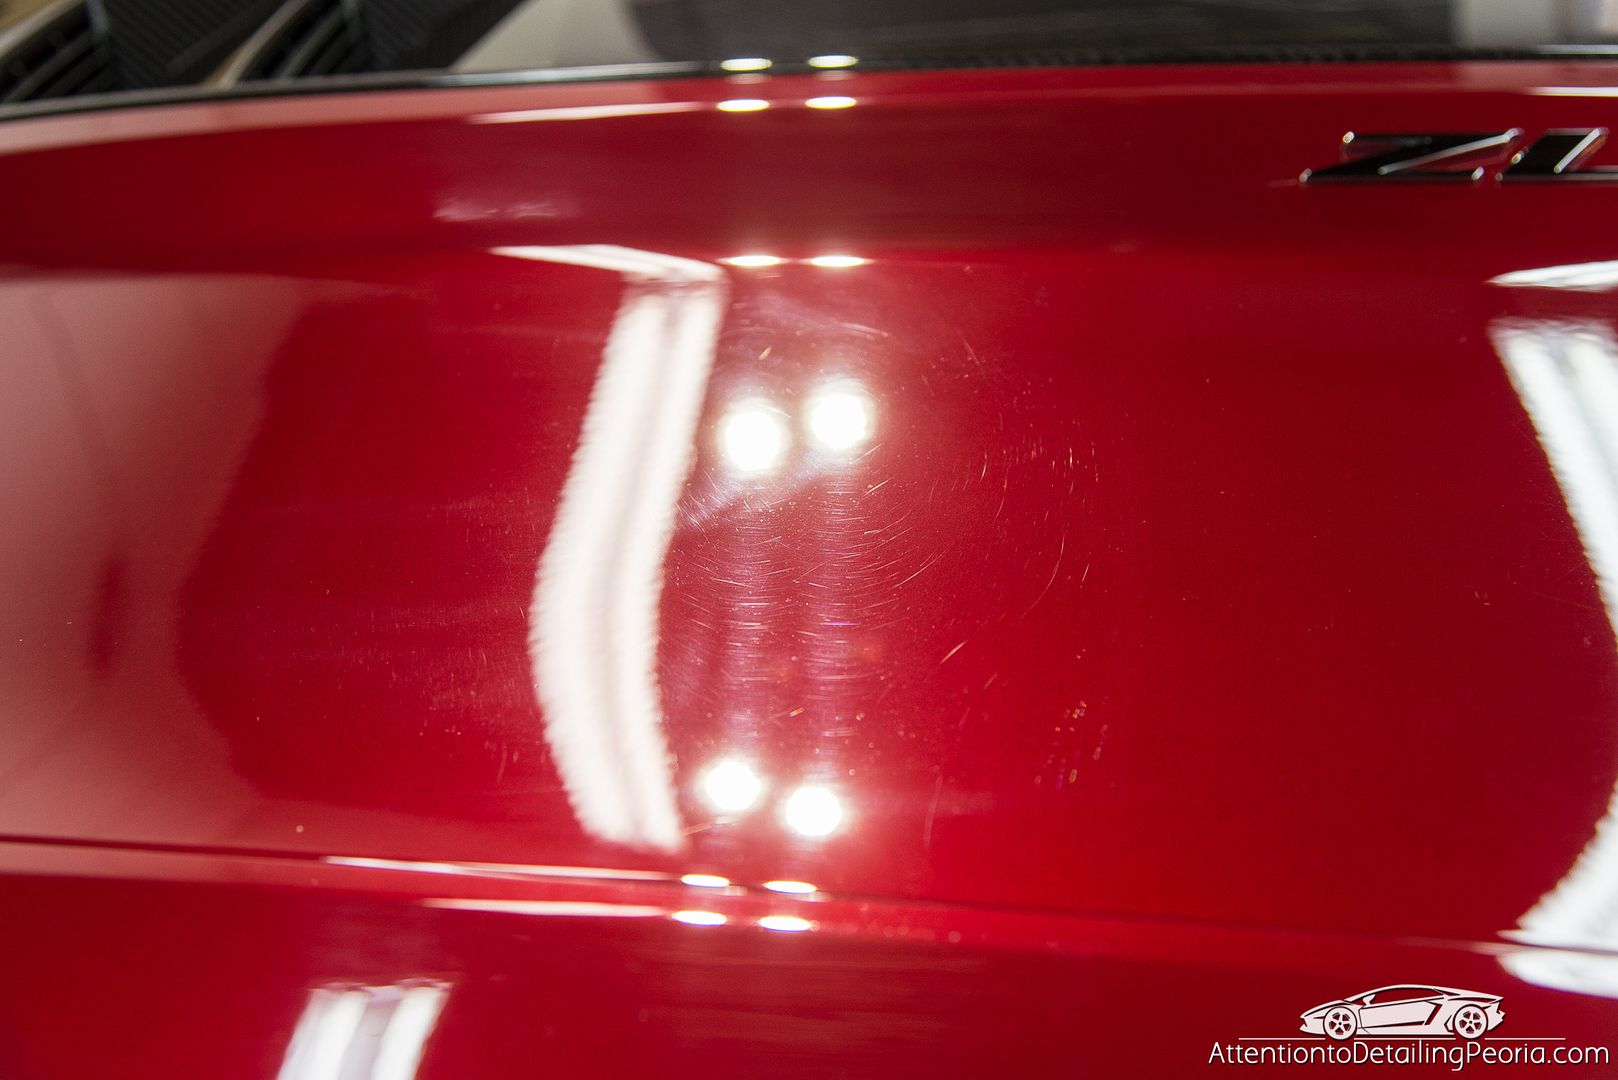
Rotary holograms were found on several panels
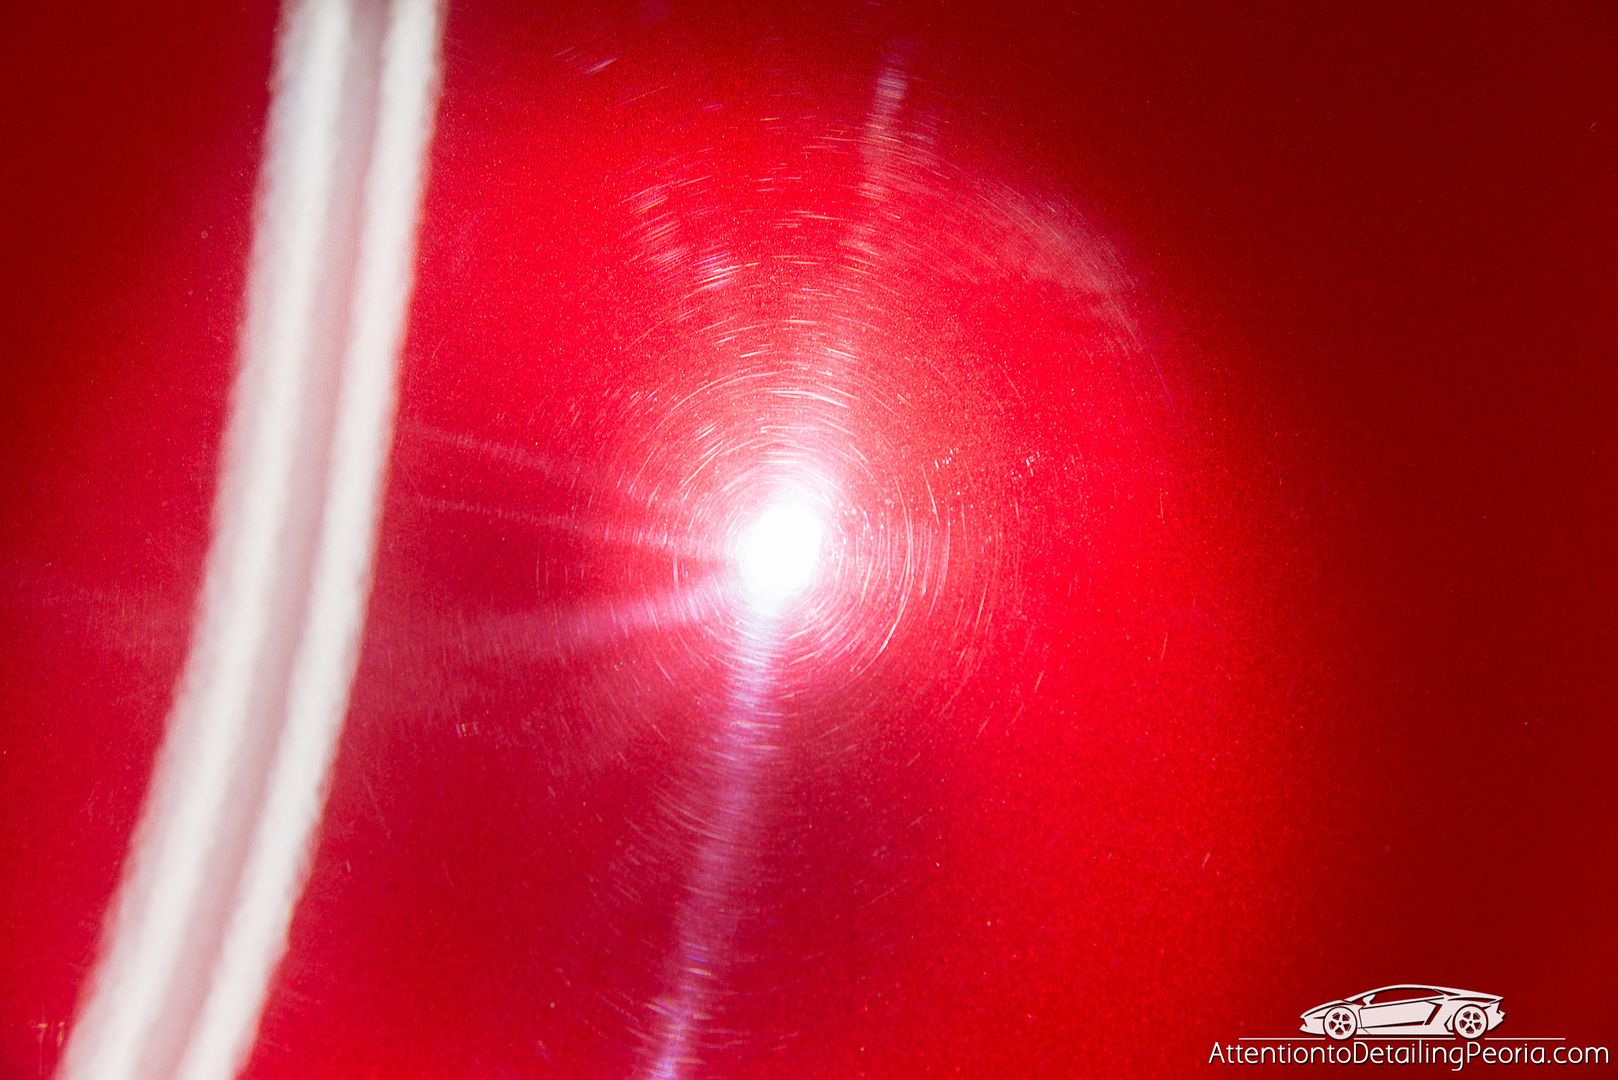
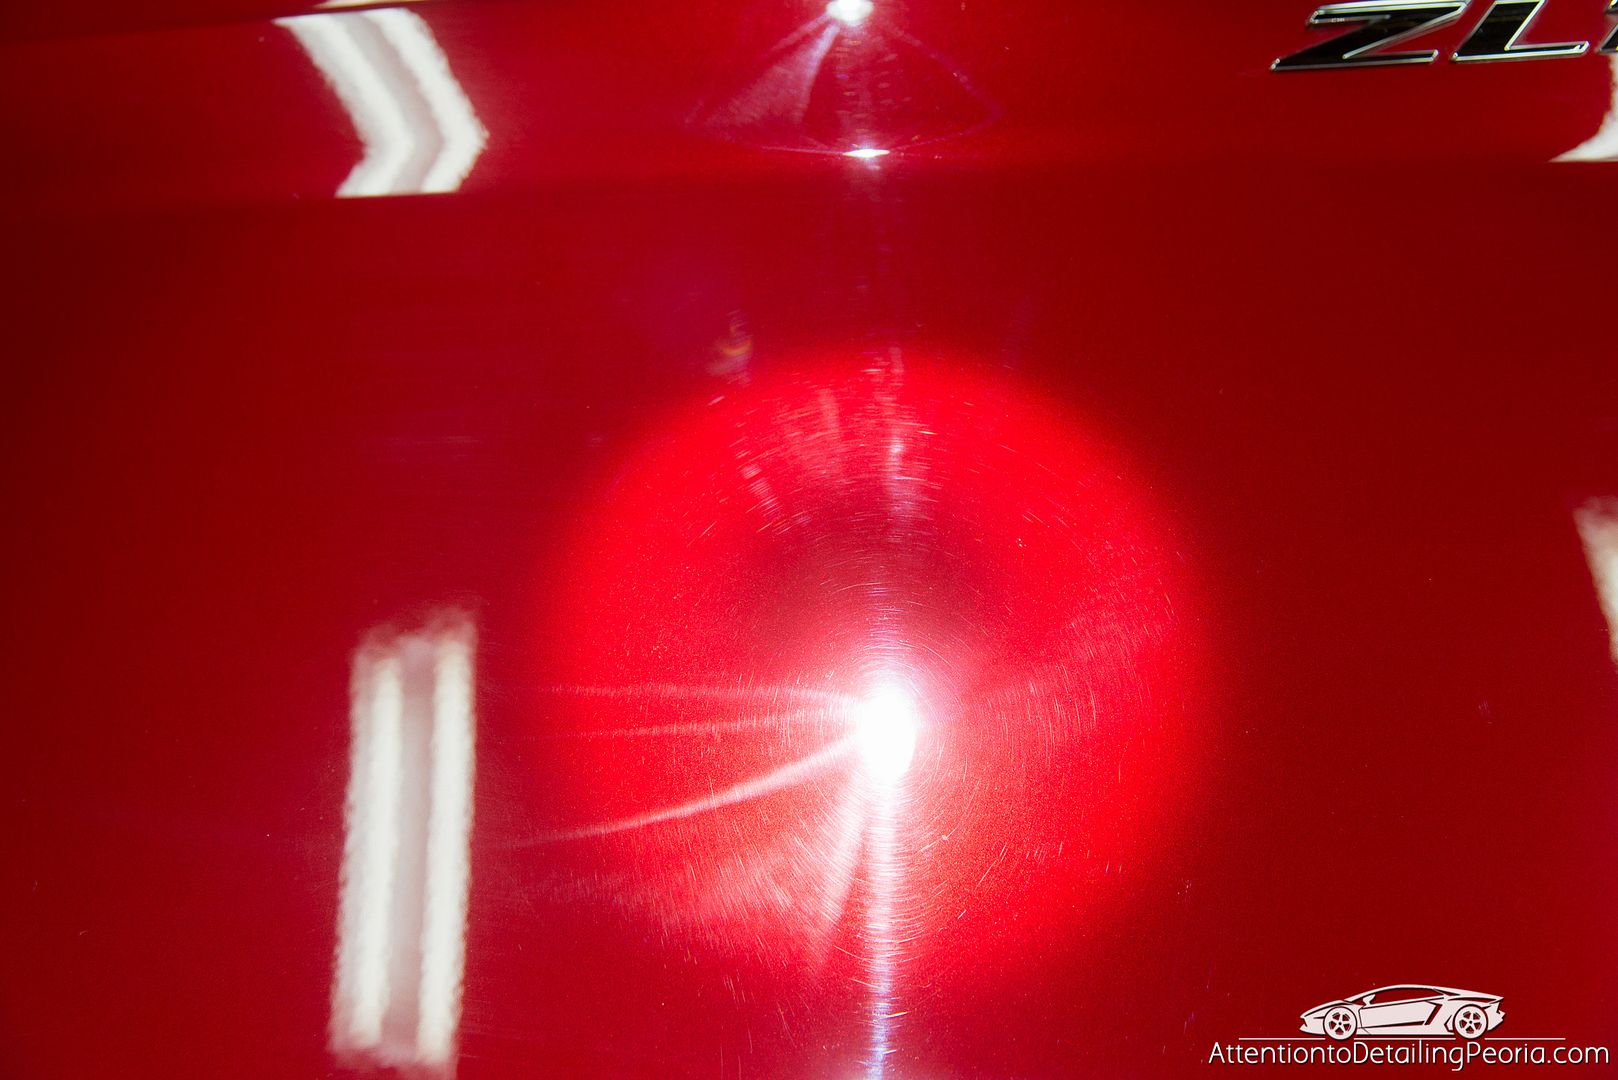
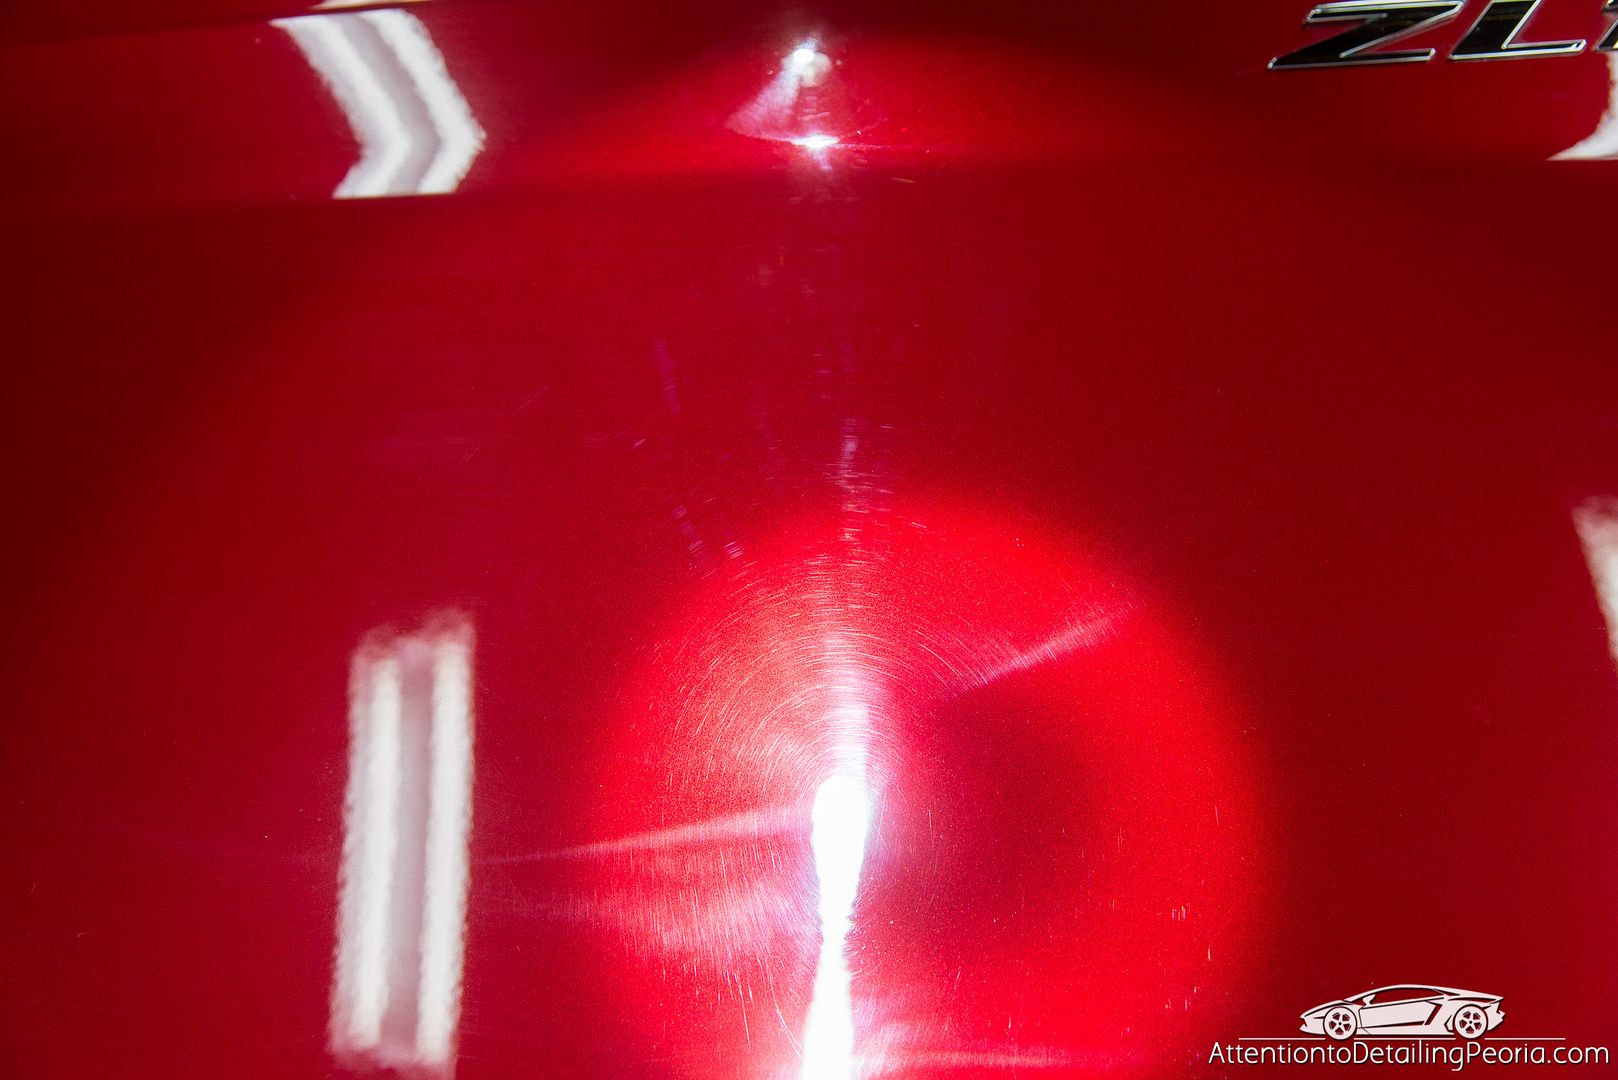
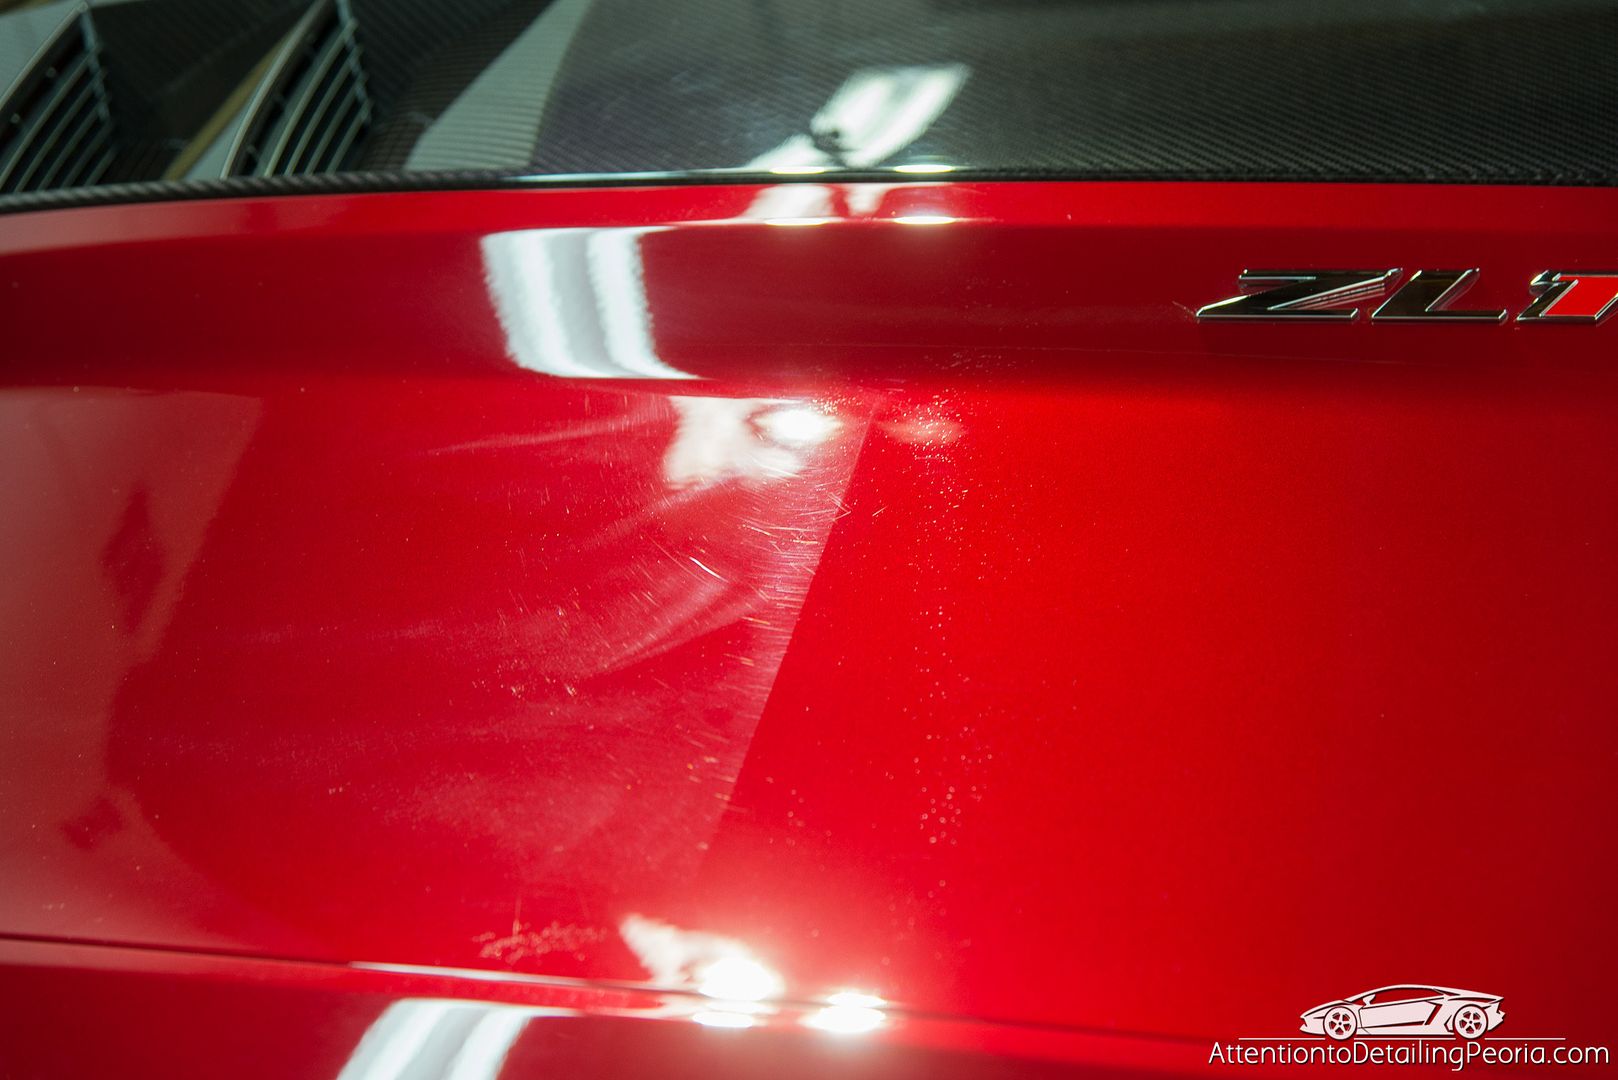
Swirls appeared to be rather deep
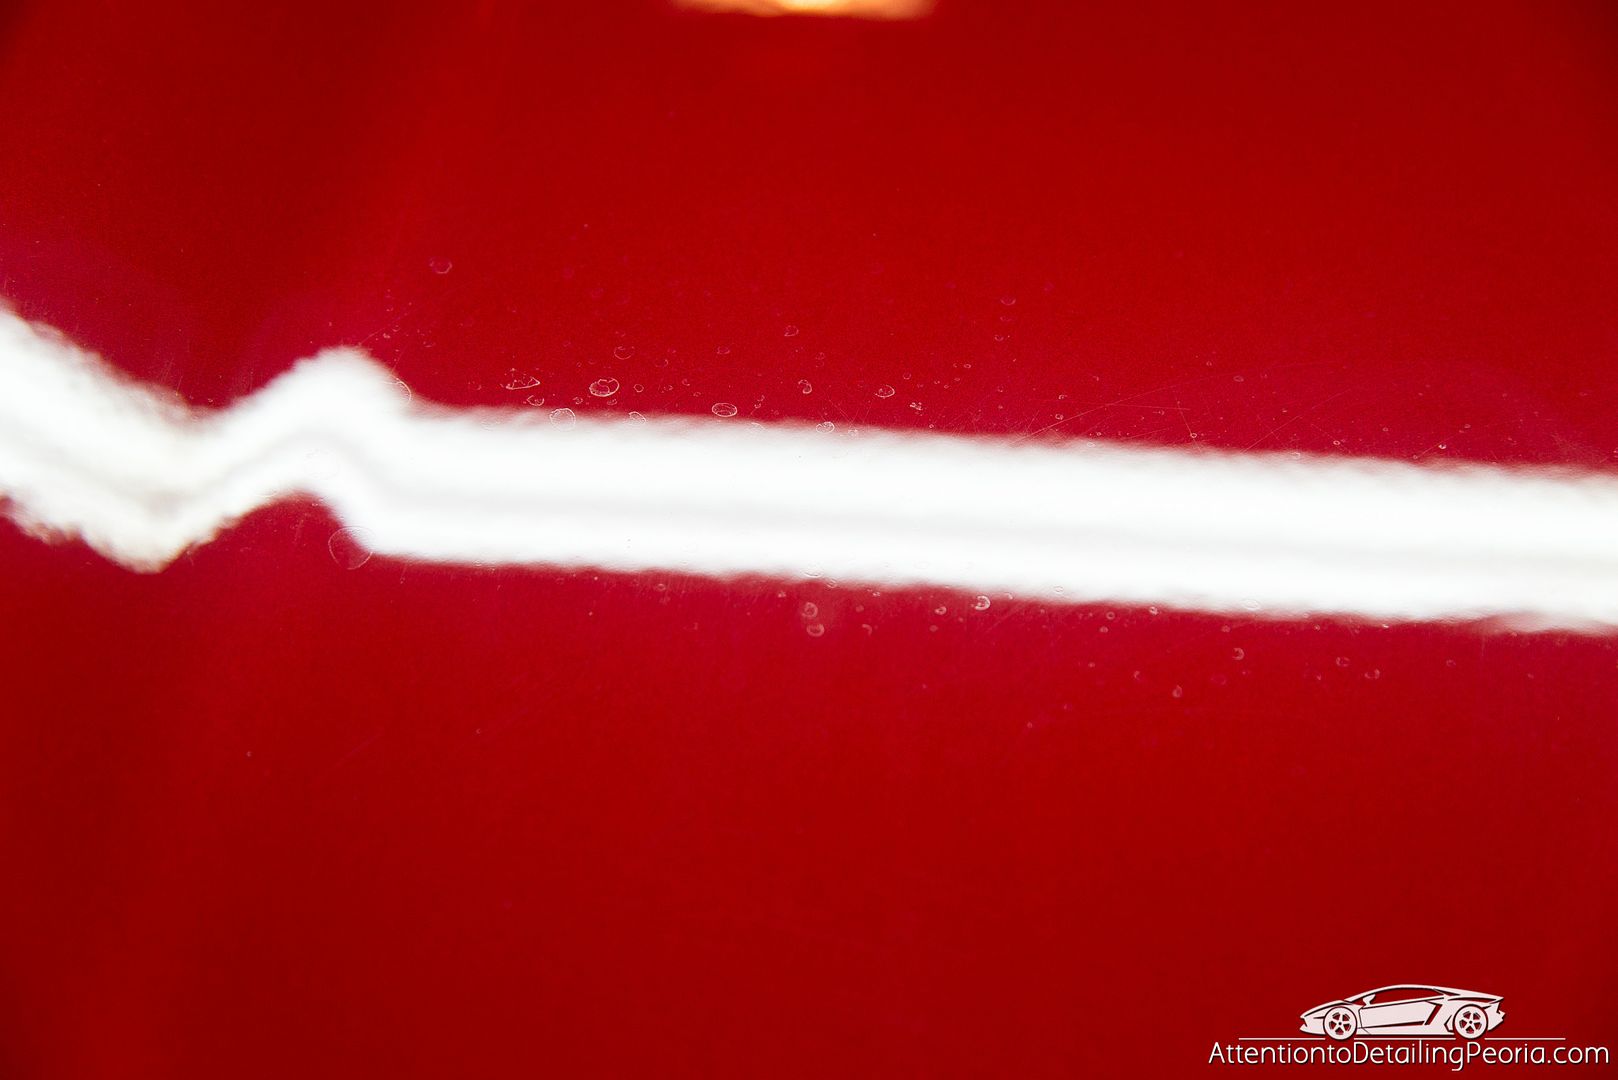
Etched water spots were found on most horizontal surfaces
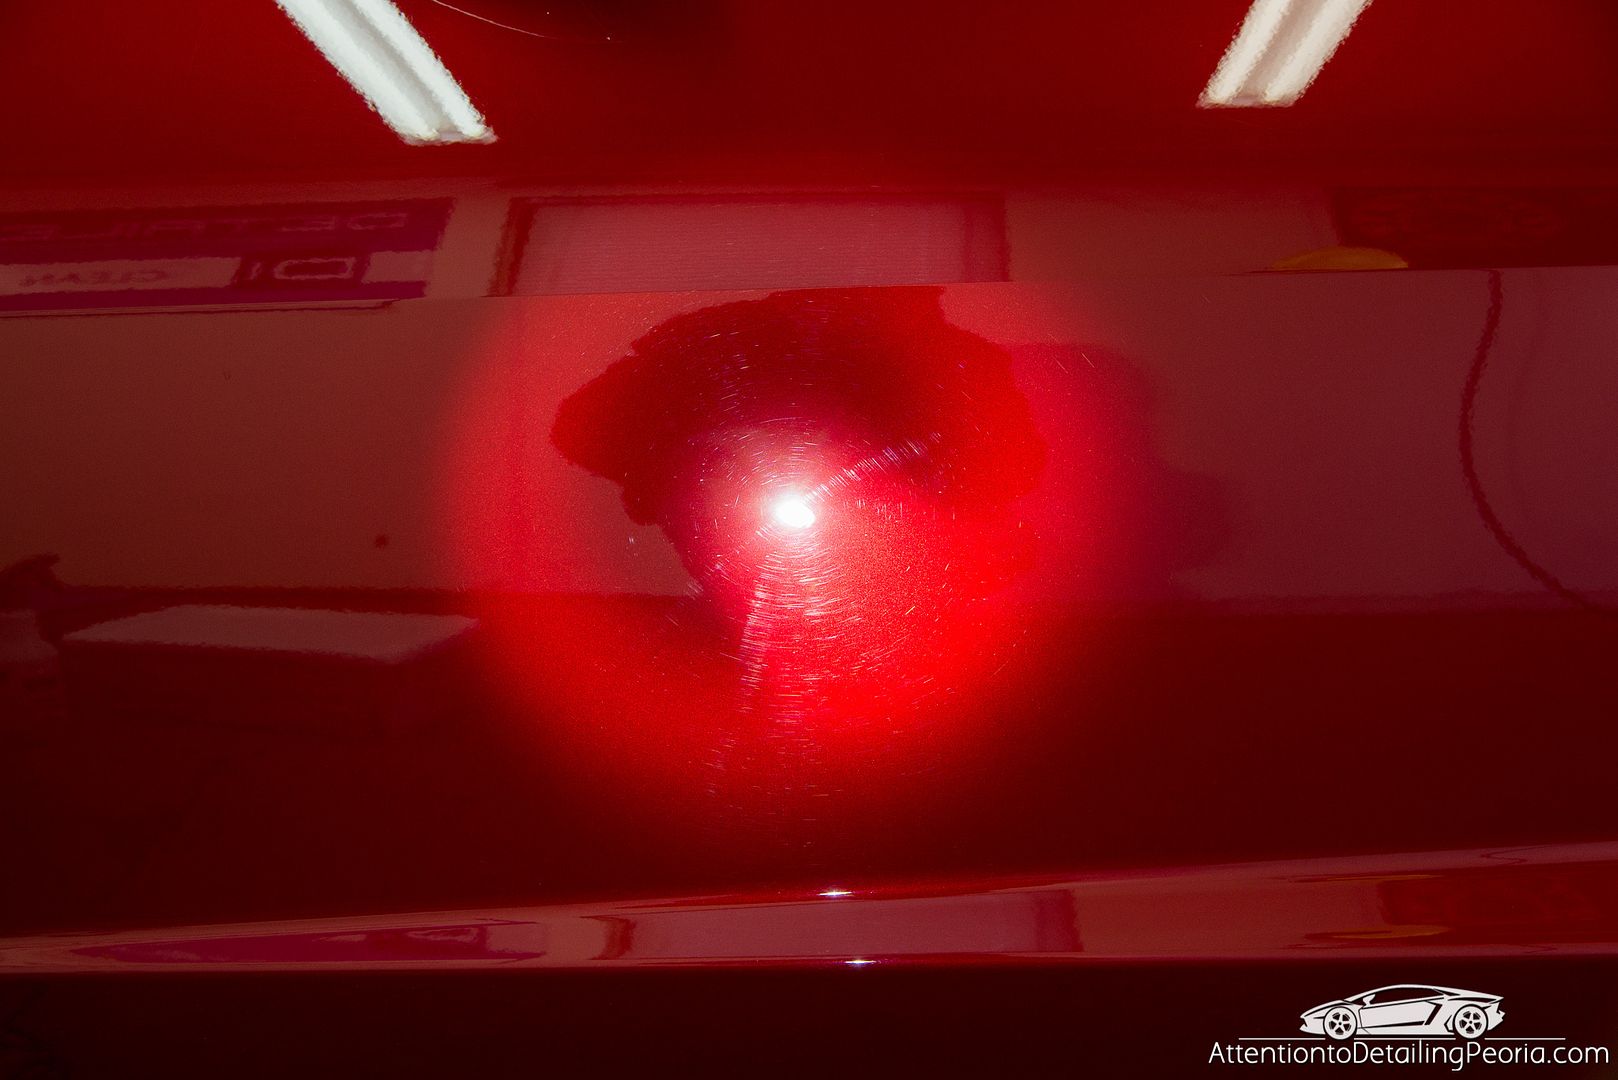
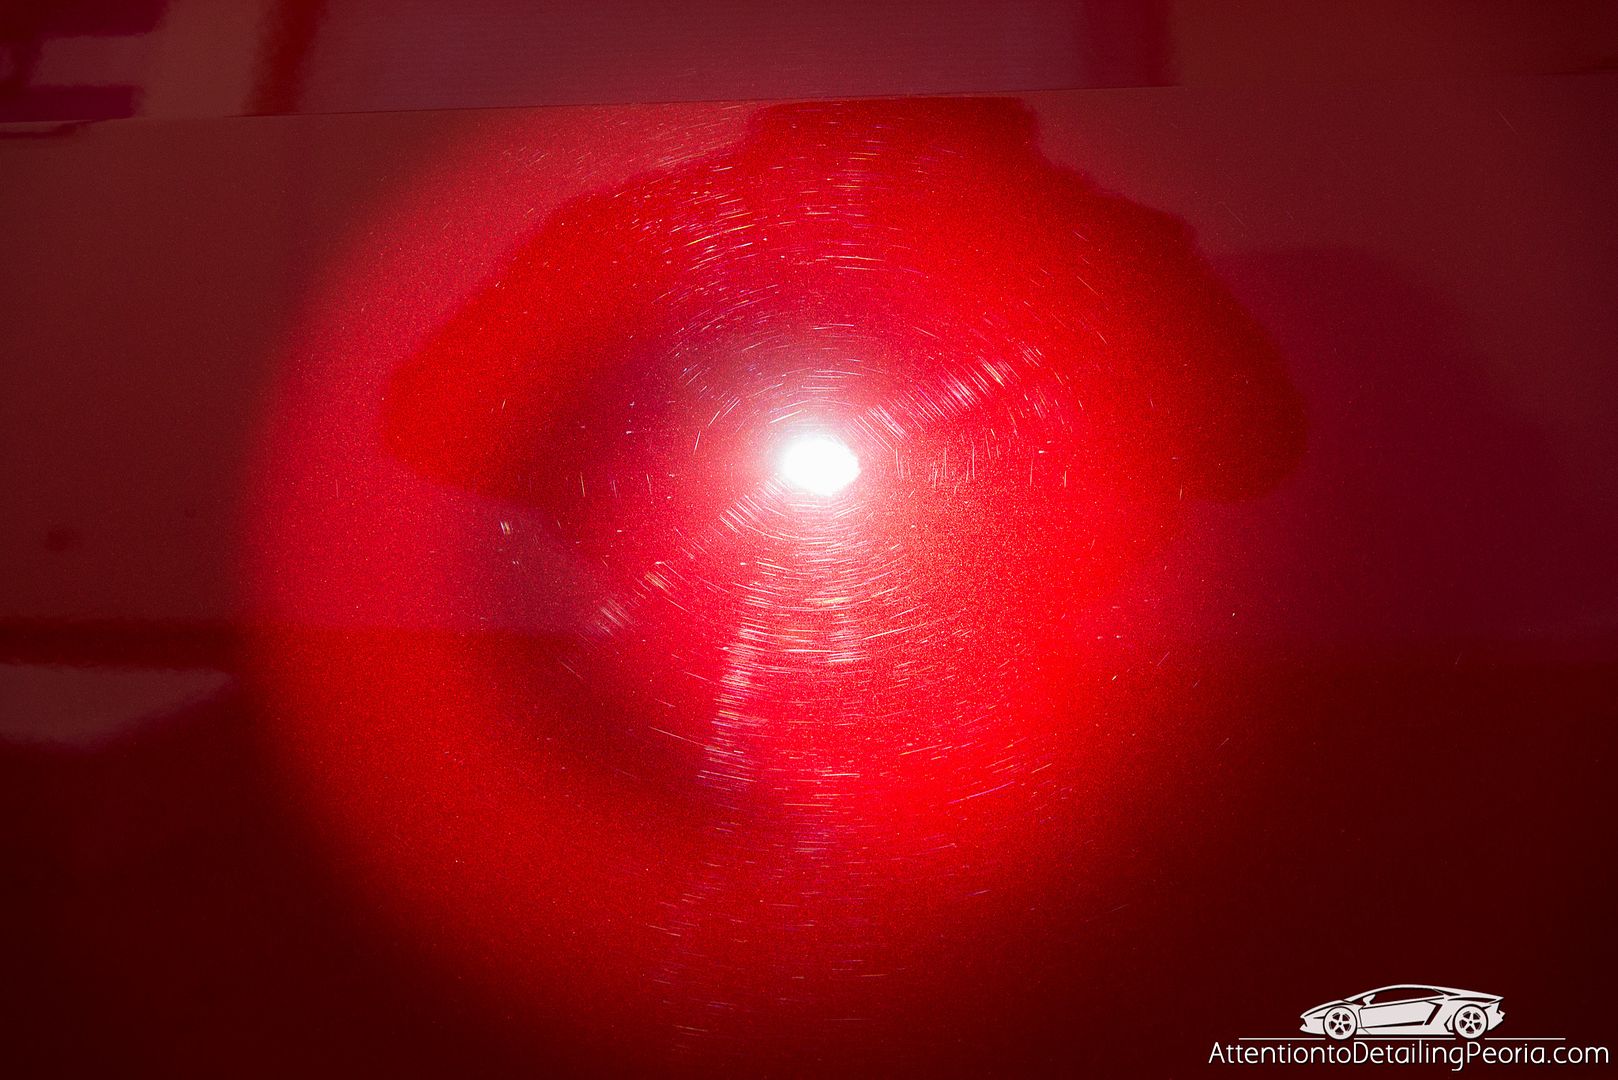
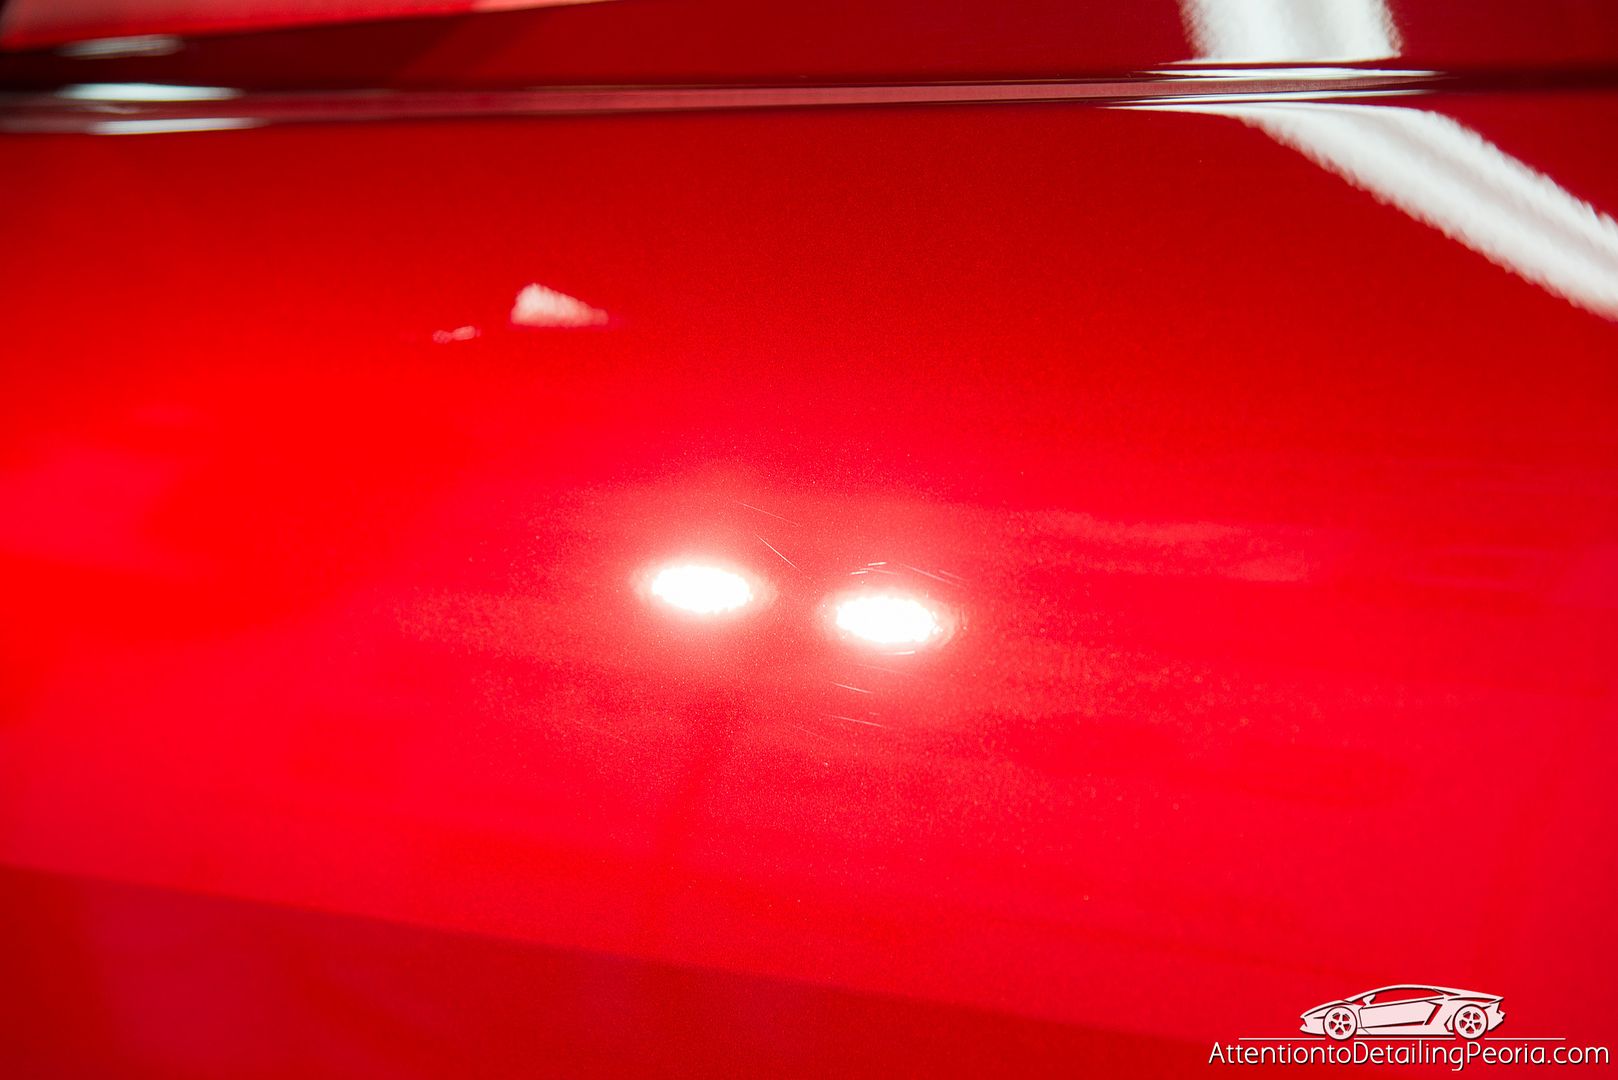
Our test spot yielded a sizeable improvement. The paint is now mostly defect free and a much deeper shade of red.
Video of the test spot
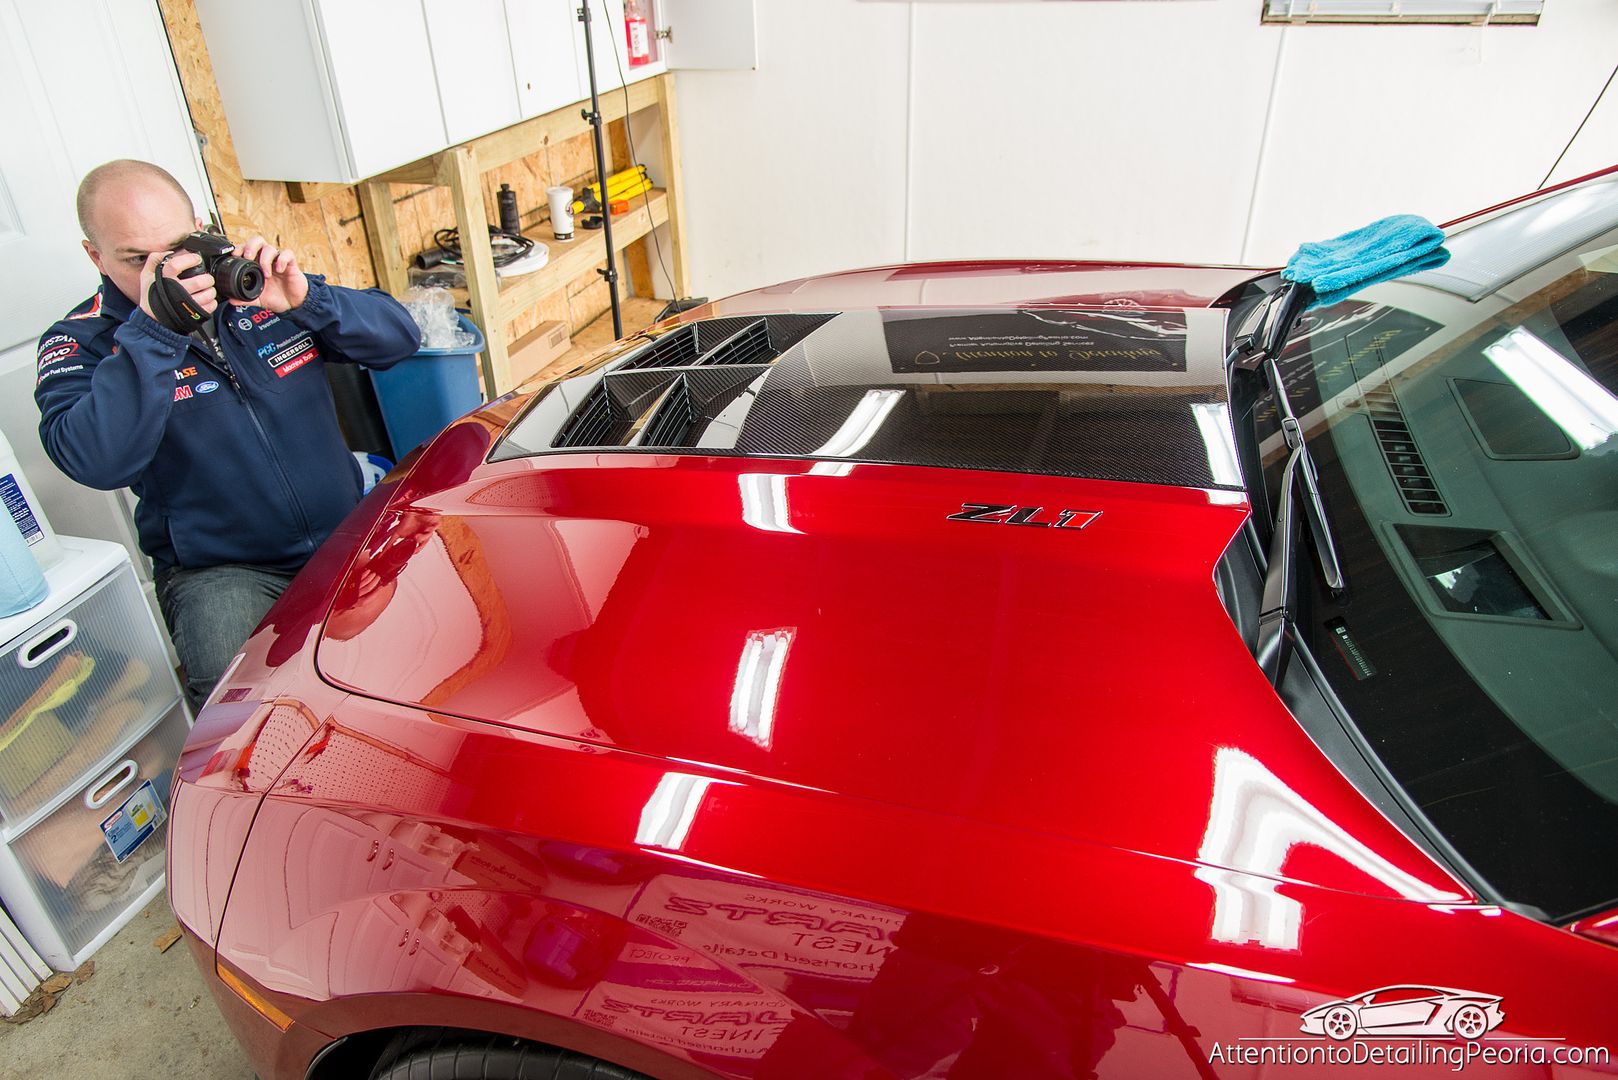
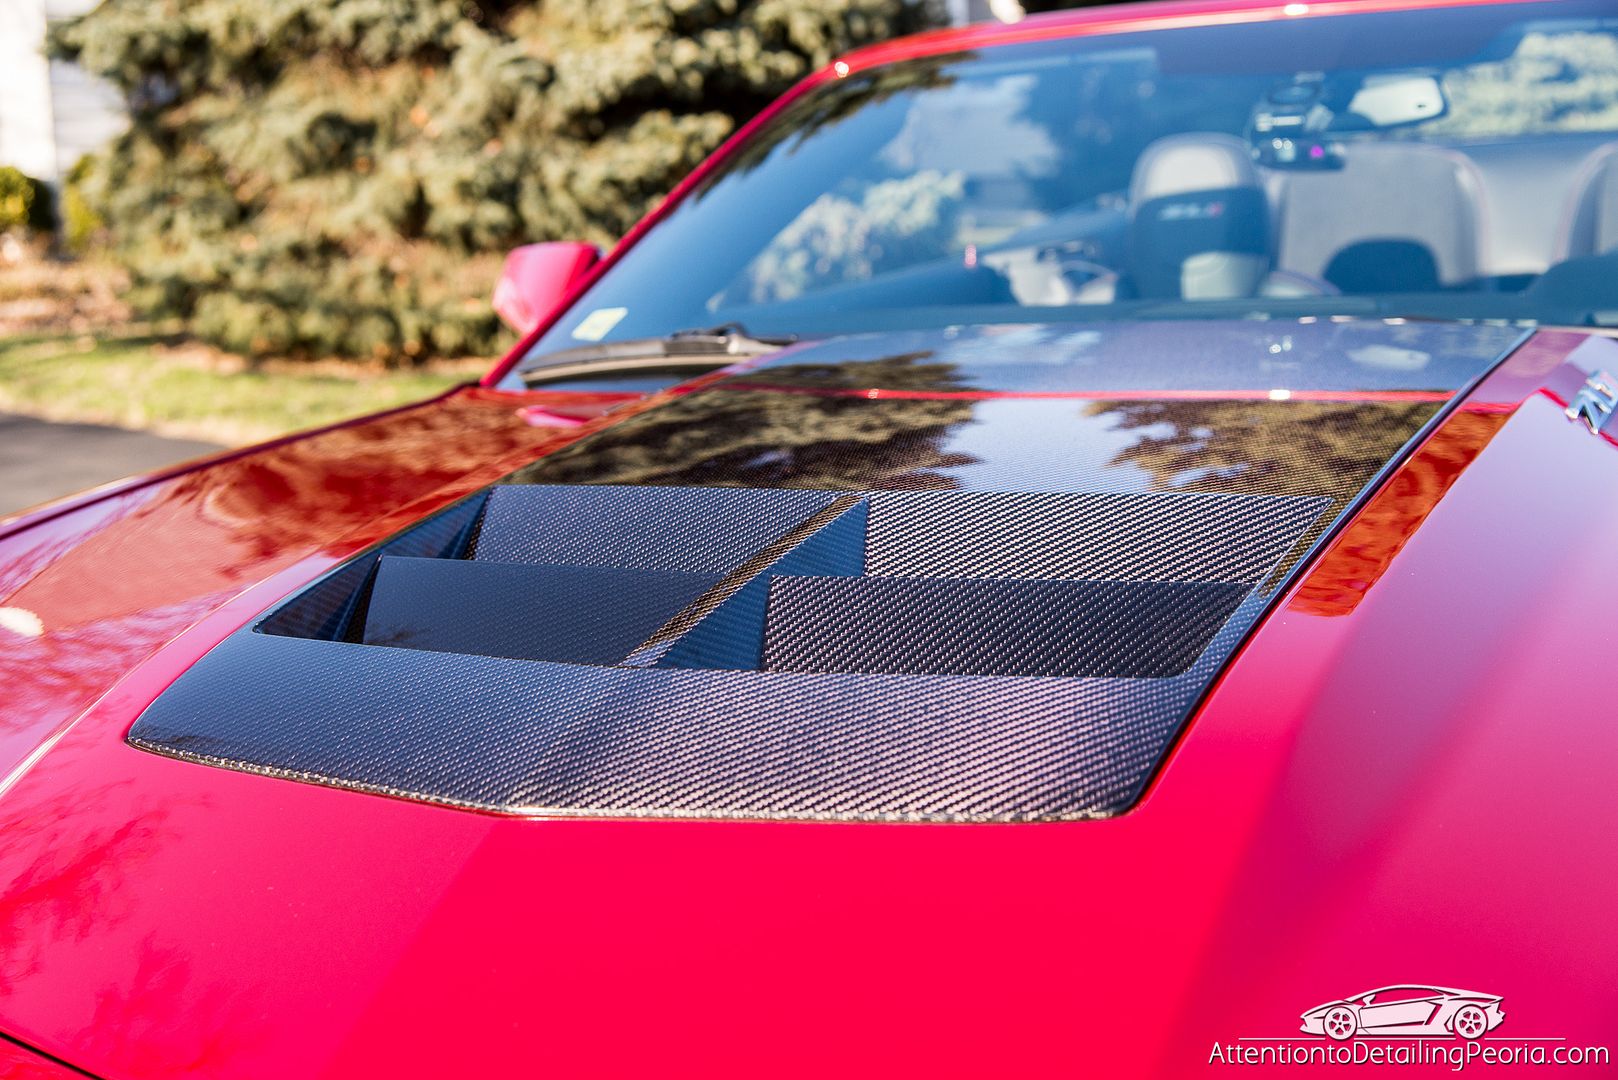
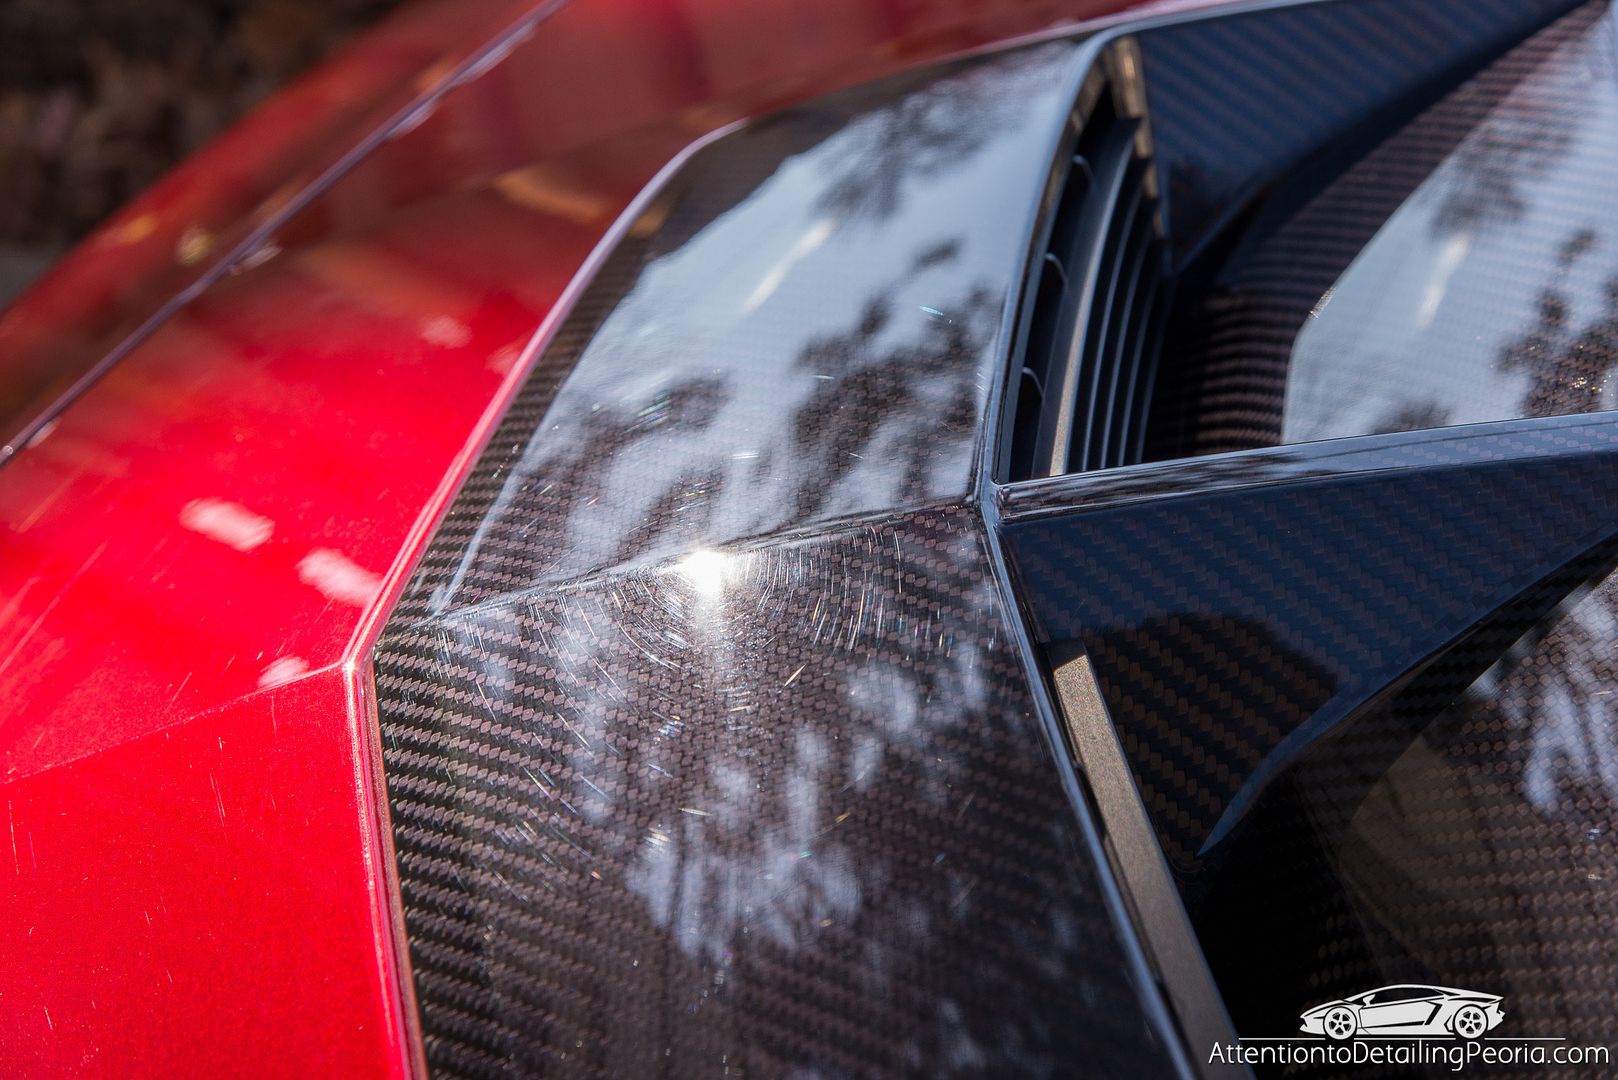
Carbon fiber before corection.
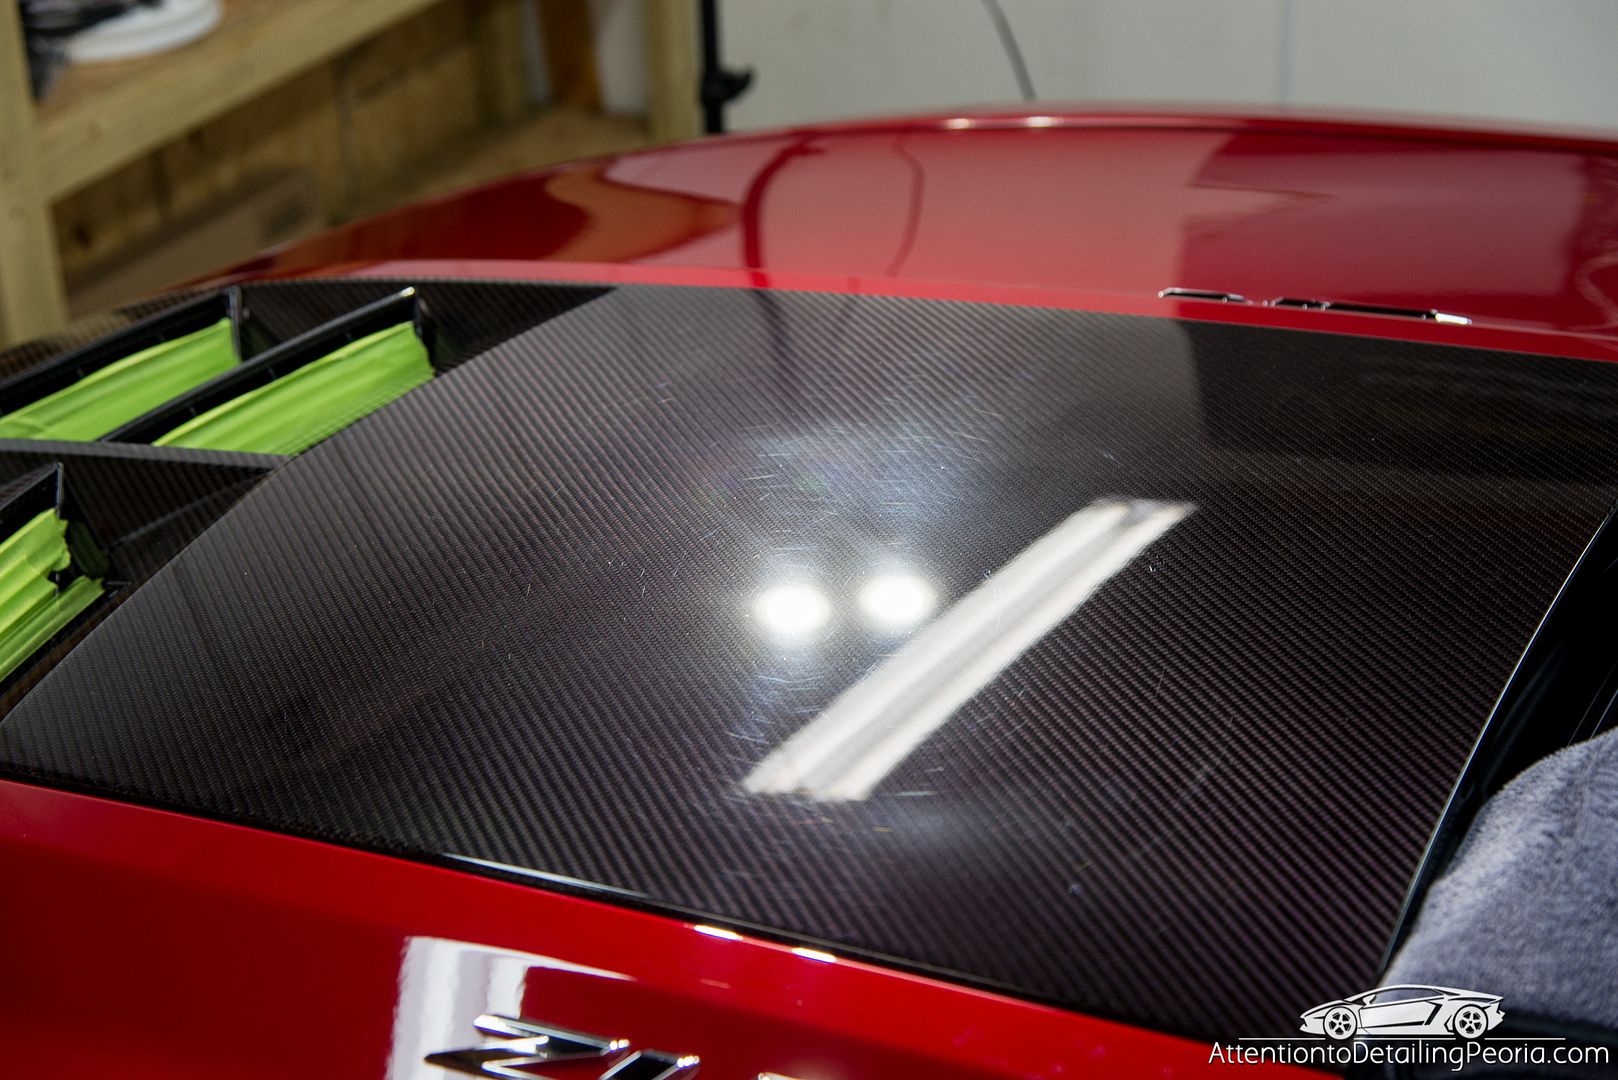
Carbon Fiber before correction

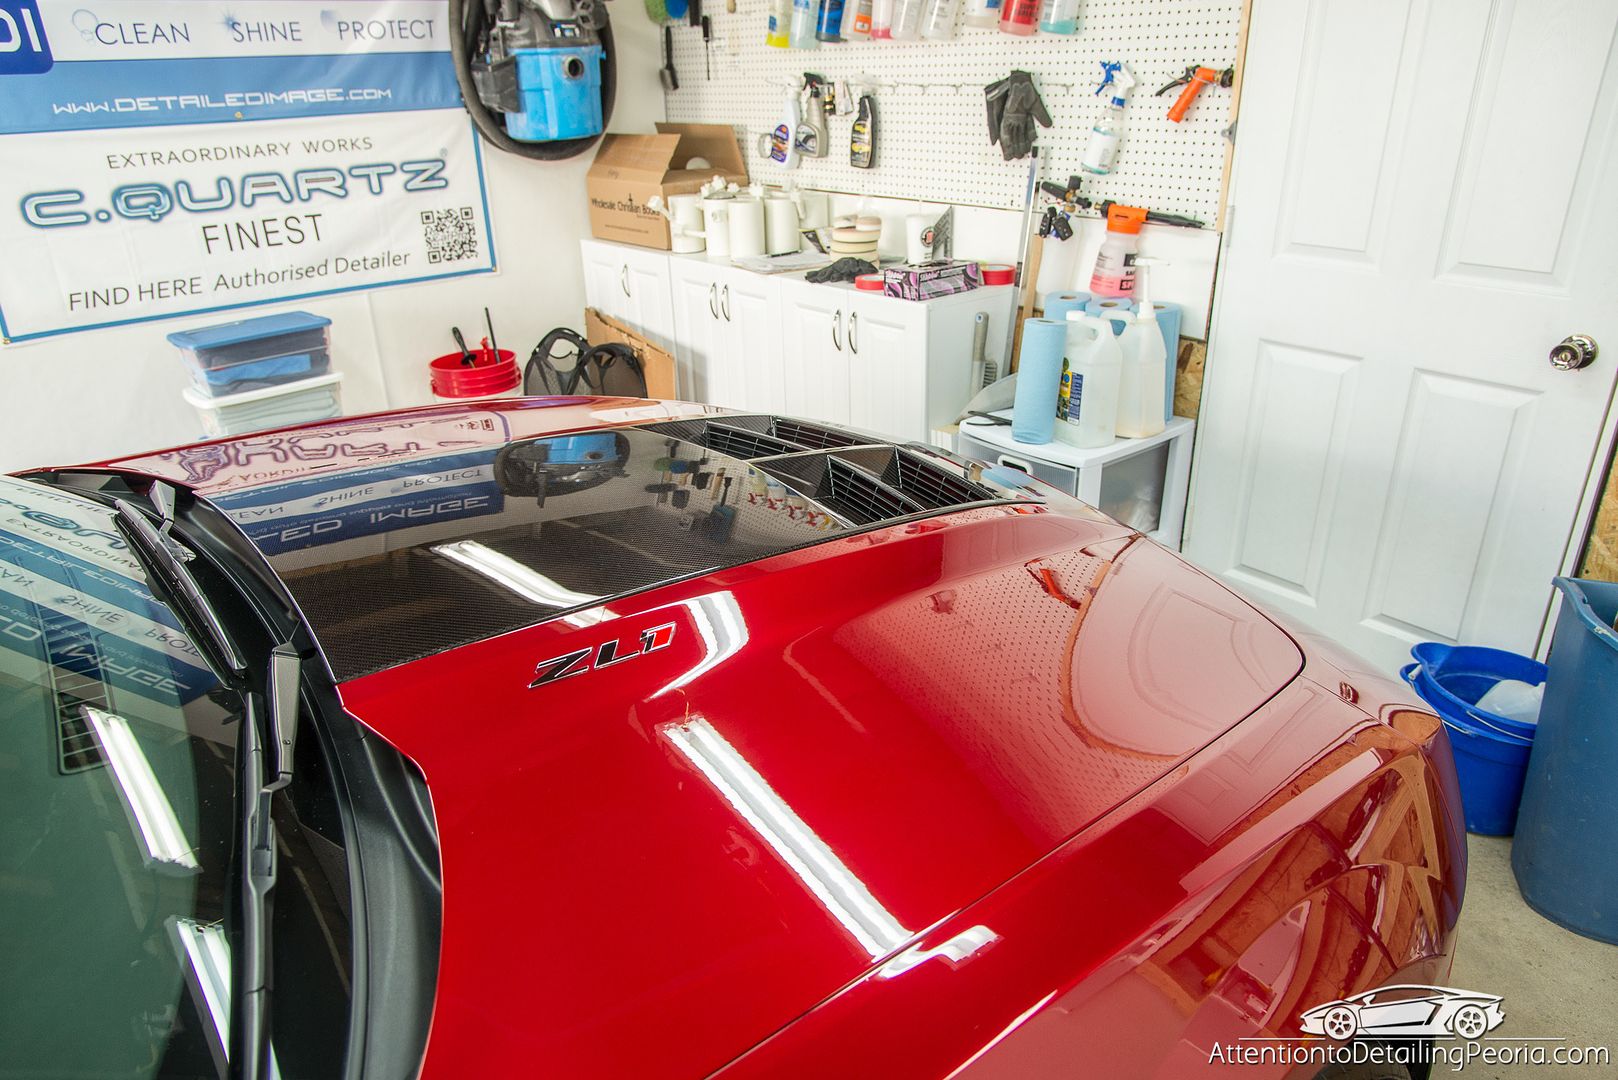
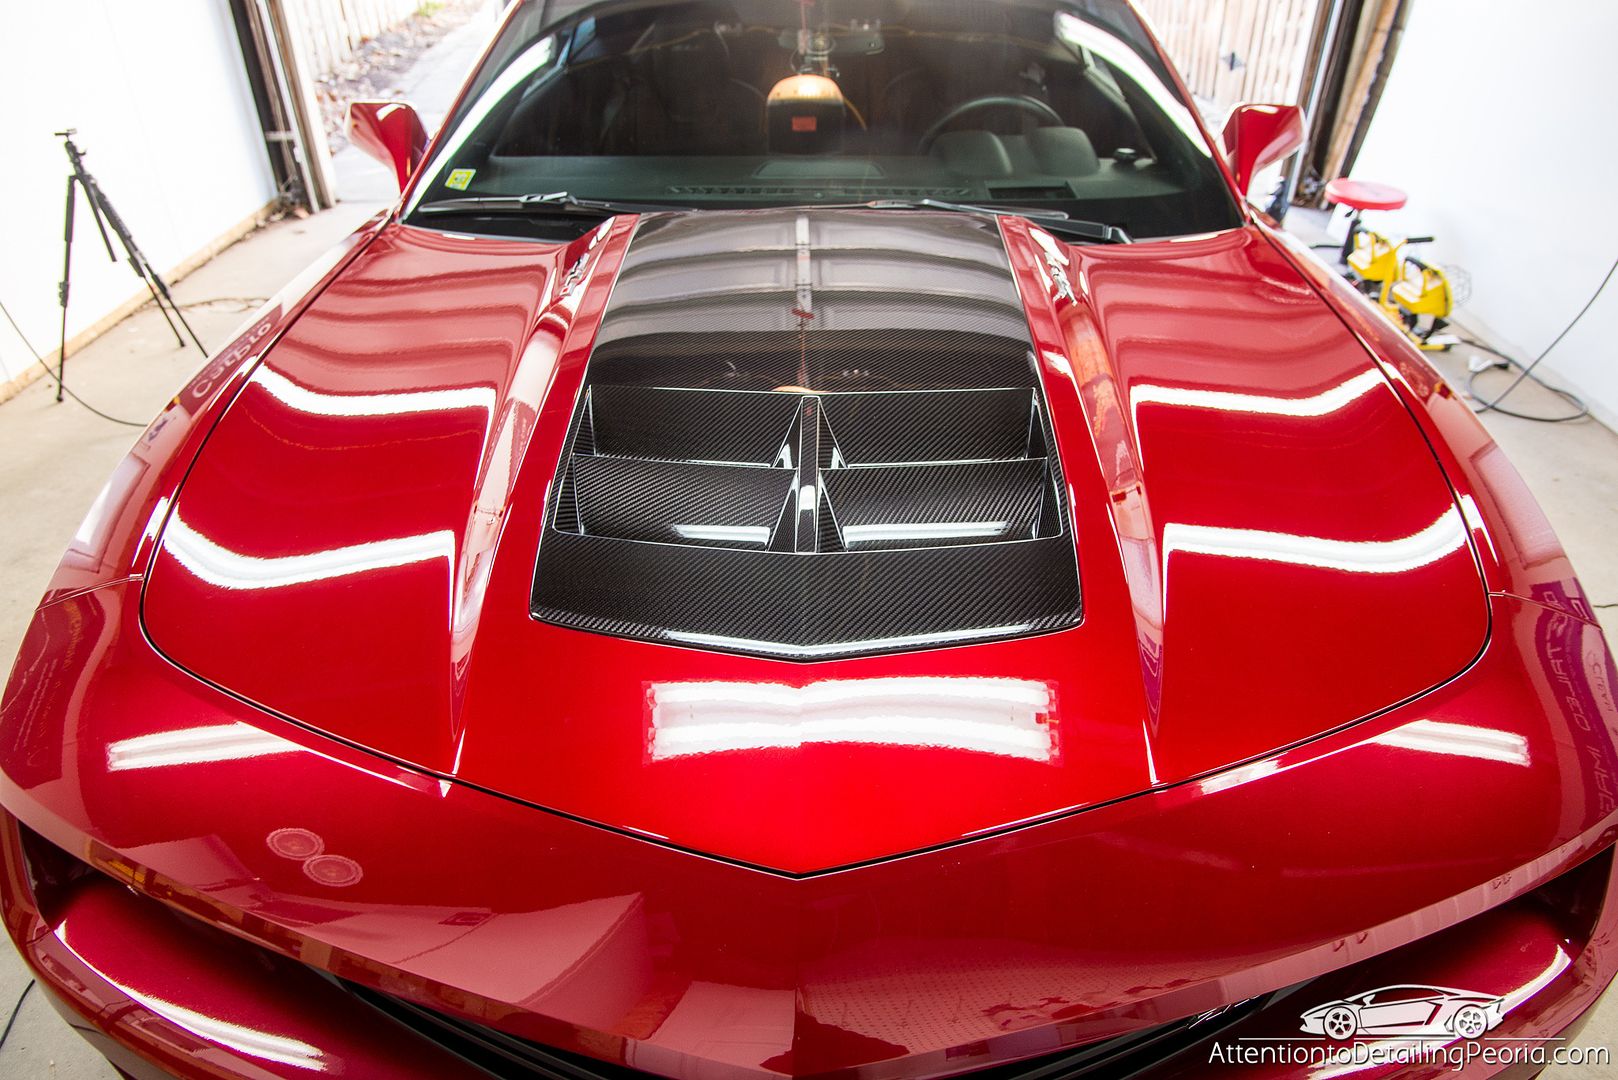
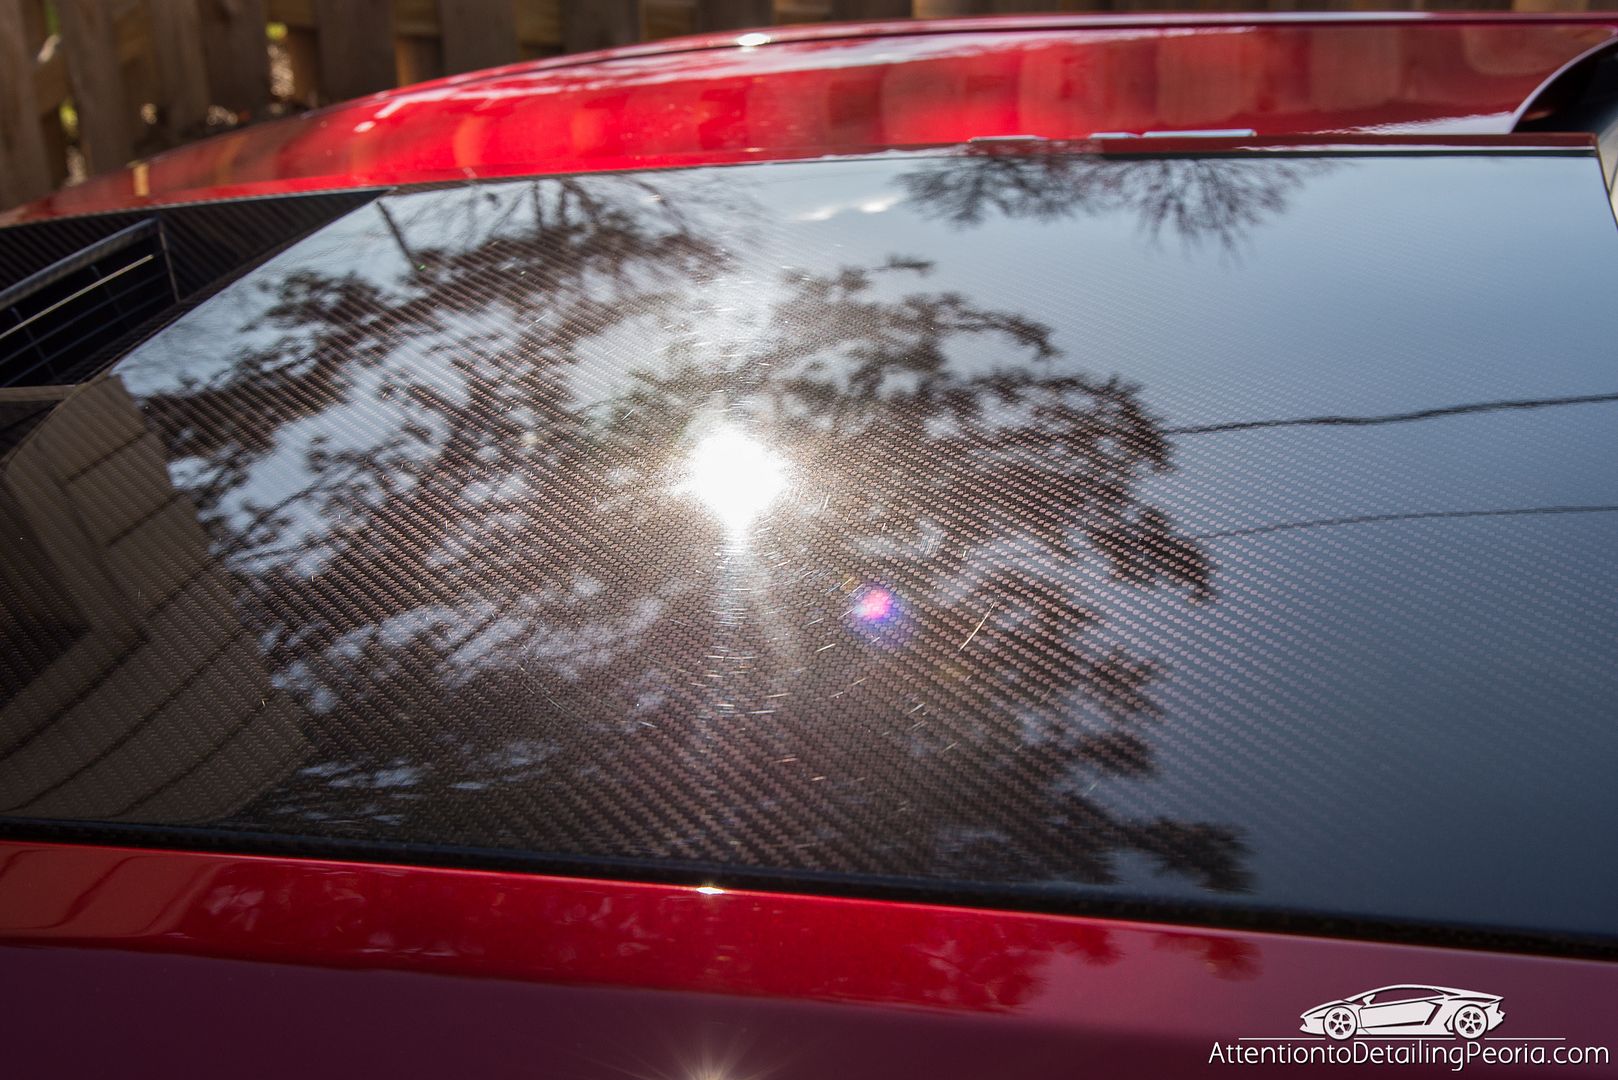
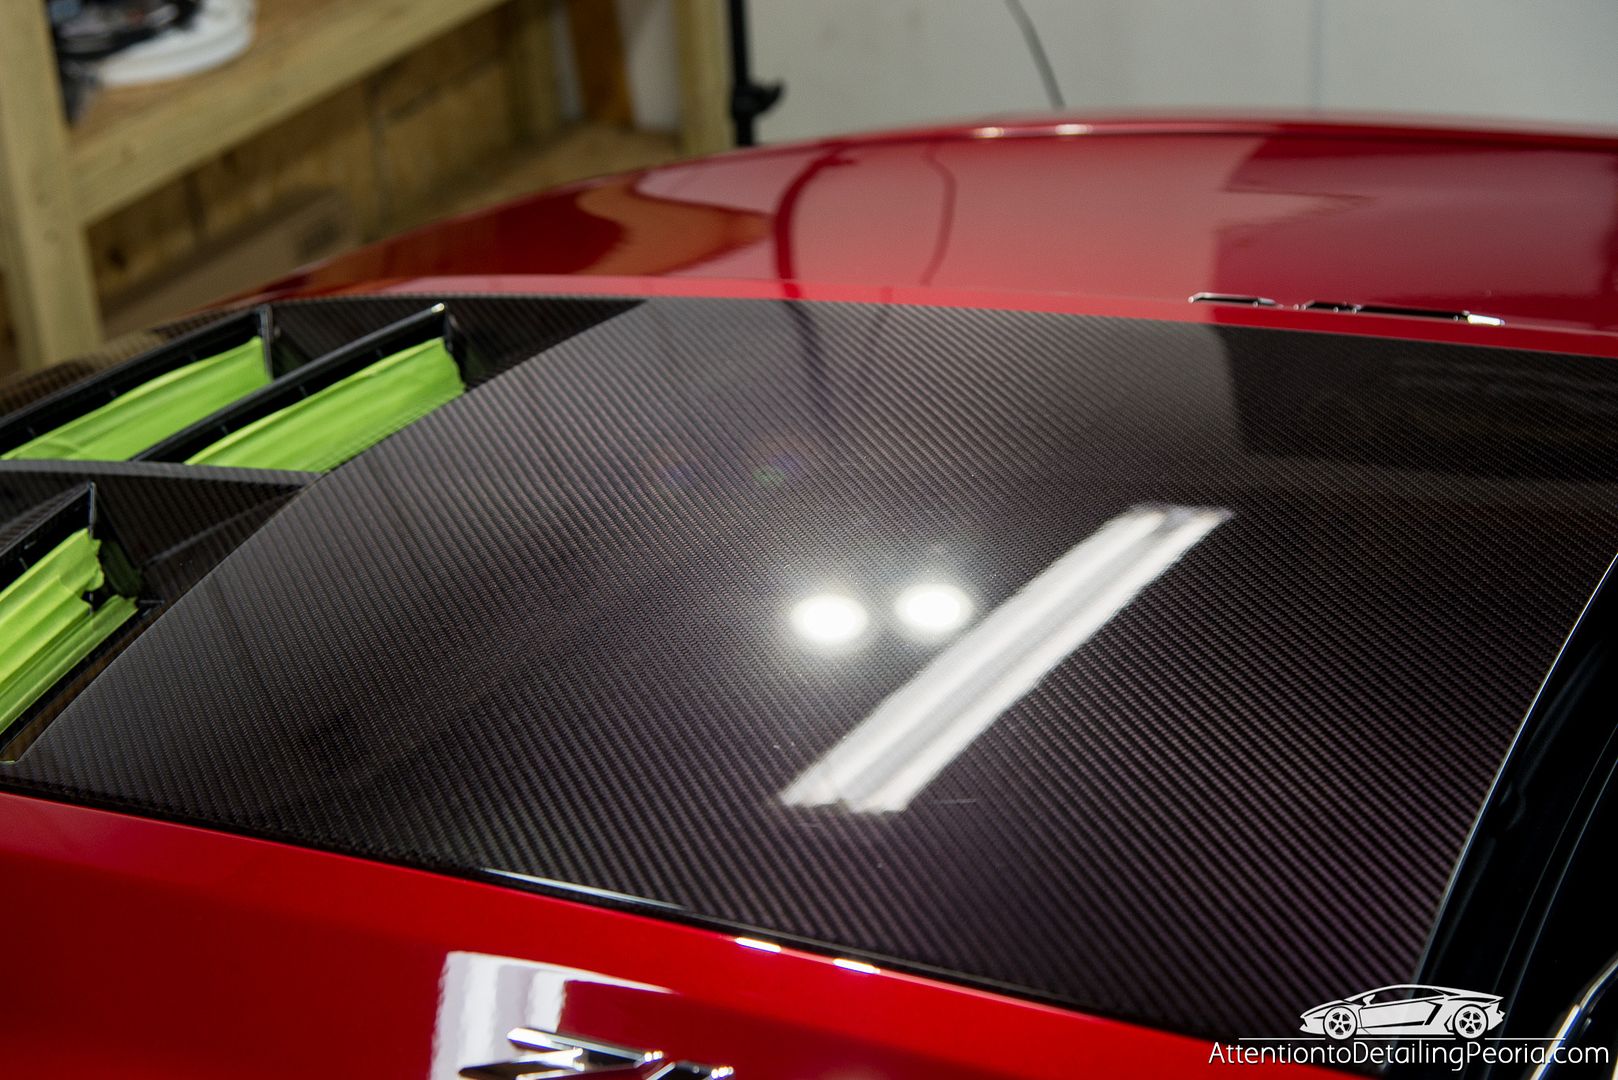
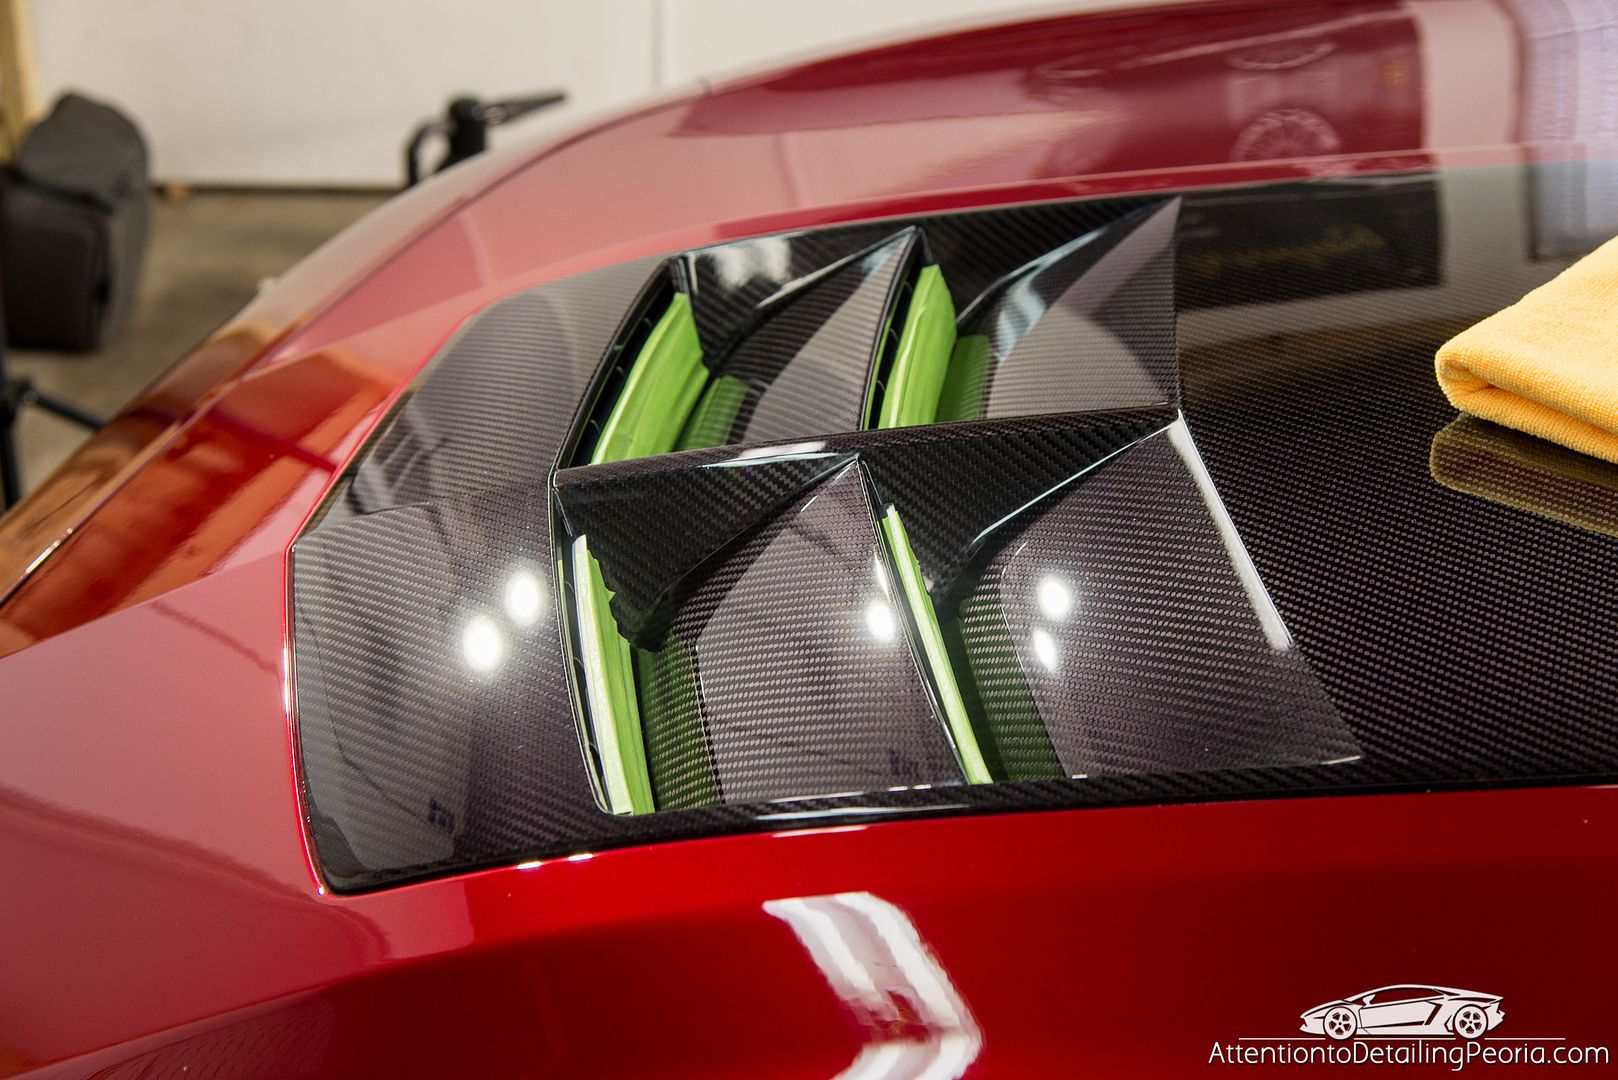
Carbon Fiber after correction
50/50 on quarter panel under ambient lighting showing the dramatic color difference. The orignal conidition now appears quite dull in comparrison.
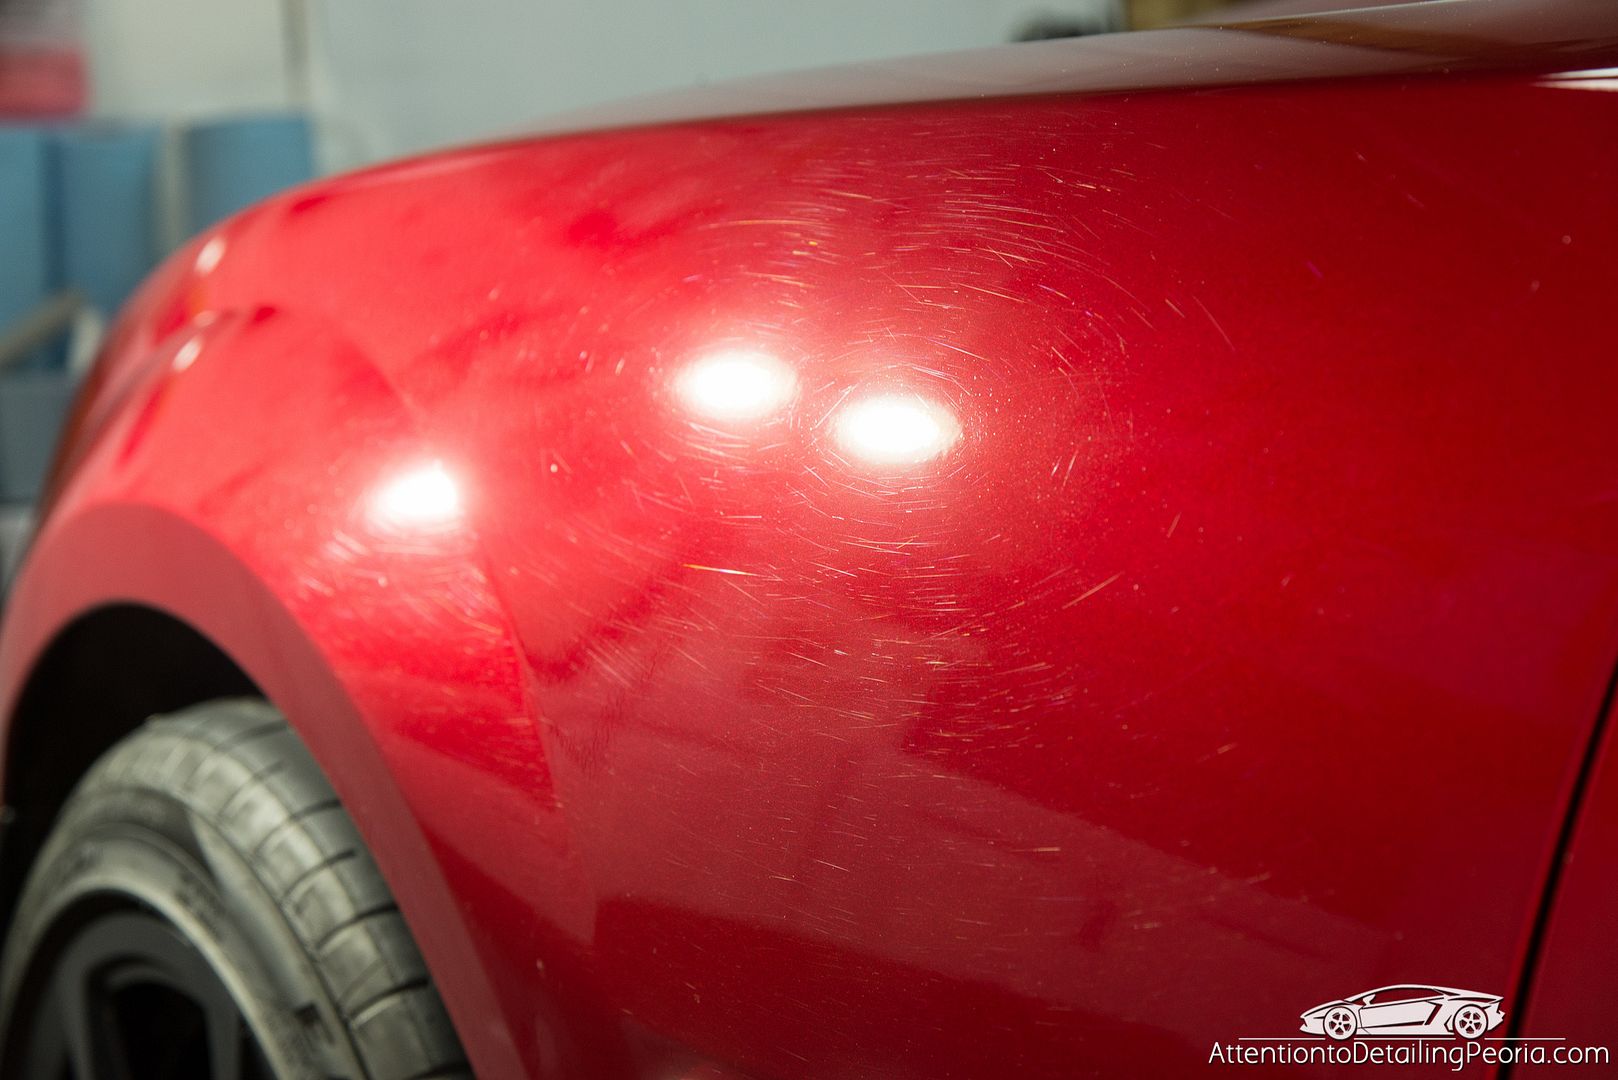
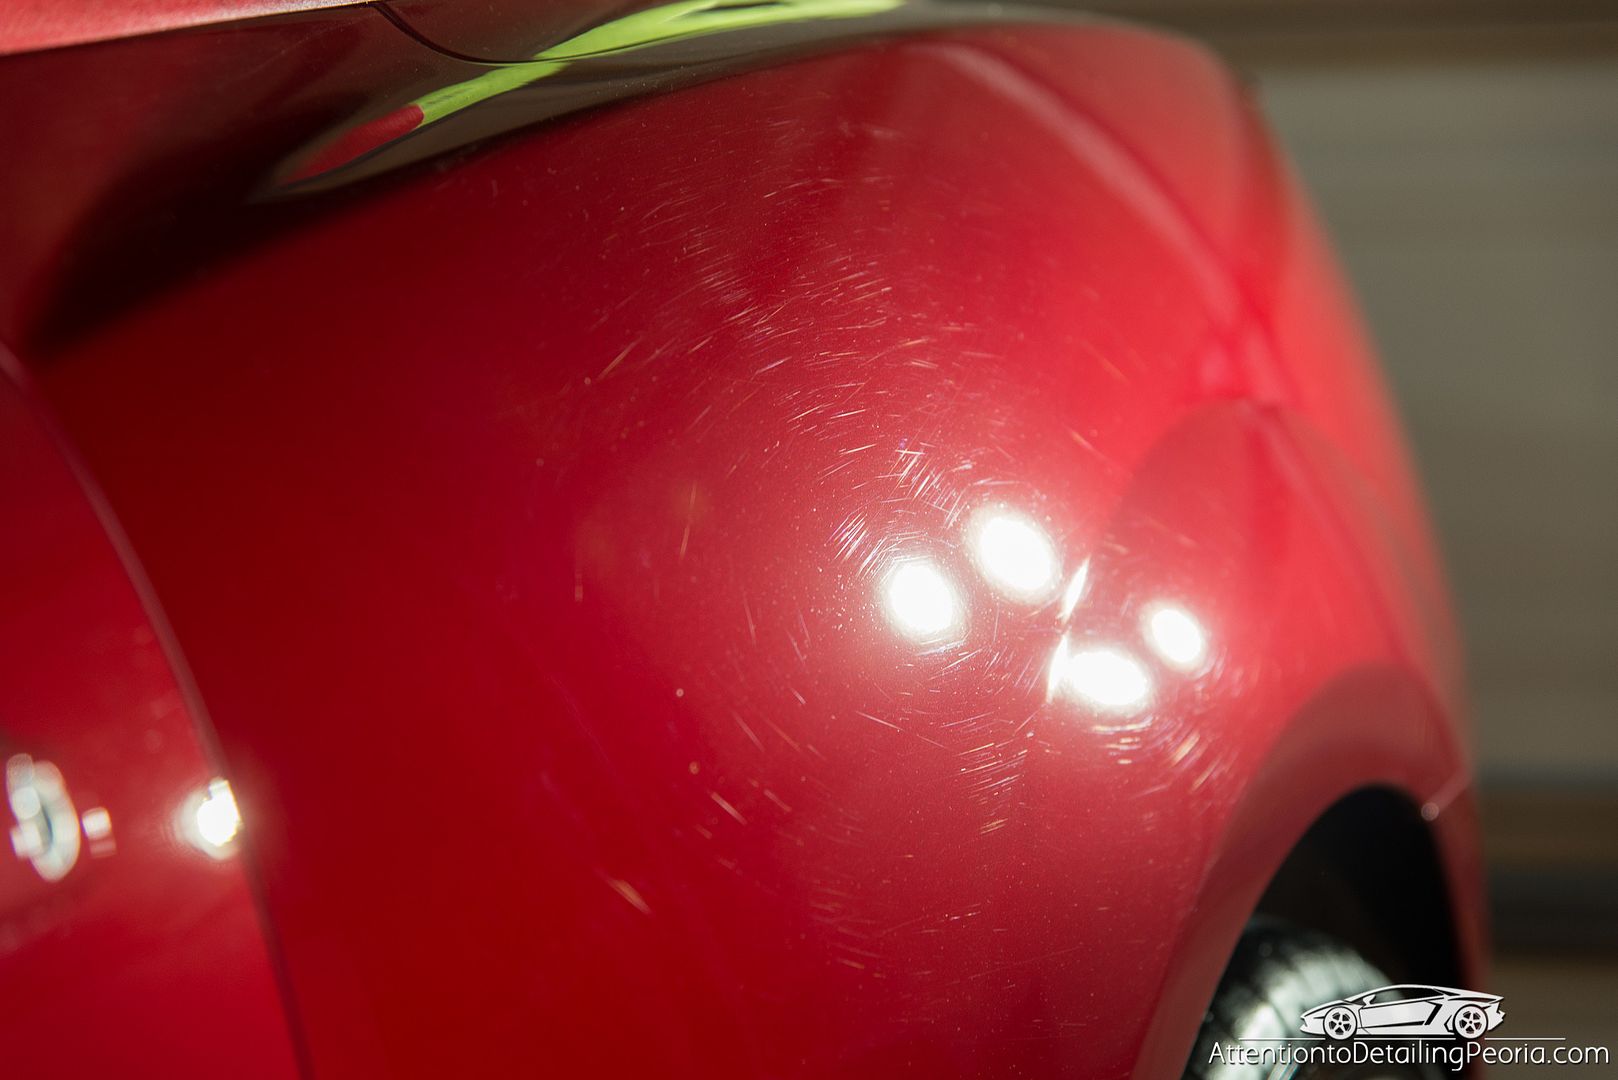
Fender before correction
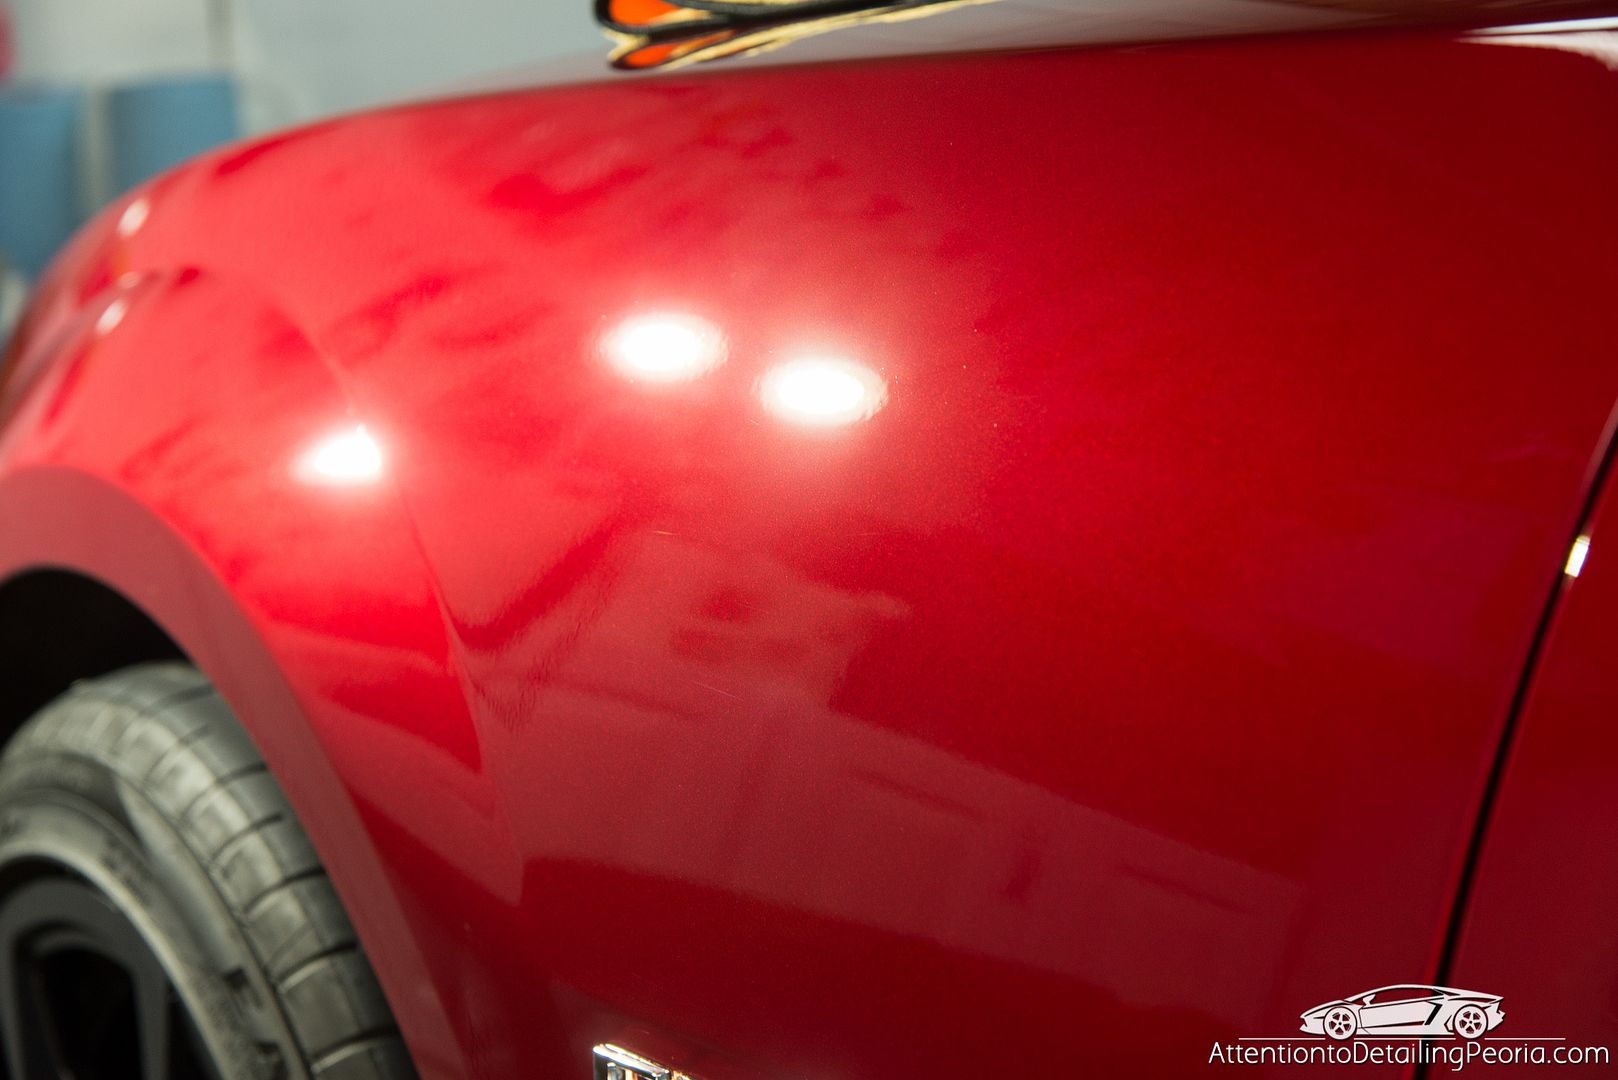
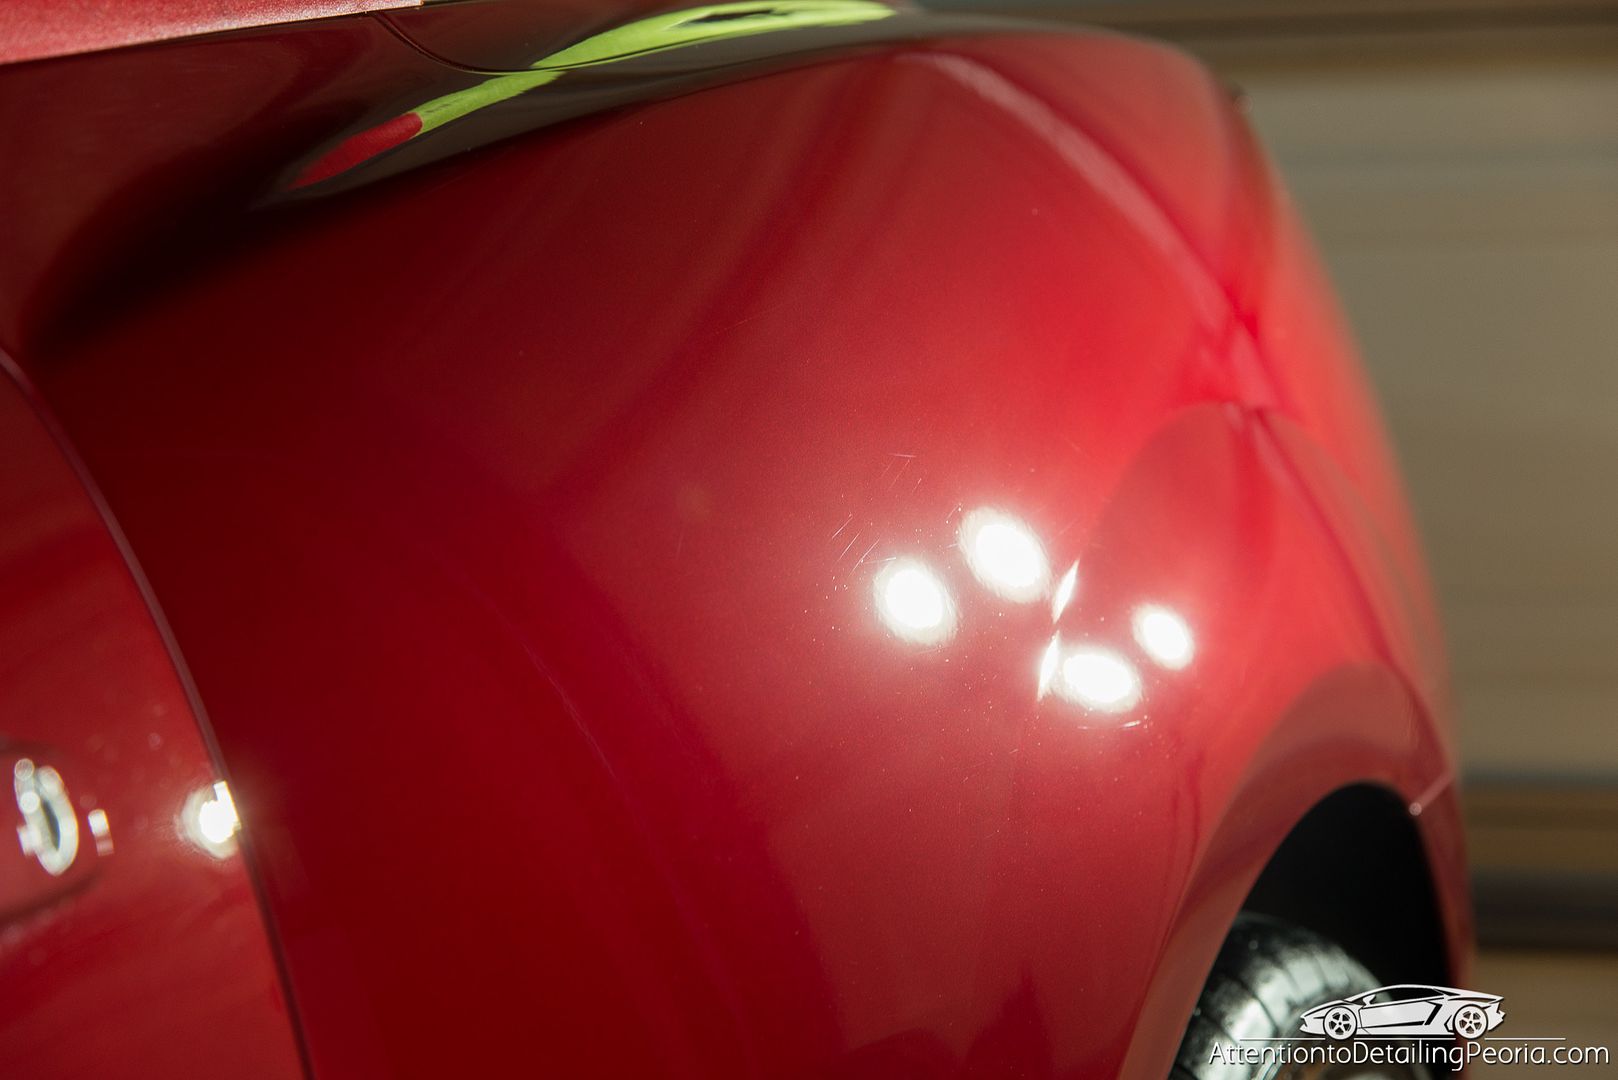
Fender After correction
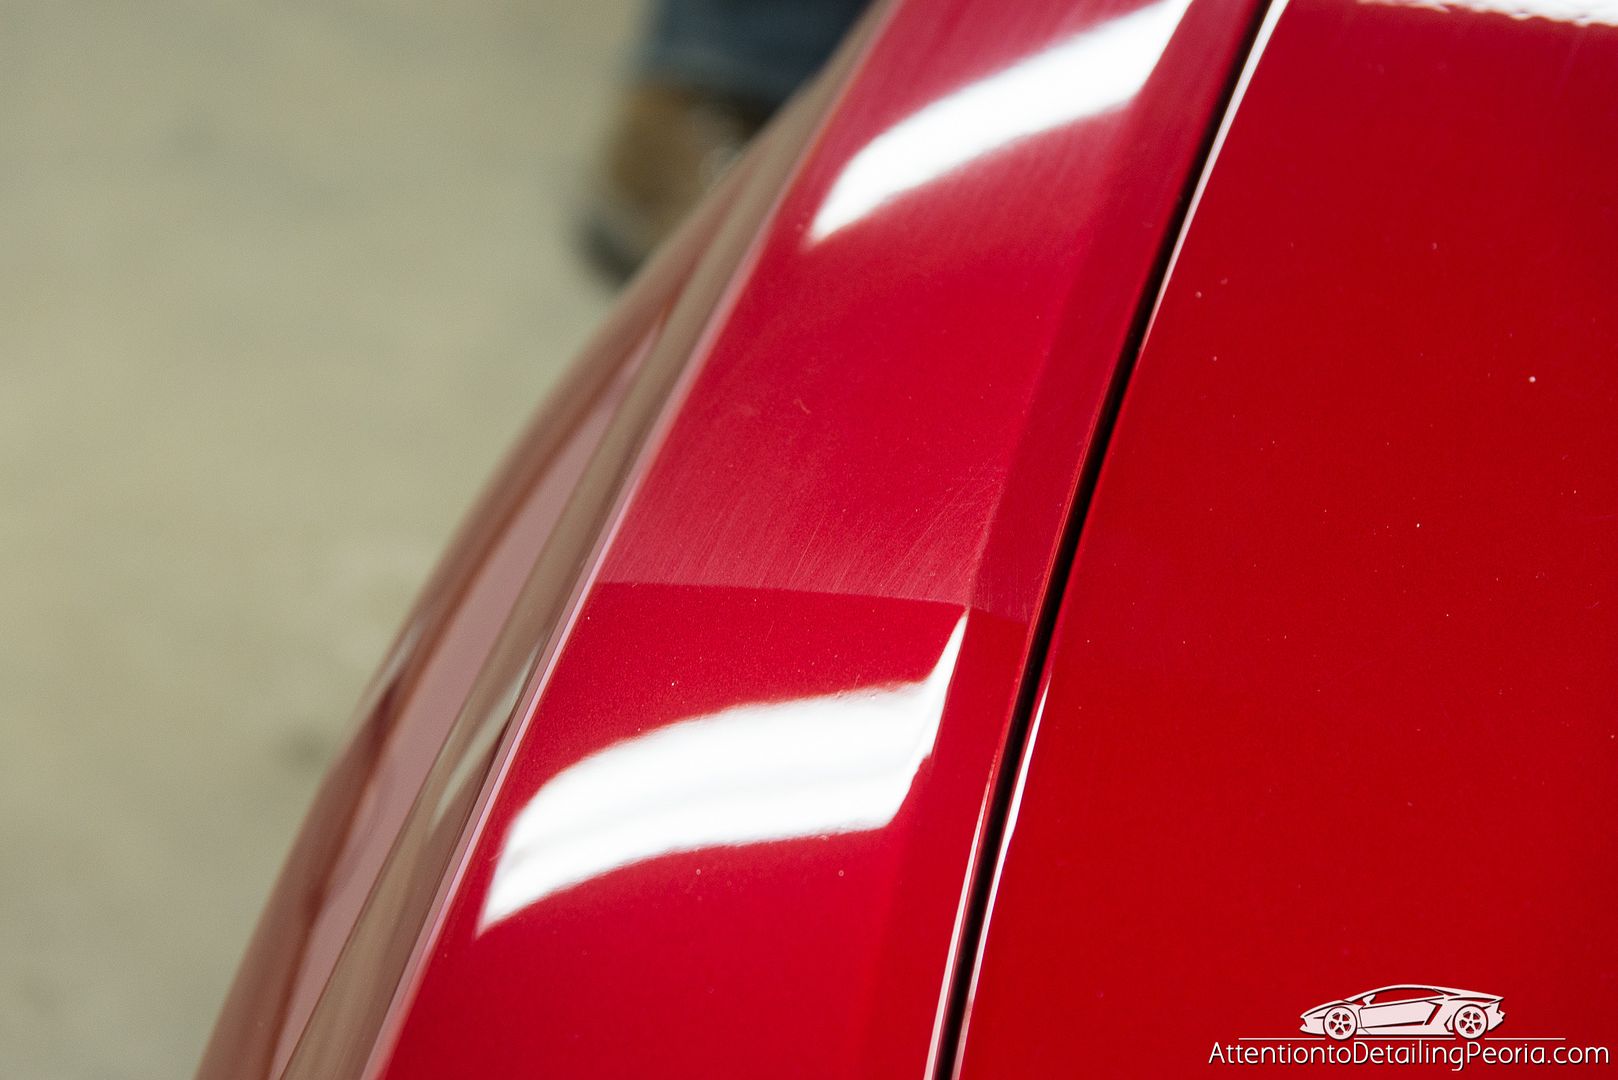
Door Before Correction
Door After Correction
Quarter Panel Before Correction
Quarter Panel After Correction
**note: the front end was not worked on at this time as the bumper was just painted**
It is technically Spring, however we were working in temps near freezing for the majority of this project. Hopefully temps will get back up to normal before our next project (another Camaro).
Process
Tires: Tuf Shine Tire Cleaner & Tire Brush
Wheels: Citrus Wash, Wheel Woolies, Boars Hair Brushes
Wash: ONR
Decontaminate: Nanoskin Fine Grade Wash Mitt with Nanoskin Glide
Paint Thickness Readings with Defelsko PosiTest Combo Gauge
Tape Trim & Areas of Concern with CarPro Automotive Tape
Correction: HD Adapt on White Lake Country Polishing Pads via Rupes LHR21ES, Rupes LHR75E, and Griot's Garage 3rd Gen
Surface Prep: CarPro Eraser
Paint Protection: Americoat Acrylic Coating
Tire Dressing: CarPro PERL
Wheel Sealant: CarPro HydrO2
Metal Polish: CG Metal Polish
Glass: Meguiar's D120
Trim: 303 Aerospace Protectant
Before
Inspecting the car before we got started. Swirls and scratches were clearly visible on all surfaces.
The wheels were not too bad, but needed some cleaning. The satin black finish also showed signs of improper care as there were stains that indicated a harsh cleaner may have been used in the past.
During
We began by cleaning the tires. They were covered in a greasy tire dressing and plenty of dirt. Notice the grime that is running off of the tires as the tire cleaner goes to work.
Once the rubber was clean, we began cleaning the wheels with a gentle soap and water solution
The wheels were then sealed with CarPro HydrO2
After the paint was thoroughly cleaned and decontaminated, the car was brought inside for further inspection. The paint looked considerably worse after it had been properly cleaned and the bare paint was revealed.
Rotary holograms were found on several panels
Swirls appeared to be rather deep
Etched water spots were found on most horizontal surfaces
Our test spot yielded a sizeable improvement. The paint is now mostly defect free and a much deeper shade of red.
Video of the test spot
Carbon fiber before corection.
Carbon Fiber before correction
Carbon Fiber after correction
50/50 on quarter panel under ambient lighting showing the dramatic color difference. The orignal conidition now appears quite dull in comparrison.
Fender before correction
Fender After correction
Door Before Correction
Door After Correction
Quarter Panel Before Correction
Quarter Panel After Correction