SRT-10 Dodge Viper gets Wet Ice over Fire treatment by Tru Shine!

Redcar GUY

New member
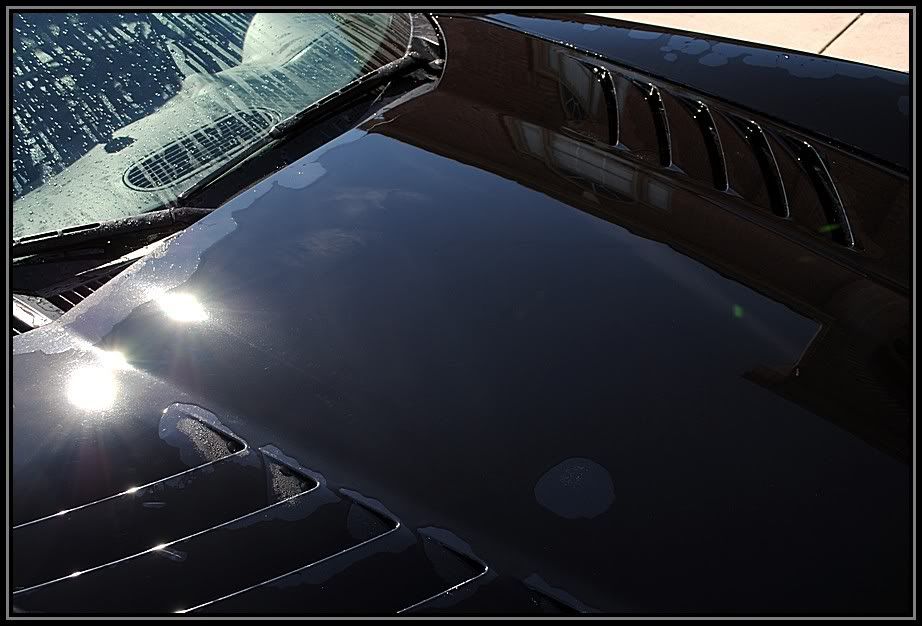
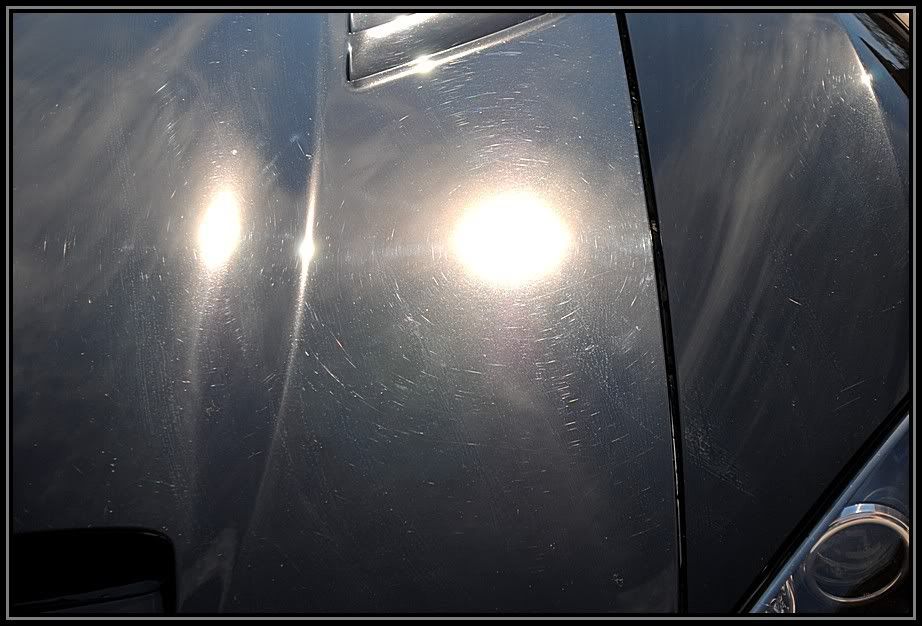
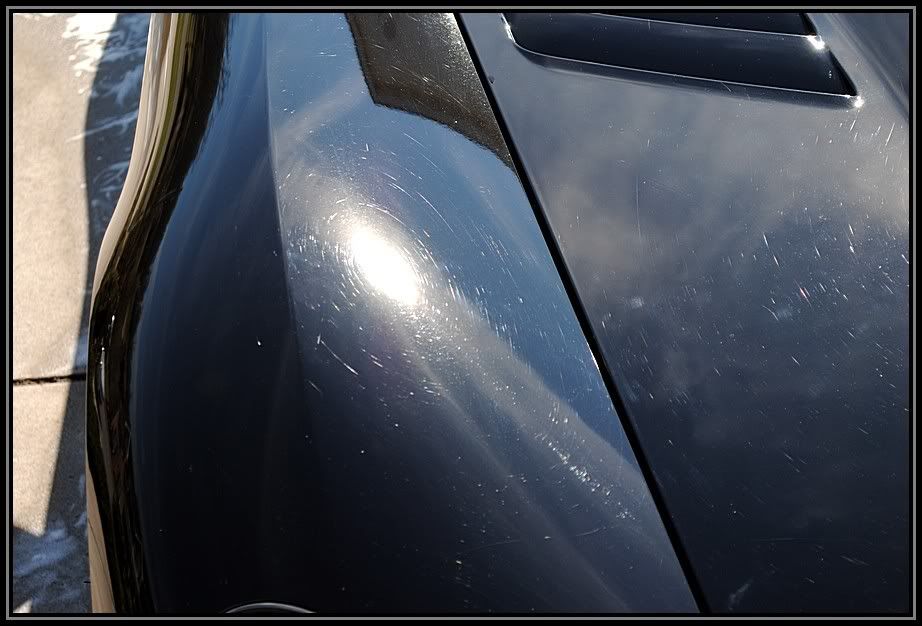
I went to Auto Zone today to get some oil, I found some stoners for $3.99(19oz) and this stuff I have never used before....Coastal power clean glass cleaner, any one used it>? I think that it contains amonia but it dosnt say on the can? I will only use it on the out side of windows and the stoners on the inside. it was 2(18oz) for $3.99

I see now that CMA has the stoners in a 13oz for $5.69! I may have to go back to the zone and get a few more!
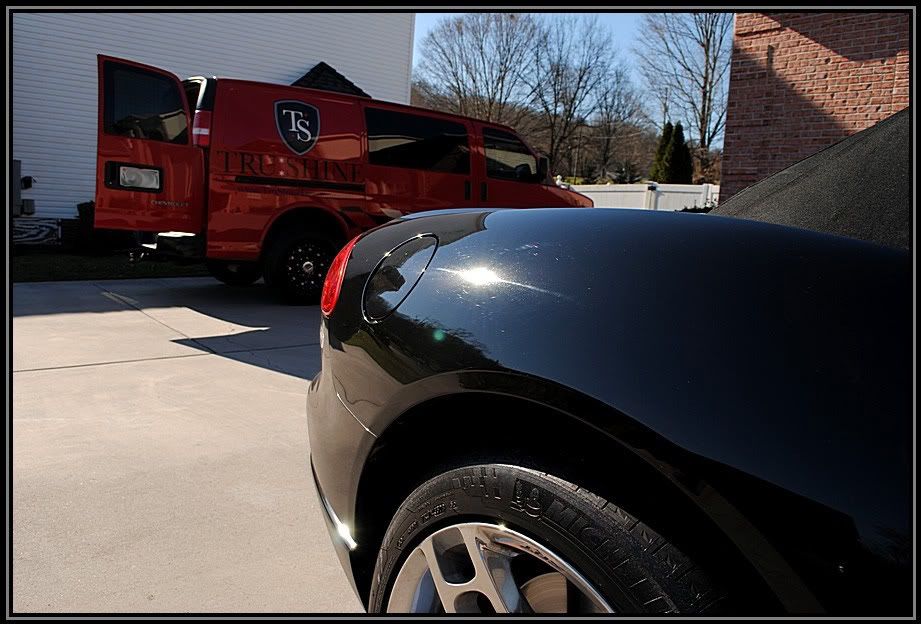
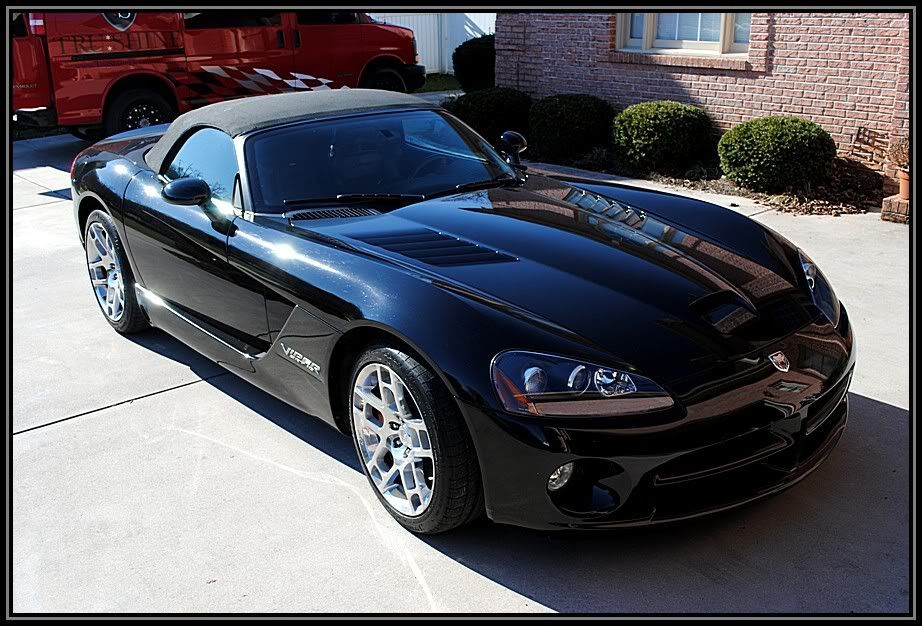
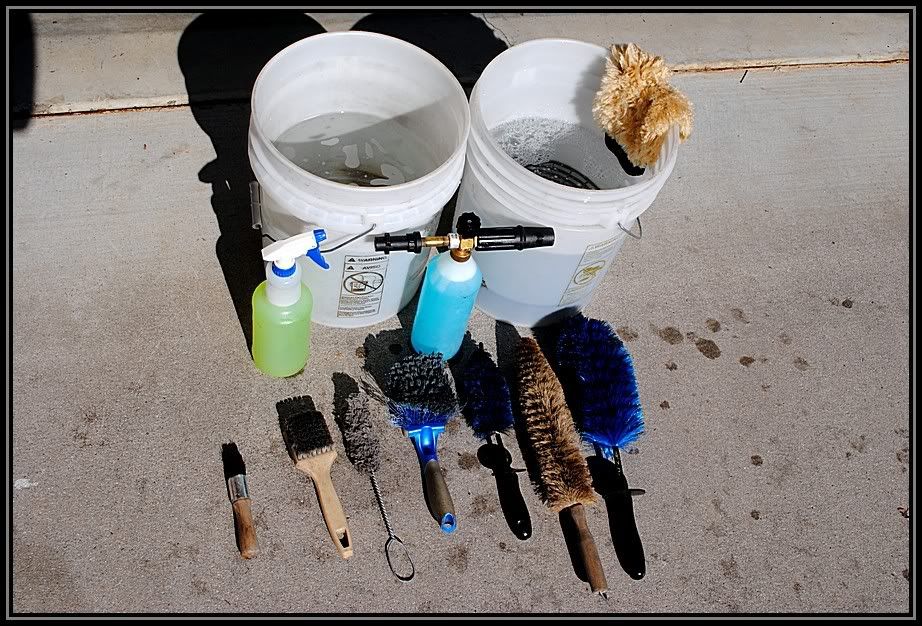
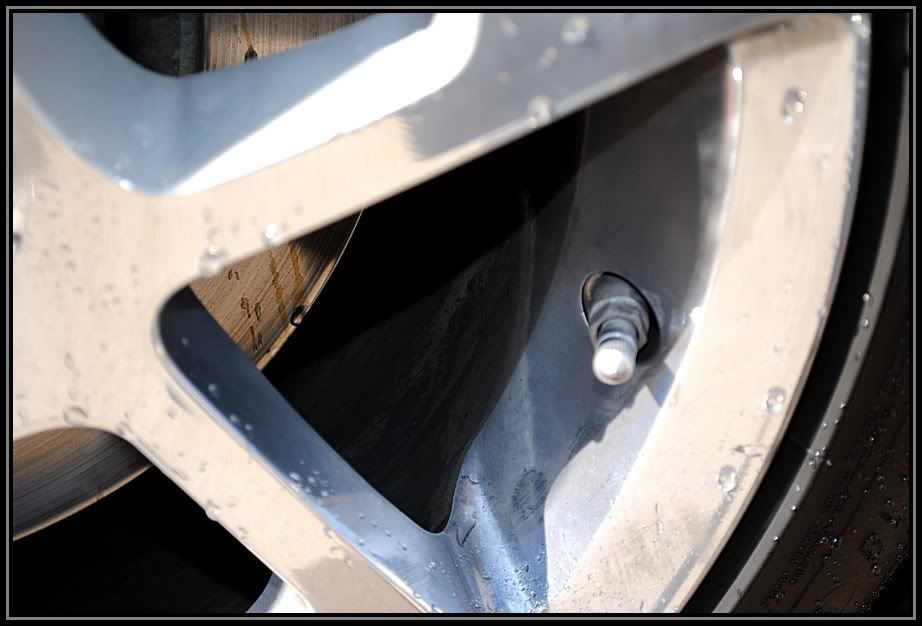
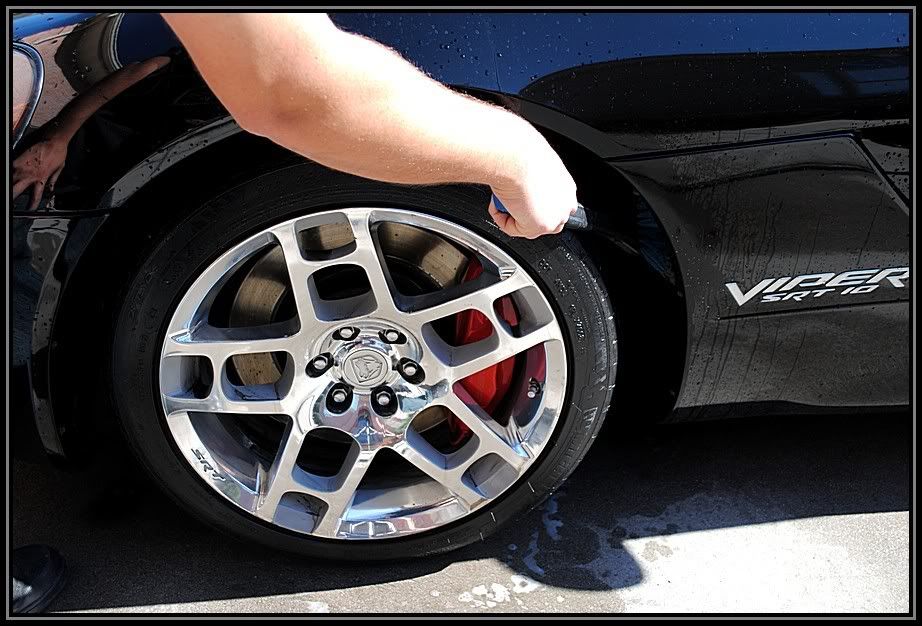
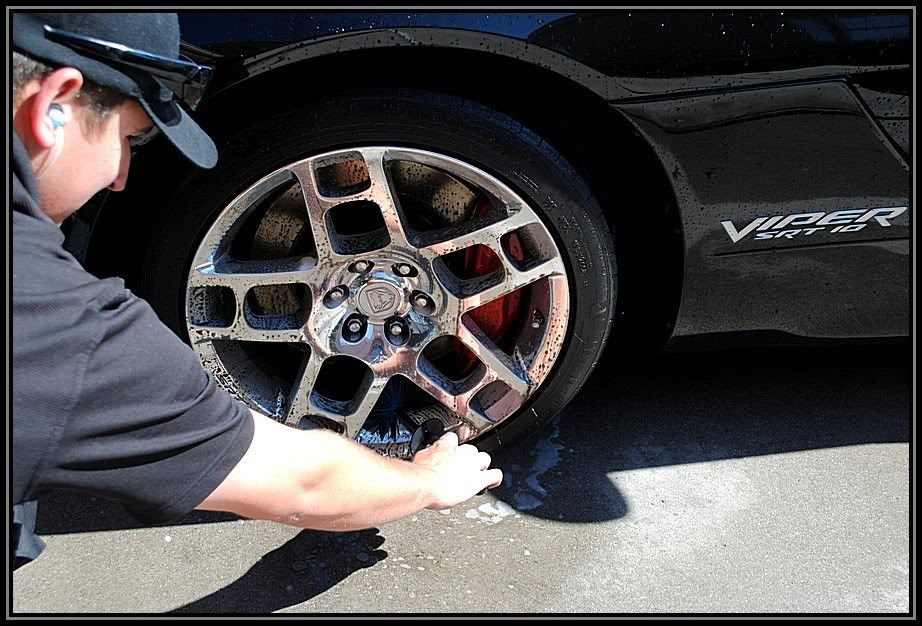
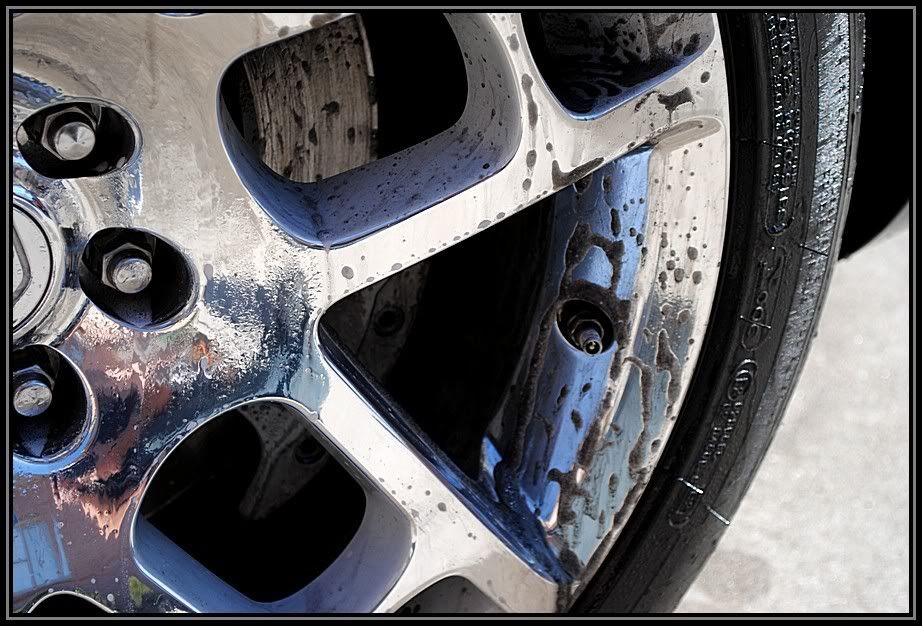
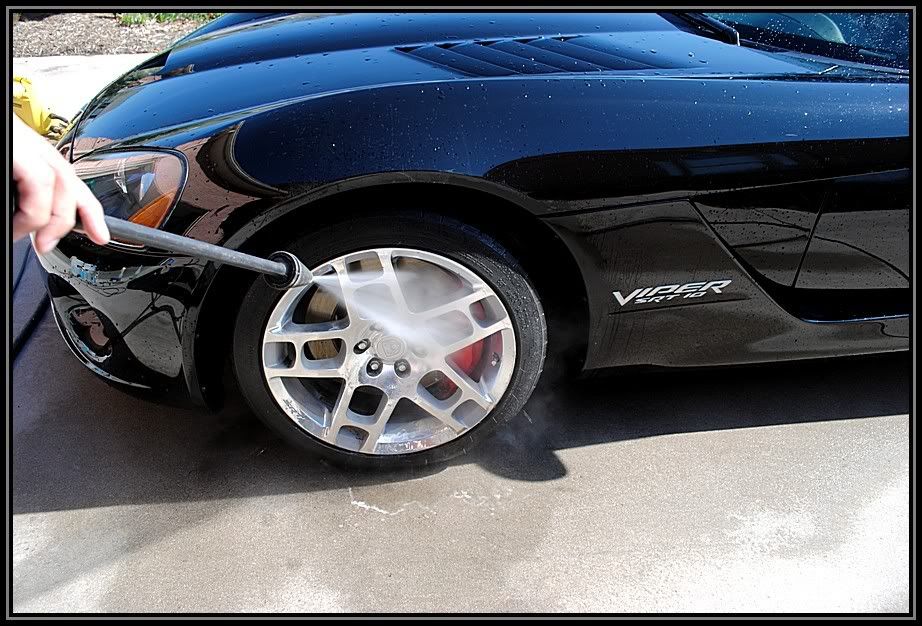
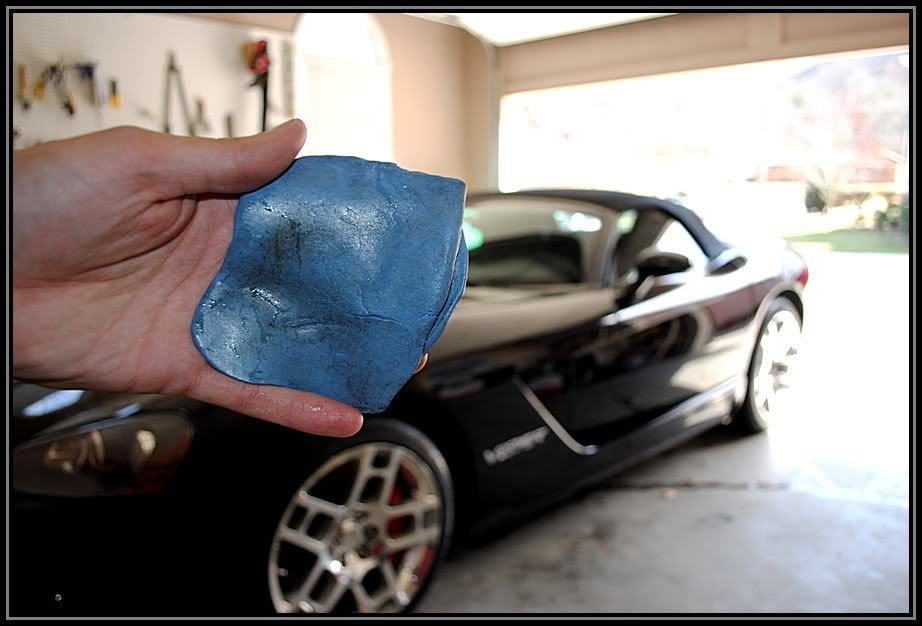
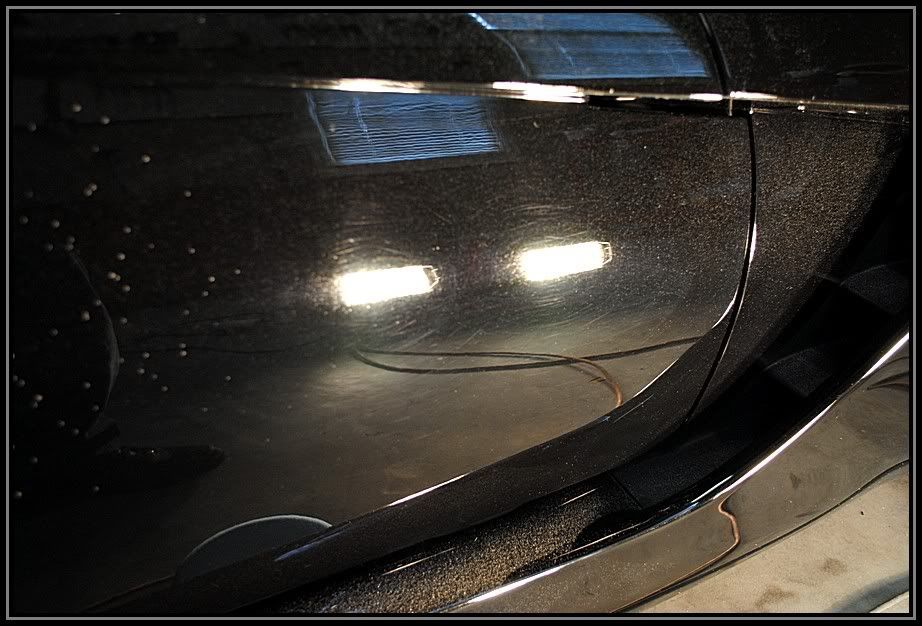
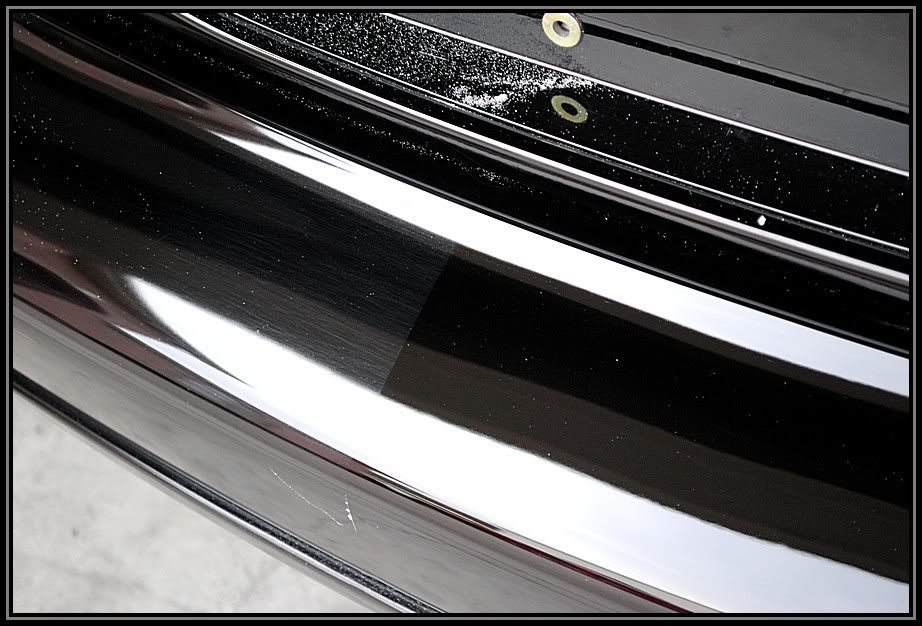
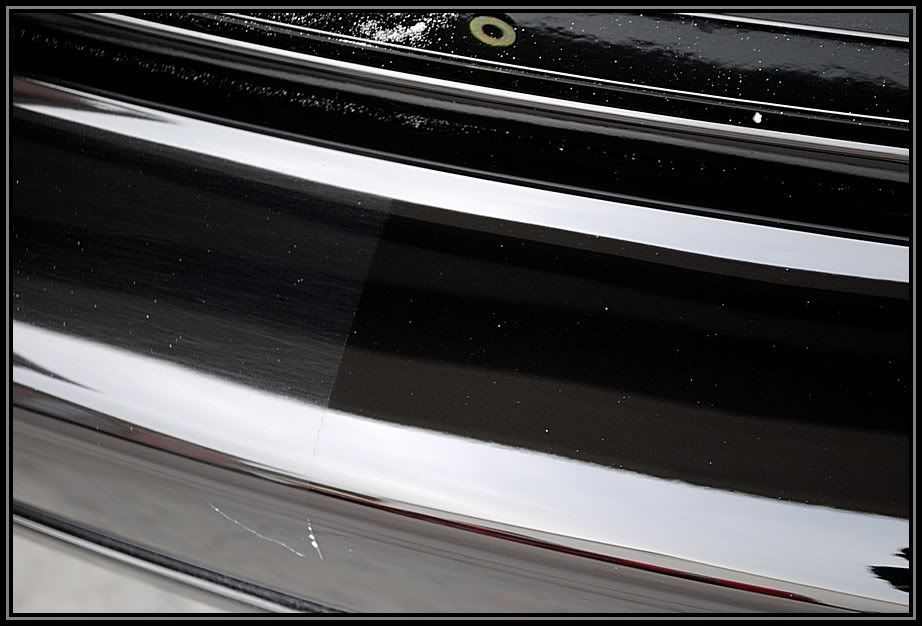
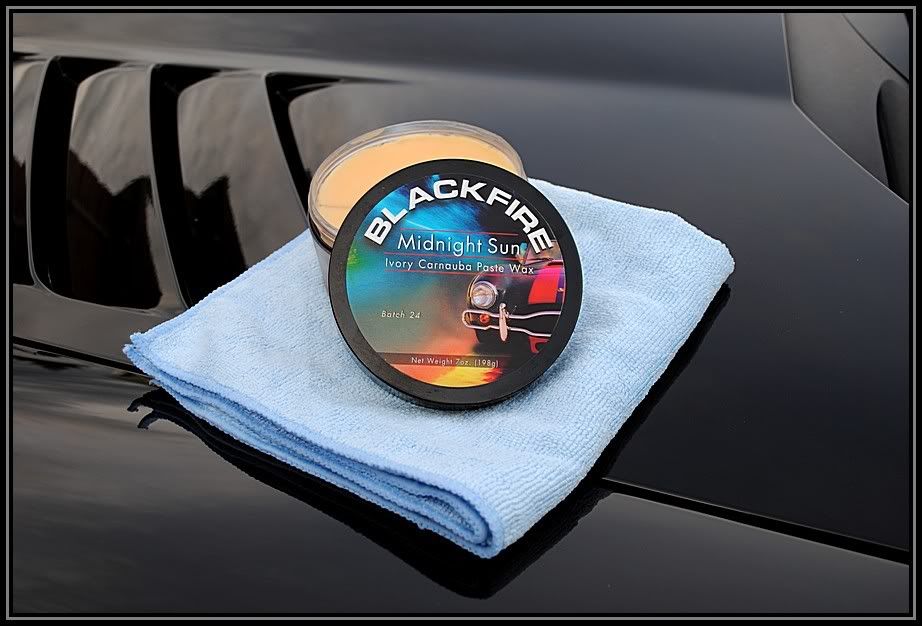
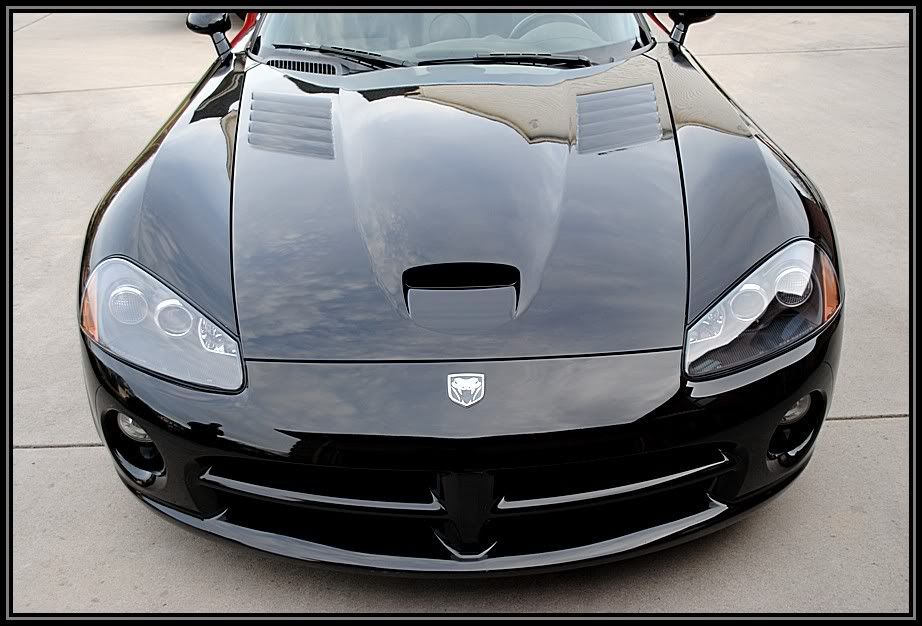
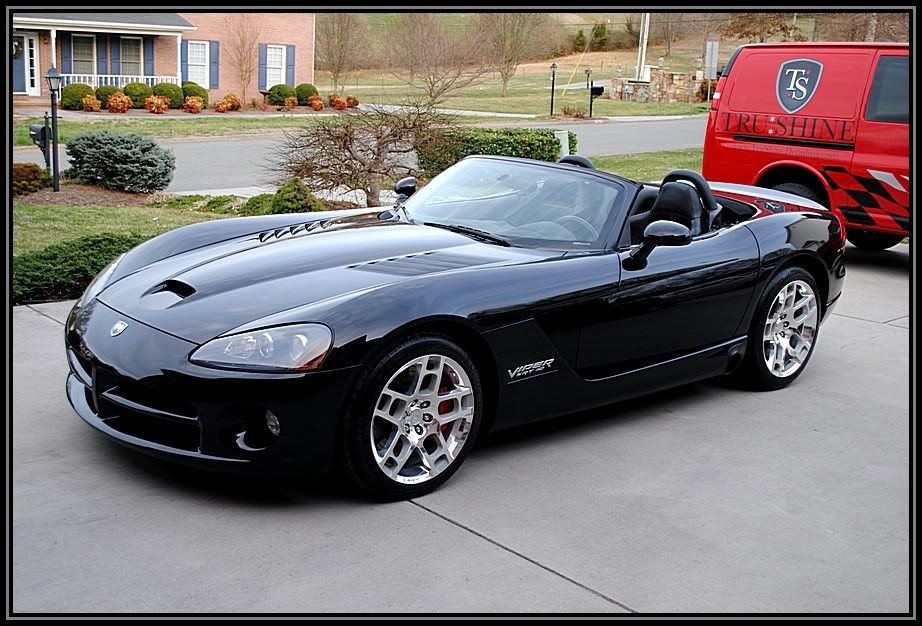
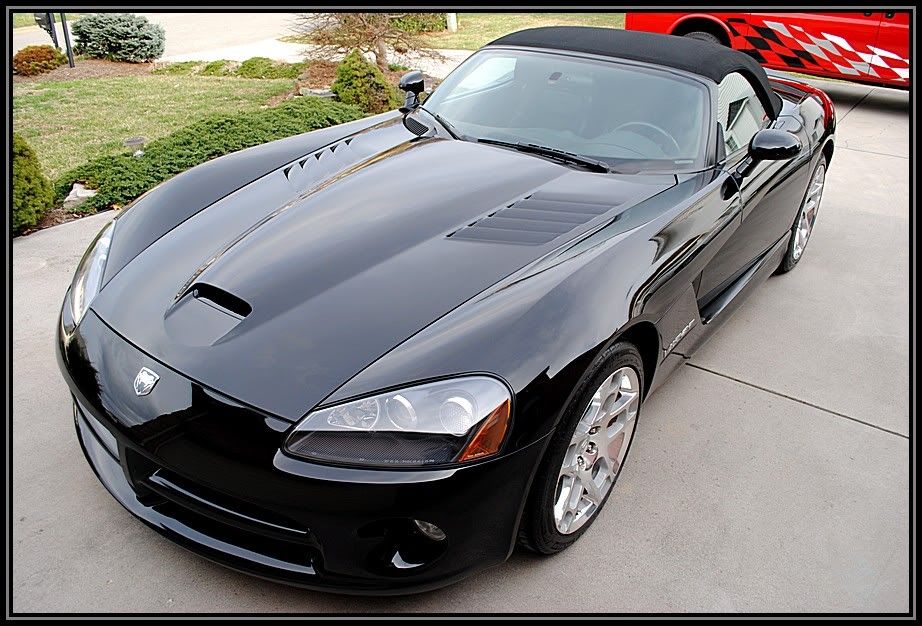
 
I like the "foamers" best for initial cleanings, or for brand new cars emitting lots of plastics. I have has best luck with SprayWay foaming, which can be had very cheap over at TOL. But for maintence, I like sprays like Clear Vision, much cheaper.
 
The only problem with stoners is that if it is a little windy, it sprays beyond the window because of the aerosol. Perhaps there is a trick to make sure it only gets on the window.
 
For windy days and getting into tight places, try to spray some window cleaner onto the cloth.


This prevents the over spray and splatter.


Jason
 
<blockquote class='ipsBlockquote' >

<em class='bbc'>Originally posted by JasonC8301 [/i]
<strong class='bbc'>For windy days and getting into tight places, try to spray some window cleaner onto the cloth.

This prevents the over spray and splatter.

Jason [/b]</blockquote>:up
 

Back in late January, I had a client contact me about doing a correction on his GMC Danali, but after countless weather interruptions and having to reschedule so many times, the Spring weather finally came and he decided to get his Viper done instead. He had just recently purchased the Viper and wanted it back to top notch condition so that he can properly maintain it from here on out.


This is what was waiting on me when I arrived.

SRT10Viper0006.jpg


SRT10Viper0034.jpg


SRT10Viper0010.jpg


SRT10Viper0011.jpg


SRT10Viper0014.jpg


SRT10Viper0015.jpg


SRT10Viper0017.jpg


SRT10Viper0018.jpg


SRT10Viper0019.jpg


SRT10Viper0023.jpg


SRT10Viper0024.jpg


SRT10Viper0025.jpg


SRT10Viper0027.jpg


Now to get started on the wash process.

tools used:
1 wash bucket with grit guard and 100% sheepskin wash mitt for wash
1 bucket for cleaning wheels
P21s wheel gel
Foam cannon w/ Dawn ultra concentrated
EZ detail brush along with other various brushes

SRT10Viper0037.jpg


I started with a Pre-Rinse to knock off any of the loose dirt.

SRT10Viper0042.jpg


Then I applied the P21s wheel gel and let it dwell and eat at the brake dust.

SRT10Viper0045.jpg


and some degreaser to the fender wells

SRT10Viper0055.jpg


the wheels were solid black on the inside

SRT10Viper0047.jpg


I agitated the fender wells

SRT10Viper0056.jpg


and then scrubbed the wheels with my EZ detail brush reaching all areas tight area deep inside the wheels

SRT10Viper0054.jpg


SRT10Viper0059.jpg


Then I rinsed off the wheels.

SRT10Viper0057.jpg


Next was the Foam bath, I first sprayed one coat of foam letting it dwell and suspend the dirt off of the surface

SRT10Viper0070.jpg


SRT10Viper0072.jpg


SRT10Viper0074.jpg


then rinsed

SRT10Viper0076.jpg


Then the second foam coating for the wash

SRT10Viper0077.jpg


SRT10Viper0079.jpg


SRT10Viper0082.jpg


SRT10Viper0083.jpg


SRT10Viper0084.jpg


SRT10Viper0087.jpg


Then rinsed.....

SRT10Viper0088.jpg


water just sits there.........Thats a good sign of there being no waxes or oils left on the surface.

SRT10Viper0096.jpg


Then I dried off the car and did another inspection to see what the previous waxes were hiding.

SRT10Viper0099.jpg


SRT10Viper0100.jpg


Next I pulled the car in and began the clay bar stage using my Blue Clay Magic fine clay.

SRT10Viper0104.jpg


SRT10Viper0109.jpg


Next I taped up all the black plastic trim and covered the fabric top with plastic to prevent compound from getting on the top.

SRT10Viper0111.jpg


Now it was time for the correction. I did a test spot on the the front fender to see what I was working with.

I first grabbed for my Surbuff pad on the Flex 3401 using Meguiars M105

SRT10Viper0119.jpg


I worked the M105 until it began to clear up and then went over the residue with a Hydrotech Cyan pad to clean up the haze.

SRT10Viper0120.jpg


SRT10Viper0121.jpg


Upon Further inspection I noticed that there were little pits in the paint that would not come out.

SRT10Viper0122.jpg


SRT10Viper0125.jpg


here is a picture of what each step did to the clear coat.


SRT10Viper0118.jpg


I wanted to see what the little pits would look like out in the sun, so I pulled the car outside to check it out.

SRT10Viper0133.jpg


SRT10Viper0137.jpg


SRT10Viper0139.jpg


SRT10Viper0142.jpg


slightly noticable but they weren't budging.

While I was out there I caught a double rainbow!!!!.........

SRT10Viper0145.jpg


The side panels came out good, but still had little pits on the those too.

SRT10Viper0156.jpg


SRT10Viper0157.jpg


SRT10Viper0161.jpg


Gotta love the Surbuff's cutting abilities!

SRT10Viper0172.jpg


Using my Brinkman's Dual Xenon Swirl finder light, I could capture how bad the swirls were in the taillights.

SRT10Viper0174.jpg


The Cyan pad and M105 on the flex took care of those

SRT10Viper0189.jpg


SRT10Viper0177.jpg


SRT10Viper0192.jpg


Here is a 50/50 of the back bumper

SRT10Viper0183.jpg


SRT10Viper0184.jpg


SRT10Viper0185.jpg


SRT10Viper0186.jpg


I finished up the cutting stage and began polishing using the Tangerine Hydrotech pad and M205 polish.

SRT10Viper0203.jpg


After that I applied some Black Fire Wet Diamond paint sealant using a Crimson Hydrotech pad on the Flex 3401.

SRT10Viper0204.jpg


SRT10Viper0205.jpg


SRT10Viper0211.jpg


SRT10Viper0198.jpg


I finished up day one around 11:30pm, and since the lighting wasn't that good, and I couldn't get any good photos, I came back on day two to apply some Black Fire Midnight Sun and get some good daylight shots.

For day two, the sun wasn't out all that much, so I got what pics I could......I think these will suffice though :)

SRT10Viper0220.jpg


For I nice little treat I decided since the Black Fire Wet Diamond had a chance to Cure overnight and all day, That It was only proper to apply some Black Fire Midnight Sun Carnauba wax on top of the BFWD to create the Wet Ice over Fire!

SRT10Viper0251.jpg


hard to see but a thin coat of BFMS is on the hood, this is a Wipe on Wipe off wax, so waiting for a haze is not necessary.

SRT10Viper0257.jpg


SRT10Viper0261.jpg


Now for the Good part! The Crazy Wetness! The Wet Ice Over Fire!

SRT10Viper0262.jpg


SRT10Viper0263.jpg


SRT10Viper0264.jpg


SRT10Viper0265.jpg


SRT10Viper0232.jpg


SRT10Viper0267.jpg


SRT10Viper0270.jpg


SRT10Viper0234.jpg


SRT10Viper0227.jpg


SRT10Viper0246.jpg


SRT10Viper0225.jpg


SRT10Viper0278.jpg


SRT10Viper0283.jpg


SRT10Viper0224.jpg


SRT10Viper0250.jpg


Thanks for veiwing, have a blessed day!
 
Such a baller writeup... perfect pics, perfect correction work, professional as can be, some trifecta Eric!

btw the shot of the before, during and after haze is awesome, never seen that before!
 
Eric,

I want to thank you for your detailed write up. I learn alot from the way you document you steps and the photo's a spot on.

What did you use on the tires they look great.

The viper looks like a pool of oil!
 
Fantastic work again Eric. Your work keeps getting better every time (not that it wasn't always great). Like Dave, I am also very impressed with the pic of the different stages. Would you mind sharing with us, how you did that?

I love looking at your details. You really have a great knack for detailing.

Keep it up my man!!:clap:
 
Back
Top