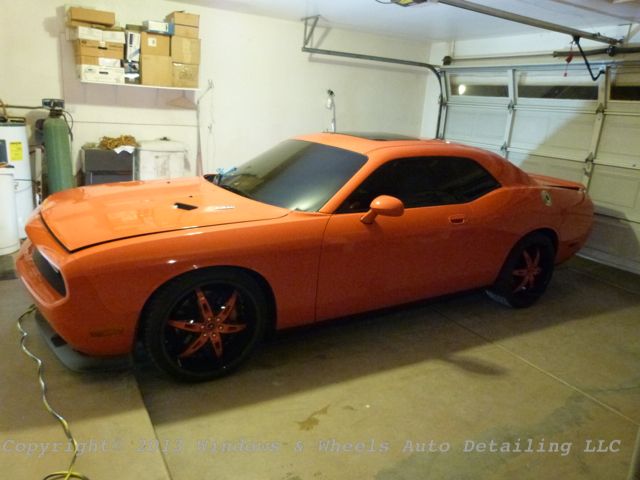
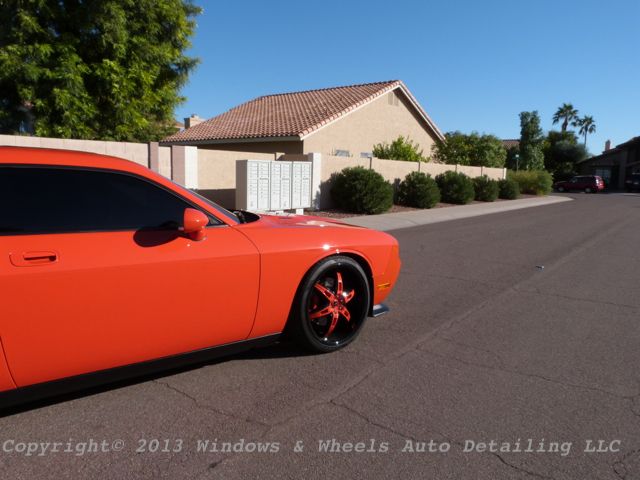
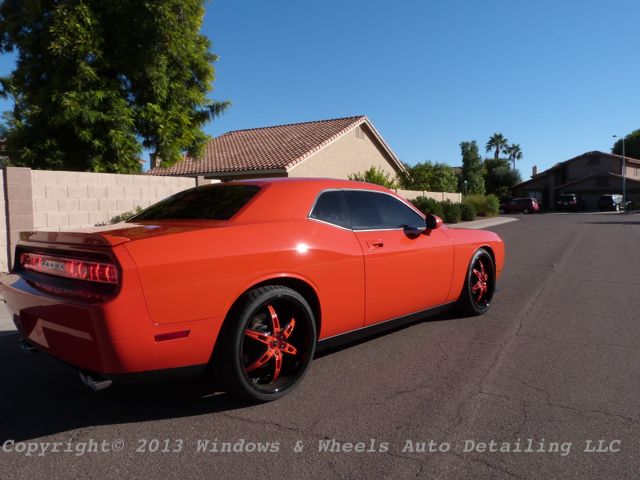
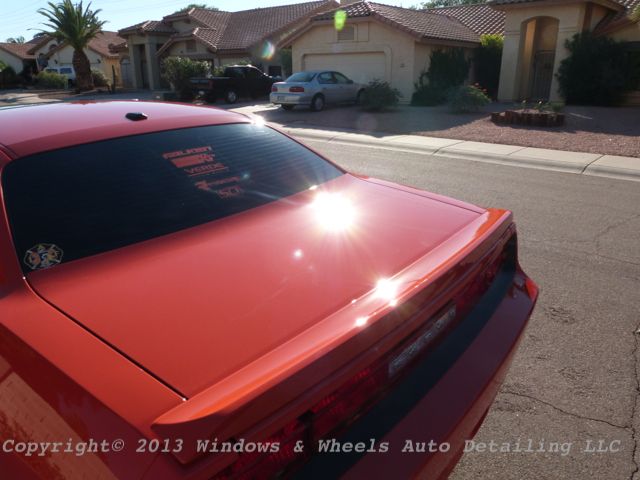
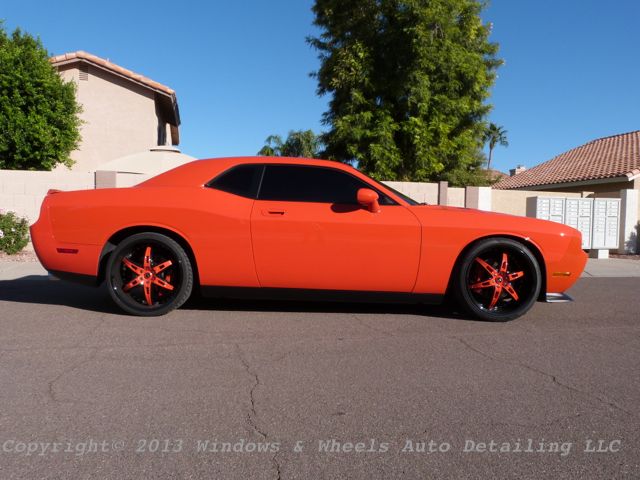
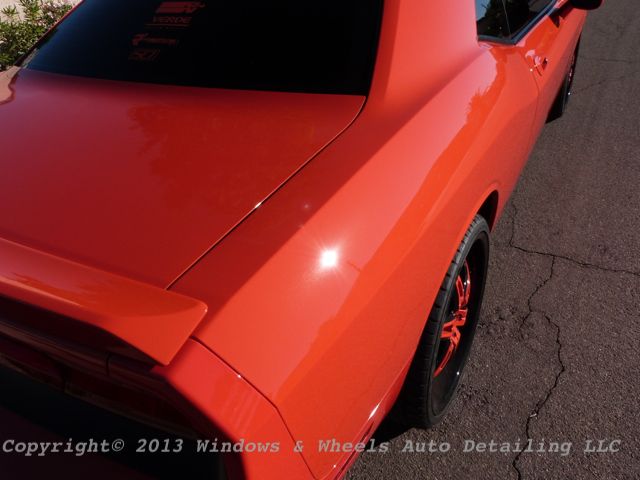
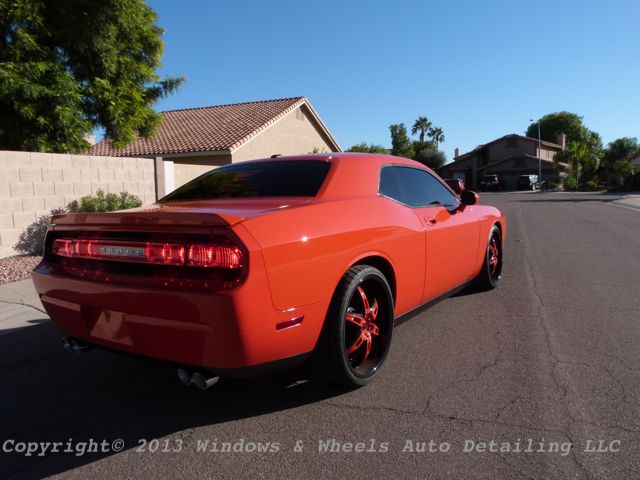
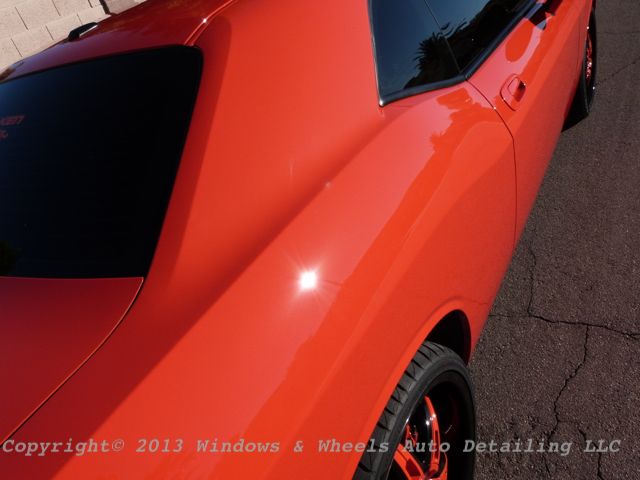
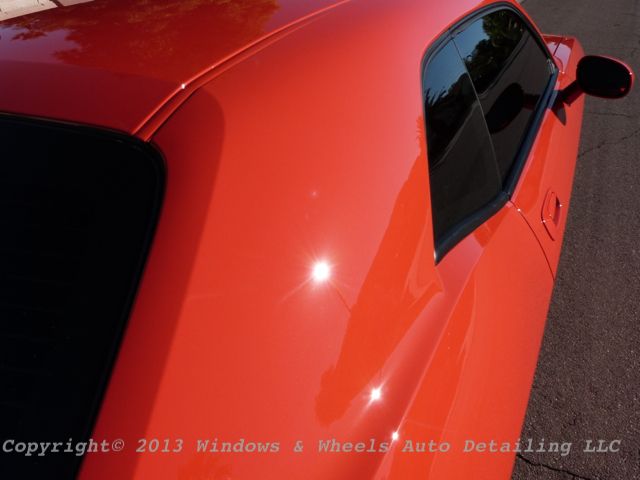
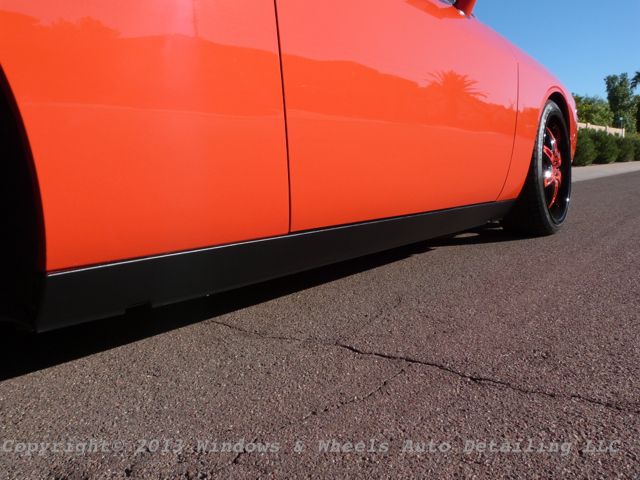
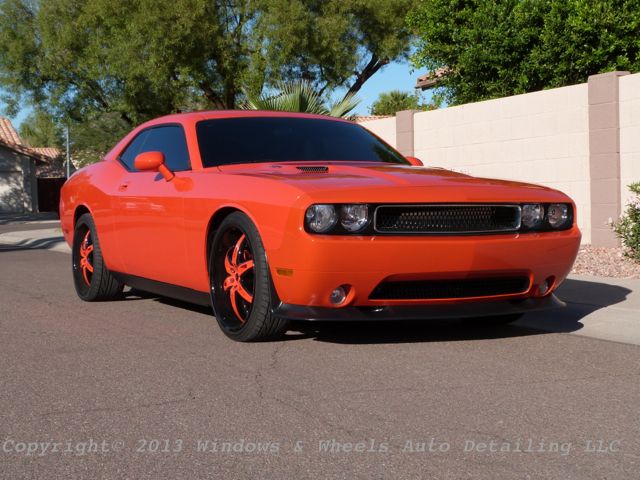
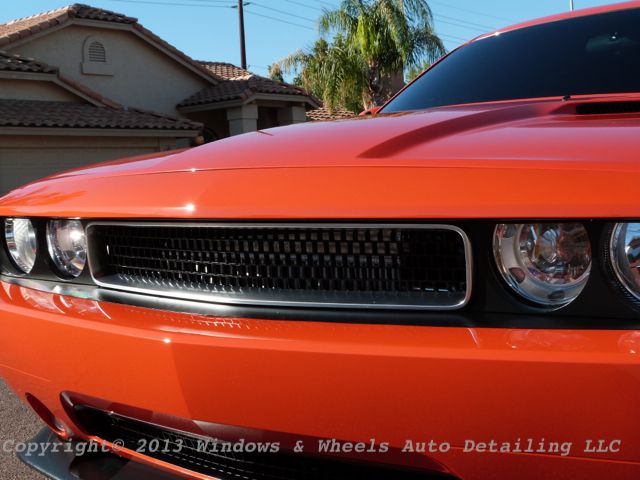
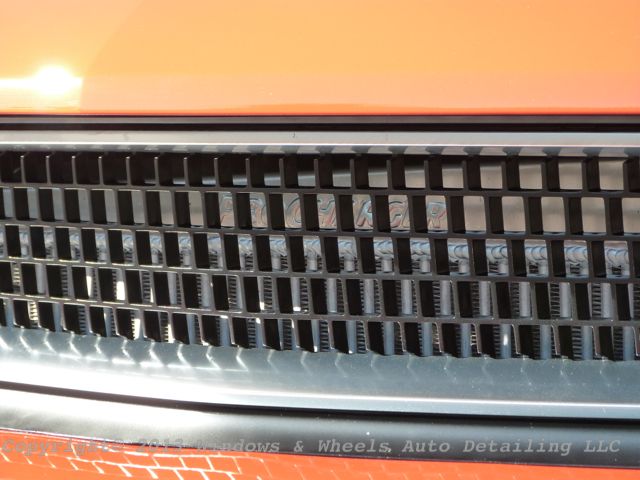
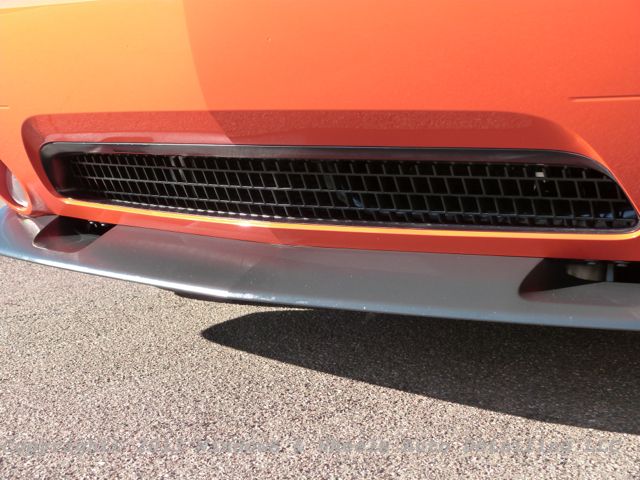
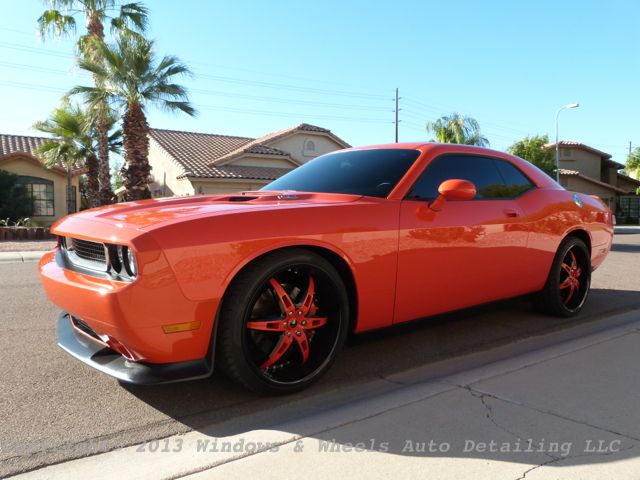
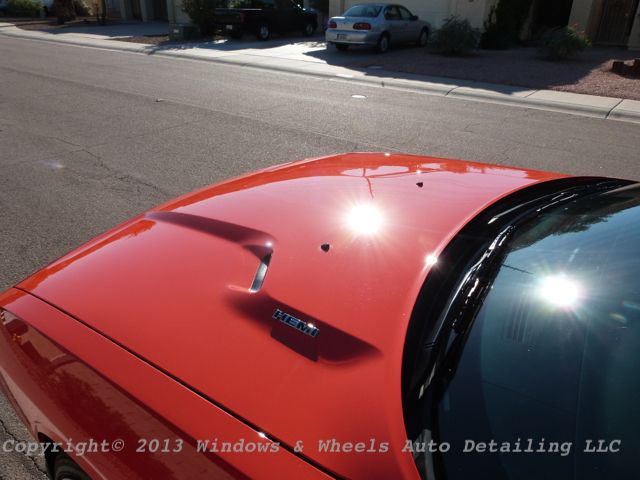
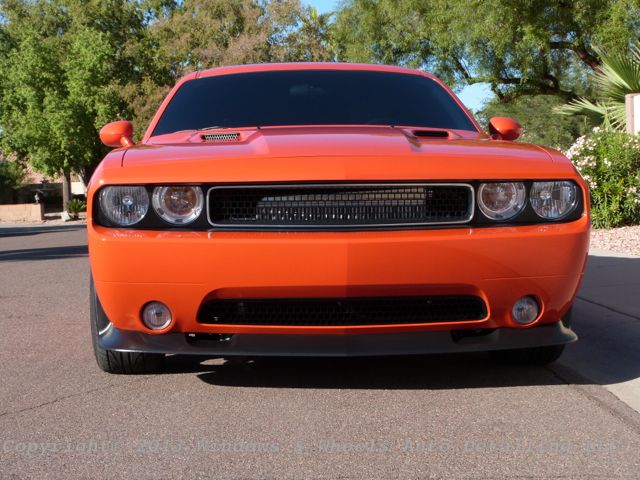
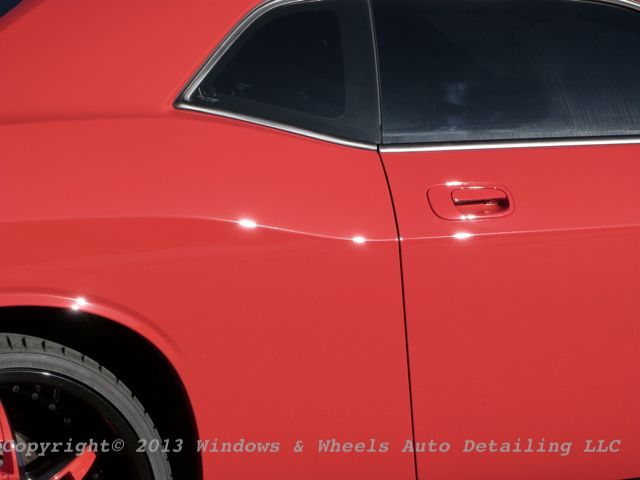
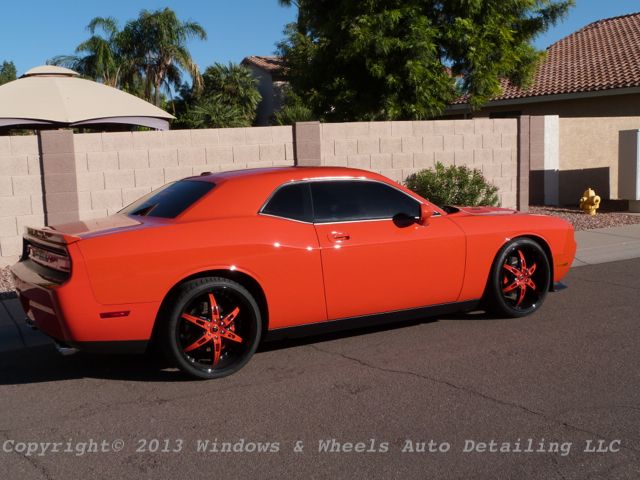
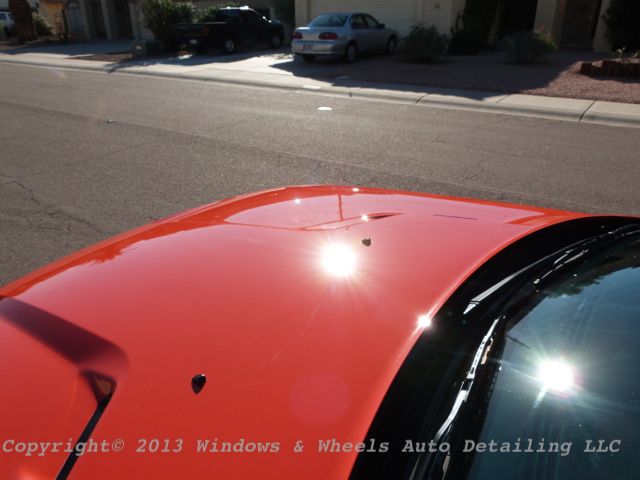
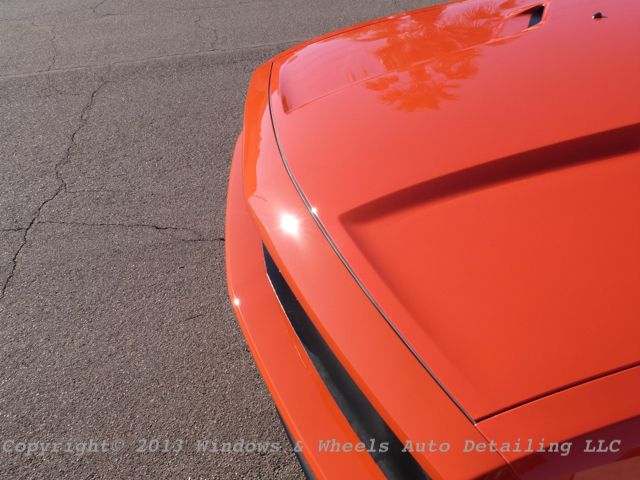
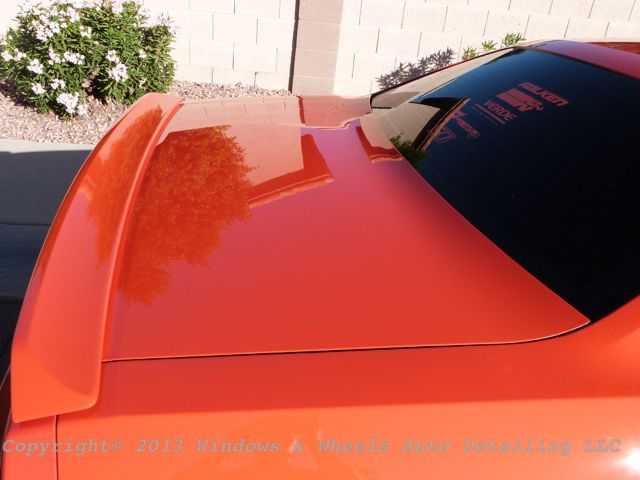
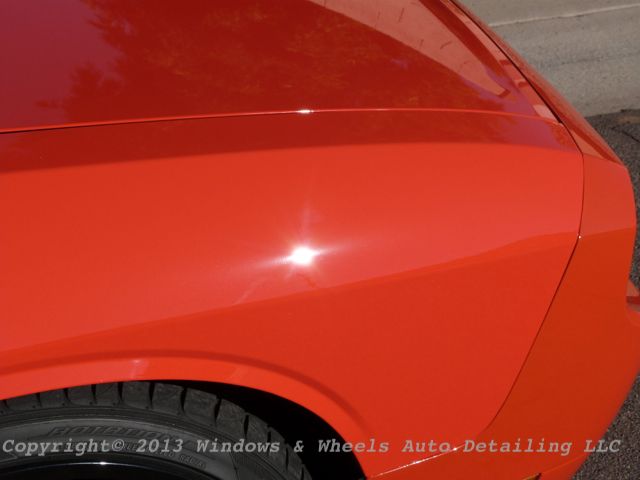
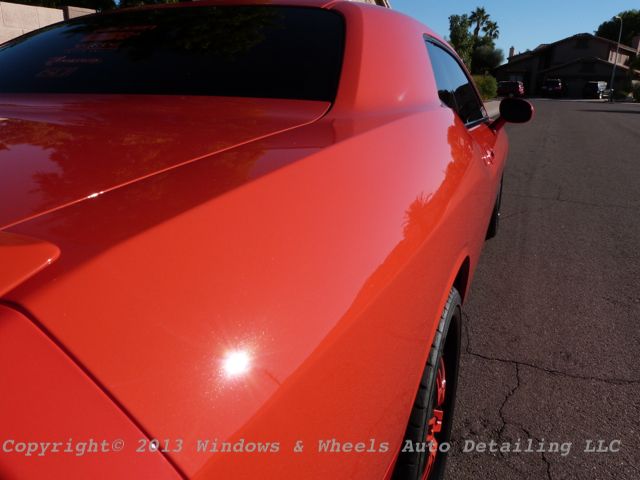
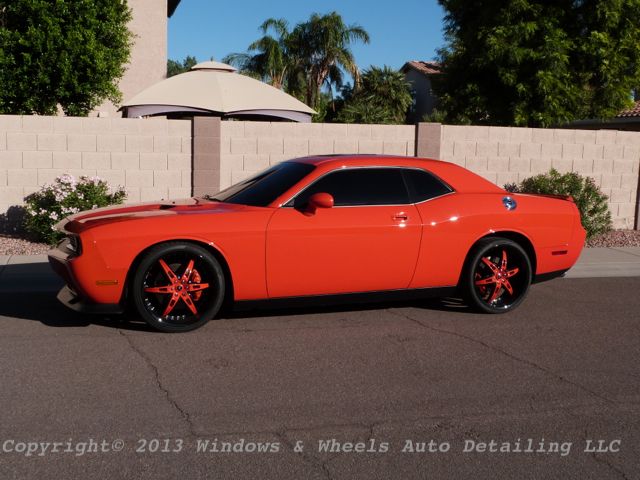
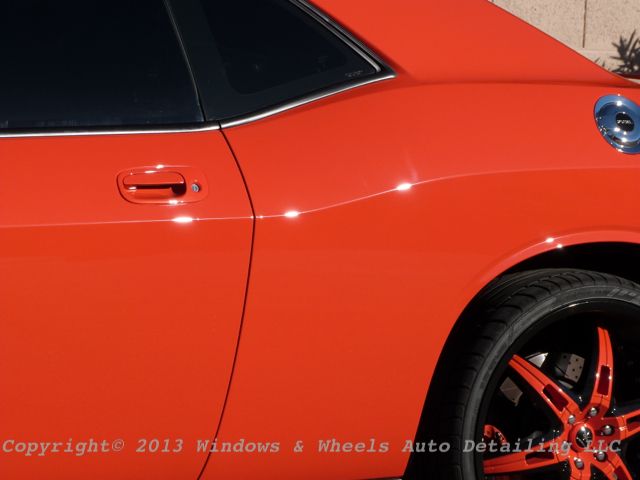
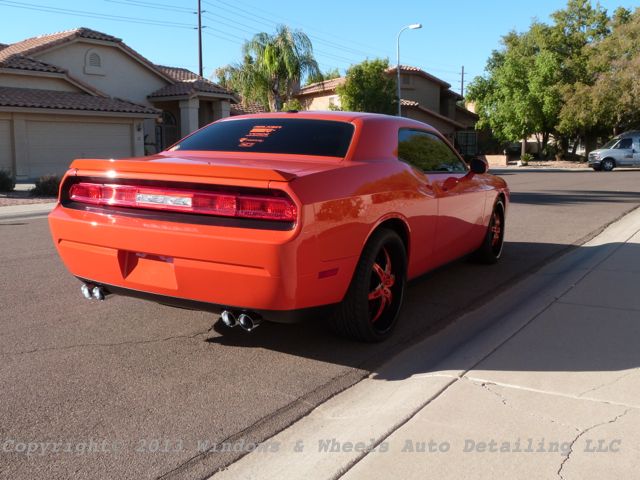
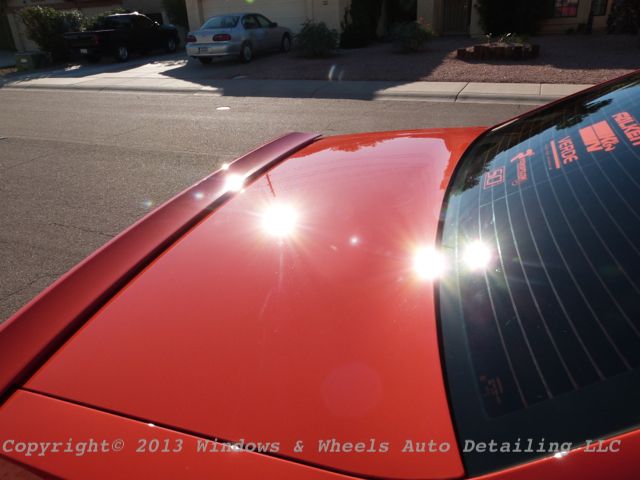
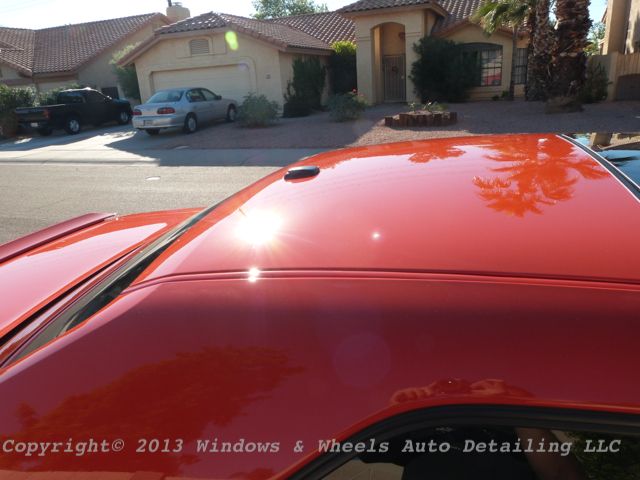
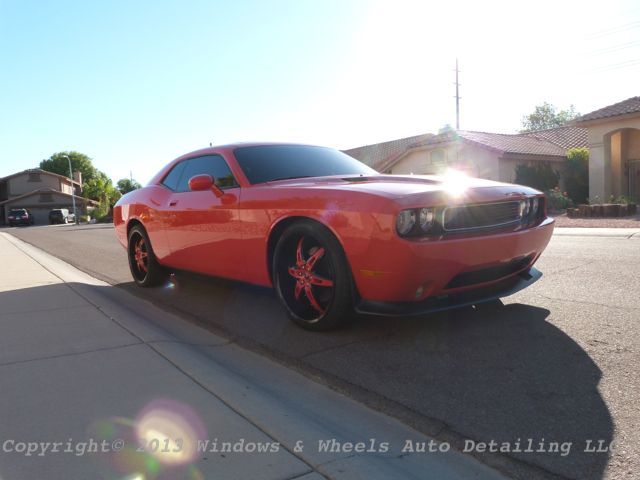
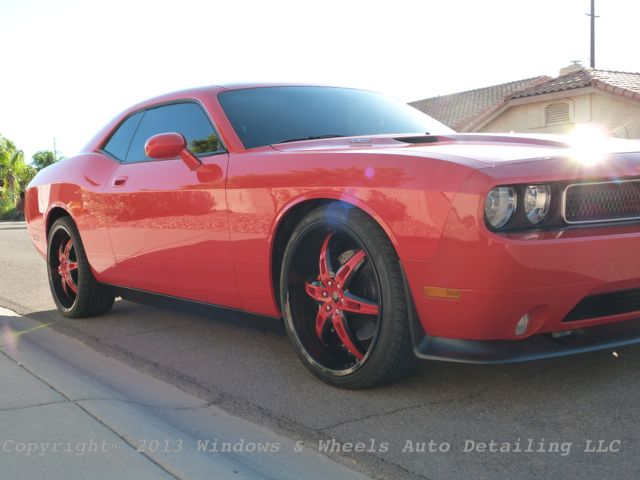
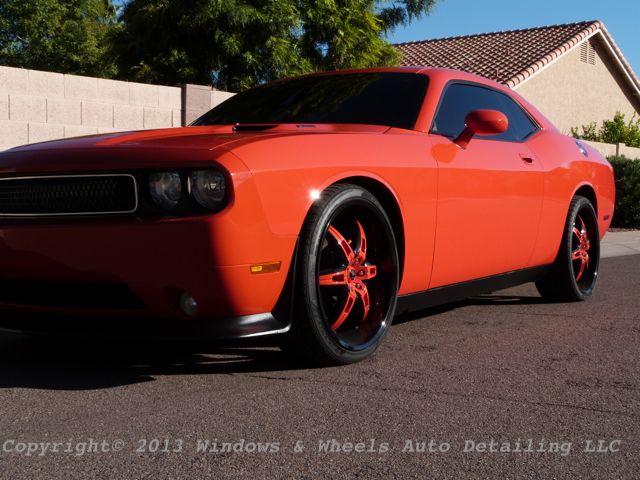
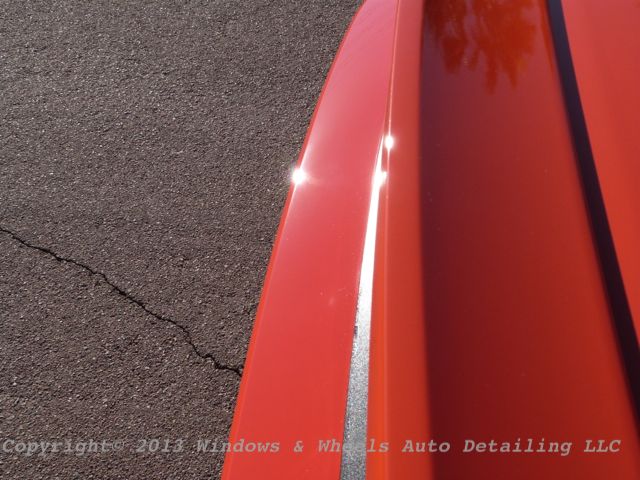
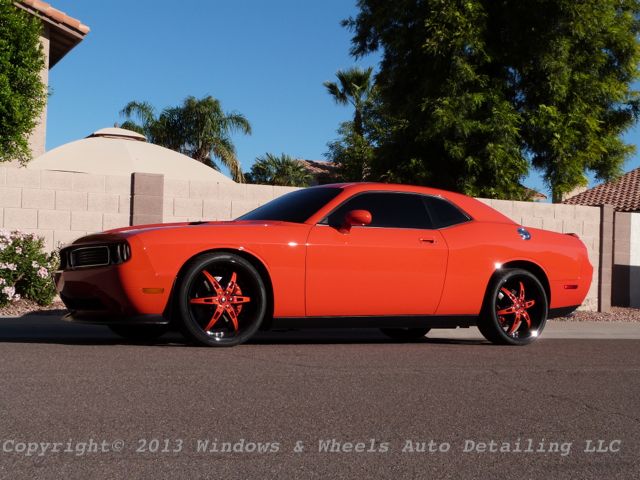
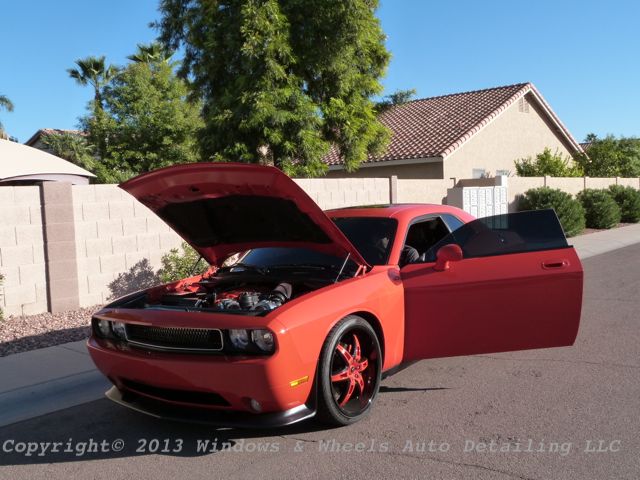
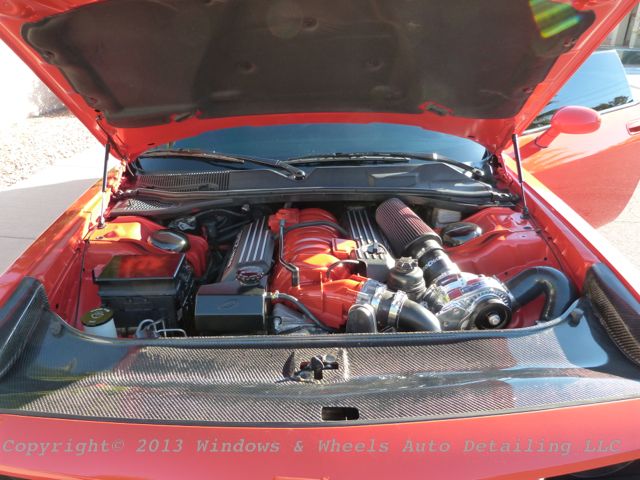
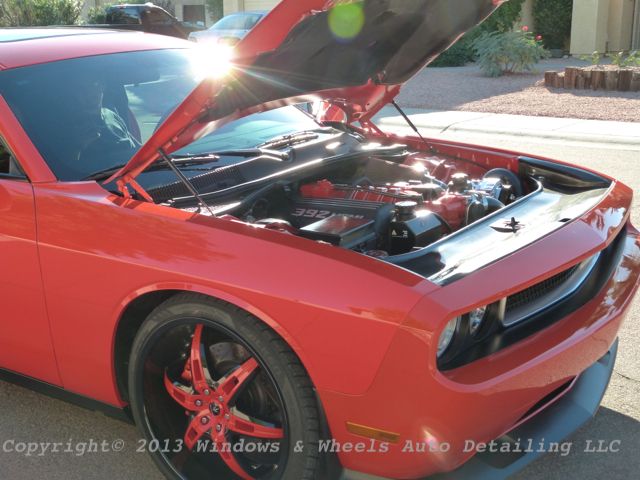
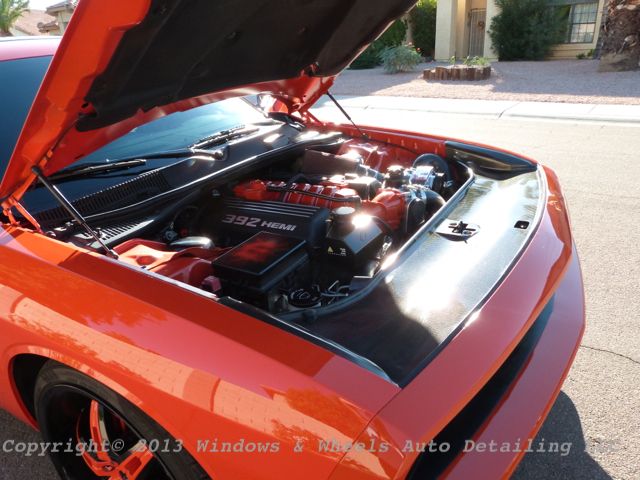
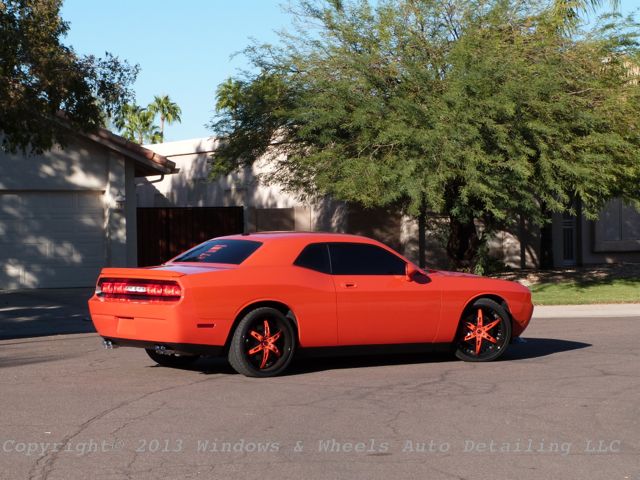
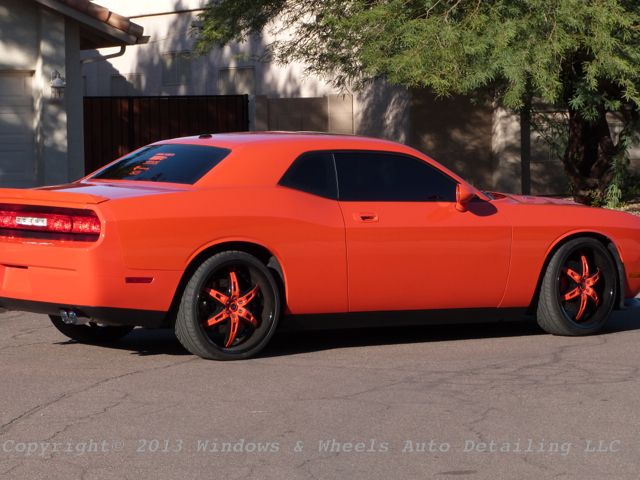
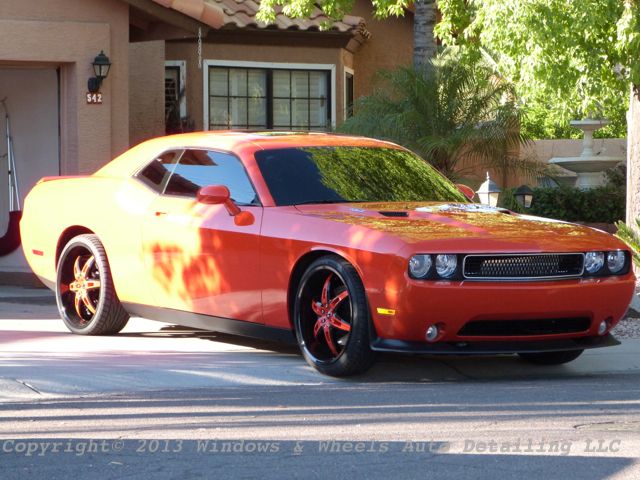
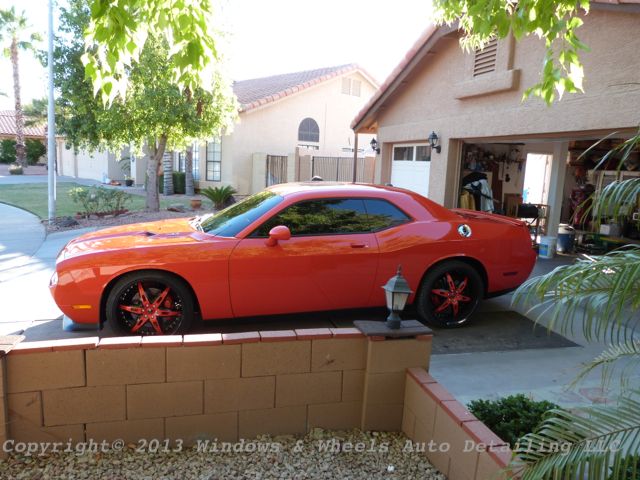
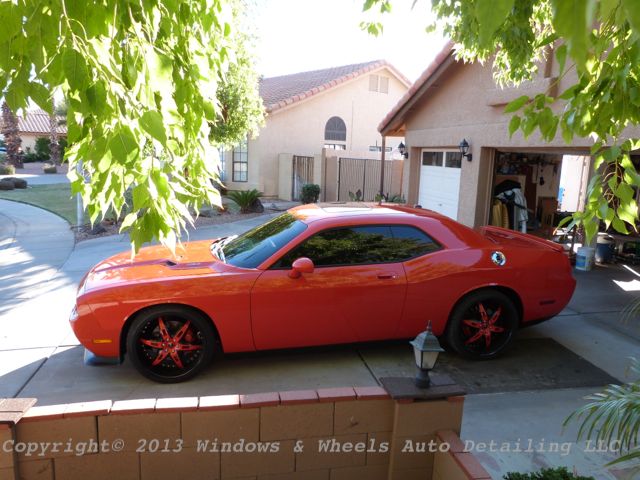
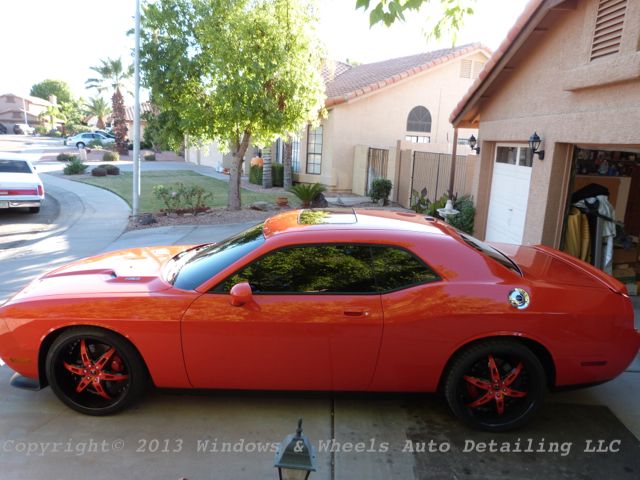
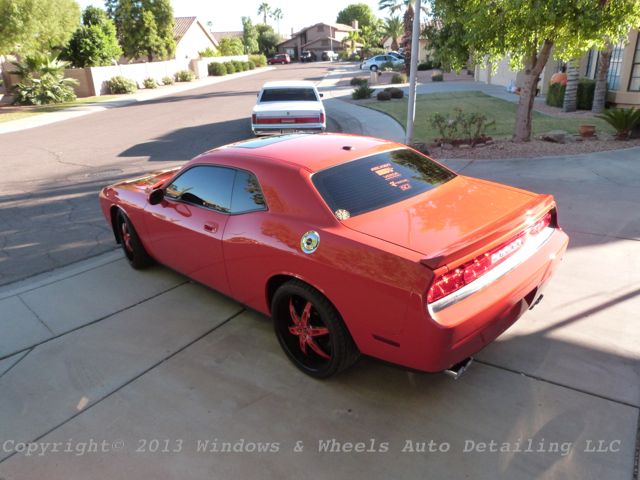
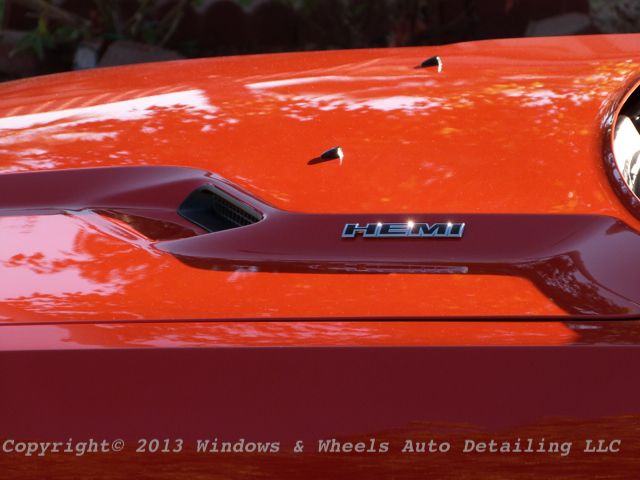
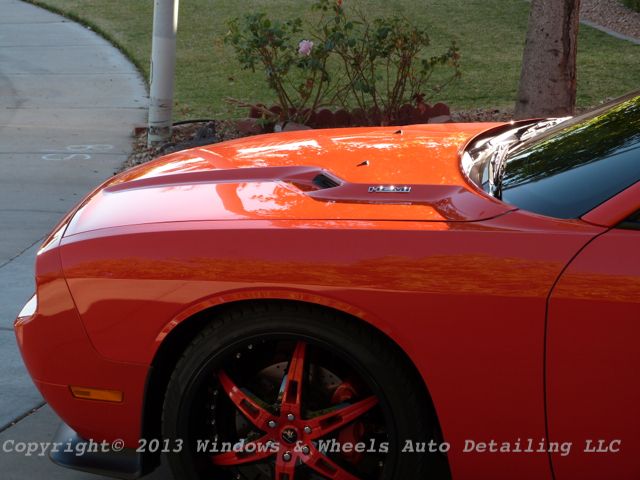
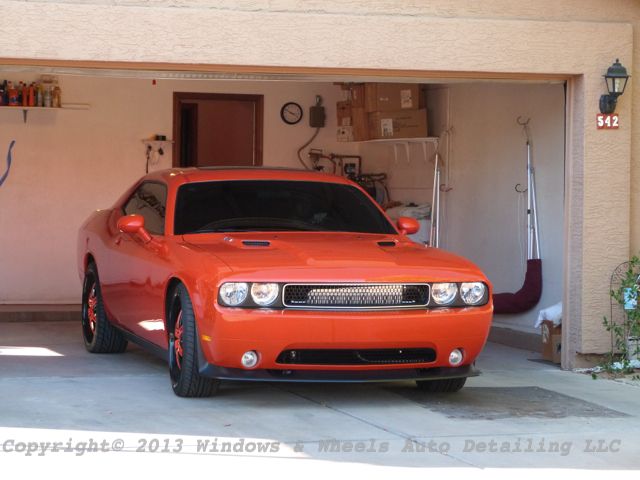
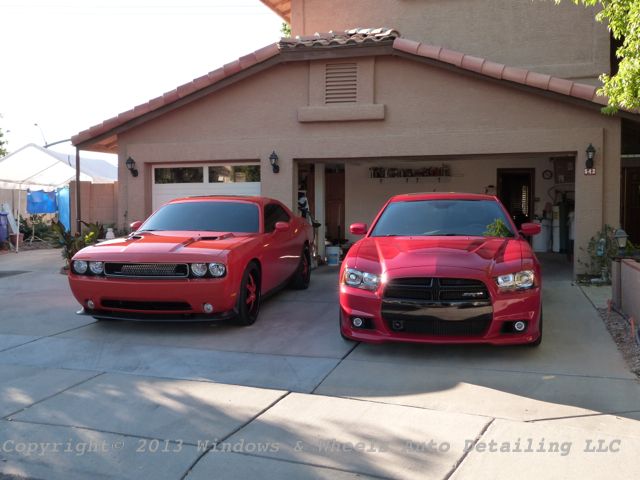
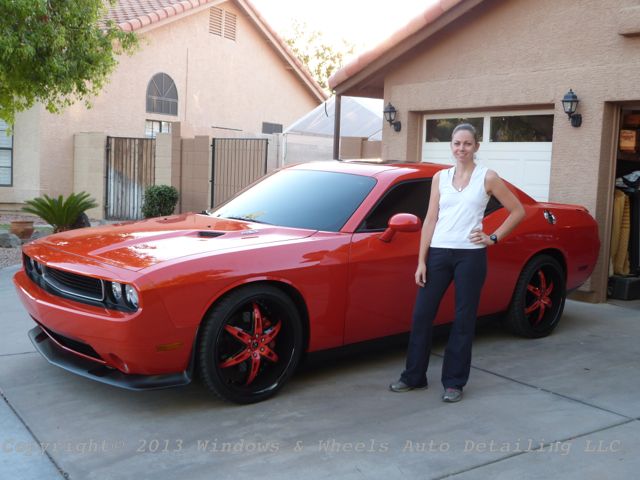
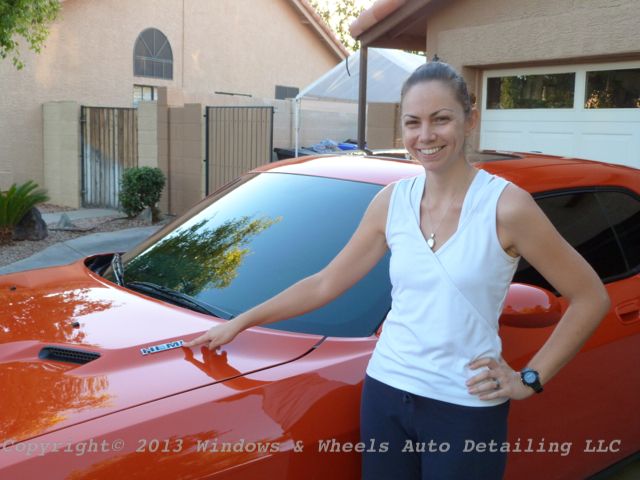
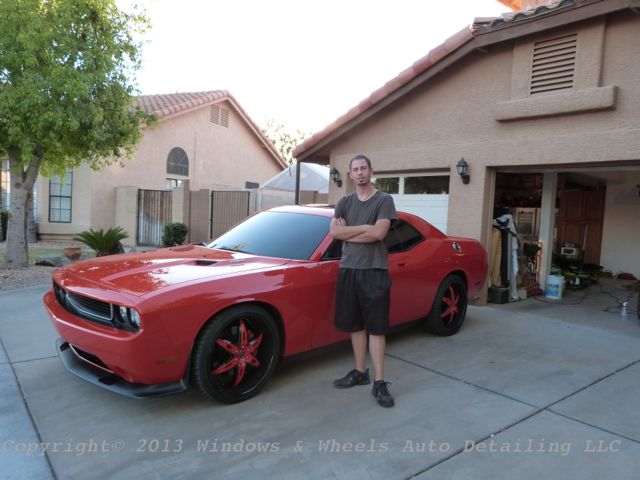
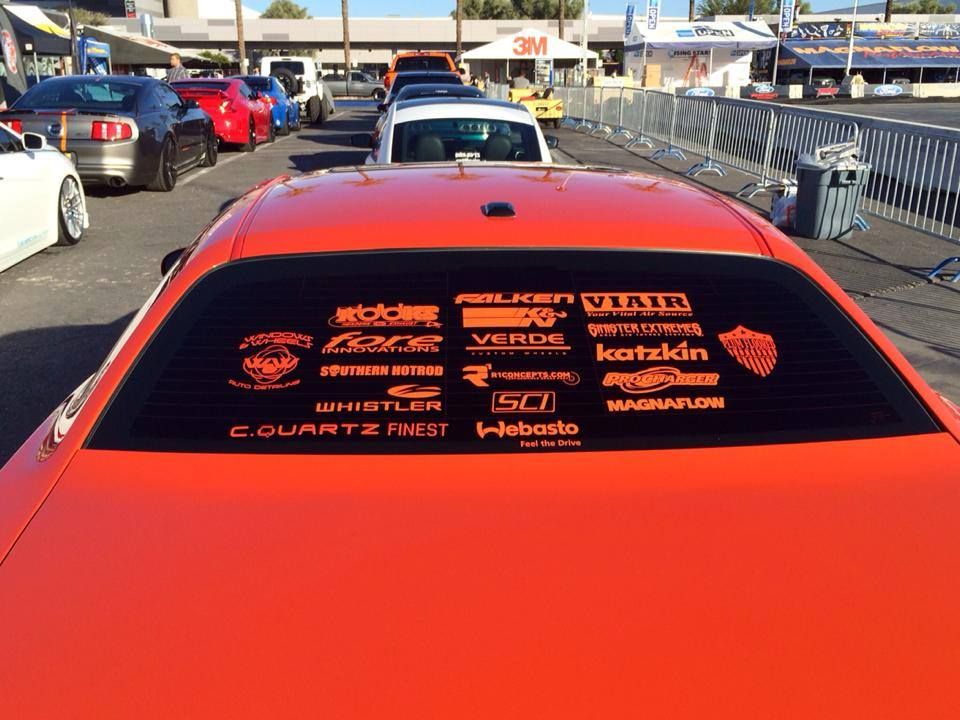
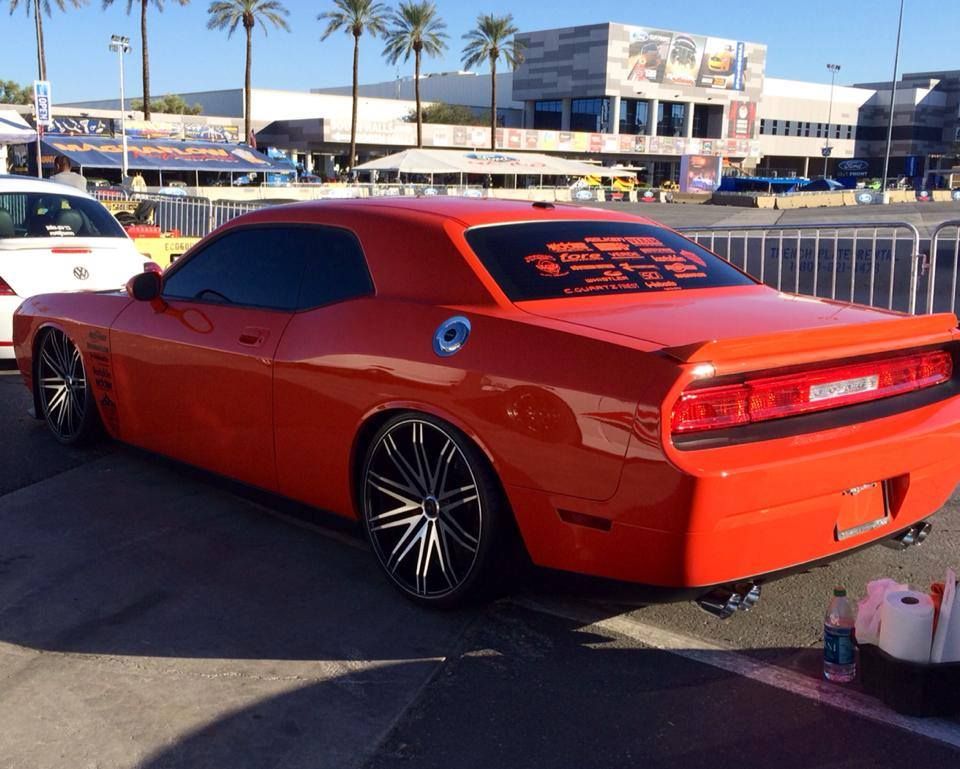
Over the past year, this Hemi Orange 2010 Challenger had been receiving multiple upgrades. Super-charged engine, custom suspension/air bags, custom wheels, custom engine covering, new seats etc.
What this means, is a LOT of shops had a chance to beat up on this paint (installation of the compressor in the trunk alone = an ungodly amount of leaning over the rear bumper!) Not to mention all the body shop dust and just overall neglect.
Solution...the last stop this baby had was to see us! We definitely had some work to do..so lets begin.
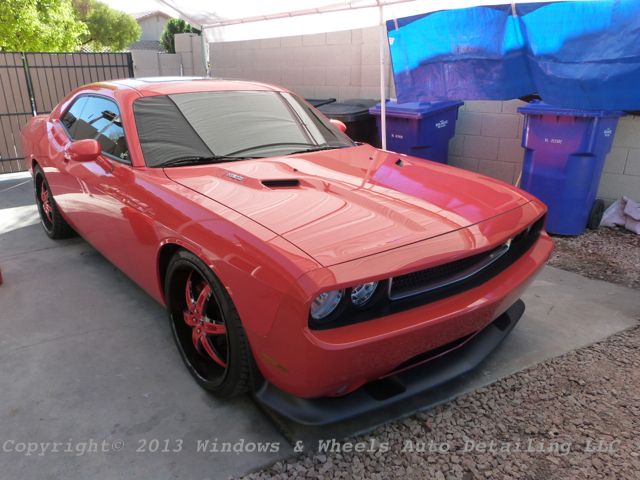
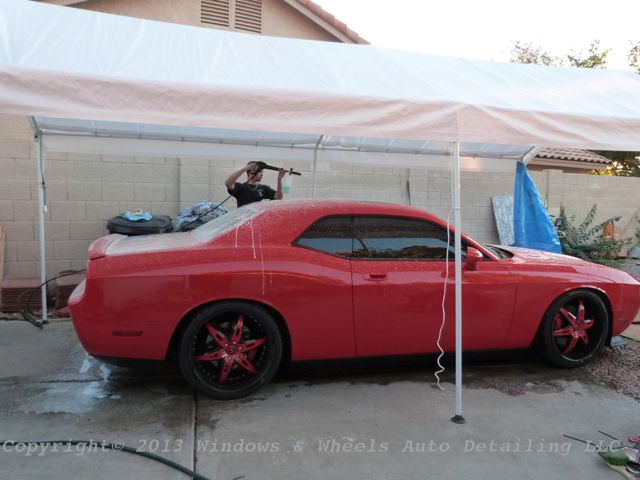
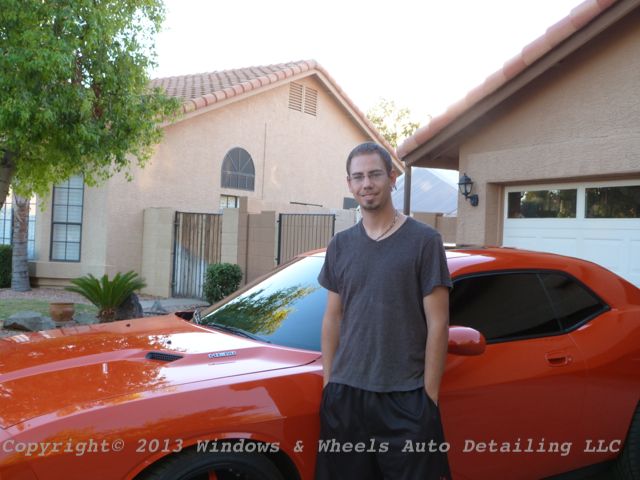
Here she is. Dropped off Sunday night...over the next 4 days she would be getting some SERIOUS attention from us. Interior just needed light cleaning...which was good because the paint needed some serious attention.
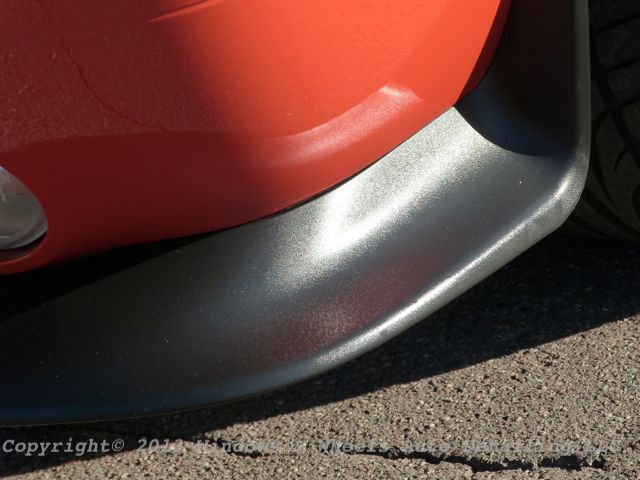
First thing that was noticed was the left over wax/compound in quite a few cracks:
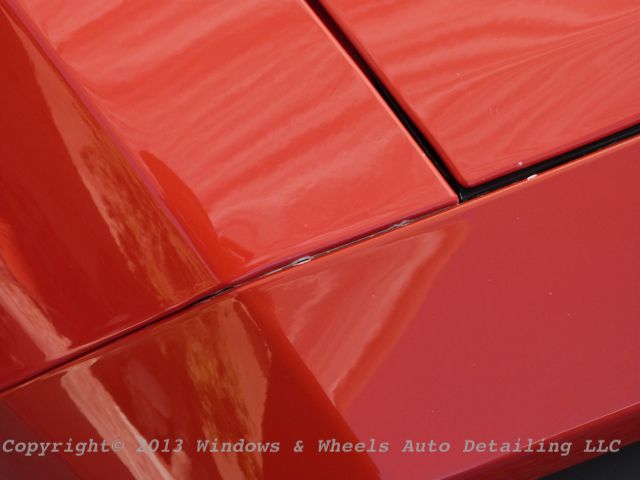
Some in some particularly difficult to reach places....note this has probably been there a year lol
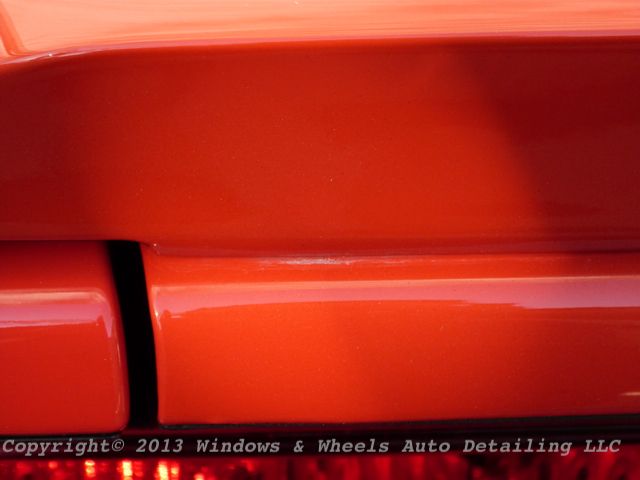
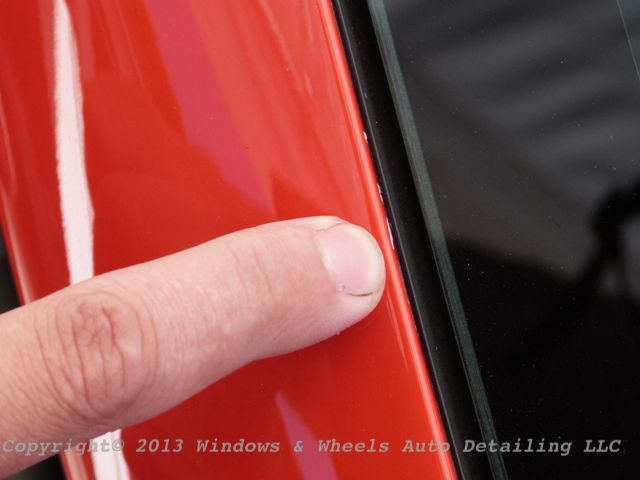
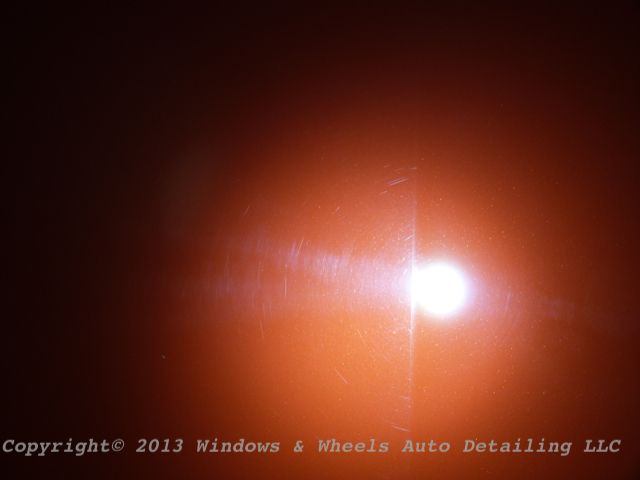
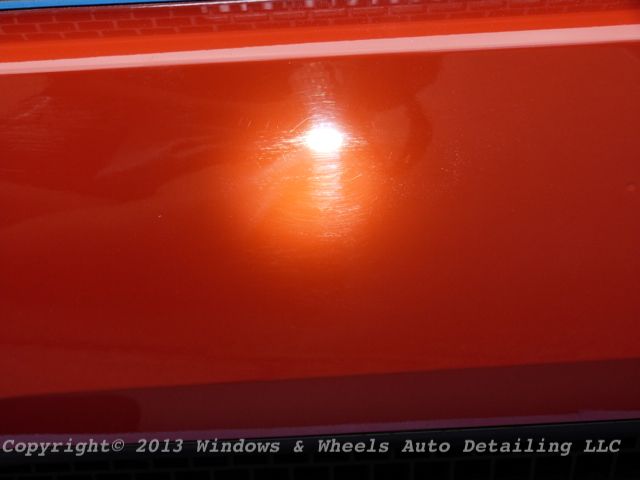
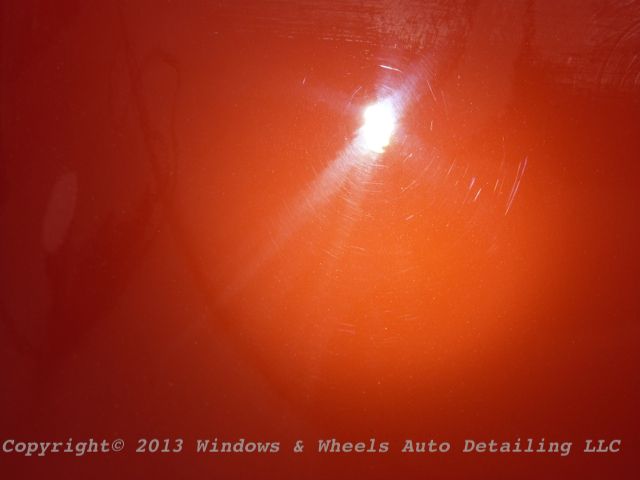
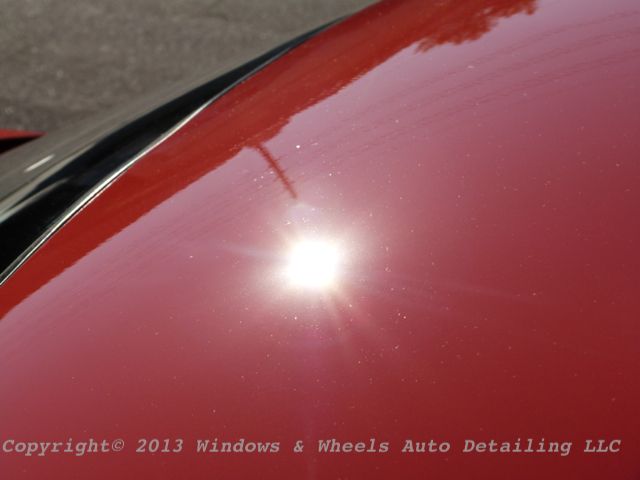
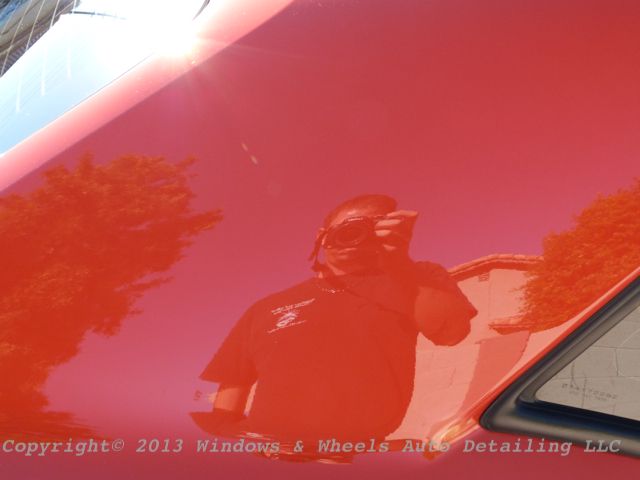
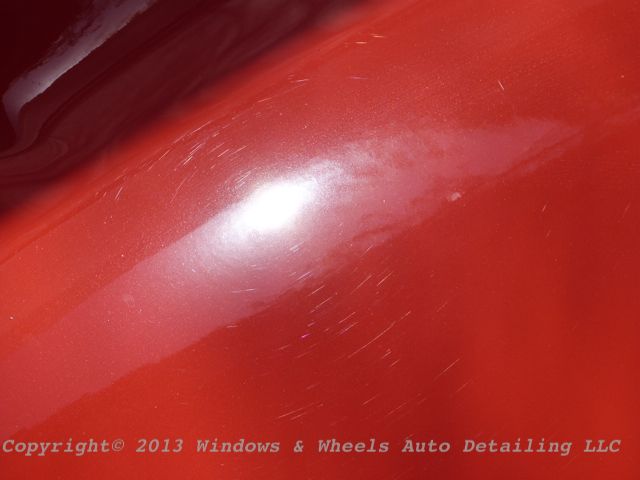
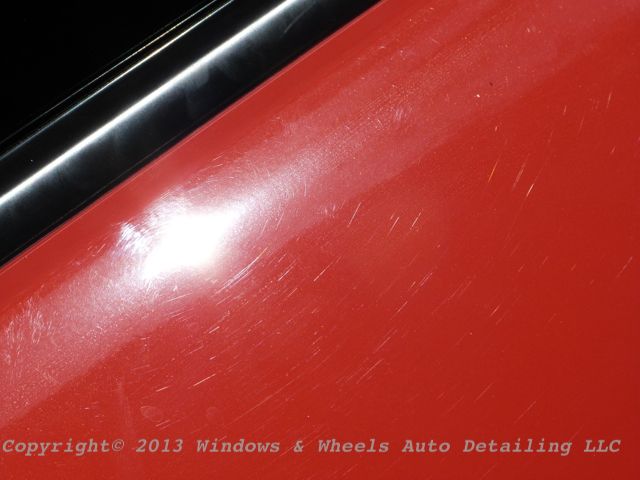
And then of course...the prime concern...the tons of swirls:
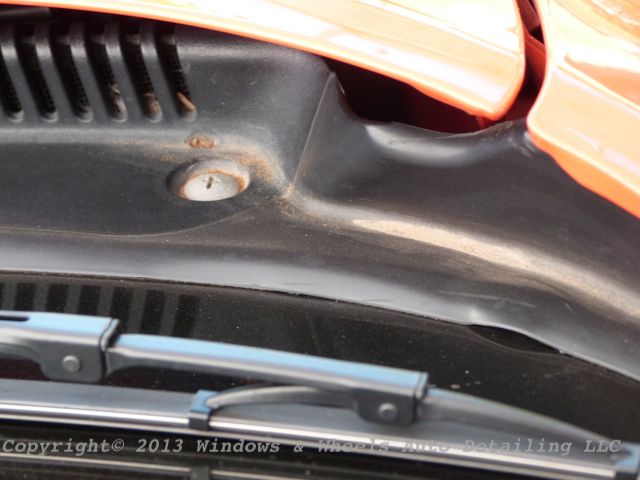
We also had some good ole' Arizona dust piled up in some areas:
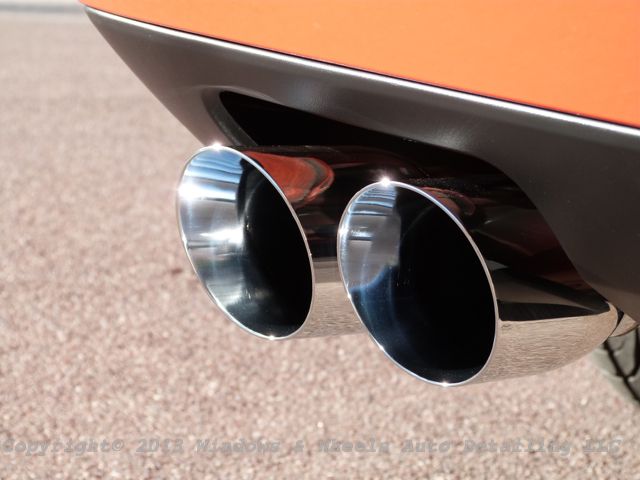
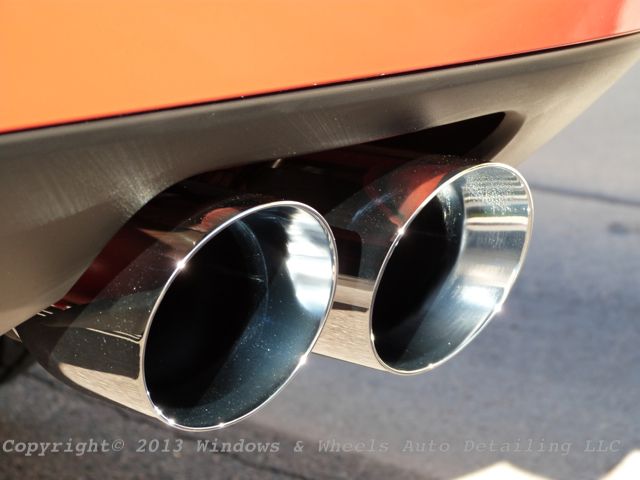
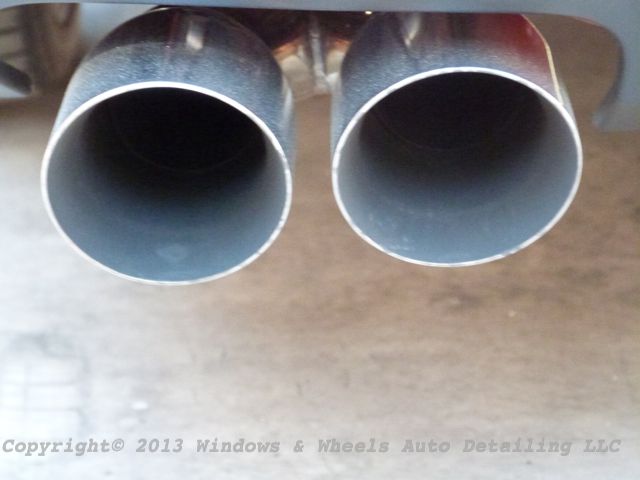
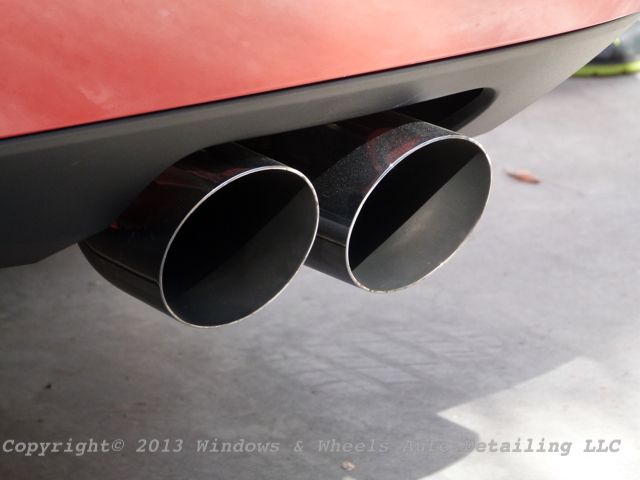
And well, when you have a super charged engine...the tips are probably going to be pretty dirty:
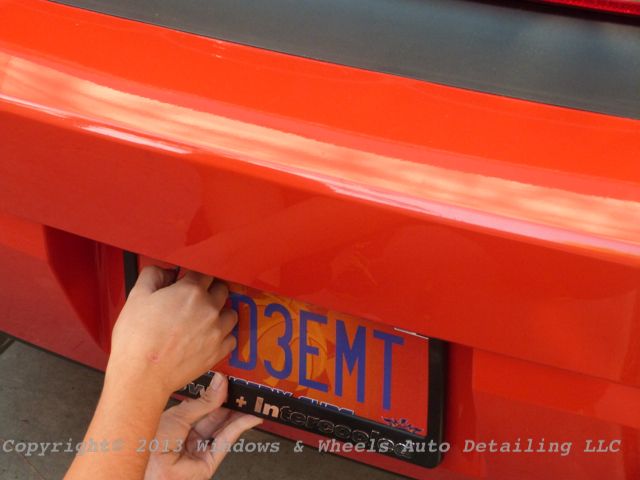
So, it was time to get to work...first the license plate was removed:
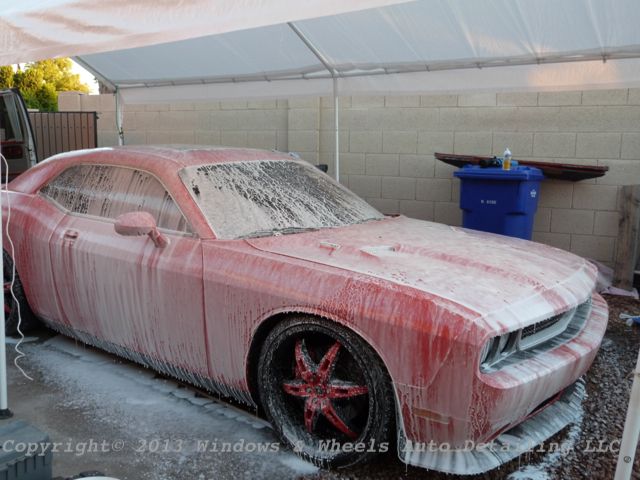
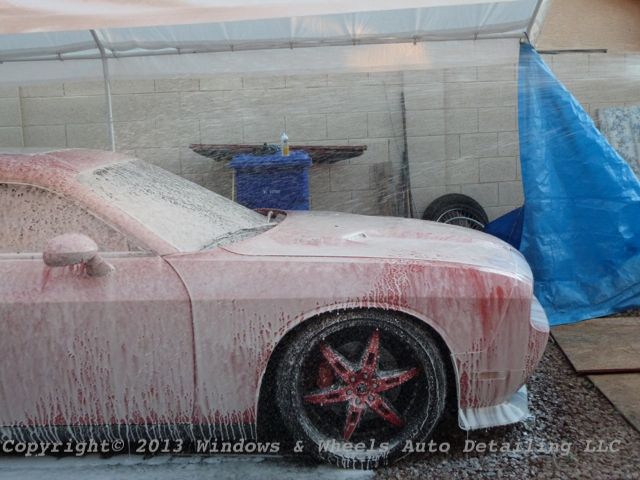
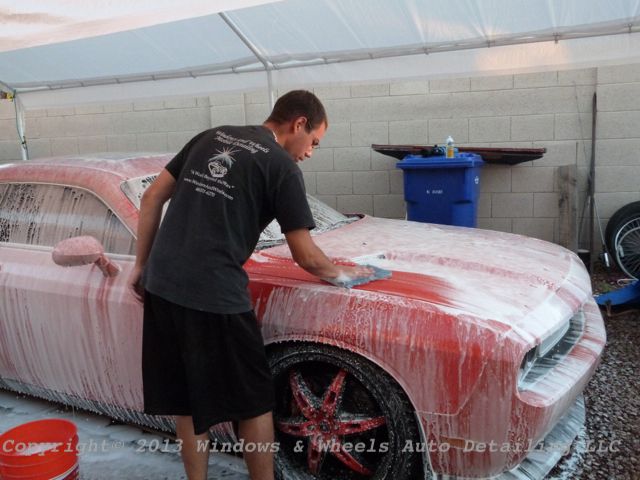
Then everything was washed and dried:
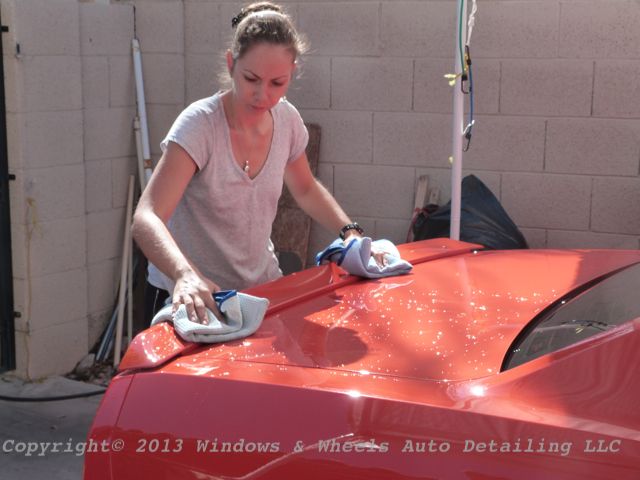
Dual drying korean WW microfibers!
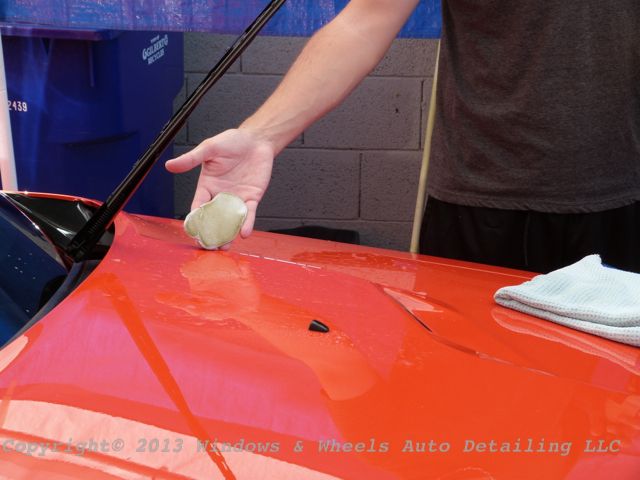
Then the tedious part...claying. When in a body shop...all kinds of air born crap lands on the cars....the result....THIS is what comes off of just 1/2 the windshield:
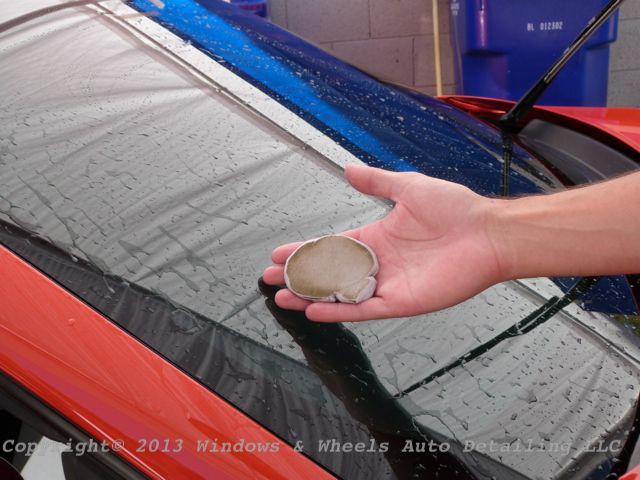
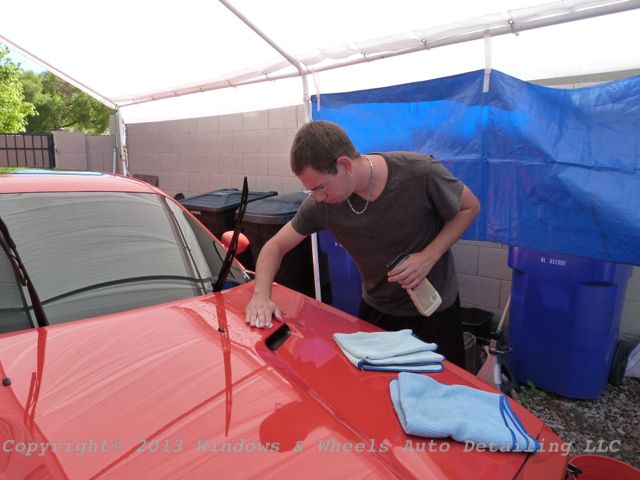
This by no means was a "quick clay"...every panel took a good amount of going over to get the paint smooth...and the clay looked like this at least 10-12 times....so there was constant cleaning and re-molding of the clay during the process.
Just 1/4 of the hood:
Continuing on:
The next thing we found that wouldn't clay off...were these little glue looking specs on the front QP's. There was a good 8-10 in total.
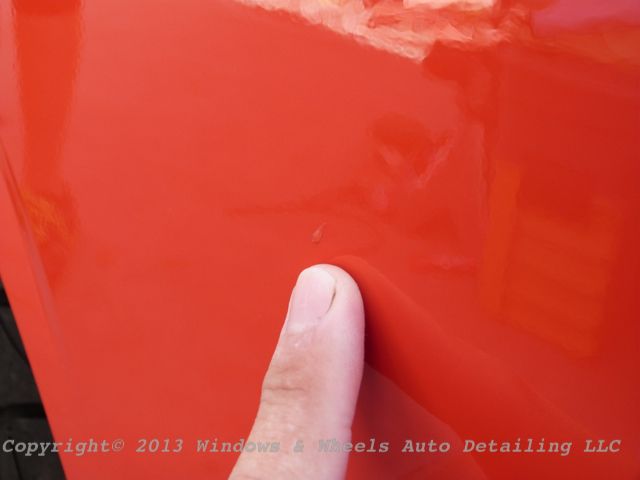
Letting some compound sit on them for about 15 minutes helped to loosen them up and then they flaked off.
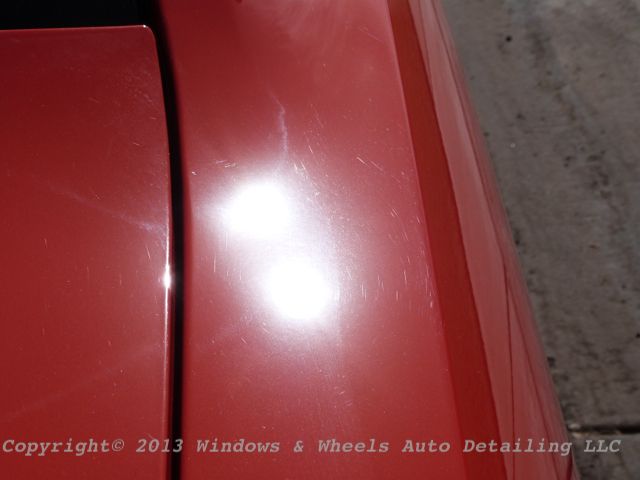
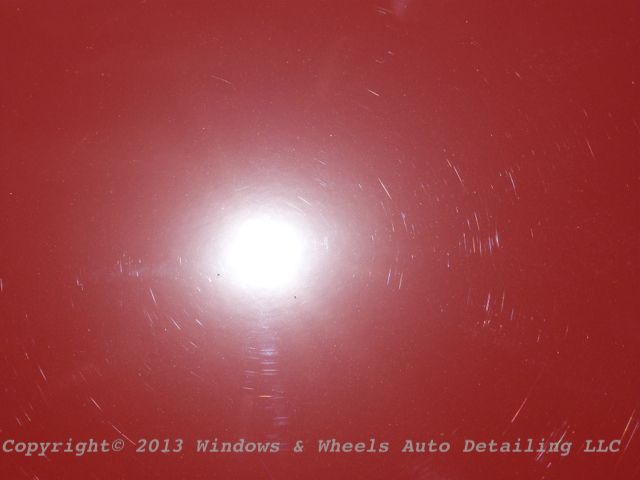
As the sun came out more...the paint condition was easier and easier to see....which was good and bad lol:
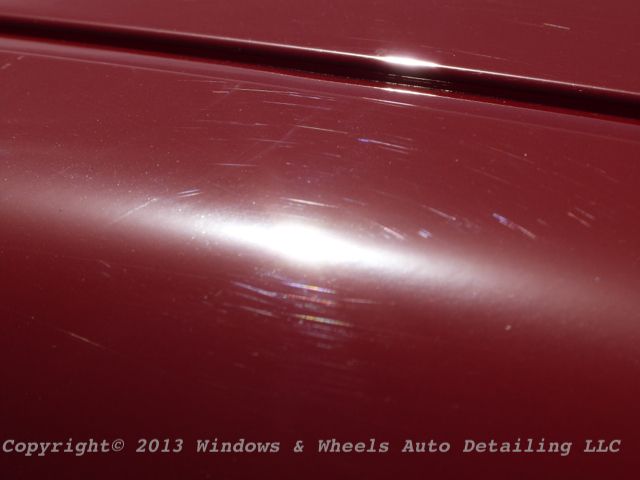
Some were pretty deep:
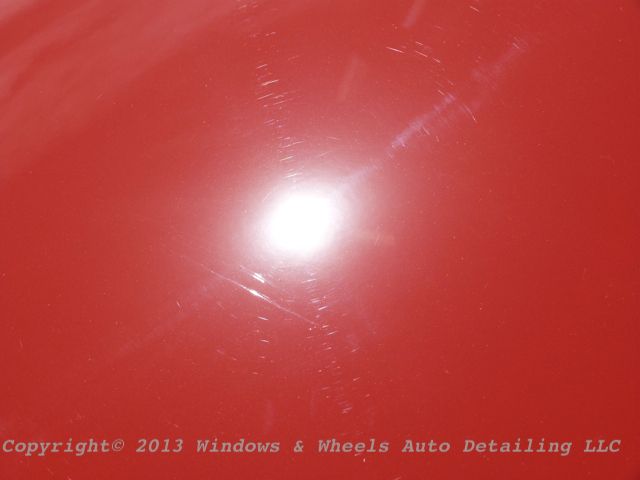
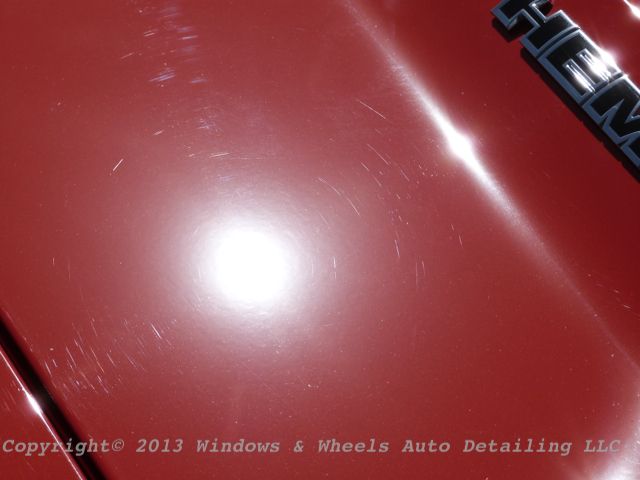
Painful!
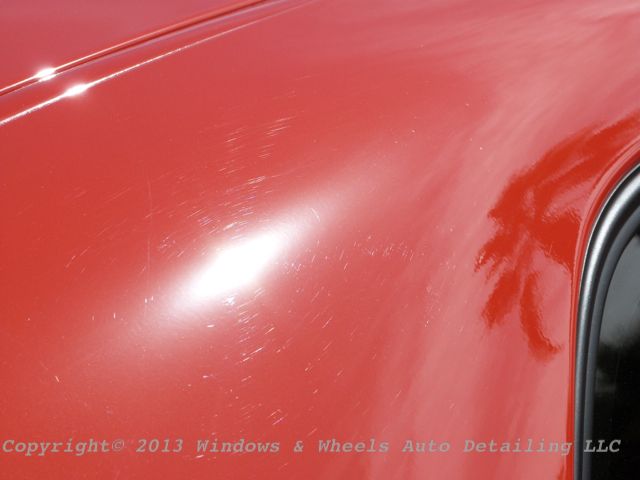
These were pretty wicked looking:
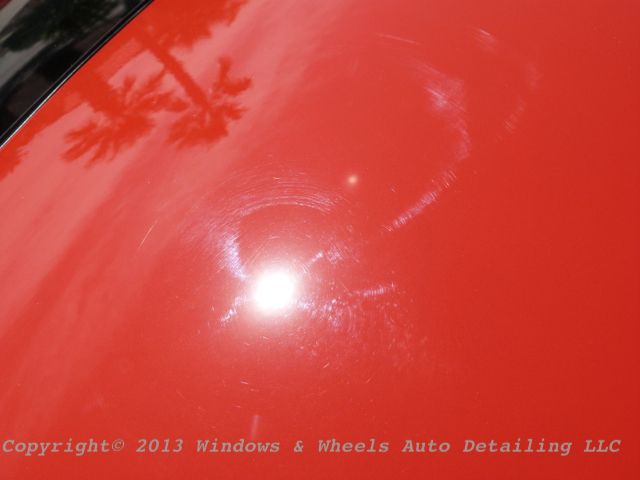
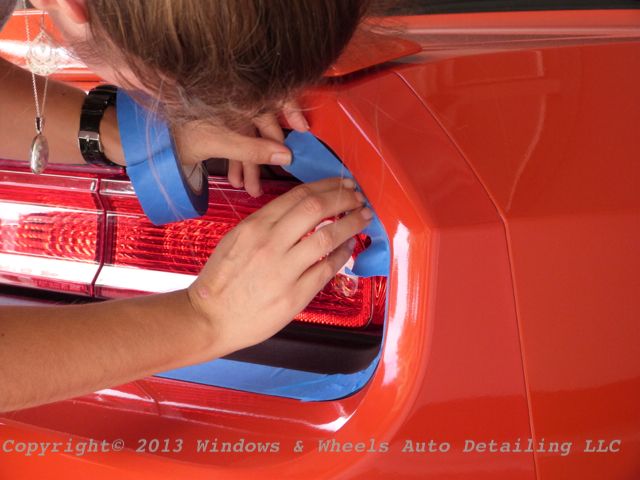
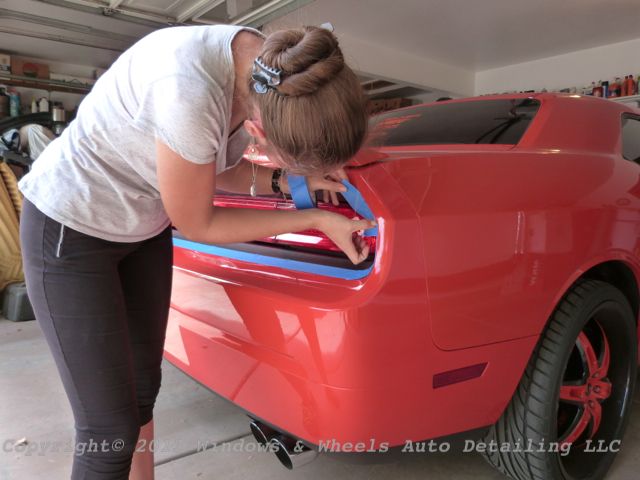
After claying it was time to pulled into the garage...and the prep work continued....taping off the trim:
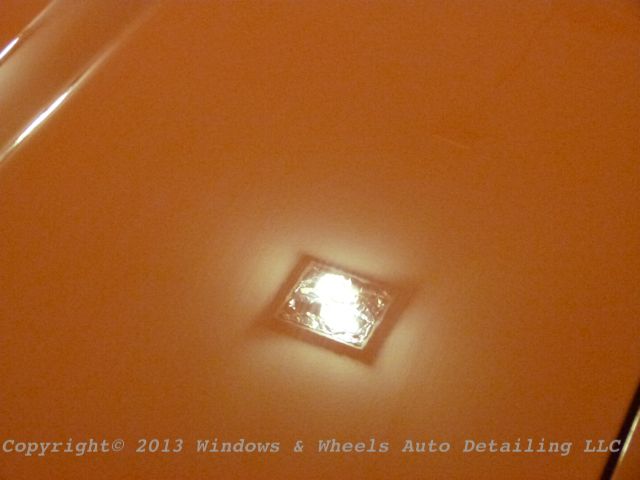
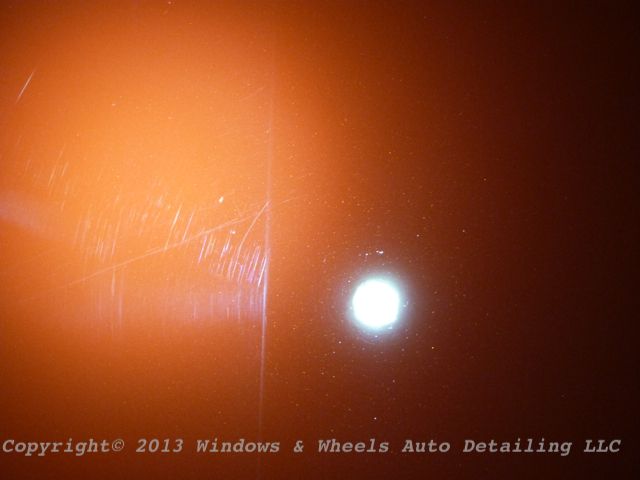
And of course we had to check the paint out under LED...which was a pretty bad sight:
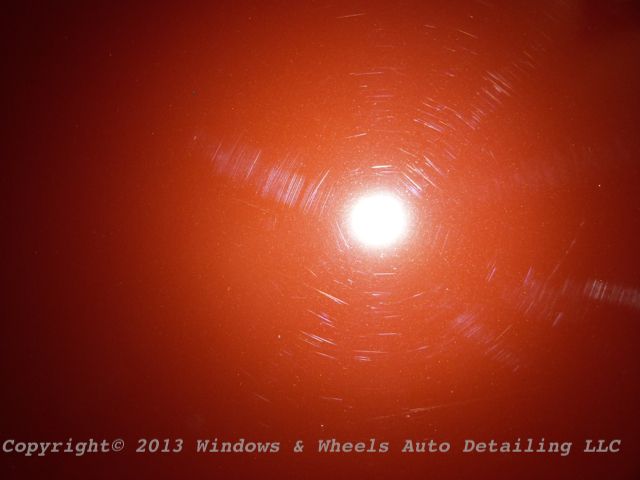
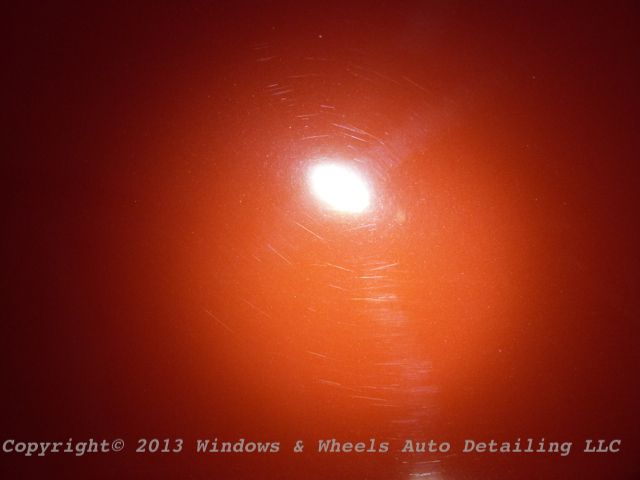
Under controlled lighting, it was easy to see how much work we had ahead of us:
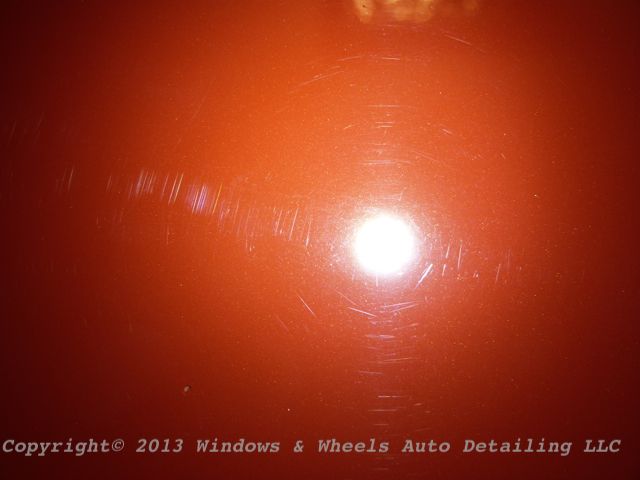
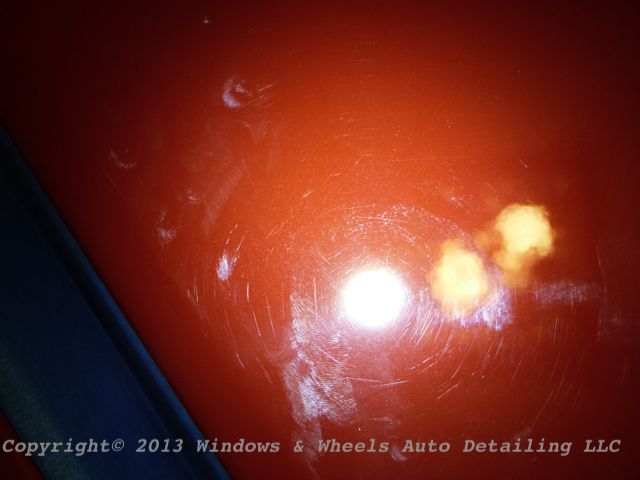
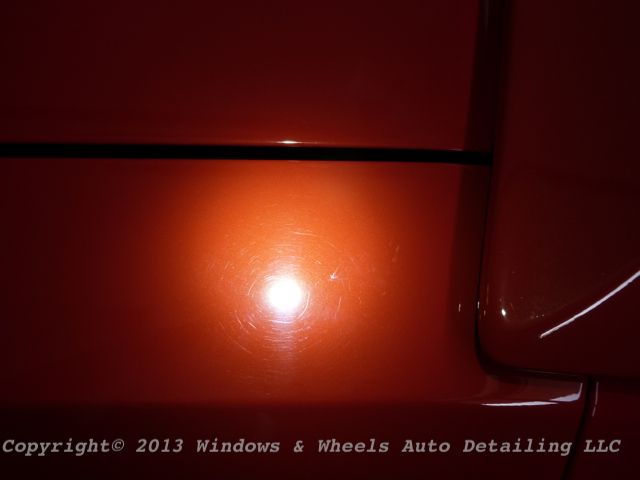
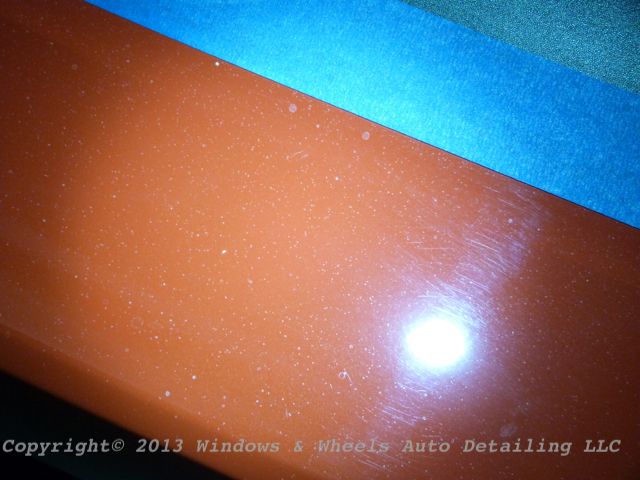
It was then time for our test spot. We taped of a section of the hood (the hood made up about 10 sections! It was HUGE!)
Heres what it looked like before hand:
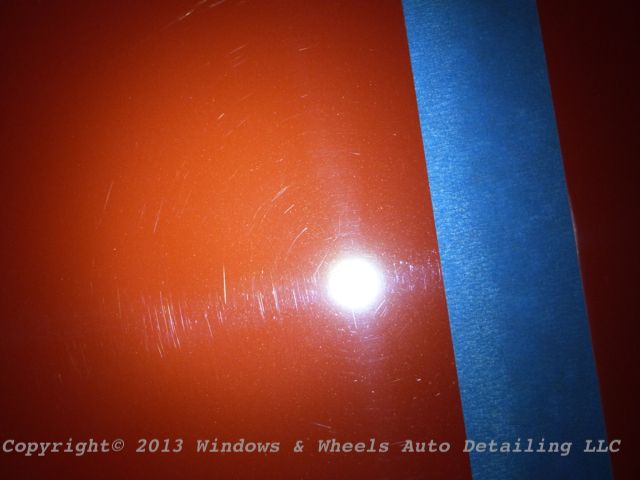
Half was compounded....the result was no more swirls, but a fair amount of hazing:
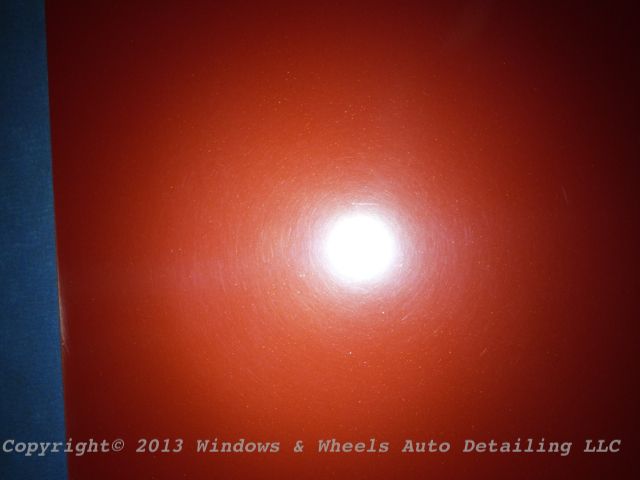
Before:
And then after polishing....
Crystal clear:
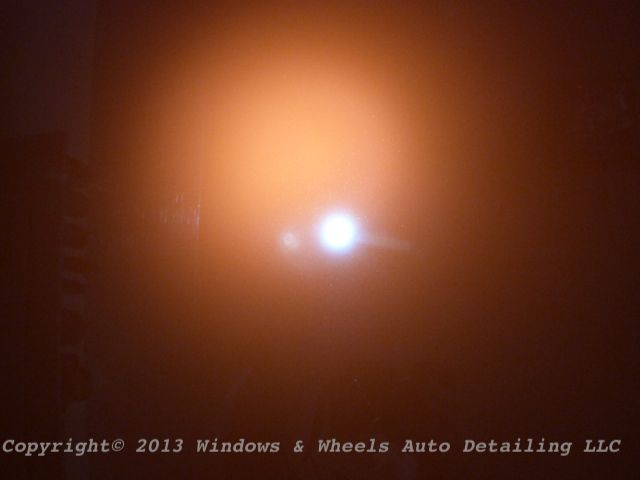
What we found was...this was not going to be a 1-time compound, 1- time polish and good to go detail. Most areas were going to be compounded multiple times - as many deep scratches as possible would be chased after (and they lost hehe) and the paint would be finished down as well as possible with compound as possible. The benefit of doing this was....it makes the polishing process much easier and much less marring to have to clear up.
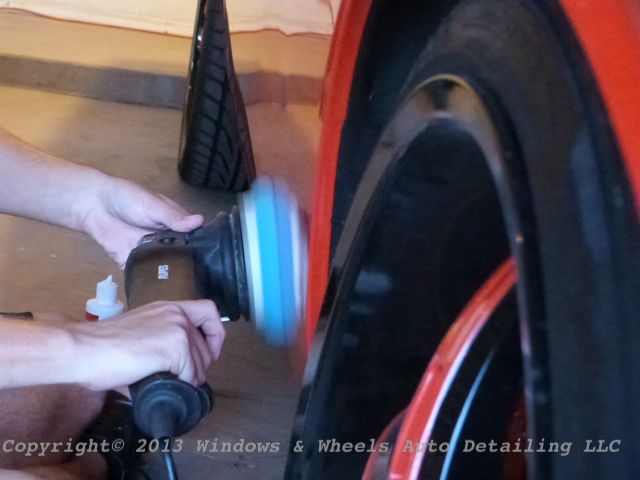
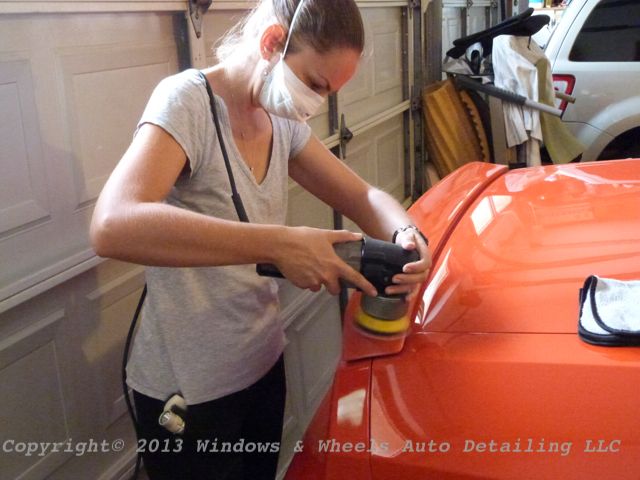
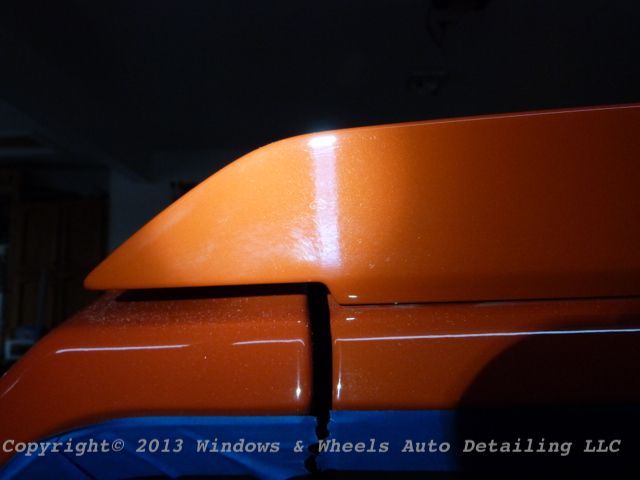
One of the most abused areas, was the rear bumper and spoiler....which Dani spent a good amount of time on....with some serious cutting compound (M101)
Pretty nasty looking huh?
The underside was pretty ugly too:
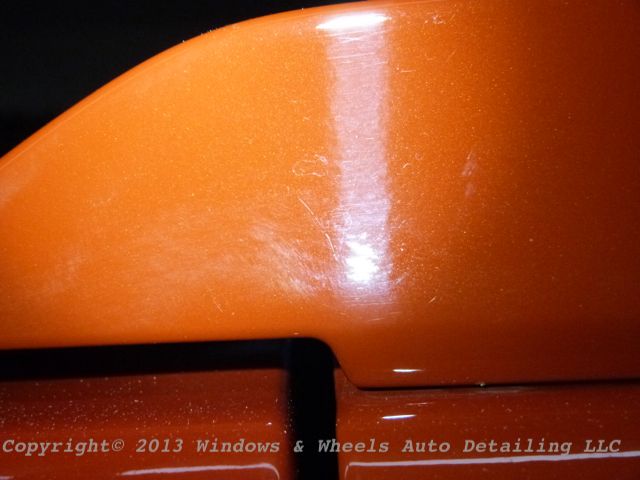
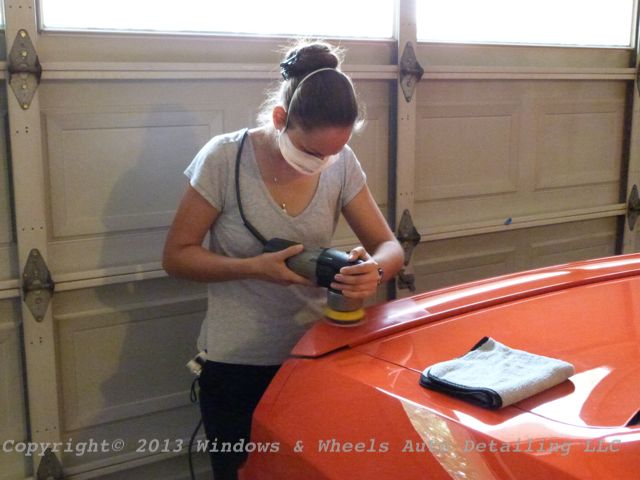
The rear bumper was just bad...i mean bad bad....it didn't even look swirled...it just looked a hot mess. You could tell it had been leaned on over n' over:
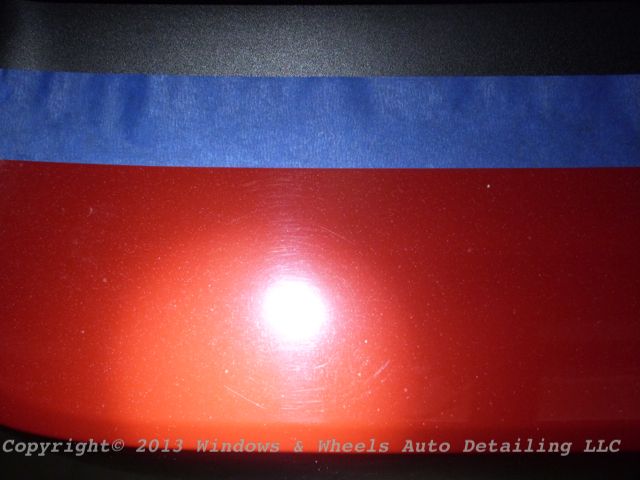
Some spots on the doors were bad too, these squiggles almost looked like backing plate hits of some sort or sanding pig tails:
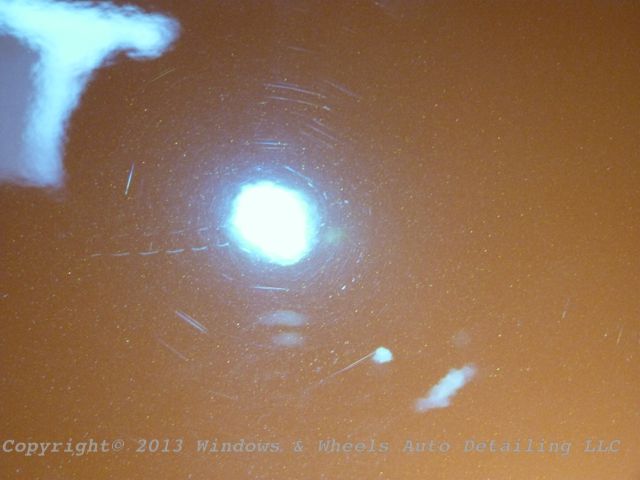
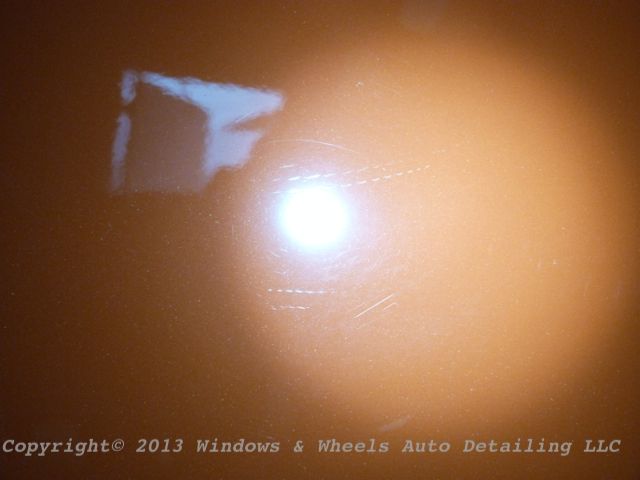
Though small...those little suckers were difficult to chase out.
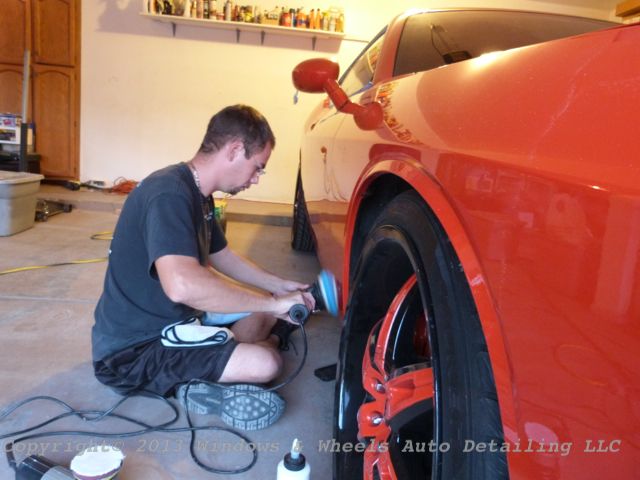
The pillars were horrible too, and again a lot of 3" polishing was required:
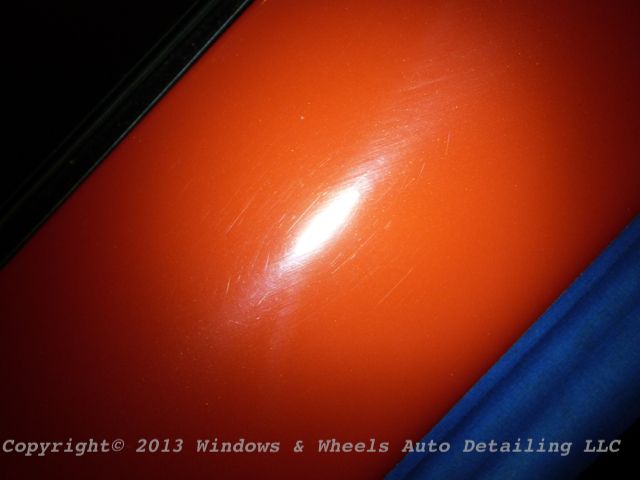
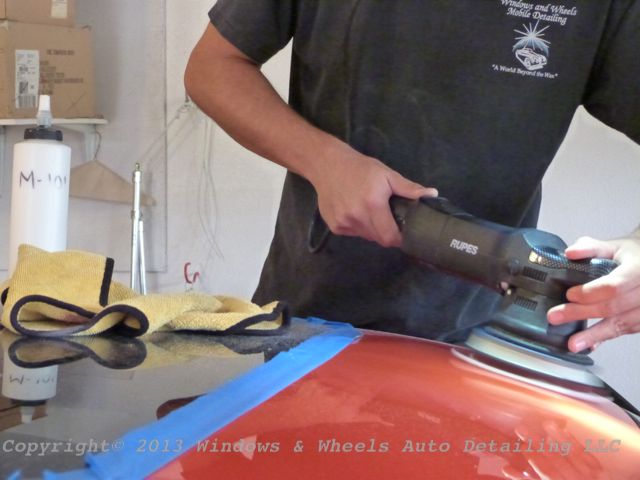
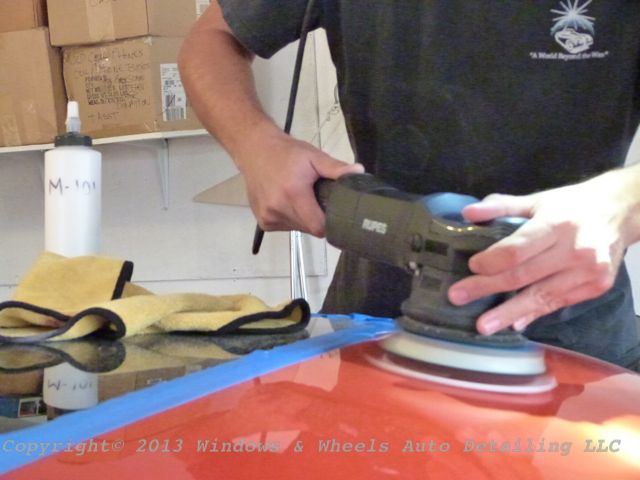
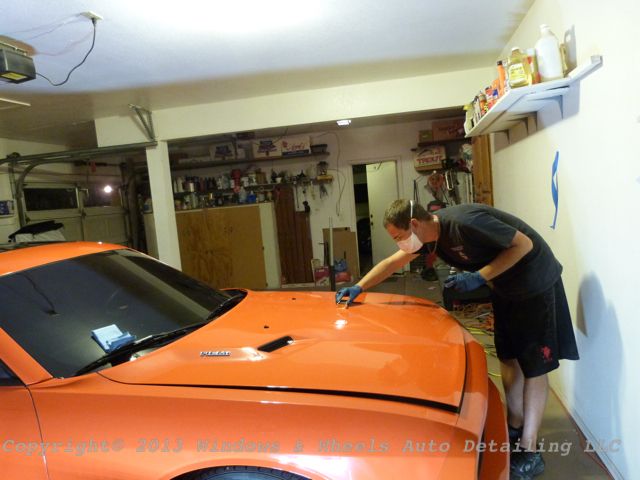
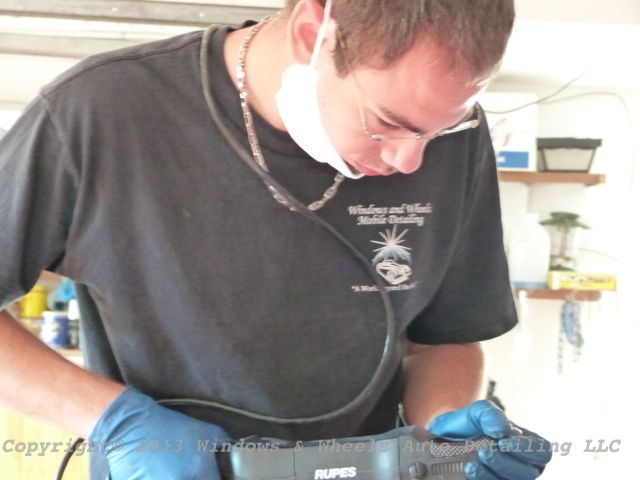
After the first day...about 1/2 the car was compounded and ready for polishing. Day two came and we were up and at it bright n' early. Here i am cutting the acre long roof:
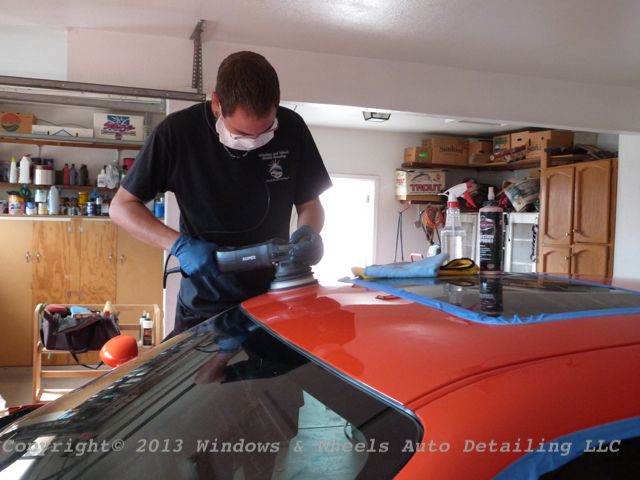
The mask does do so much when you forget to take it off your chin!
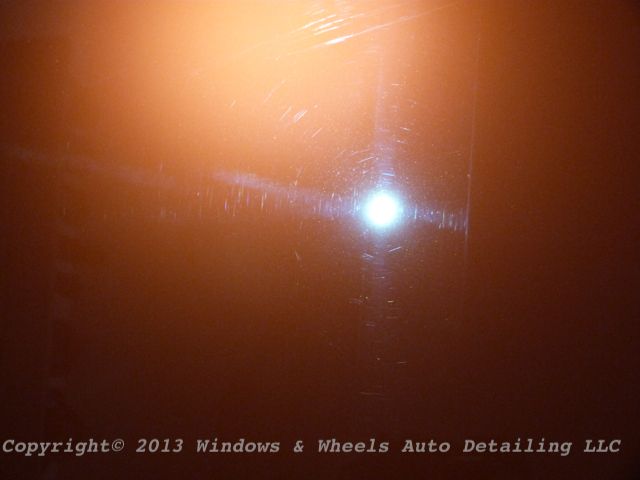
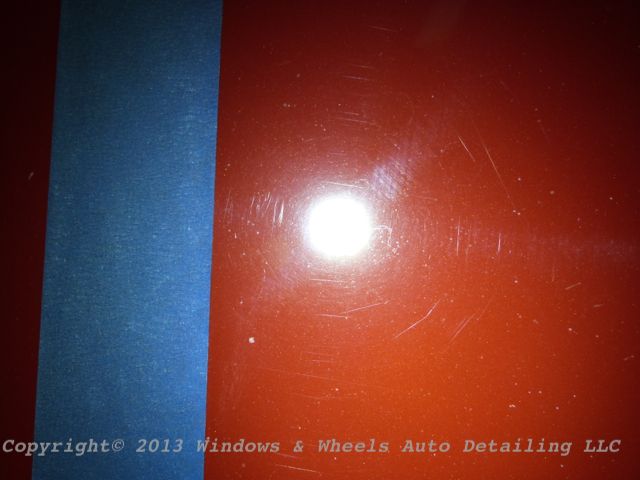
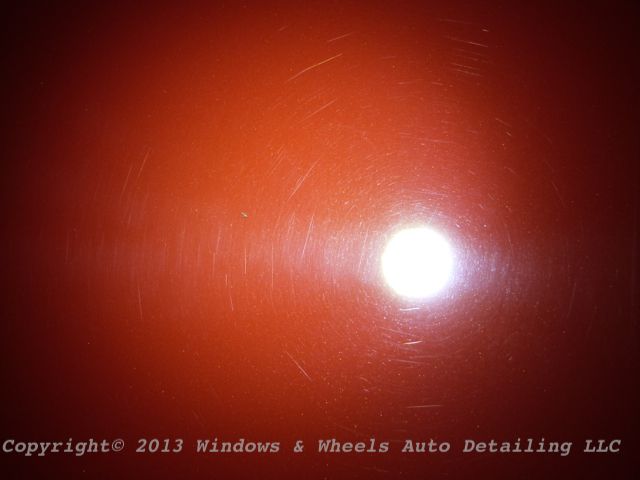
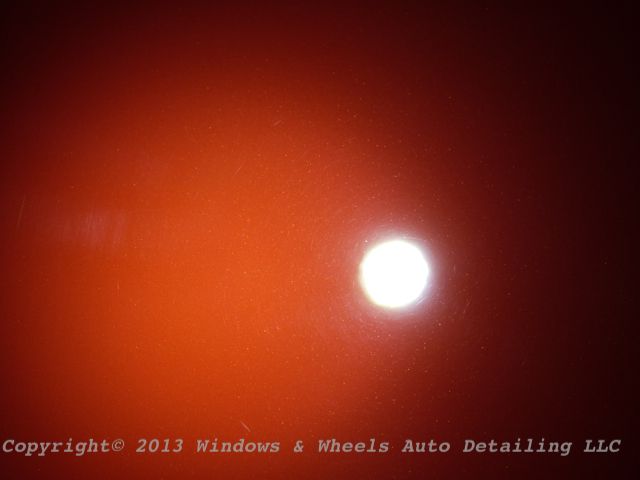
After making it to the trunk...it was time to do one more taped off shot...these were nasty looking:
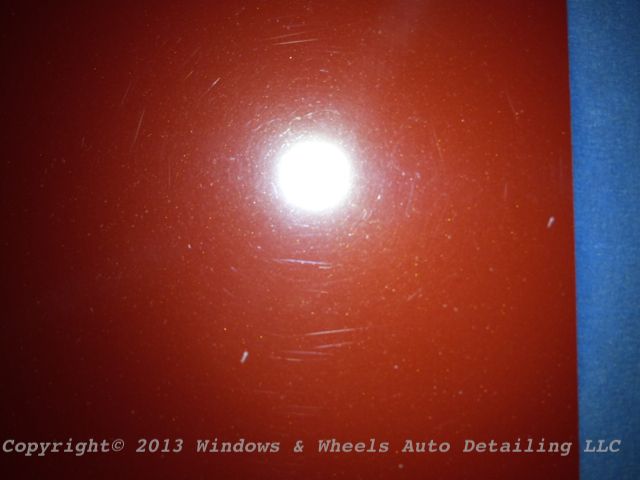
The after result....
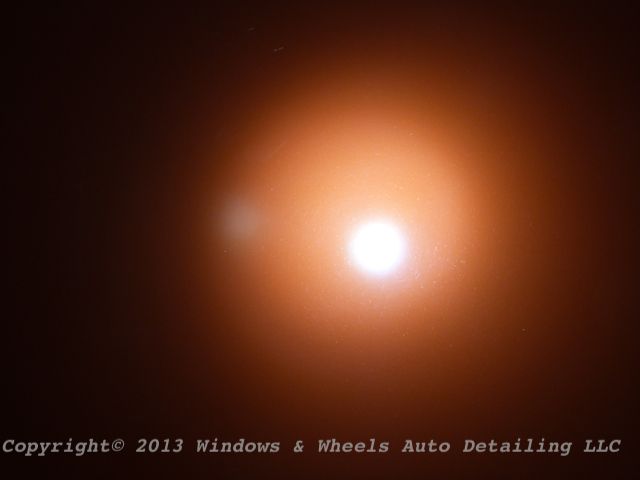
Awesomeness.
Before:
After:
What this means, is a LOT of shops had a chance to beat up on this paint (installation of the compressor in the trunk alone = an ungodly amount of leaning over the rear bumper!) Not to mention all the body shop dust and just overall neglect.
Solution...the last stop this baby had was to see us! We definitely had some work to do..so lets begin.

Here she is. Dropped off Sunday night...over the next 4 days she would be getting some SERIOUS attention from us. Interior just needed light cleaning...which was good because the paint needed some serious attention.
First thing that was noticed was the left over wax/compound in quite a few cracks:

Some in some particularly difficult to reach places....note this has probably been there a year lol


And then of course...the prime concern...the tons of swirls:


We also had some good ole' Arizona dust piled up in some areas:

And well, when you have a super charged engine...the tips are probably going to be pretty dirty:


So, it was time to get to work...first the license plate was removed:

Then everything was washed and dried:

Dual drying korean WW microfibers!
Then the tedious part...claying. When in a body shop...all kinds of air born crap lands on the cars....the result....THIS is what comes off of just 1/2 the windshield:

This by no means was a "quick clay"...every panel took a good amount of going over to get the paint smooth...and the clay looked like this at least 10-12 times....so there was constant cleaning and re-molding of the clay during the process.
Just 1/4 of the hood:

Continuing on:

The next thing we found that wouldn't clay off...were these little glue looking specs on the front QP's. There was a good 8-10 in total.

Letting some compound sit on them for about 15 minutes helped to loosen them up and then they flaked off.
As the sun came out more...the paint condition was easier and easier to see....which was good and bad lol:

Some were pretty deep:


Painful!

These were pretty wicked looking:


After claying it was time to pulled into the garage...and the prep work continued....taping off the trim:


And of course we had to check the paint out under LED...which was a pretty bad sight:


Under controlled lighting, it was easy to see how much work we had ahead of us:


It was then time for our test spot. We taped of a section of the hood (the hood made up about 10 sections! It was HUGE!)
Heres what it looked like before hand:

Half was compounded....the result was no more swirls, but a fair amount of hazing:

Before:

And then after polishing....

Crystal clear:

What we found was...this was not going to be a 1-time compound, 1- time polish and good to go detail. Most areas were going to be compounded multiple times - as many deep scratches as possible would be chased after (and they lost hehe) and the paint would be finished down as well as possible with compound as possible. The benefit of doing this was....it makes the polishing process much easier and much less marring to have to clear up.
One of the most abused areas, was the rear bumper and spoiler....which Dani spent a good amount of time on....with some serious cutting compound (M101)

Pretty nasty looking huh?

The underside was pretty ugly too:


The rear bumper was just bad...i mean bad bad....it didn't even look swirled...it just looked a hot mess. You could tell it had been leaned on over n' over:

Some spots on the doors were bad too, these squiggles almost looked like backing plate hits of some sort or sanding pig tails:


Though small...those little suckers were difficult to chase out.
The pillars were horrible too, and again a lot of 3" polishing was required:

After the first day...about 1/2 the car was compounded and ready for polishing. Day two came and we were up and at it bright n' early. Here i am cutting the acre long roof:

The mask does do so much when you forget to take it off your chin!

After making it to the trunk...it was time to do one more taped off shot...these were nasty looking:


The after result....

Awesomeness.
Before:

After:


