RickRack & Rydawg at it again!! (Black Ferrari 360 Modena)...

Rickrack

New member
At first, this job was supposed to be a basic "express detail", but turned into a lot more!


The owner contacted me and explained that he was in the process of trying to sell the car, but wanted a quick cleanup so the car would be clean for an exotic car cruise he was attending the following day. With the car being a Ferrari, I was expecting the car to be in fairly good condition. Let's just say that we were in complete awe when the car arrived! :shocked


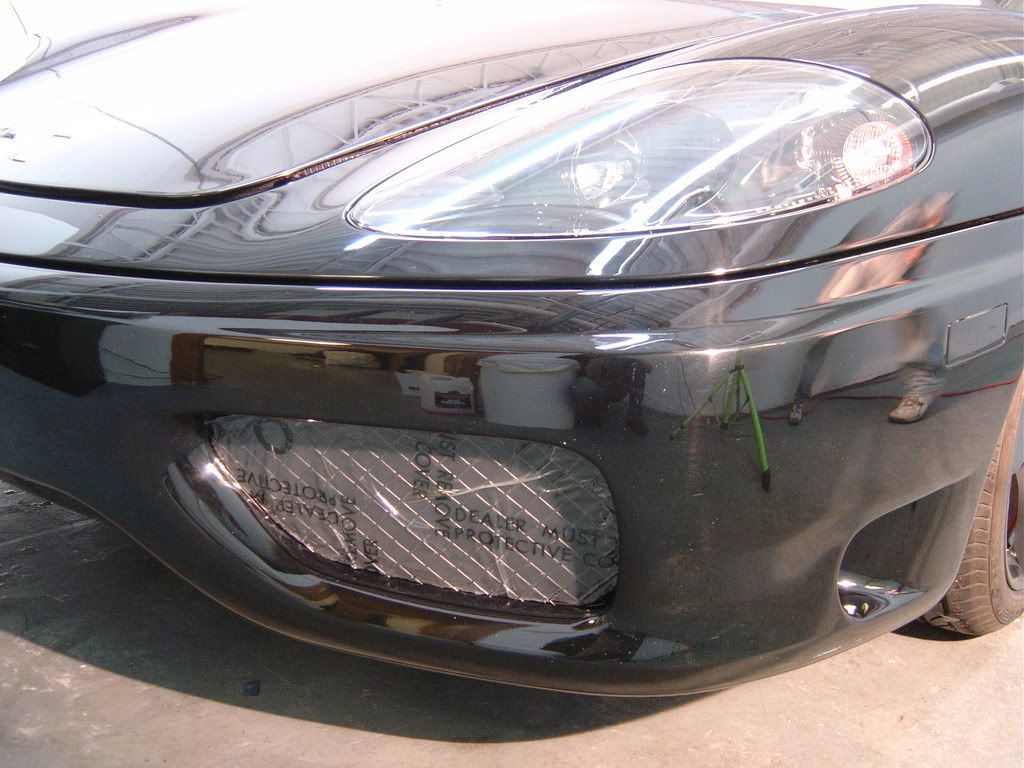
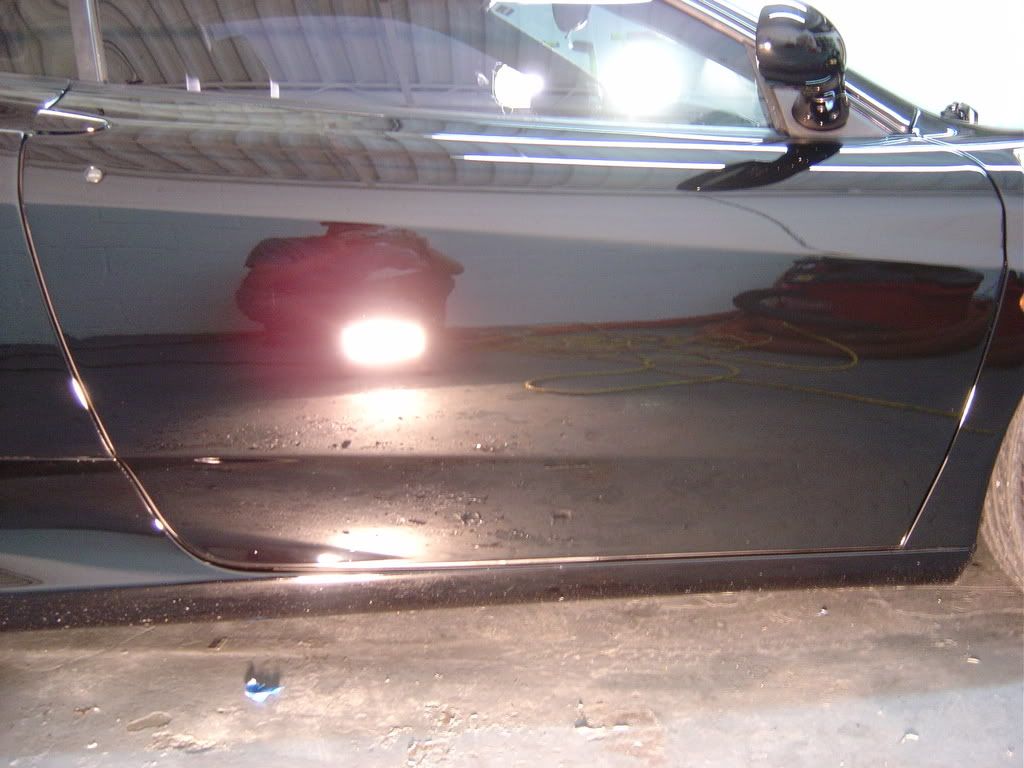
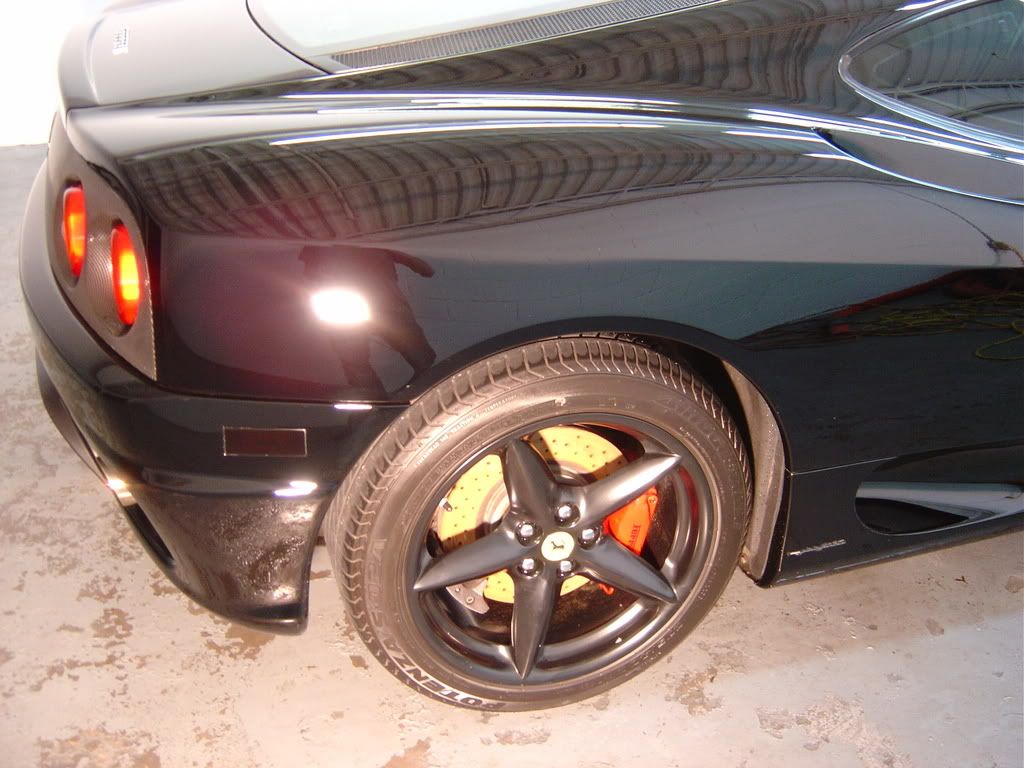
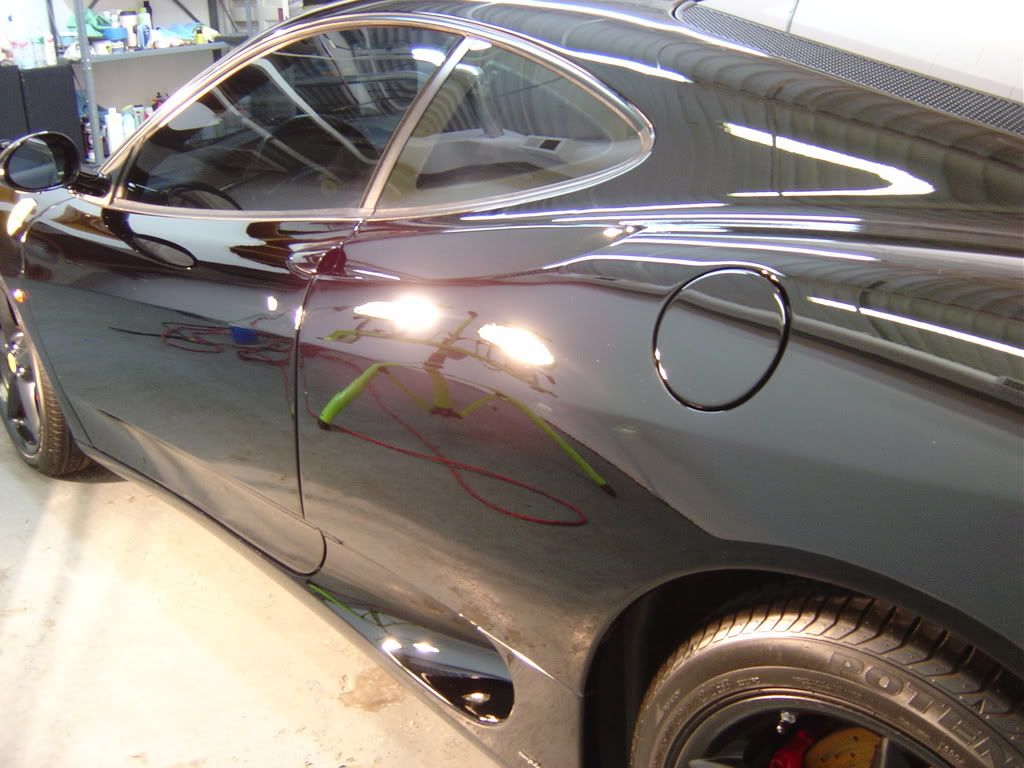
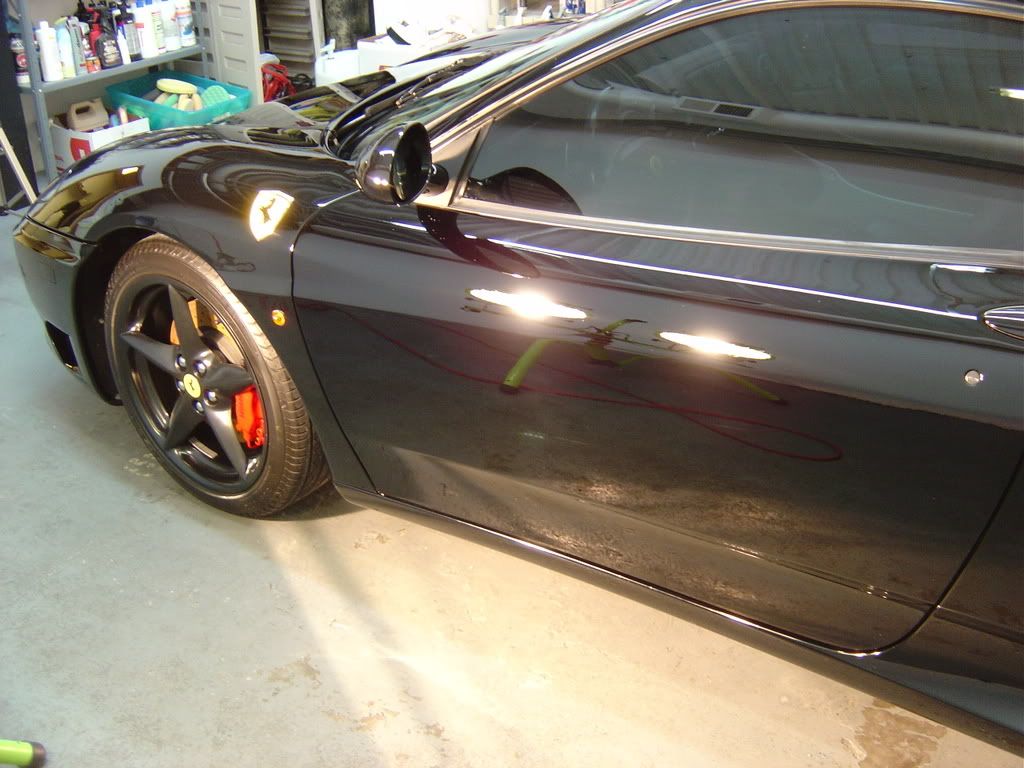
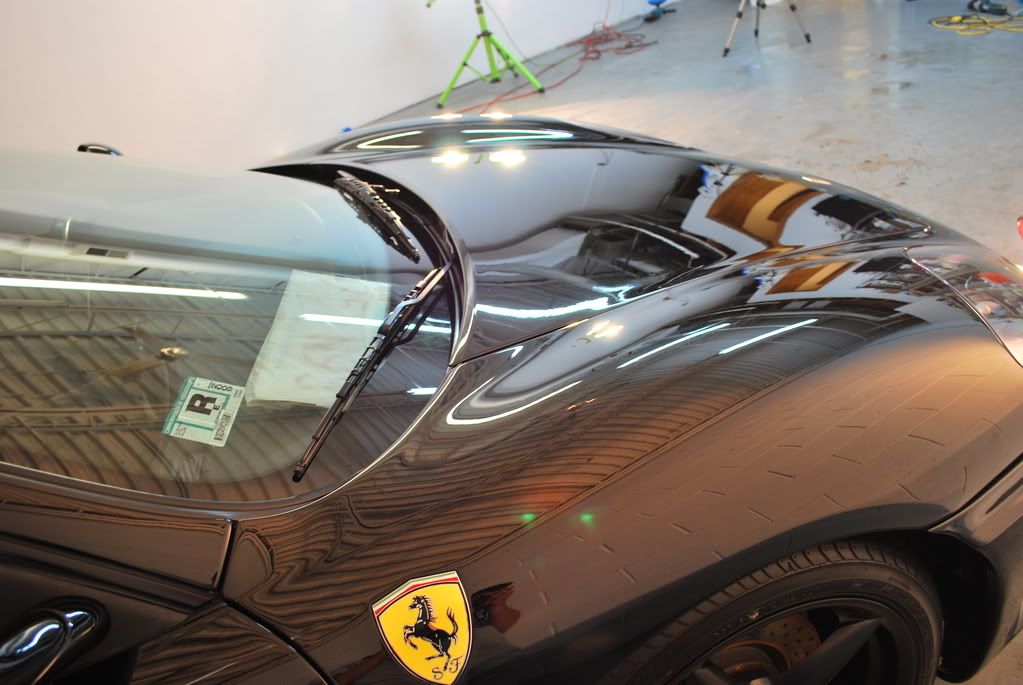
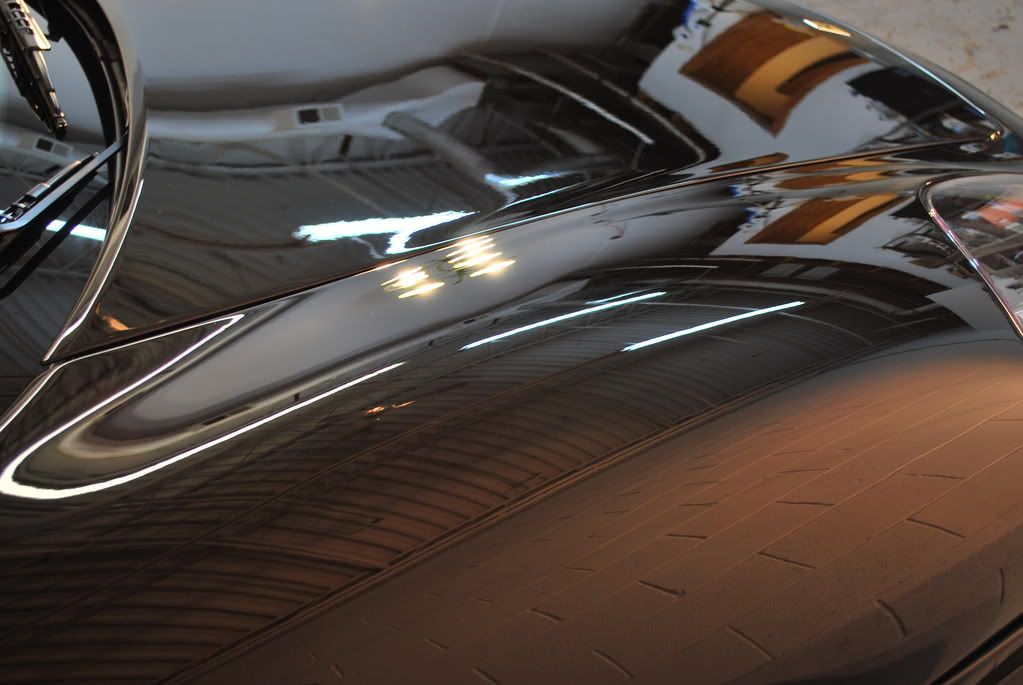
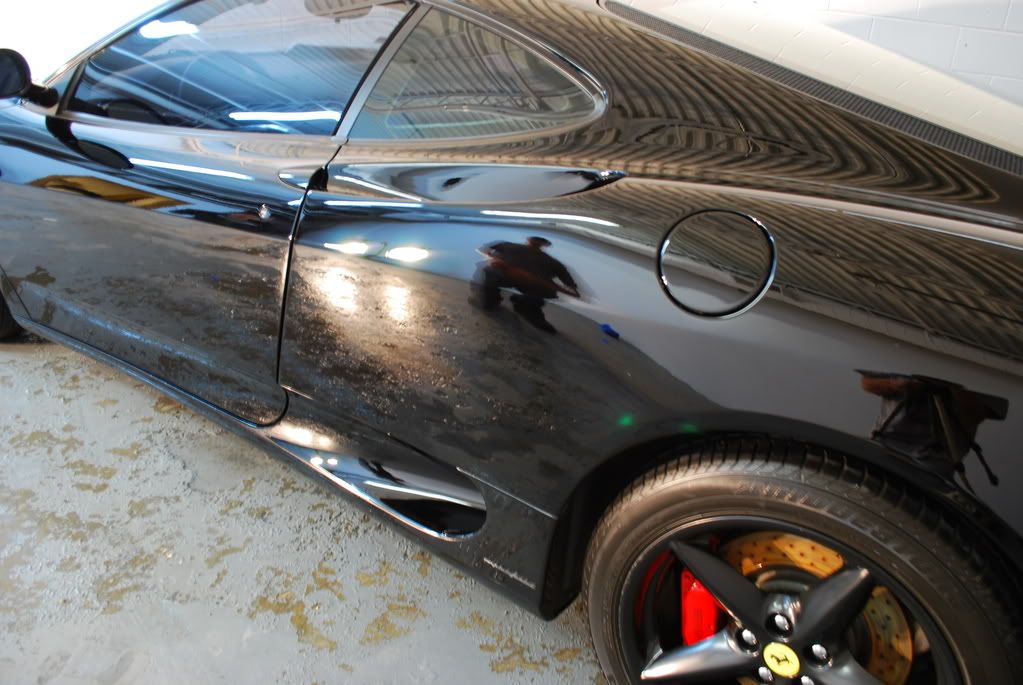
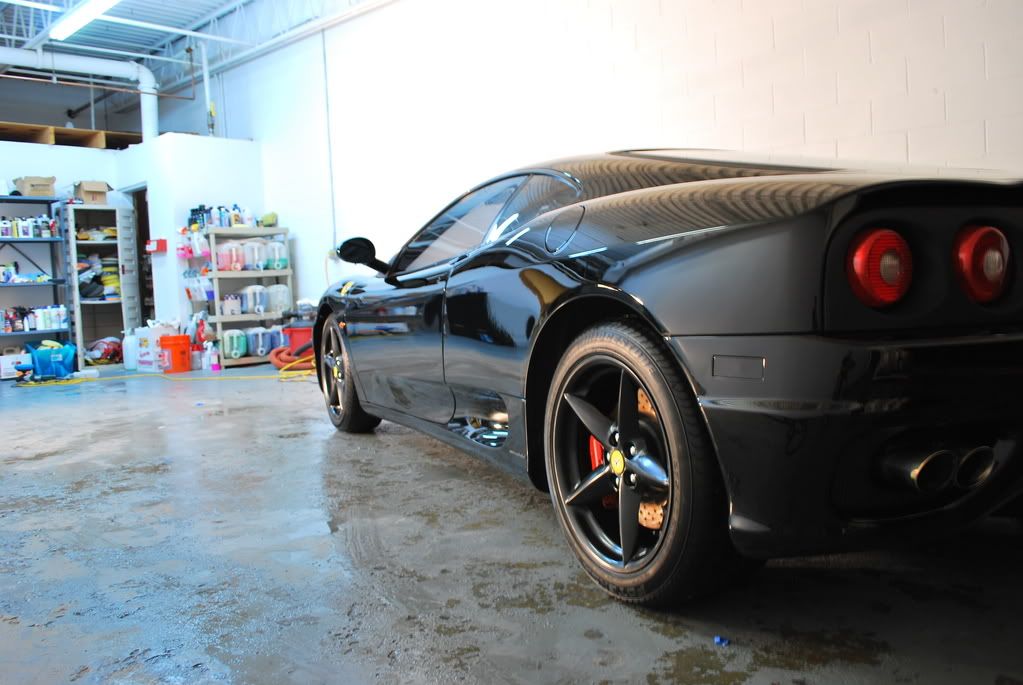
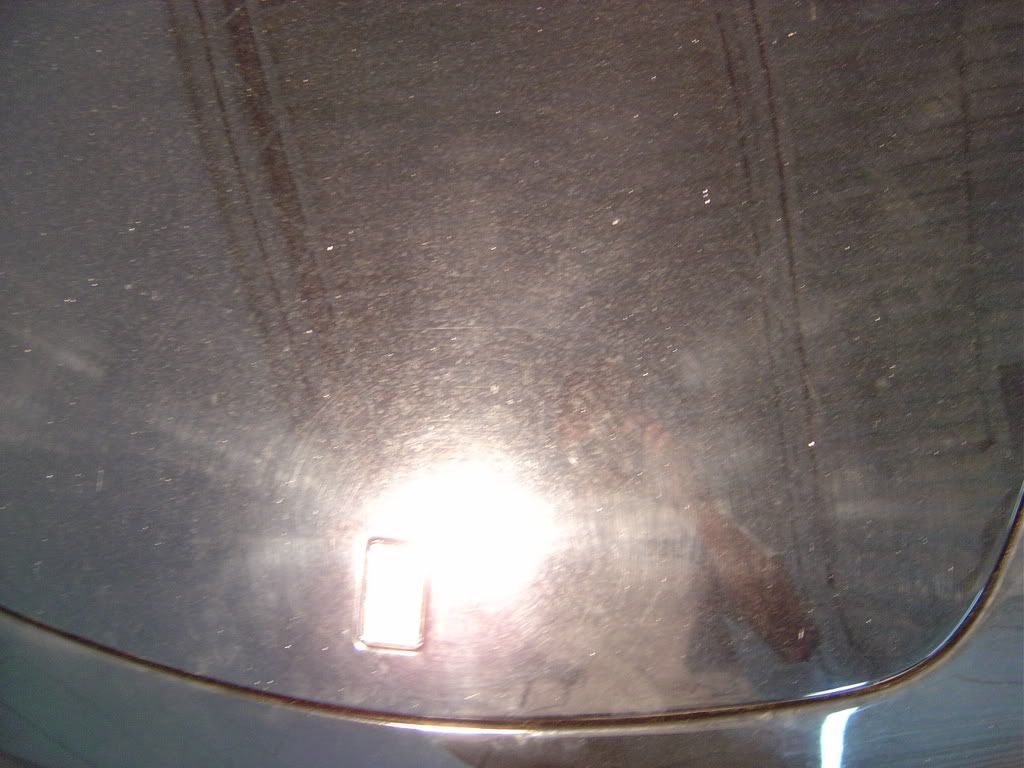
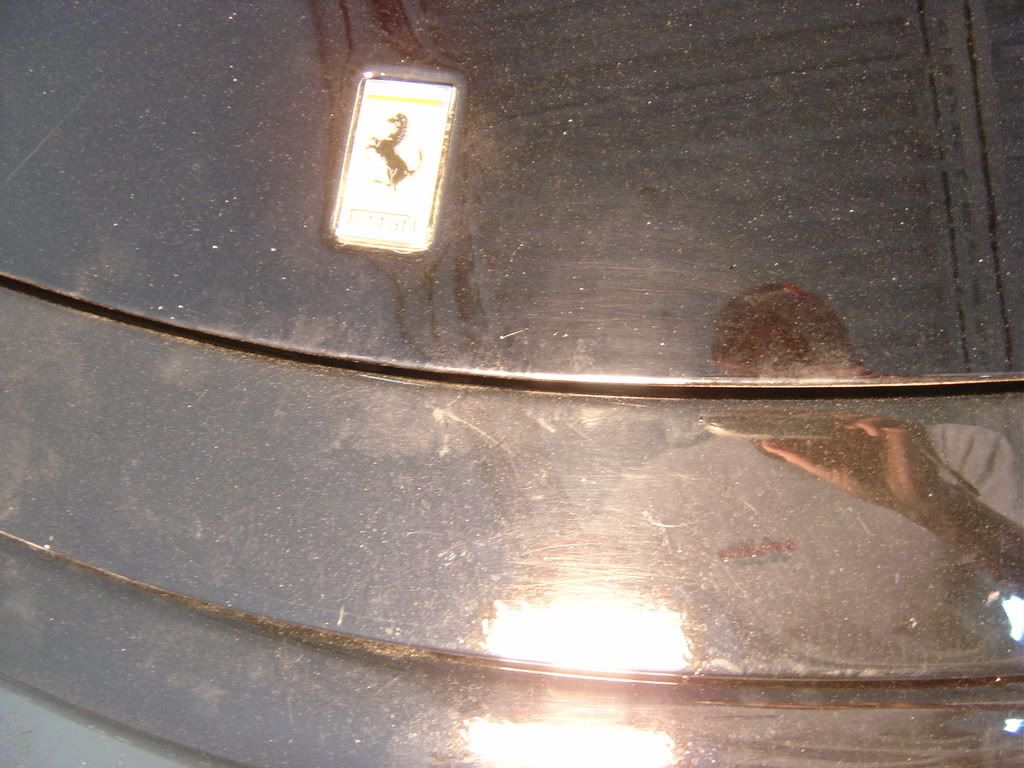
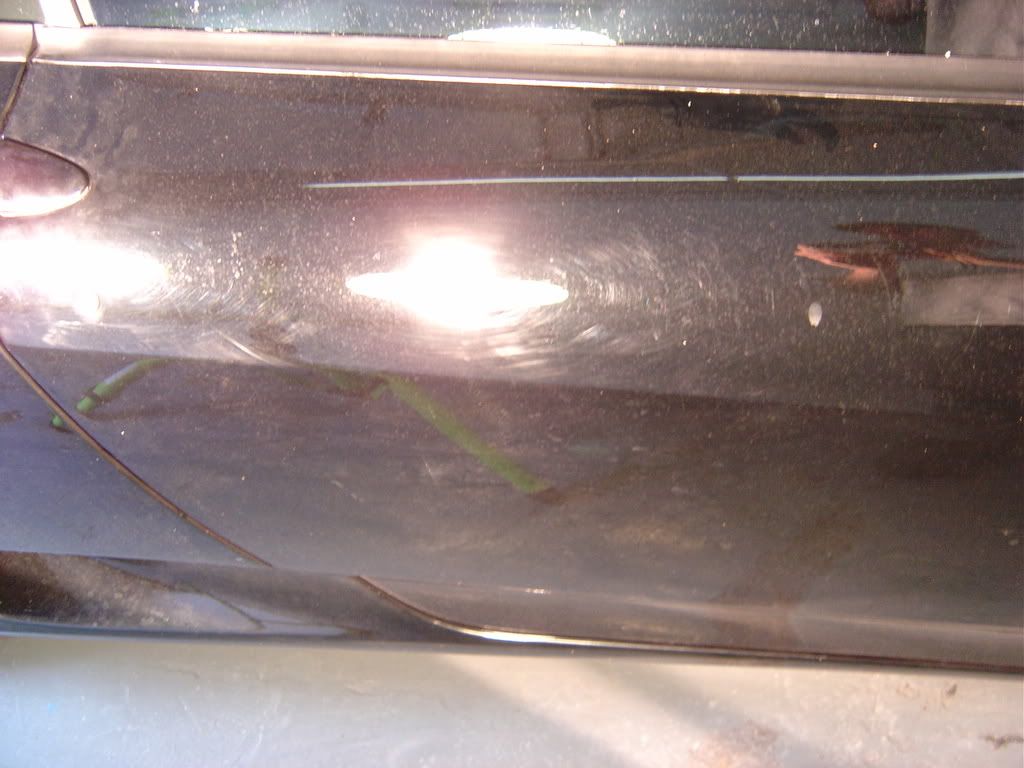
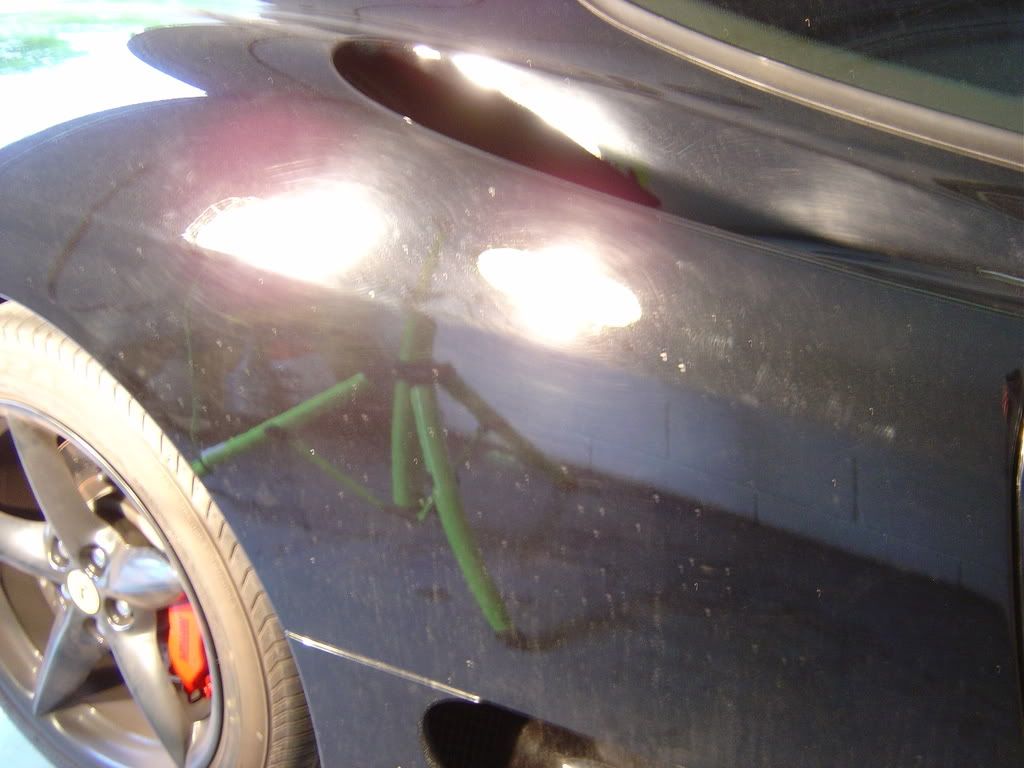
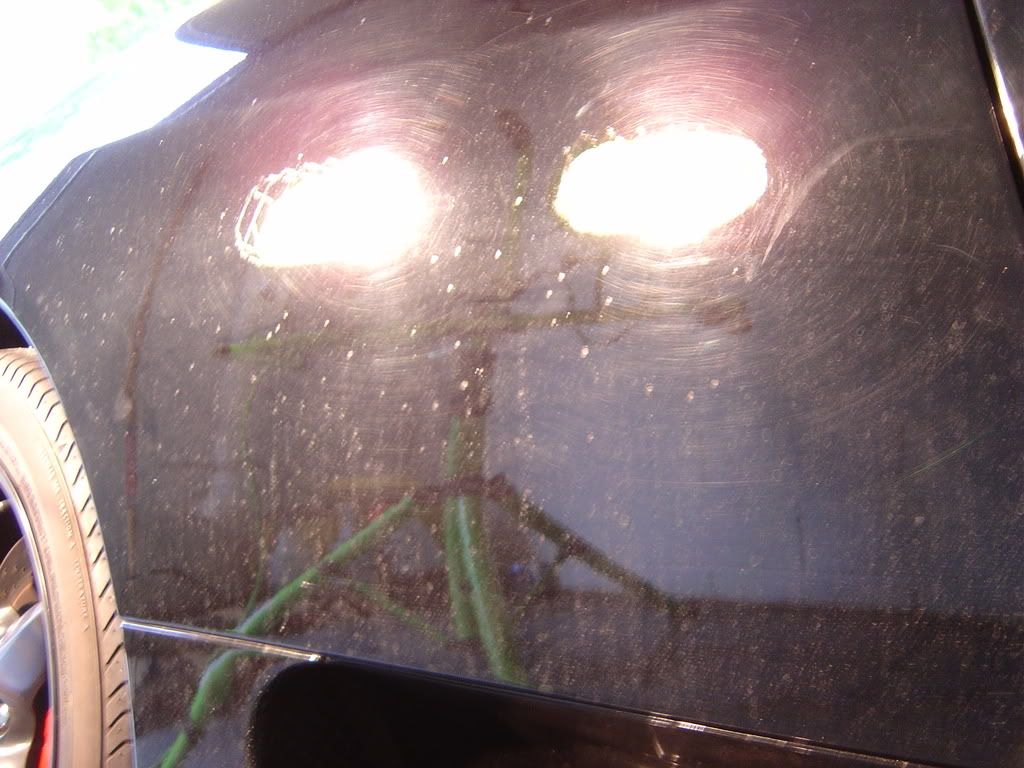
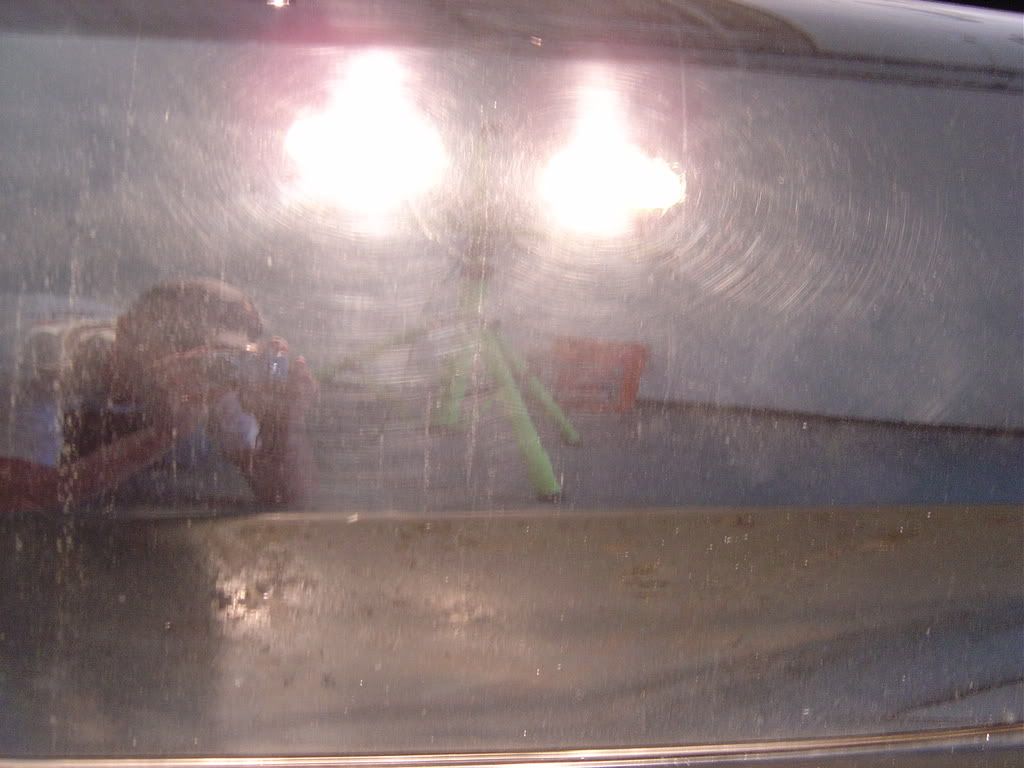
It honestly looked like the car had been driven off-road. The entire car was absolutely hammered and was covered in scratches, blemishes, chips, dirt, grime, etc.. You name it, it was there!


I explained to the owner that it would be worth his while to spend a little more money and have us spend the entire day on it due to the nature of the damage. He agreed and left us with the car early on Saturday morning. He planned on picking it up later that night, so we got right to work and knew we had a very long day ahead of us. :help:


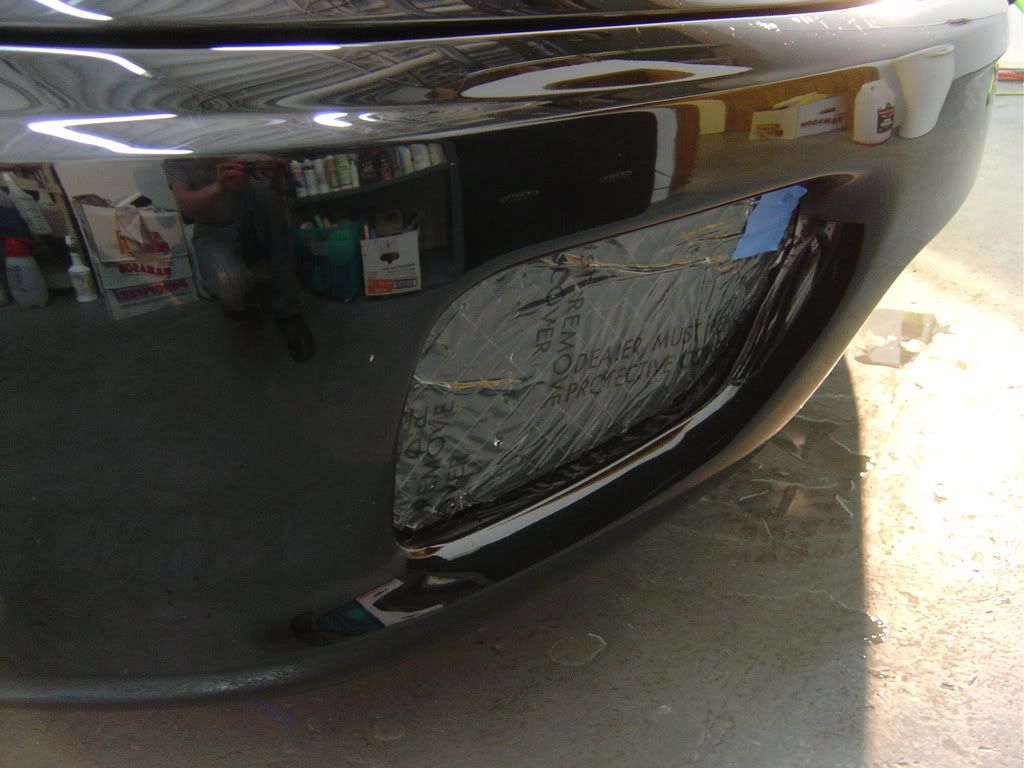
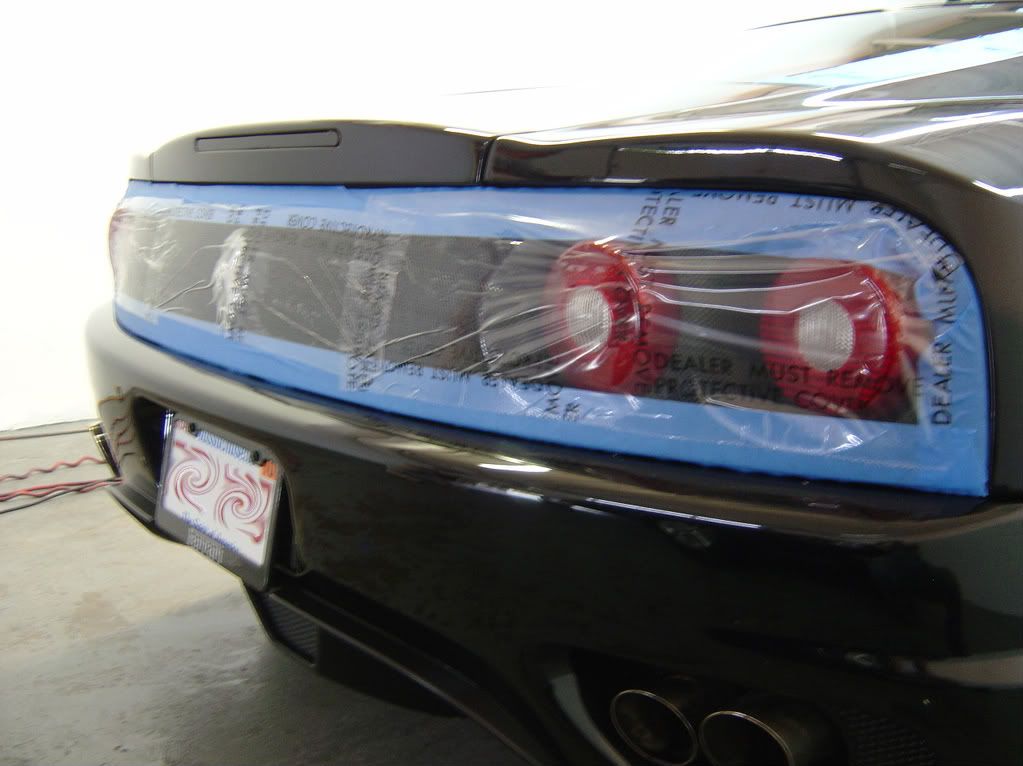
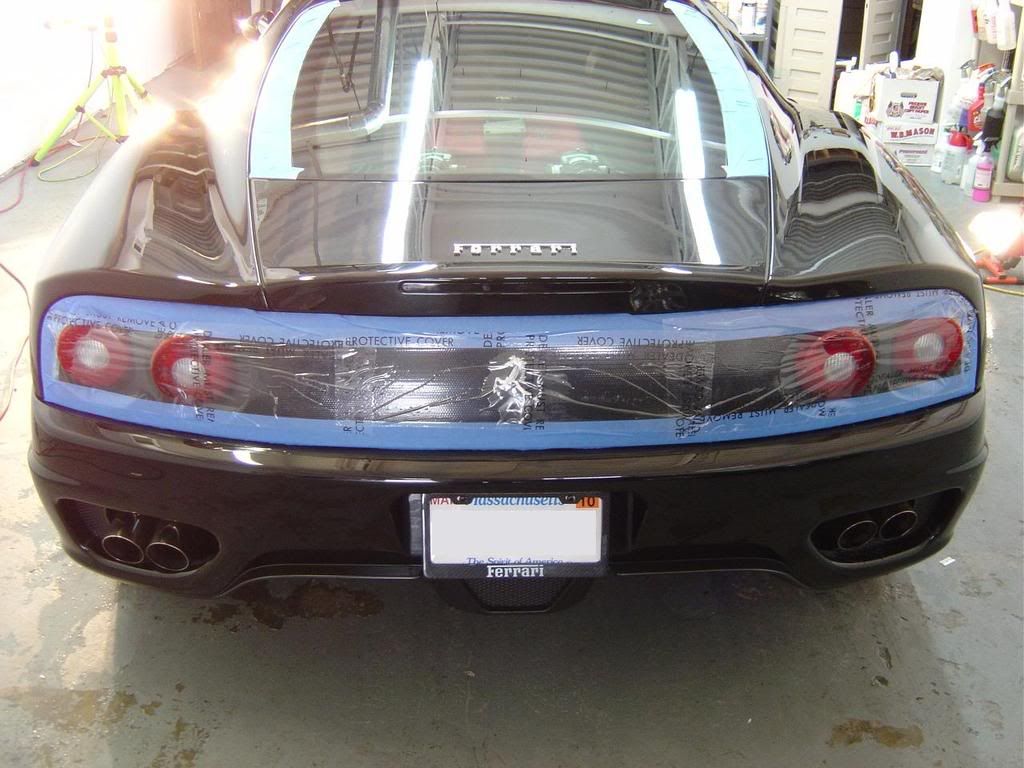
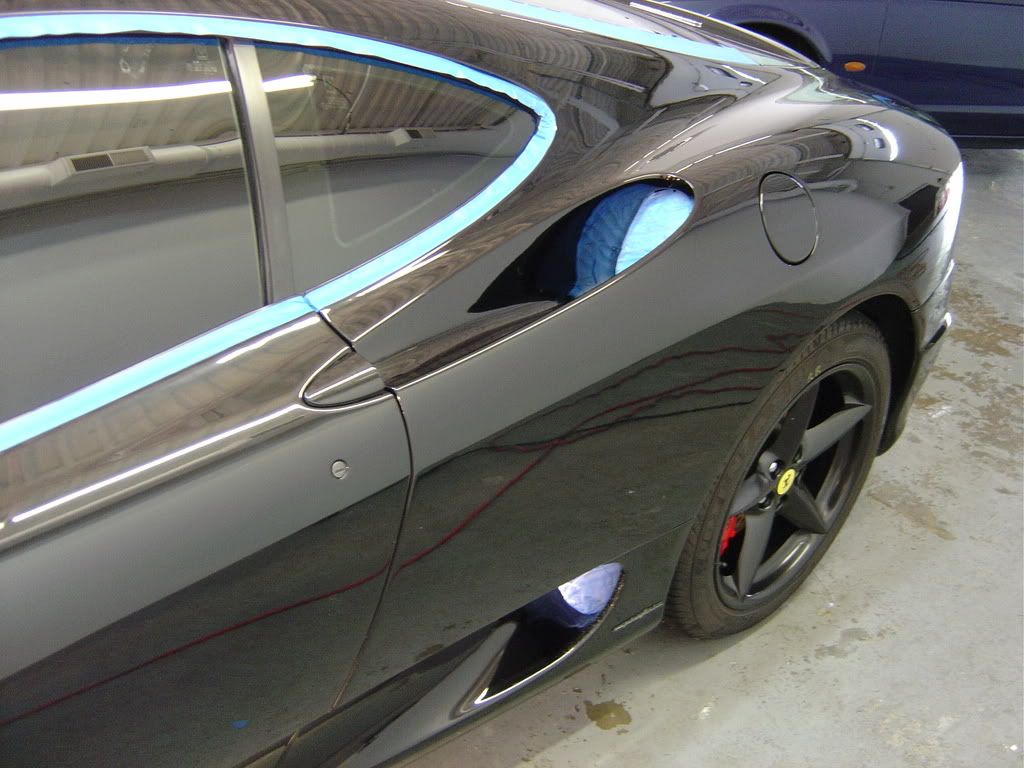
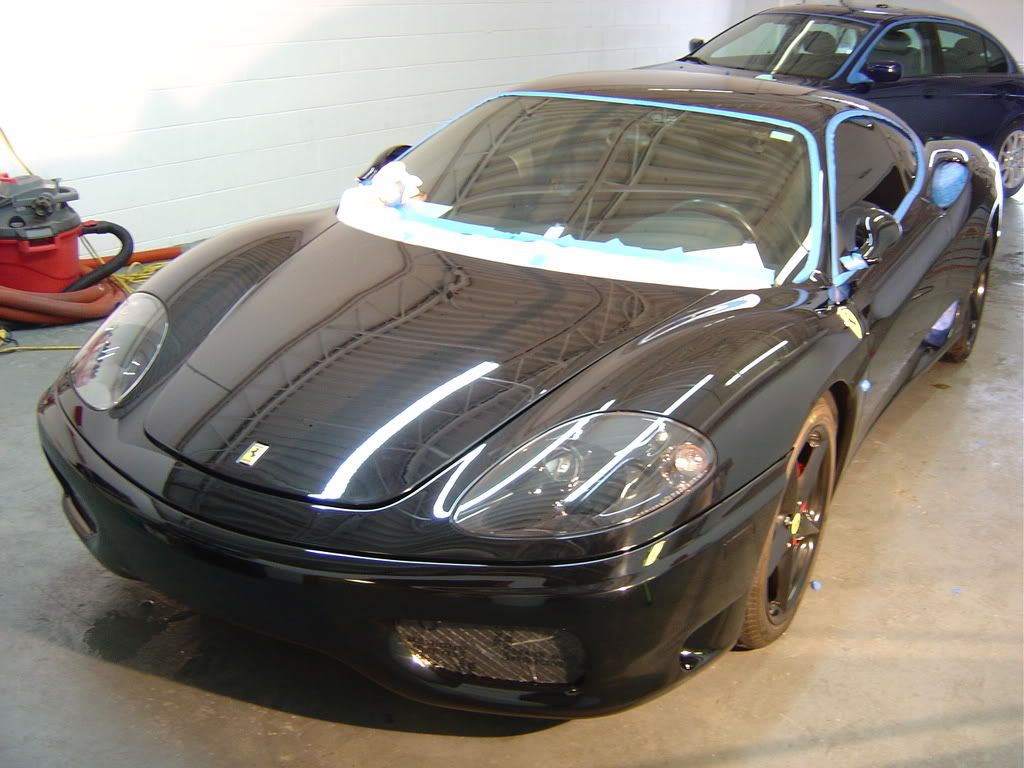
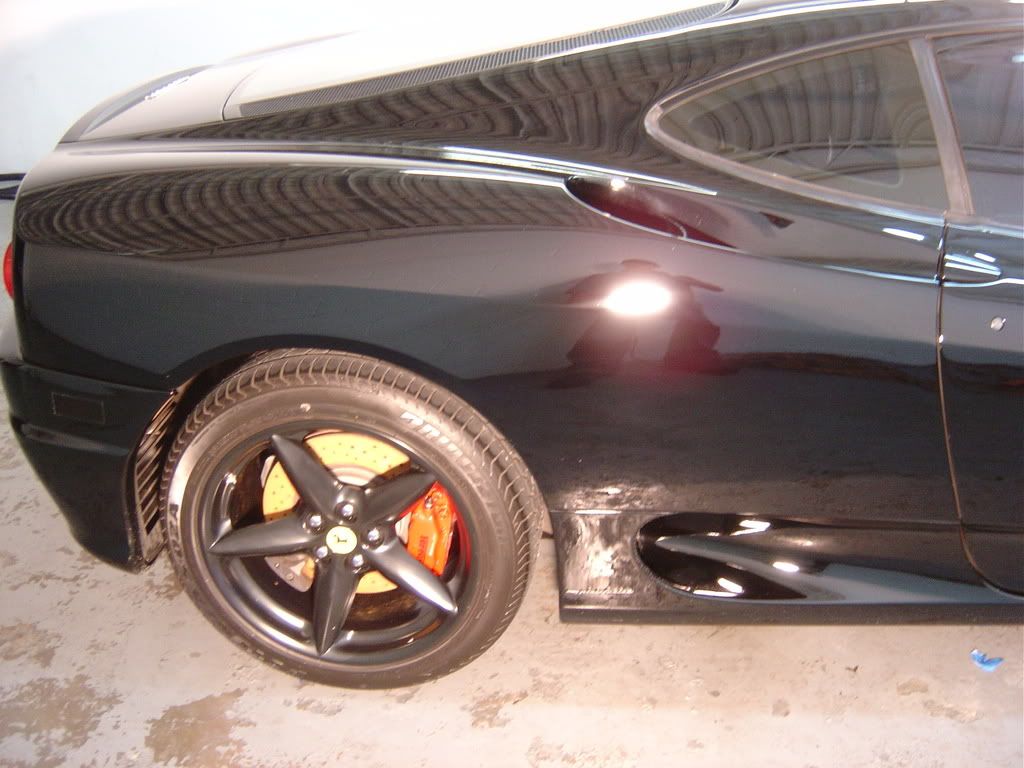
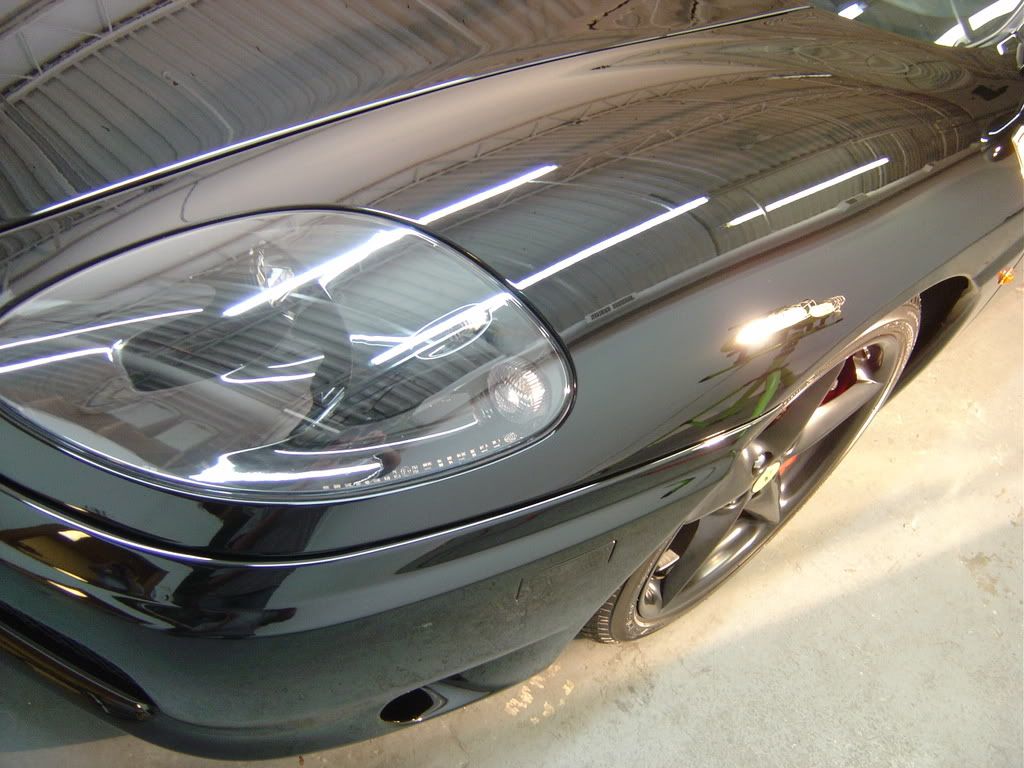
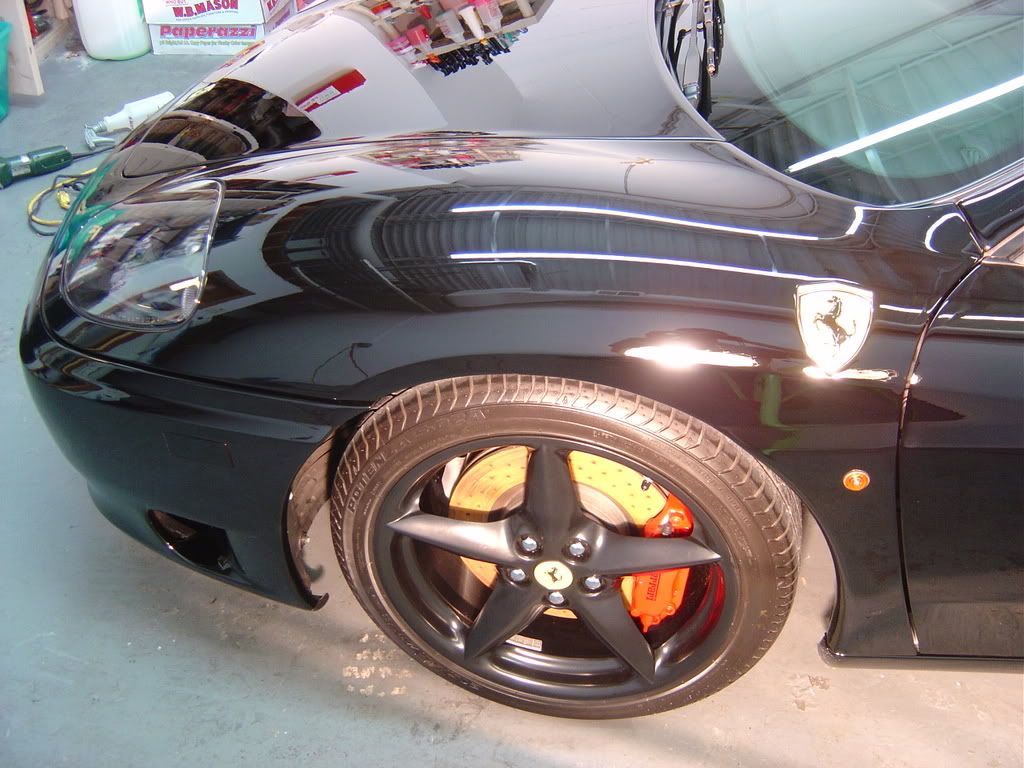
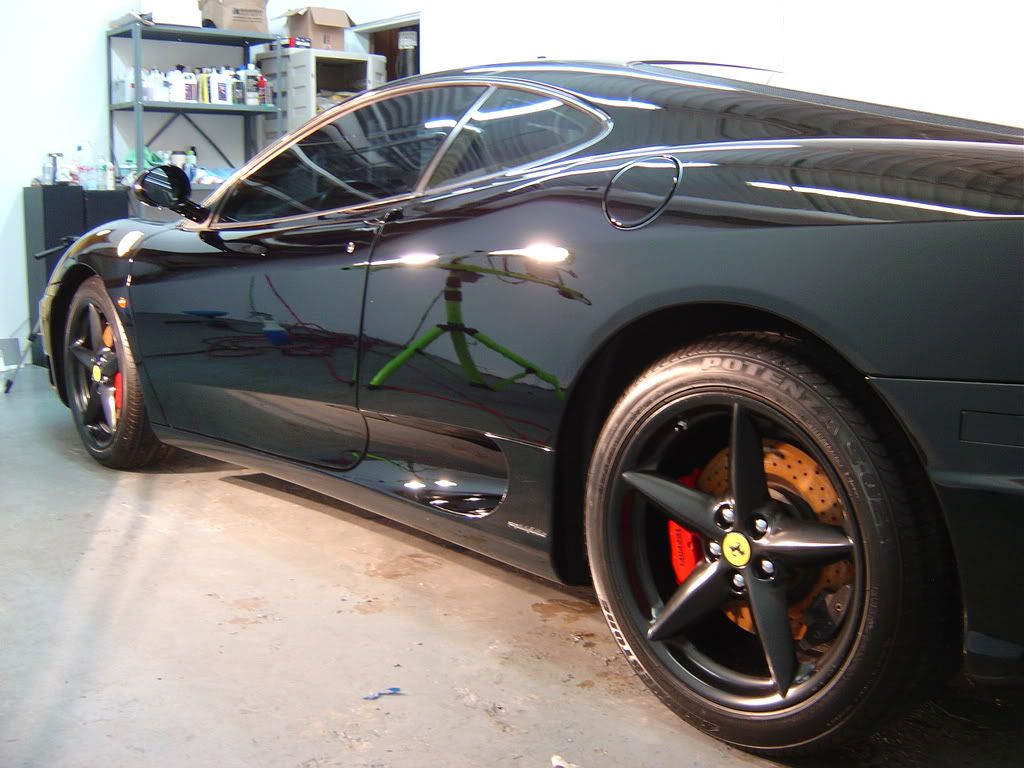
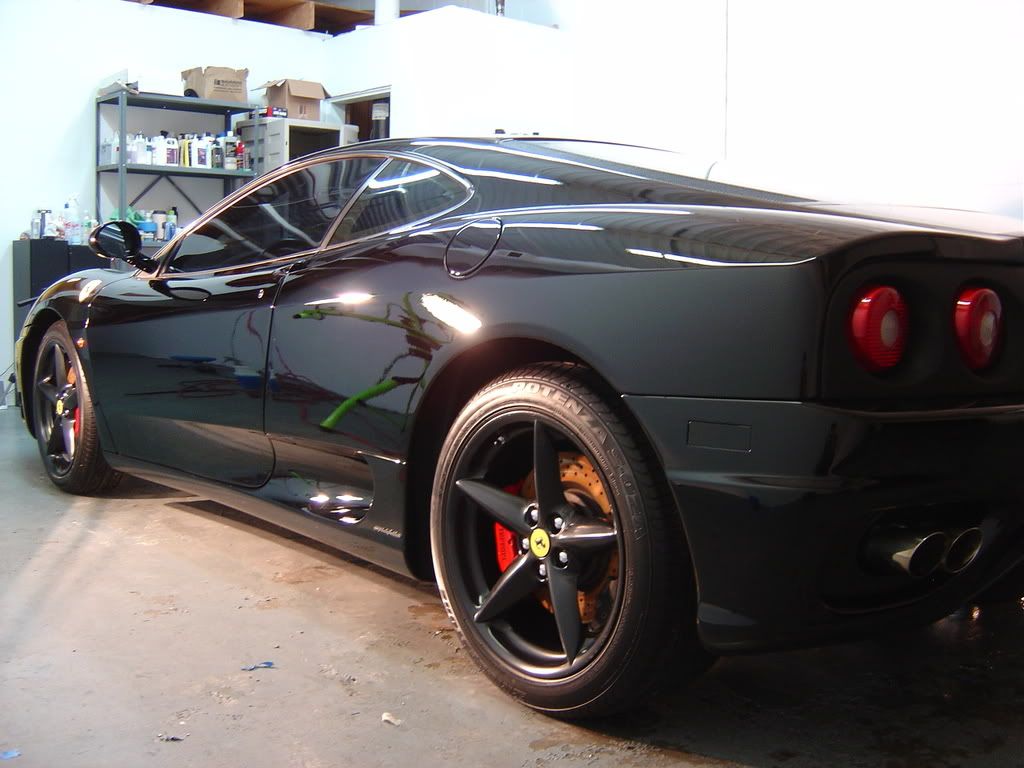
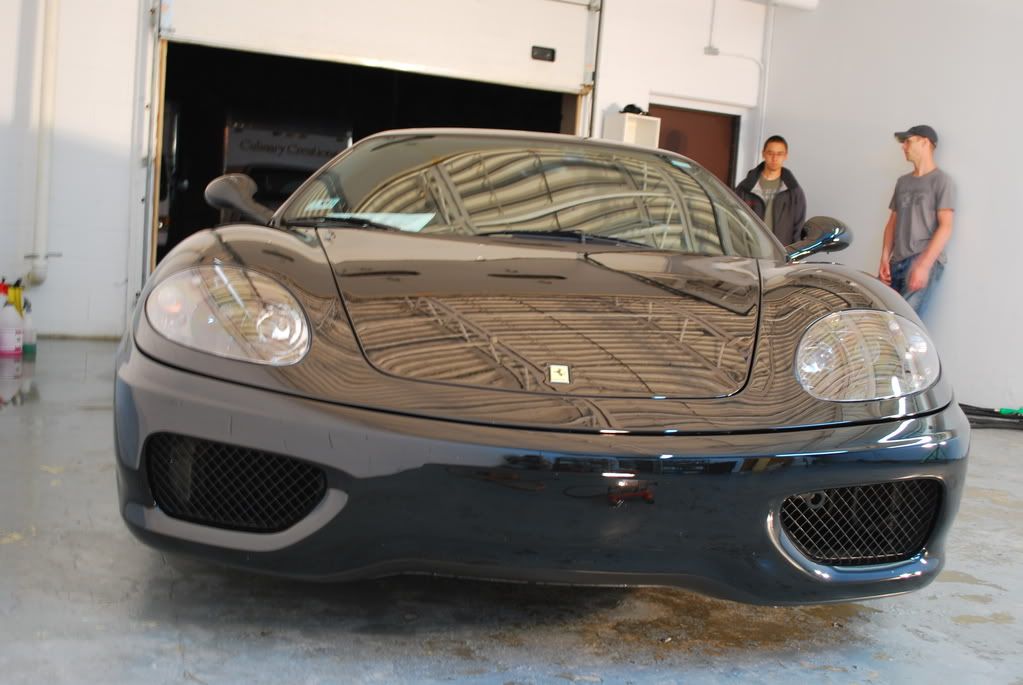
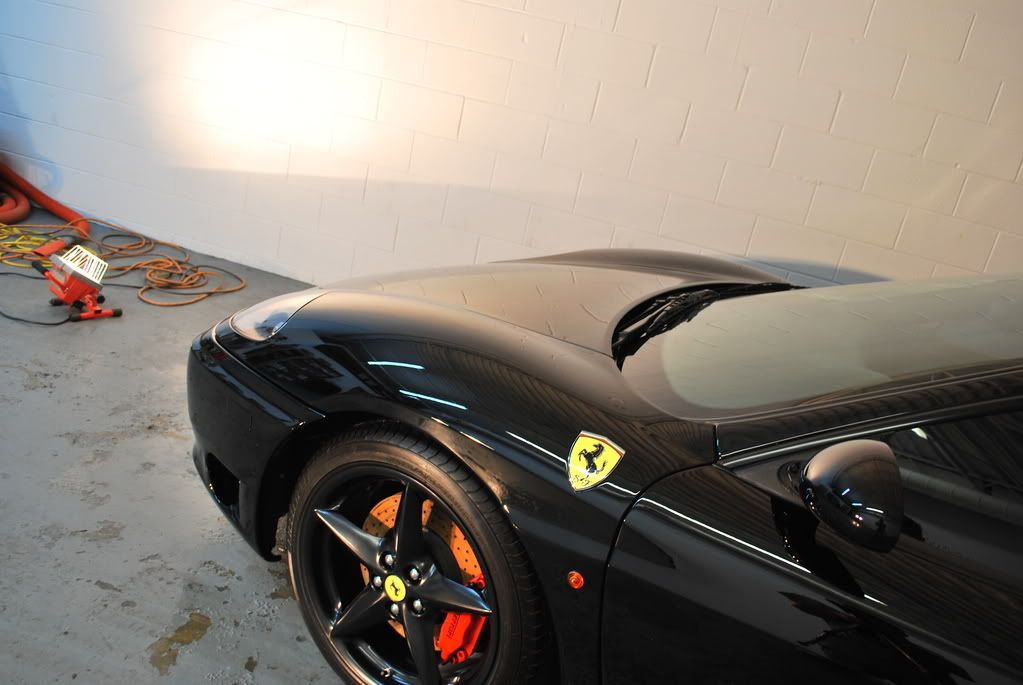
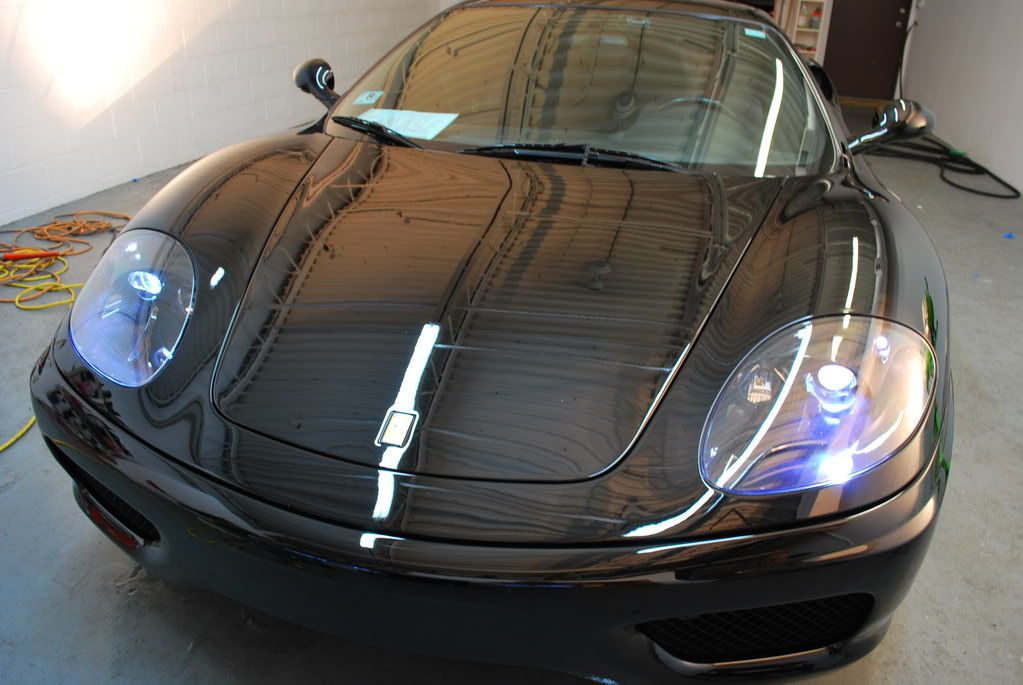
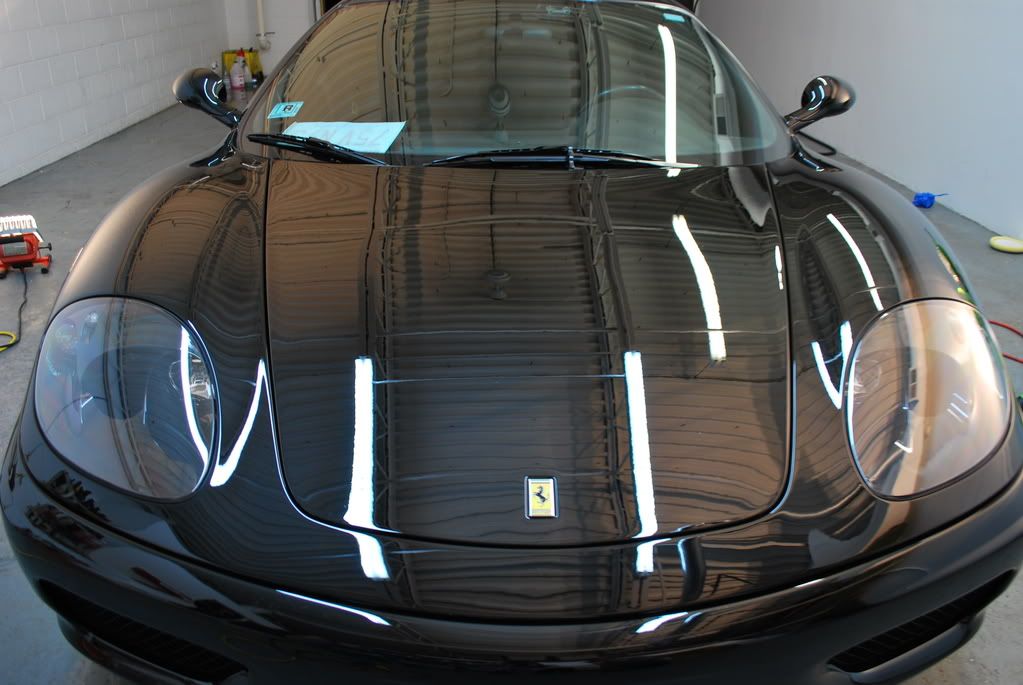
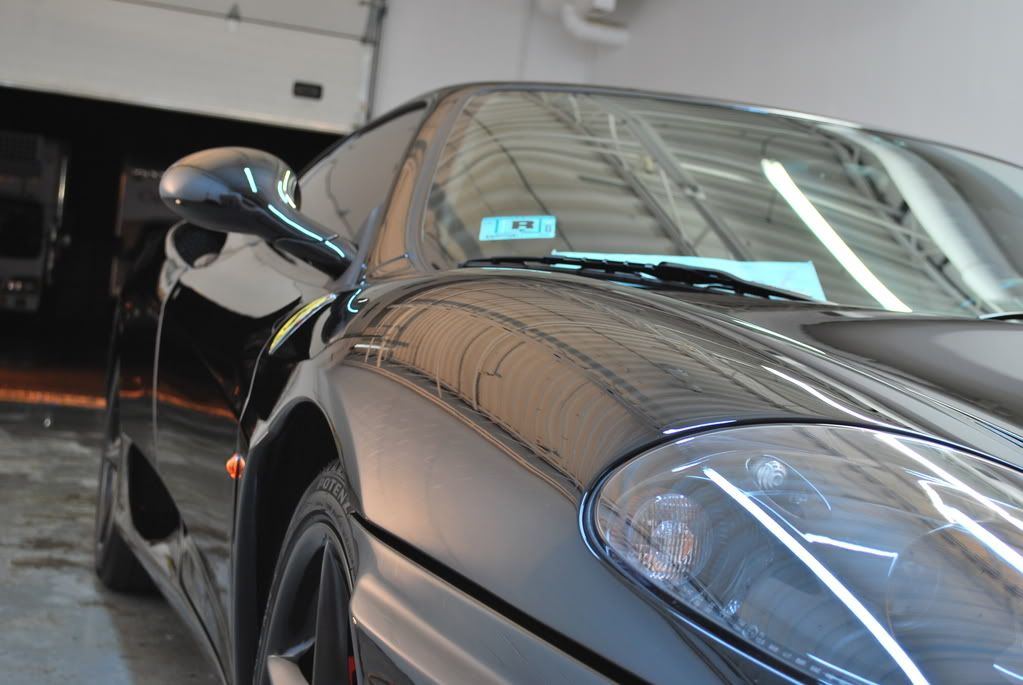
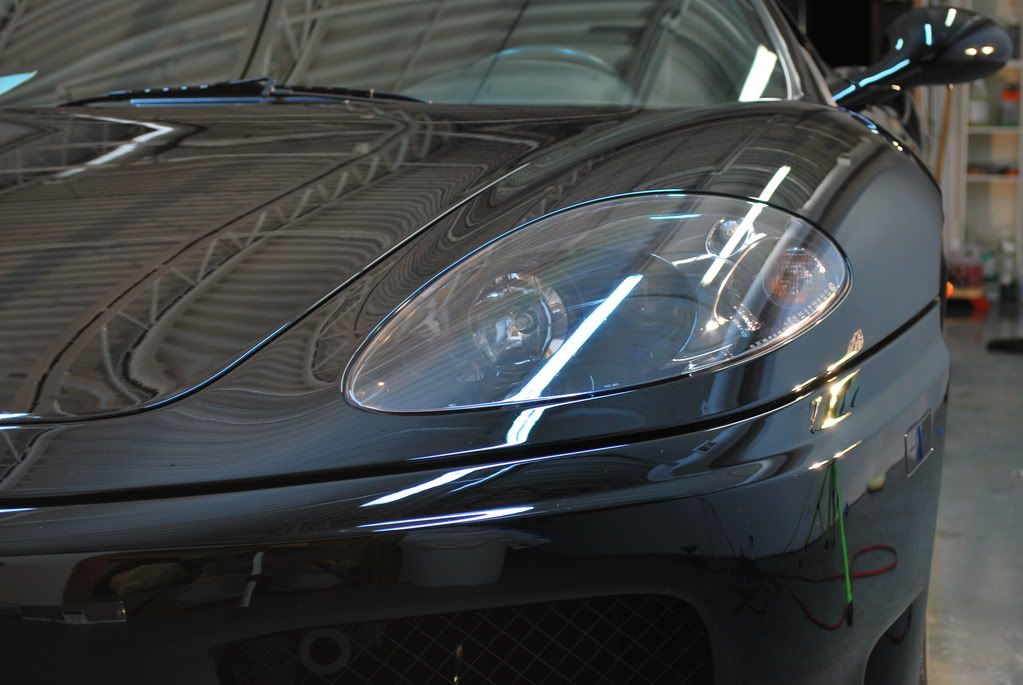
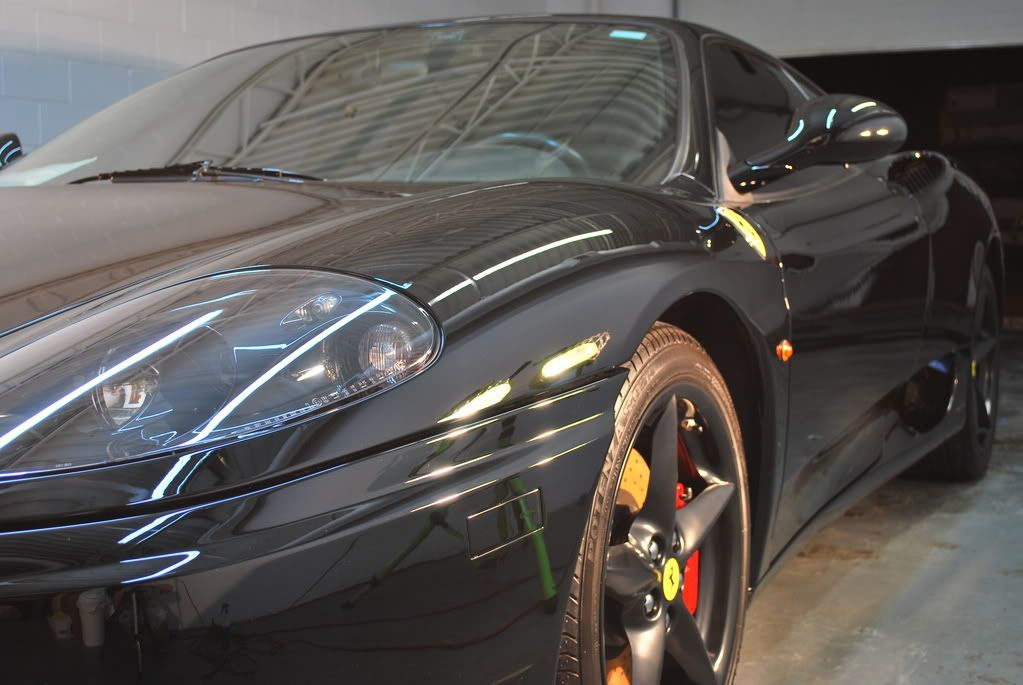
This is what the car looked like upon arrival... :wall


MayDetails116.jpg


MayDetails114.jpg


MayDetails113.jpg


MayDetails111.jpg


MayDetails110.jpg


MayDetails109.jpg


MayDetails108.jpg


MayDetails107.jpg


MayDetails106.jpg


MayDetails105.jpg


MayDetails104.jpg


MayDetails103.jpg


MayDetails102.jpg


MayDetails101.jpg


MayDetails100.jpg


MayDetails099.jpg


MayDetails098.jpg


MayDetails097.jpg


MayDetails095.jpg


MayDetails094.jpg


MayDetails093.jpg


MayDetails092.jpg


MayDetails131.jpg


MayDetails129.jpg


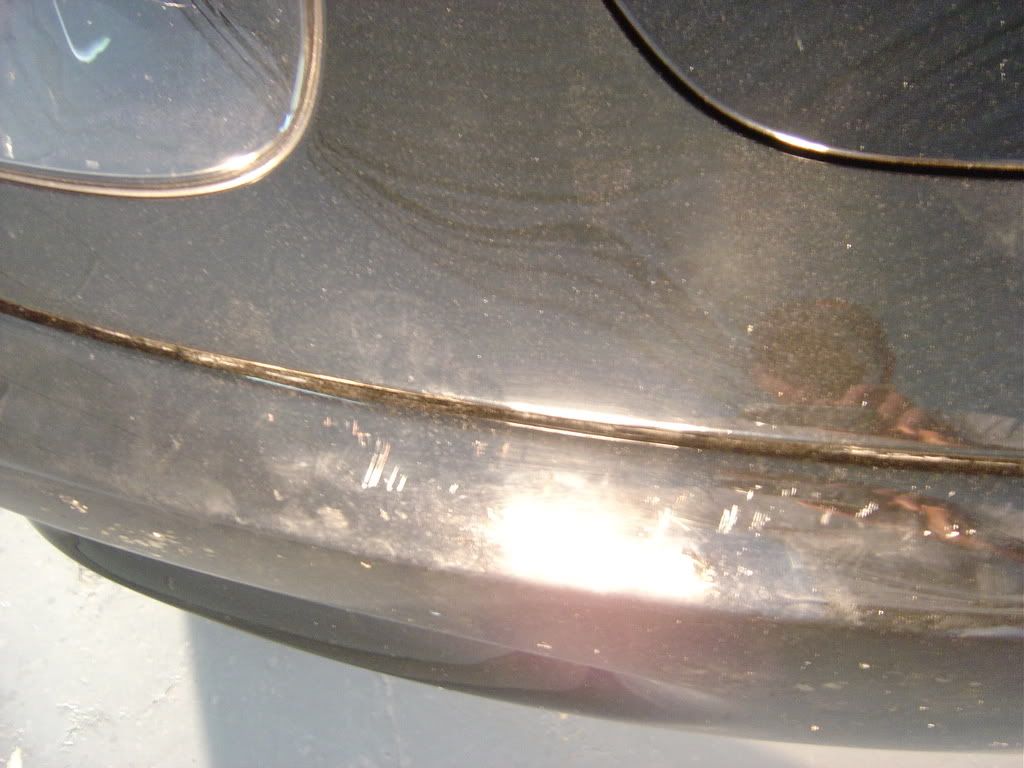
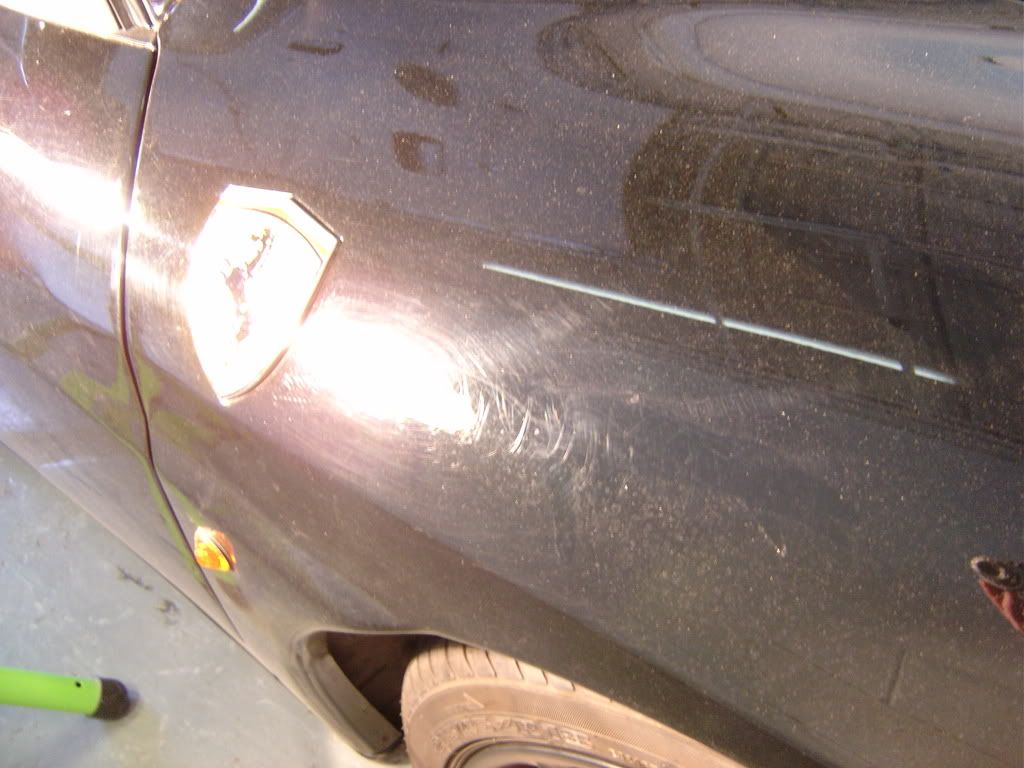
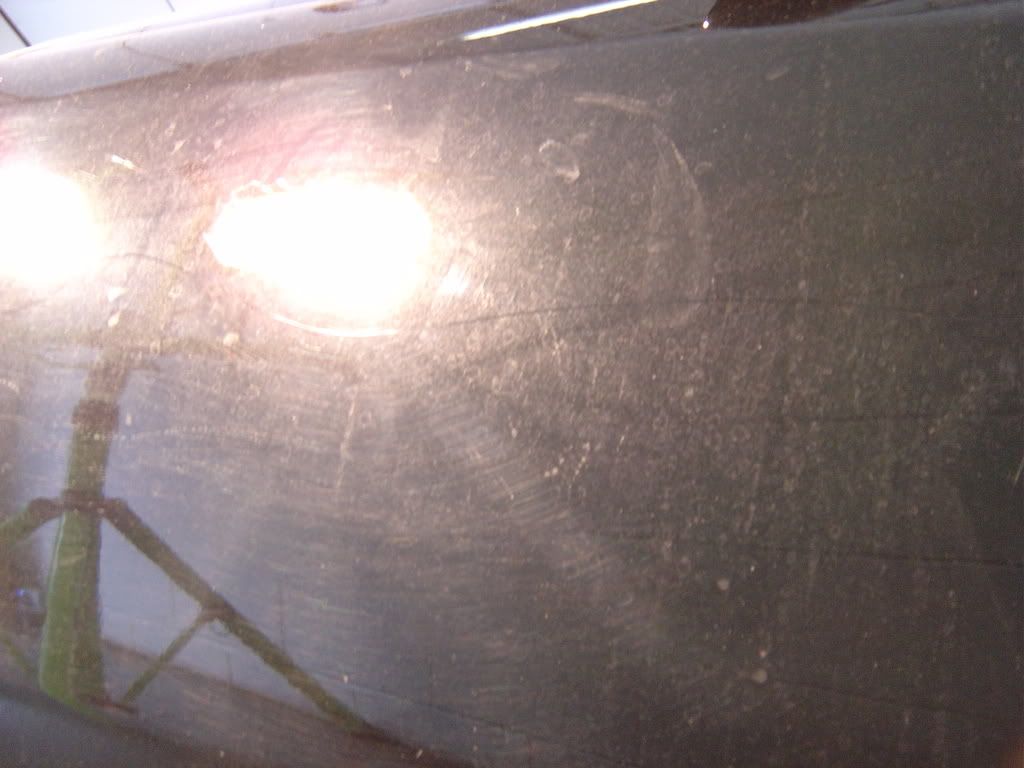
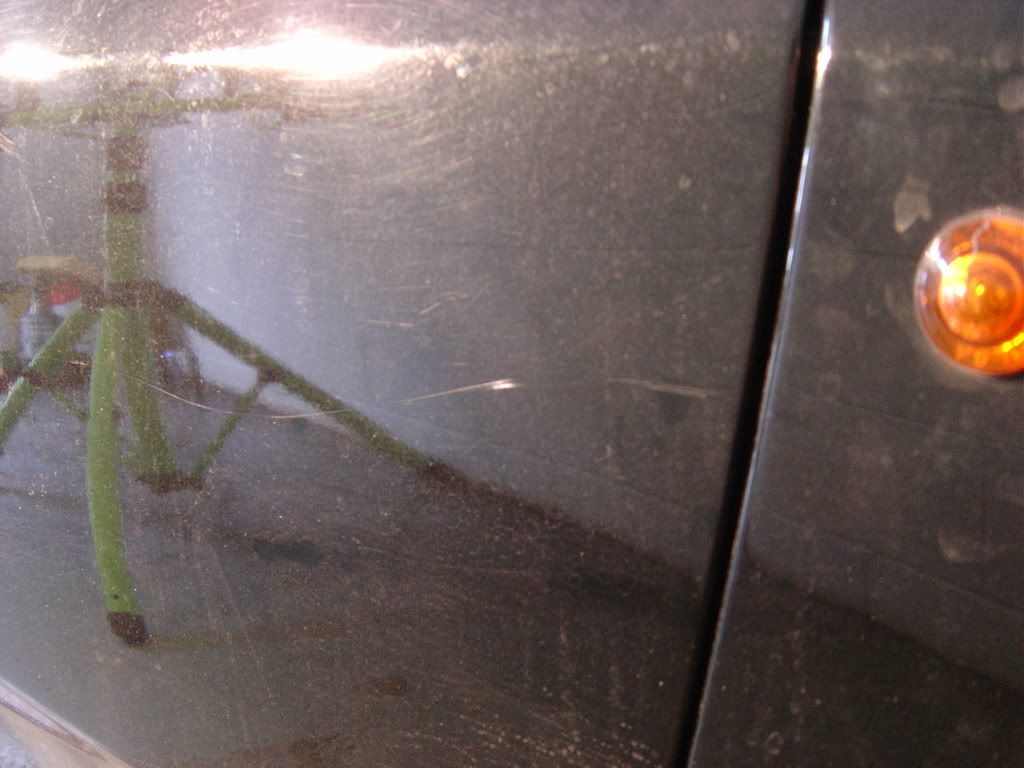
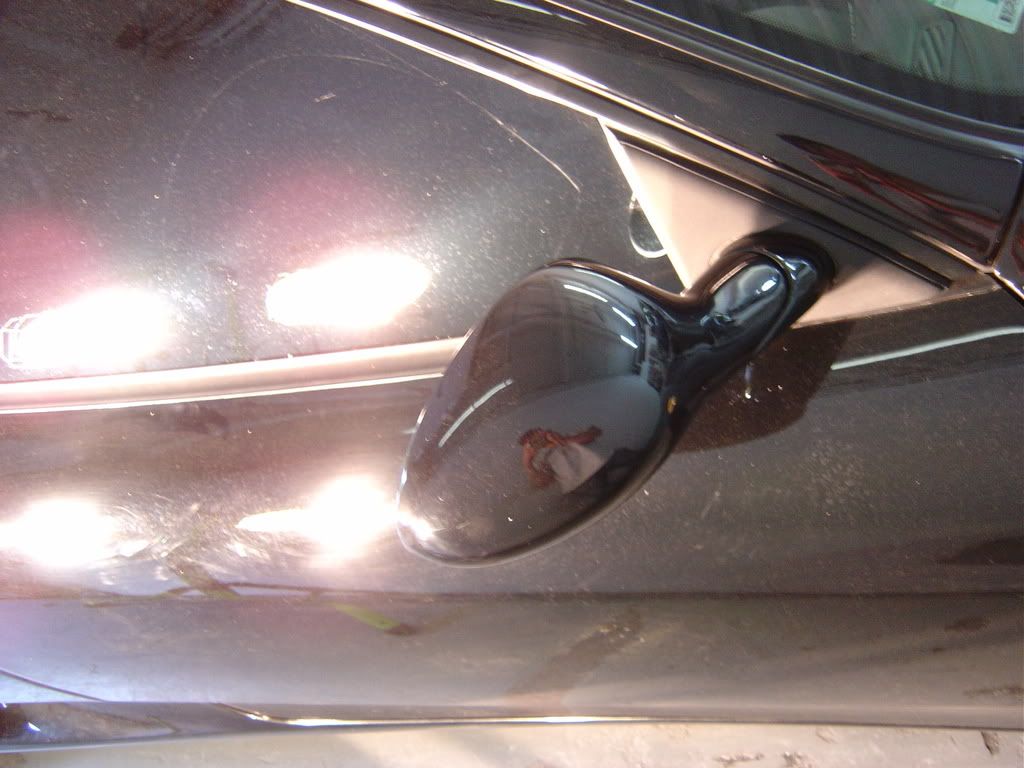
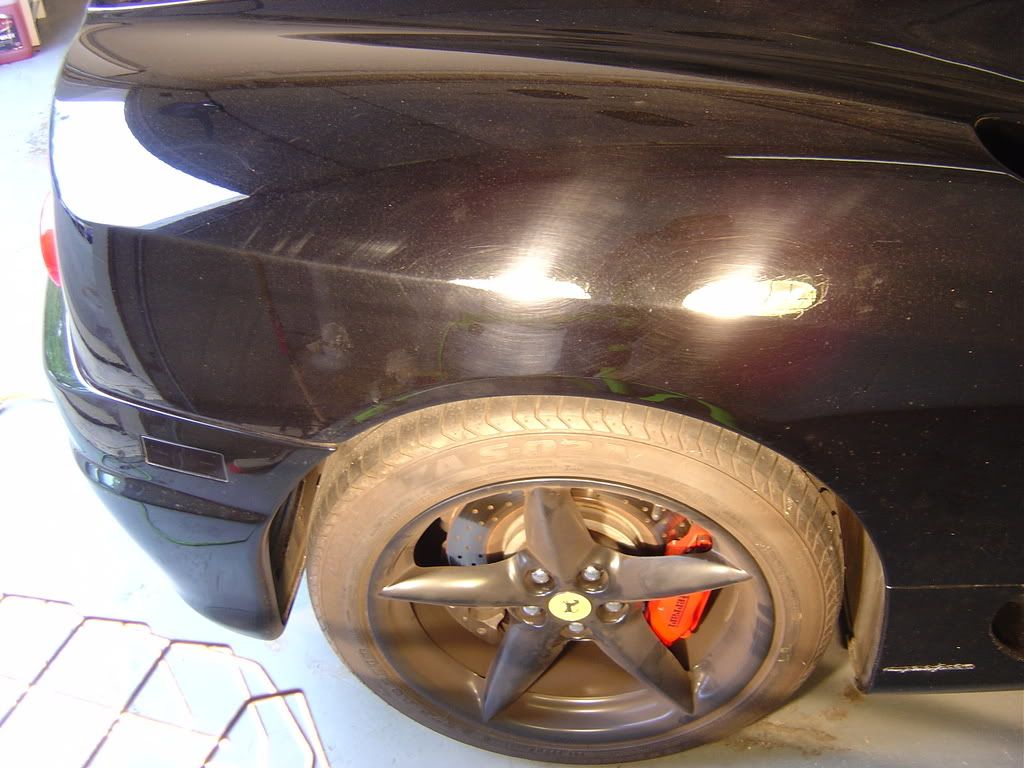
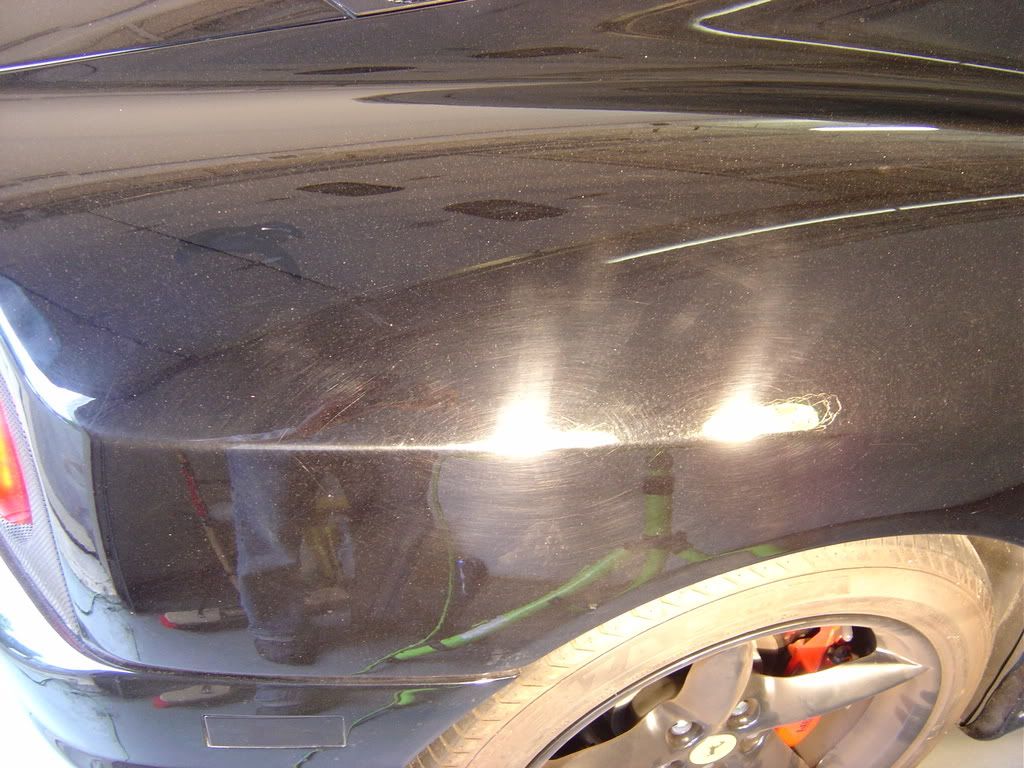
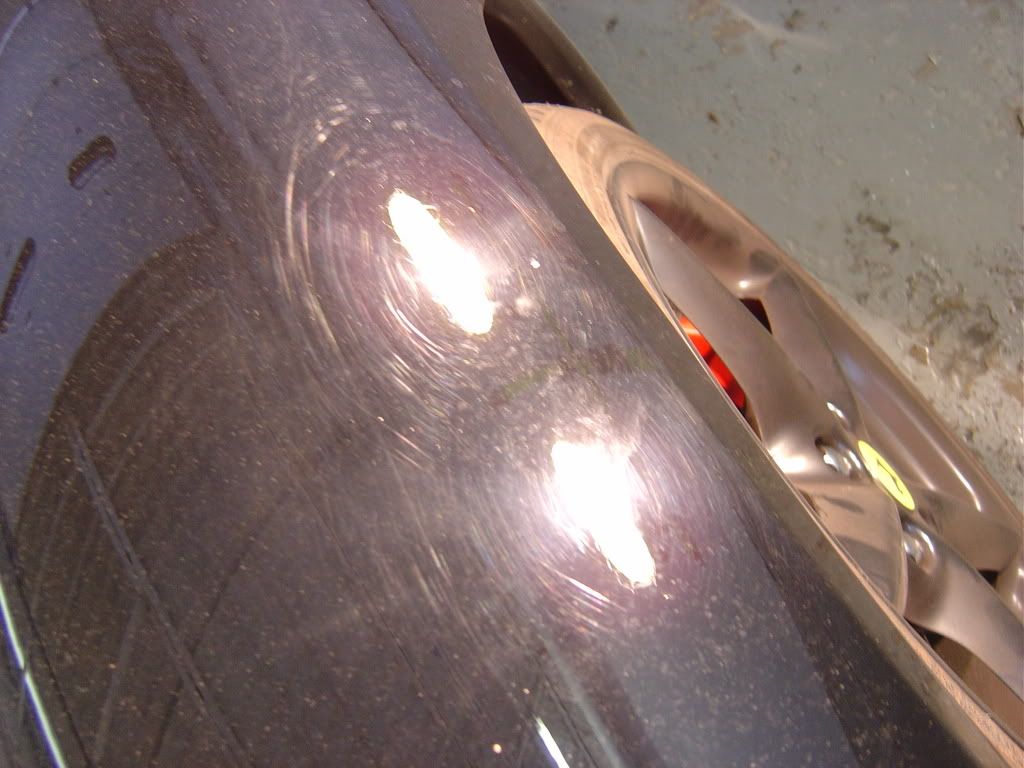
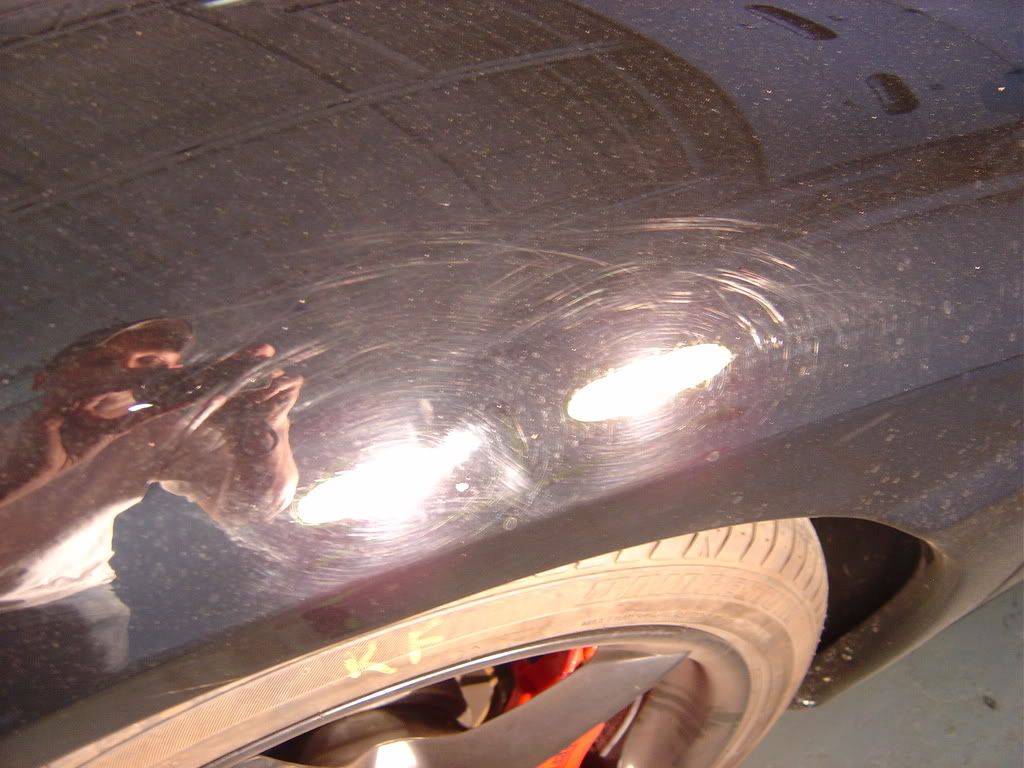
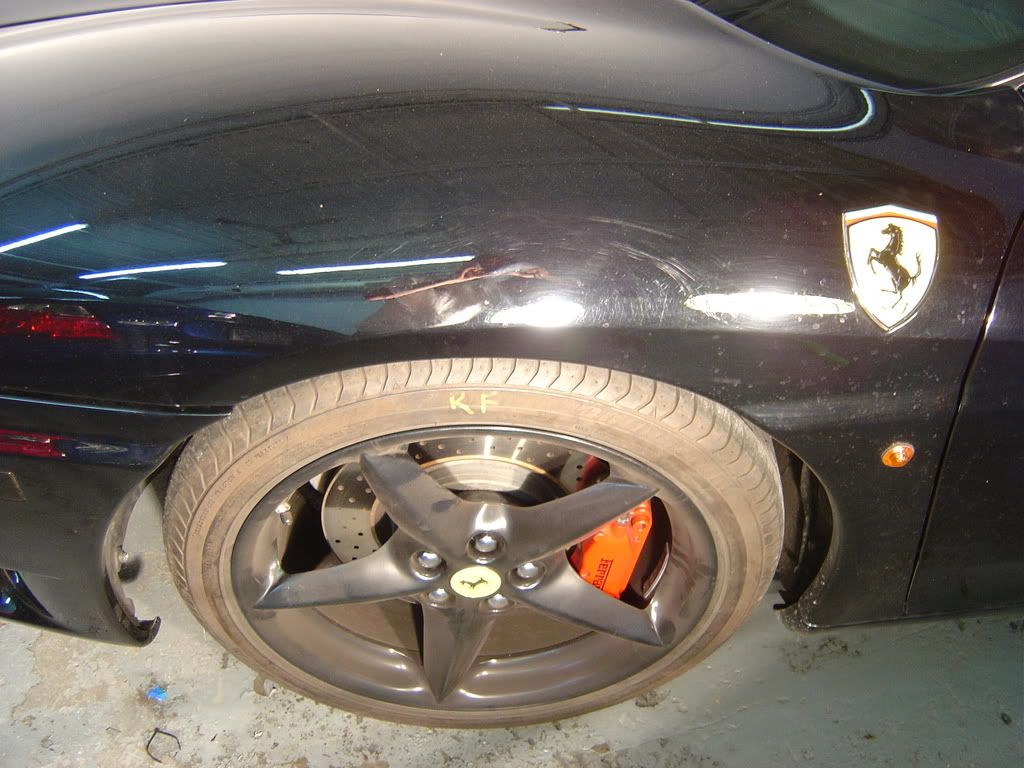
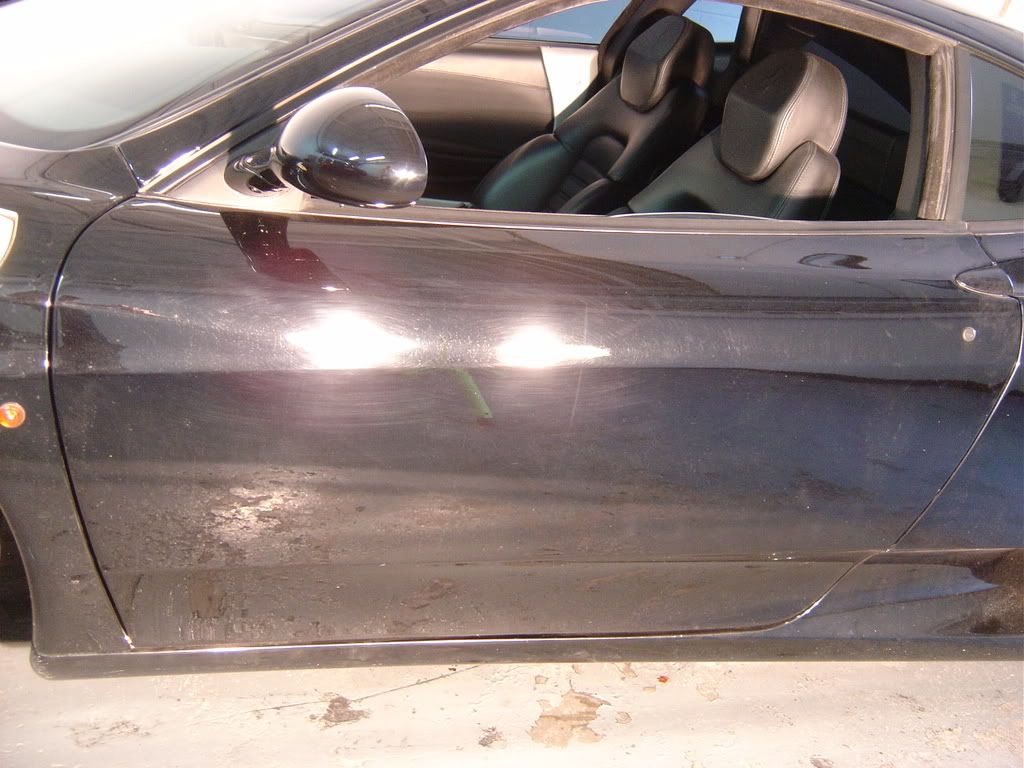
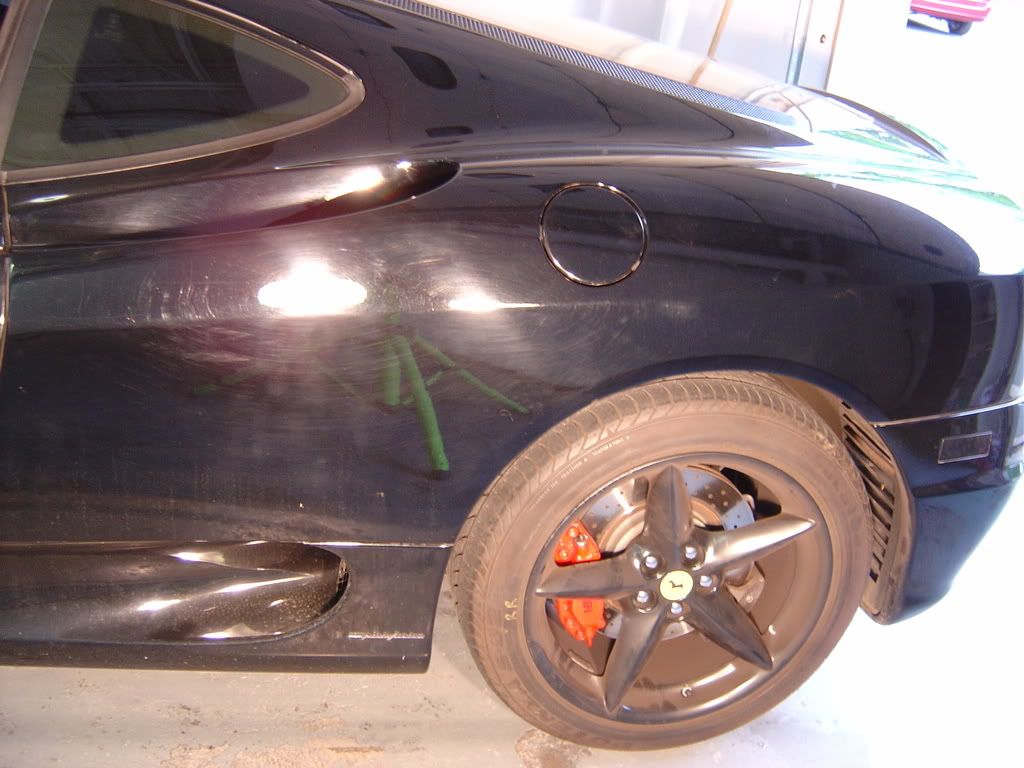
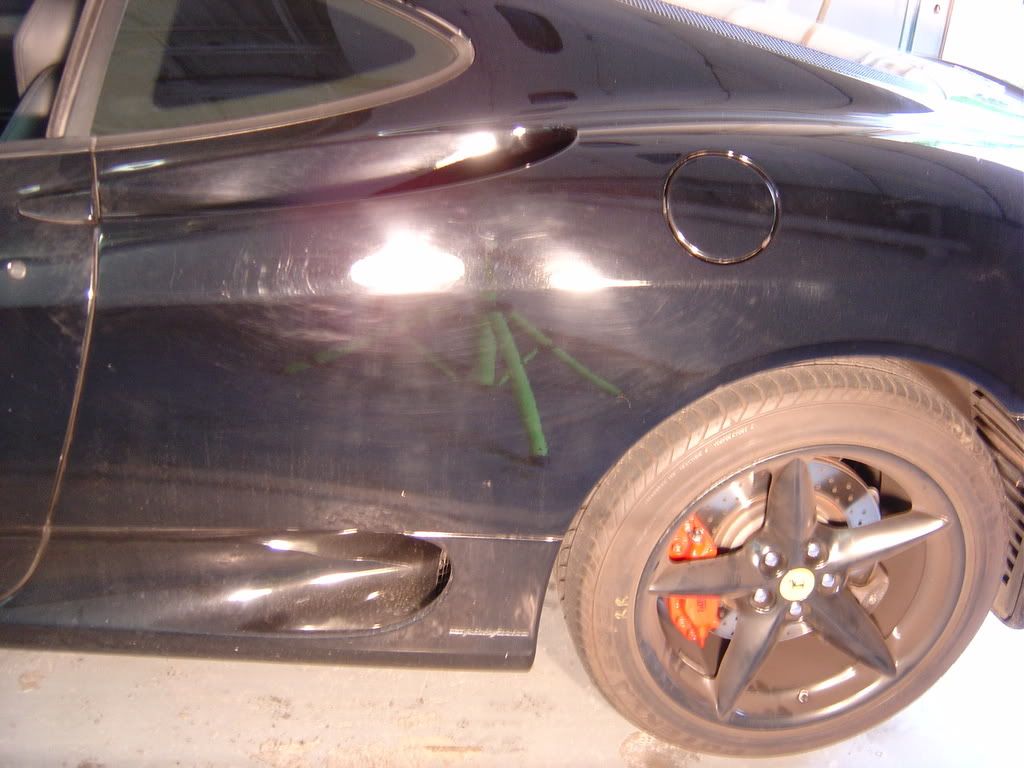
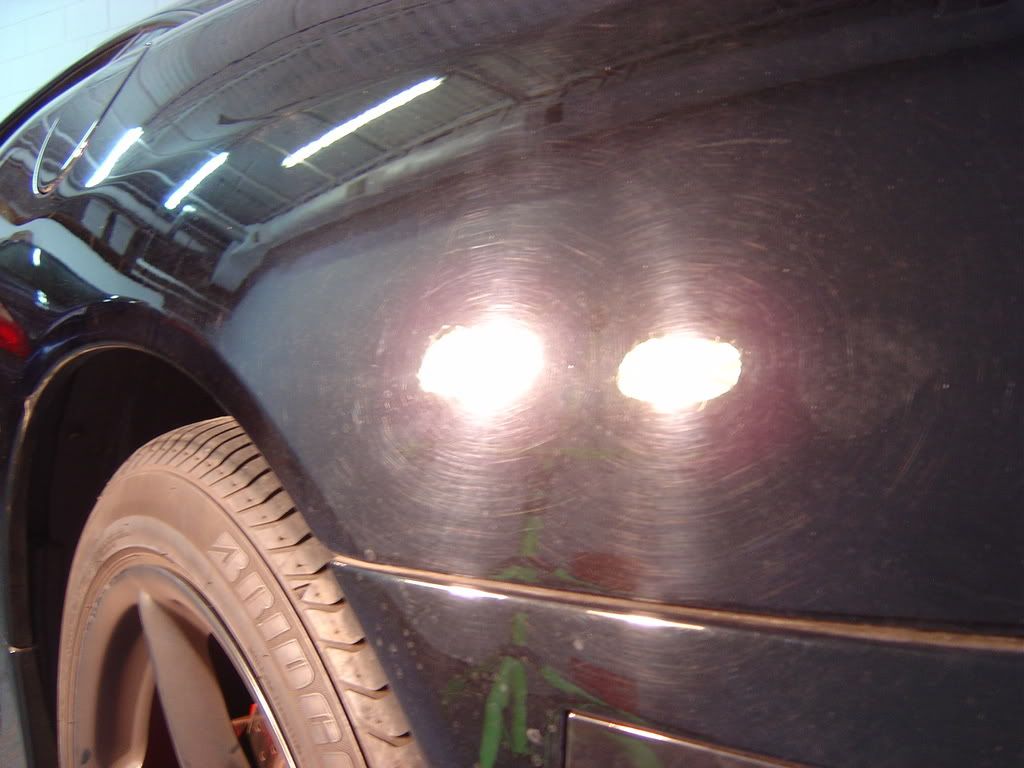
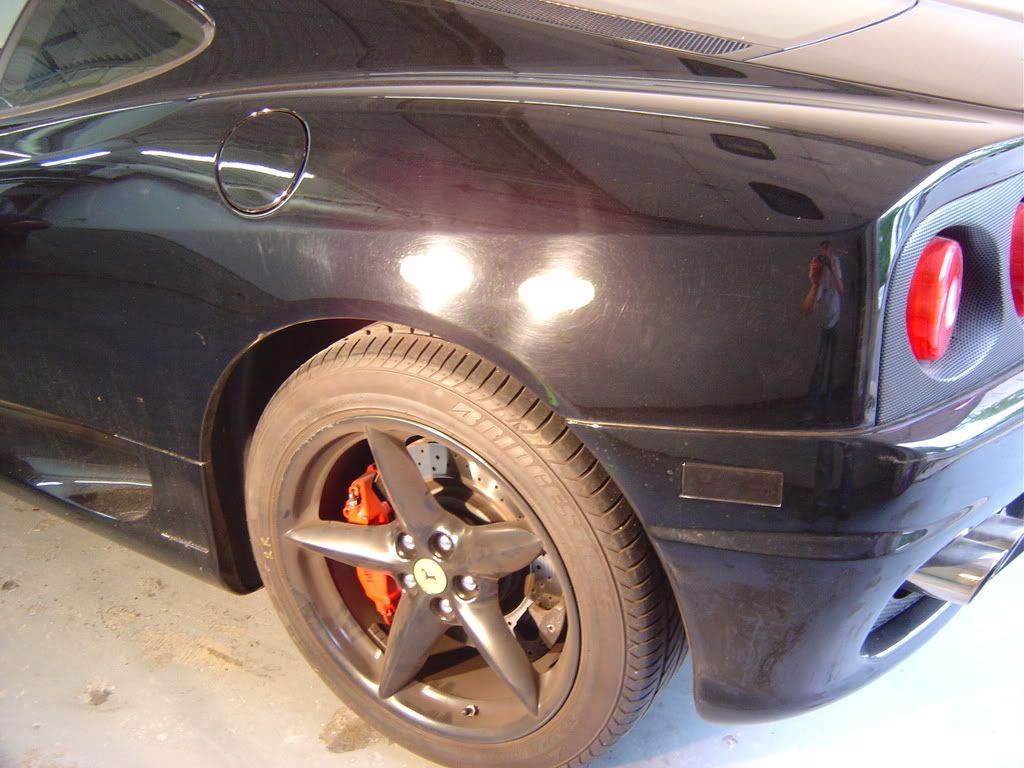
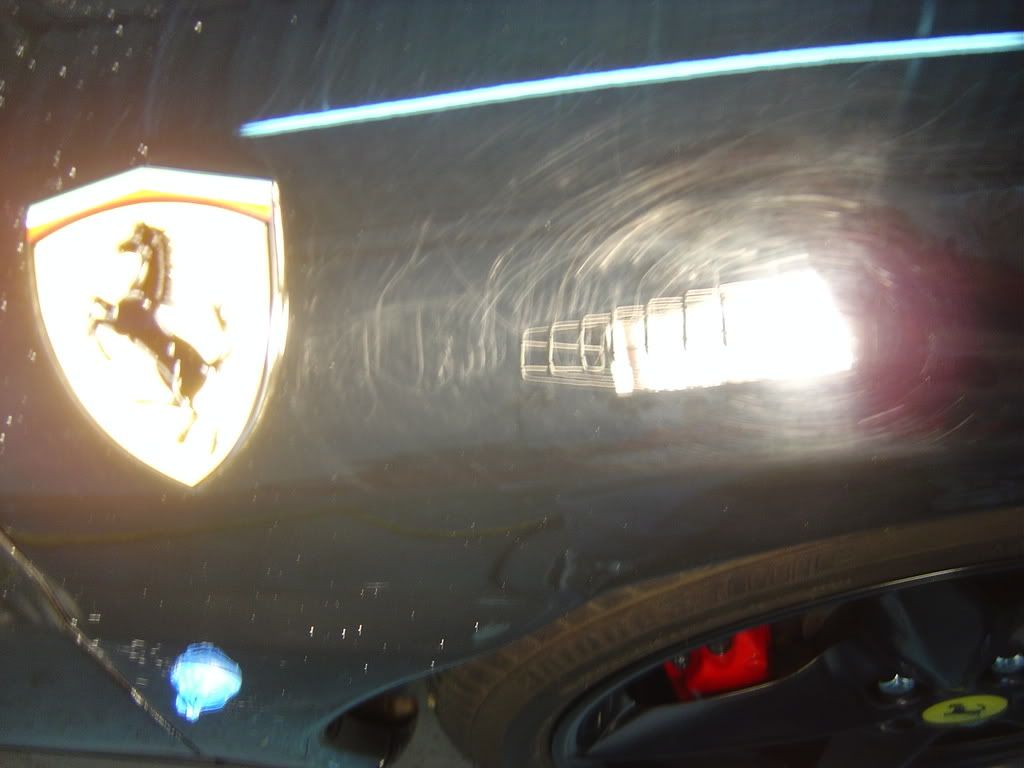
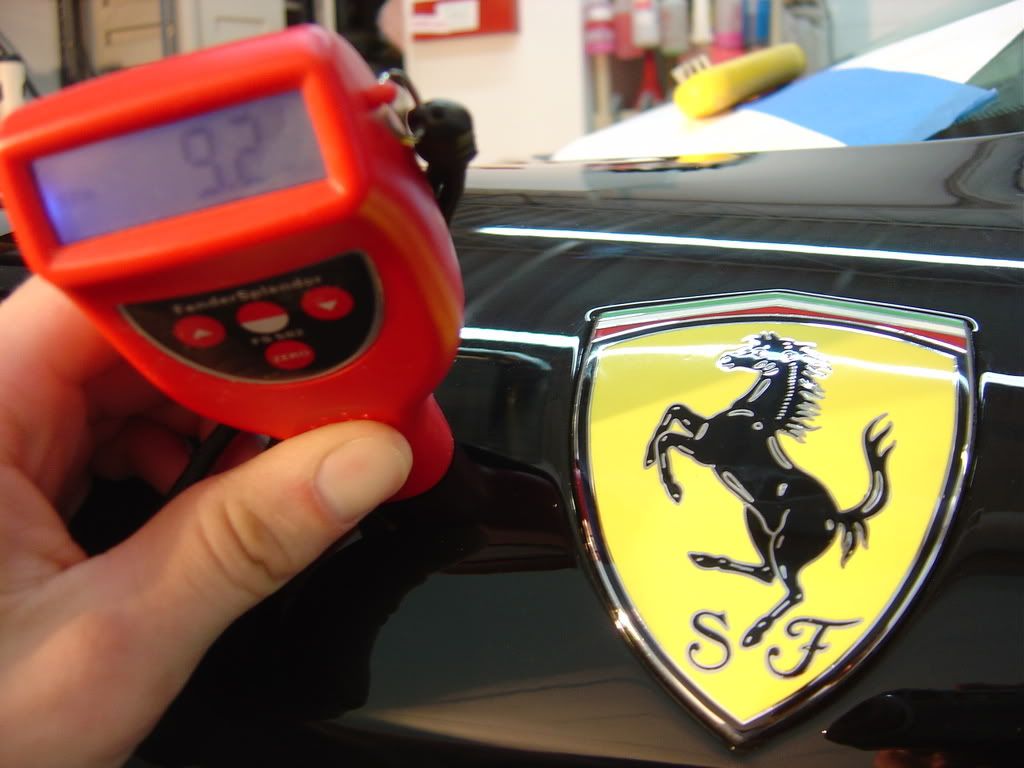
As you can see, it needed just a bit of TLC to get the prancing horse looking like new again, but we were both determined to bring the car back to life.


.
 
.


To start, we did the normal wash and prep to remove all of the contaminants, silicone, previous wax, polish residue, brake dust, etc. from all areas of the vehicle. Next, we masked-off and covered all areas of the car that needed to be protected while polishing as seen below.


MayDetails128.jpg


MayDetails126.jpg


MayDetails125.jpg


MayDetails124.jpg


MayDetails123.jpg


MayDetails122.jpg


Both Ryan and I went to town and attacked the car with the rotaries and a handful of products to see what worked the best. After a short time, we both agreed that 3M Extra Cut Compound was the only product aggressive enough to give us the results we were looking for.


We chose to go ahead and compound the complete exterior with 3M Extra Cut using a yellow Meguiar's So1o foam cutting pad to remove all of the heavy defects and level the paint. I forget exactly how long it took us to perform this step, but we were in high gear trying to get the best finish possible in the limited amount of time we had. We were both pretty surprised at how quick we were able to complete the compounding, which normally takes up most of the time.


After the compounding was complete, we jumped right to the next step and began polishing the entire exterior with Menzerna Super Intensive Polish. For some reason, things made a turn for the worse. Just when we thought we were on the home stretch, the paint began acting up, giving us all sorts of issues. We were really pressed for time, so we just sucked it up and continued to polish like mad men.


We both agreed to finish this step and take a well needed break to get some food. After taking a short break, we got right back to work. At this point, it was getting late and the customer informed us that he would be picking up the car shortly.


For the final polish, we chose to use 3M Ultrafina. The Ultrafina worked well to restore the depth and gloss back to the finish and left the paint with a nice glow. After completing all of the polishing, we gave the car a very thorough wash to remove all of the dust and polishing residue from all of the cracks & crevices before applying the LSP.


For the LSP, a hand application of Lusso Oro was applied to the complete exterior. The Lusso was very easy to apply and even easier to remove. The customer arrived just as we finished removing the wax and was amazed at the results we were able to achieve. He watched in amazement as we finished up the last few odds & ends.


We finally finished just after 1AM after 32 man hours of labor, with just one quick break to eat. We were both so tired that we weren't able to get many good pictures. I had just purchased my new D60, so I let Ryan snap a few shots while I used my Sony P&S camera. The pictures aren't the best, but they give you an idea how well the car came out in the end.


Here are the final results!


MayDetails141.jpg


MayDetails140.jpg


MayDetails139.jpg


MayDetails138.jpg


MayDetails137.jpg


MayDetails136.jpg


MayDetails135.jpg


MayDetails133.jpg


MayDetails132.jpg


enaAfters048.jpg


enaAfters045.jpg


enaAfters044.jpg


enaAfters029.jpg


enaAfters028.jpg


enaAfters026.jpg


enaAfters022.jpg


enaAfters021.jpg


enaAfters020.jpg


enaAfters013.jpg


enaAfters011.jpg
 
Man, that car was really hammered..........


How do they let them get that bad.....?


Fantastic job guys........:up


I'm sure the owner was stunned........
 
TH0001- Thanks Todd!


Dave1- Thanks Dave!


It's pretty amazing how bad people let their cars get before doing anything about it...


zoomzoom mazda5- Thanks!!
 
Very nice work indeed! The reality is that not all Ferrari owners are collectors or even "car guys" for that matter. I see some real beaters in my area, and some times it's more a case of the car being purchased for status than for the pure joy of owning one. To some, a car like this is just another accessory.


I applaud your efforts to do such a great job within such time constraints.


RickRack & Rydawg: The Starsky & Hutch of auto detailing!! :xyxthumbs
 
Back
Top