OakesDetail
New member
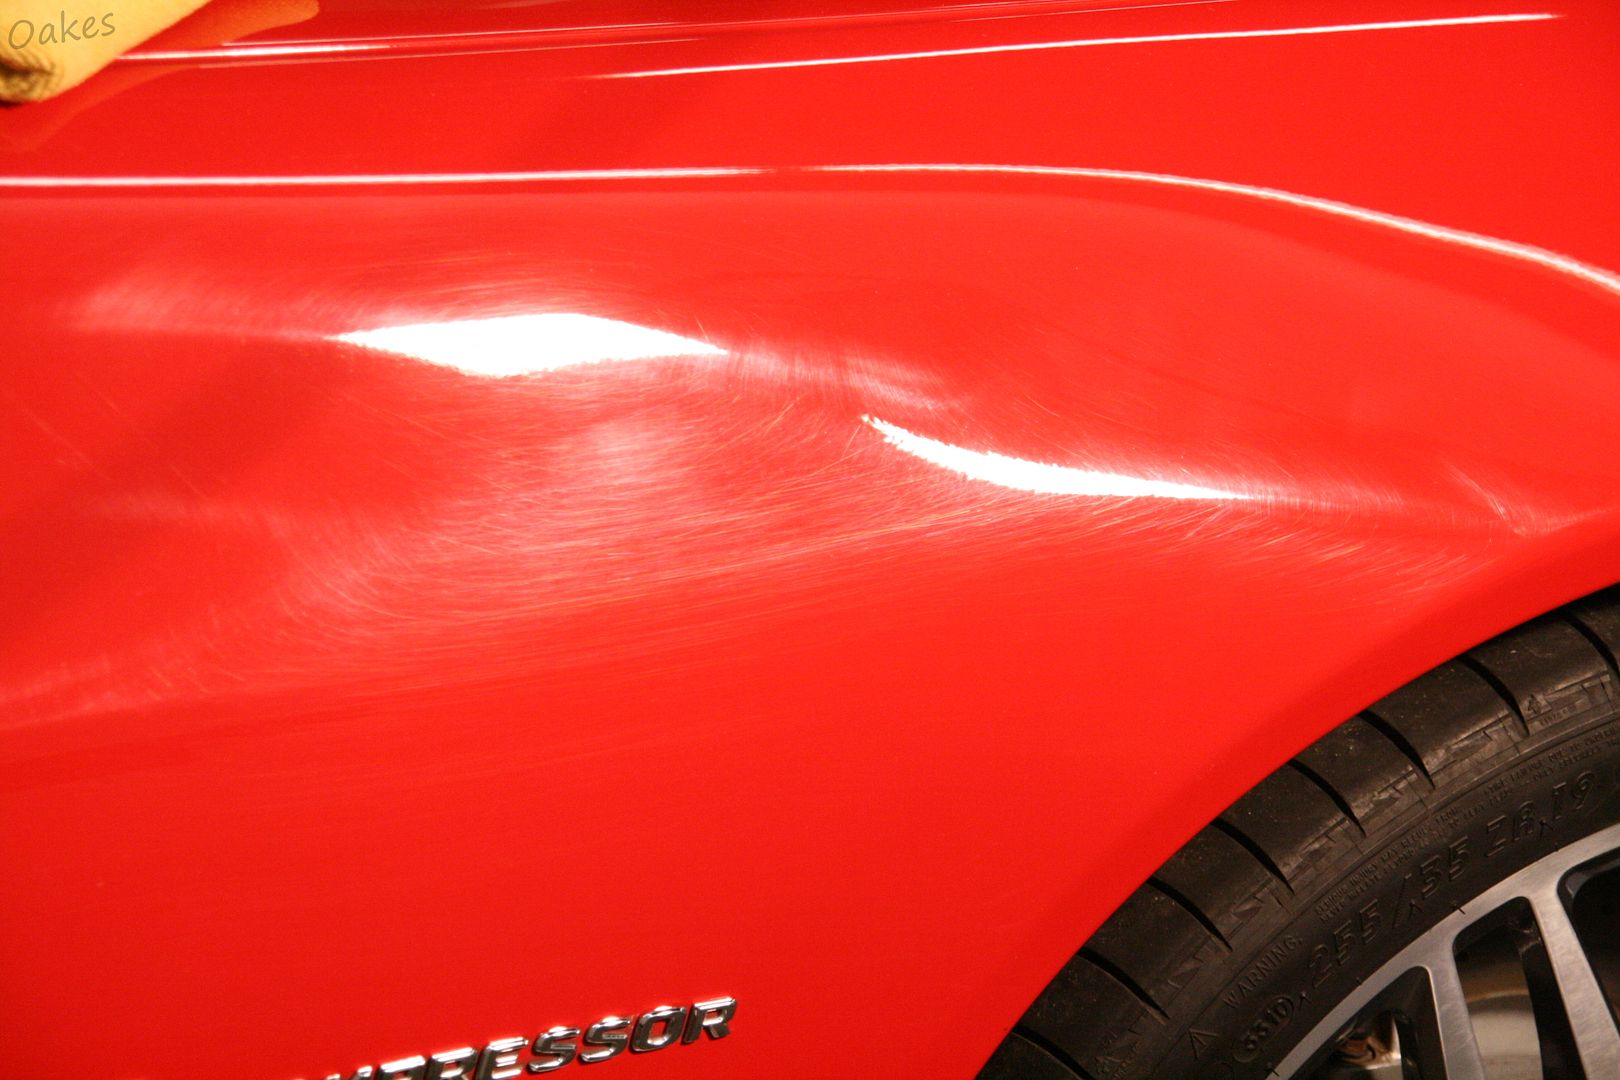
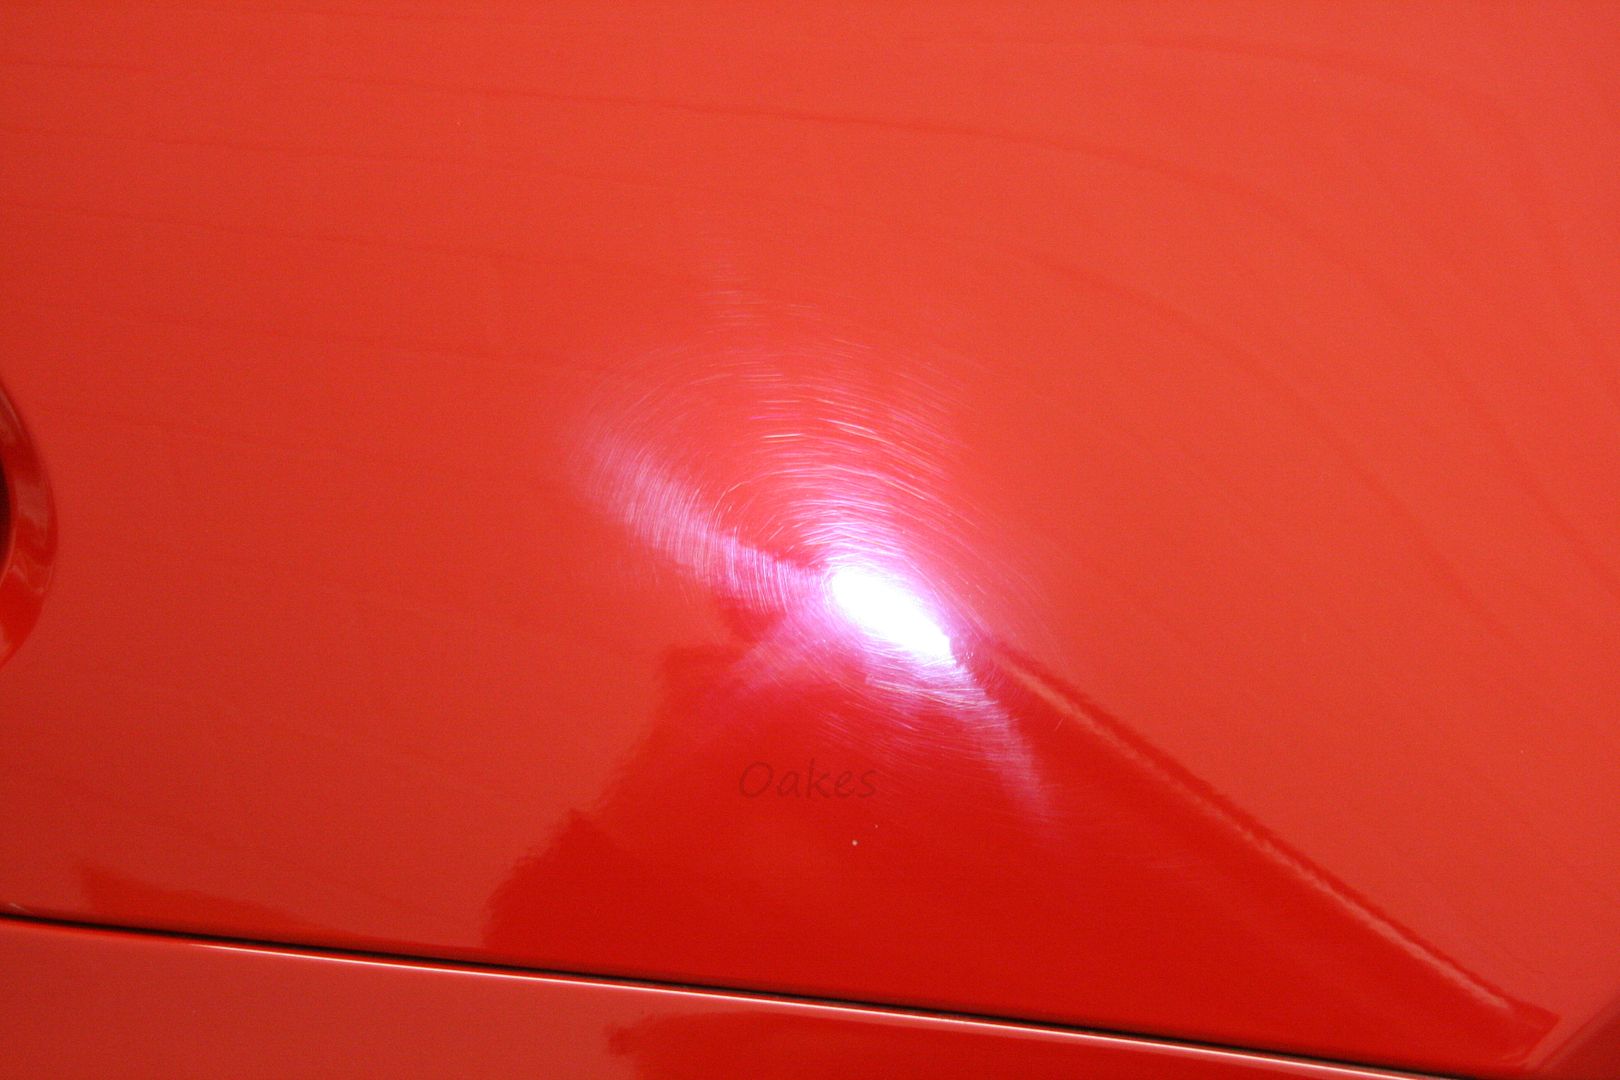
I recently corrected a Renntech Stage 4 Mercedes SL55 AMG in Magma Red, which is a rare color seen on this car. The Mercedes came in with some heavy marring and swirling that needed to be taken care of as well as touch up repair. Interior work was minimal as the car, being an 03, only had about 45k miles on it.
The process was not as in depth as post 2005 Benzes, with their harder ceramic clear coats, but was still a bit involved. Using a mix of Menzerna and Meguiars polishers, as well as rotary and orbital buffers, this red truly looked magma when I was done! The pictures speak for themselves, plenty of before shots, 50/50 shots and finished photos. Enjoy!
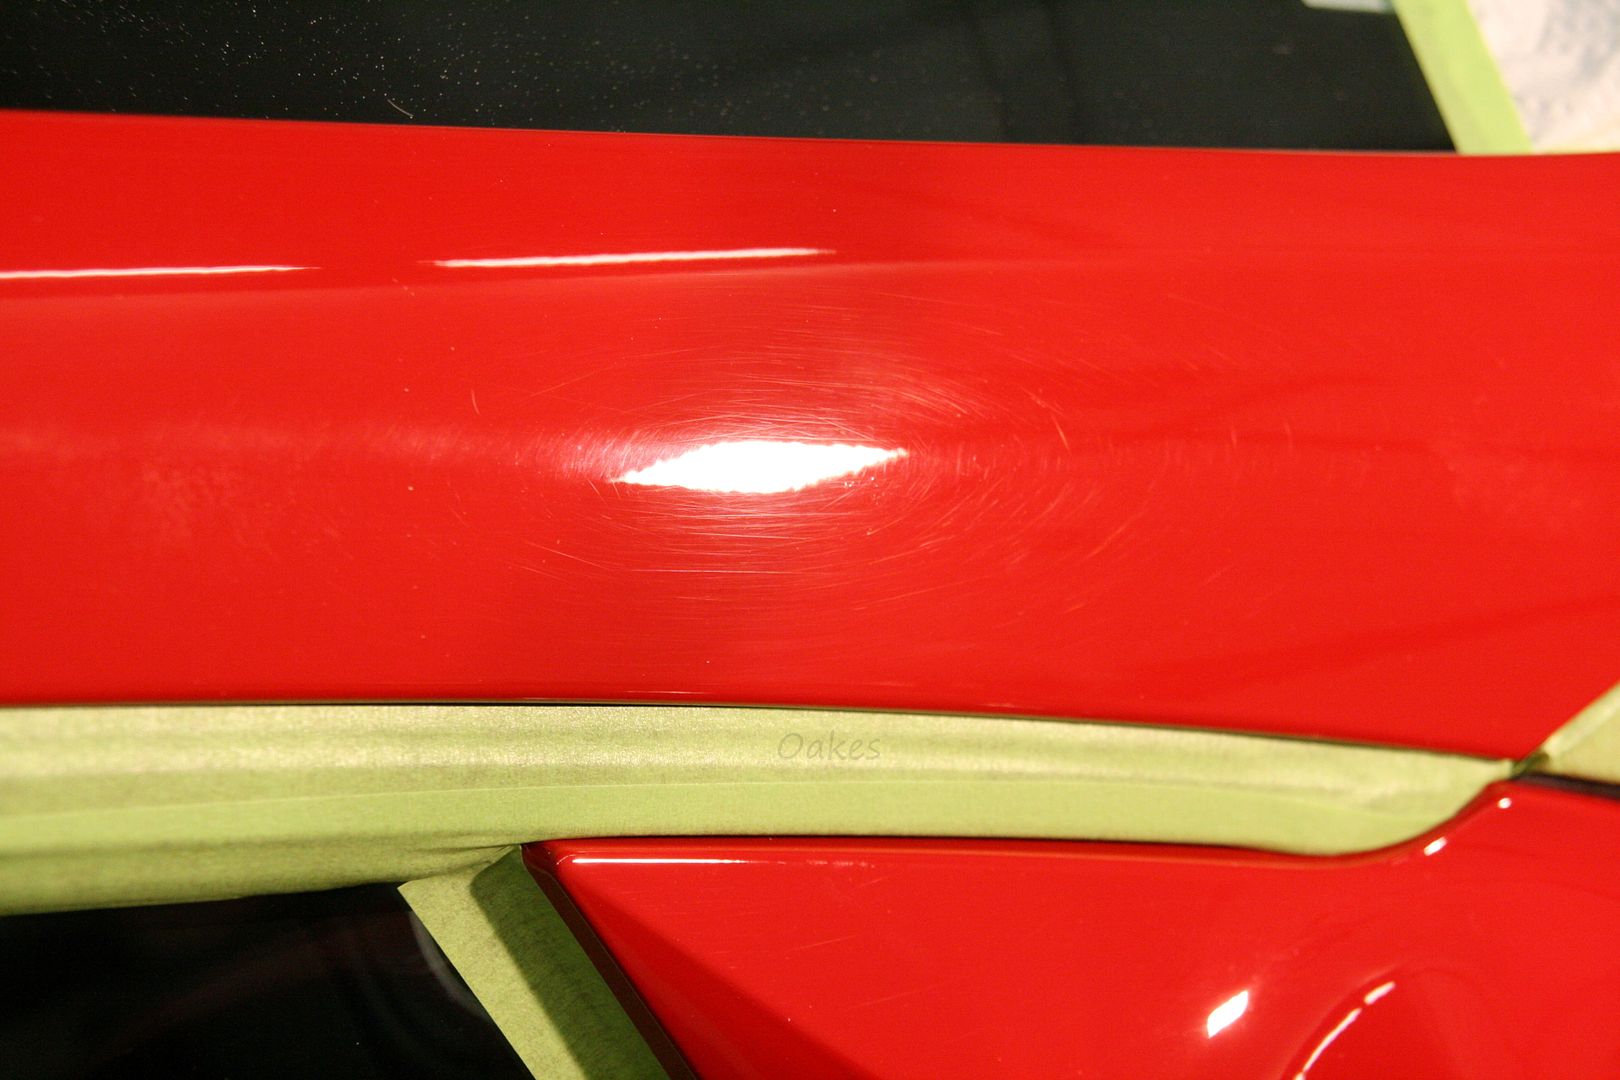
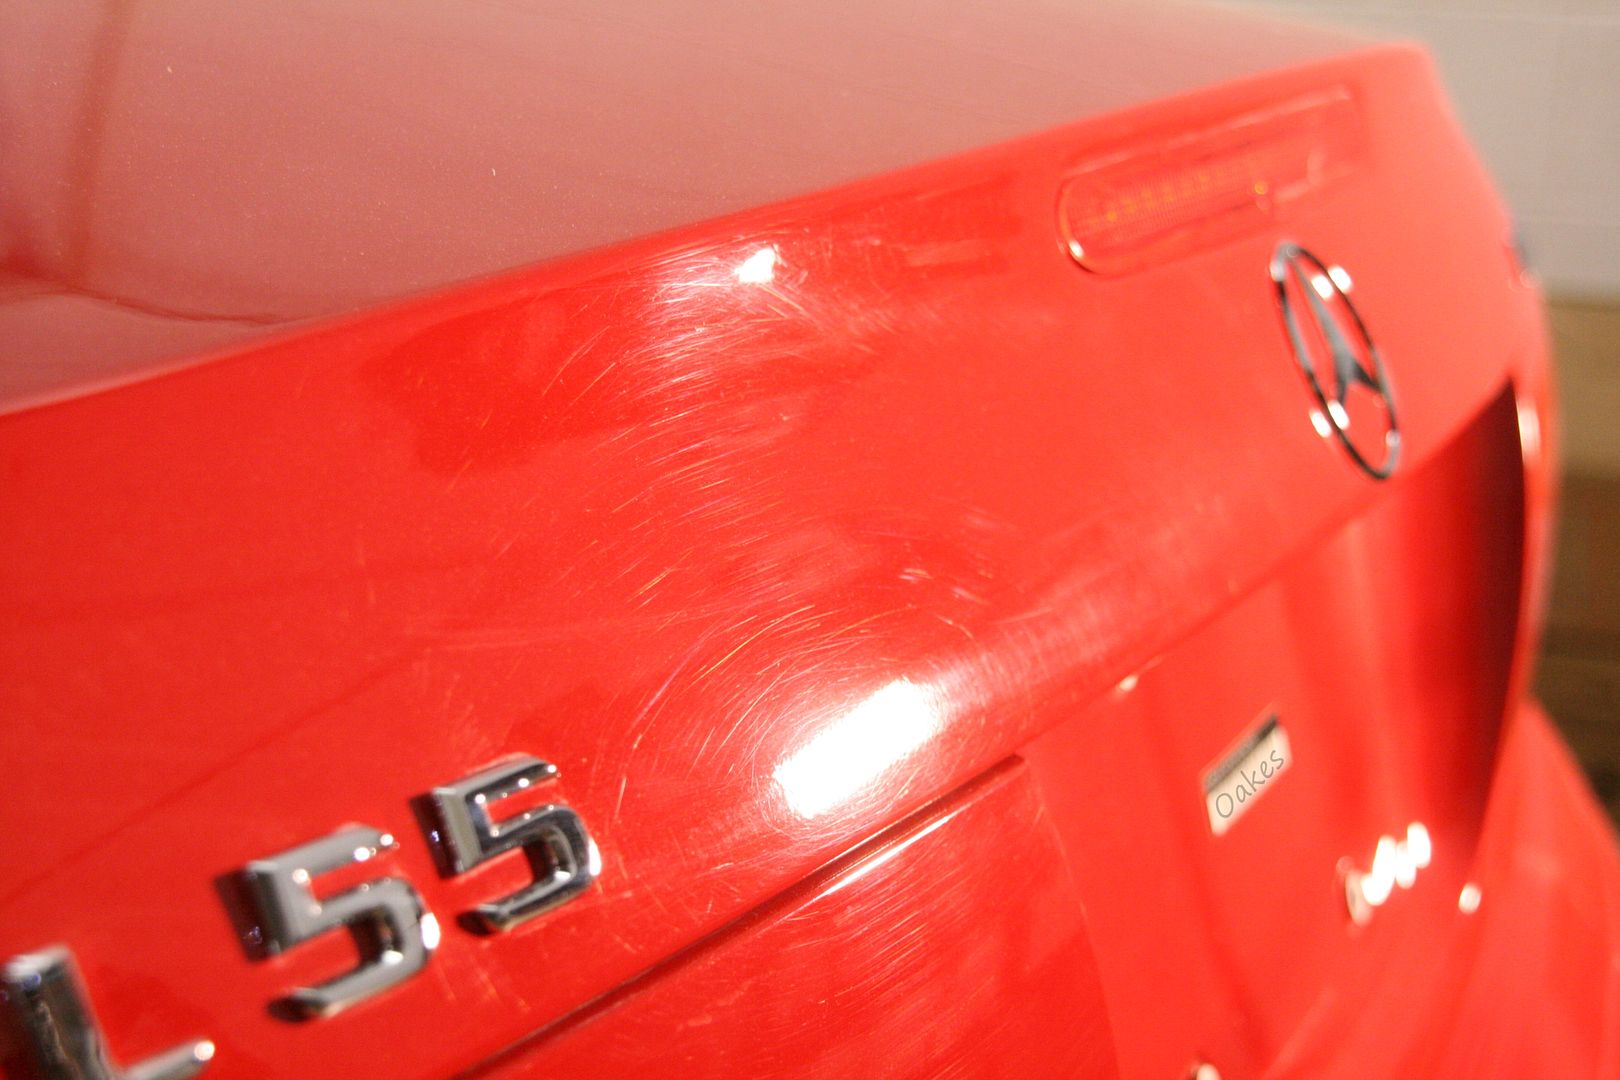
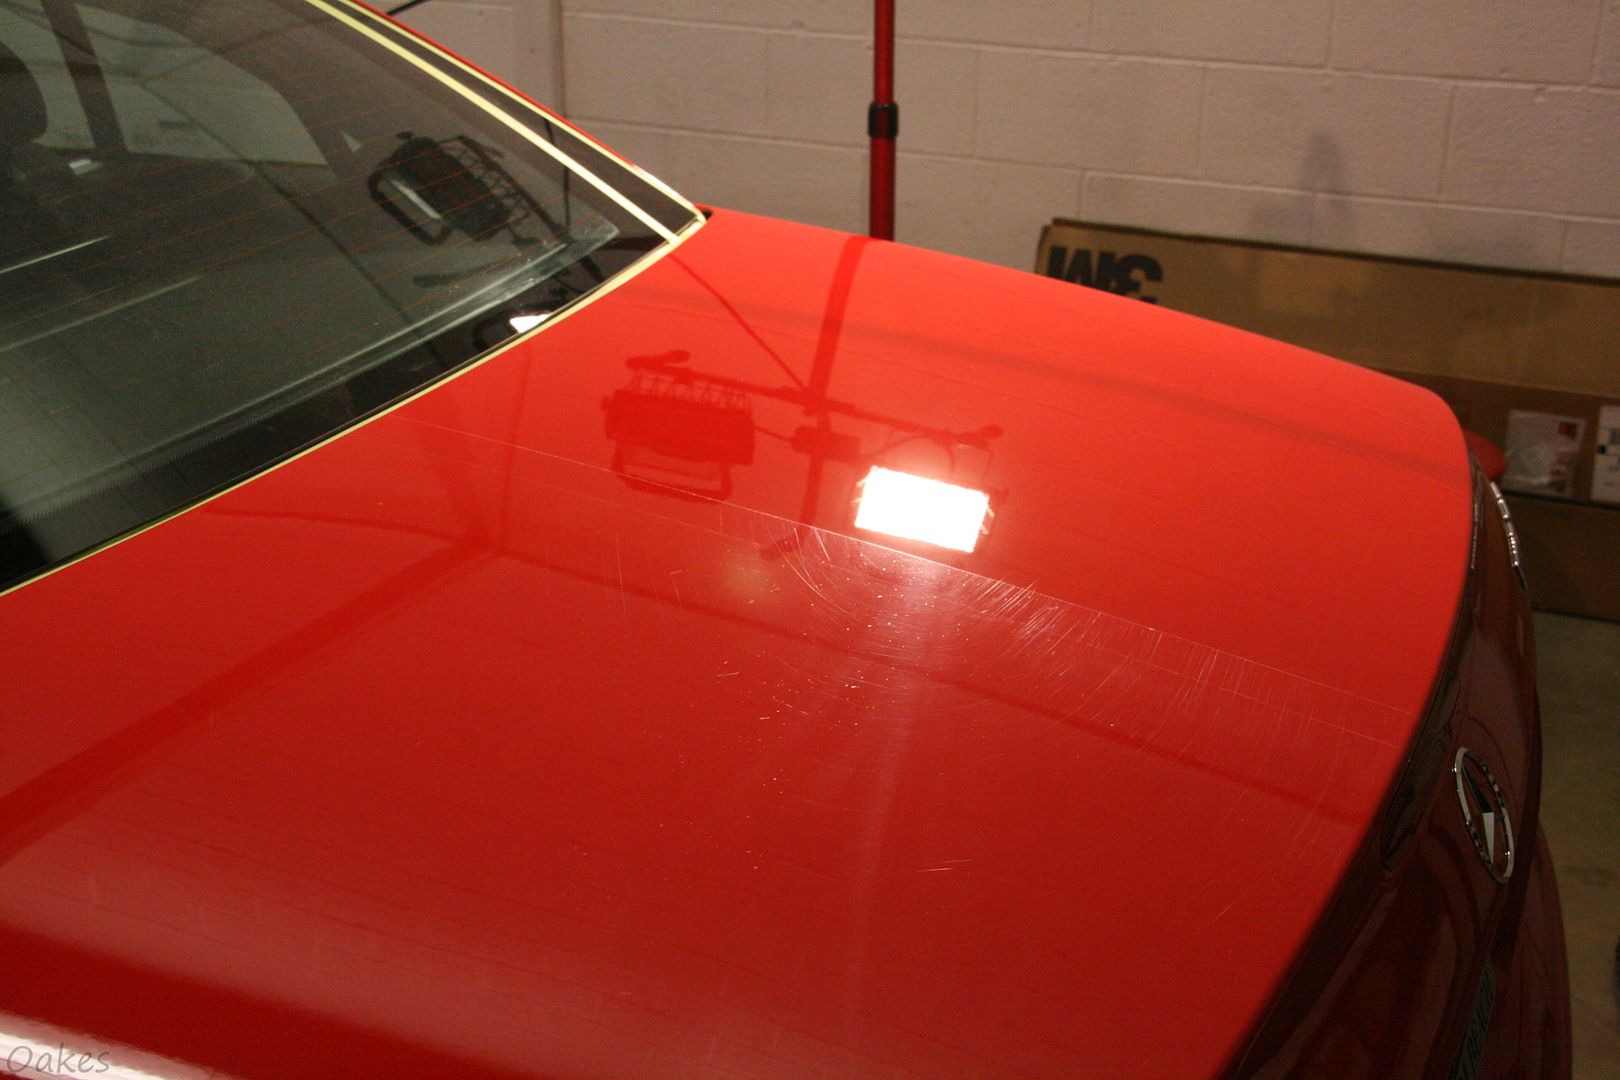
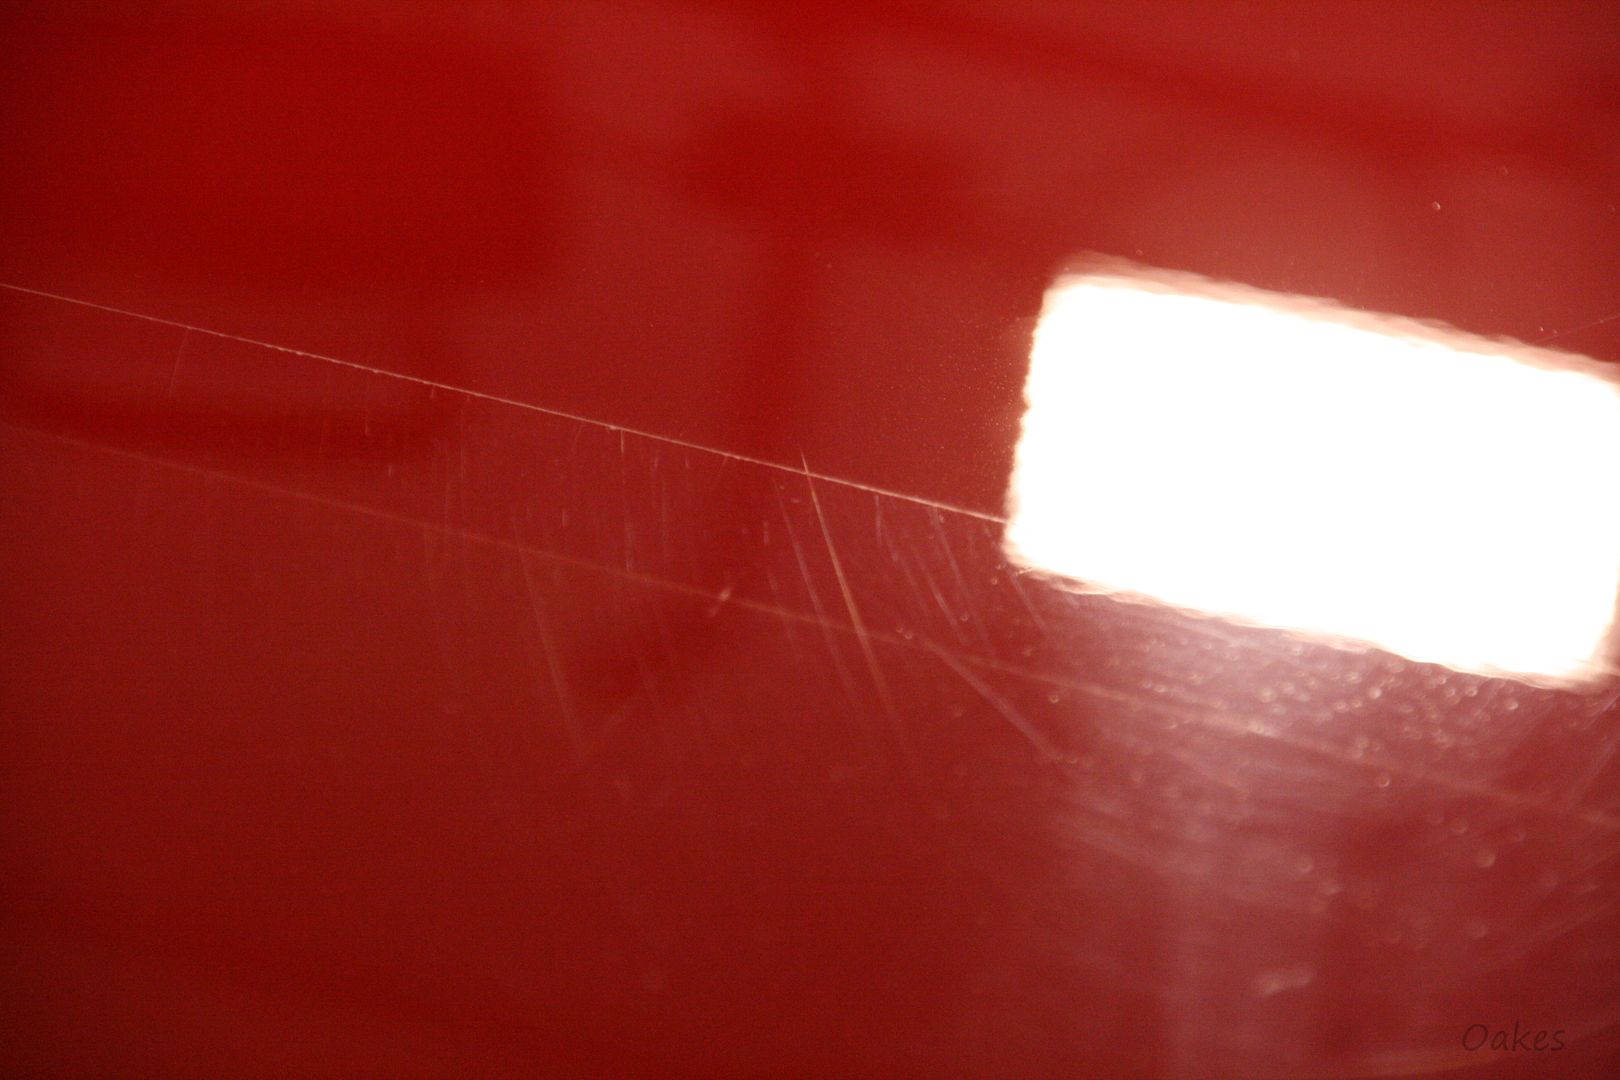
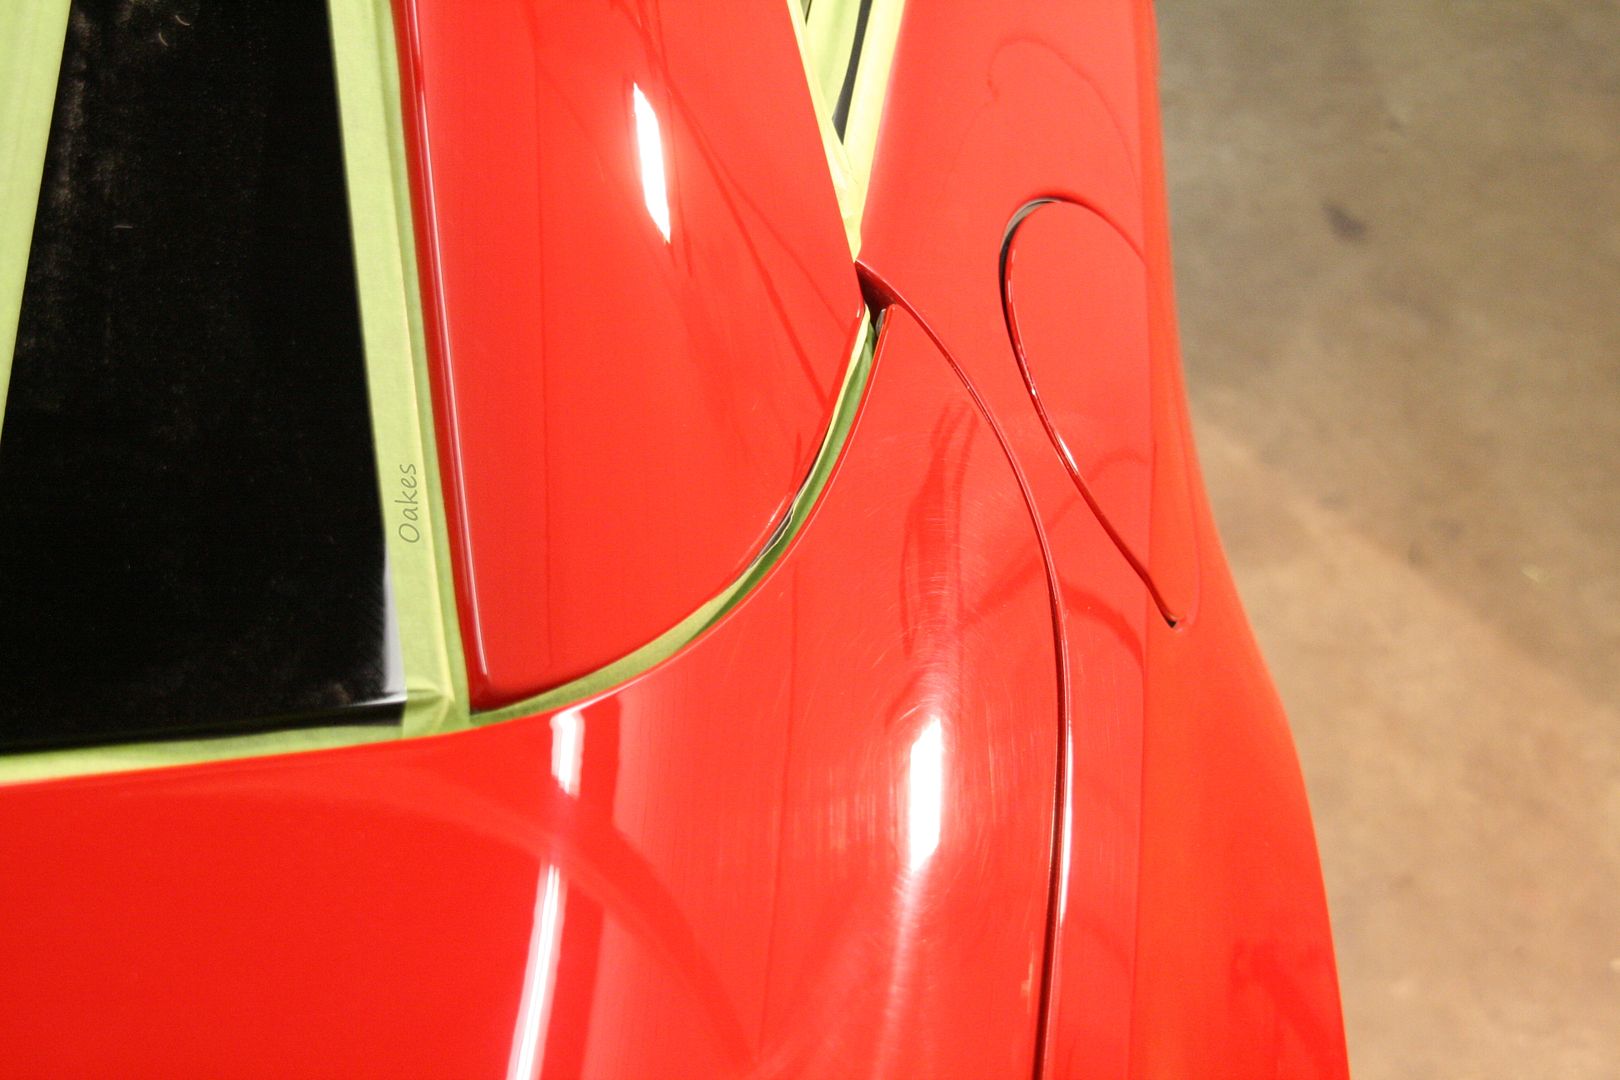
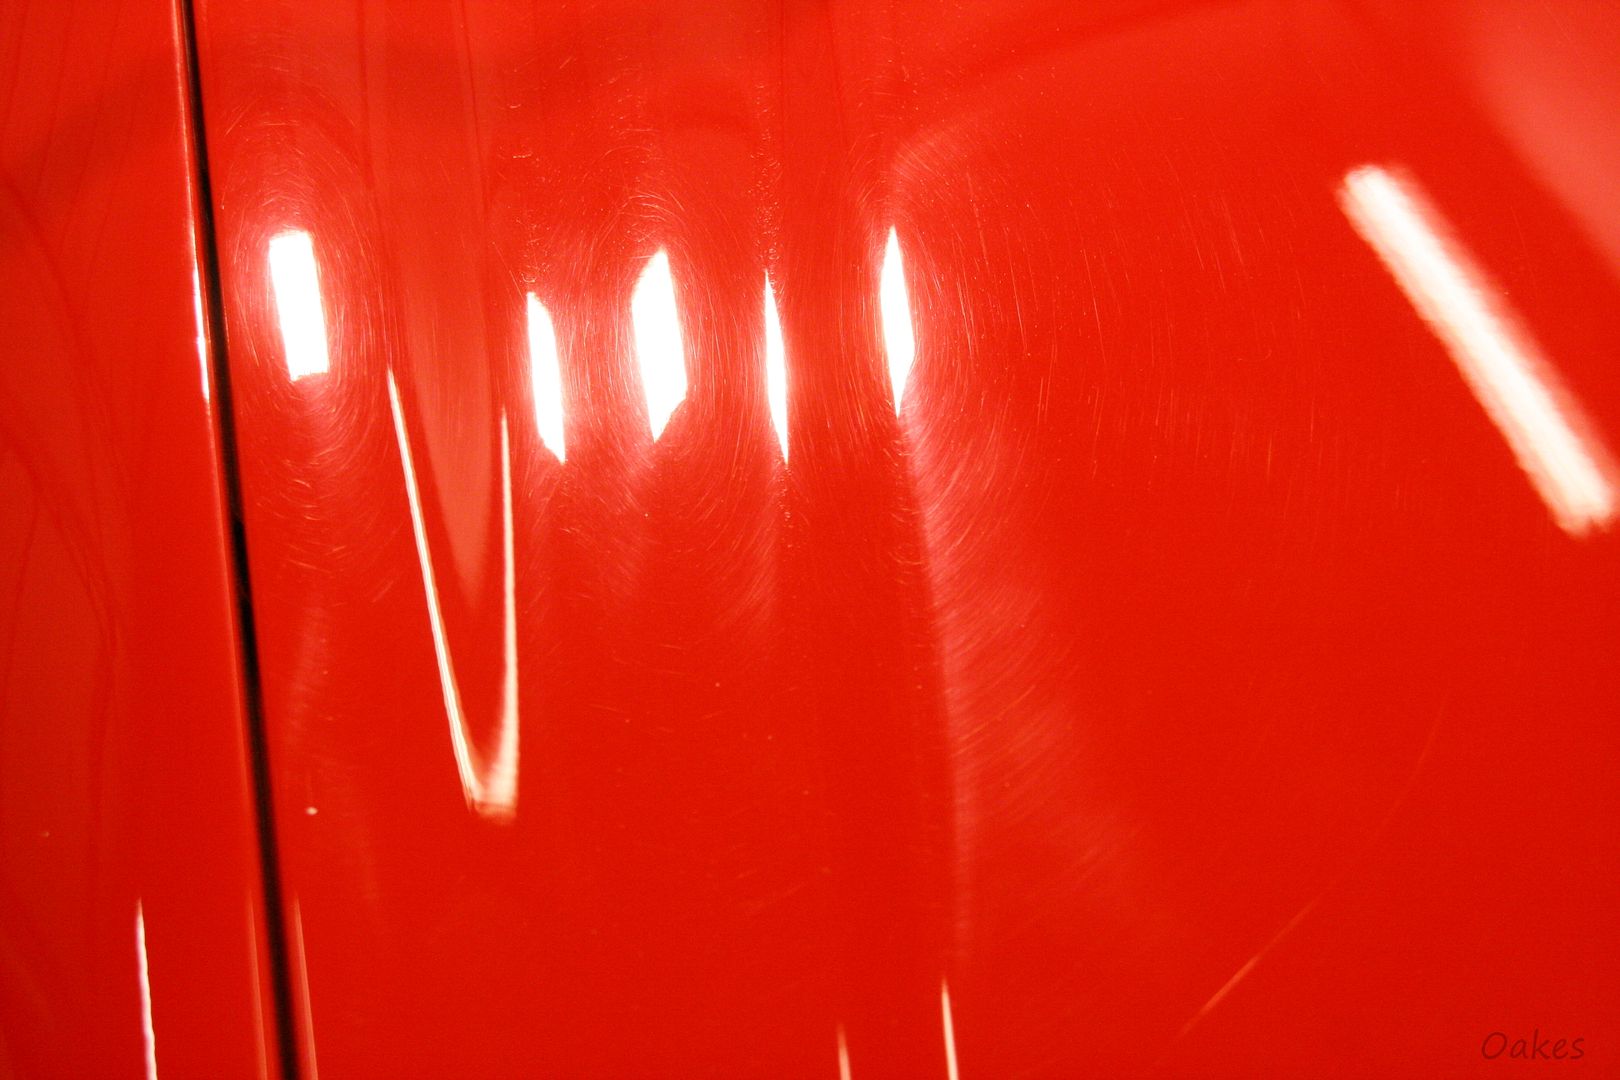
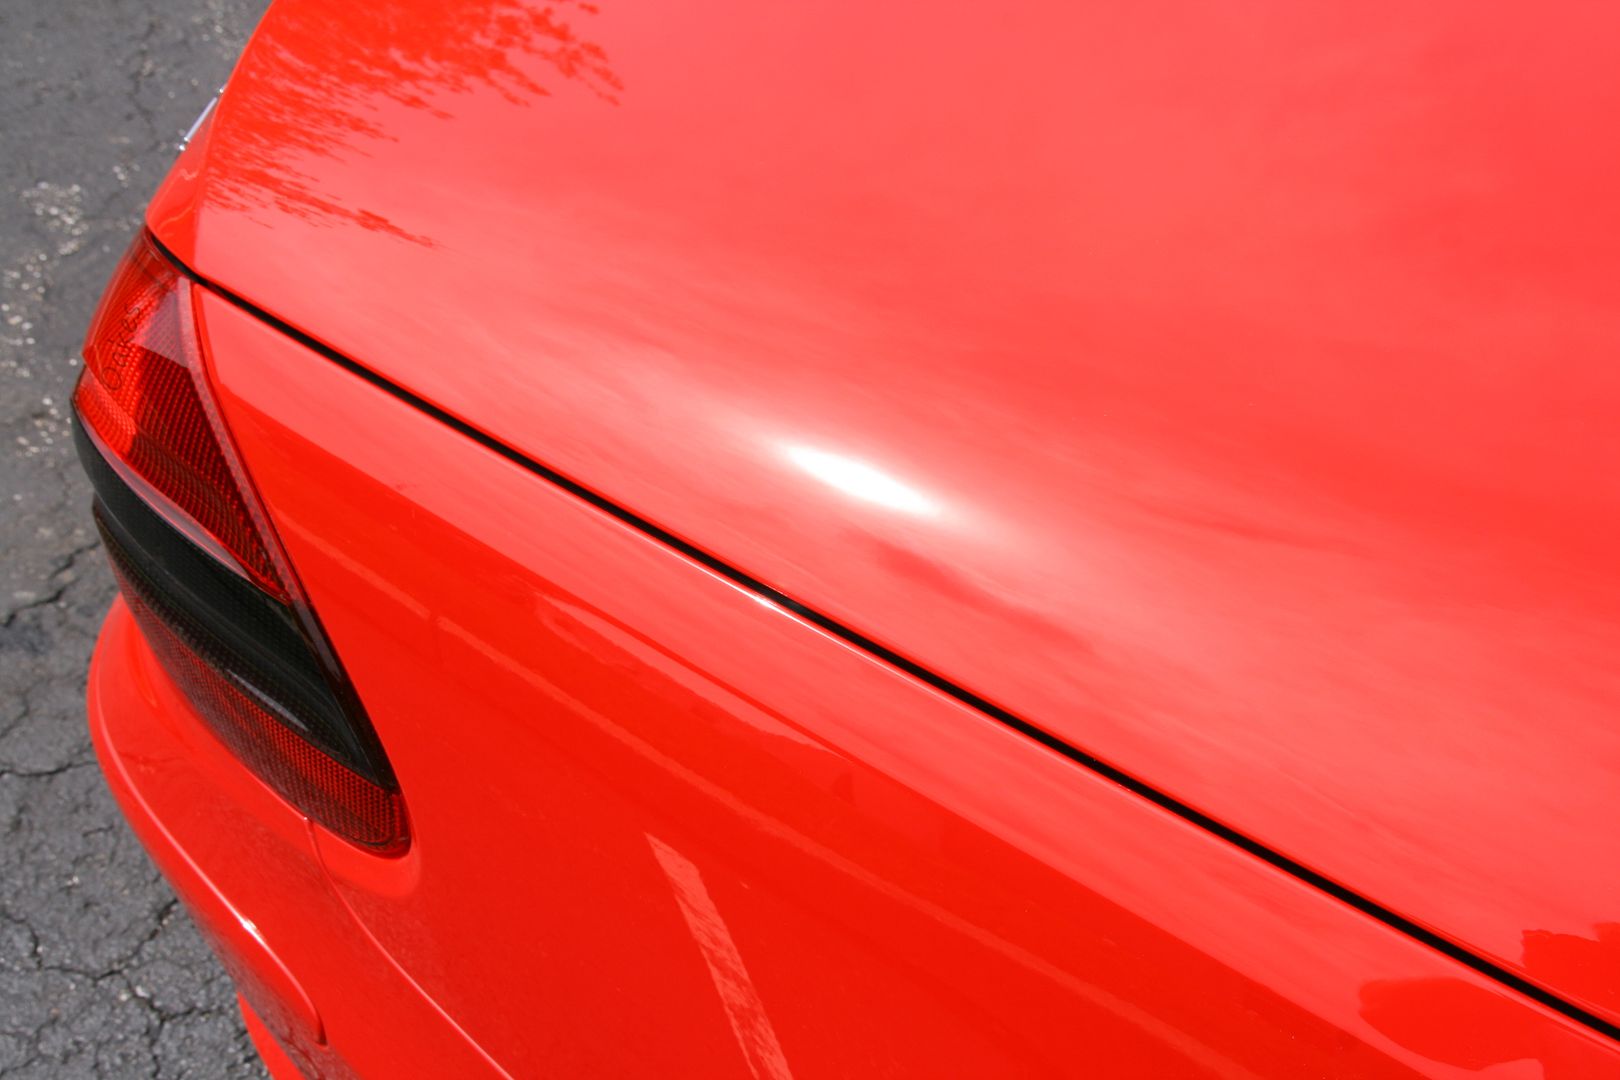
The paint condition when I received the car. These photos were taken after the prep and paint readings were taken, which were consistent throughout the car and average around 140 microns in thickness.

5.
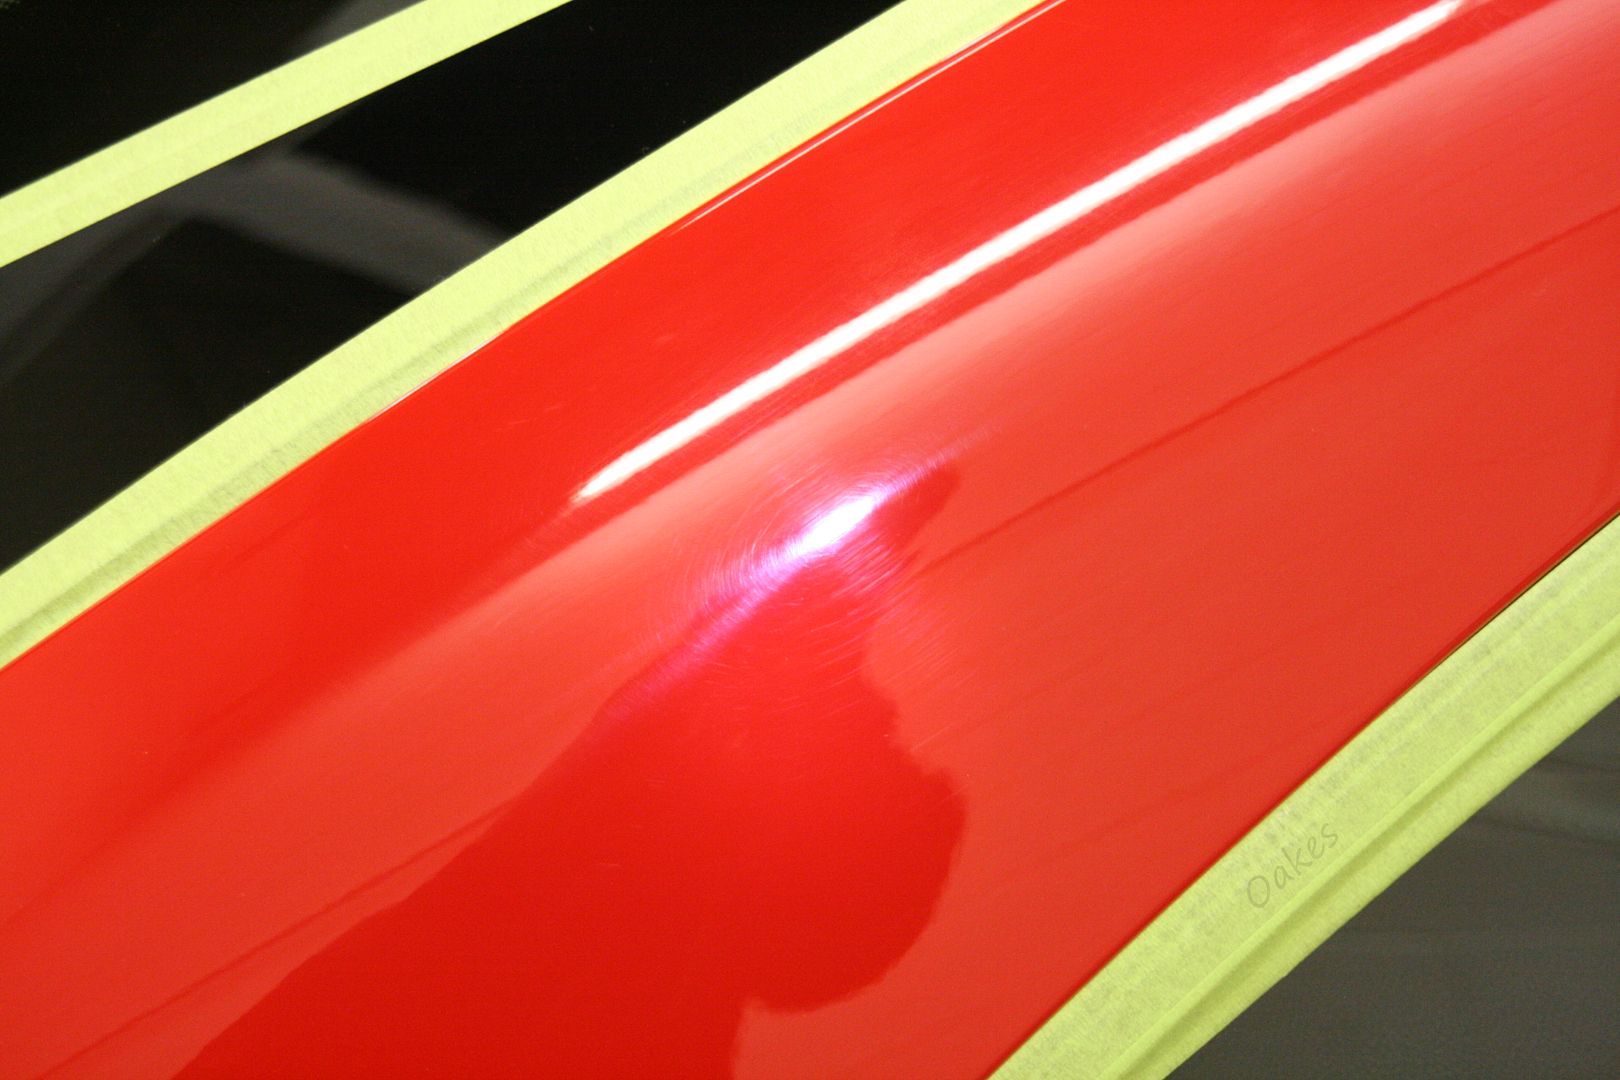
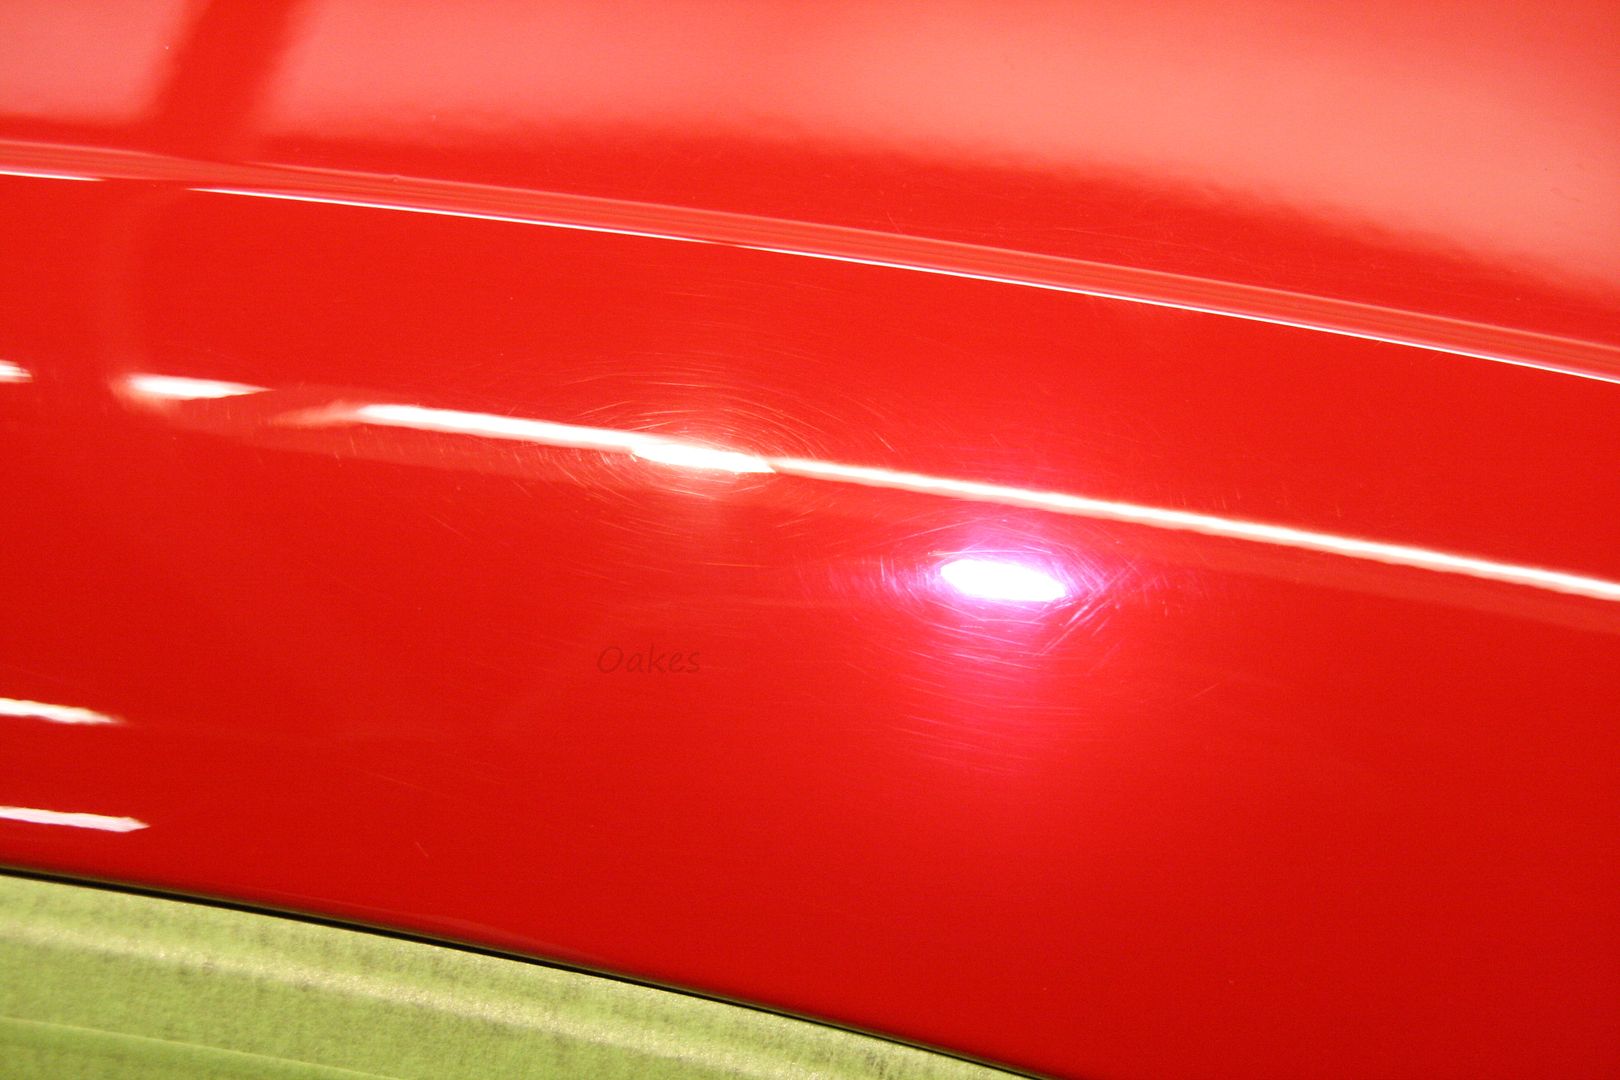
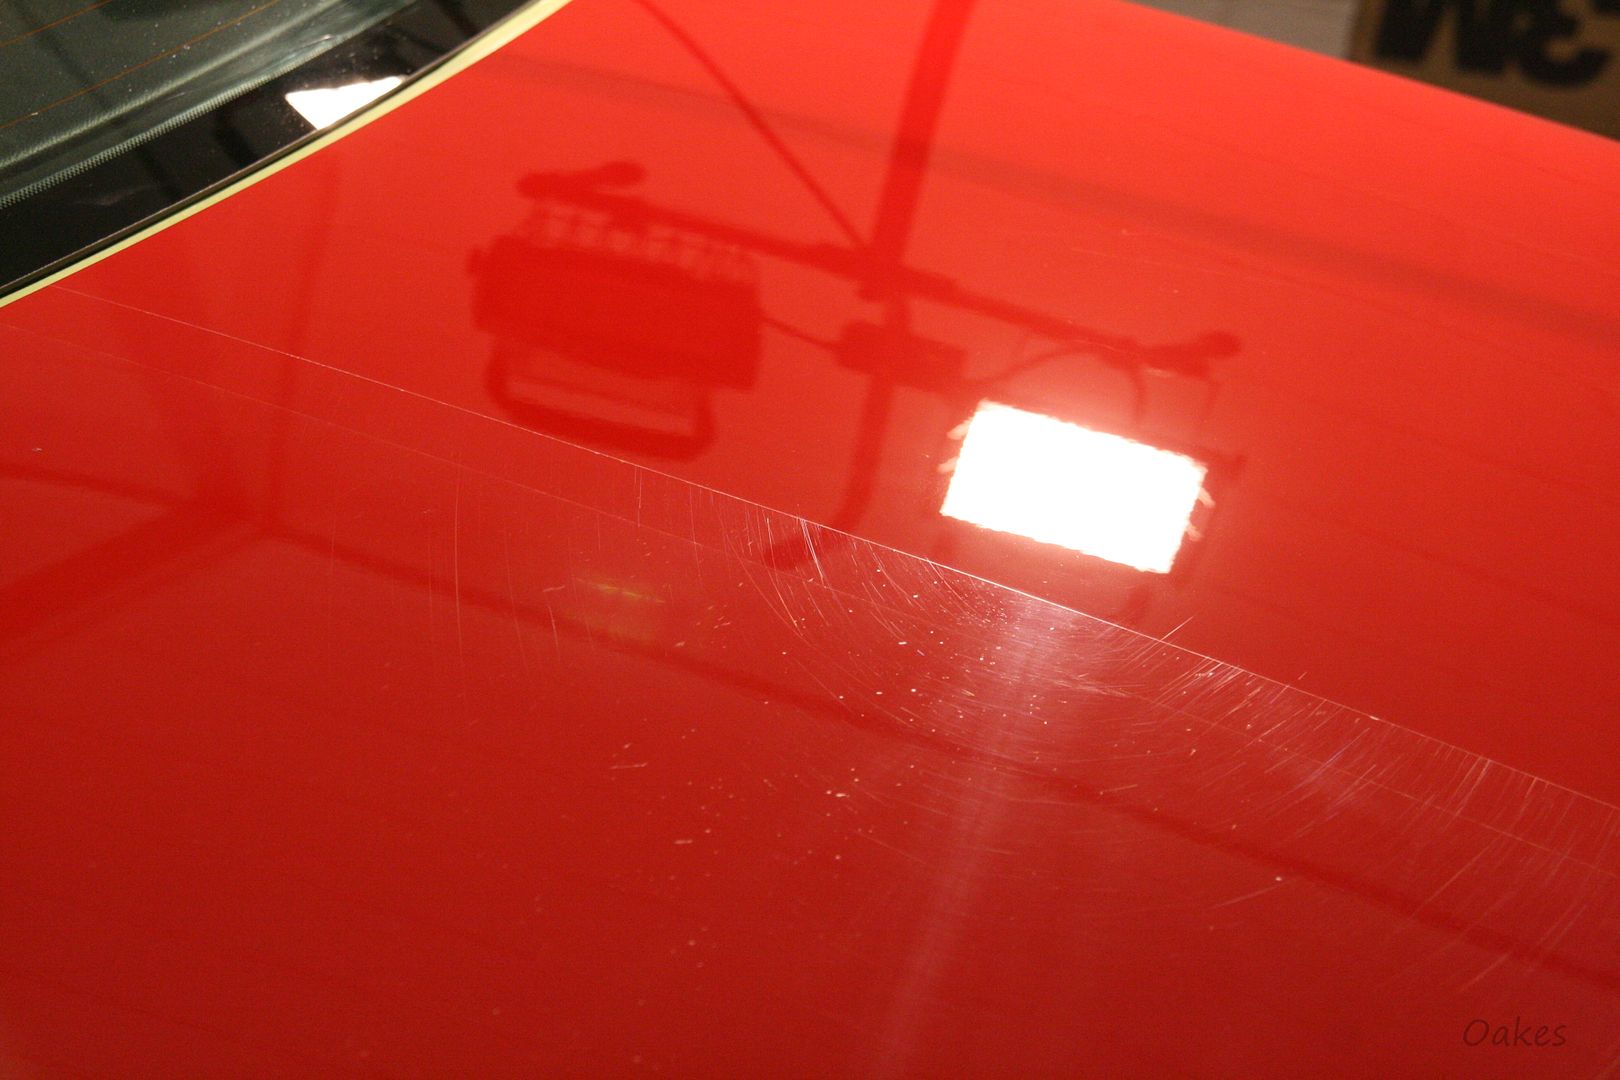
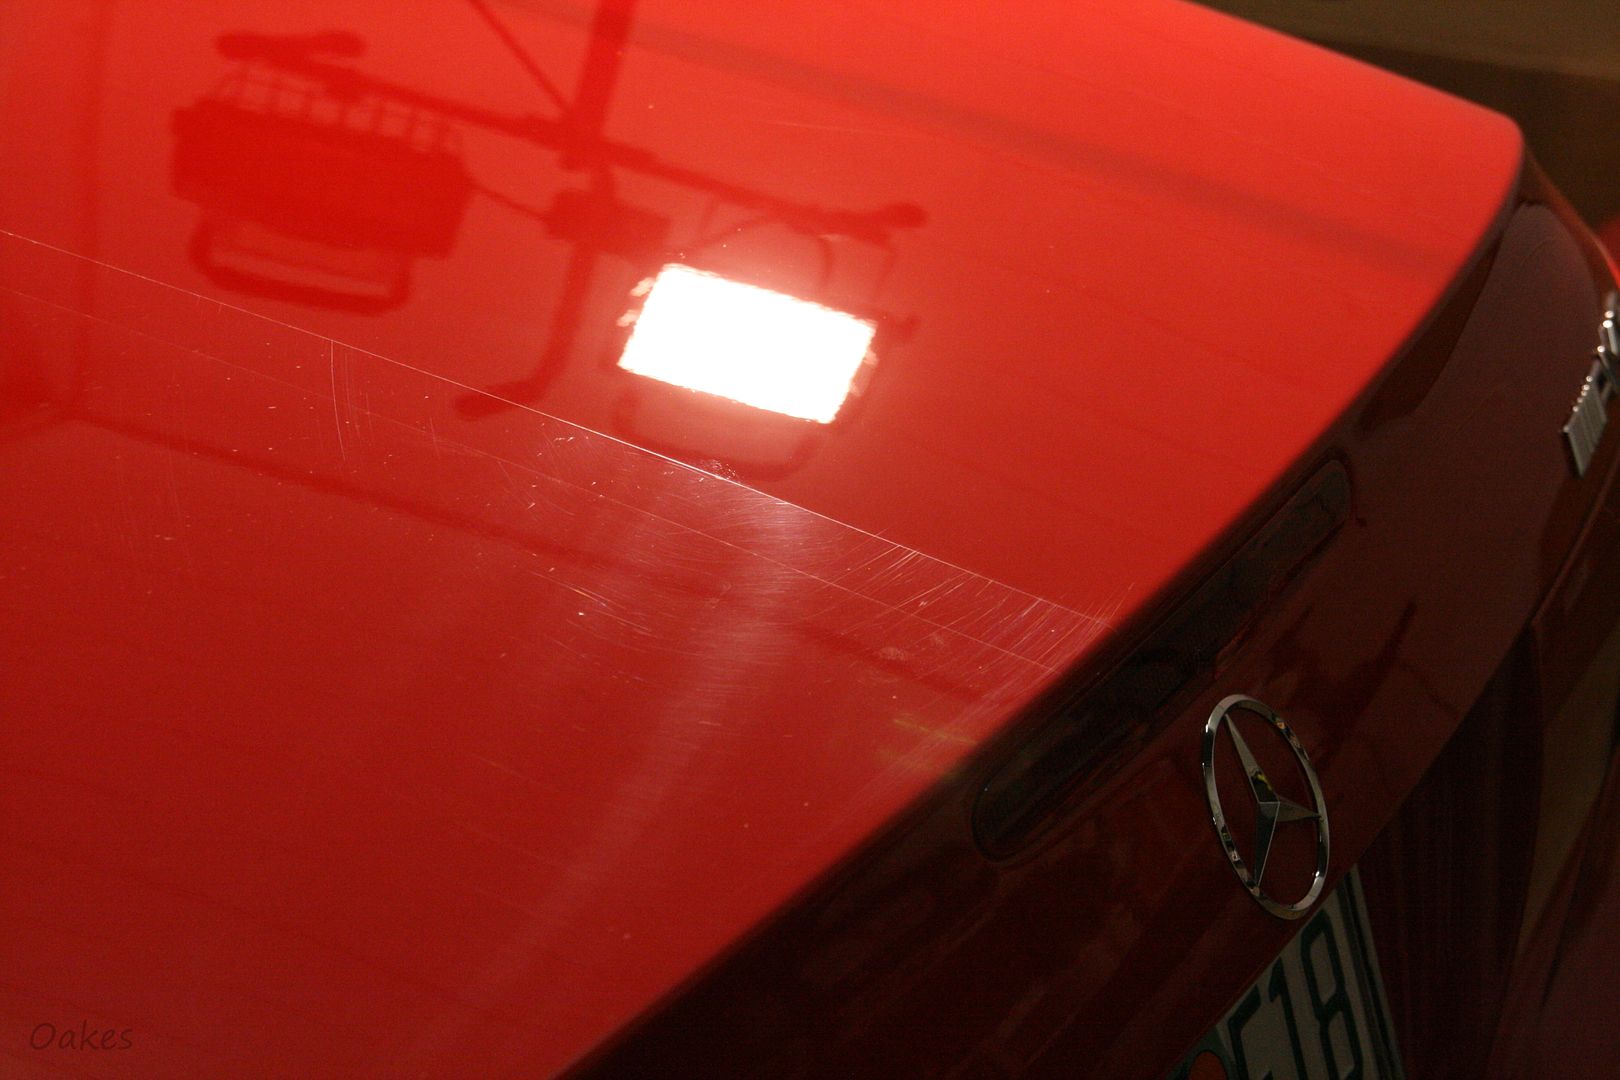
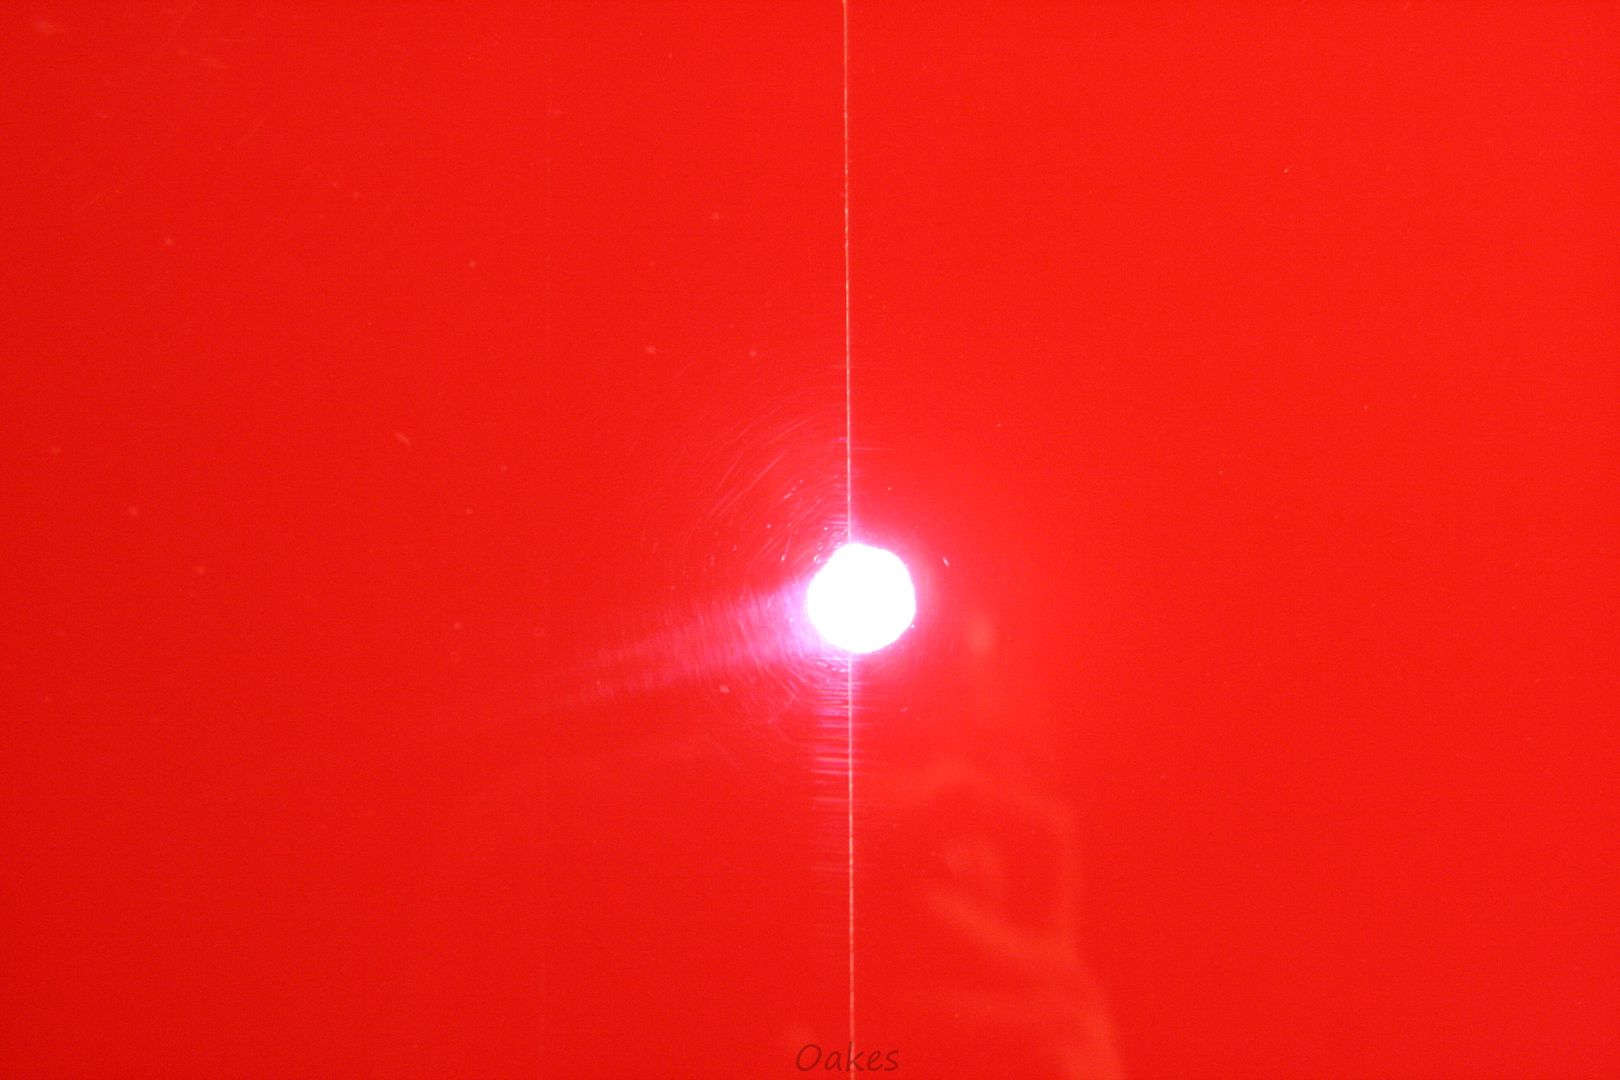
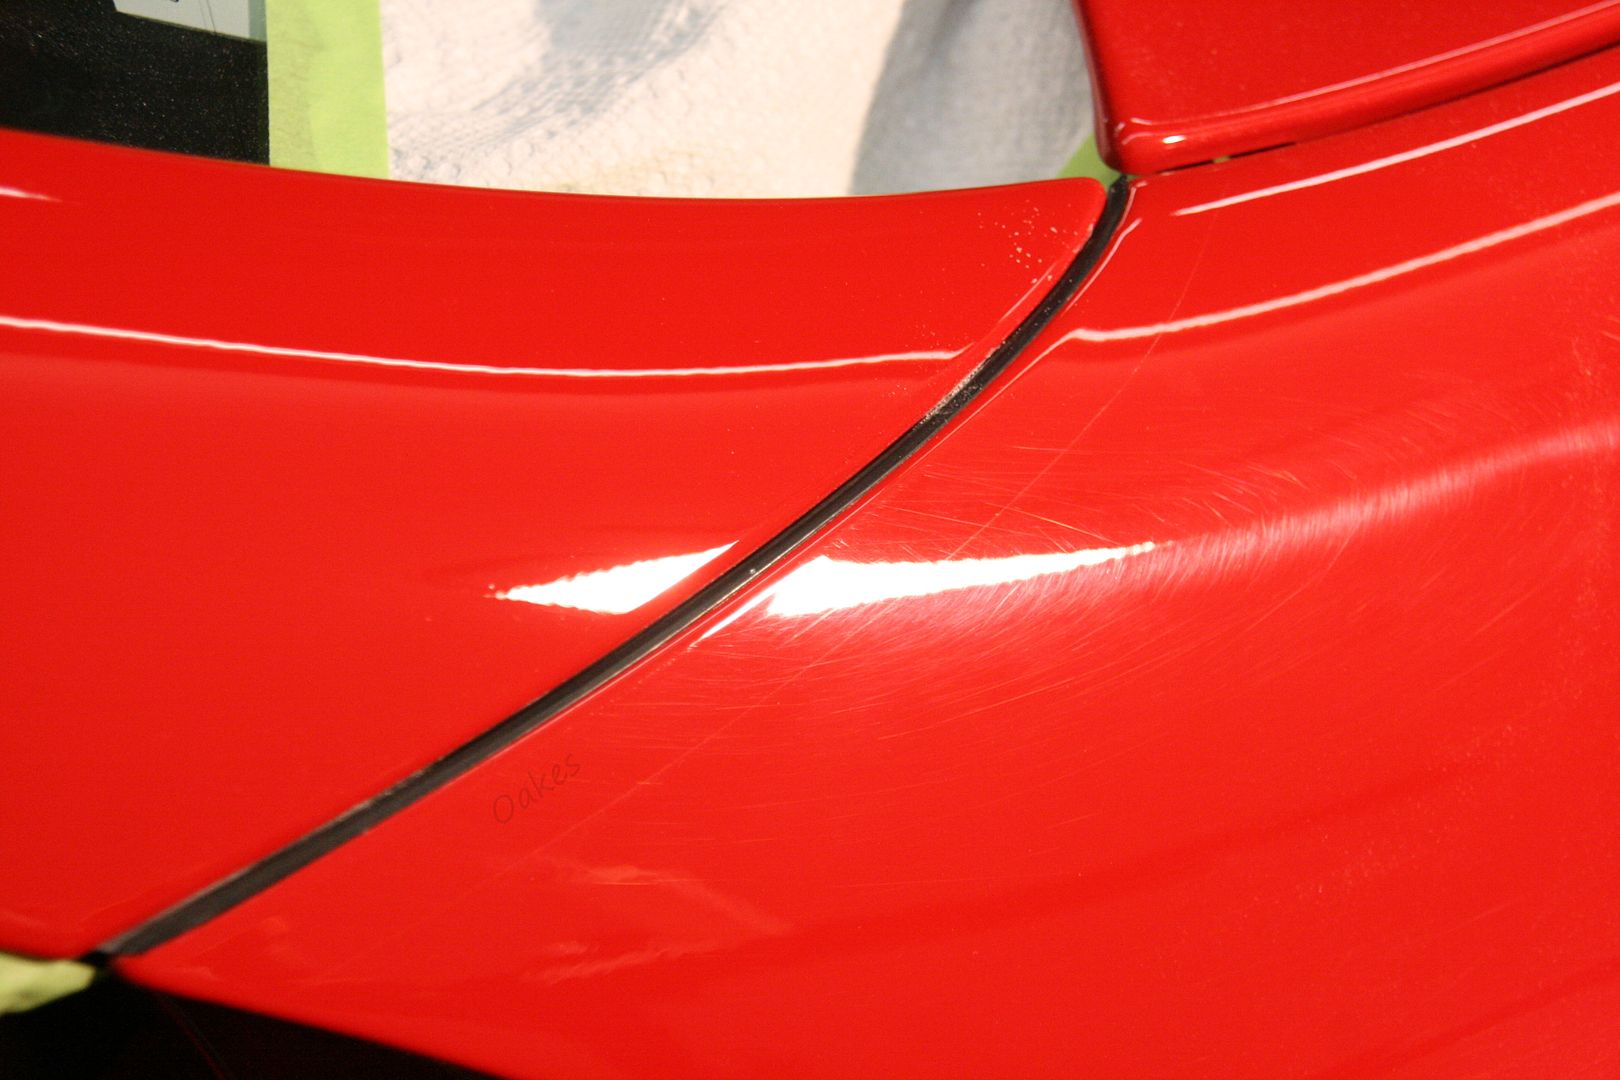
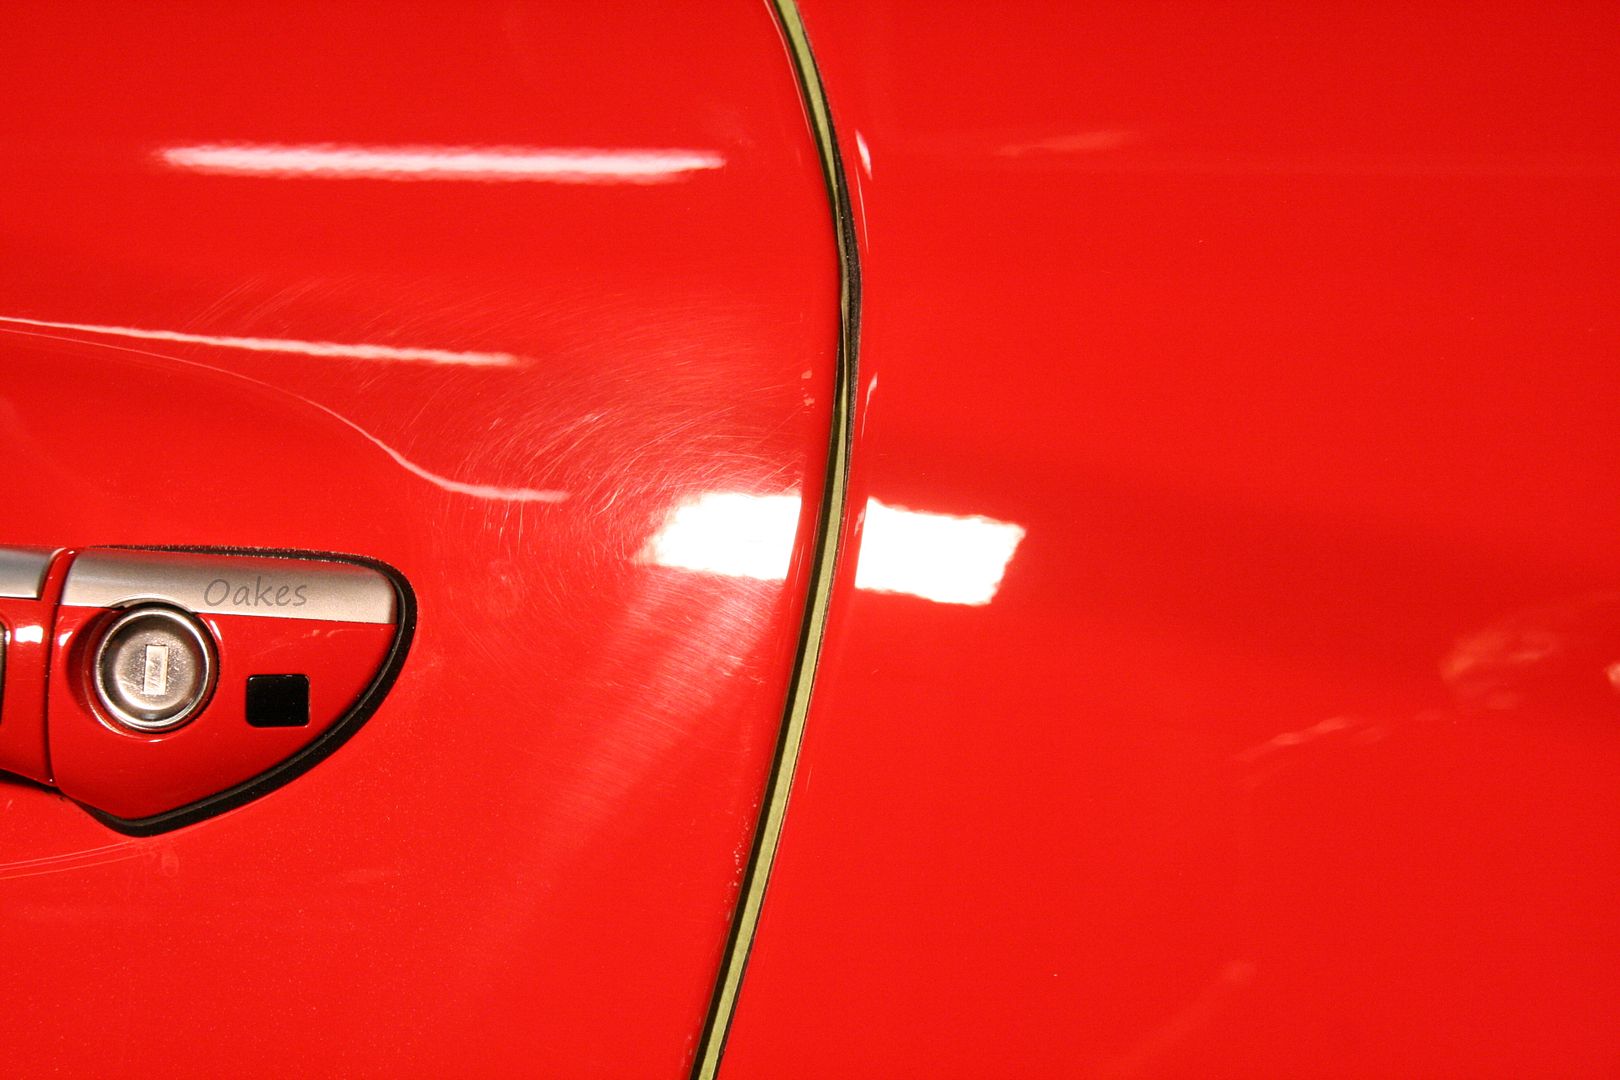
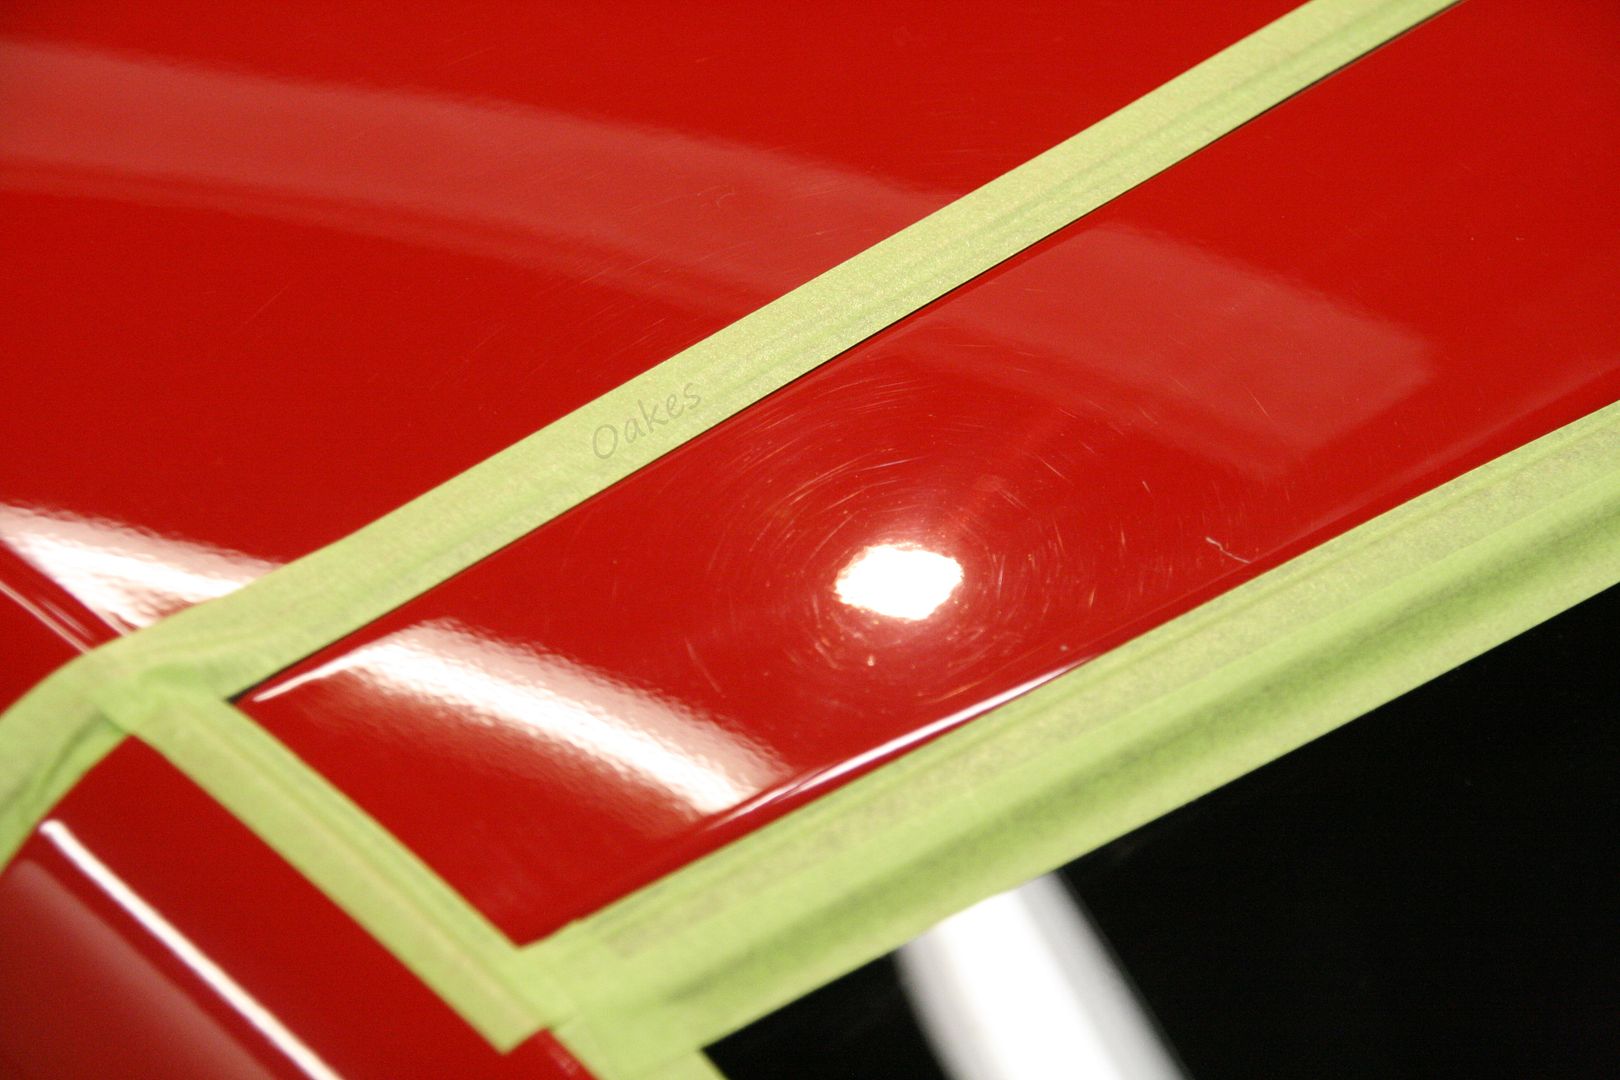
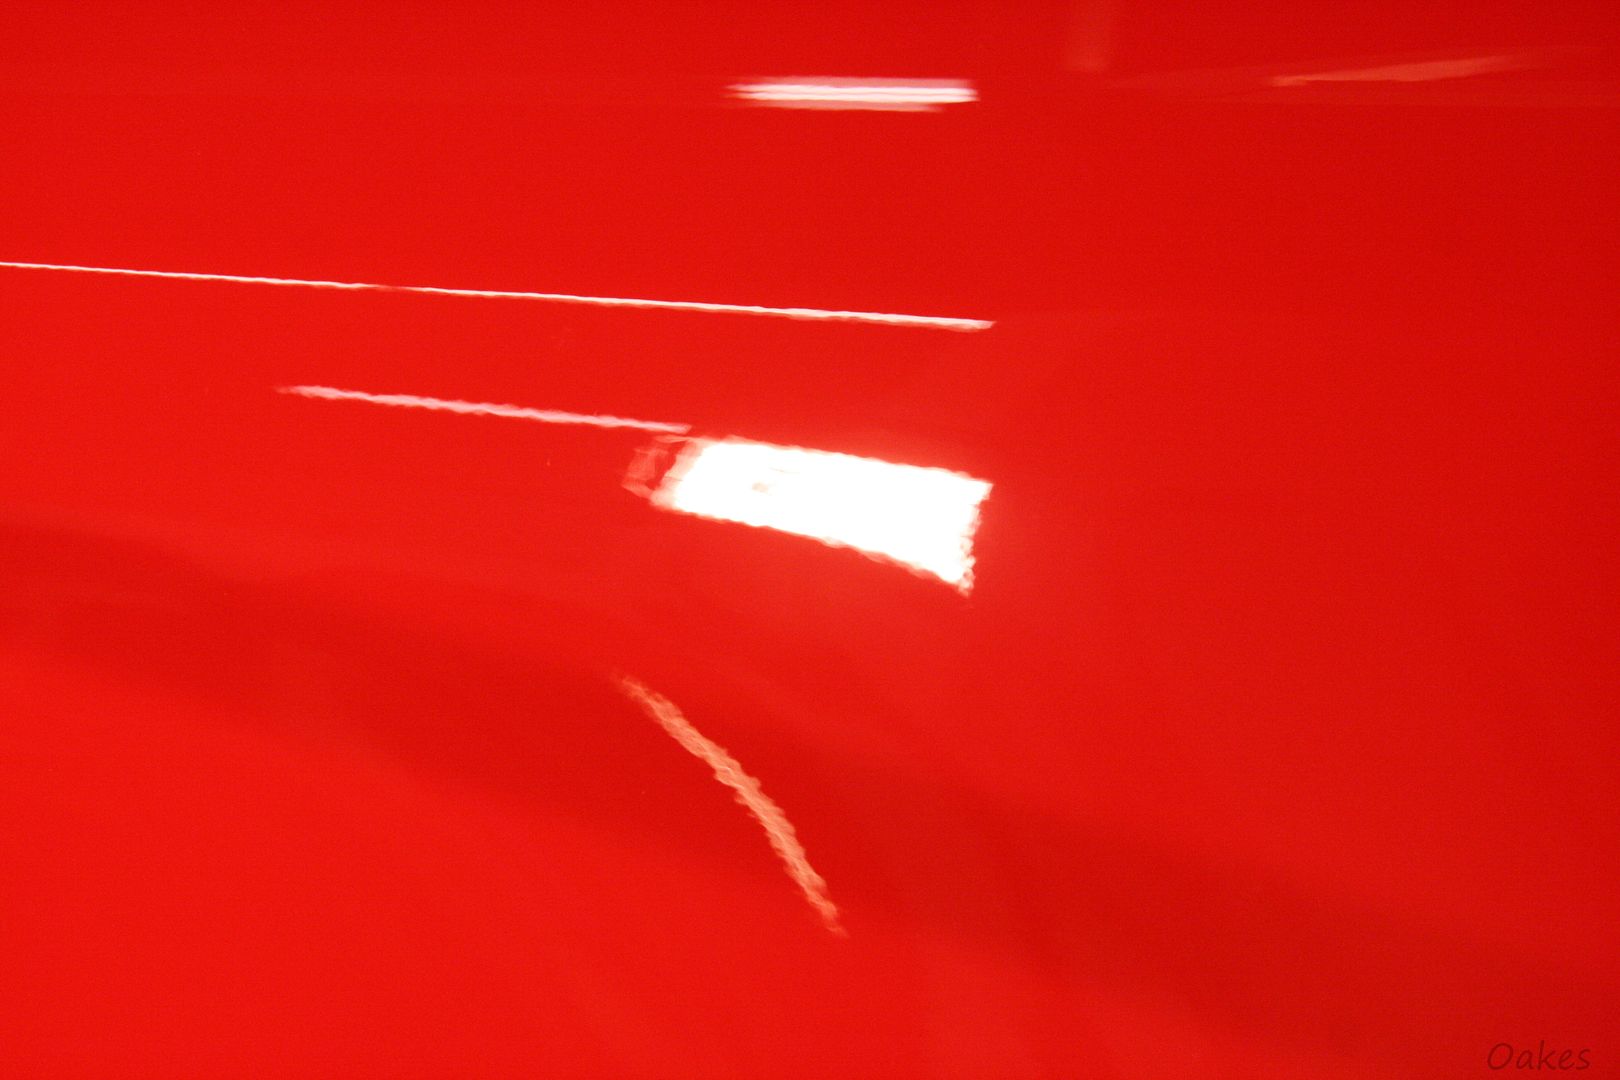
As I worked along, picked a few areas to section off to show the difference between the corrected and uncorrected paint. Started with the trunk and then a few panel differences in other areas.
10.
15.
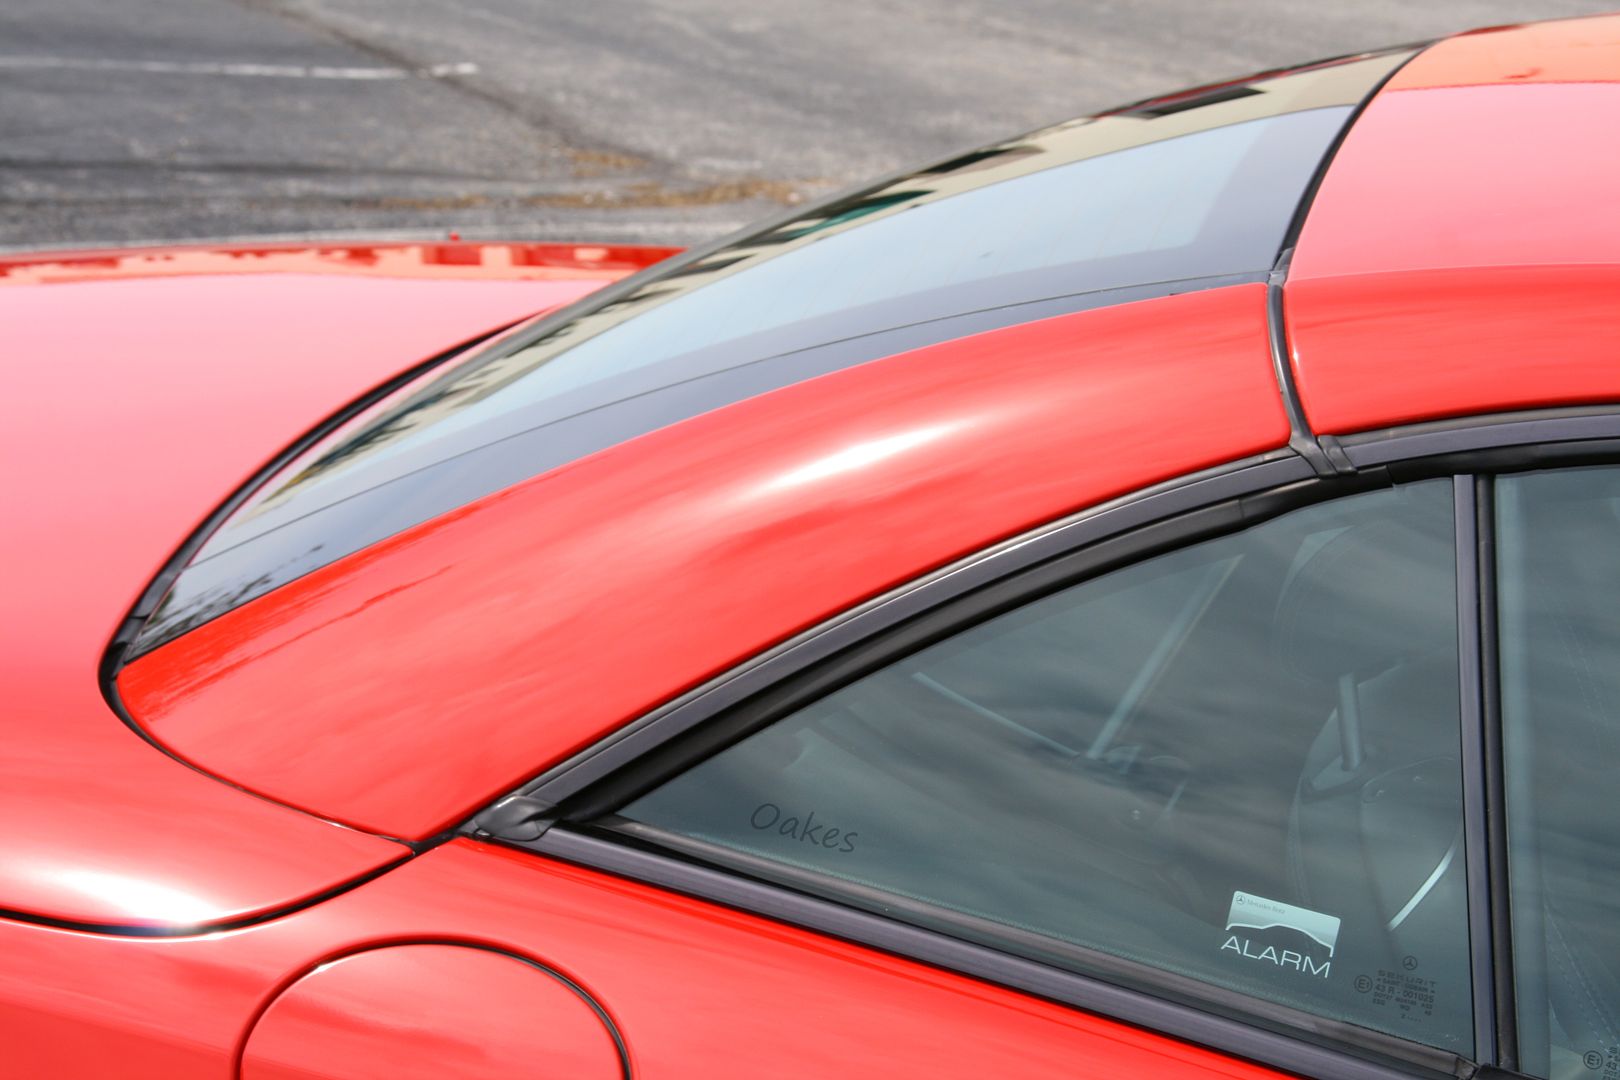
A couple of Before and After shots of corrected areas, starting with the roof section after the windshield!

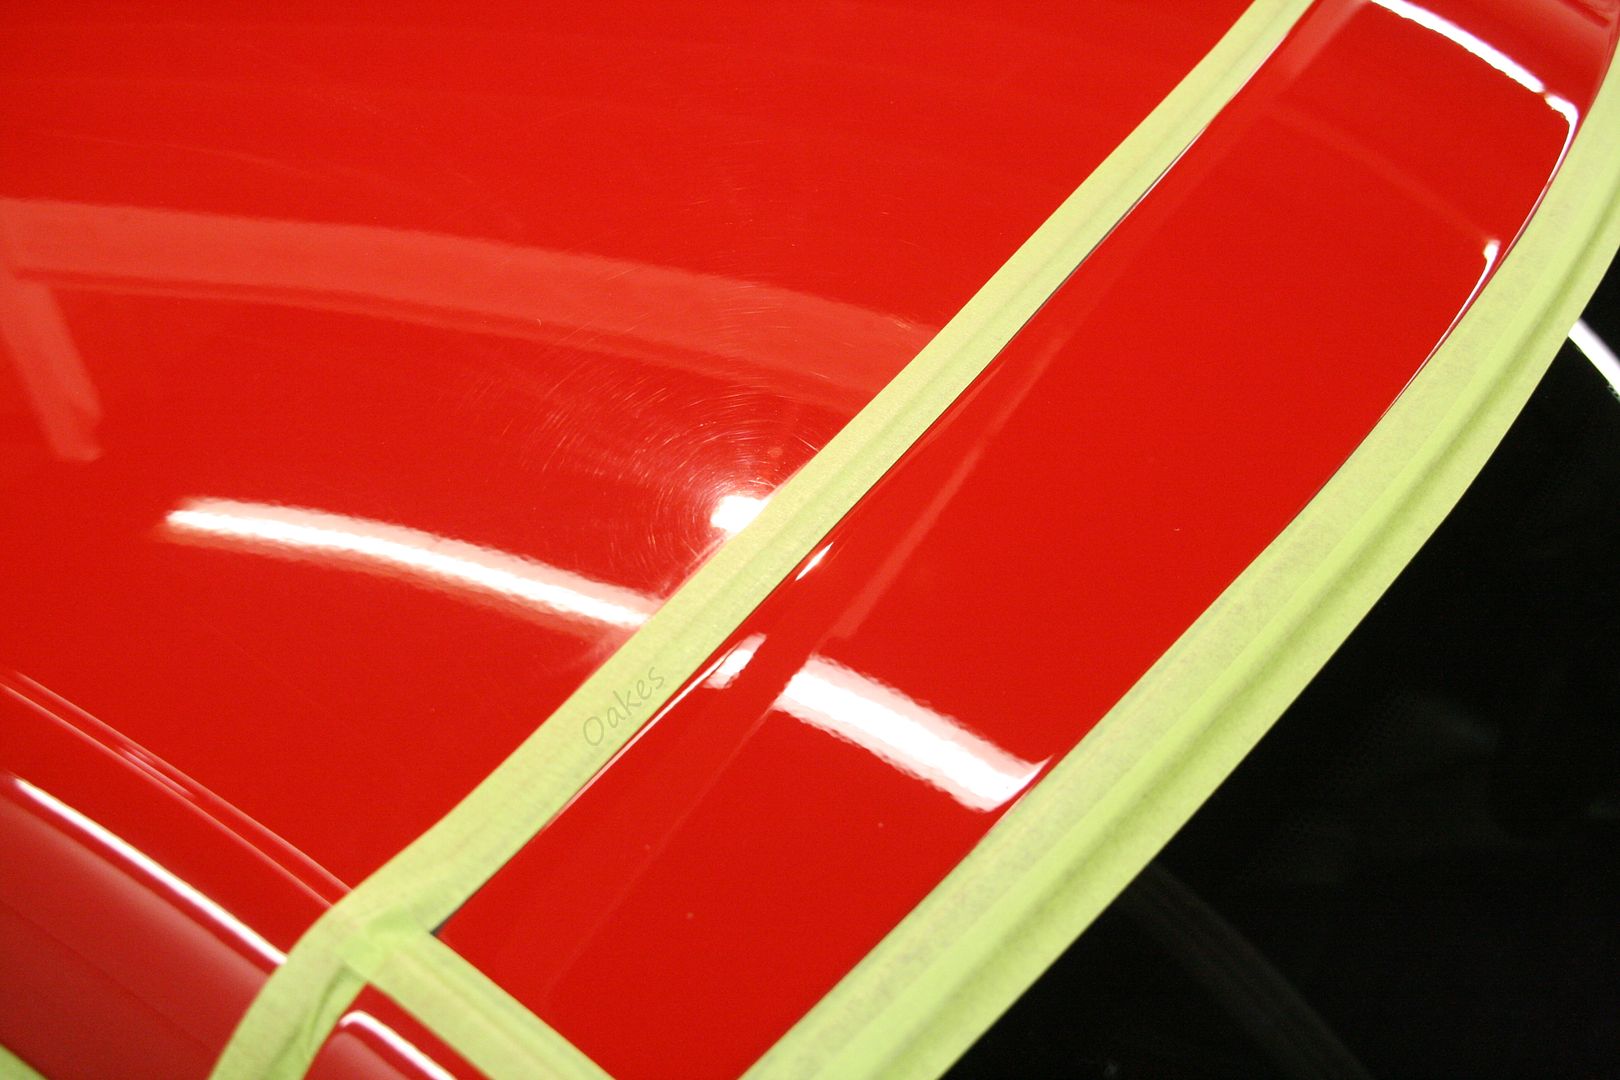
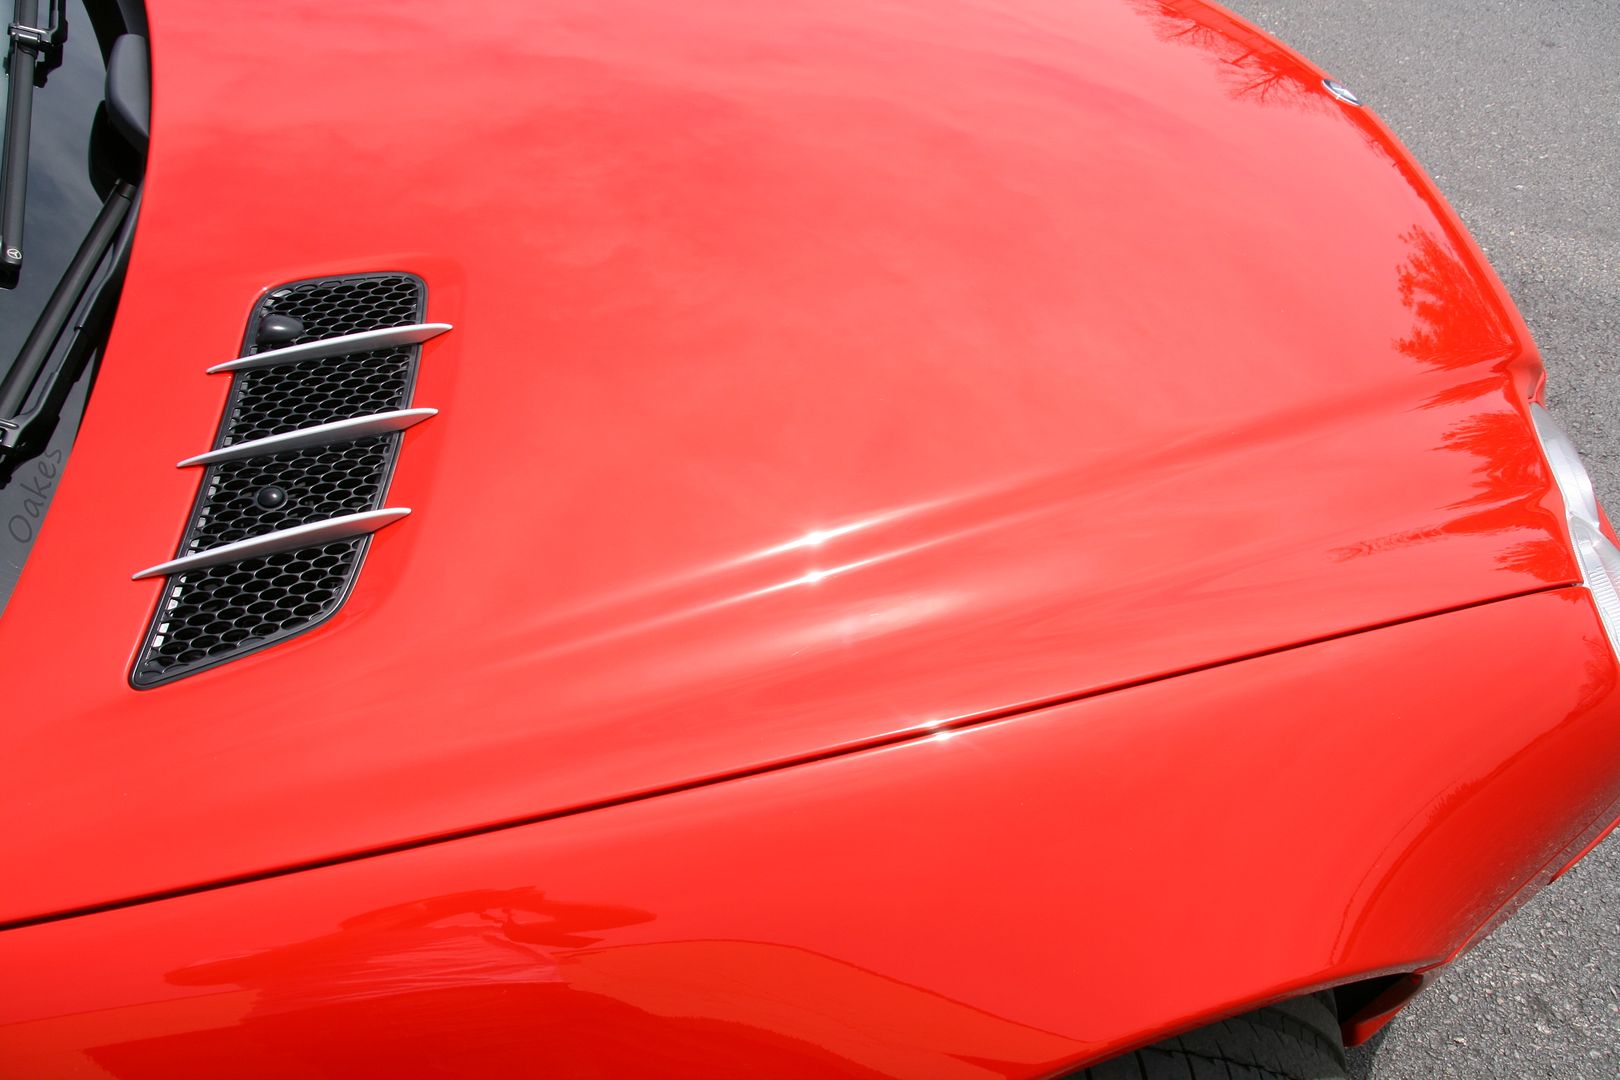
A before and after of the hood, the body lines that lead off of the headlights can be a little tricky to get everything, no issues here though!
20.

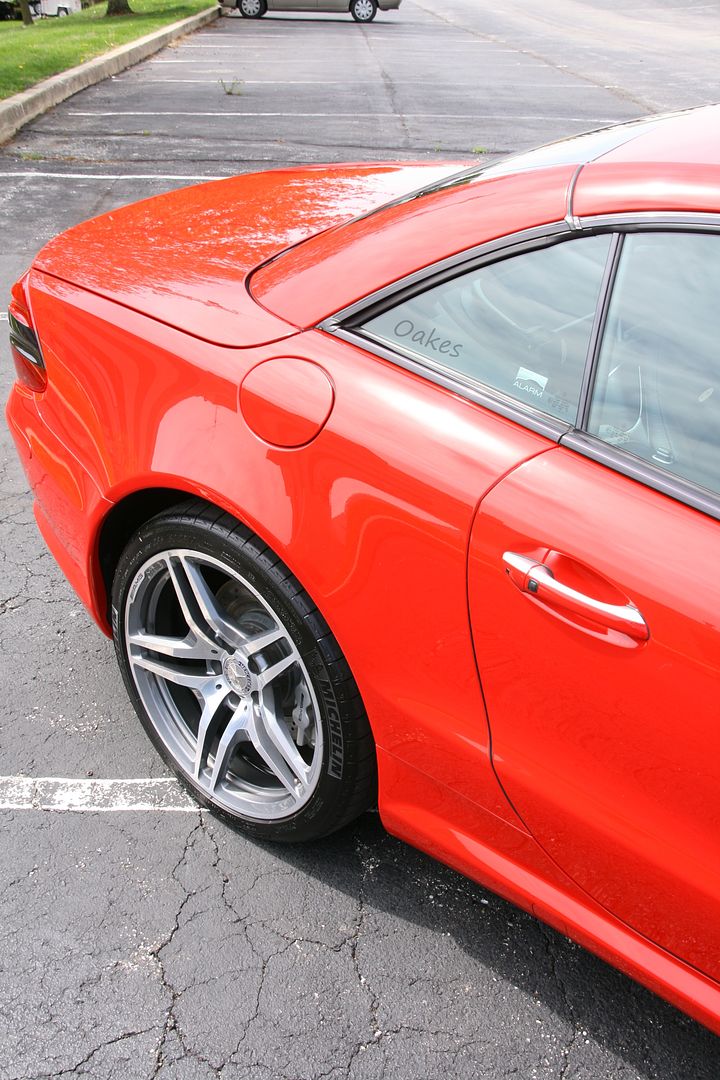
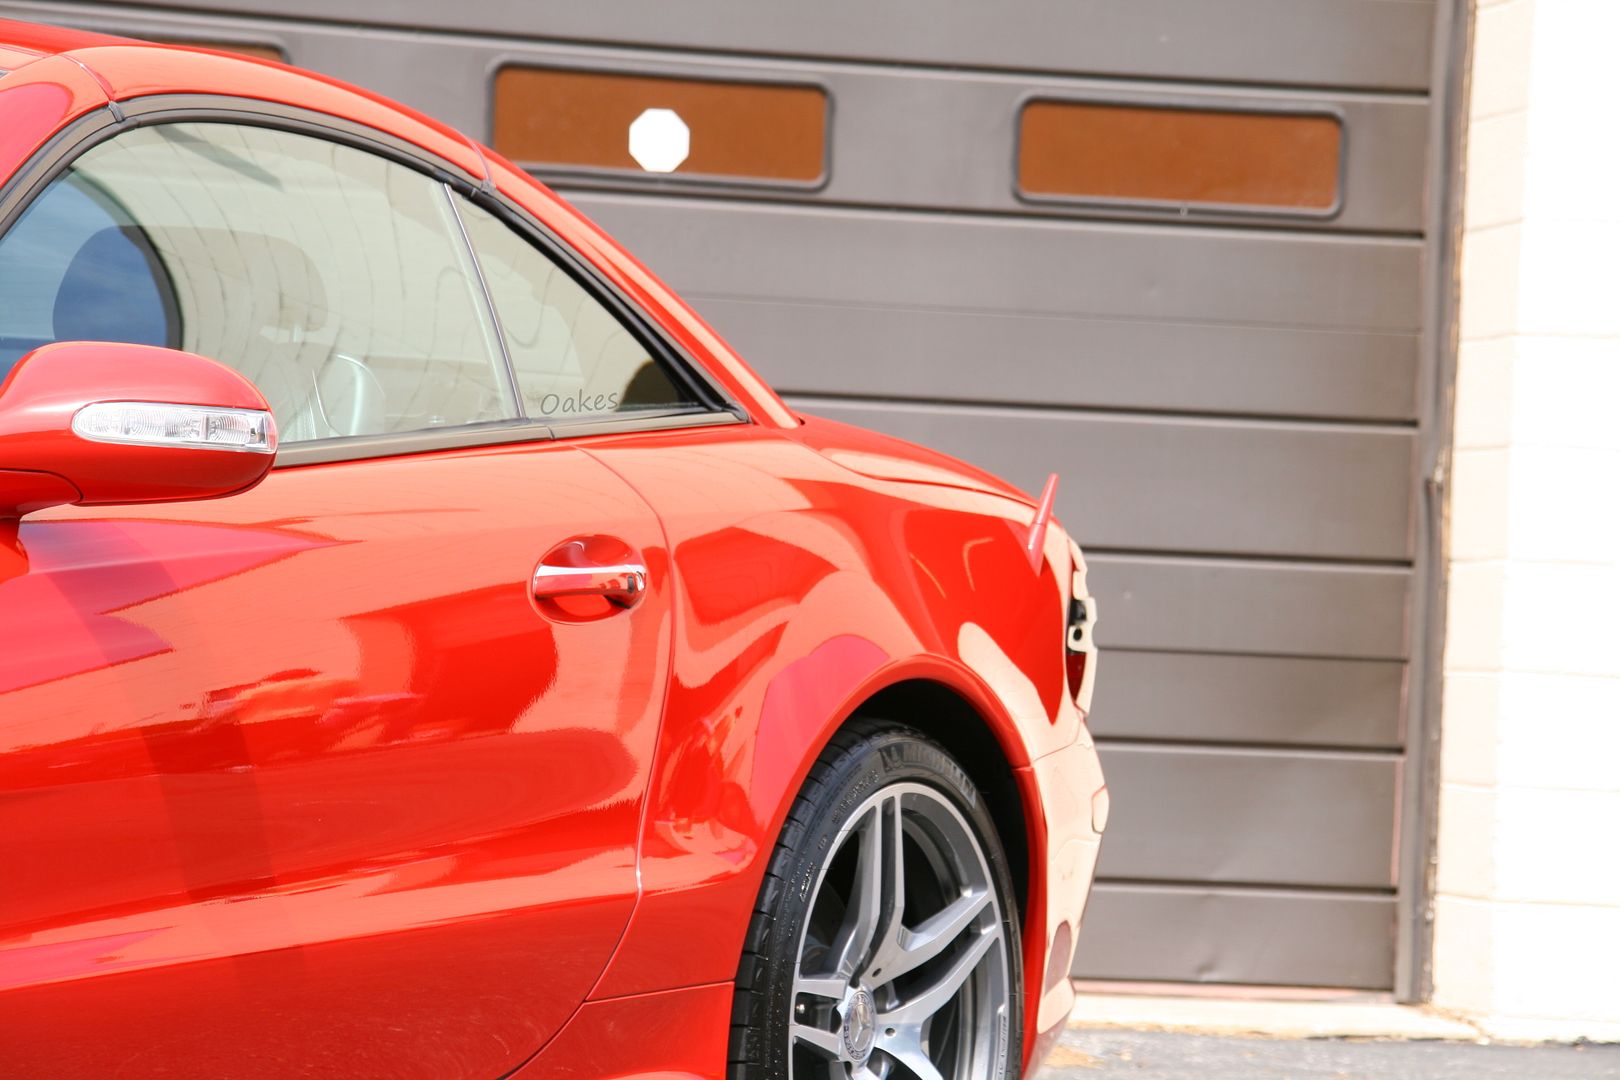
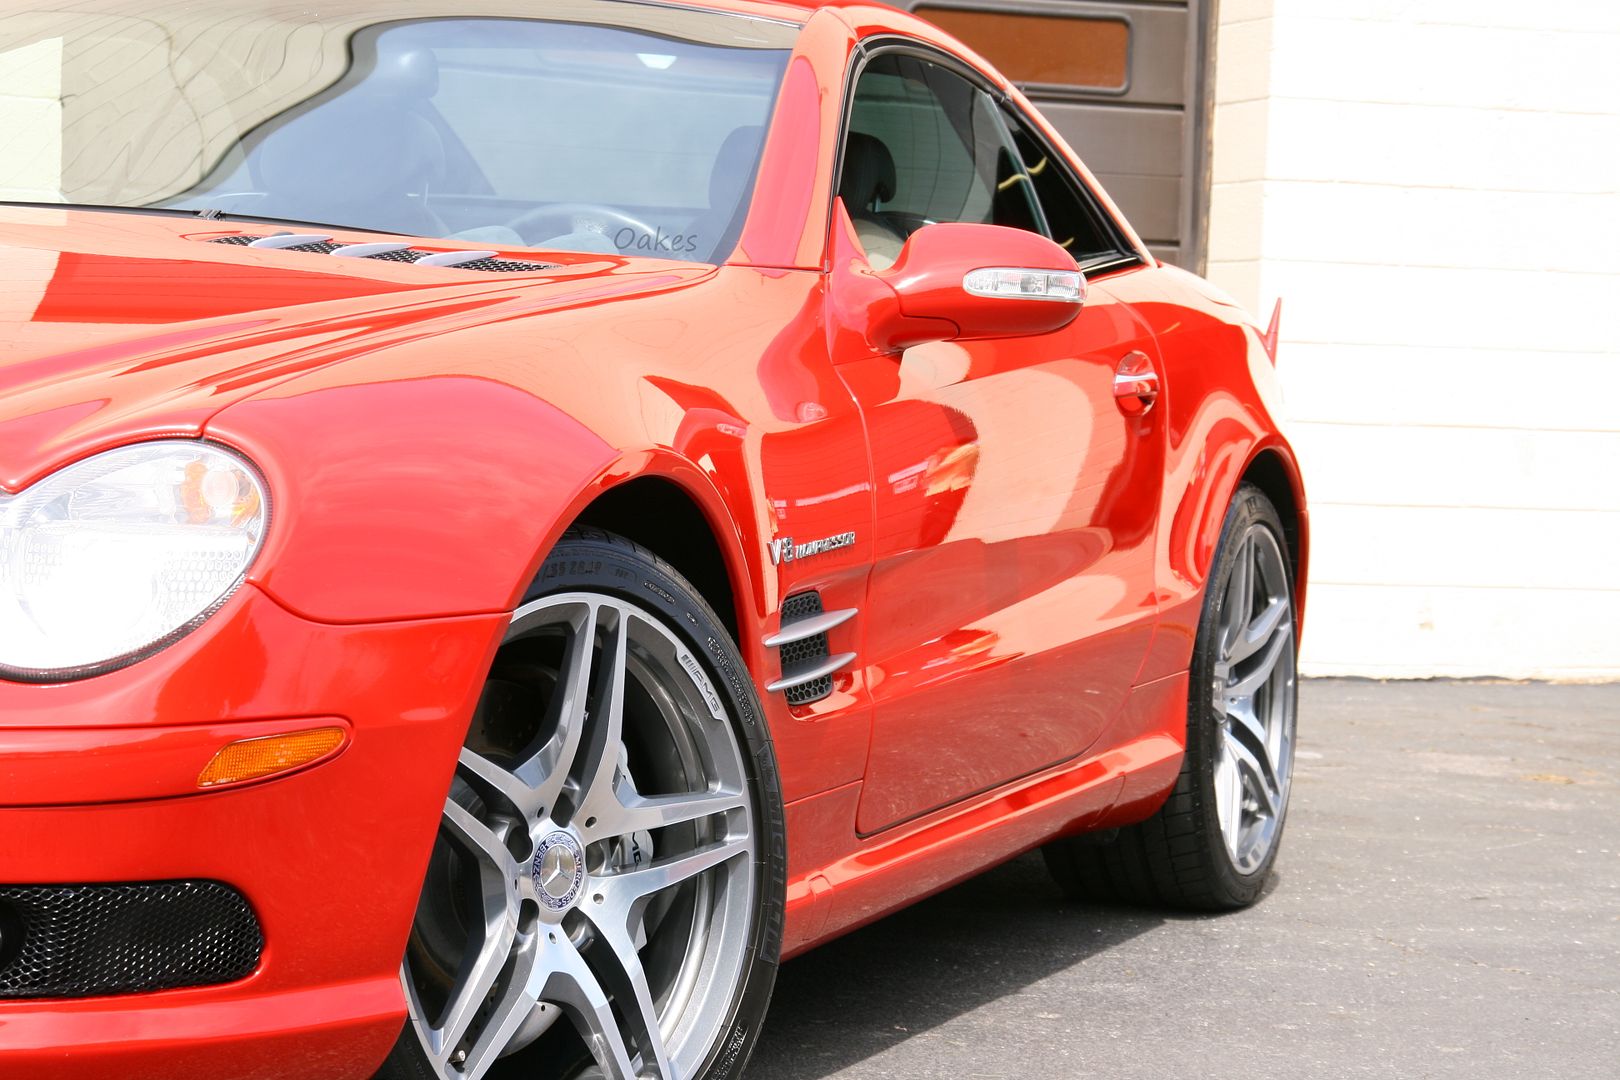
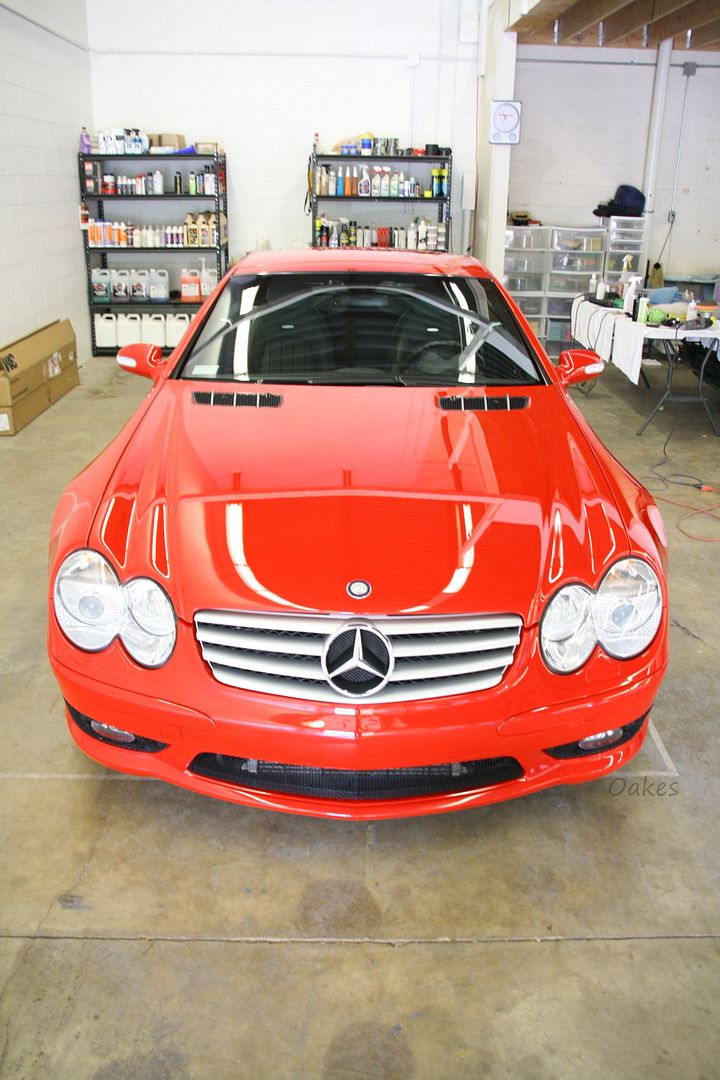
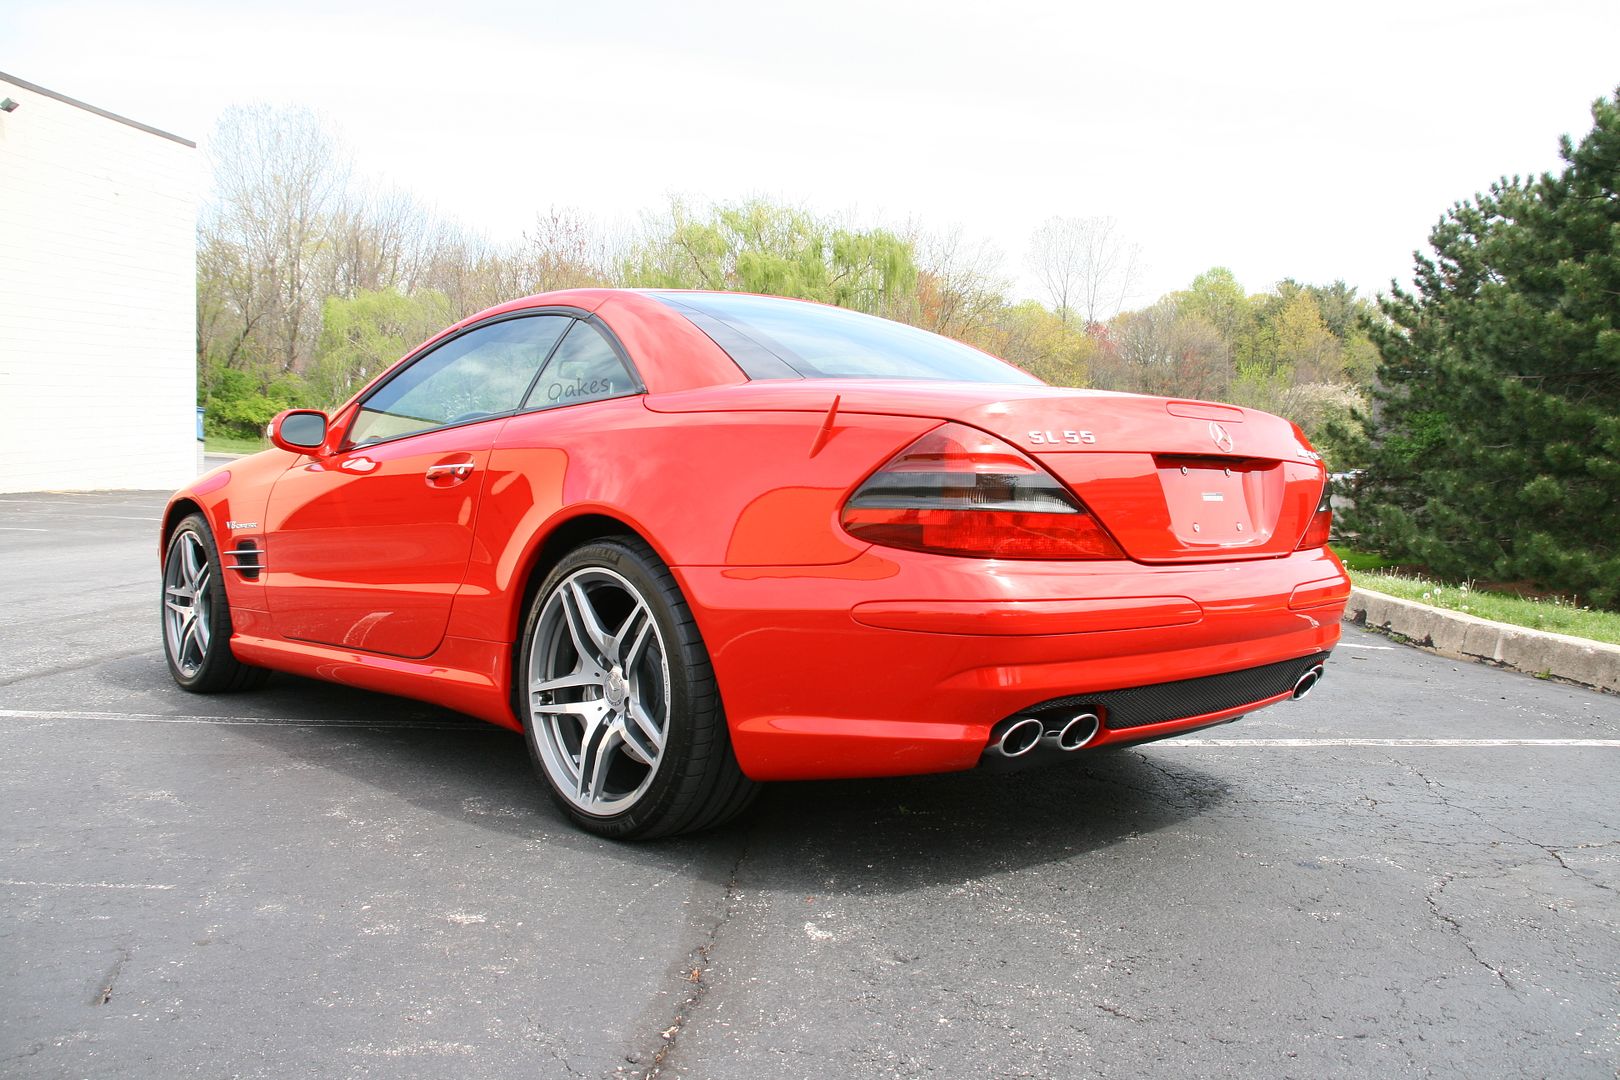
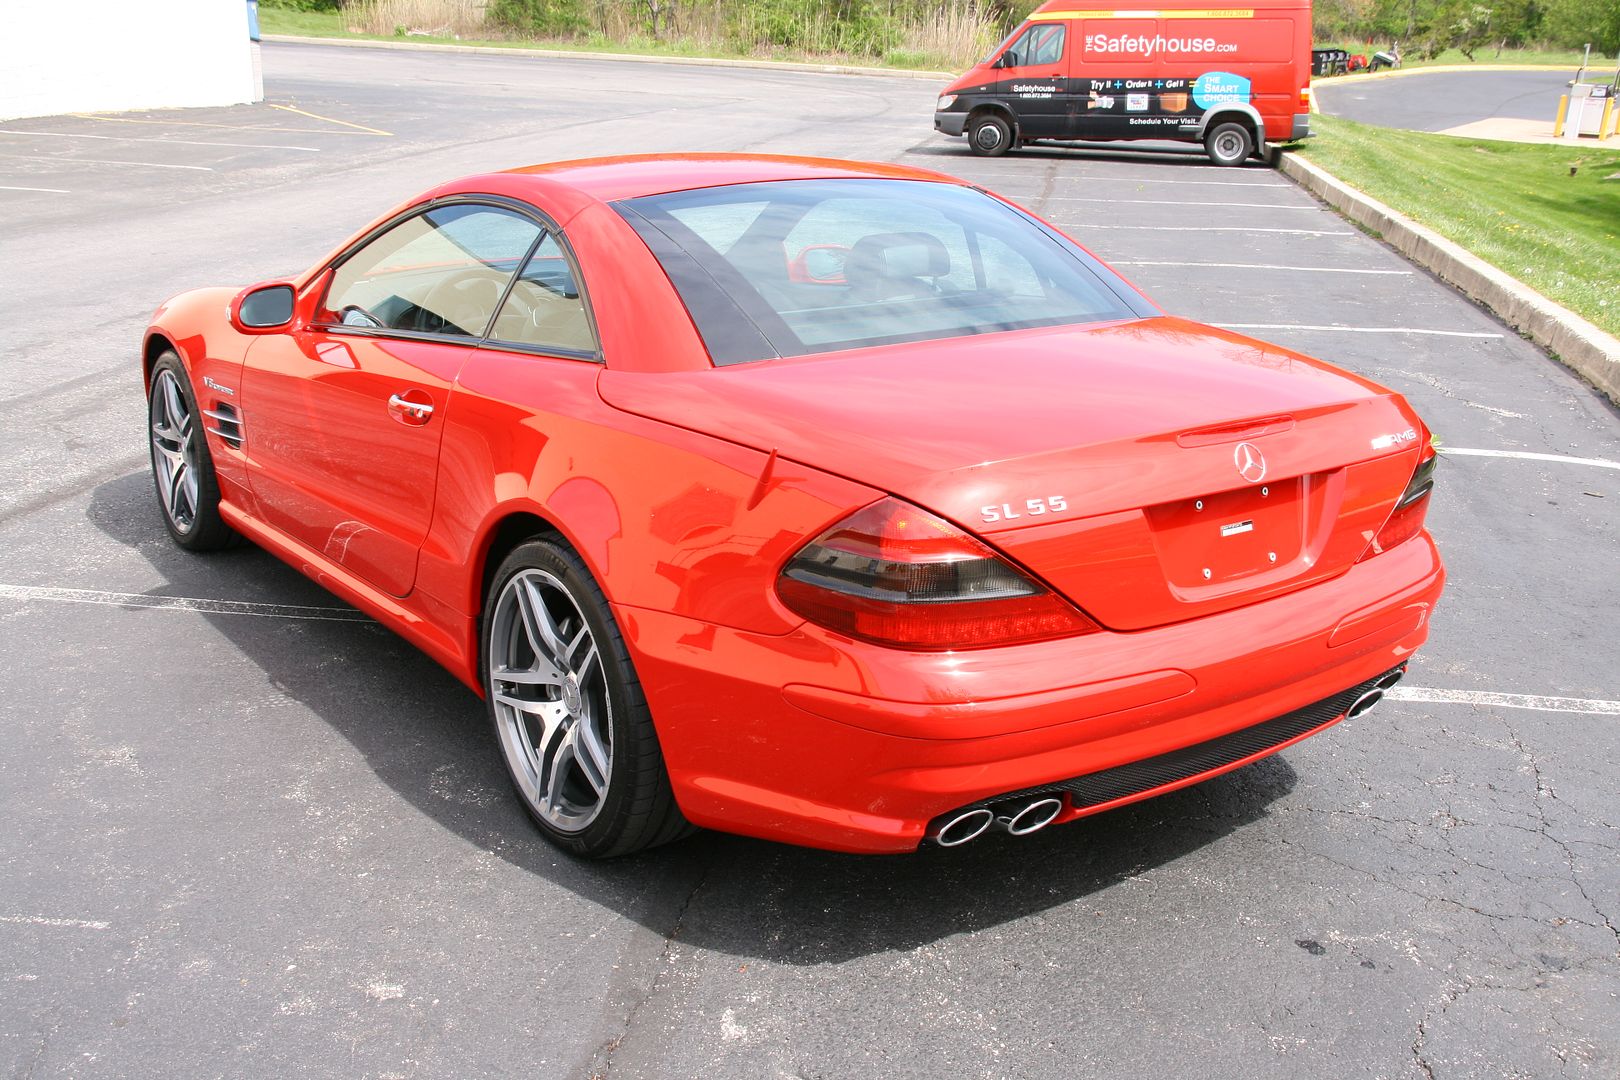
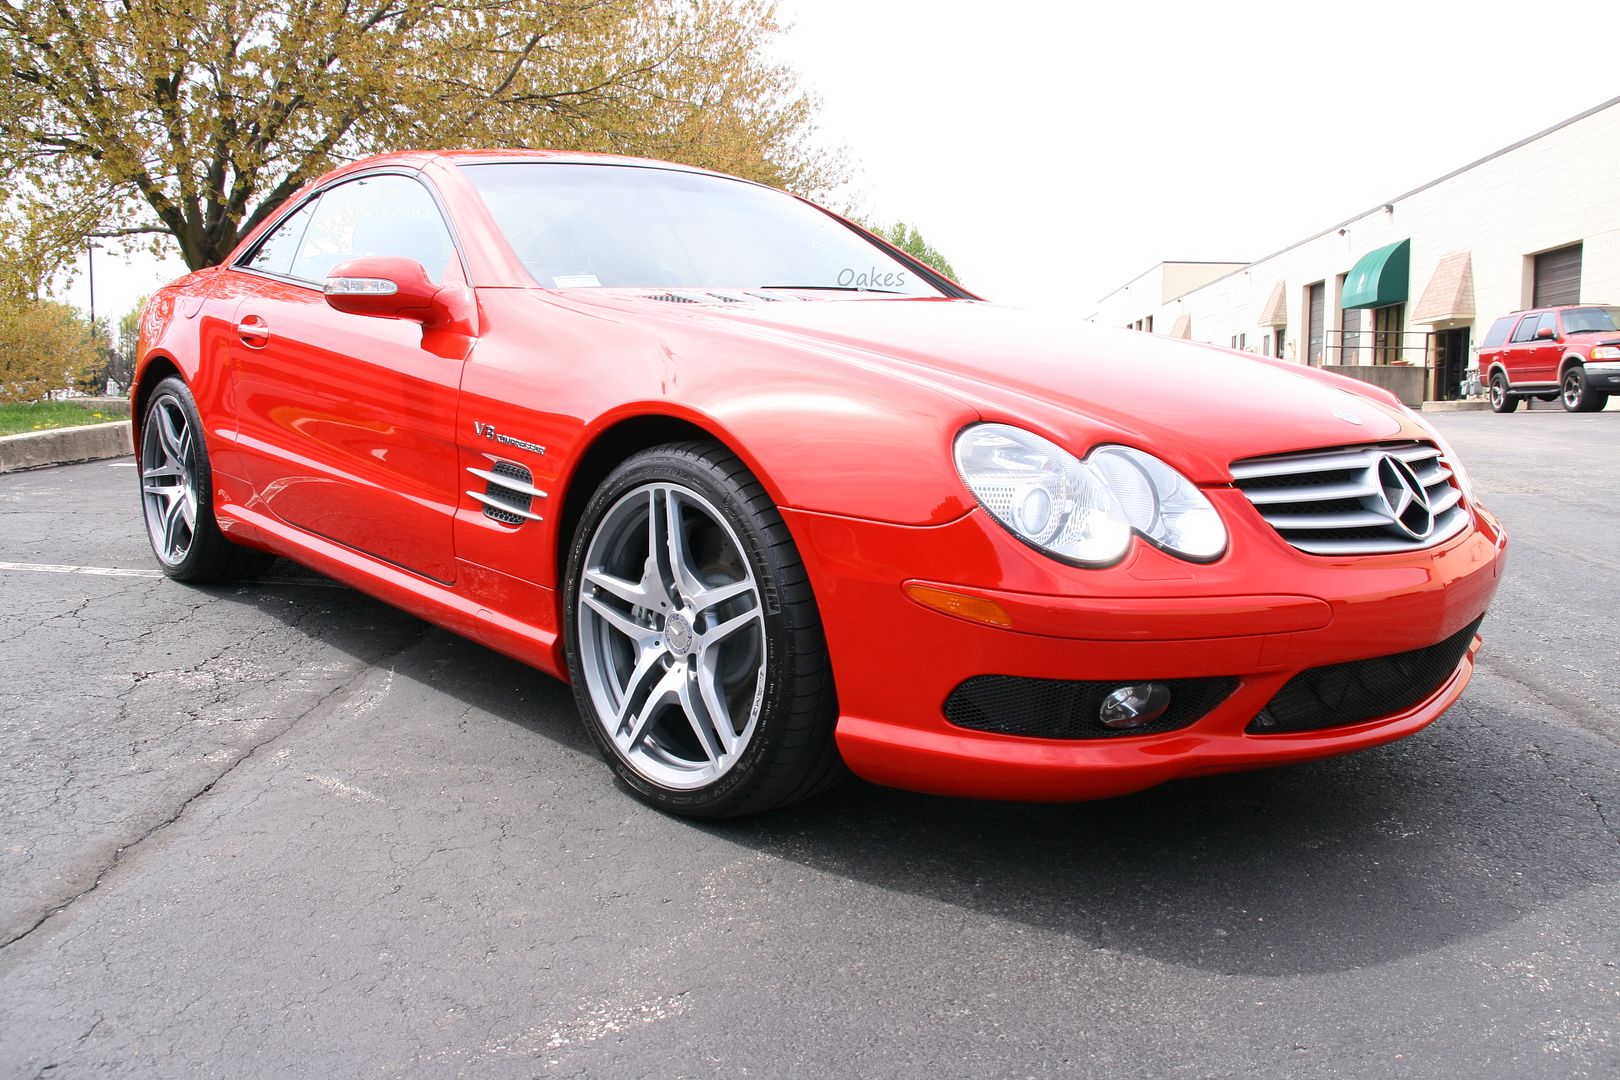
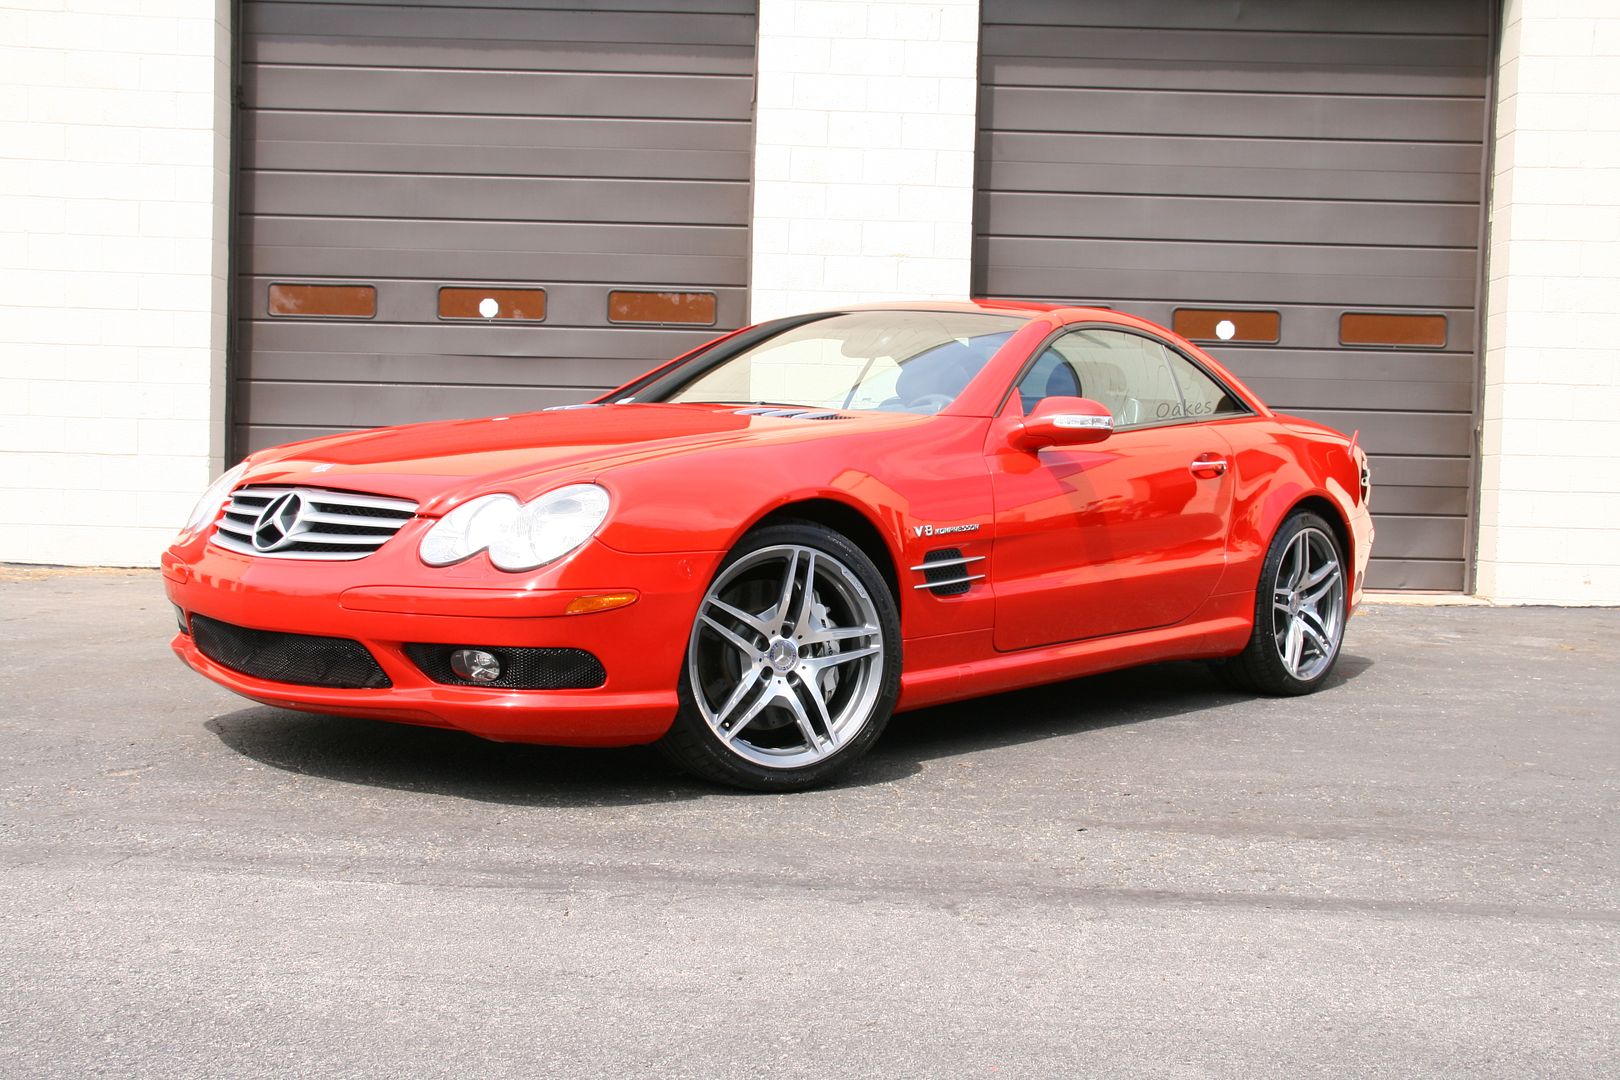
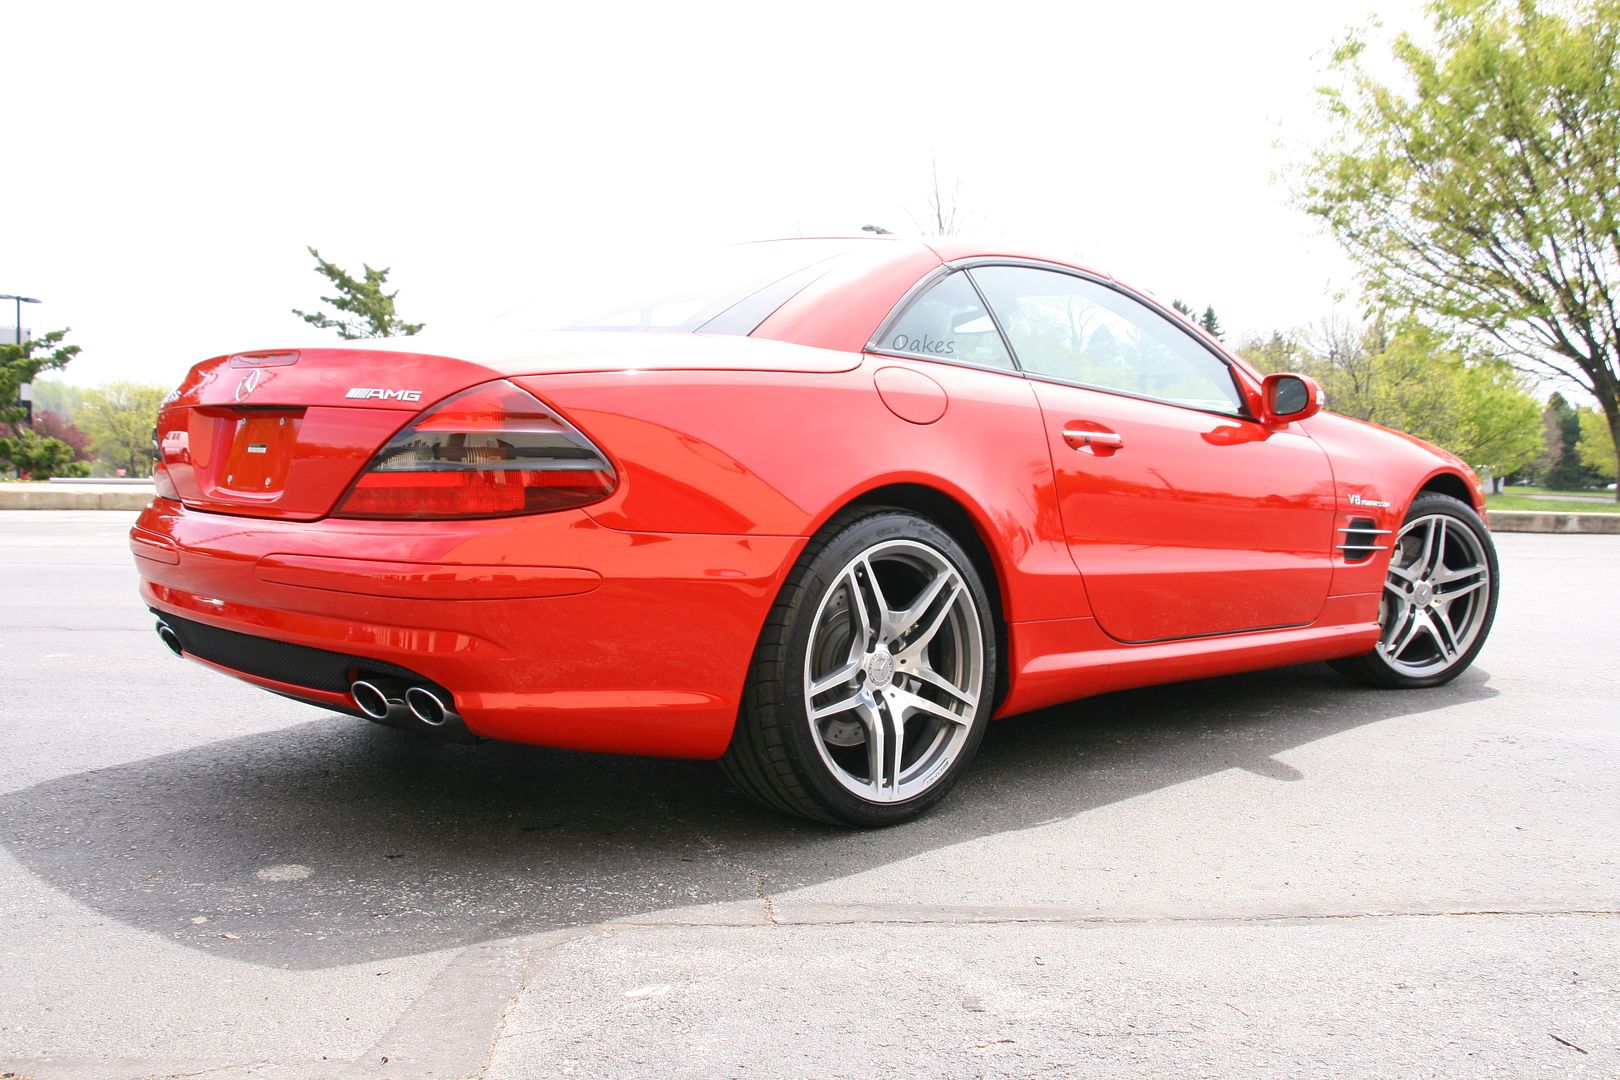
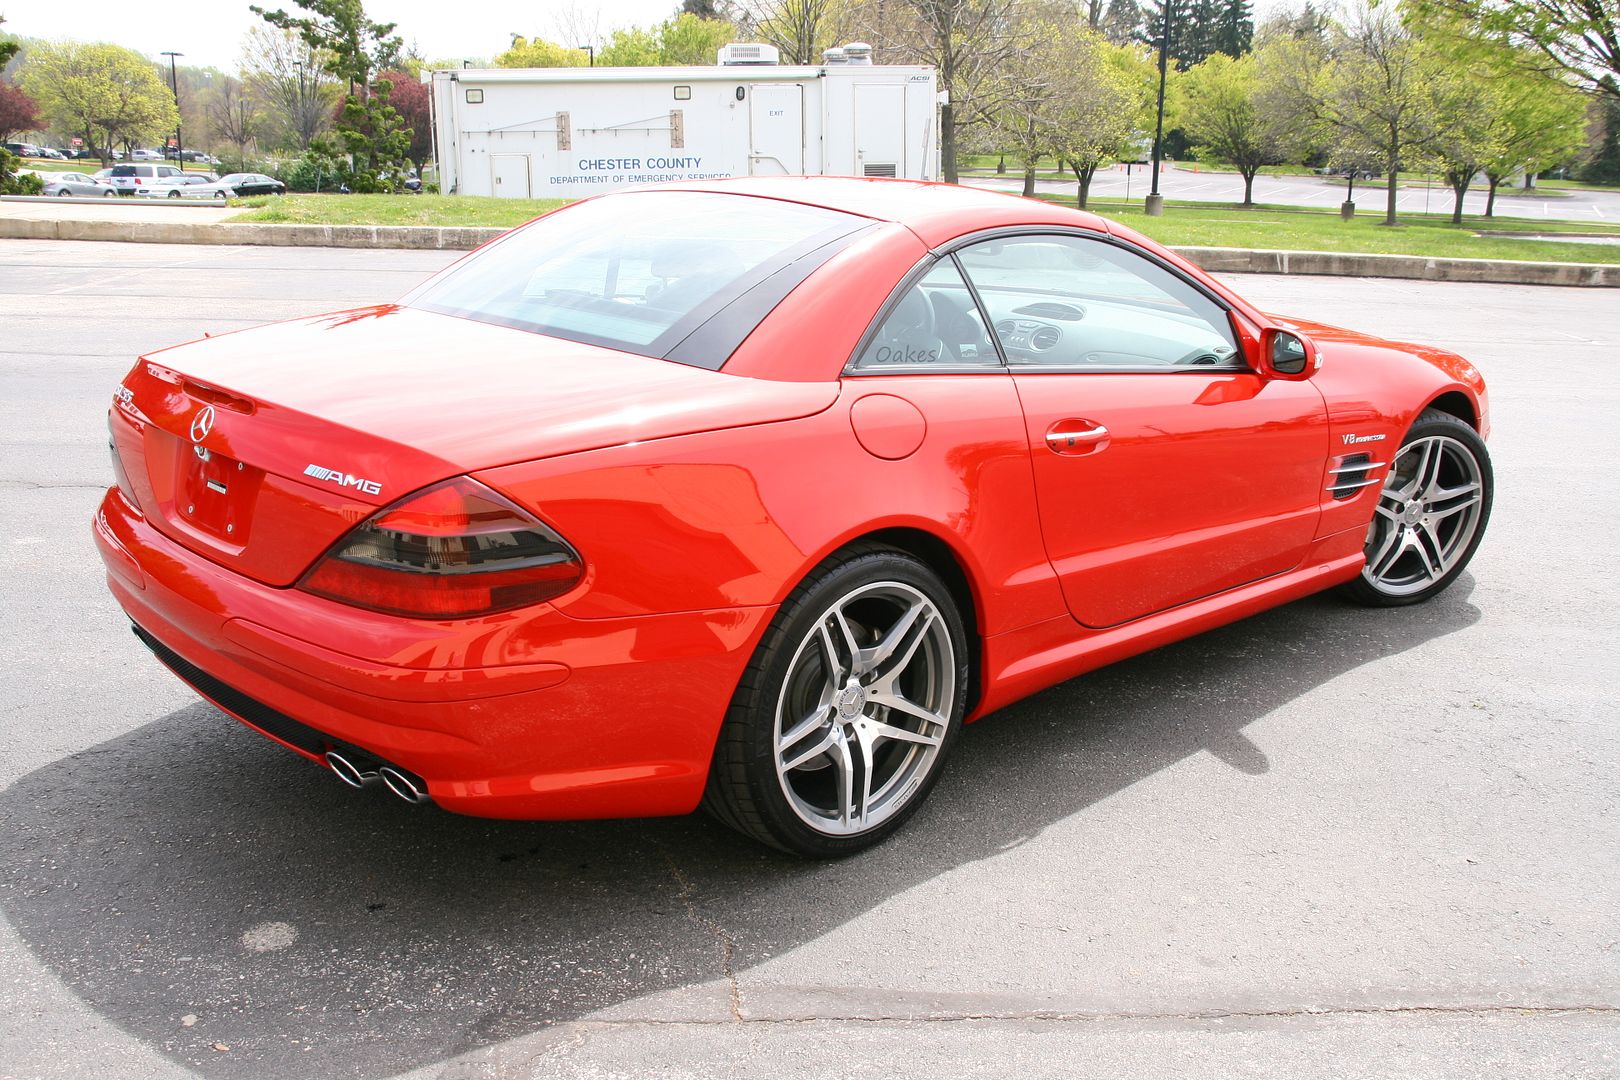
With that said, here are the corrected paint photos, both inside under halogen light and outside under direct sunlight!
25.
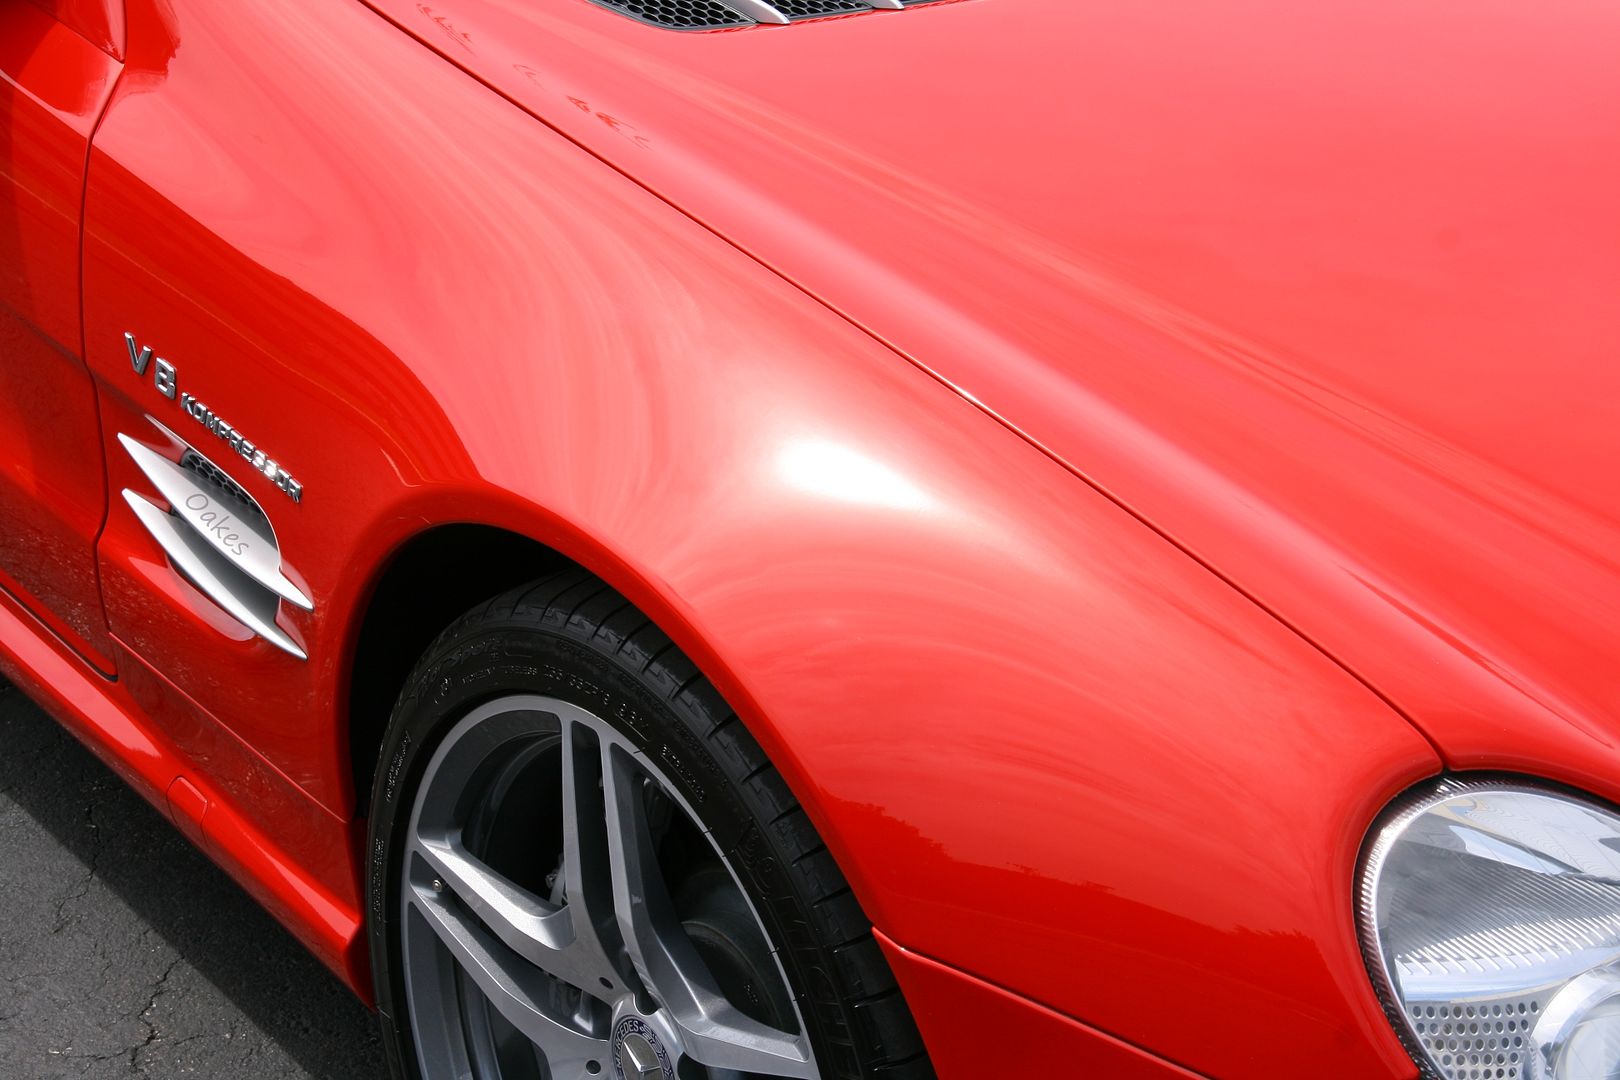
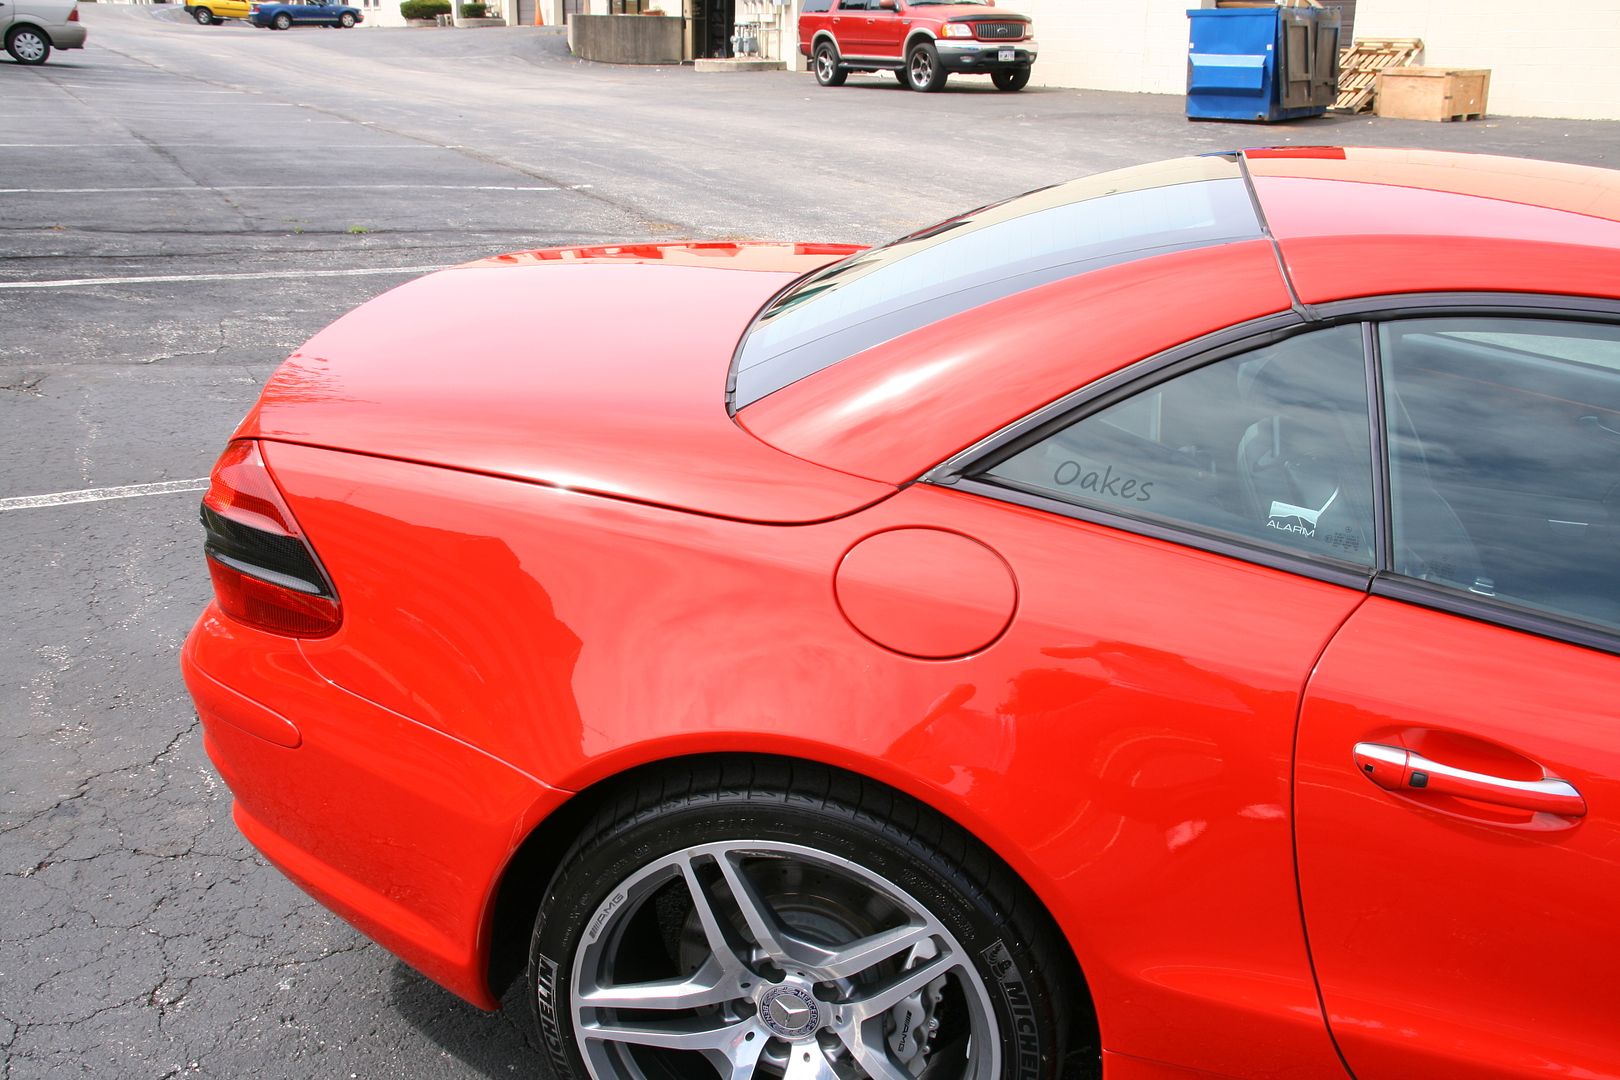
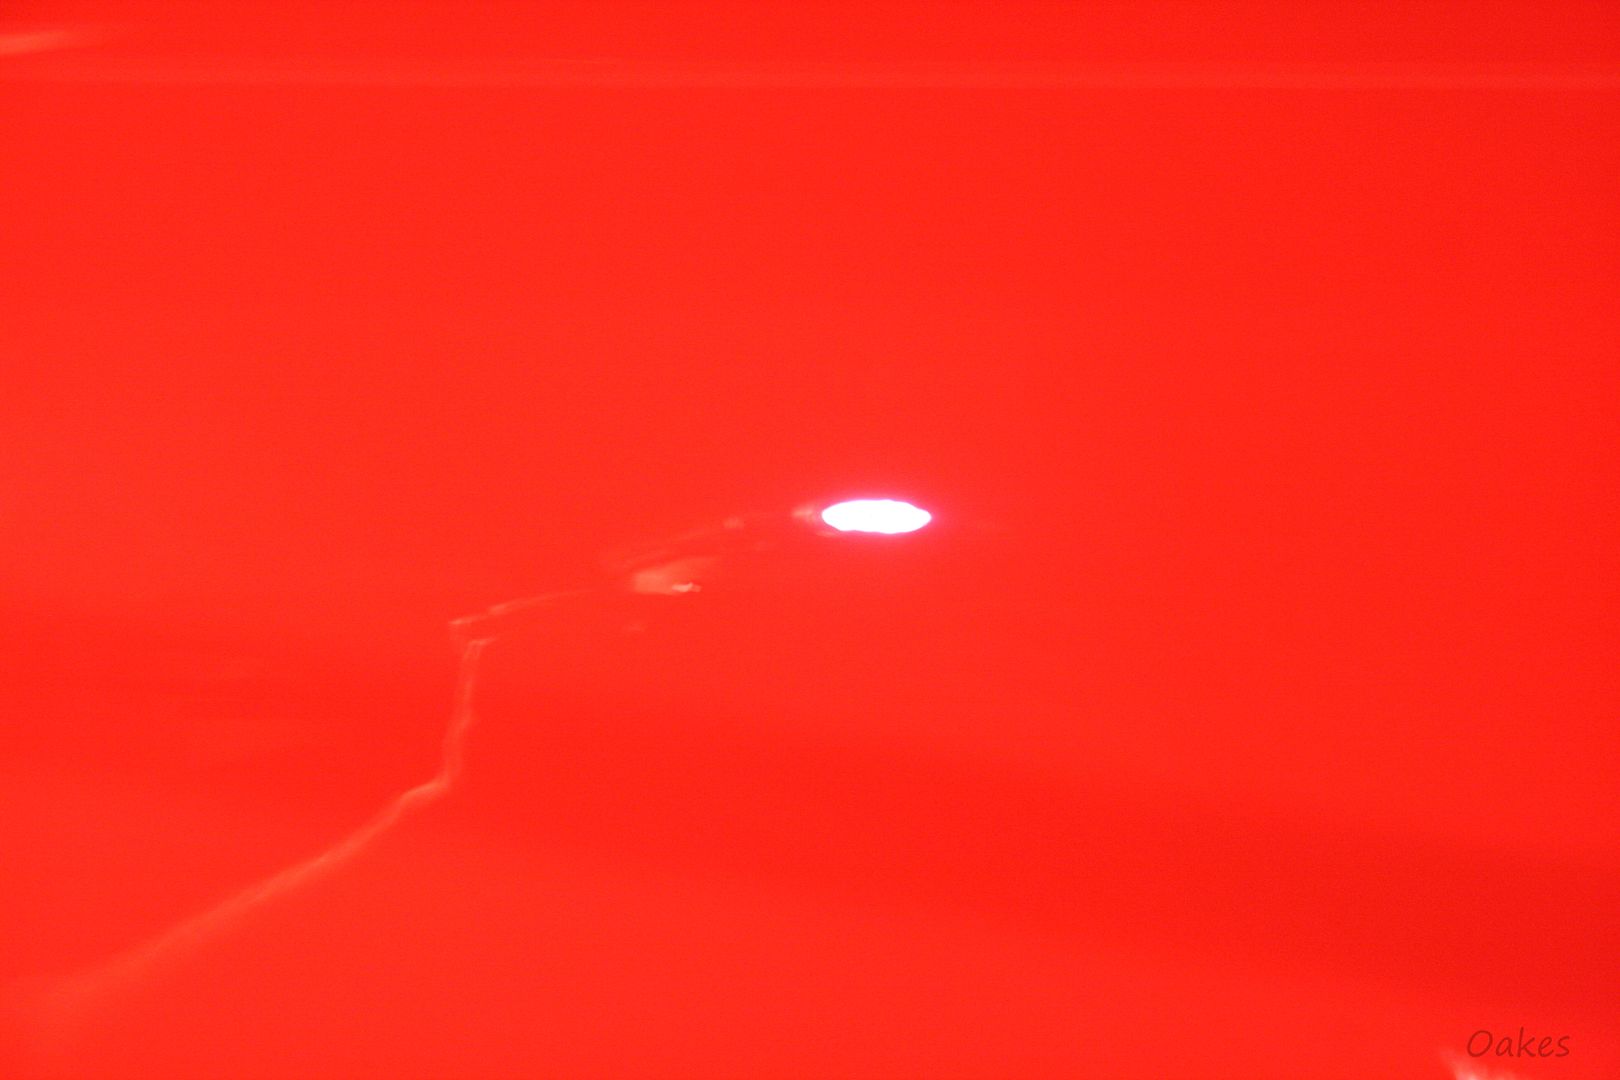
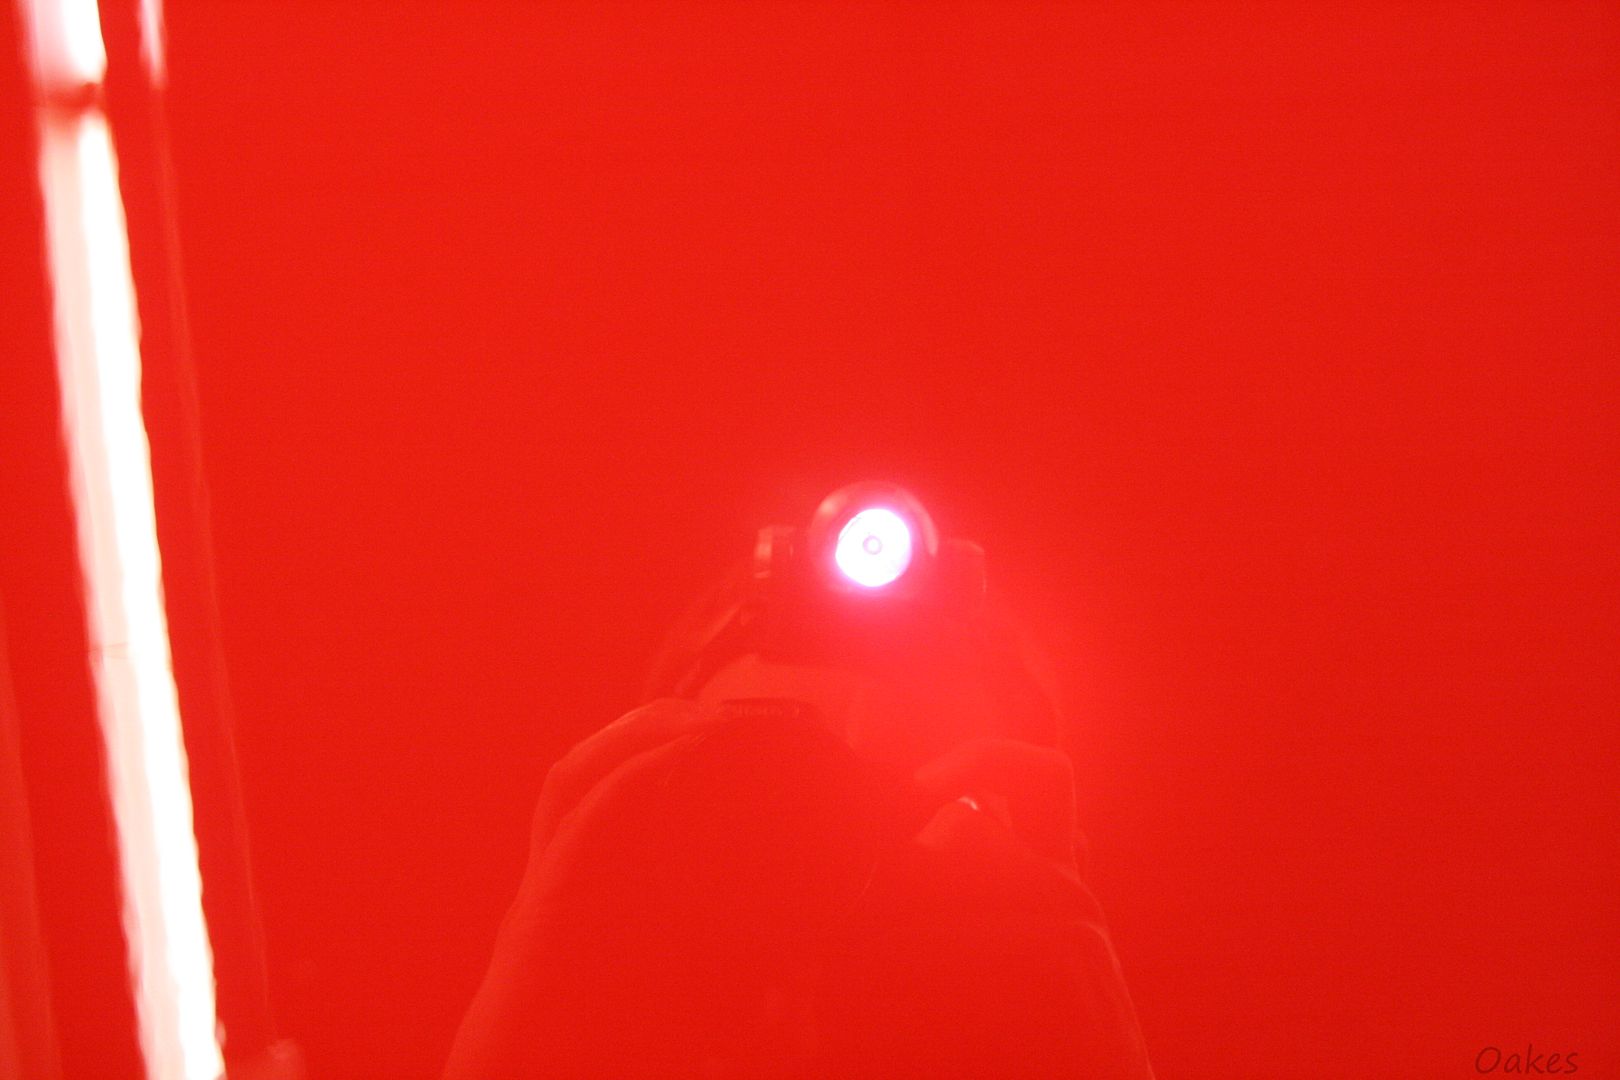
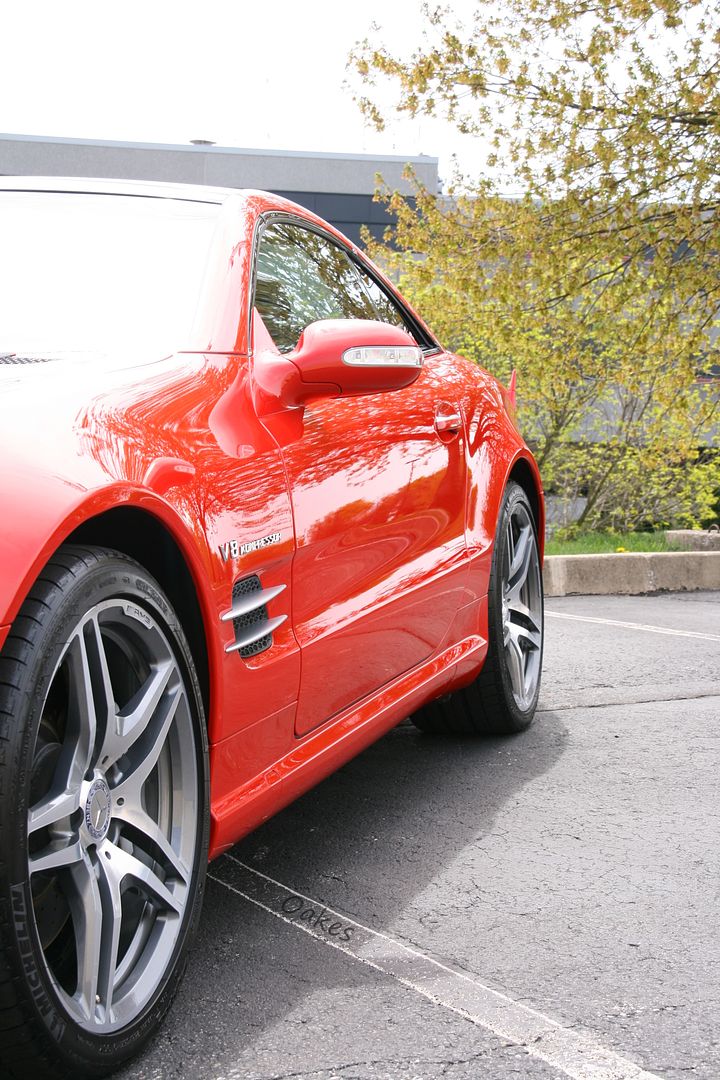
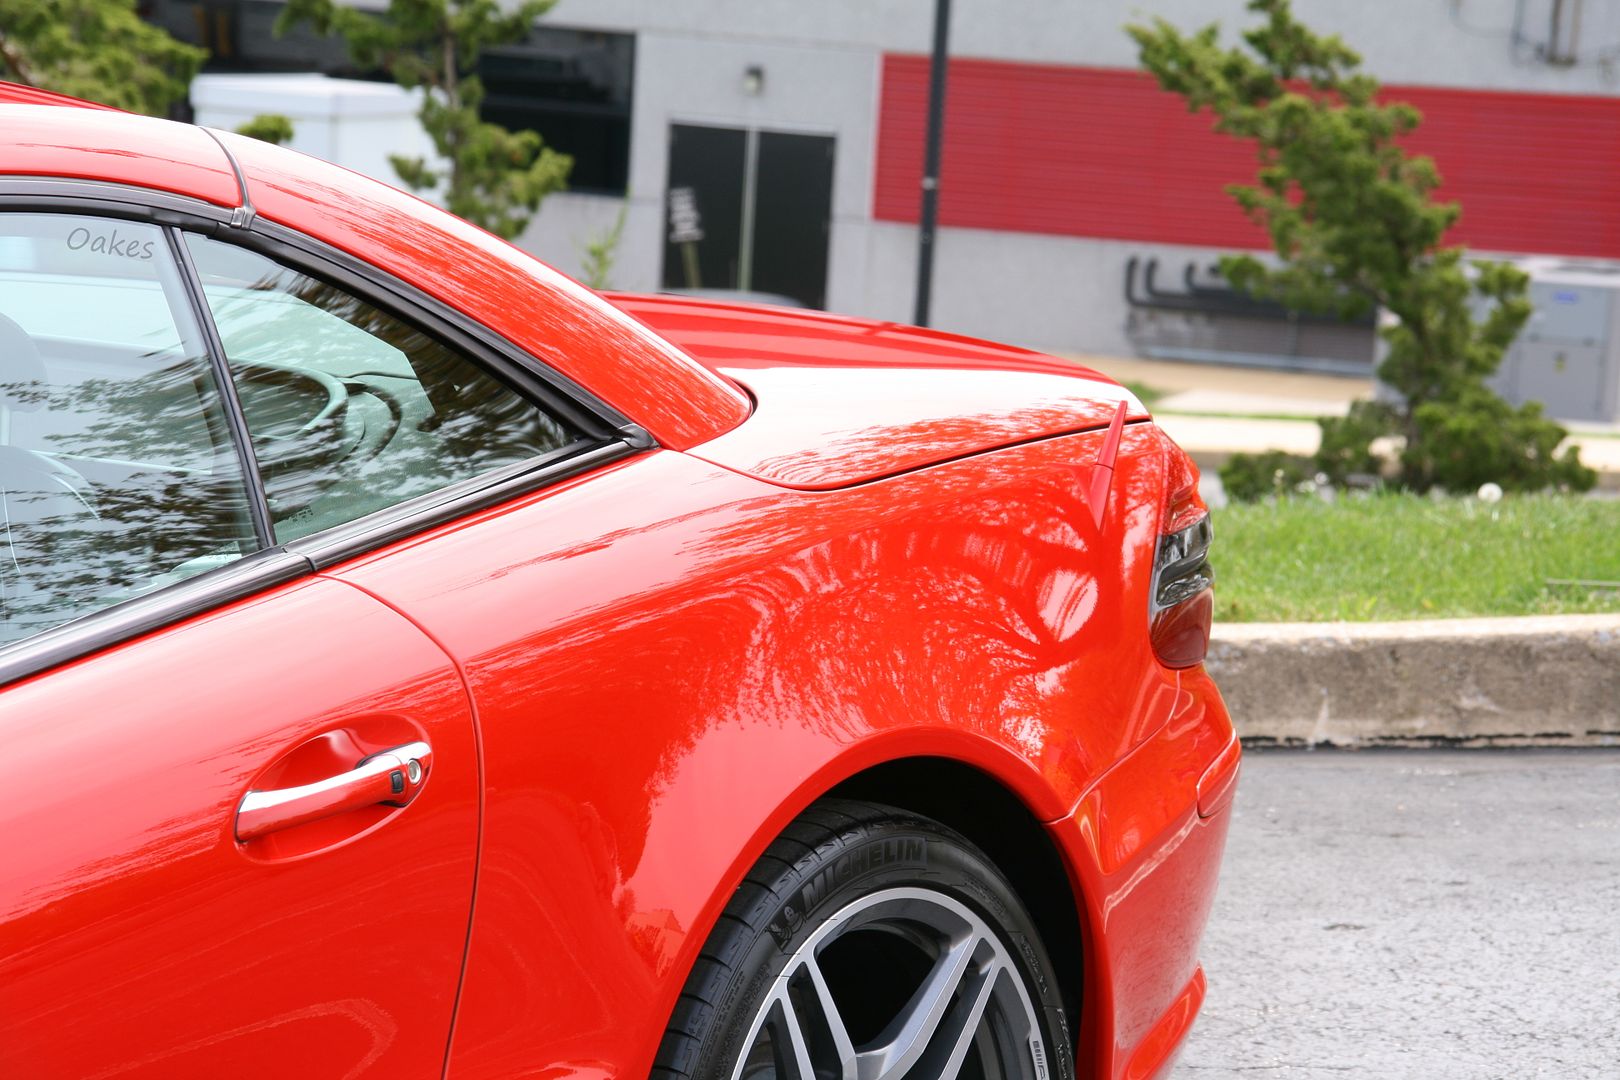
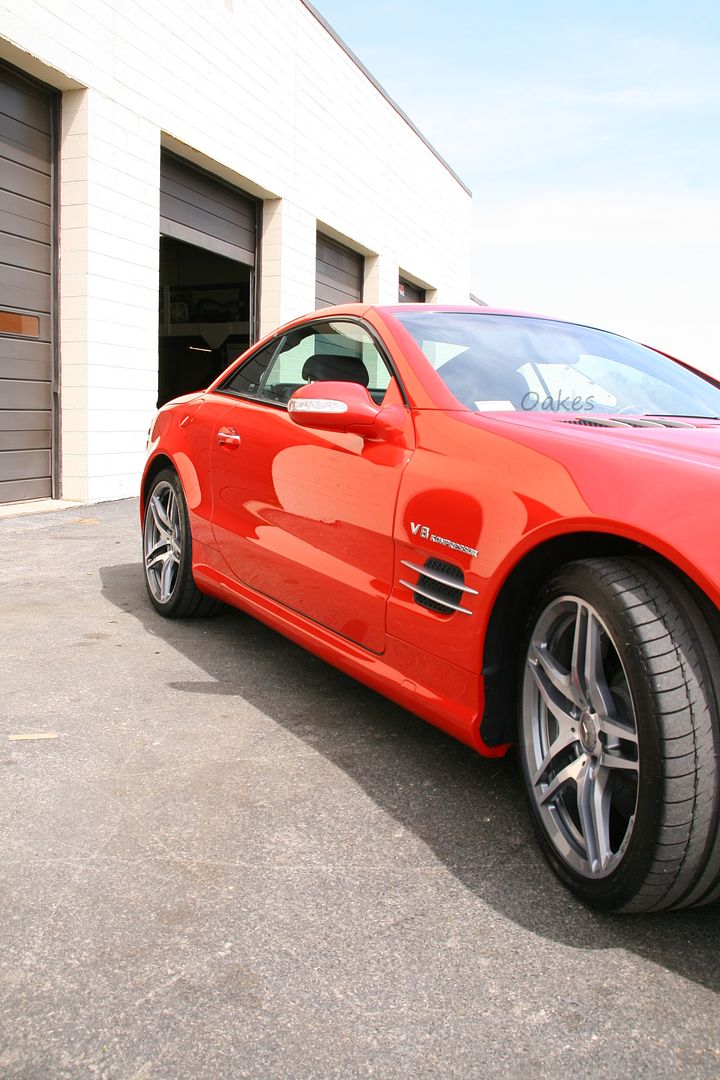
Now for some finished reflection photos!
30.

35.
The process was not as in depth as post 2005 Benzes, with their harder ceramic clear coats, but was still a bit involved. Using a mix of Menzerna and Meguiars polishers, as well as rotary and orbital buffers, this red truly looked magma when I was done! The pictures speak for themselves, plenty of before shots, 50/50 shots and finished photos. Enjoy!
The paint condition when I received the car. These photos were taken after the prep and paint readings were taken, which were consistent throughout the car and average around 140 microns in thickness.
5.
As I worked along, picked a few areas to section off to show the difference between the corrected and uncorrected paint. Started with the trunk and then a few panel differences in other areas.
10.
15.
A couple of Before and After shots of corrected areas, starting with the roof section after the windshield!
A before and after of the hood, the body lines that lead off of the headlights can be a little tricky to get everything, no issues here though!
20.
With that said, here are the corrected paint photos, both inside under halogen light and outside under direct sunlight!
25.
Now for some finished reflection photos!
30.
35.
") !
!