I received a call from the owner a few weeks ago about his 05 Viper. He said that it was in pretty good condition, but wanted me work on it and "take it over the top".
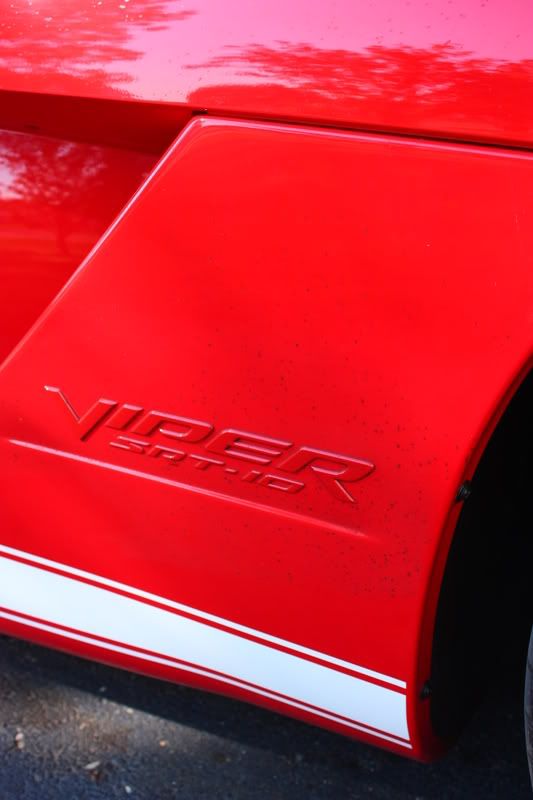
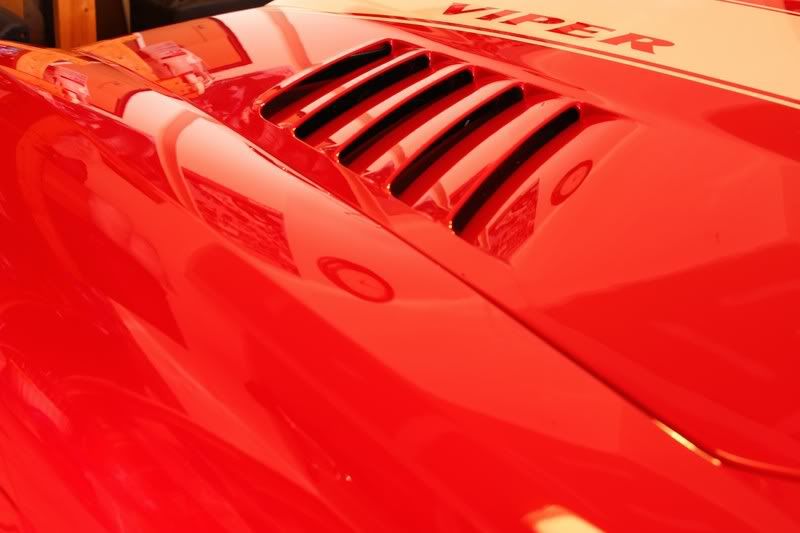
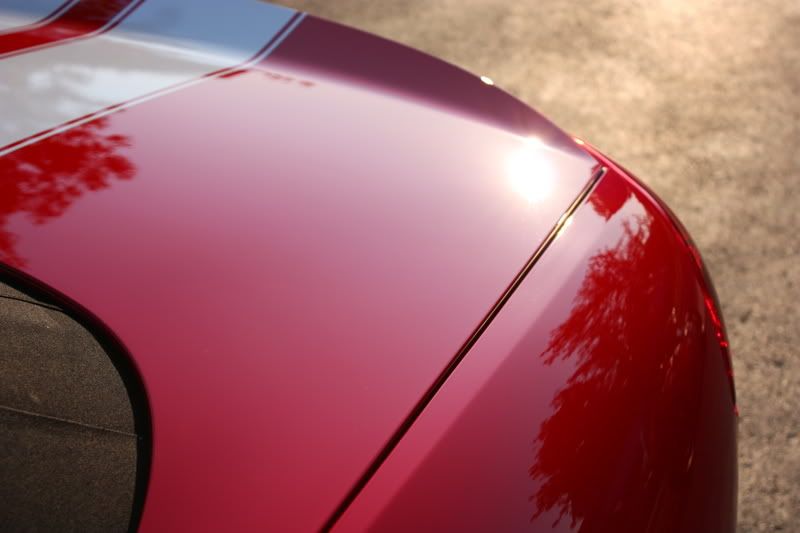
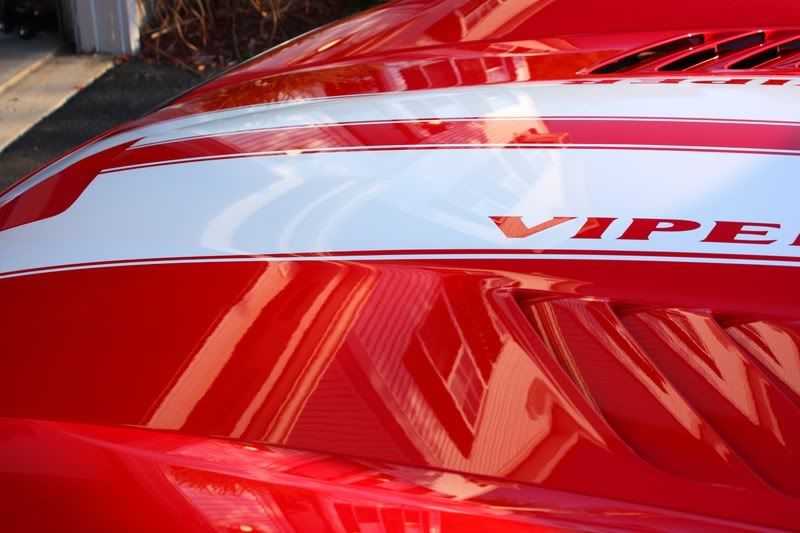
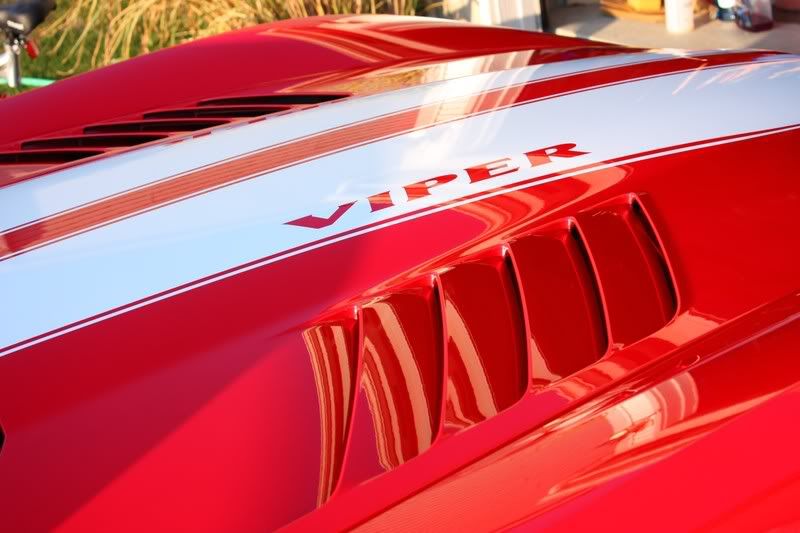
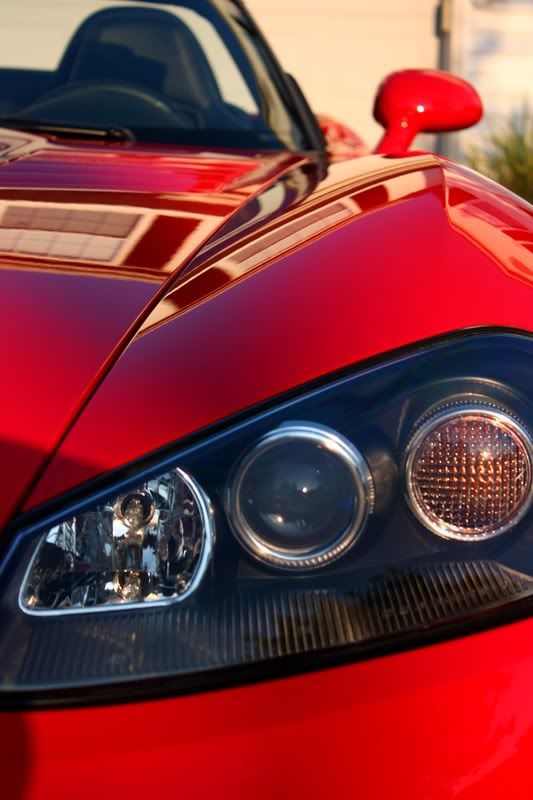
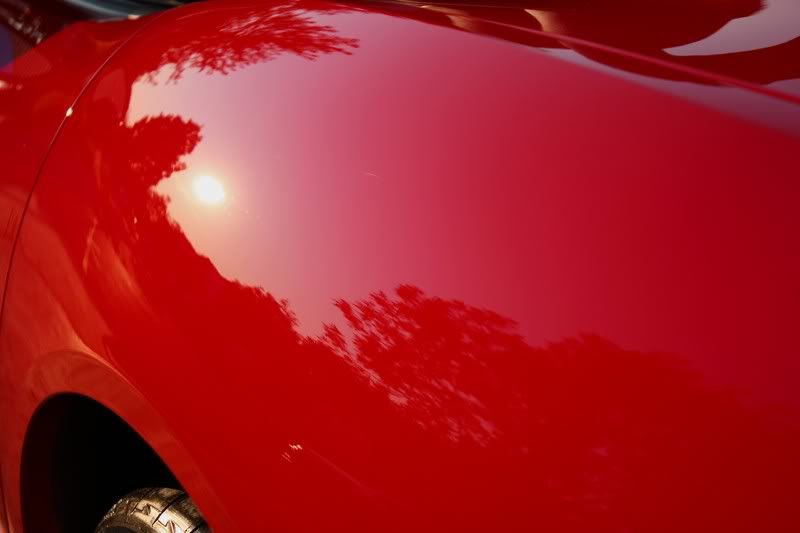
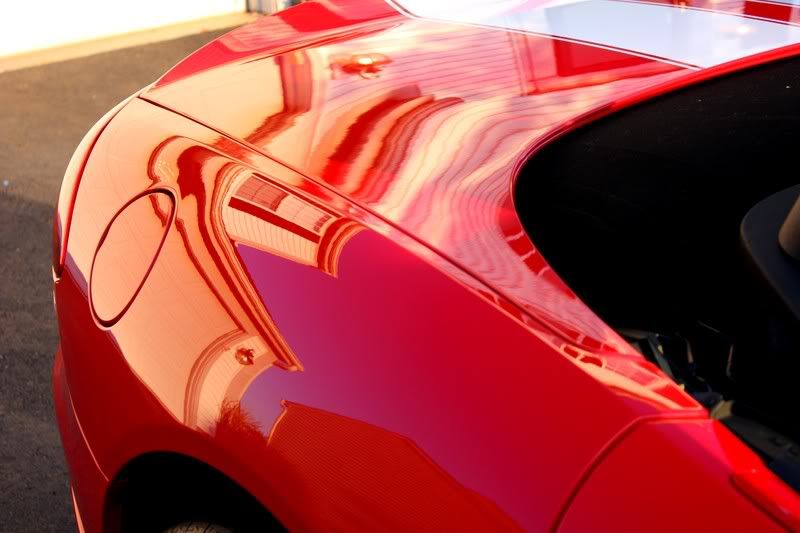
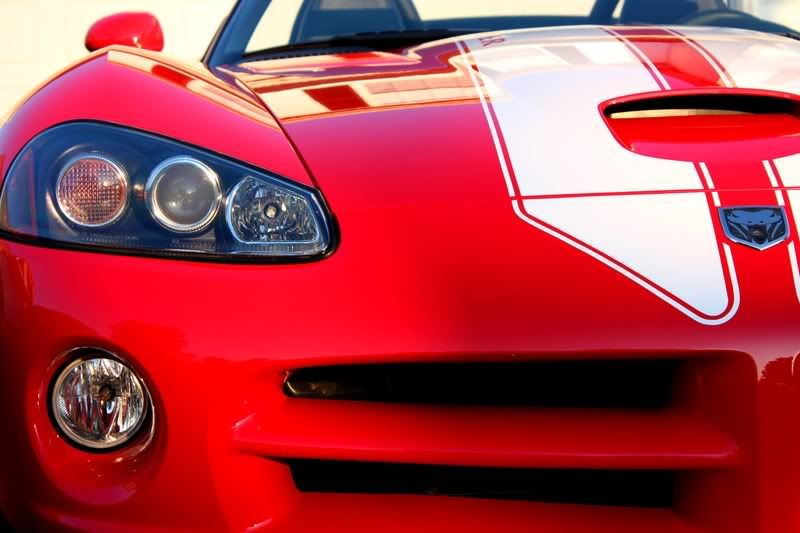
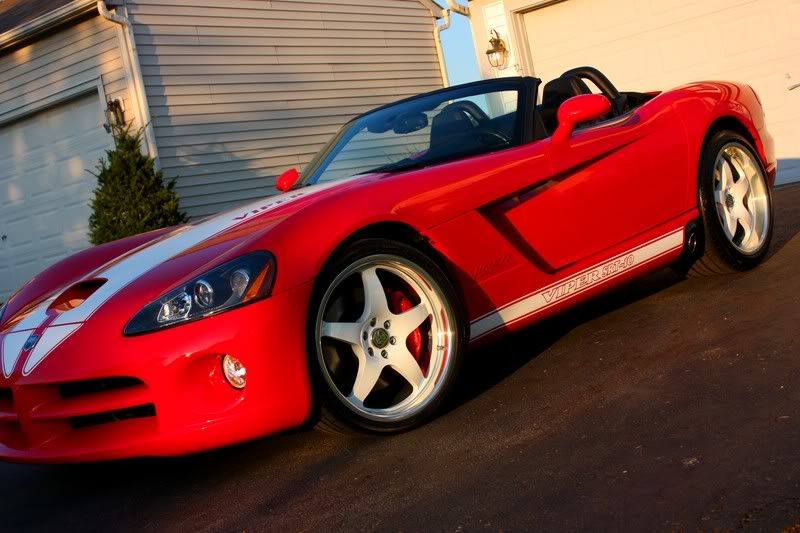
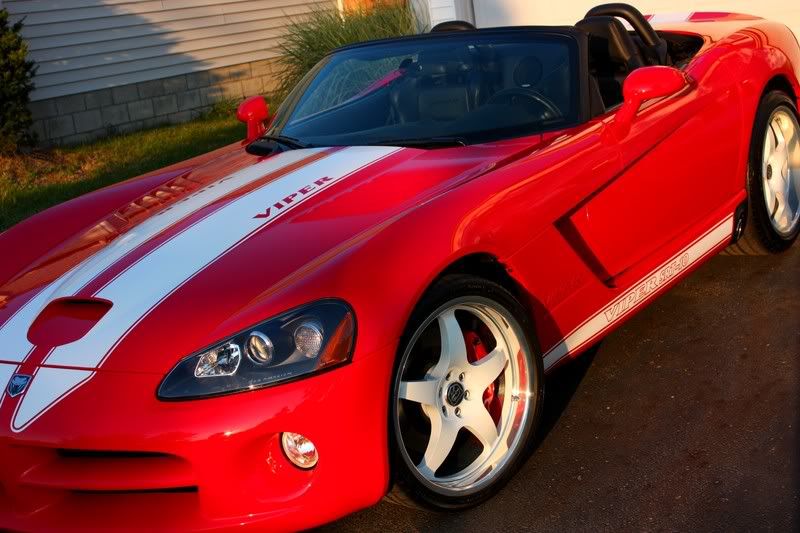
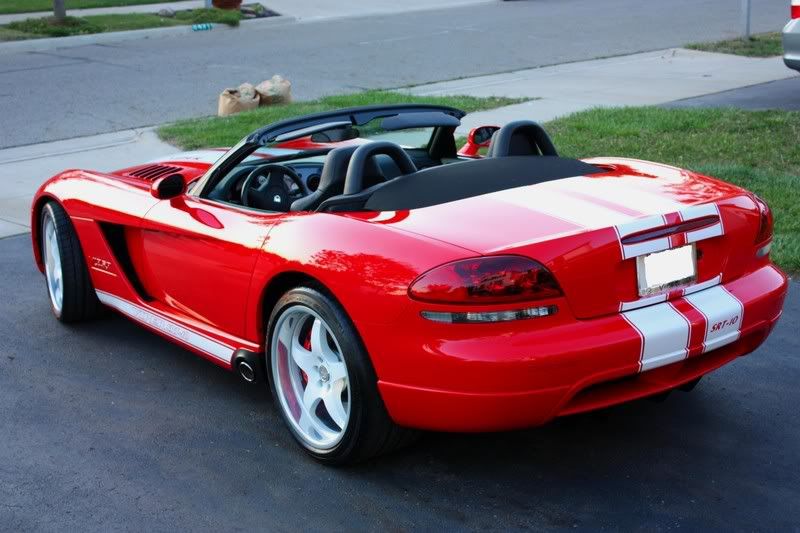
He stopped by so I can inspect it and come up with a plan, and I was really impressed with this vehicle. He has done a trendous amount of tasteful modifications to this car, so my plan was to perform a high level detail that would showcase the pure beauty of the Viper. Red done right is a spectacular color, and the owner agreed that we achieved a whole new level of gloss and depth when it was finished.
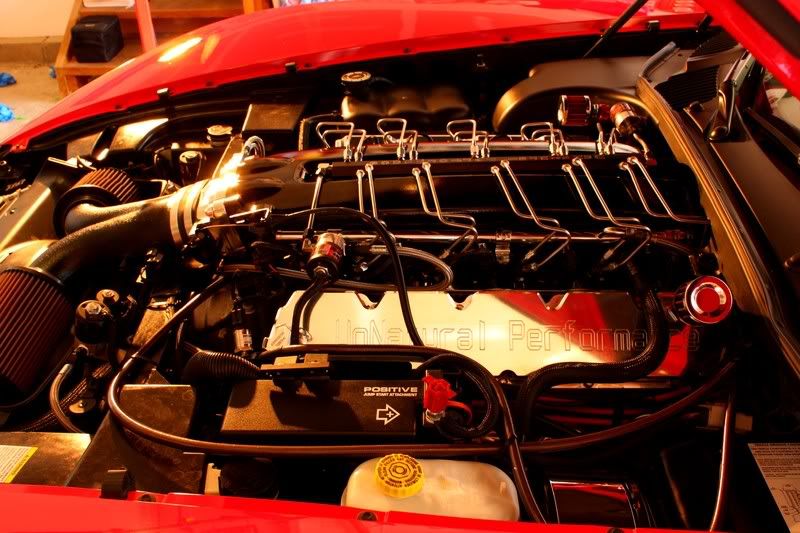
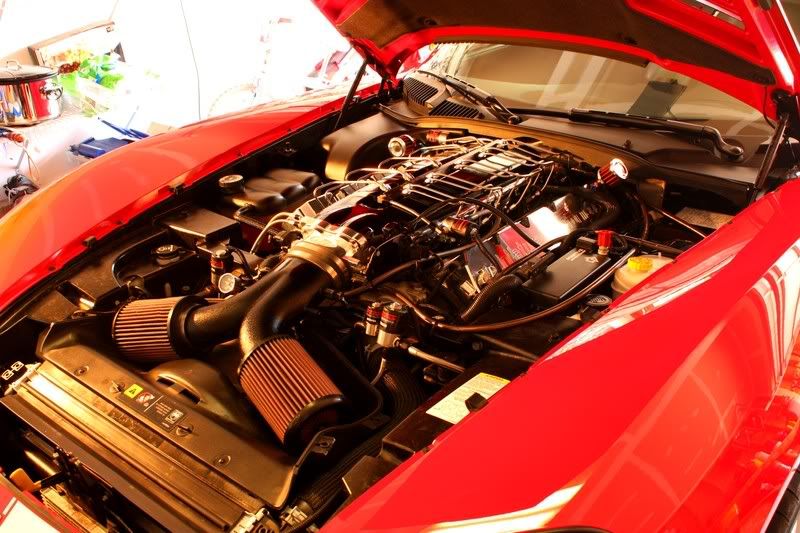
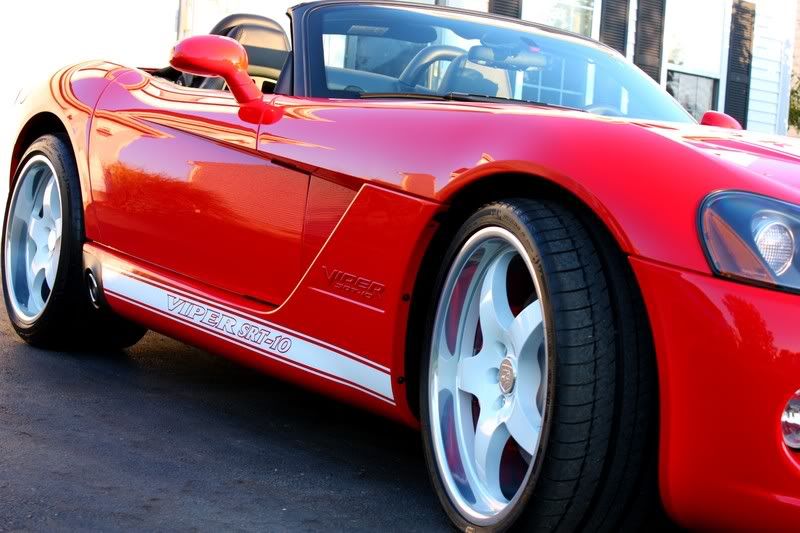
As for the car, he's put in different pistons, cams, heads, and is running a direct-injected 300 shot of nitrous (among other mods). The nitrous setup has plenty of redundancies and fail-safes to keep the motor intact. He has done the mods properly! Right now it puts out about 650hp on the motor only, and is running just under 1000hp with nitrous. He's taking it this weekend (via trailer) to do some more dyno tuning as he wants to break the 1000hp mark and have it on paper. This car exudes testosterone!
The owner was an awesome guy, and we had a great time just sitting around and bench racing.
Enjoy the photos...there are a lot of them!
Process:
Wash
Clean wheels and wheel wells with Megs APC+
Clay body and glass to remove embedded contaminants (surface was actually pretty clean)
Wash to remove remnants and residue from claying process
Dry with Blaster Sidekick blow dryer
IPA (Isopropyl Alcohol) wipedown
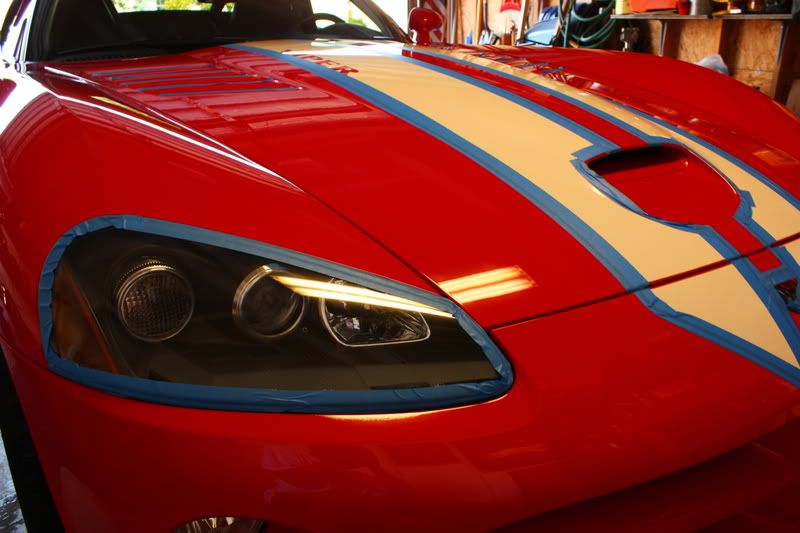
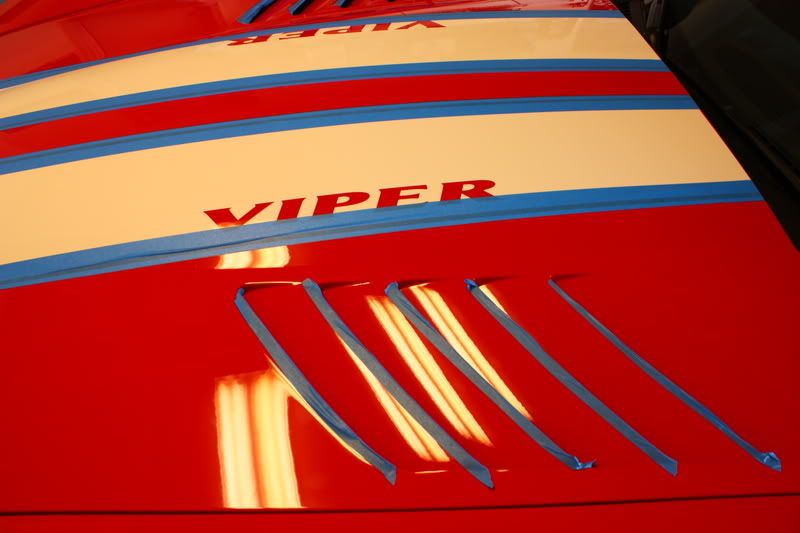
Tape off graphics and other trim
Interior:
Vacuum
Clean all surfaces with Woolite/water solution. The interior looked pretty clean, but since it's a convertible I was able to remove a lot of dirt!
Treat all vinyl and plastic with Optimum Protectant Plus
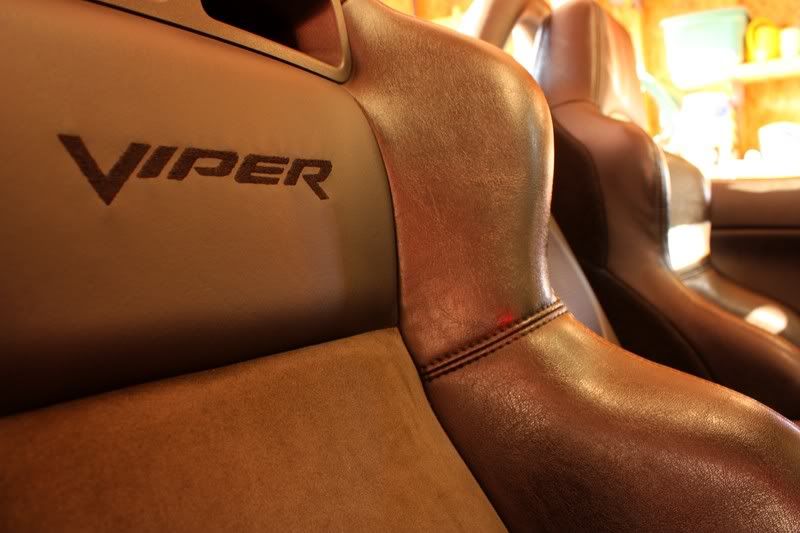
Treat all leather with Zaino Z-10
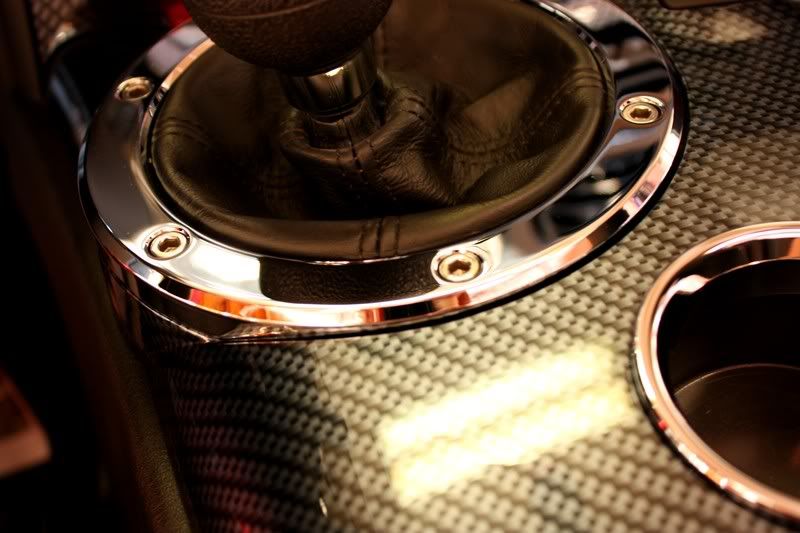
Polish metal and CF trim with Klasse All-In-One
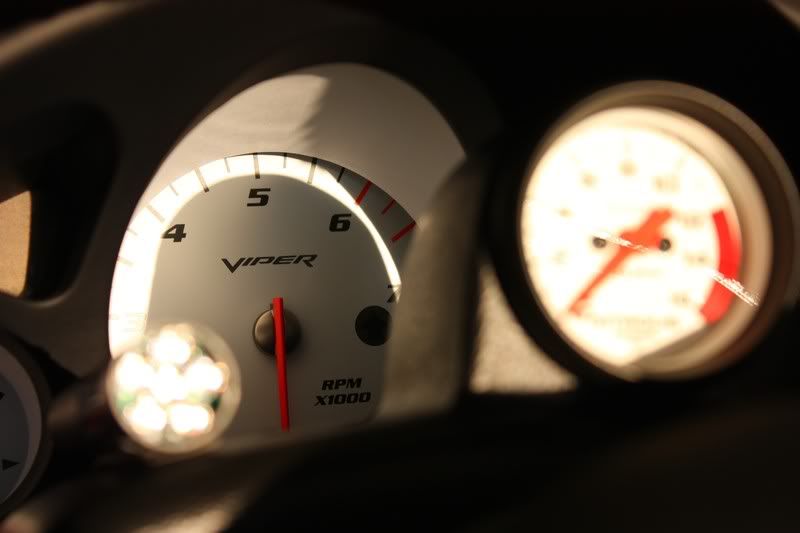
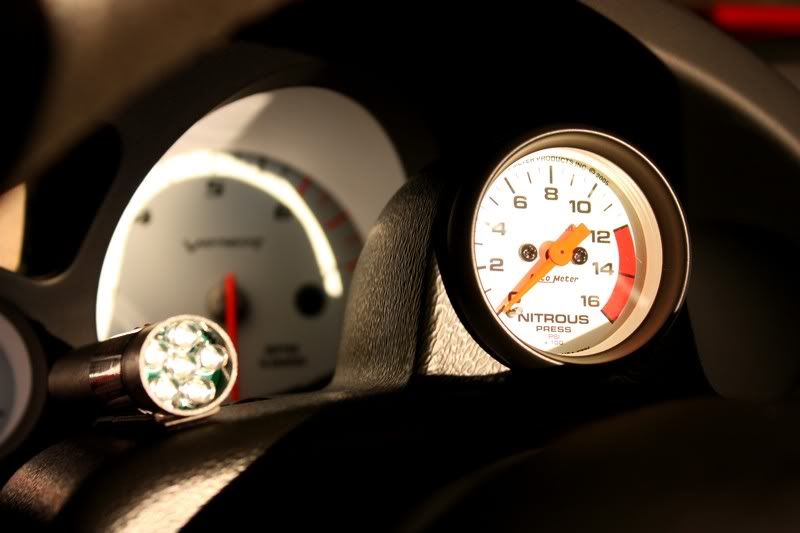
Clean gauges and controls with Megs Interior Detailer
Polish Nitrous bottles with Klasse All-In-One
Clean inner trunk lid and jambs with Optimum No Rinse
Windows cleaned with Stoner's Invisible Glass
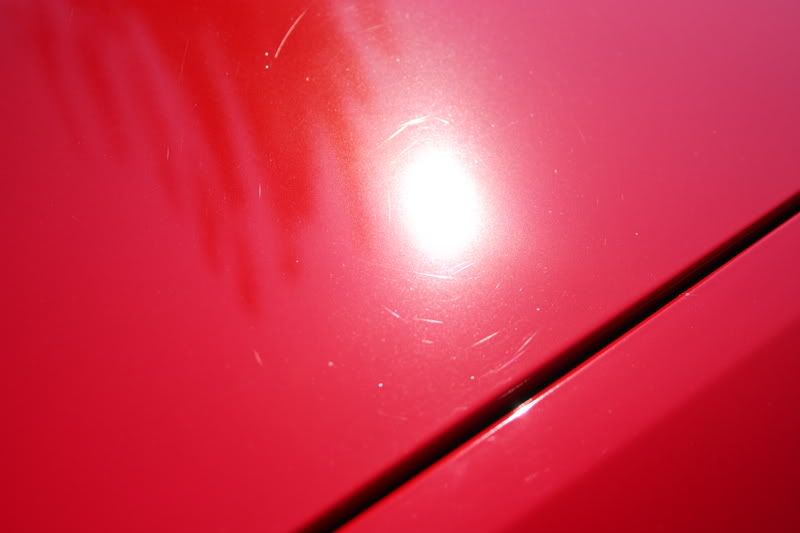
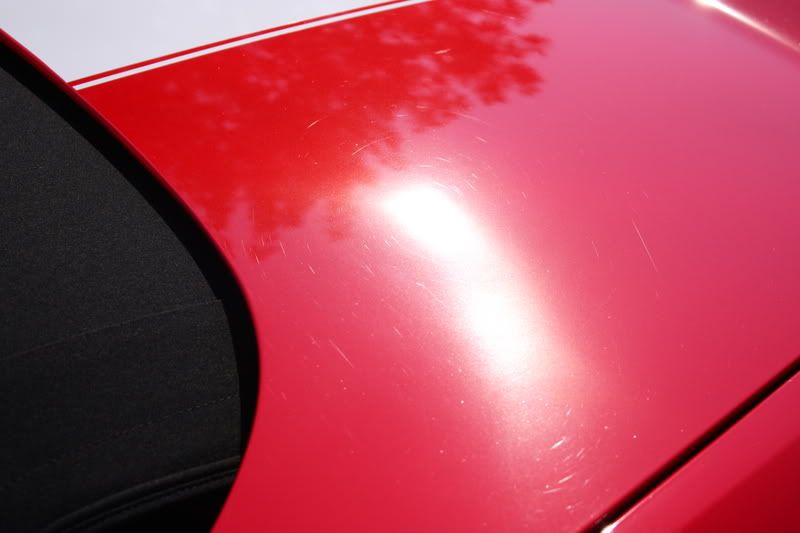
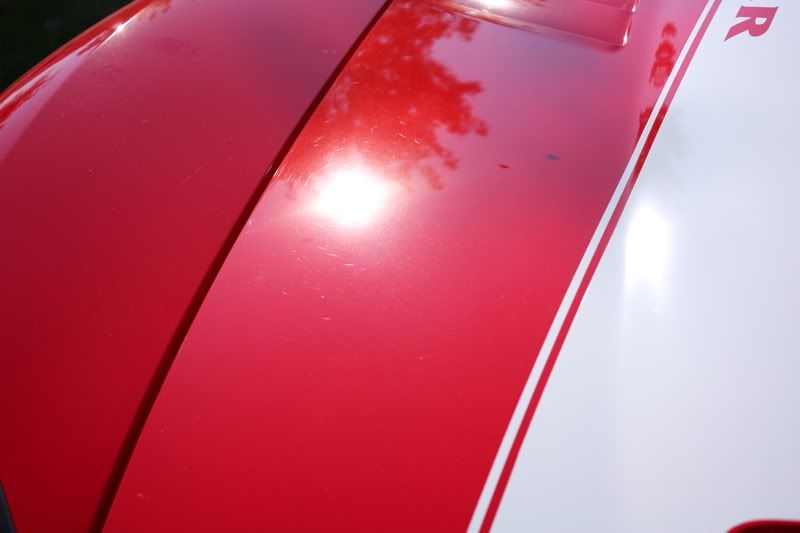
Polishing:
Menzerna SIP with orange pads on heavier defects
Menzerna SIP with white pads on lighter defects
Menzerna PO85RD with red pad for final burnishing stage
Protection:
Optimum Opti-Seal sealant for long term durability
LSP:
P21S 100% wax applied by hand
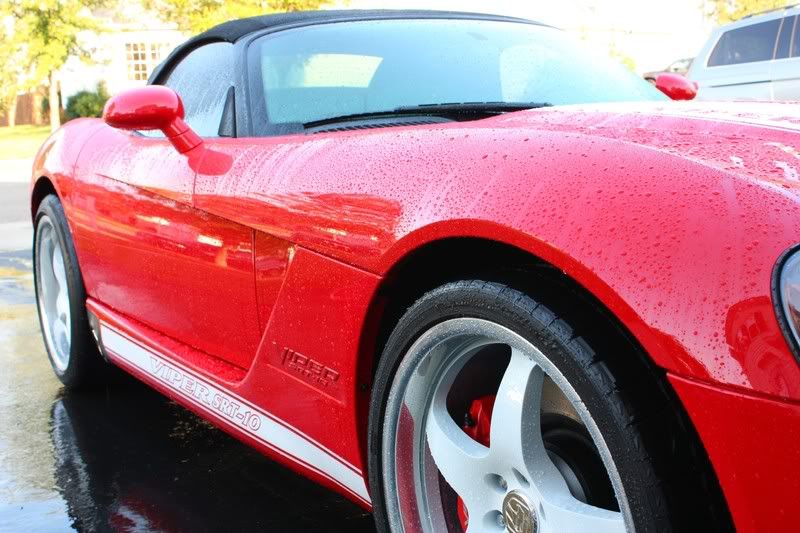
Tires dressed with Sonus Tire Gel
Wheel wells dressed with Megs Trim Detailer
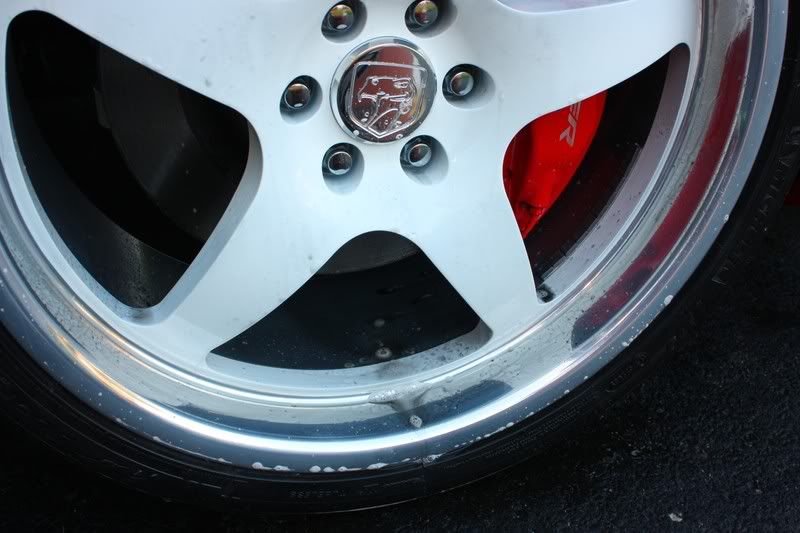
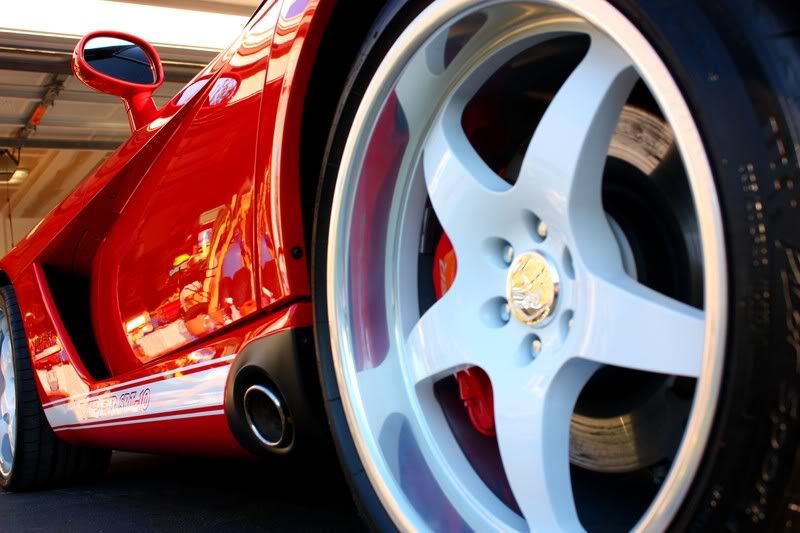
Wheels polished/sealed with Klasse All-In-One
Engine bay cleaned with Optimum No Rinse
Exhaust tips cleaned/polished with Klasse All-In-One and 0000 steel wool
Tools used:
Makita 9227c rotary polisher
Blaster Sidekick blow dryer
Lots of Eurow shag MF towels!
Canon Rebel XSi with 18/55mm lense.
First up was the interior.
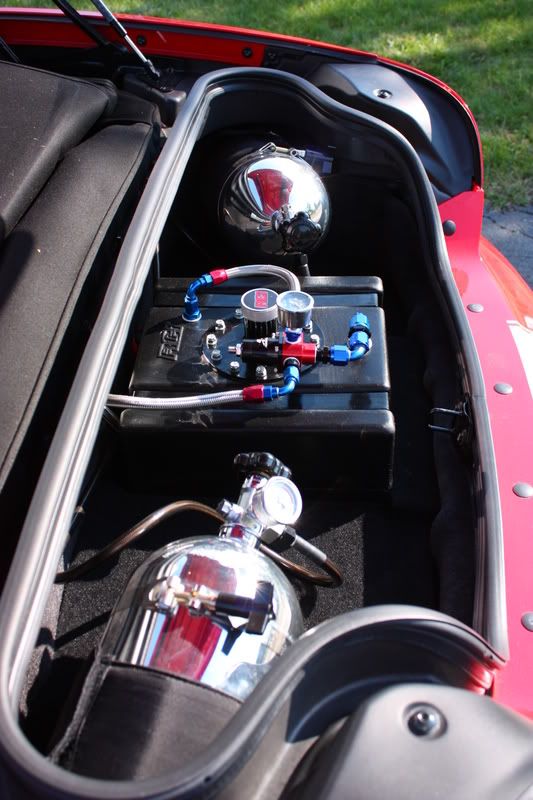
I made sure to clean all the areas on and around the Nitrous mechanisms
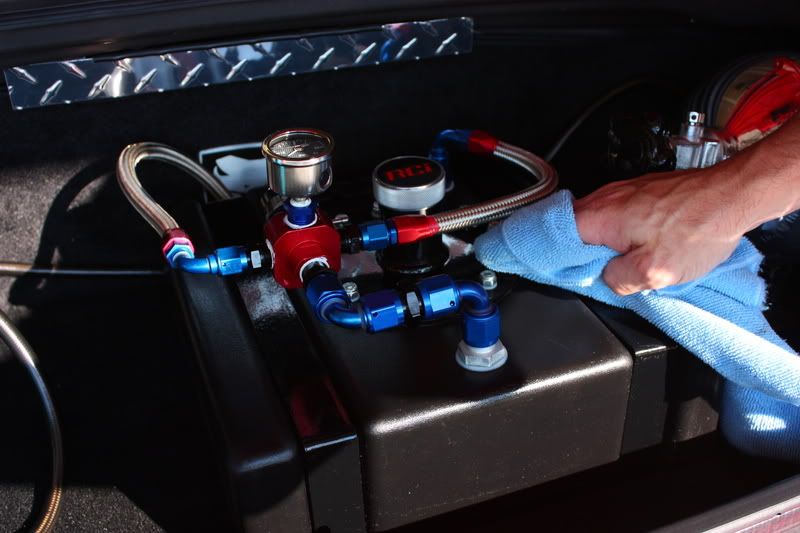
Polishing the bottles with Klasse.

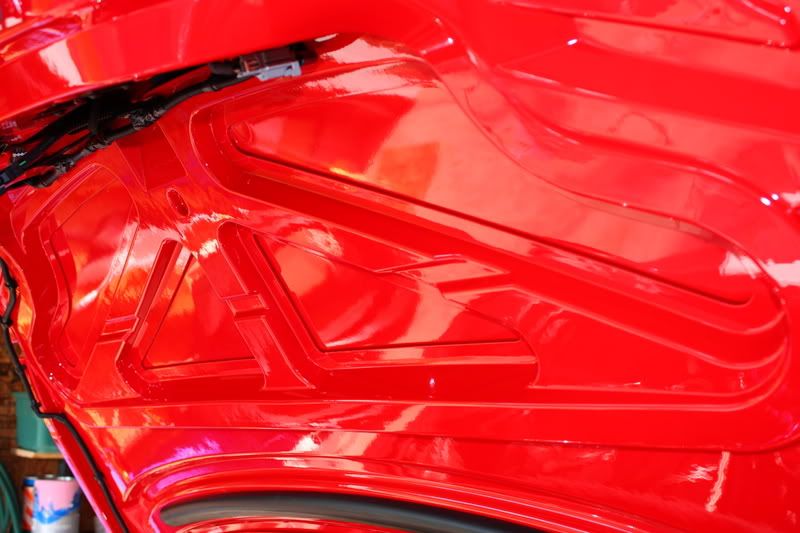
The trunk lid area had a bit of dirt and grime built up on it
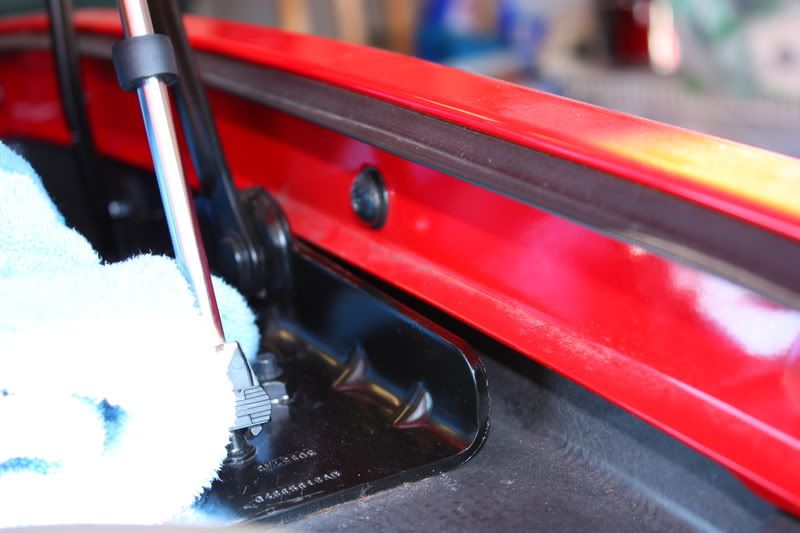
But it cleaned up nicely with Optimum No Rinse
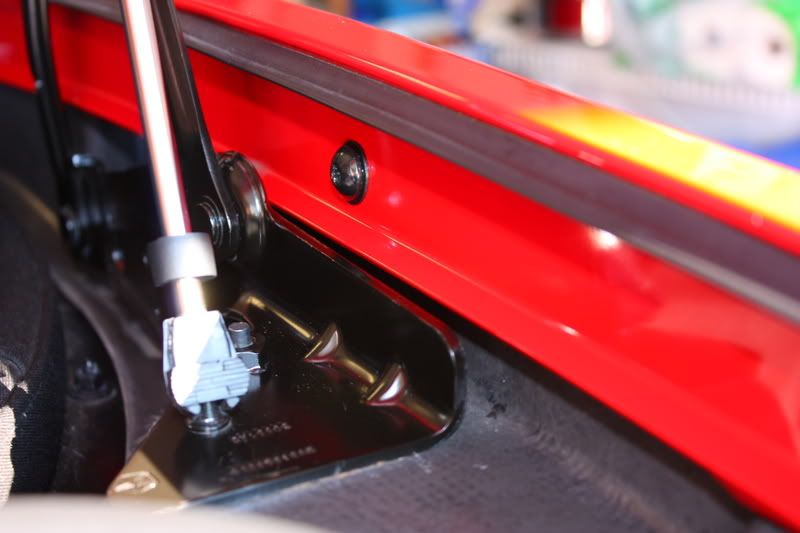
Even the underside of the trunk lid was polished
Chrome and the CF trim was polished with Klasse
Leather was treated with Zanio Z-10. It provides a great finish, and smells nice too.
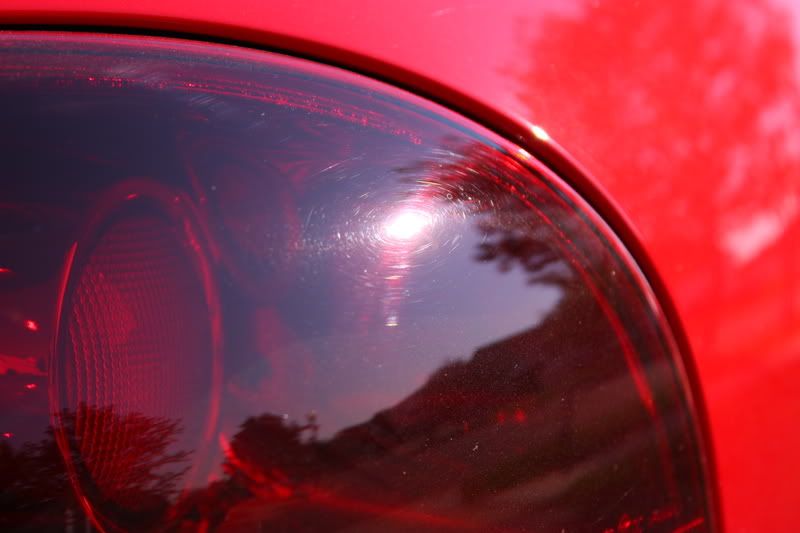
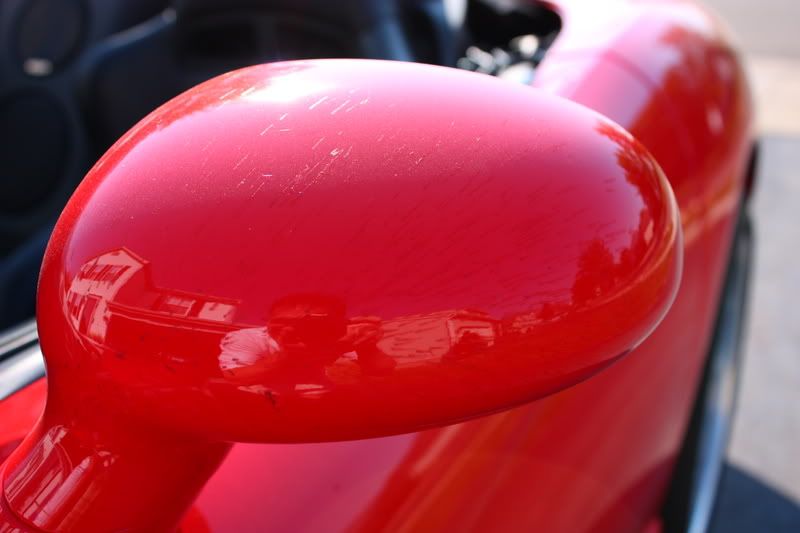
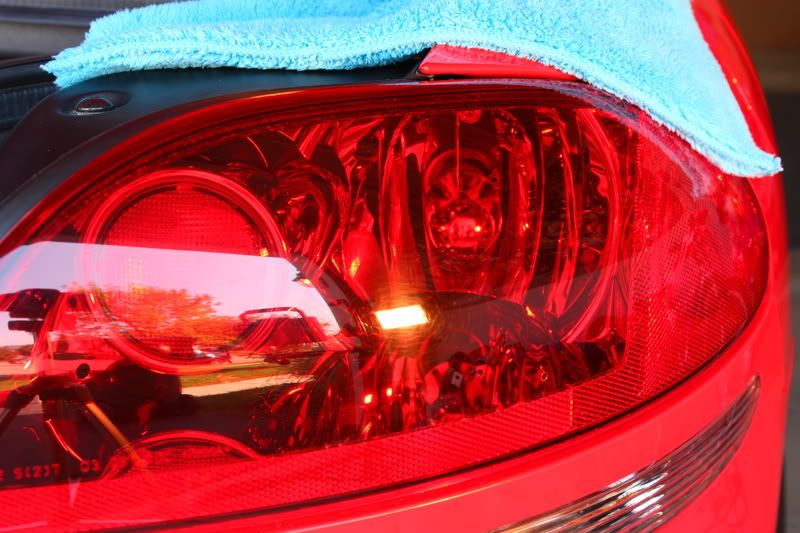
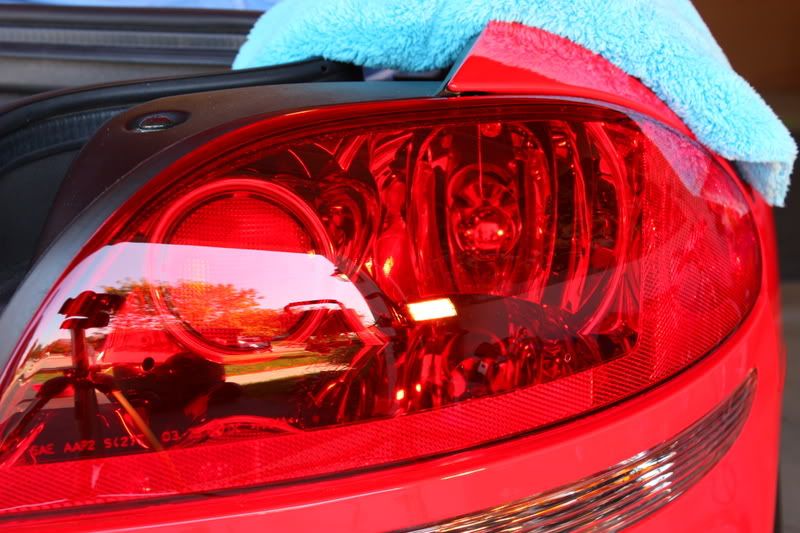
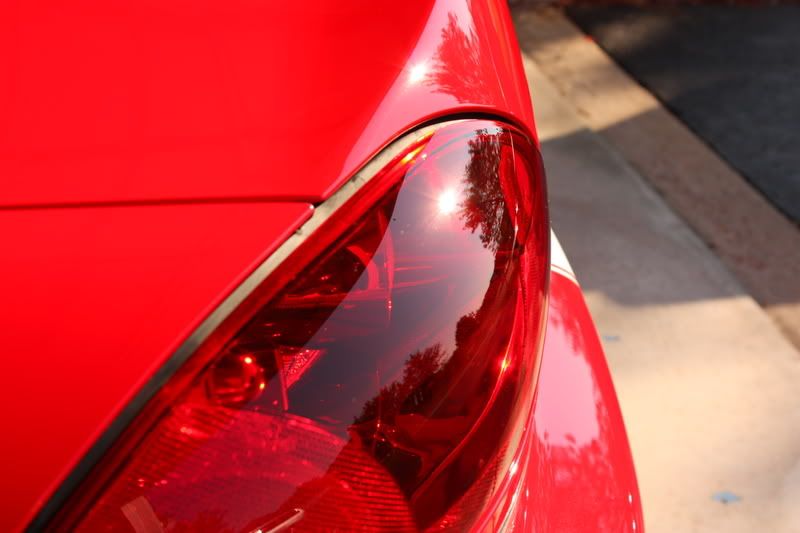
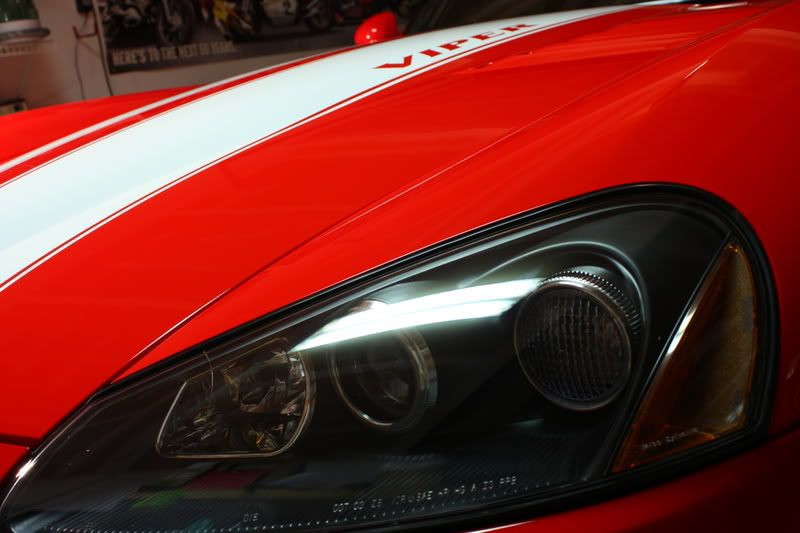
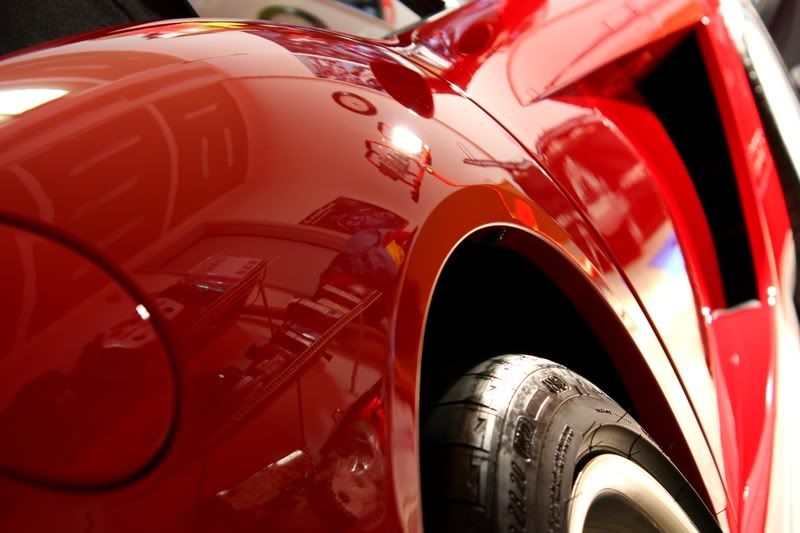
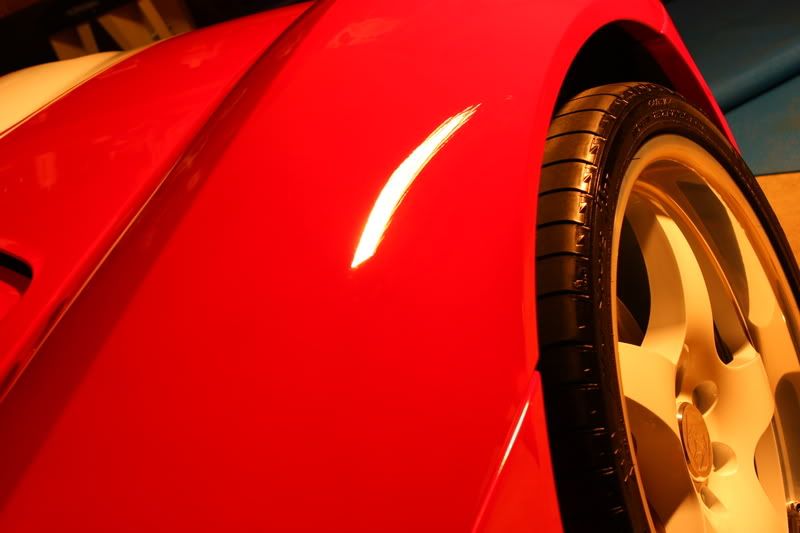
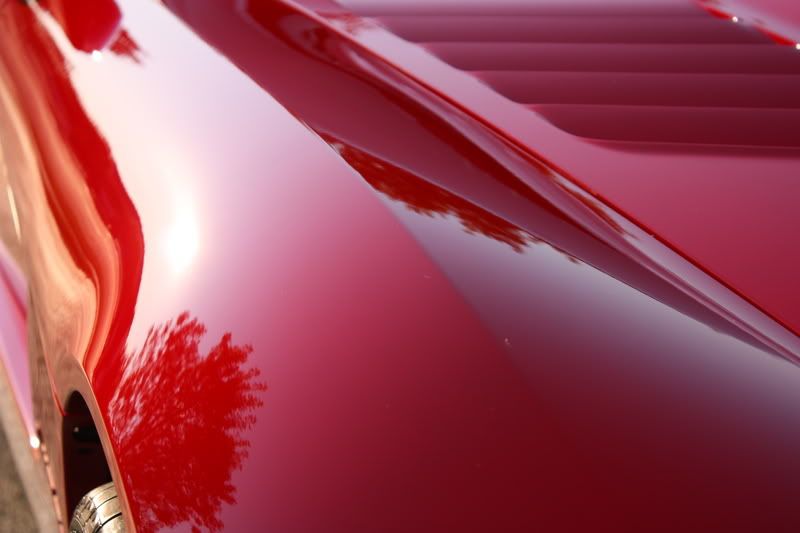
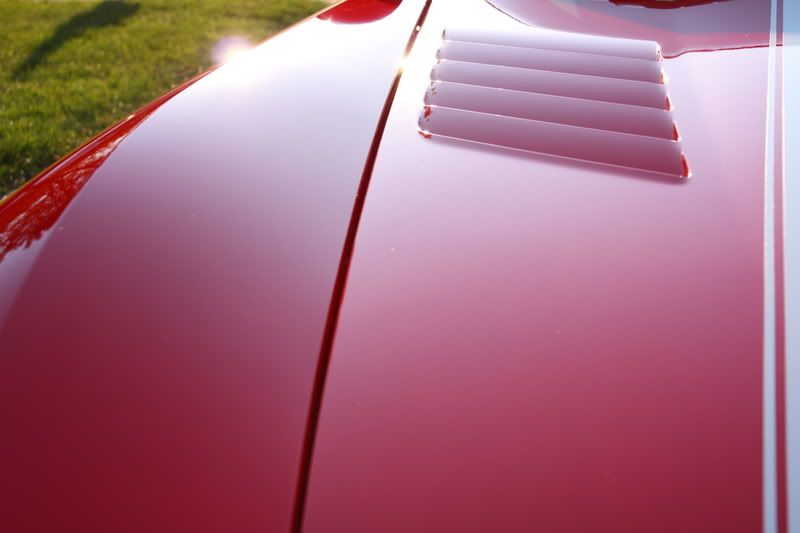
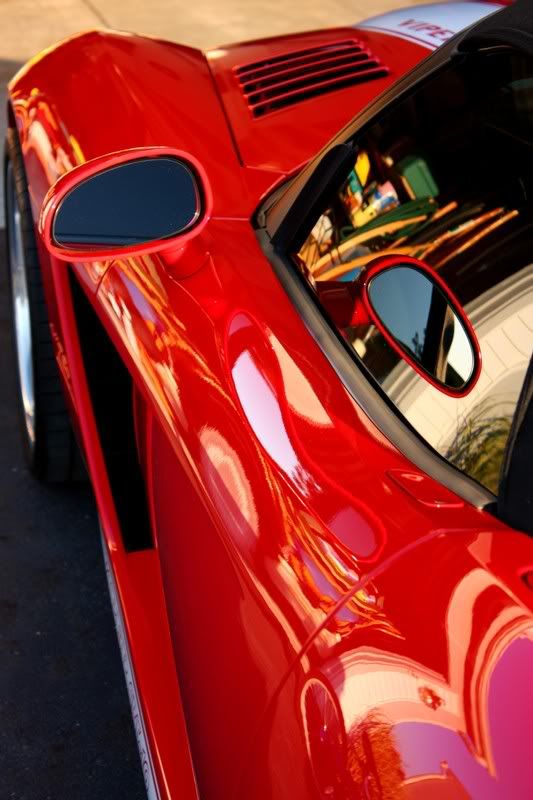
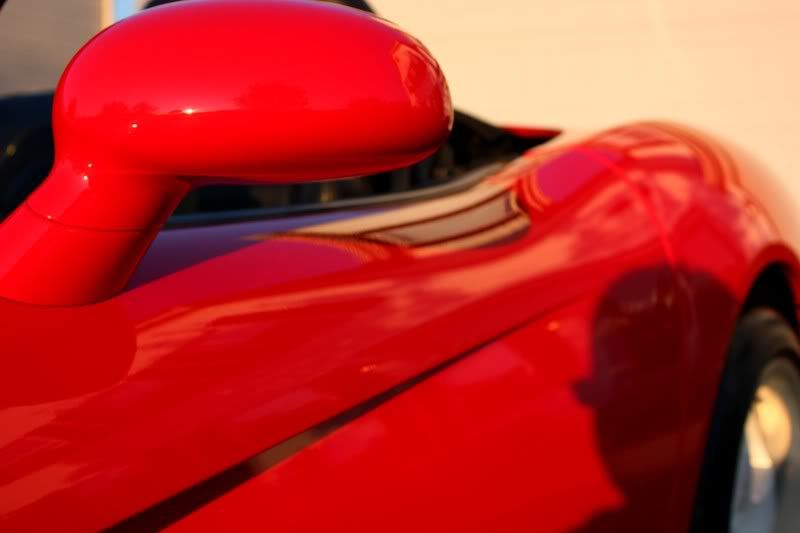
I just thought these were cool shots, so I included them as well:
He stopped by so I can inspect it and come up with a plan, and I was really impressed with this vehicle. He has done a trendous amount of tasteful modifications to this car, so my plan was to perform a high level detail that would showcase the pure beauty of the Viper. Red done right is a spectacular color, and the owner agreed that we achieved a whole new level of gloss and depth when it was finished.
As for the car, he's put in different pistons, cams, heads, and is running a direct-injected 300 shot of nitrous (among other mods). The nitrous setup has plenty of redundancies and fail-safes to keep the motor intact. He has done the mods properly! Right now it puts out about 650hp on the motor only, and is running just under 1000hp with nitrous. He's taking it this weekend (via trailer) to do some more dyno tuning as he wants to break the 1000hp mark and have it on paper. This car exudes testosterone!
The owner was an awesome guy, and we had a great time just sitting around and bench racing.
Enjoy the photos...there are a lot of them!
Process:
Wash
Clean wheels and wheel wells with Megs APC+
Clay body and glass to remove embedded contaminants (surface was actually pretty clean)
Wash to remove remnants and residue from claying process
Dry with Blaster Sidekick blow dryer
IPA (Isopropyl Alcohol) wipedown
Tape off graphics and other trim
Interior:
Vacuum
Clean all surfaces with Woolite/water solution. The interior looked pretty clean, but since it's a convertible I was able to remove a lot of dirt!
Treat all vinyl and plastic with Optimum Protectant Plus
Treat all leather with Zaino Z-10
Polish metal and CF trim with Klasse All-In-One
Clean gauges and controls with Megs Interior Detailer
Polish Nitrous bottles with Klasse All-In-One
Clean inner trunk lid and jambs with Optimum No Rinse
Windows cleaned with Stoner's Invisible Glass
Polishing:
Menzerna SIP with orange pads on heavier defects
Menzerna SIP with white pads on lighter defects
Menzerna PO85RD with red pad for final burnishing stage
Protection:
Optimum Opti-Seal sealant for long term durability
LSP:
P21S 100% wax applied by hand
Tires dressed with Sonus Tire Gel
Wheel wells dressed with Megs Trim Detailer
Wheels polished/sealed with Klasse All-In-One
Engine bay cleaned with Optimum No Rinse
Exhaust tips cleaned/polished with Klasse All-In-One and 0000 steel wool
Tools used:
Makita 9227c rotary polisher
Blaster Sidekick blow dryer
Lots of Eurow shag MF towels!
Canon Rebel XSi with 18/55mm lense.
First up was the interior.
I made sure to clean all the areas on and around the Nitrous mechanisms
Polishing the bottles with Klasse.
The trunk lid area had a bit of dirt and grime built up on it
But it cleaned up nicely with Optimum No Rinse
Even the underside of the trunk lid was polished
Chrome and the CF trim was polished with Klasse
Leather was treated with Zanio Z-10. It provides a great finish, and smells nice too.
I just thought these were cool shots, so I included them as well:


") *
*