imported_OverTimeDetail
New member
Hi Guys
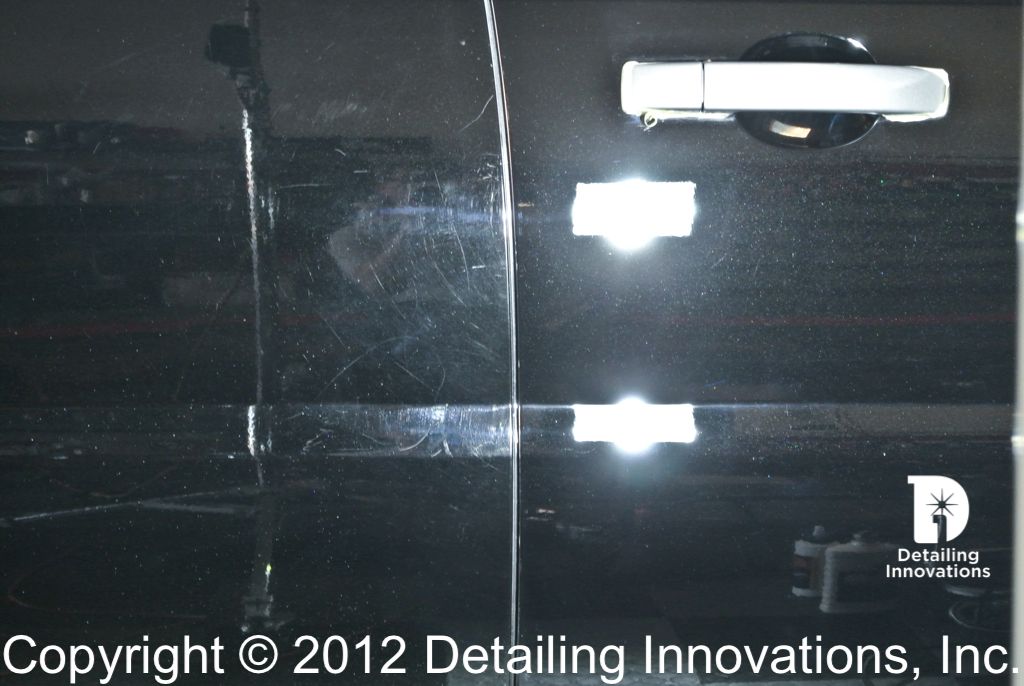
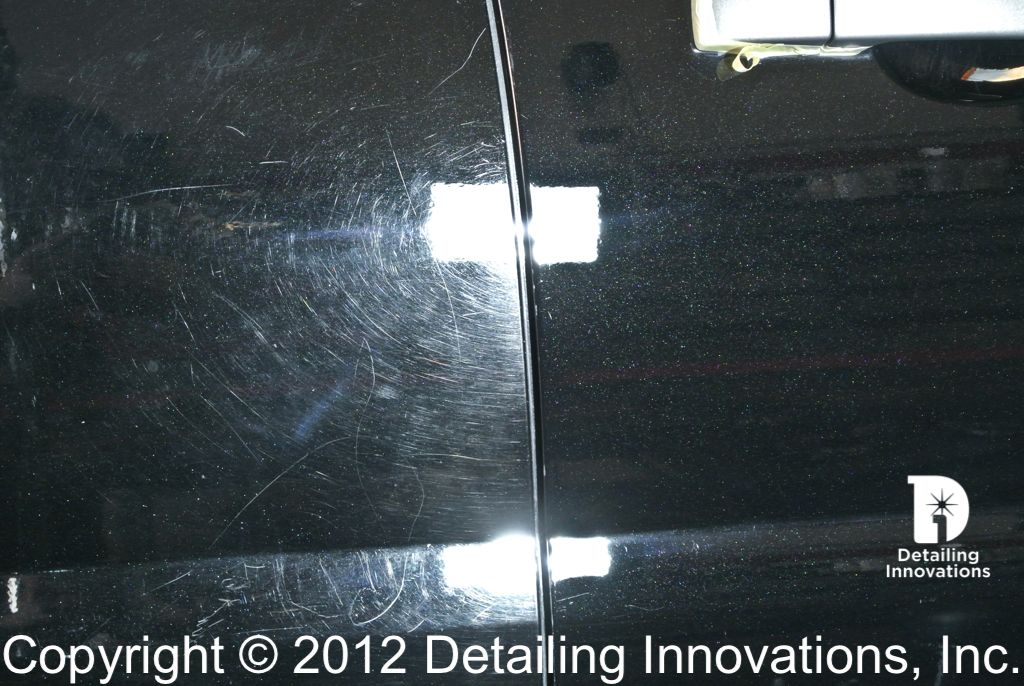
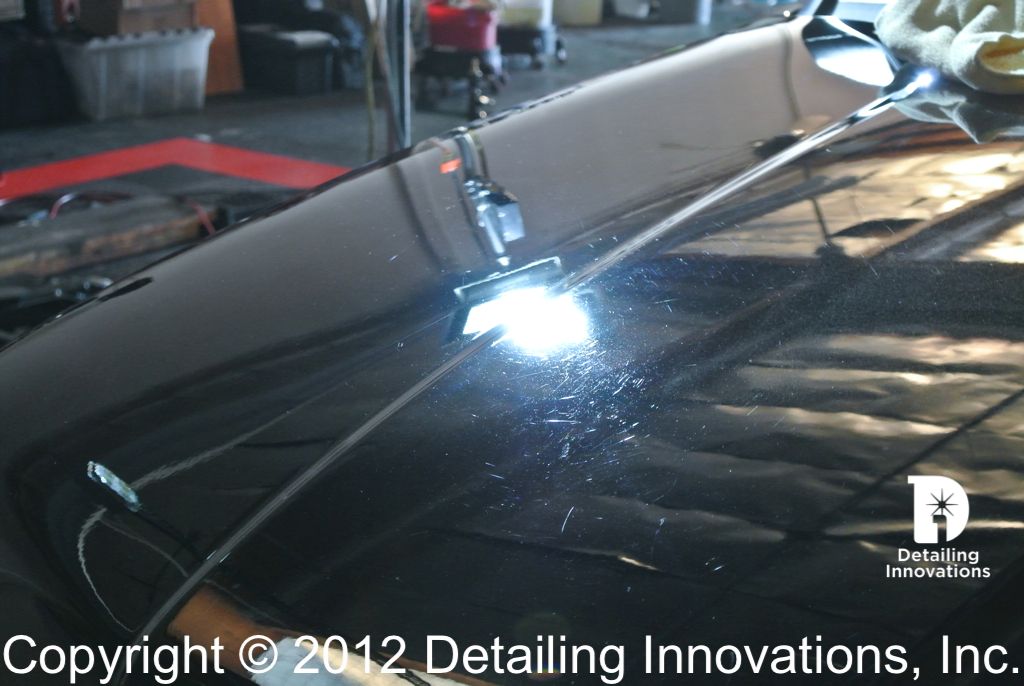
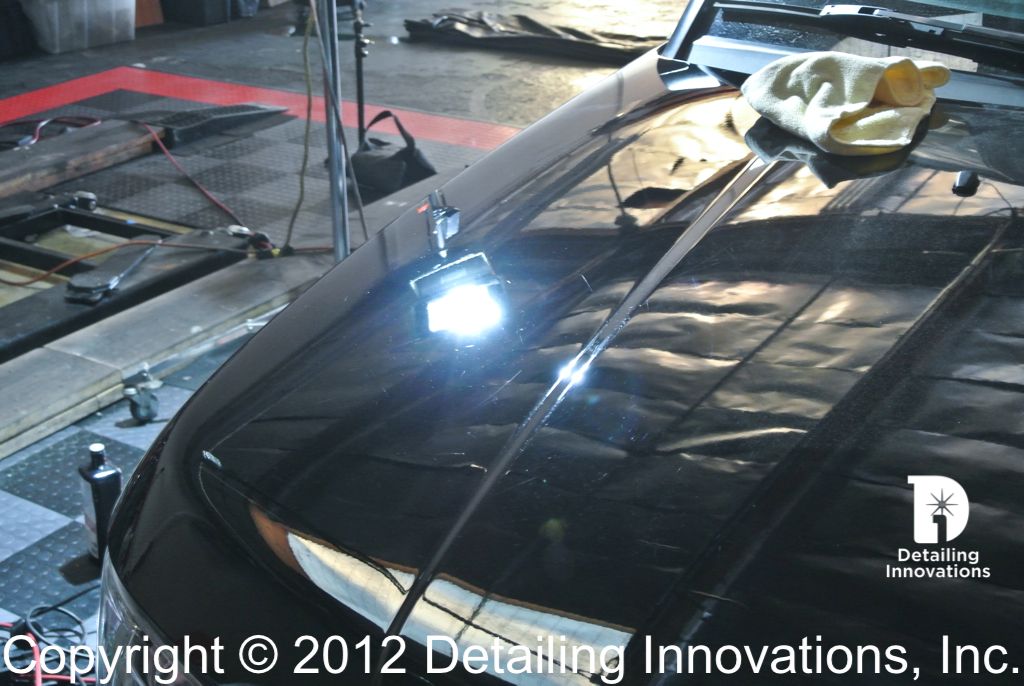
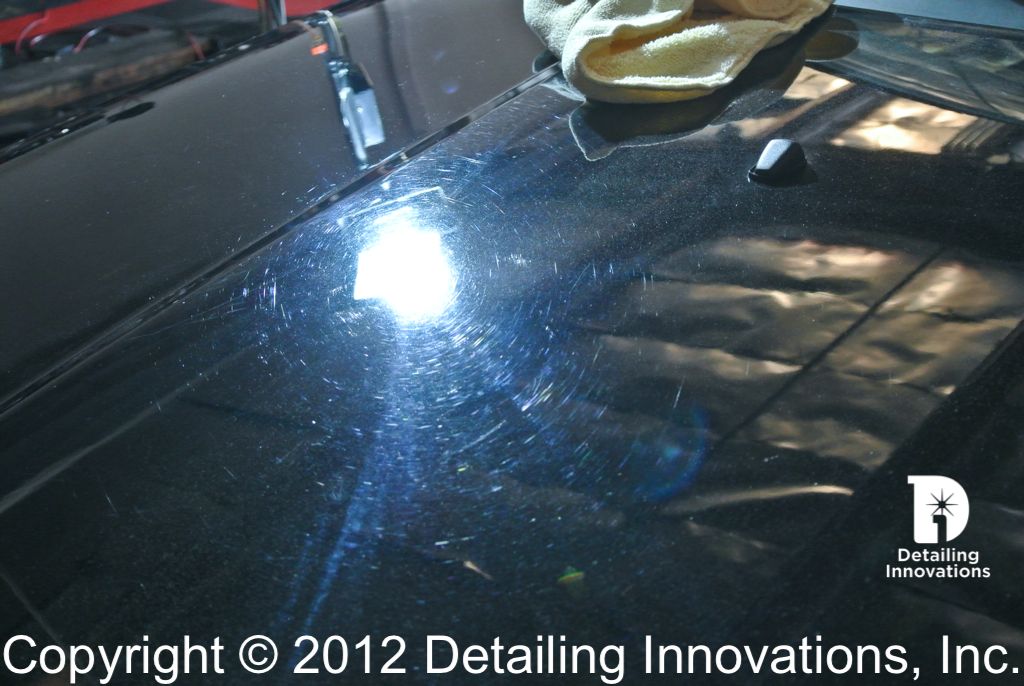
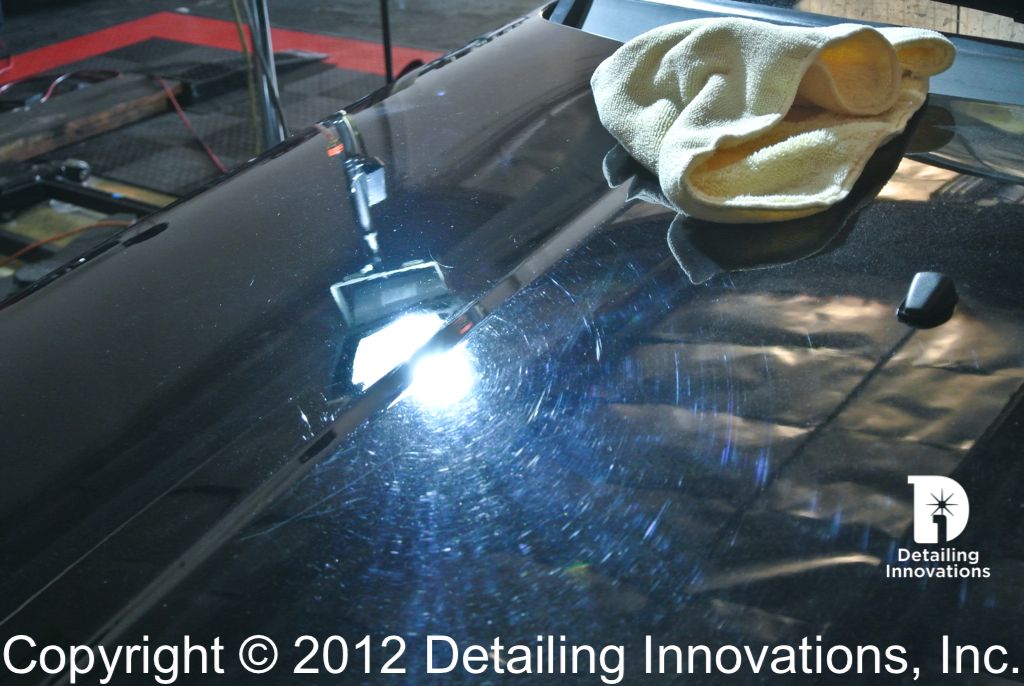
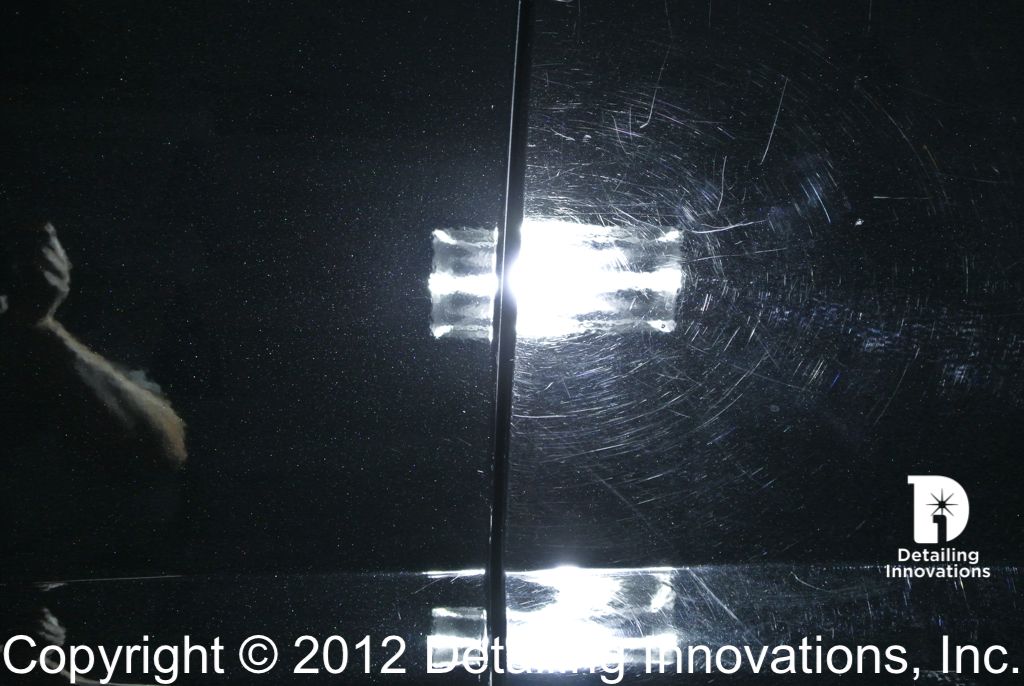
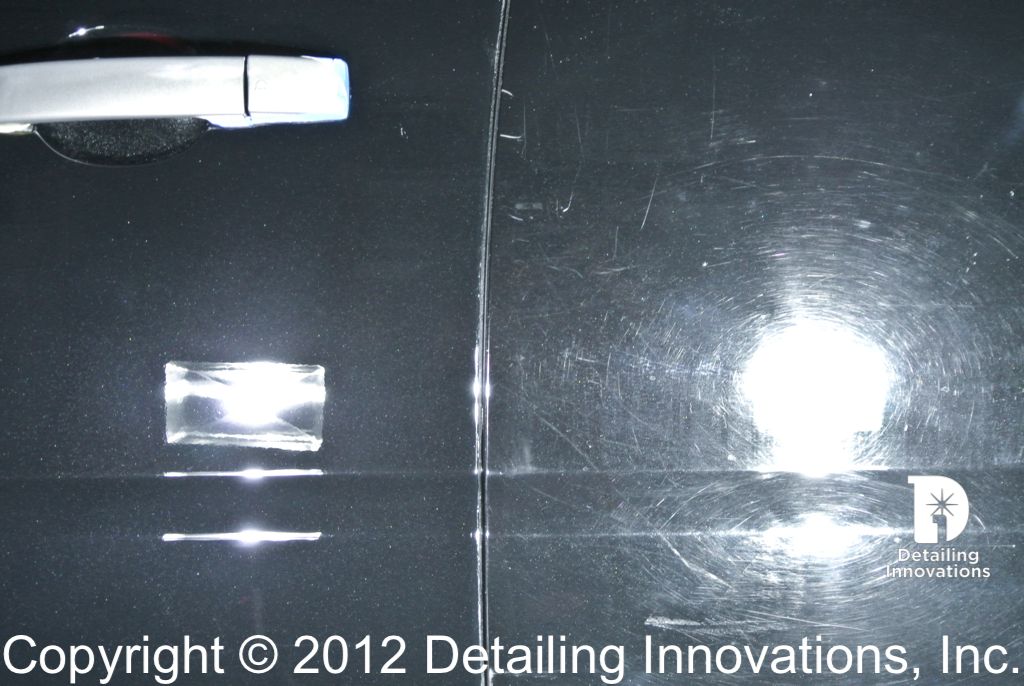
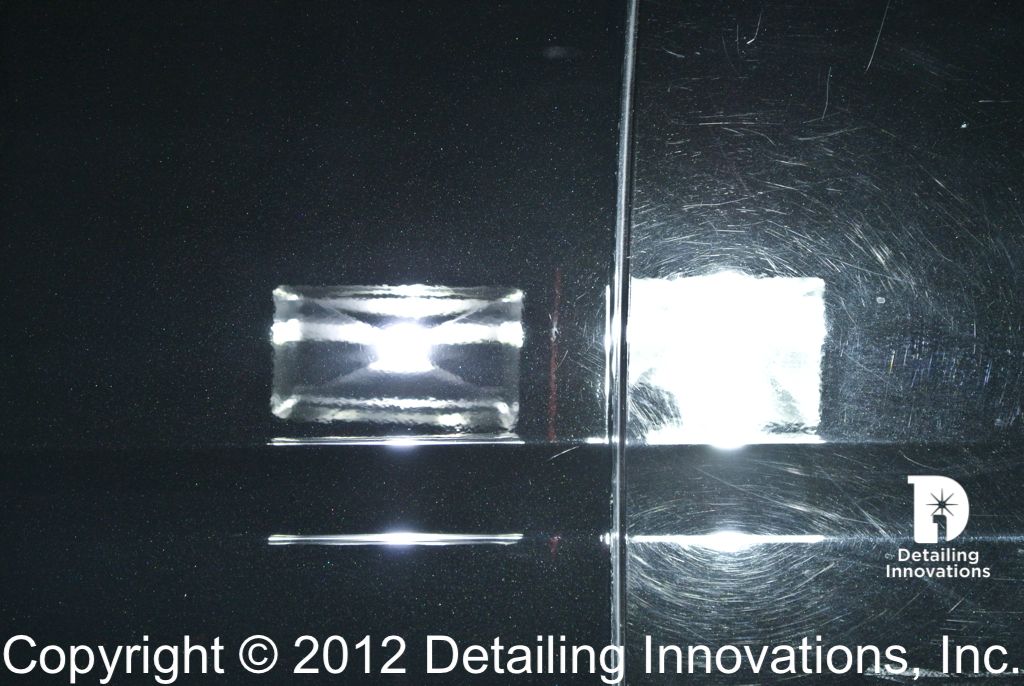
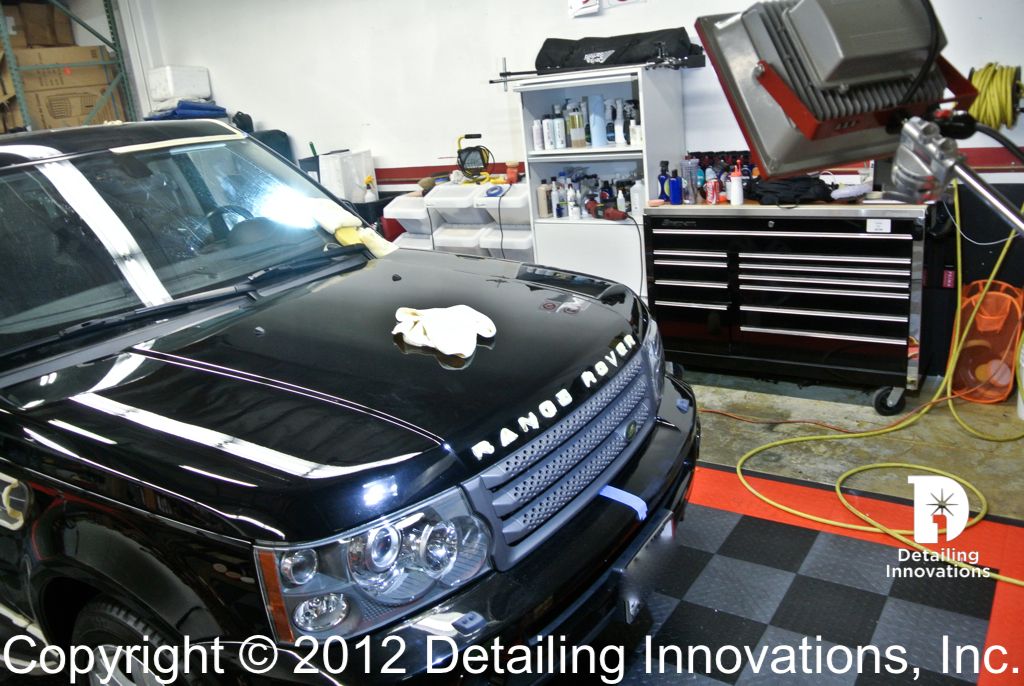
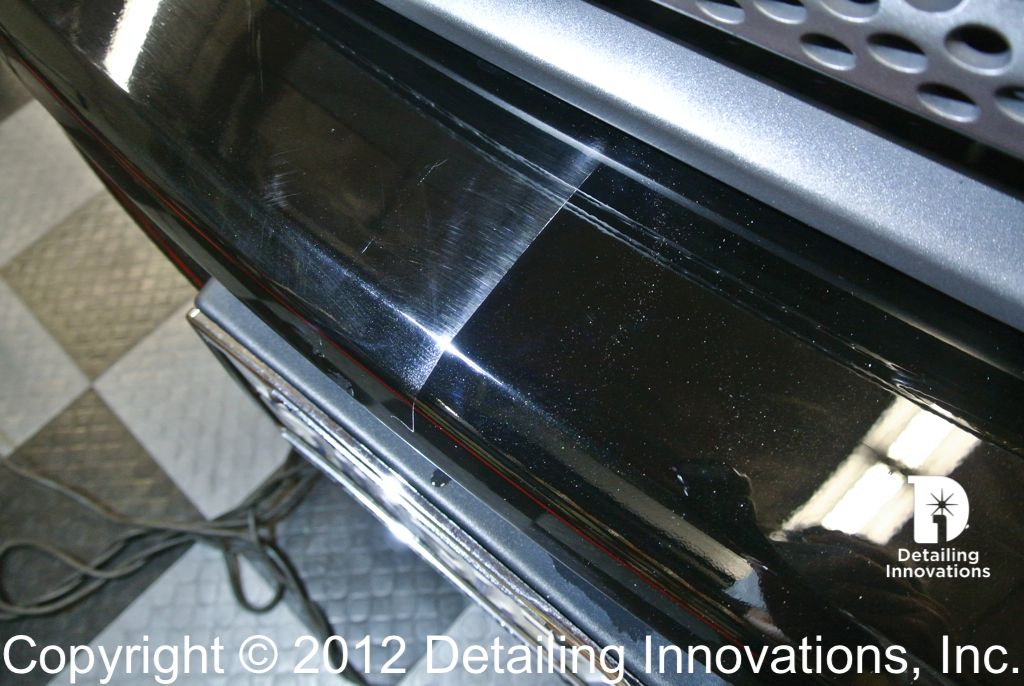
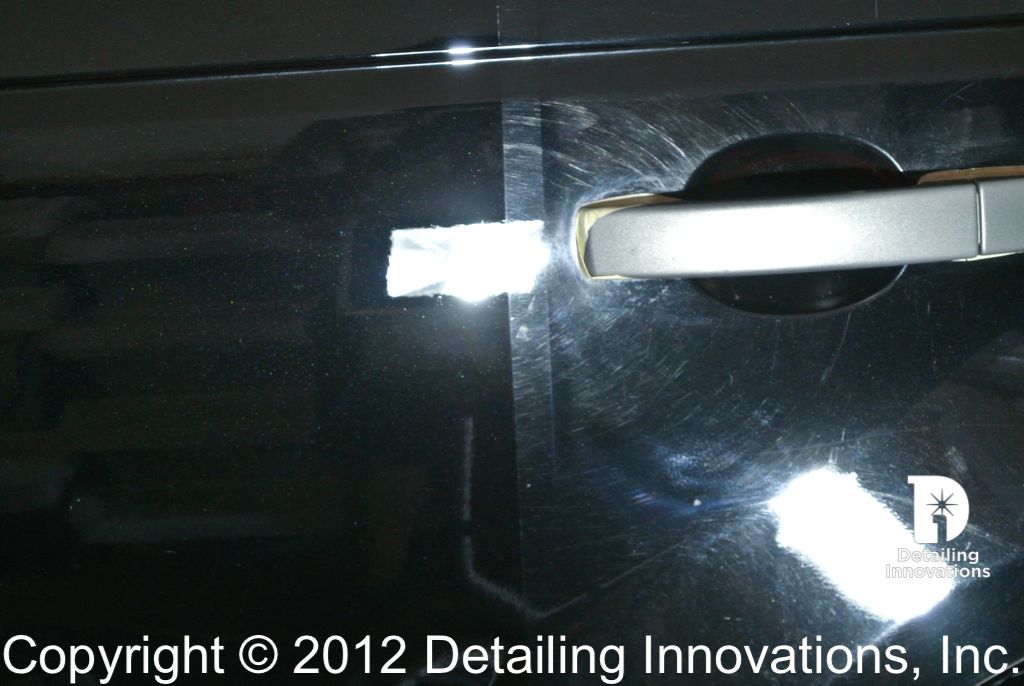
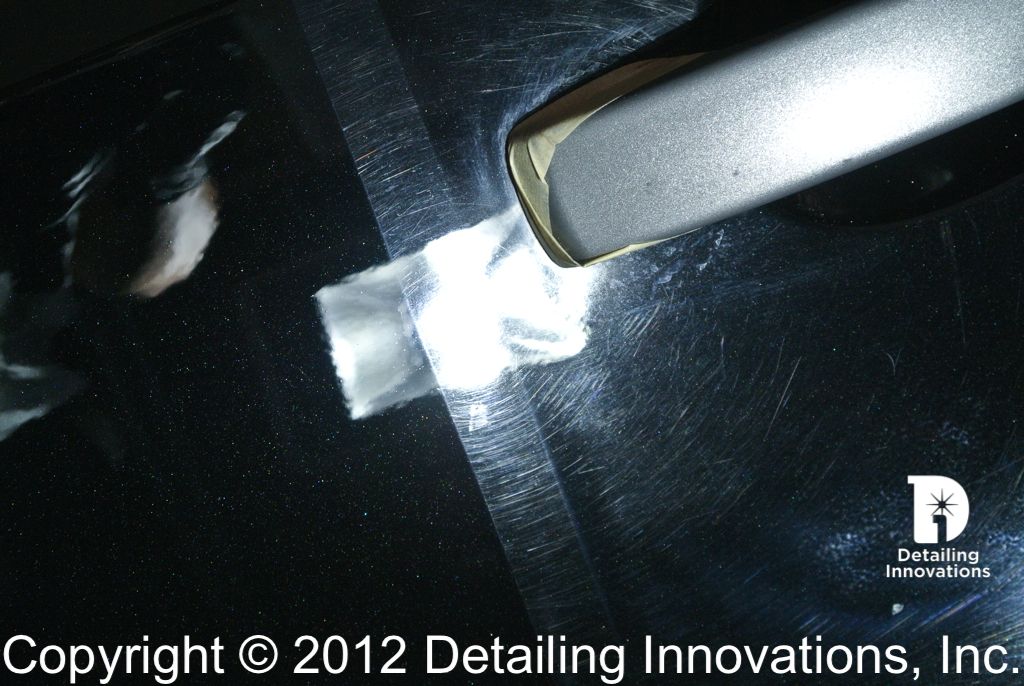
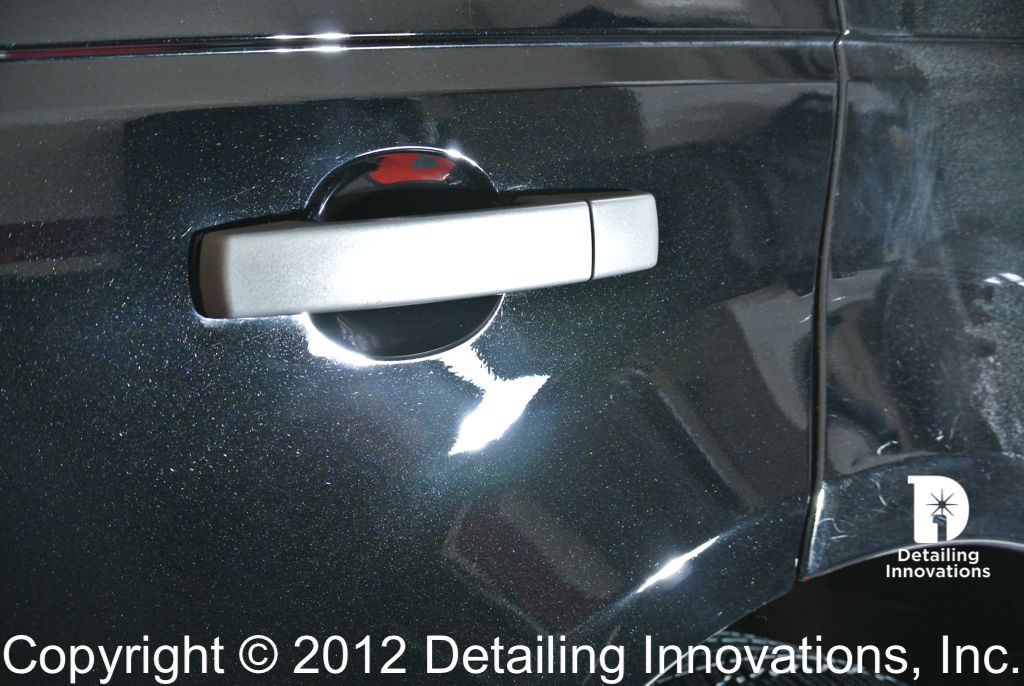
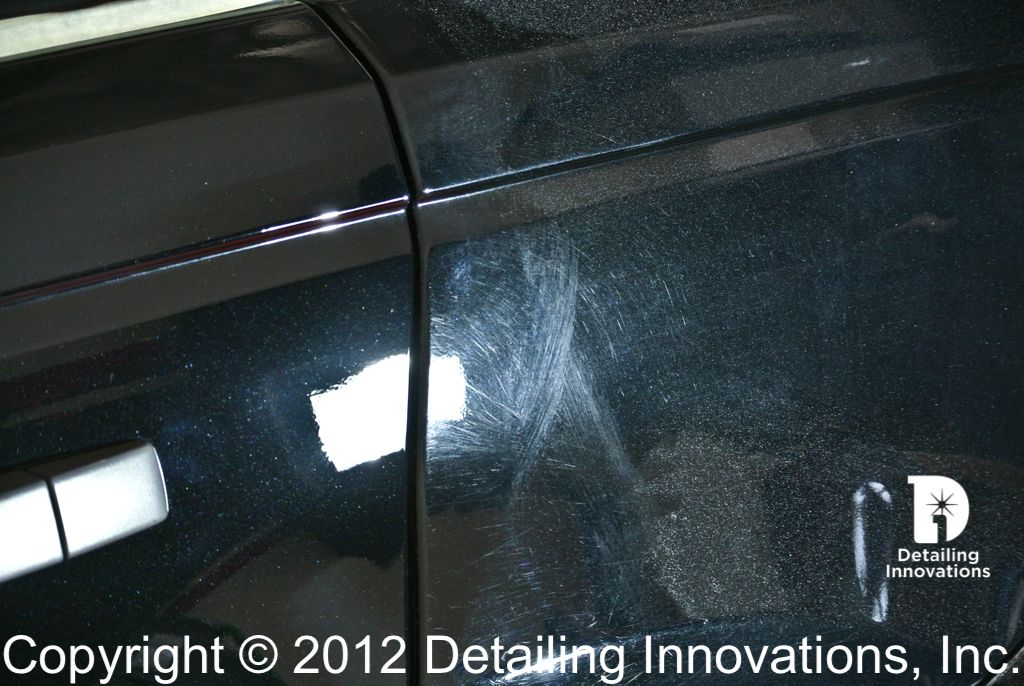
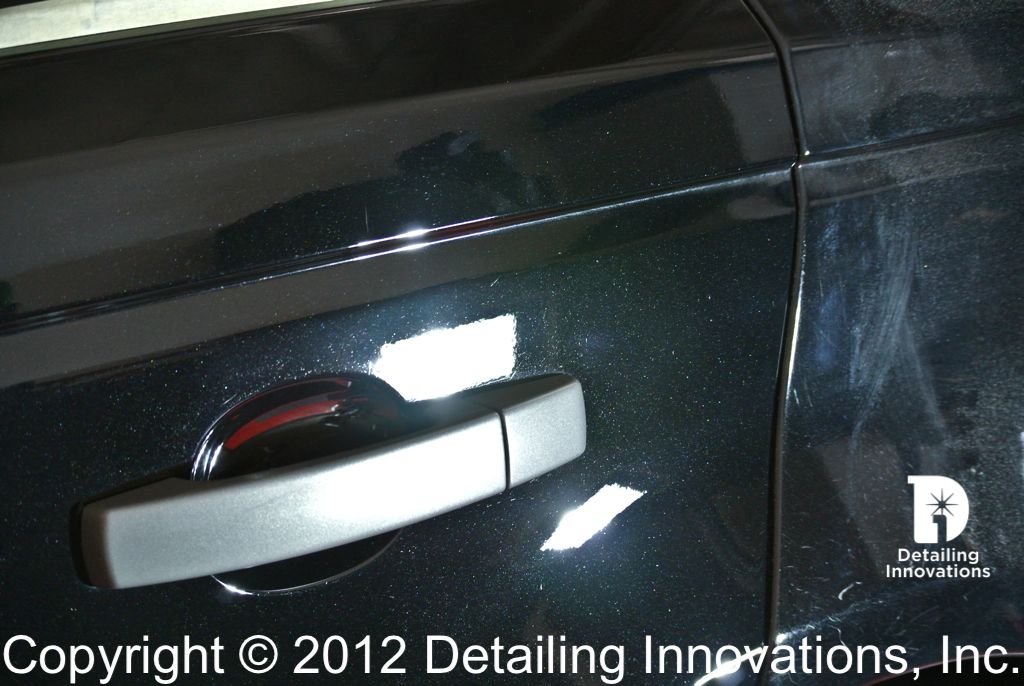
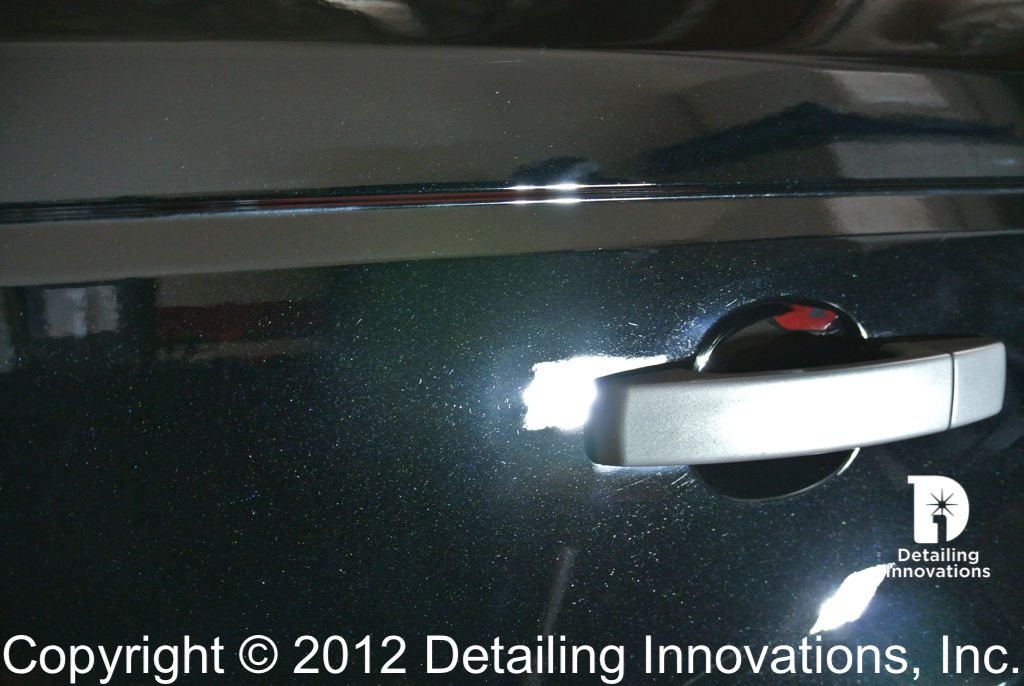
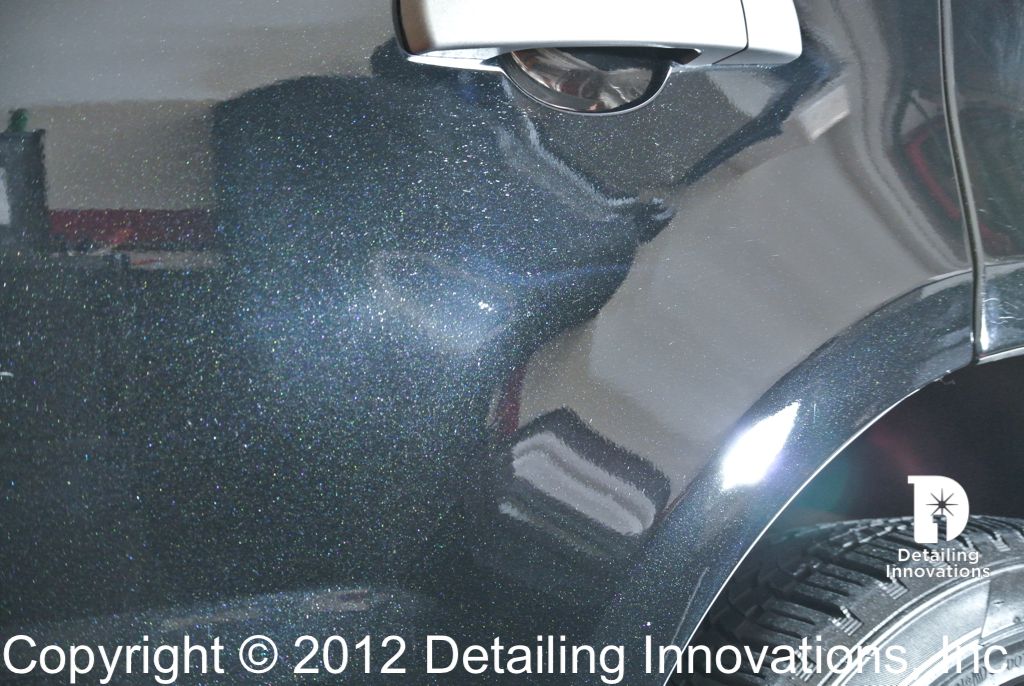
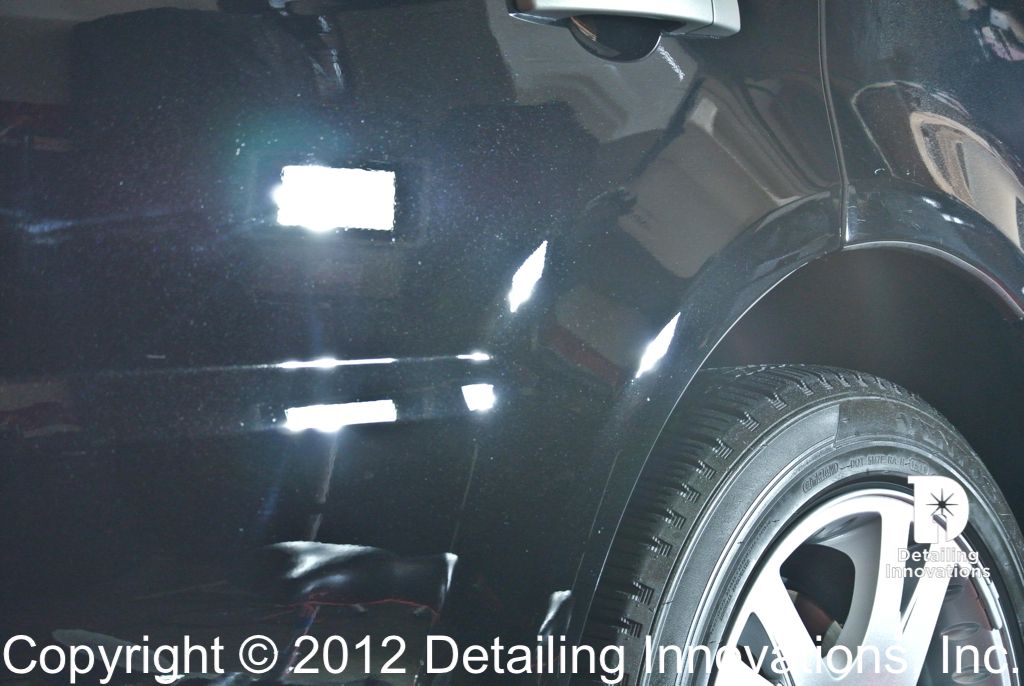
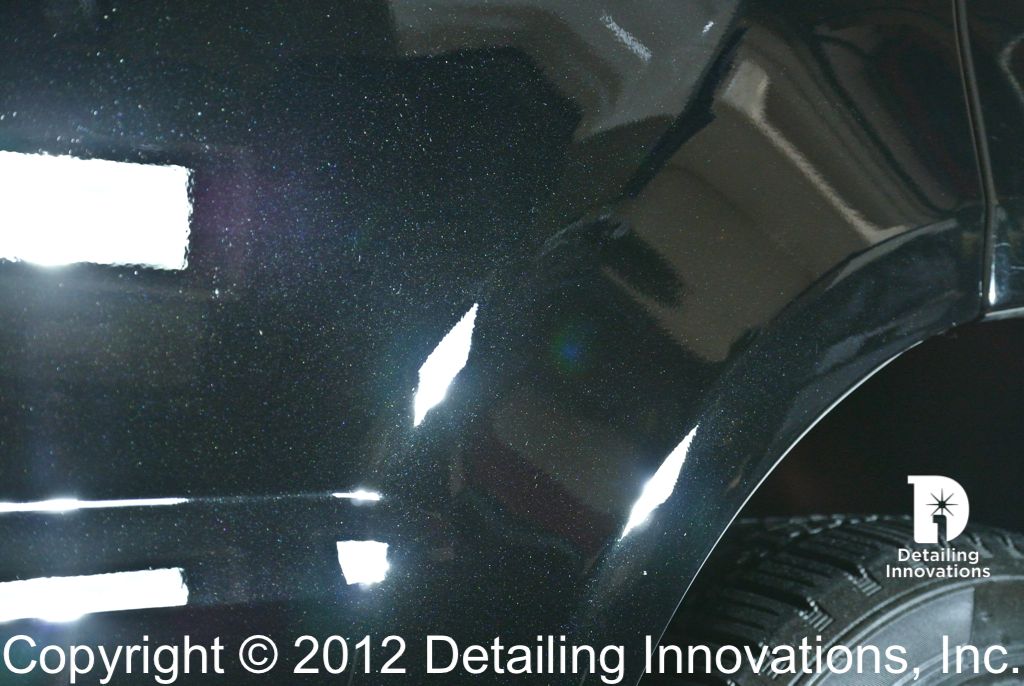
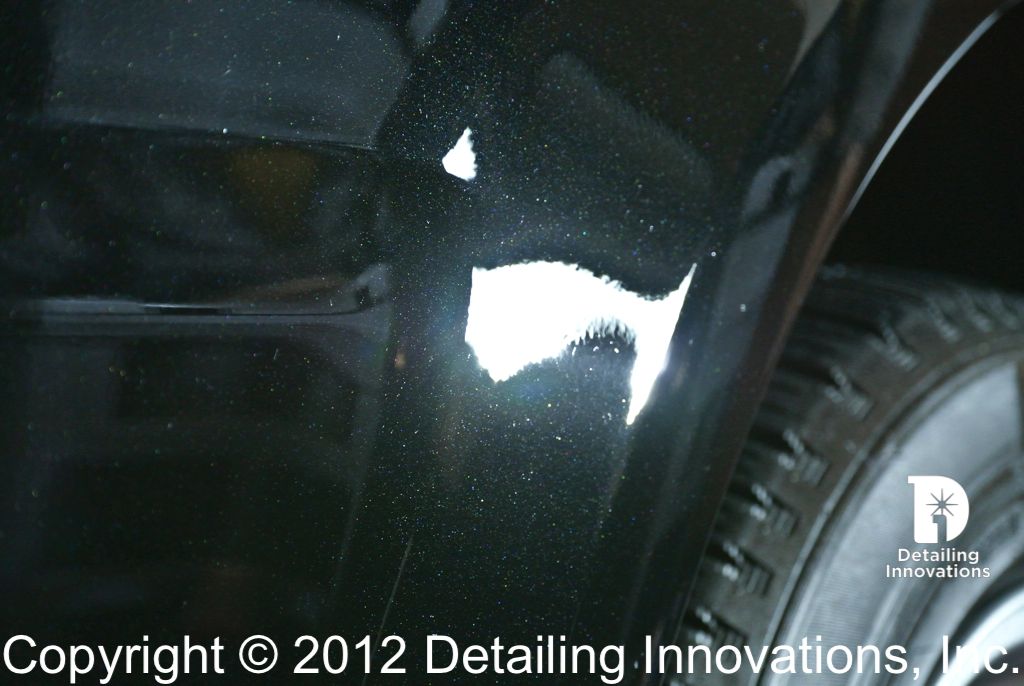
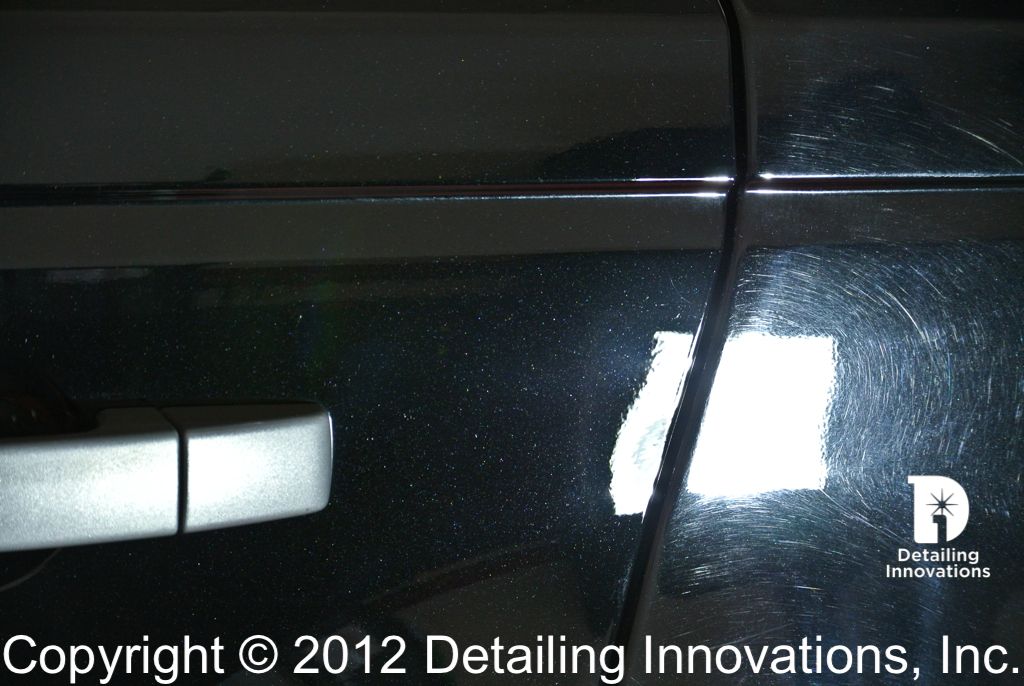
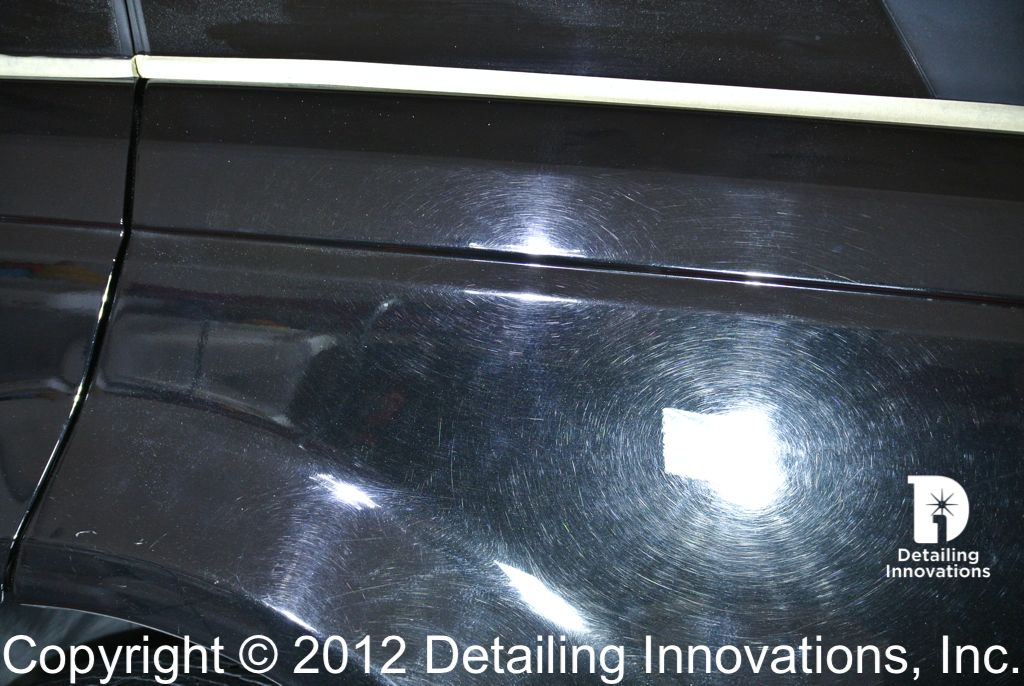
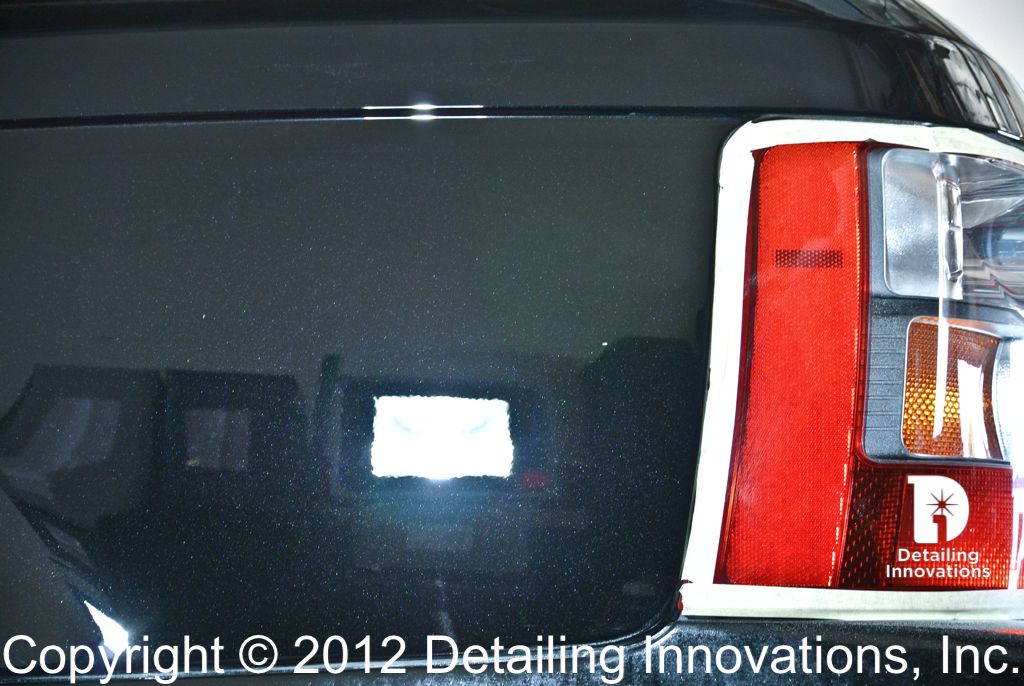
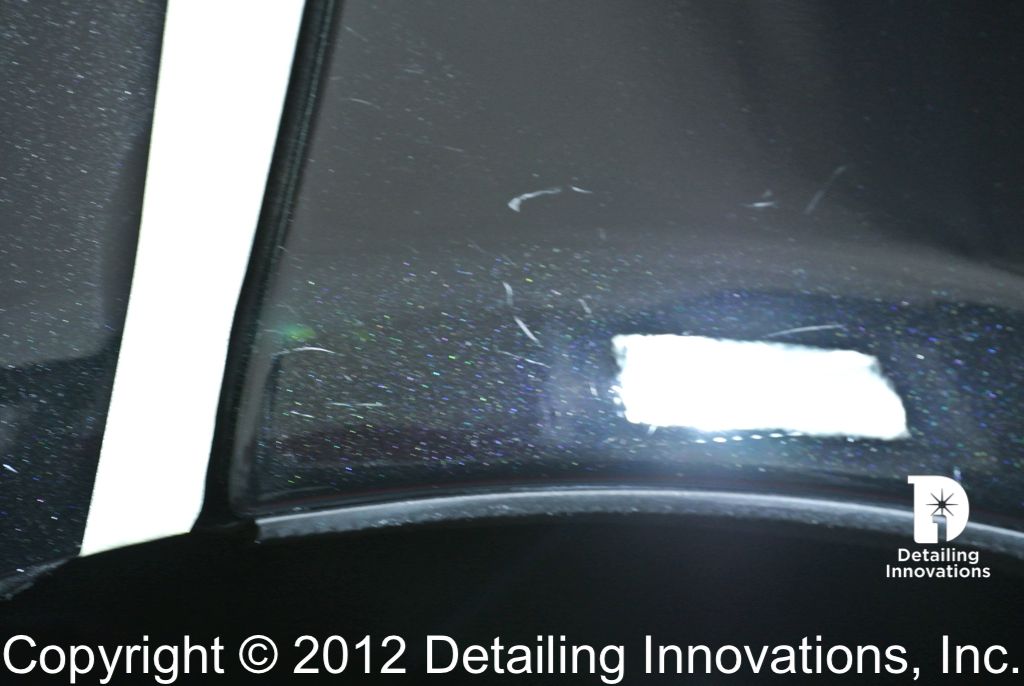
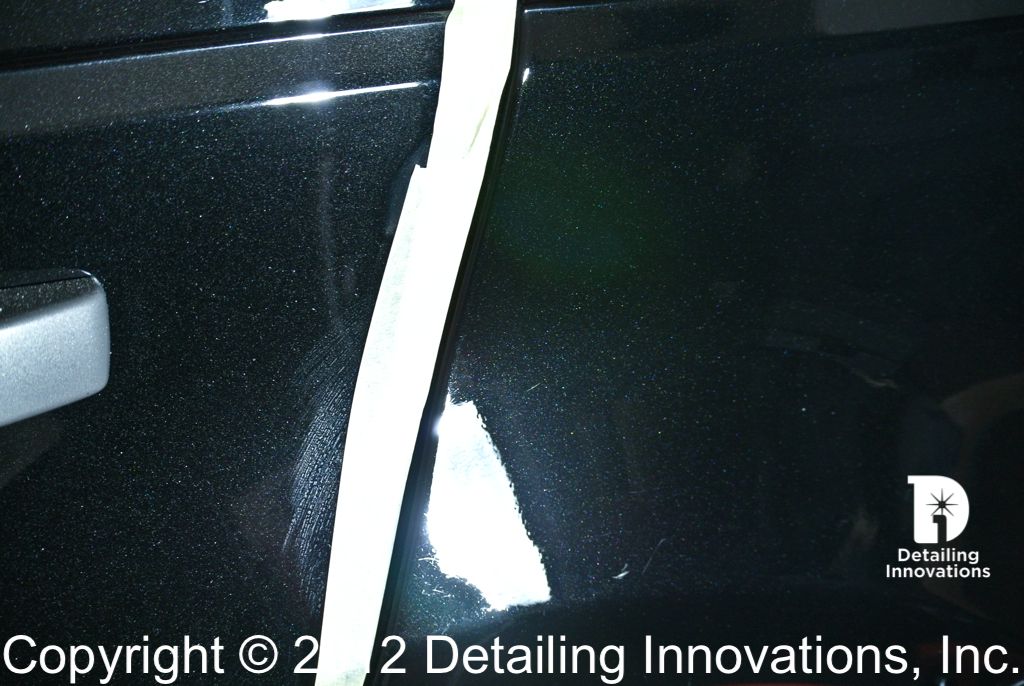
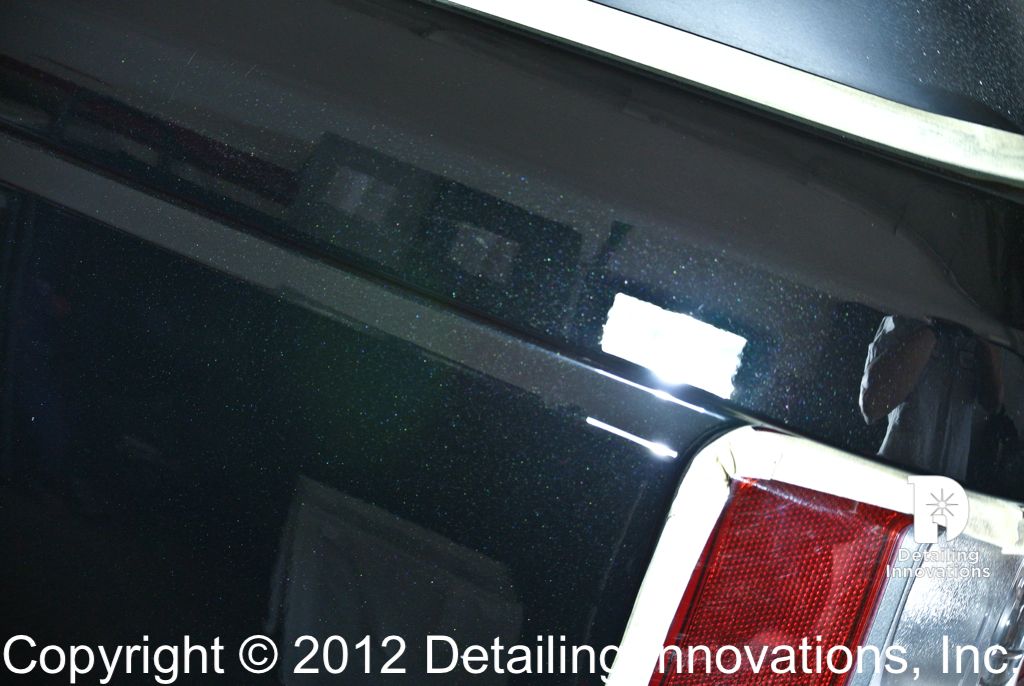
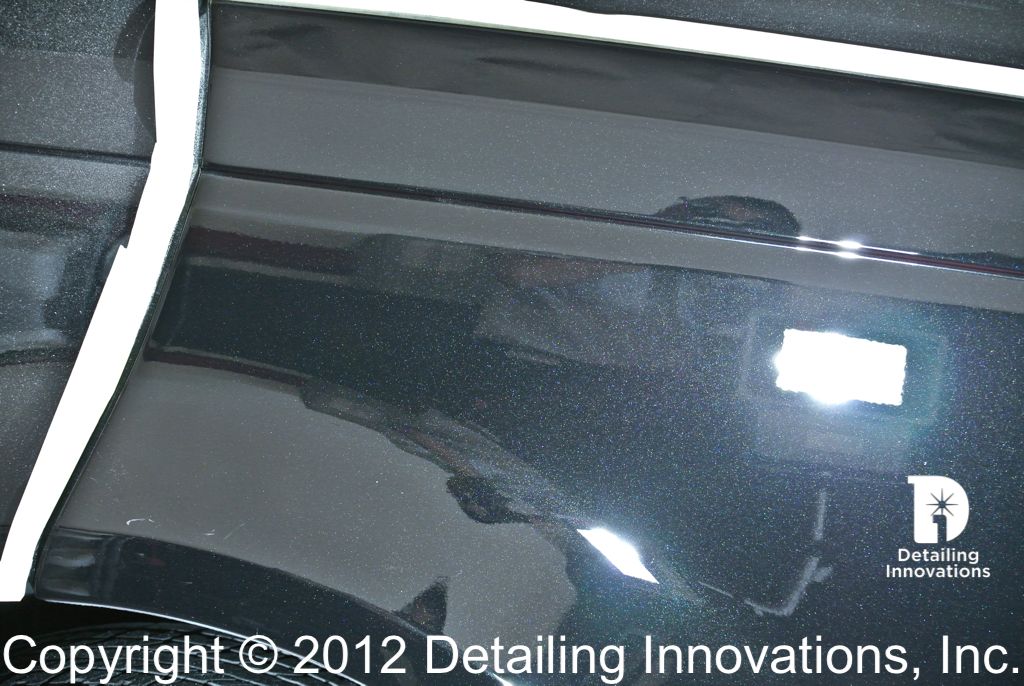
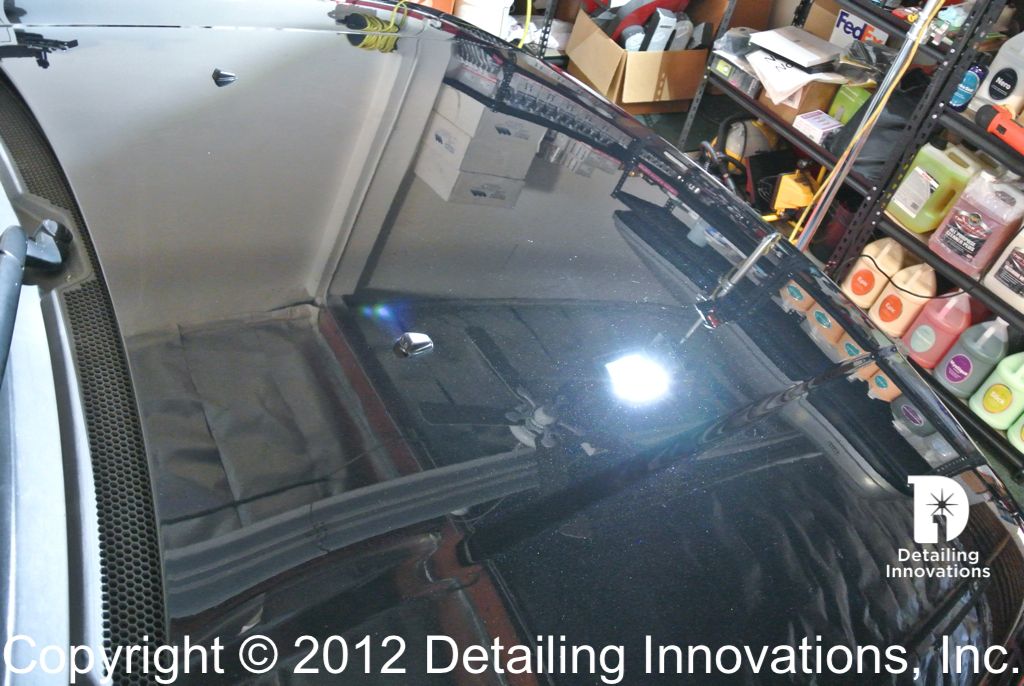
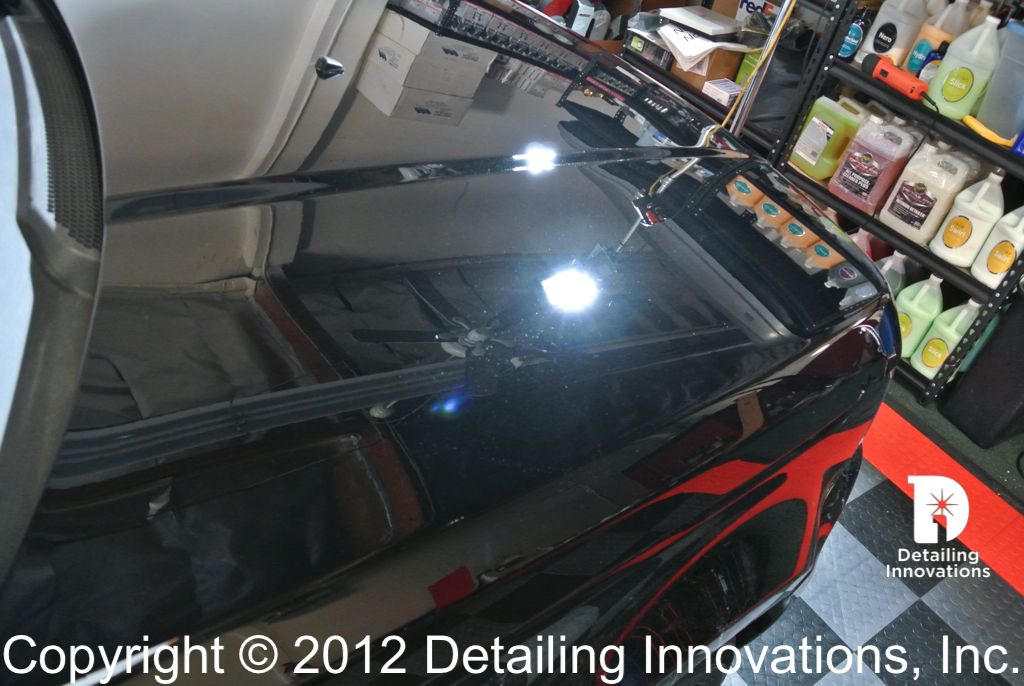
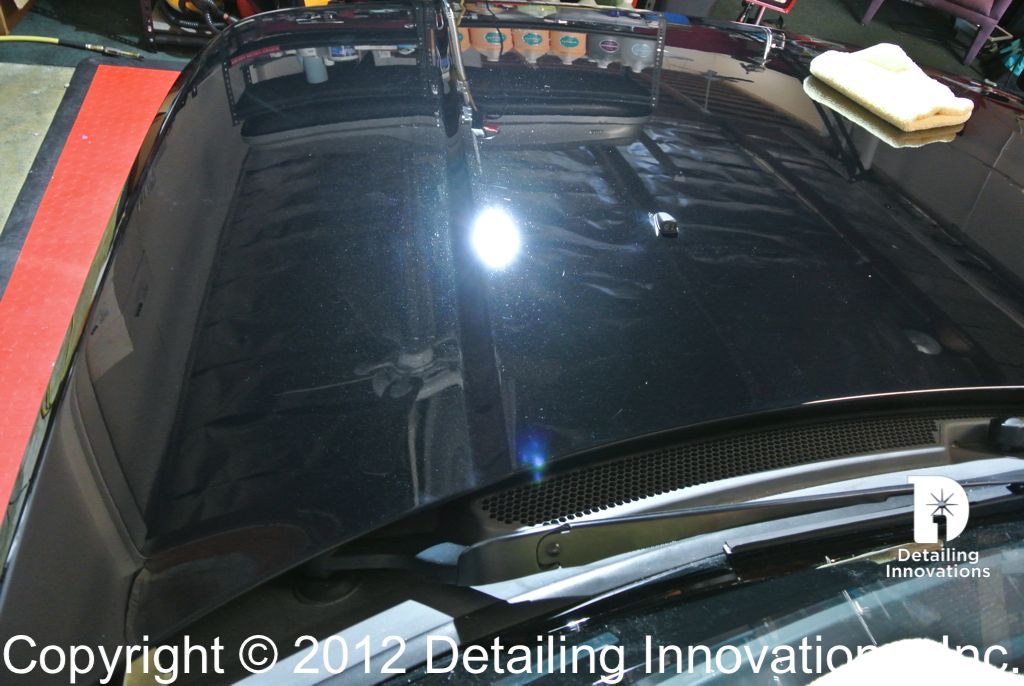
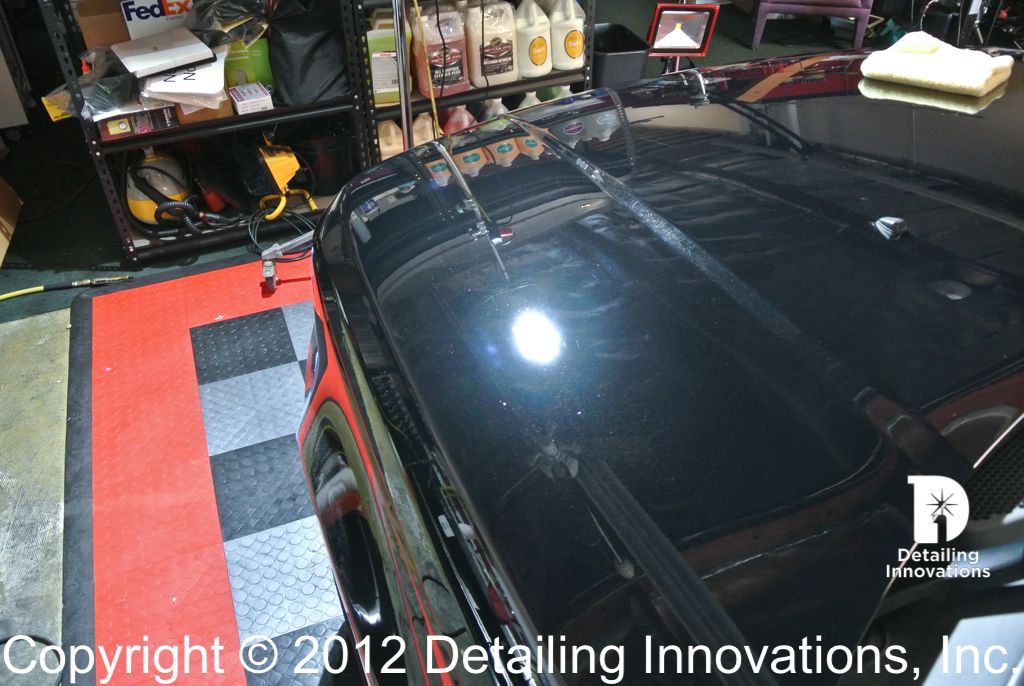
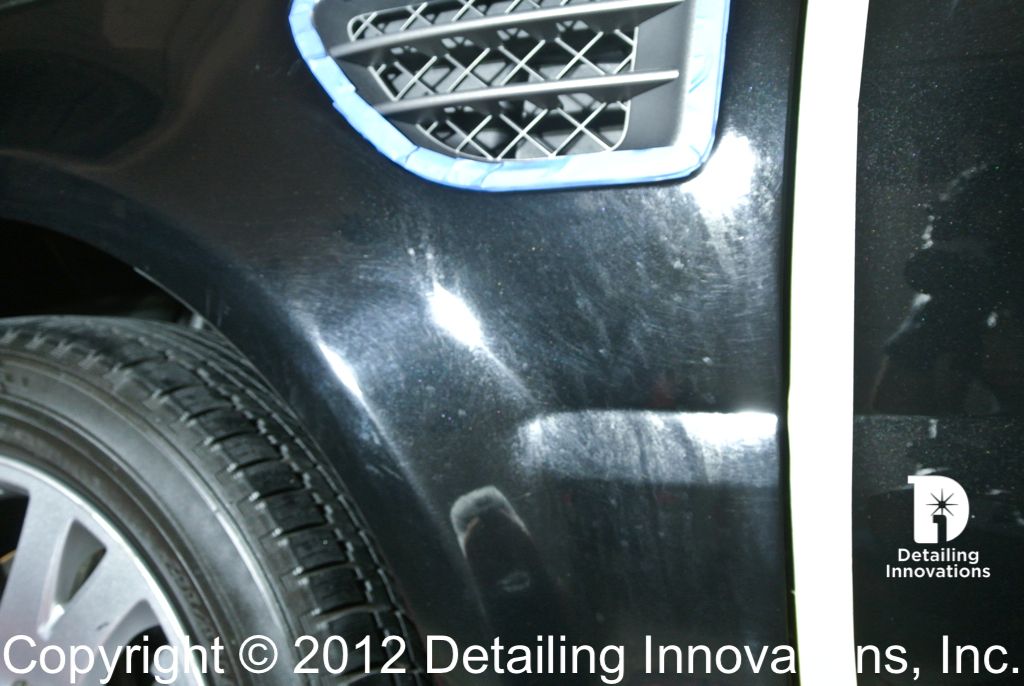
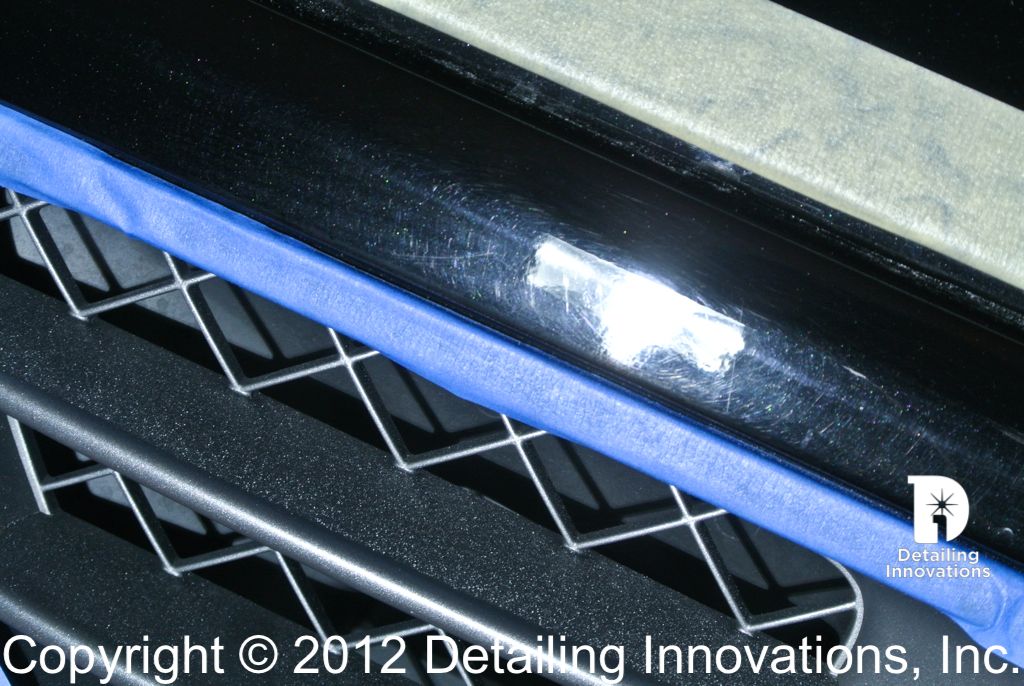
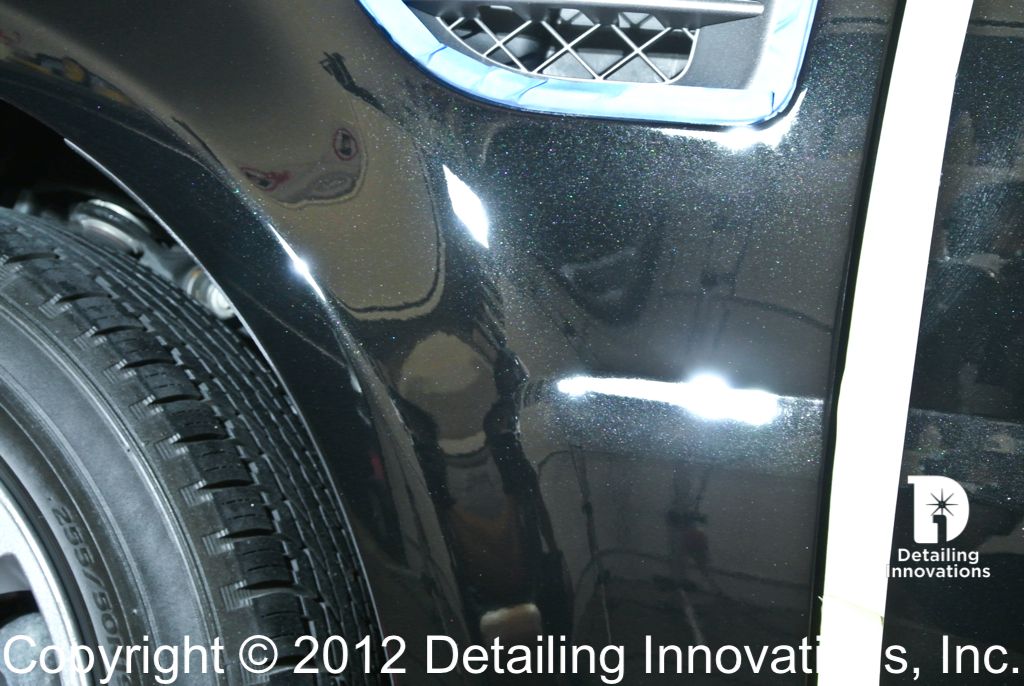
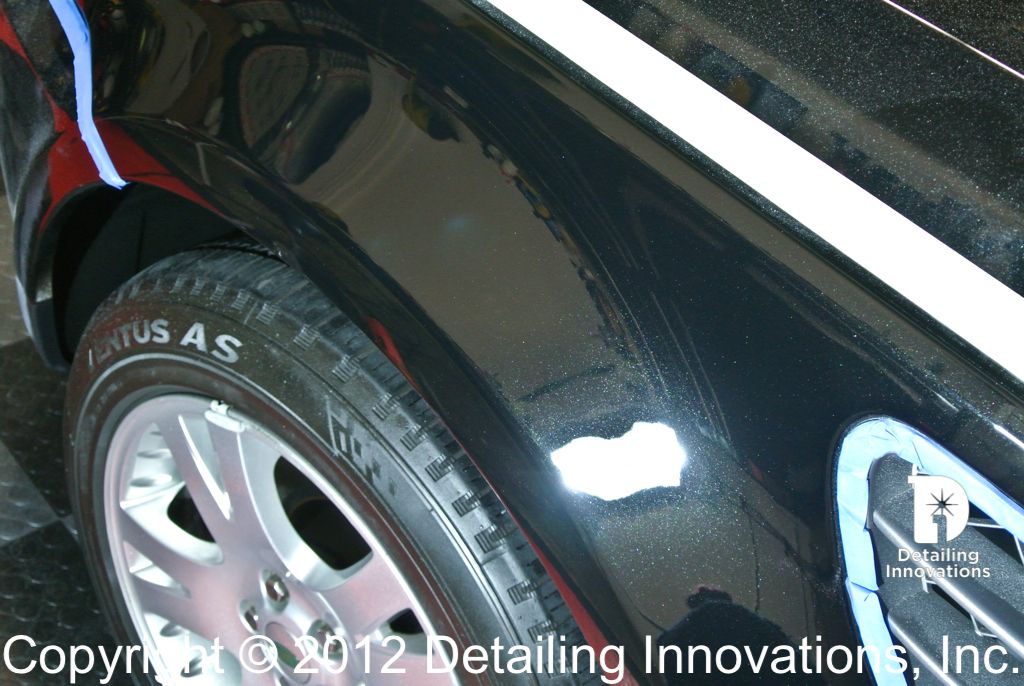
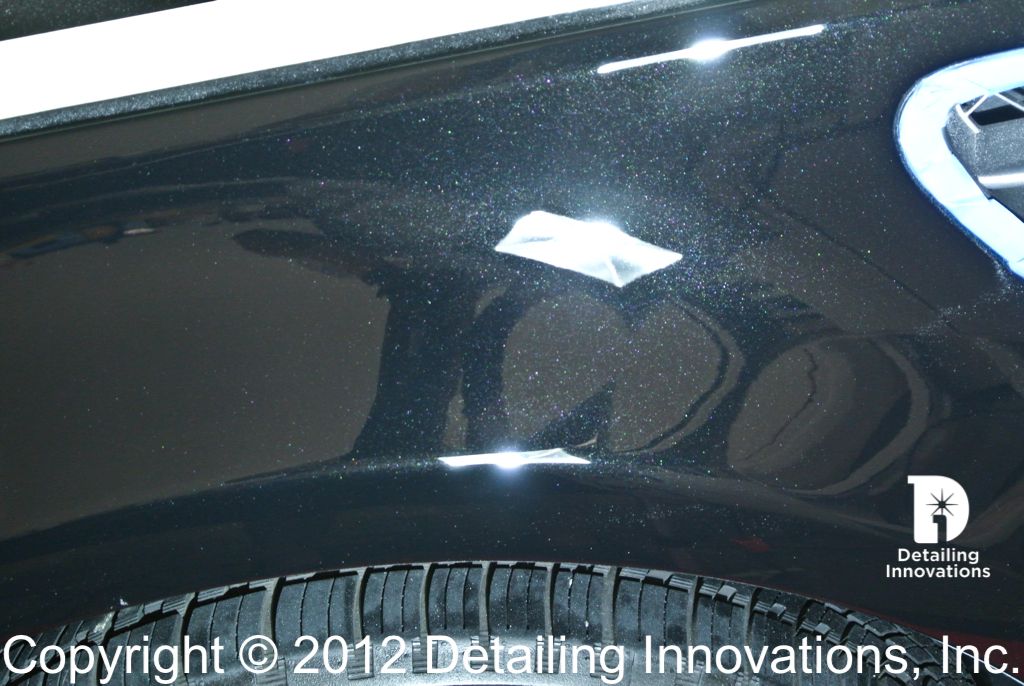
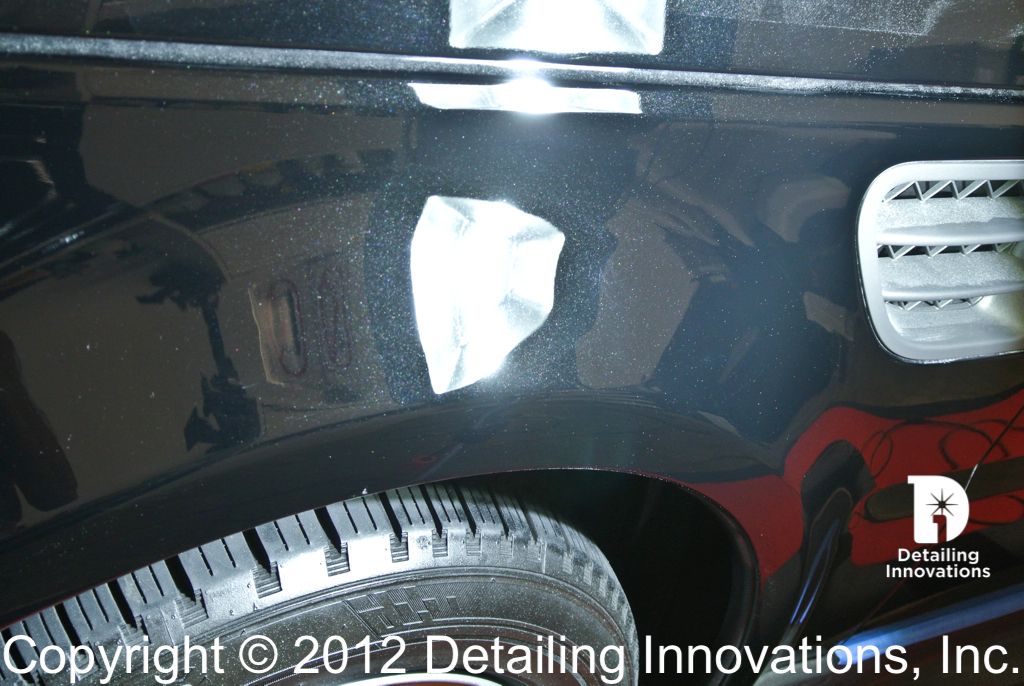
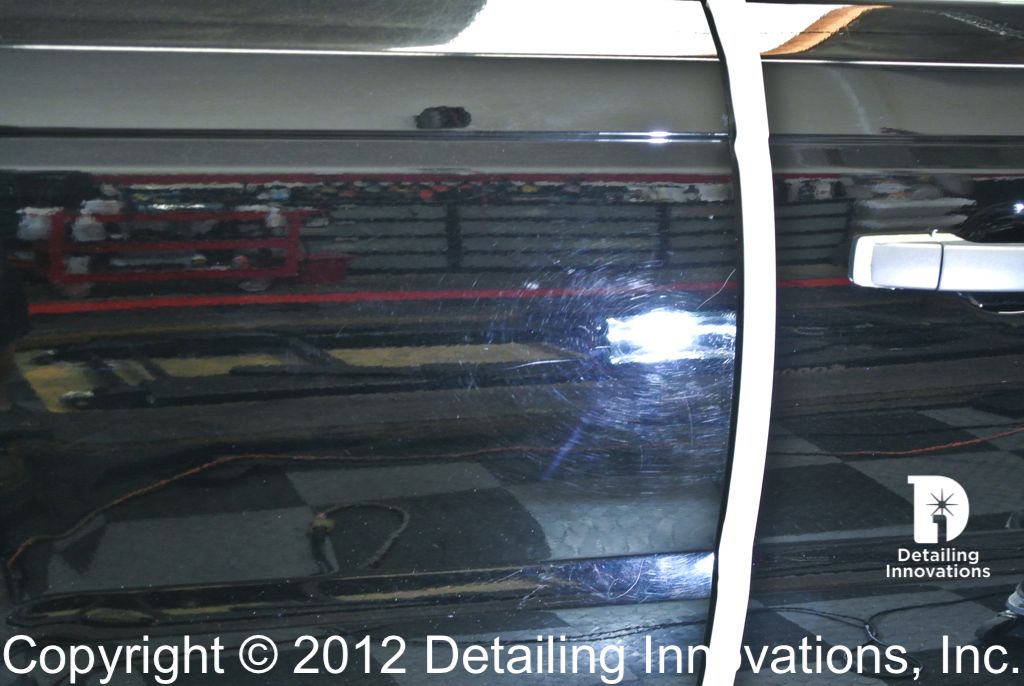
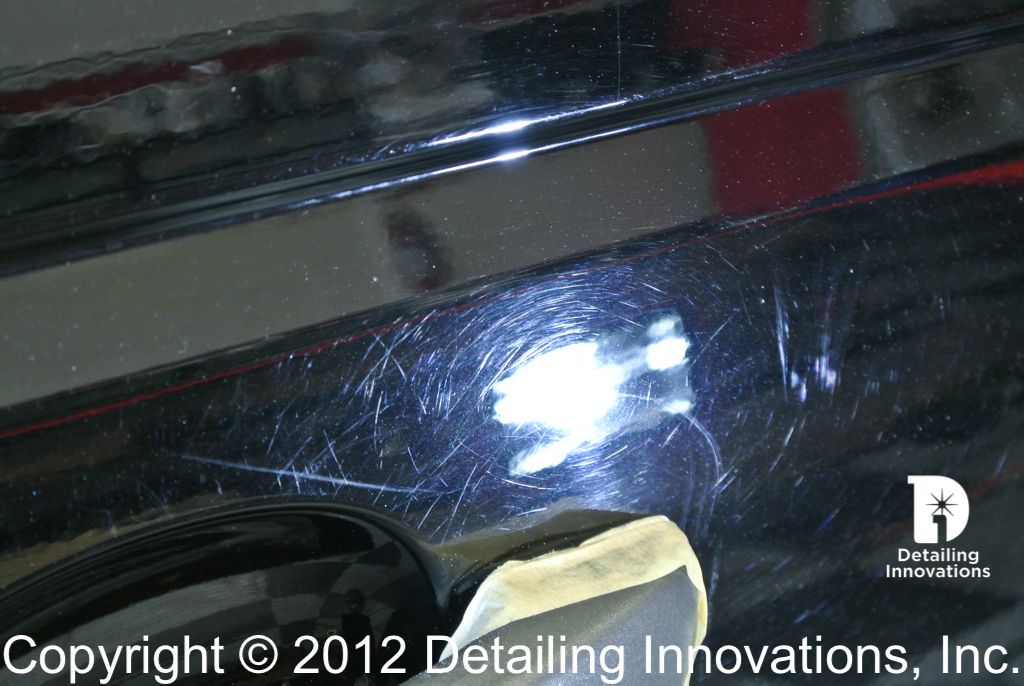
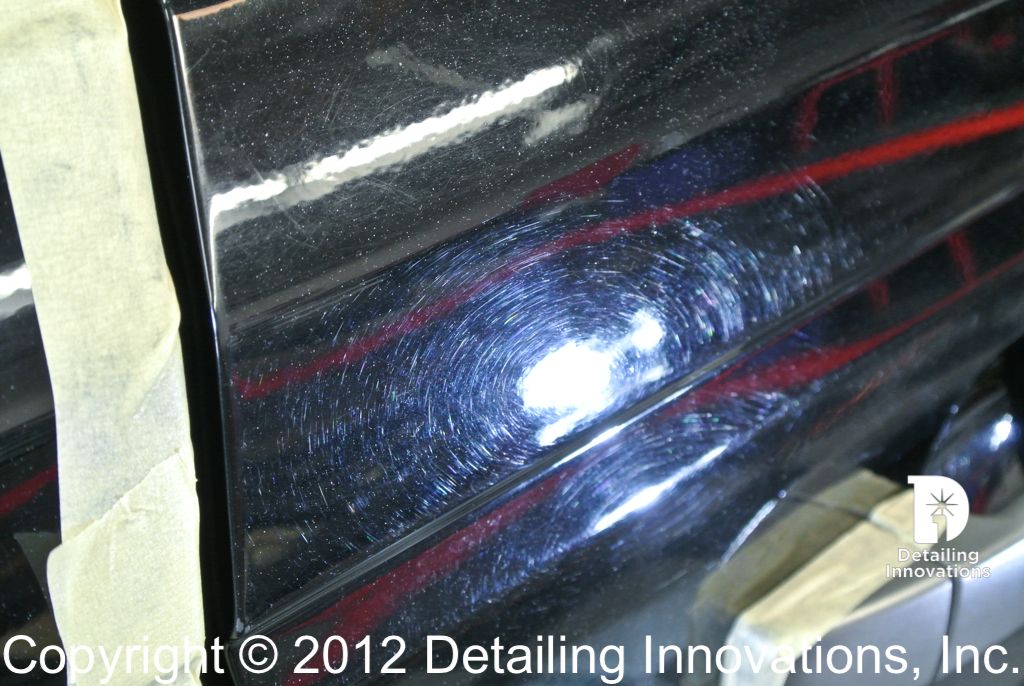
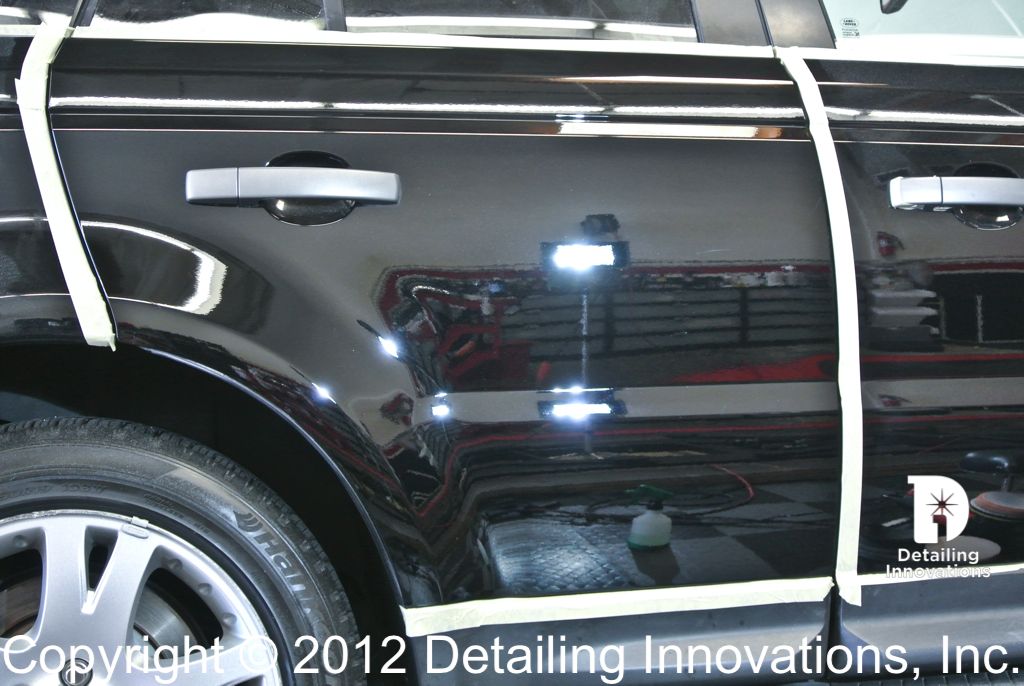
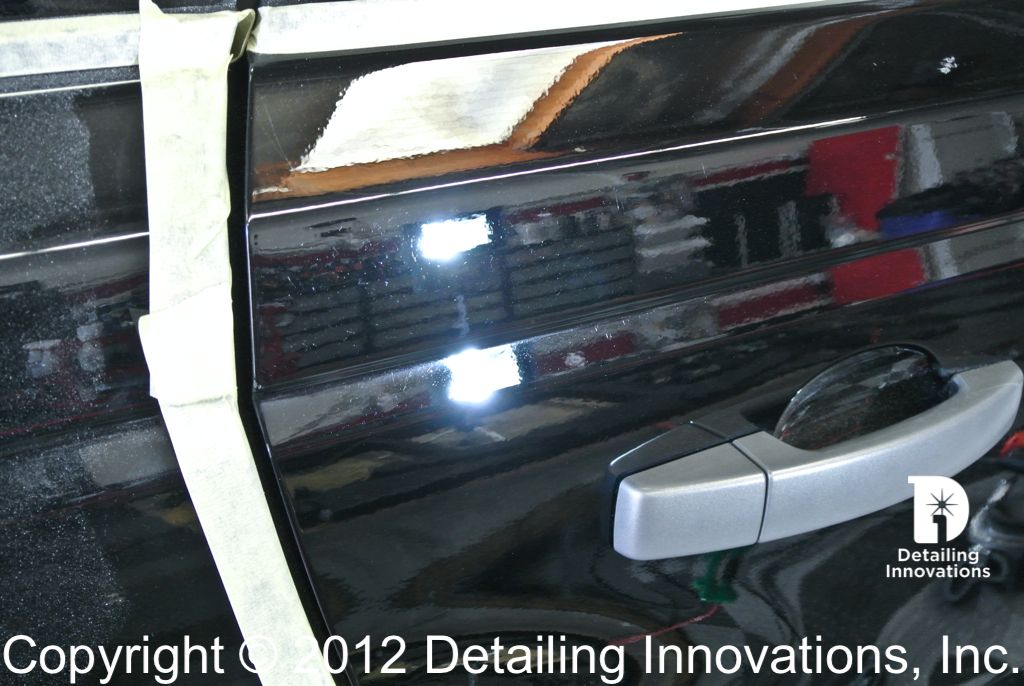
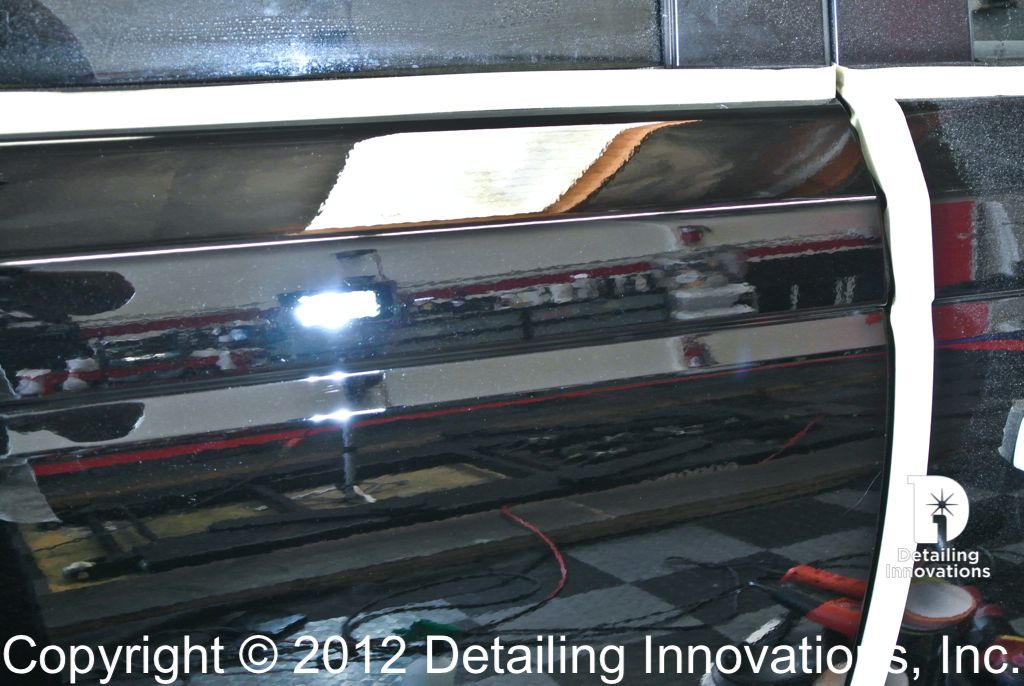
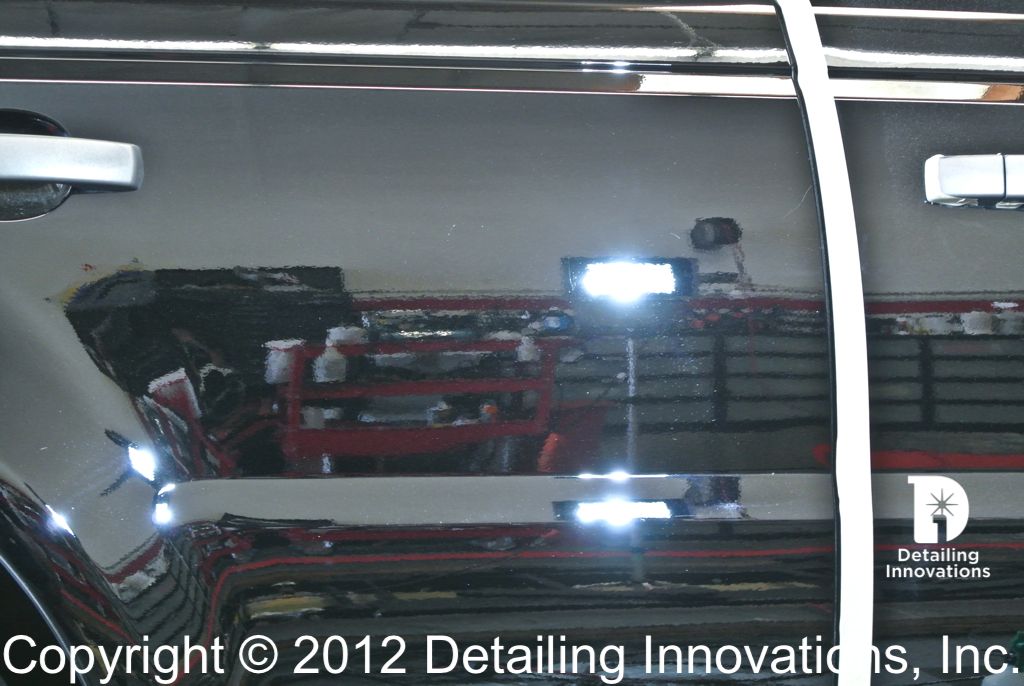
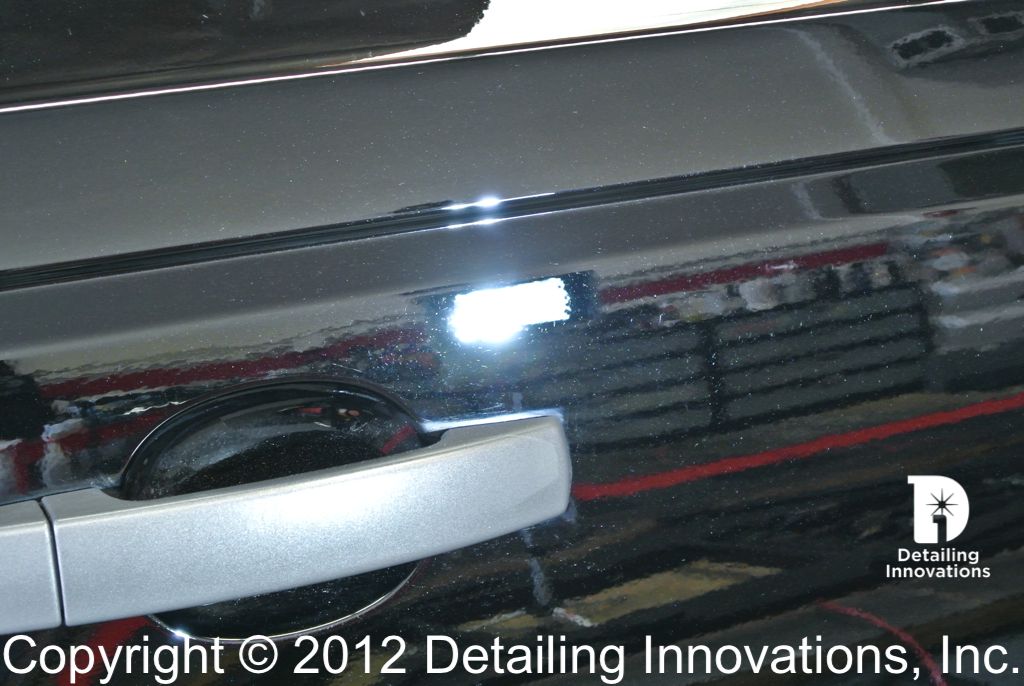
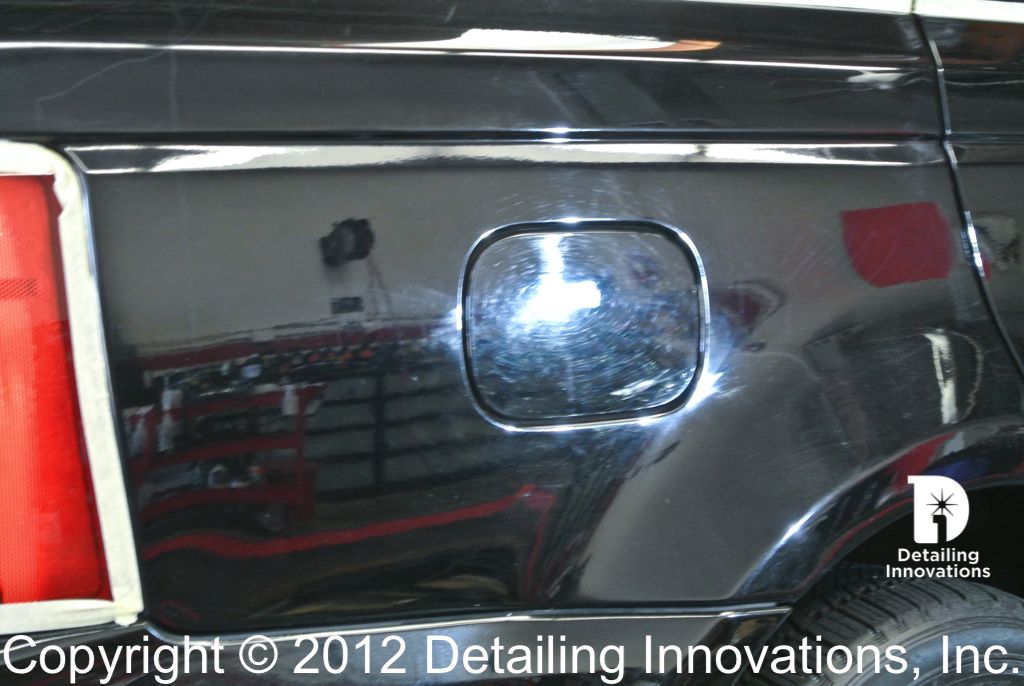
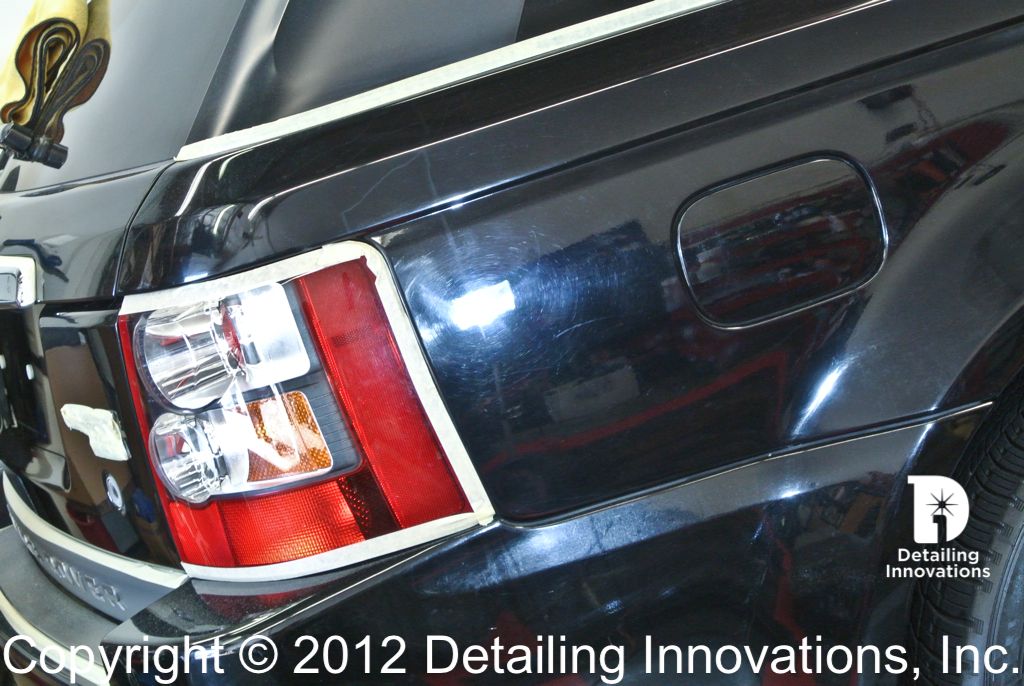
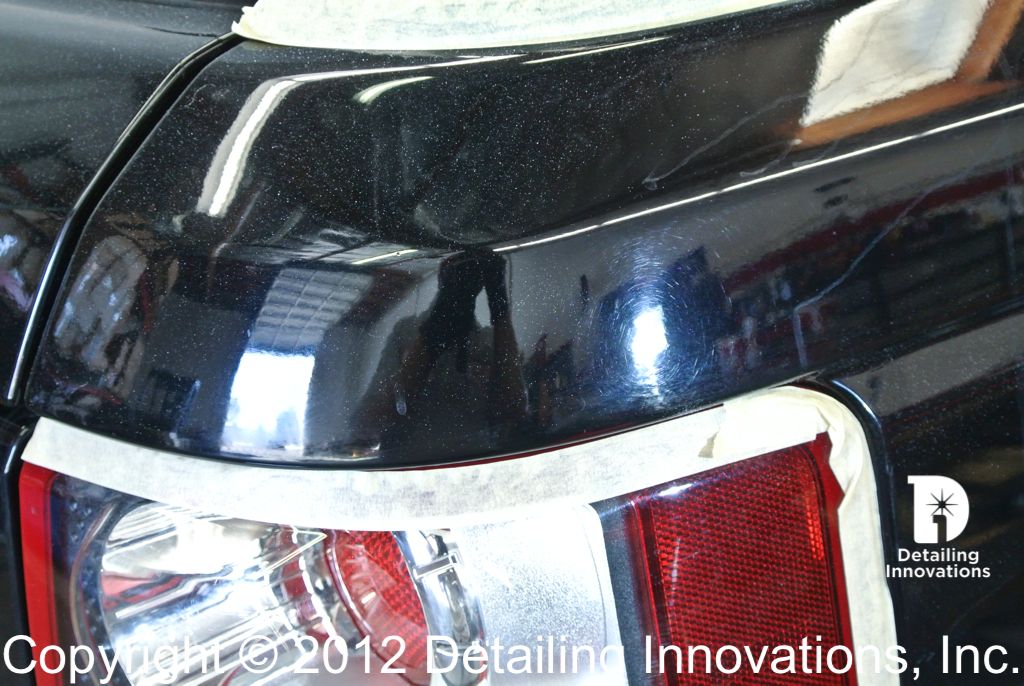
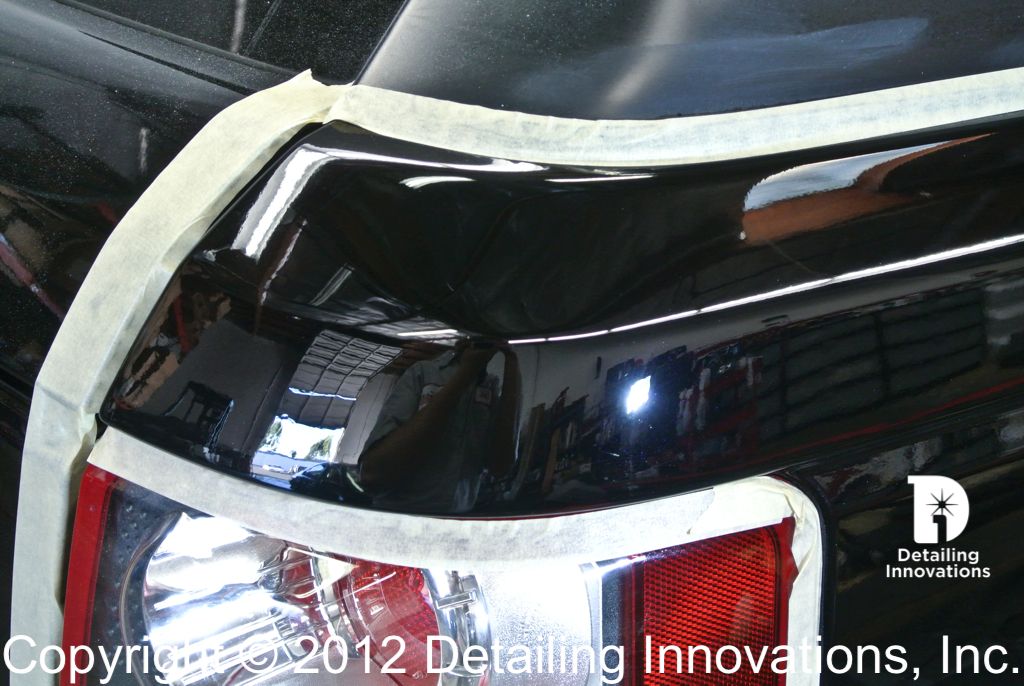
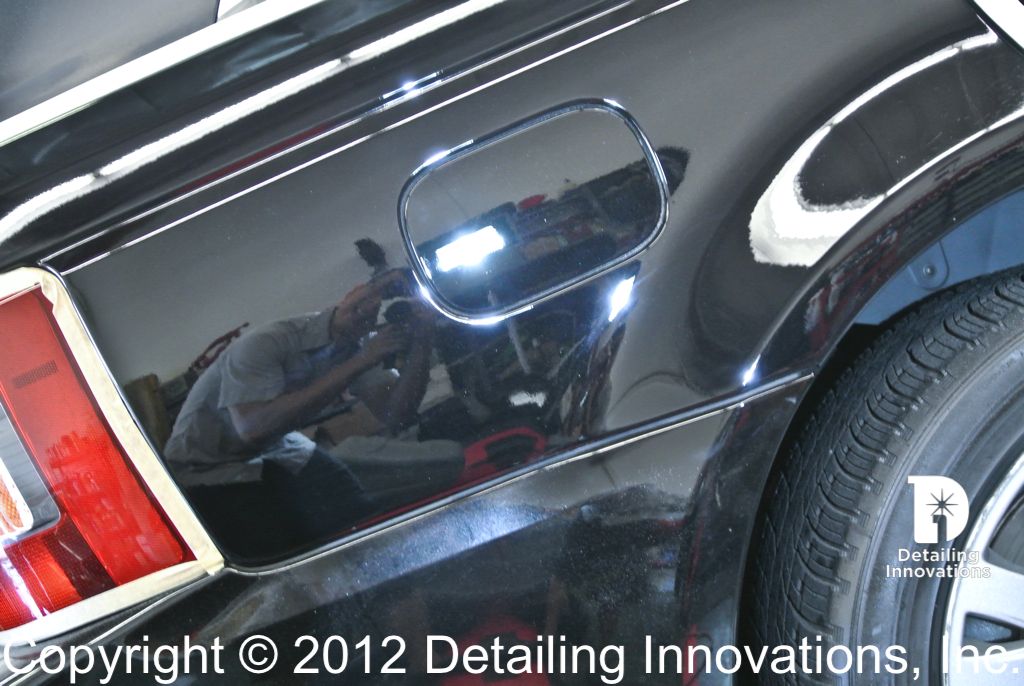
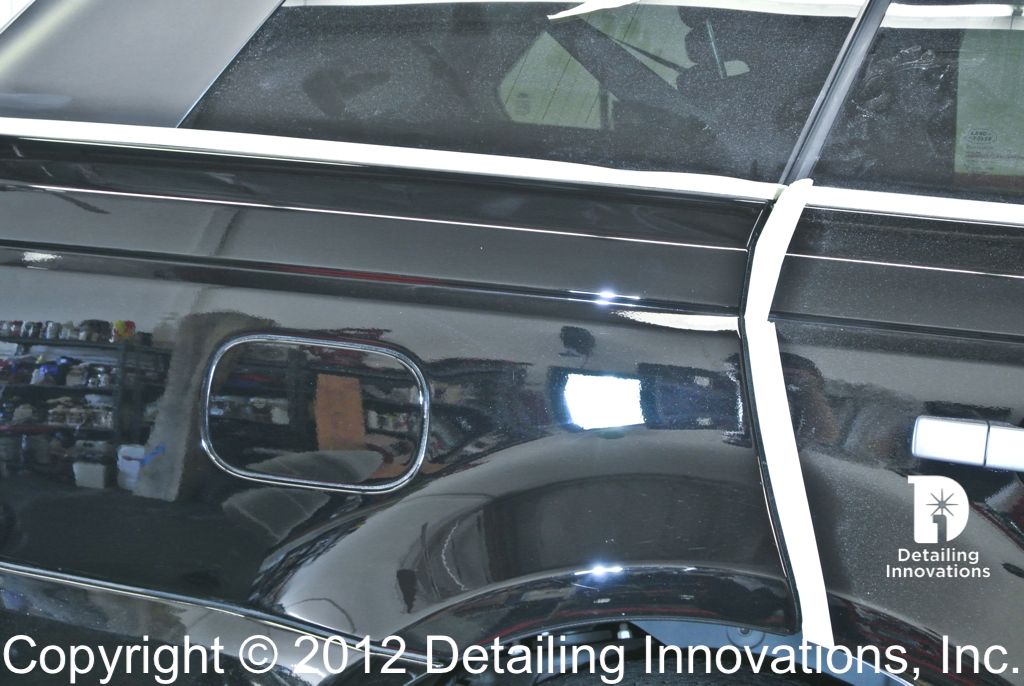
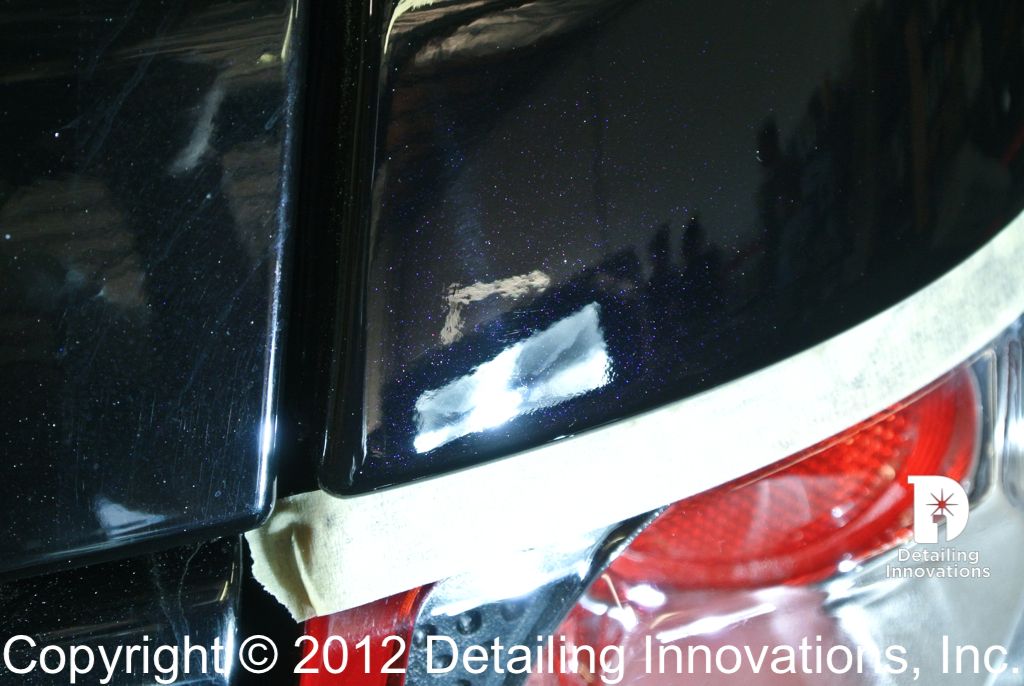
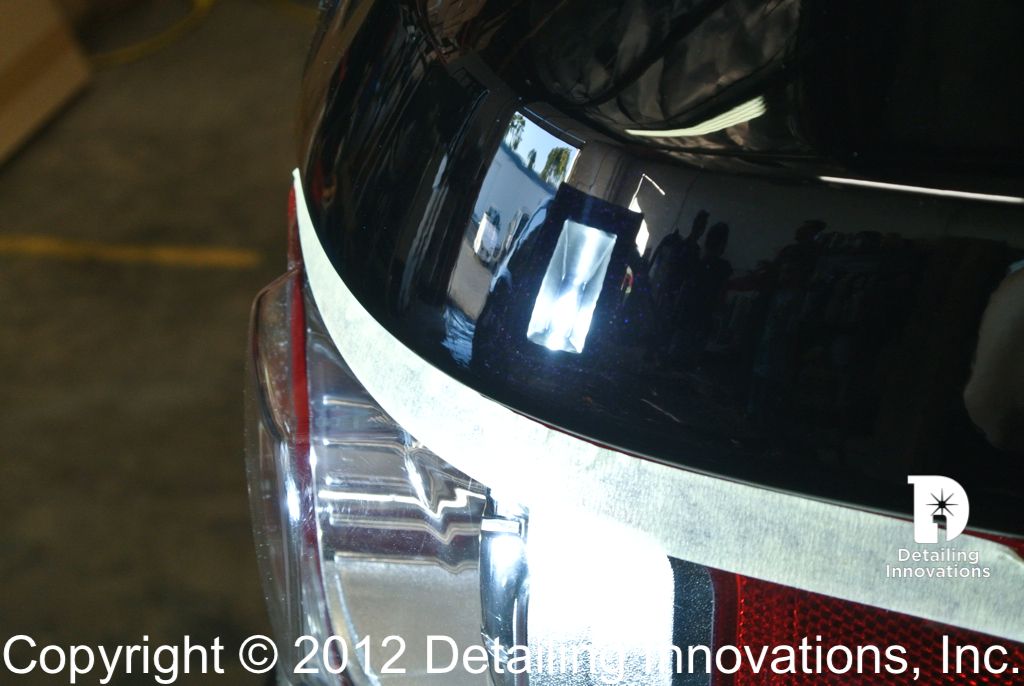
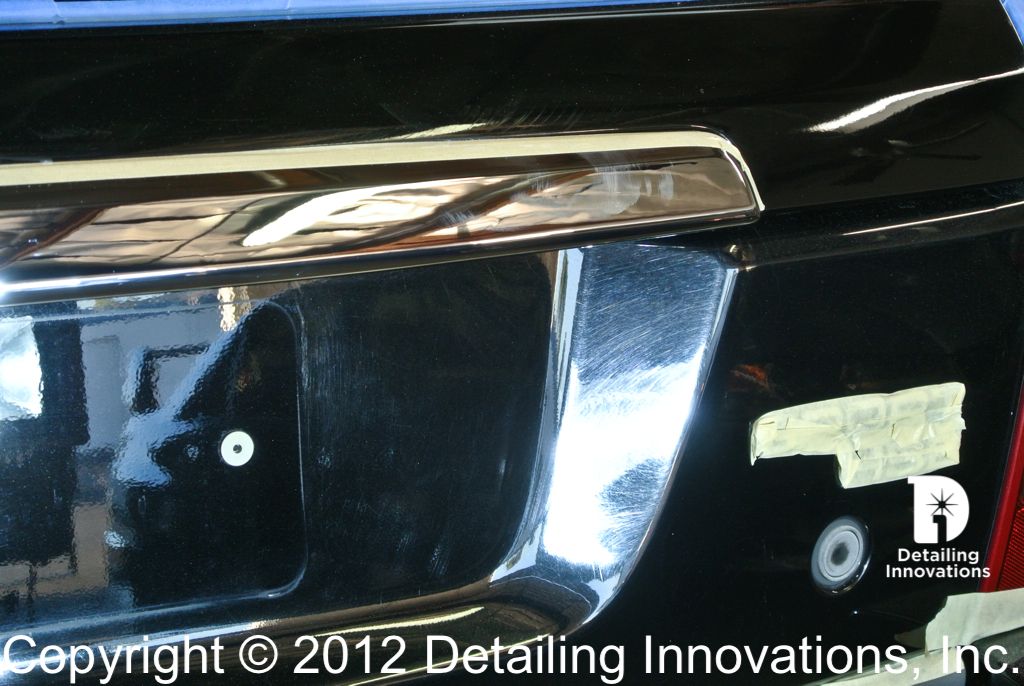
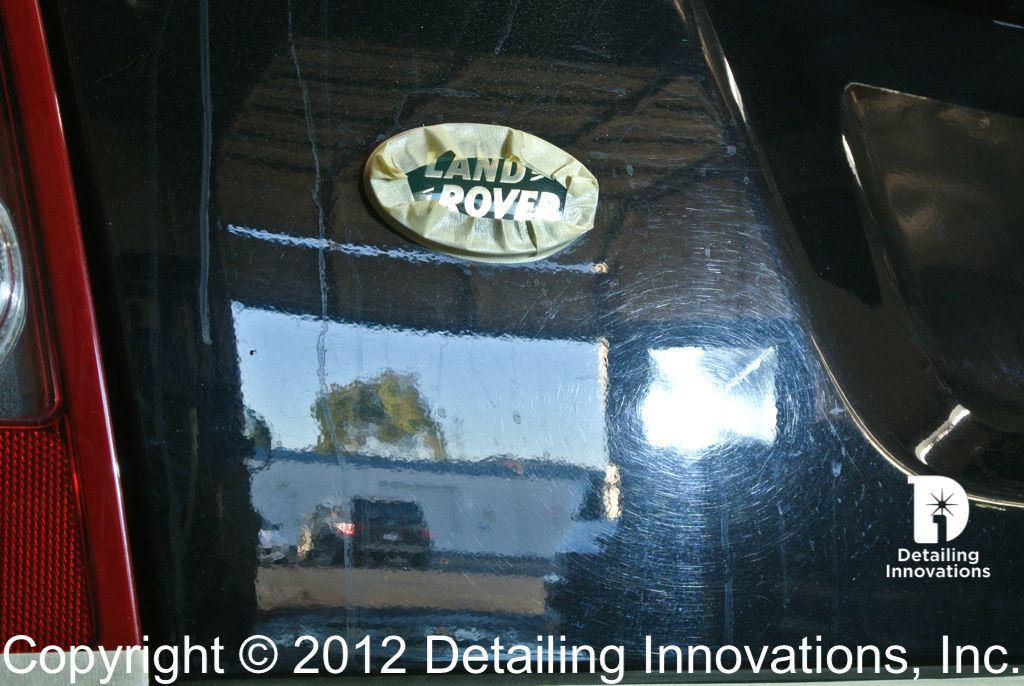
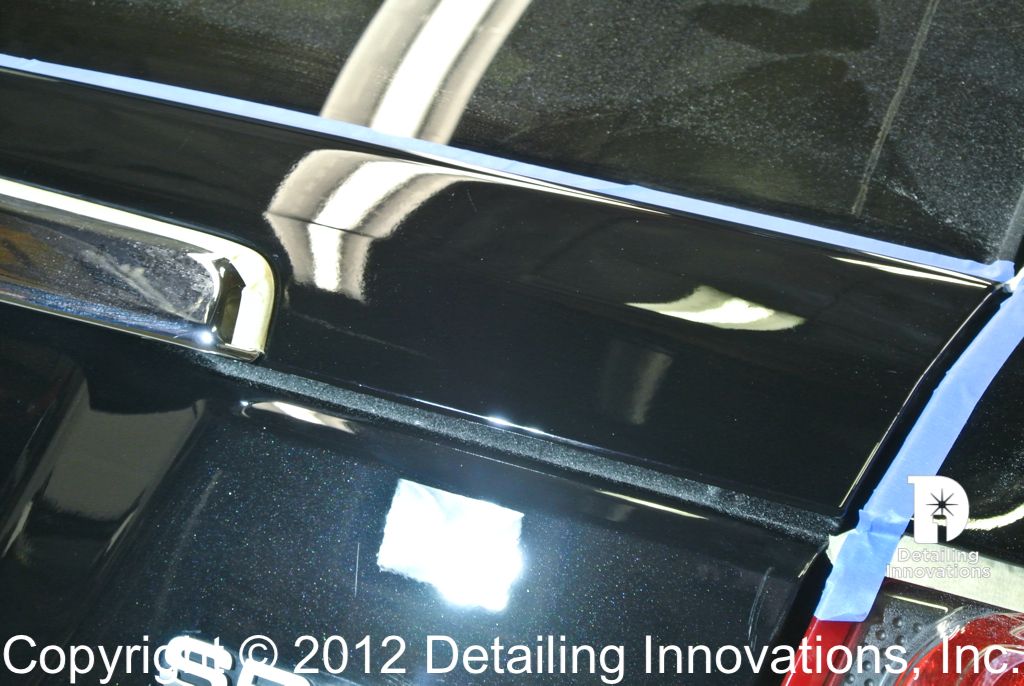
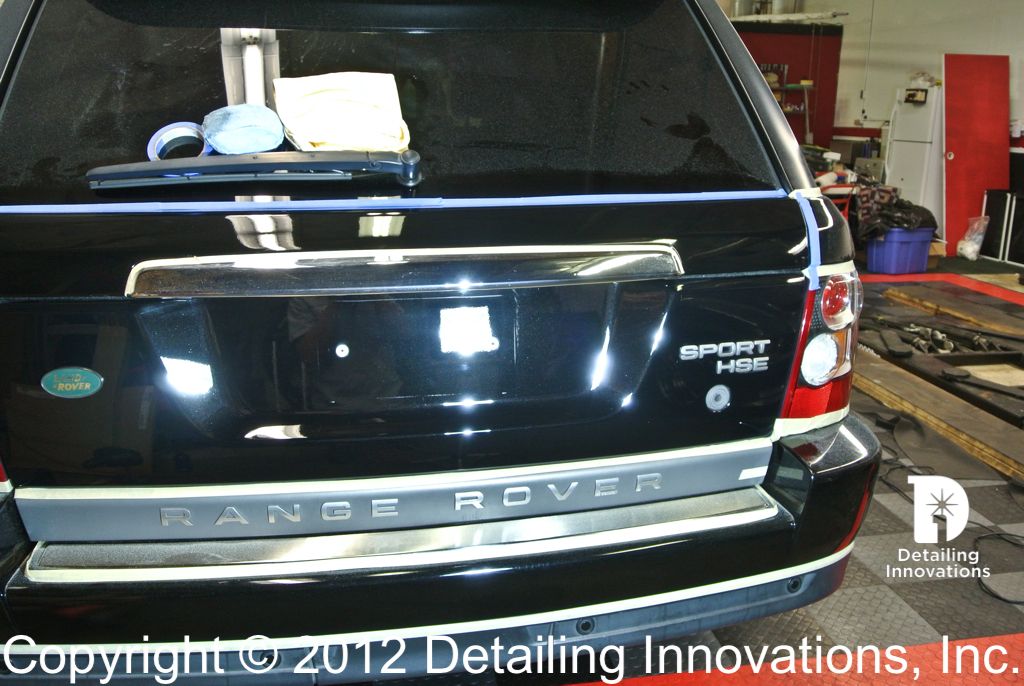
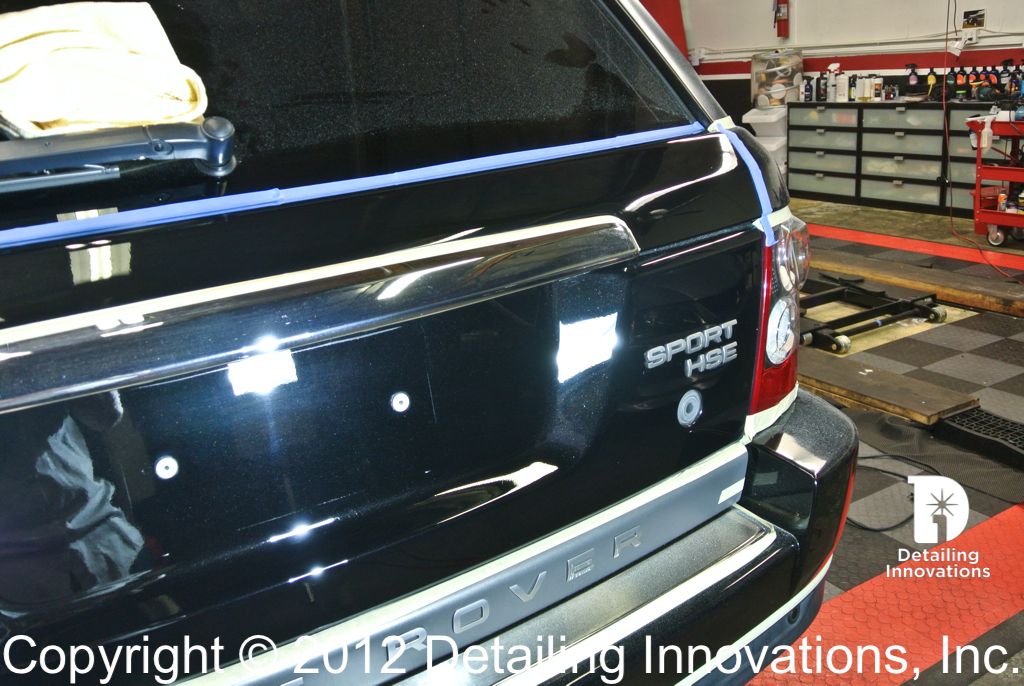
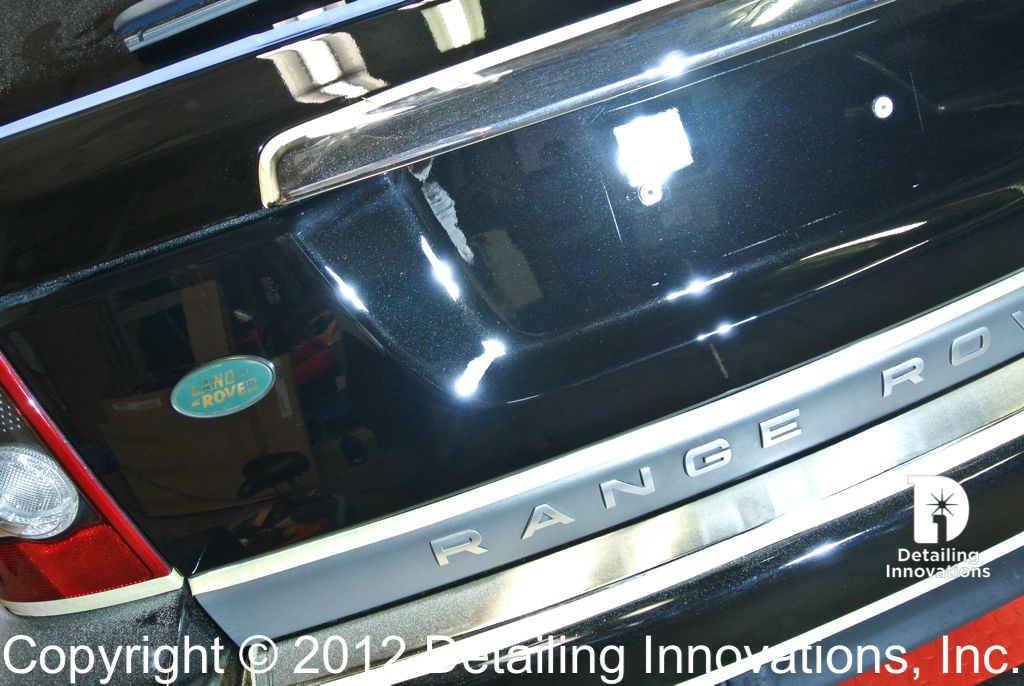
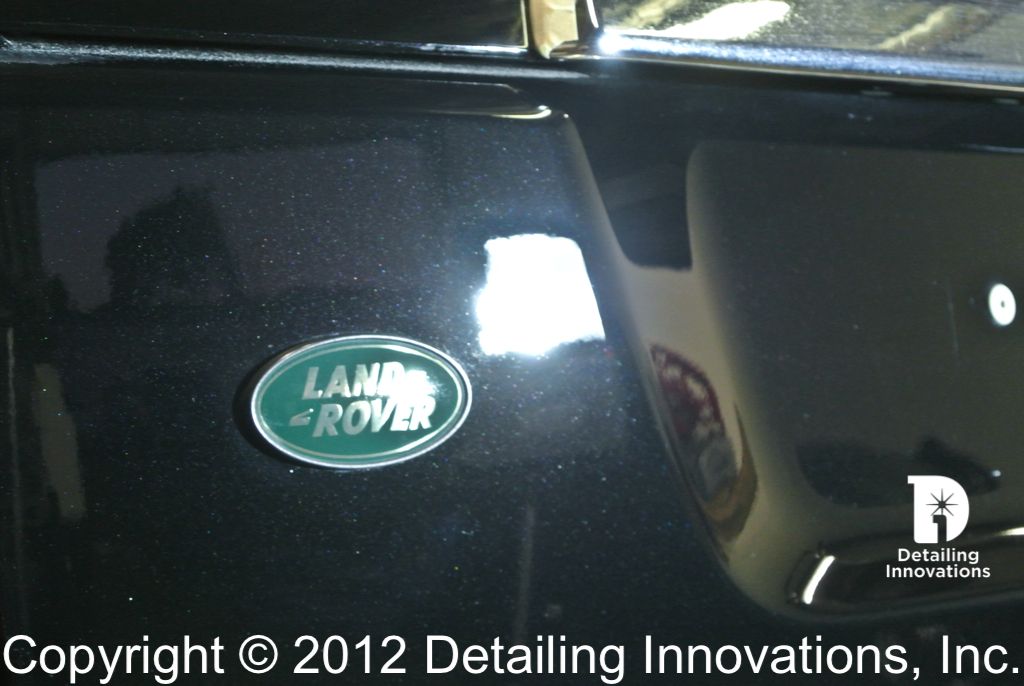
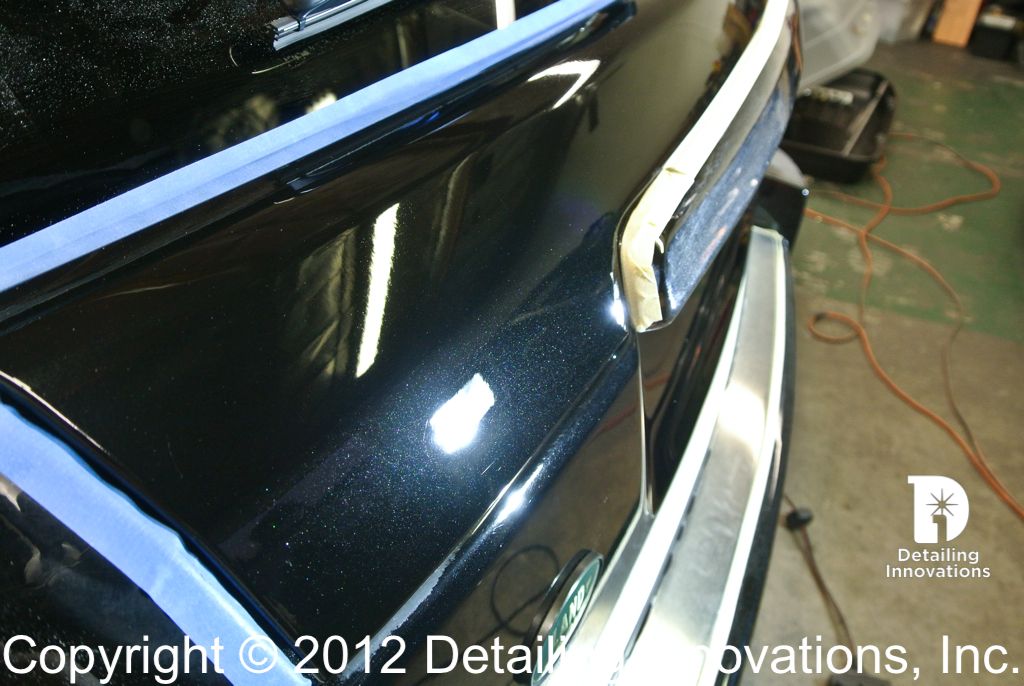
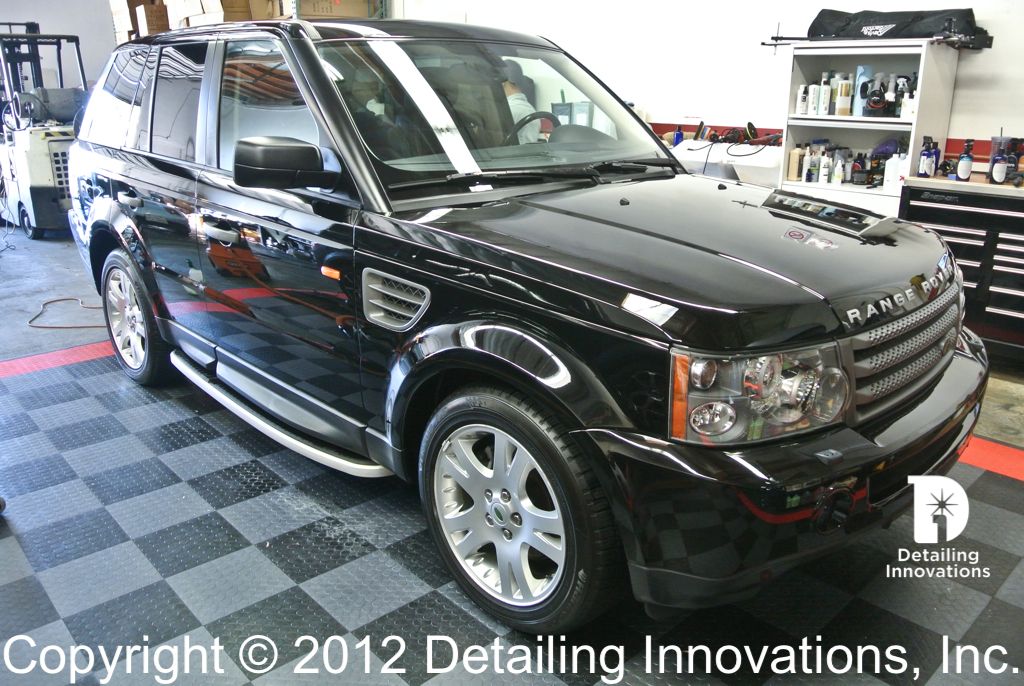
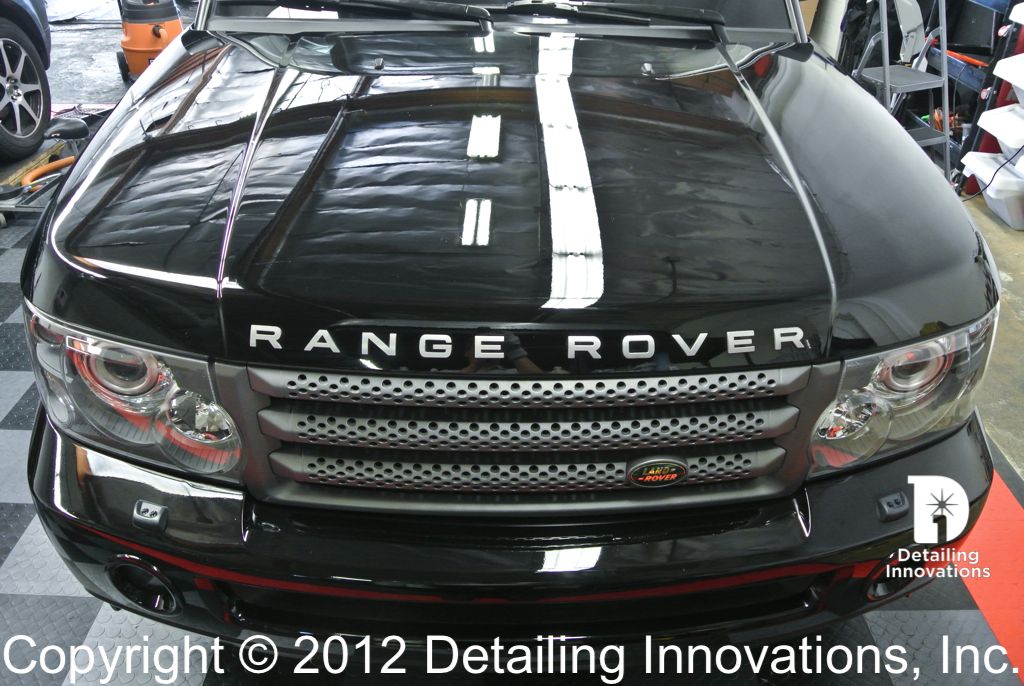
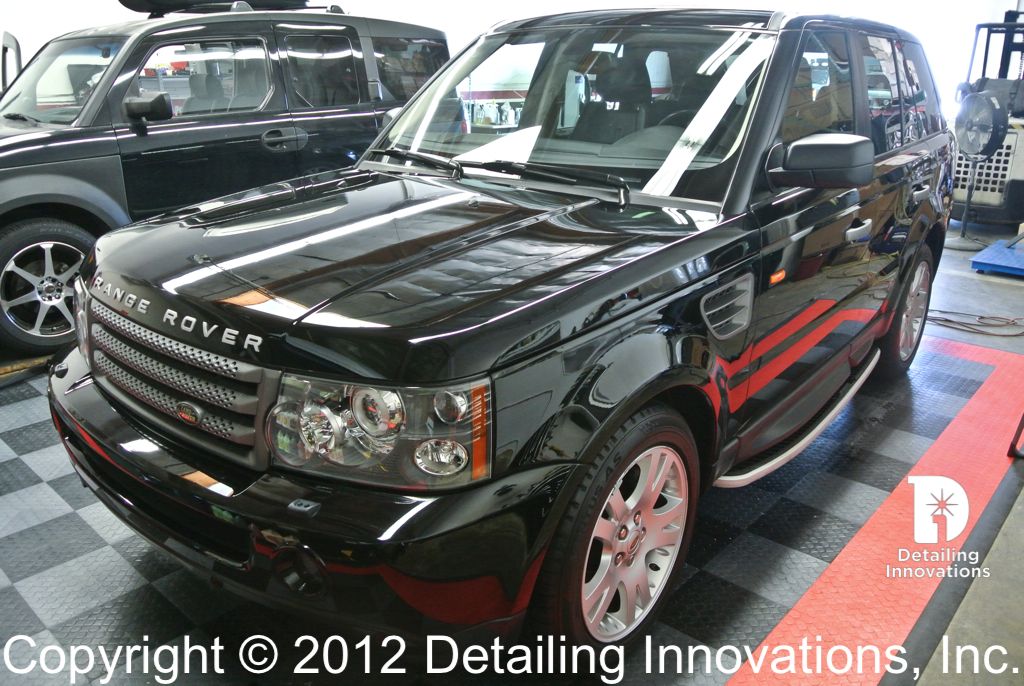
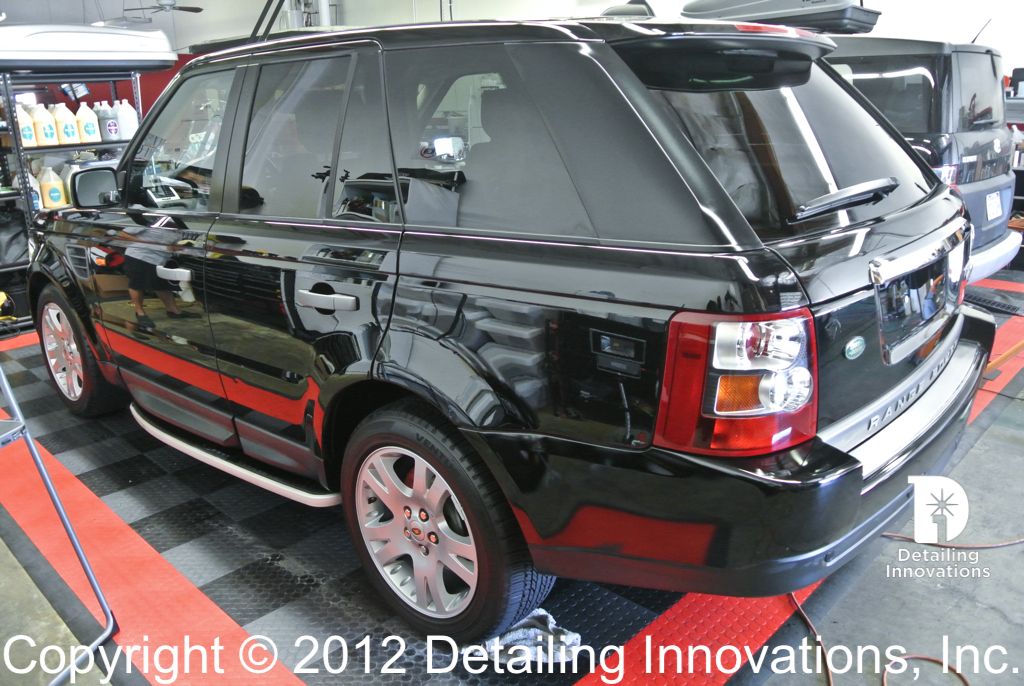
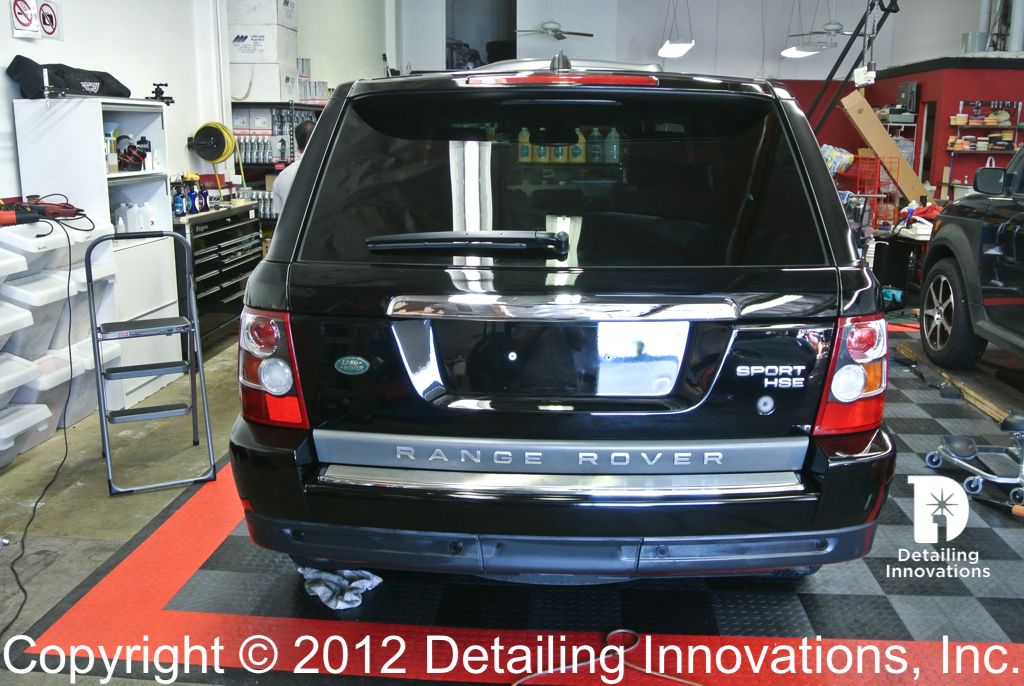
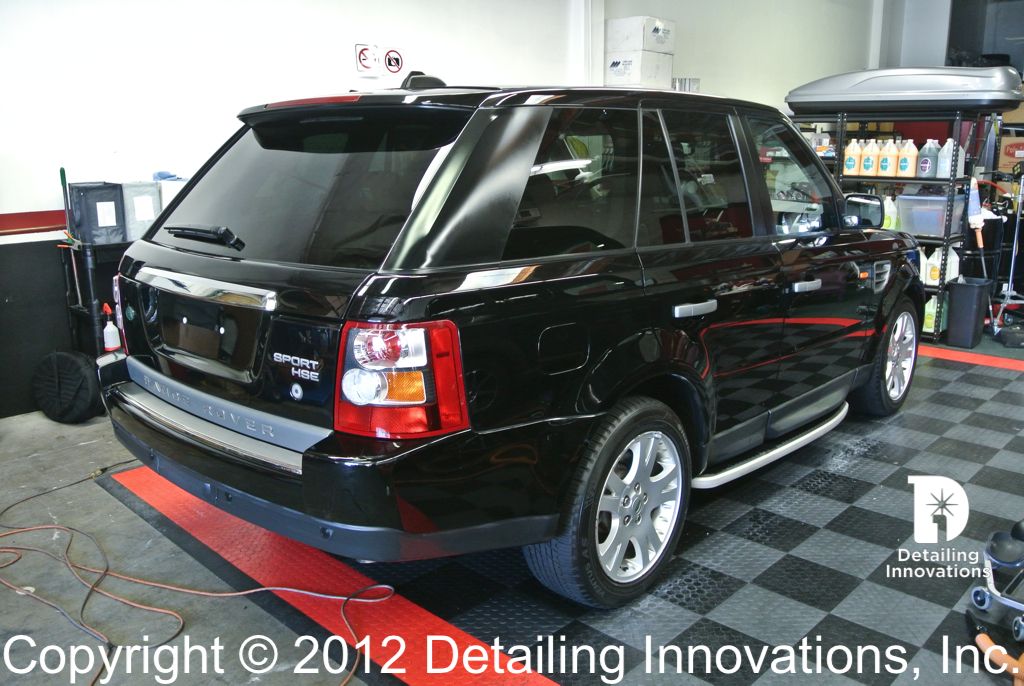
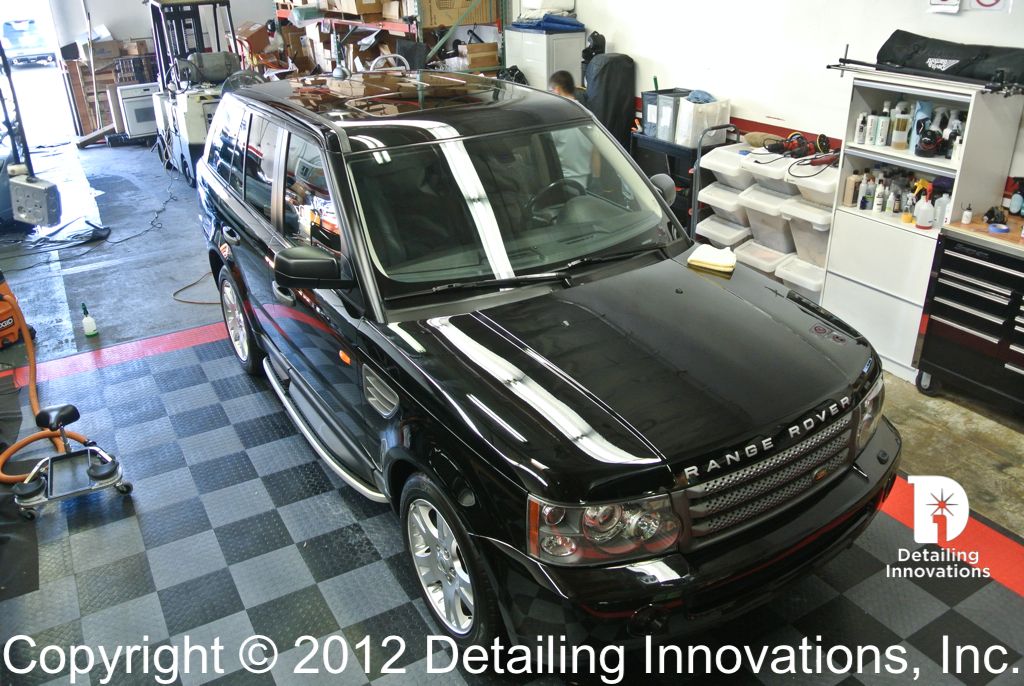
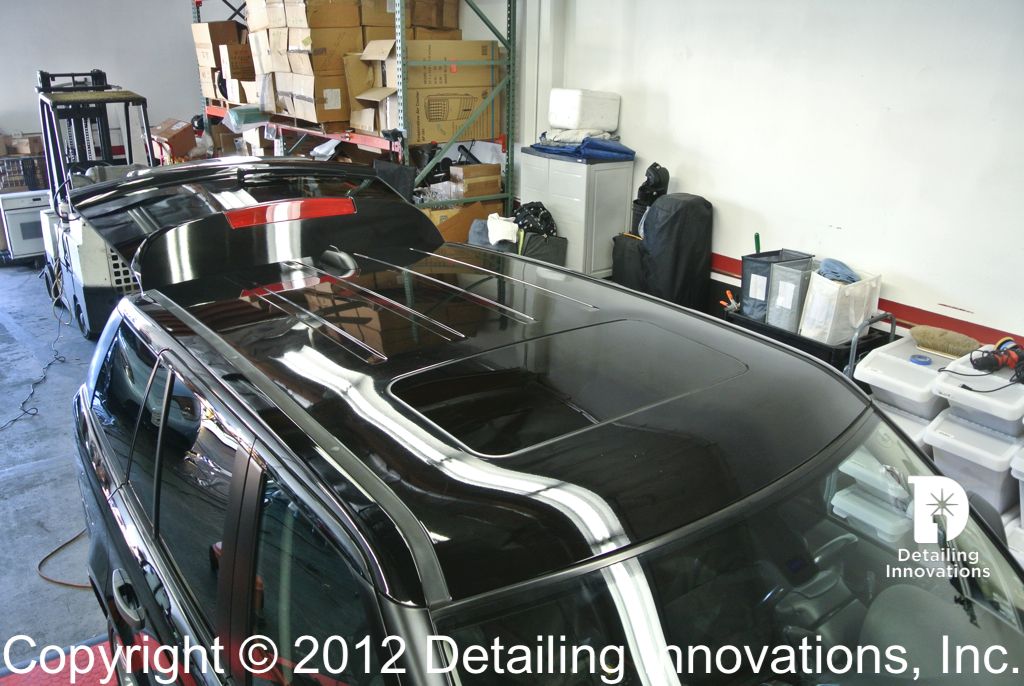
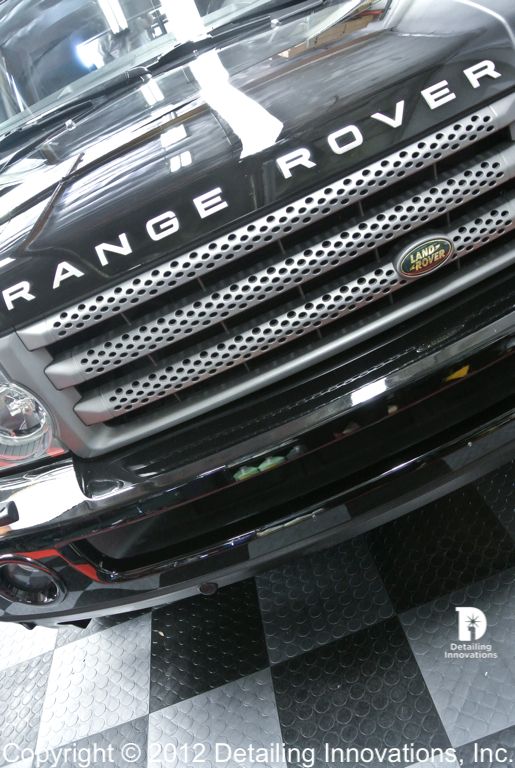
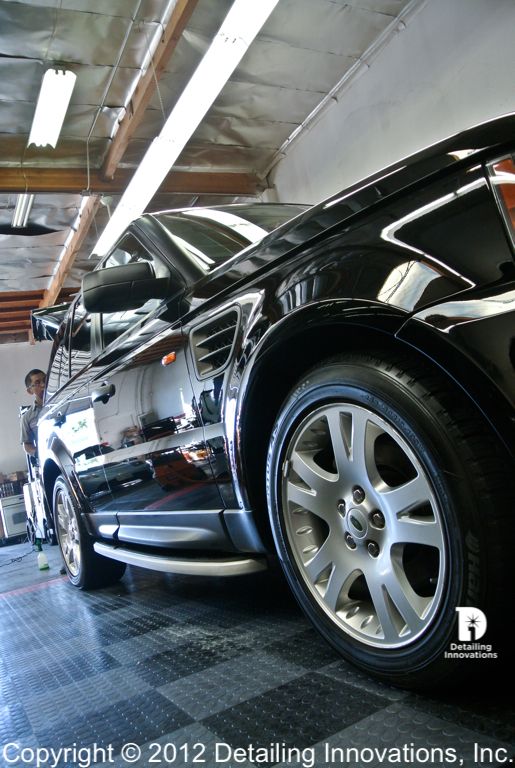
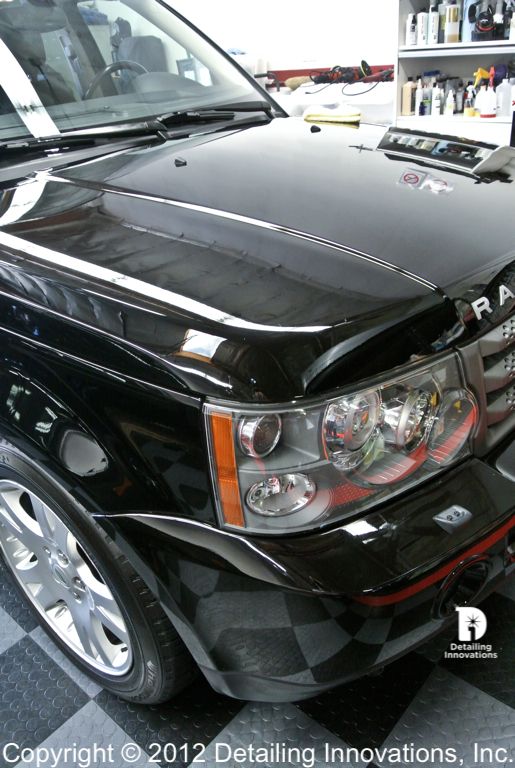
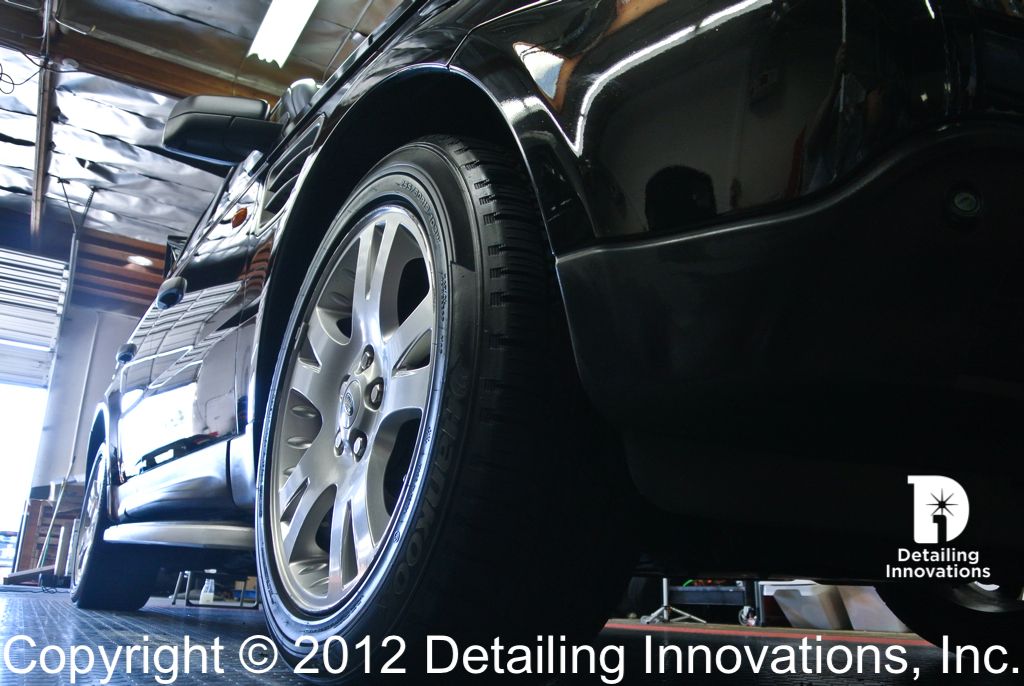
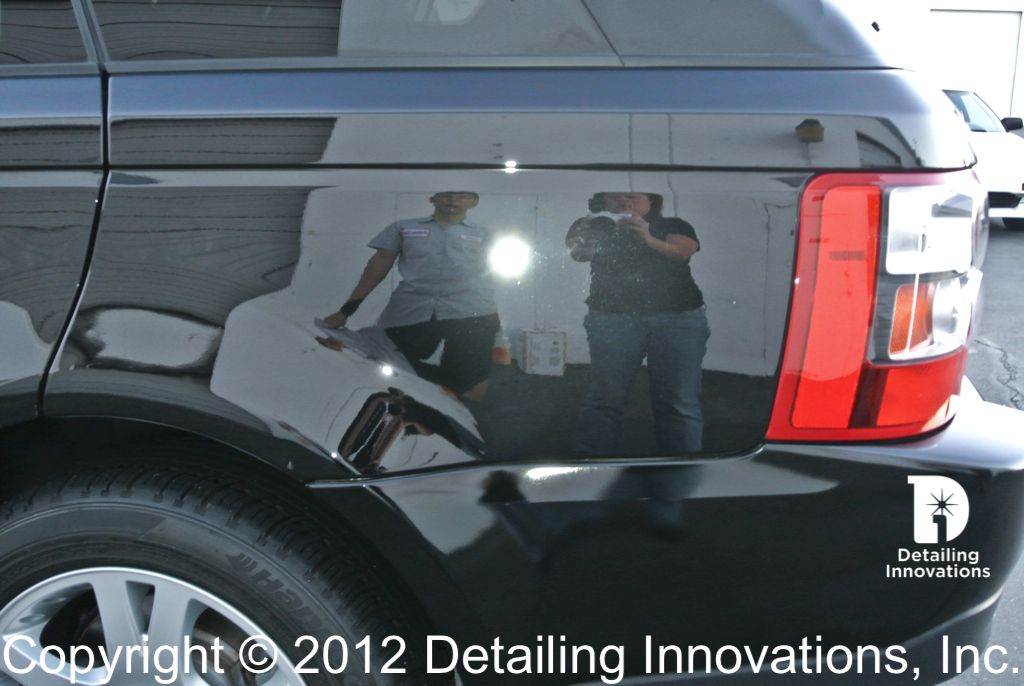
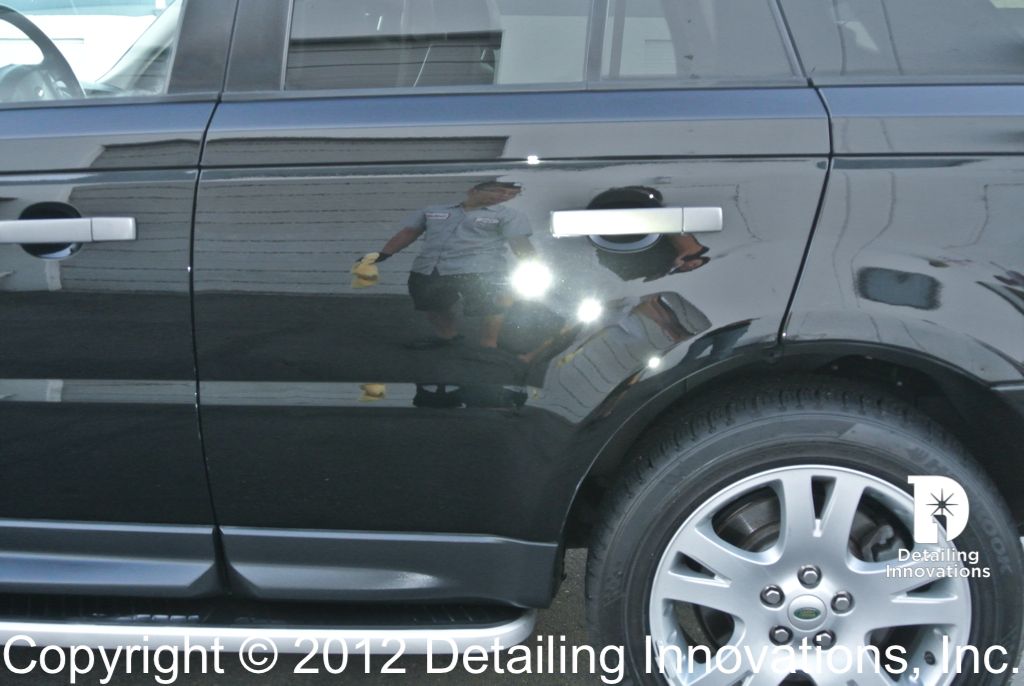
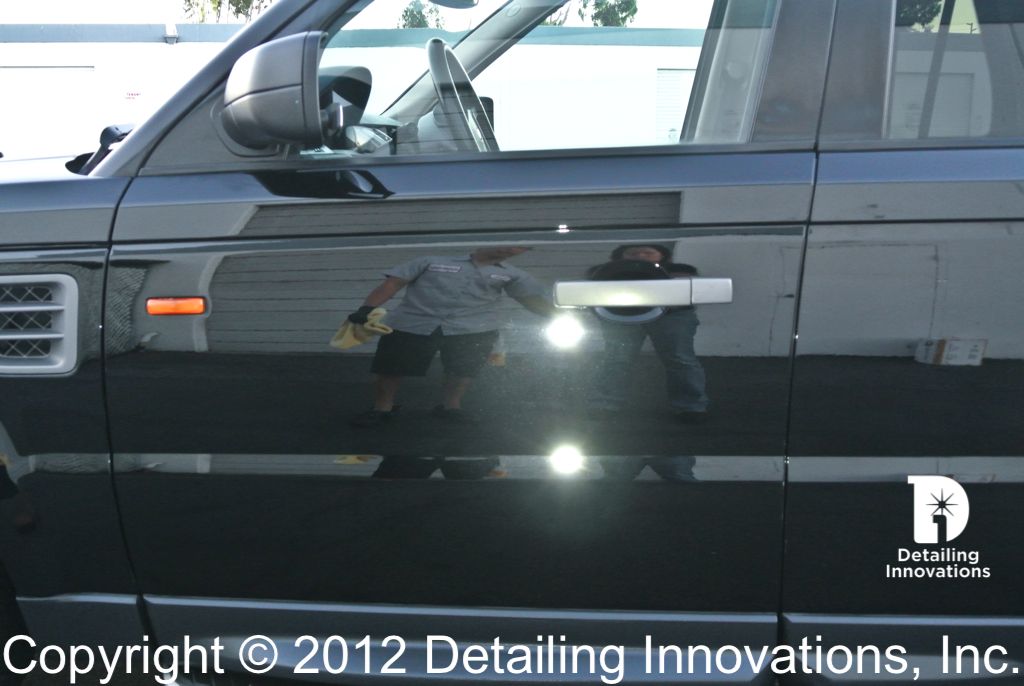
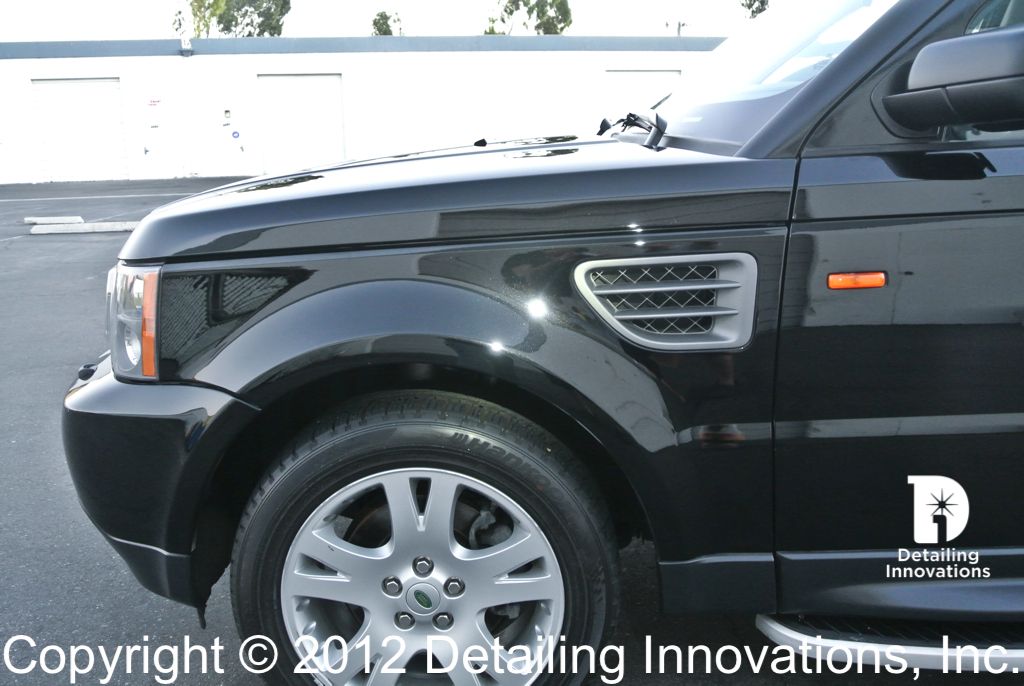
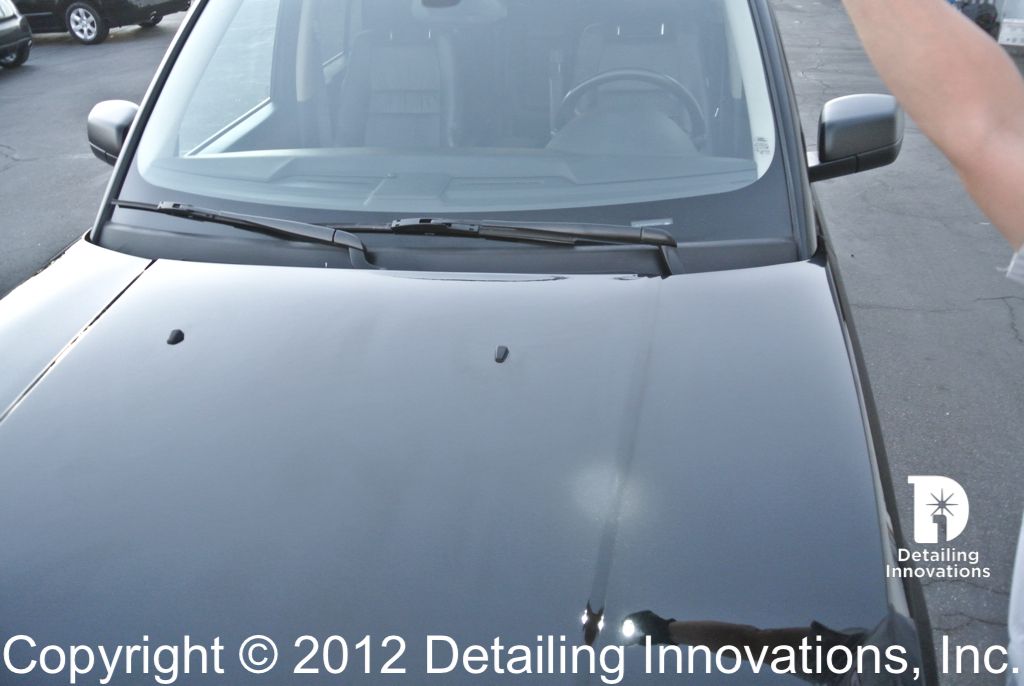
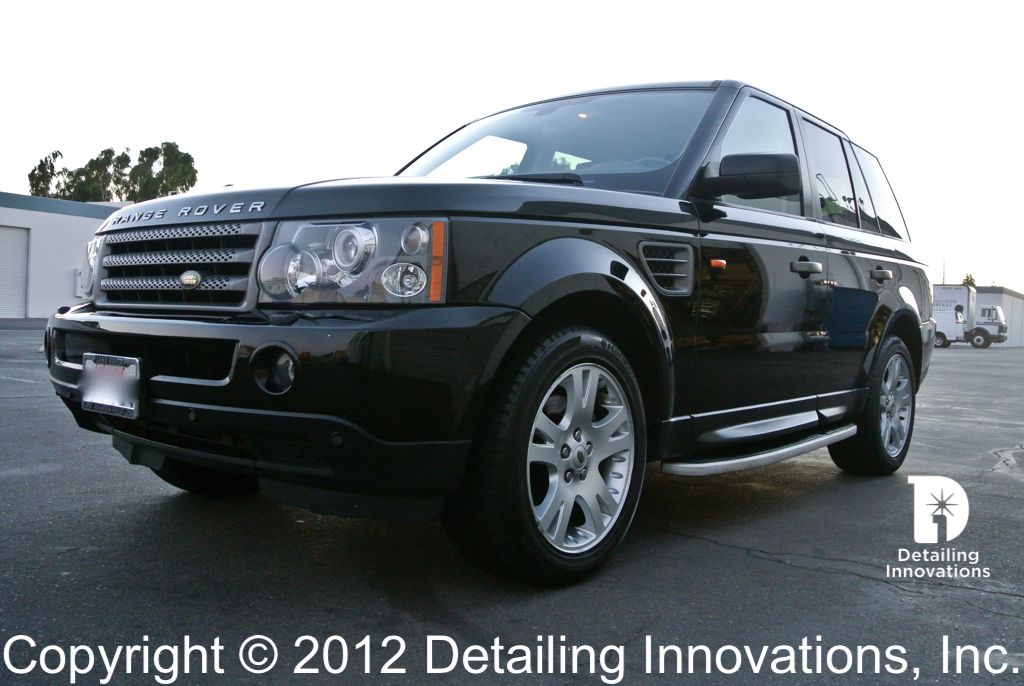
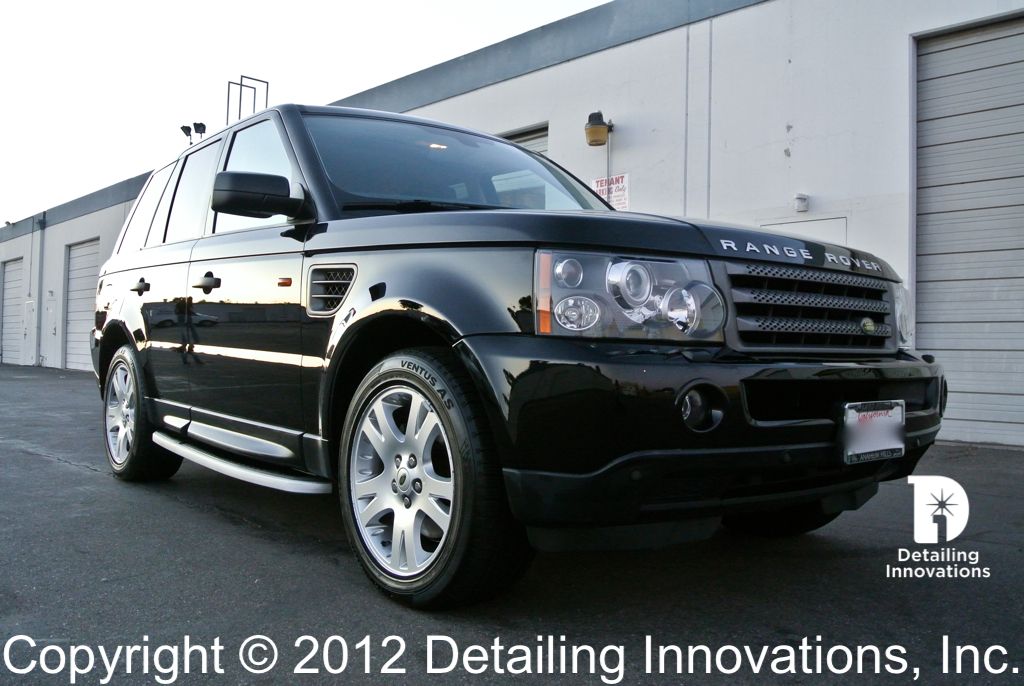
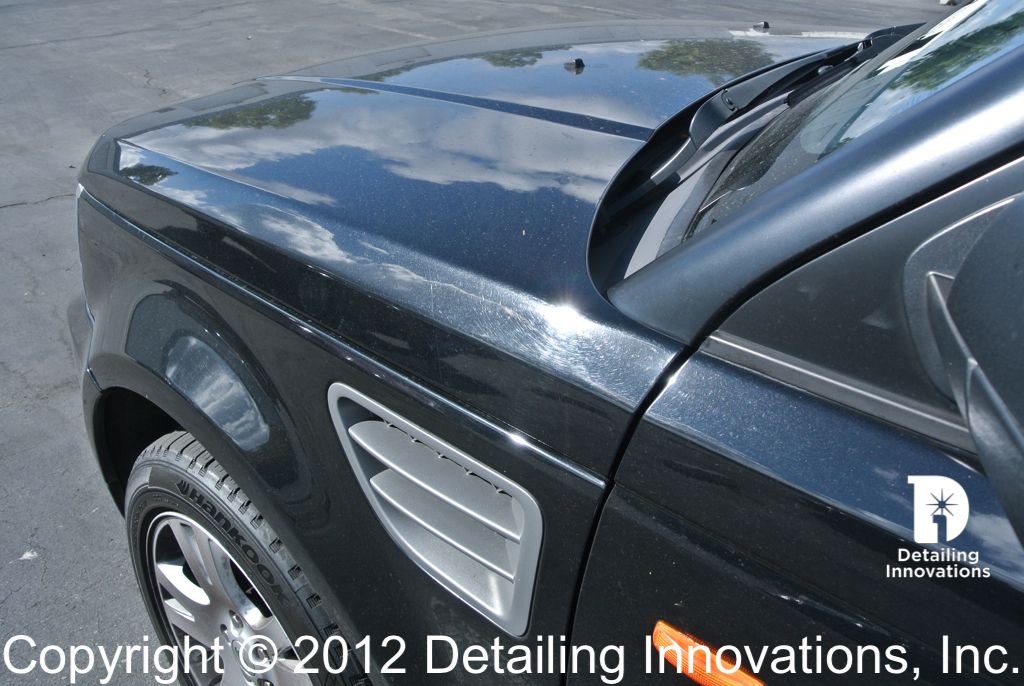
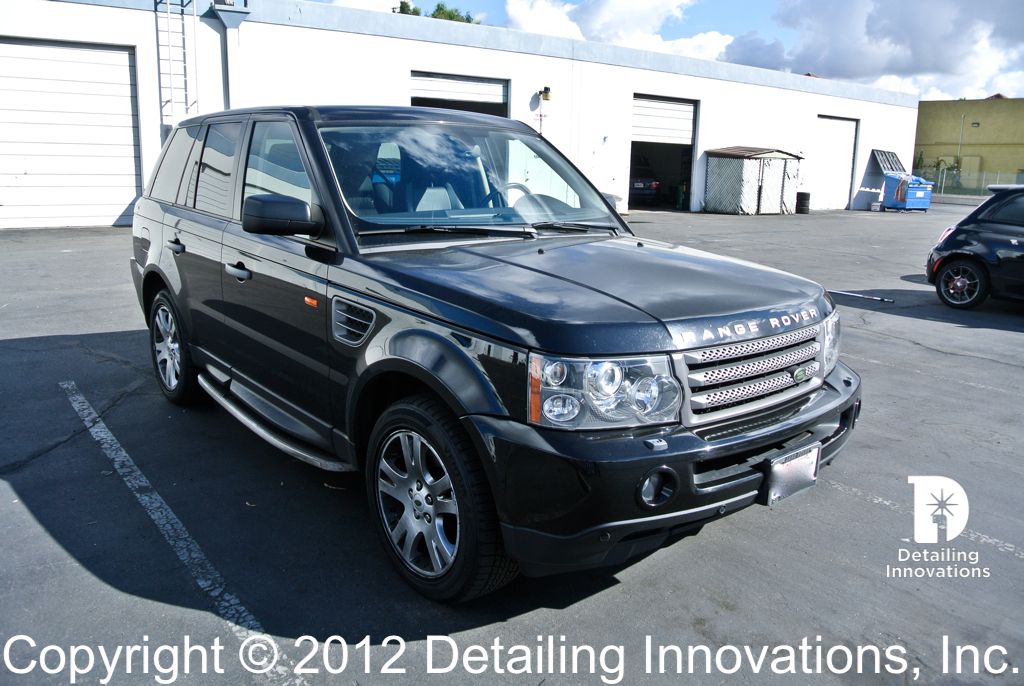
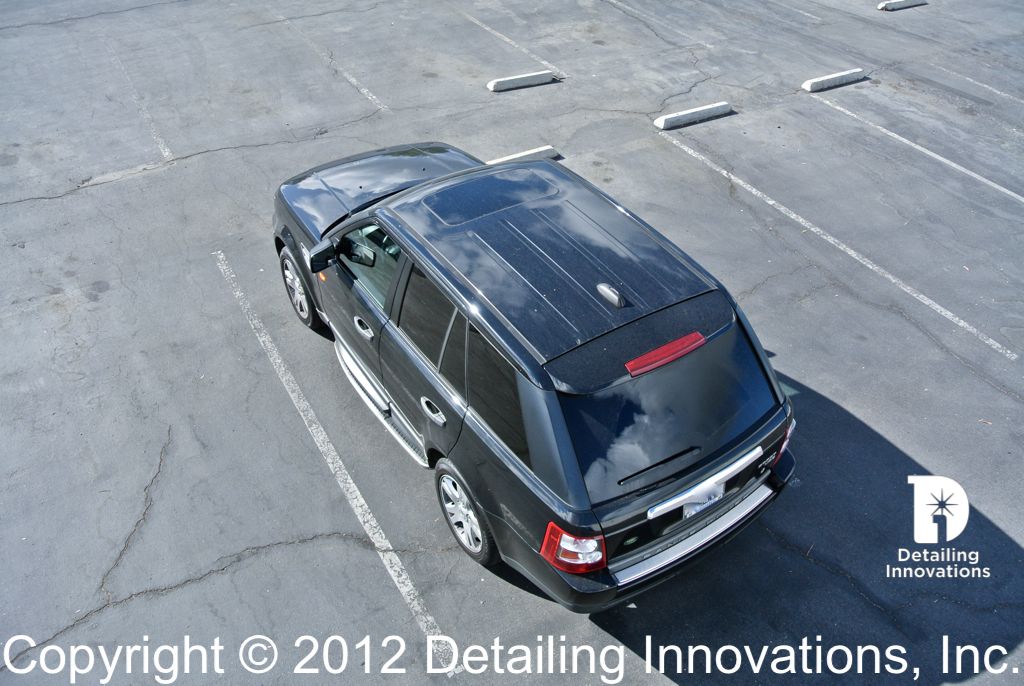
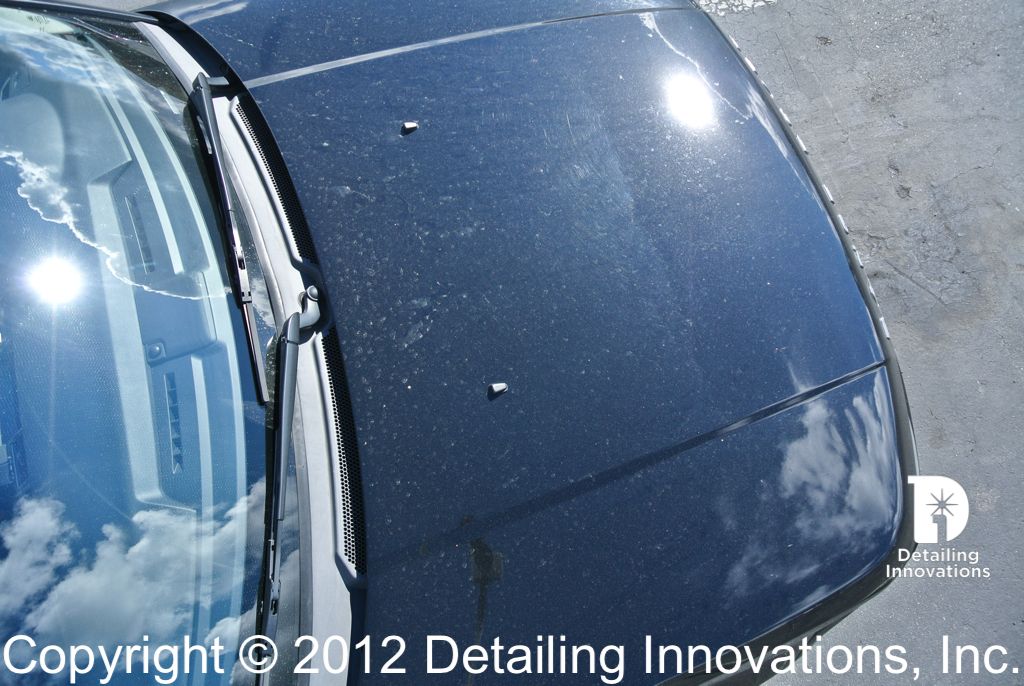
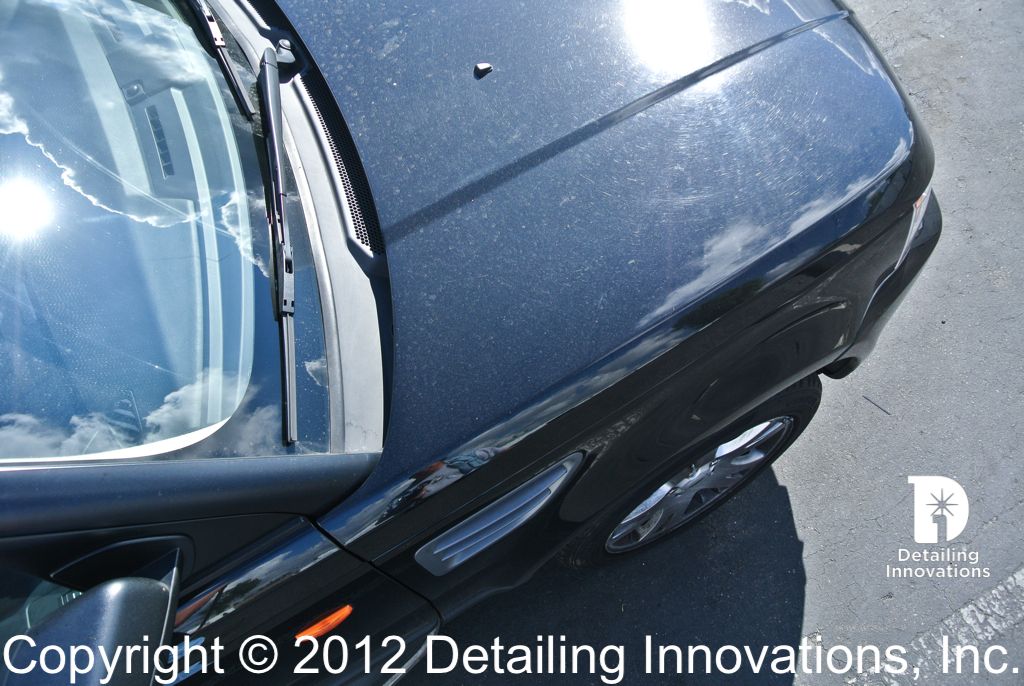
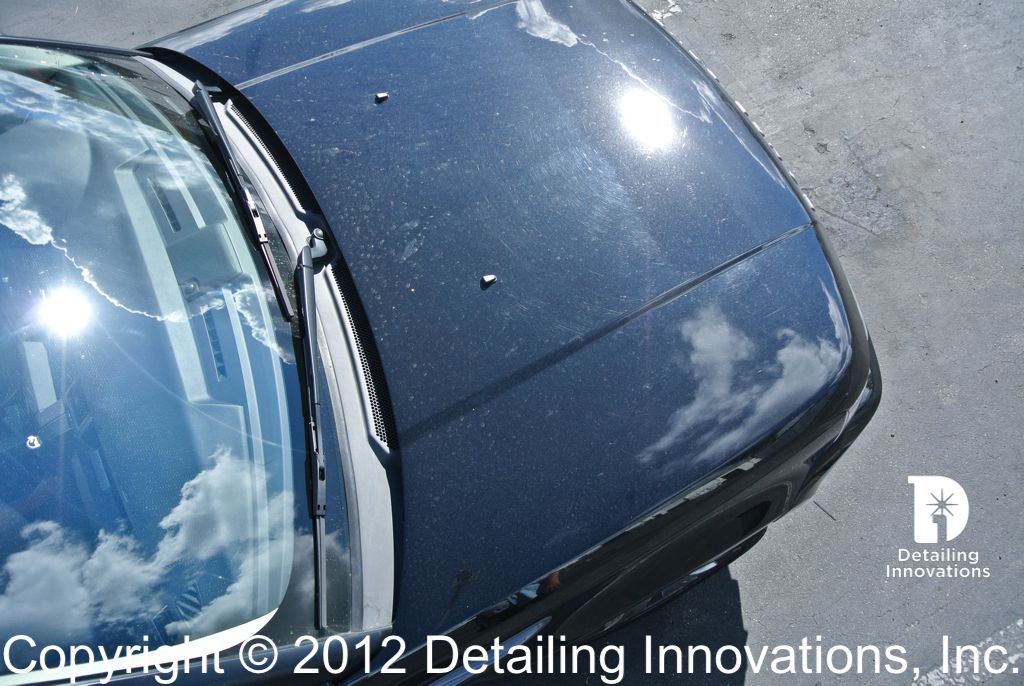
We have a Range Rover Sport HSE in for a Major paint correct. We did some test spots on the hood to show the client what results could be accomplished on his paint at different service levels. He only wanted the best and nothing less.
So here are the tools and products we used
Car Prep
Paint Correction
Protection
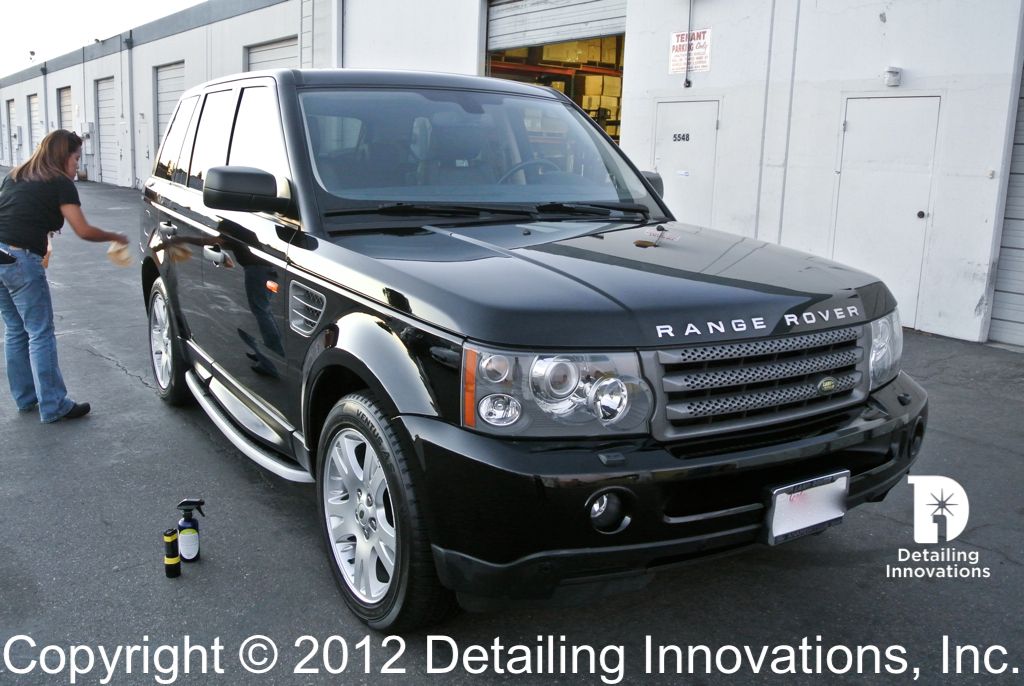
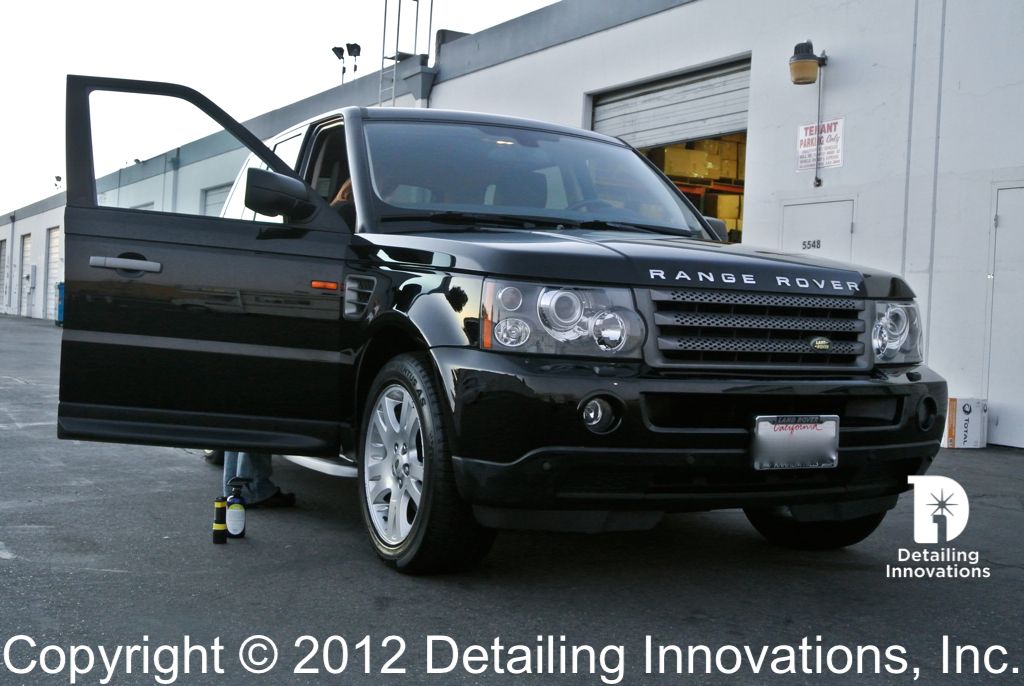
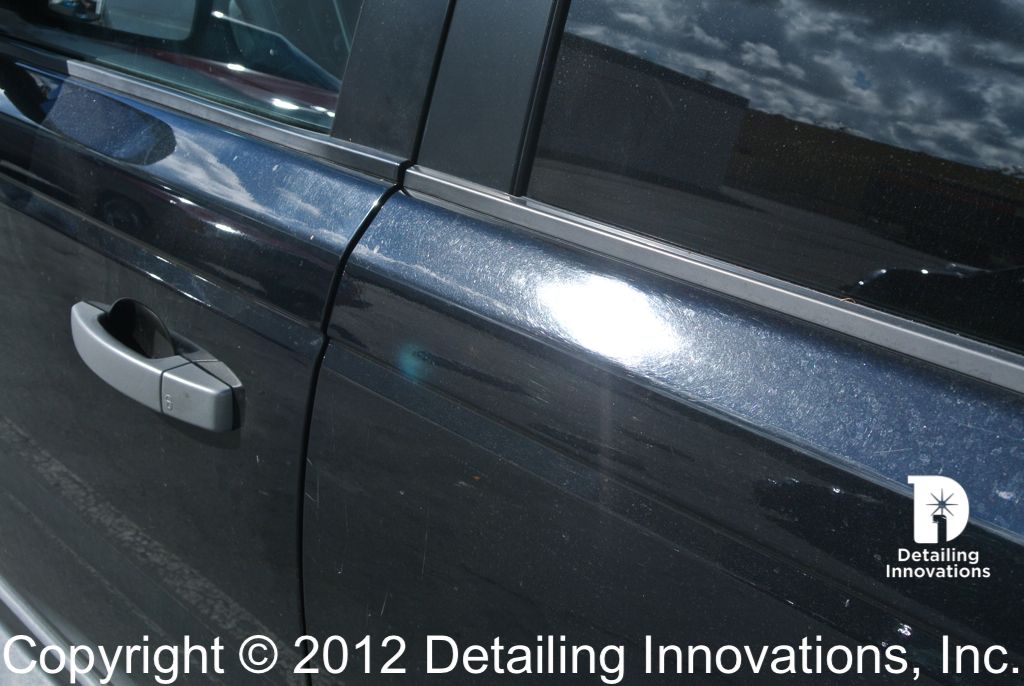
At Arrival


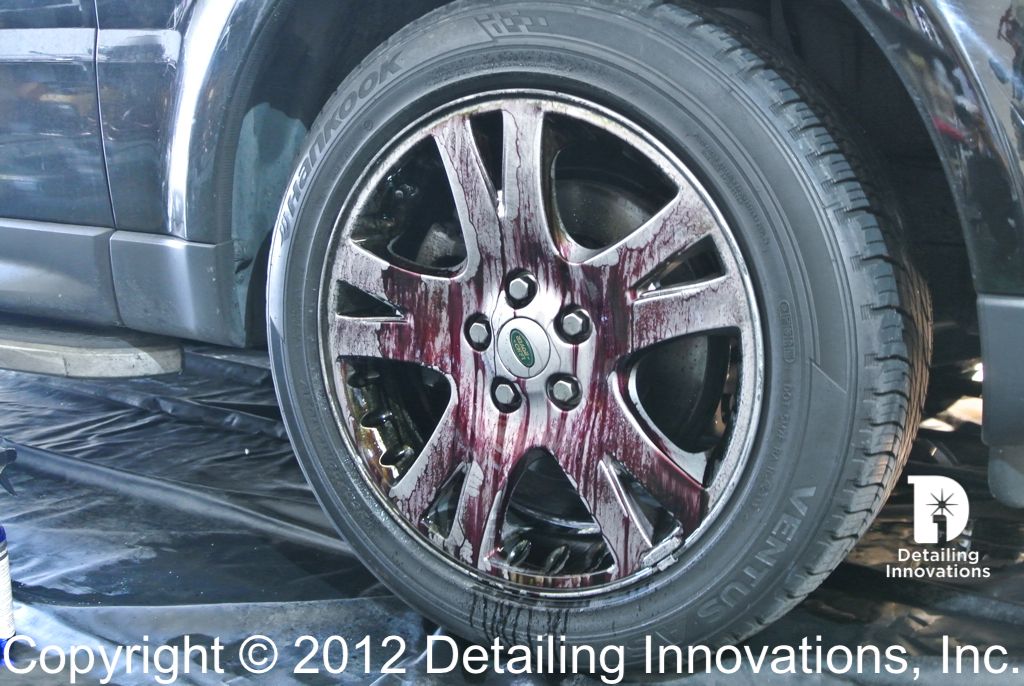
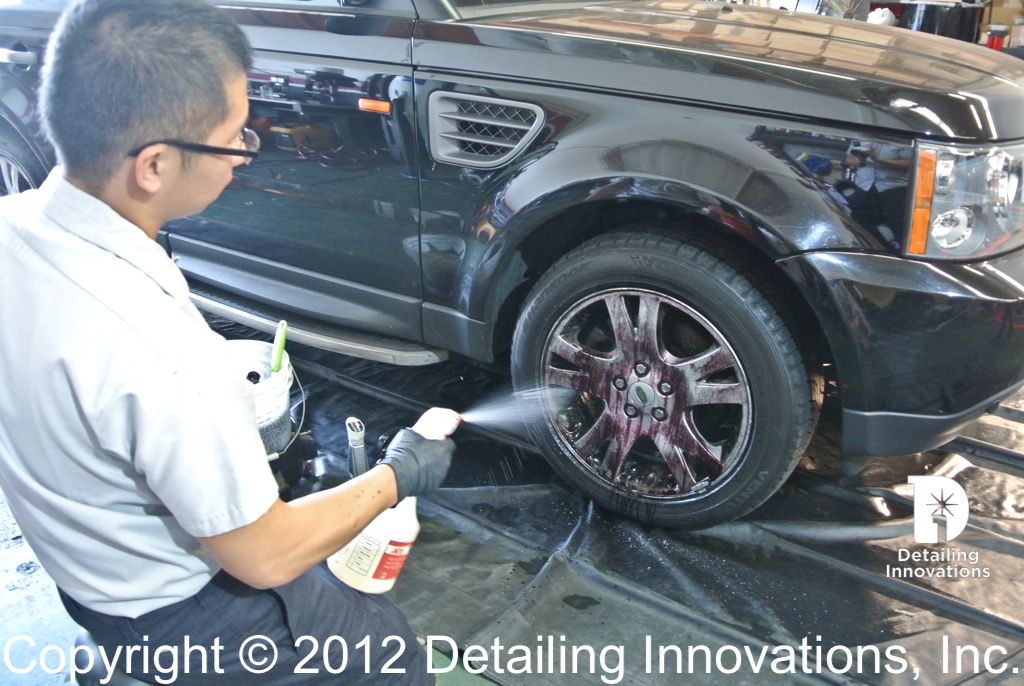
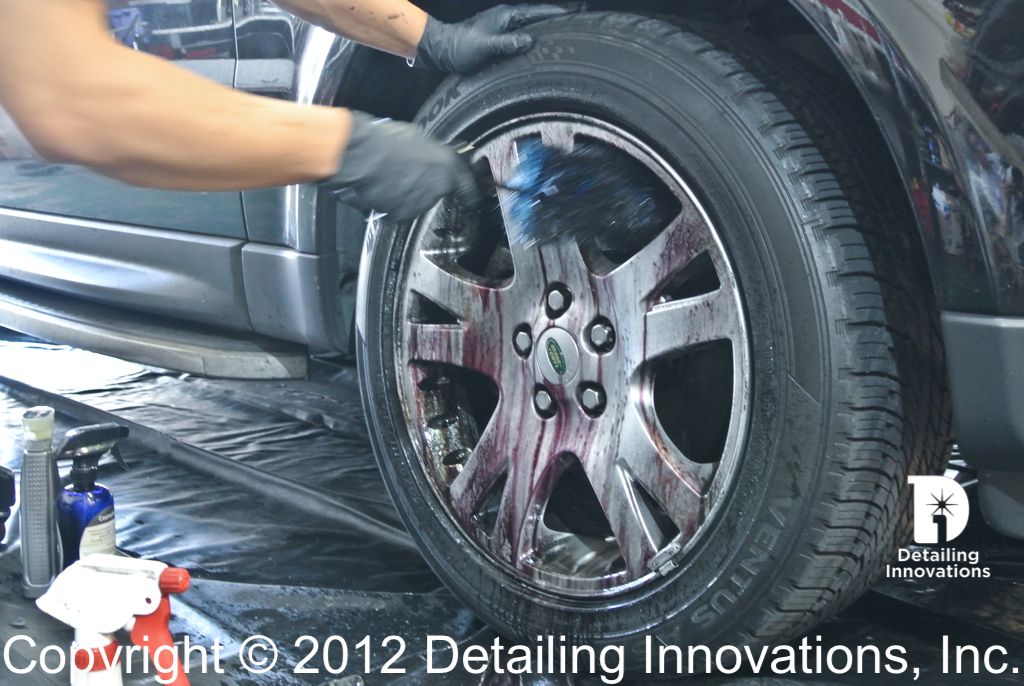
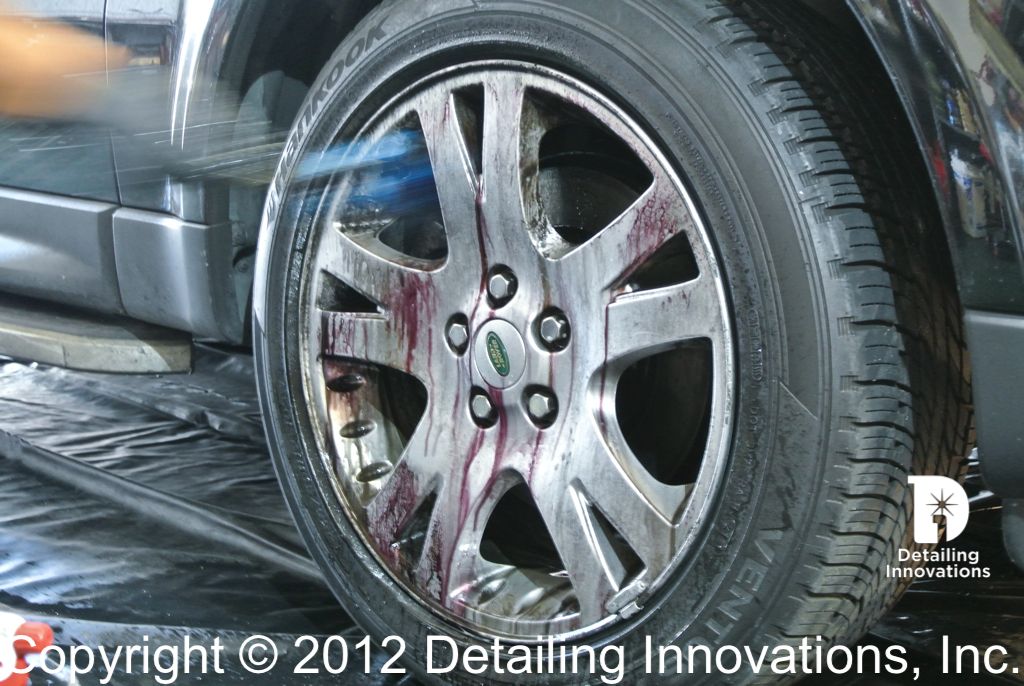
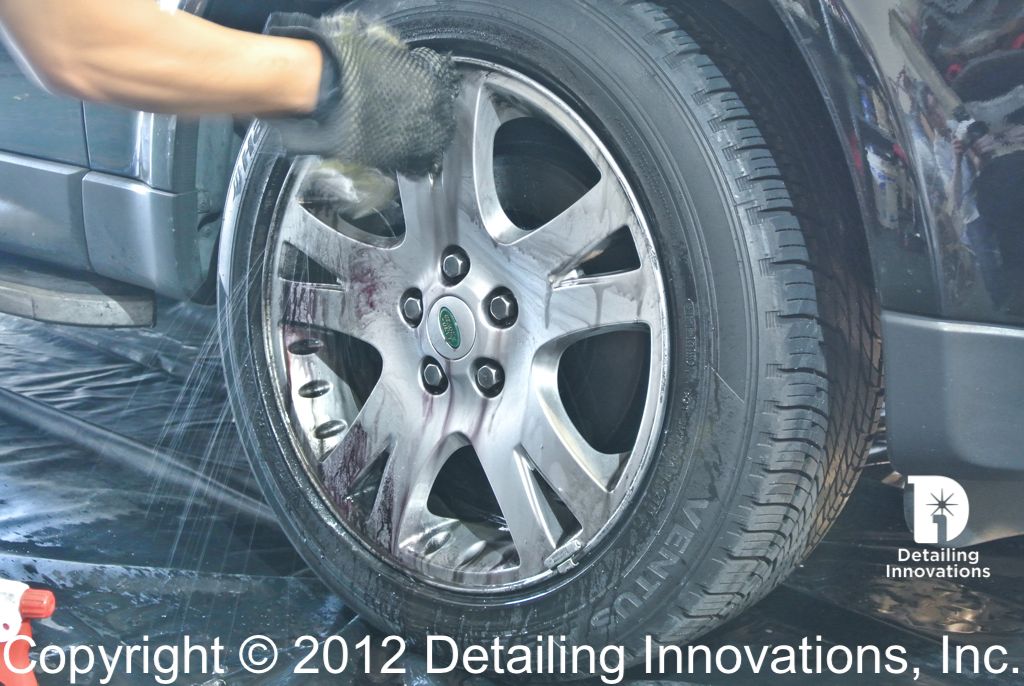
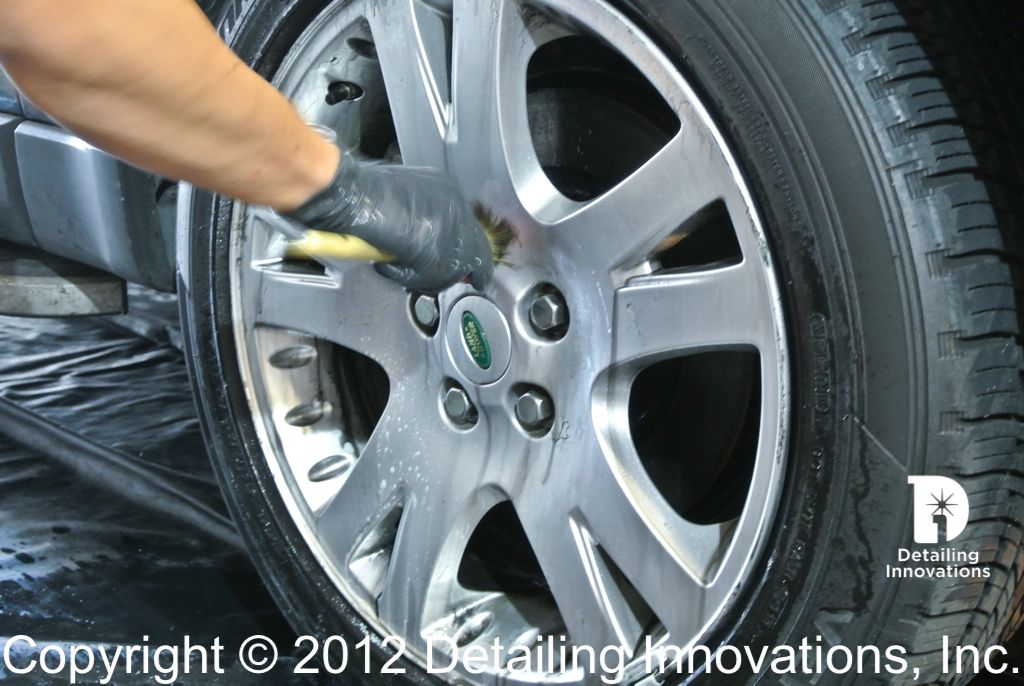
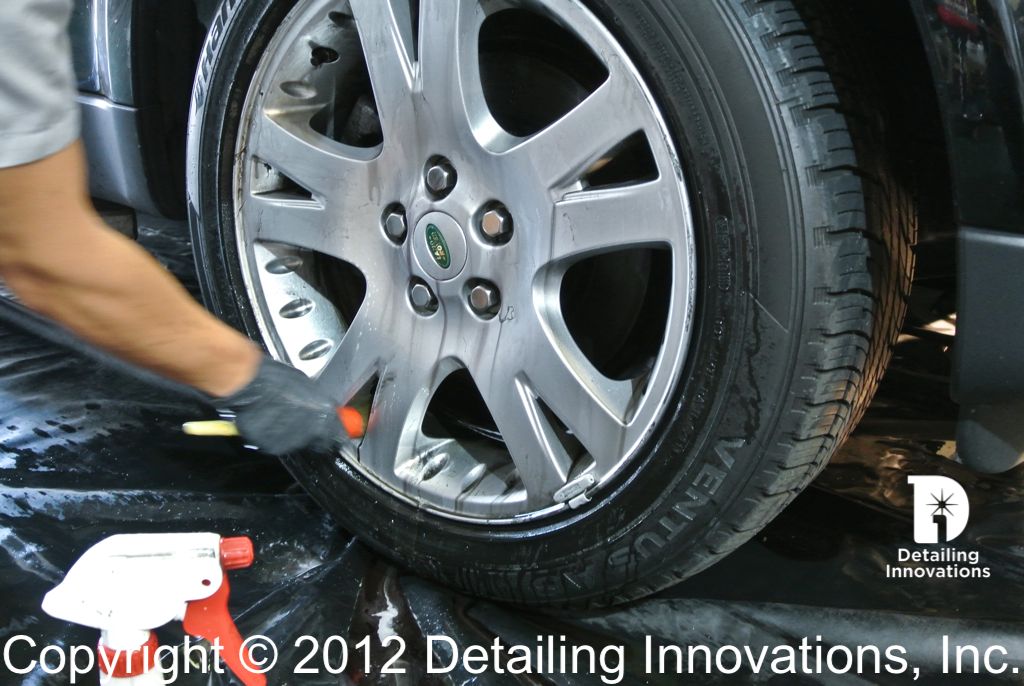
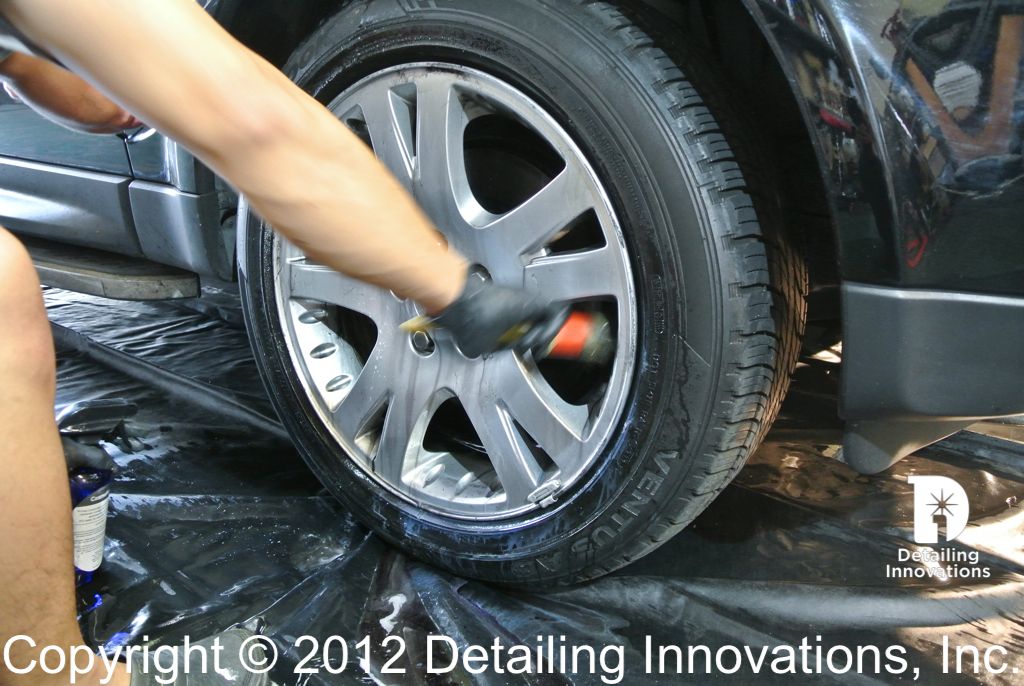
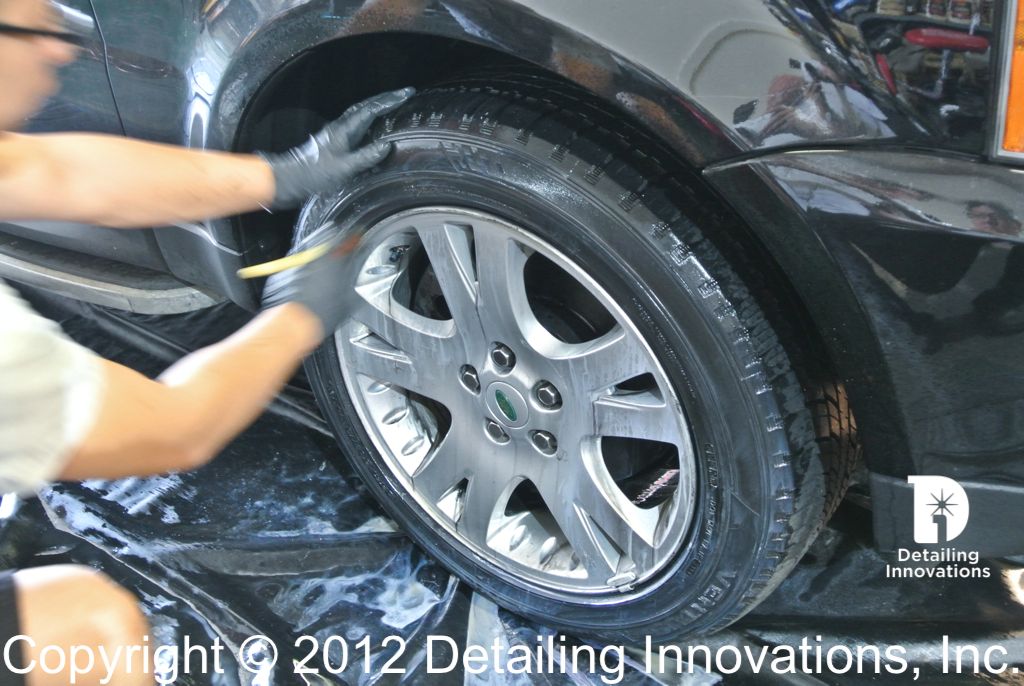
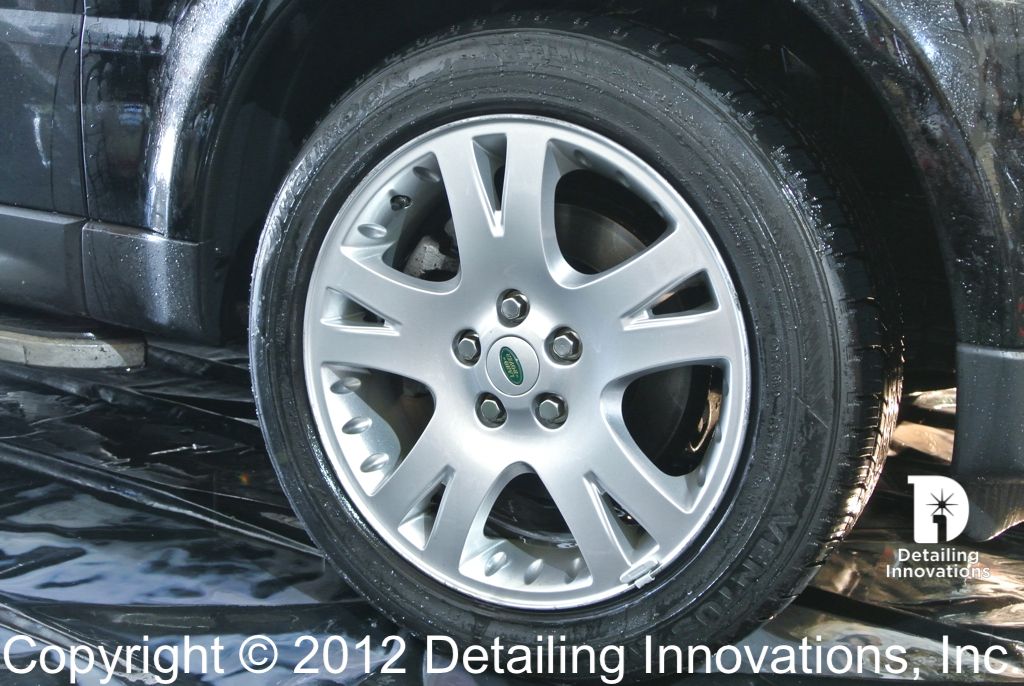
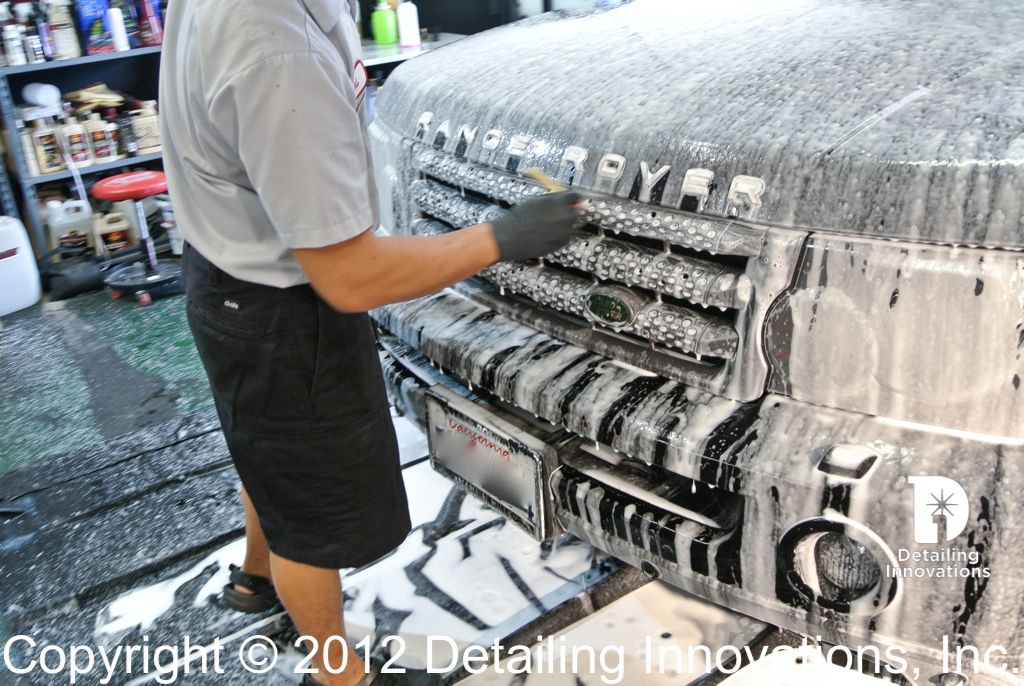
Starting with the wheels first, Applied Sonax to loosen all brake particles, then sprayed APC+ to loosen remaining grime on wheels and tires, and Prima Cosmonot on tar spots on wheel barrels and strip old tire dressing. We used EZ full wheel brush to reach inside the barrels, EZ mini wheel brush for back of the spokes, SCD sheepskin mitt gentle for the face,and SCD detail brushes for lugs, hard to reach places.
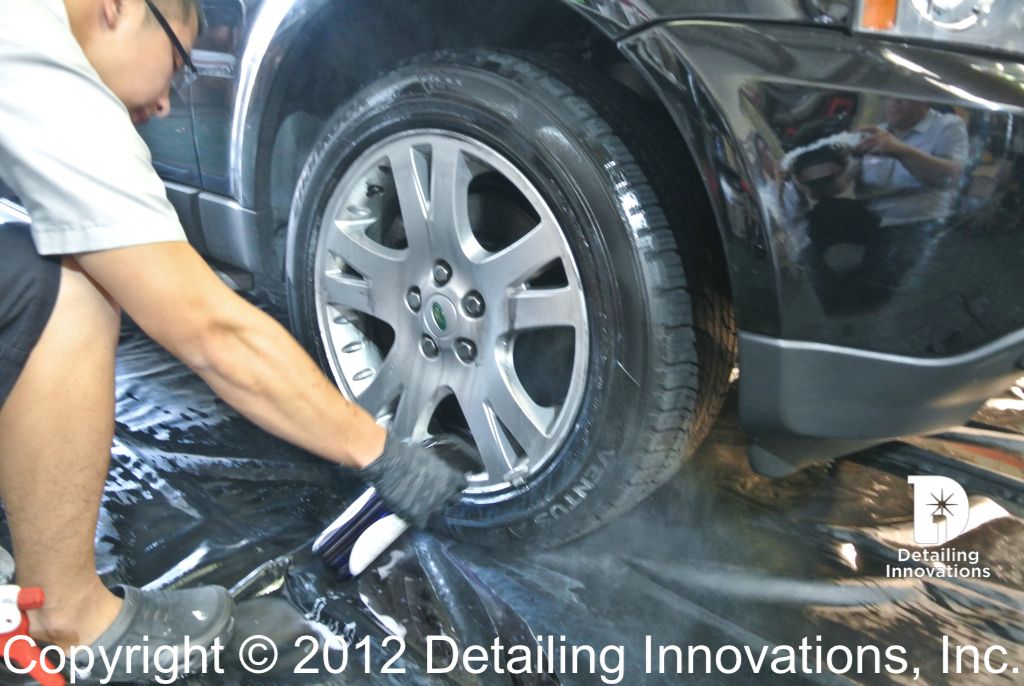
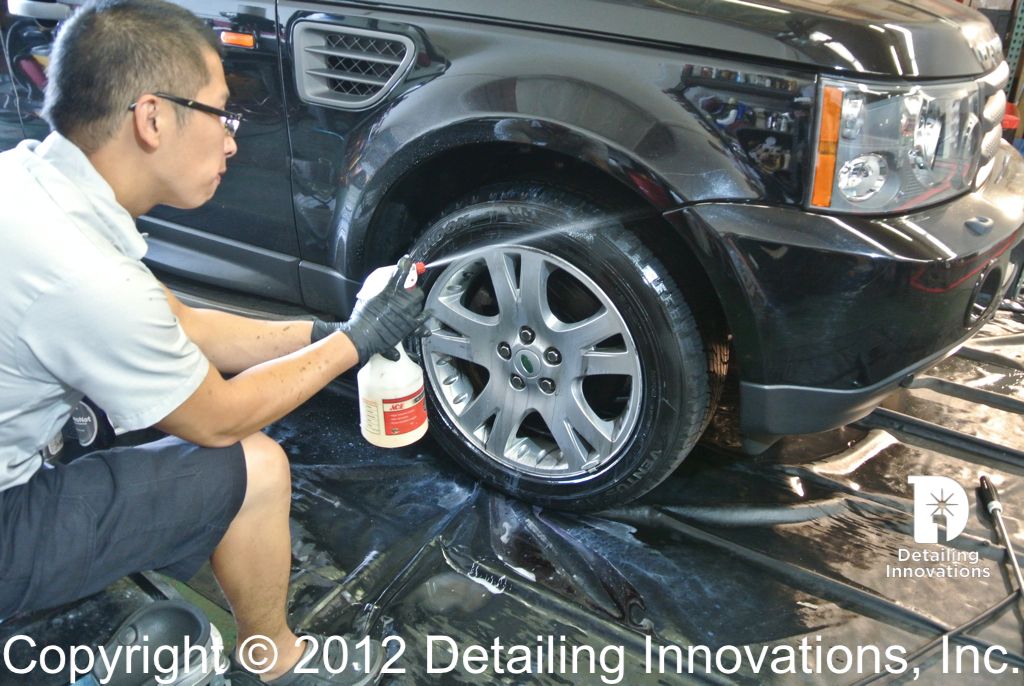
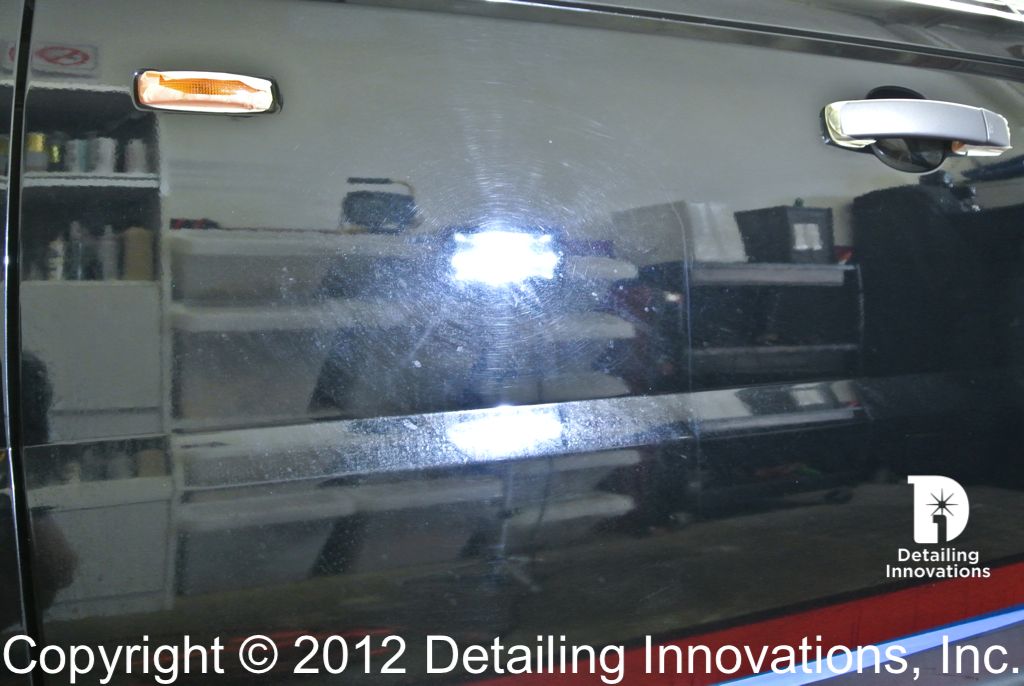
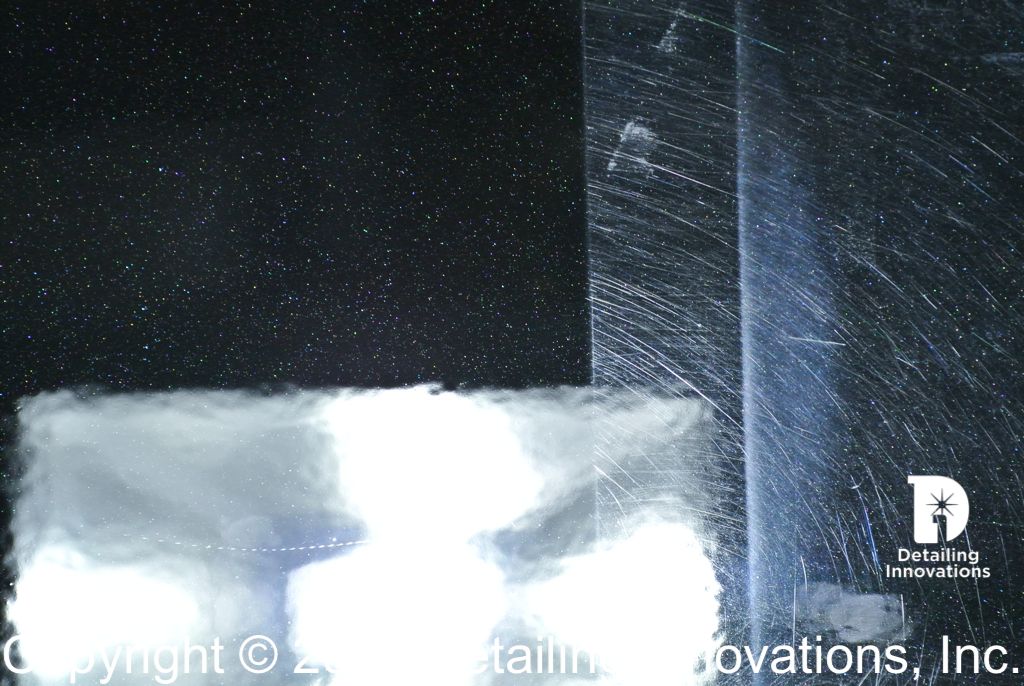
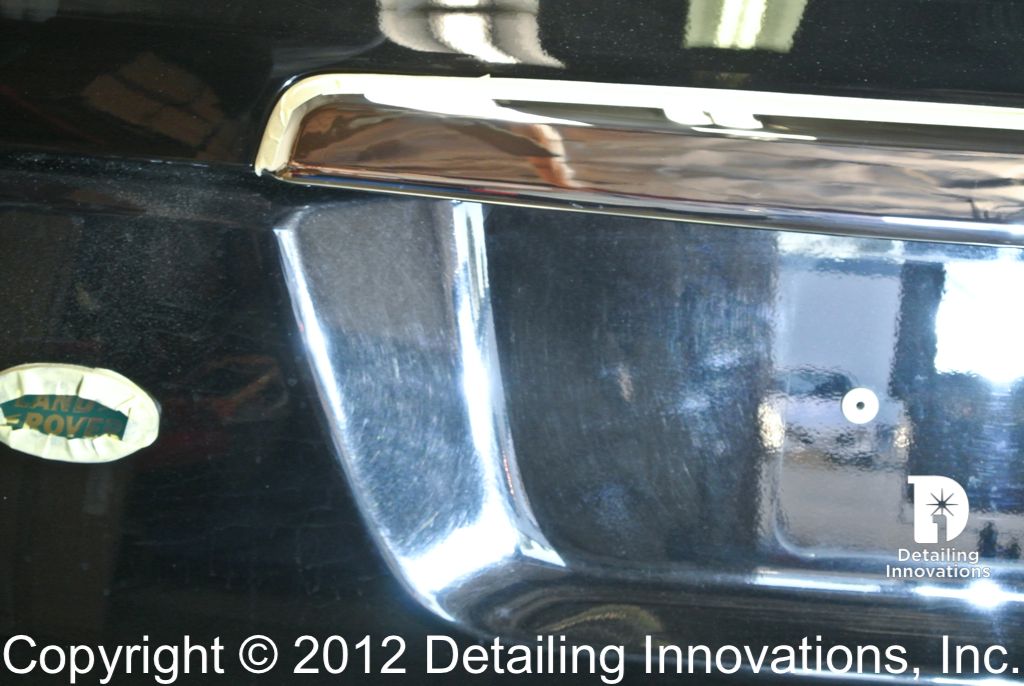
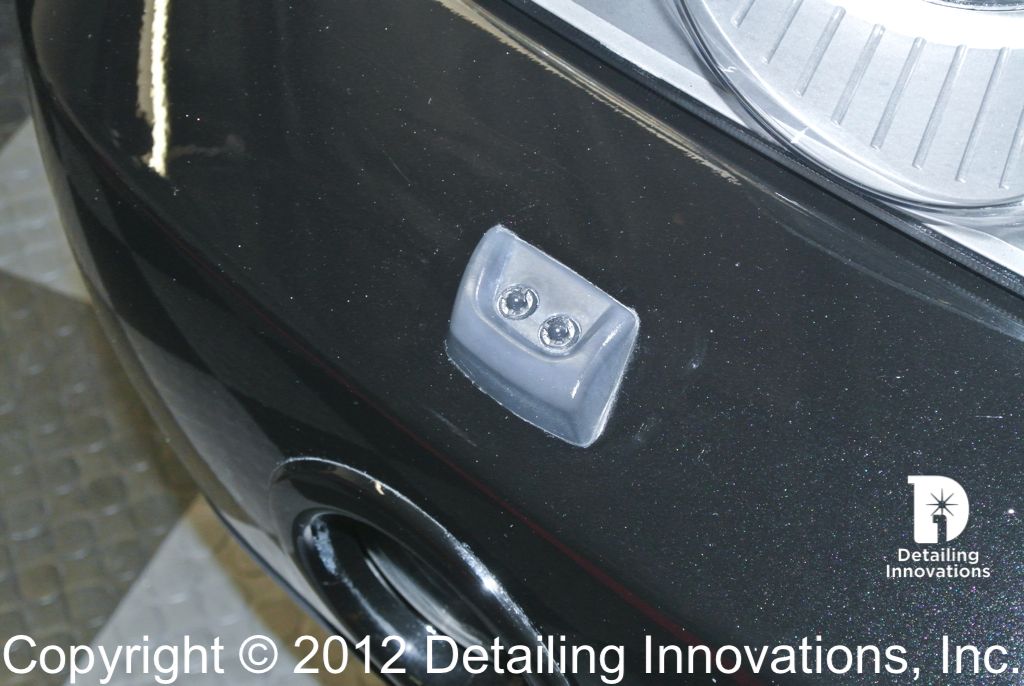
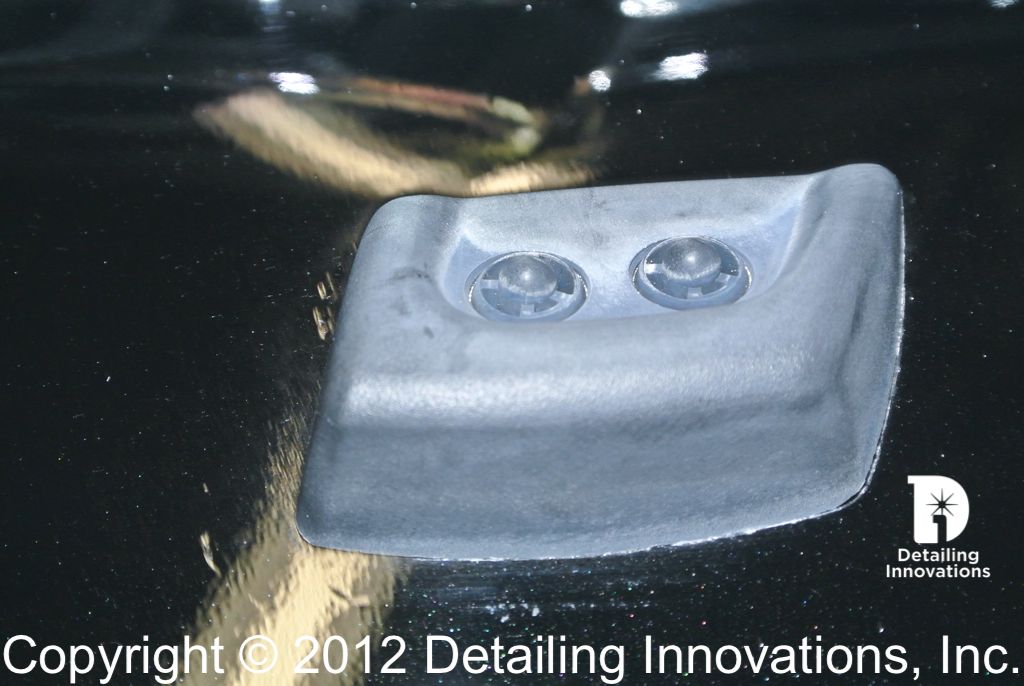
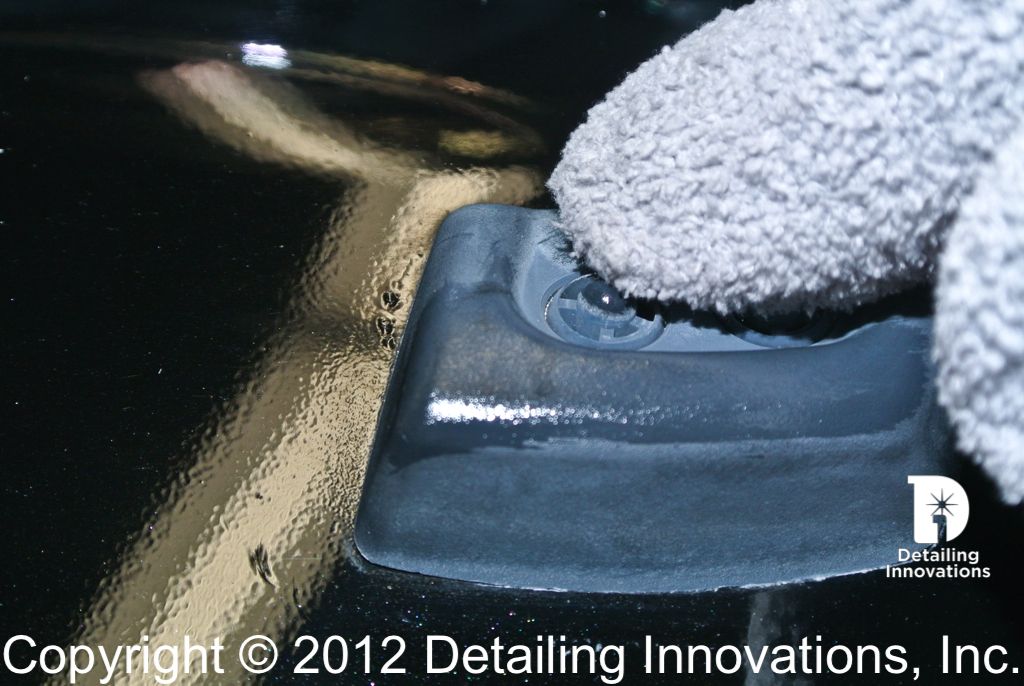
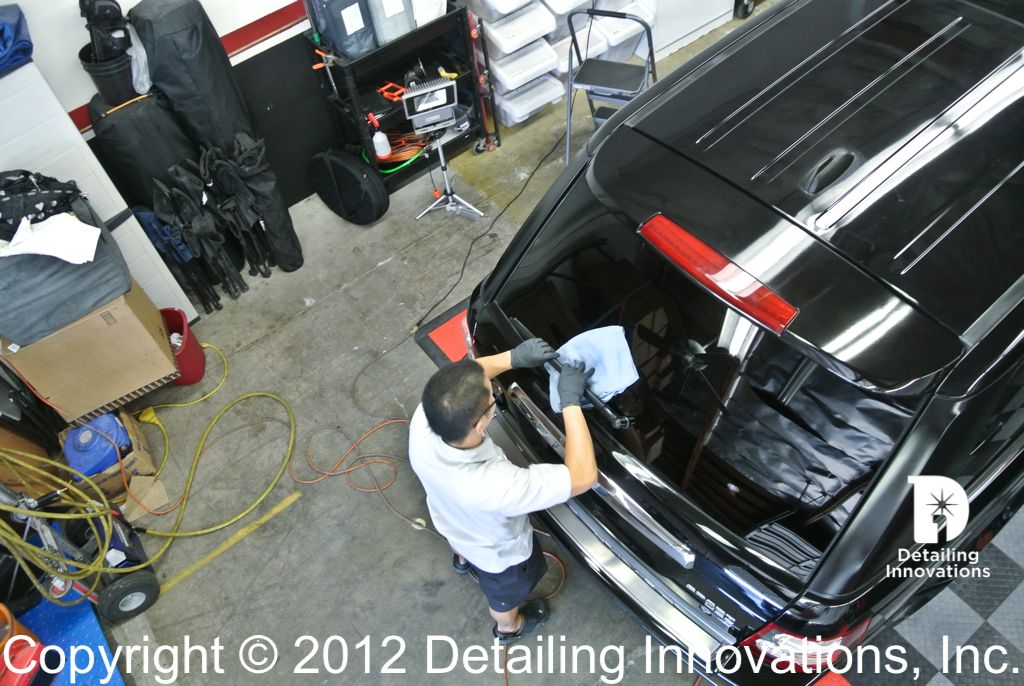
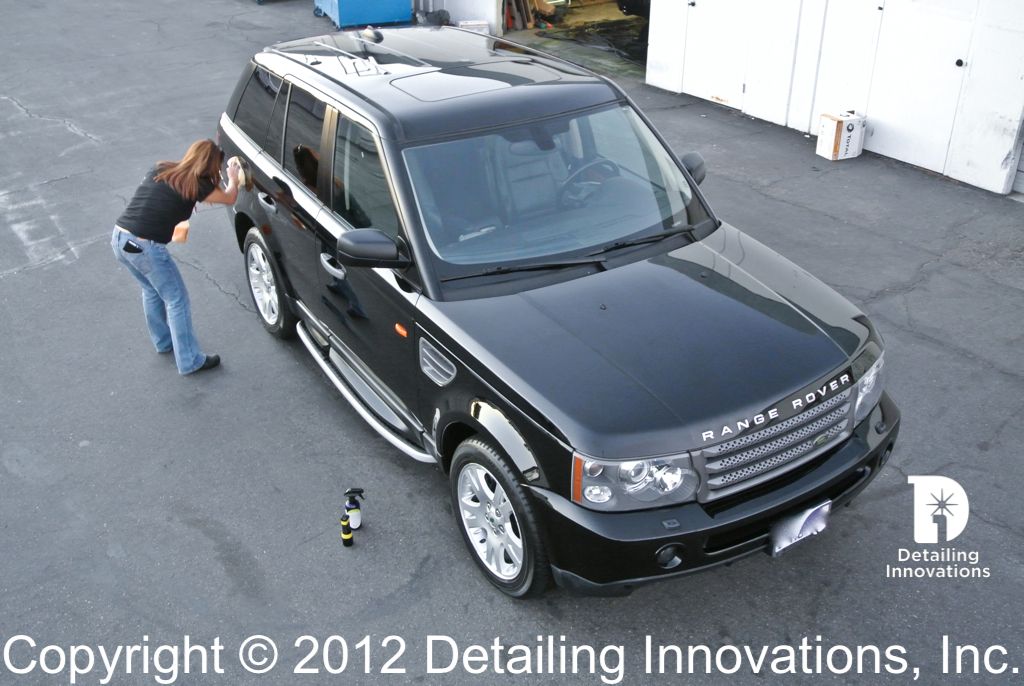
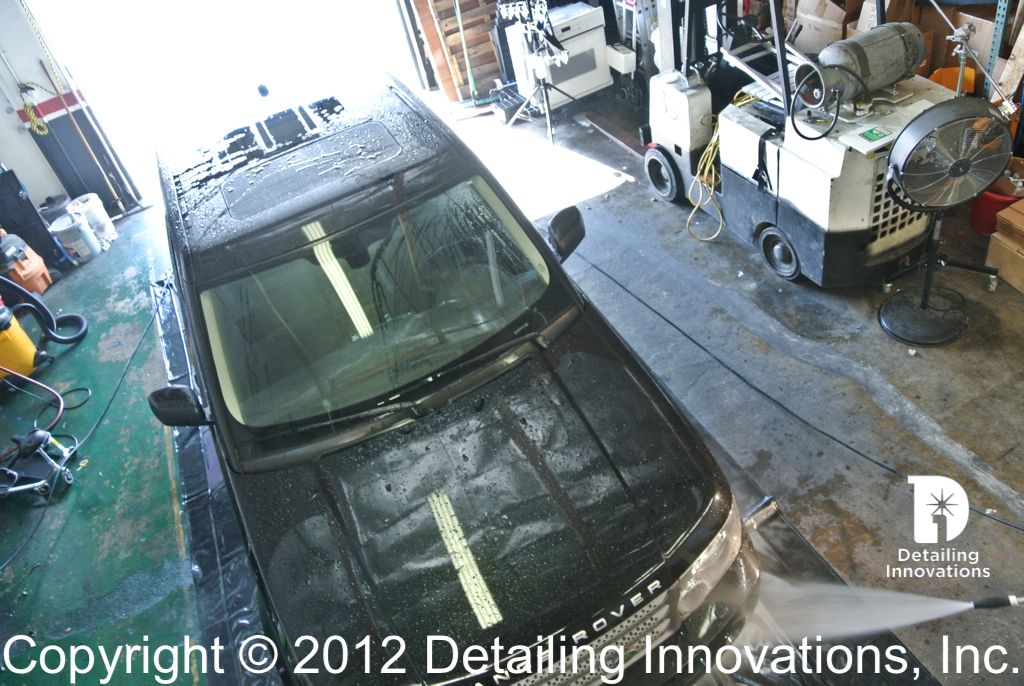
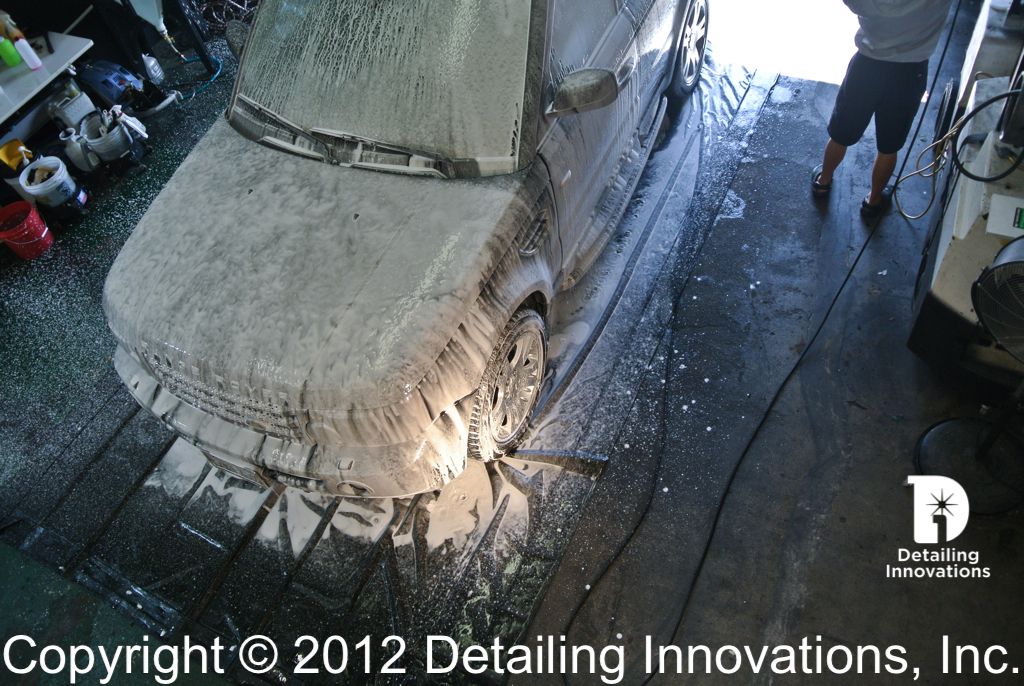
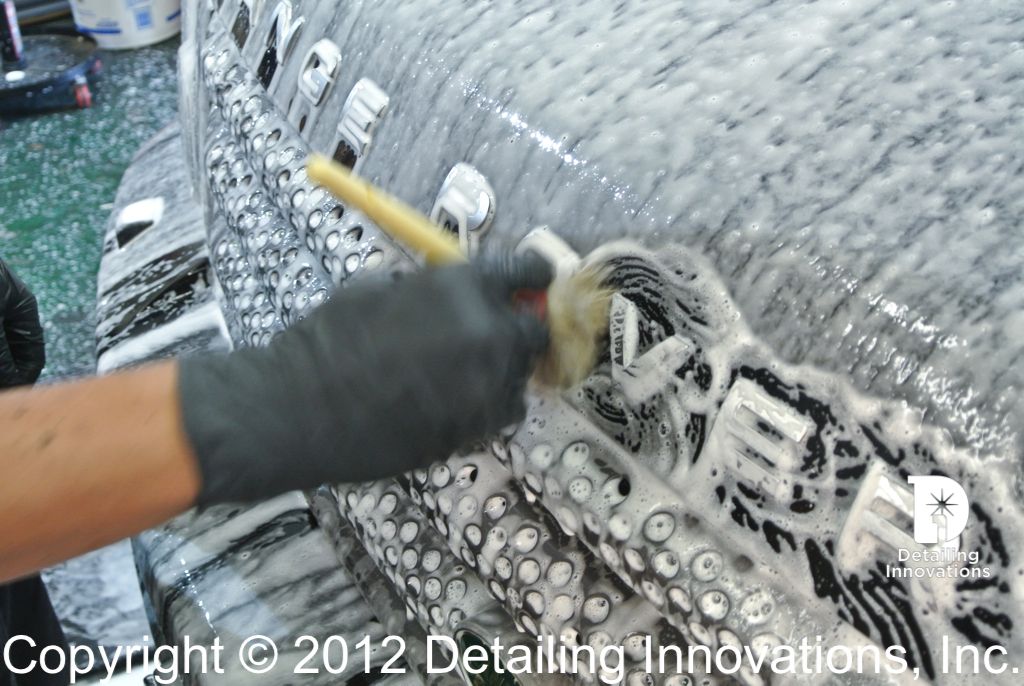
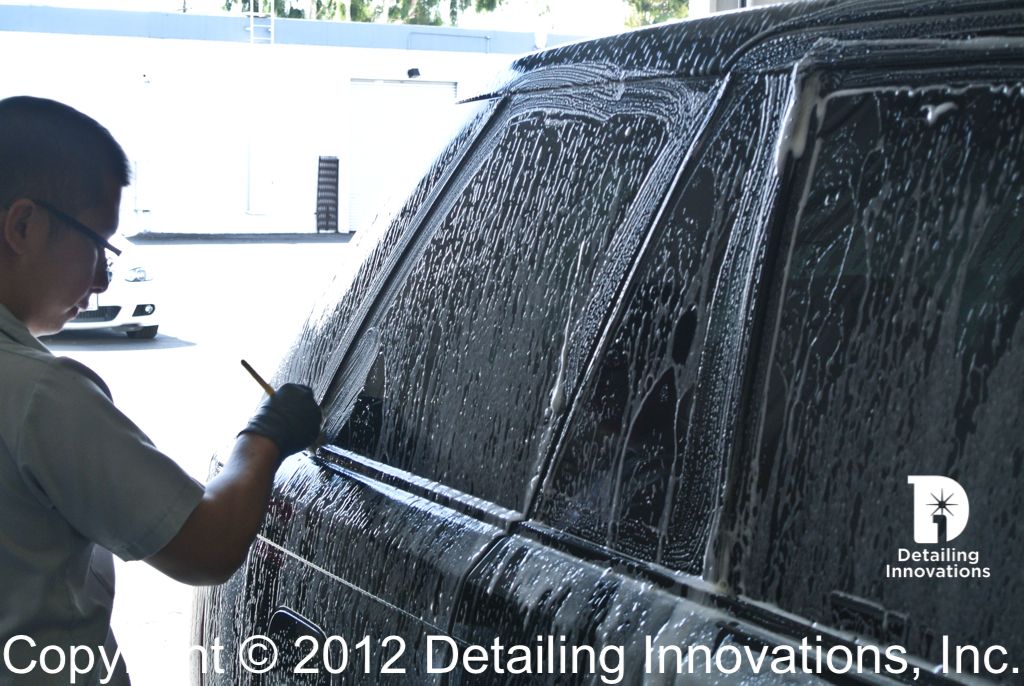
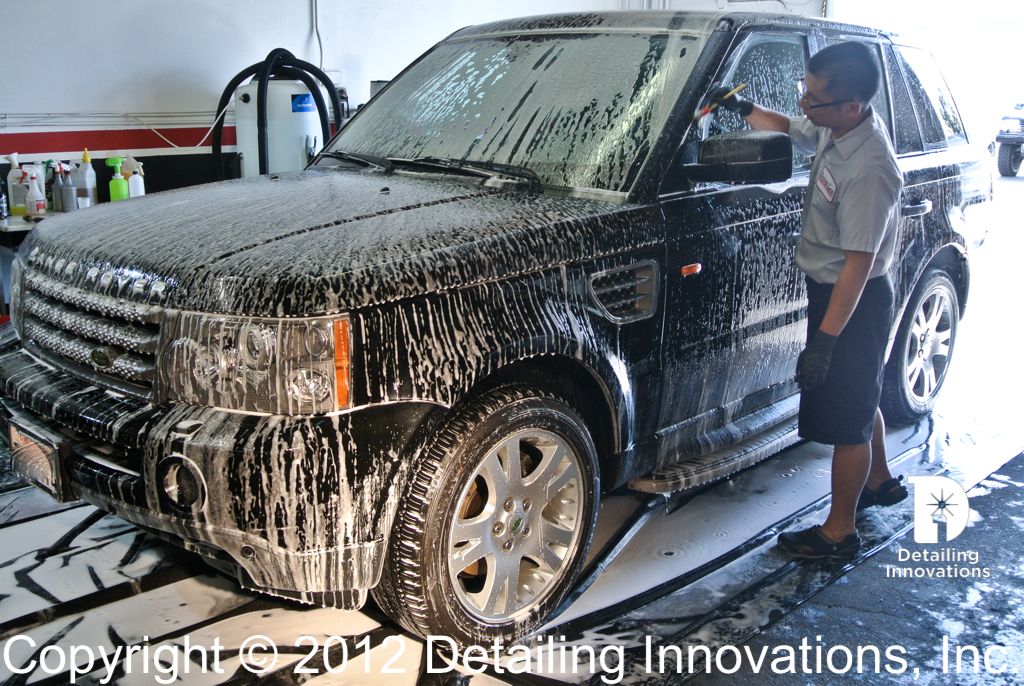
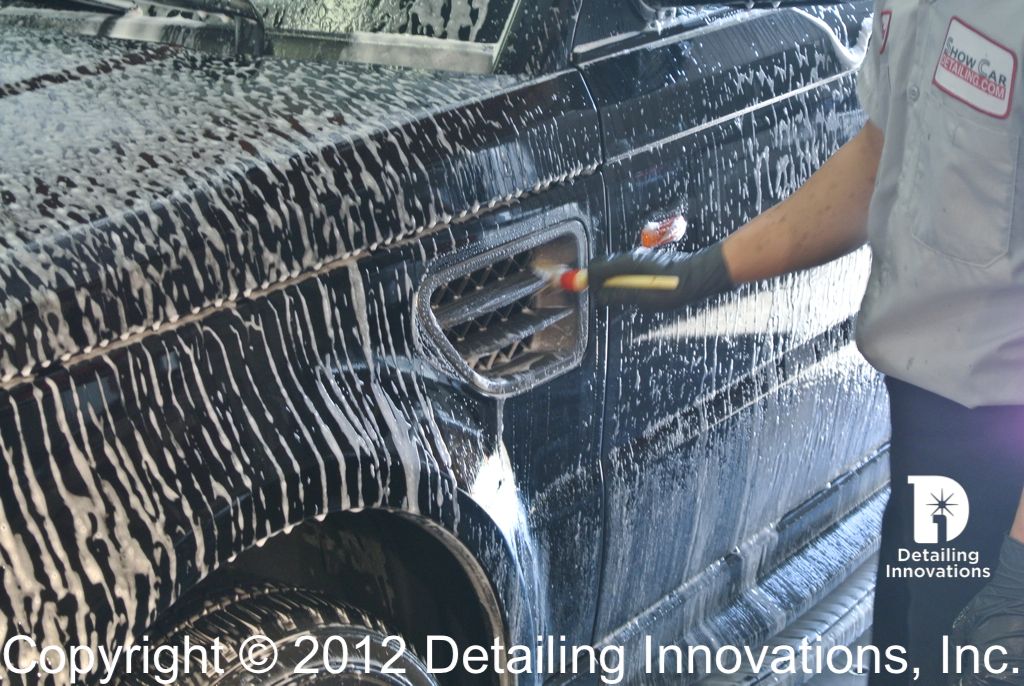
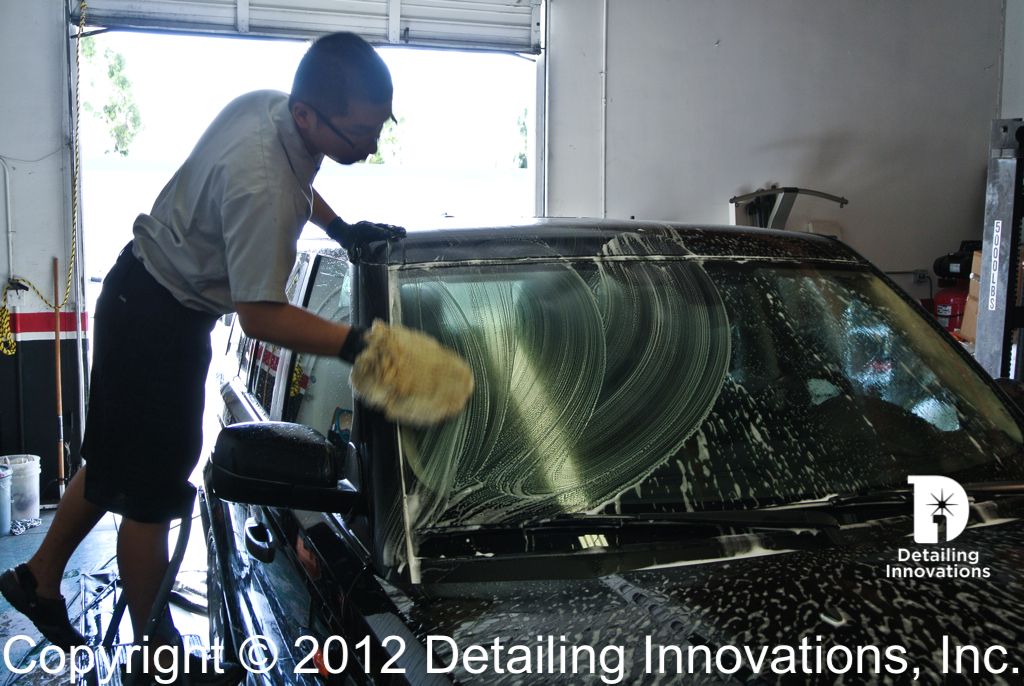
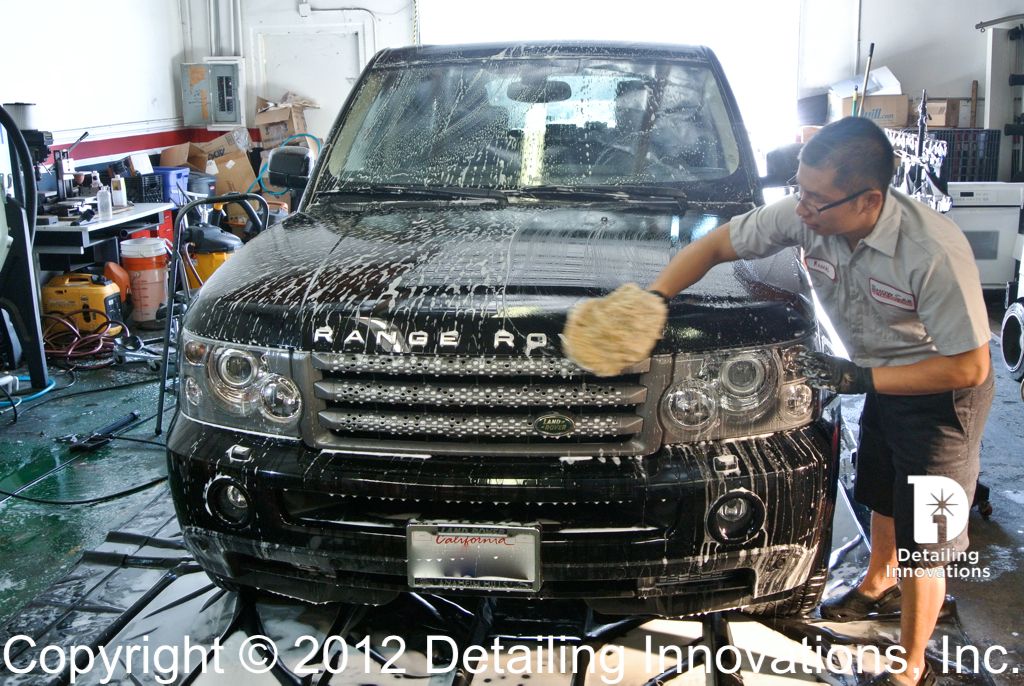
Then the vehicle lower panels are sprayed with Prima Cosmonot to loosen grime and thoroughly rinsed afterwards. Then we foam the entire vehicle, using our detail brushes to clean all crevices ( this is important because the dirt that is trapped in the crevice may come out after your rinse, causing swirls while you're drying ) and perform a swirl free wash using 2 bucket method with Dirt Guards afterwards. The Dirt Guards are different from Grit Guards everyone sells. They have a mesh under itself to further trap the dirt particles. Then the vehicle is clayed with Meguiar's Clay and Prima Slick, and did a IPA wipe down afterwards to remove polymers to have a clean surface to polish.


We have a Range Rover Sport HSE in for a Major paint correct. We did some test spots on the hood to show the client what results could be accomplished on his paint at different service levels. He only wanted the best and nothing less.
So here are the tools and products we used
Car Prep
- Kranzle Powerwasher with Foam cannon
- Distilled water
- Sonax Full Effect Wheel cleaner
- Prima CosmoNot
- Meg APC+
- EZ wheel brushes
- SCD detail brushes
- SCD sheepskin mitt
- Meguiar's Hyper wash
- Dirt Guards
- 2 wash buckets, 1 wheel bucket
- Prima slick
- Meguiar's Mild Clay
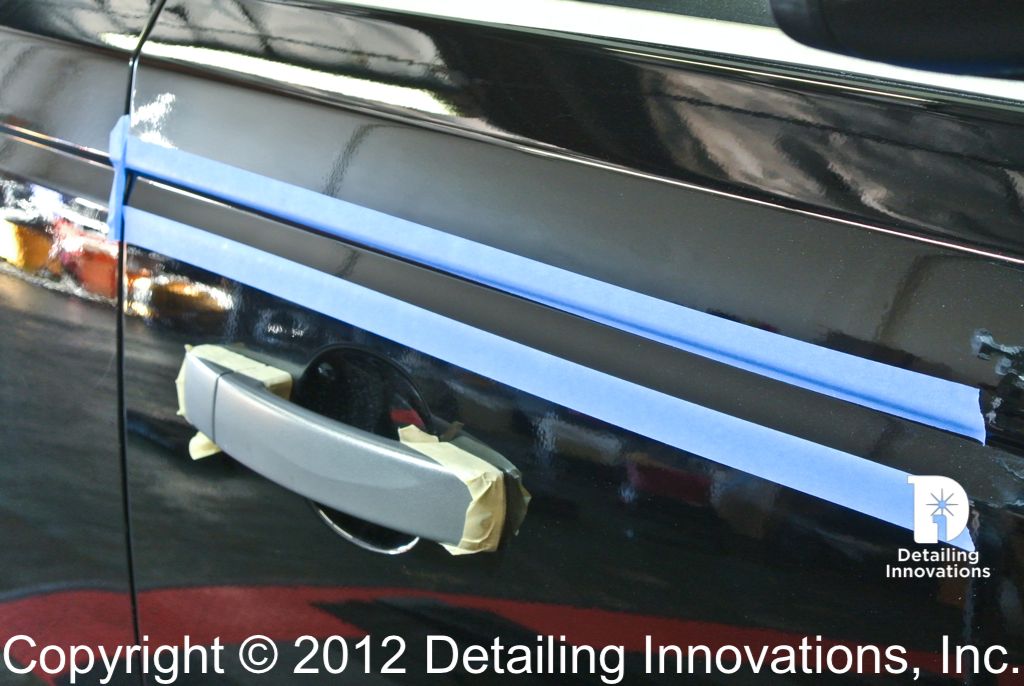
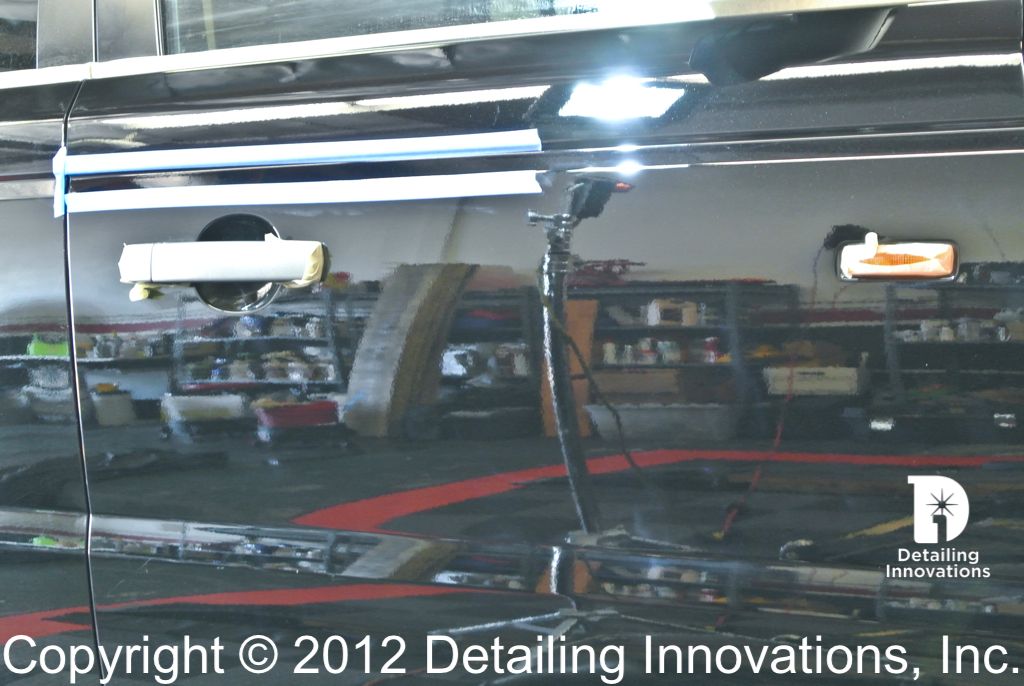
- 3M masking tape
Paint Correction
- Meguiar's 105, Prima Swirl, Sonax Perfect Finish, Prima Amigo
- LC PPF wool pads, Meguiar's MF cutting pads, B&S Orange pad, White pad and Black pad
- Flex PE12, Griots Garage polishers 5.75 in 5.5 in and 3 in
Protection
- Prima Hydro-Seal + Hydro on paint
- Black Wow on plastics
- Prima Nourish on leather surfaces
- Prima Nero on cockpit
- Prima Wheel Armor on wheels
- Prima Infinity on Tires
- Hyper Dressing on fender wells
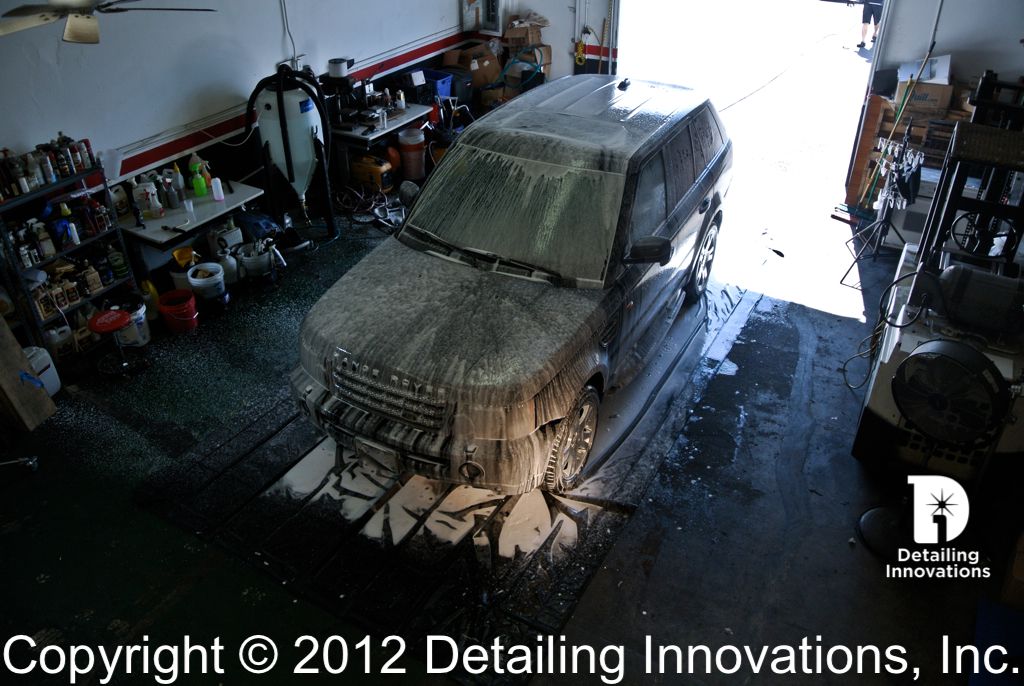
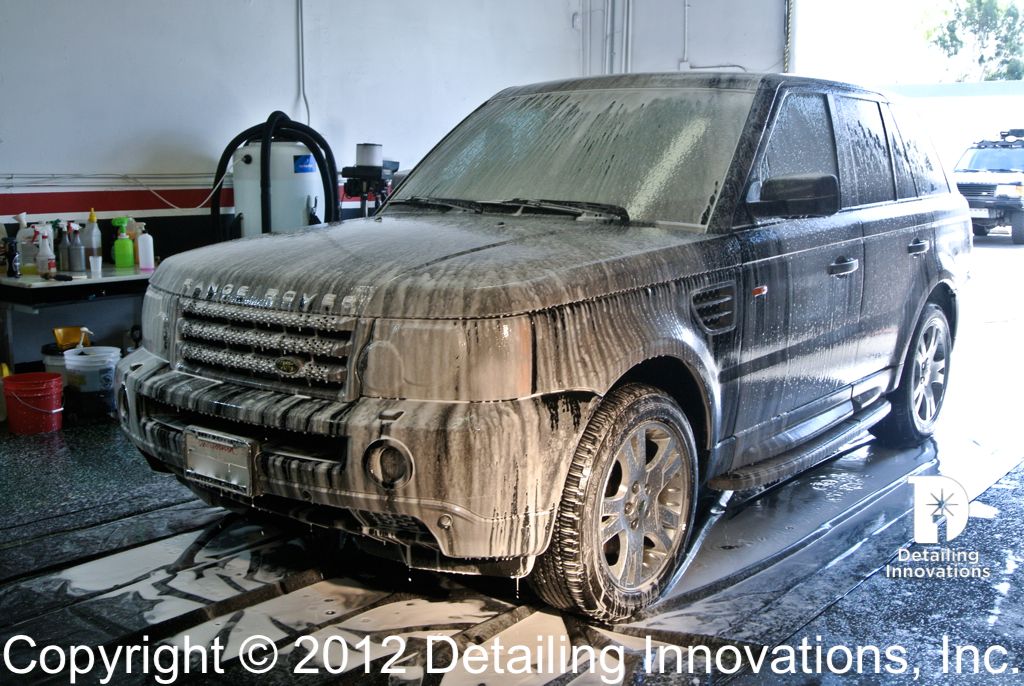
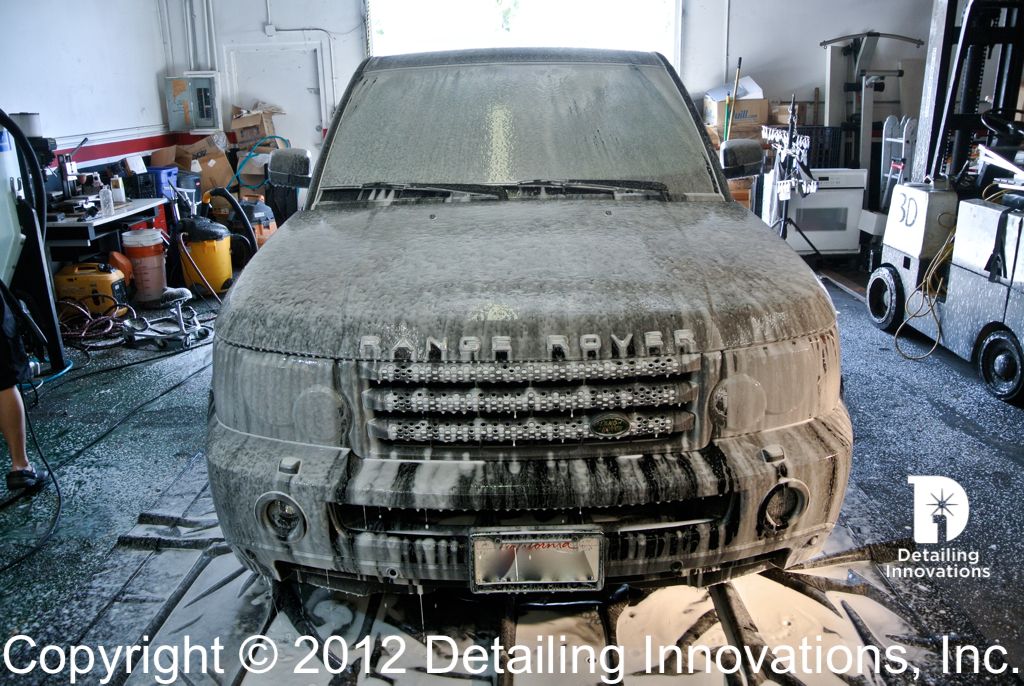
At Arrival
Starting with the wheels first, Applied Sonax to loosen all brake particles, then sprayed APC+ to loosen remaining grime on wheels and tires, and Prima Cosmonot on tar spots on wheel barrels and strip old tire dressing. We used EZ full wheel brush to reach inside the barrels, EZ mini wheel brush for back of the spokes, SCD sheepskin mitt gentle for the face,and SCD detail brushes for lugs, hard to reach places.
Then the vehicle lower panels are sprayed with Prima Cosmonot to loosen grime and thoroughly rinsed afterwards. Then we foam the entire vehicle, using our detail brushes to clean all crevices ( this is important because the dirt that is trapped in the crevice may come out after your rinse, causing swirls while you're drying ) and perform a swirl free wash using 2 bucket method with Dirt Guards afterwards. The Dirt Guards are different from Grit Guards everyone sells. They have a mesh under itself to further trap the dirt particles. Then the vehicle is clayed with Meguiar's Clay and Prima Slick, and did a IPA wipe down afterwards to remove polymers to have a clean surface to polish.