I don't have time to make a full writeup on my latest Aluminum Restoration, but here are the pictures of the tools and materials used.
There will be a writeup with a full before and after with some process to come in a later post.
Heres a preview.
Long Haul Polish is my current favorite polish for finishing up by hand after the machine. It is very cost effective and seems to work as good if not better than some of the other expensive products I've used
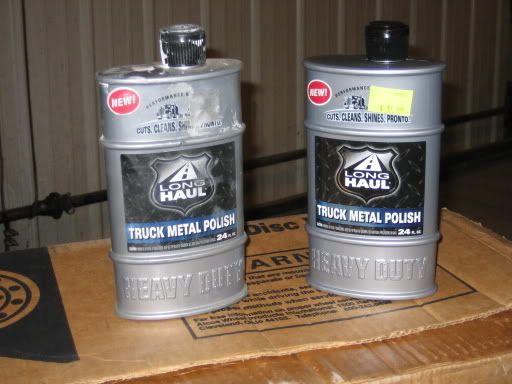
This is the last product I used. I've also used zepher, ez reflections, and countless others. This long haul was on sale last time I was in so I stocked up. I believe it was 12.00 for the 24 oz.

I use these terry cloth towels folded into 1/4s for application as well as removal. The areas I do are usually large so they usually become saturated with polish and very loaded up with black oxidation. If i'm feeling cheep i will recycle the cleanup wipe down ones to application for next time. At this price they get tossed after i'm done with them. I've tried washing by hand to get the "heavy stuff off" and then tossing in the washing machine but it makes a mess! Not worth it.
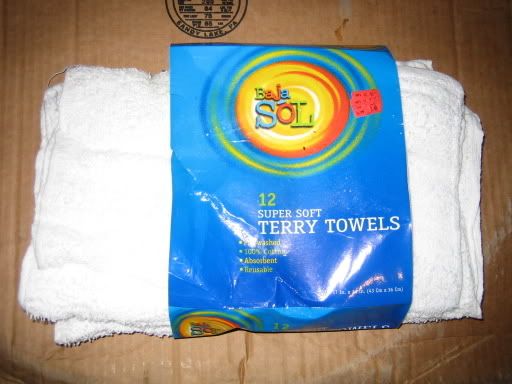

above from Target I believe. Always looking through the clearance automovie when I go with my girlfriend.
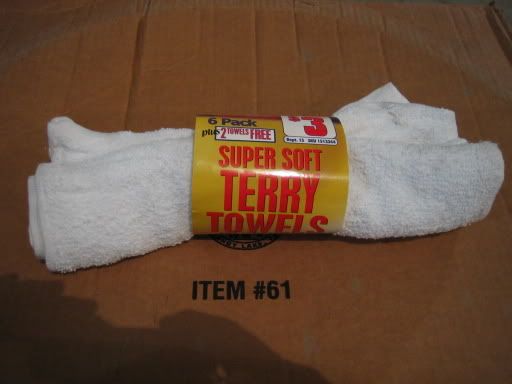
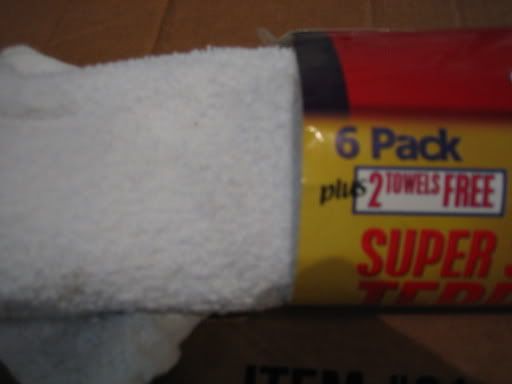
Below are from a dollar store.
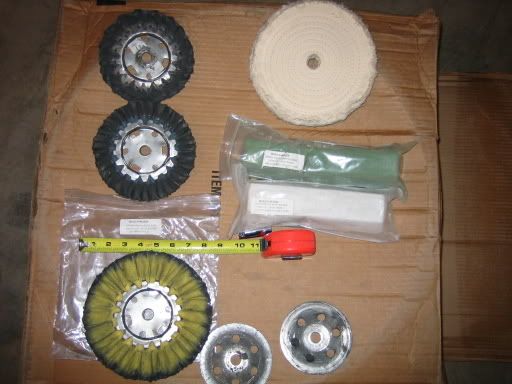
Here is a quick overview of the essentials hardware for machine pollishing.
The uppper right two wheels are pretty well spent, but they are from top down. Red and blue. Red is the highest cutting, blue is less agressive than the yellow. They start out as 8" wheels
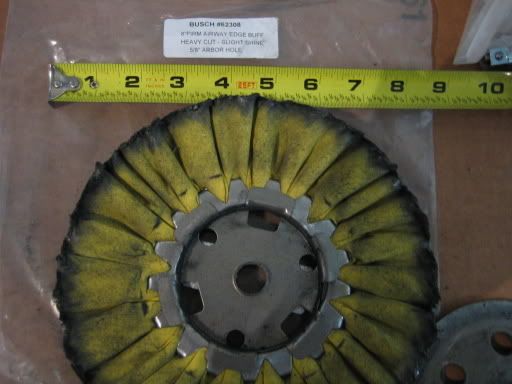
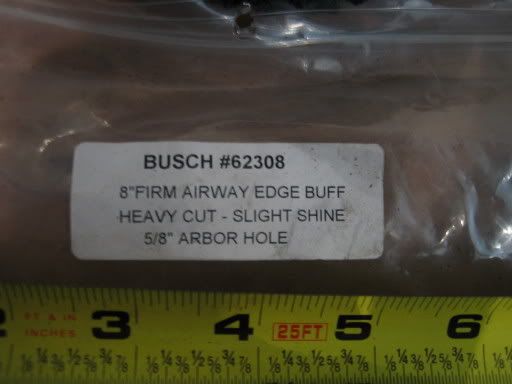
Here is a PN for the yellow wheel
As you can see its by the Busch pollishing company. Which reminds me I liked their liquid all metal pollish. It was pink if memory searves me right.
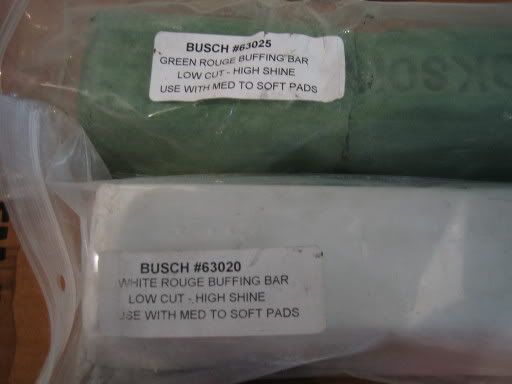
Here are the 2 compounds up close from the pic above.
Green is for stainless steal, the white is a final pass clean up step.
If you didn't notice the box they are sitting on has a brand new rim From Alcoa. I will show how I took an older oxidized rim back to new condition. I could hardly tell one from the other when all was said and done!
There will be a writeup with a full before and after with some process to come in a later post.
Heres a preview.
Long Haul Polish is my current favorite polish for finishing up by hand after the machine. It is very cost effective and seems to work as good if not better than some of the other expensive products I've used
This is the last product I used. I've also used zepher, ez reflections, and countless others. This long haul was on sale last time I was in so I stocked up. I believe it was 12.00 for the 24 oz.
I use these terry cloth towels folded into 1/4s for application as well as removal. The areas I do are usually large so they usually become saturated with polish and very loaded up with black oxidation. If i'm feeling cheep i will recycle the cleanup wipe down ones to application for next time. At this price they get tossed after i'm done with them. I've tried washing by hand to get the "heavy stuff off" and then tossing in the washing machine but it makes a mess! Not worth it.
above from Target I believe. Always looking through the clearance automovie when I go with my girlfriend.
Below are from a dollar store.
Here is a quick overview of the essentials hardware for machine pollishing.
The uppper right two wheels are pretty well spent, but they are from top down. Red and blue. Red is the highest cutting, blue is less agressive than the yellow. They start out as 8" wheels
Here is a PN for the yellow wheel
As you can see its by the Busch pollishing company. Which reminds me I liked their liquid all metal pollish. It was pink if memory searves me right.
Here are the 2 compounds up close from the pic above.
Green is for stainless steal, the white is a final pass clean up step.
If you didn't notice the box they are sitting on has a brand new rim From Alcoa. I will show how I took an older oxidized rim back to new condition. I could hardly tell one from the other when all was said and done!