2.With attention to particulars; thoroughly or meticulously
Mission Statement:
To provide a quality result that satisfies our clients’ needs and expectations the first time, every time!
Our goal is to satisfy clients’ needs, whether it be through timely delivery; providing the best value for the money; efficient and courteous service; or superior quality, reliability and durability of our products. As such, we have committed ourselves to the following:
1. Understanding and responding to our customers’ needs and expectations.
2. Improving the Methods of practice to generate continuing quality and productivity improvements.
3. Establishing long term relationships with our clients.
4. Constantly improving on all of the above.
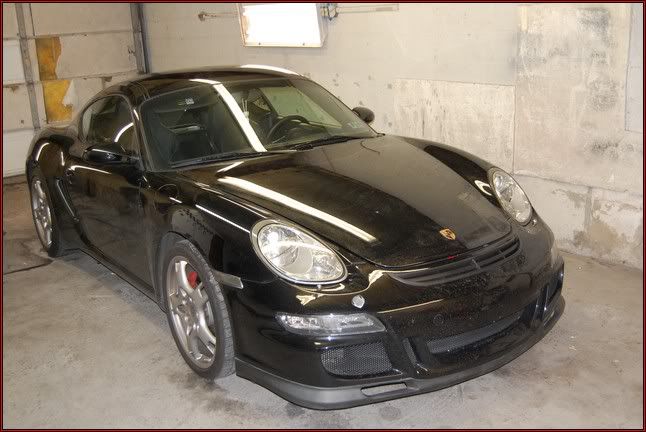
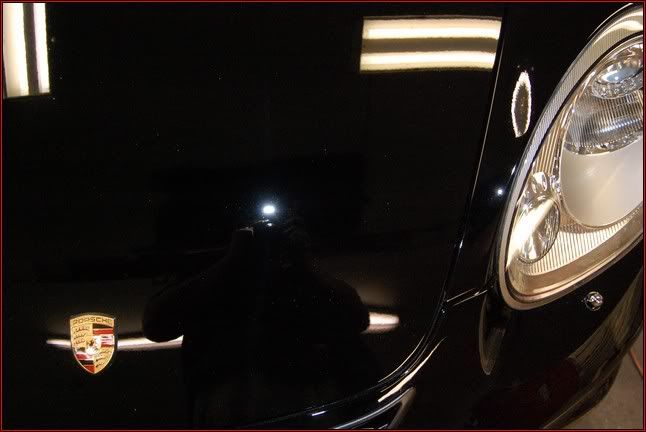
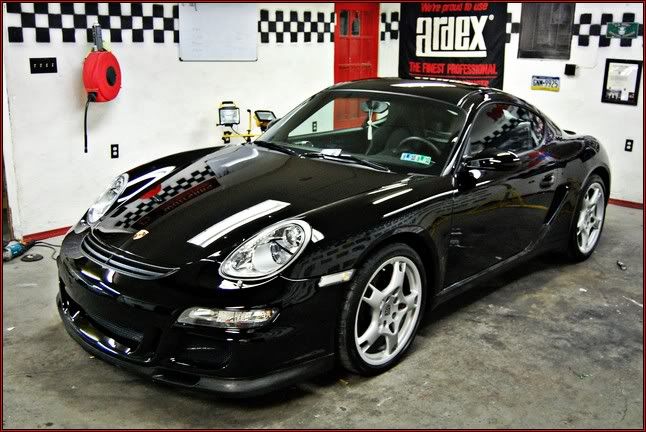
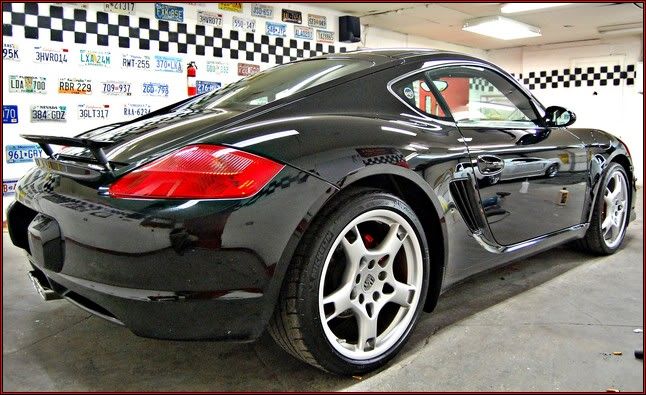
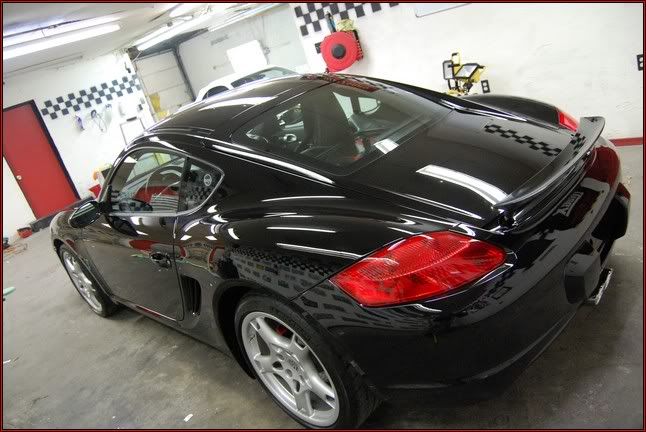
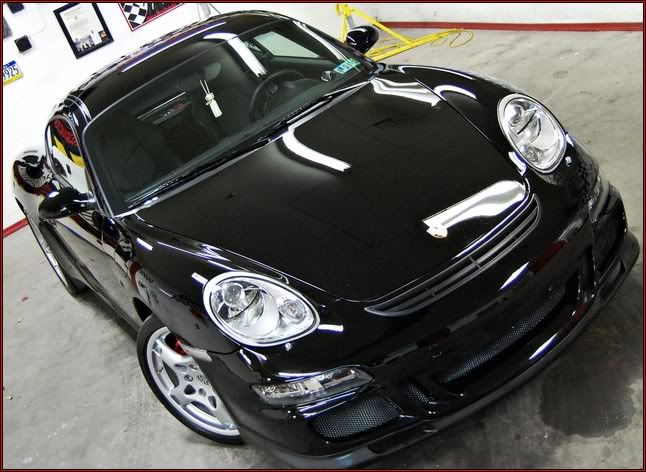
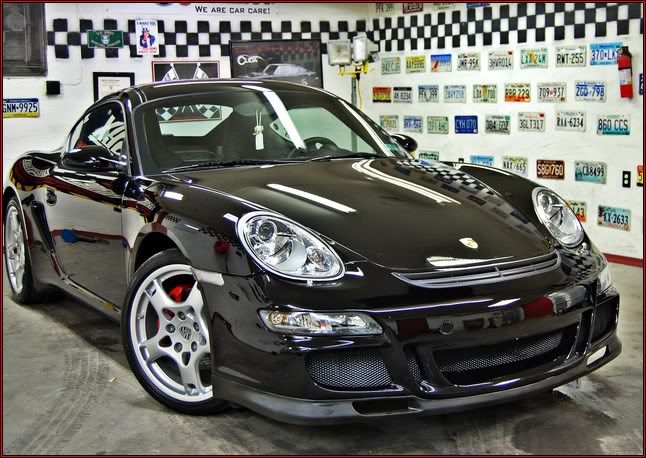
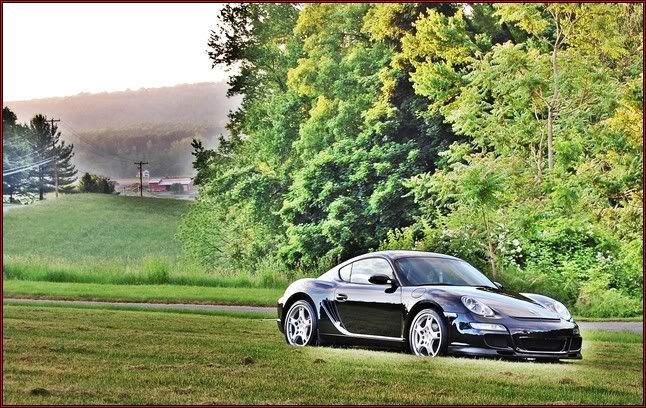
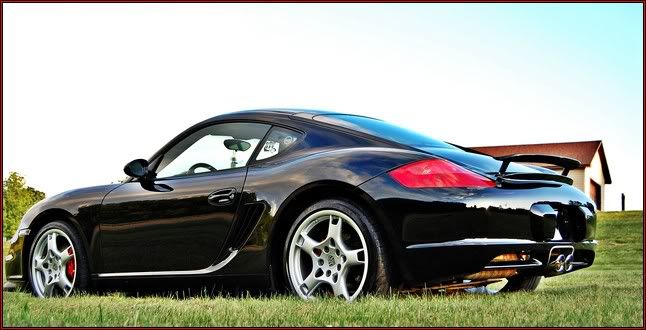
Presidential Details is proud to show its recent project on a 2008 Porsche Cayman S. Black on Black with a GT3 conversion front end. This Porsche Cayman S is unique in its own way now. Over the course of 21 days, Presidential Details transformed the vehicle into a showpiece. Now keep in mind it wasn’t 21 straight days of work fulltime. The total time invested in this car went well over 80 man hours of serious work. Most would say how bad could a 2008 car actually be? Well for 2 years this car seen a tunnel wash 3 times a week. This detail is a prime example of how bad the automatic car washes can be. This car is less then 3 years old with over 36,000 miles and it was driven hard. The vehicles owner contacted me about a my highest package I offer. The Barry Theal Signature Detail. To sum it, This is first of hopefully many to come. The idea of this detail is to combine both science and experience to create the ultimate finish. Over my 12 year career this is to date one of my most intense details yet. The car’s exterior suffered from Oxidation, Swirls, Random Deep Isolated Scratches, and a few dents. The interiors leather was dry, the carpets were filthy. A major overhaul was needed to bring this vehicle back to a showroom finish. Now lets get to it.
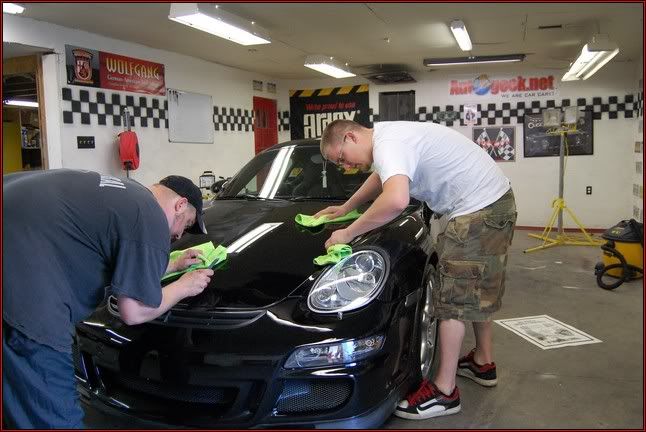
Here is how this particular vehicle presented itself upon arrival. The car arrived dirty with lots of break dust, bird droppings. You could tell the owner fully enjoys this car.
Chapter 1 : Decontamination
Once I got to work I started with a Exterior Decontamination. This is first step in a full vehicle’s reconditioning. During this phase the car received several washes to remove all loose debris, all the vehicles undercarriage was cleaned to ensure that years of build was removed. The vehicles exterior was clayed, and several other things were done.
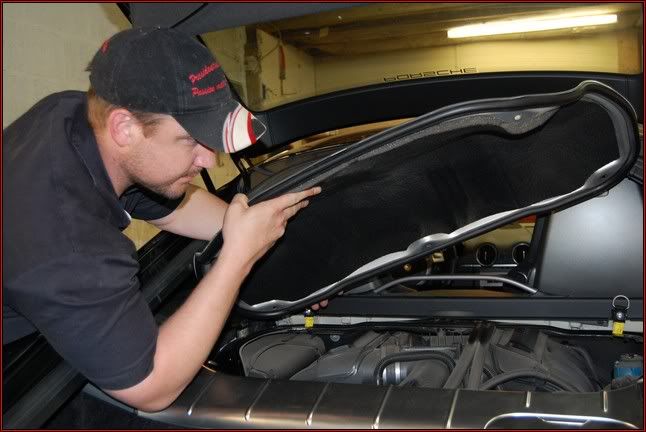
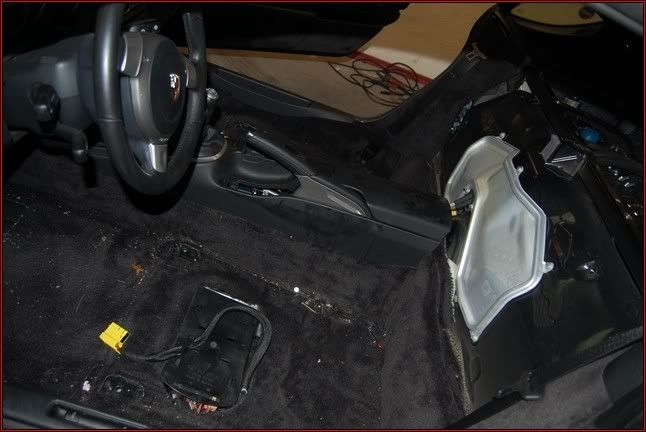
First things first I removed several things that would prohibit me from fully performing the task at hand. I first removed the registration plate bracket and the vehicles registration plate. Then I removed the vehicles engine cover and heat shield. Because the Caymans motor is a mid engine I had to do this with the tailgate open.
By removing the registration plate and bracket it allowed me to have a cleaner look when polishing and cleaning. Try to think of it like this. You can vacuum you house’s carpet but to truly get everywhere you would really need to remove the trim that the carpet is under. To sum it up it allows me to not only just get to the edge of the plate but the whole way underneath it.
The heat shield had 5 screws that required a torx bit of to remove, but once they were removed it lifted right out.
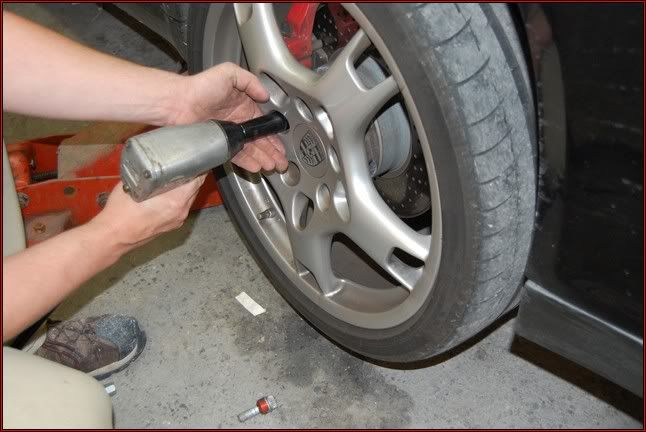
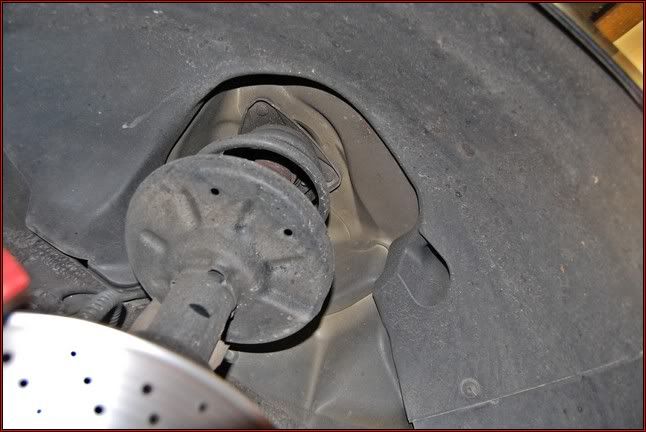
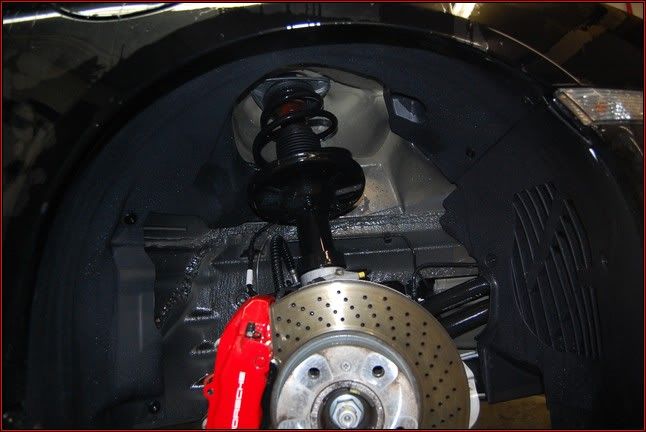
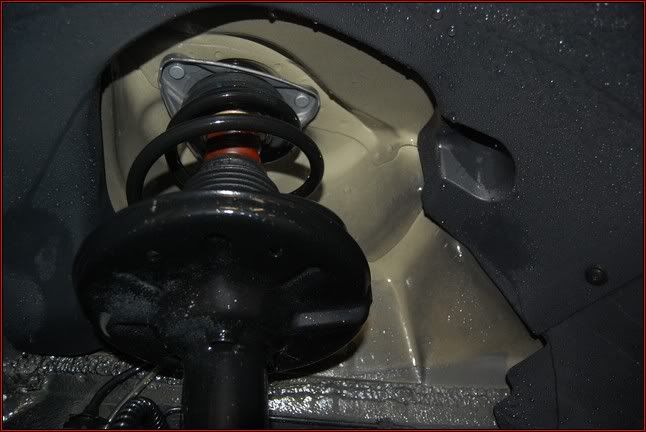
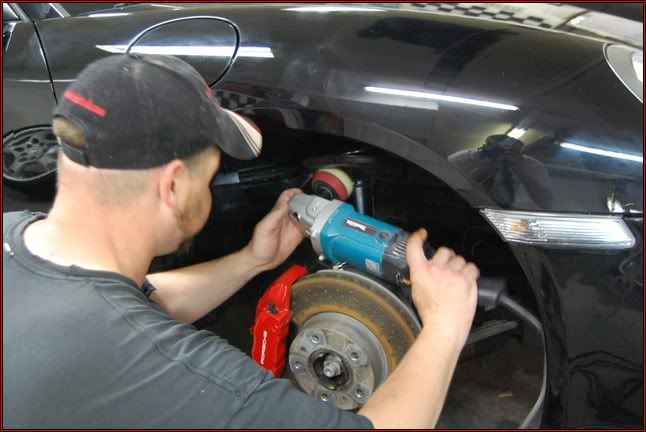
Once this was finished, I began with the undercarriage first. I removed each wheel one at a time. I cleaned and degreased all the arches, coils, calipers, and so on. This is a tedious process but well worth it in the end. Below is a before and after picture of the results.
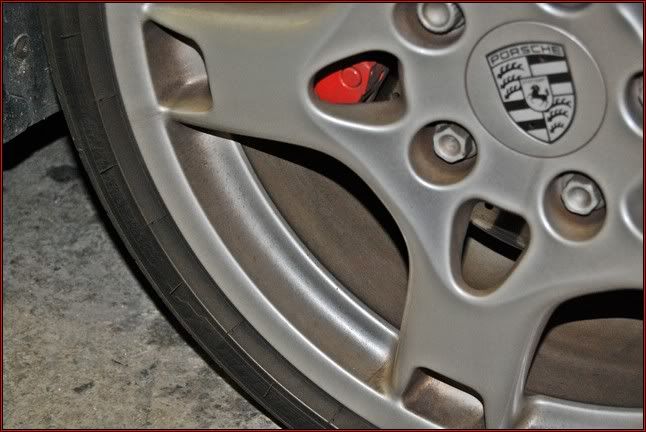
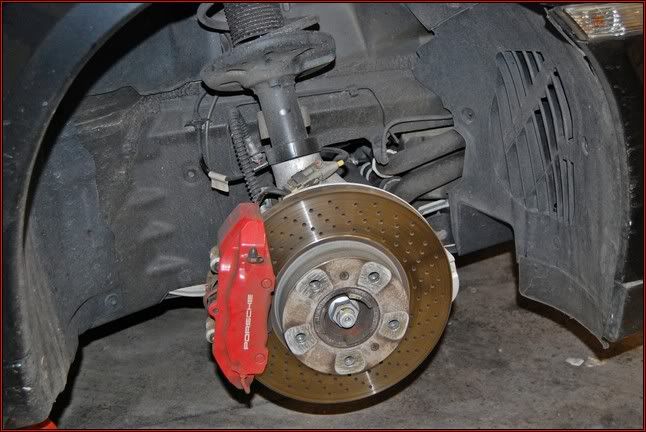
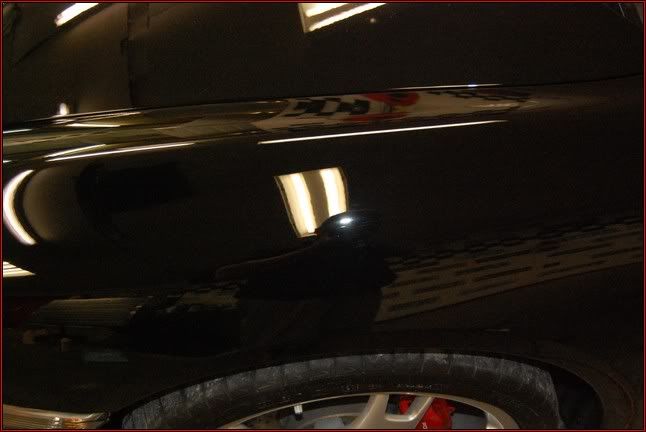
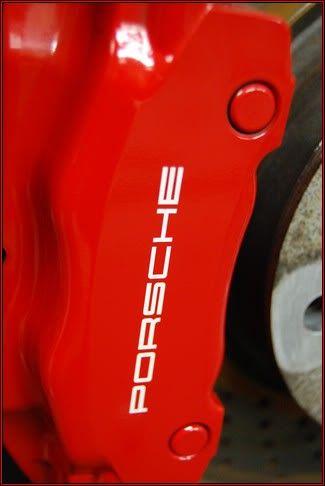
Here in this picture you can see what an eye sore it is to have wheel wells looking like this. You can’t even see the stunning red brake calipers that Porsche is known for.
After a good citrus soaking with a little agitation. Ahhh much better I would say!
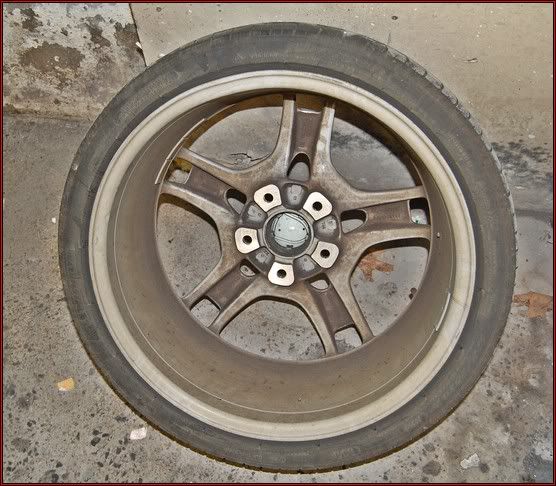
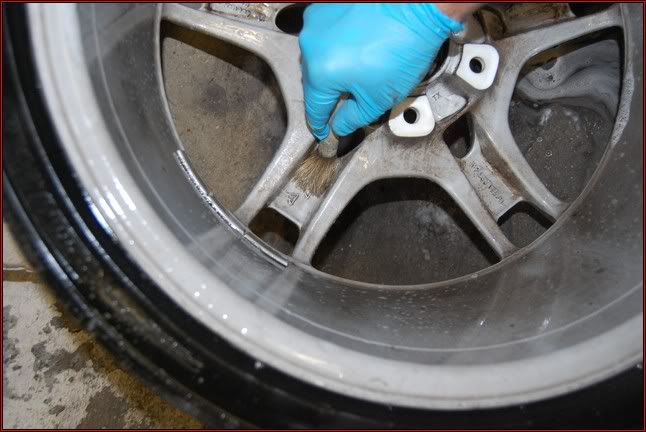
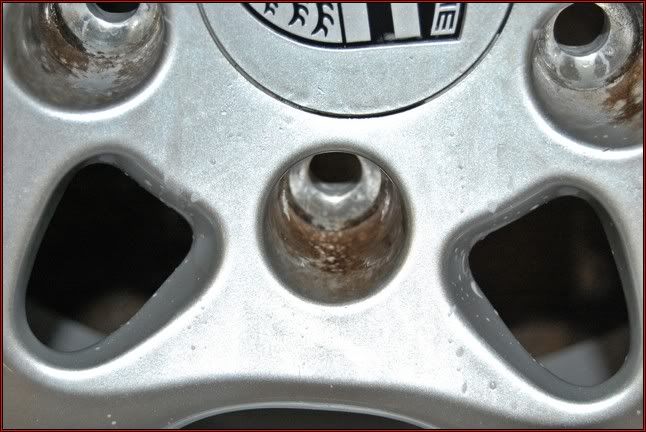
The wheels were cleaned with a honey based wheel cleaner. After some dwelling and agitation they cleaned up perfectly. All but one, One of the wheels had a lot of road tar which got was removed later in the detail.
Here is a prime example of brake dust.
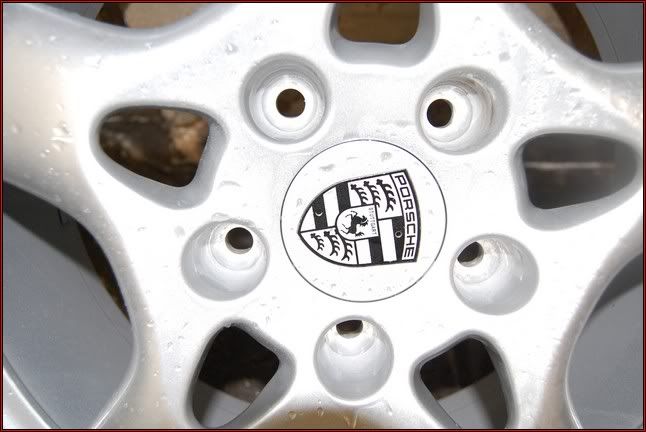
With a little agitation and the right cleaner you to can have a clean wheel like this on is now.
To me there is nothing like clean inner wheel barrels. The outer wheel was cleaned the same way.
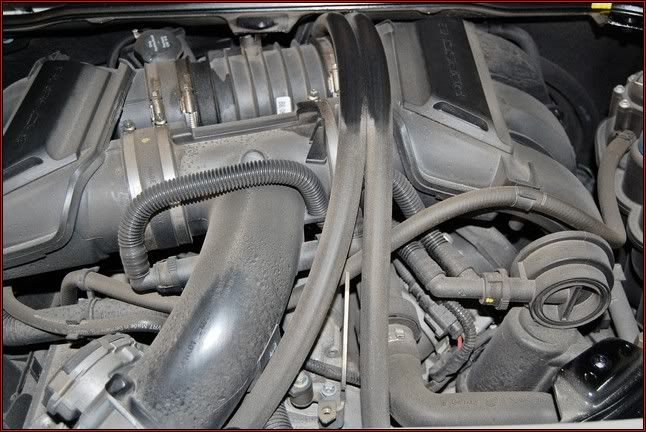
Once all 4 wheels were cleaned I turned to the motor. This was a challenge, considering the motor was on the inside. Normally a good rinsing and your done, But with this one the motor was obviously never cleaned.
Engine bright was used to spray down the motor with, It foams a little to allow for a safe working time and most importantly its easily controlled.
Once sprayed, the motor was rinsed down using compressed steam filled with distilled water. The end result was this.
Once done I degreased all door jambs then used pressure washer at a low pressure to remove all old grease and debris. I then proceeded to close everything up and pressure wash the outside of the vehicles exterior surface. My main goal here was to remove as much loose dirt as possible. Once done I gave it a foam bath and let it dwell for several minutes to help break down all the grime and build up on the paint.
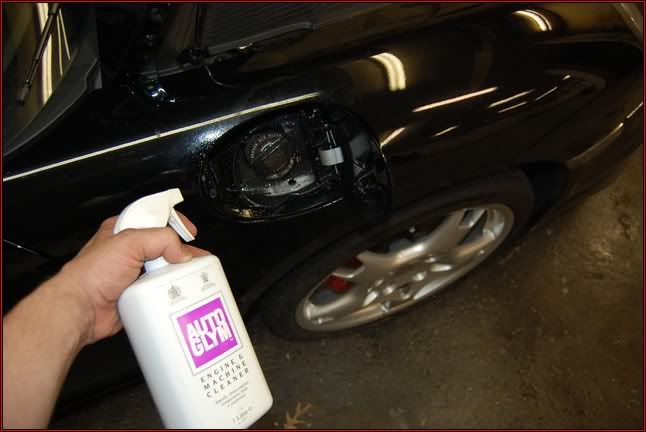
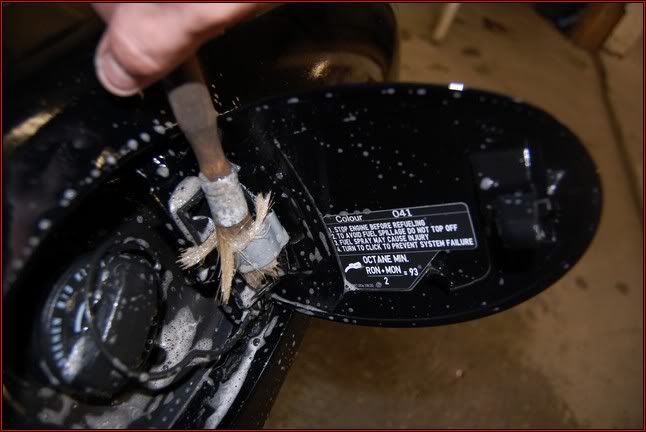
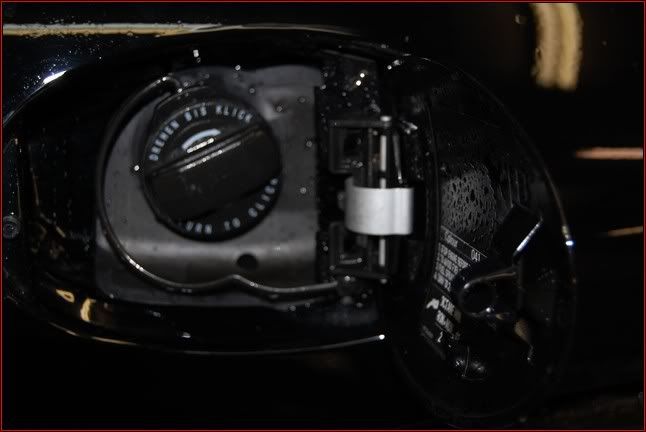
Once this was done I sprayed down tighter spots with Autoglym engine and parts cleaner. My main area’s were the gas cap, emblems, inside side mirrors and so on. Everything was agitated with my all famous 3 inch wooden detail brush. I love these little boars hair brushes!
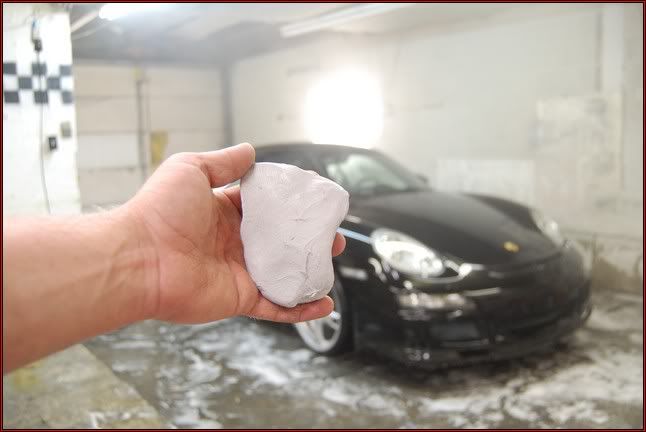
After a second degreaser wash and I clayed the vehicles exterior paint and glass, along with other surfaces to remove all the embed contaminants. Surprisingly the contaminant build up wasn’t as bad as I thought. I guess my 3 stage anal retentive chemical wash is working!
New clay bar all nice and clean.
New clay that performed its duty well.
The car was foamed once again with another cleaner. Now no water beading was present. The exterior surface was now decontaminated. Take notice how the paint is holding the water.
The Decontamination was complete!!
Chapter 2 : Paint Correction.
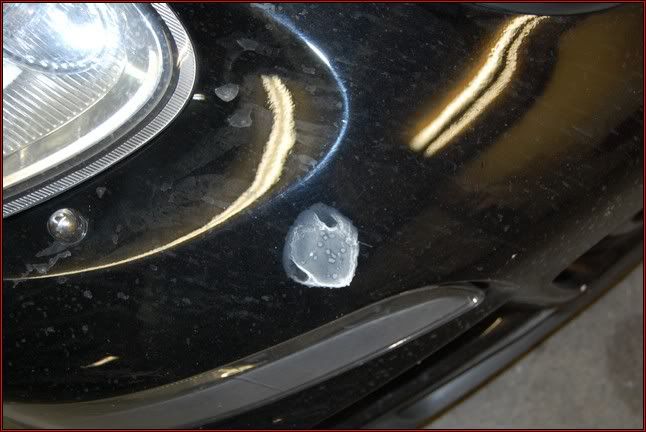
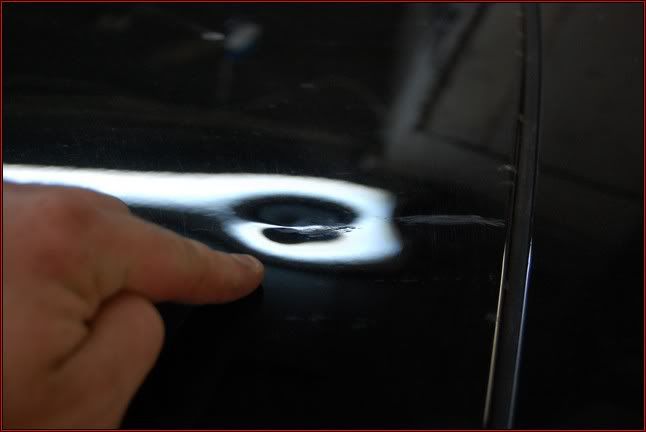
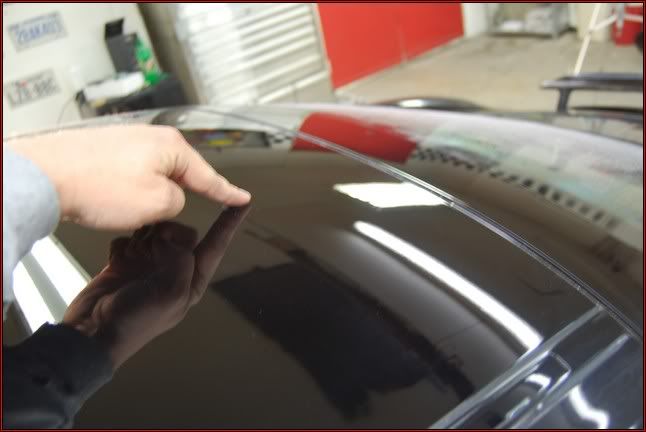
First I went around and marked all area’s that needed paint less dent repair there were twelve area’s in total. Below is a picture of the process.
A tree branch had fallen on the car and most of the dents looked like this one here. Most were pretty deep. There were a few door dings on the side that were taken care of as well. Here is a before and after below showing the correction.
All smooth now. I spent about 2 hours removing all 12 dents.
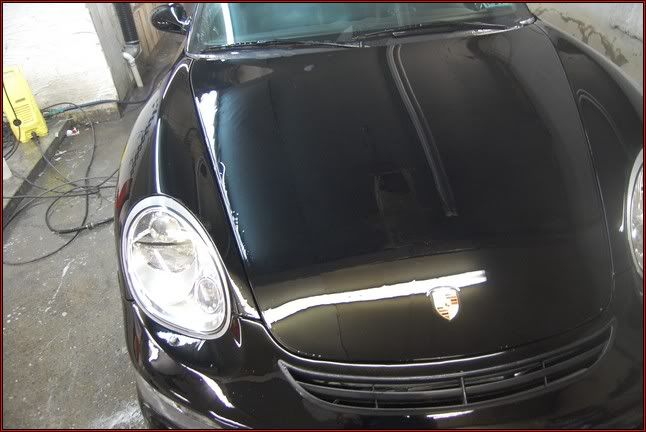
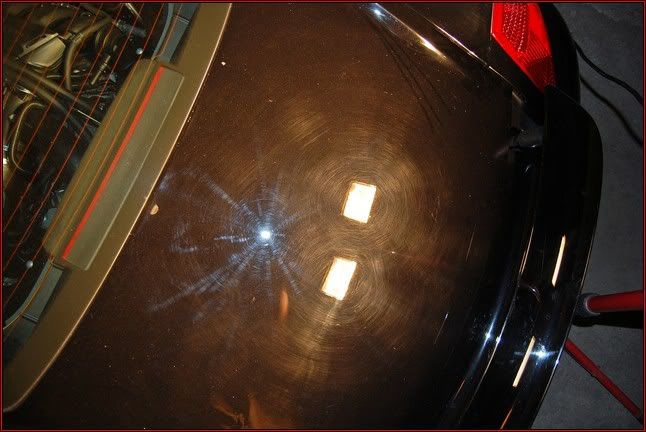
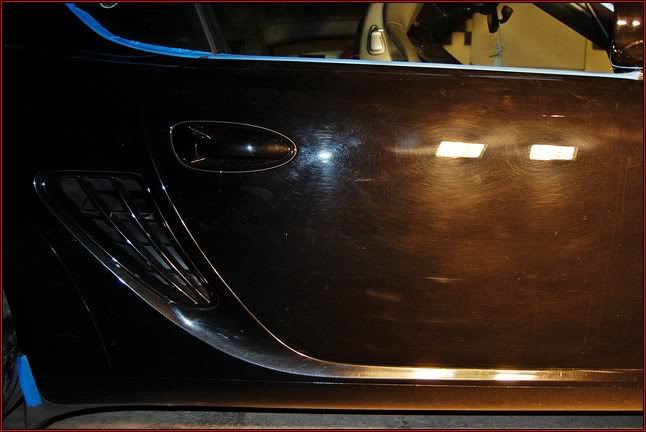
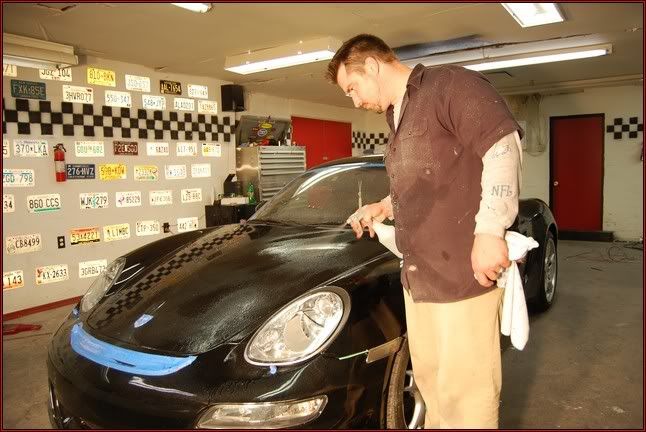
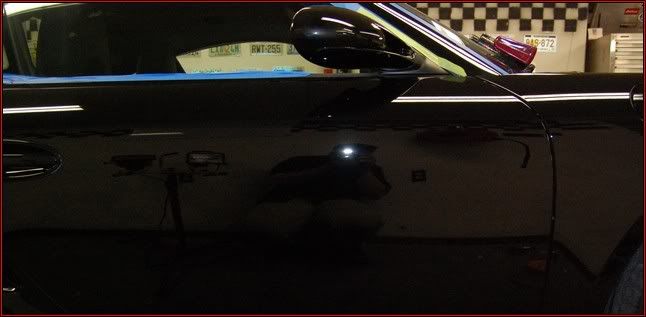
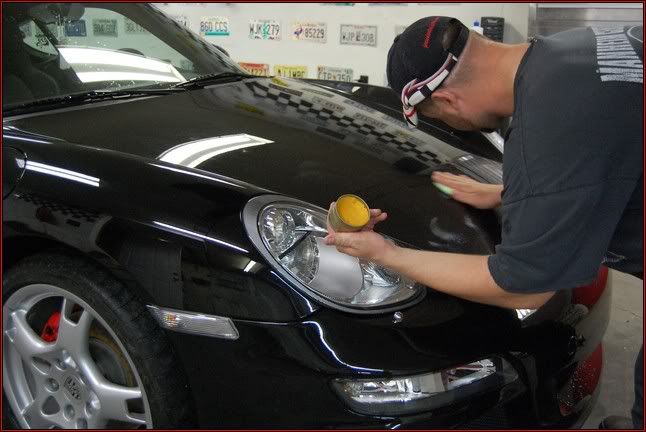
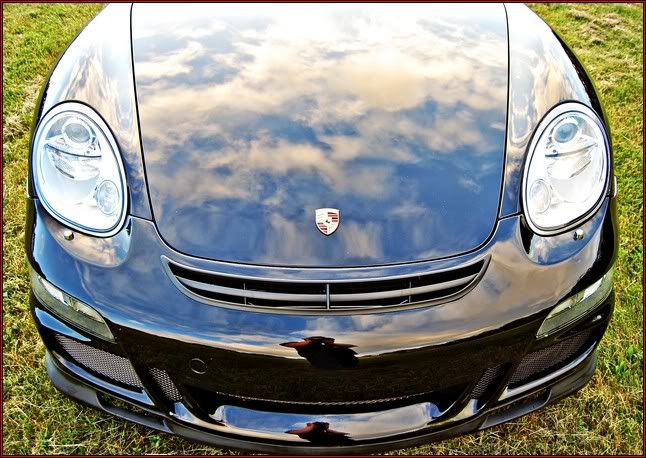
Once I masked up all area’s that could be harmed by the polishing process I took a few snapshots to show you the paints true condition. I performed a wipe down with Prep solvent to ensure all previous wax was fully removed. Thus bringing the paint to its cleanest potential.
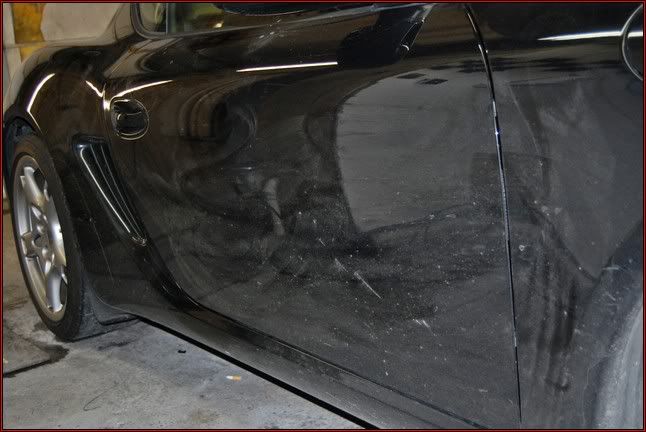
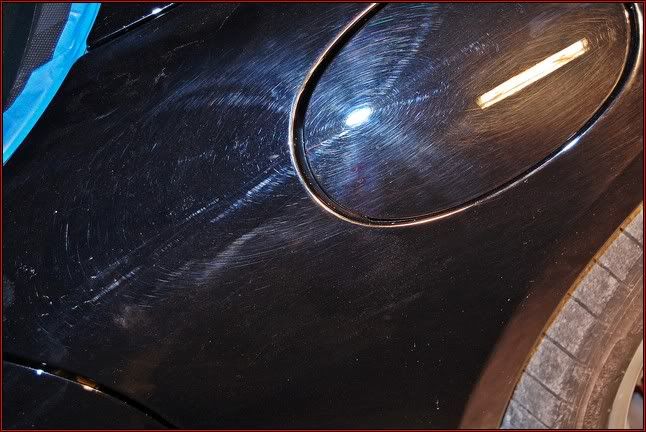
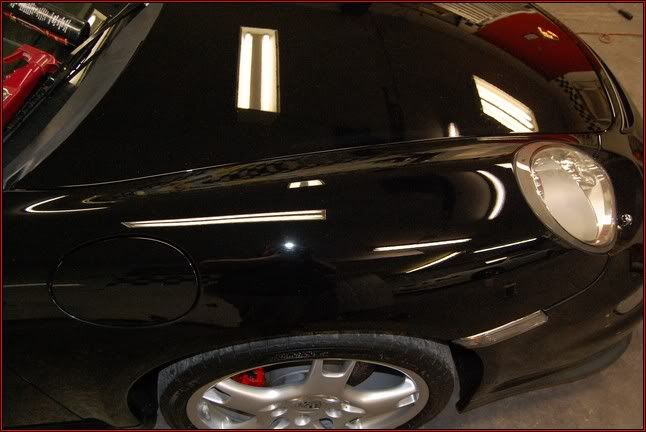
Below is how the paint looked at this stage. As stated before it suffered severely from really deep swirls and oxidation. The paints finished appeared to be marred and very dull. It really lack a high luster shine that can be achieved on softer Porsche paint.
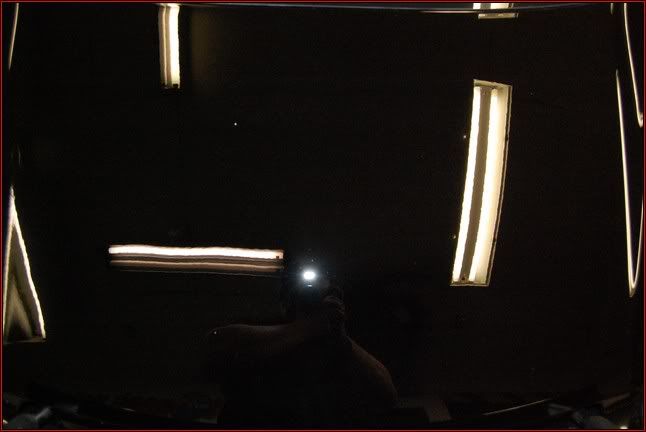
Here is a close up of the paints finish. If you look at the smaller light which is my camera flash it will show you all the issue’s. These defects were deep!
Prior to compounding I thought it would be best see how much paint I had to work with. So I took measurement’s in Microns to ensure the clear coat safety and longevity.
Surprisingly the vehicles paint thickness was on the high side and I knew I had some room to work with without jeopardizing the paints future condition.
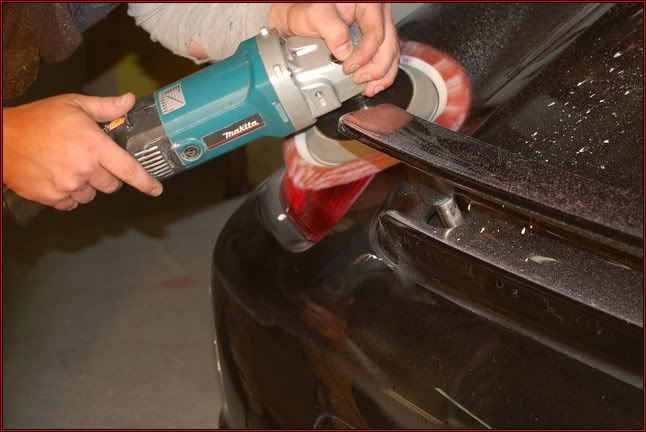
I have found that its better to do a test spot with the least aggressive method first. From years of experience and my vast knowledge of Porsche paint I knew I need to go a little aggressive with this one. I first started out with M105 for the initial leveling. I used a wool pad and rotary polisher at about 2600 rpm’s. This leveled it out nicely,, but left some minor hazing which was removed using M105 and a yellow foam pad.
The wool pad!!!
The foam pad!!!
At this point all the compounding was done and I performed an IPA wipe down to ensure all compounding oils were removed. The I rinsed it off to remove all the dust.
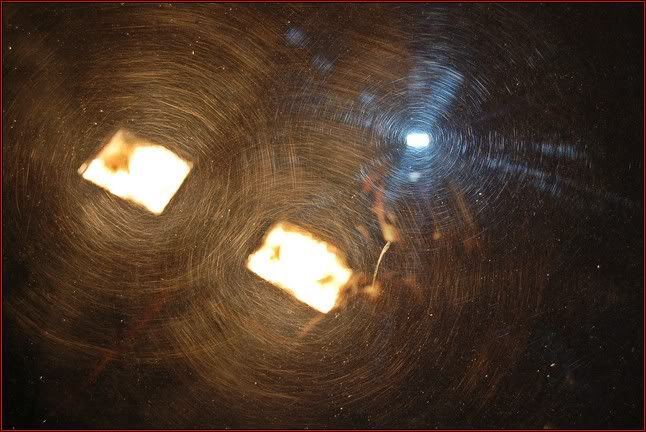
Here is a You tube video to bring it into full effect for you this was after both M105 steps only the initial compounding. it’s a great 50/50
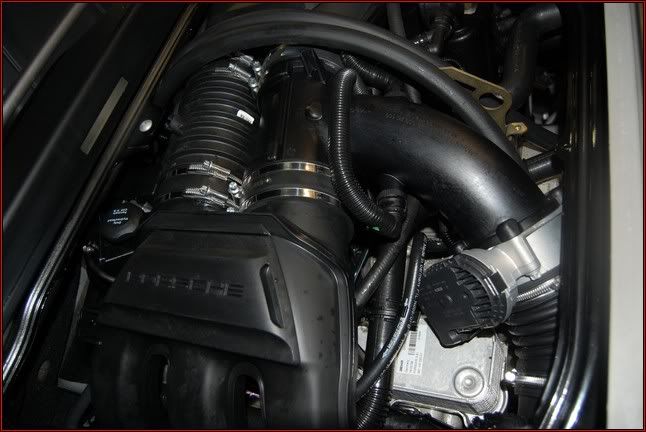
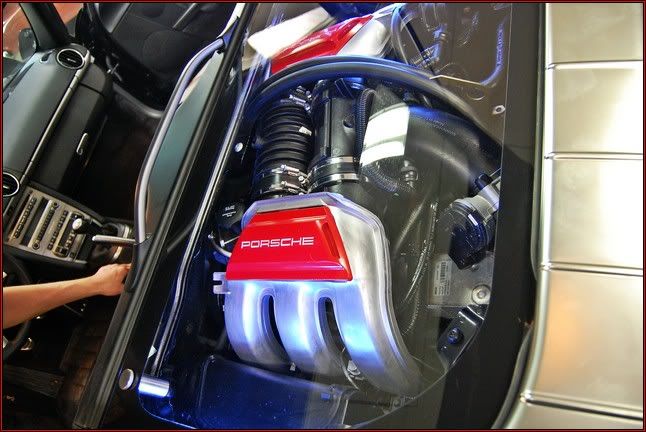
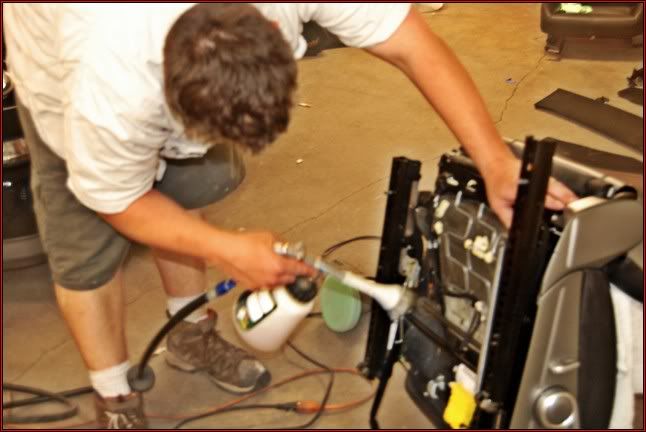
Well with the Cayman being a mid engine. The owner asked to have a few mods done. This was my first time attempting this. I was satisfied with the results and so was he. I would say there was some room for improvement, but all in all we were happy. I would also like to take the time to thank Anthony Orosco for first presenting this idea. By no means did I come up with it, but tried to achieve the same results he did. A public thank you to you from me. Thanks man for your idea’s and sharing them with us. The main reason for the heat sheild removal was not only to clean the engine but to mod it a little. The owner bought a clear engine sheild prior to the detail. When he told me about this I show him a thread where Anthony painted some parts and then installed the cover. We did this exact thing so here is my version of it.
Here is a picture of the owner an I in excitement to see the glass covering. It was like we were a kid in the candy store with moms credit card! Anticipation set in.
Here is how the motor looked bare naked and clean.
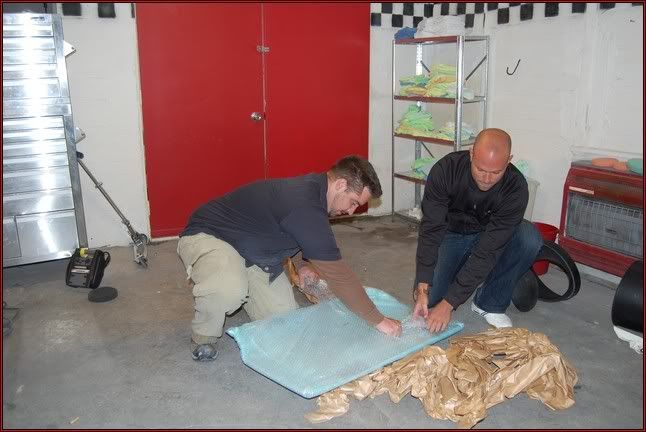
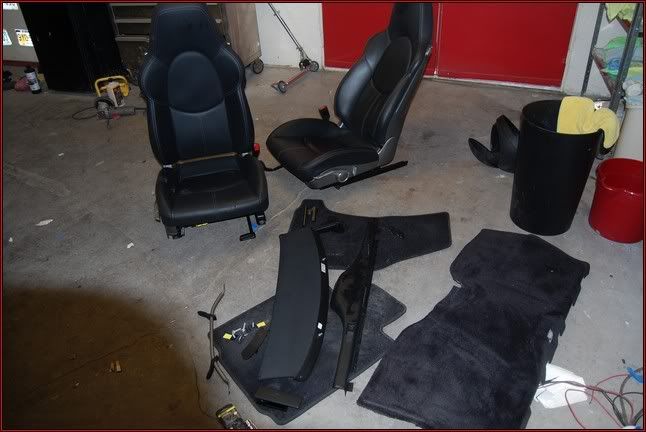
I removed the seats and a few other parts to set up for the wiring.
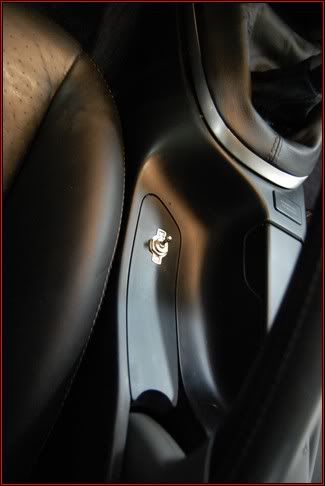
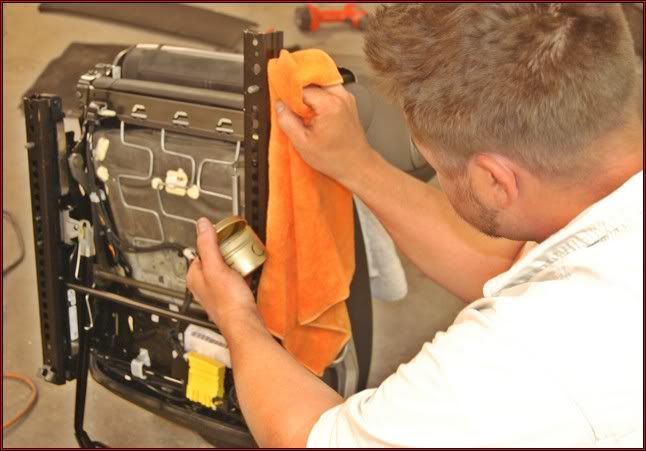
For this mod I painted a few parts of the motor and installed a clear cover and also added some LED’s that were hooked to a toogle switch.
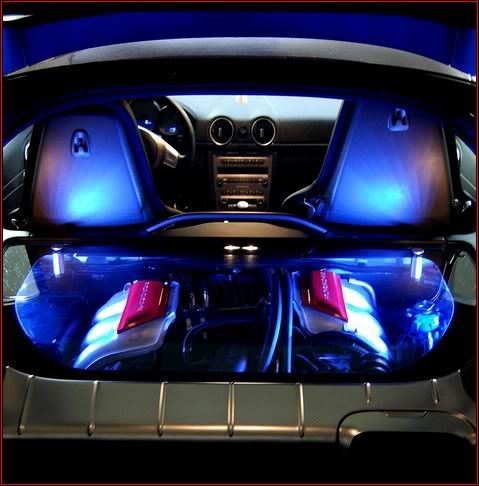
Here are some final motor pictures. I’d say it almost looked factory. This process took a while but well worth it. It looked great. Although the LEDS look blue there actually Bright White as requested by the owner.
The end result.
The toggle switched installed very clean and nice looking
A close up all hand painted by yours truly!
Here it is later with all the seats back in fully detailed with all the shop lights off. It looked cool from the way I layed the LED”S they really gave a cool effect to the perfect polished seats. ß you will see what I mean later.
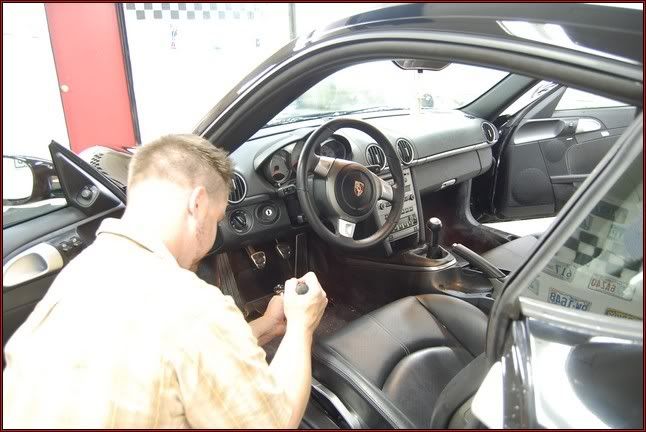
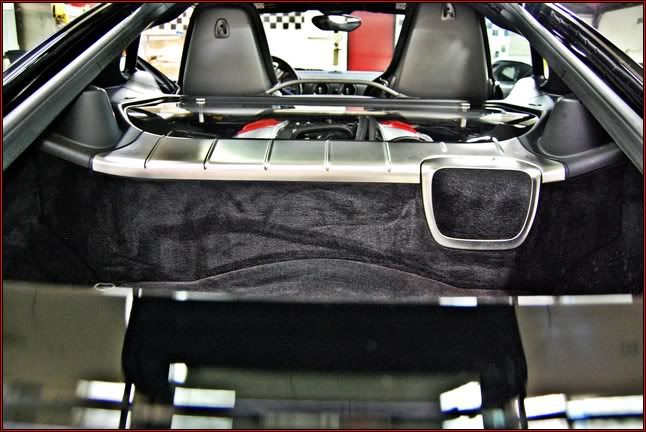
Once this was done and the glassed was sealed I move to the interior!
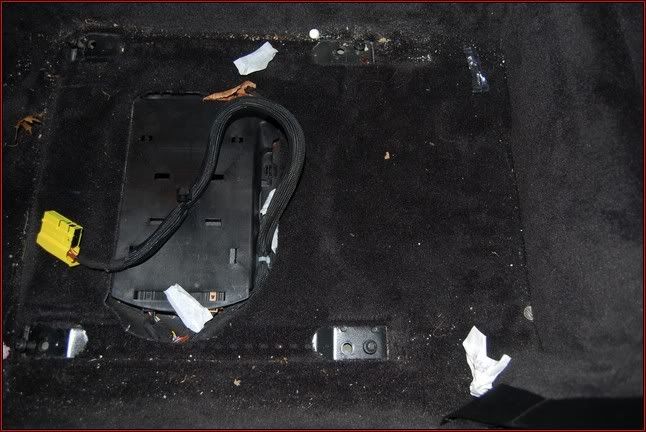
Chapter 4 : The Interior Cleansing and Sanitation.
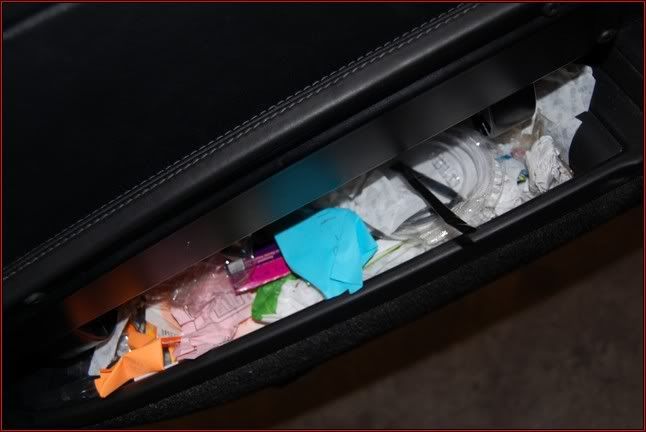
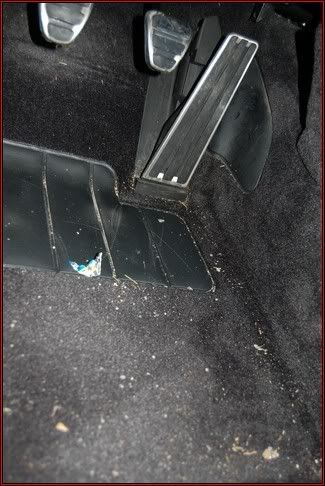
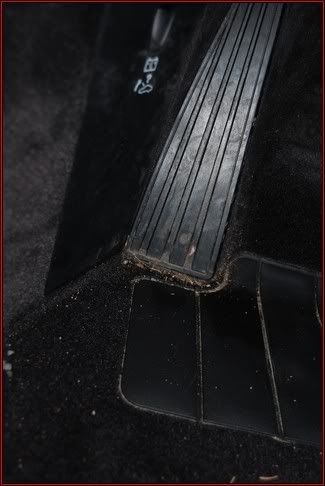
The interior went threw a complete overhaul, with a lot of the parts out it went smoothly. Here are some before shots of how it looked!
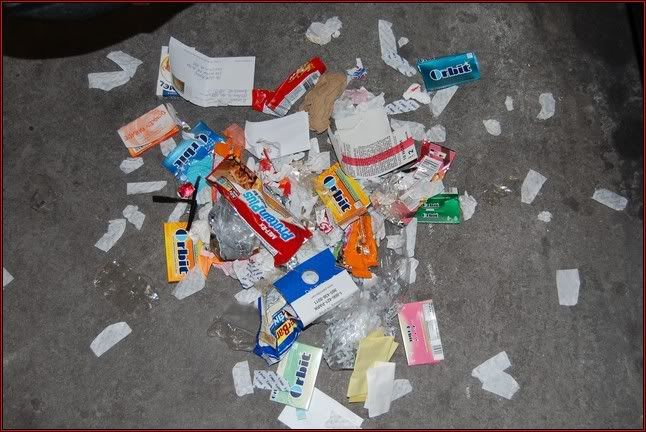
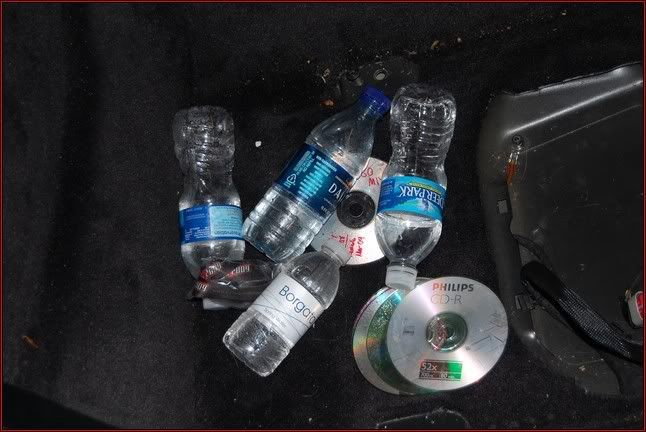
How many gum wrappers can on fit in a door panel pocket?
All these wrappers came out of the drivers side door pocket. I tell you it was never ending.
Some other before photo’s
John stopped over and cleaned all the parts on the inside of the interior. During this he used a variety of tools including a Tornado interior tool, steamer, Lots of compressed air and a shop vac.
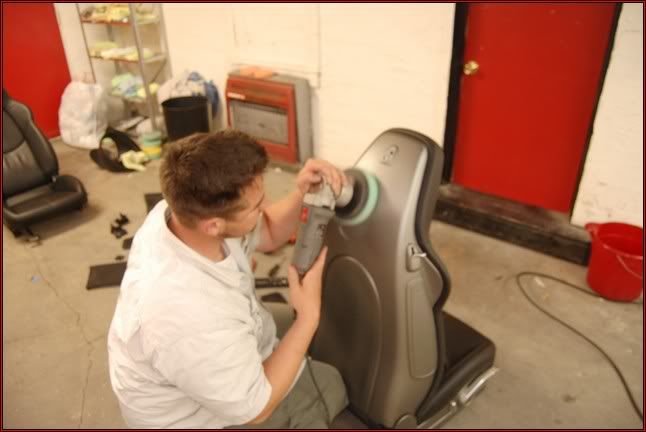
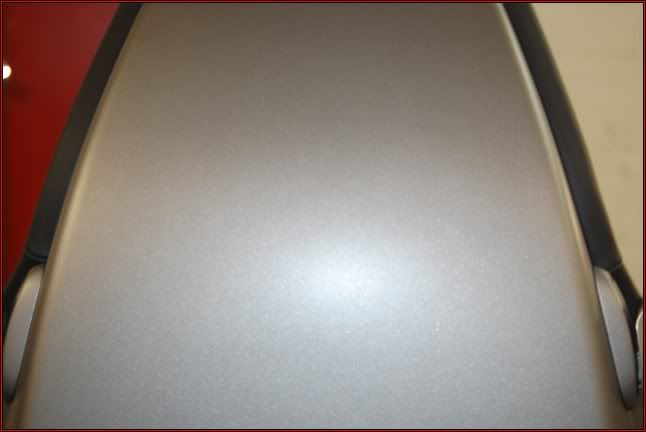
While Jon was staying real busy on the inside I started with the seats. The back of the seats were painted so I polished the out and then wax them with Migliore Competizone.
A swirl and hologram free finish on the seats! A new standard of Presidential Details.
Once this was done I flip the seat and work the area’s underneath it.
I first cleaned them down with the tornado interior tool.
The rails were waxed with Migliore Competizone as well
After
Yuppers we even hand polished the springs underneath the seats! We used high luster metal polish for this one! Talk about another standard set by Presidential Details!
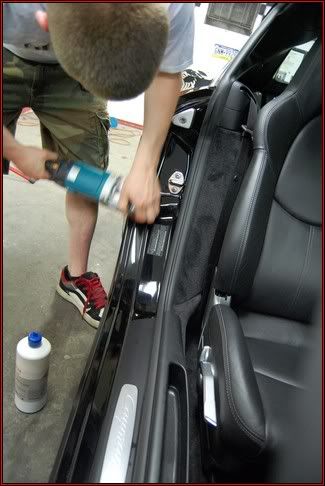
Once this was done I looked over and seen Jon polishing the door jams with 85rd! We then sealed them with Migliore Competizone as well!
With the interior all finished up I moved to the paint polishing and protection. Before we move on here are some final pictures of the inter. It was all clean and the leather was treated. Turned out quite nicely.
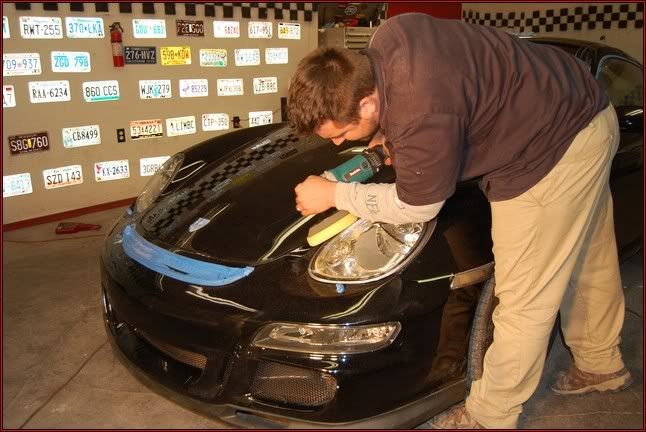
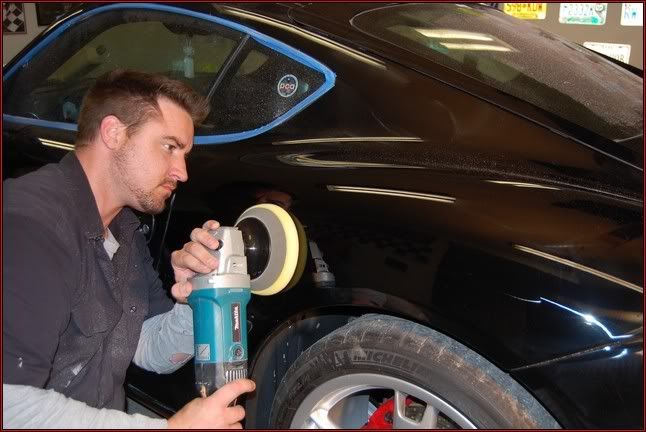
Chapter 5 : Paint polishing and Protection, The final Details.
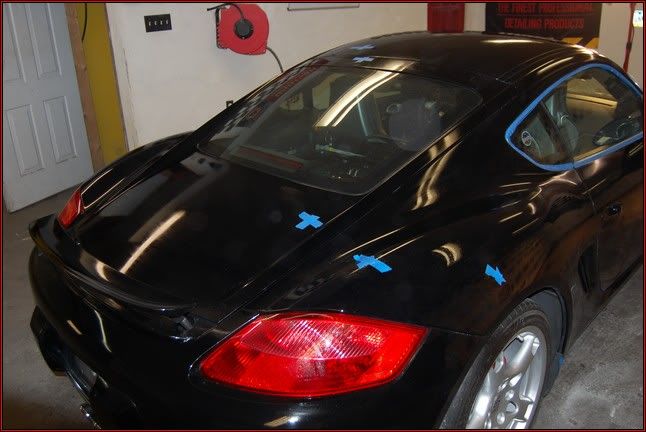
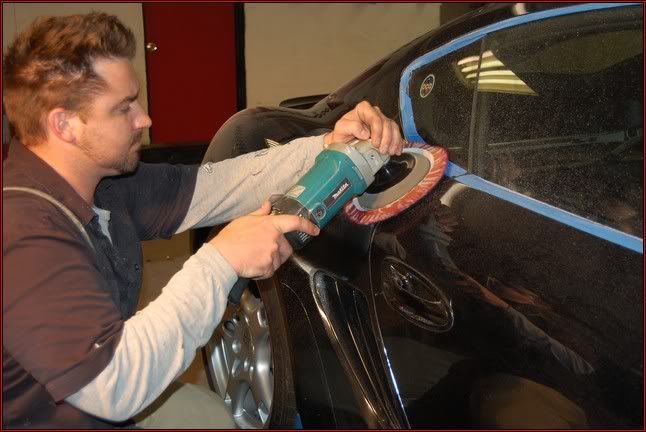
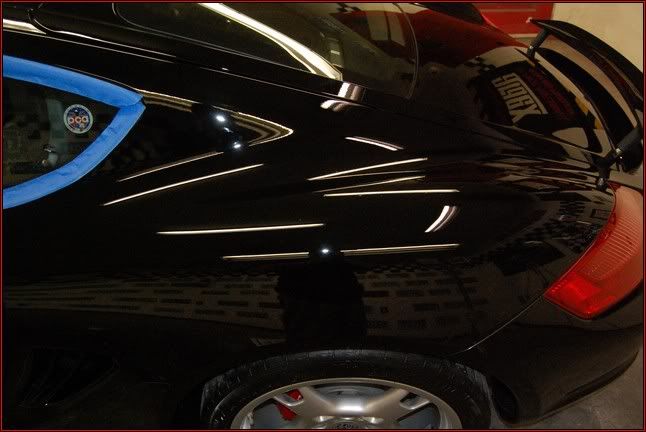
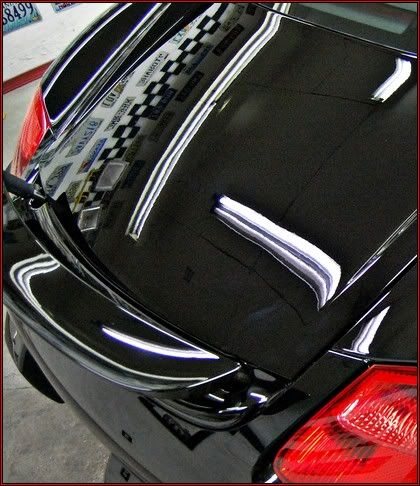
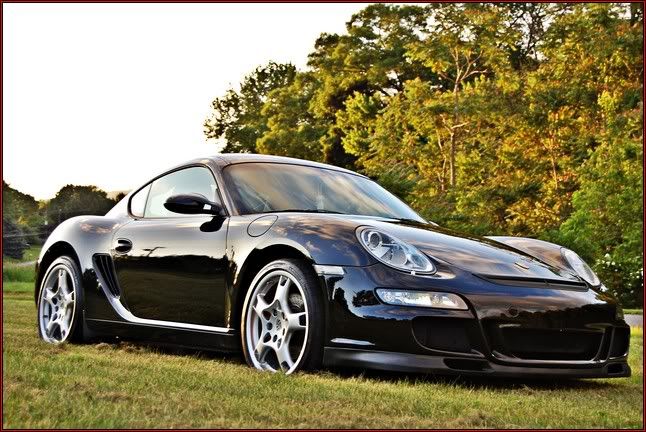
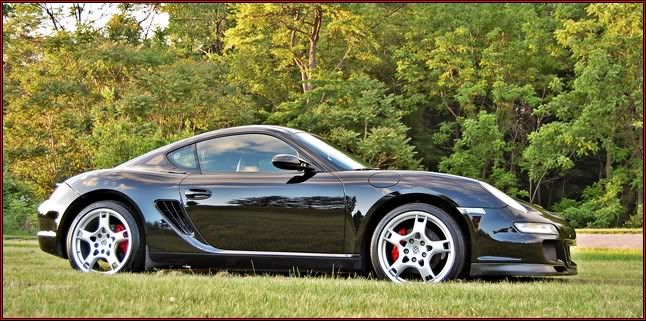
I ended up finishing the paint down with Menzerna 85 rd on a rotary with a 80 ppi foam pad. Here are some final camera shots using the Flash
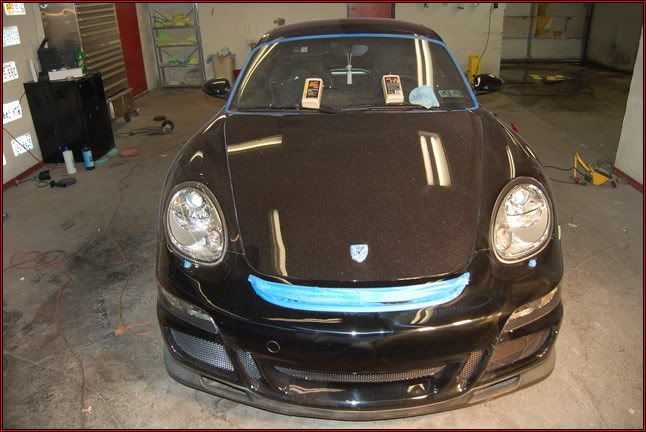
Now take notice in my after shots. I am standing about 5 feet back in each shot. This allows for me to see the true finish. Here is it.
Once the polishing was done. I did a wipe down with a prep solvent to ensure no carrier oils were present then We began to pay attention to the little things.
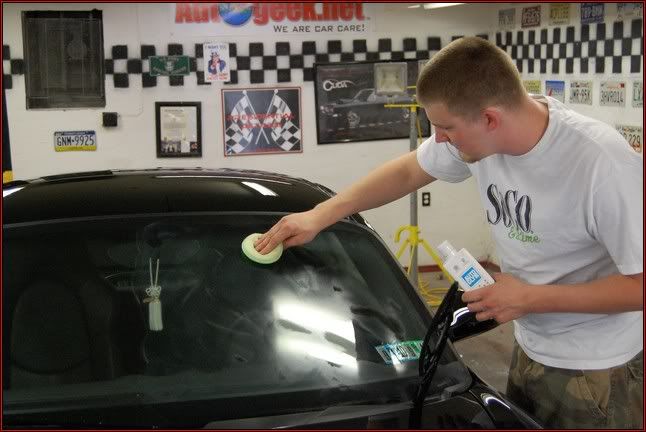
As I layed down the first of 5 coats of Migliore Competition John started with the glass polishing using Autoglym’s glass polish,
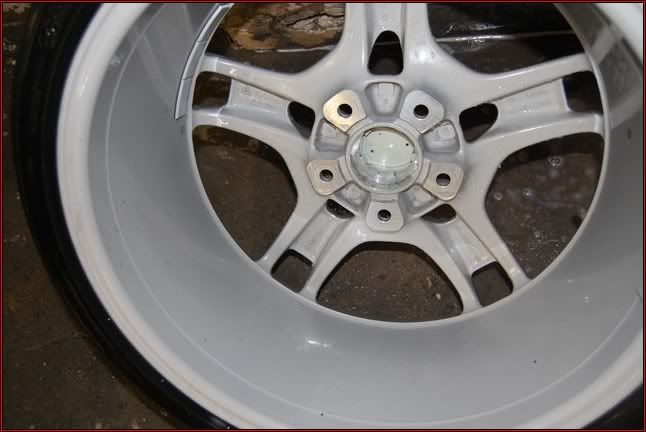
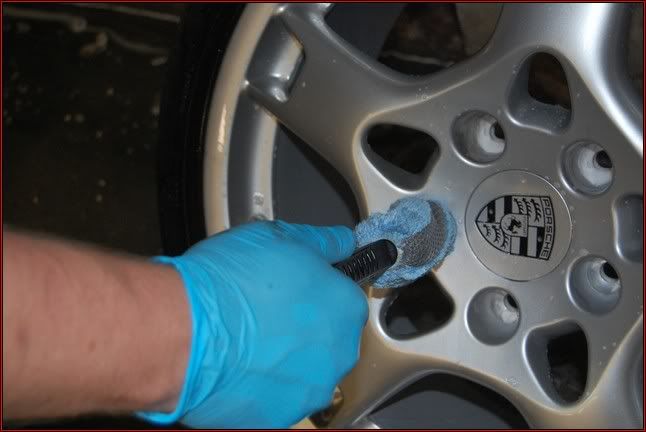
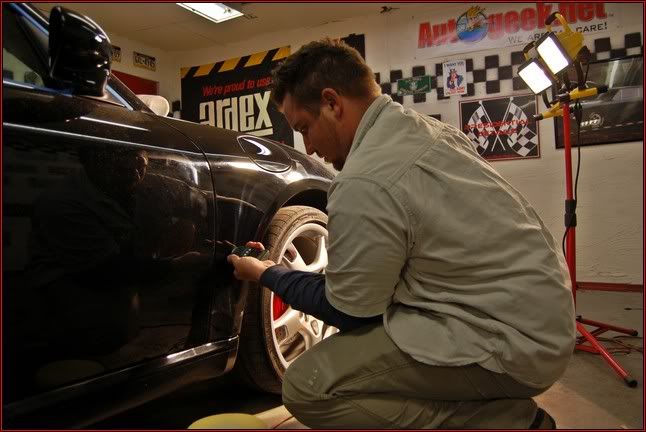
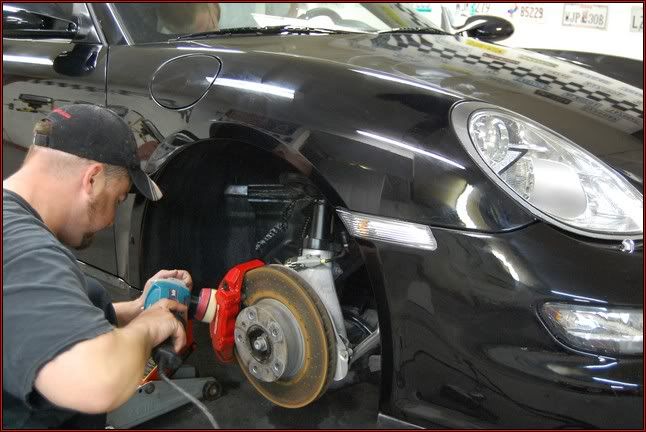
Then I moved onto the wheels and wheel wells. I removed each wheel and polished the calipers and coils
All finished!
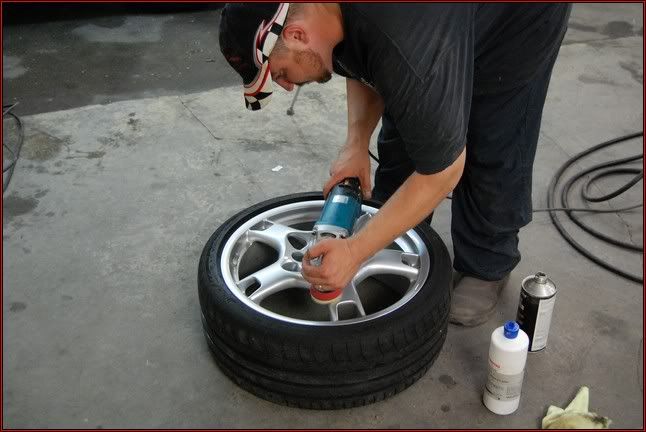
Then I moved to the wheel. The wheels were wiped down with mineral spirits then polished with 85rd followed by Migliore wheel Sealent.
The tires were dressed with Migliore Bella Lustre Tire Dressing. If you can’t already. I love this Migliore stuff!
Then John removed the wax as I folloed paying attention to the cracks and crevices.
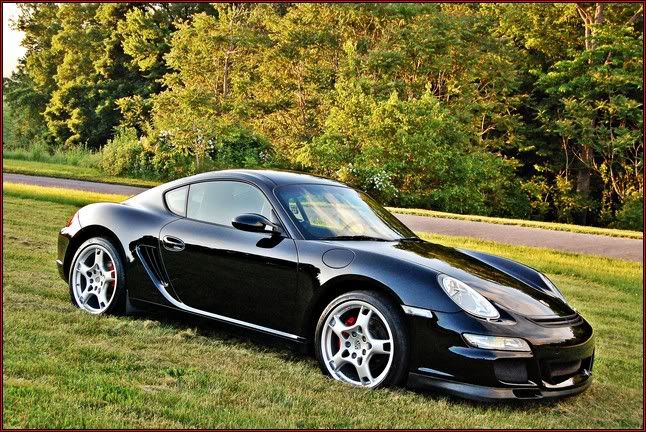
Dang Barry, I've been waiting for this one for awhile and it was well worth it. Some real in-depth, high attention to detail, true perfectionist work. The Barry Theal Signature Detail is taking things to another level - one that OEM finishes can't begin to touch. Everything on the car is now truly better-than-new.
Game-changing detail - I love it.
Great job continuing to push the bar higher and higher


") This detail was a fun one. God bless you all.
This detail was a fun one. God bless you all.