Presidential Details of Lancaster PA : Aston Martin Full Wetsand Detail

Barry Theal

New member
Good day all. Its been a while since I have posted any of my work. Things here have been extremely busy. I can truthfully say I’m living the dream that I always wanted to. As many of you know, the expansion of Presidential Details has grown a tremendous amount over the last year. Presidential Details has grown from a part-time business out of my house to now a rather large company with 8 employees other then myself and we have moved from the house to one shop, to now the present location. A lot of my daytime work consist of Logistics that caters to 40 to 60 cars a week. At any given time you can stop in and see us providing Detailing, headlight repair, dent repair, interior repair and wheel repair. Along with some other services. I personally have decided to only work on the so called special cars. I personally only do about 2 - 4 cars a month. Mostly rather large projects such as the one I present today. With the ongoing growth there are some really big plans coming up in the next few months that hopefully will be rewarding to not only myself, but the entire detailing community. To the many of you who have inspired and encouraged me to chase my dream, I thank you kindly. My success would not be possible without you.


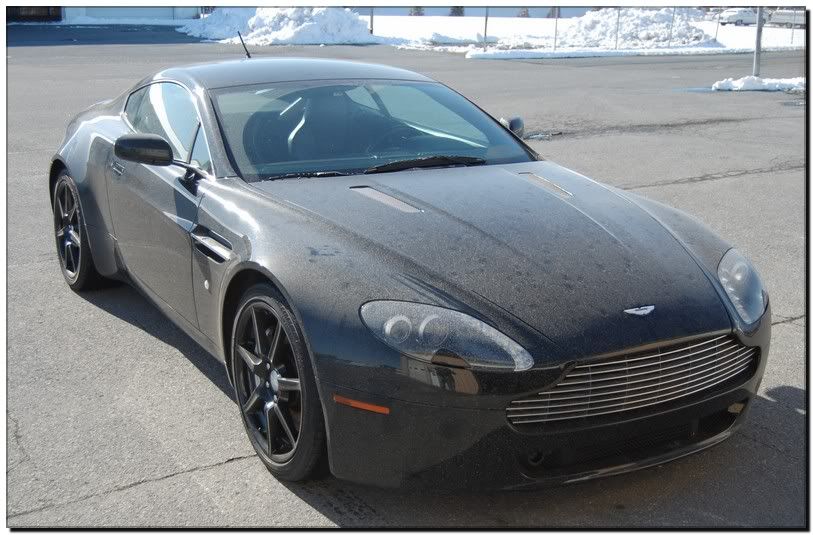
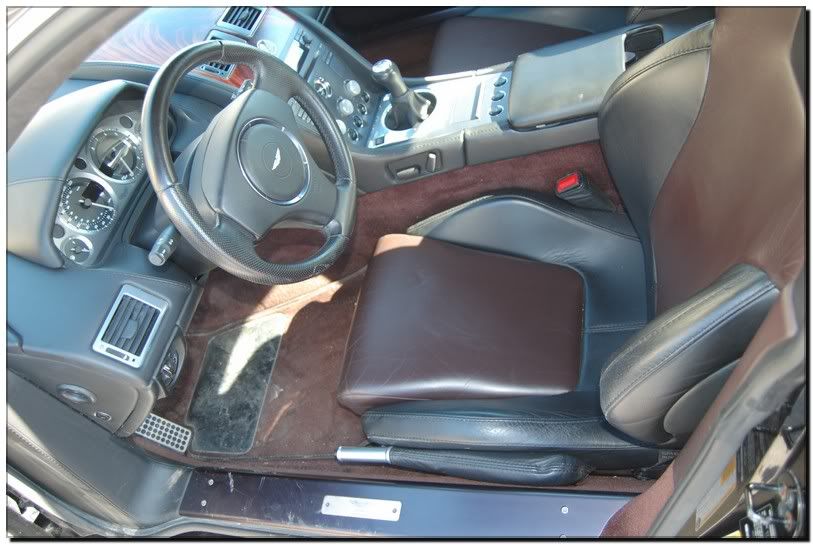
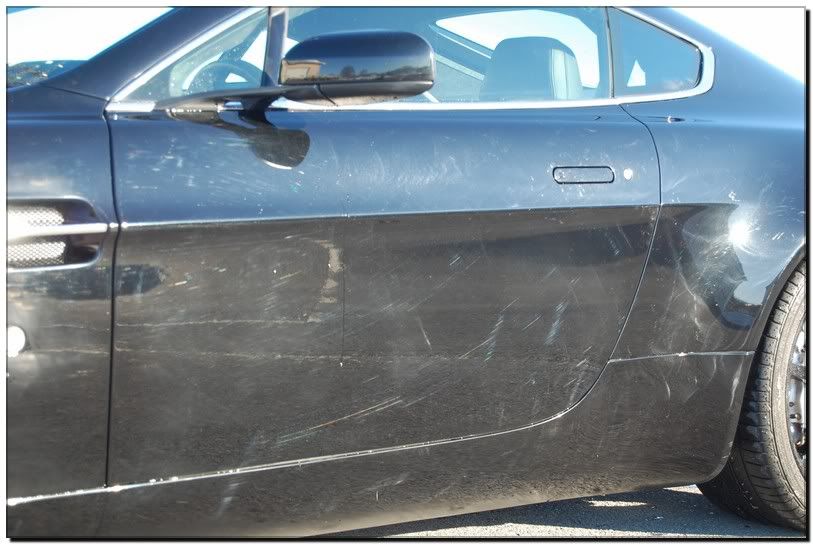
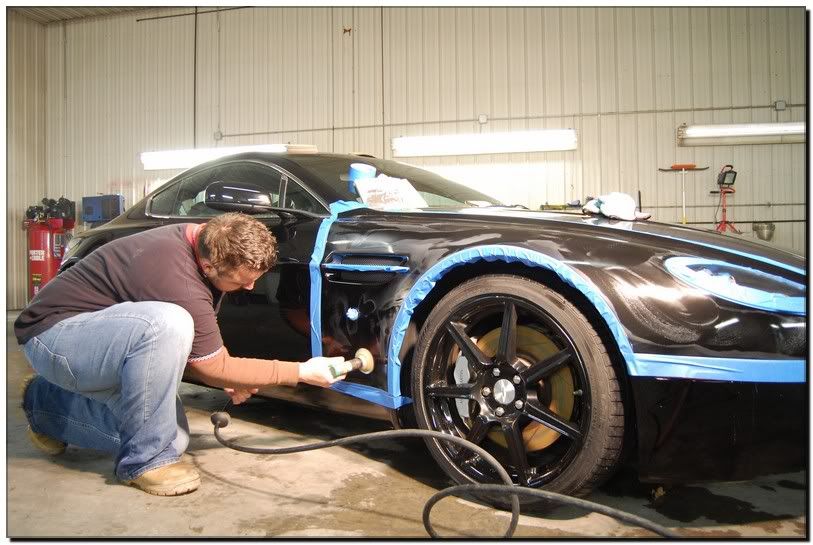
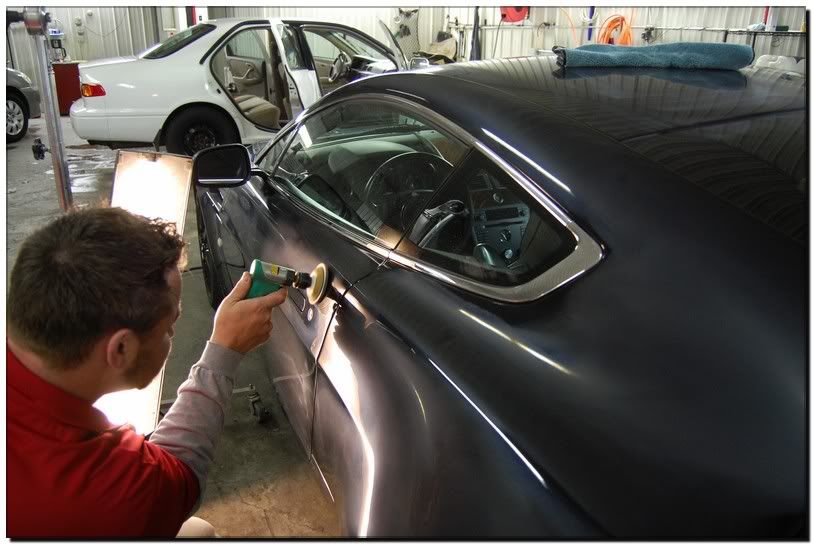
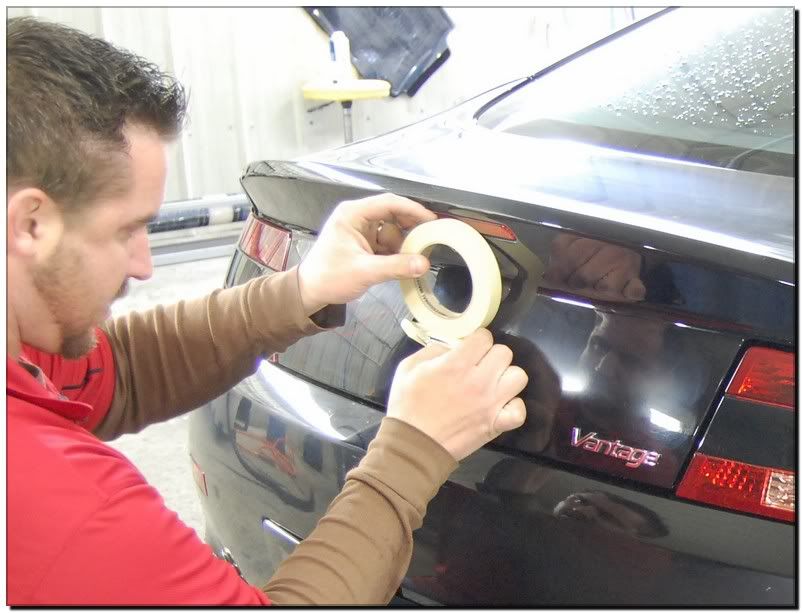
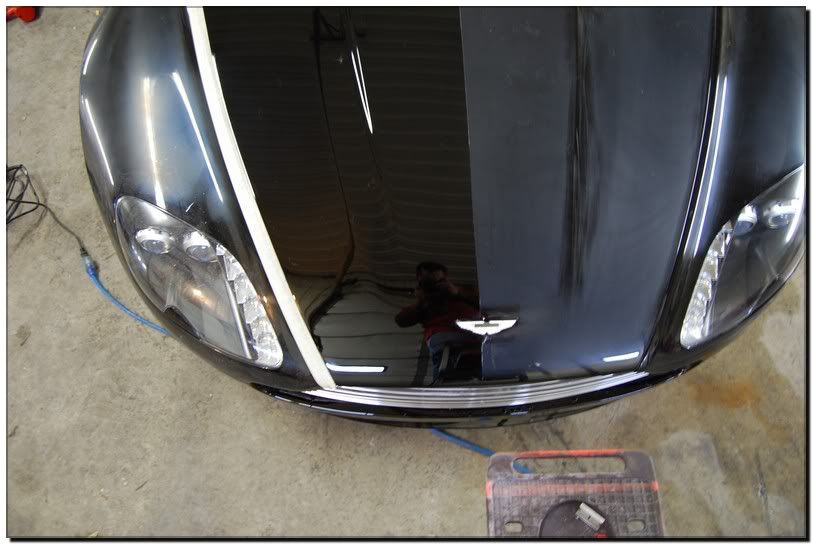
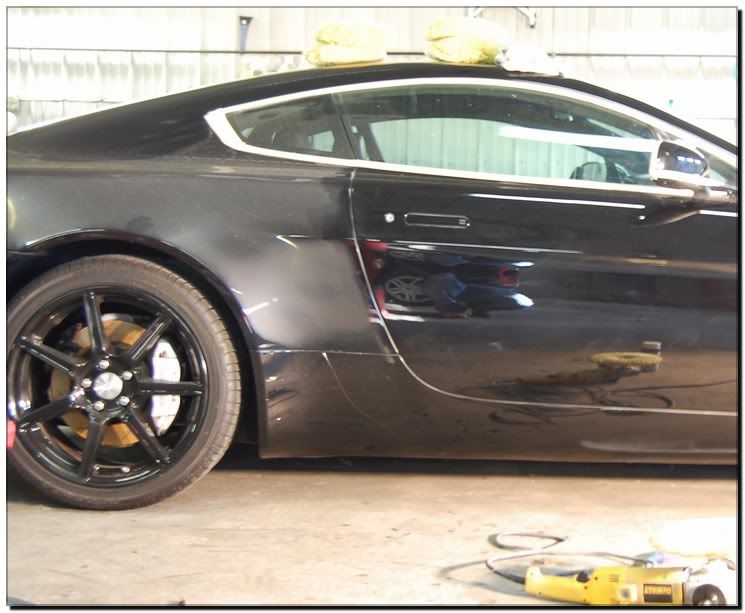
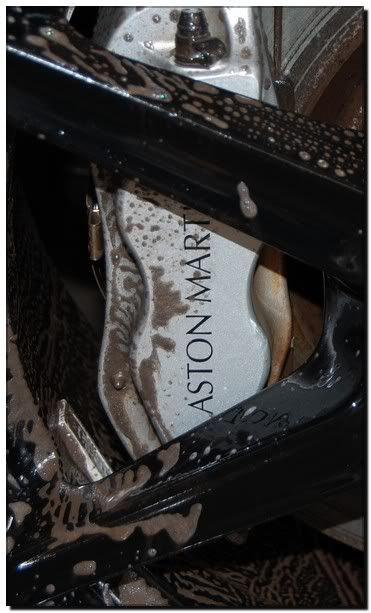
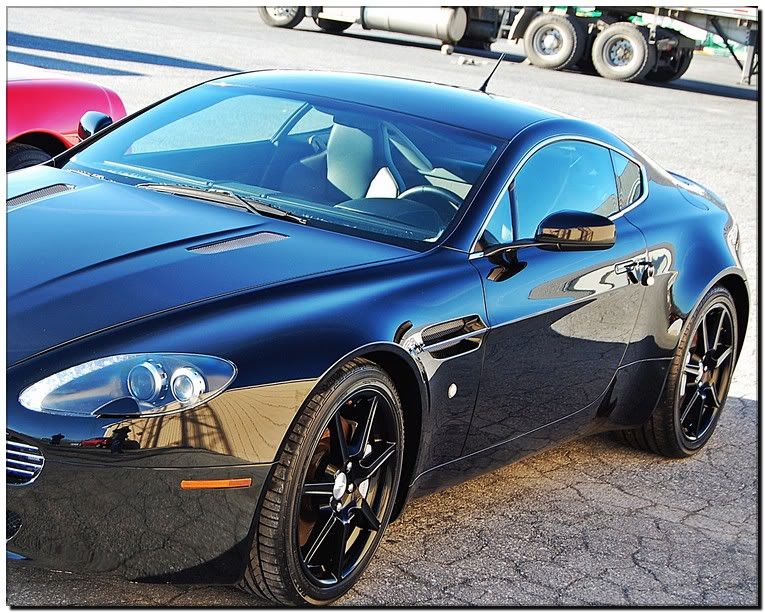
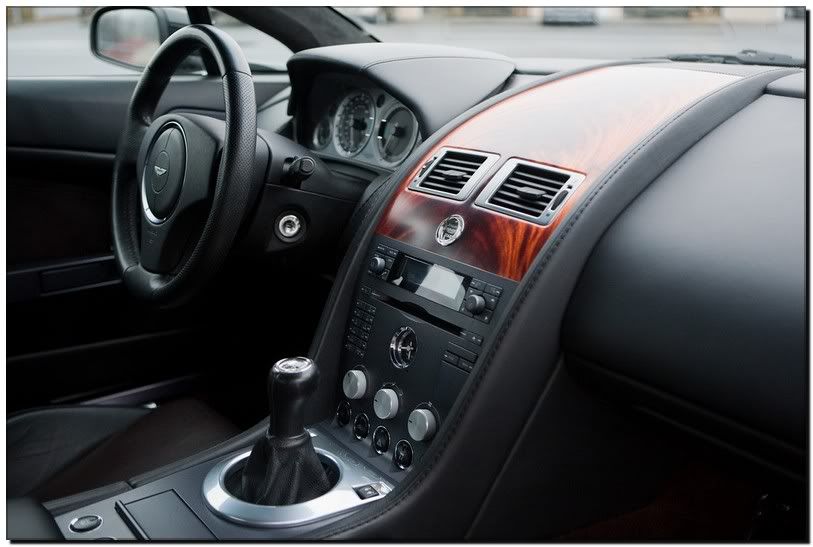
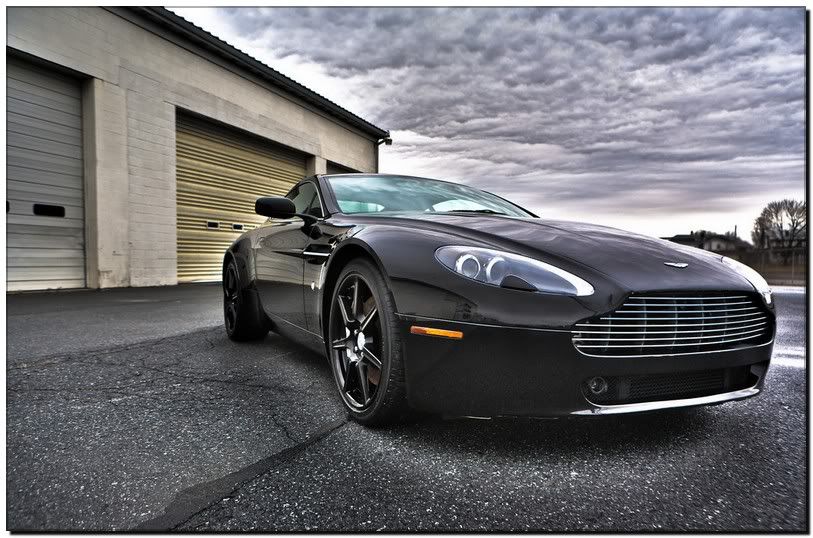
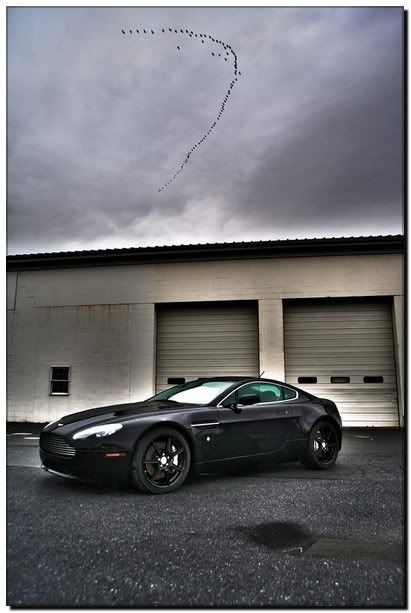
Today, I present to you an Aston Martin Vantage. This car is a recent purchase of the owner and his first experience into the luxury car seen. During the conversation with him, he had mentioned that the car had several repainted area’s that he wanted to be addressed.


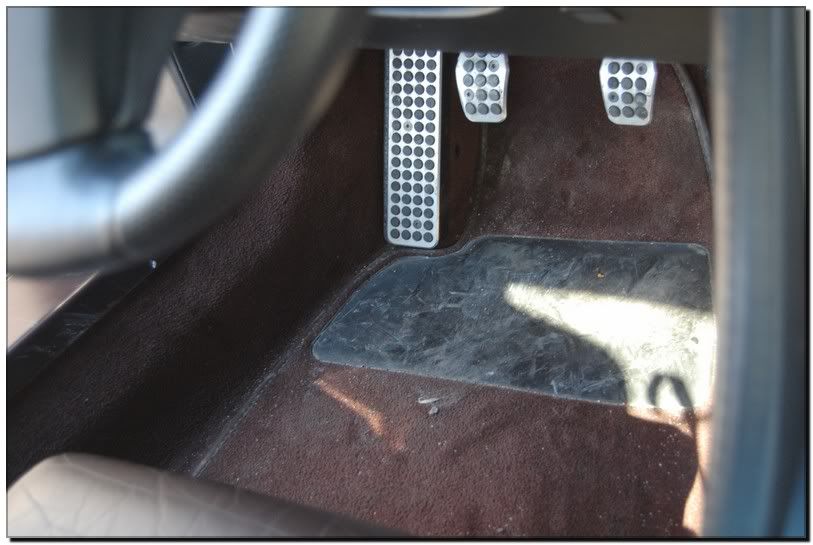
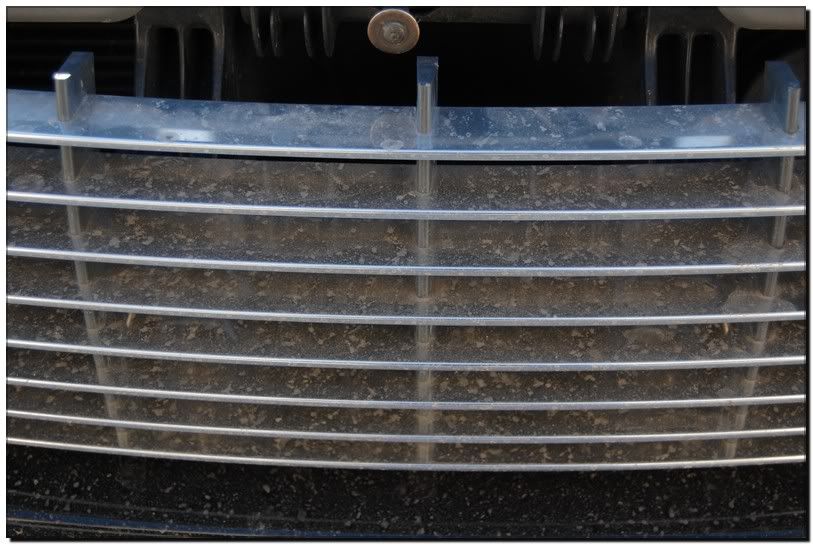
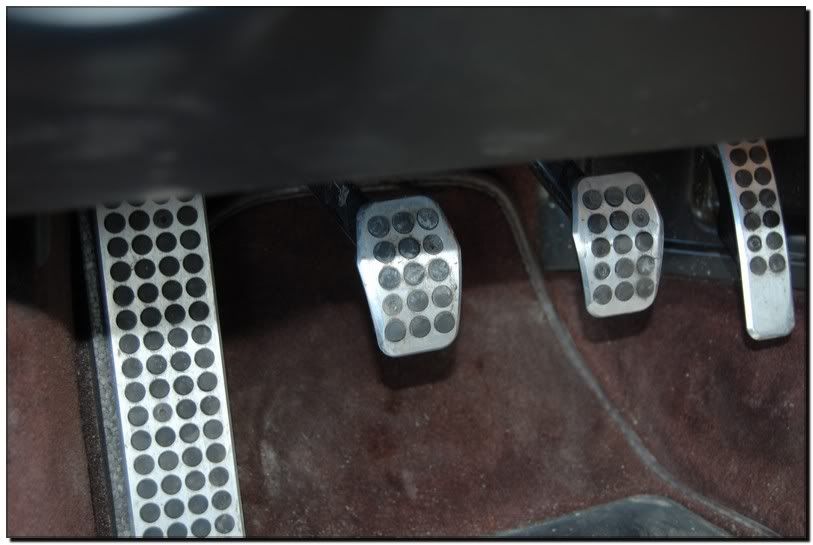
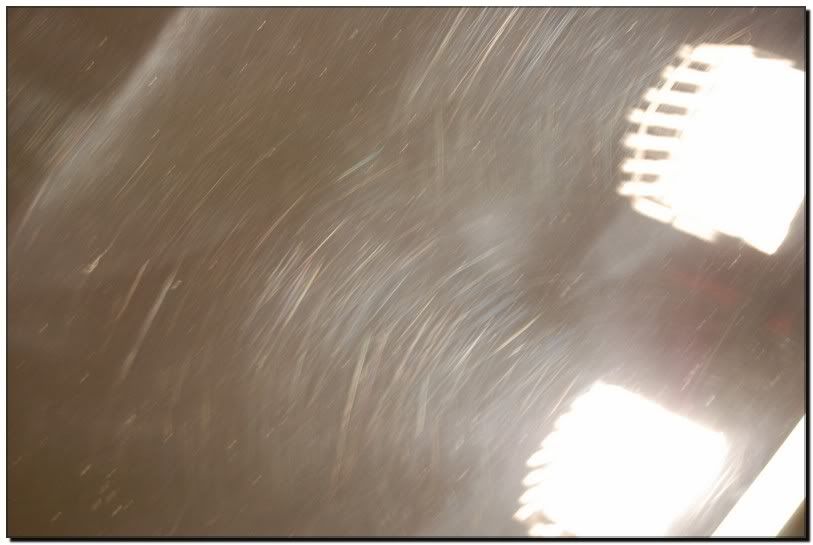
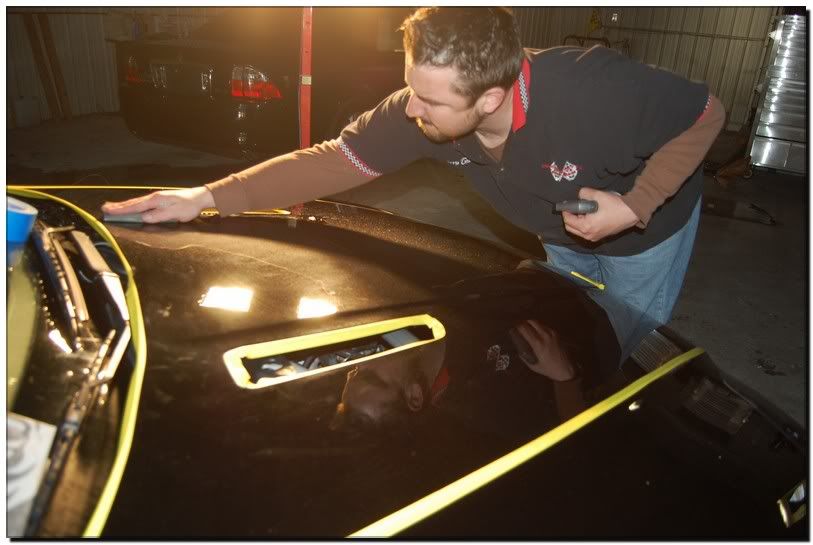
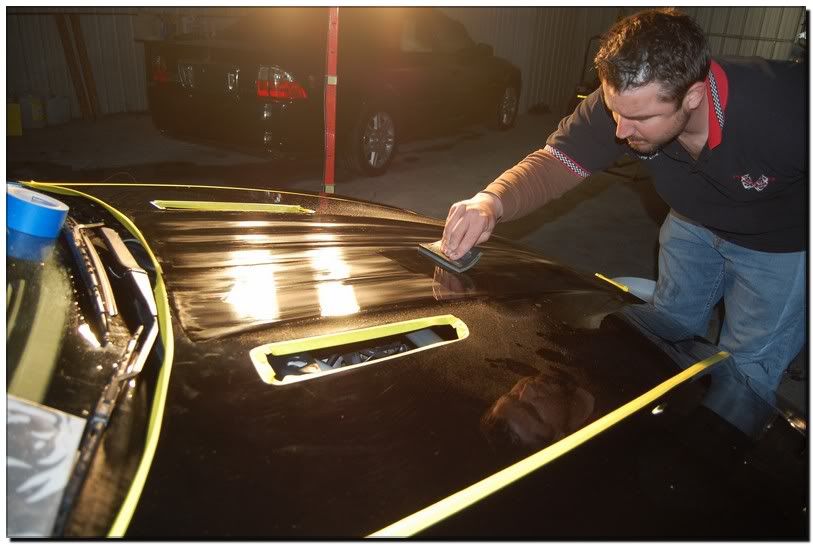
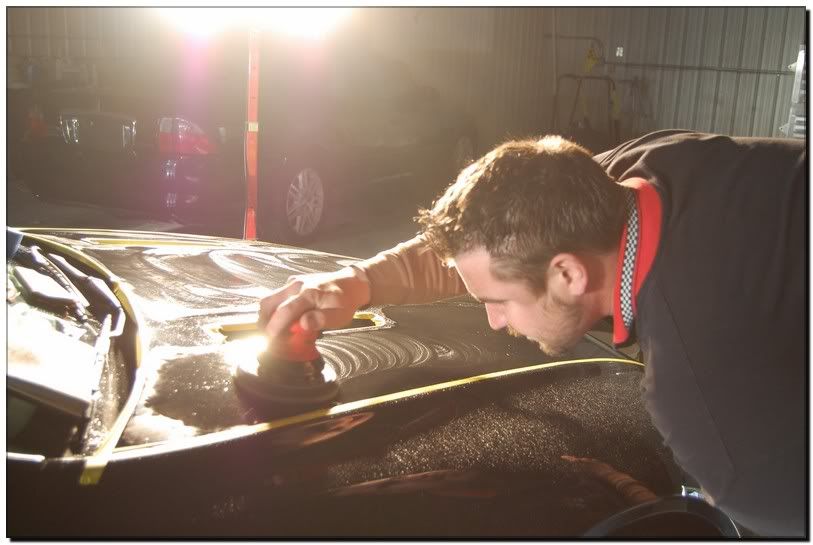
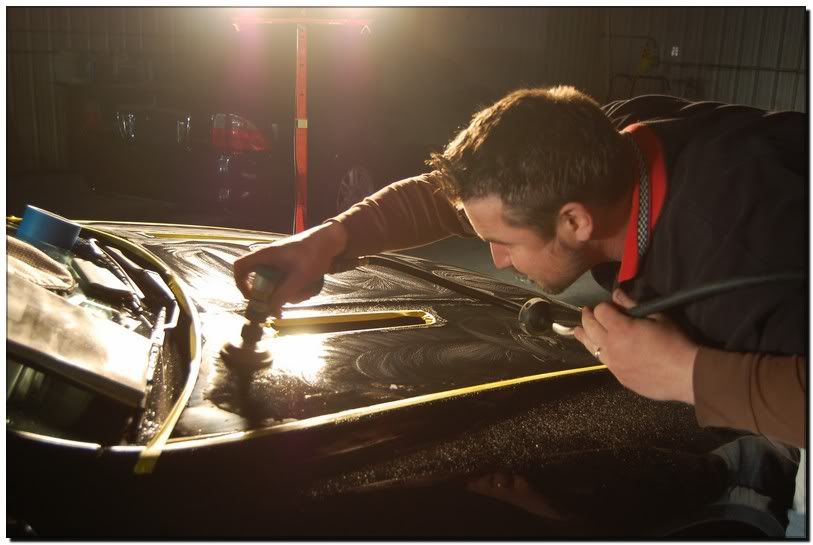
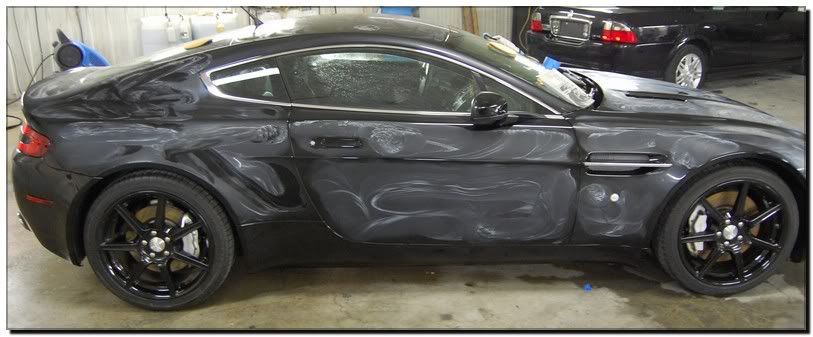
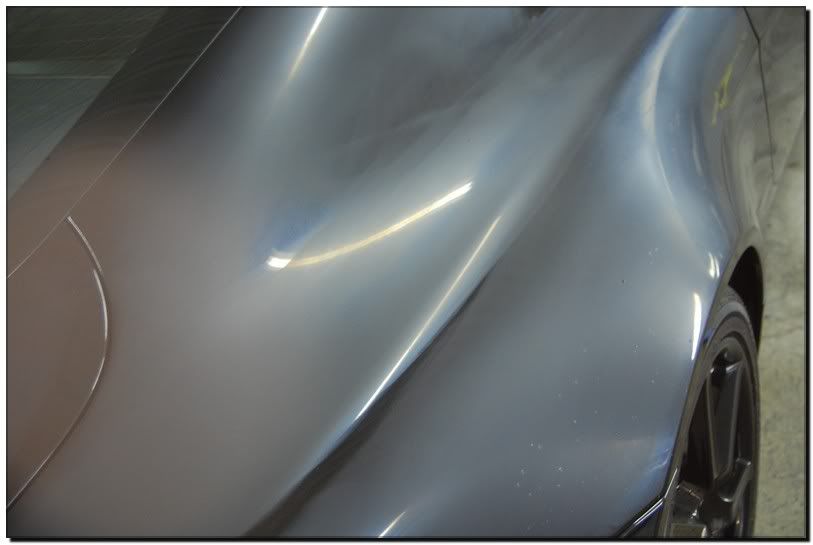
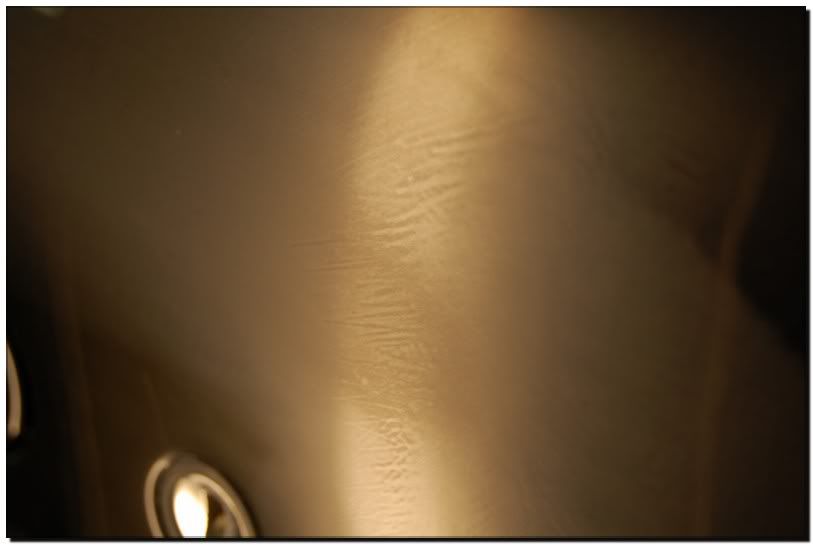
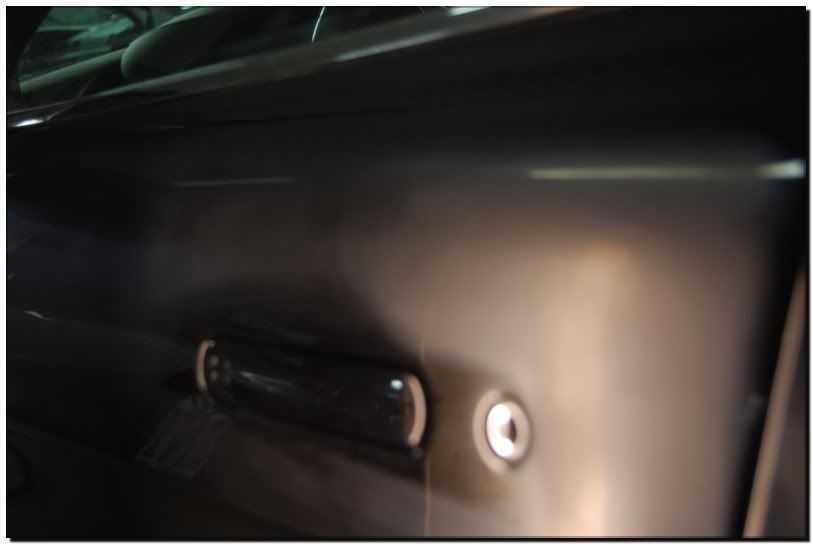
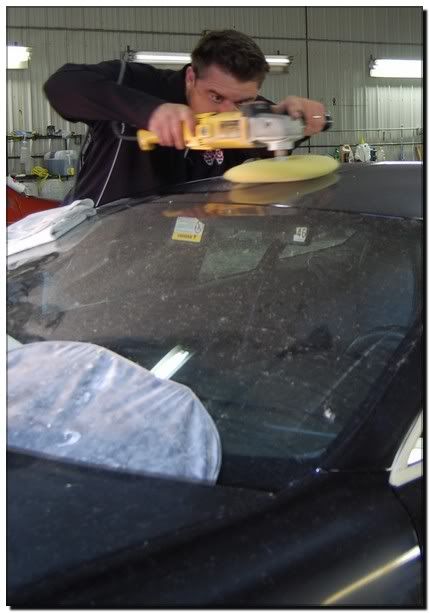
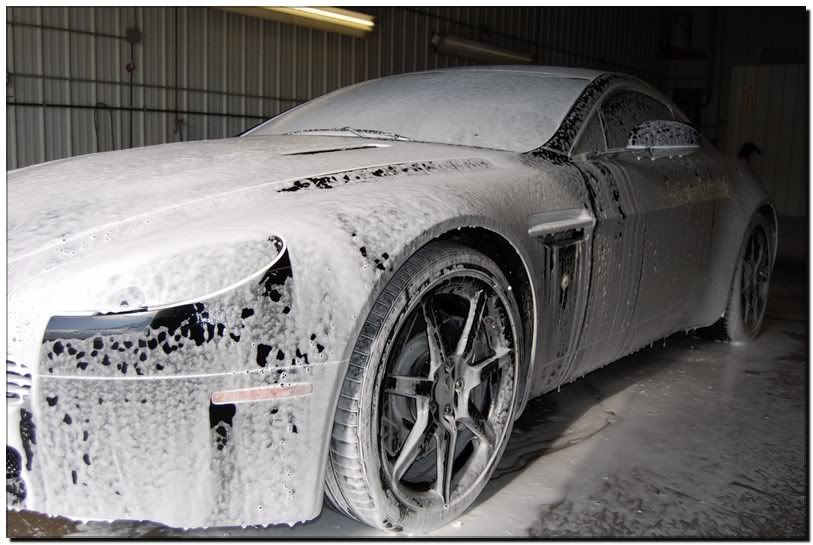
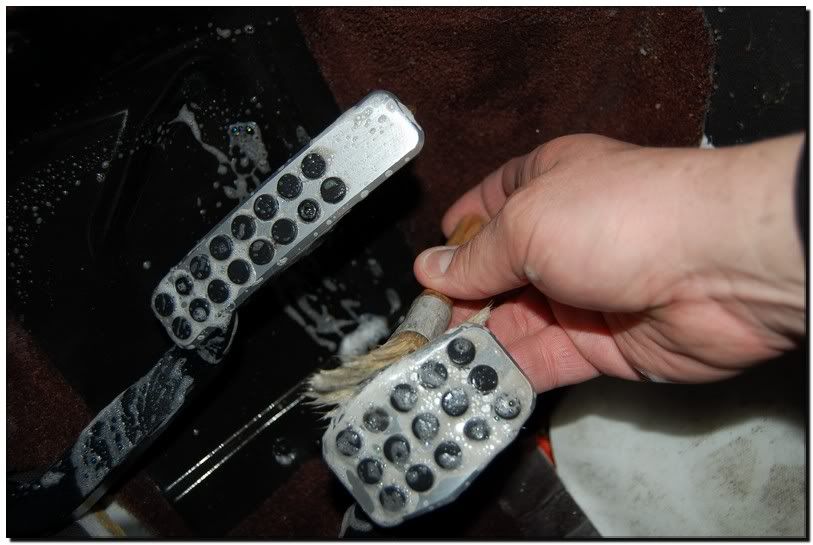
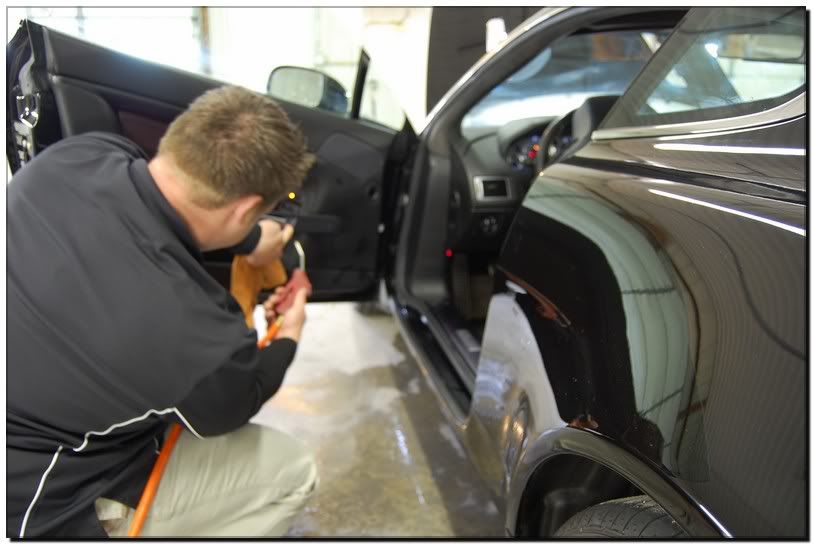
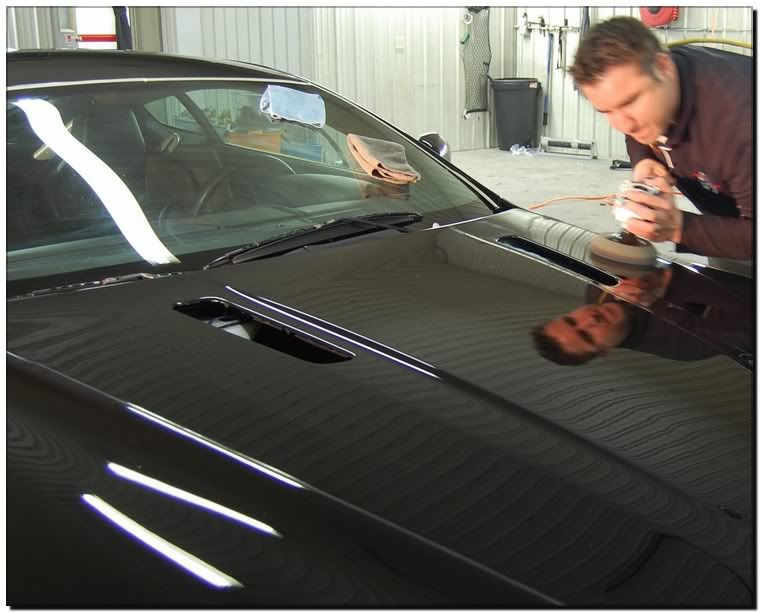
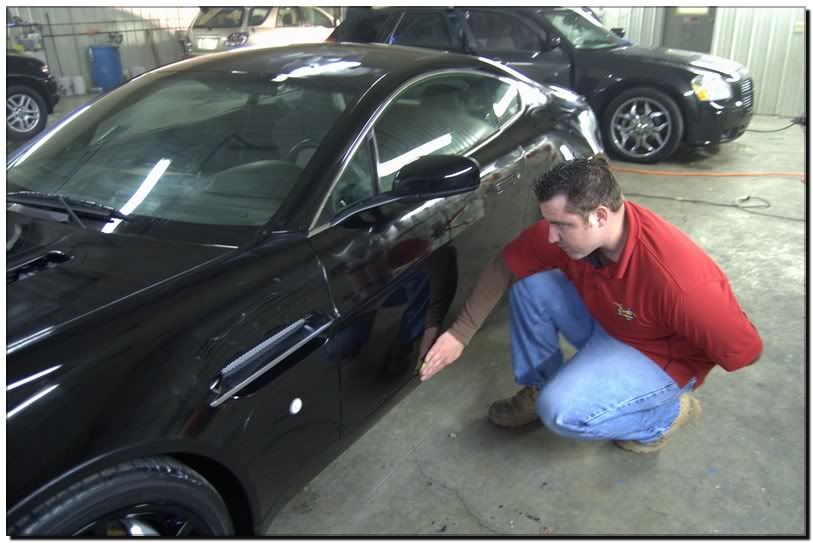
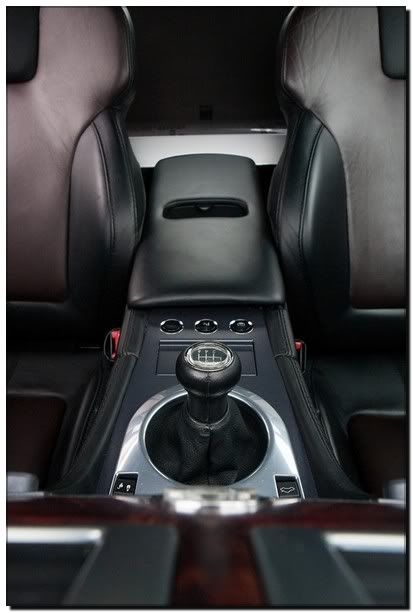
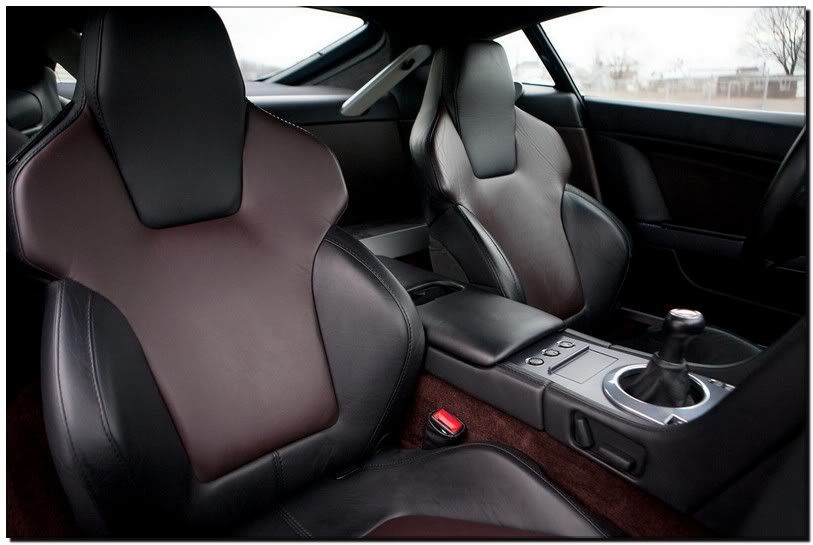
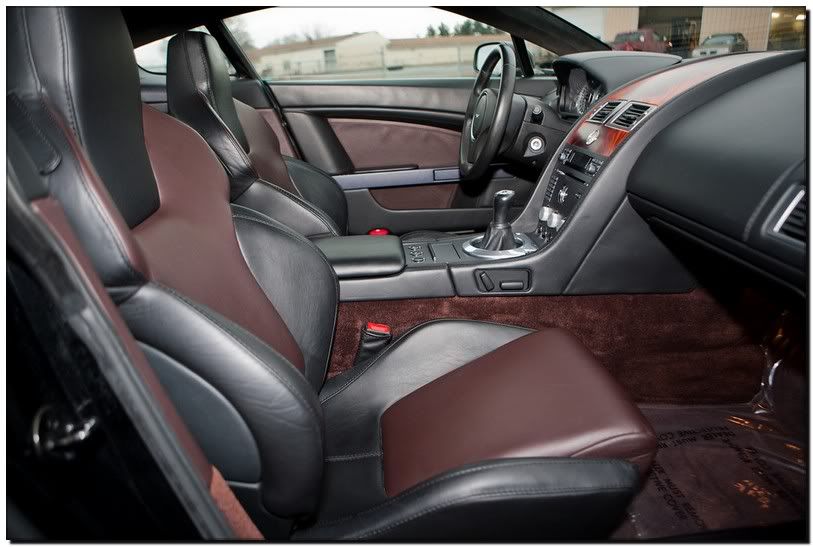
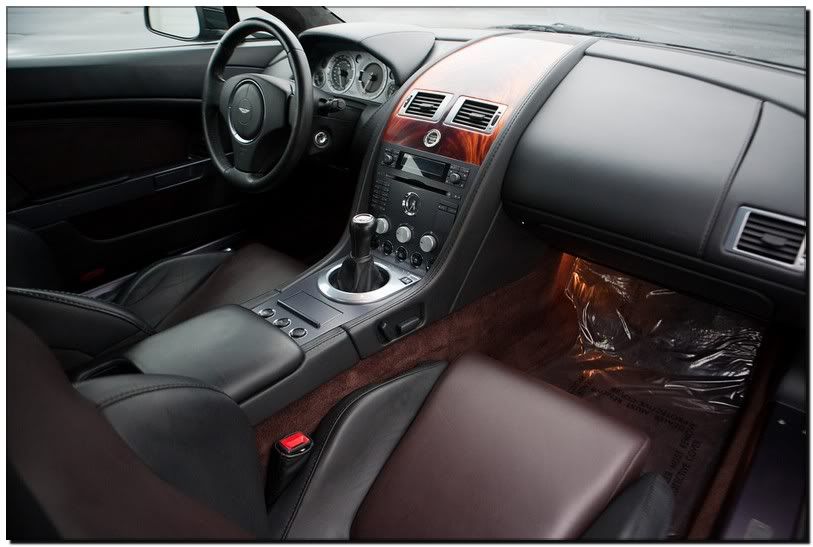
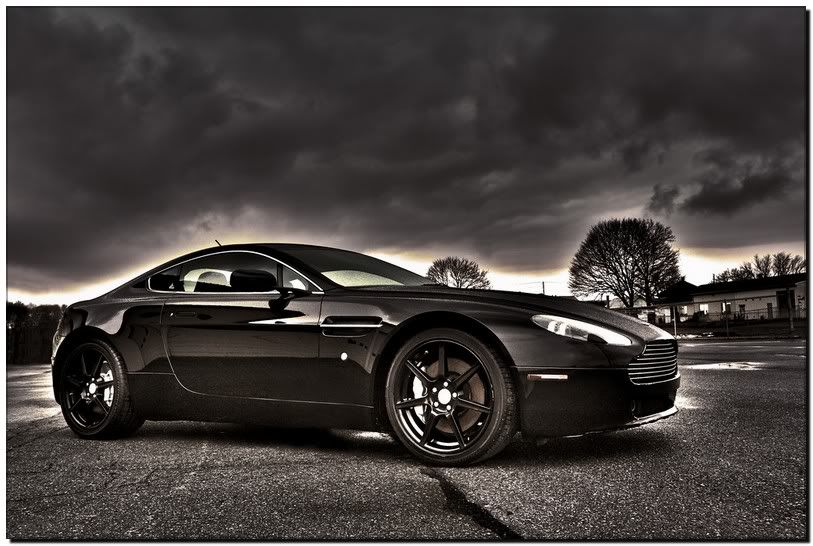
This detail consisted over 5 days. The majority of the time was spent sanding and polishing. The cad had some severe marring, holograms, swirls, and its not easy fixing a bad repaint on top of it all. The interior was wasn’t hateful, but still need some work. There was compound or polish build up and splatter in some area’s as well. Then there was the normal build up of dust, dirt, and debris in other area’s. The car really was in need of a good solid reconditioning.


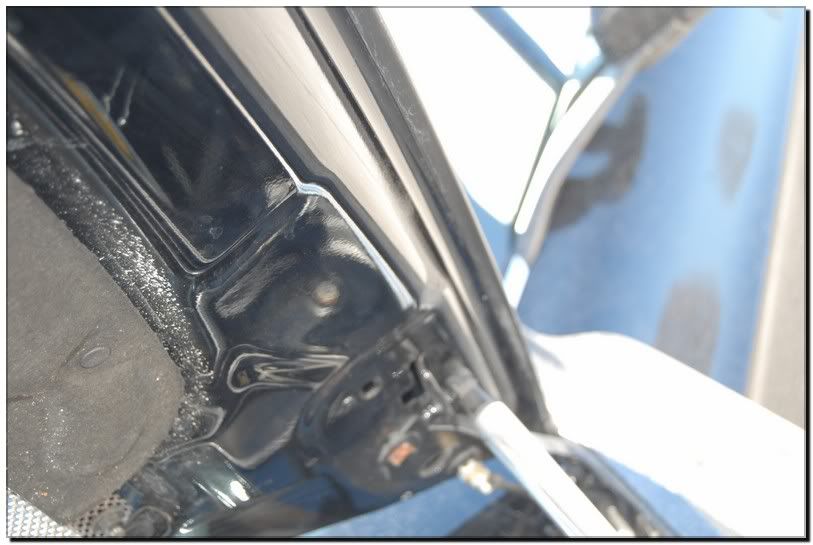
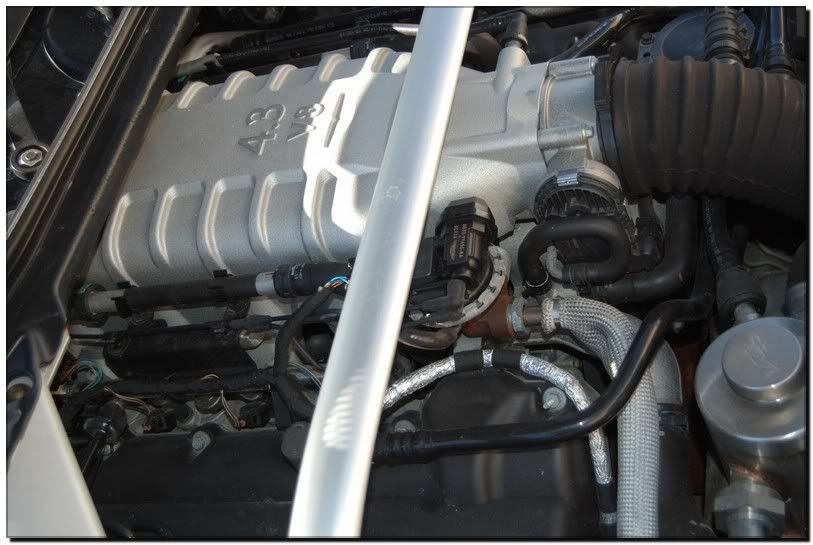
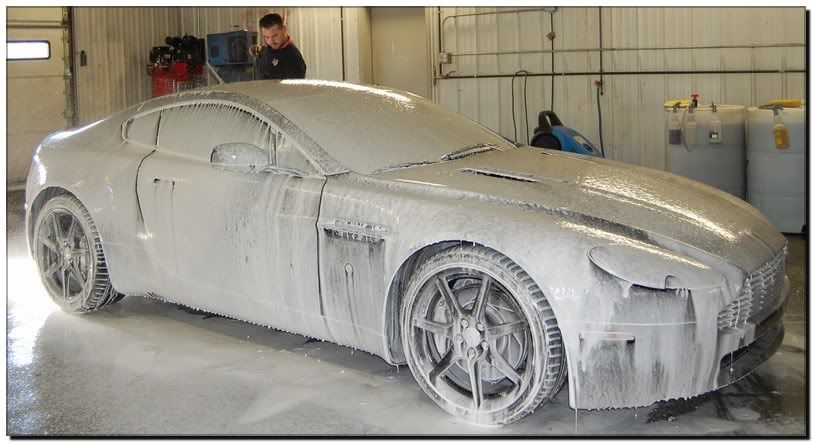
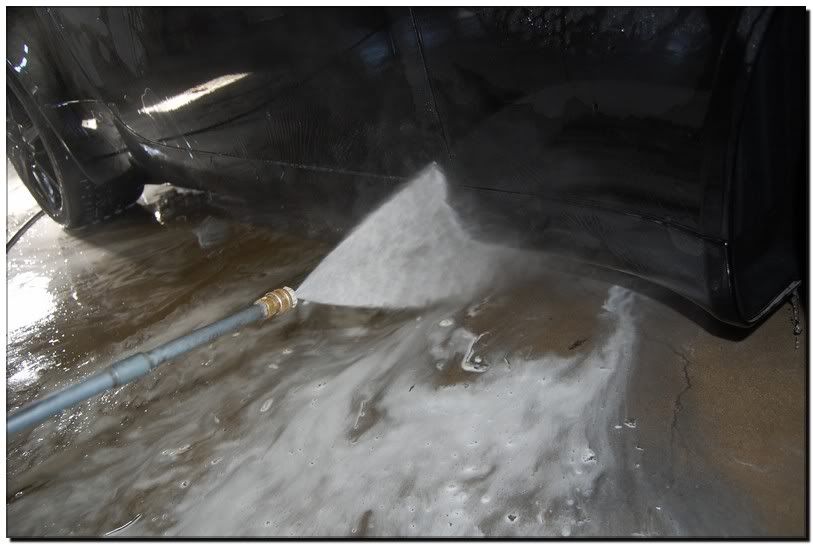
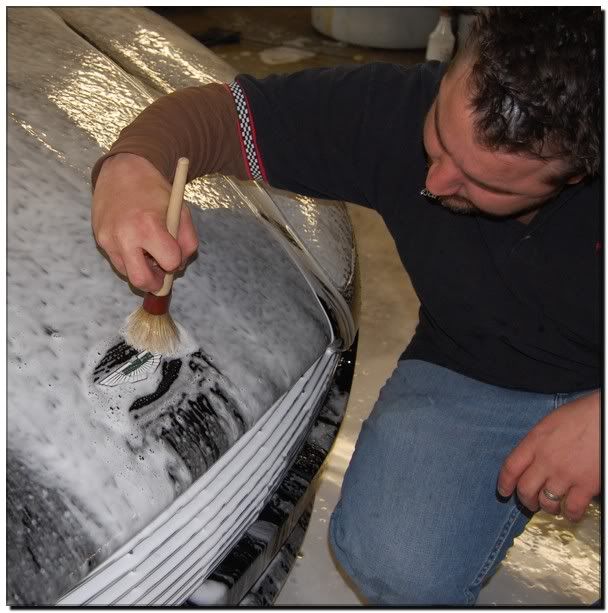
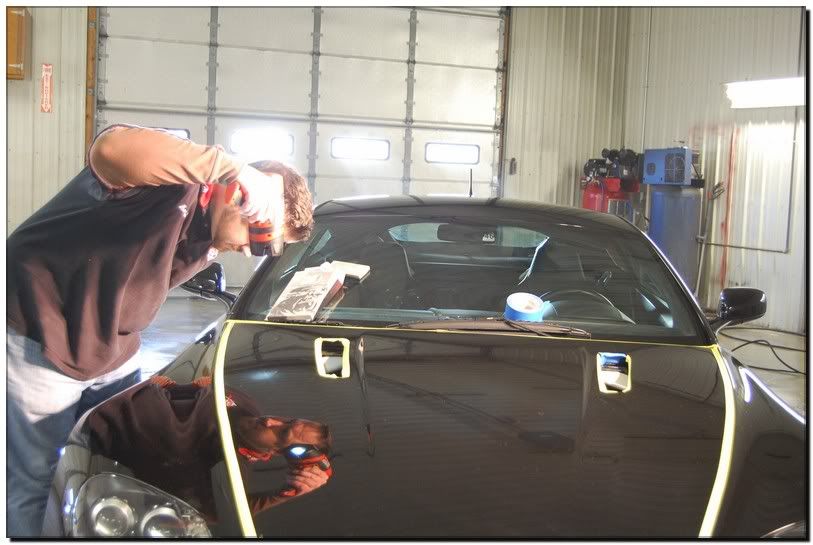
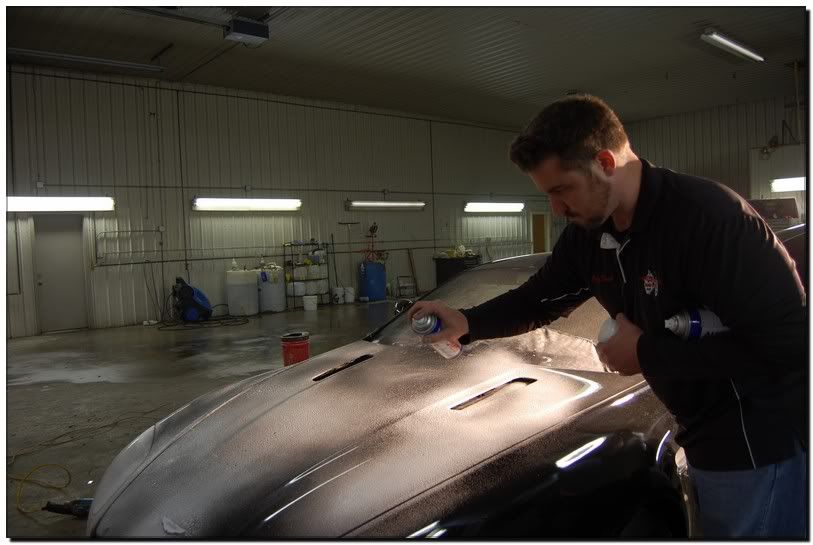
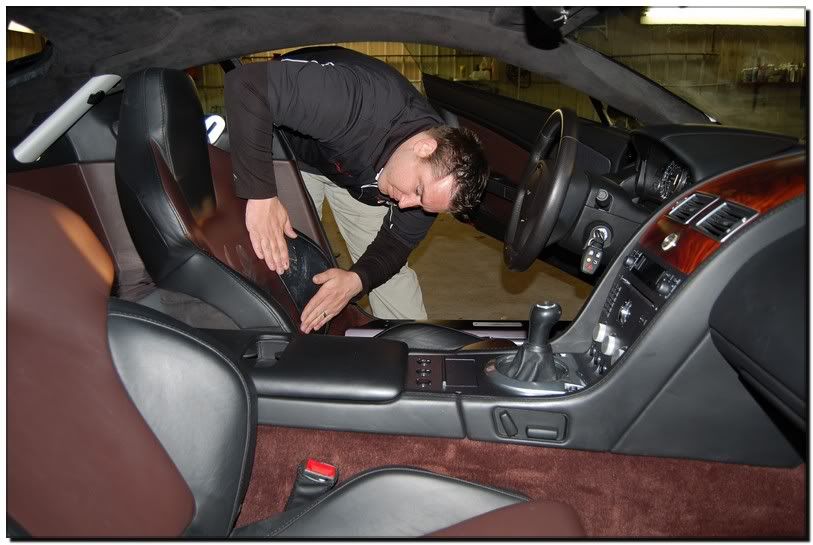
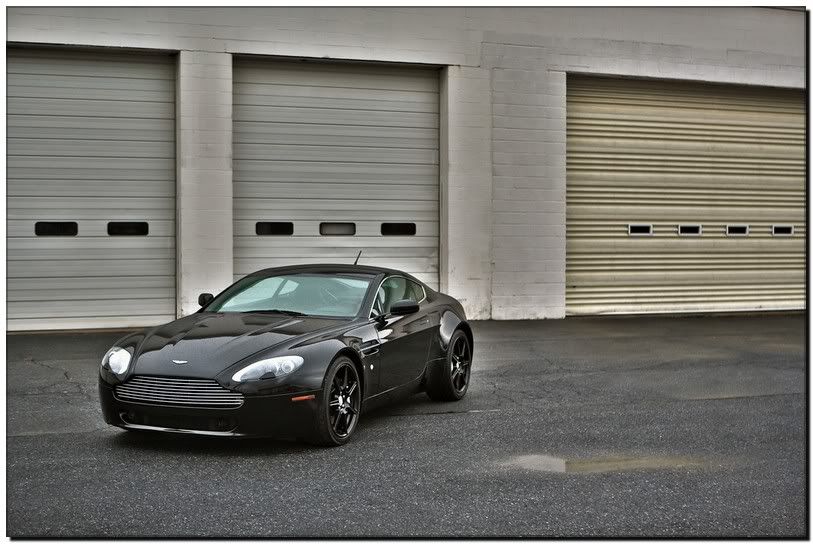
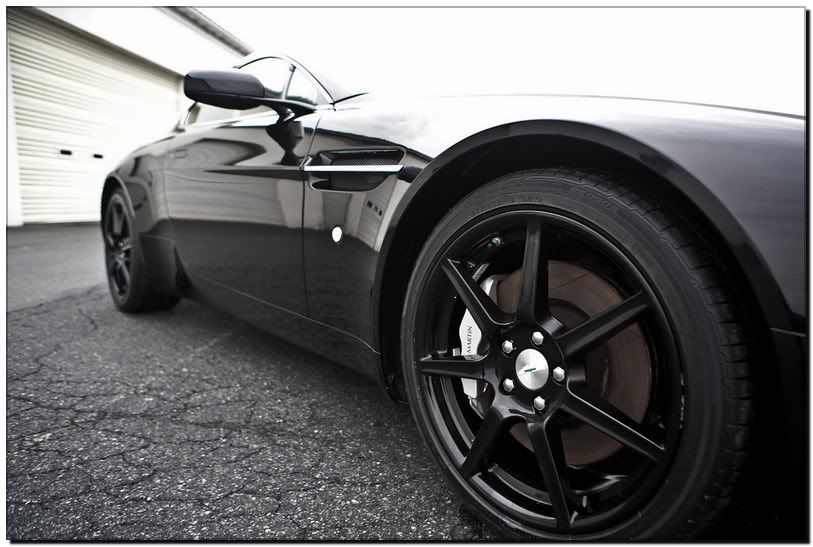
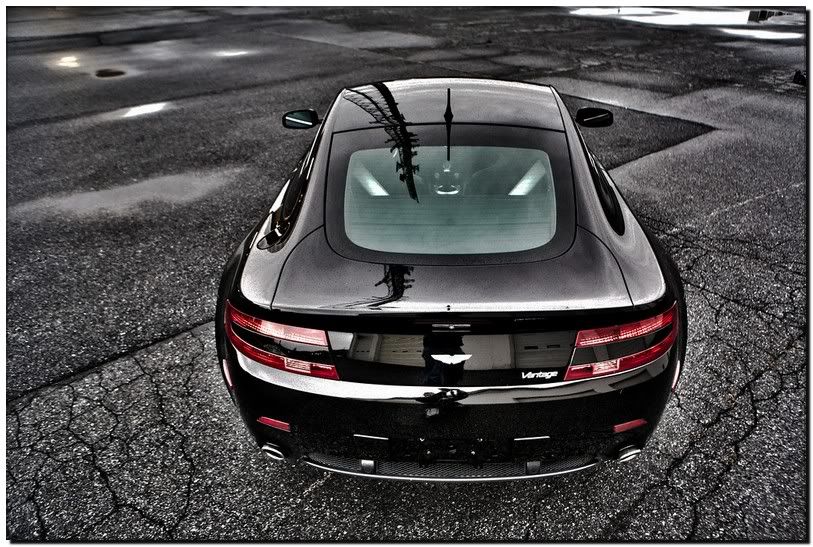
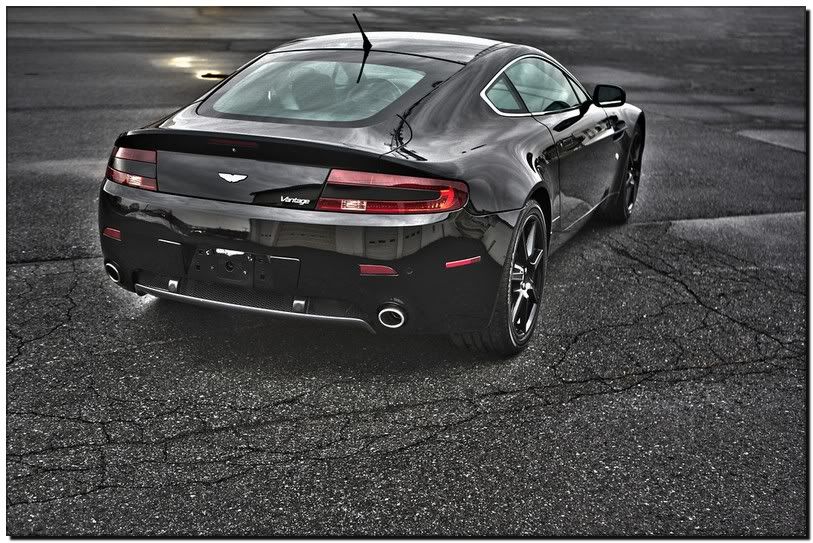
Here are several shots of how the car arrived.


PresidentialDetailsAst30.jpg


PresidentialDetailsAst31.jpg


PresidentialDetailsAst32.jpg


PresidentialDetailsAst33.jpg


PresidentialDetailsAst35.jpg


]
PresidentialDetailsAst36.jpg


PresidentialDetailsAst37.jpg


PresidentialDetailsAst38.jpg


PresidentialDetailsAst39.jpg


PresidentialDetailsAst40.jpg


PresidentialDetailsAst43.jpg


PresidentialDetailsAst42.jpg


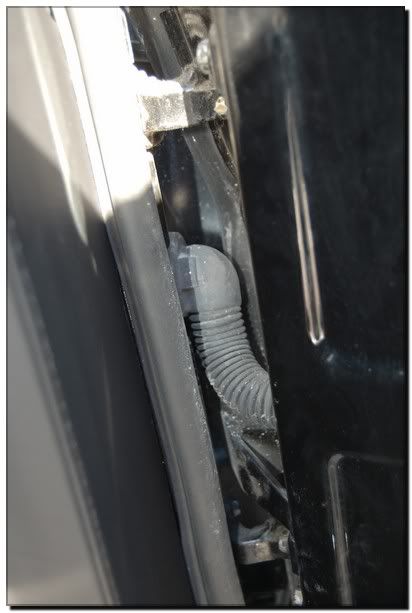
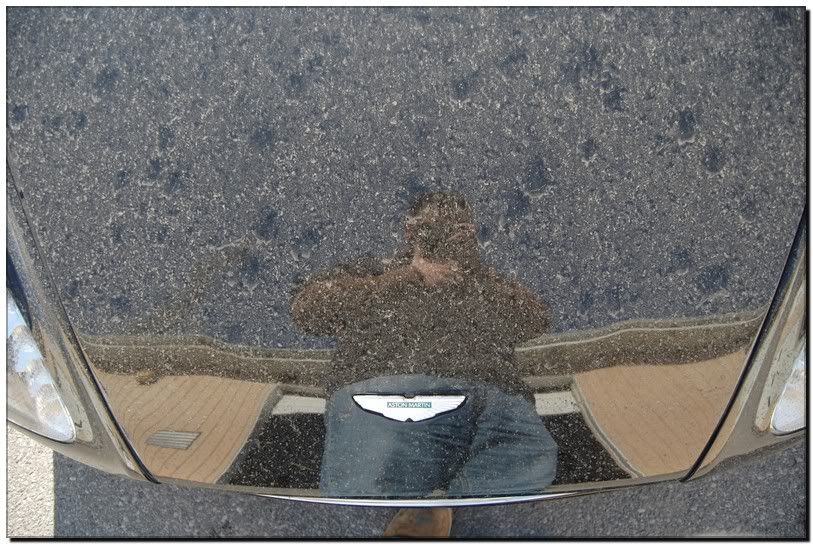
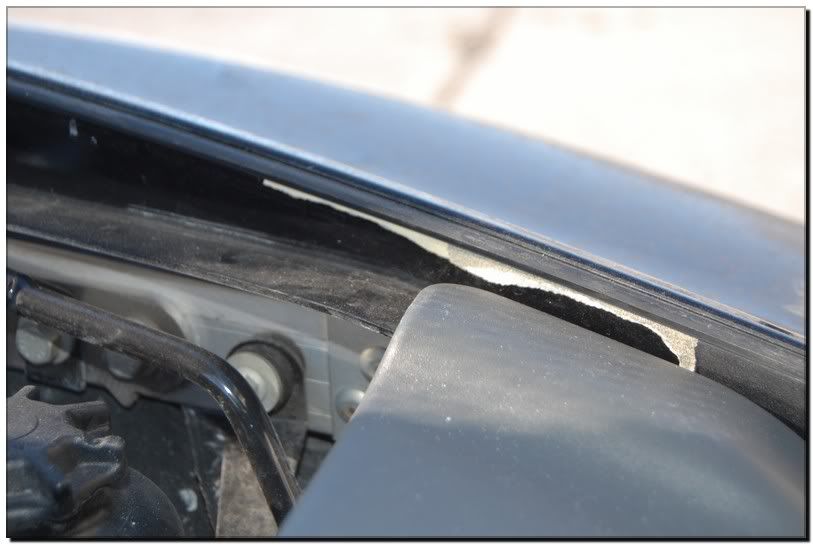
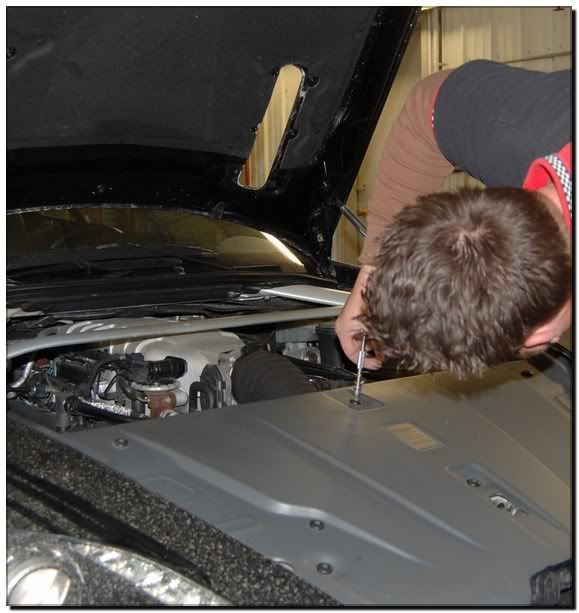
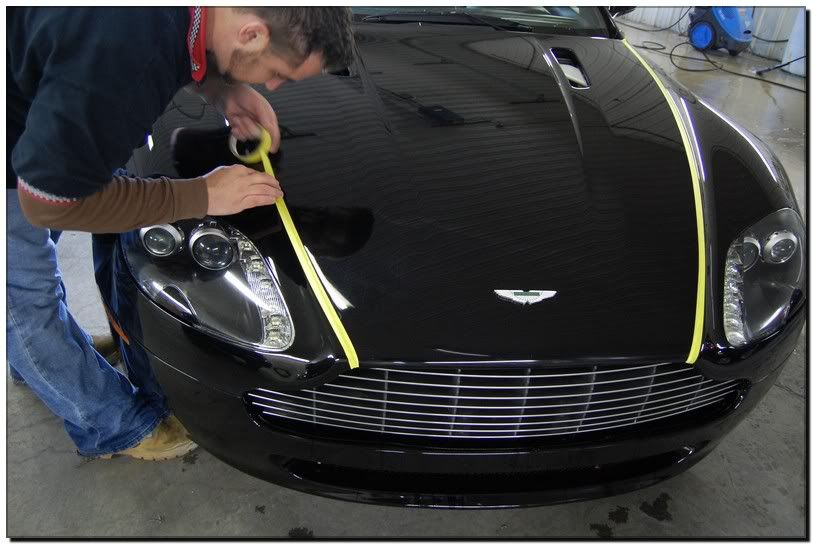
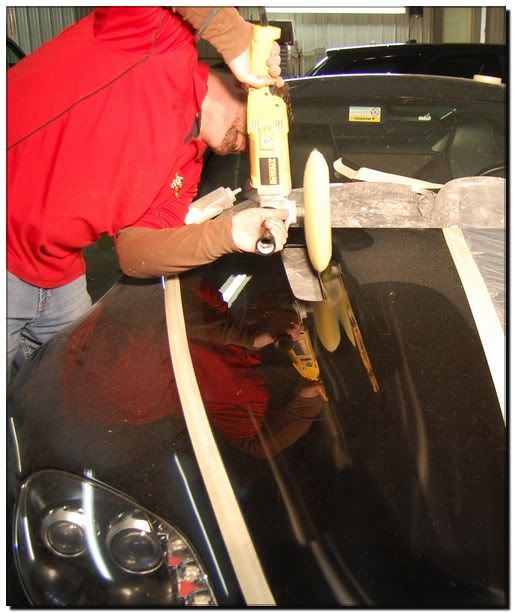
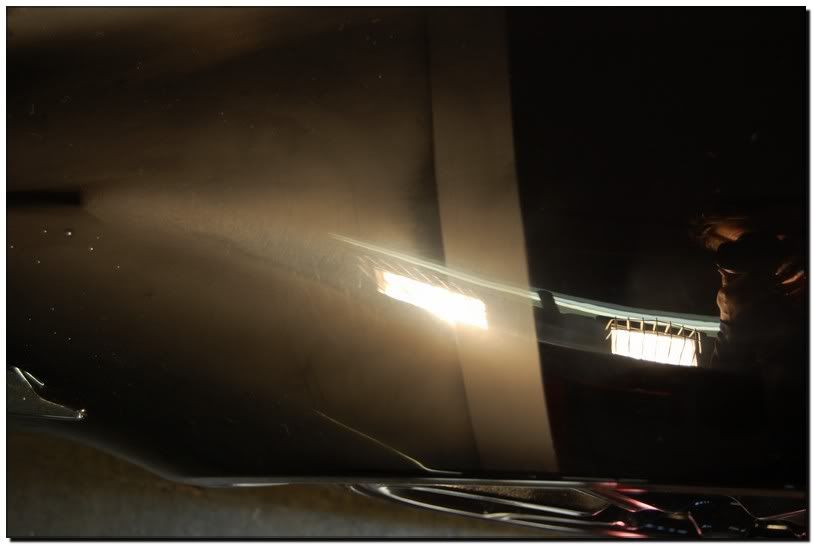
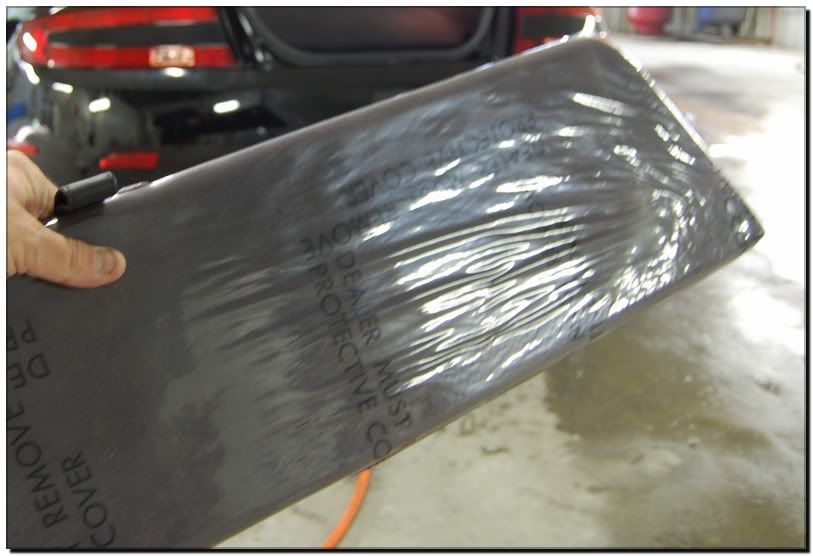
This had to be my favorite before picture out of them all. The laziness of some body shops who left painters masking tape in the hood jam. Some people just don’t get it.


PresidentialDetailsAst34.jpg
 
First I removed the hood vents and the engine cover. The main reason I opted to remove the engine cover is because of the badge place on it by Aston Martin. I didn’t want nothing to damage this particular badge. It was later cleaned by steam.


PresidentialDetailsAst44.jpg


As you can tell from the photo’s the ride down made for a dirty ride. I first started with a high presure foam bath using soap designed to breakdown dirt, grime, filth and debris. The foam sat on the car for about 3-5 minutes allowing suds to do the work. I find this a very crucial step, the breakdown process during the decontamination stage is pretty vital in preventing wash induced marring.


PresidentialDetailsAst45.jpg


I followed with a high pressure rinse of reverse osmosis water to blast off as much loose debris as possible. Paying attention to the heavy build up area’s.


PresidentialDetailsAst46.jpg


Following this step the car was foamed again maintaining the same principles yet this time it was to to mechanical cleanse the paint. First I started with a small boars hair brush to massage the area’s around the badges, all the seems, and inside tight spots a normal wash mitt could not reach.


PresidentialDetailsAst47.jpg


Once this task was completed, The car was clayed to remove any embedded particles left on the paint surface. I clayed the glass. Metal trim and any painted surface. For the third time the car was foamed to remove any last and final debris then rinsed off. I pulled the car out in the sun to inspect the damage to all surfaces and this is what I found.


This photo shows some general paint marring cuased over time from improper washing. The paint really lack its luster to shine at this point.


PresidentialDetailsAst48.jpg


In this close up photo you can see the holograms induced by the body shop who did the previous repaint.


PresidentialDetailsAst49.jpg


IN the above photo it really shows the holograms and swirls. This caused the paint to refrect light as opposed to reflecting it.


After doing some paint meter readings. I knew from experience and the logically numbers that I had plenty of room to remove some clear. One panel at a time was masked. This allowed me to turn my focus to one panel instead of the entire car.


PresidentialDetailsAst50.jpg


I did some inspection under various lighting to try and bring out more of the defect shown. As a professional detailer I find that the best light for true correctionis that natural sun, but when working indoors I have on hand about 5 to 10 different lights to provide me results.


PresidentialDetailsAst51.jpg


Here is a close up of the paint fully cleaned and decontaminated. Notice how deep the swirls are under the halogens.


PresidentialDetailsAst52.jpg


The entire car was color sanded “ for the new guys in the business that’s wet sanding” I first started with 1000 grit blocked by hand then 2000 grit, also blocked by hand.


PresidentialDetailsAst53.jpg


Here you can see me using the interface as a squeegee.


PresidentialDetailsAst54.jpg


Following the actual hand sanding by block. I choose to use my snap on sander to further fine the sanding marks with 300o grit.


PresidentialDetailsAst55.jpg


Tighter area’s where my 6 inch da wouldn’t fit, I used a 3 inch da to fit.


PresidentialDetailsAst56.jpg


PresidentialDetailsAst57.jpg


I also did some final 3000 grit sanding with my hand for the really tight spots.


Here is after the entire car was sanded with 4000 grit to futher refine the 3000 grit marks. All major sanding was finished.. This was a rather quick step, but made all the difference in the final polishing.


PresidentialDetailsAst60.jpg


Here is a picture after it was wiped down with solvent.


PresidentialDetailsAst59.jpg


During the course of the actual sanding the entire car had some fish eyes that got removed and many area’s were nibbed for dirt.


One of about 4 area’s had some paint shrinkage from the body work. IN the first photo you can see how the paint looks like it was pulled together. This is what need sanded out. This exact area I went as low as 600 and work my way up the sanding ladder. In the words of a good friend. Kids don’t try this at home. Lol


PresidentialDetailsAst61.jpg


I my dent light to show the defects. It really brought out the contours in the marks. This is actually a very tough thing to do, but I got about 90 to 95% of it out with out jeopardizing the clear


PresidentialDetailsAst62.jpg


Here you can see the final photo of the paint smoothed out.


PresidentialDetailsAst63.jpg


The entire car was masked off to prevet compound build up in areas and such. I really wanted to remove all the badges as I normally would during a sanding project, but giving the piss poor paint job. I was worried about removing the badges and paint as they were pulled off. Sometimes you just have to humble yourself and play it safe.


PresidentialDetailsAst64.jpg


Sometimes you just have to go at it vertical. I had about an in the needed compounded out between the bodyline and the vent edge. Nothing like spinning a wheel at 2300 rpms vertical. LOL I say this again “ kids don’t try that one at home.


PresidentialDetailsAst65.jpg


Here is a 50/50 of the sanding marks removed from the hood. This is after wool pad and heavy compounding.


PresidentialDetailsAst66.jpg


Here under the halogens I made my way to the fender and you can see the left side is sanded and the right side the marks are removed. The paint was still a little hazed from the wool pad.


PresidentialDetailsAst67.jpg


Quick pause for an action shot. Had my game face on here .


PresidentialDetailsAst68.jpg


Here is a photo I took after working my way around the the lower half.


PresidentialDetailsAst69.jpg


Once the wool pad and heavier compounding was done. I did a wipedown with foaming glass cleaner to remove all the polishing oils and dust.


PresidentialDetailsAst70.jpg


UP next was some M105 and foam compounding to remove all the haze left behind from the wool. This was done with a Makita rotory.


PresidentialDetailsAst71.jpg


A 50/50 of the hood after under halogens. Nice reflective finish for a heavy compound.


PresidentialDetailsAst72.jpg


Following the entire compound stage I choose to do another foaming of the car to completely strip all oils by chemical.


PresidentialDetailsAst74.jpg
 
At this point I also did some wheel cleaning as well. They were dirty!!! Here you can see the chemical doing its job after a good massaging to break everything down,


PresidentialDetailsAst73.jpg


During the interior process all area’s clean, conditioned. There was no dressing at all used. I prefer a nice natural look. Just how it came from a factory. I used compressed air, a shop vac, some interior apc. All the leather was hand conditioned upon the cleansing. Several brushes were used to get back in the tight area’s.


PresidentialDetailsAst75.jpg


PresidentialDetailsAst76.jpg


Once cleaned all the floor mats and rear cardo area were covered in plastic.


PresidentialDetailsAst77.jpg


Massaging the leather by hands is nice. It also is a great way to soften your on skin while in the process!


PresidentialDetailsAst78.jpg


Once the interior was wrapped up except for a few small final touches. I followed with polishing steps on the rotory to really bring out the black paint.


.
PresidentialDetailsAst79.jpg


Here I was laying down one of three coats of Migliore Presidenziale


DSC_0916.jpg


Here is the only photo that I had taken outside. I had a photographer come over and take a few finished shots prior to an early morning pick up.


PresidentialDetailsAst29.jpg


Here are the pictures that Brett West a local photographer took. Brett is a great guy who is getting into shooting cars. This was the first time we had worked together and will not be the last. For more about Brett please feel free to check out his site.


BW Digital Photography


Here some of the favorites of mine that Brett took of the interior.


PresidentialDetailsAst8.jpg


PresidentialDetailsAst7.jpg


PresidentialDetailsAst6.jpg


PresidentialDetailsAst5.jpg


PresidentialDetailsAst4.jpg


PresidentialDetailsAst3.jpg


PresidentialDetailsAst2.jpg


Some of the final photo’s that Brett had taken from the exterior.


Due to the cloudy day and incoming rain, Brett was challenged. But he did a great job.


PresidentialDetailsAst12.jpg


PresidentialDetailsAst13.jpg


PresidentialDetailsAst14.jpg


PresidentialDetailsAst17.jpg


PresidentialDetailsAst28.jpg


PresidentialDetailsAst26.jpg


PresidentialDetailsAst23.jpg


As always my favorite one was saved for last!


PresidentialDetailsAst11.jpg


I would like to thank the owner for allowing me to post my work and also would like to thank Brett West for al his hard work! Total time billed out was 46 hours. Have a great day!


Barry Theal :thumb:
 
Amazing work like always Barry. A lot of people don't have the balls to sand aftermarket paint down like you did, and the results speak for themselves. That paint looks like the flat paint we are all used to seeing coming from the Aston Martin factory. I'm sure the owner was completely thrilled with the results, and tens of thousands of dollars were just added to the value of that vehicle.


John
 
sick transformation, barry. Very educational too. Not a fan of the "HD" photos though-the car looks like it's got a halo in every shot?
 
Barry Theal said:
Massaging the leather by hands is nice. It also is a great way to soften your on skin while in the process!

lol, might be a good way to get skin cancer too ;)


Awesome job ! You sure can see how wet sanding made a difference in this scenario.
 
As you can tell, I dont comment on many threads. I just look around and mind my own busines. I figured this thread was worthy of a comment by saying that is one amazing job you did.
 
[Insert usual :bow regarding Barry Theal's work here...]


Barry Theal- Hey, I'm late to this party (no, I didn't buy the Magnum) but you knew I'd show up with some comments from the peanut gallery :D


Wow, that thing was even nastier than I'd expected...in the sense of simply grimy. Glad it's found an owner who'll take better care of it.


Man, the way you corrected some of the [crappy] paintwork was impressive. At least they gave you enough clear to work with.


Now of course it turned out swell...gee, look who did the work ;) ...but the way you went about it is something people can learn a lot from. Yeah, even with all the "don't try this at home, kids!" stuff.


Note that even Barry refines his sanding, none of this "how do I remove 2K scratches?" stuff. Note that even Barry will mask/work panel-by-panel to keep the area of operation manageable. Note that even Barry knows when to stow his ego and take the safe route rather than risk an "oops!". There are just sooo many valuable lessons in this thread.


But I still think that letting on how aggressive you got with the paper is gonna lead somebody to get in over his head :nervous2:


Hey, did you get a new BHB for the paintwork and demote your old one to interior duty?


Oh, and props to your photog, yeah he *is* good.
 
I gotta come out from under my rock and give my man some props on this one! Your post is a polished as the detail and speaks volumes about not only where you are but where you're headed my friend. Take it easy buddy.


Sent from my DROIDX using Tapatalk
 
That was a Lazarus project.. brought back from the swirls and scuffs of death to brilliant life!
 
Back
Top