PresdntialDtail
New member
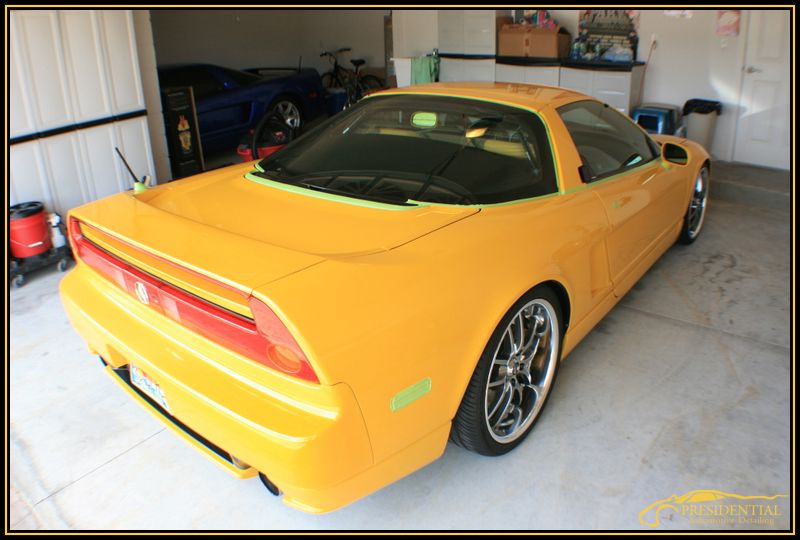
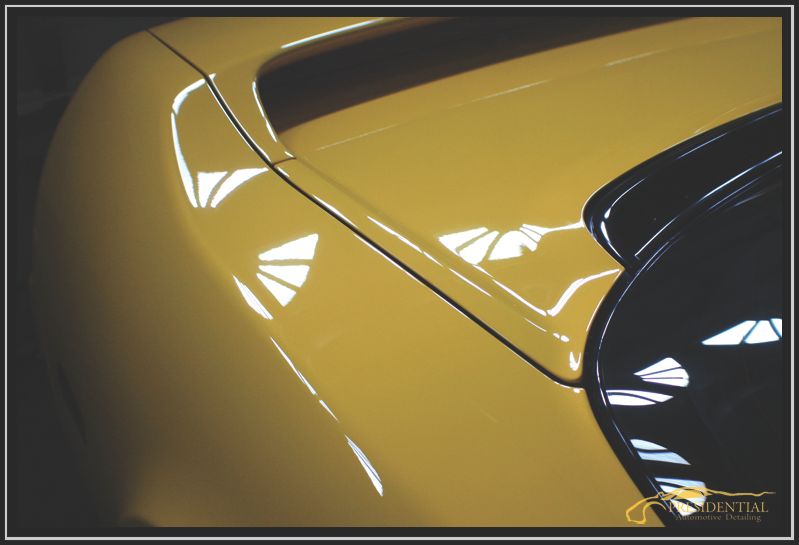
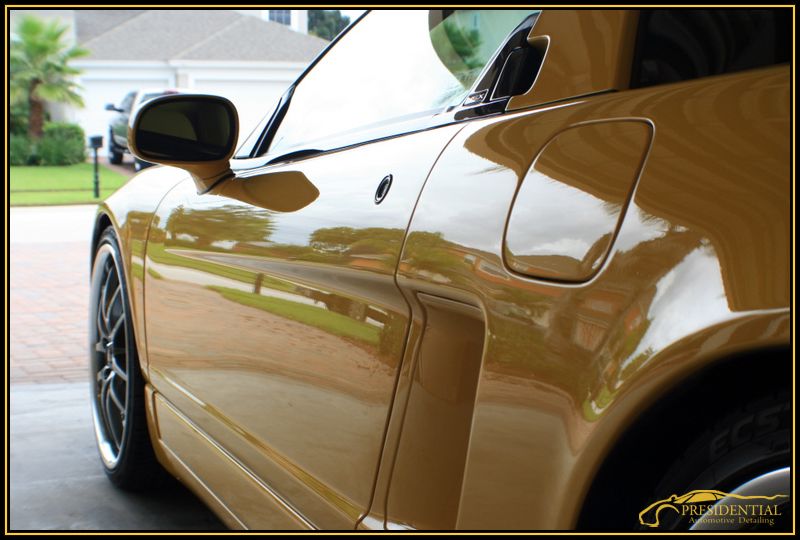
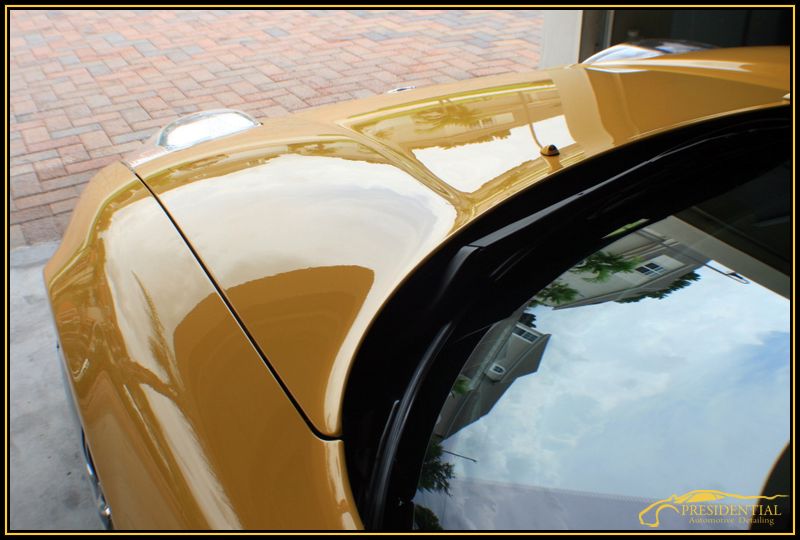
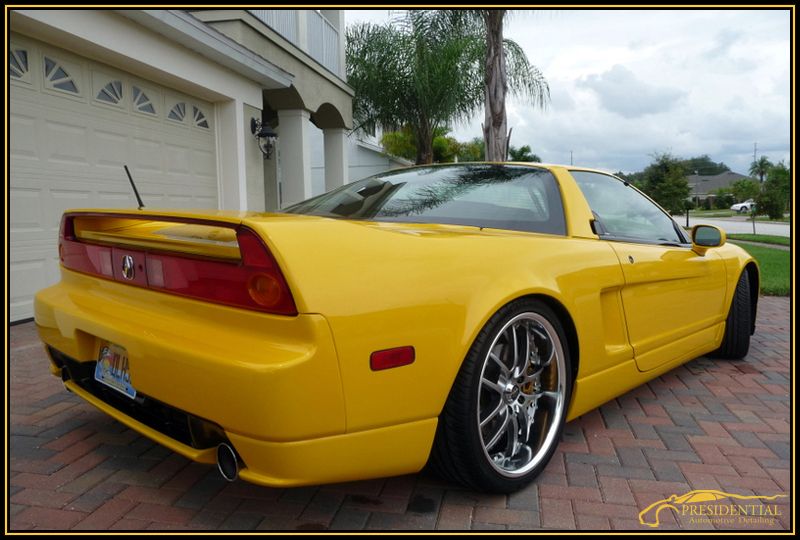
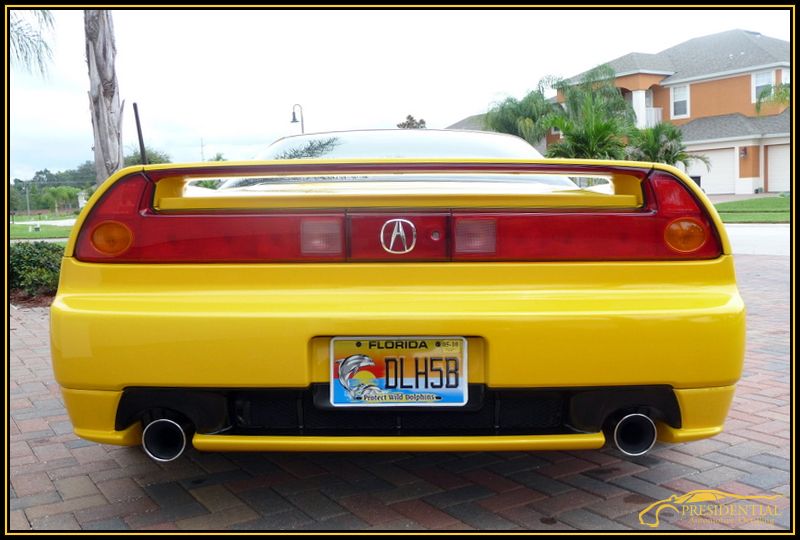
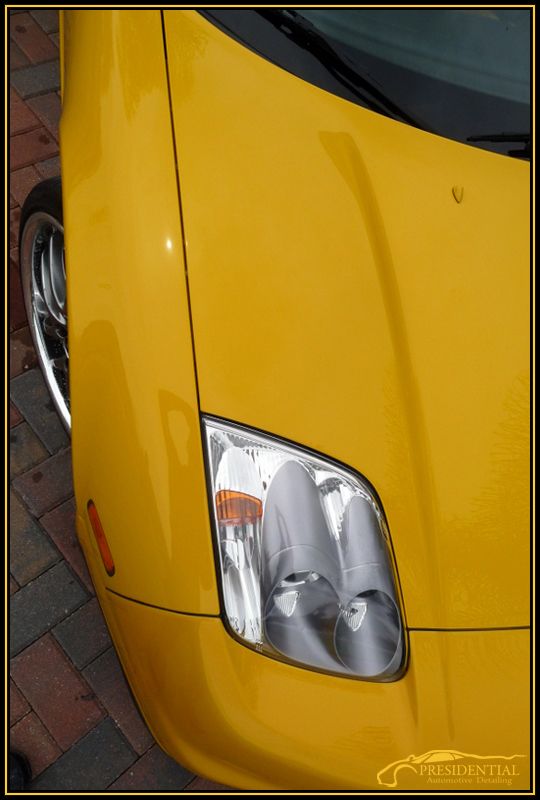
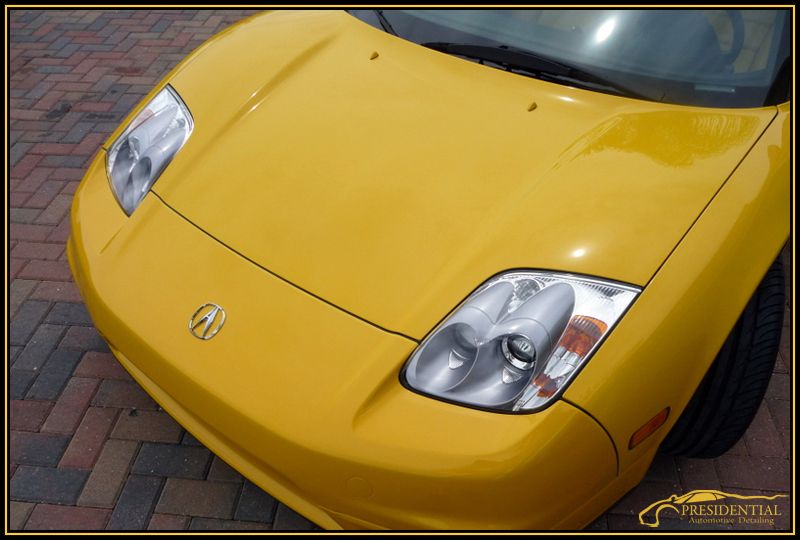
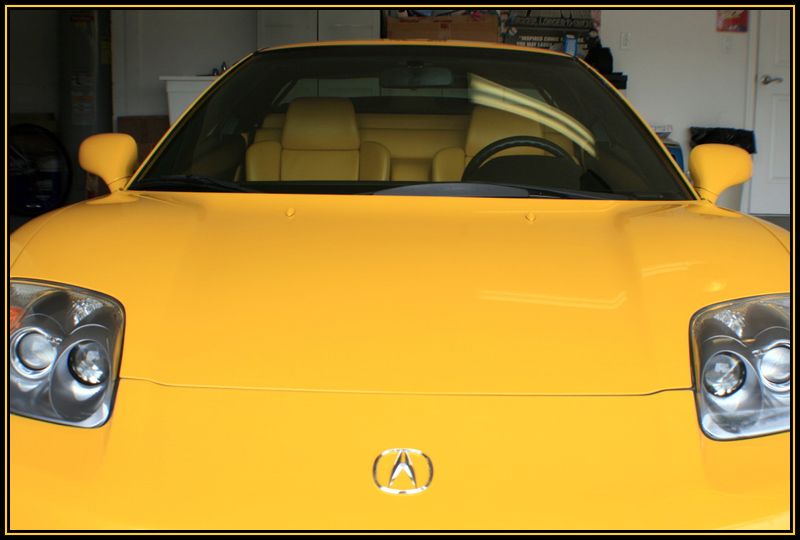
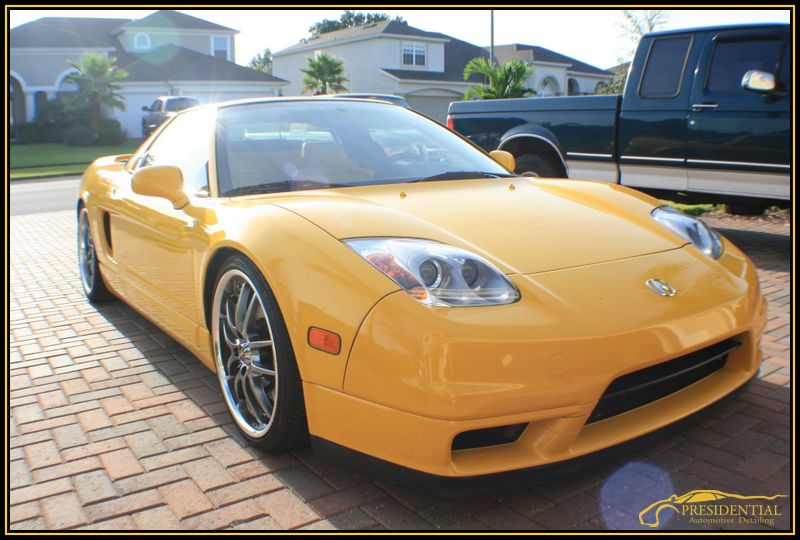
I always love working on these cars! The body style is just so classic and looks good from any angle, not to mention its a Honda! ") The owner of this car actually has TWO of them and daily drives an S2000! :2thumbs: The owner picked this car up so he could keep his first one in pristine condition since its 1 out of 3 in the color combination he has for the model year 05. He bought the second one so he can actually have fun with the car he loves so much without ruining a rare masterpiece! When he got the car, it looked good and was super clean, but the swirls were bugging him quite a bit. So he gave me a call and had me come out to Orlando to perform the detail. I spent about 24 hours on this detail over the course of 2 days to get it back into showroom condition again. It actually turned out so good, he has decided to get a FULL hood, fender, bumper, mirror and headlight clear bra installed by Ryan at Auto Paint Guard here in Tampa before it takes on any chips or marring from being driven often. Ill post some pictures of it installed in a couple weeks when we have it done.
The owner of this car actually has TWO of them and daily drives an S2000! :2thumbs: The owner picked this car up so he could keep his first one in pristine condition since its 1 out of 3 in the color combination he has for the model year 05. He bought the second one so he can actually have fun with the car he loves so much without ruining a rare masterpiece! When he got the car, it looked good and was super clean, but the swirls were bugging him quite a bit. So he gave me a call and had me come out to Orlando to perform the detail. I spent about 24 hours on this detail over the course of 2 days to get it back into showroom condition again. It actually turned out so good, he has decided to get a FULL hood, fender, bumper, mirror and headlight clear bra installed by Ryan at Auto Paint Guard here in Tampa before it takes on any chips or marring from being driven often. Ill post some pictures of it installed in a couple weeks when we have it done.
Wash and Decontamination Process:
ONR Two-Bucket Wash
Meguiars "Mild" Clay Bar with ONR as clay solution
TWO Cobra Blue Micro-Chenille Wash Mitts
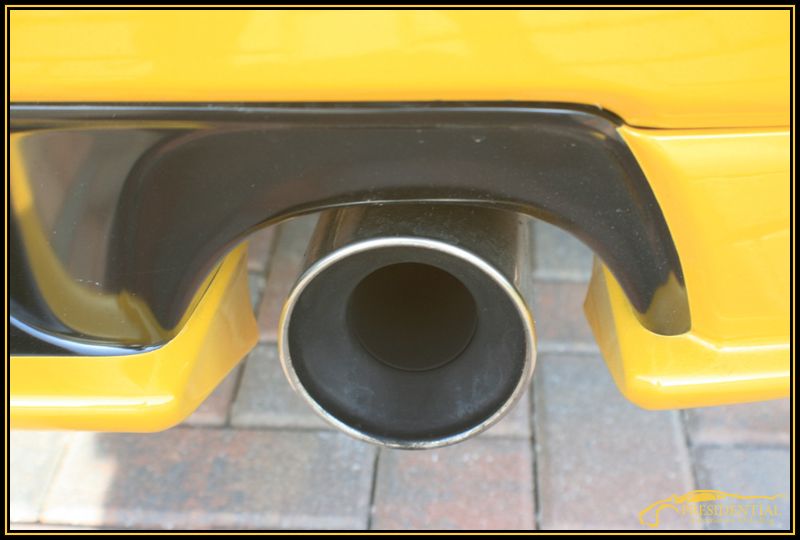
Adams Metal Polish #2 on Exhaust Tips
Blow Dried/Cobra Guzzler WW Drying Towel
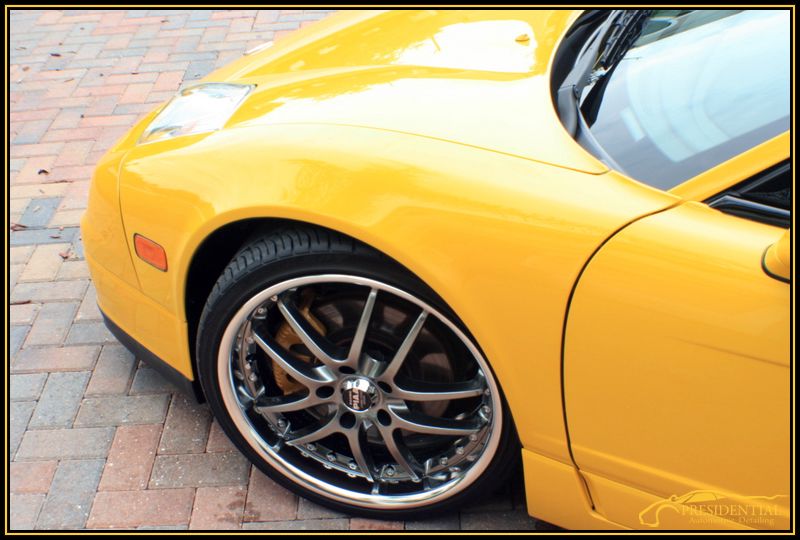
Wheels:
ONR wash on wheels(no matter how safe I think P21S is Im not risking it on polished wheels)
One Cobra Blue Micro-Chenille Wash Mitts(dedicated to wheels only)
E-Z Detail Brush
Swissvax Autobahn Wheel Wax
Interior:
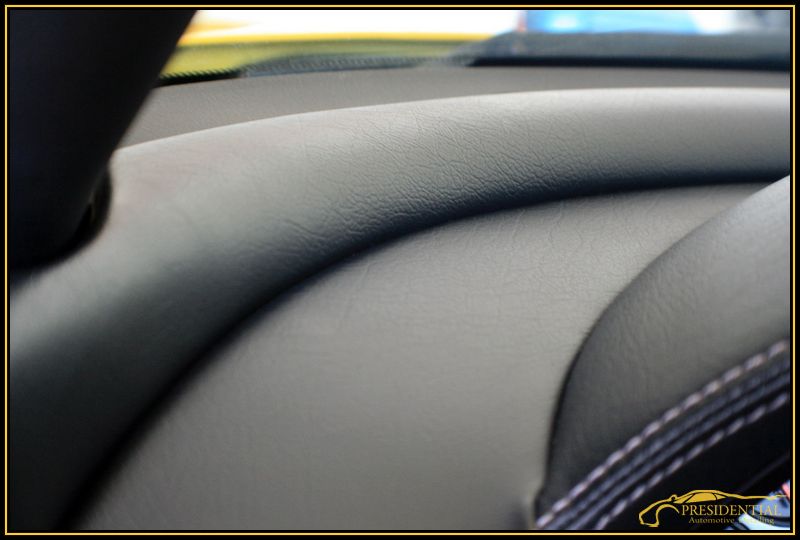
1Z Einszett Cockpit Premium
Meguairs APC+
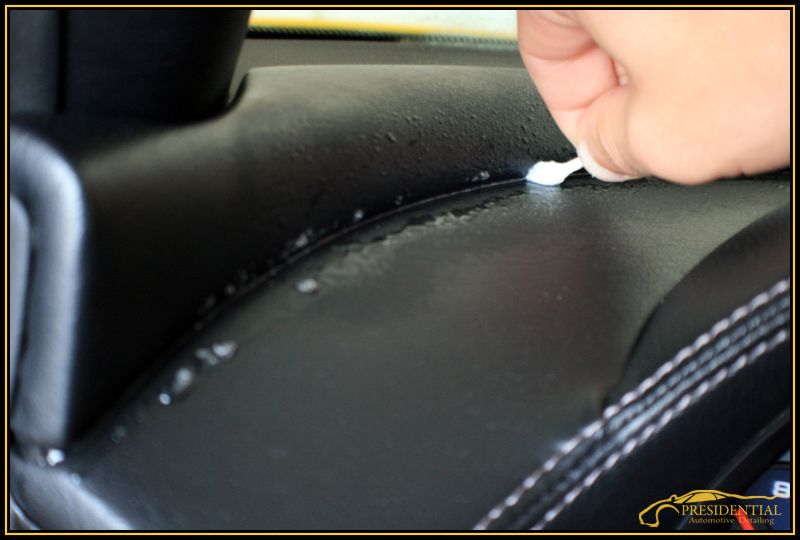
Leather Masters Strong Cleaner
Leather Masters Vital
Vacuum
Invisible Glass Glass Cleaner
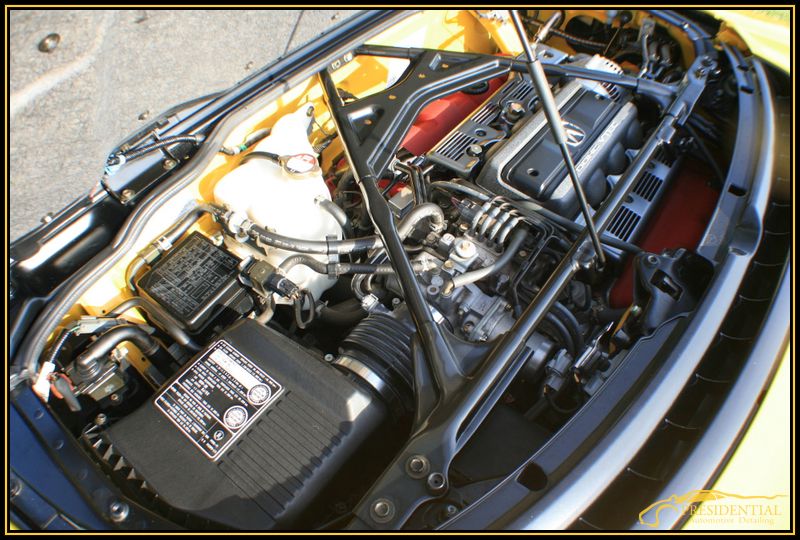
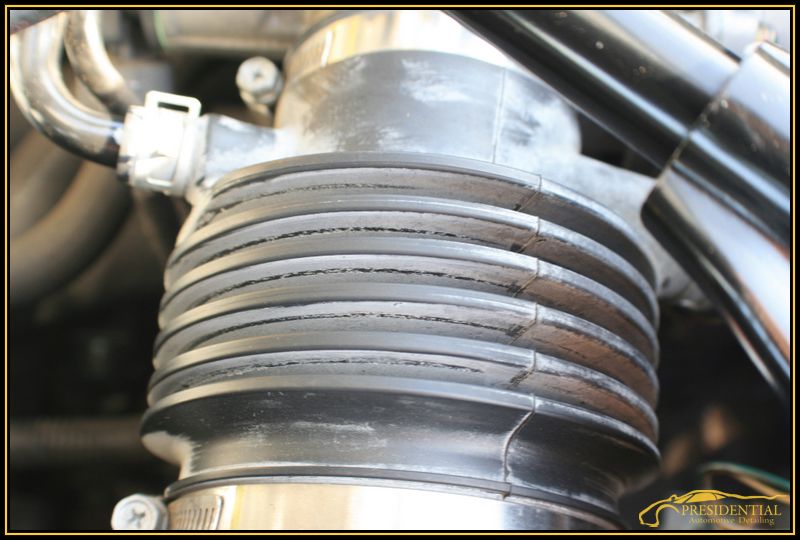
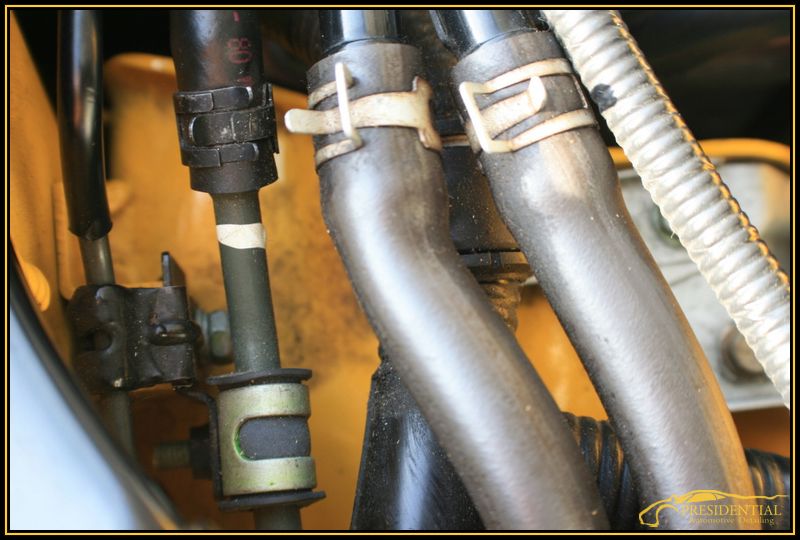
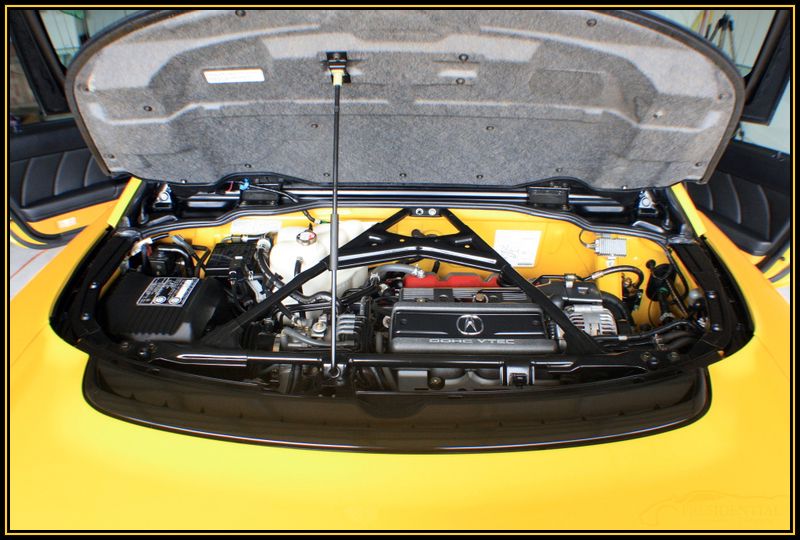
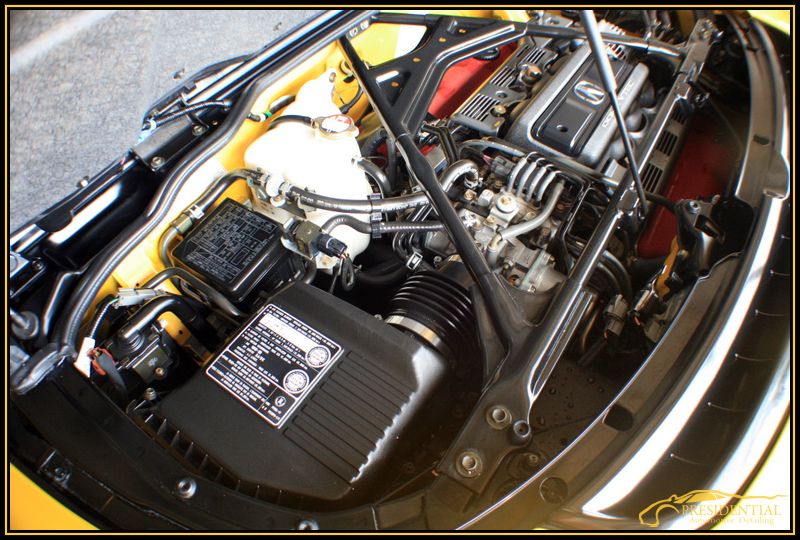
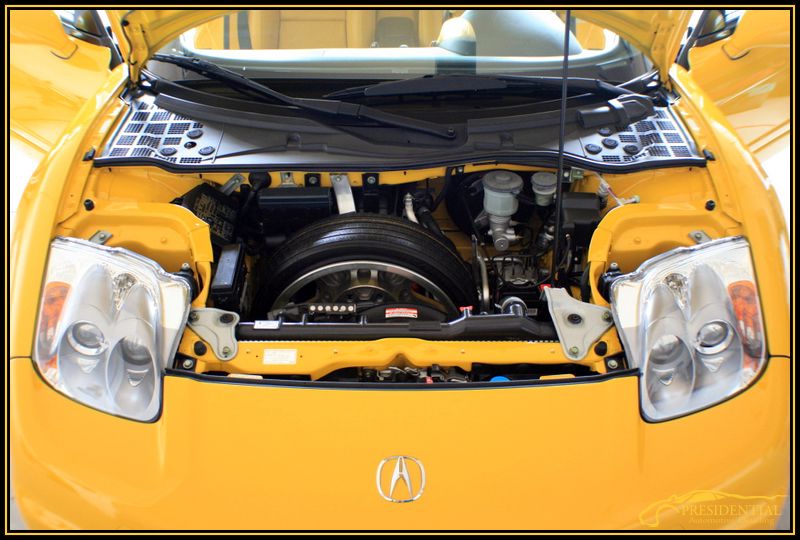
Front Compartment/Engine Bay:
Meguiars APC+
Various Brushes
Zaino AIO On All Painted Surfaces
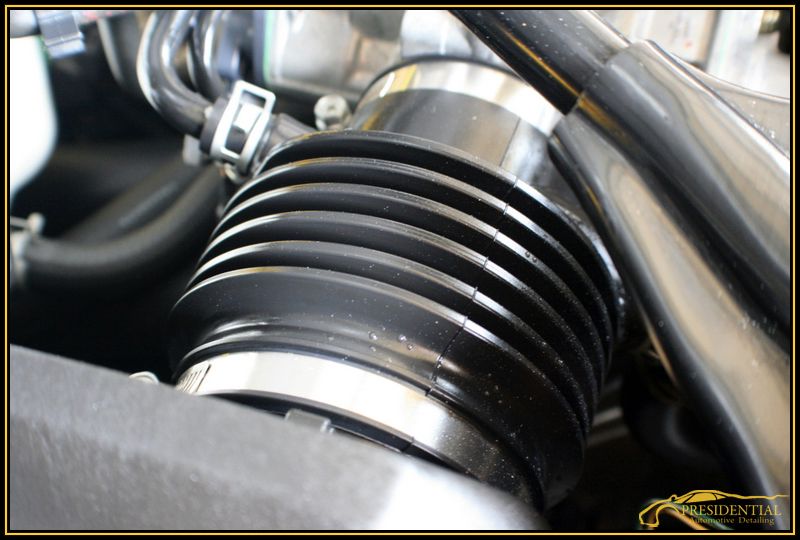
Meguiars HyperDressing On All Hoses and Plastic Surfaces
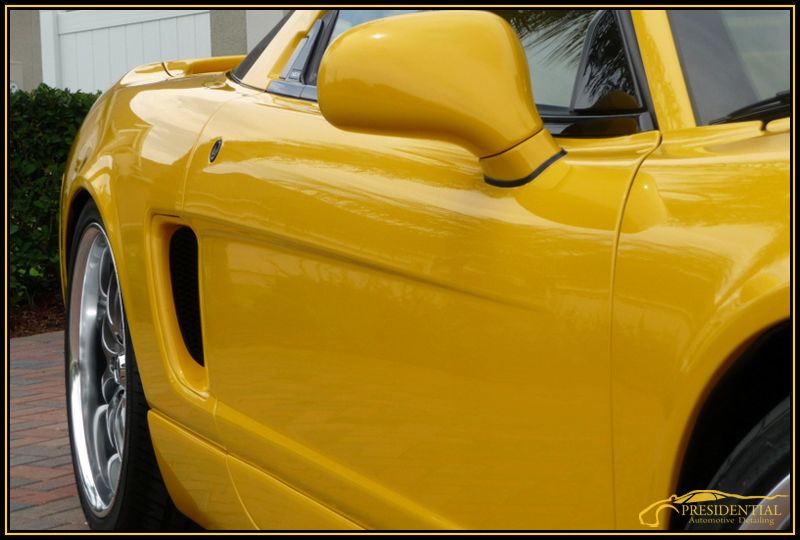
Paint Correction:
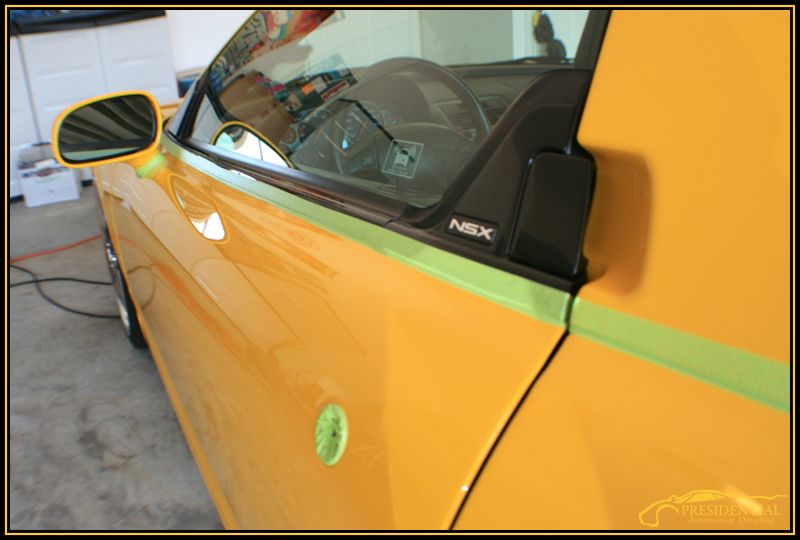
3M Automotive Performance "Green" Tape
M105/PFW via Makita Rotary
M205/Orange via Meguiars G110
Zaino AIO On All Door Shuts
50/50 of 91% IPA/Distilled Water
Meguiars Supreme Shine MF Towels
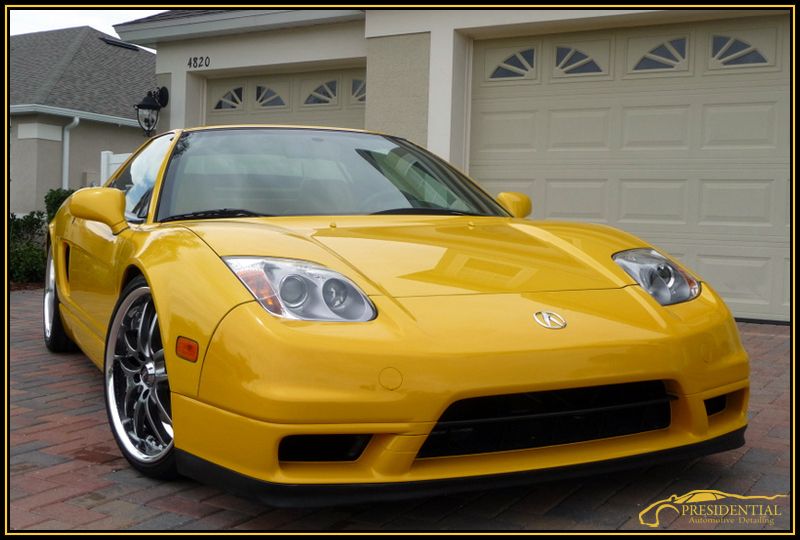
LSP:
TWO coats of Blackfire Wet Diamond Paint Sealant
ONE coat of P21S 100% Paste Wax(soon to be Midnight Sun! )
)
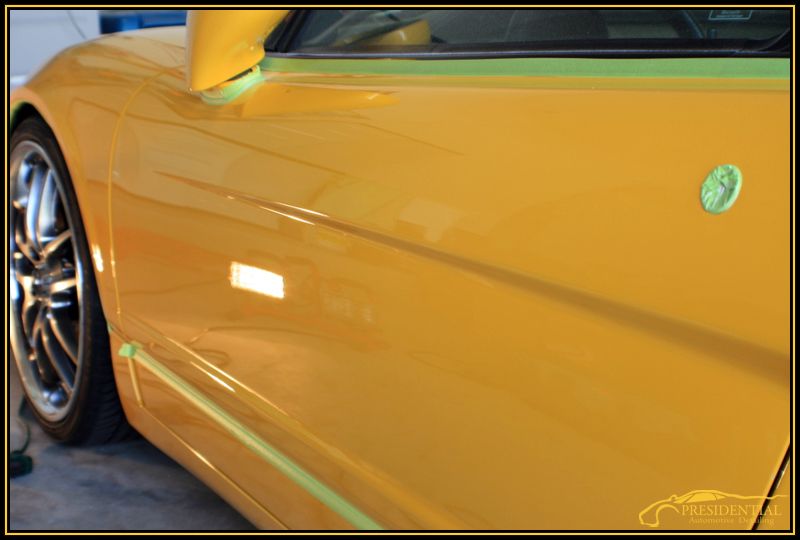
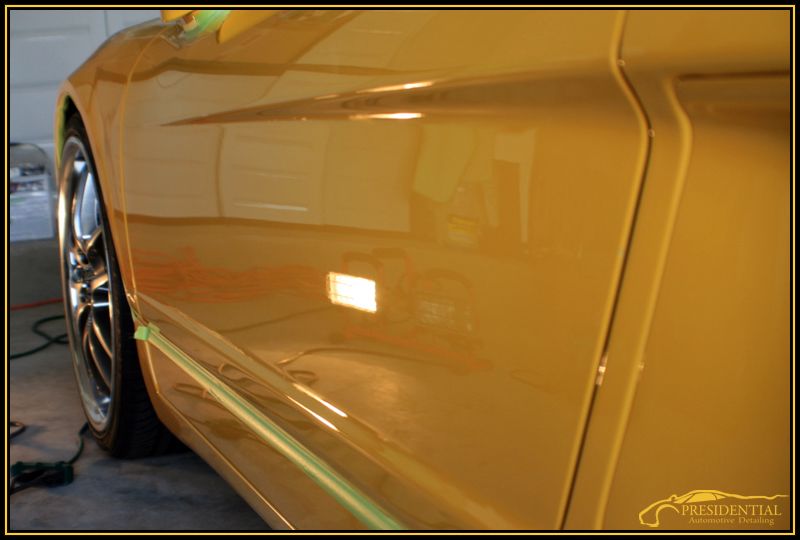
On to the pictures already!")
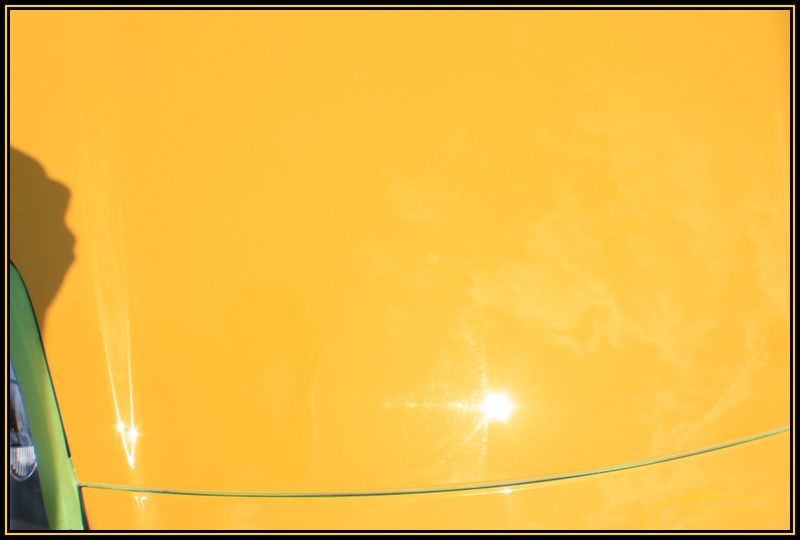
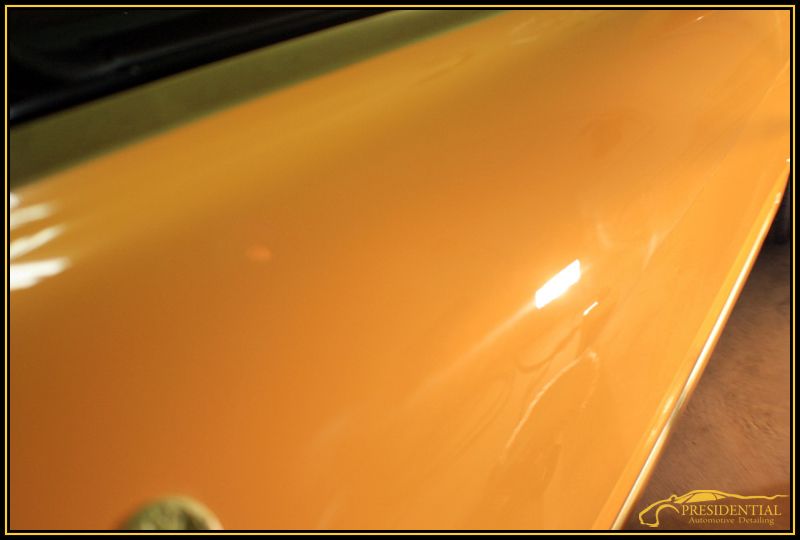
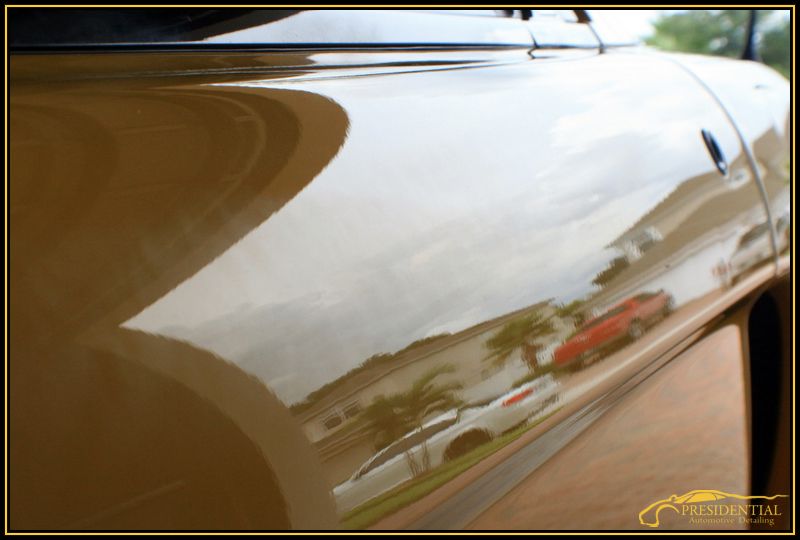
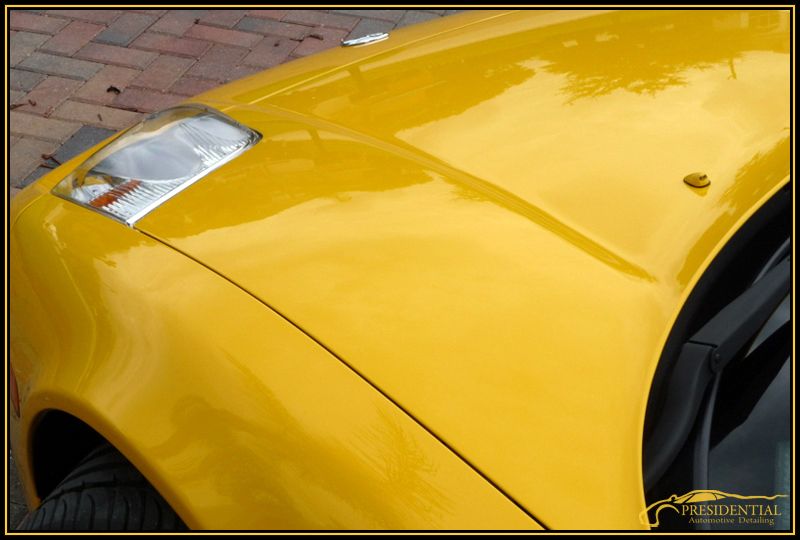
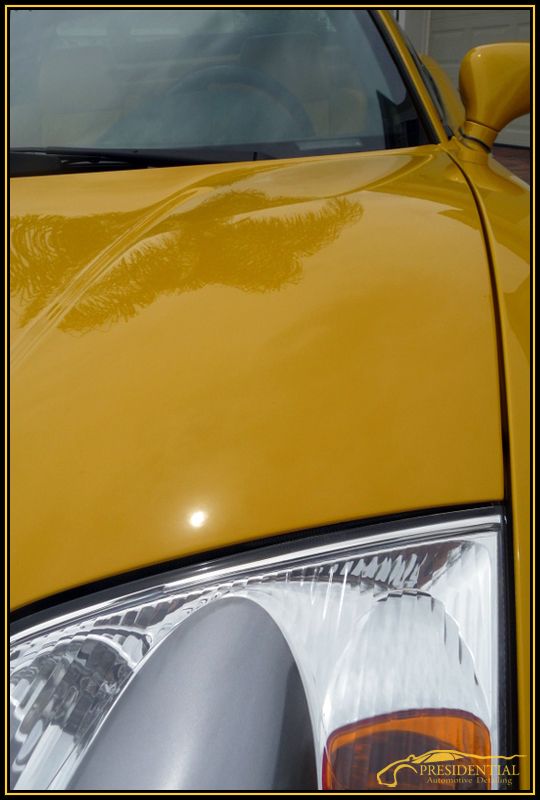
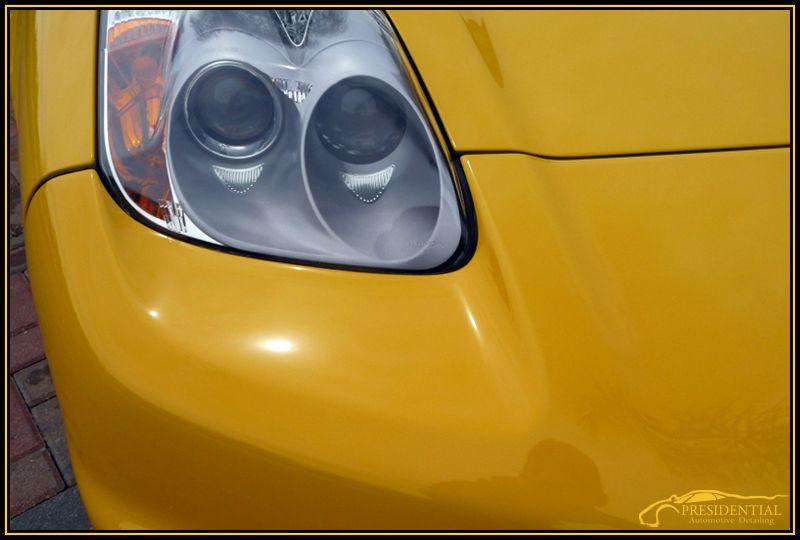
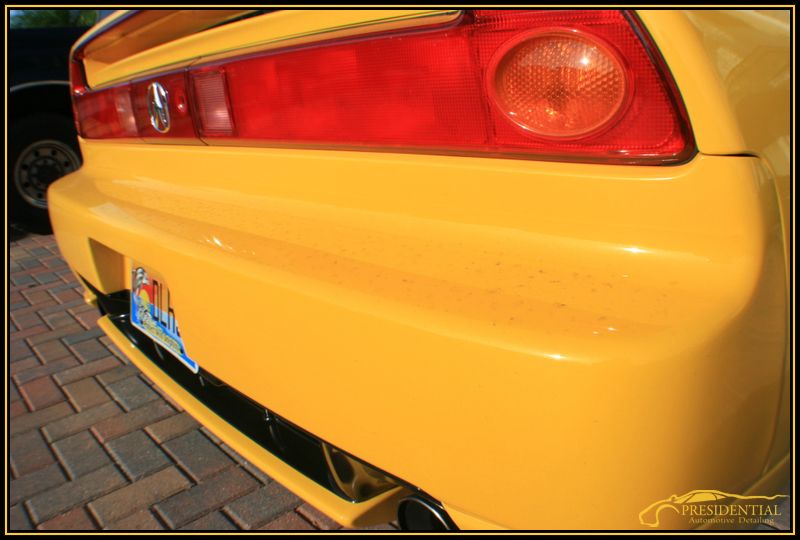
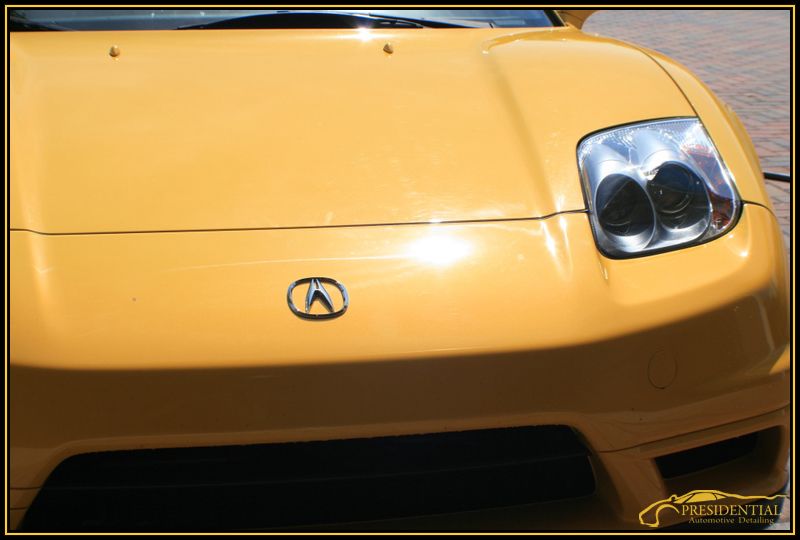
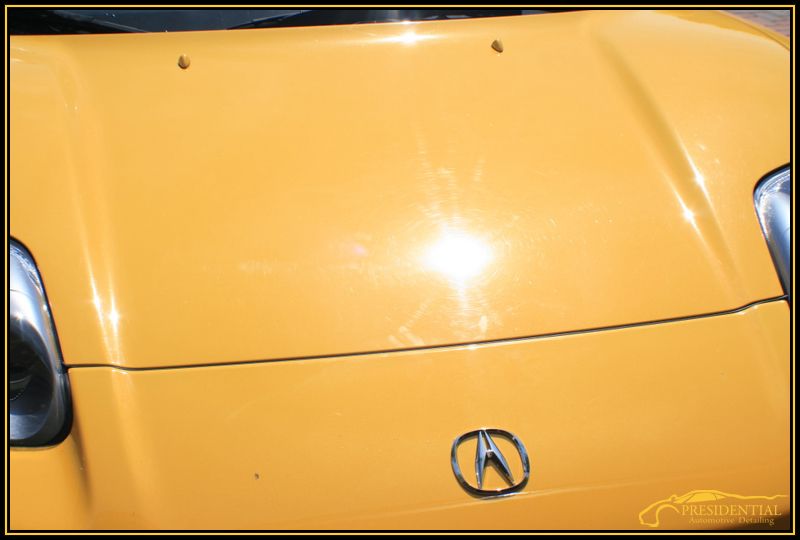
Before the wash, the car was relatively clean minus some road grime from a recent drive in the rain.

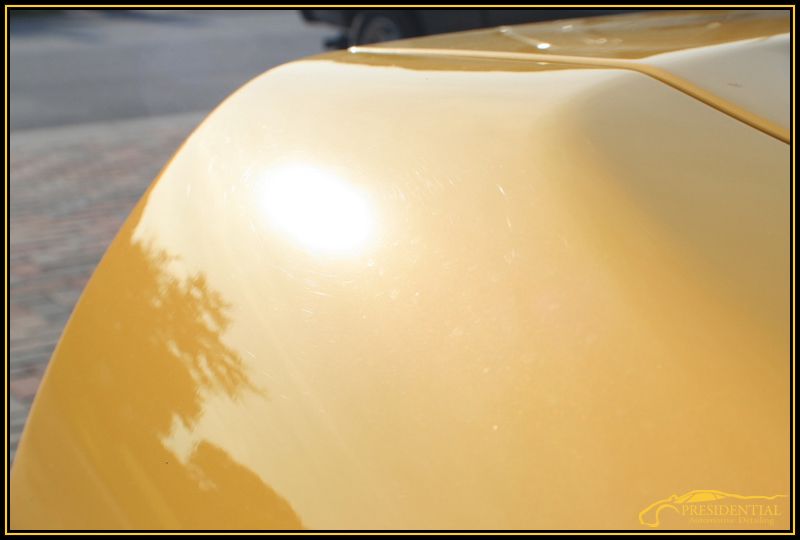
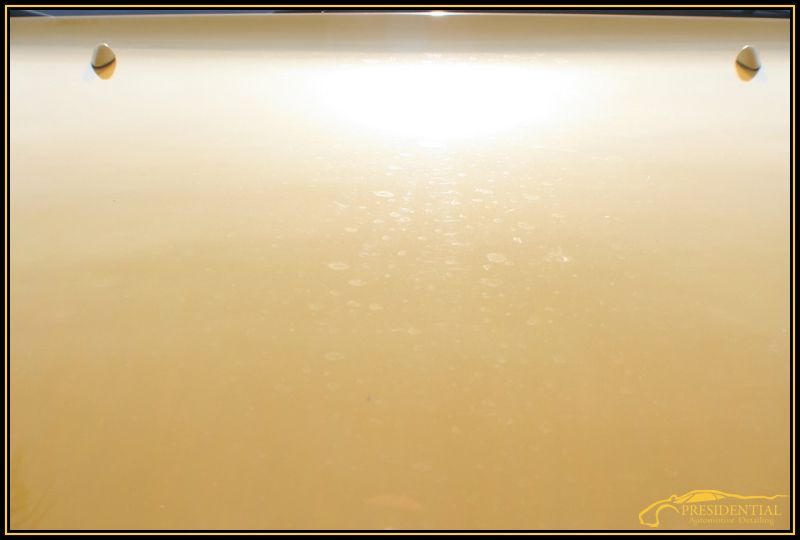
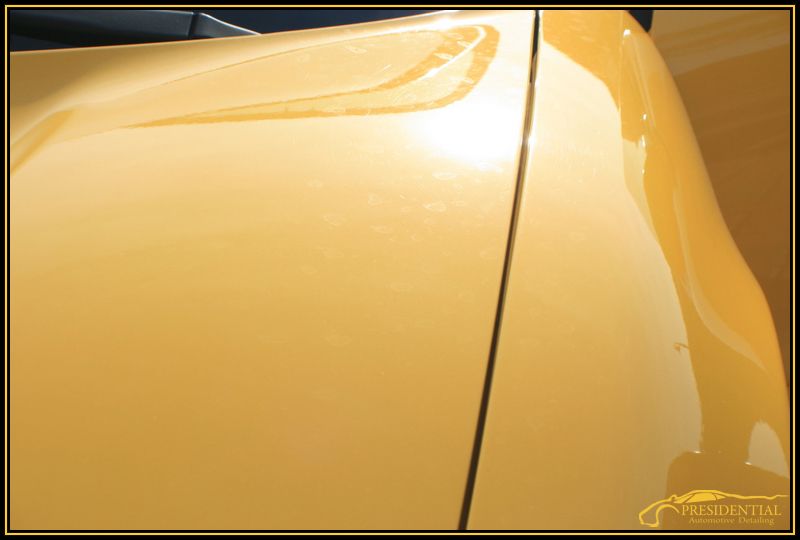
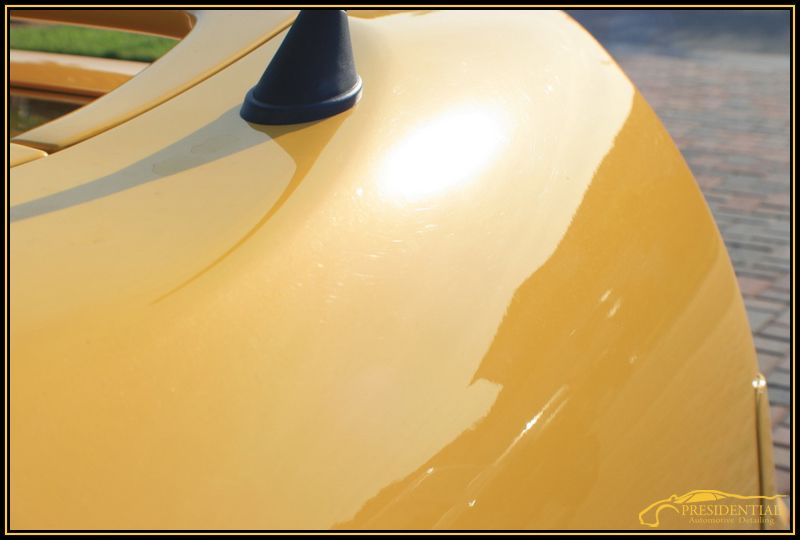
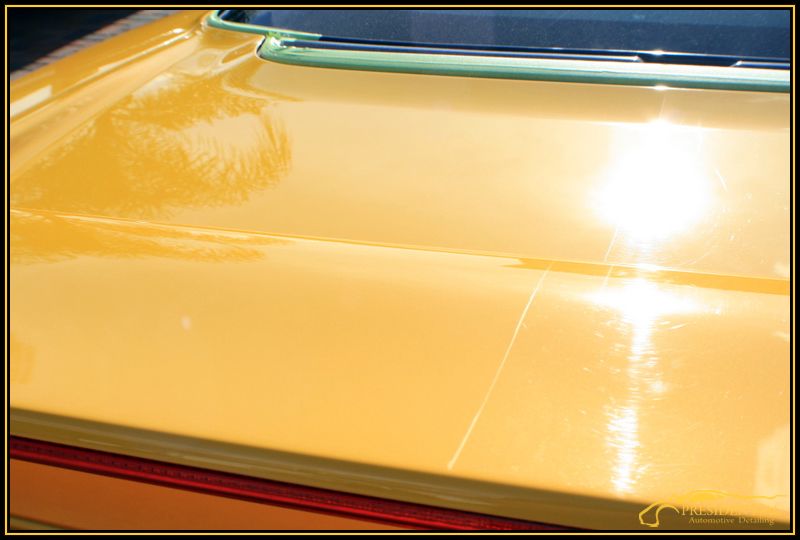
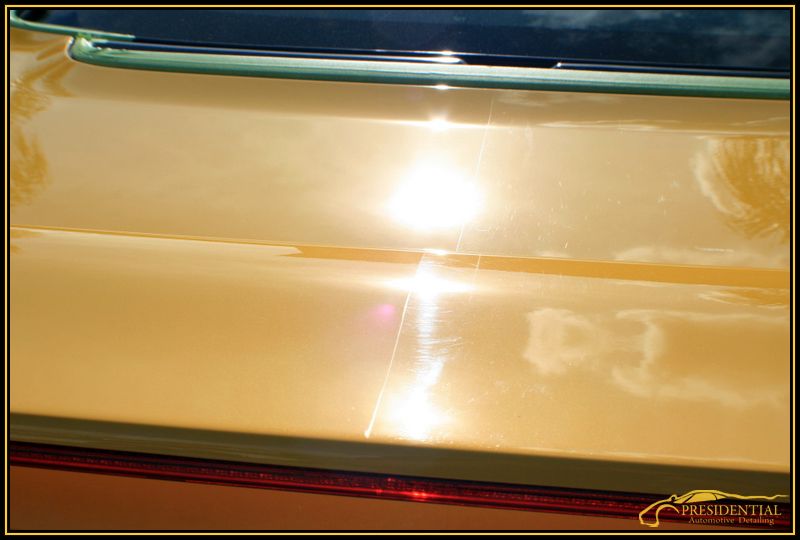
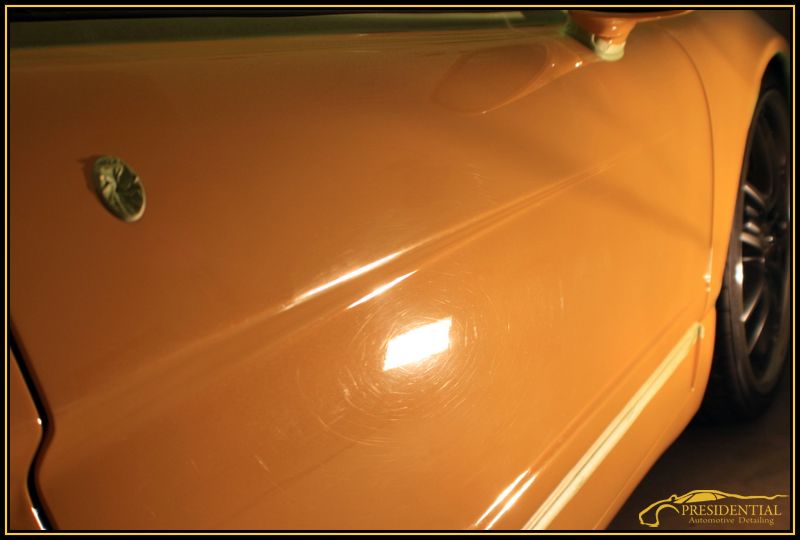
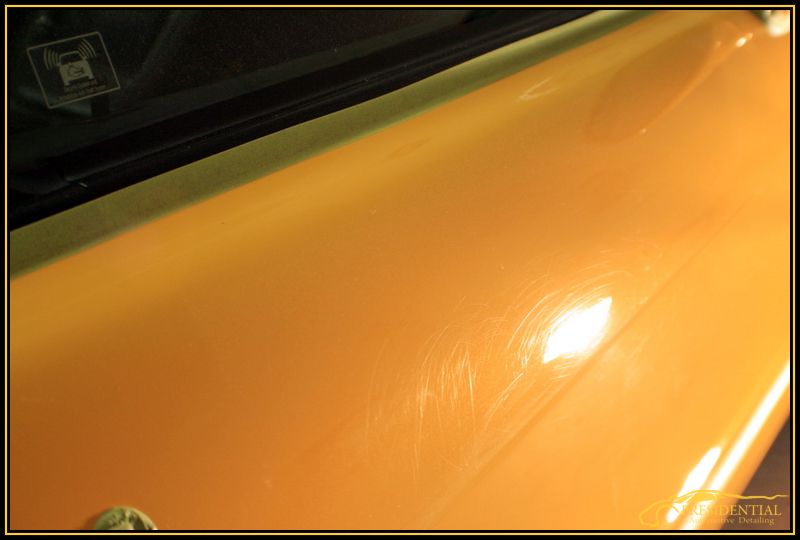
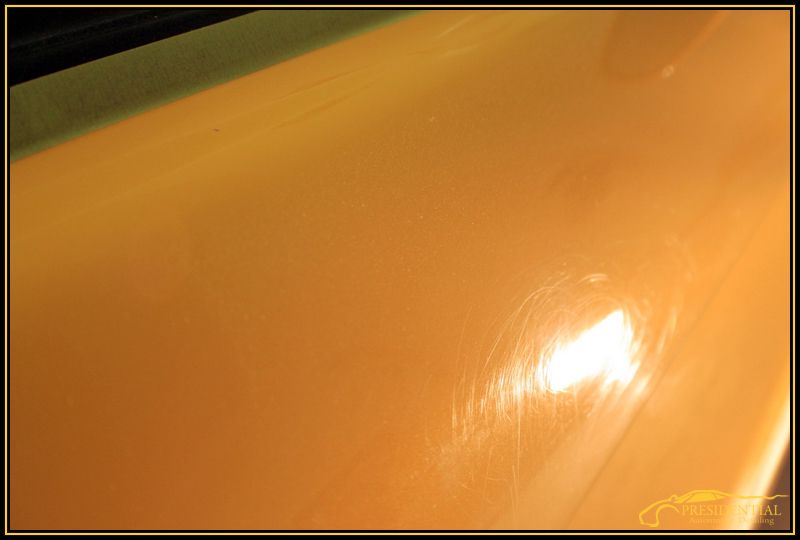
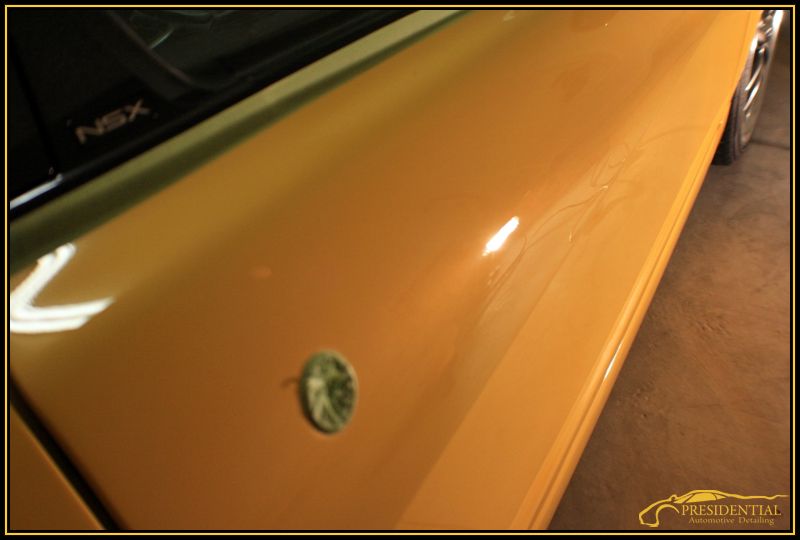
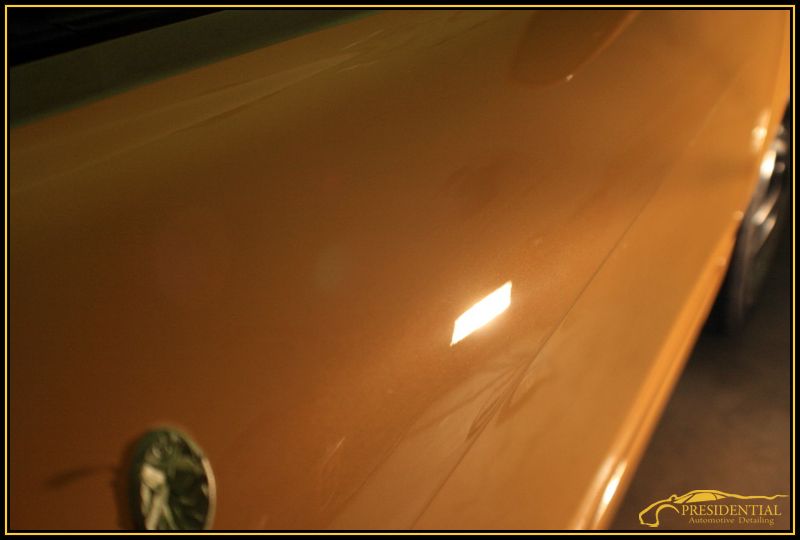
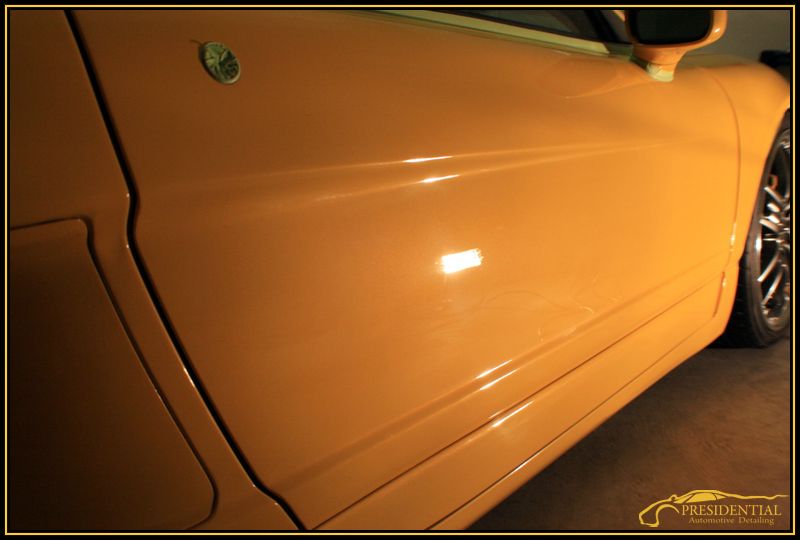
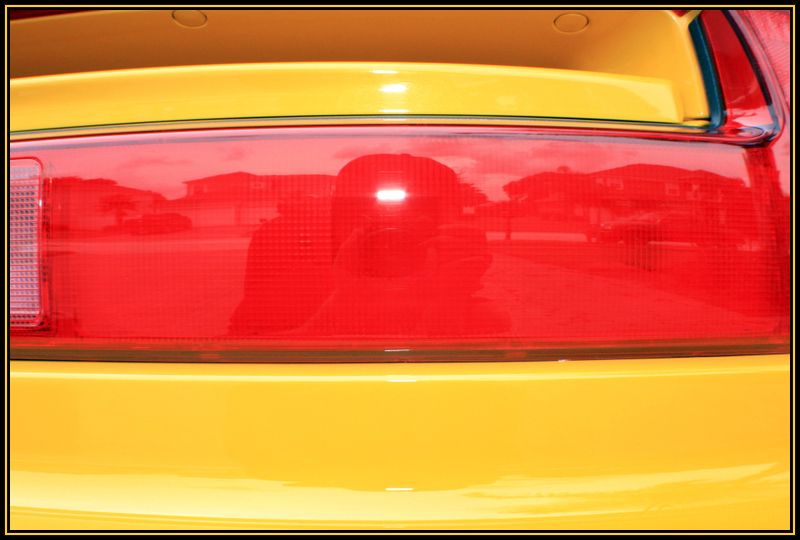
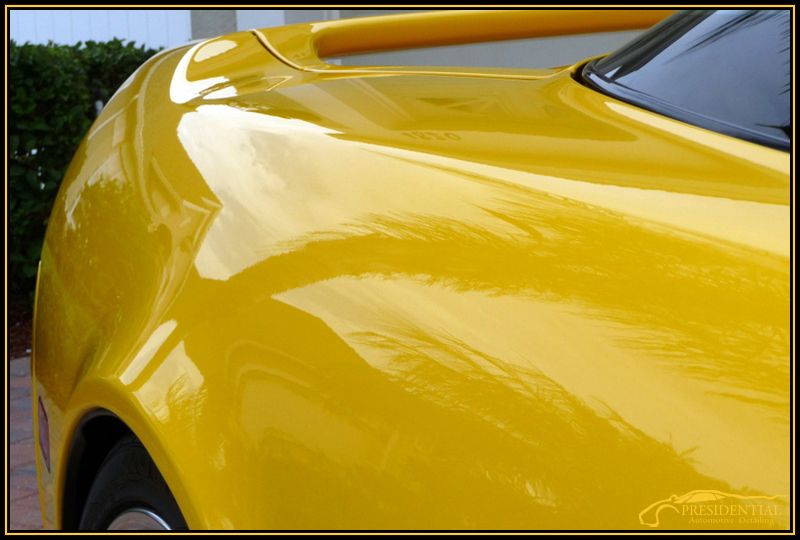
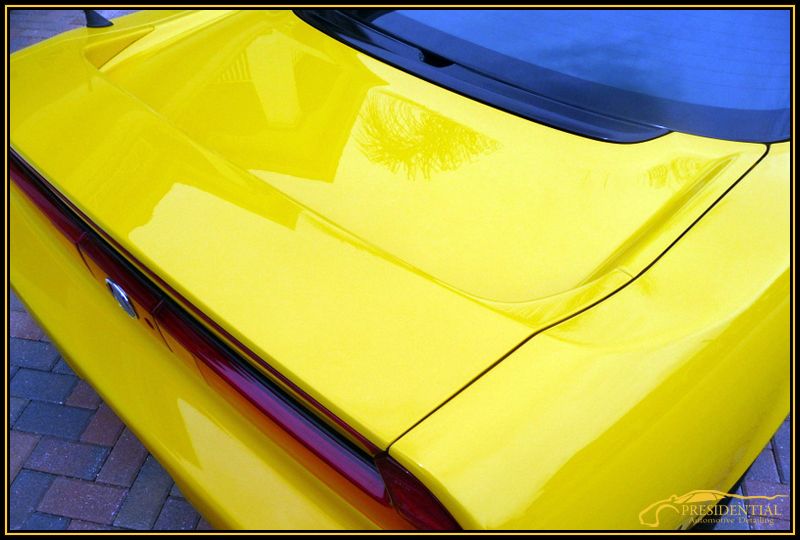
Here, you can see some light hologramming and moderate surface scratches.
The owner of this car actually has TWO of them and daily drives an S2000! :2thumbs: The owner picked this car up so he could keep his first one in pristine condition since its 1 out of 3 in the color combination he has for the model year 05. He bought the second one so he can actually have fun with the car he loves so much without ruining a rare masterpiece! When he got the car, it looked good and was super clean, but the swirls were bugging him quite a bit. So he gave me a call and had me come out to Orlando to perform the detail. I spent about 24 hours on this detail over the course of 2 days to get it back into showroom condition again. It actually turned out so good, he has decided to get a FULL hood, fender, bumper, mirror and headlight clear bra installed by Ryan at Auto Paint Guard here in Tampa before it takes on any chips or marring from being driven often. Ill post some pictures of it installed in a couple weeks when we have it done. Wash and Decontamination Process:
ONR Two-Bucket Wash
Meguiars "Mild" Clay Bar with ONR as clay solution
TWO Cobra Blue Micro-Chenille Wash Mitts
Adams Metal Polish #2 on Exhaust Tips
Blow Dried/Cobra Guzzler WW Drying Towel
Wheels:
ONR wash on wheels(no matter how safe I think P21S is Im not risking it on polished wheels)
One Cobra Blue Micro-Chenille Wash Mitts(dedicated to wheels only)
E-Z Detail Brush
Swissvax Autobahn Wheel Wax
Interior:
1Z Einszett Cockpit Premium
Meguairs APC+
Leather Masters Strong Cleaner
Leather Masters Vital
Vacuum
Invisible Glass Glass Cleaner
Front Compartment/Engine Bay:
Meguiars APC+
Various Brushes
Zaino AIO On All Painted Surfaces
Meguiars HyperDressing On All Hoses and Plastic Surfaces
Paint Correction:
3M Automotive Performance "Green" Tape
M105/PFW via Makita Rotary
M205/Orange via Meguiars G110
Zaino AIO On All Door Shuts
50/50 of 91% IPA/Distilled Water
Meguiars Supreme Shine MF Towels
LSP:
TWO coats of Blackfire Wet Diamond Paint Sealant
ONE coat of P21S 100% Paste Wax(soon to be Midnight Sun!
)On to the pictures already!
Before the wash, the car was relatively clean minus some road grime from a recent drive in the rain.
Here, you can see some light hologramming and moderate surface scratches.