Presidential Detailed: 2001 Audi S8 - 25 hours invested.

PresdntialDtail

New member
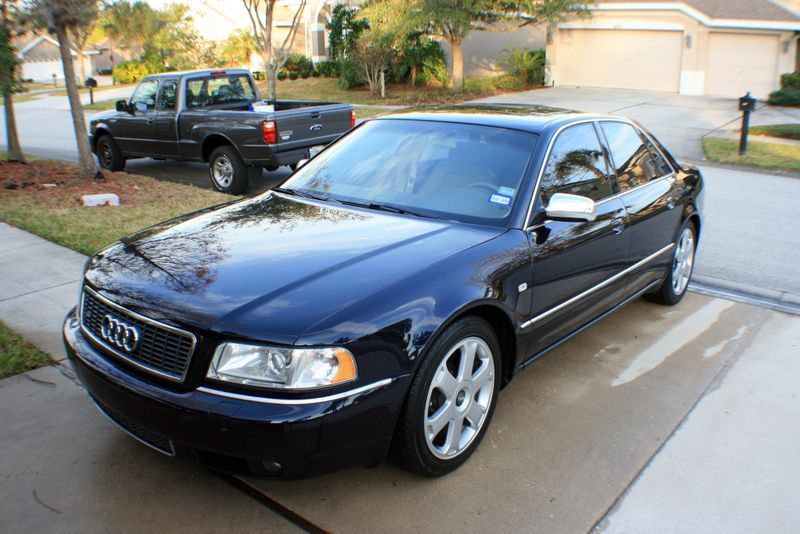
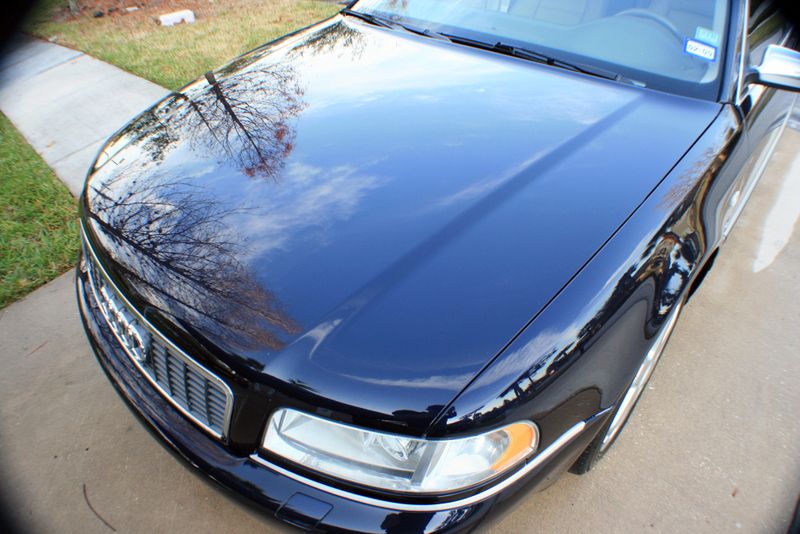
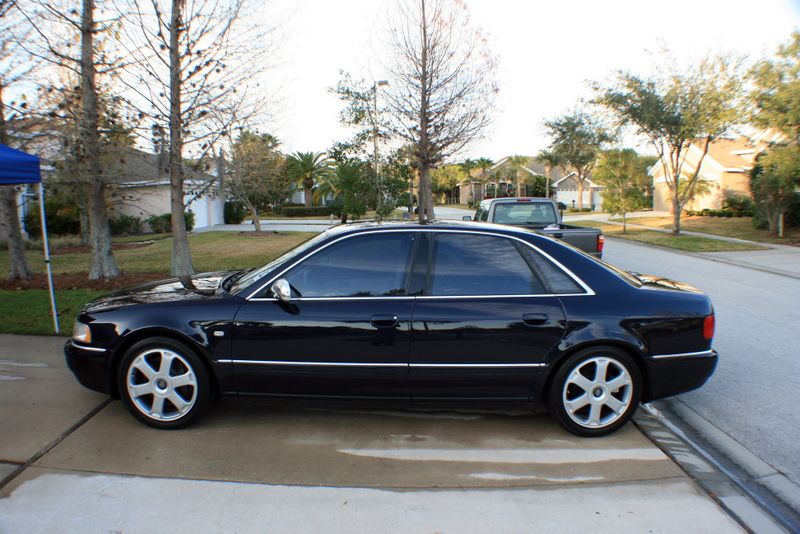
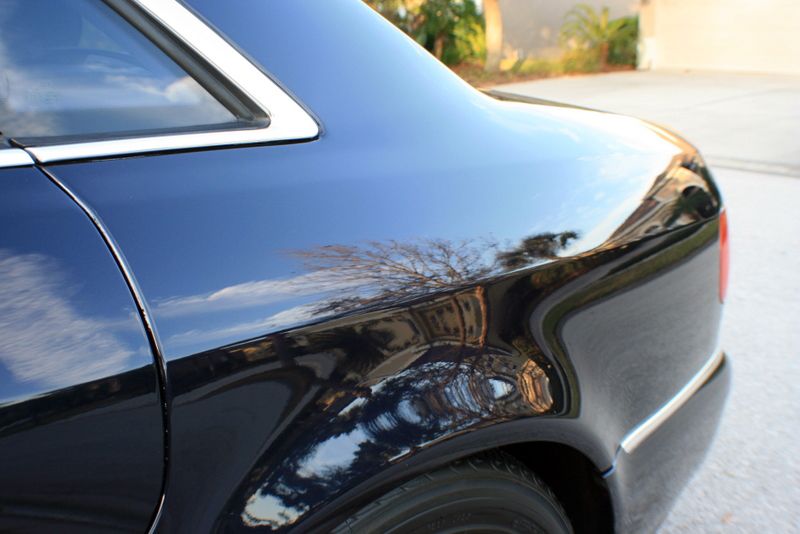
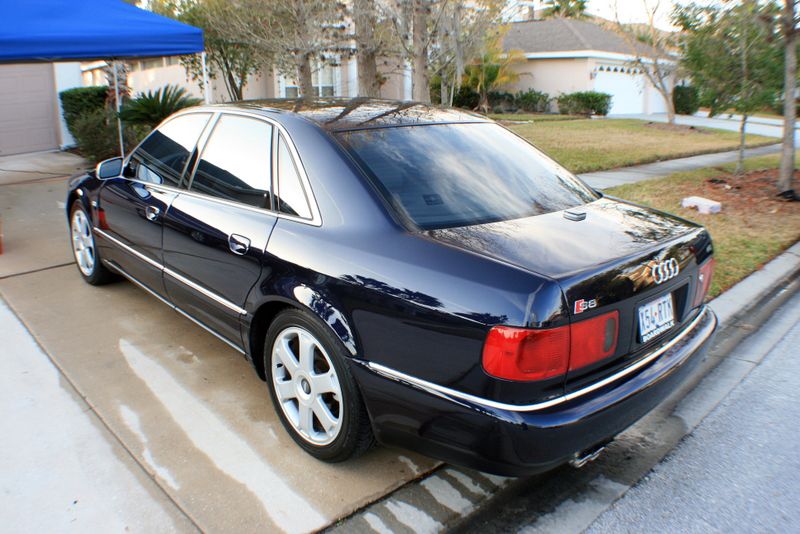
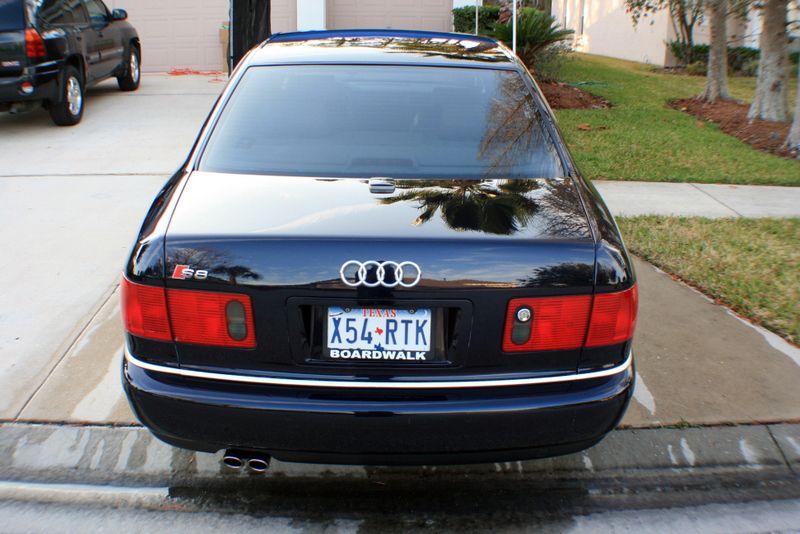
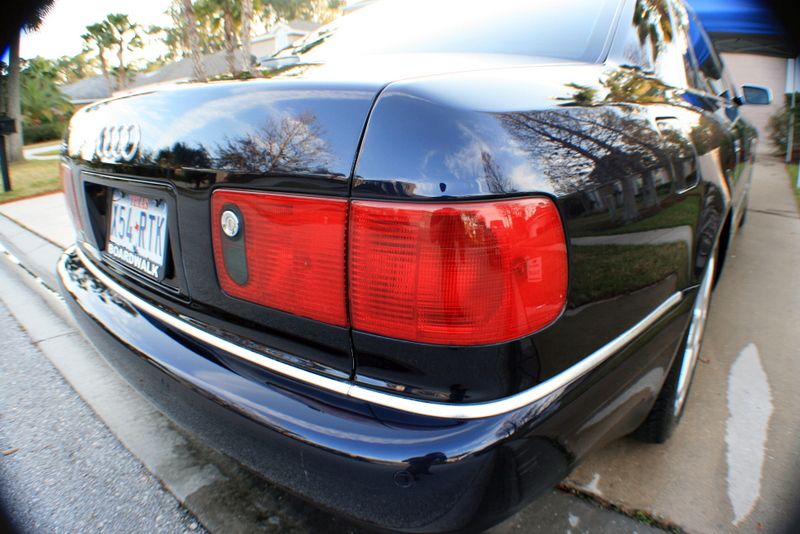
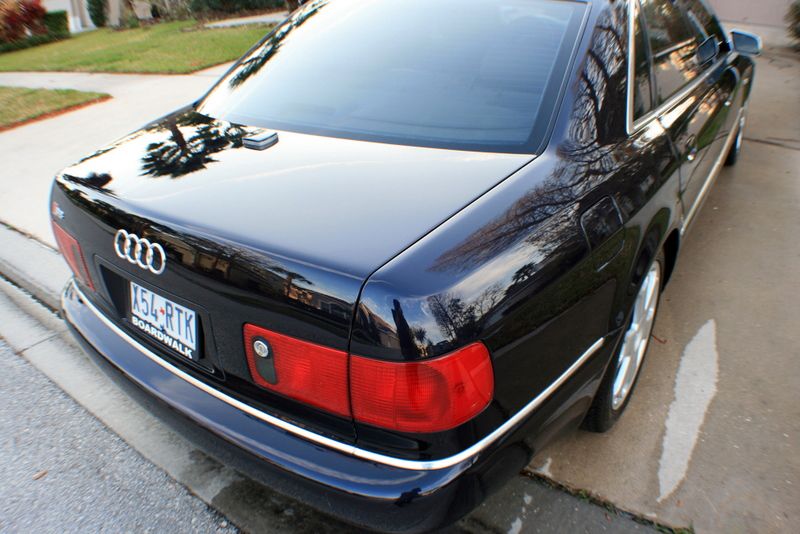
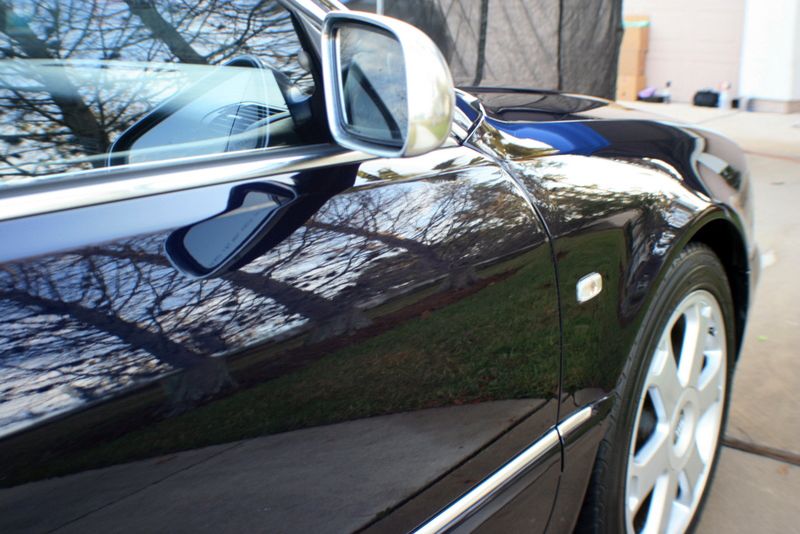
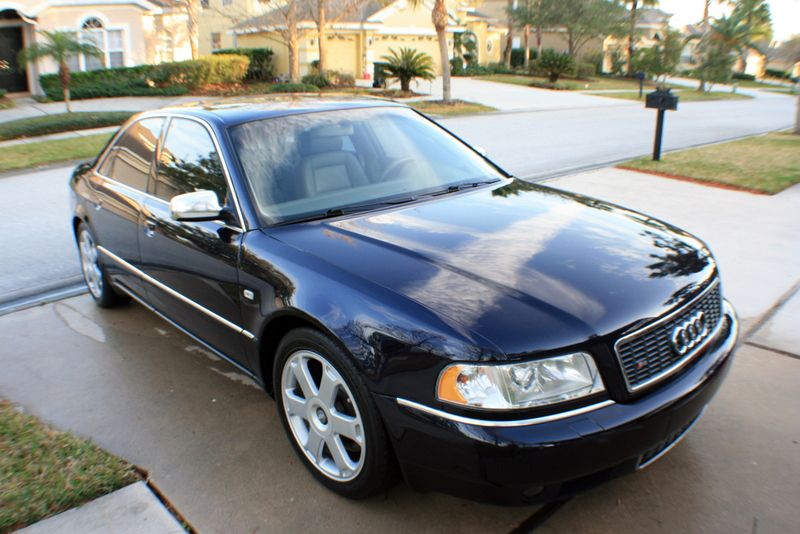
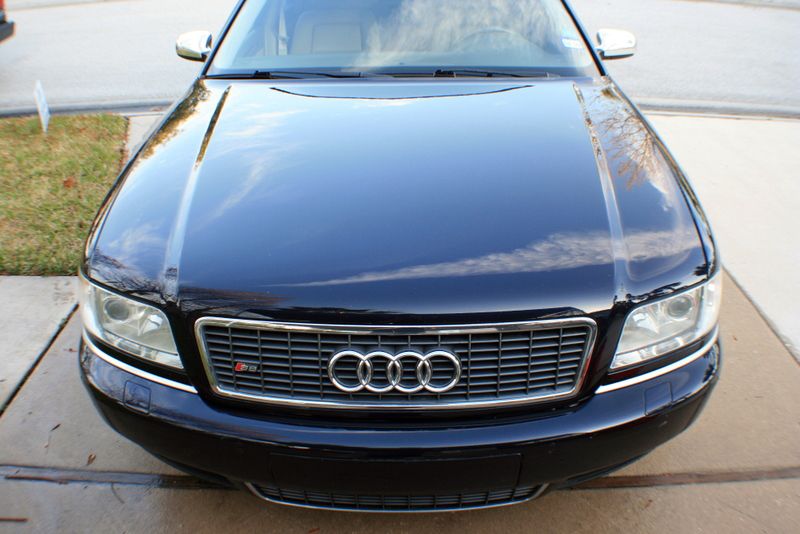
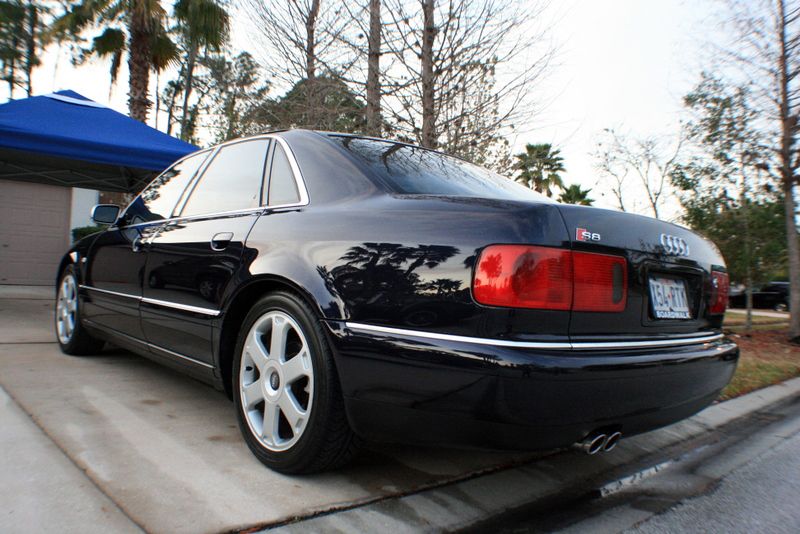
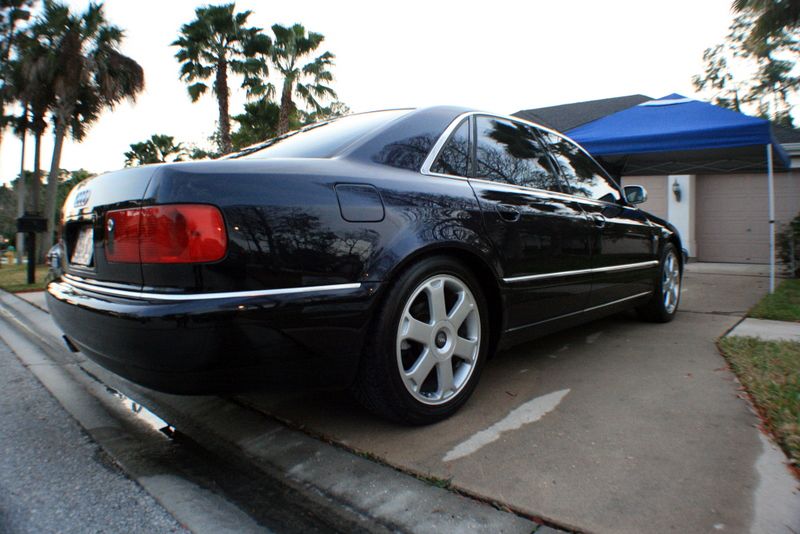
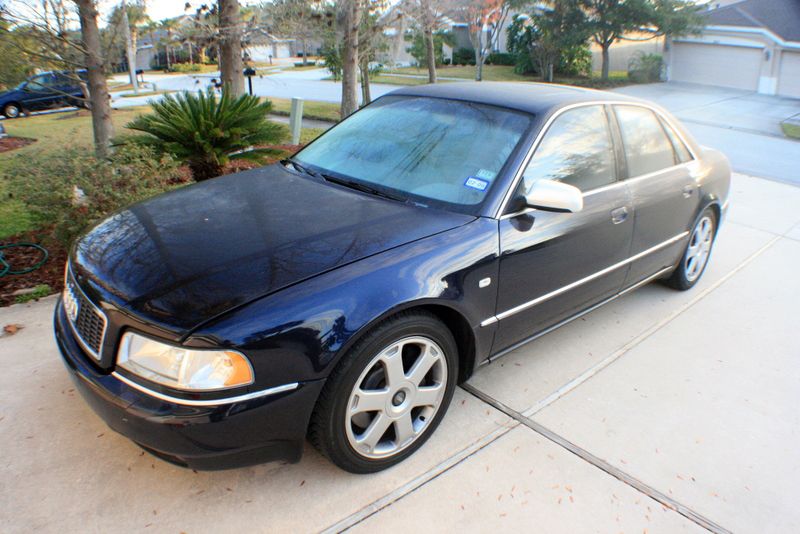
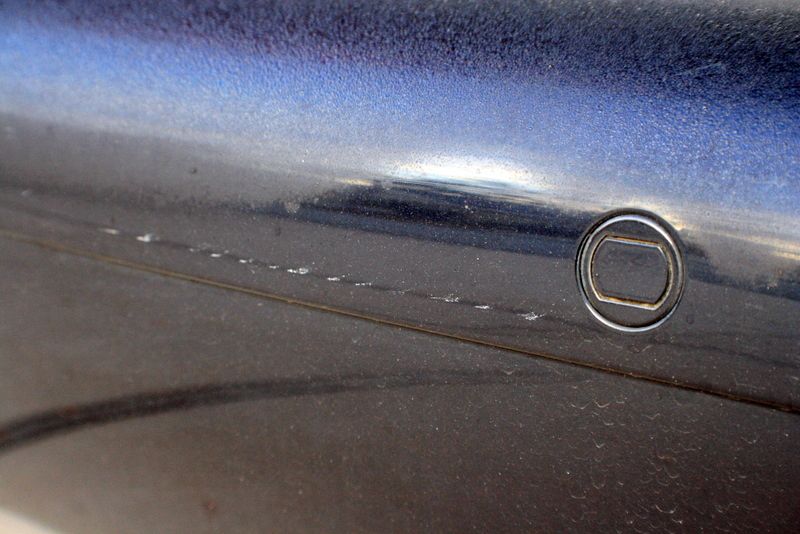
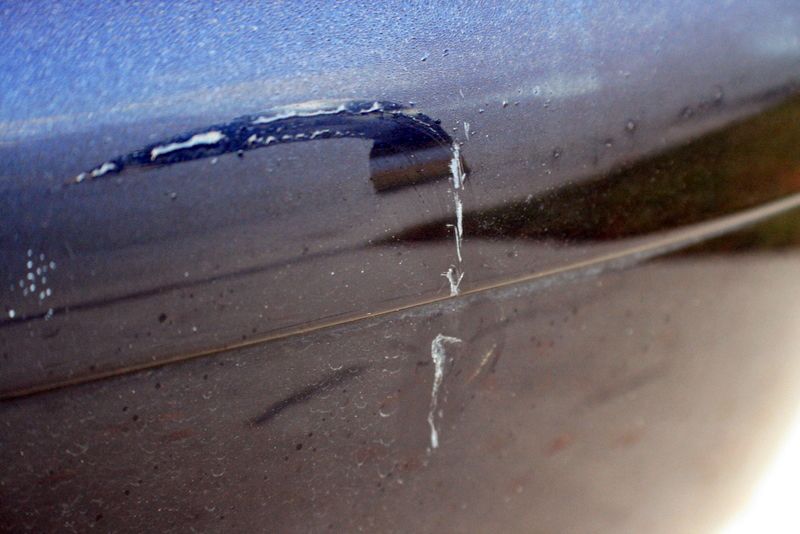
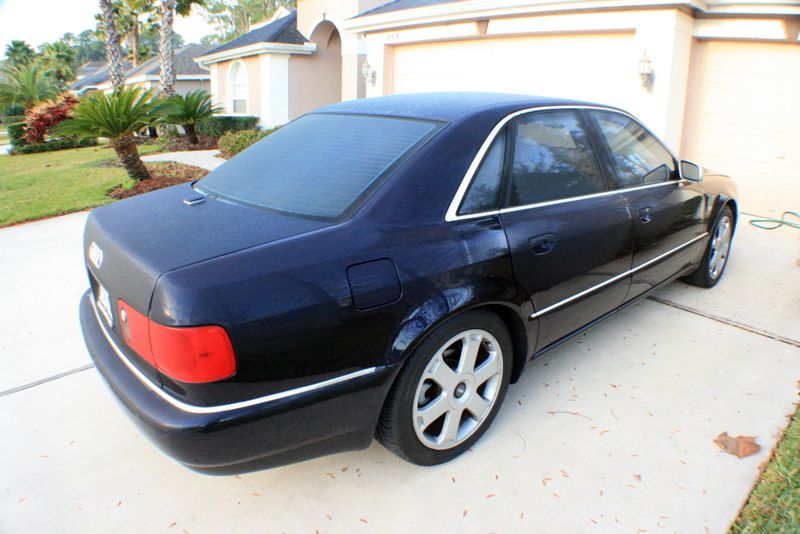
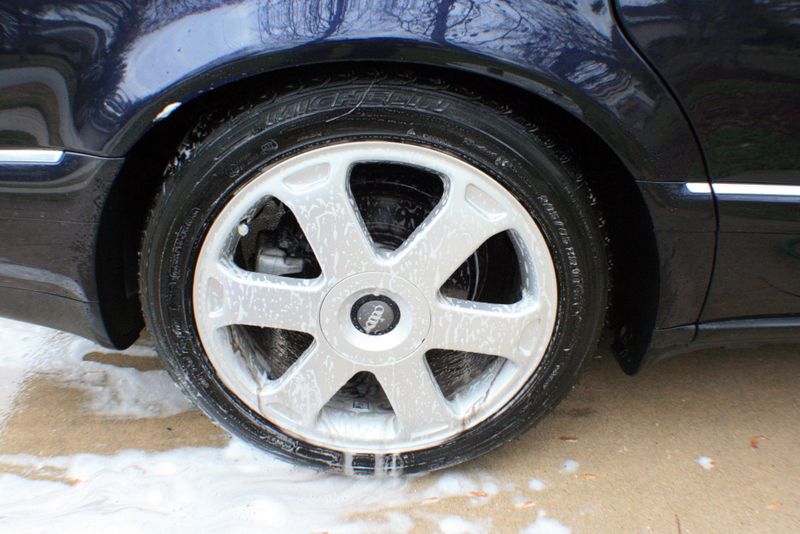
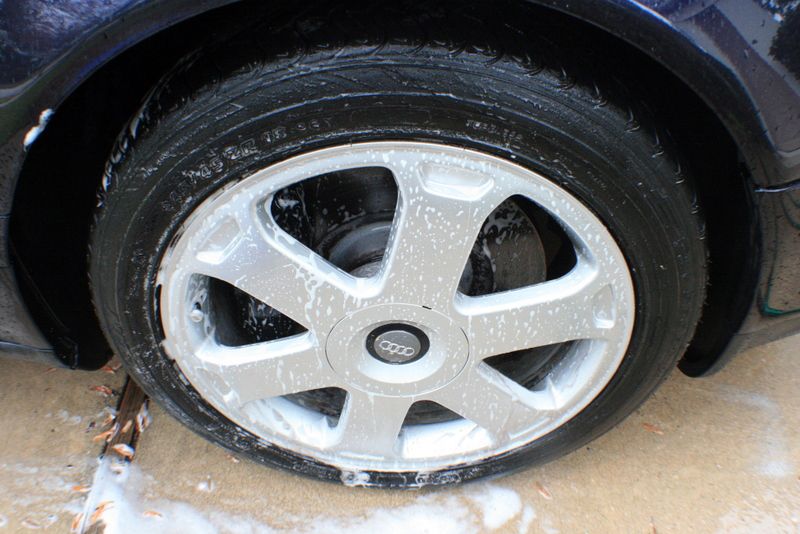
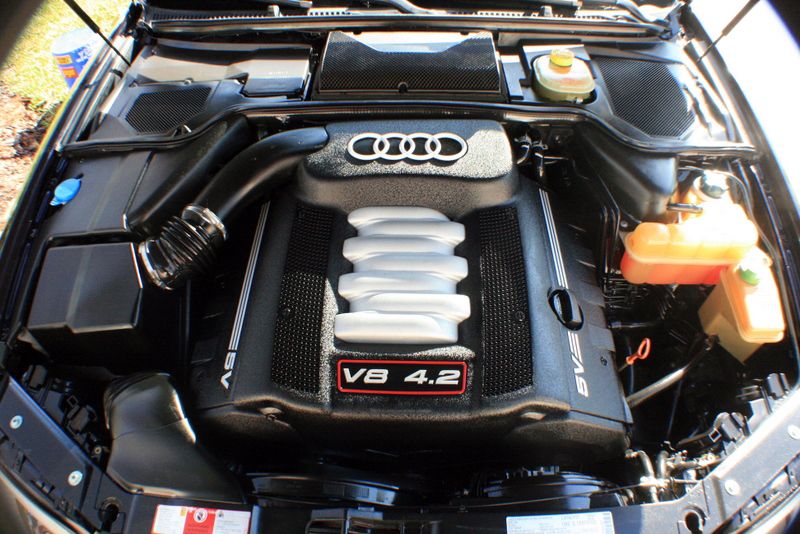
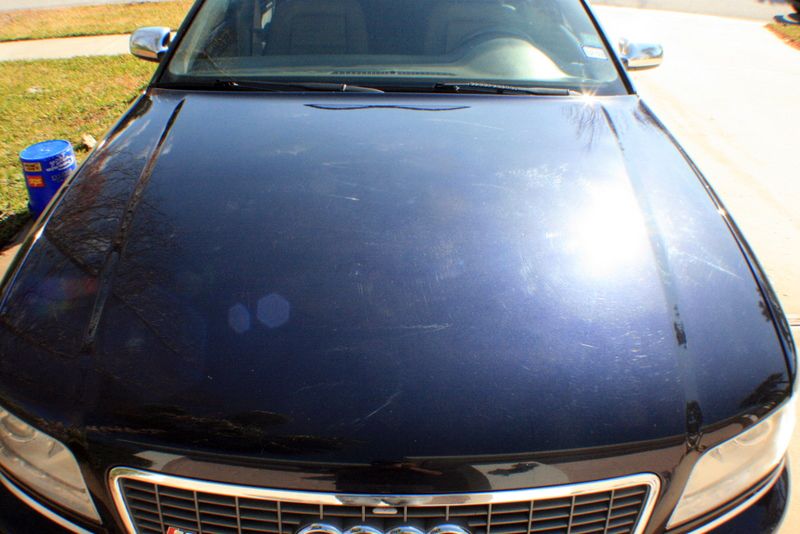
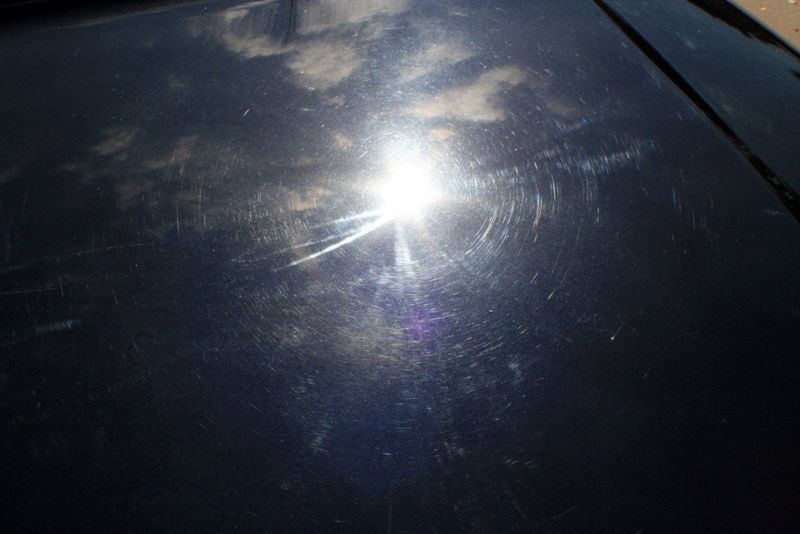
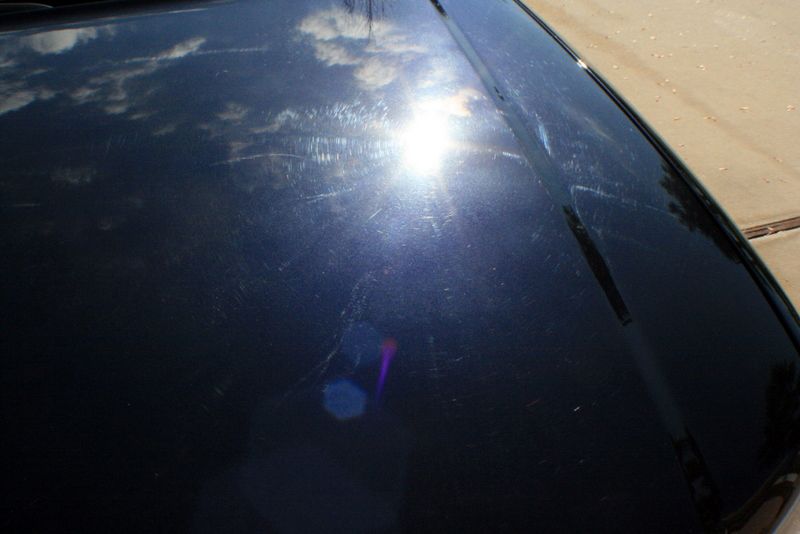
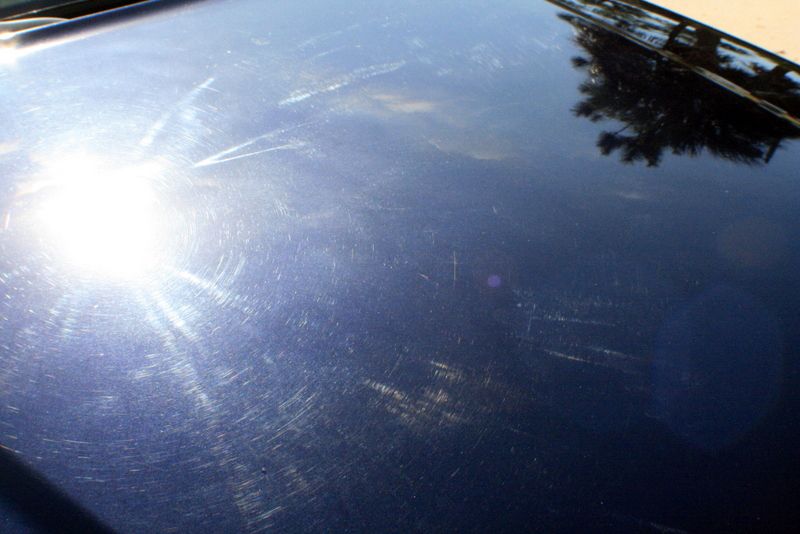
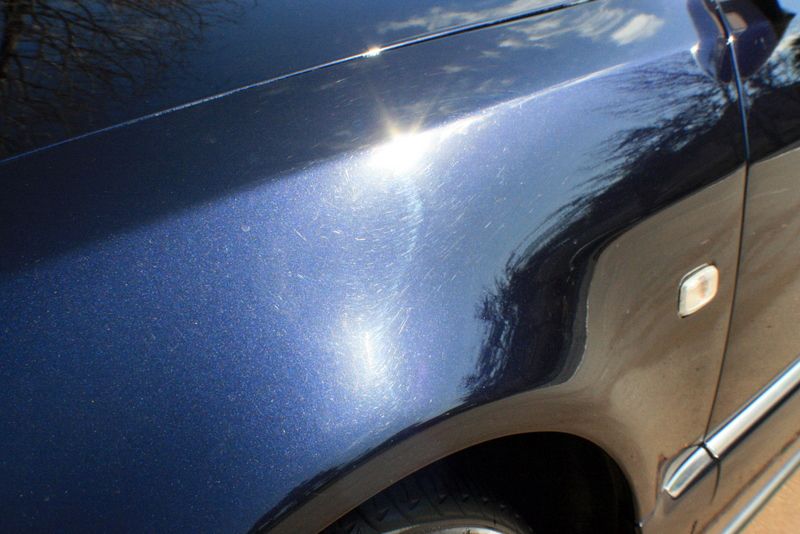
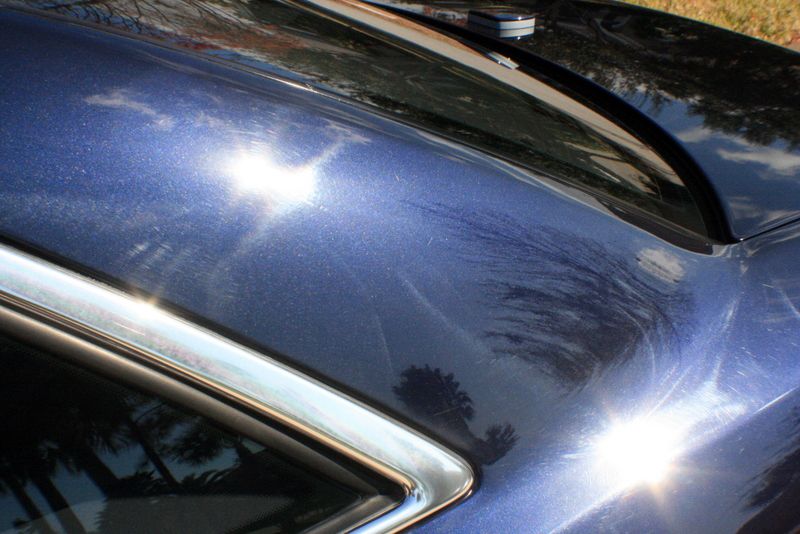
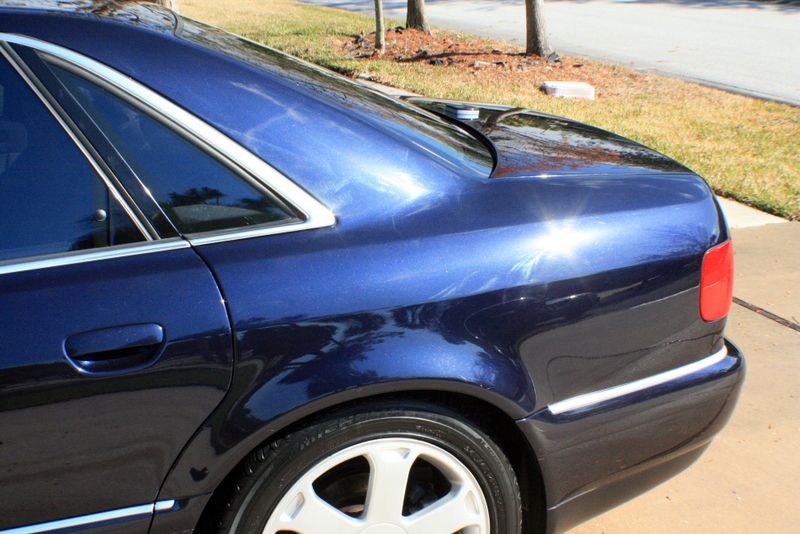
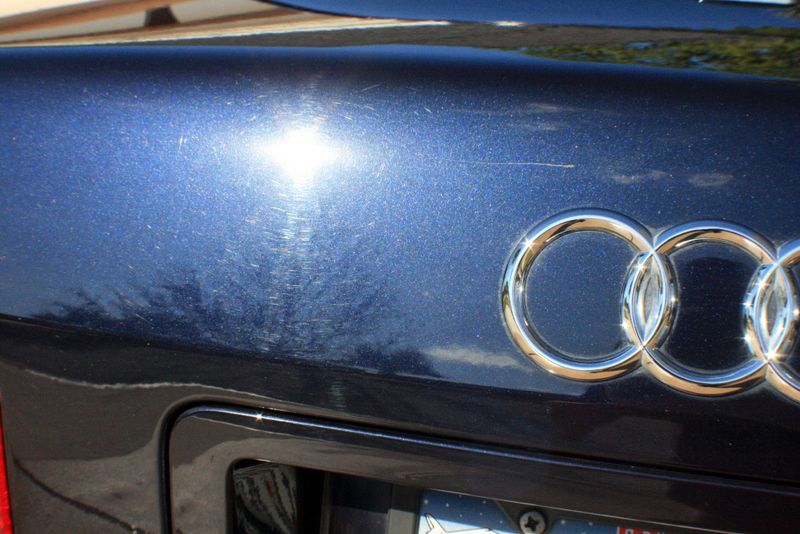
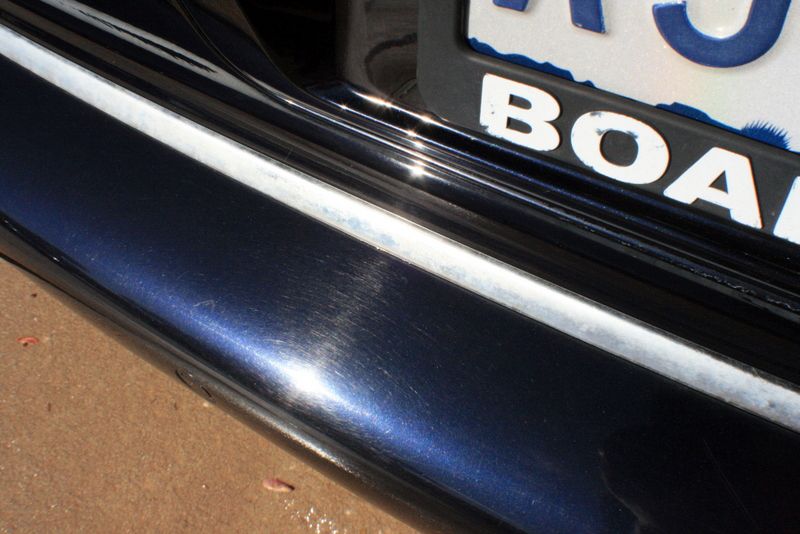
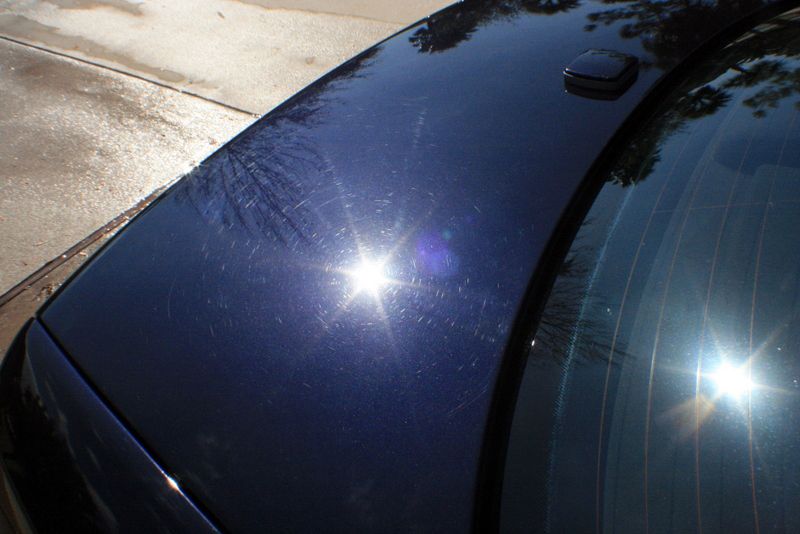
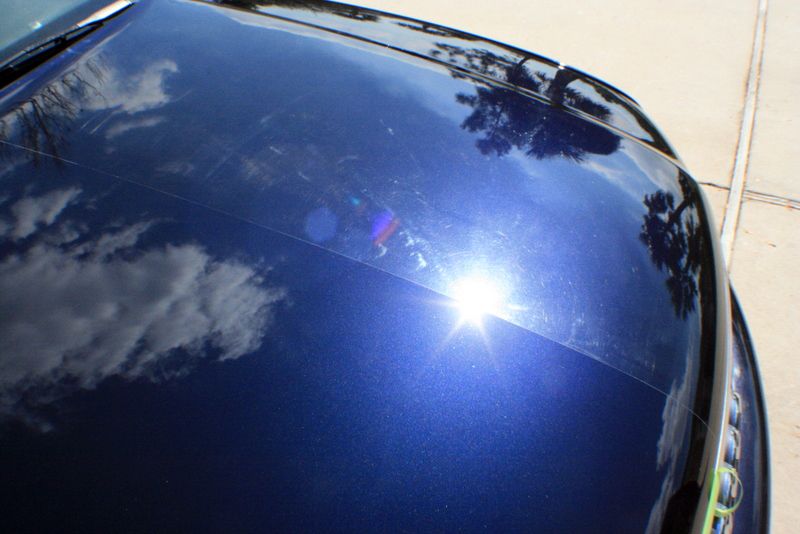
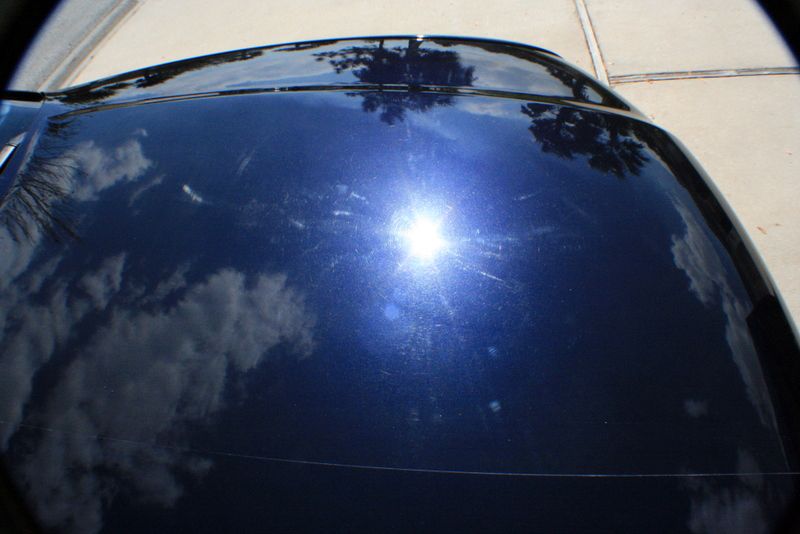
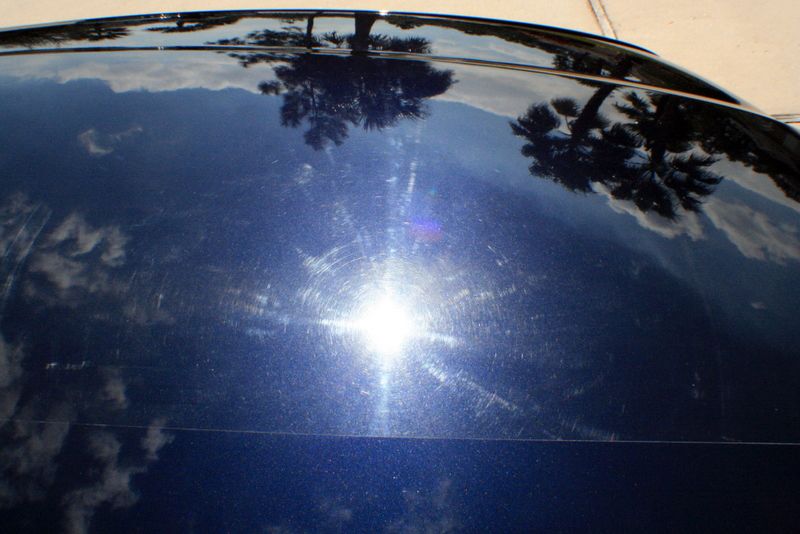
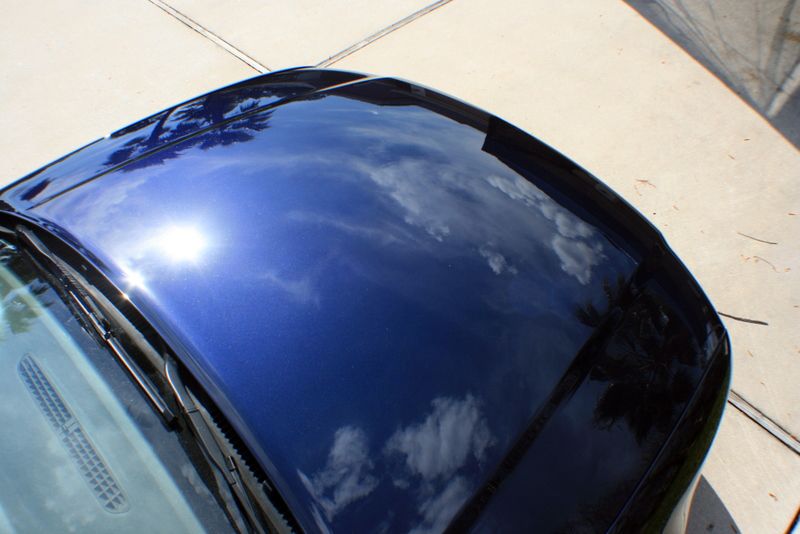
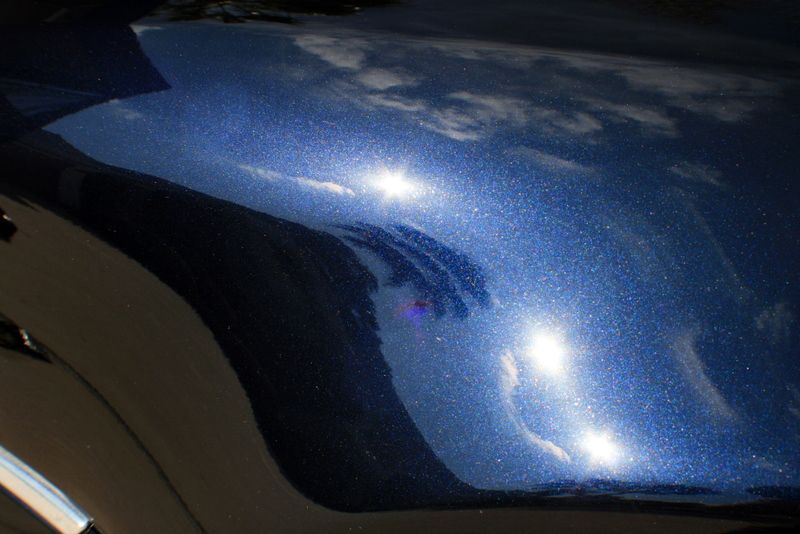
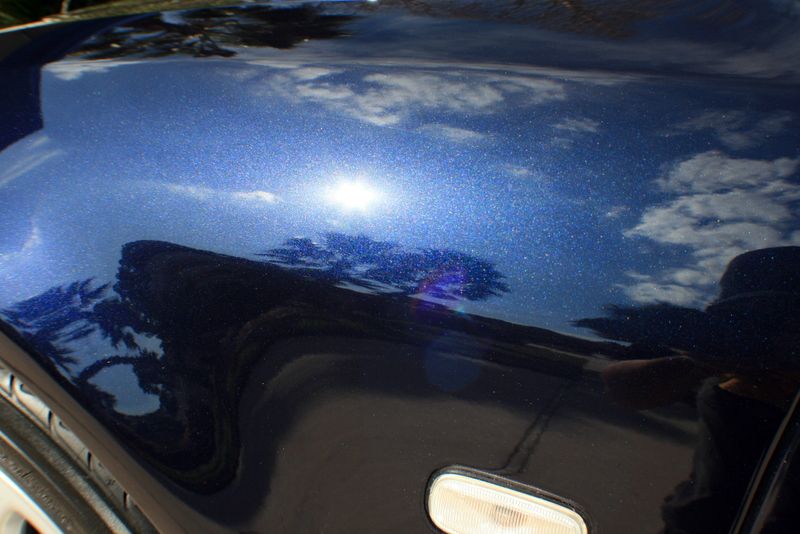
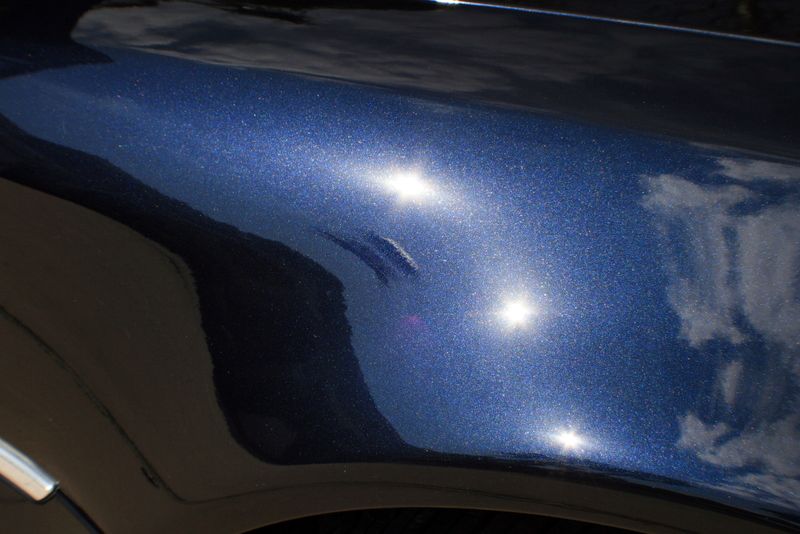
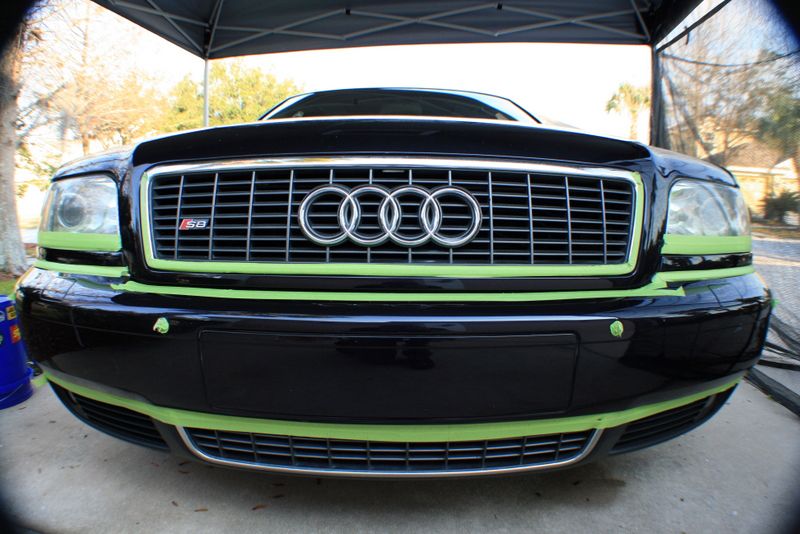
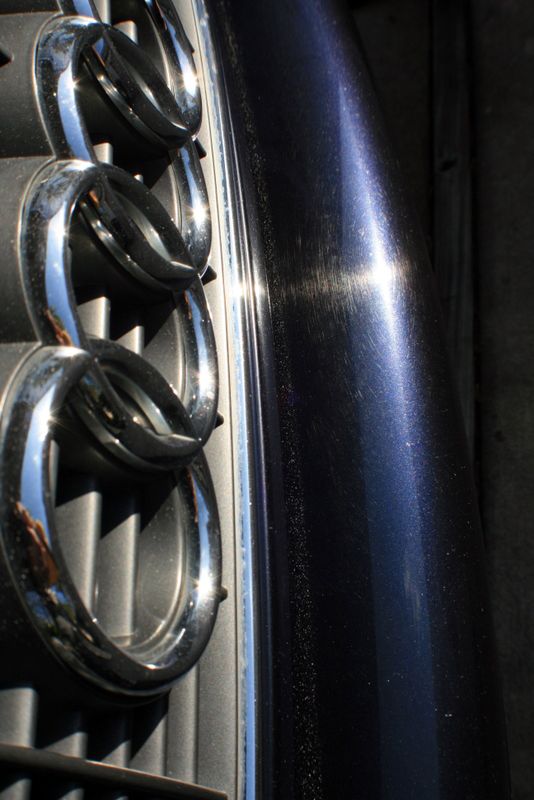
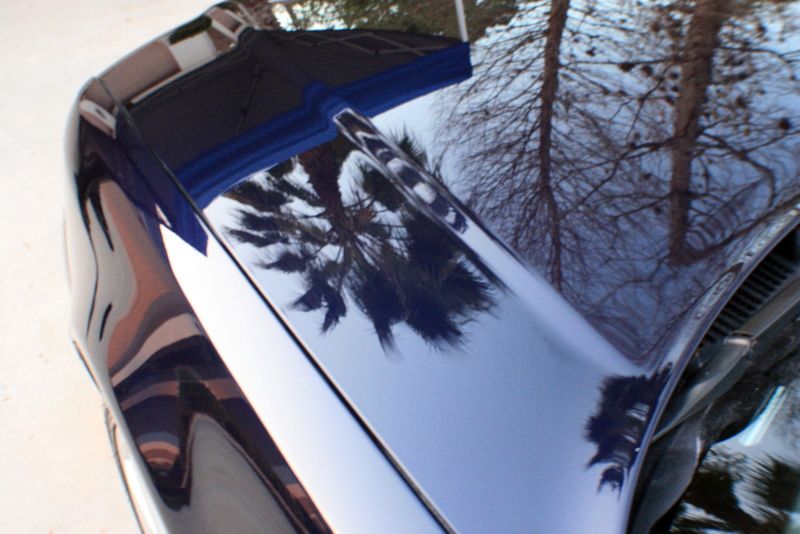
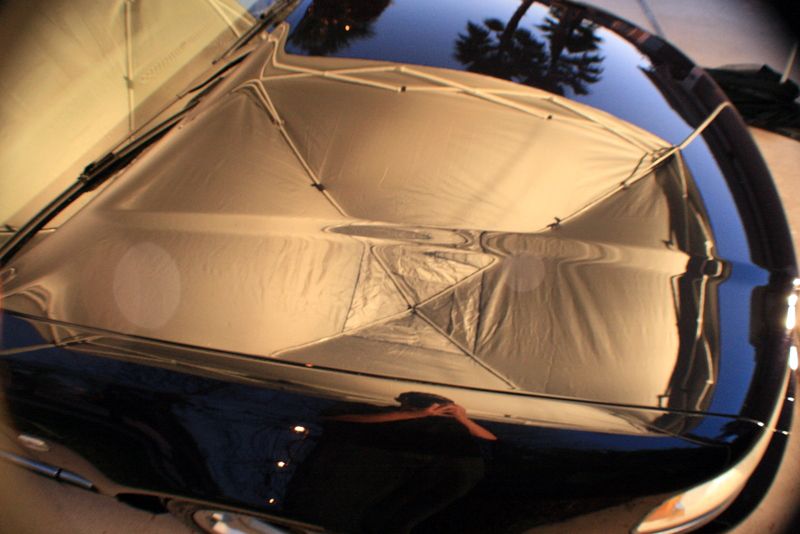
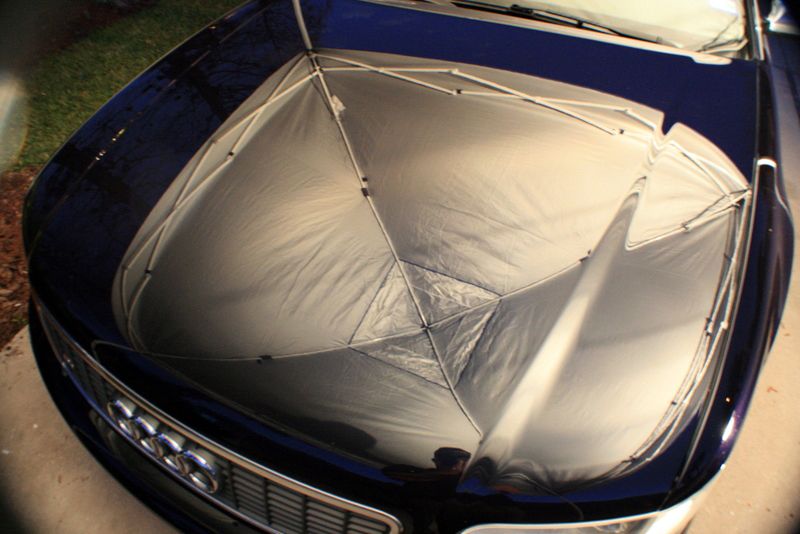
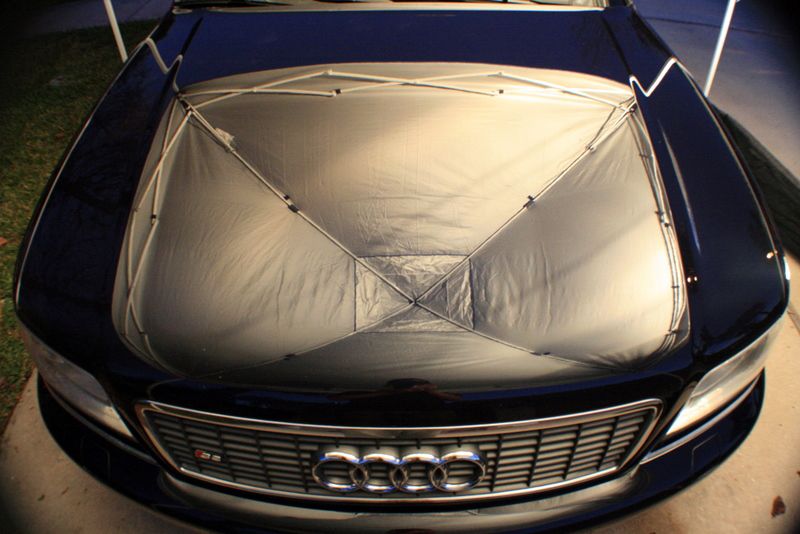
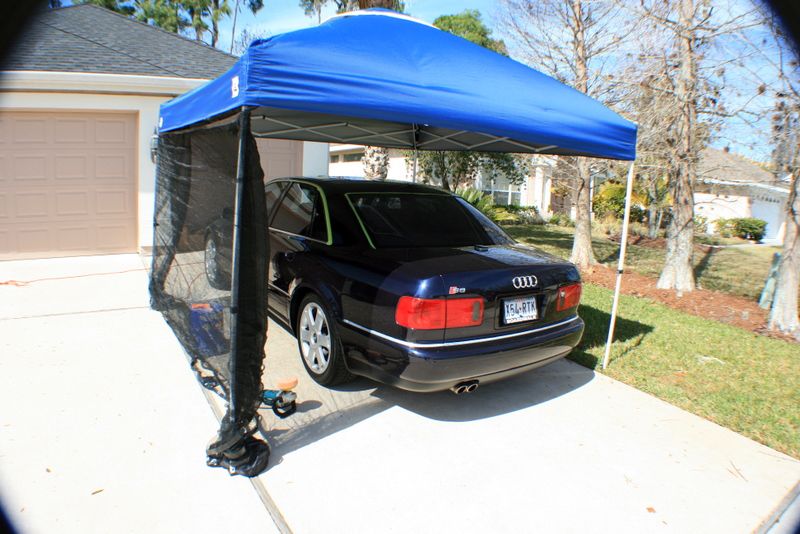
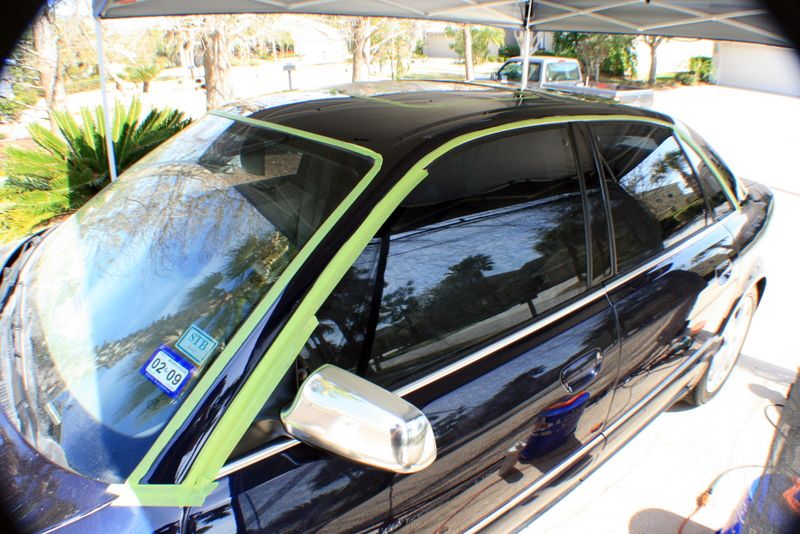
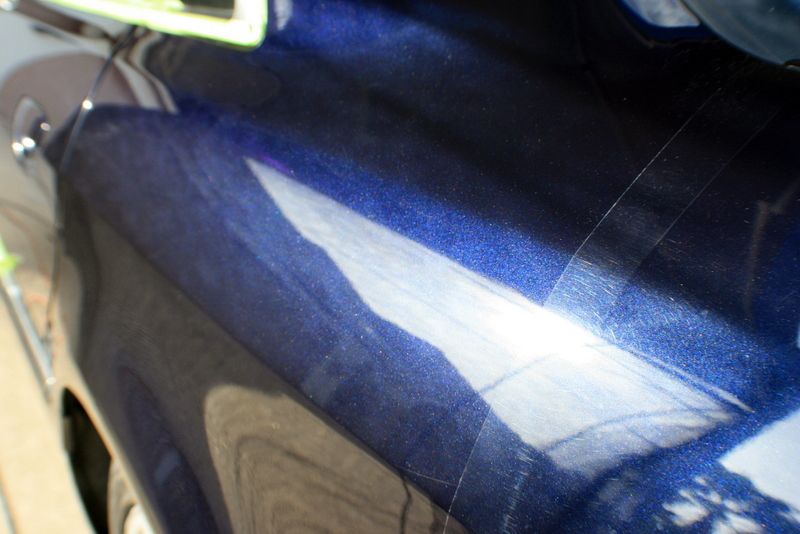
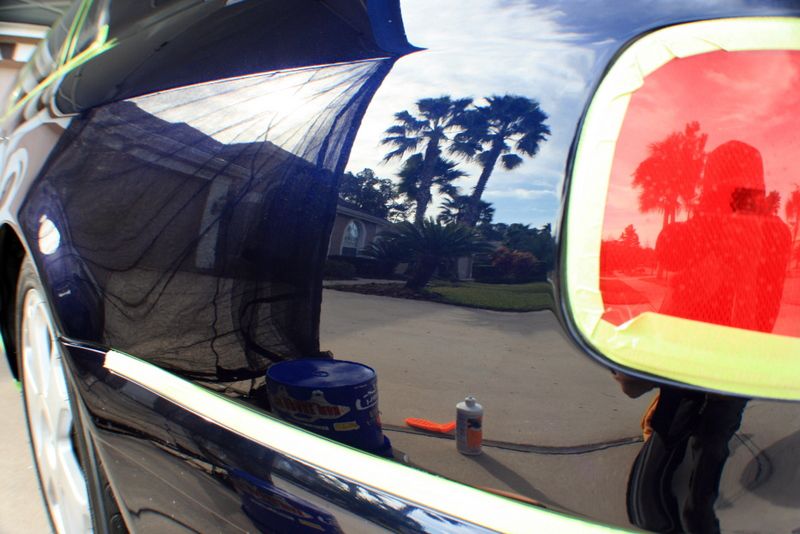
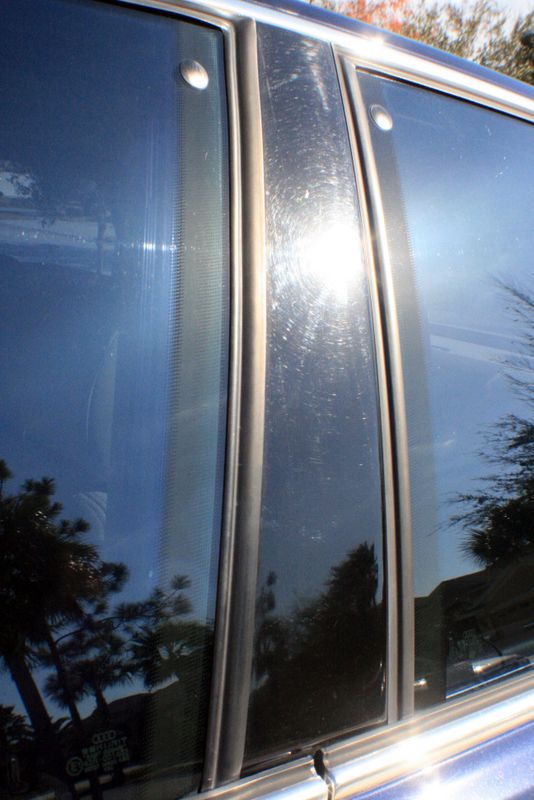
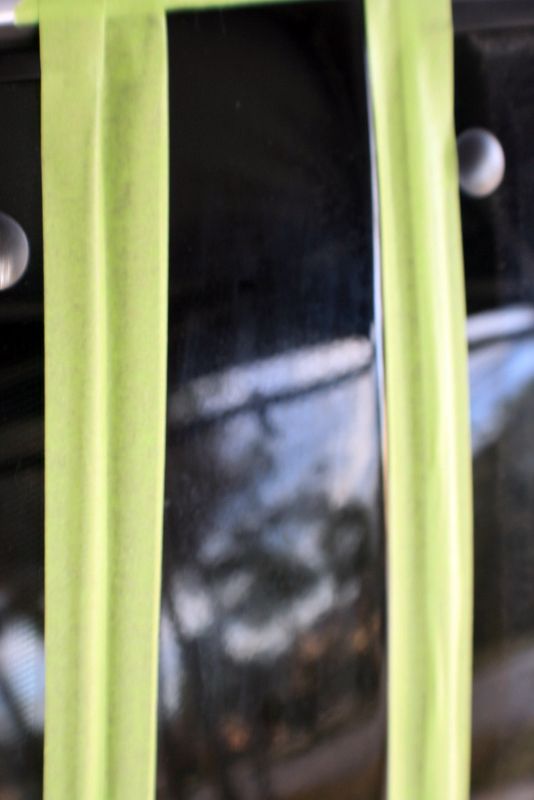
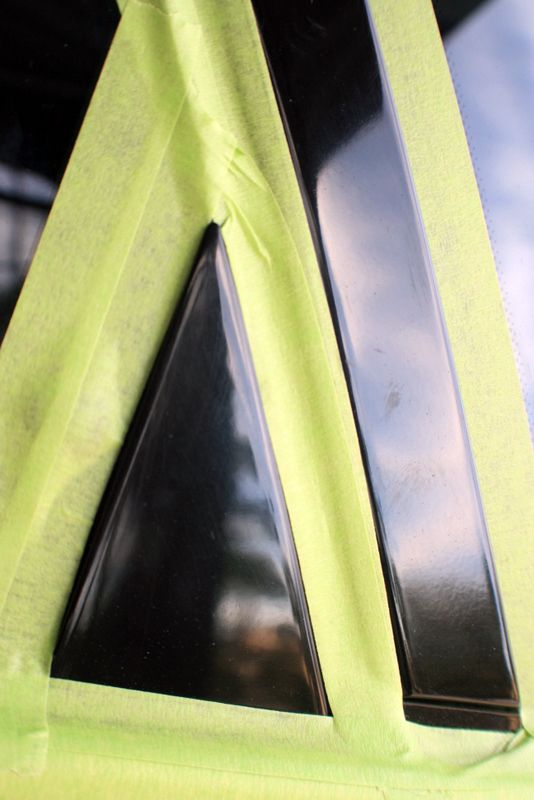
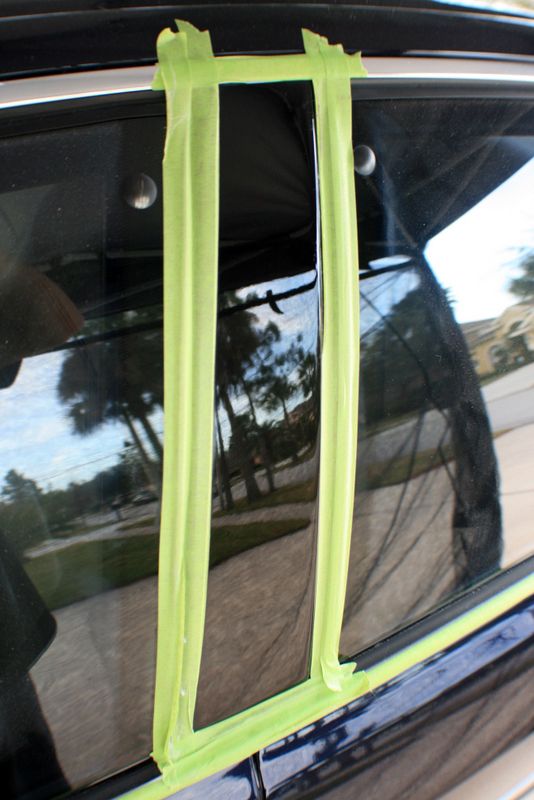
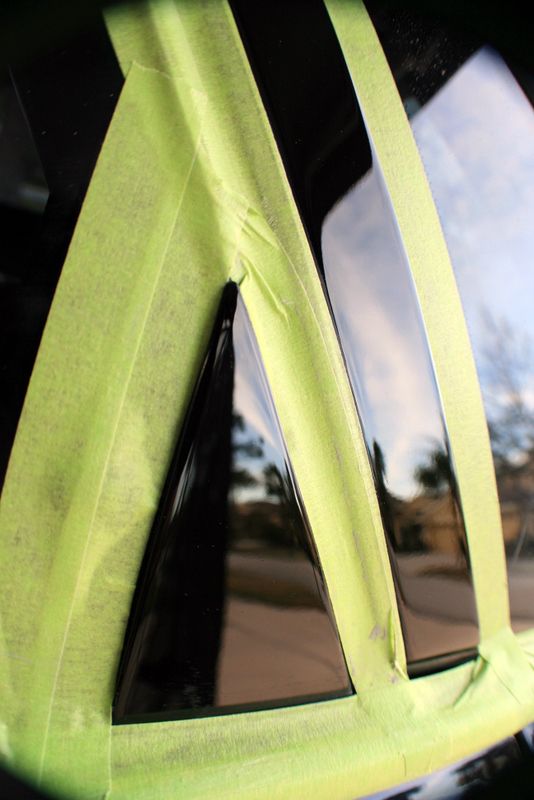
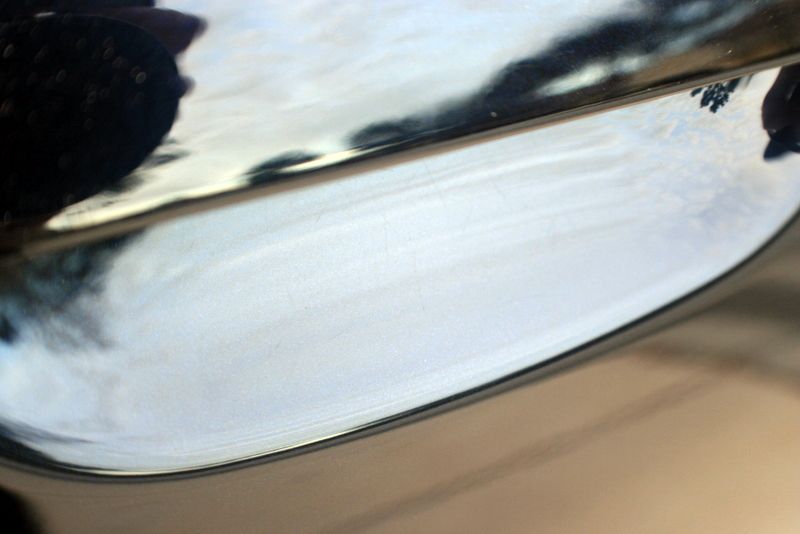
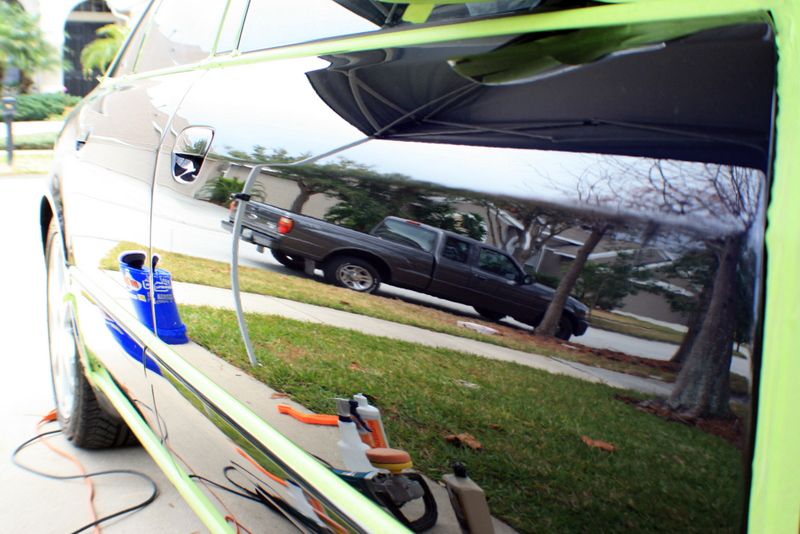
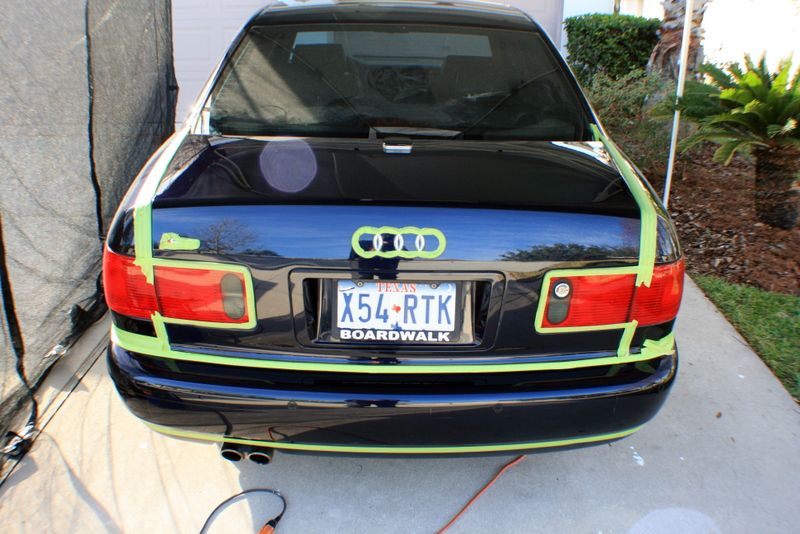
I spent 3 FULL days straight getting this car back into shape. The owner of this car also owns the AC COBRA I detailed, and we went for the full "Presidential" Package on this one! The car wasnt in that bad of condition, it just needed to be polished and touched up in a few areas. There were some pretty significant buffer burns across the hood, rear c-pillars and across the car overall from a previous attempt. I was very happy with the way this one came out, and I have a ton of pictures to show it! haha! Sit back, relax, and ENJOY! :d


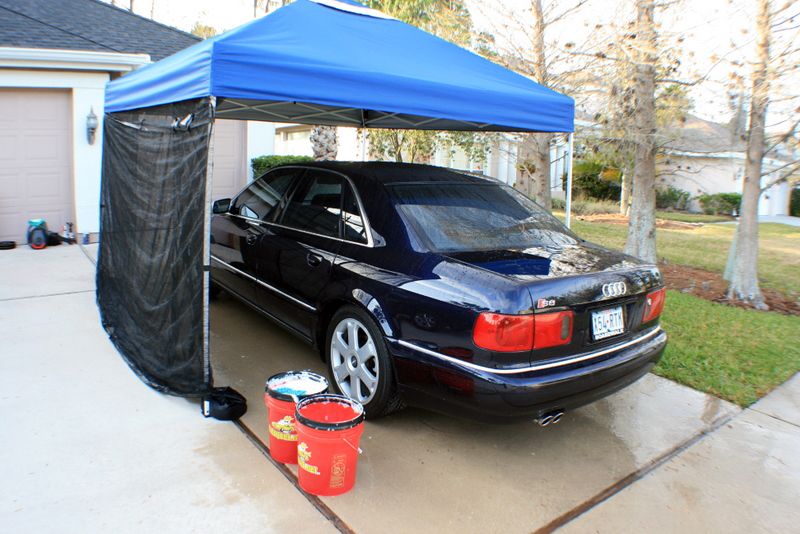
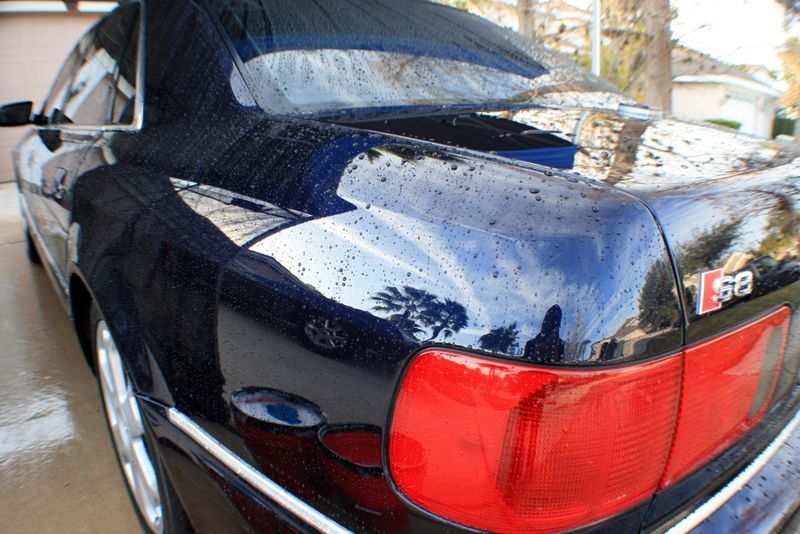
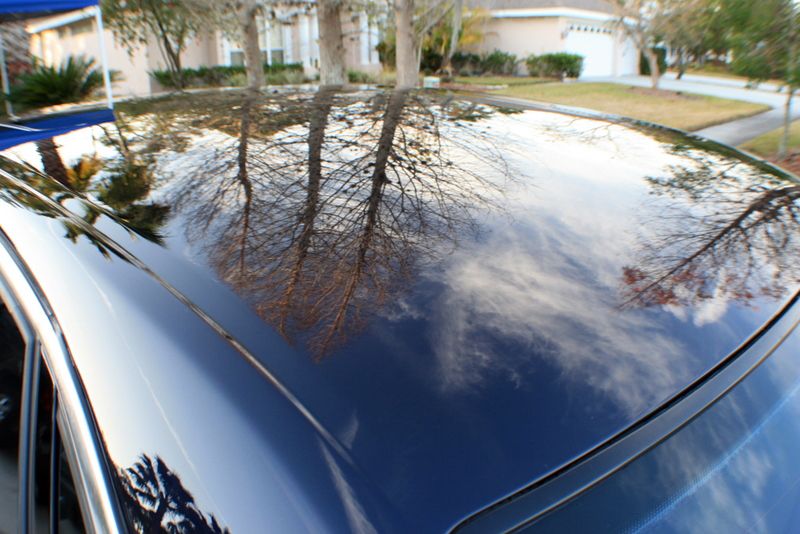
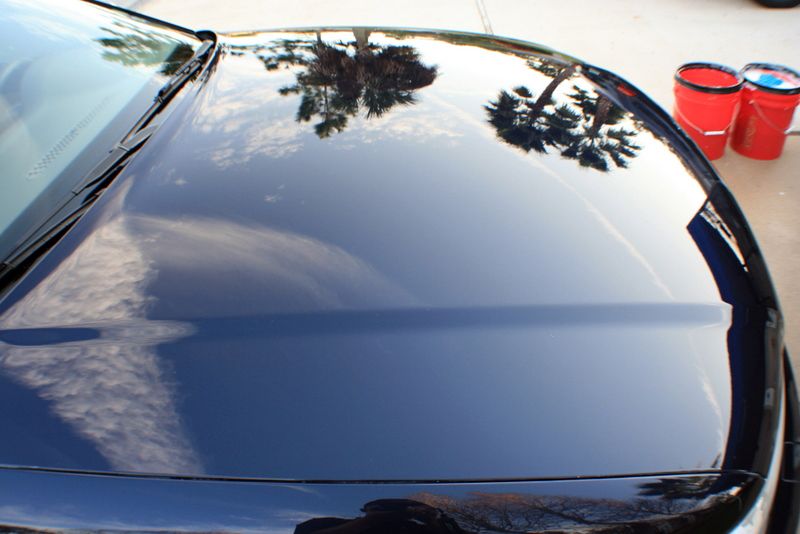
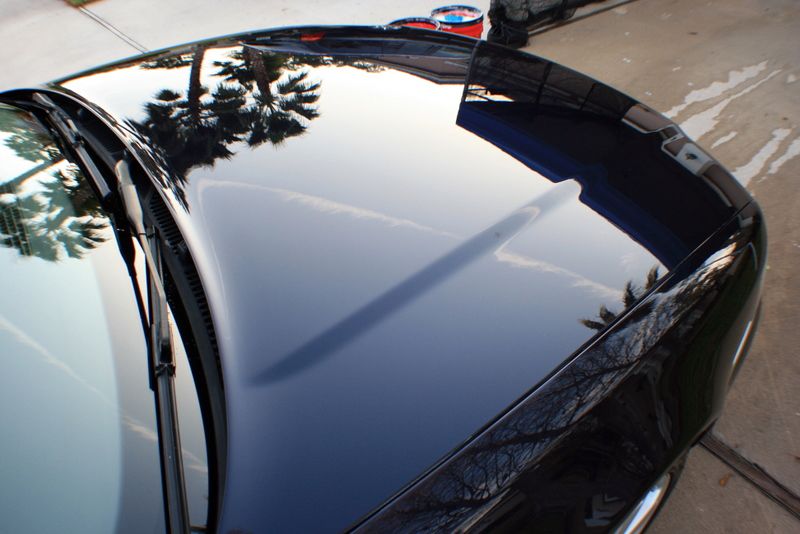
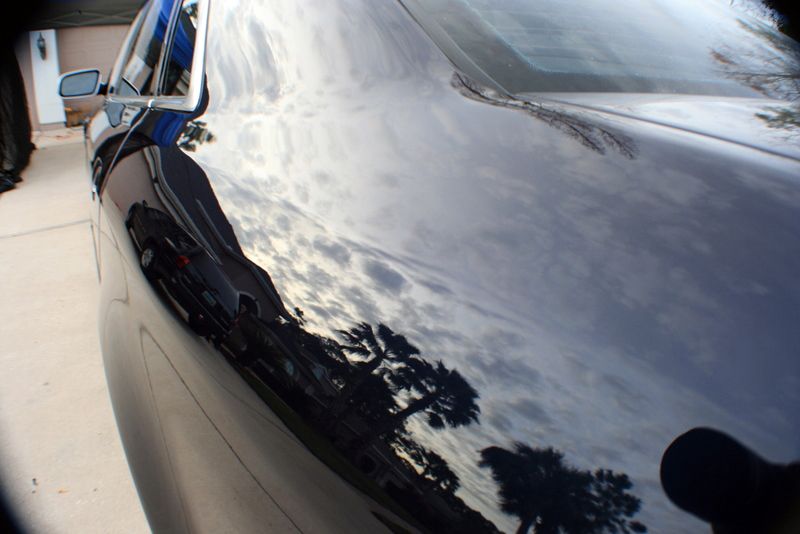
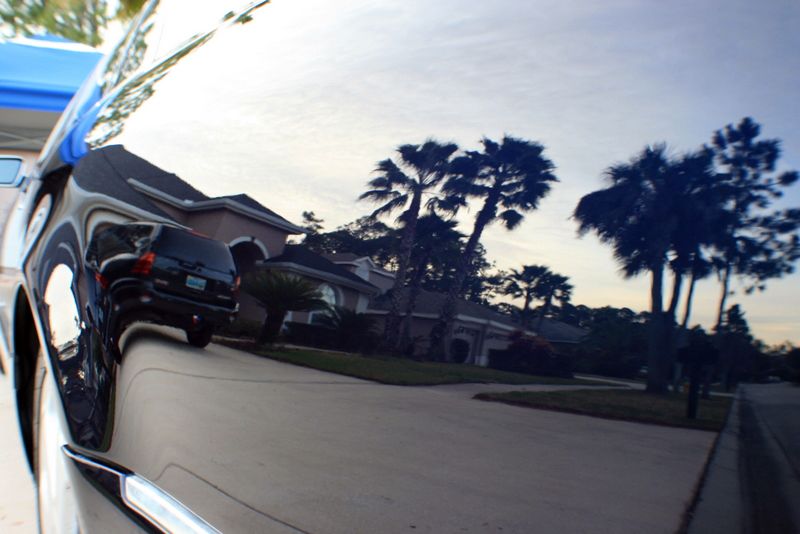
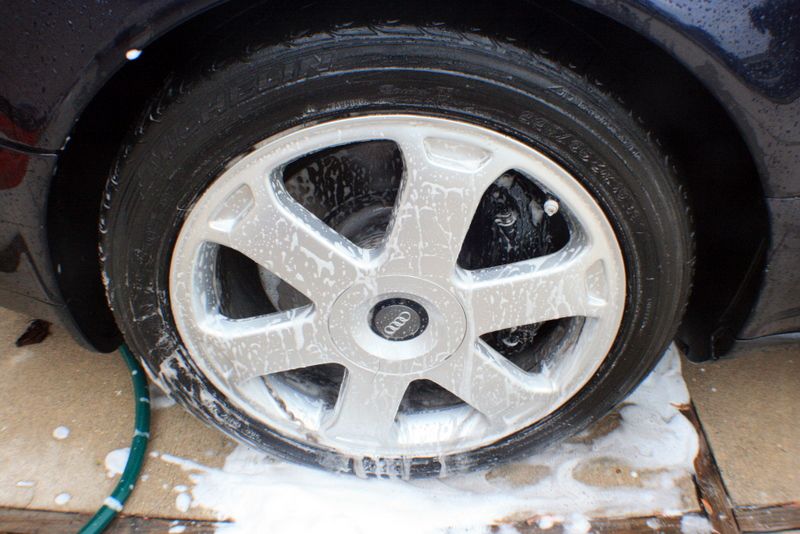
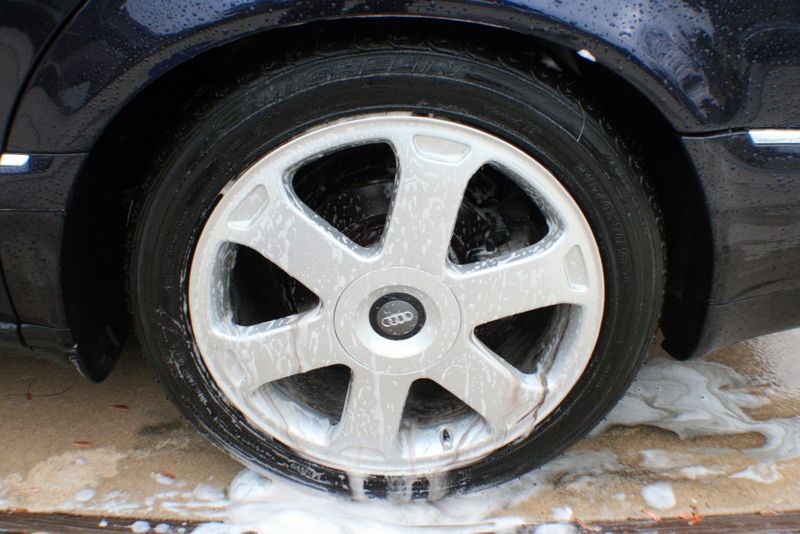
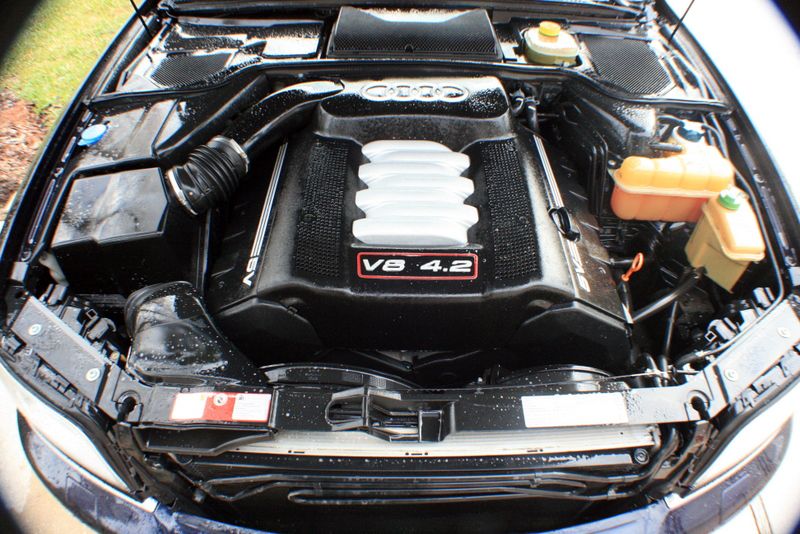
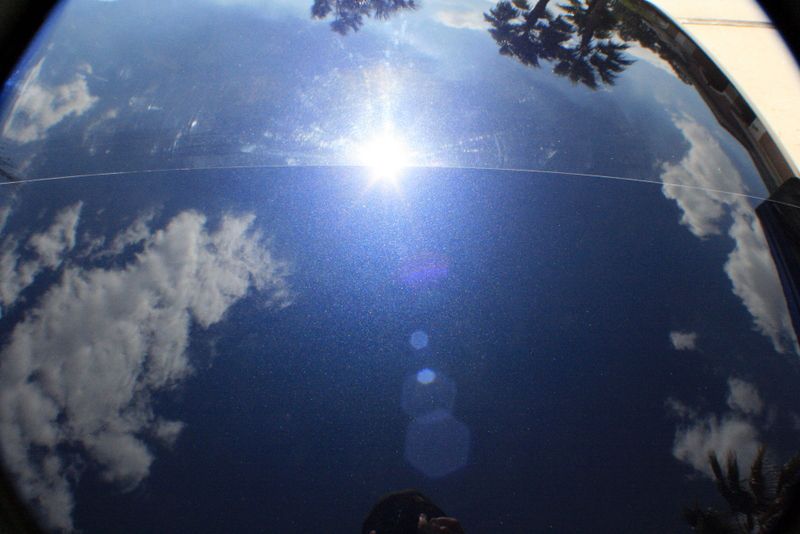
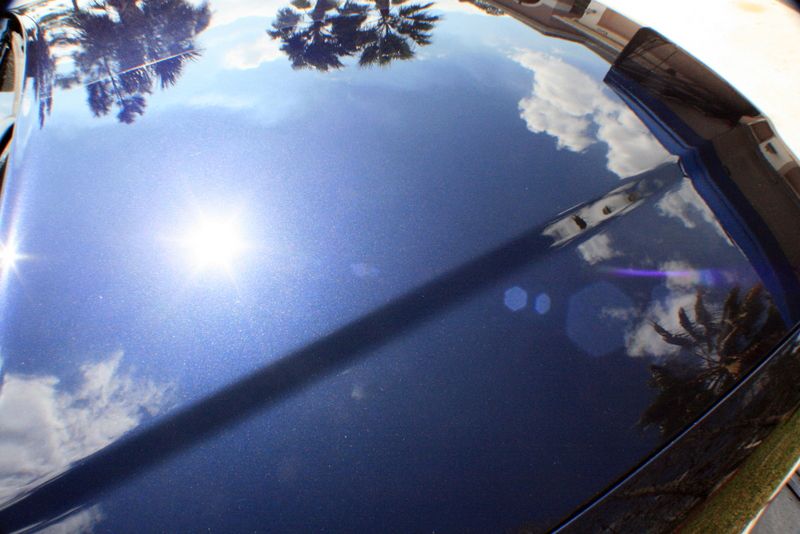
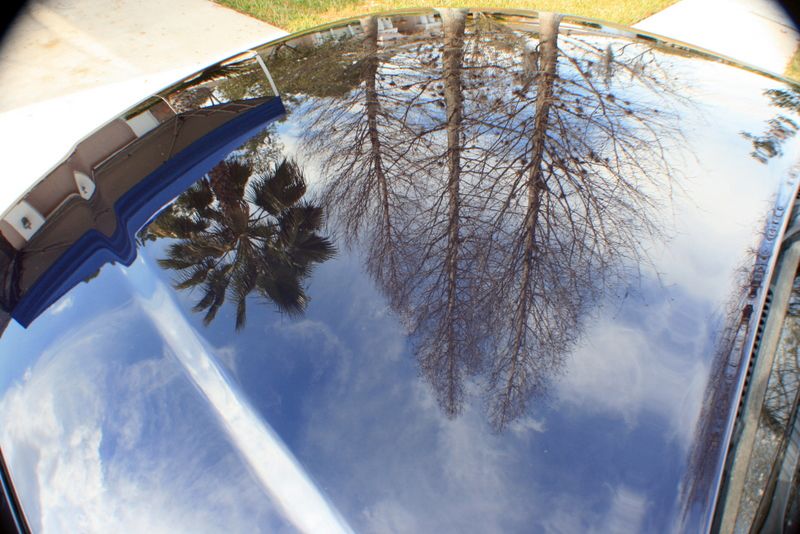
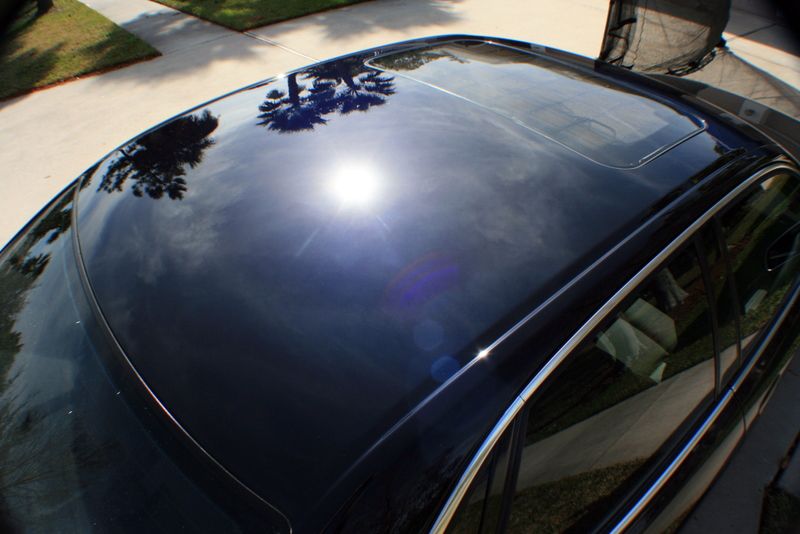
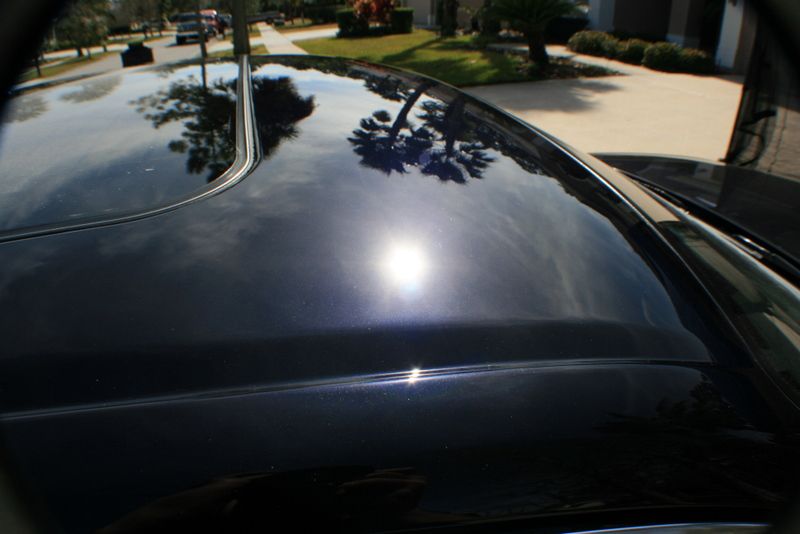
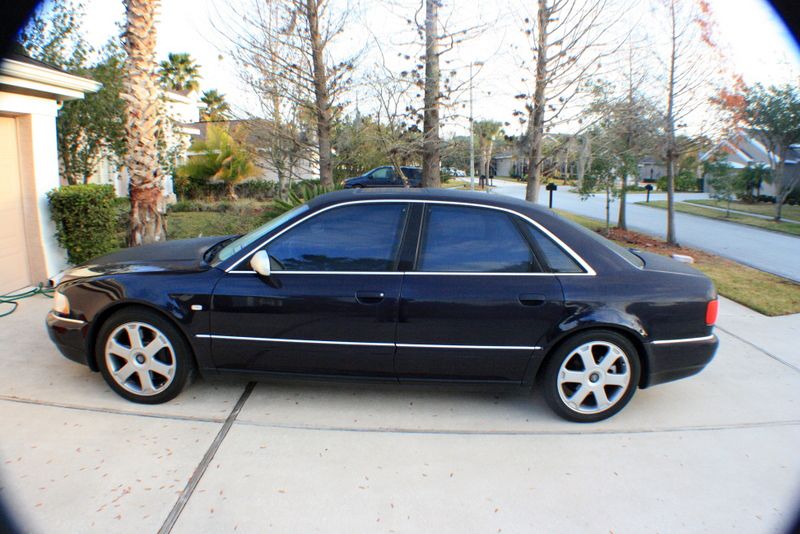
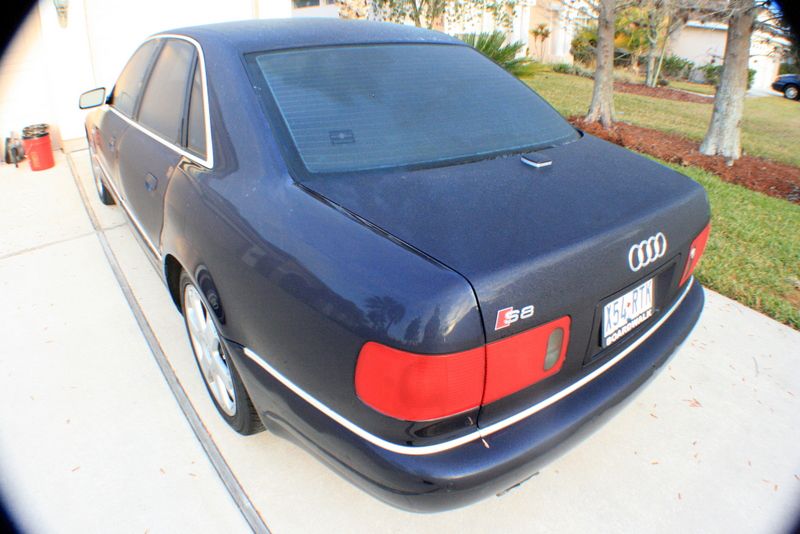
It was 7AM when I started the first day, so there was some dew left on the car..

IMG_7558.jpg


IMG_7559.jpg


IMG_7560.jpg


IMG_7561.jpg


IMG_7562.jpg


IMG_7563.jpg


IMG_7565.jpg
 
I started by washing the wheels, undercarriage, and engine compartment.

IMG_7574.jpg


IMG_7575.jpg


IMG_7576.jpg


IMG_7577.jpg


The engine compartment was in dire need of cleaning.

IMG_7544.jpg


IMG_7545.jpg


IMG_7546.jpg


IMG_7547.jpg


There were even leaves in the TOP hinges!

IMG_7548.jpg


IMG_7549.jpg
 
After the initial wash and clay bar you can see this car needed some work.

IMG_7594.jpg


IMG_7579.jpg


IMG_7580.jpg


Roof.

IMG_7581.jpg


IMG_7582.jpg


If you look closely there are some bad buffer burns in this area.

IMG_7584.jpg


IMG_7586.jpg


IMG_7587.jpg


IMG_7588.jpg


IMG_7589.jpg
 
So I did a little testing and once again M105 pulls it off! I used M105/yellow wool for one pass to remove the harsher defects, then follow with a couple more passes using M105 on a PFW pad. This came out fantastic, I would say a 99% correction, there were only a few RIDs left throughout the whole car.


IMG_7603.jpg


IMG_7605.jpg


IMG_7606.jpg


IMG_7614.jpg


IMG_7607.jpg


The hood completed after M105/SIP/3M UF

IMG_7626.jpg


Fenders completed.

IMG_7639.jpg


IMG_7640.jpg


IMG_7645.jpg
 
Due to having to work outside I changed up my routine for this one, I did the entire front half of the car (polish/seal/wax) and then moved to the roof, then each side(doors), then I work on the rear section. This was to prevent me from having to repolish before applying LSP since the car was left outside each night, and I would only have to re-wash the car once finished.


Here is the car taped off to completely polish each trim peice as well as the front bumper.

IMG_7653.jpg


This was the condition of the front bumper before I started.

IMG_7646.jpg


After all said and done on the front half.

IMG_7617.jpg


IMG_7634.jpg


IMG_7660.jpg


IMG_7661.jpg


IMG_7665.jpg


IMG_7681.jpg


IMG_7682.jpg


IMG_7690.jpg


IMG_7696.jpg
 
To start day two I chose to work on the roof and ended up completing both the roof and the entire driver side.


My work environment, this thing made what would have been hell a much nicer place to work in the Florida Heat!

IMG_7703.jpg


I made sure to tape off anything that I didnt want the buffer to touch..

IMG_7697.jpg


This is after compounding and SIP/Orange

IMG_7698.jpg


IMG_7699.jpg


IMG_7706.jpg


IMG_7709.jpg


The roof completed and in the FL sun! BTW, the white lines that look like a hologram are actually plane tracers.

IMG_7712.jpg


IMG_7713.jpg


The drivers rear quarter panel 50/50.

IMG_7715.jpg


And completed.

IMG_7716.jpg
 
I then proceeded to tape off the pillars as they were painted black and needed some work also. This was completed for both sides although I only picture one.


IMG_7593.jpg


Here you can even see some hard water and how dull the finish looks.

IMG_7718.jpg


IMG_7720.jpg


After M105/PFW and SIP/Orange

IMG_7721.jpg


IMG_7724.jpg


I also gave under the door handles a bit of attention since they had been lightly scratched from finger nails, etc.


Before.

IMG_7738.jpg


After M105 on a green foam finger pad.

IMG_7740.jpg
 
On the third day, the passenger side of the car and the rear portion of the car were completed.

IMG_7769.jpg


IMG_7786.jpg


IMG_7588.jpg


The trunk was the worst section of the car requiring a bit more work.

IMG_7775.jpg


IMG_7778.jpg


After. You can see how well the flake comes out at you here..

IMG_7776.jpg


The exhaust was also treated to some Adams Metal Polish. I did the best I could without being able to take it off the car.

Before.

IMG_7561.jpg


After.

IMG_7800.jpg
 
Now finally finished and sealed with a coat of Optimum Opti-Seal as well as two coats of Dodo Juice Supernatural.


The final wash. Just to note, I did remove ALL the polish residue/build up after taking some of the shots. I was fighting for daylight and had to take pictures first. ;)

IMG_7791.jpg


IMG_7792.jpg


IMG_7793.jpg


IMG_7794.jpg


IMG_7796.jpg


IMG_7797.jpg


IMG_7798.jpg


IMG_7799.jpg


IMG_7801.jpg


IMG_7802.jpg


IMG_7803.jpg
 
thing is crazy. can def tell u put a lot of work into it - which it surely needed.

hot florida sun eh? i'd cry for u but my tears would freeze :lol

still hoping to stop by on the way down to get a quick wash - 1300miles will surely leave my car ugly :(
 
This is by far one of the finest full correction jobs I have seen in a long while! The 50/50 shots are awesome and you could really tell the true deep navy finish came through in the end. Superb correction work on every inch of that Audi.

:wow:
 
That puppy came out awesome. The car is dk blue, right? I can't quite tell.


You use the wide angle lense nicely in a couple of the shots. I really like the two shots of the canopy reflecting on the hood...very dramatic.


I hope y'all are charging enough for heroic efforts of this caliber. The owner must have stained his shorts! Looks great!
 
Back
Top