Garry Dean
Garry Dean Quality!
Three weeks ago I received a phone call from a gentleman who was browsing Autopia.org looking for a detailer in his area.
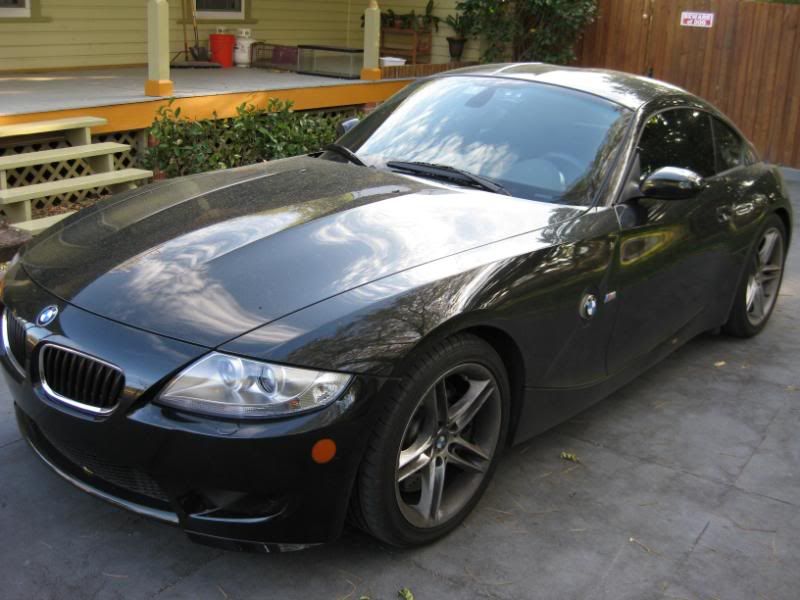
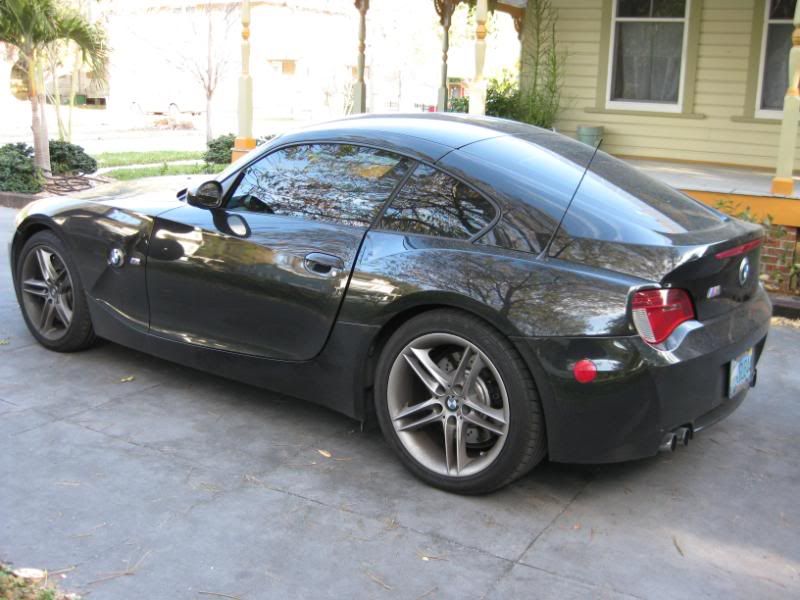
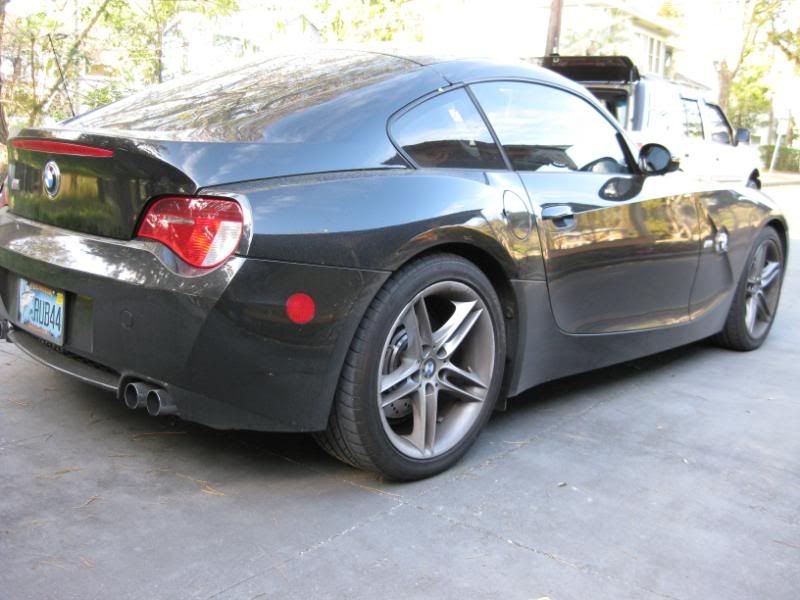
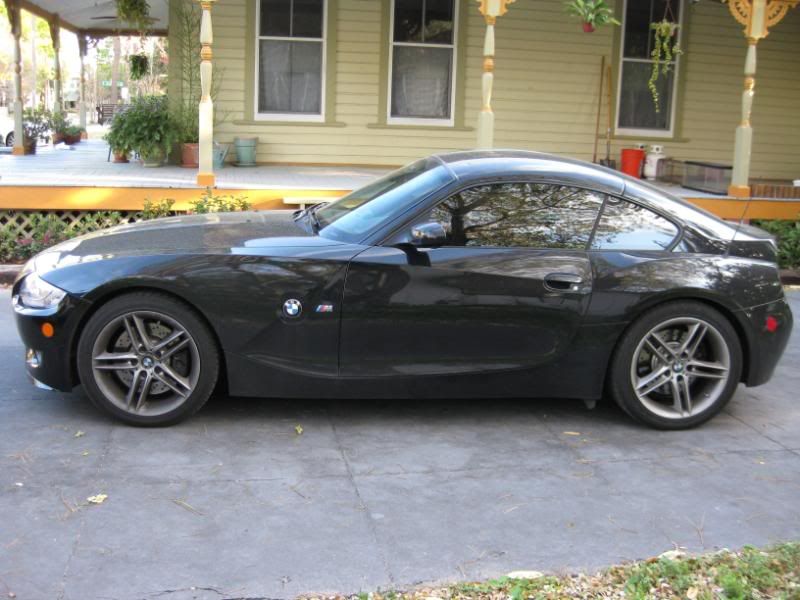
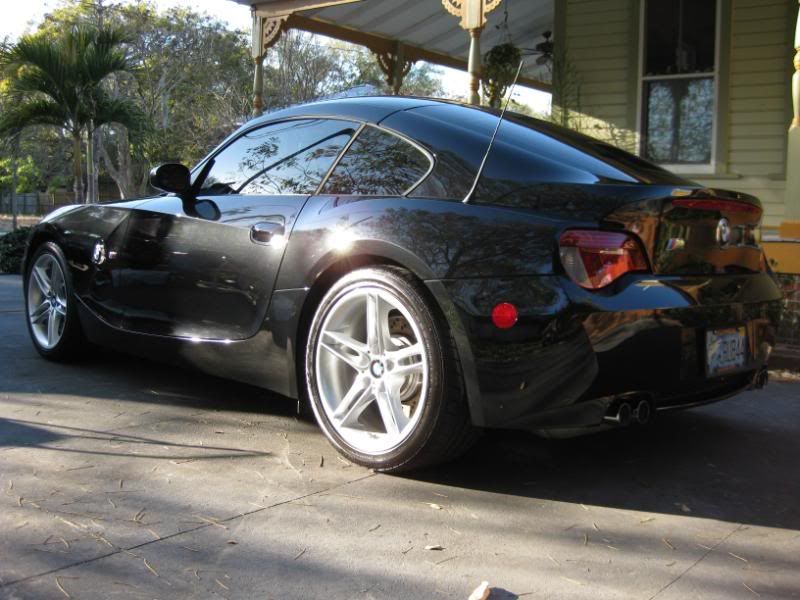
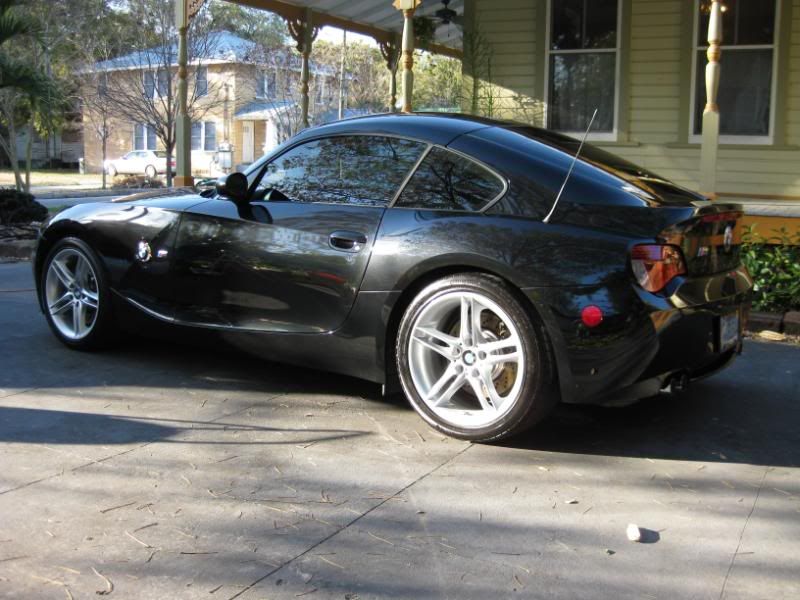
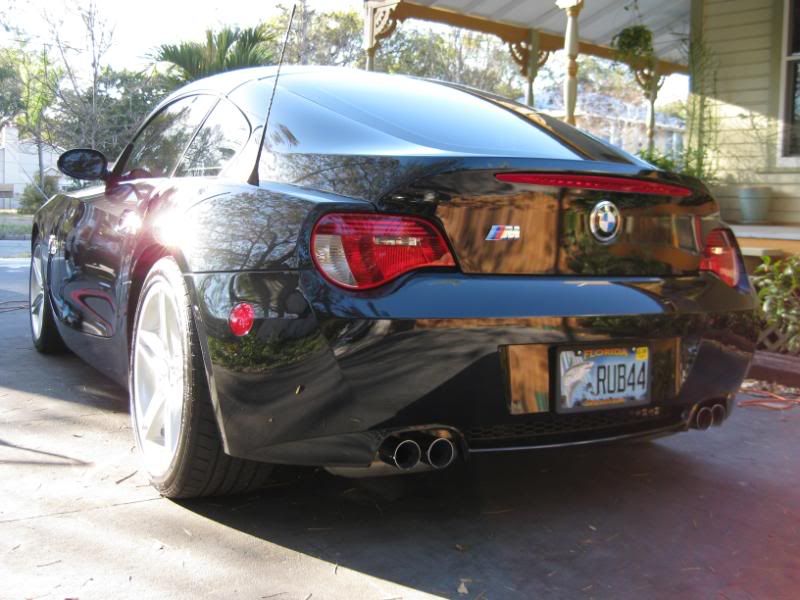
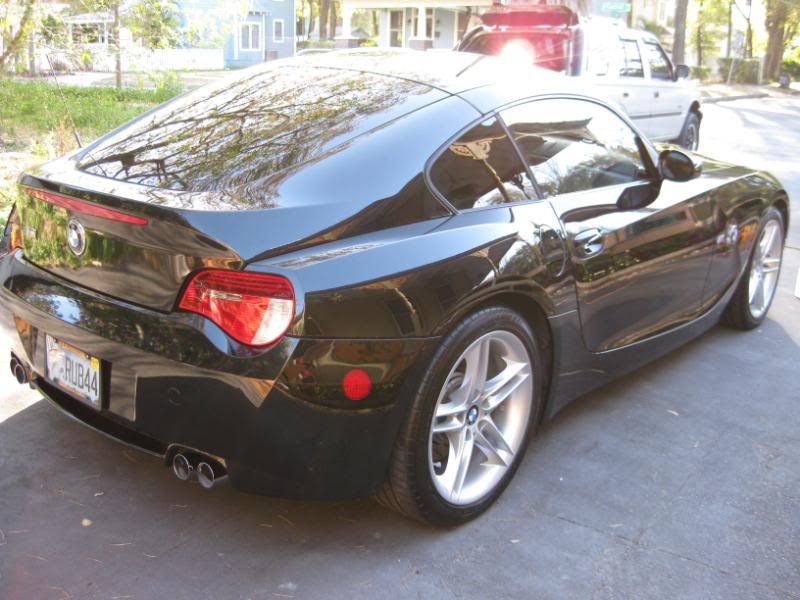
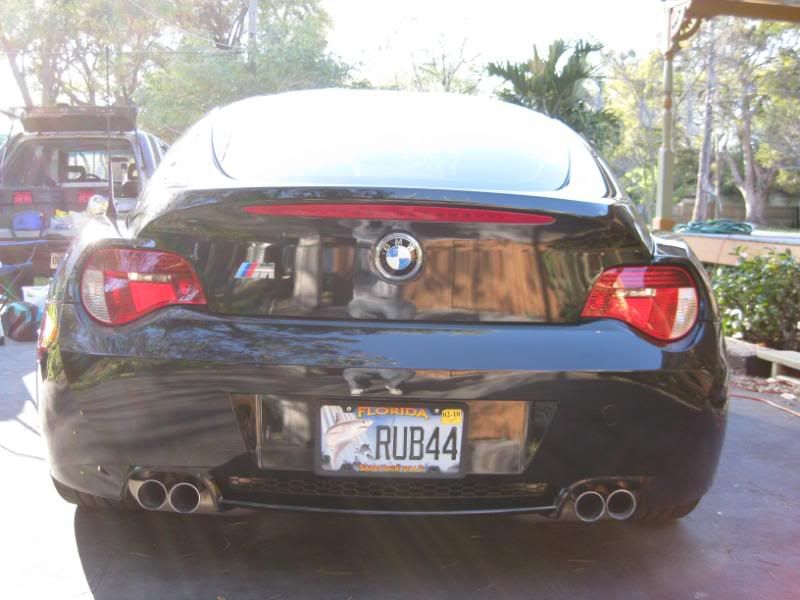
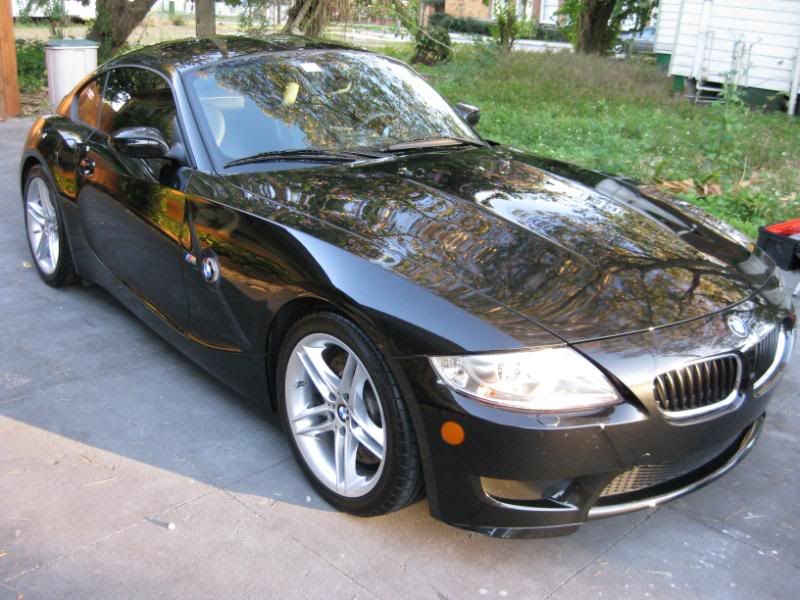
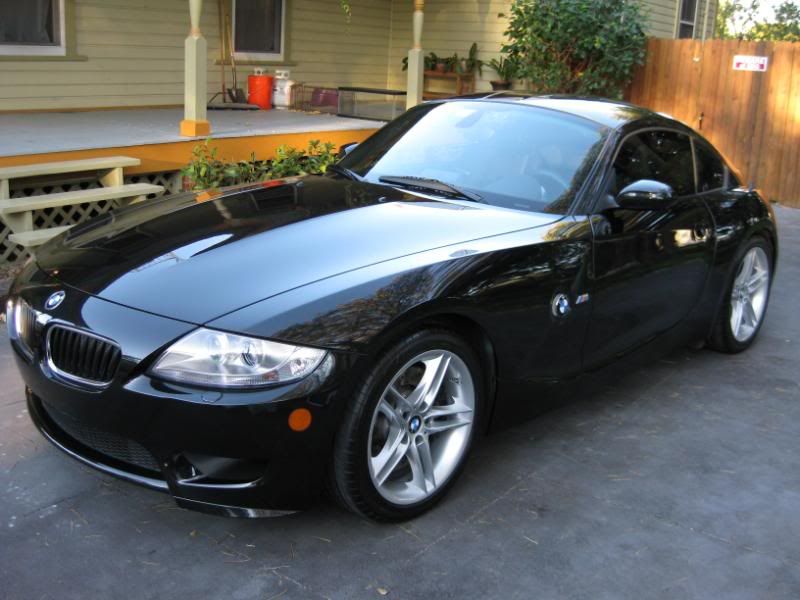
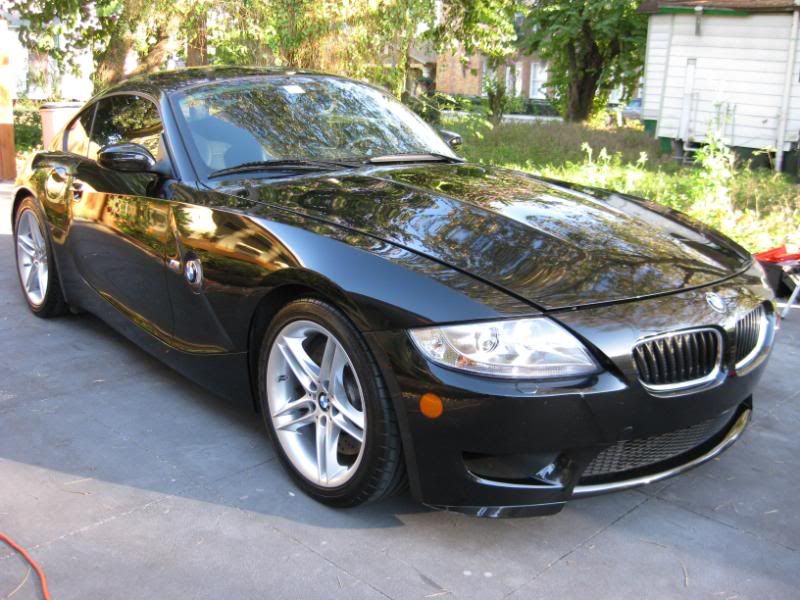
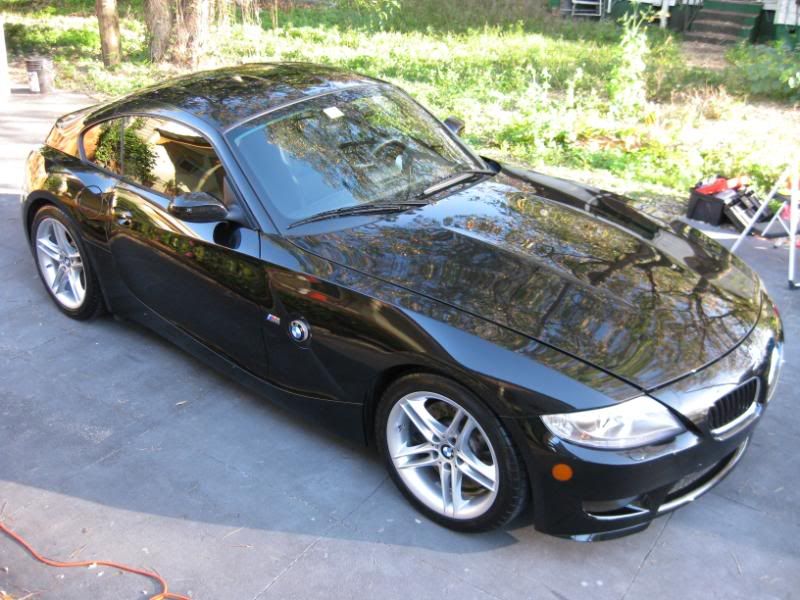
His vehicle is a 2007 Black Sapphire Metallic BMW M Coupe, with a 330hp 3.2L DOHC 24 valve inline 6 cylinder engine and a 6 speed manual transmission with a heavy duty clutch. This thing screams excitement!
The vehicle sits outside regularly and was exposed to a hail storm last winter. He had covered the vehicle with something that left behind some severe scratches. In his efforts to have the scratches repaired he tried his luck at a body shop locally. So he took it in and spent the money to have the scratches removed, but that deal went sour. The body shop returned the car with most of the scratches still on the hood and of course, very severe holograms.
This car was really fun to work on. I really enjoyed it. It took 10 hours from start to finish. At the end of the day the owner came out to inspect my work and said “what a long hard day at work, huh?” I told him that long and hard days at work are relative to your passion for the work you do and that this 10 hour day was an easy one.
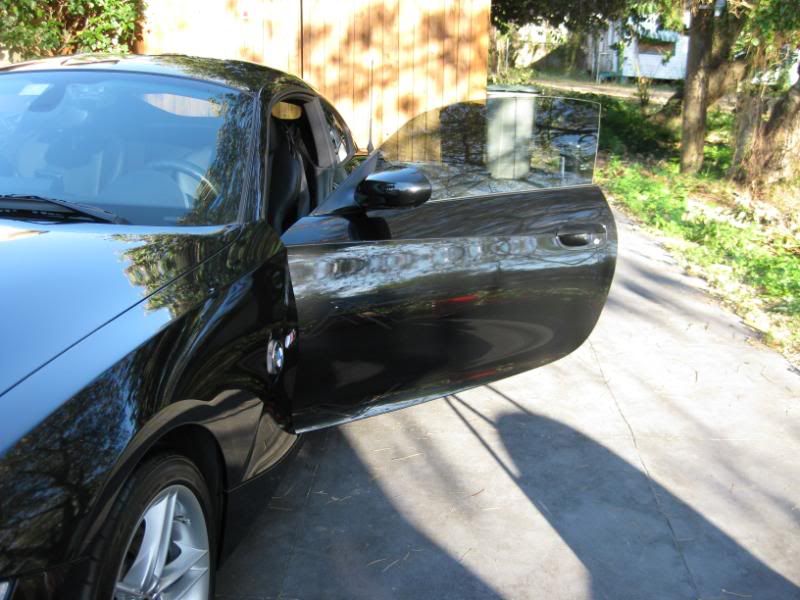
Now on to the detail! I didn’t get any pics of the scratches themselves unfortunately, but you can see the sanding spots. Enjoy!
Interior:
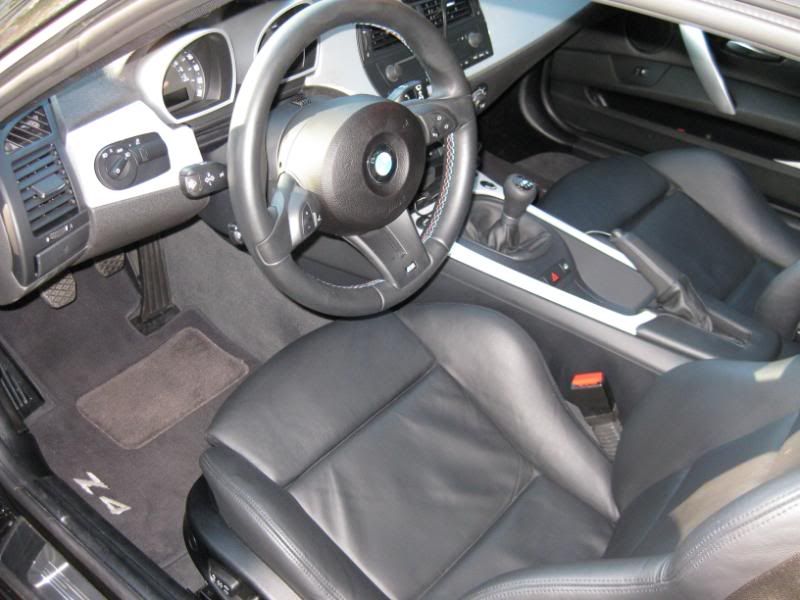
* Rigid 5hp portable shop vac
* Stoner Invisible Glass
* Woolite/water mix as cleaner on leather seats
* Optimum Protectant Plus (all plastic panels, dash and leather seats)
Engine:
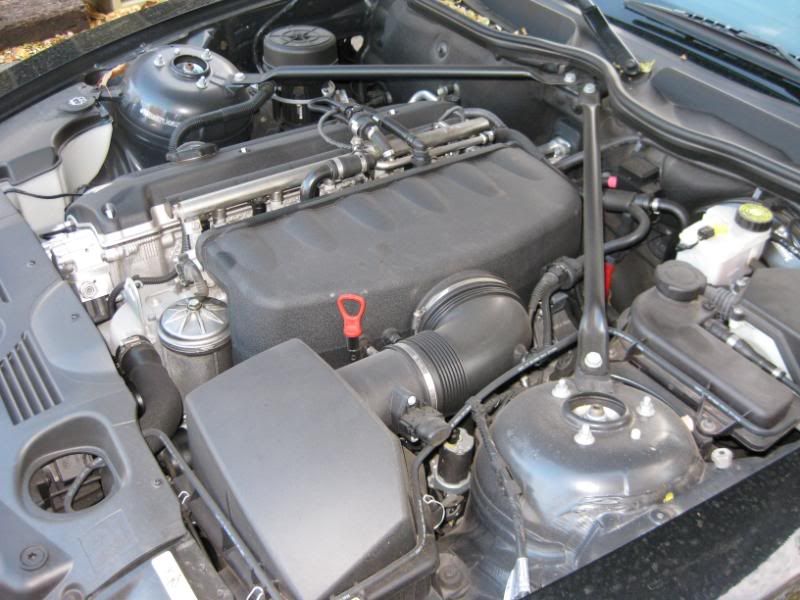
* Greased Lightning diluted 3/1
* I didn’t dress the engine because this is a daily driver
Wheels and tires:
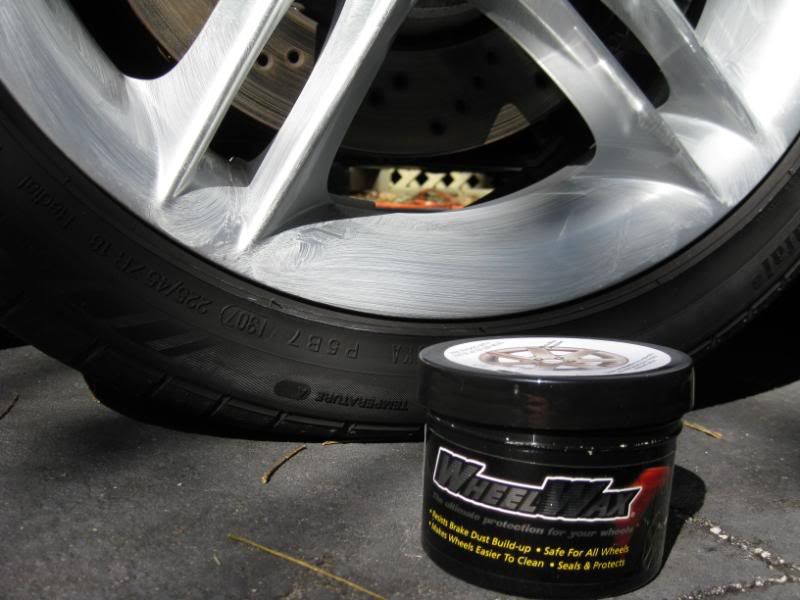
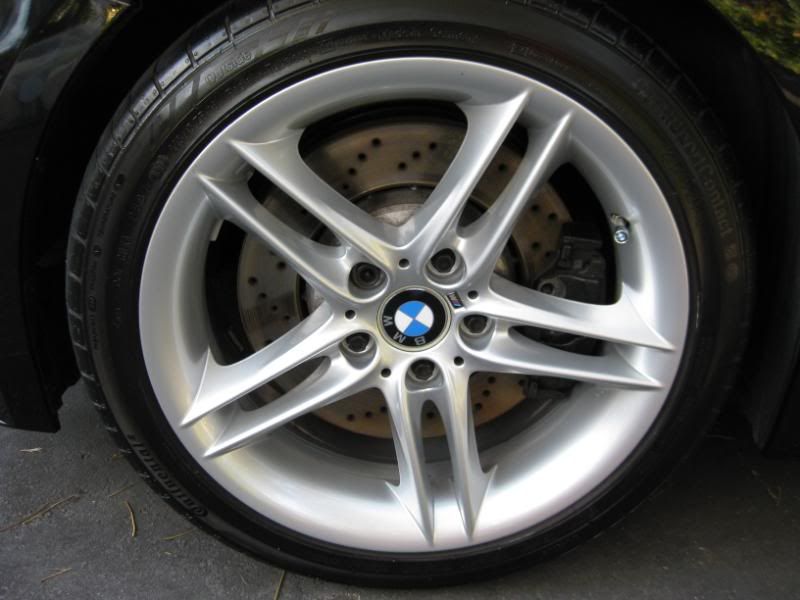
* Eagle One A2Z wheel cleaner
* EZ Detail brush
* Carrand lug nut brush
* Various other brushes and microfiber gloves for tires and wheels
* Wheel wax
* Meguiars Endurance Tire Gel
Exterior process:
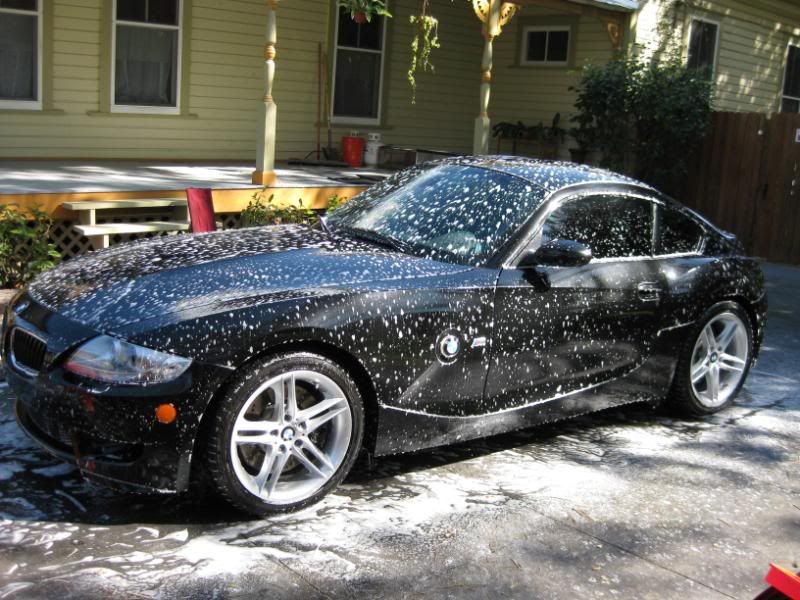
* Dawn presoak for 5 minutes via Vroom soap sprayer
* Dawn wash via micriofiber wash sponge
* Dry with the Absorber
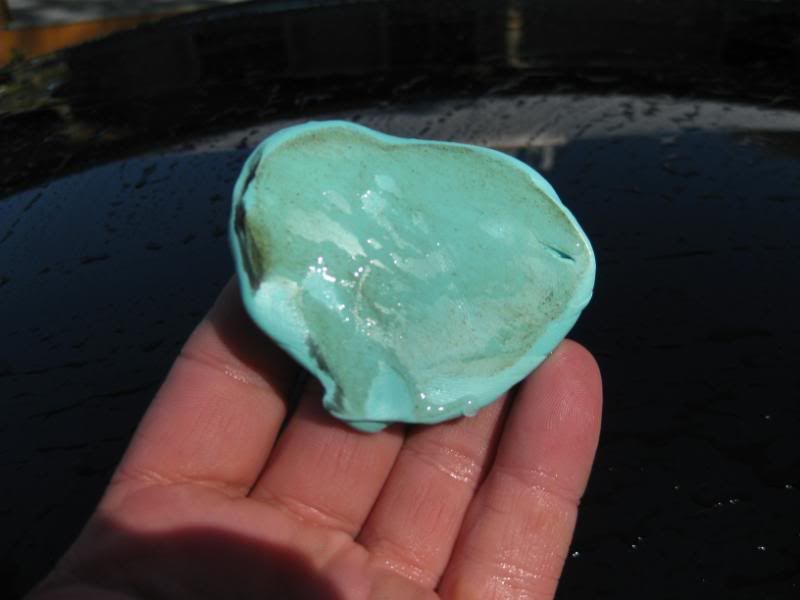
* Clay bar with Pinnacle Ultra Poly Clay 2 (this stuff is awesome!)
and ONR and water mix as clay lube
* Dry with the Absorber
Hood scratches and hologram removal on hood:
* Scratches were all wet sanded via 3M 2000 grit until leveled
* All wet sanding marks were polished out with M105 and LC purple foamed wool via Makita Rotary @ 1500rpm
* I then broke out my G110 and Meguiars D151 with a LC white pad and polished the entire car.
LSP:
* Duragloss Bonding agent #601 was applied to the entire car to promote adhesion
* Duragloss Total Performance Polish #105 was then applied and removed one panel at a time as the LSP to give these flakes something to pop about.
Now for some pics!
Before


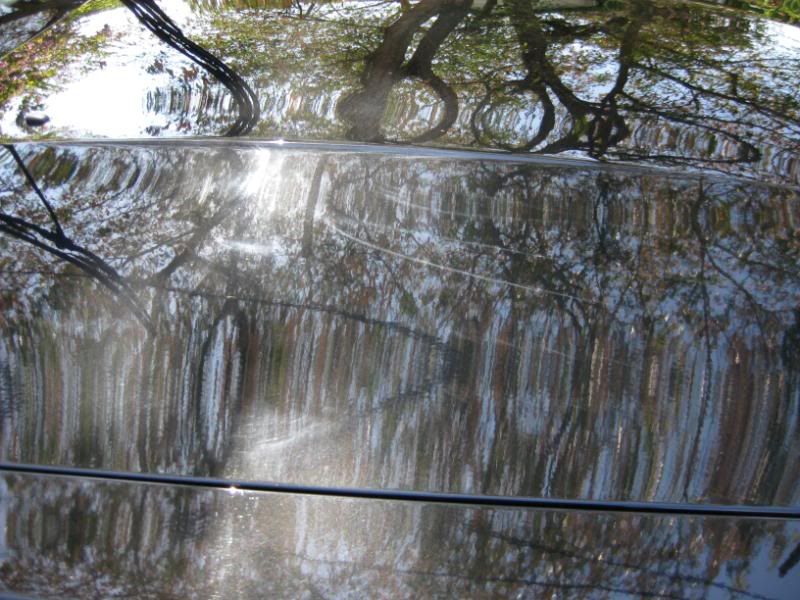
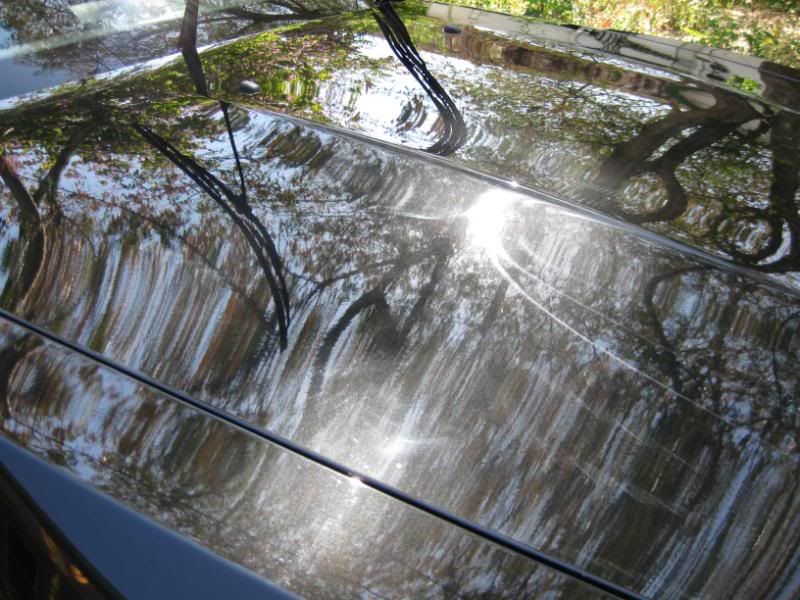
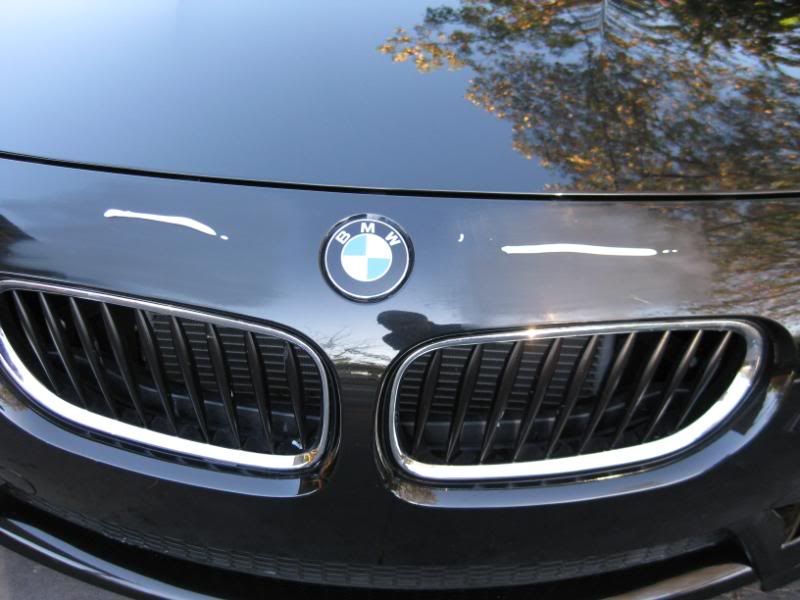
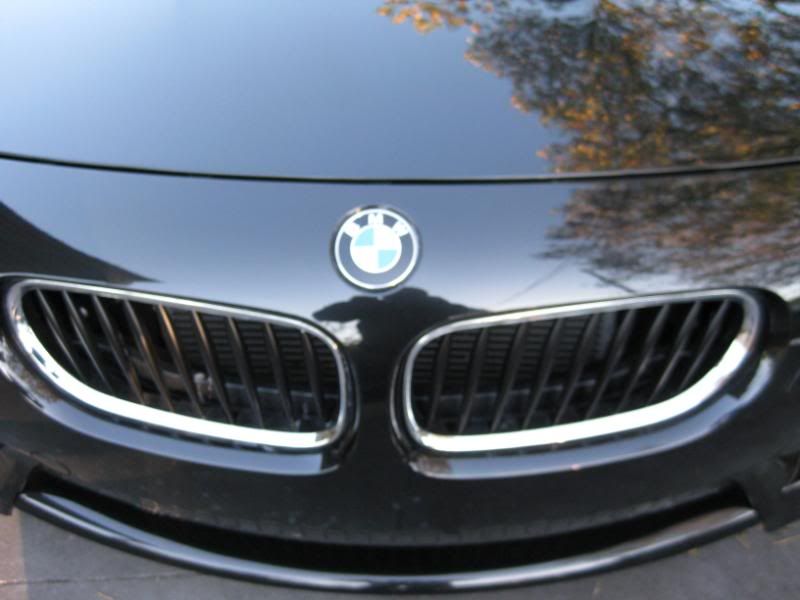
Here are some pics of the severe hologramming
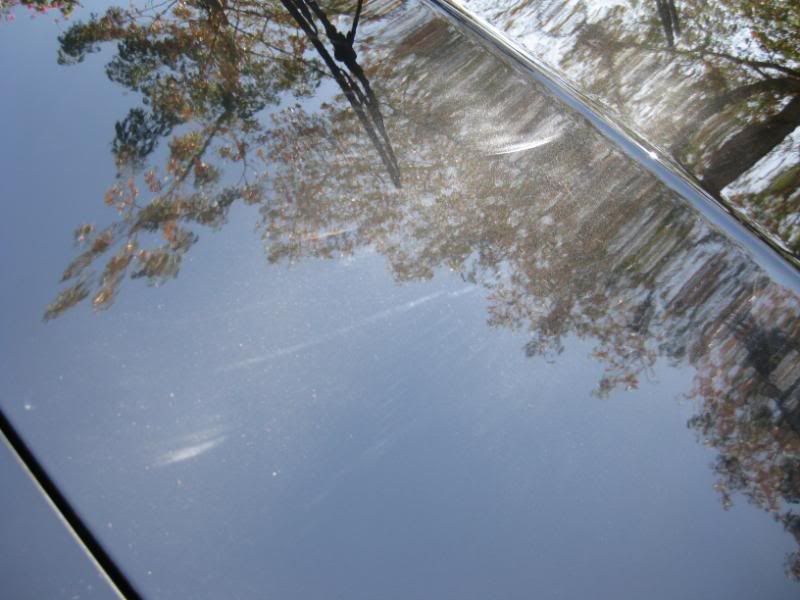
Dawn presoak
Clay (This is just from one 2x2 section on the roof)
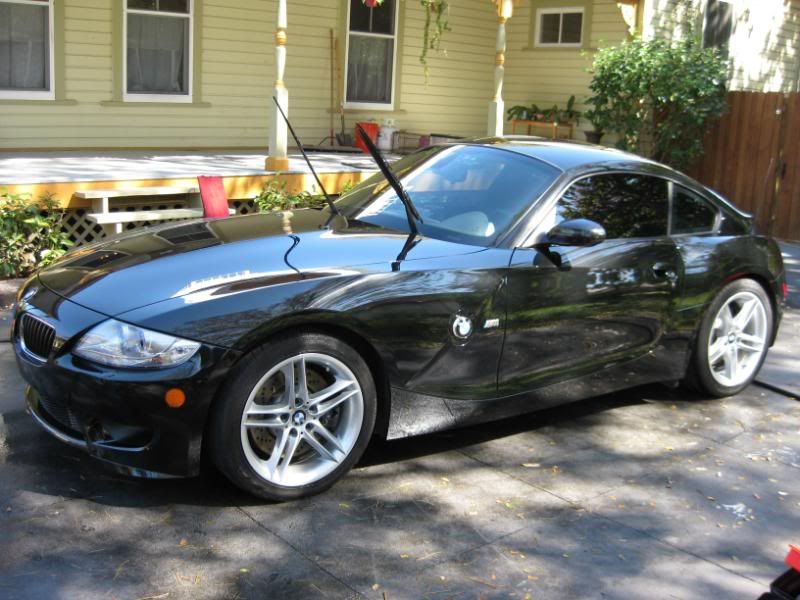
After wash and clay
Engine before and after

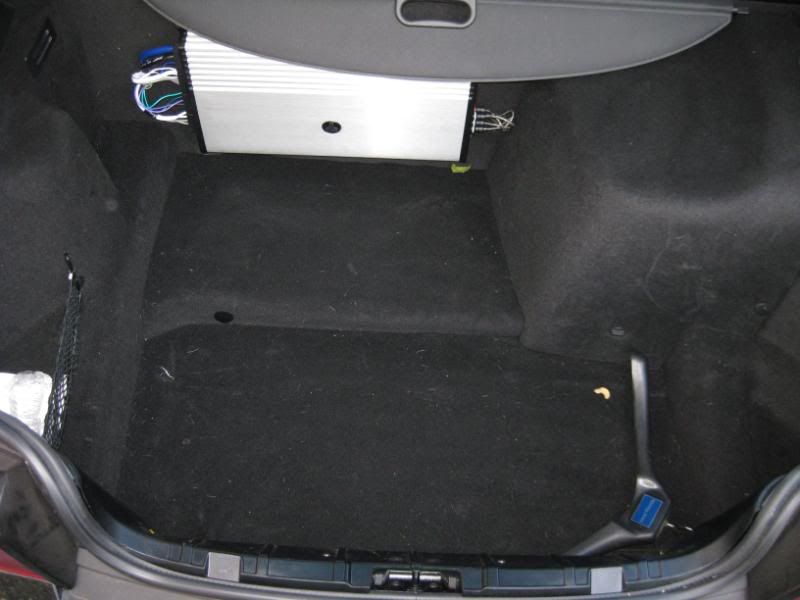
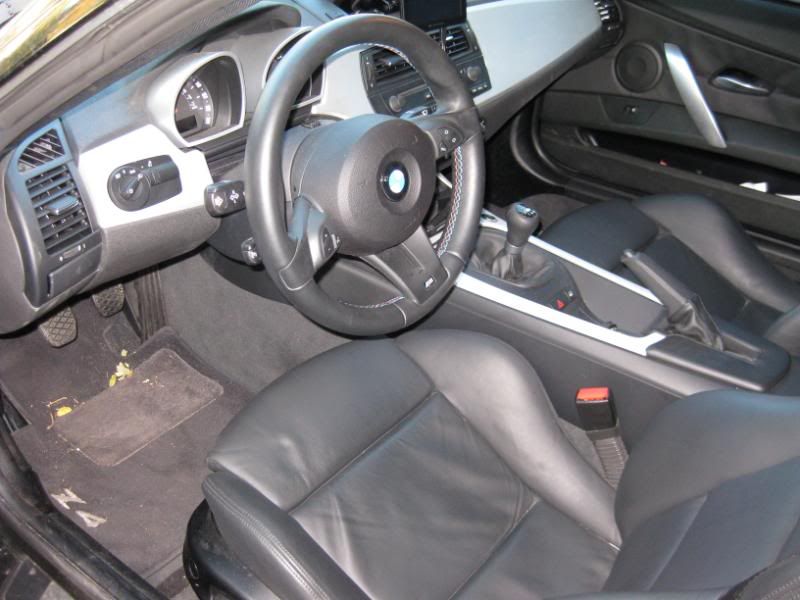
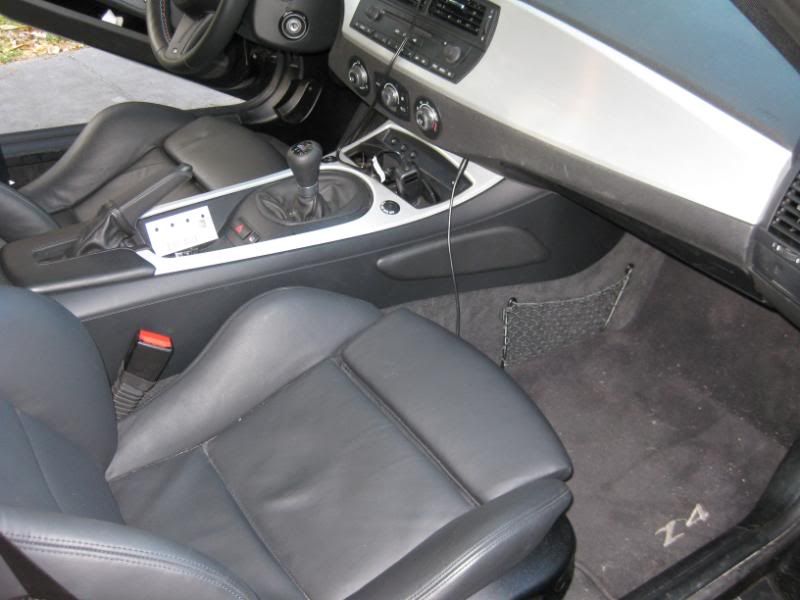
Interior after
Wheels during and after
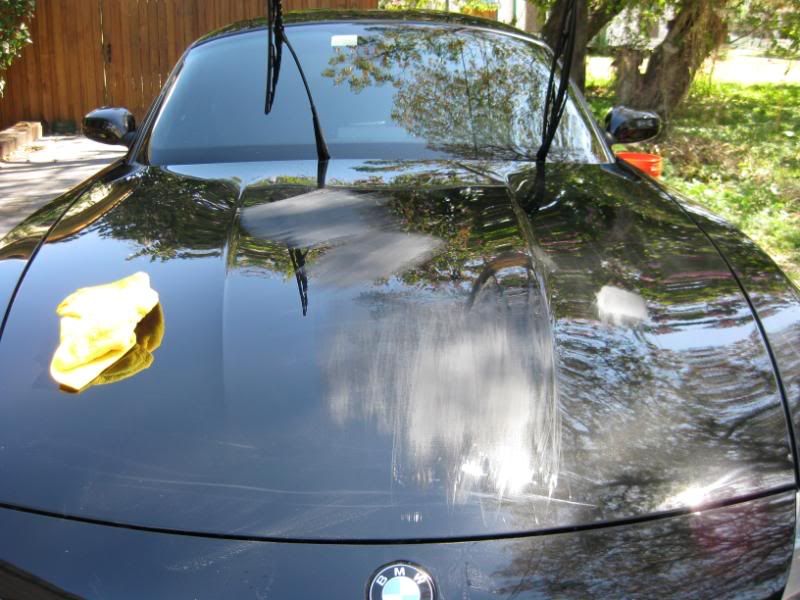
Fixing scratches on hood
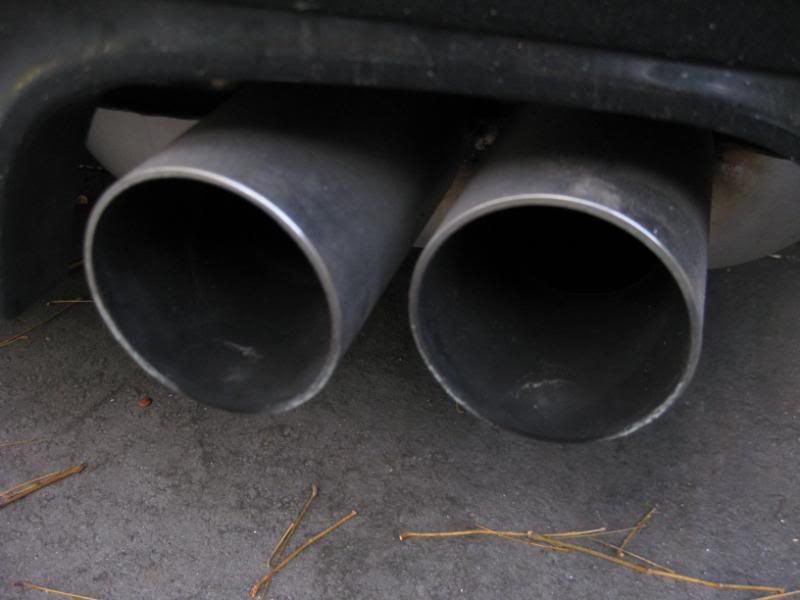
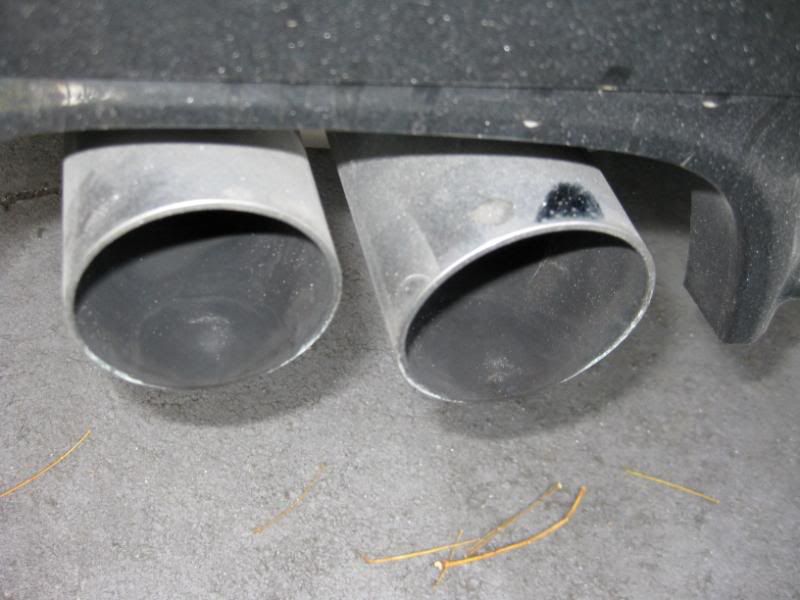
Front bumper after M105
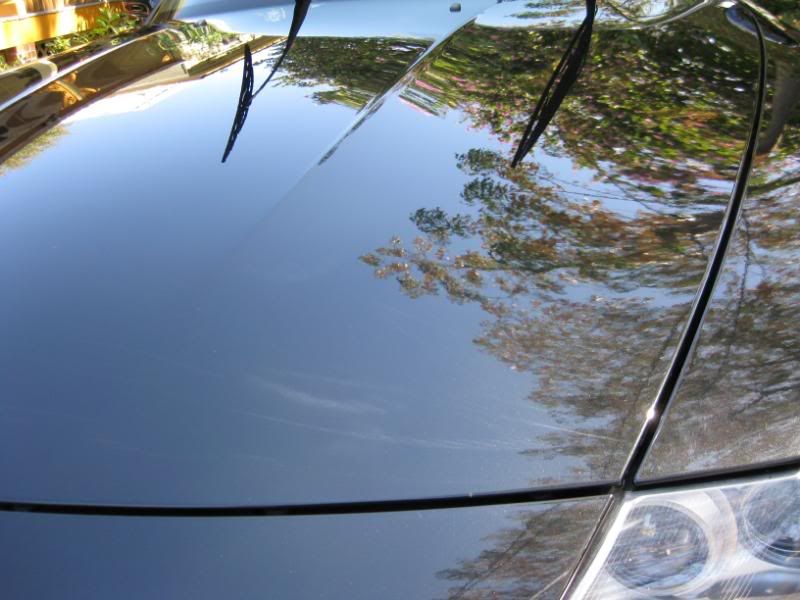
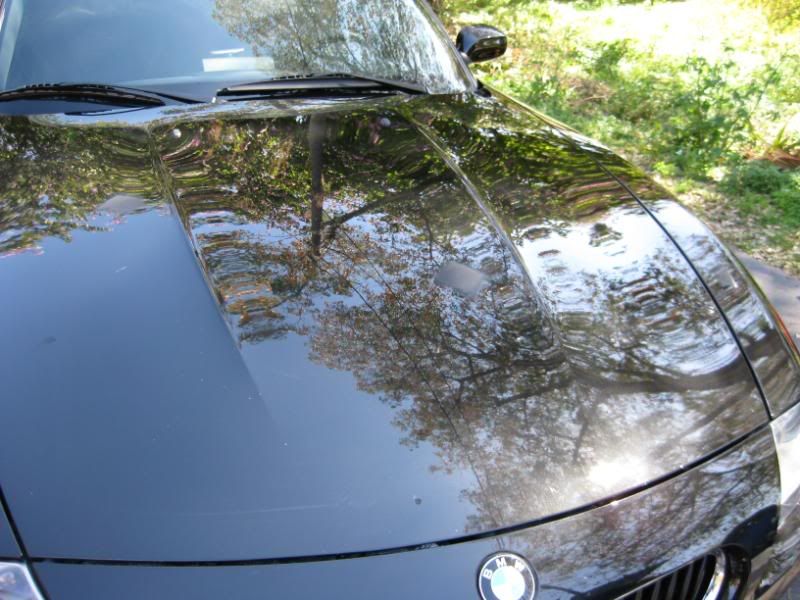
Hood – It seemed like every time I thought I had all of the scratches out I found more! Grrr!!!
After all of the sanding marks were removed via M105 and pfw
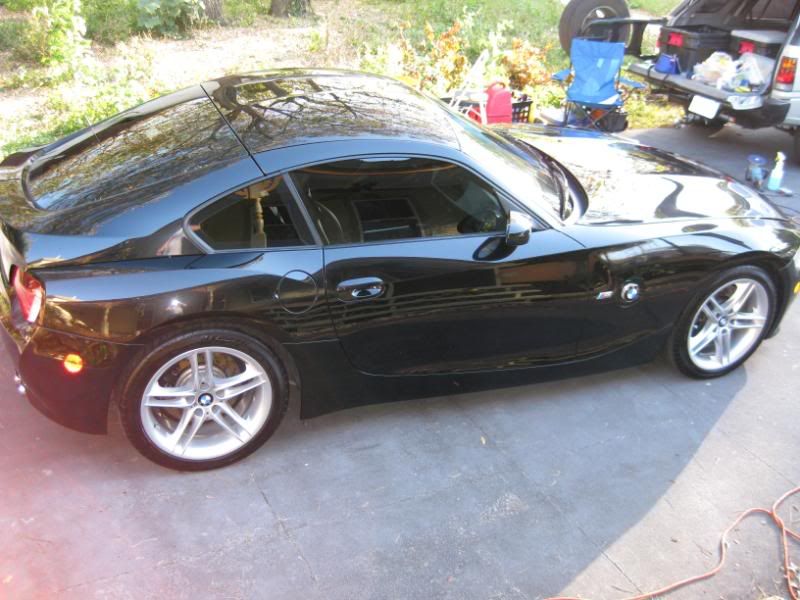
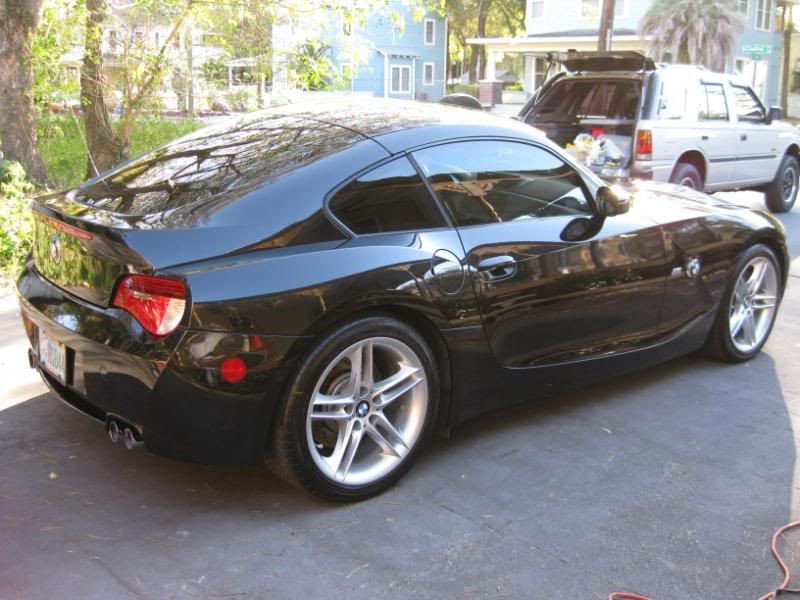
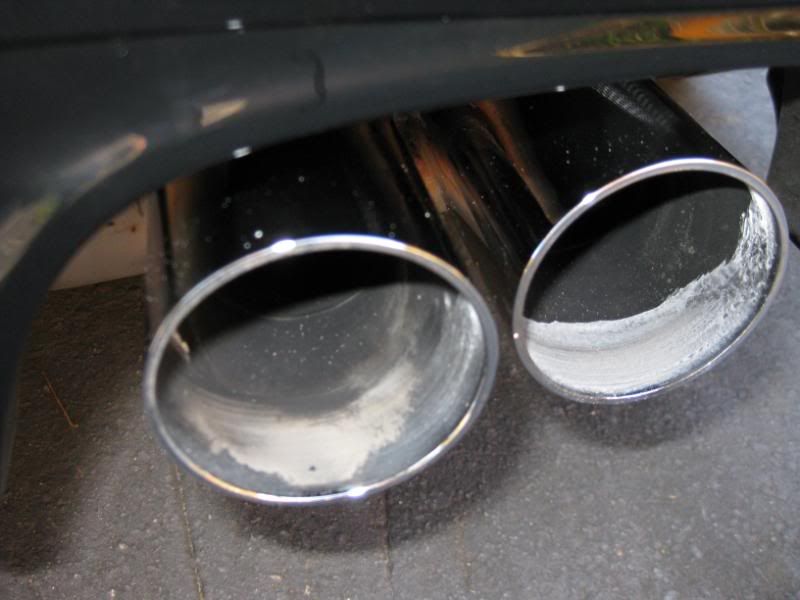
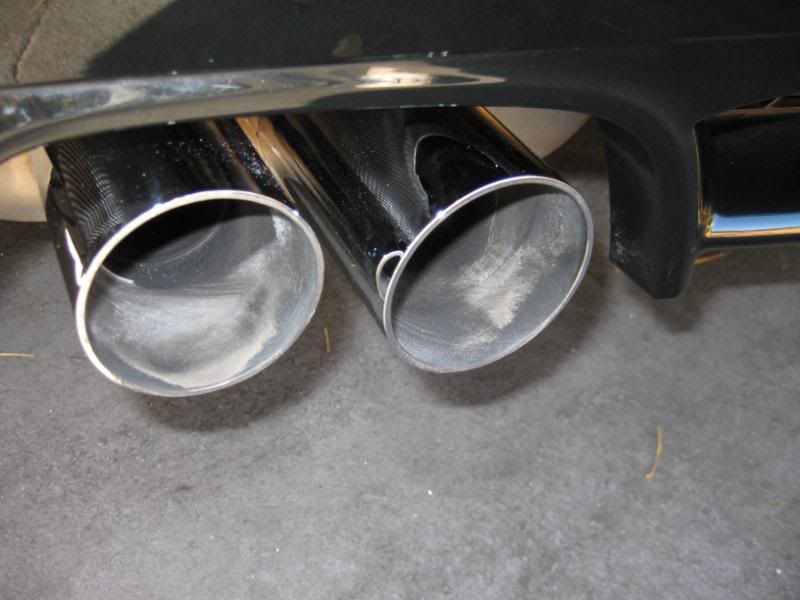
And now the finale!

I hope you all enjoy looking at this one as much as I enjoyed detailing it! Thanks for looking!
His vehicle is a 2007 Black Sapphire Metallic BMW M Coupe, with a 330hp 3.2L DOHC 24 valve inline 6 cylinder engine and a 6 speed manual transmission with a heavy duty clutch. This thing screams excitement!
The vehicle sits outside regularly and was exposed to a hail storm last winter. He had covered the vehicle with something that left behind some severe scratches. In his efforts to have the scratches repaired he tried his luck at a body shop locally. So he took it in and spent the money to have the scratches removed, but that deal went sour. The body shop returned the car with most of the scratches still on the hood and of course, very severe holograms.
This car was really fun to work on. I really enjoyed it. It took 10 hours from start to finish. At the end of the day the owner came out to inspect my work and said “what a long hard day at work, huh?” I told him that long and hard days at work are relative to your passion for the work you do and that this 10 hour day was an easy one.
Now on to the detail! I didn’t get any pics of the scratches themselves unfortunately, but you can see the sanding spots. Enjoy!
Interior:
* Rigid 5hp portable shop vac
* Stoner Invisible Glass
* Woolite/water mix as cleaner on leather seats
* Optimum Protectant Plus (all plastic panels, dash and leather seats)
Engine:
* Greased Lightning diluted 3/1
* I didn’t dress the engine because this is a daily driver
Wheels and tires:
* Eagle One A2Z wheel cleaner
* EZ Detail brush
* Carrand lug nut brush
* Various other brushes and microfiber gloves for tires and wheels
* Wheel wax
* Meguiars Endurance Tire Gel
Exterior process:
* Dawn presoak for 5 minutes via Vroom soap sprayer
* Dawn wash via micriofiber wash sponge
* Dry with the Absorber
* Clay bar with Pinnacle Ultra Poly Clay 2 (this stuff is awesome!)
and ONR and water mix as clay lube
* Dry with the Absorber
Hood scratches and hologram removal on hood:
* Scratches were all wet sanded via 3M 2000 grit until leveled
* All wet sanding marks were polished out with M105 and LC purple foamed wool via Makita Rotary @ 1500rpm
* I then broke out my G110 and Meguiars D151 with a LC white pad and polished the entire car.
LSP:
* Duragloss Bonding agent #601 was applied to the entire car to promote adhesion
* Duragloss Total Performance Polish #105 was then applied and removed one panel at a time as the LSP to give these flakes something to pop about.
Now for some pics!
Before
Here are some pics of the severe hologramming
Dawn presoak
Clay (This is just from one 2x2 section on the roof)
After wash and clay
Engine before and after
Interior after
Wheels during and after
Fixing scratches on hood
Front bumper after M105
Hood – It seemed like every time I thought I had all of the scratches out I found more! Grrr!!!
After all of the sanding marks were removed via M105 and pfw
And now the finale!
I hope you all enjoy looking at this one as much as I enjoyed detailing it! Thanks for looking!
 That's a GRAND JOB :bigups Premium nice work.