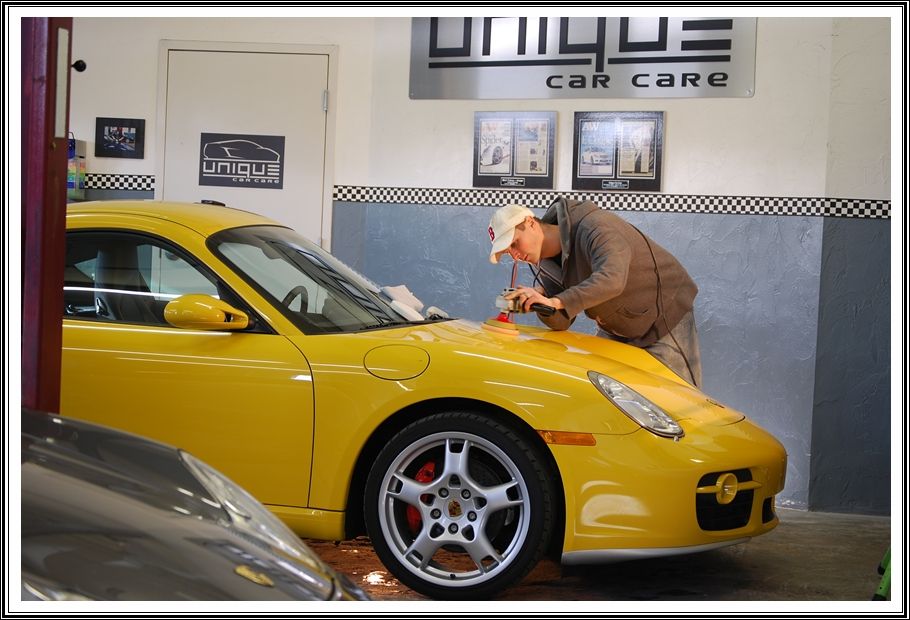
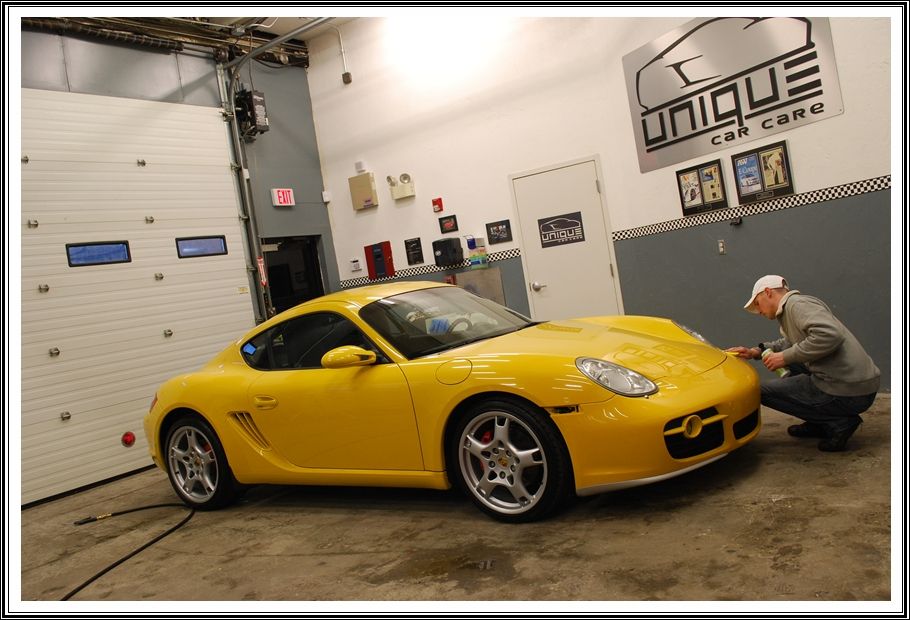
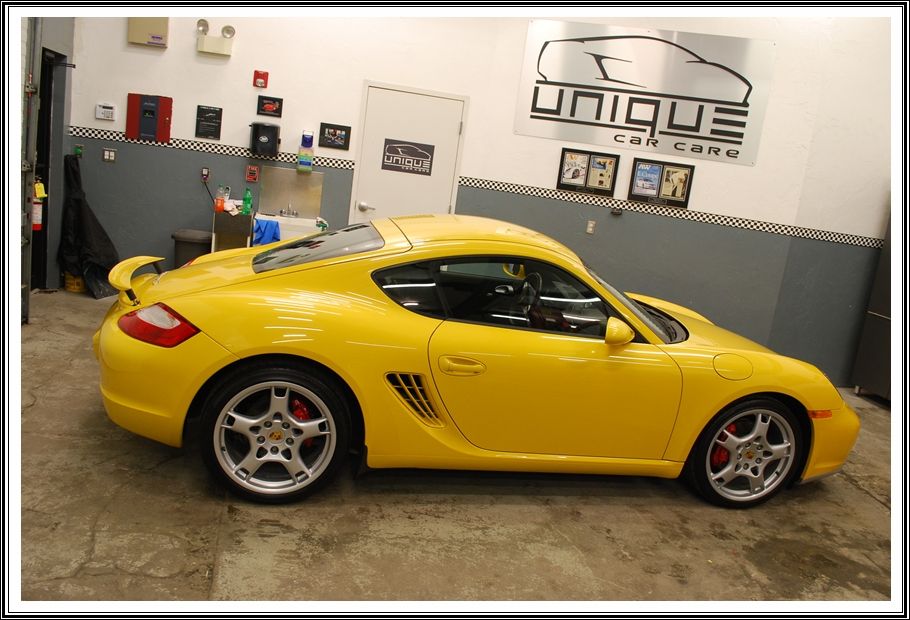
This Porsche Cayman S was recently purchased from a dealership and the owner wanted to get the car looking as good as possible. With a little over 40K miles on the odometer, the paint was in decent condition, but was starting to show a little wear in certain places and was in need of some paint correction to get it looking new again. After discussing detail package options with the owner, he decided to go with a 100% paint correction and also wanted to have the entire front nose (complete hood, complete fenders, complete front bumper, side mirrors) and rocker panels covered in Ventureshield paint protection film aka clear bra.
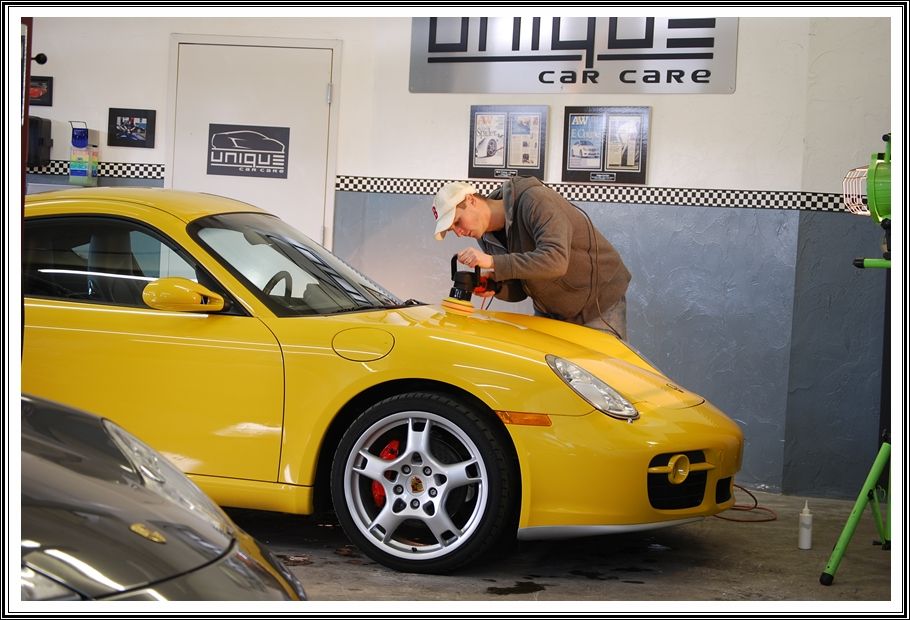
My plan of attack was to get the paint in perfect condition before the film would be applied to ensure a quality clear bra install. Since this car wasn’t brand new, it needed a fair amount of work to get it looking perfect. There were a number of light to medium scratches and some existing stone chips on the front of the car which I had to spend lots of time on in order to get it prepped for the clear film. After thoroughly inspecting the car, I pulled it into the shop and got right to work
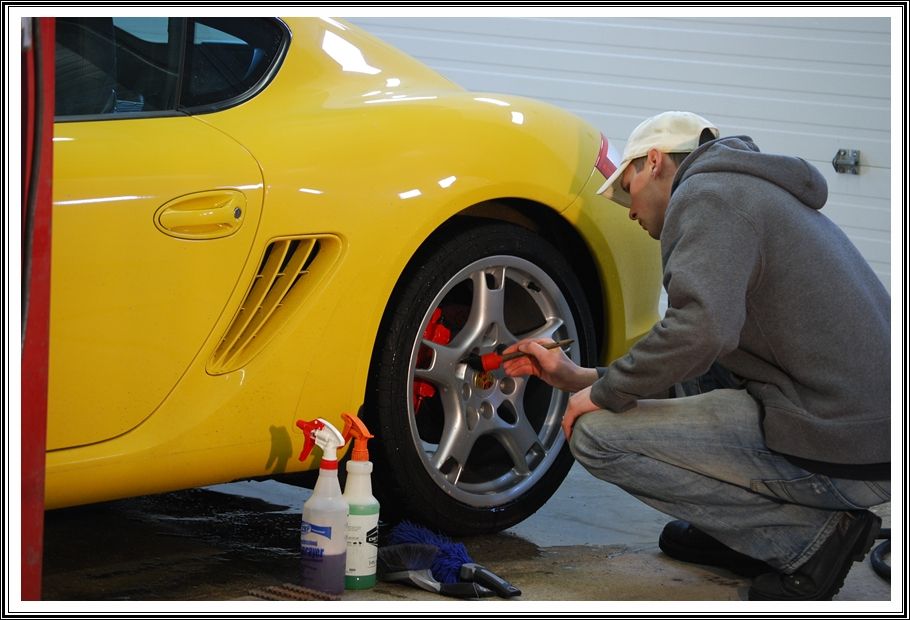
First, I did an extensive cleaning of all tires, wheels and wheel wells using a variety of different brushes. A non acid wheel cleaner was used for the wheels and degreaser did a great job cleaning up the tires and wheel wells.
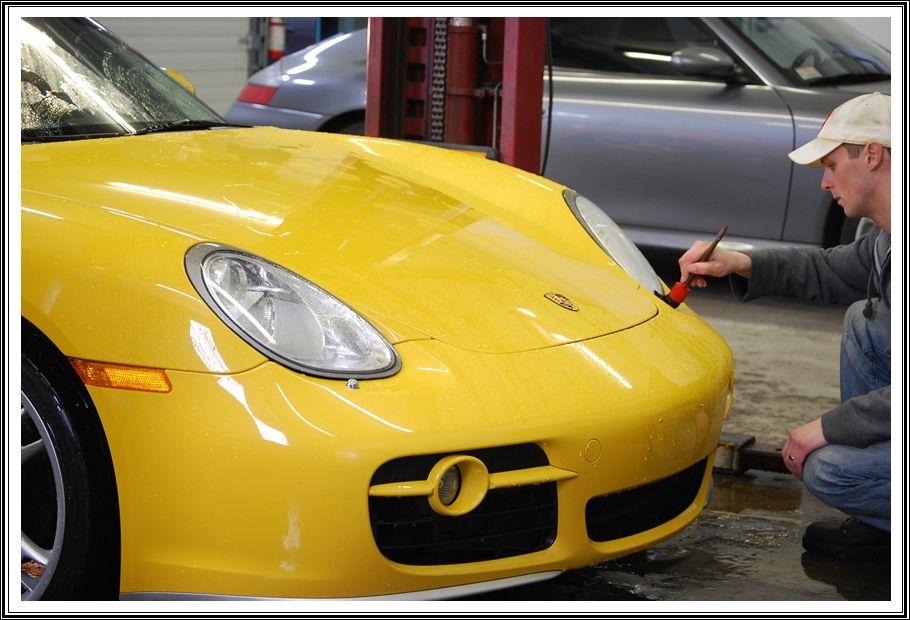
Next, all cracks and crevices were meticulously cleaned with a soft brush to ensure every spec of dirt was removed.
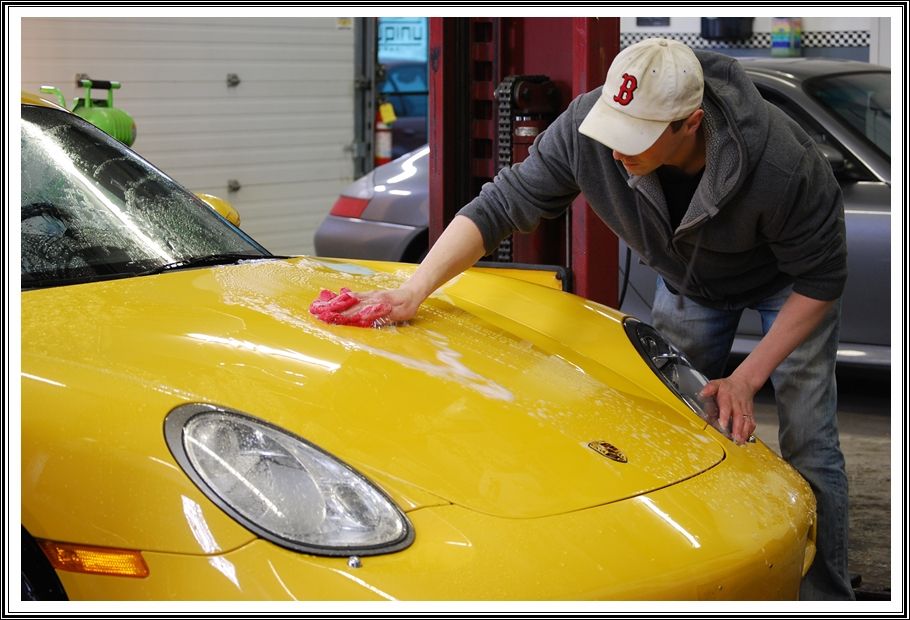
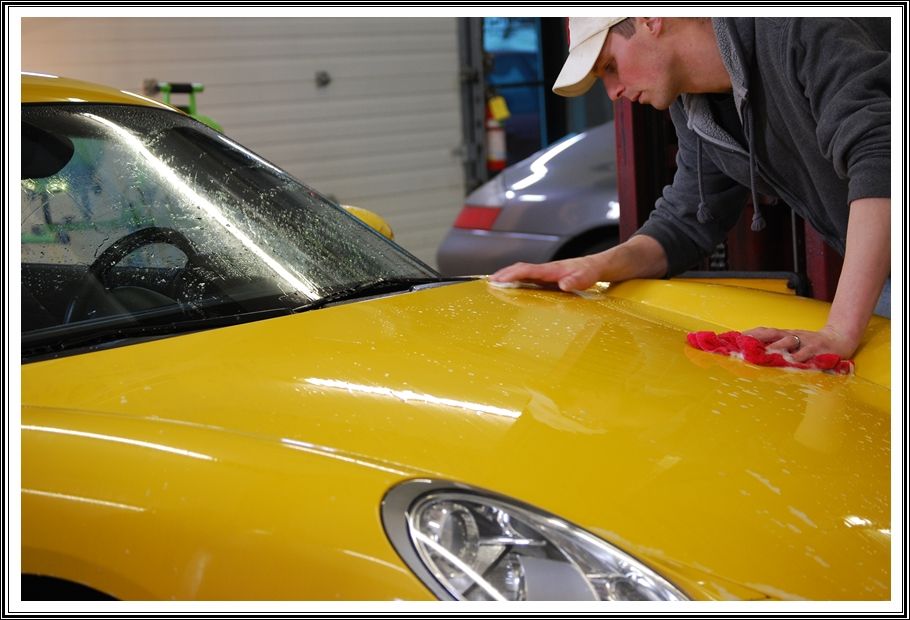
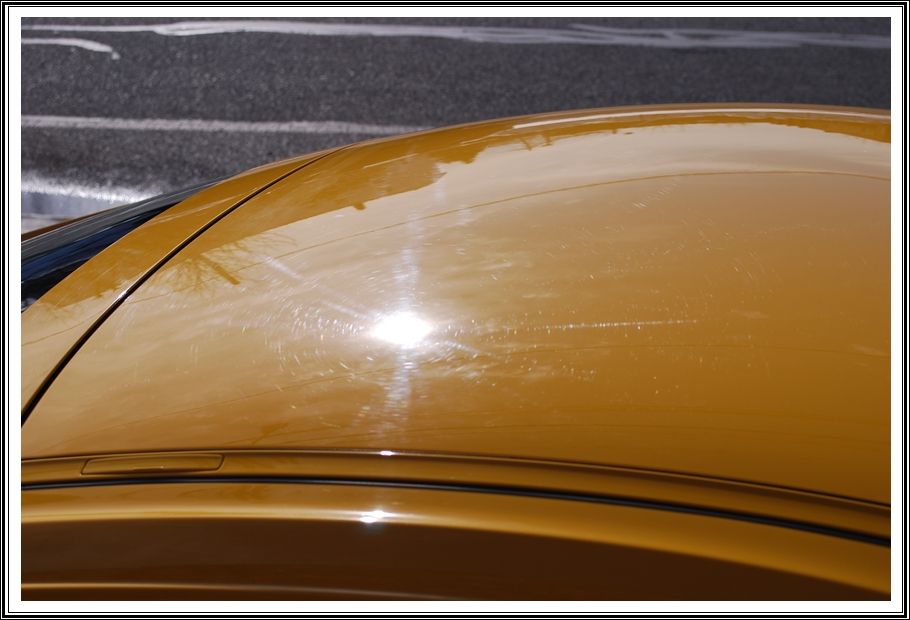
I washed the complete exterior with a degreaser to strip and remaining waxes or sealants from the surface, as this can interfere with the polishing process if not fully removed. A wax, sealant, or even some quick detailers can act as a lubricant and will cause the polisher to “hydroplane” above the surface instead of actually removing the defects. When the paint surface is no longer beading water, it is a pretty good indication that it has been successfully removed.
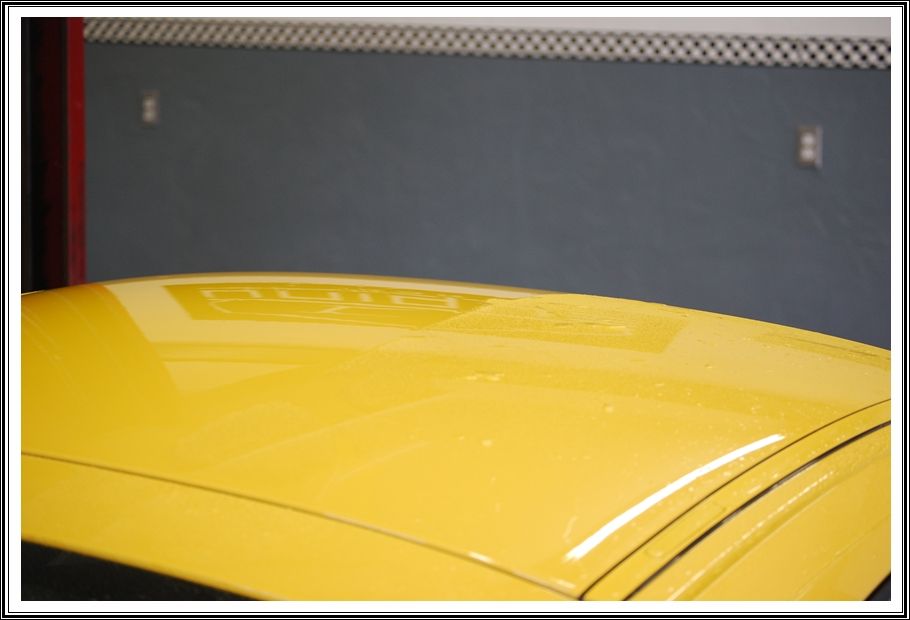
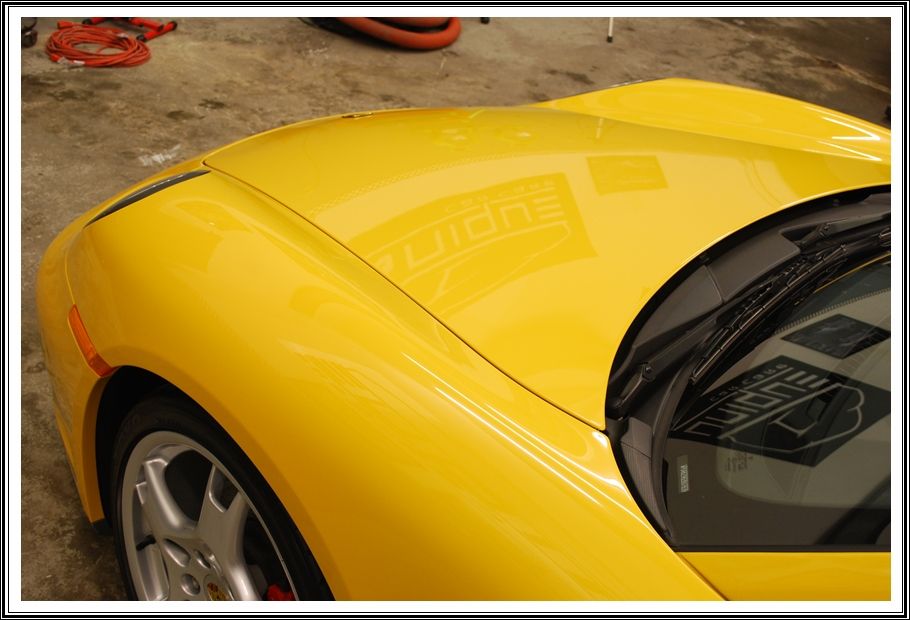
In this picture, you can see the difference between the side of the roof that has been stripped with degreaser compared to the side that has not.
After the exterior was completely washed, I gave it a claybar treatment to remove any bonded contaminants (bonded brake dust, bugs, tar, etc…) from the surface.
Now that the paint was 100% free of all dirt and bonded contaminants, I dried the exterior, blew out all cracks & crevices with compressed air and wiped all door, hood and trunk jambs clean with a microfiber towel.
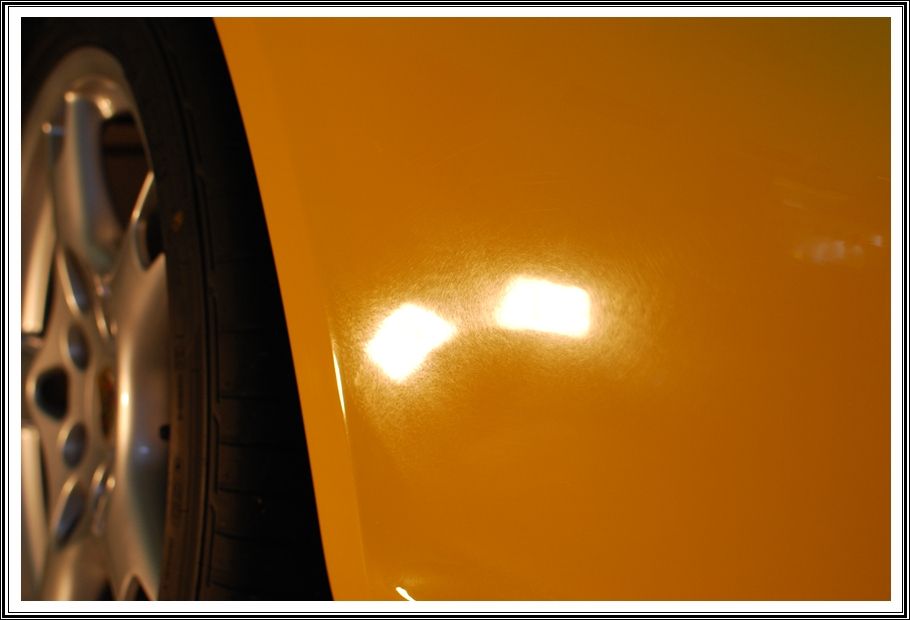
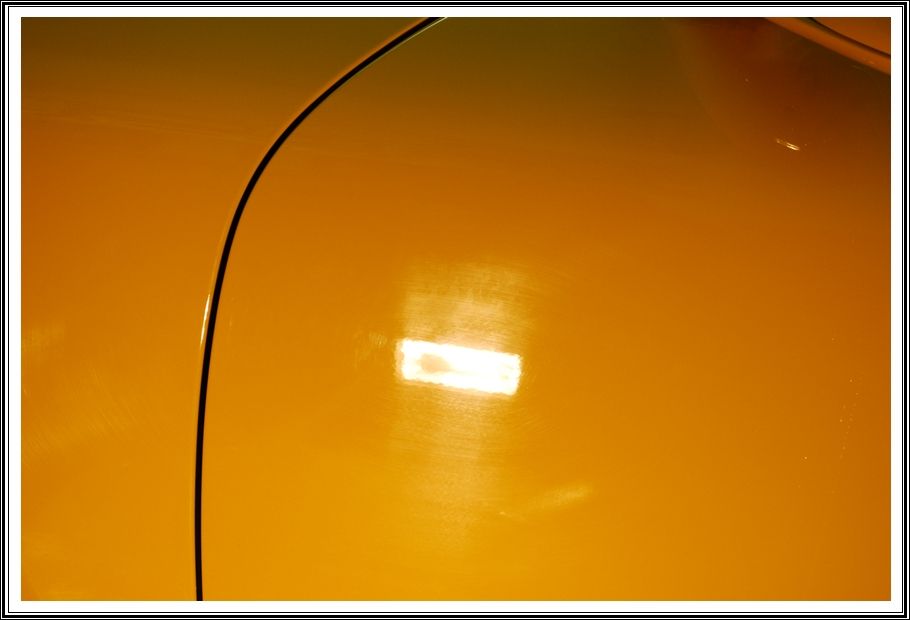
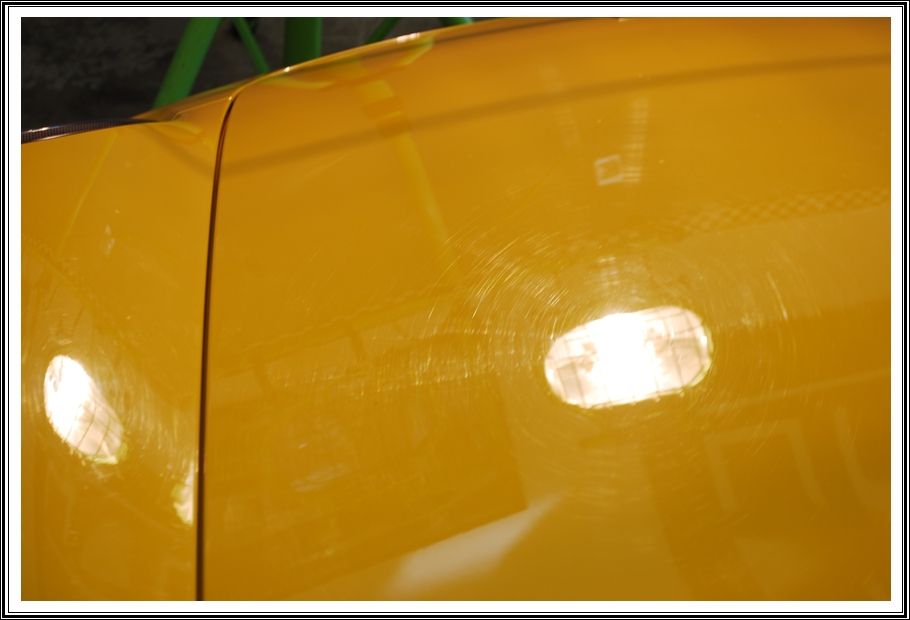
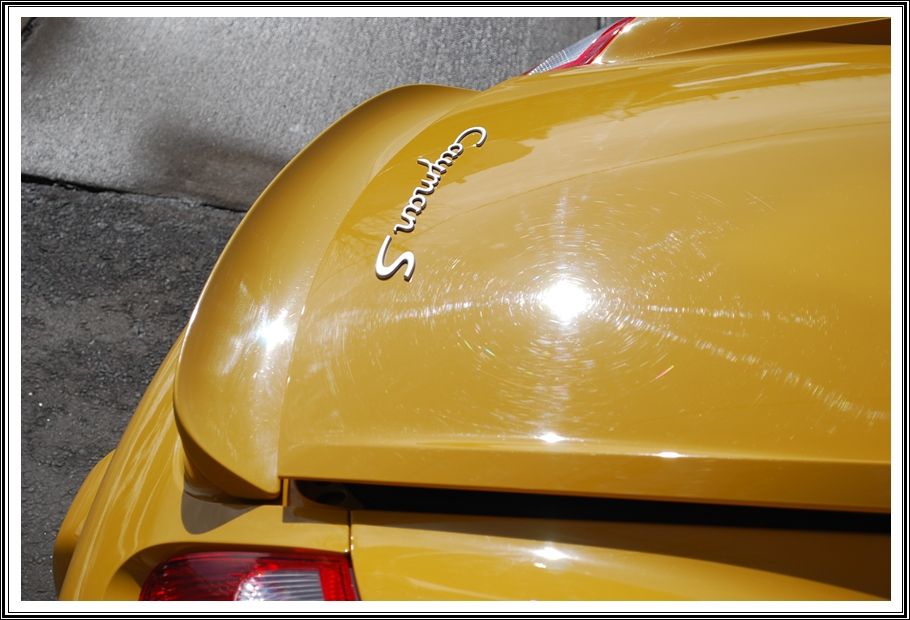
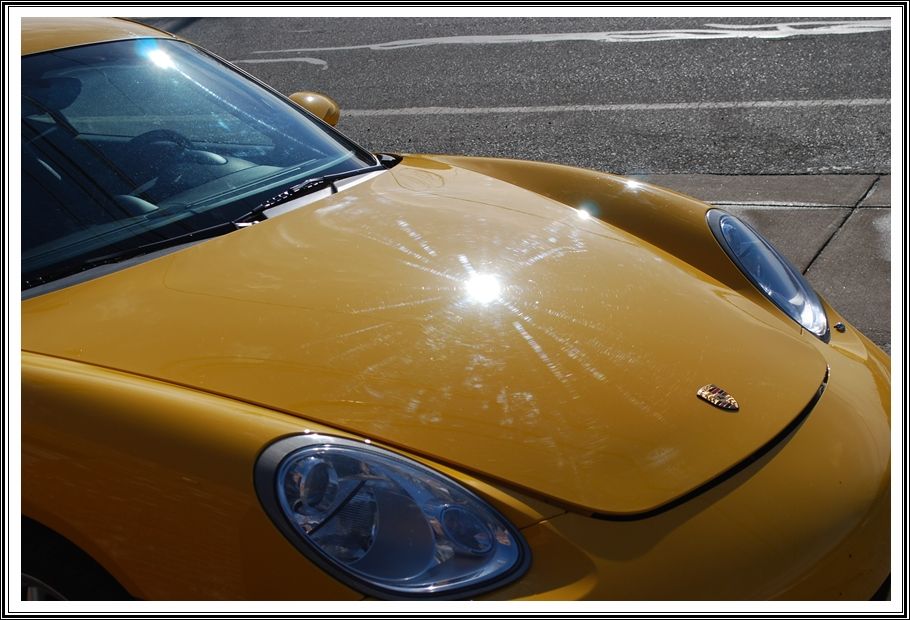
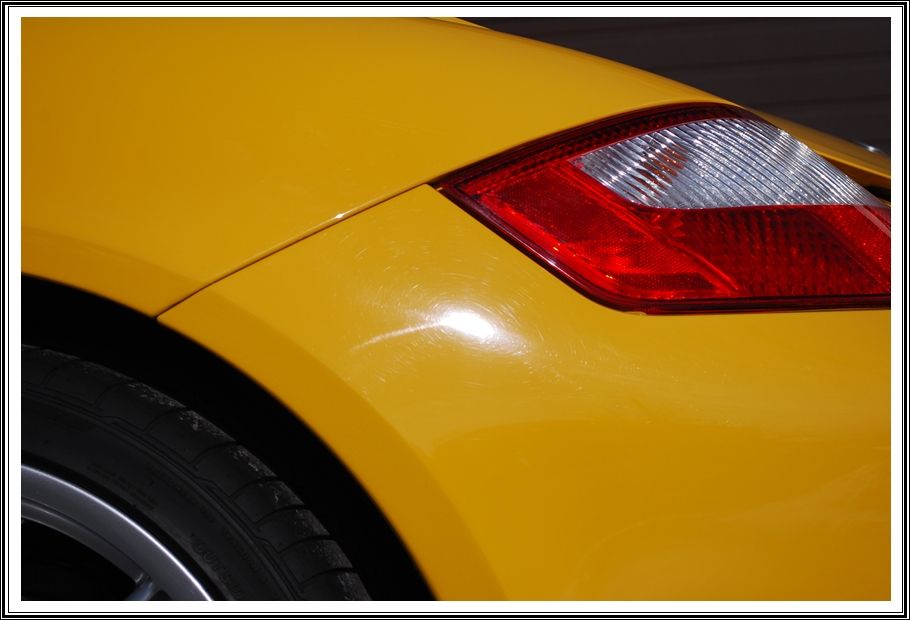
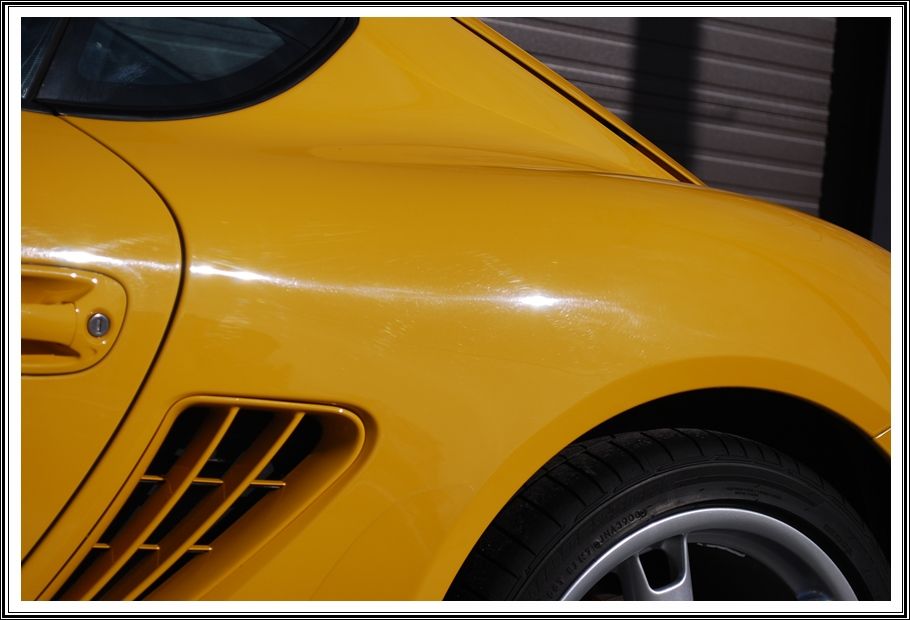
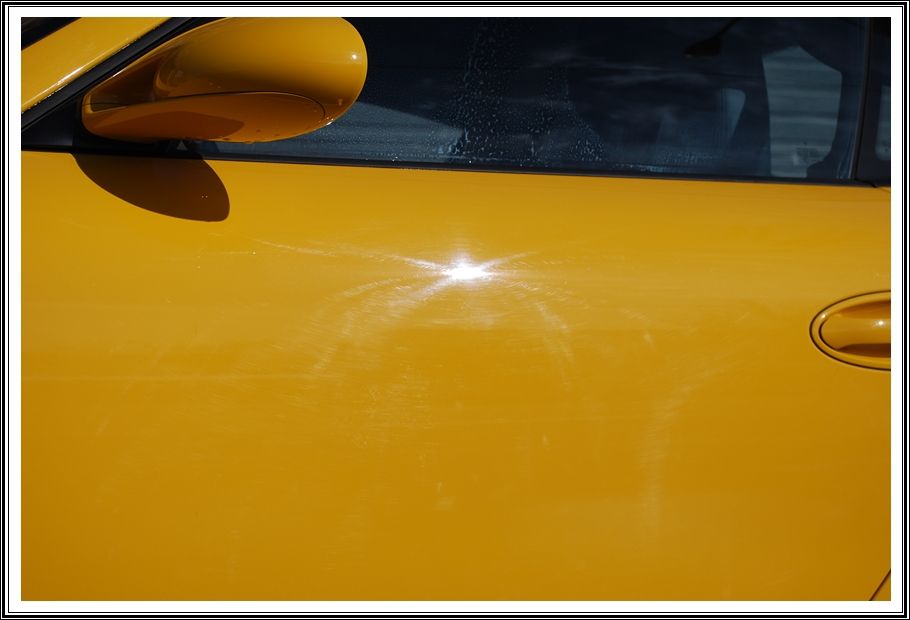
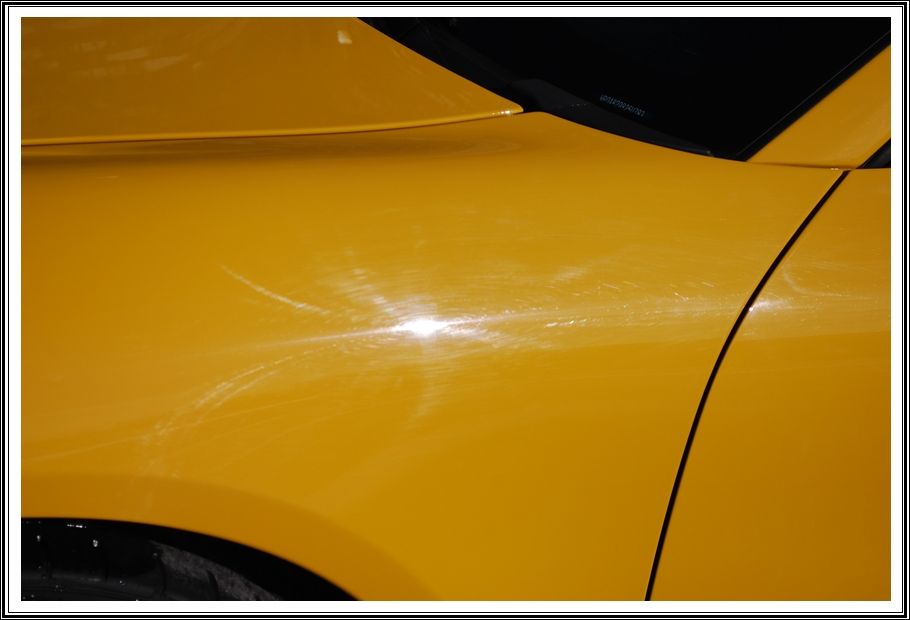
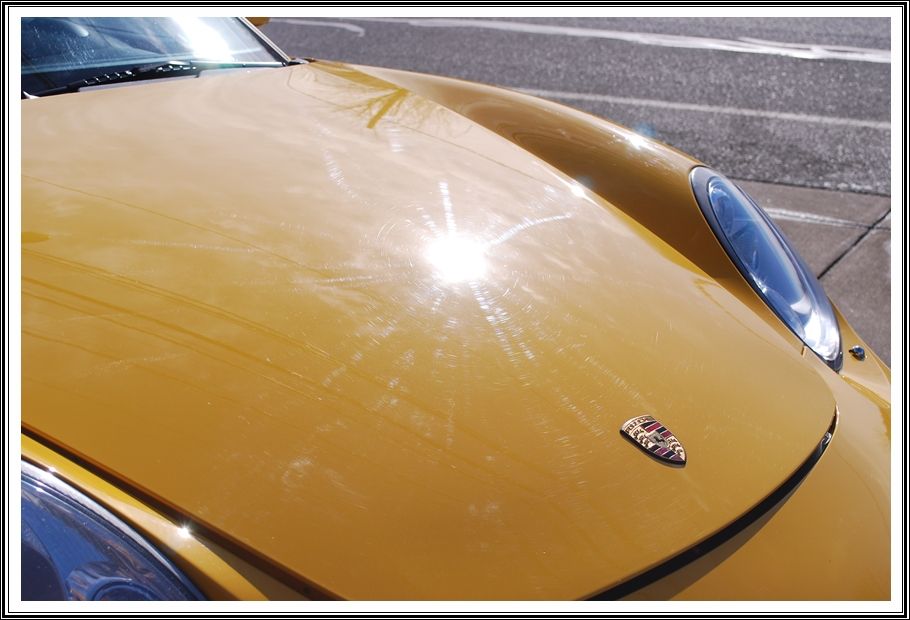
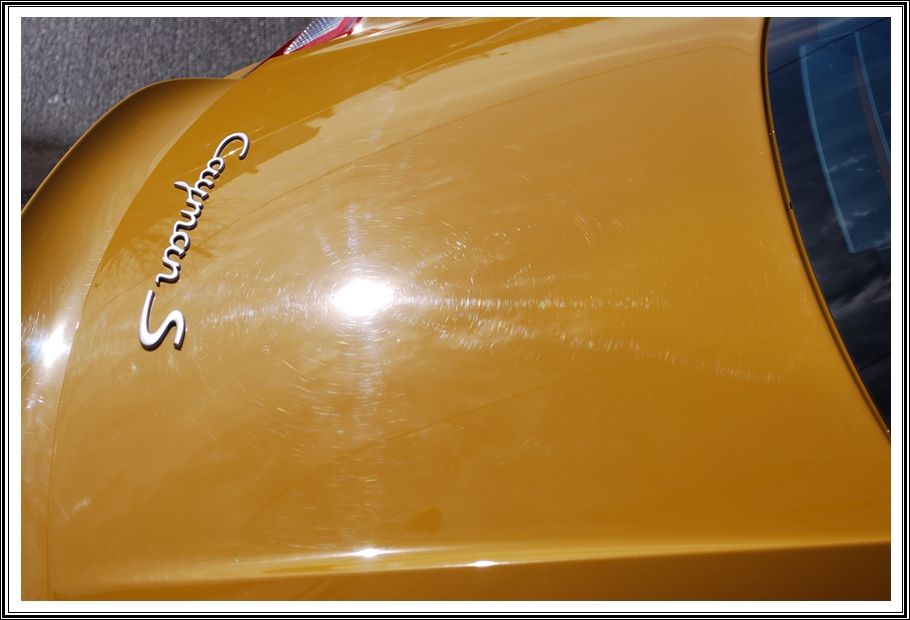
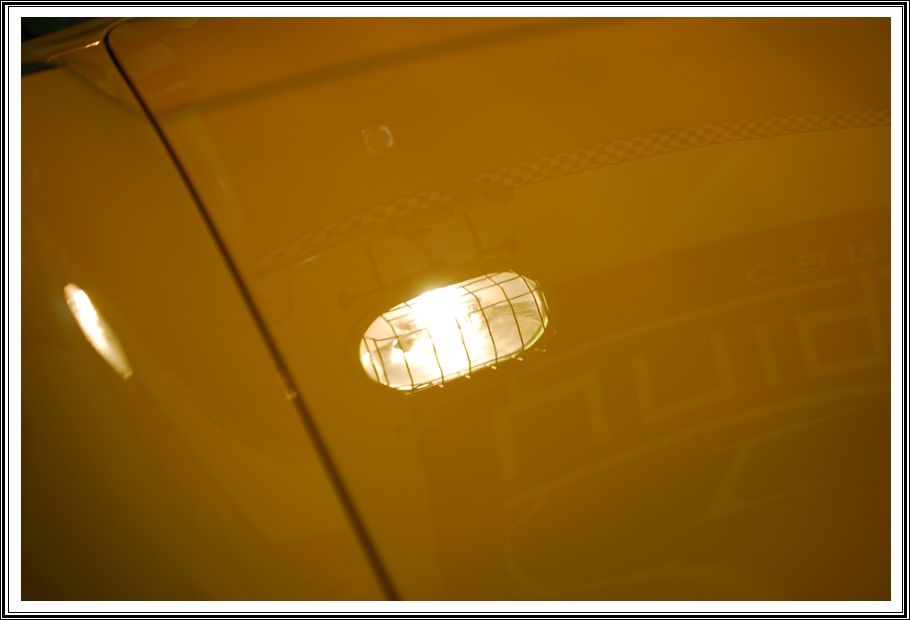
Before pulling it outside to inspect the paint in the sun, I turned on the halogens to take a peek at what I was dealing with. As you can see, there was a fair amount of swirls and other defects that needed some serious attention.
Here is what it looked like outside prior to any polishing.
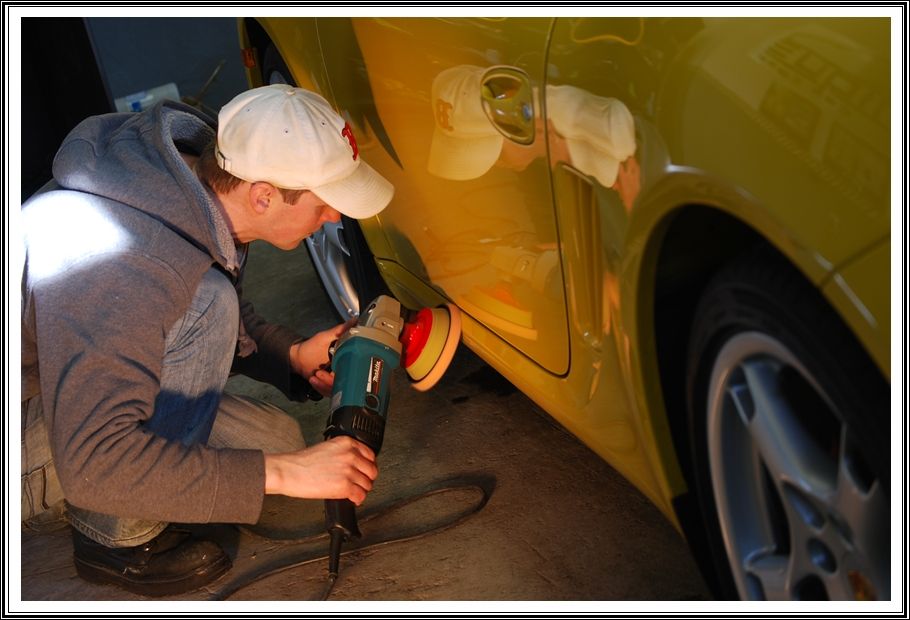
I busted out the rotary for the more serious defects that were scattered all over using an orange pad paired with Meguiars 105 compound.
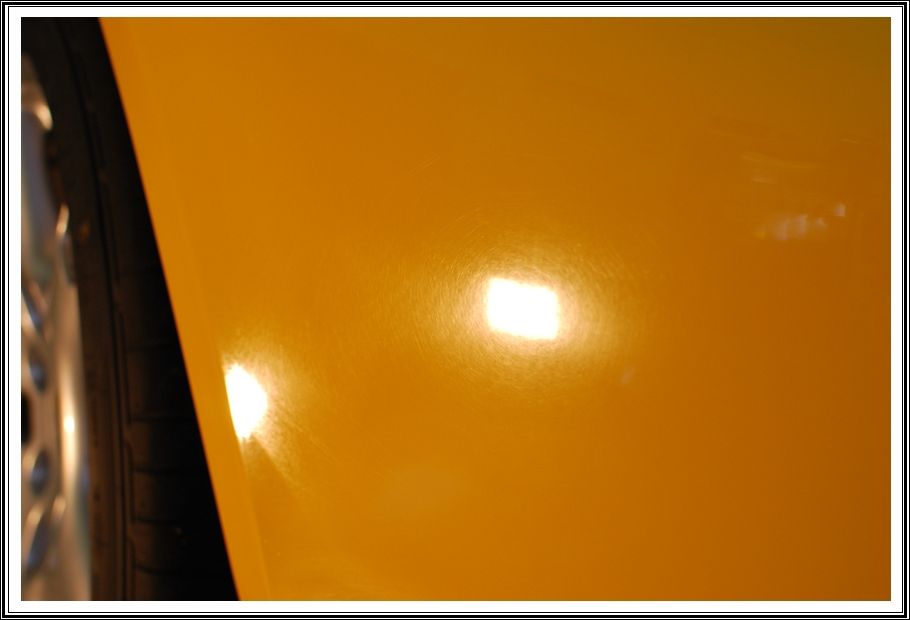
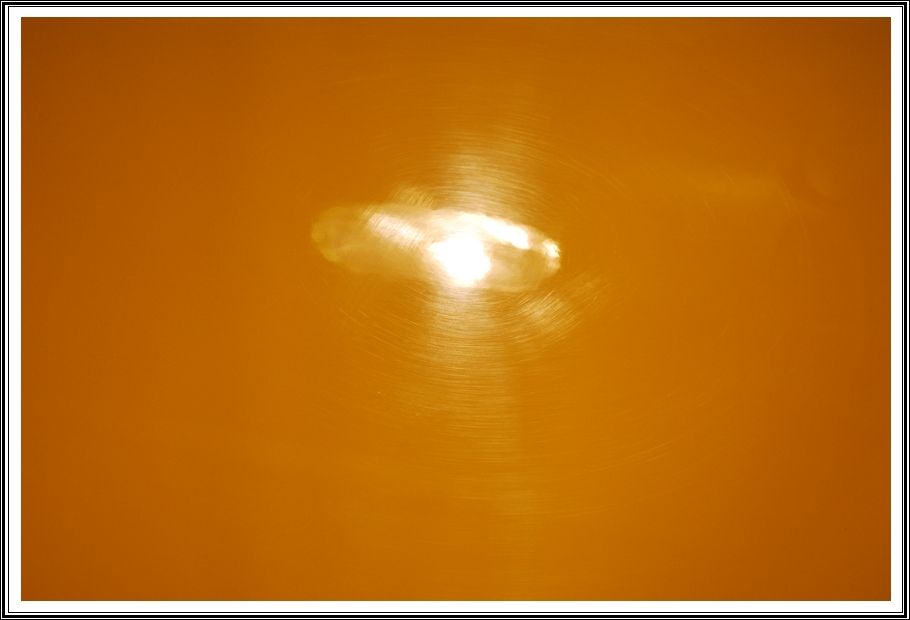
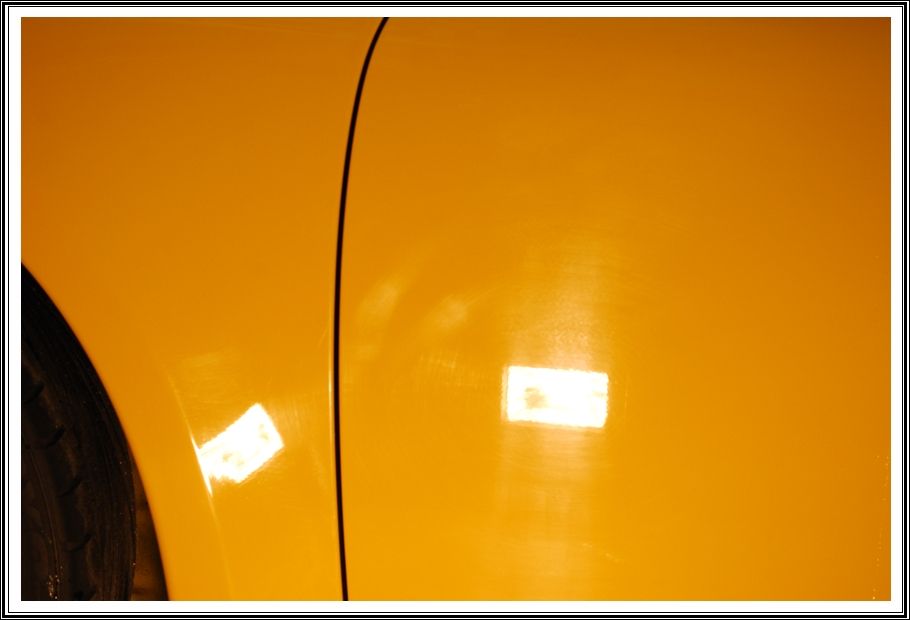
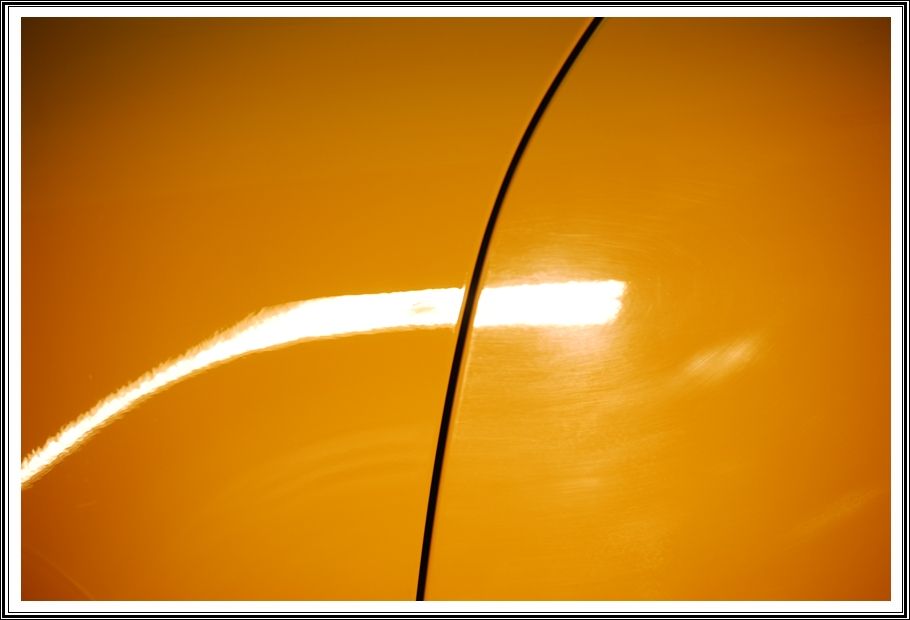
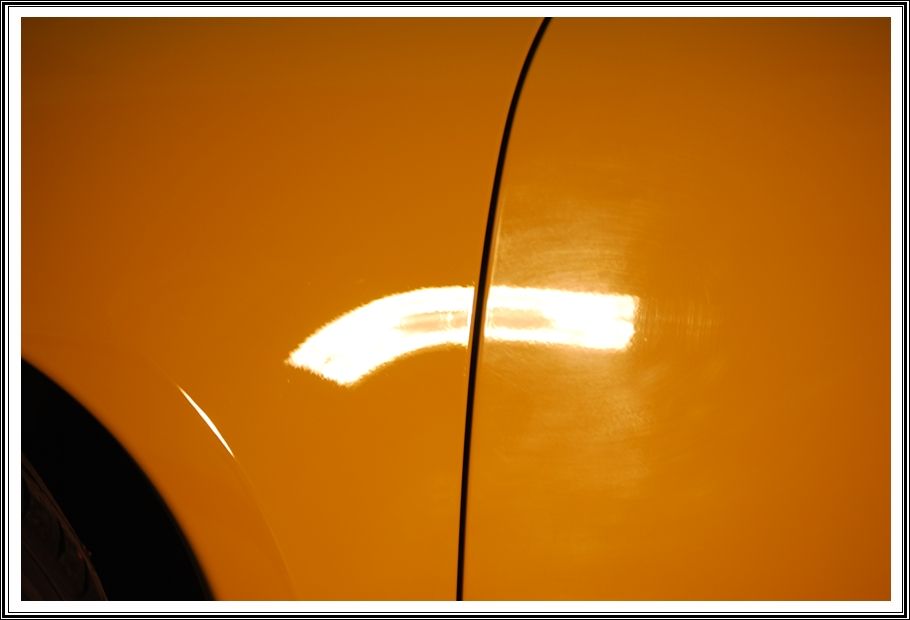
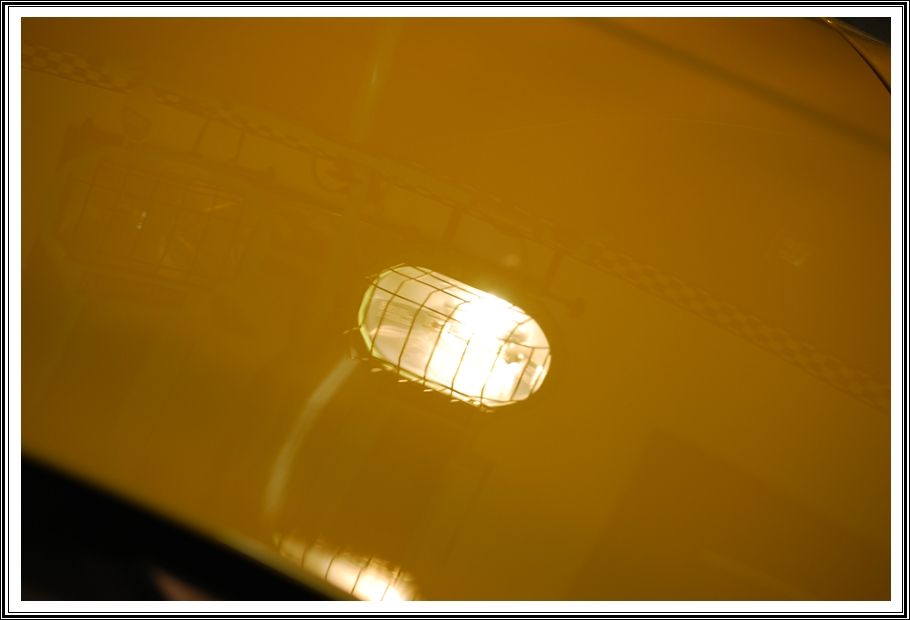
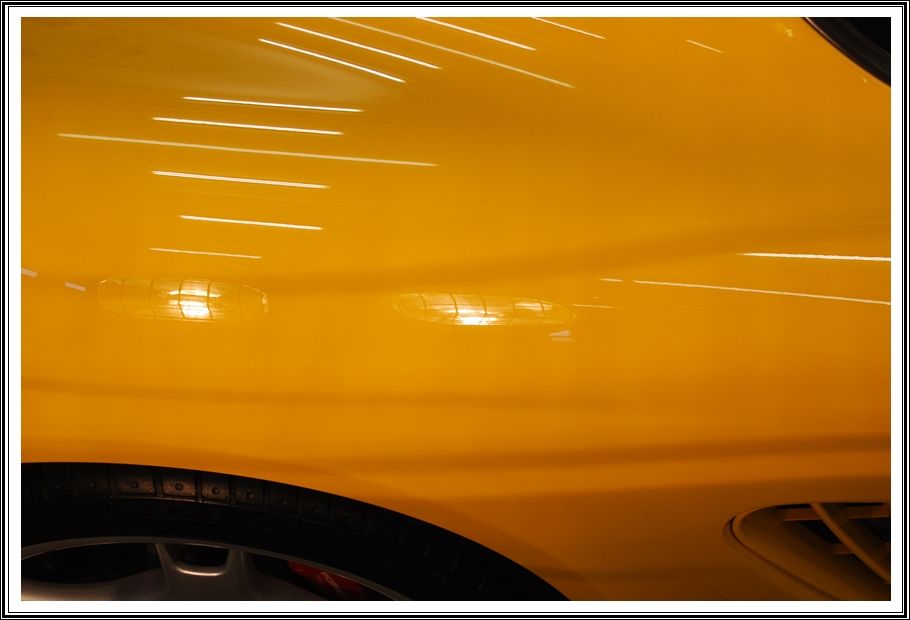
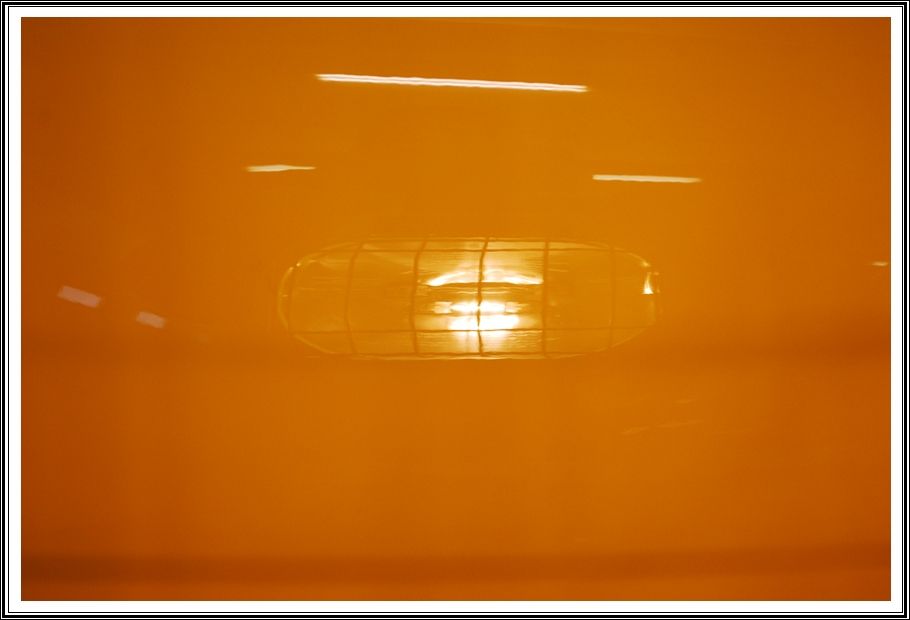
In the pictures below, you can see the huge difference in gloss and clarity. Keep in mind this is only after the compounding stage!
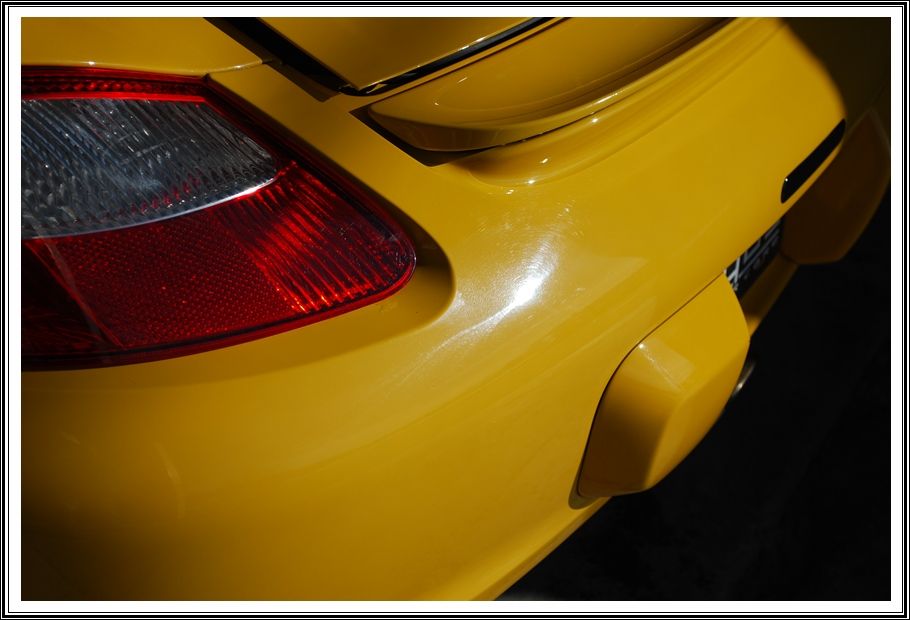
The rear splash guards were looking a bit neglected, so I paid some special attention to them too.
Before:
After:
Since the rotary did such a great job removing the deeper scratches, I switched over to my Griots random orbital which would further refine the finish. I performed two additional polishing steps to get the paint looking as perfect as possible. I used Meguiars D300 compound on a Meguiars DA microfiber cutting pad which removed any buffer trails and compounding haze left behind from the rotary in addition to any remaining defects and really left the finish looking great. To ensure a perfect swirl-free finish and the highest gloss possible, I followed up with Meguiars M205 finishing polish which really made this yellow paint POP!
After lots of polishing, I gave the car an extensive wash to remove any dust and polish spatter that was present to get it ready for the clear bra install the following day. The end results were amazing and the paint was literally glowing under the halogens.
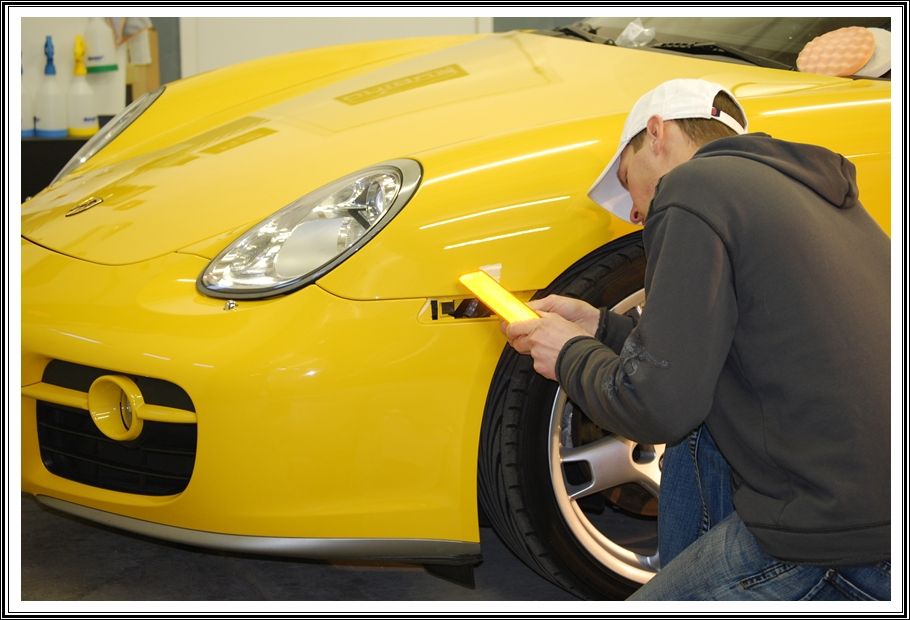
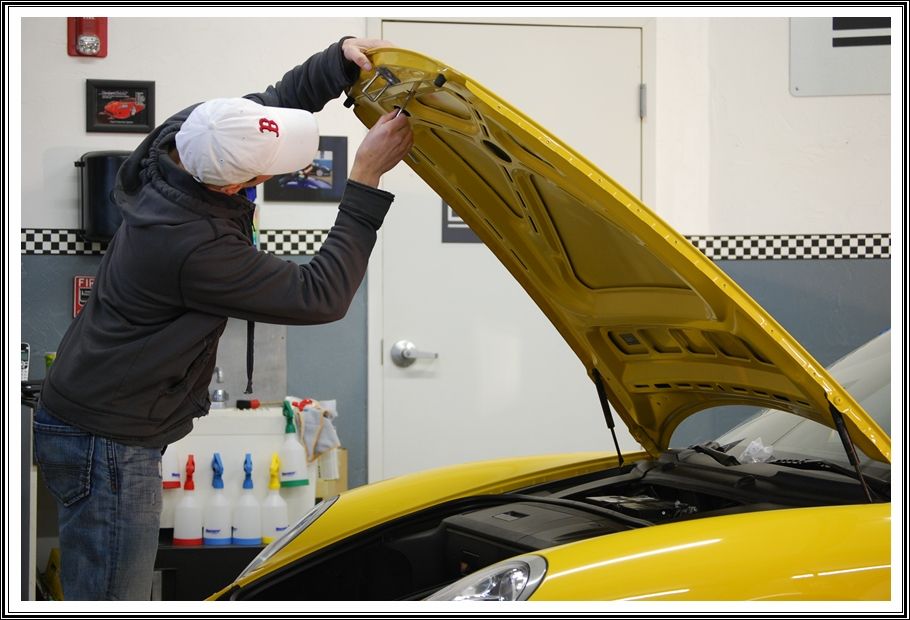
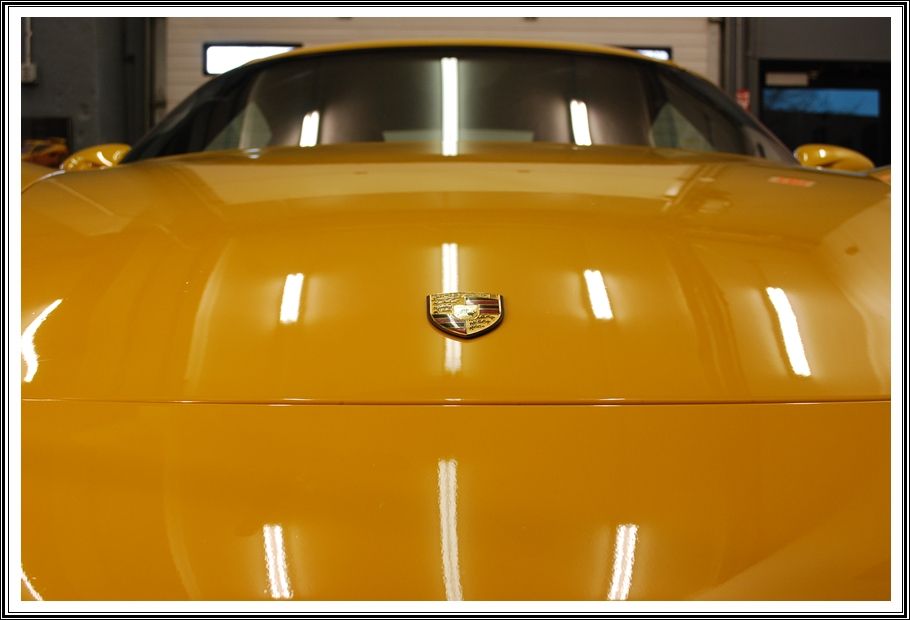
To minimize visible seems in the film, I removed the front reflectors as well as the badge on the hood. Little things like this make a big difference in the end results.
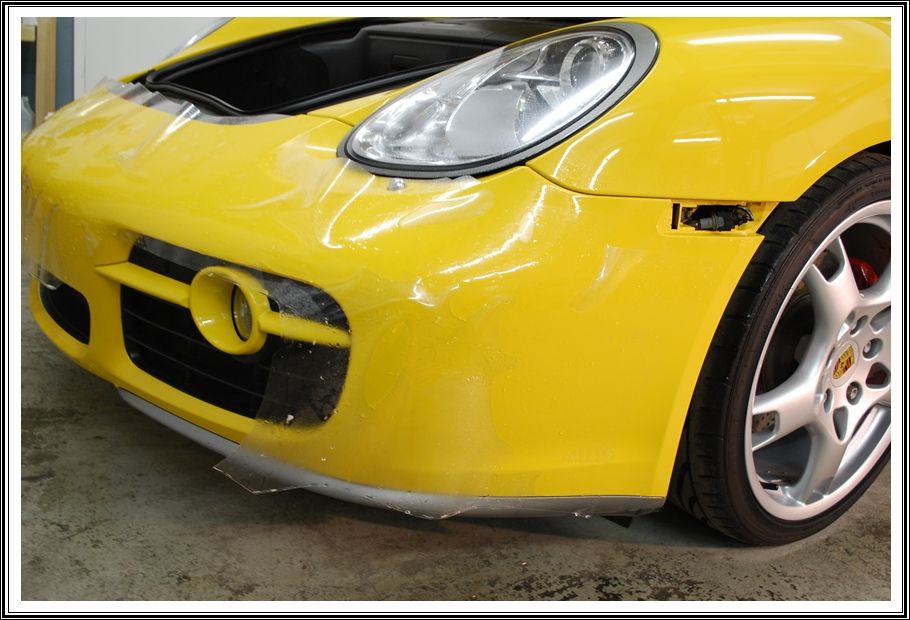
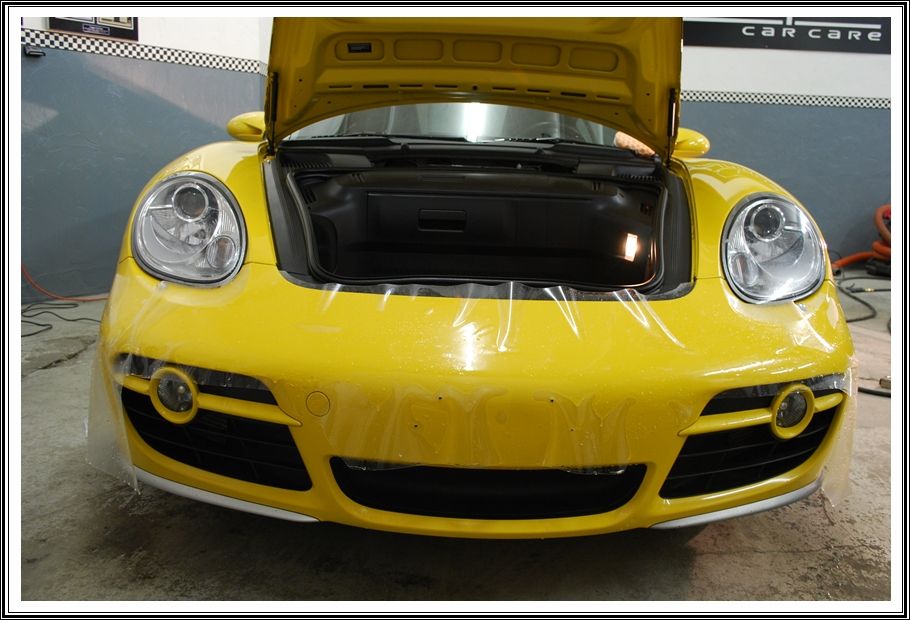
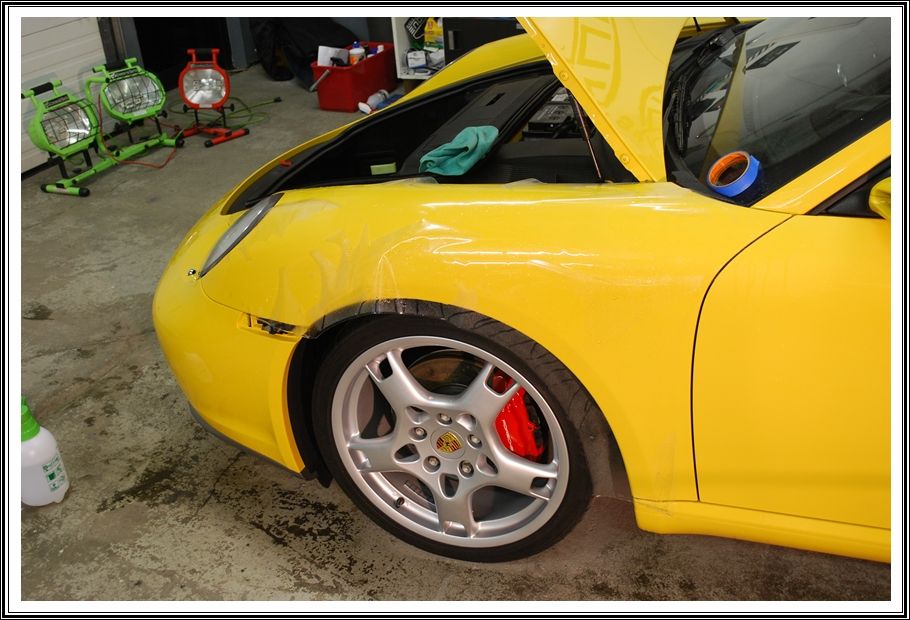
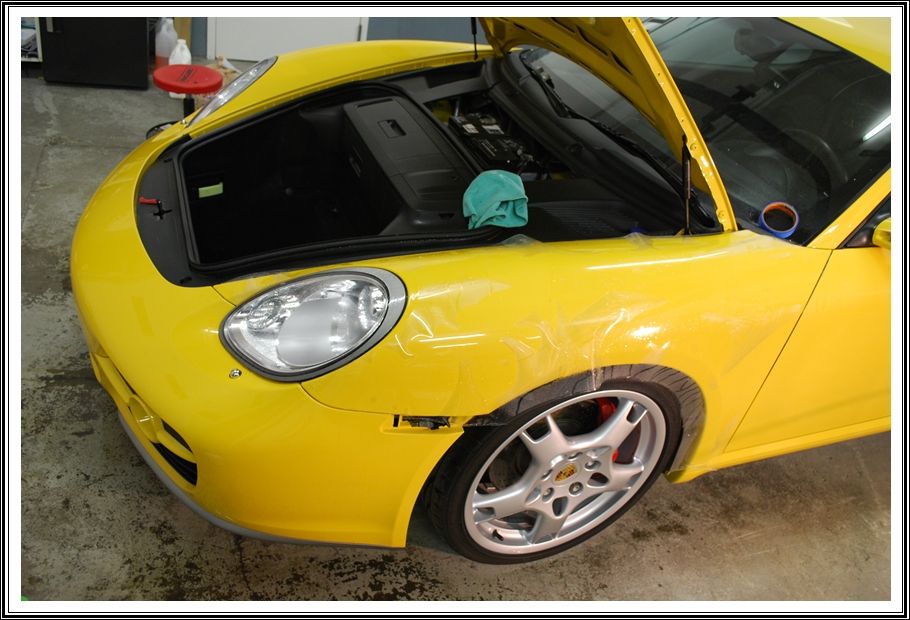
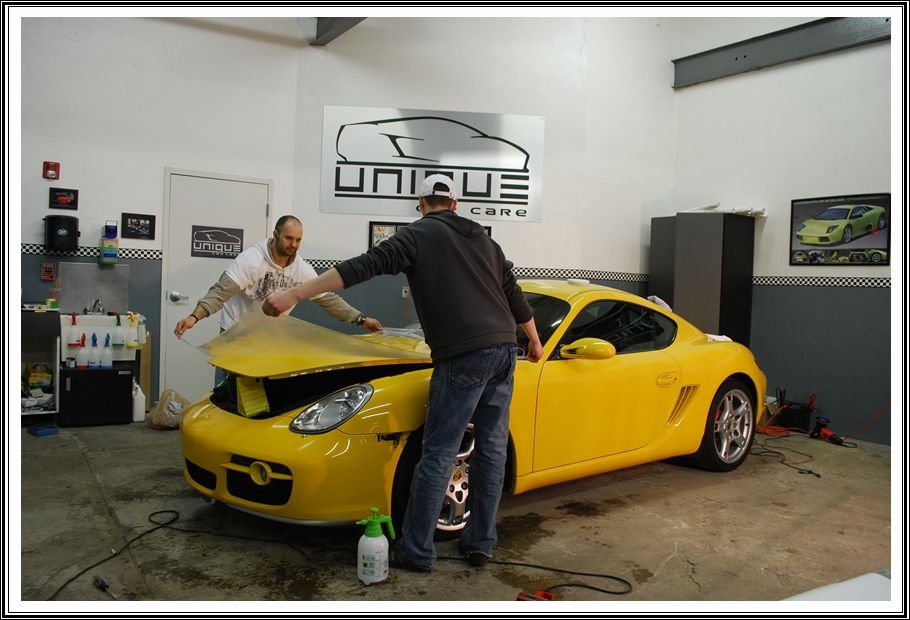
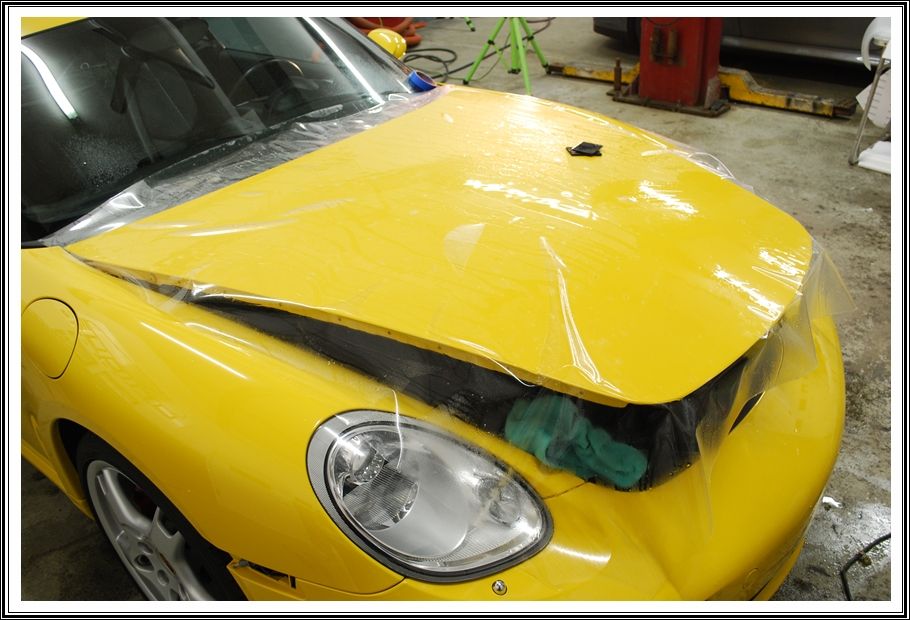
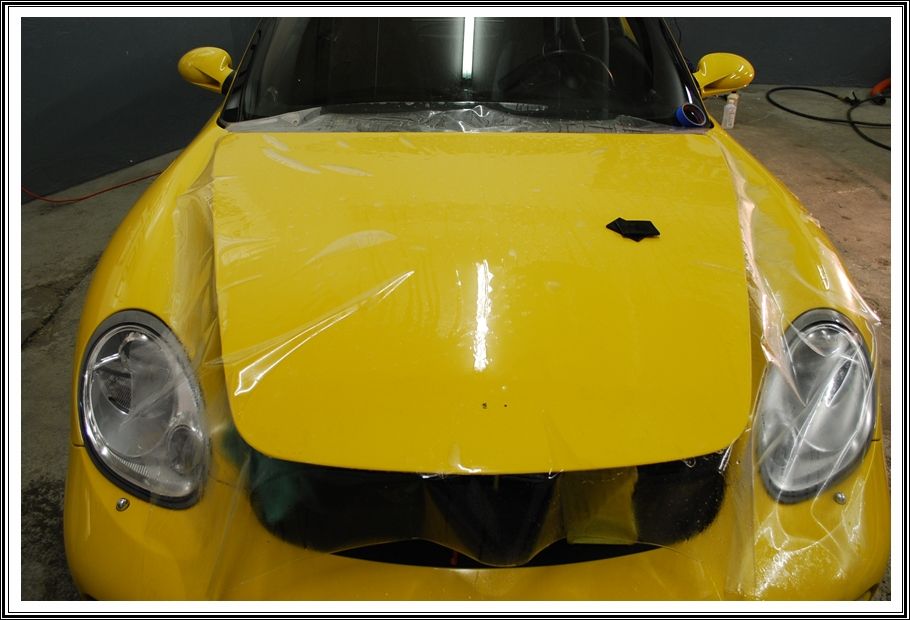
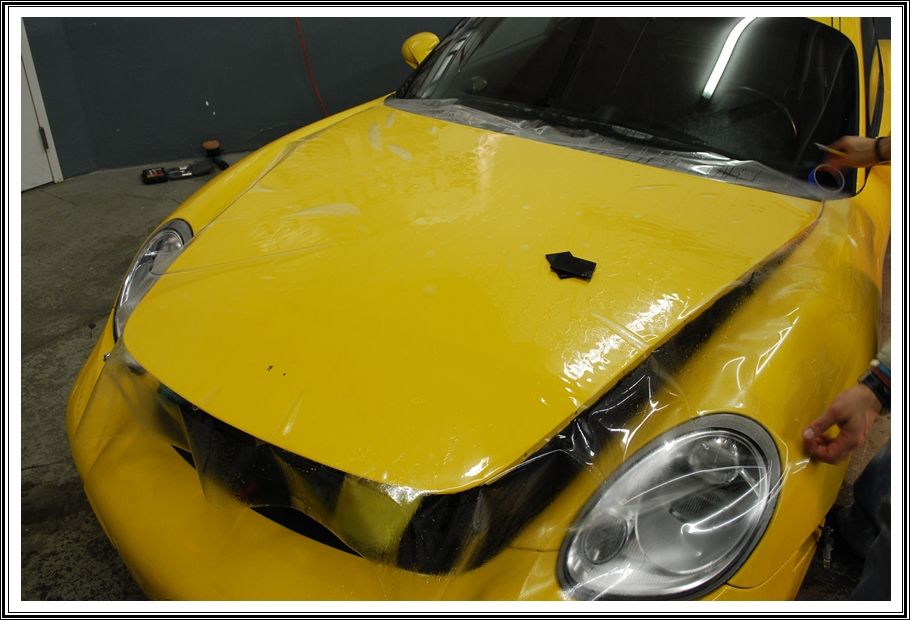
Now that the car was fully prepped and the paint was looking perfect, it was time for the clear bra install. Here’s a few during pictures of the film install on the front bumper.
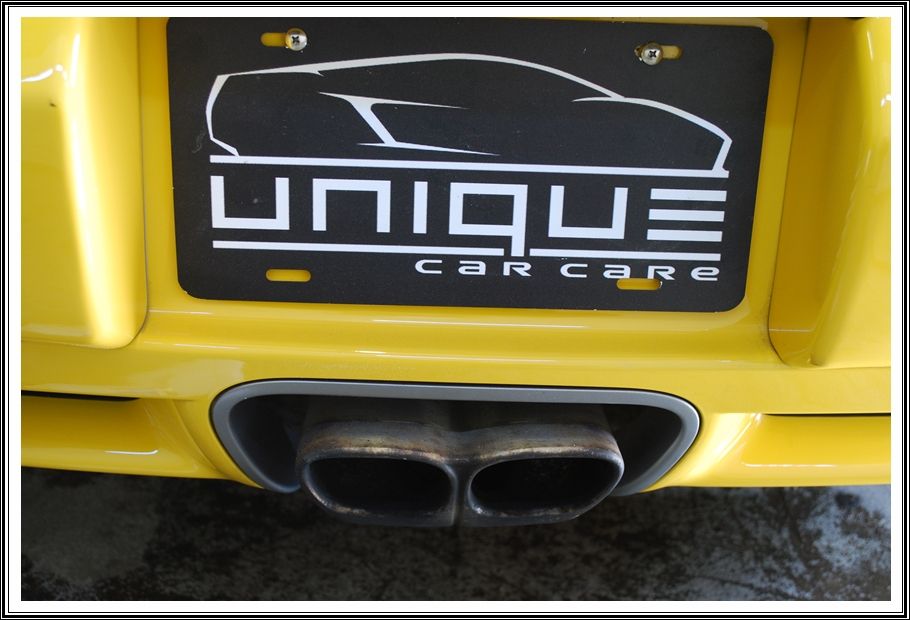
Once the film install was complete, it was time for the little odds and ends. The exhaust tips were looking pretty nasty, so I cleaned them up with some steel wool and metal polish.
Before:
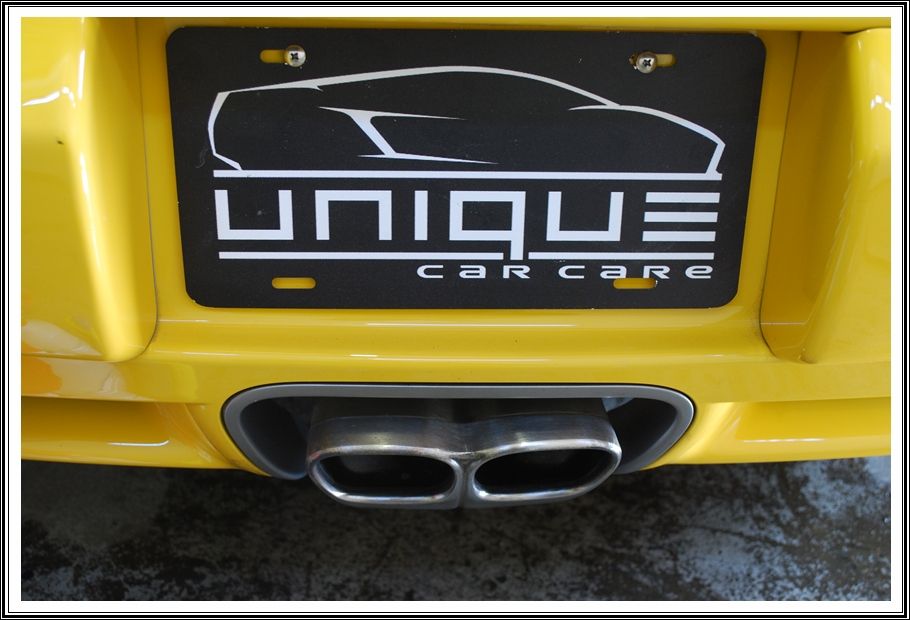
After:
Applying Menzerna Power Lock sealant to the complete exterior, including clear bra.
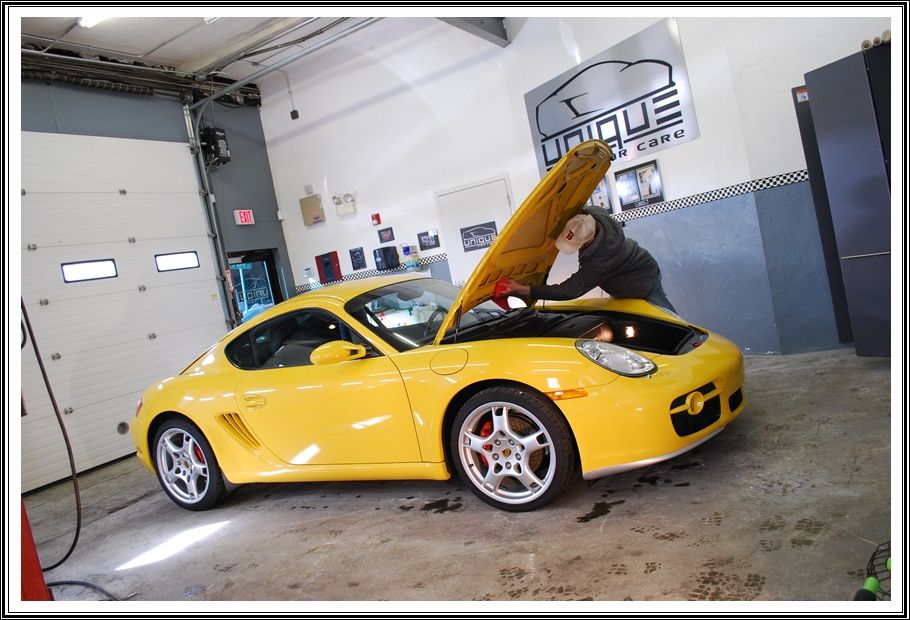
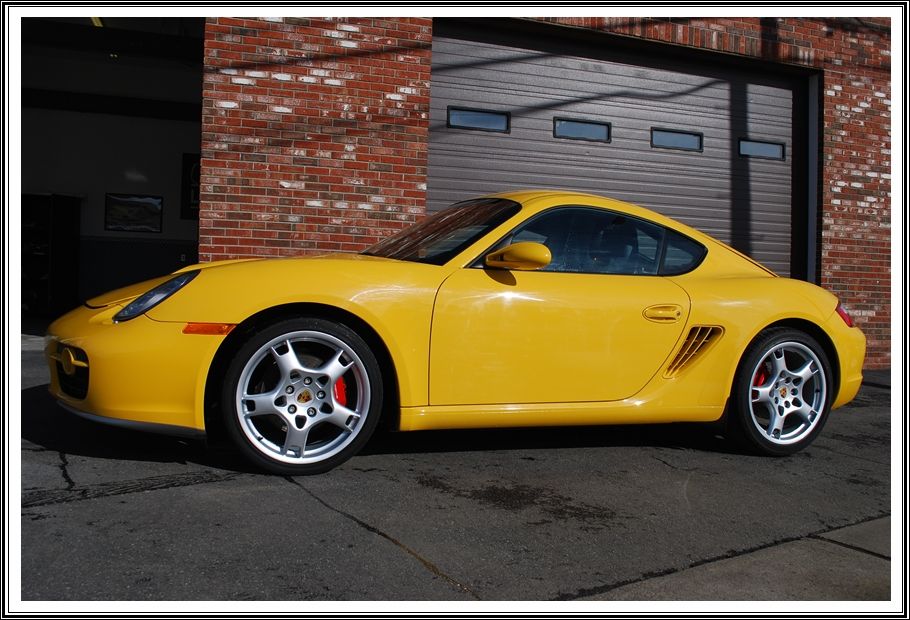
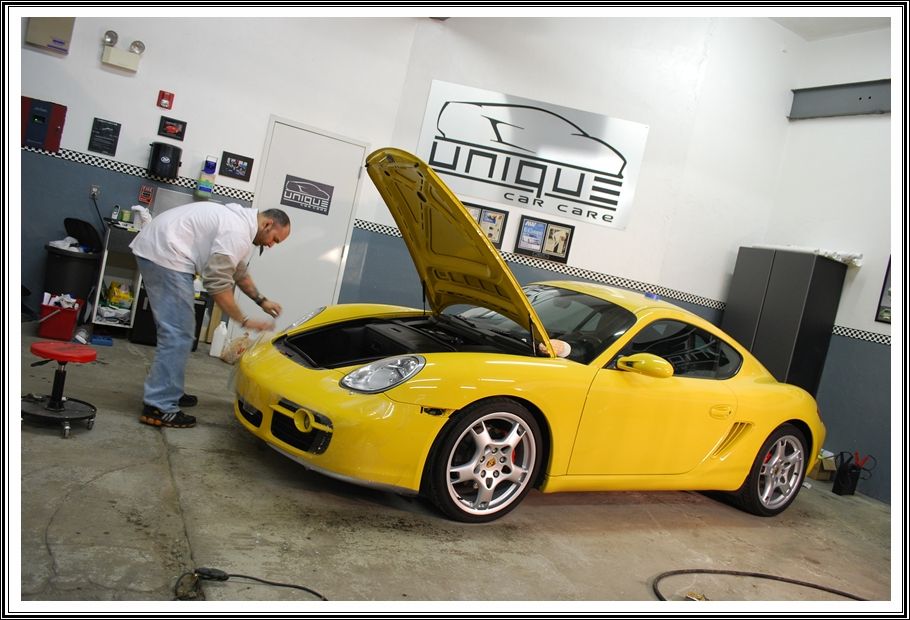
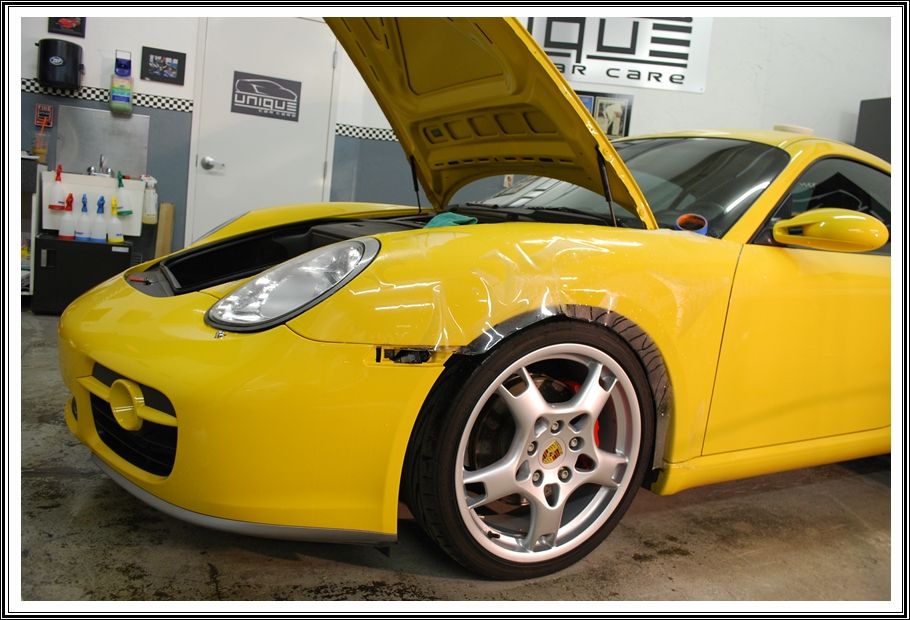
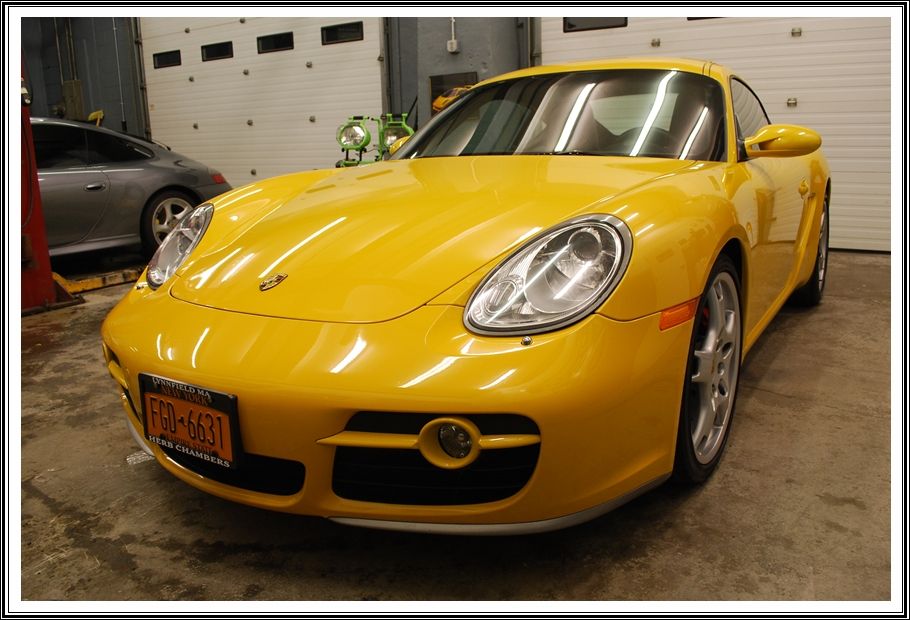
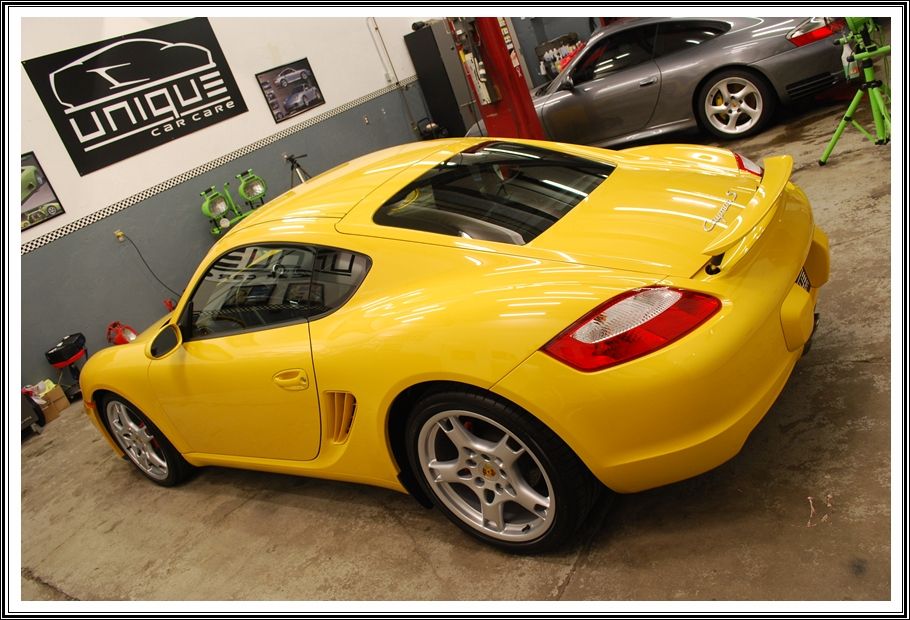
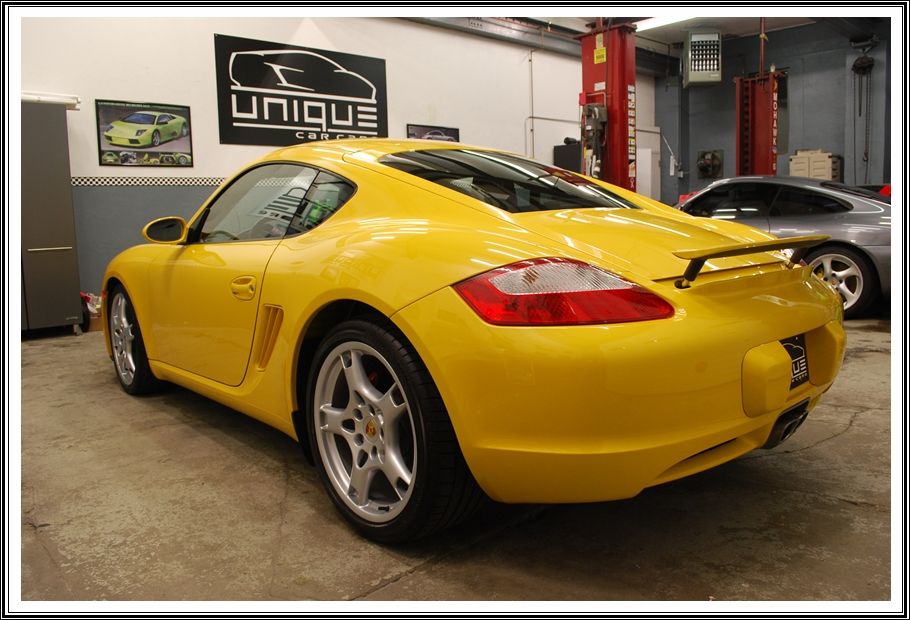
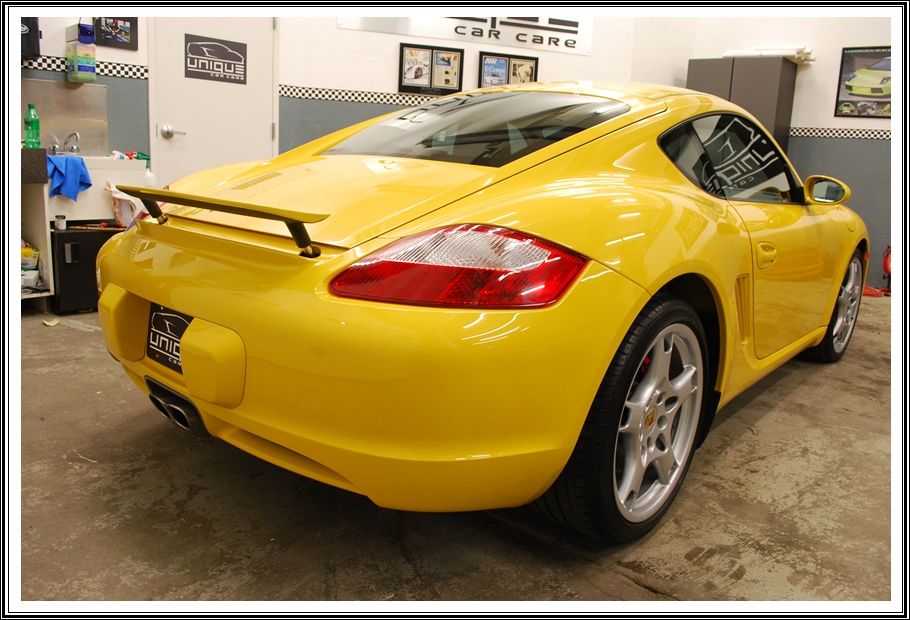
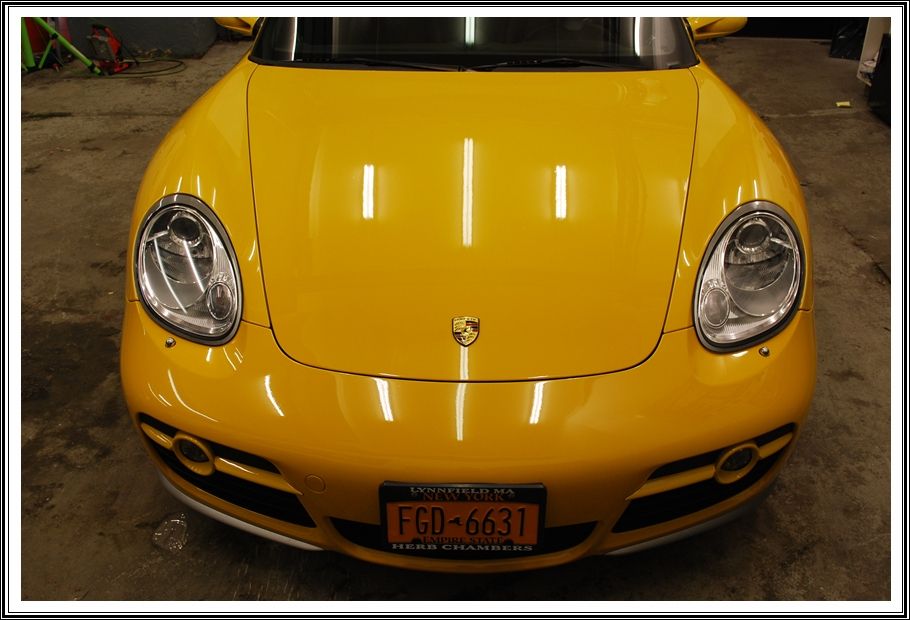
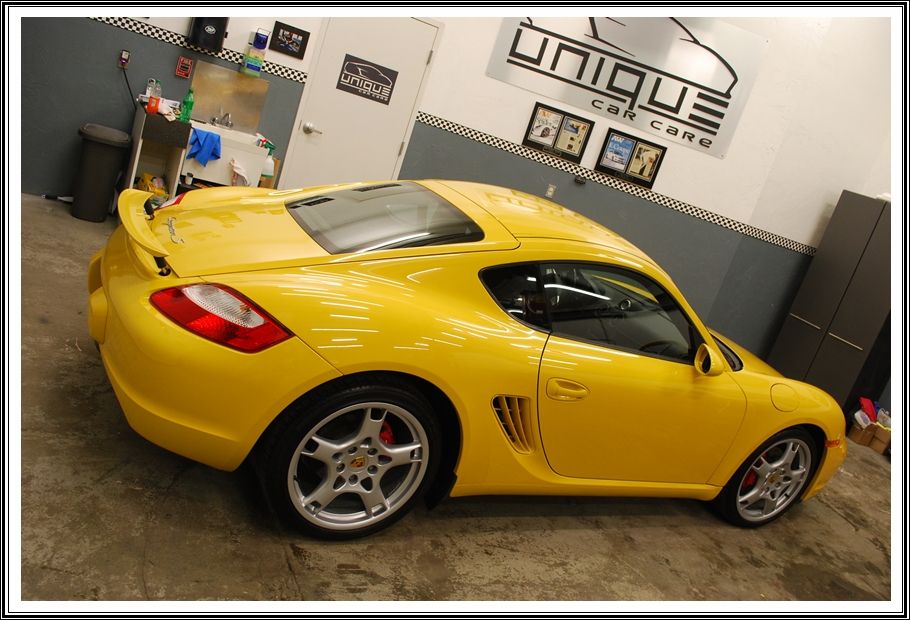
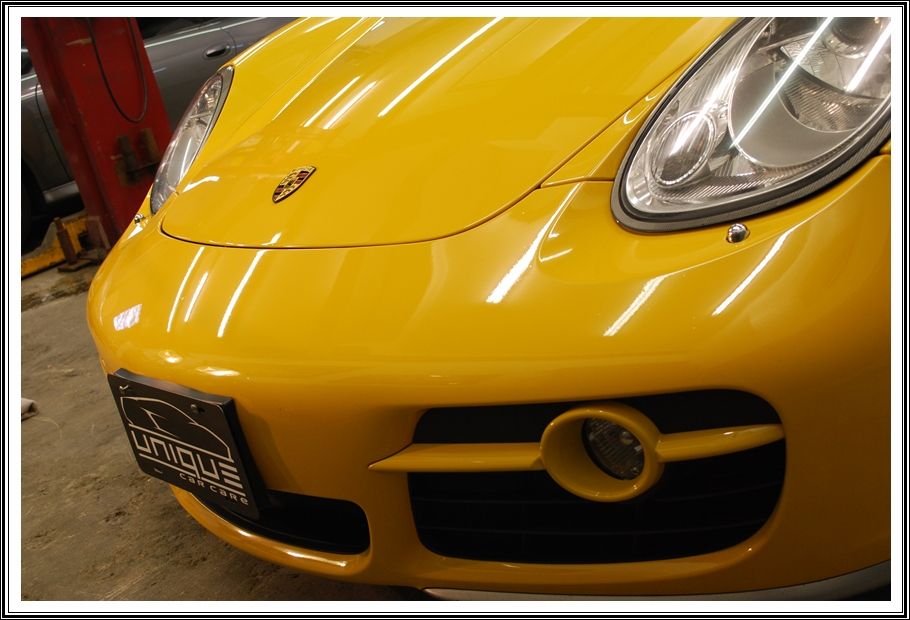
Here’s the finished product inside the shop.
Perfect!
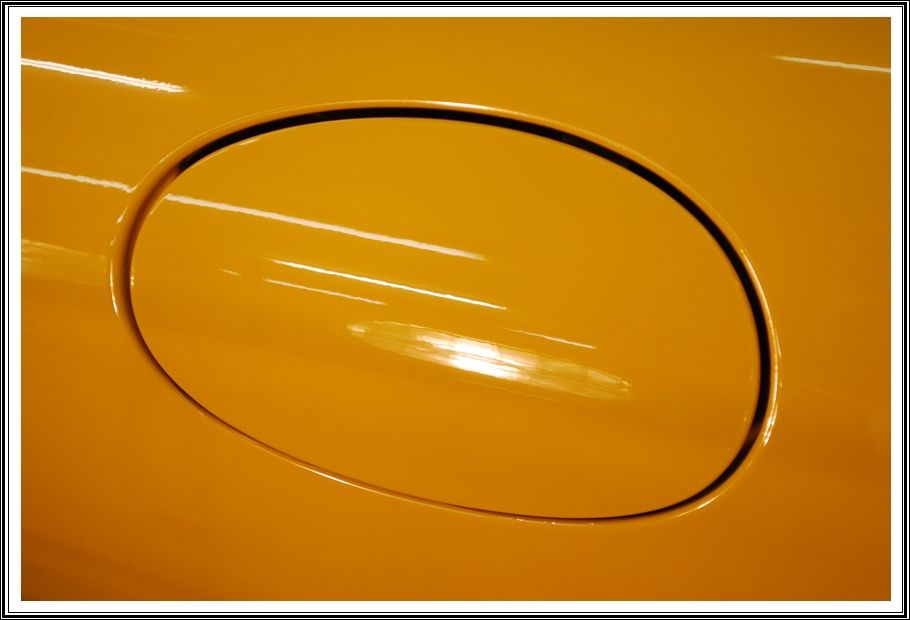
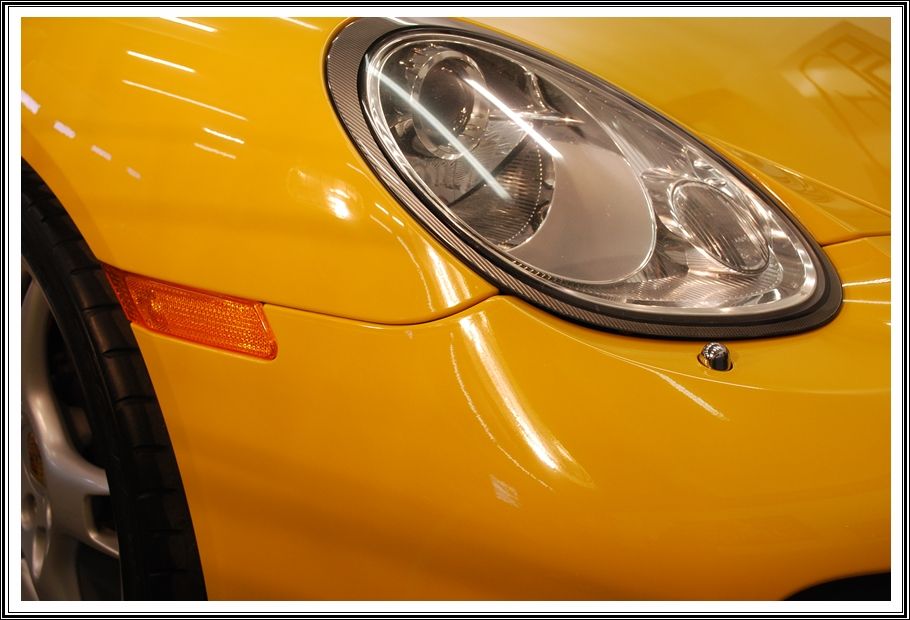
A few close-ups of the film install
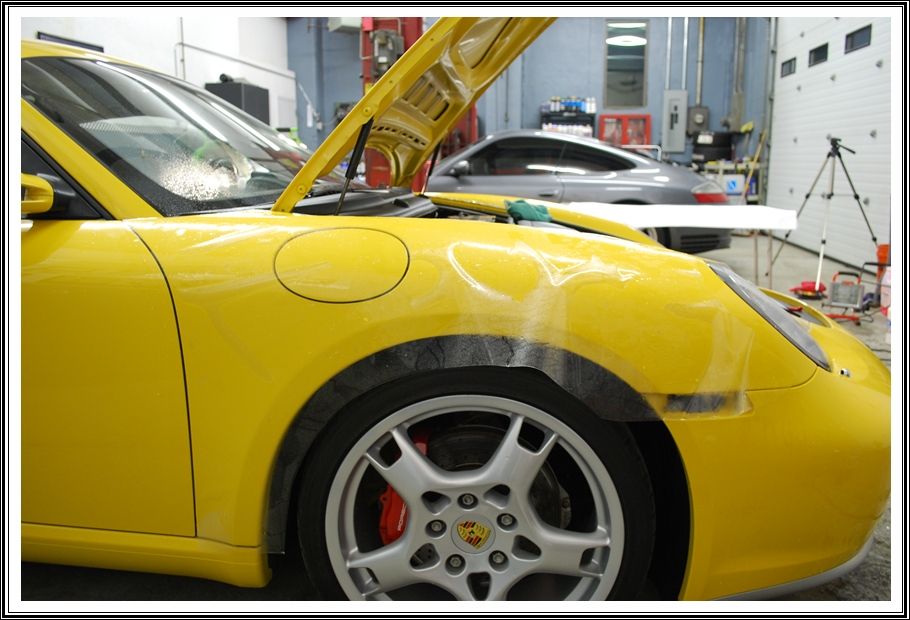
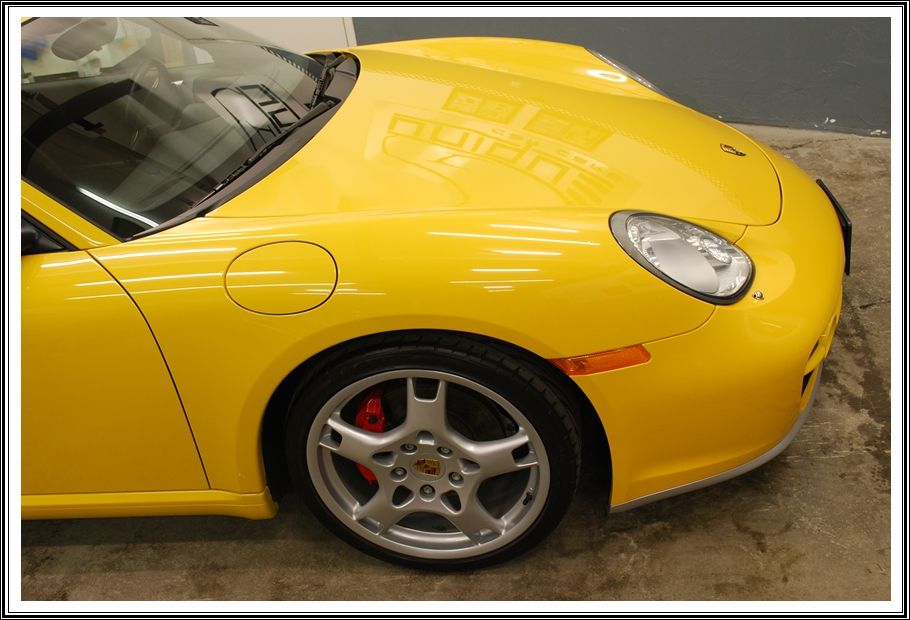
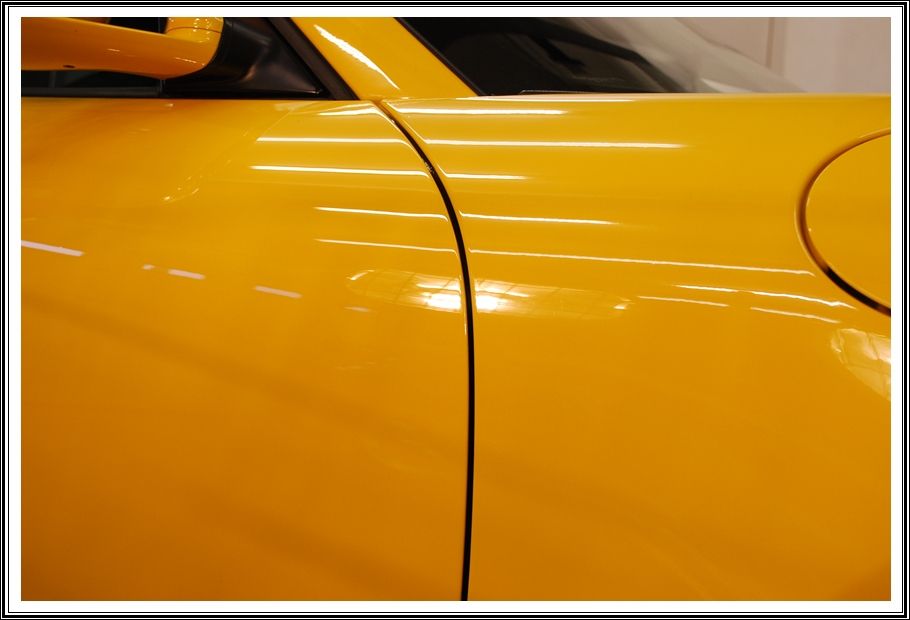
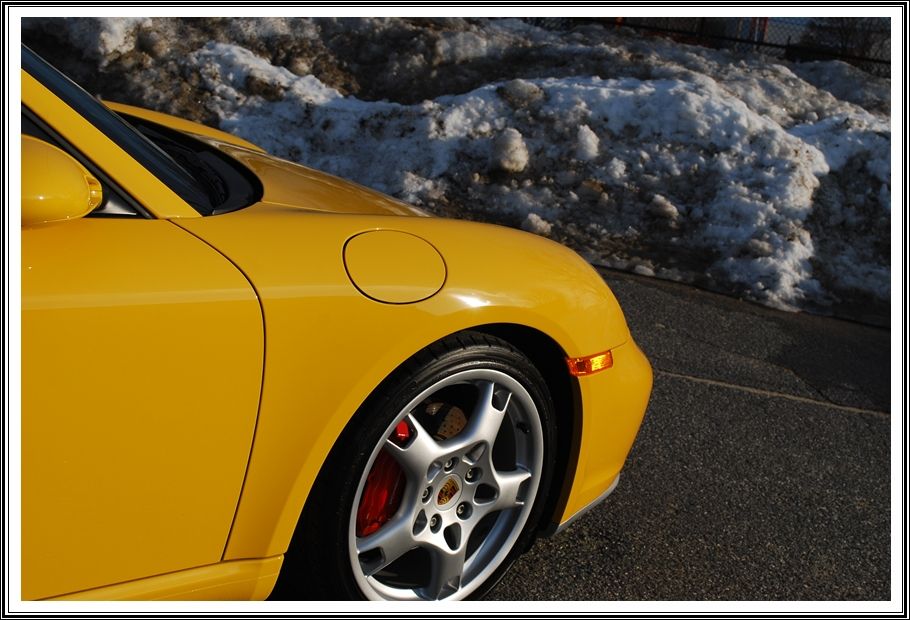
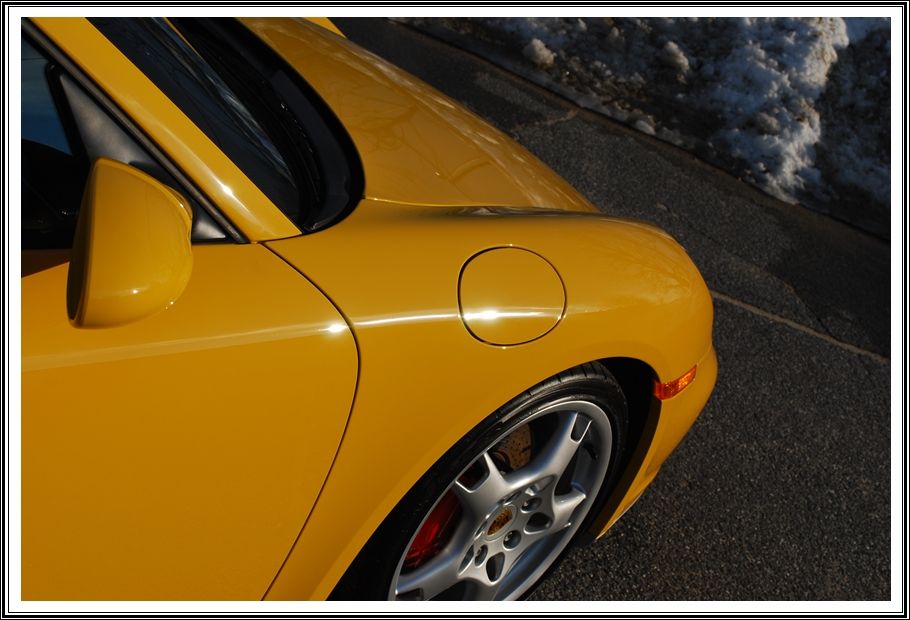
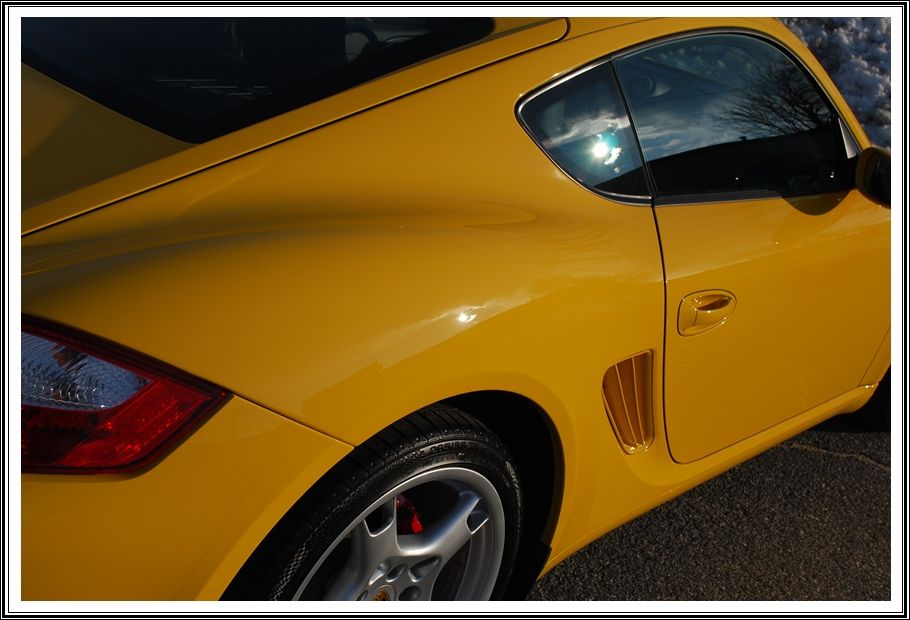
Fuel door:
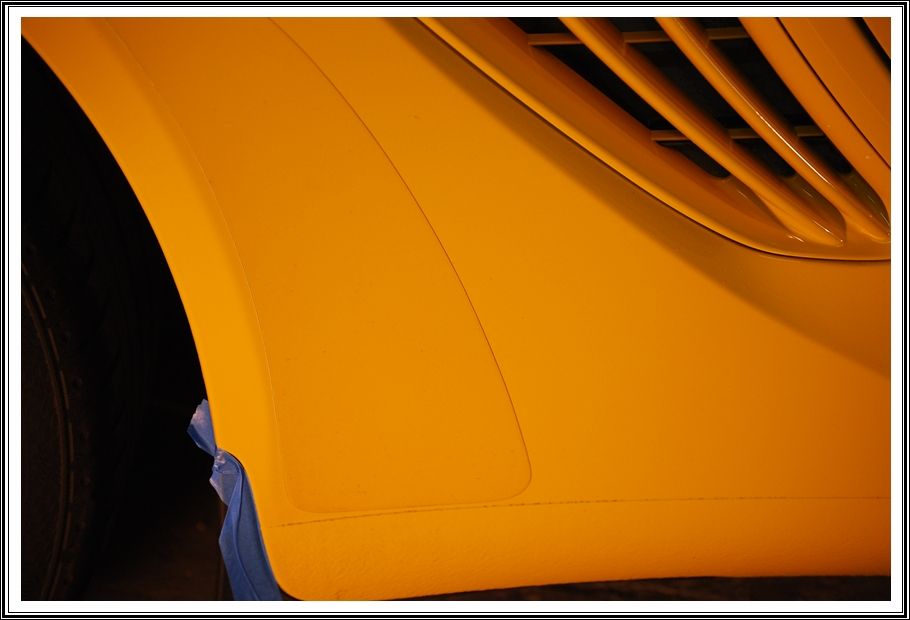
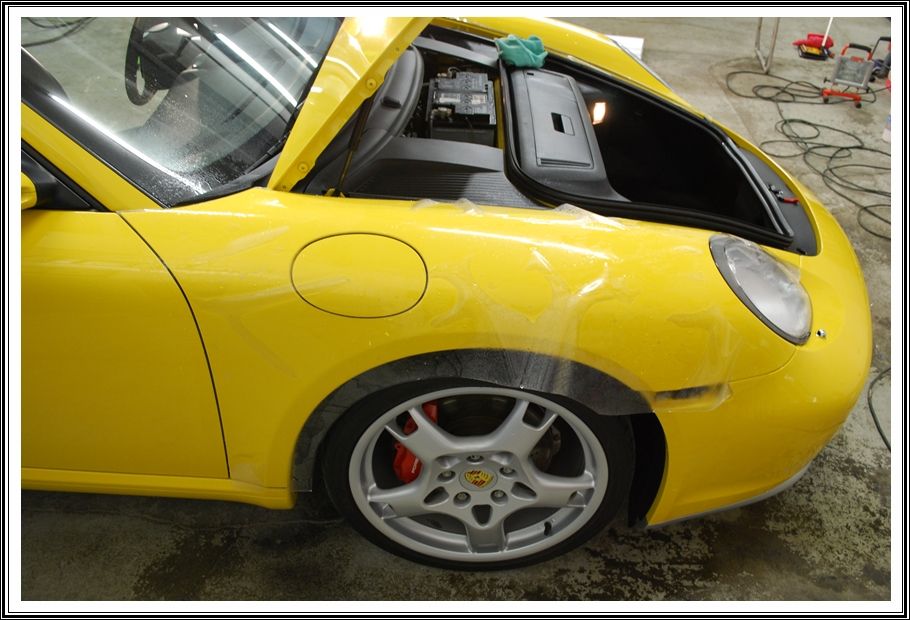
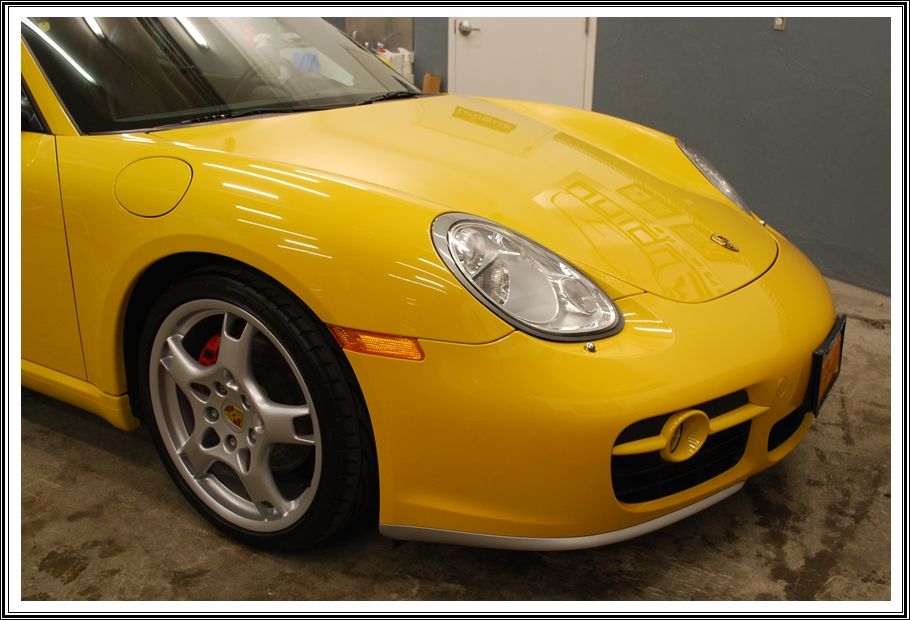
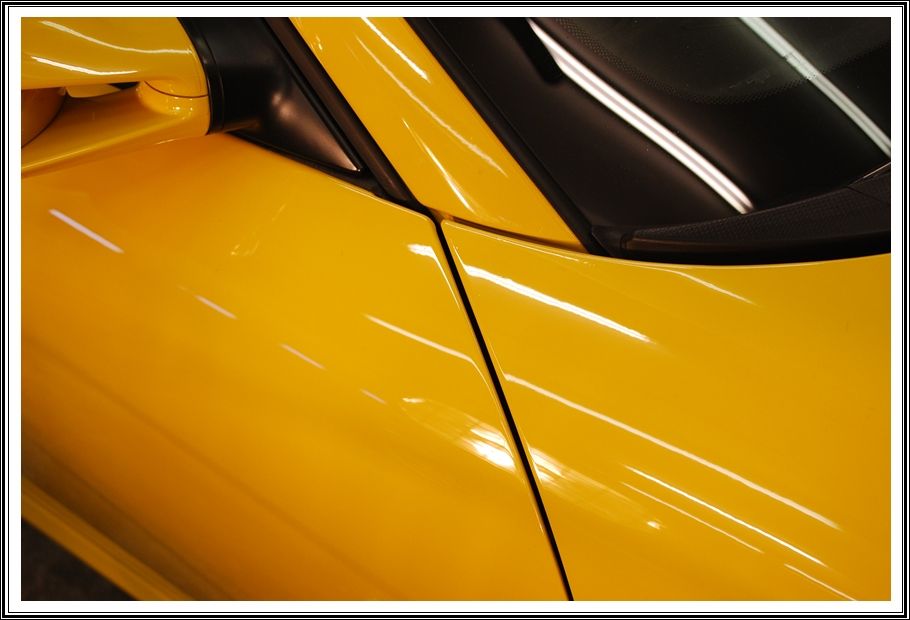
Edge of the fender & bumper:
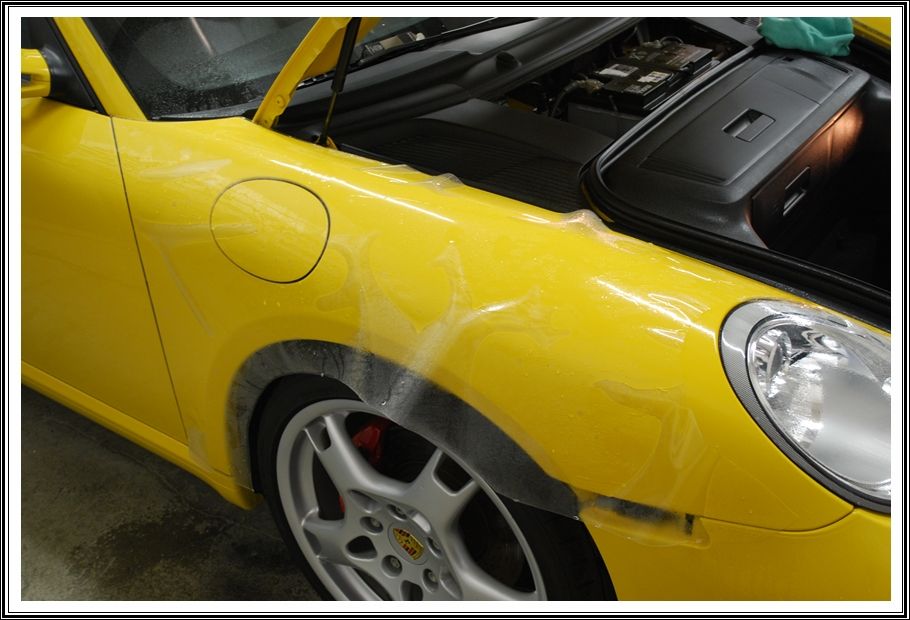
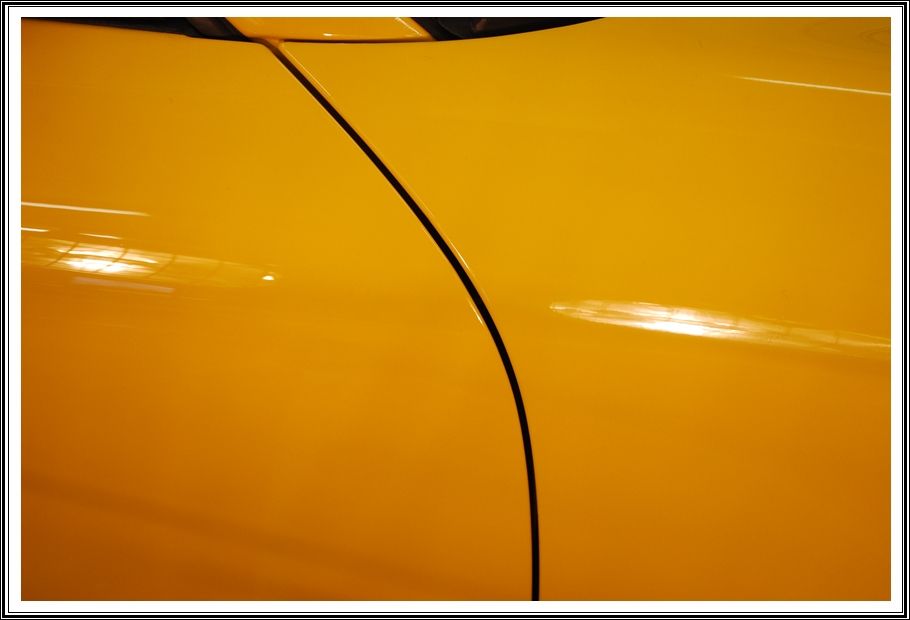
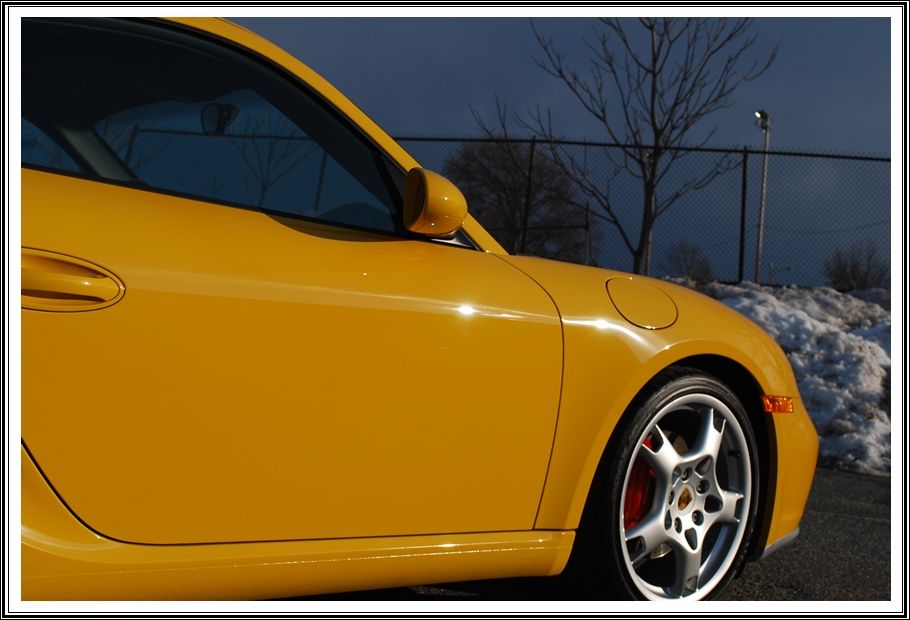
Comparison between the door (no film) and the front fender which is covered in film. As you can see, it is virtually invisible and there are no seems…
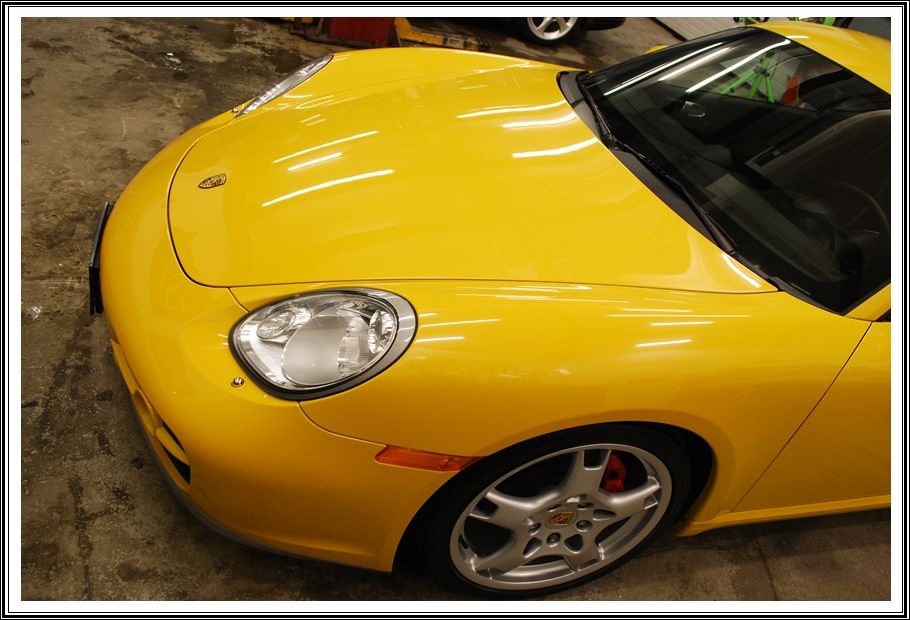
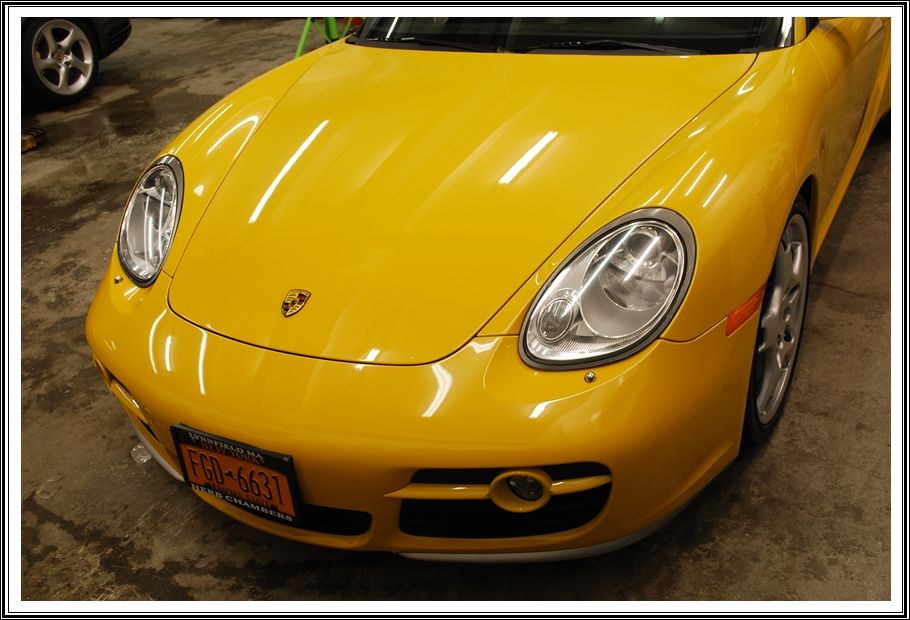
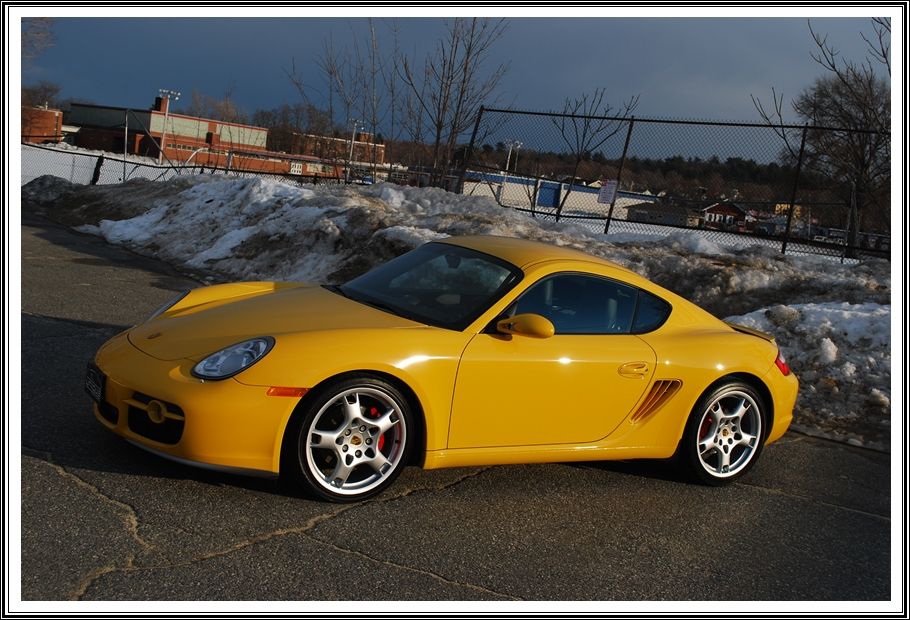
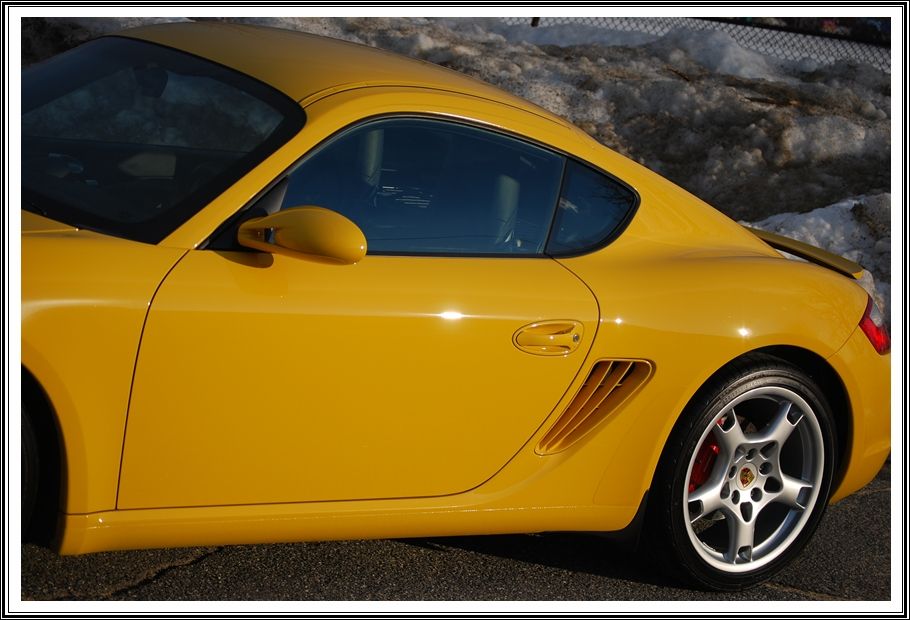
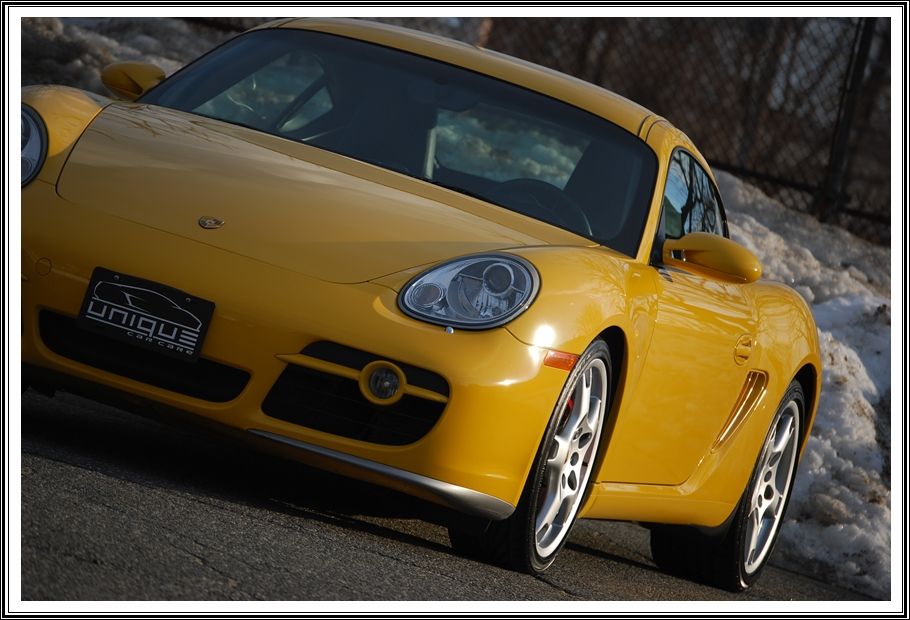
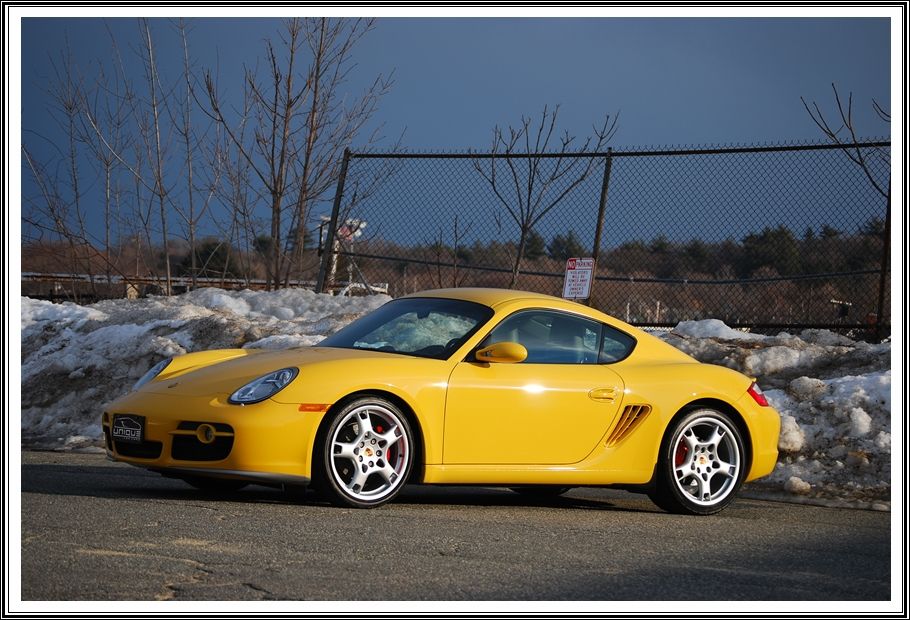
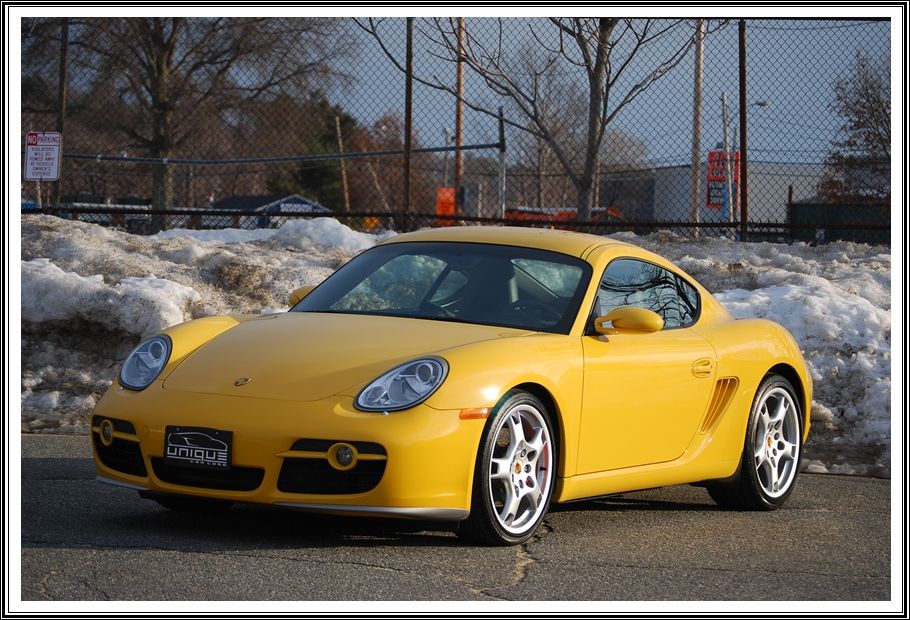
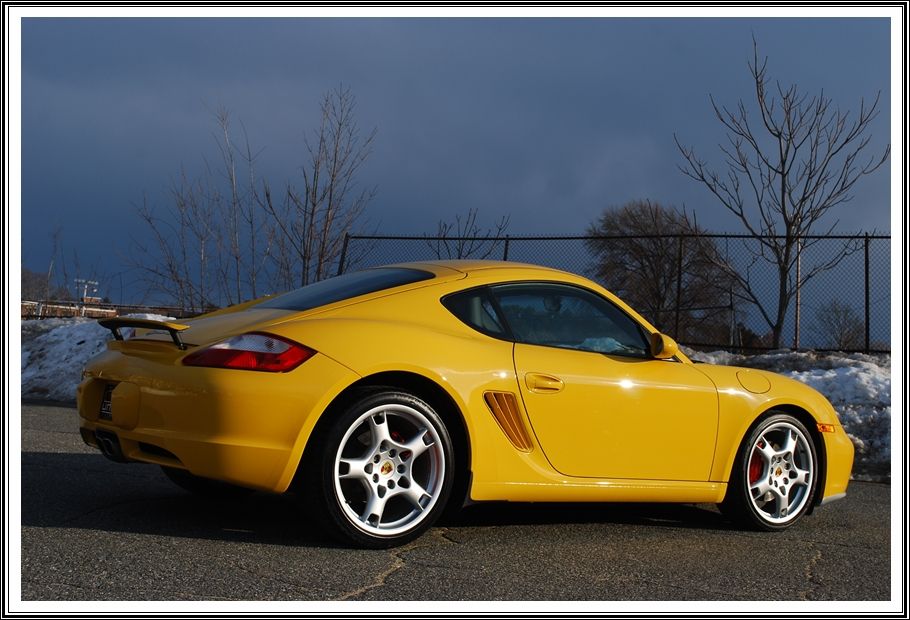
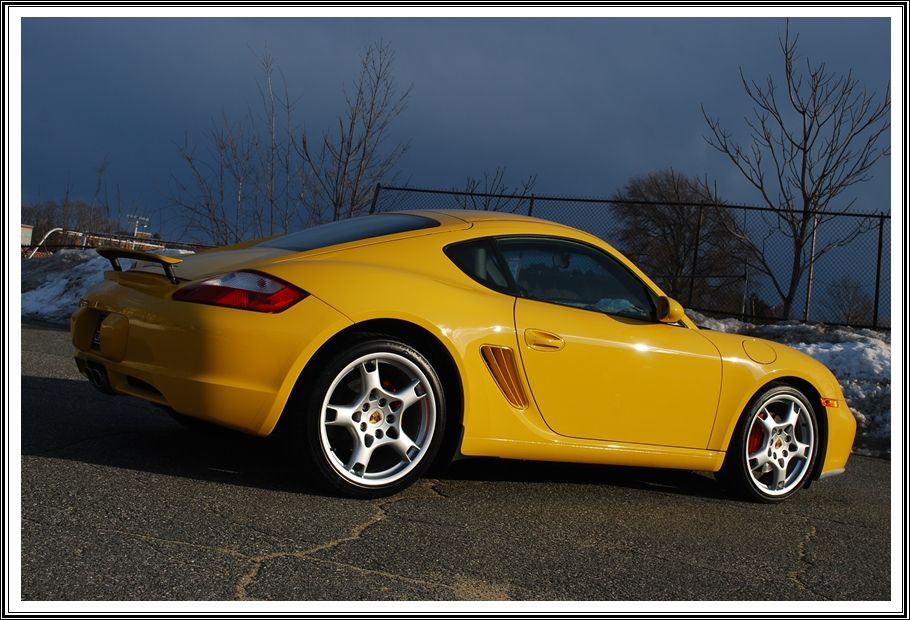
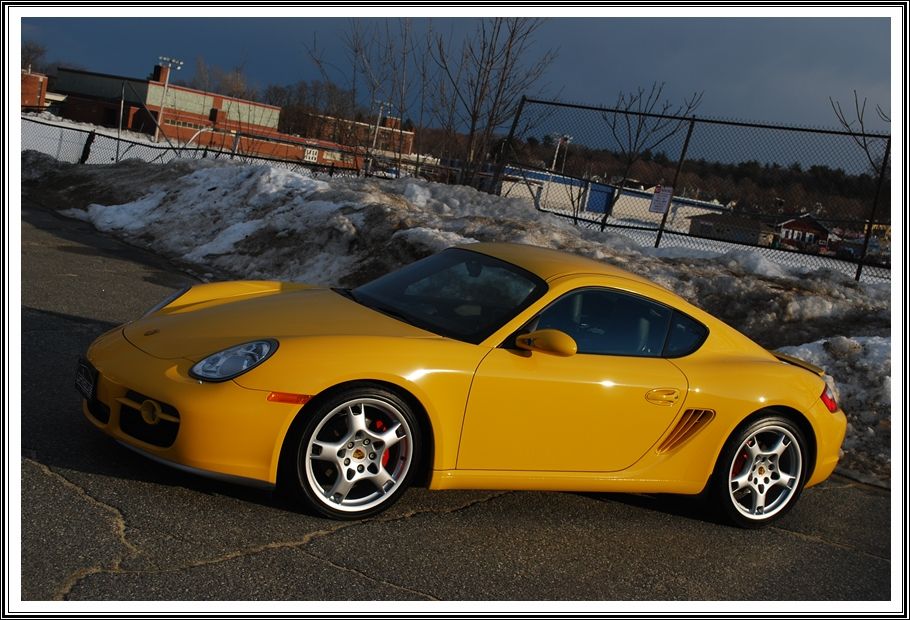
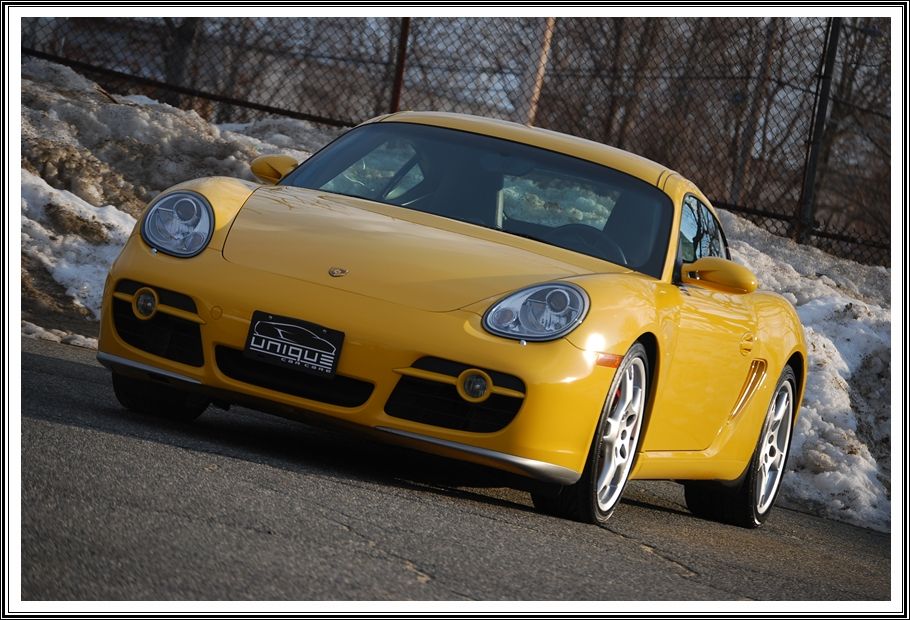
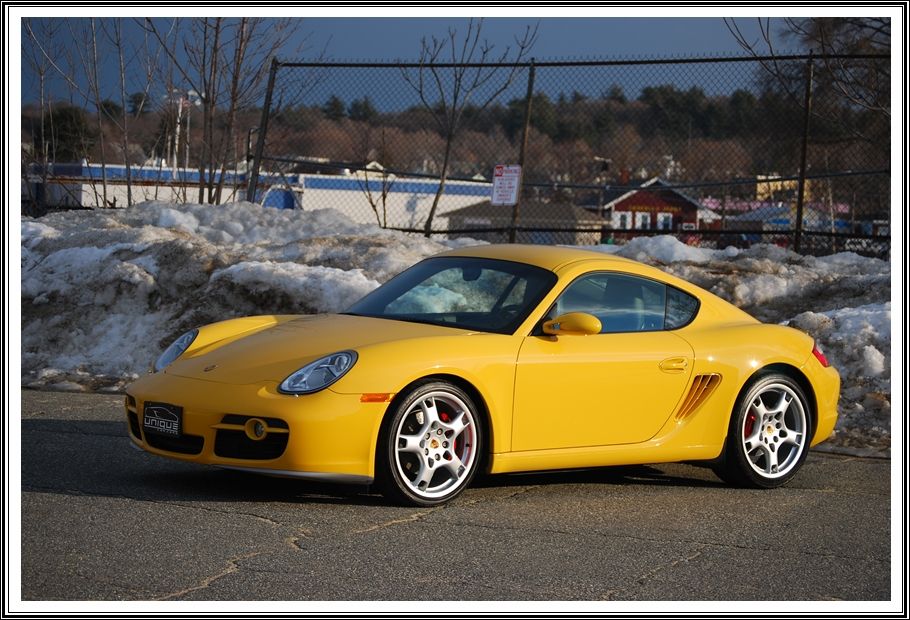
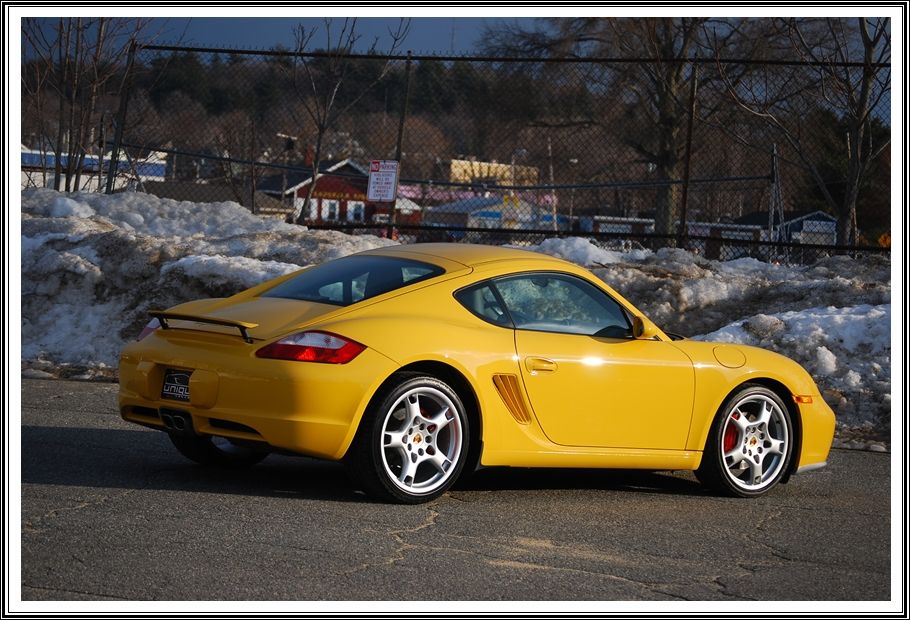
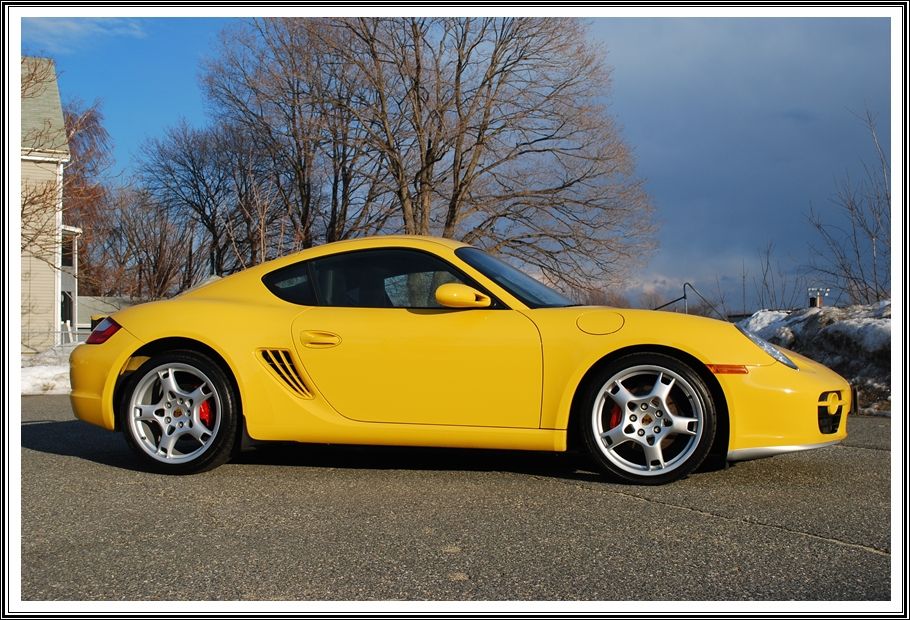
Here’s some pictures of the car outside in the sun. I tried to capture the sun reflecting off the panels that were both covered and not covered in film to show well this film compares to the factory paints gloss, texture and clarity. If nobody told you, you could look at the car an hour and never even know it was covered in film. Even better, the owner doesn’t have to worry about stone chips and road rash anymore.
Even though I am a Mustang guy, I still have a very soft spot in my heart for Porsches... the paintwork on that Cayman looked deep enough to dive into!
Top notch work as always Rick! How long have you guys been doing clear film and vinyl wraps now? I REALLY like that you wrapped the edges too!!! :bigups