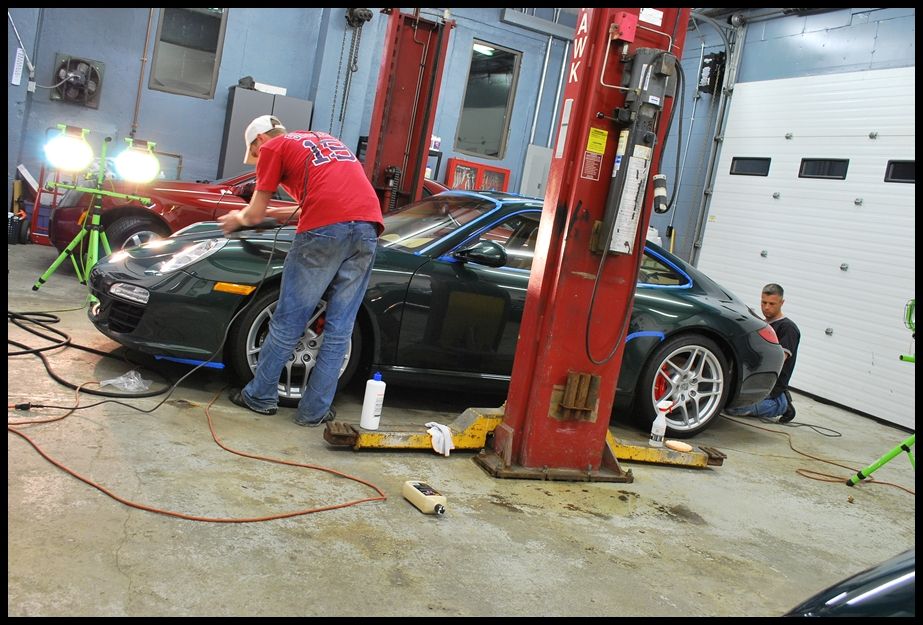
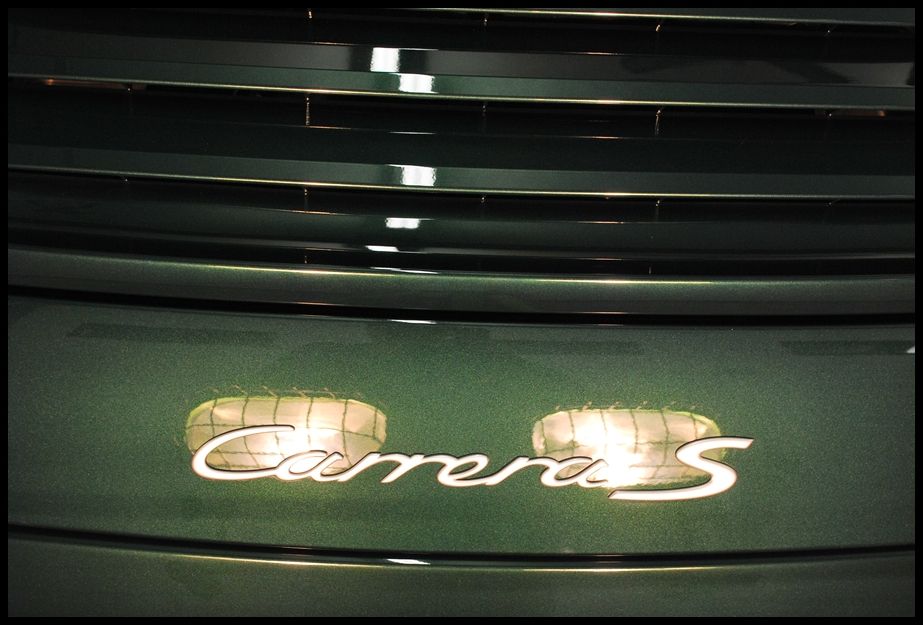
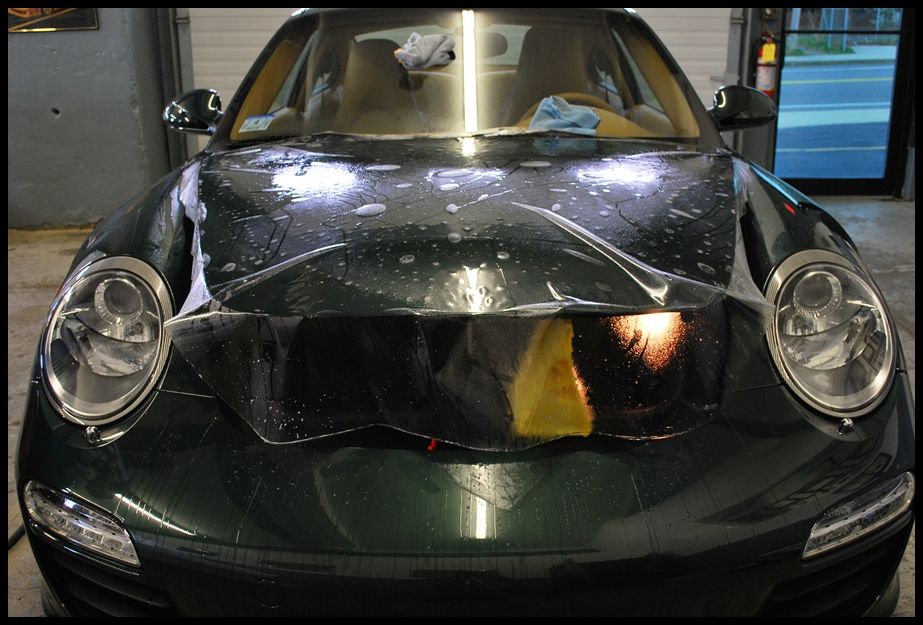
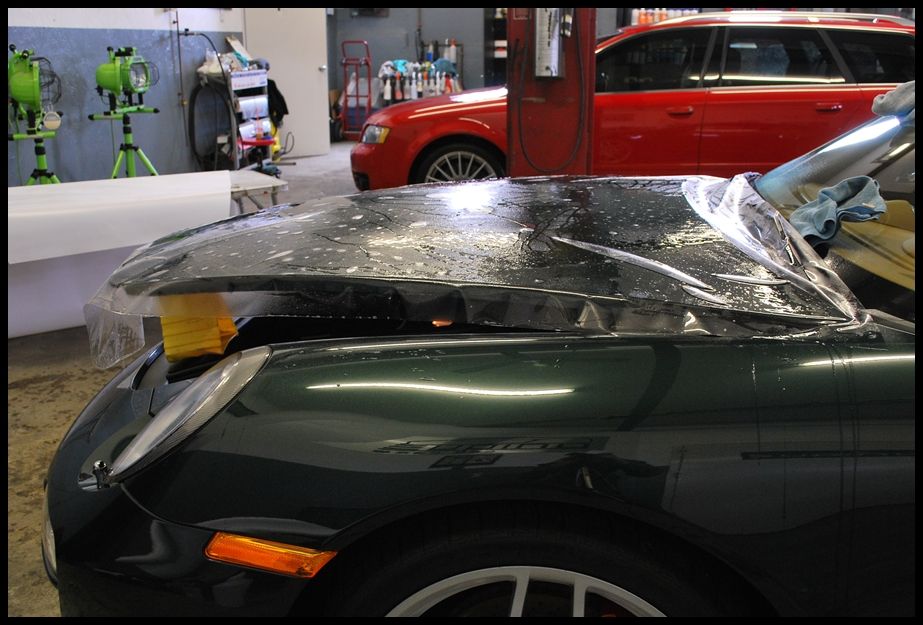
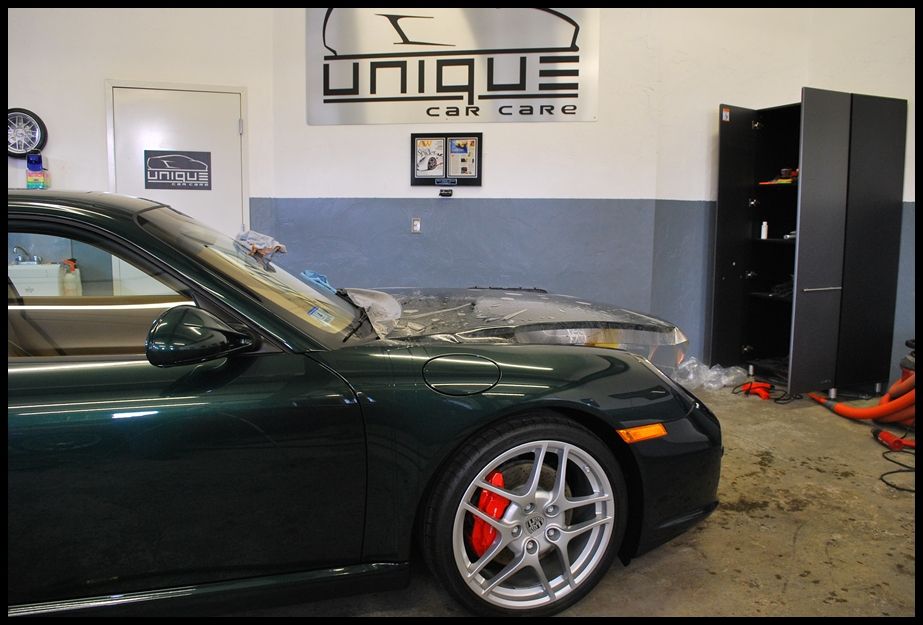
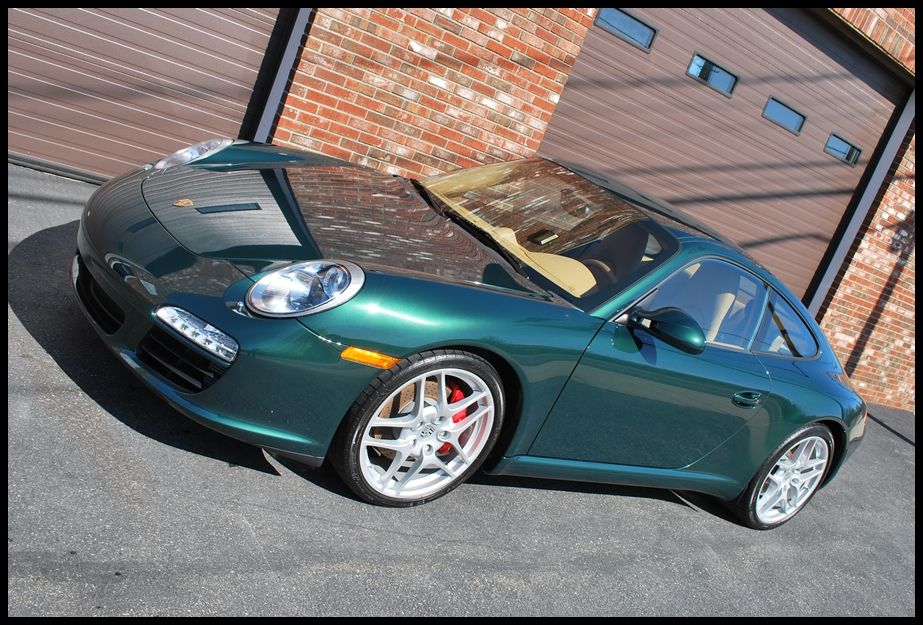
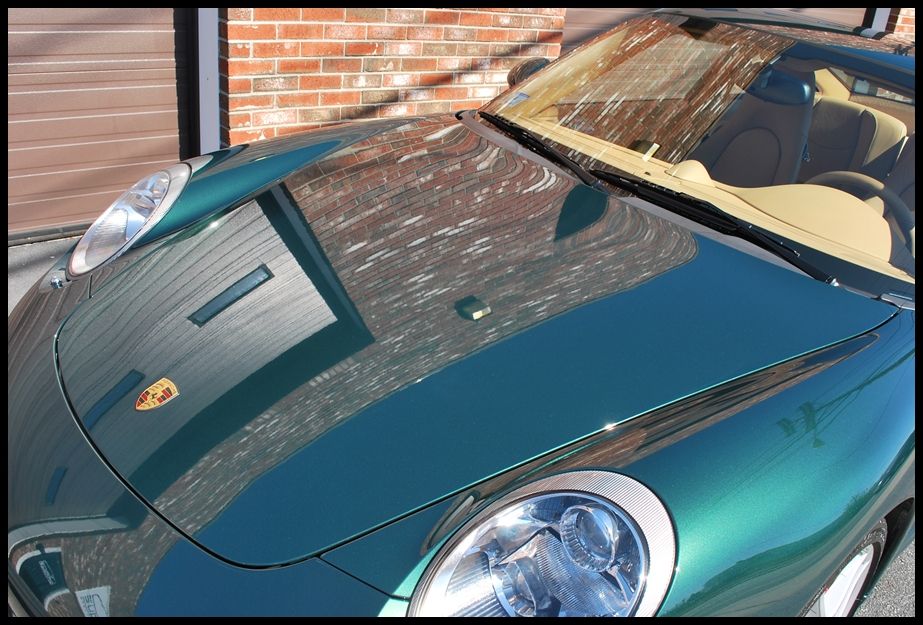
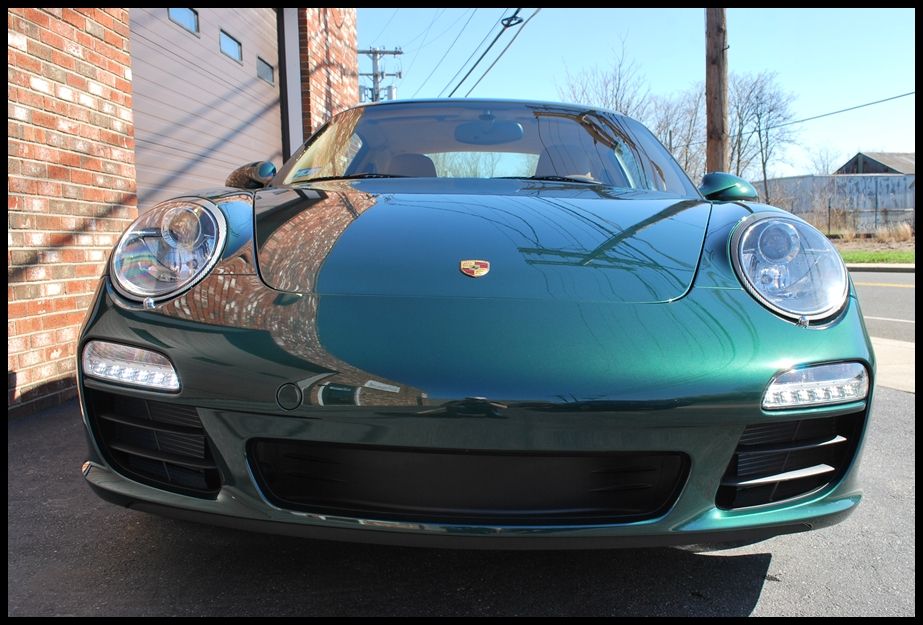
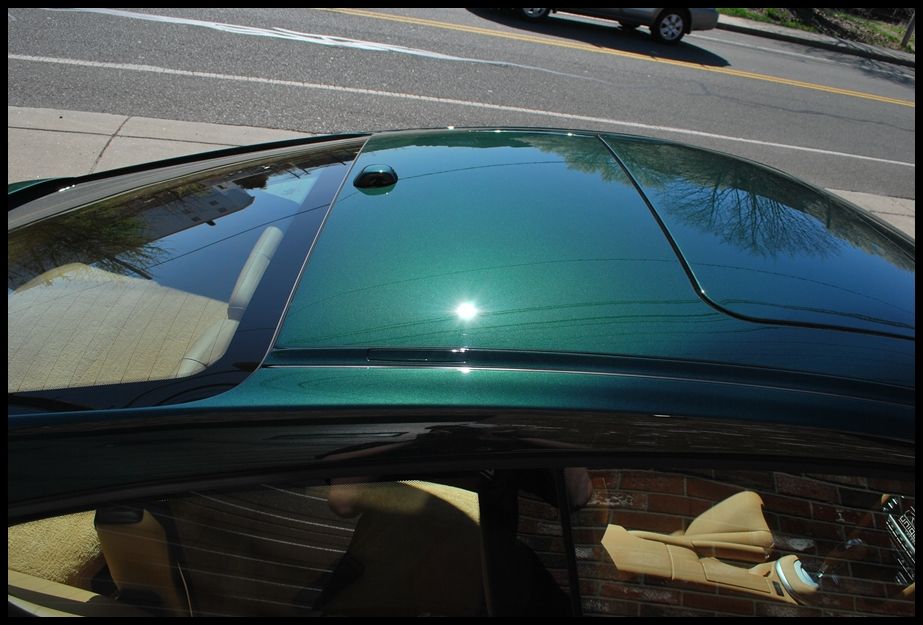
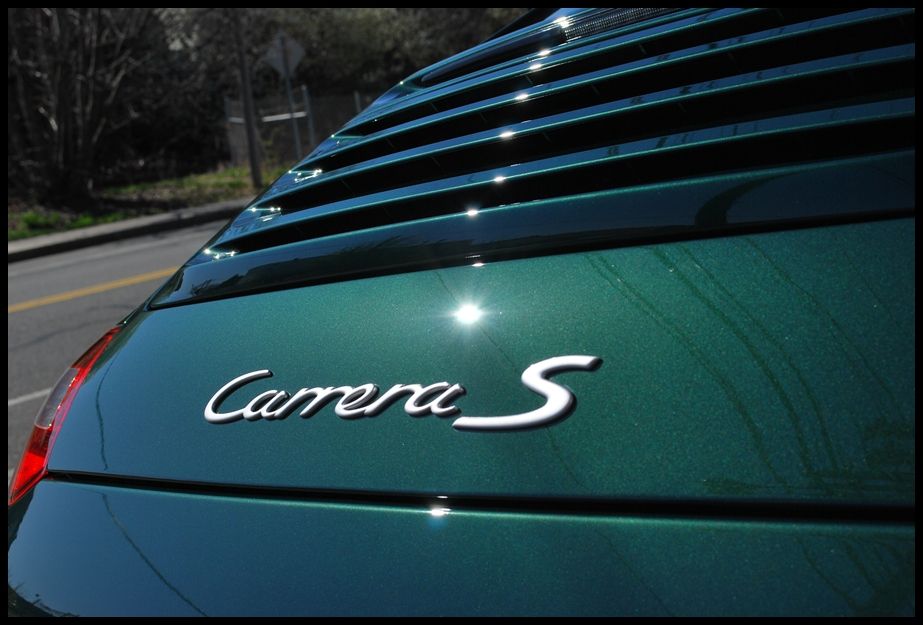
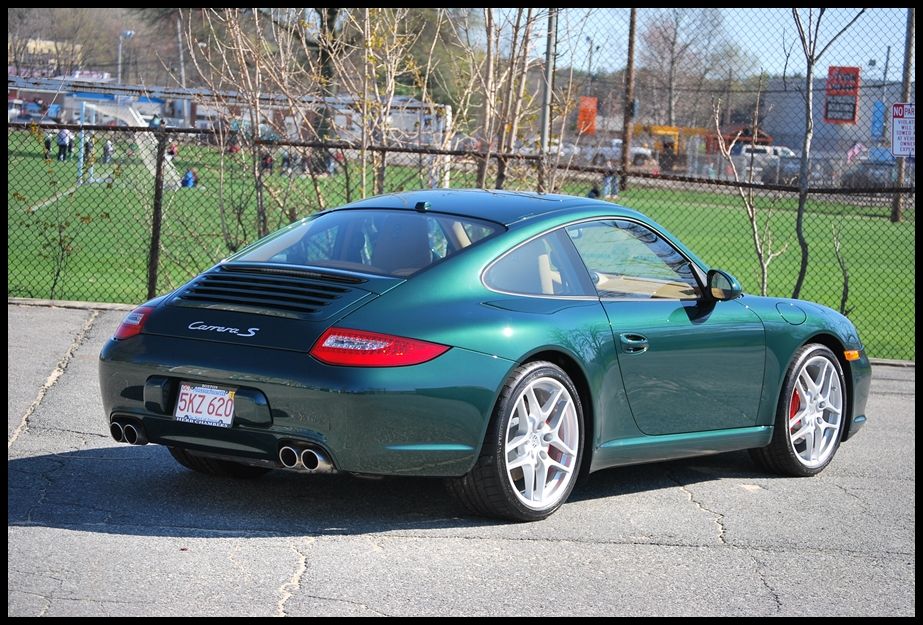
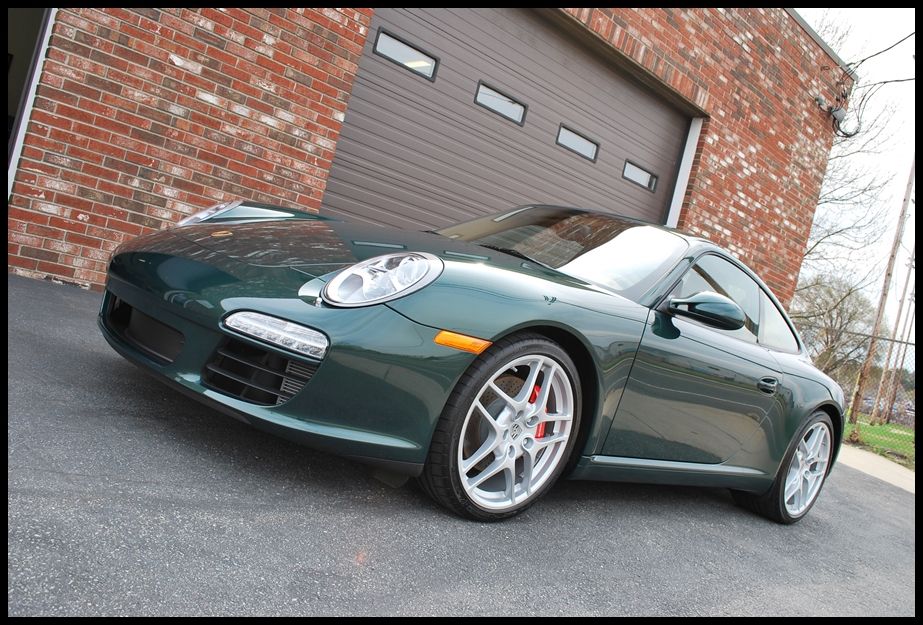
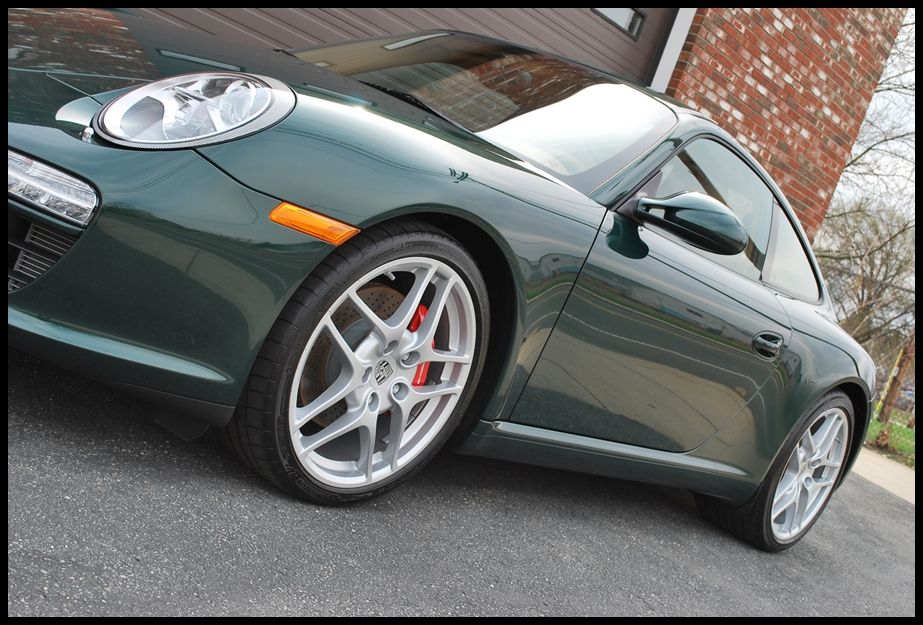
This beautiful 09’ Porsche 911 Carrera S was purchased as a leftover and the odometer was showing only 34 miles when it arrived at the shop. The new owner had literally just picked it up from the dealer and brought the car directly to us for a new car prep and paint protection film (clear-bra) to make sure the car got off to a healthy start. I had been talking to the owner for a couple weeks prior to the appointment and discussed clear-bra options. The goal was to provide maximum protection to the areas that are most prone to stone chips, without taking away any of the cars natural beauty. We decided to install film to the entire front-end of the car (complete hood, complete fenders, complete front bumper), side mirrors, the lower rocker panels and the area behind the rear wheels.
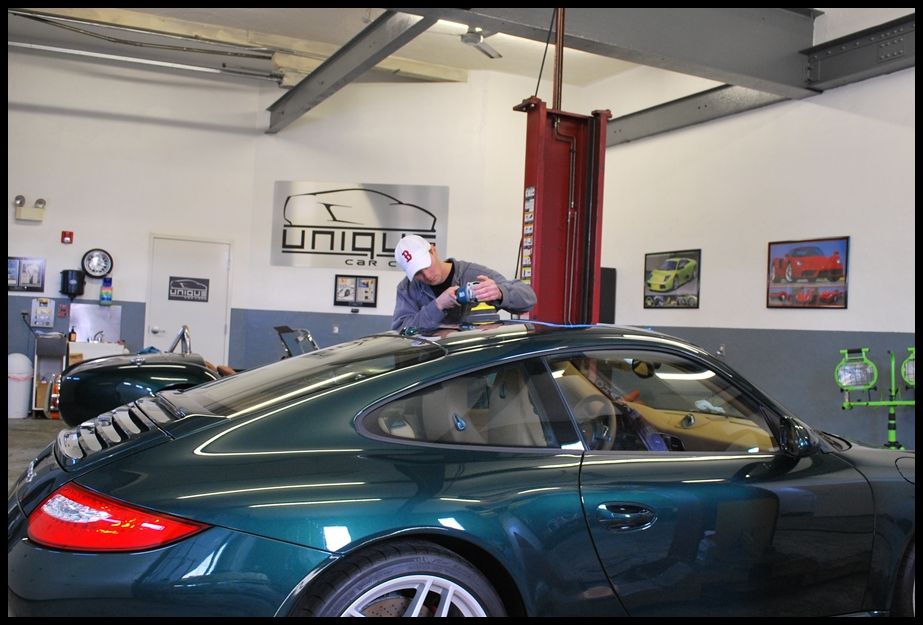
Before the film could be applied, it was critical to get the finish looking as perfect as possible. The film is so clear that any defects underneath would be visible, so it was very important to take our time on the prep to make sure the film would look its best and have a perfectly prepped surface to adhere to.
Knowing that dealers LOVE to use cheap glazes that mask defects, I was pretty sure that the exterior was going to need some serious attention. Being a leftover meant that the car has probably had its fair share of improper washes and plenty of wipedowns with dirty towels, etc. over the last year or so. As we all know, dealerships are the worst culprits for improper techniques, which normally results in some sort of damage.
The first step was to wash and prep the exterior to get it ready for polishing. I began to rinse the exterior and saw that the paint was beading like crazy, which meant that there was some sort of wax, sealant, glaze or quick detailer embedded in the paint.

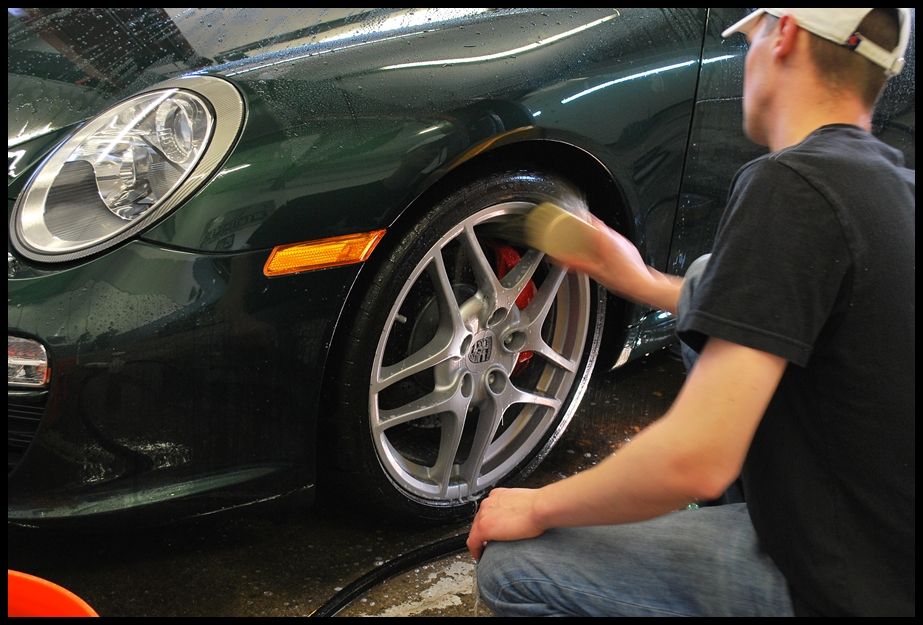
All wheels, tires and wheel wells were extensively cleaned with a variety of different brushes using Optimum Power Clean diluted 4 to 1.
In order to strip whatever products were embedded in the paint, I gave the exterior and wash using regular car soap, then followed behind and degreased the paint with CG Grime Reaper using a microfiber towel to ‘scrub’ the paint until it was no longer beading as seen below.
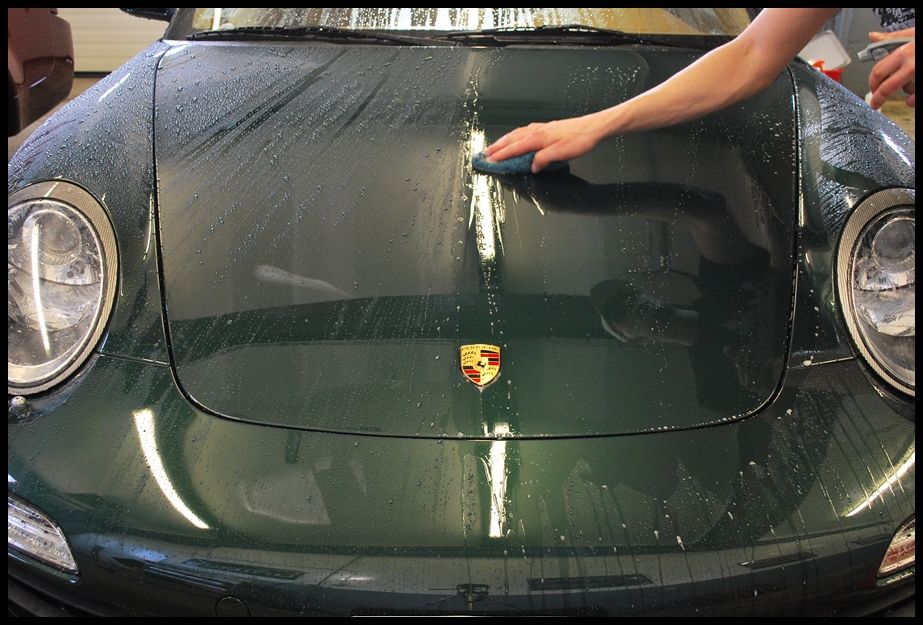
As you can see, the degreaser worked well at stripping any previous products from the paint (no longer beading).

After the car was fully washed and stripped, I dried the exterior, wiped down all door, hood & trunk jambs with a microfiber towel and purged all cracks & crevices with compressed air to remove any remaining water.
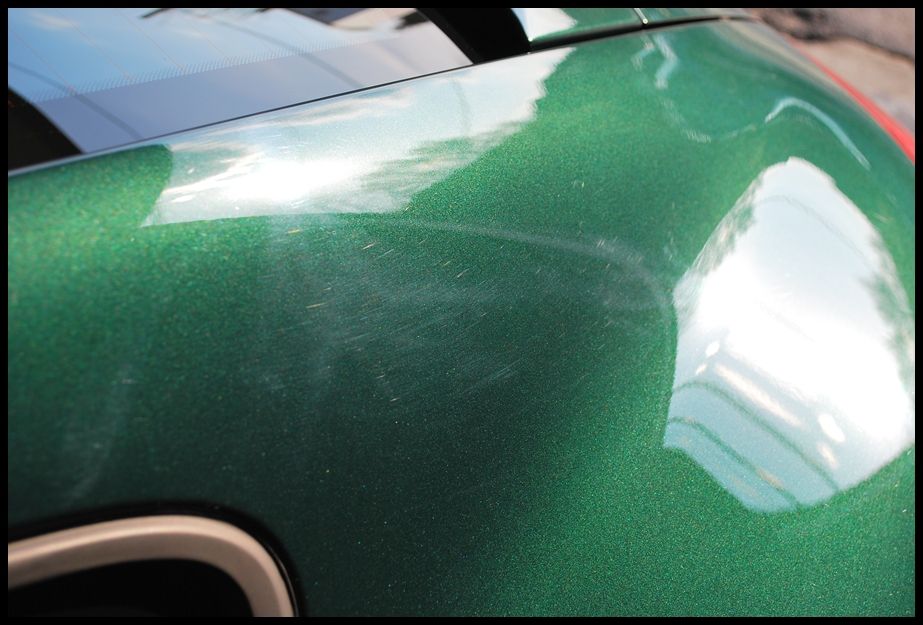
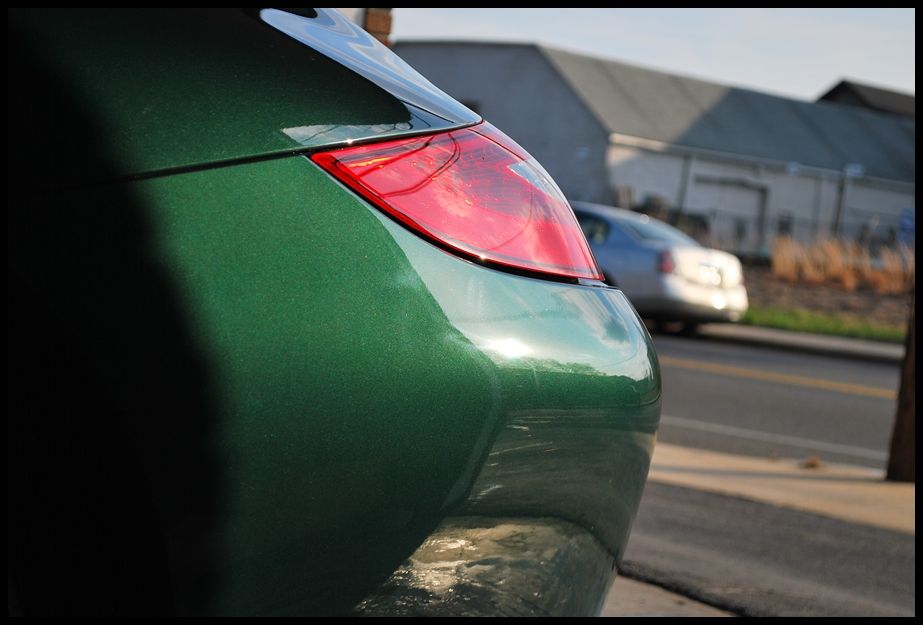
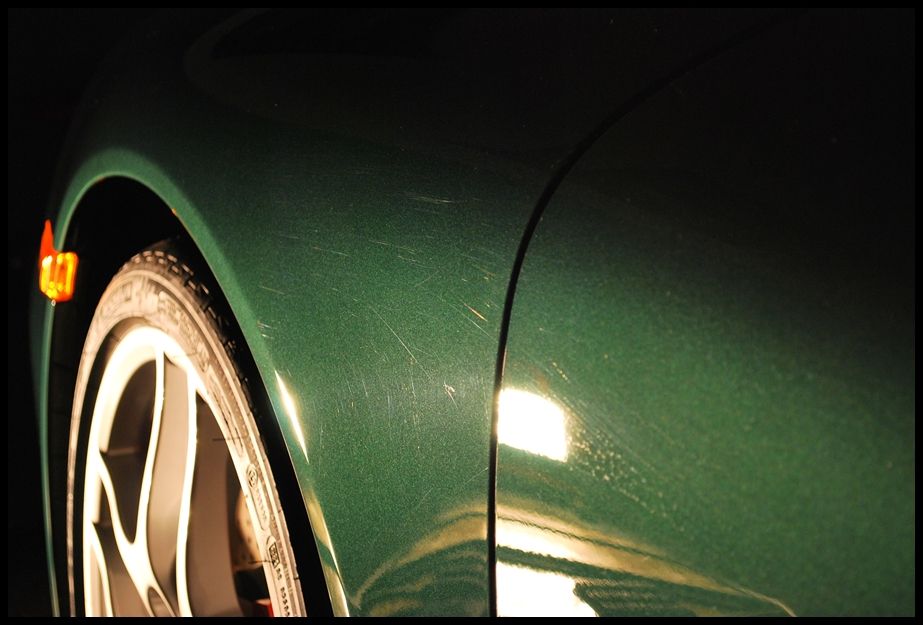
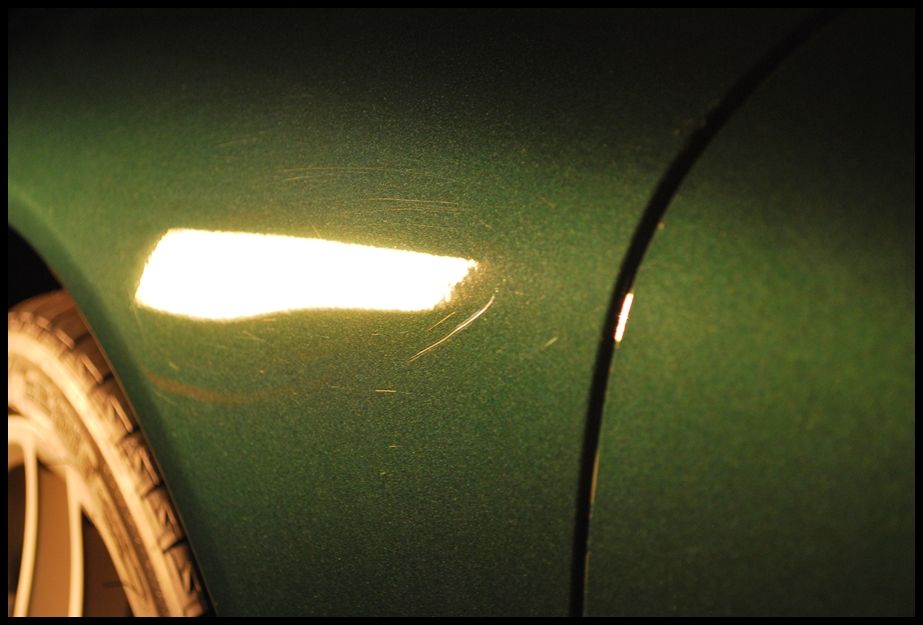
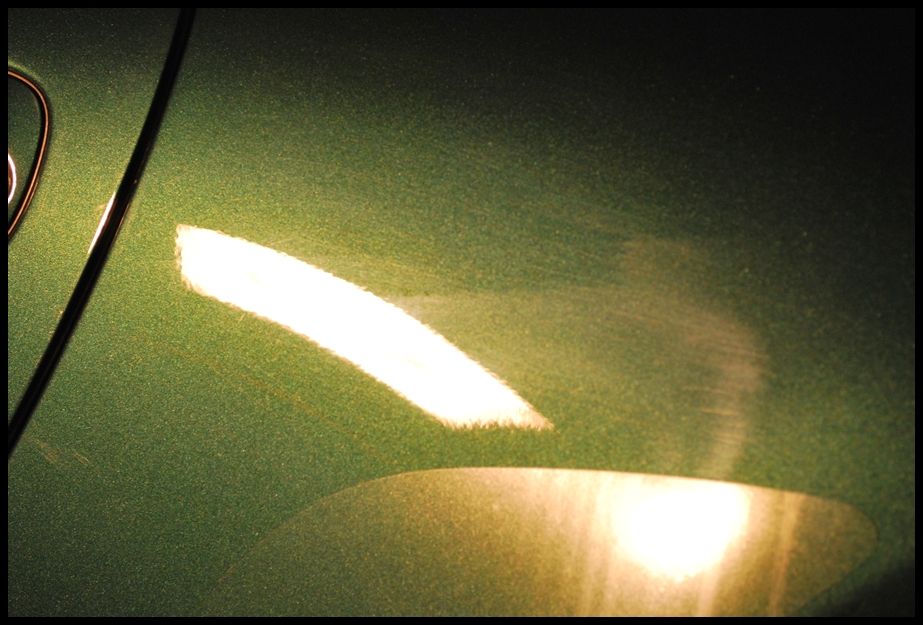
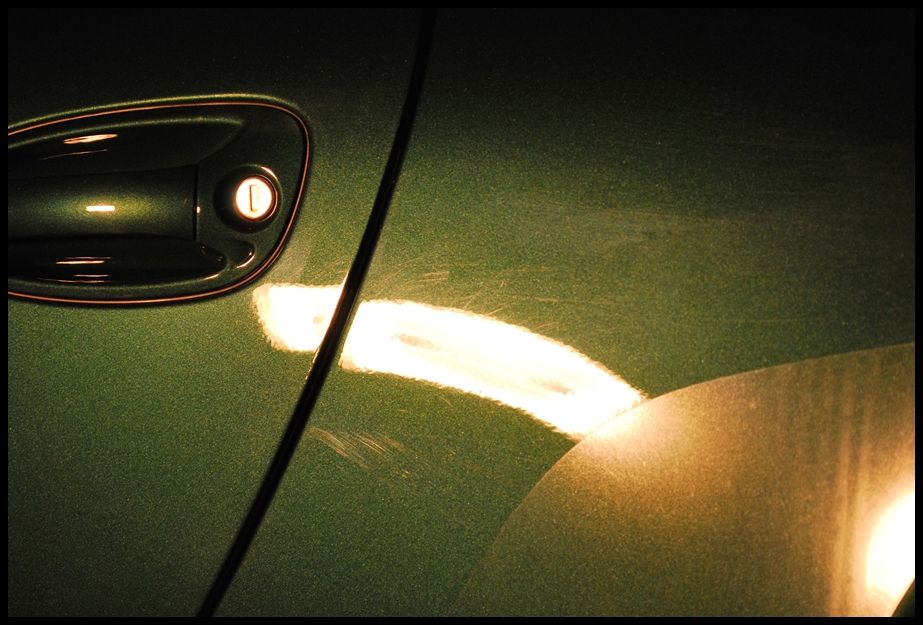
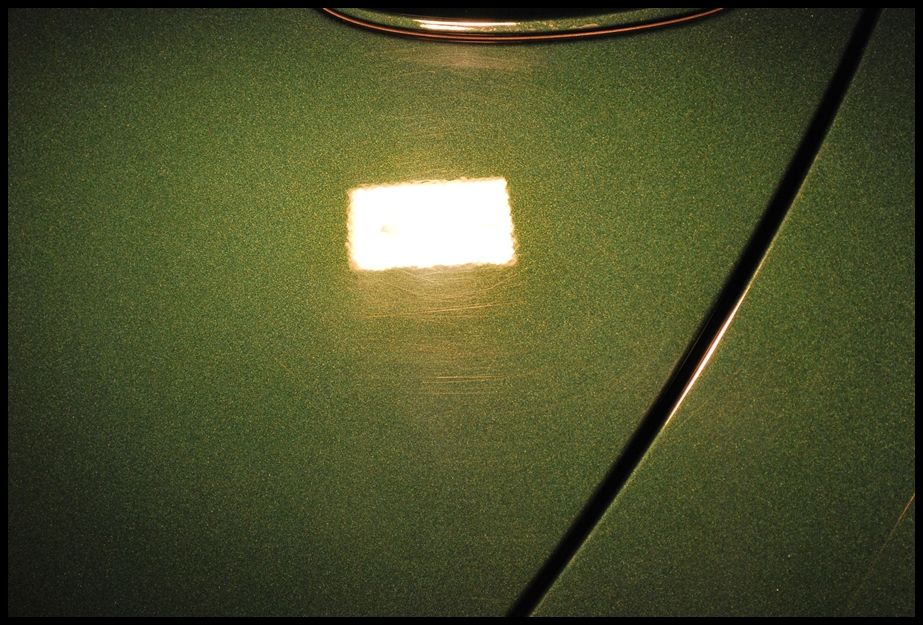
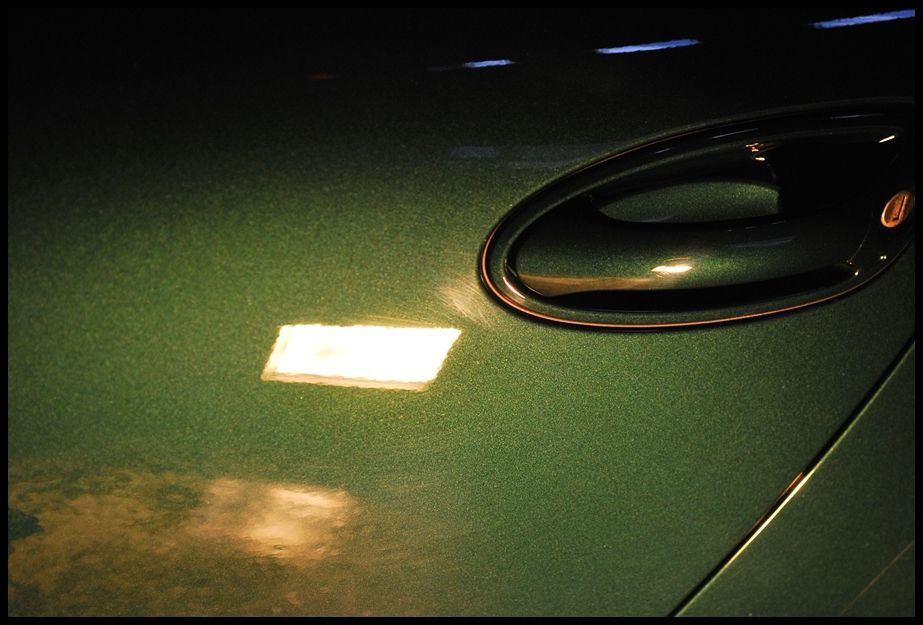
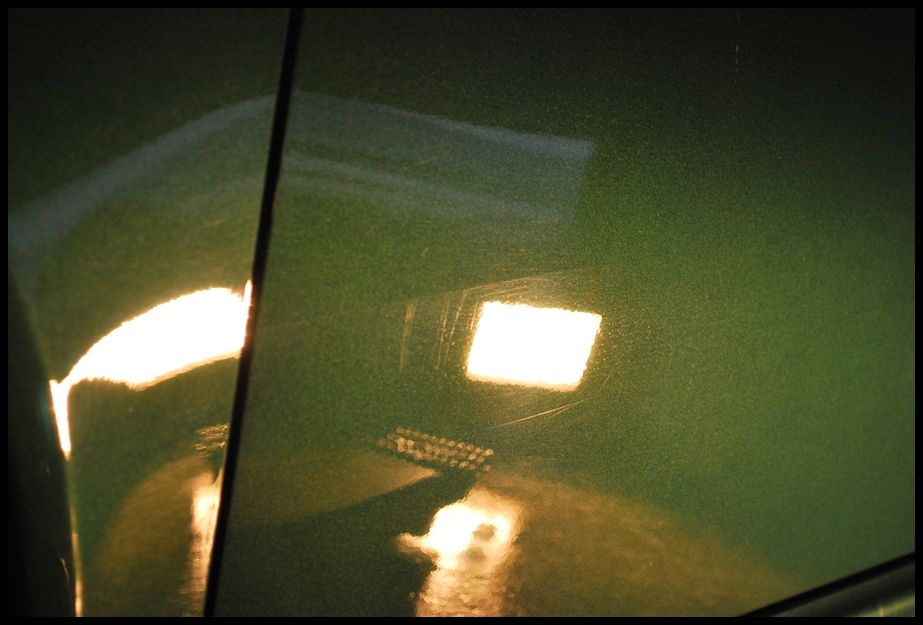
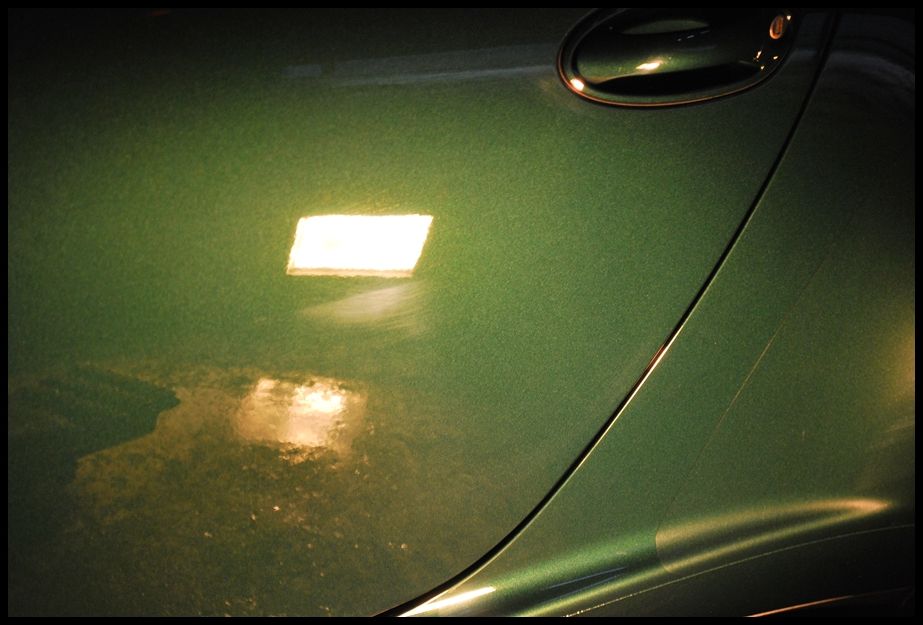
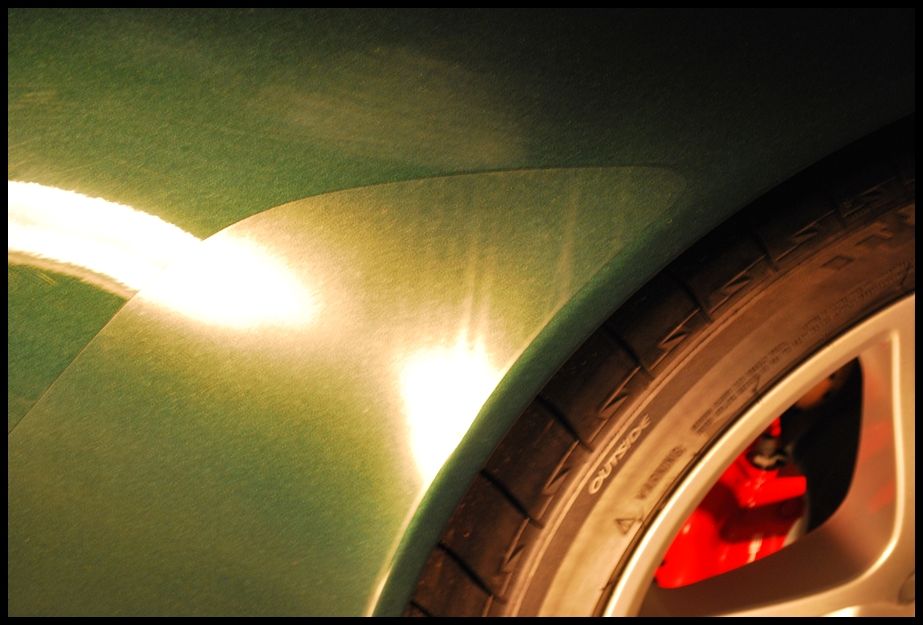
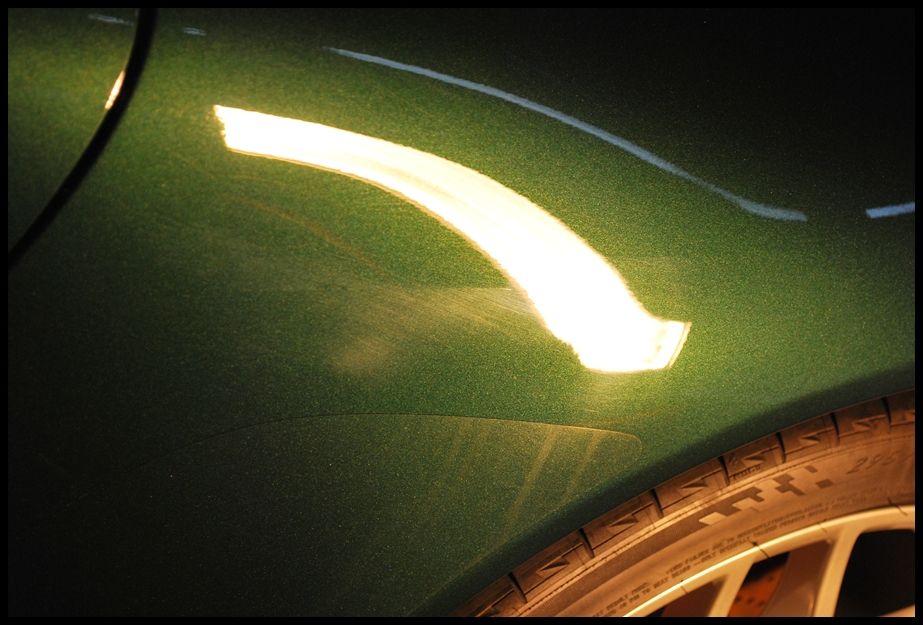
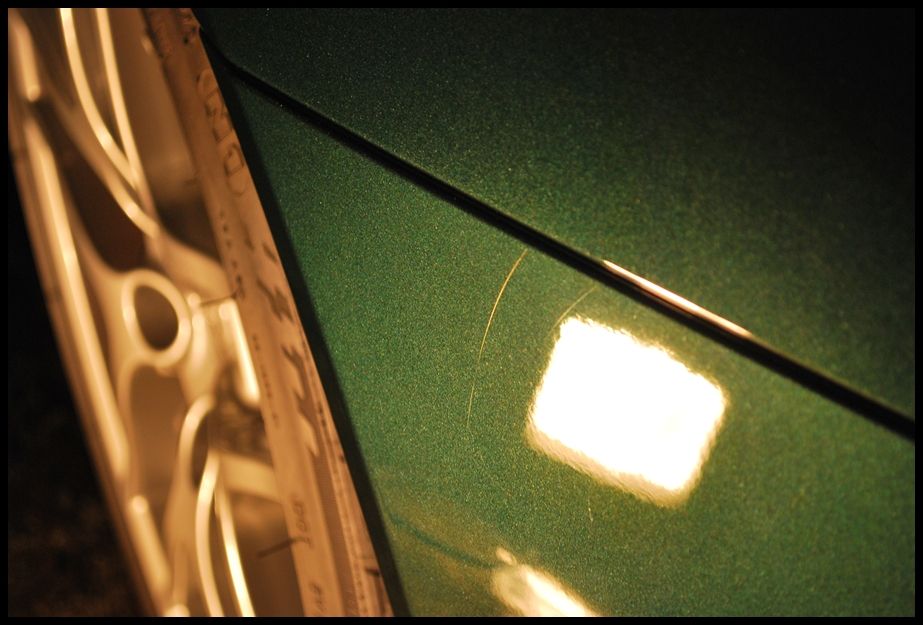
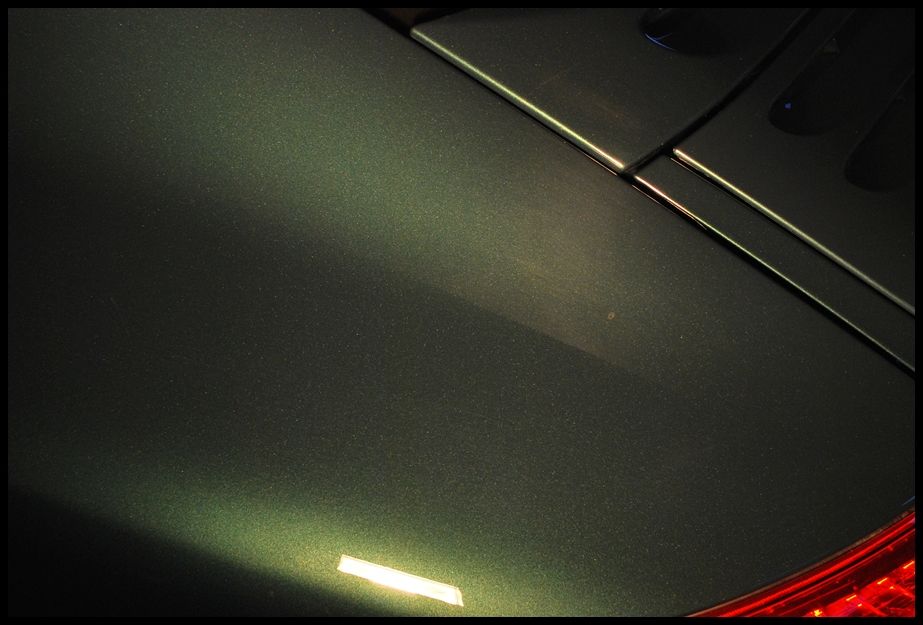
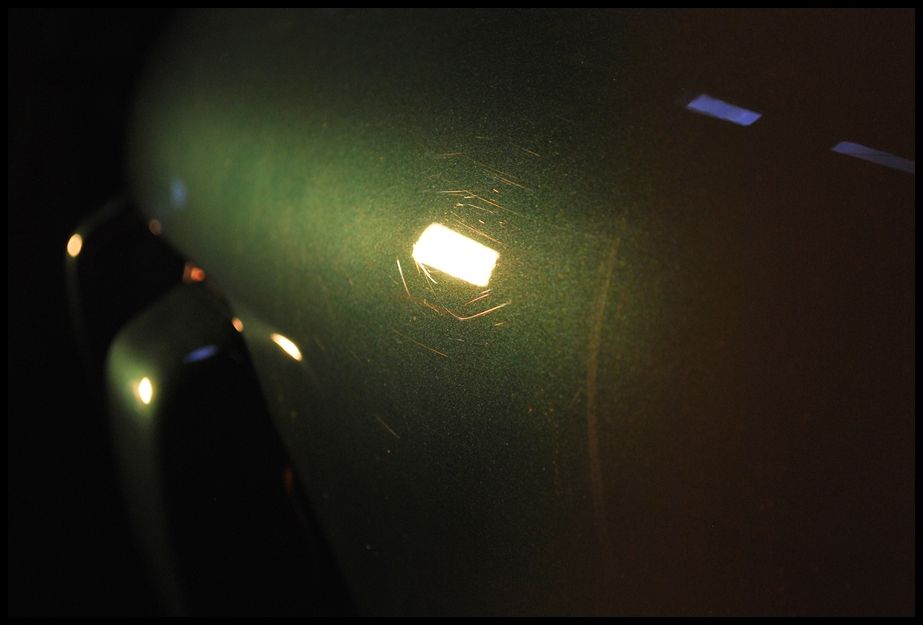
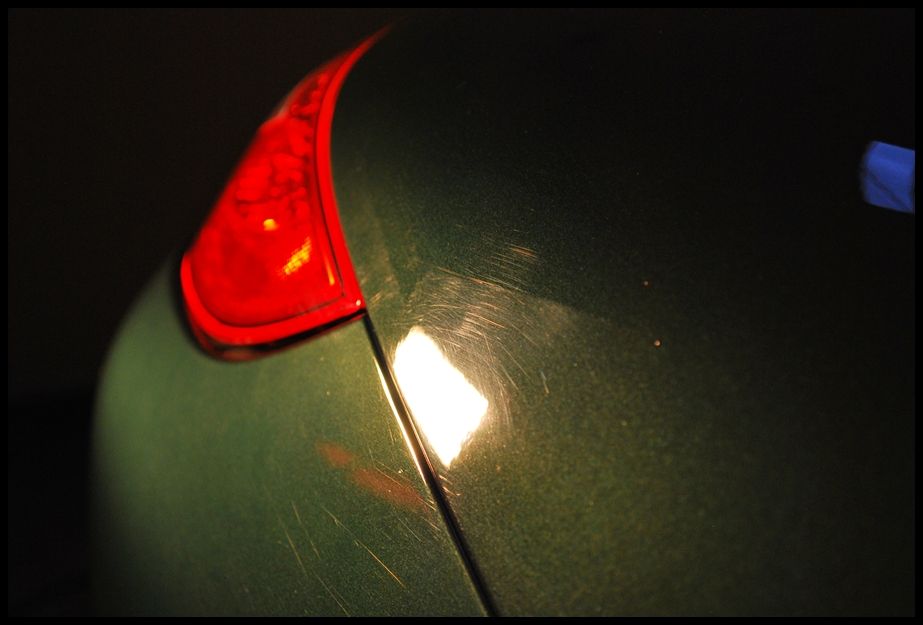
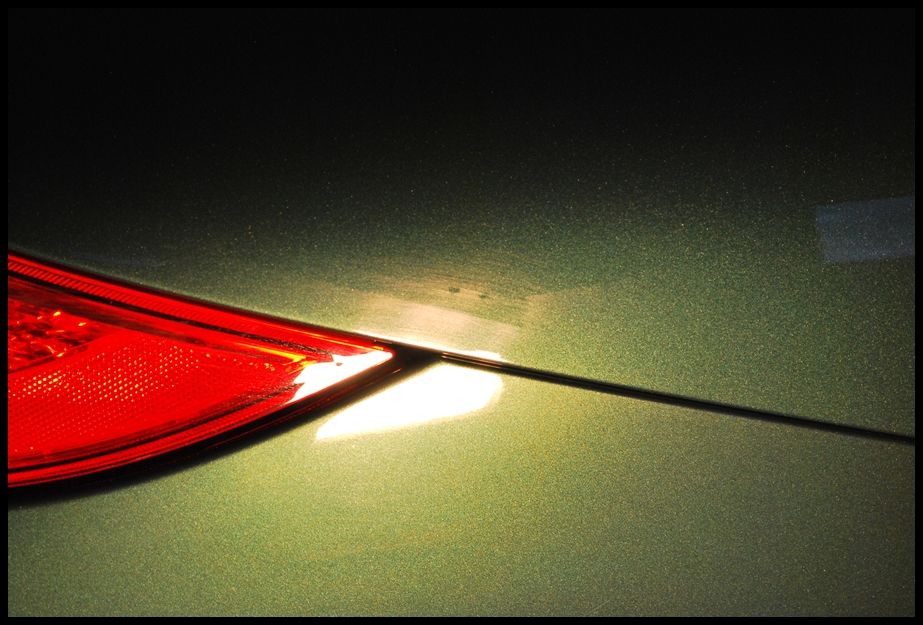
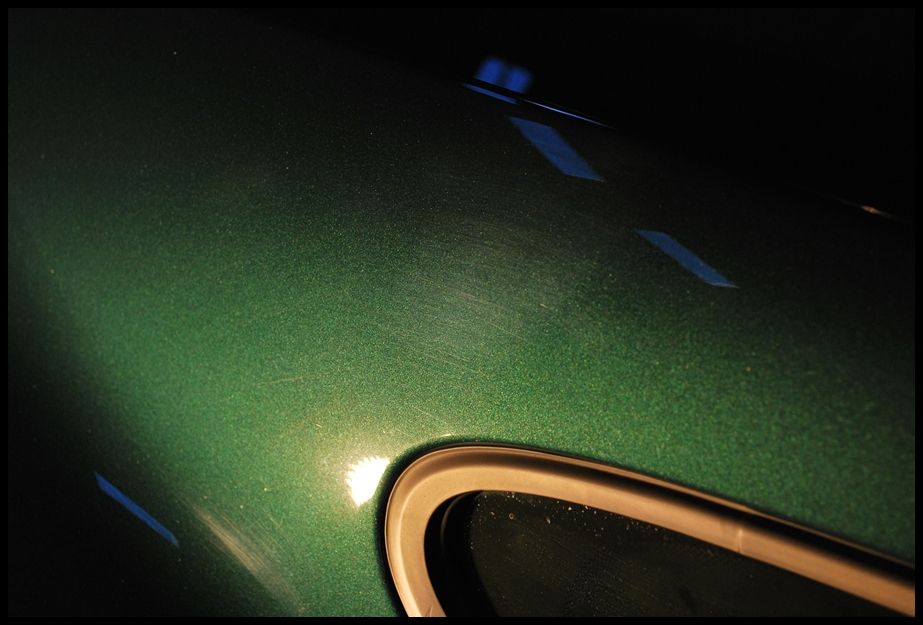
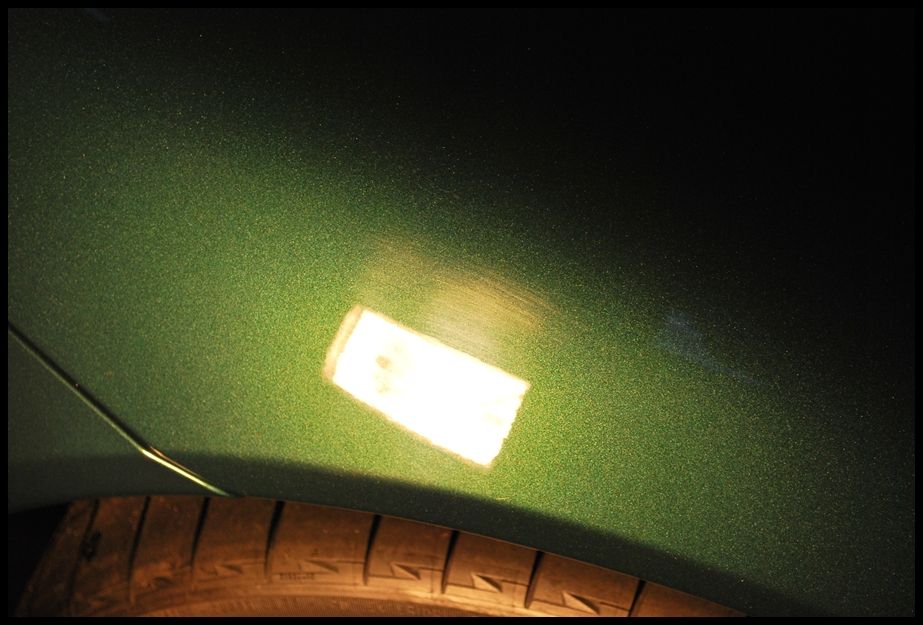
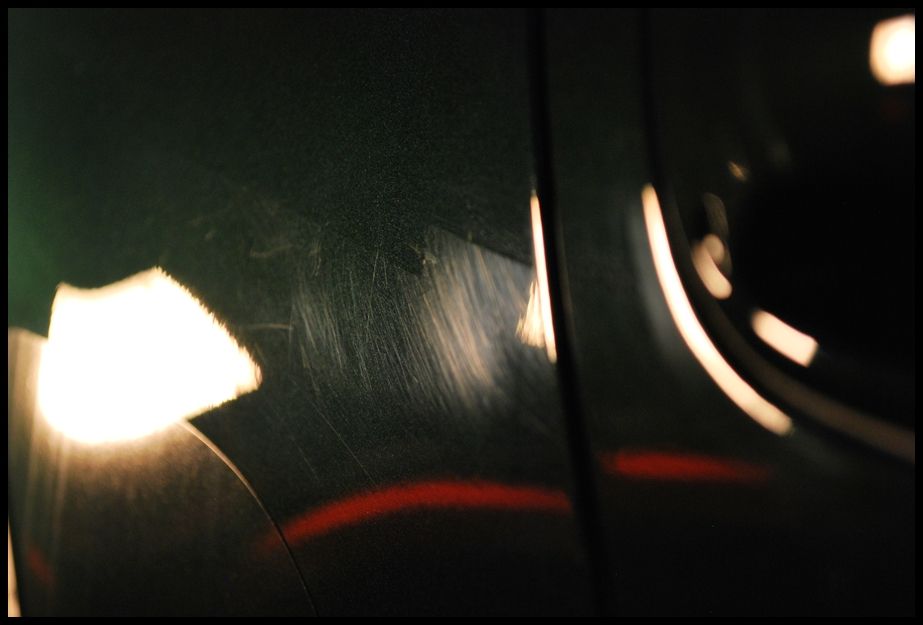
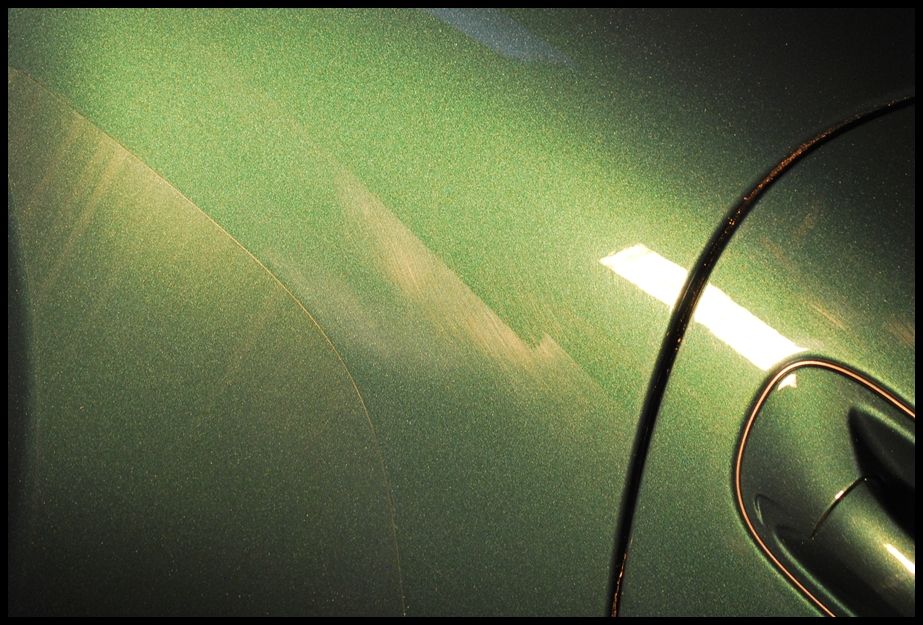
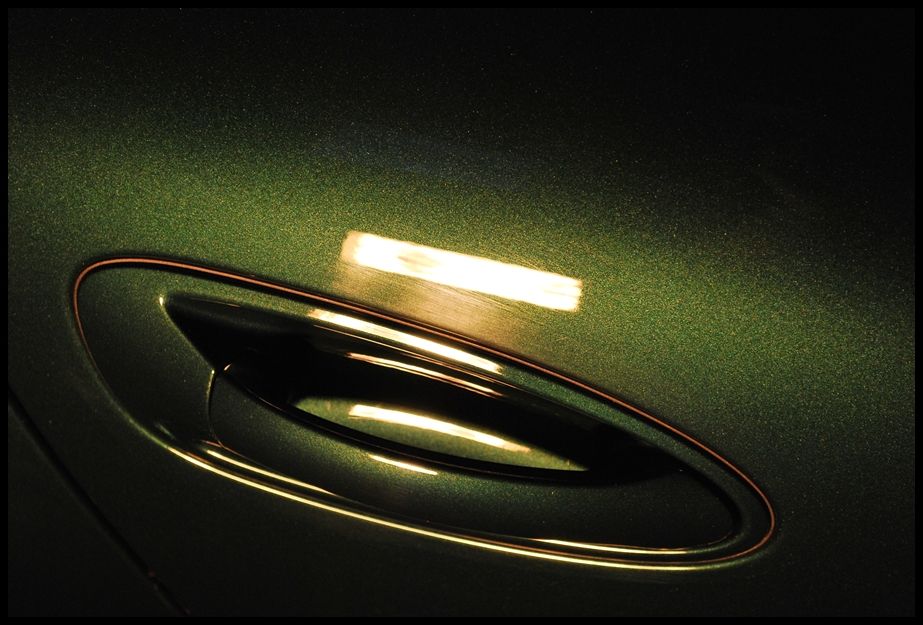
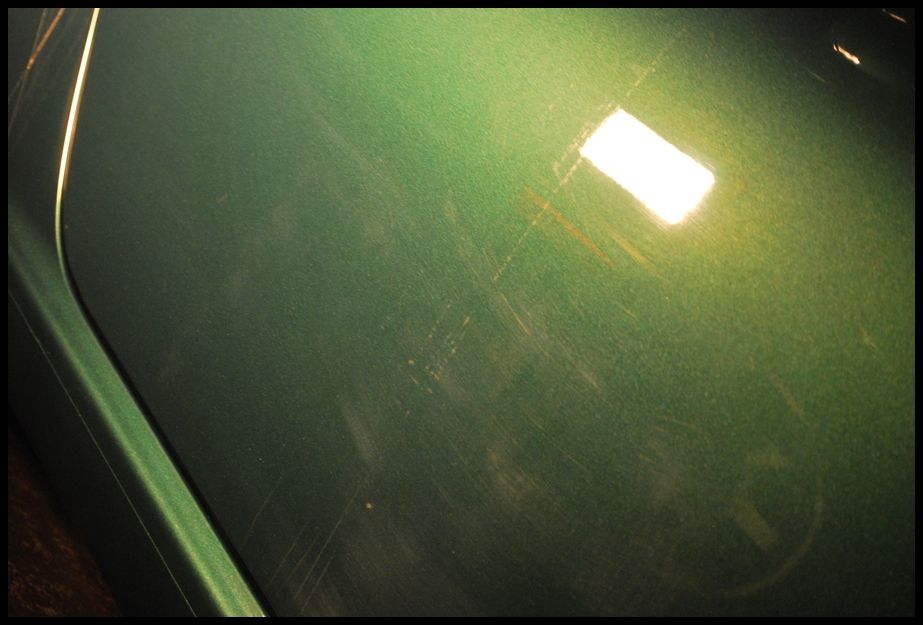
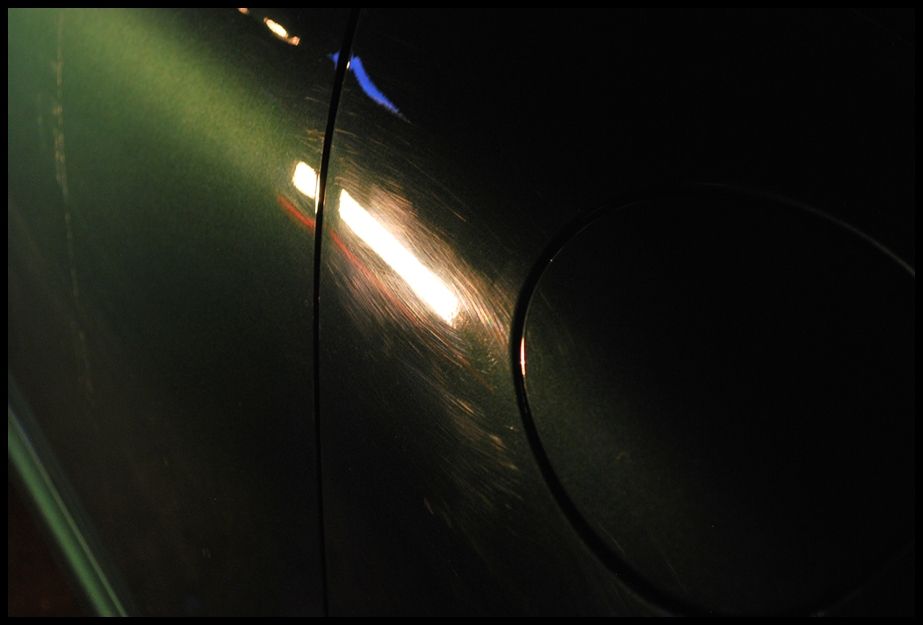
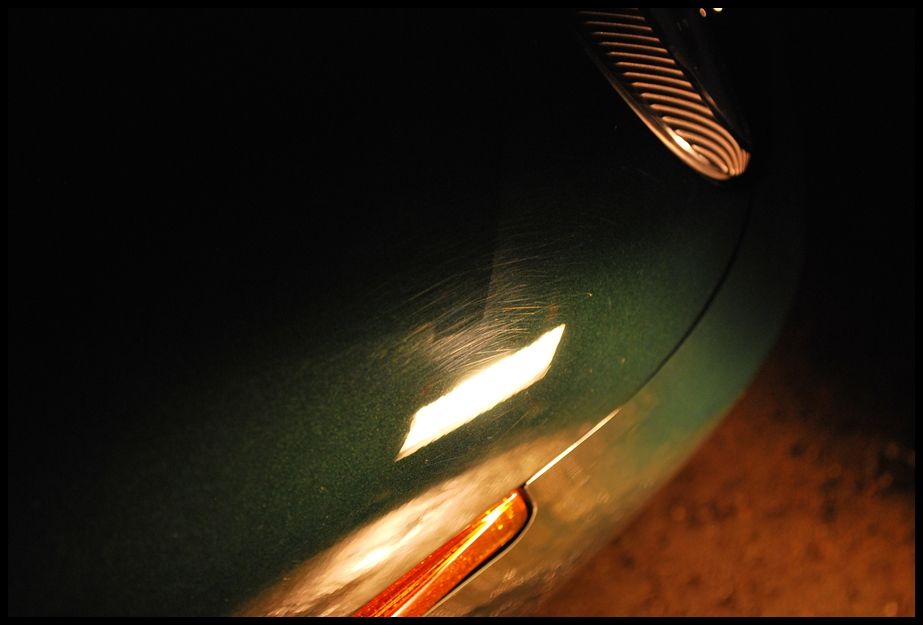
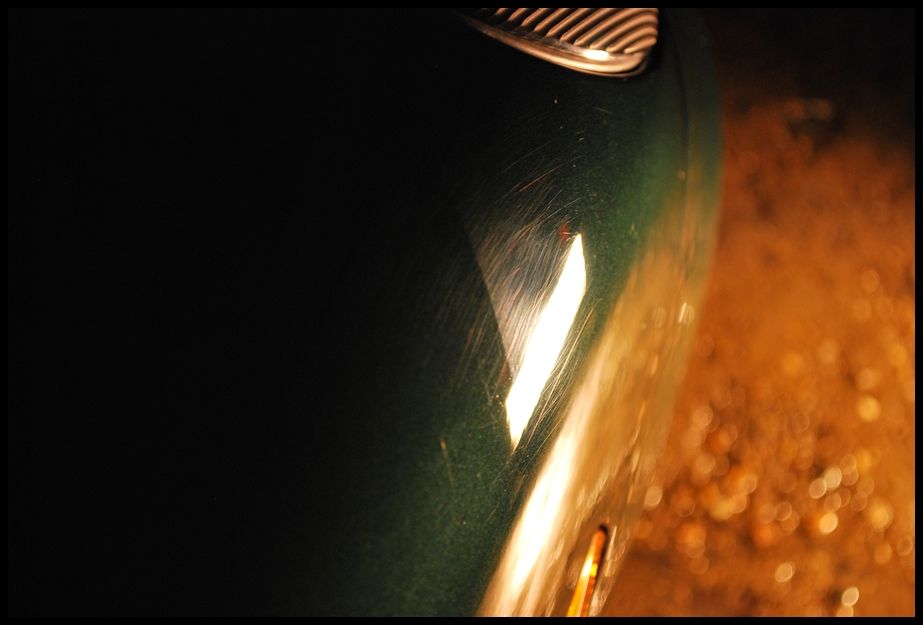
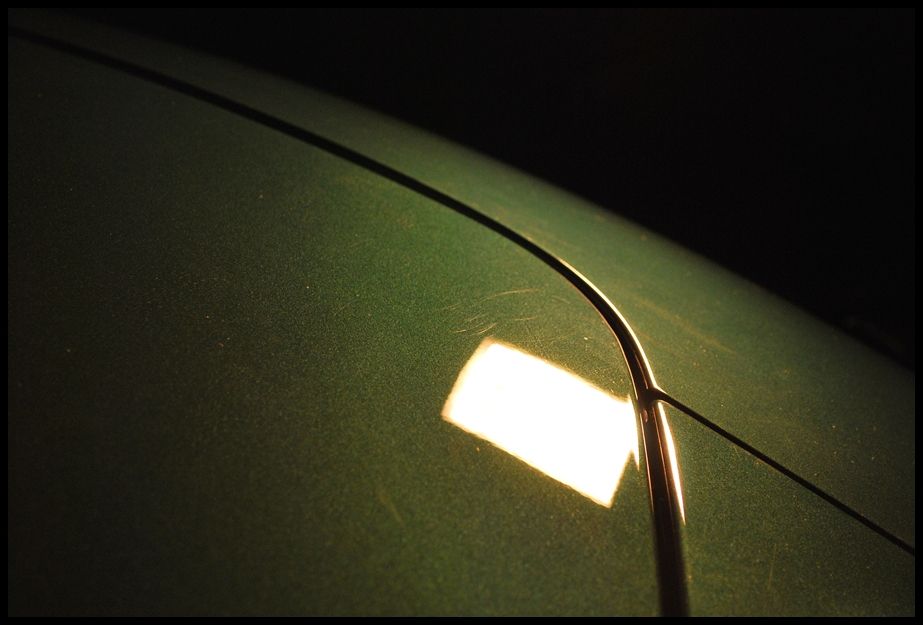
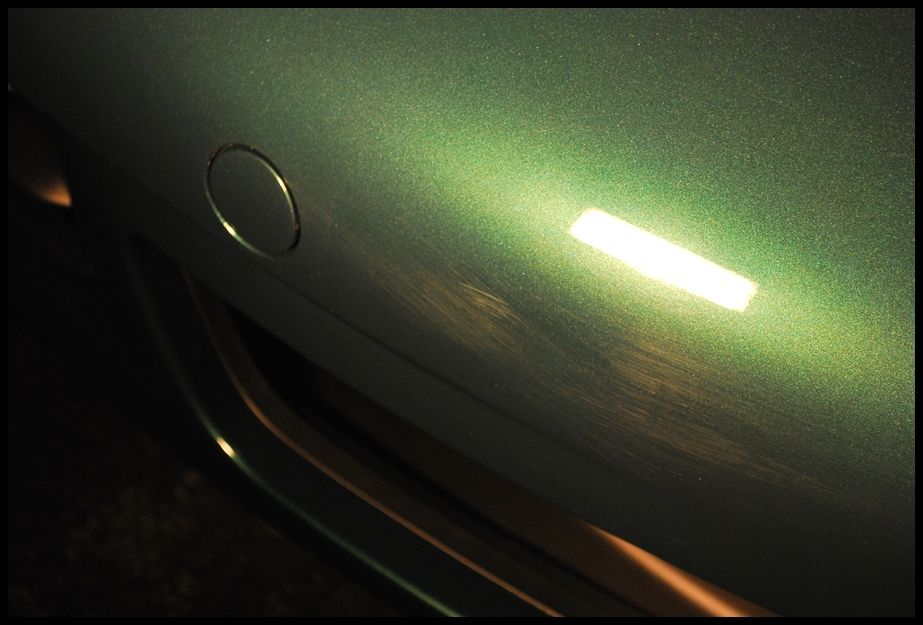
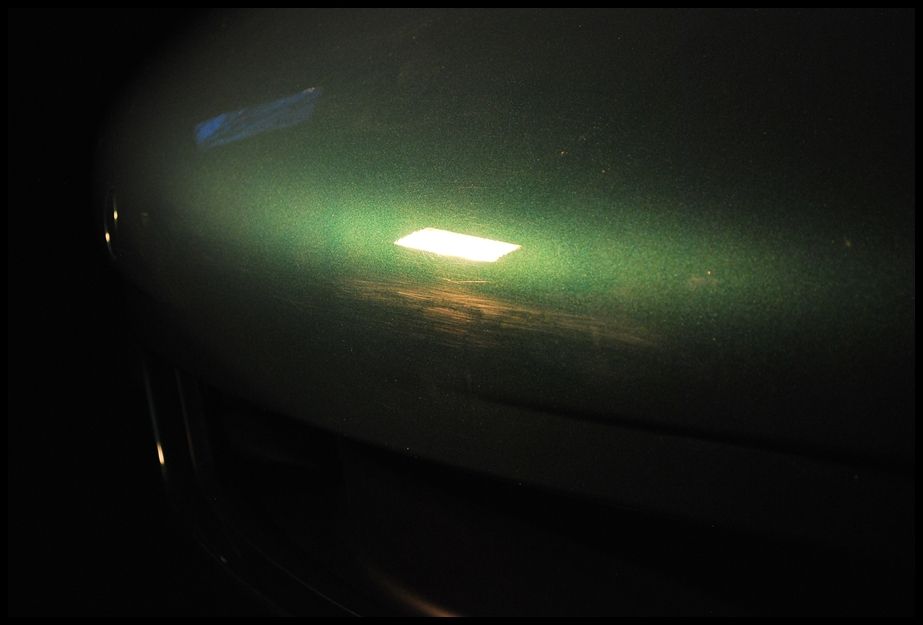
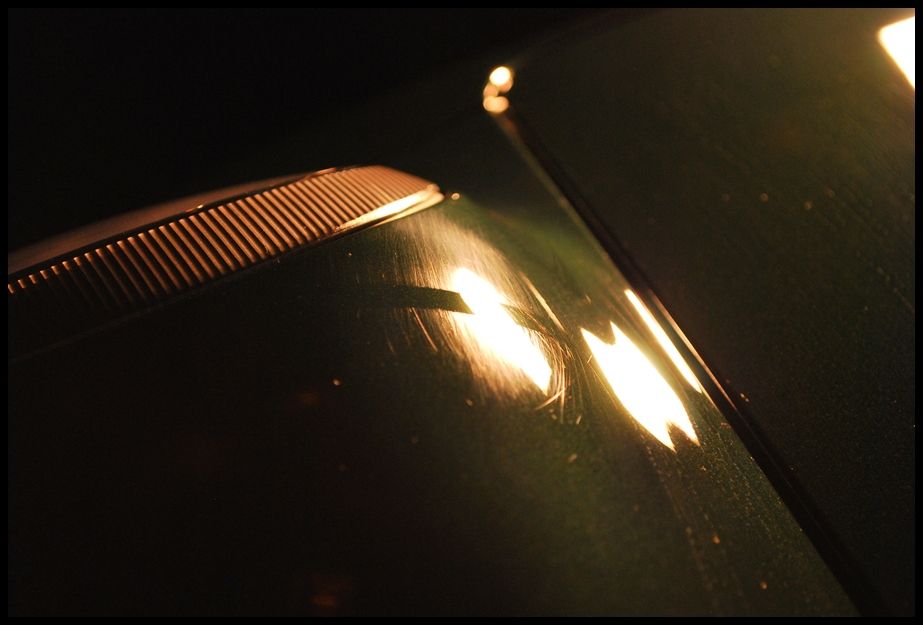
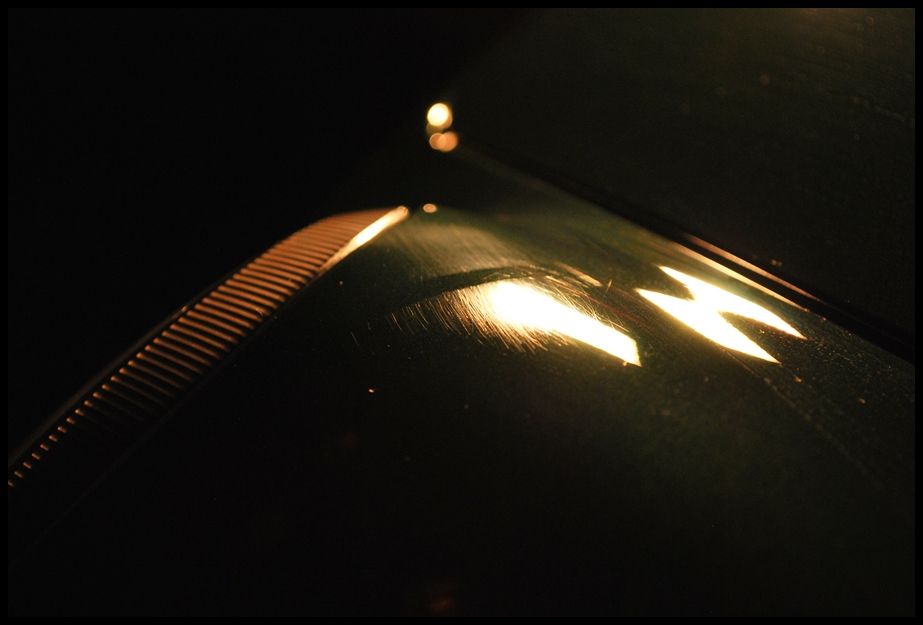
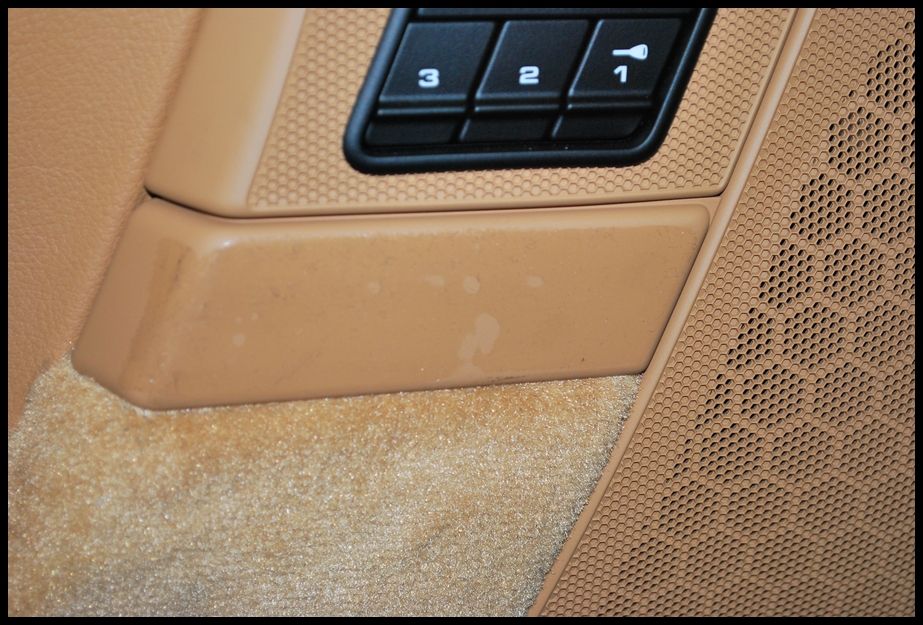
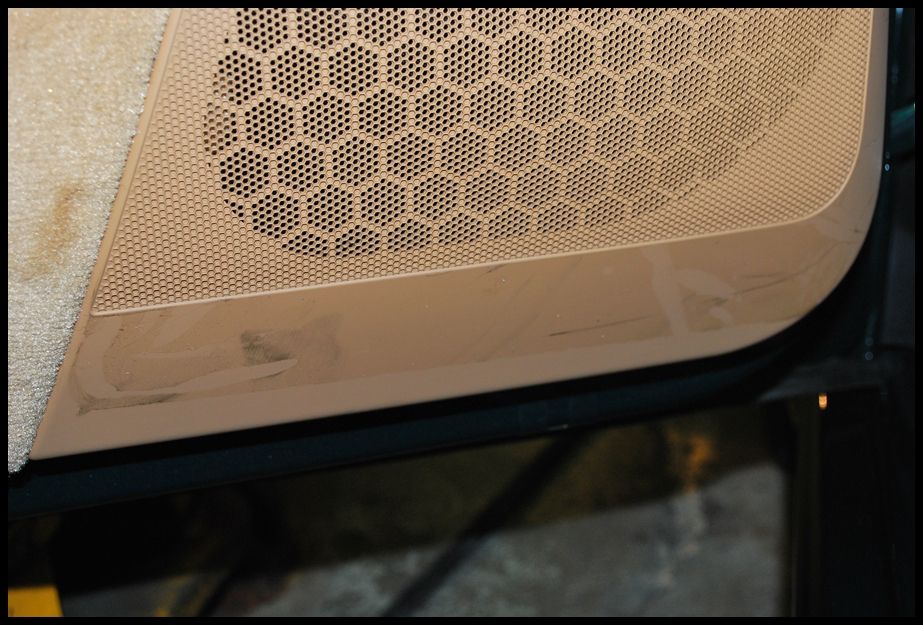
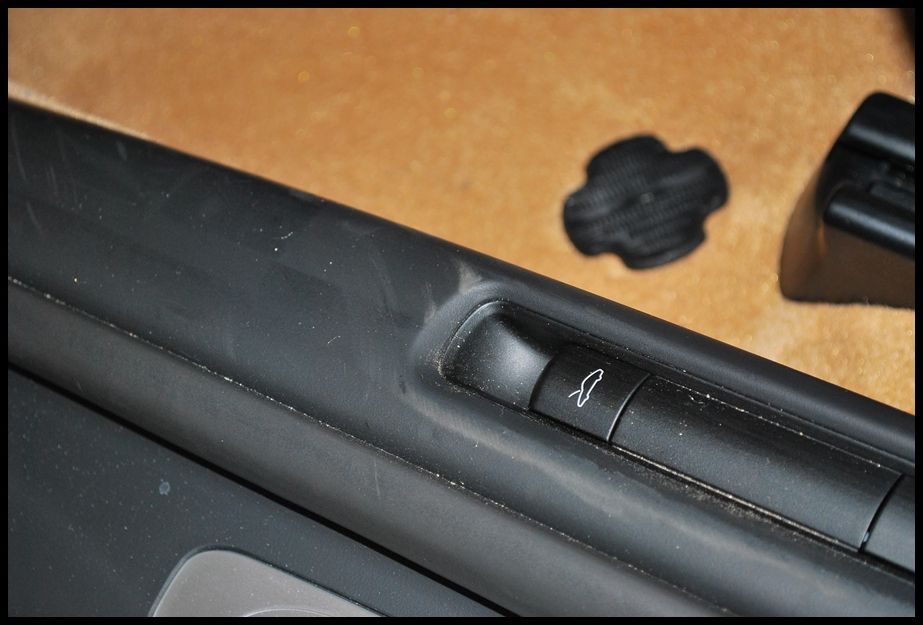
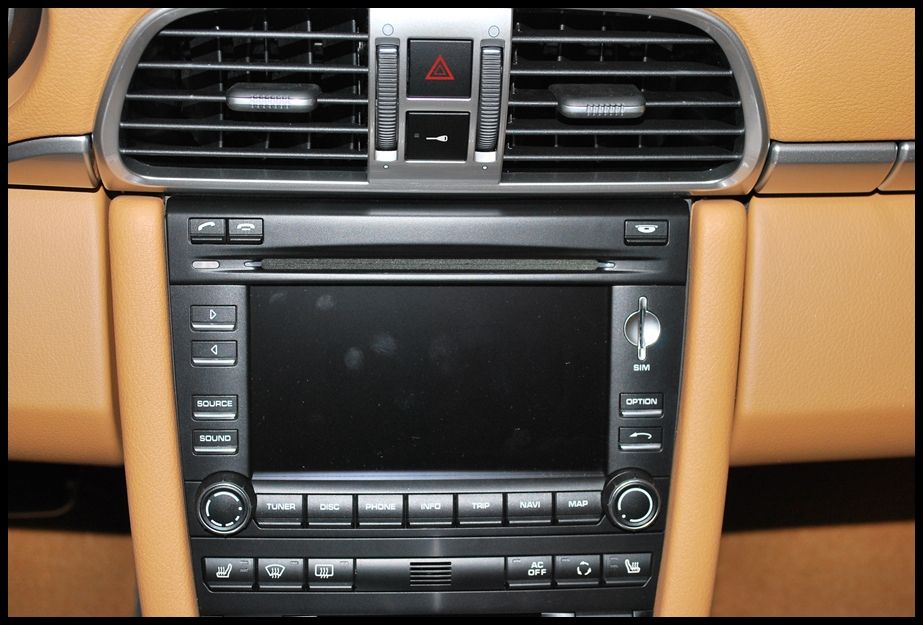
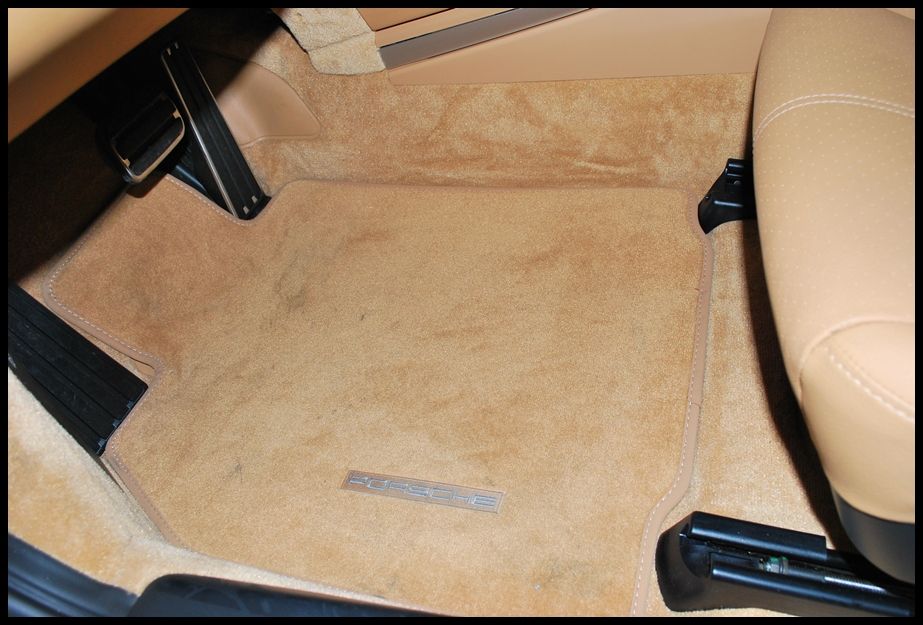
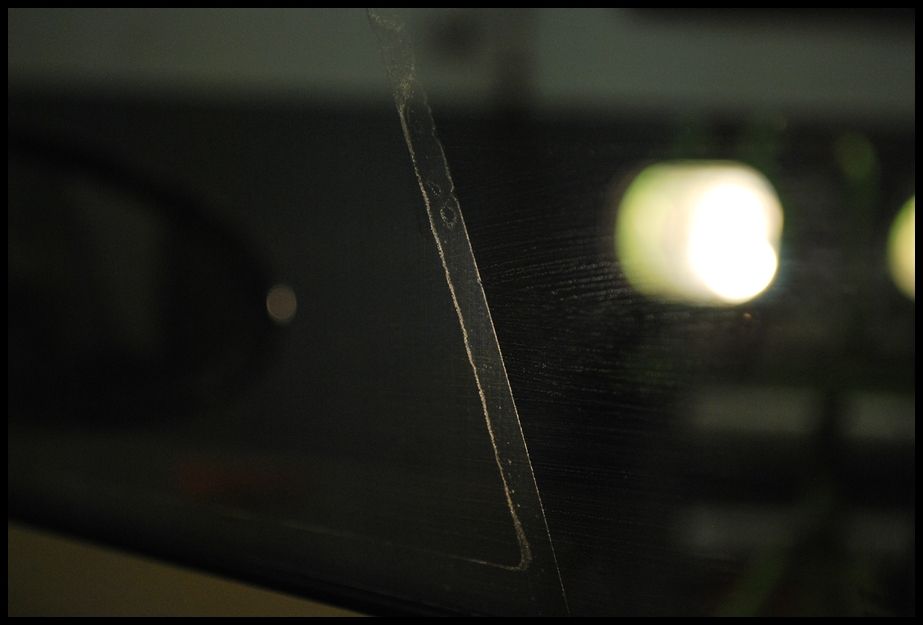
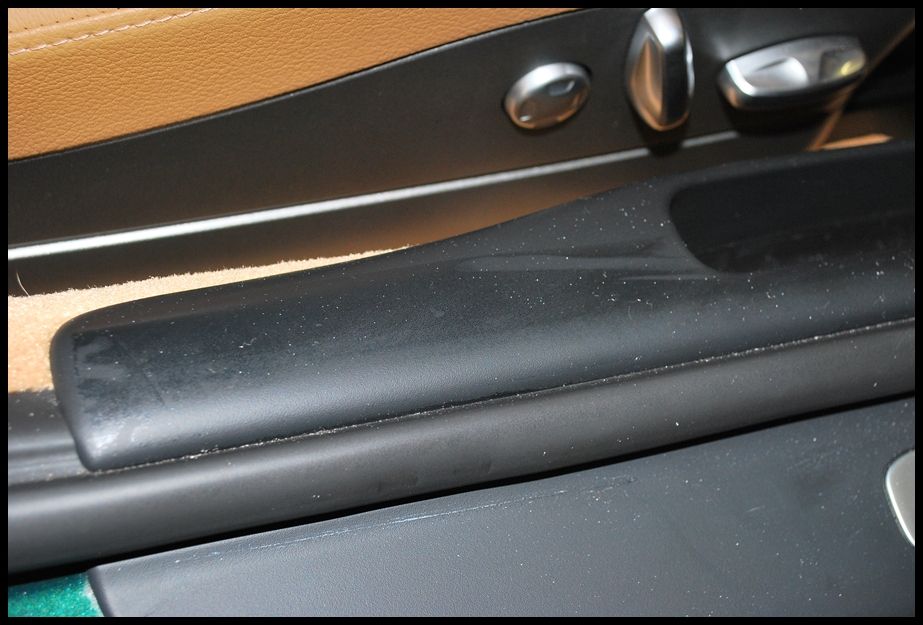
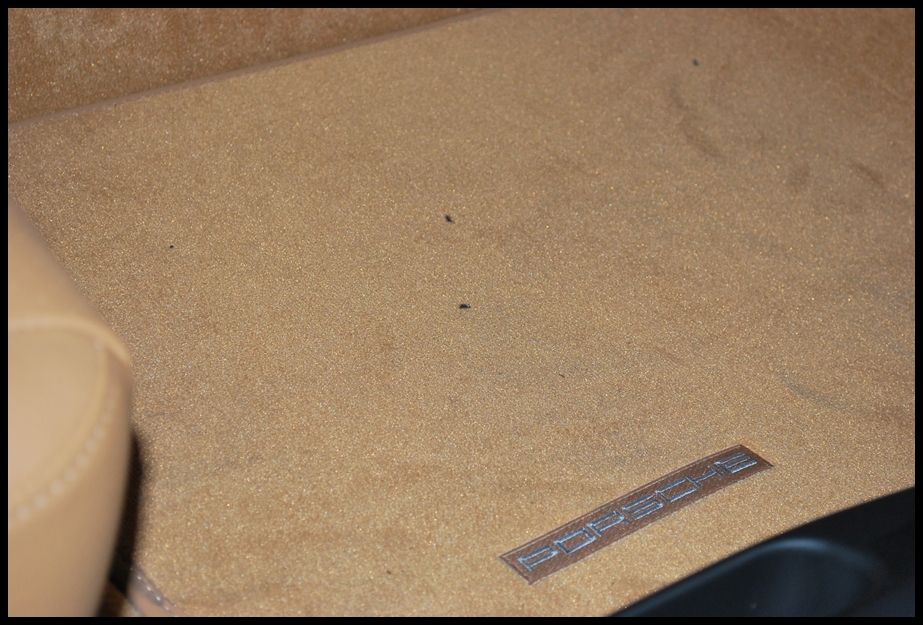
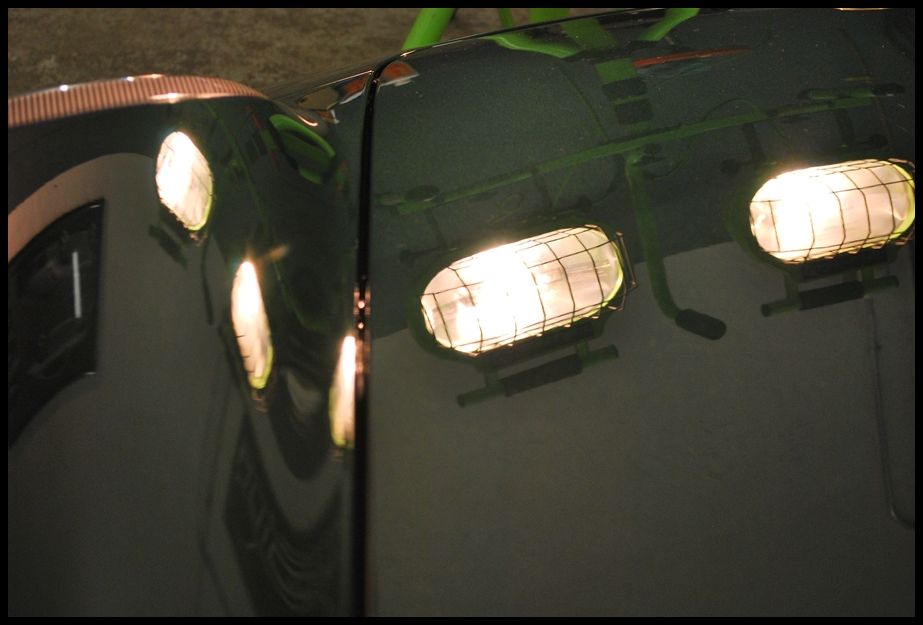
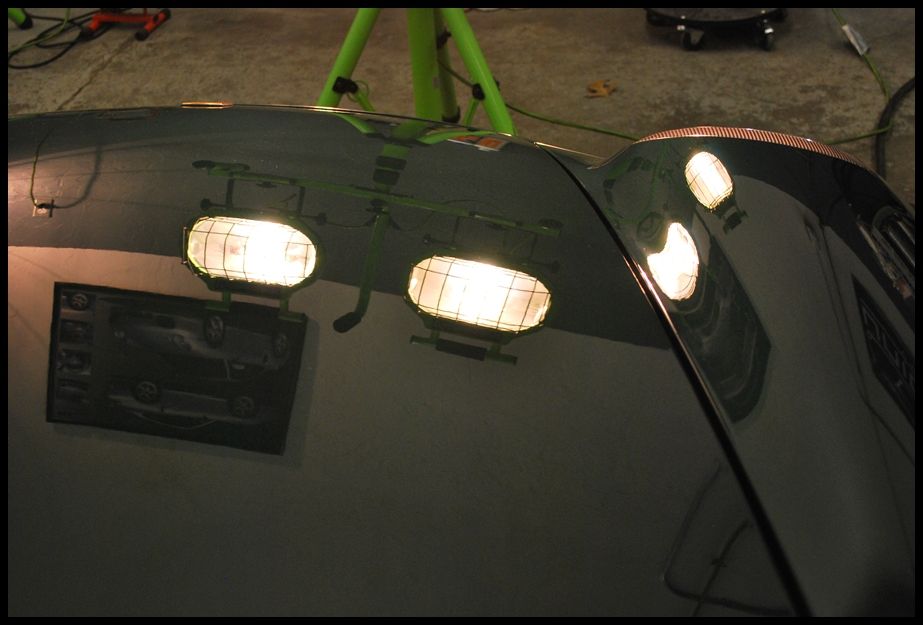
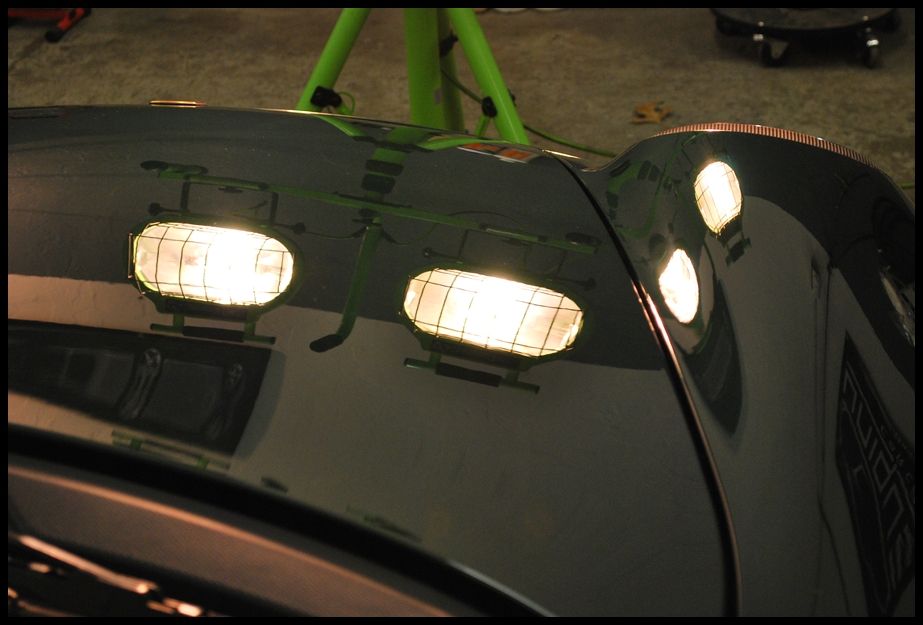
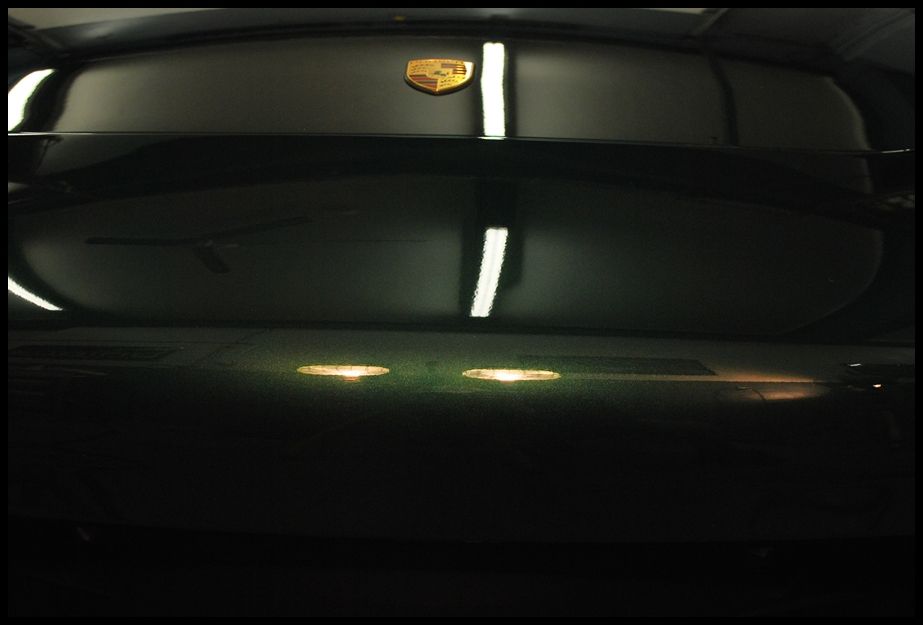
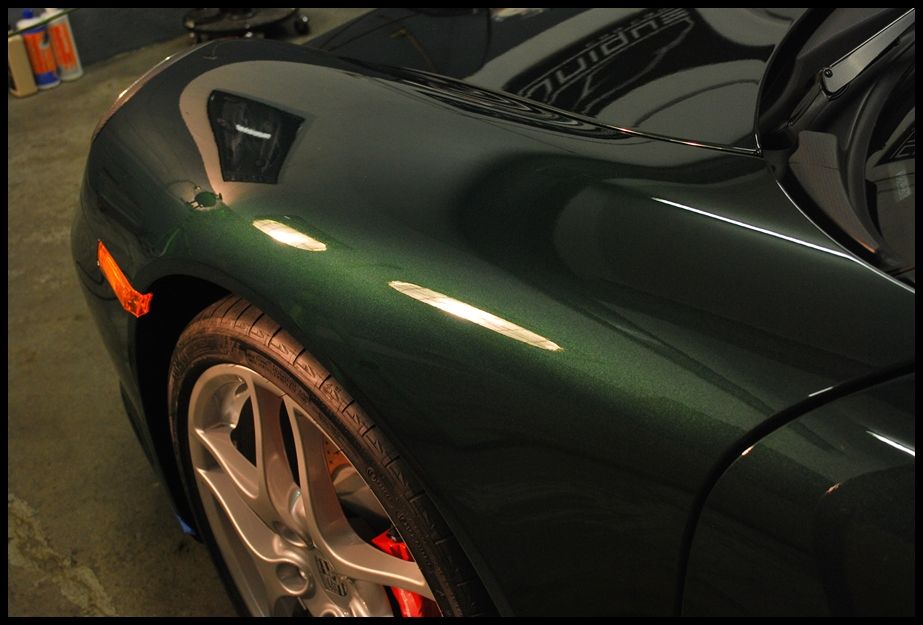
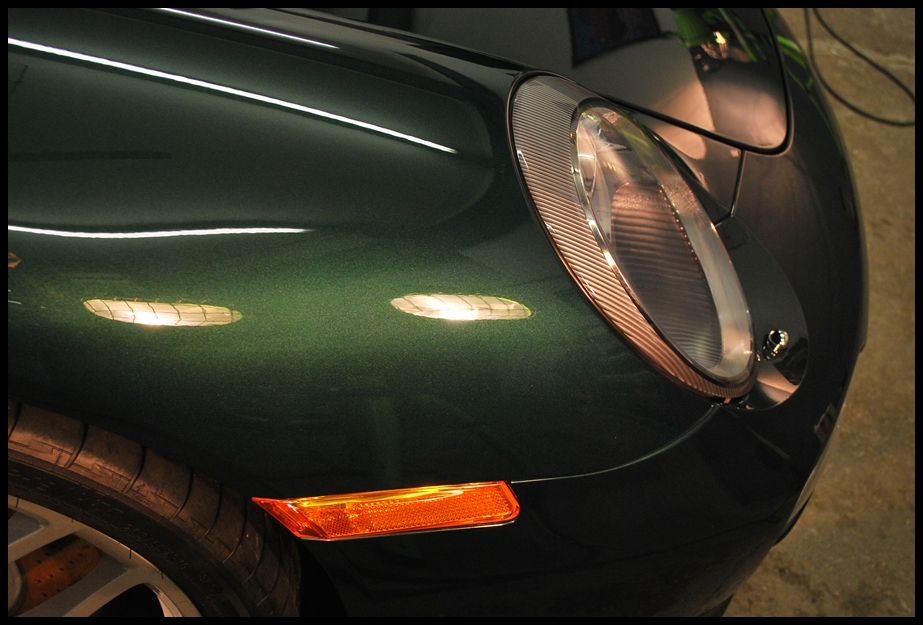
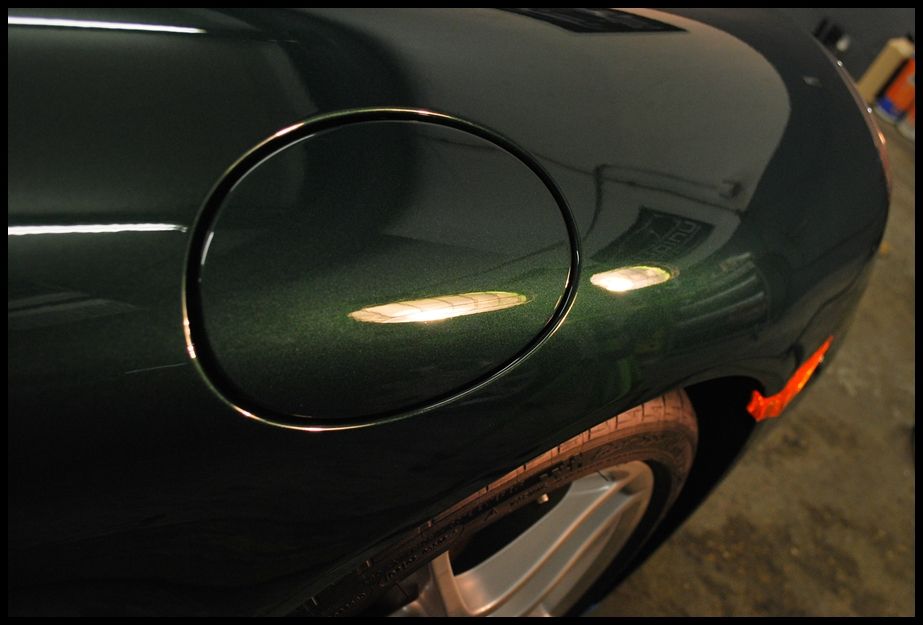
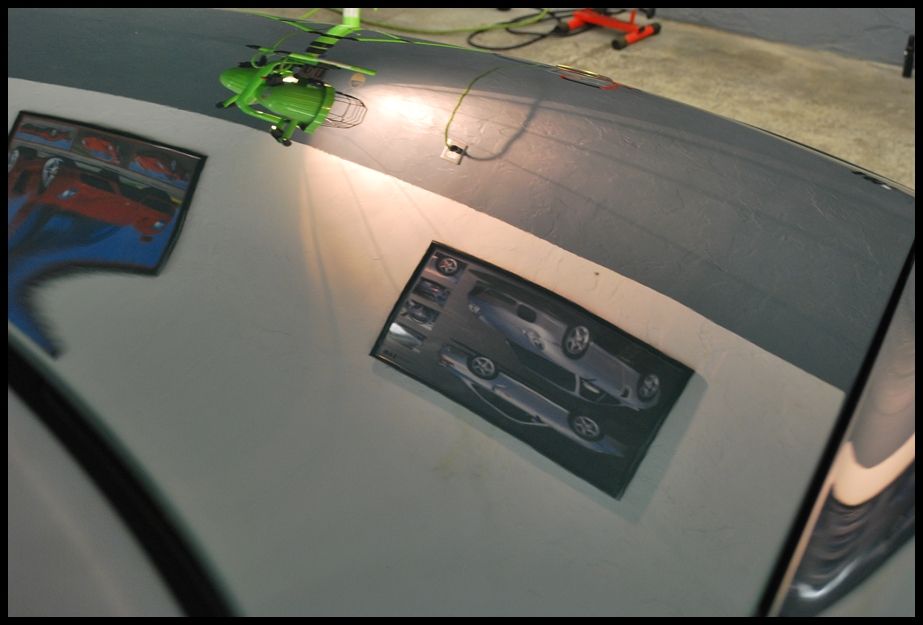
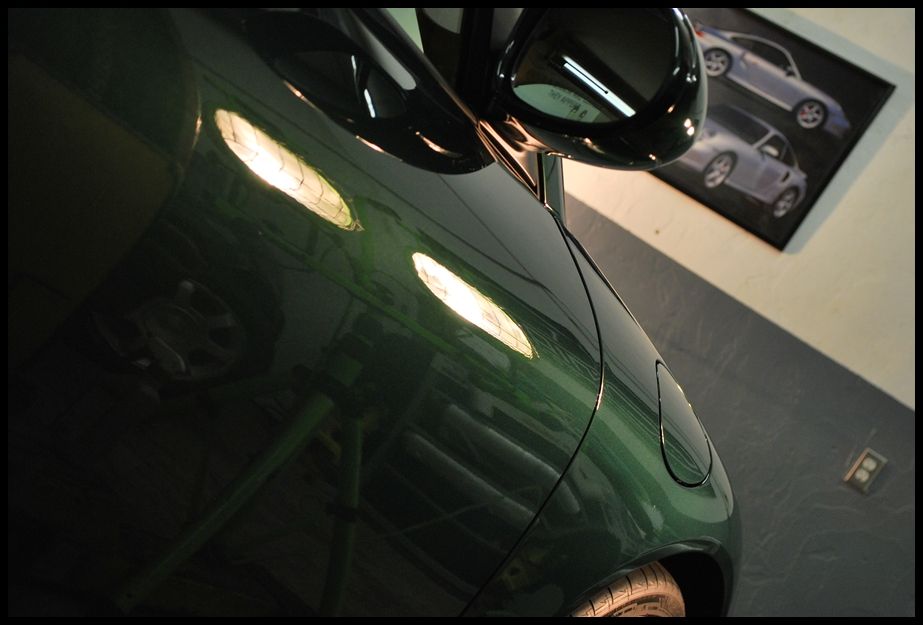
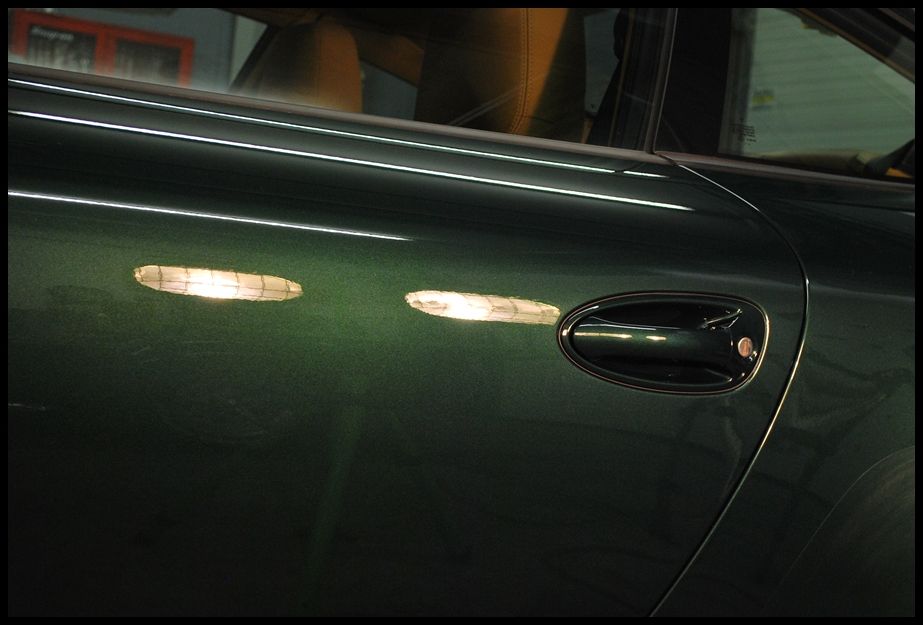
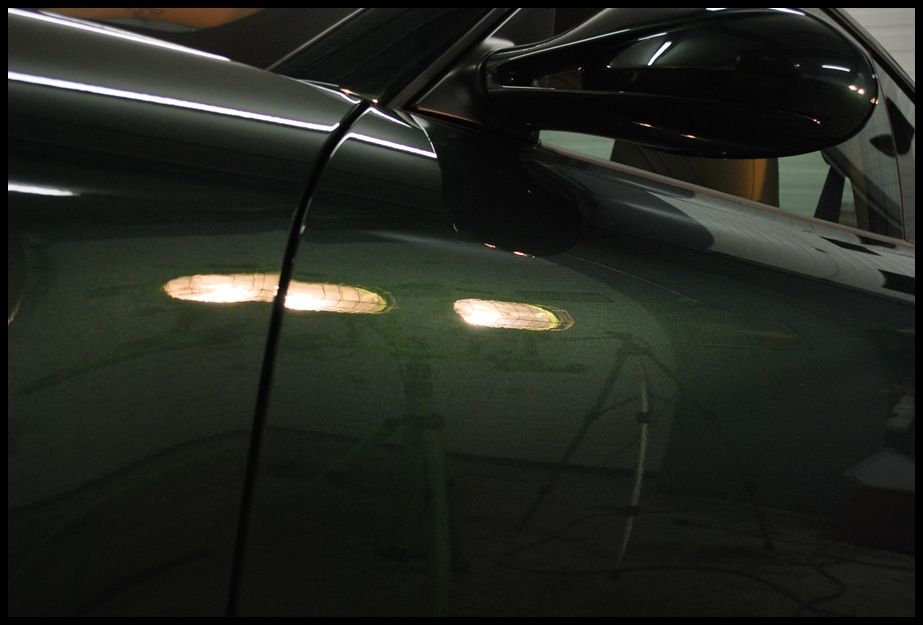
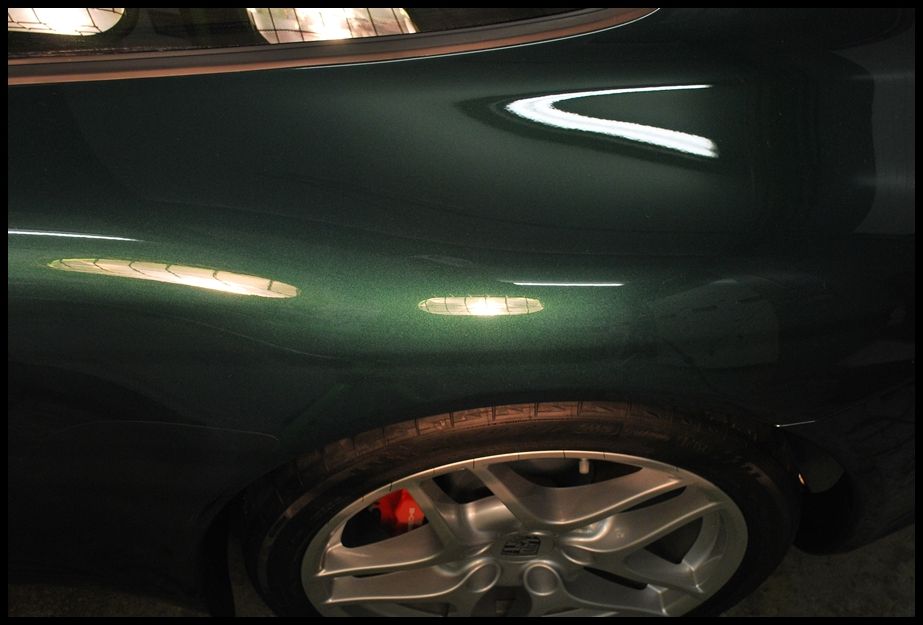
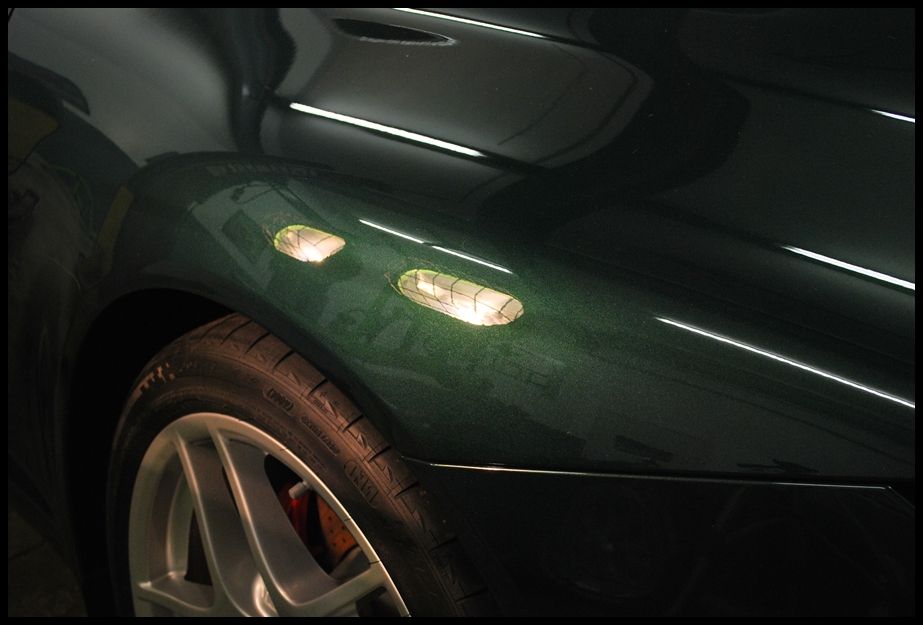
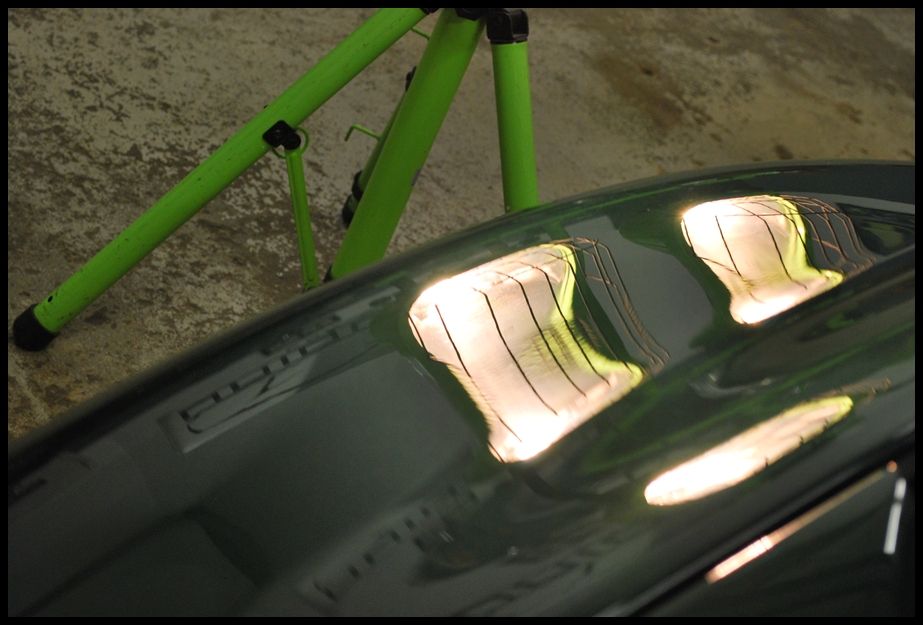
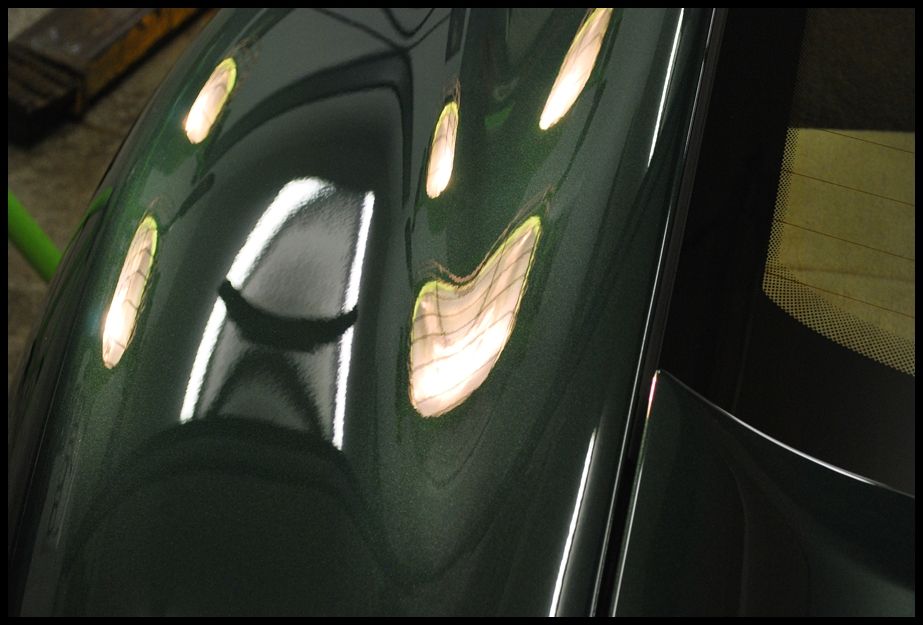
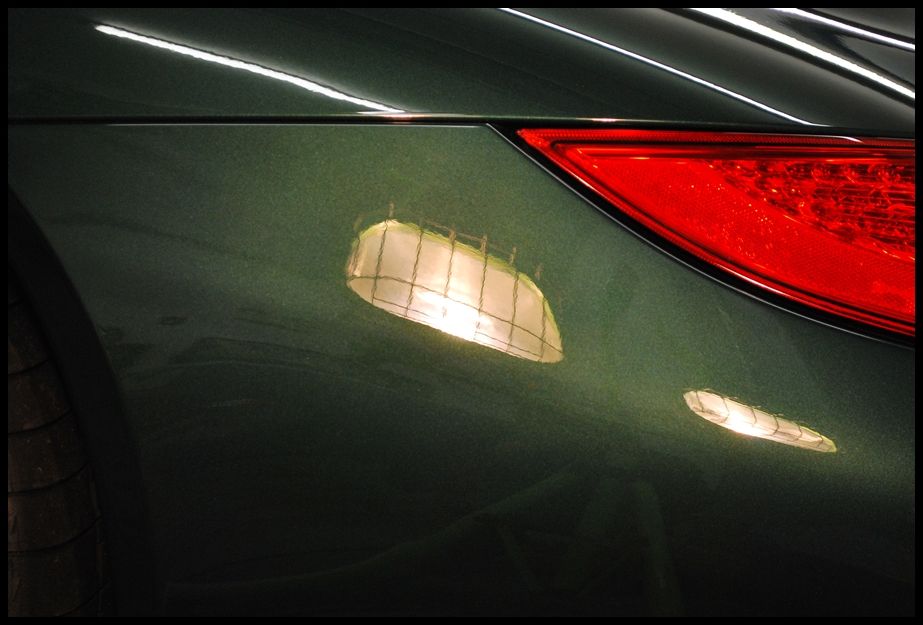
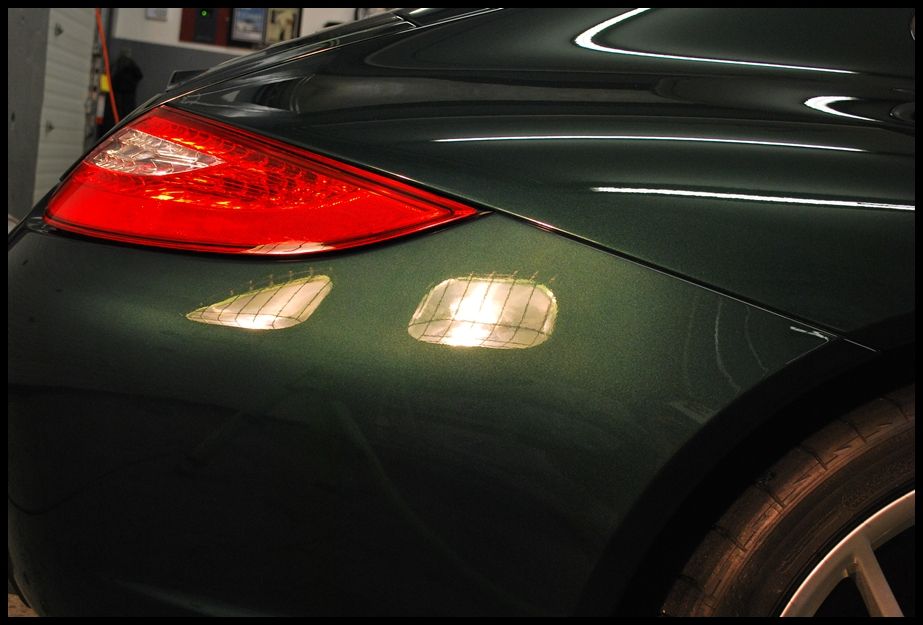
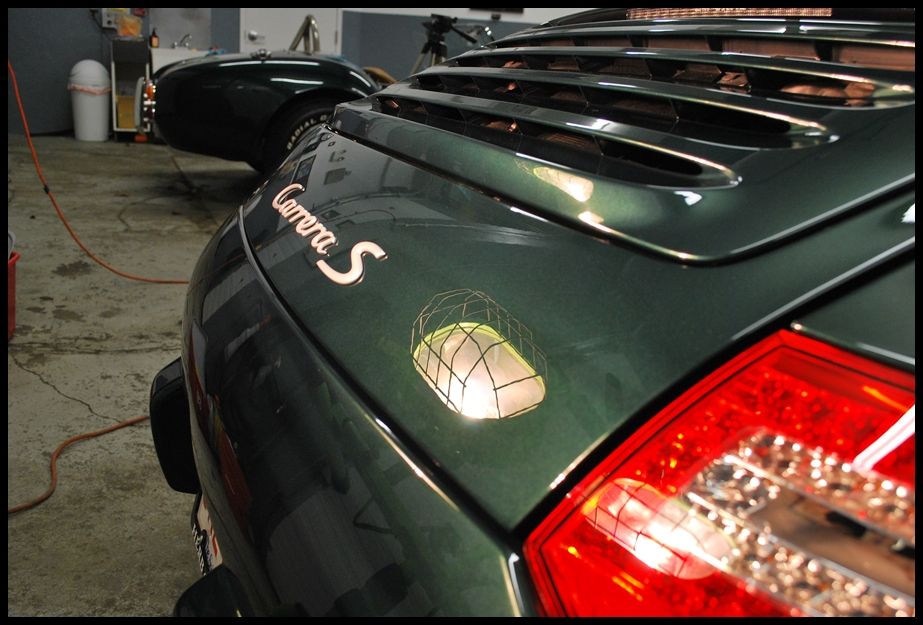
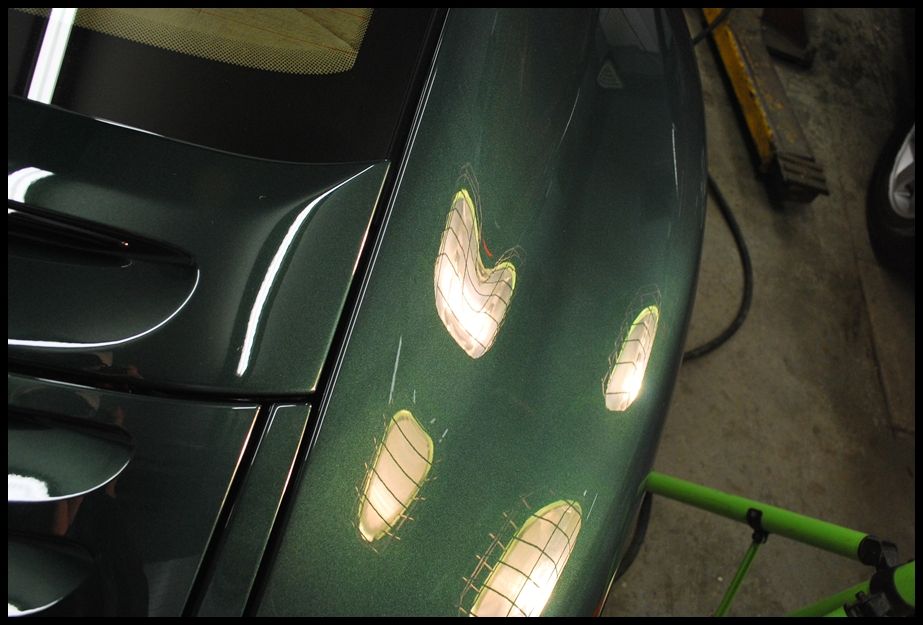
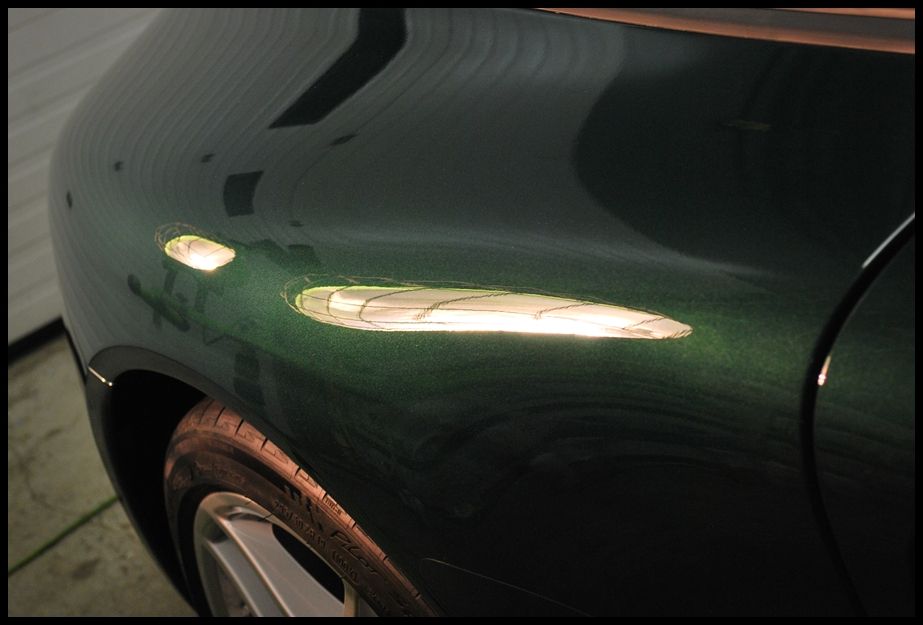
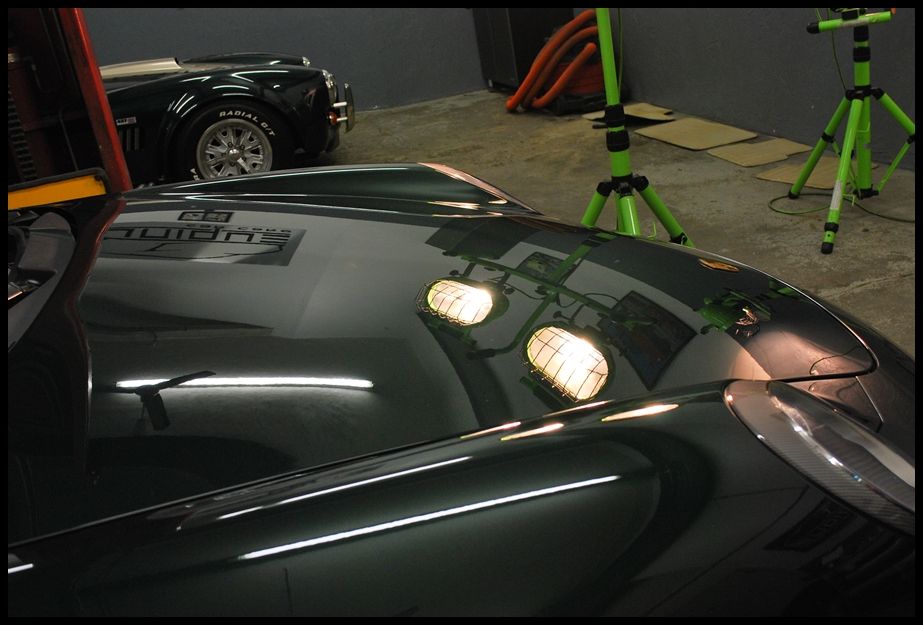
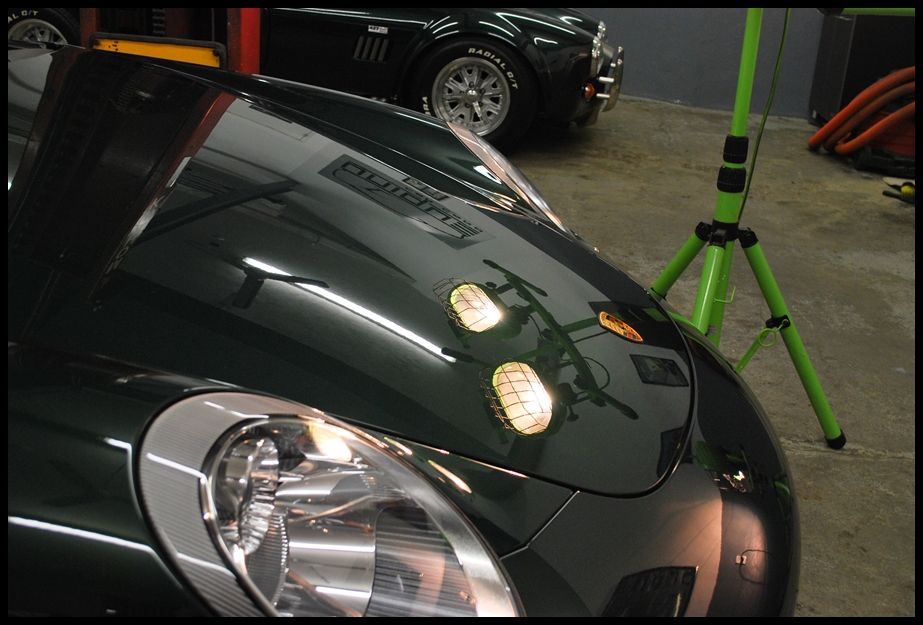
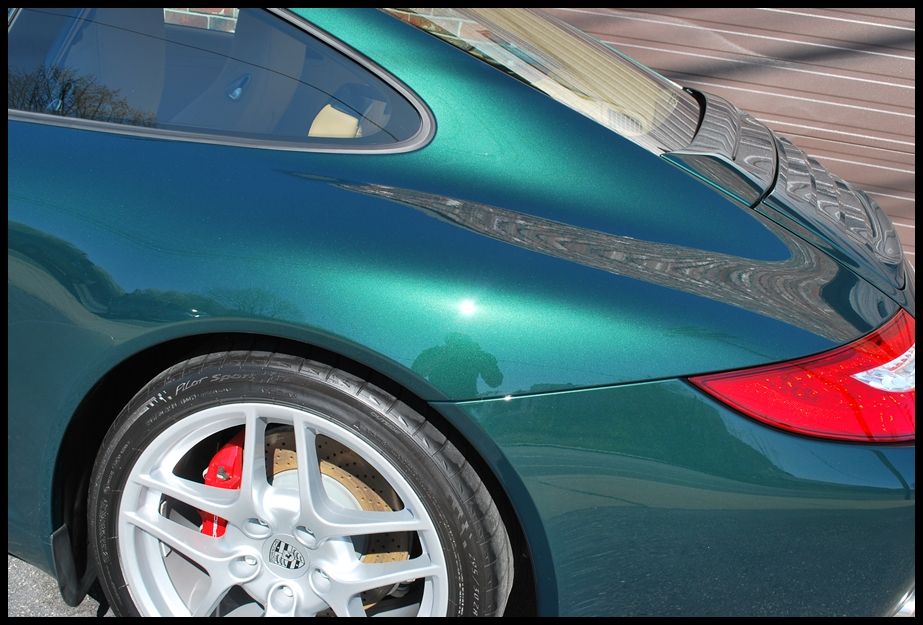
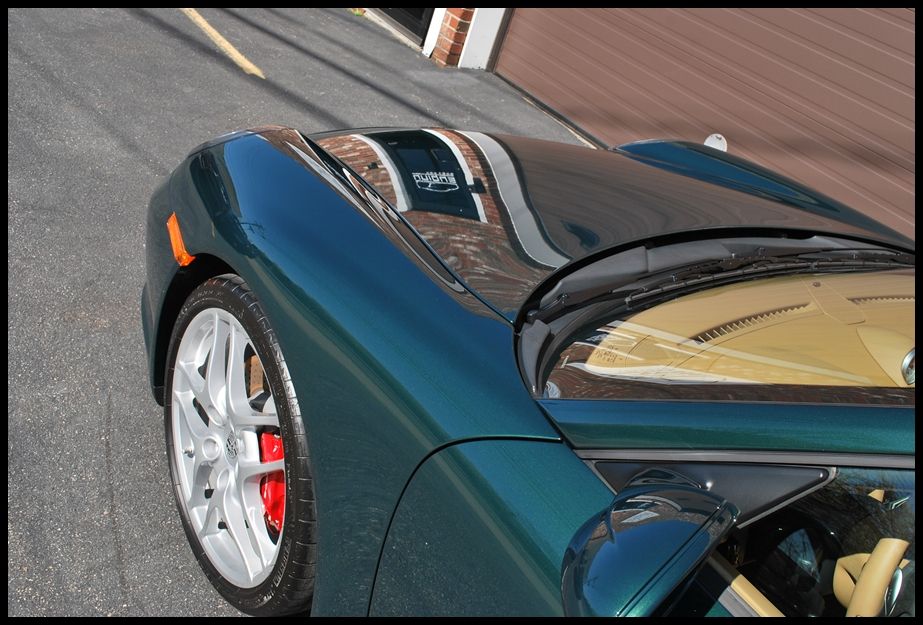
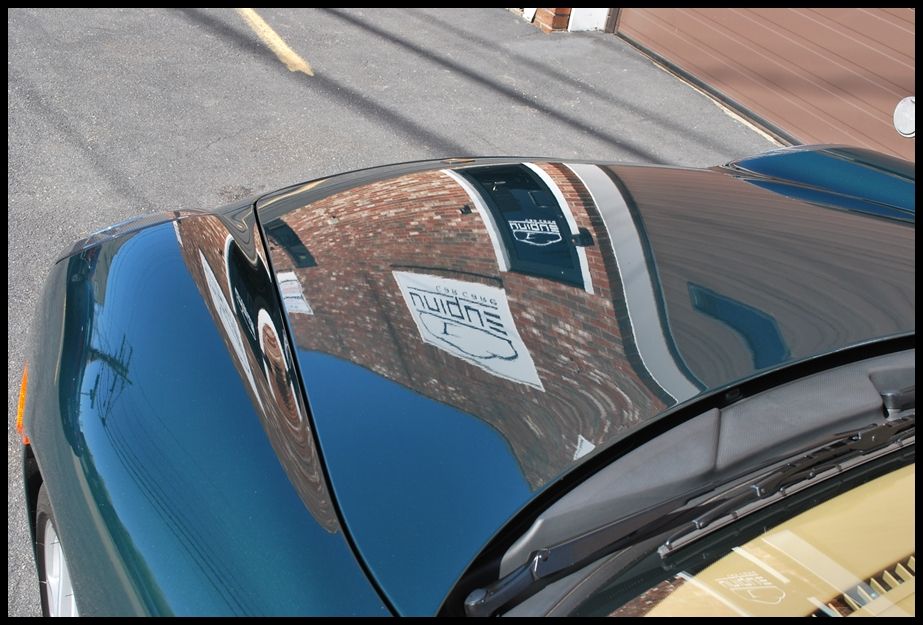
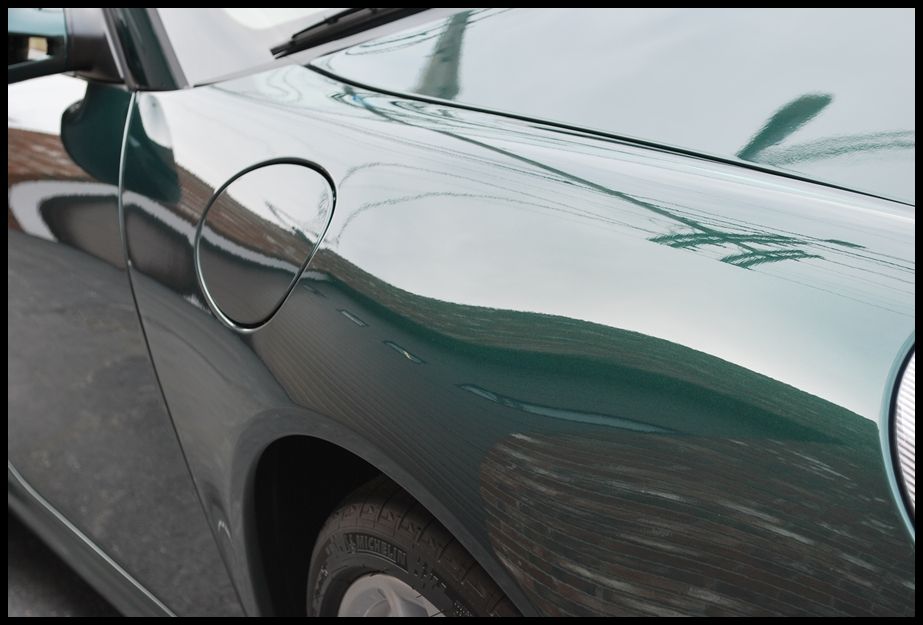
I inspected the car carefully under halogen lighting to see what I was up against and discovered some moderate damage scattered throughout the car. The pictures below give you an idea what we were dealing with on this BRAND NEW car.


Before the film could be applied, it was critical to get the finish looking as perfect as possible. The film is so clear that any defects underneath would be visible, so it was very important to take our time on the prep to make sure the film would look its best and have a perfectly prepped surface to adhere to.
Knowing that dealers LOVE to use cheap glazes that mask defects, I was pretty sure that the exterior was going to need some serious attention. Being a leftover meant that the car has probably had its fair share of improper washes and plenty of wipedowns with dirty towels, etc. over the last year or so. As we all know, dealerships are the worst culprits for improper techniques, which normally results in some sort of damage.
The first step was to wash and prep the exterior to get it ready for polishing. I began to rinse the exterior and saw that the paint was beading like crazy, which meant that there was some sort of wax, sealant, glaze or quick detailer embedded in the paint.
All wheels, tires and wheel wells were extensively cleaned with a variety of different brushes using Optimum Power Clean diluted 4 to 1.
In order to strip whatever products were embedded in the paint, I gave the exterior and wash using regular car soap, then followed behind and degreased the paint with CG Grime Reaper using a microfiber towel to ‘scrub’ the paint until it was no longer beading as seen below.
As you can see, the degreaser worked well at stripping any previous products from the paint (no longer beading).
After the car was fully washed and stripped, I dried the exterior, wiped down all door, hood & trunk jambs with a microfiber towel and purged all cracks & crevices with compressed air to remove any remaining water.
I inspected the car carefully under halogen lighting to see what I was up against and discovered some moderate damage scattered throughout the car. The pictures below give you an idea what we were dealing with on this BRAND NEW car.


 Any it's raining too so it can knock out some pollen.. Much needed rest though.