A couple weeks back we received an email from an owner who said he had been pretty lazy the past year with his washing. He admitted his paint was in pretty bad shape and knew it would take some doing to revive it. There was really no talk about pricing and such, he just wanted it DONE - so we set a date to DO it!
Of course brilliant black on Audi's is notorious for being a pain to cut into and even more difficult to finish down - that being the case - we figured CQuartz Finest would really help the owner in being able to maintain the finish without having to worrying about swirling the crap out of it just by looking at it!
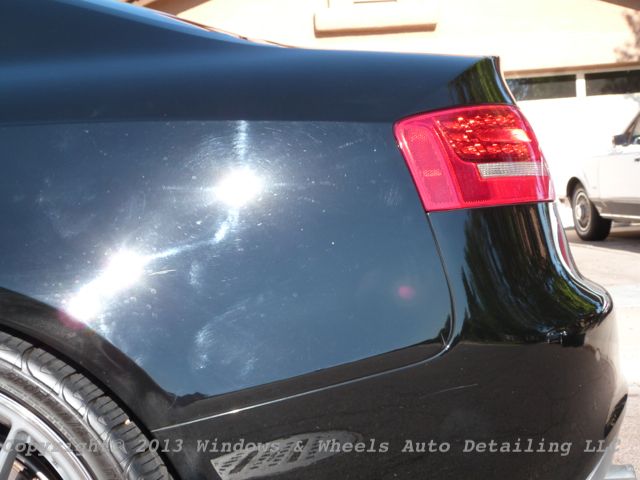
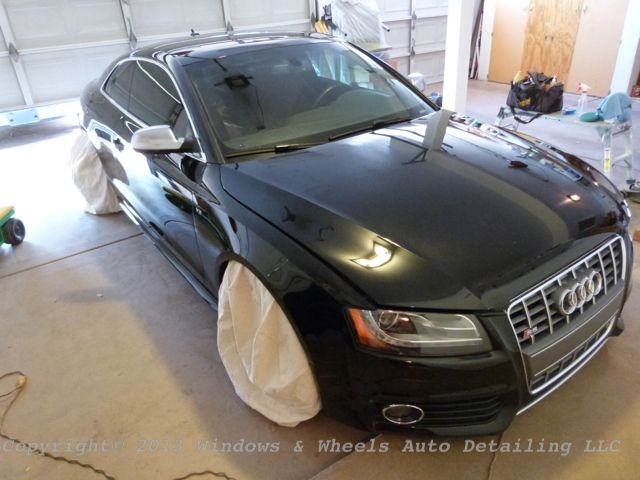
Here she is...
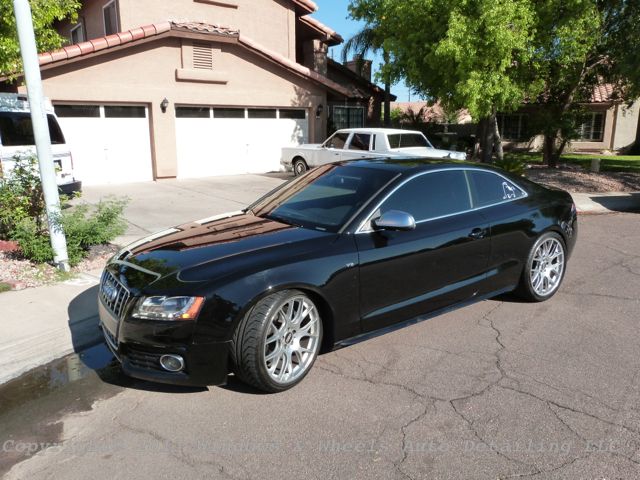
She was a very sexy looking car...the wheels really made it stand out...and where most would see a swirled mess...we saw a huge opportunity to really show off our skills.
But, it was not going to be a walk in the park...
He was not exaggerating about the condition of his paint...it needed a LOT of help...
The more we looked, the more painful it got.
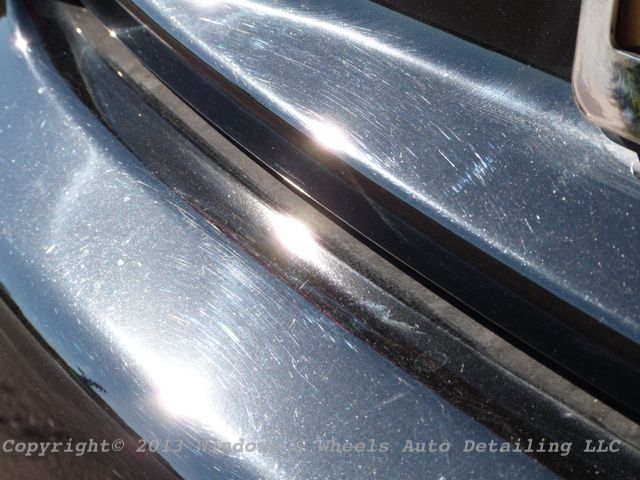
The bumper REALLY hurt....
The trunk was...special:
Roof:
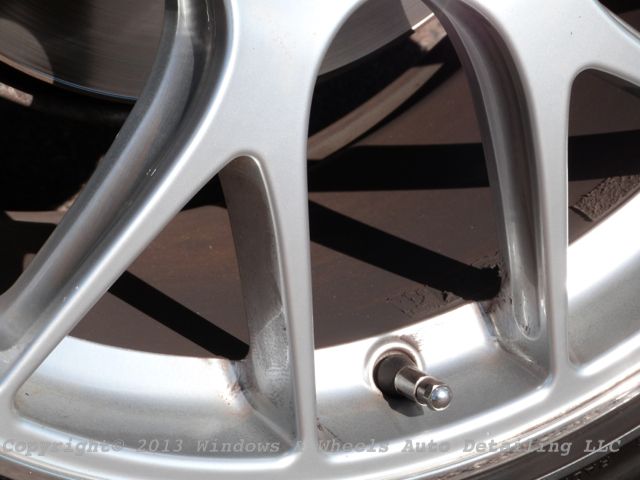
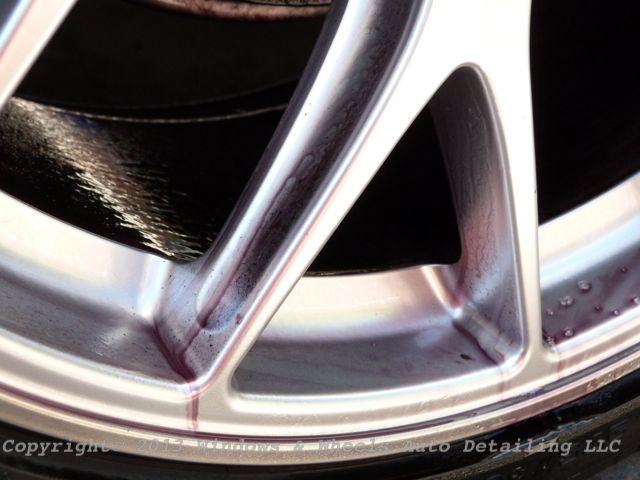
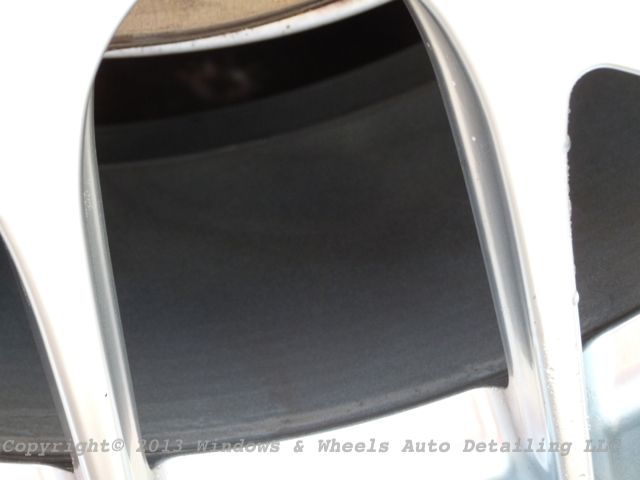
Wheel barrels had a pile of break dust on them...literally...it was pretty ugly:
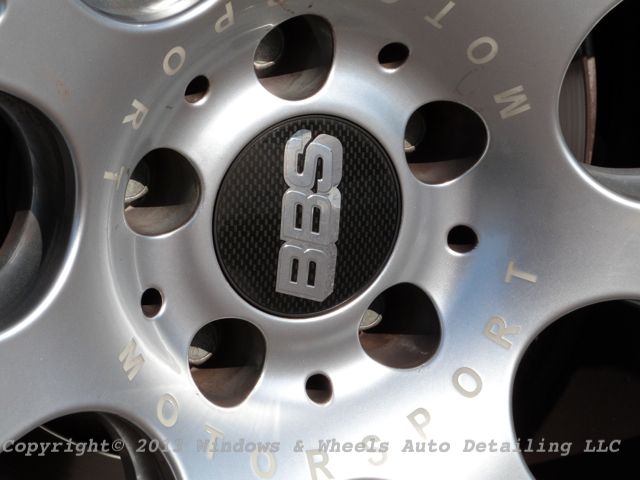
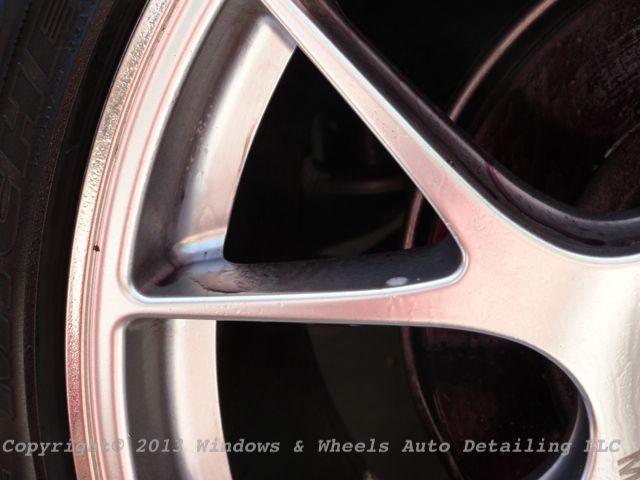
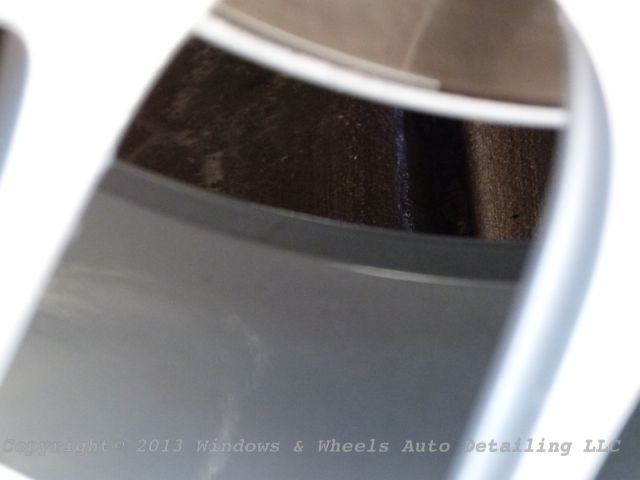
Lug nuts were bad as well...wheel faces weren't horrible, just the tight spots:
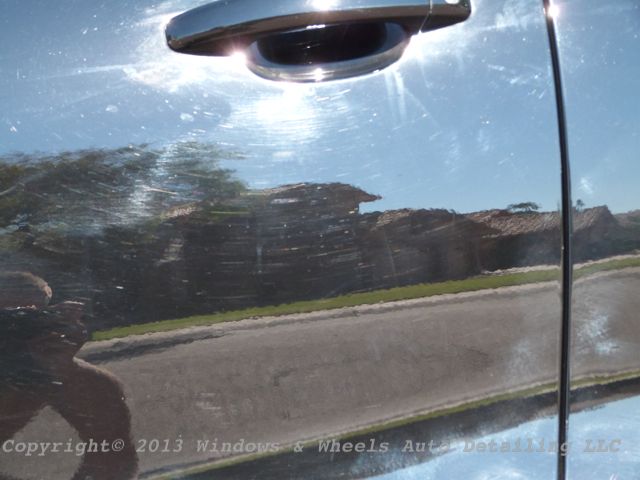
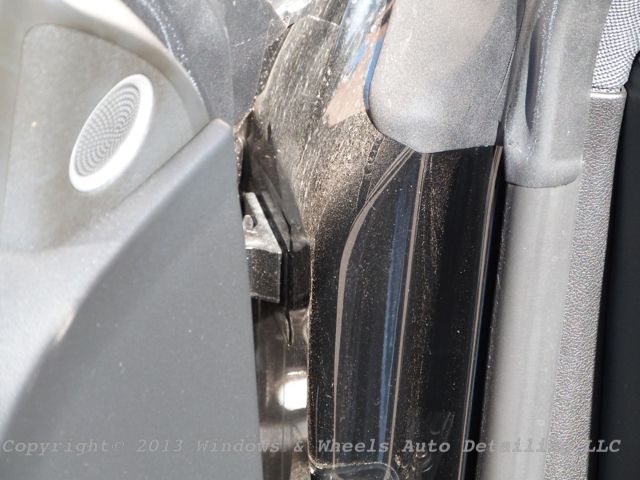
Door jambs were pretty funky too:
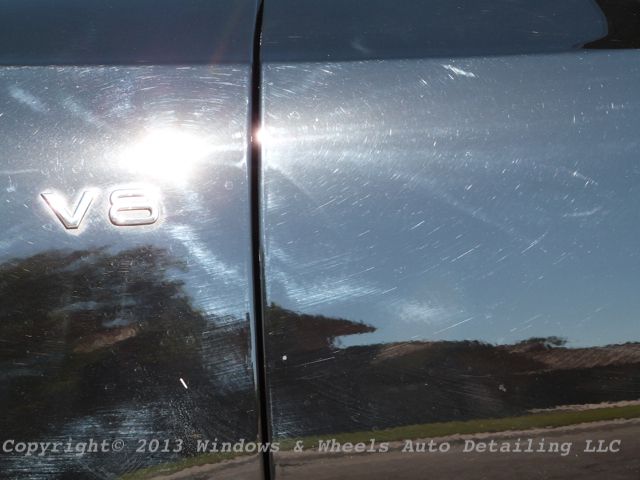
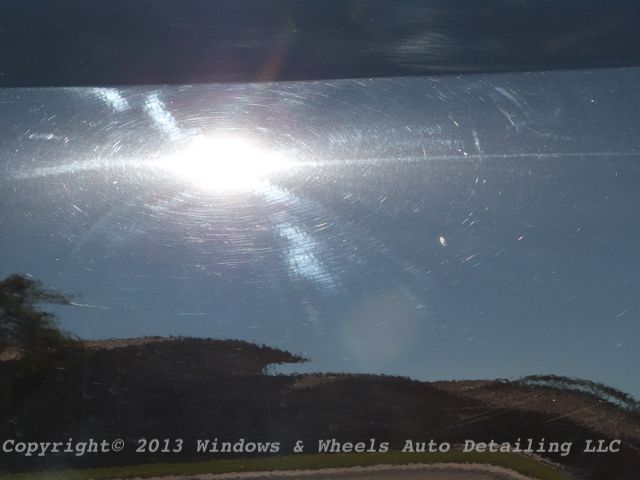
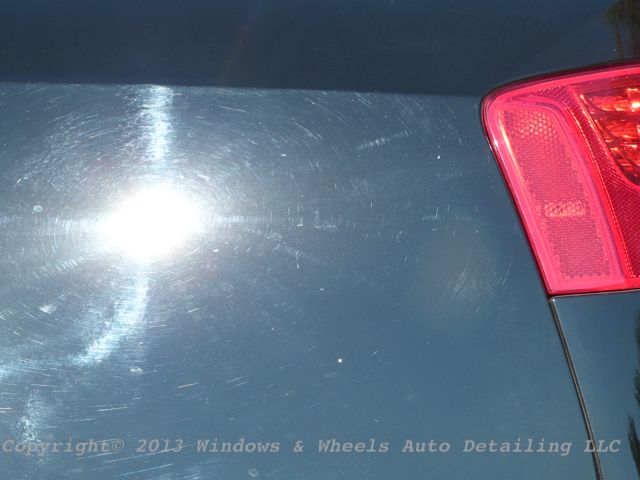
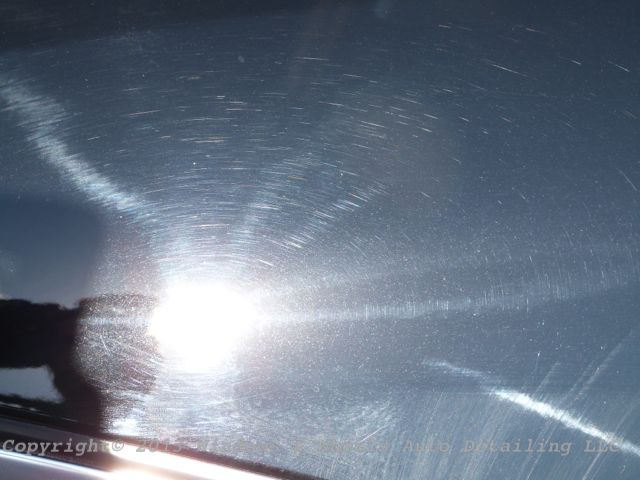
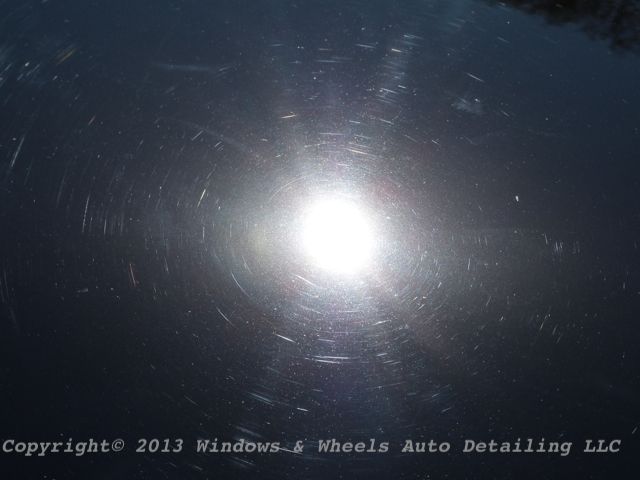
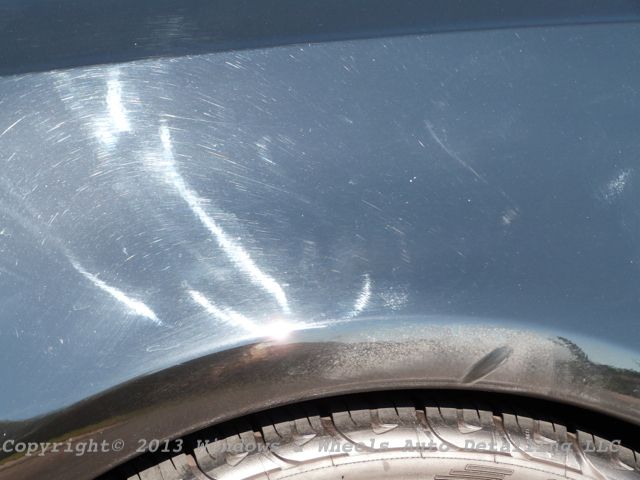
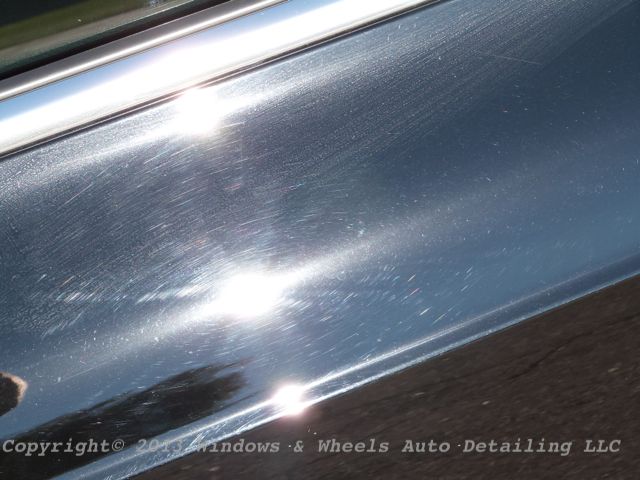
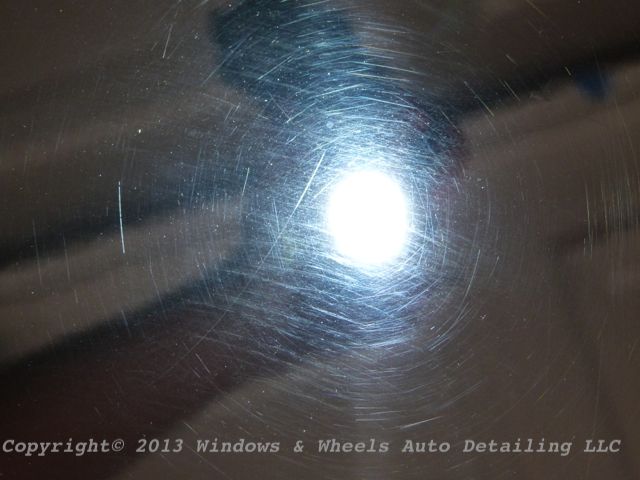
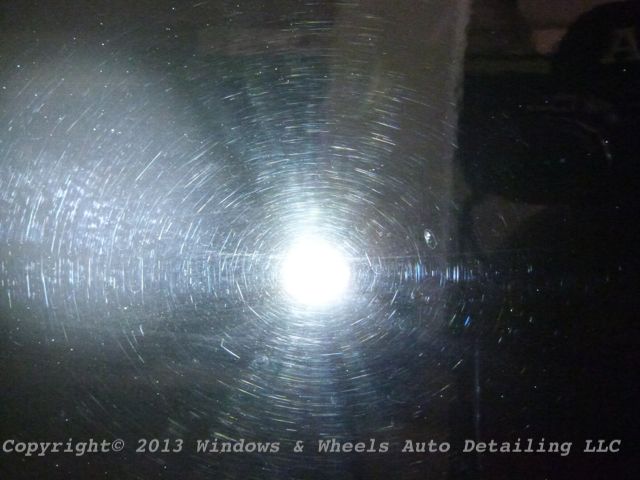
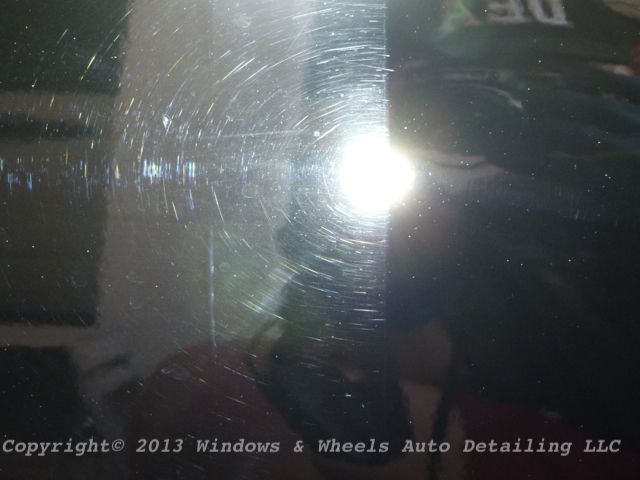
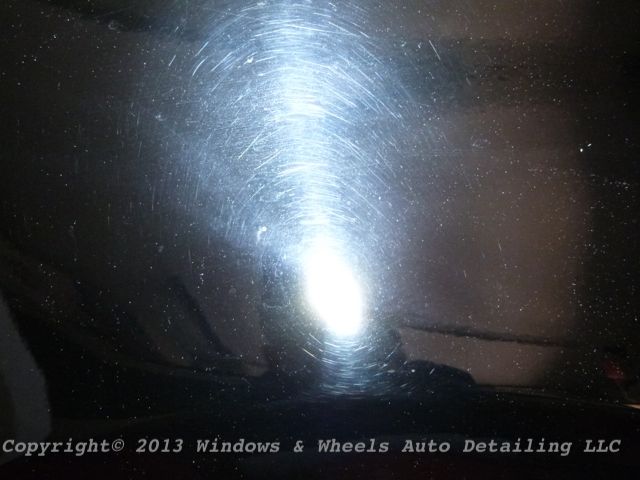
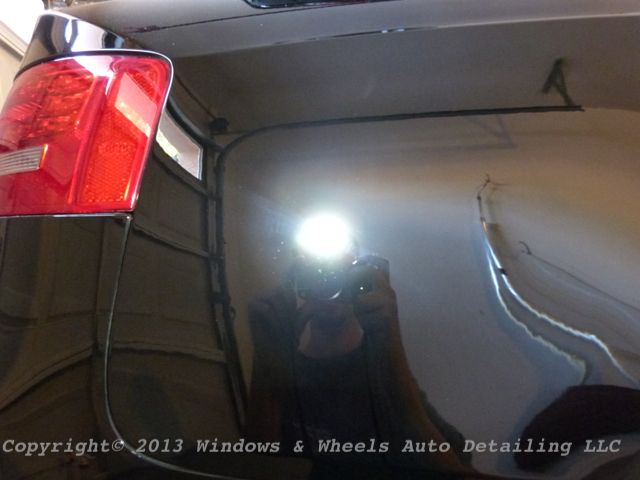
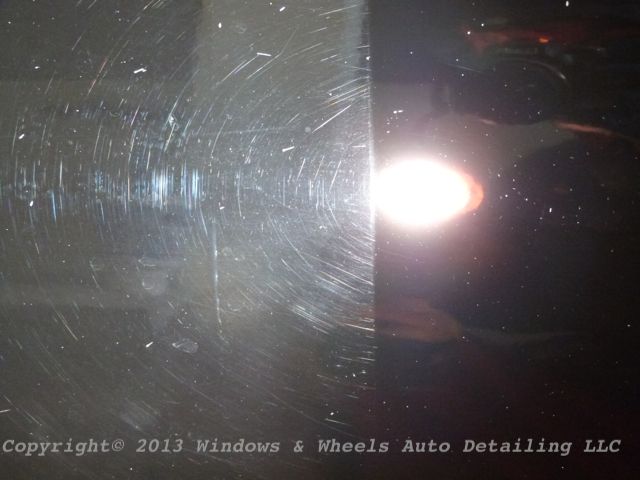
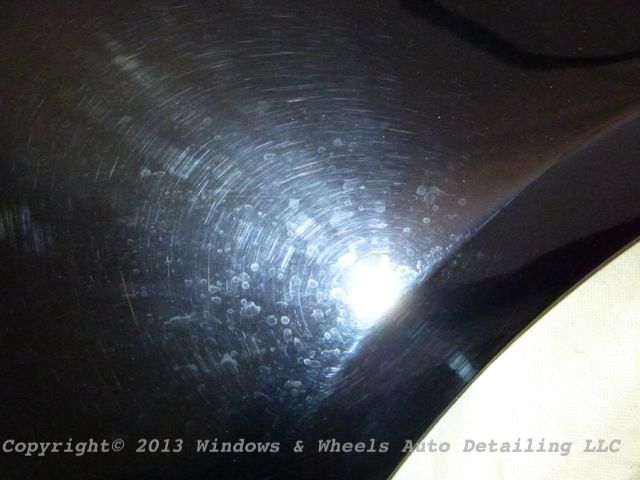
Some areas of the paint were just wicked looking as far as the swirls go:
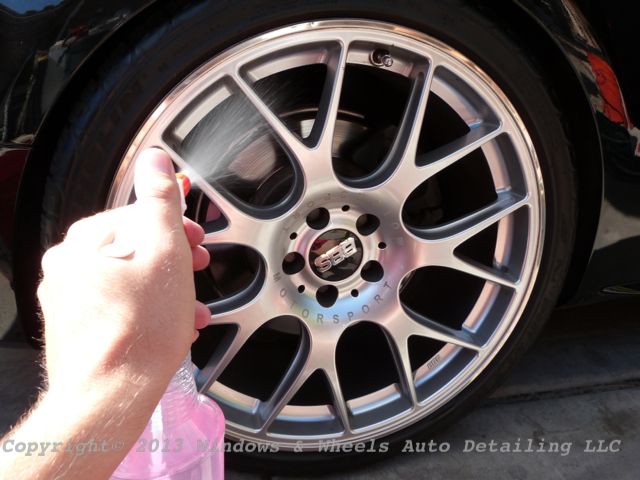
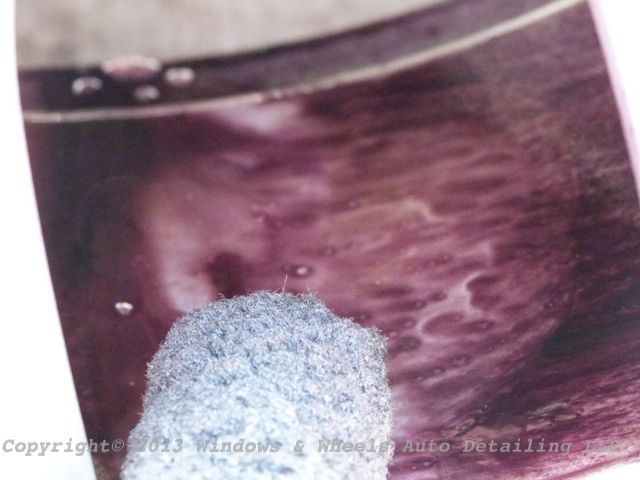
It was a job, no doubt about that. So, it was time to being...wheels and tires first...what do we do about that nasty break dust....we melt that crap off:
Into the purple abyss we go...get it wheel woolie!
Cut right through it like a hot knife through butter:
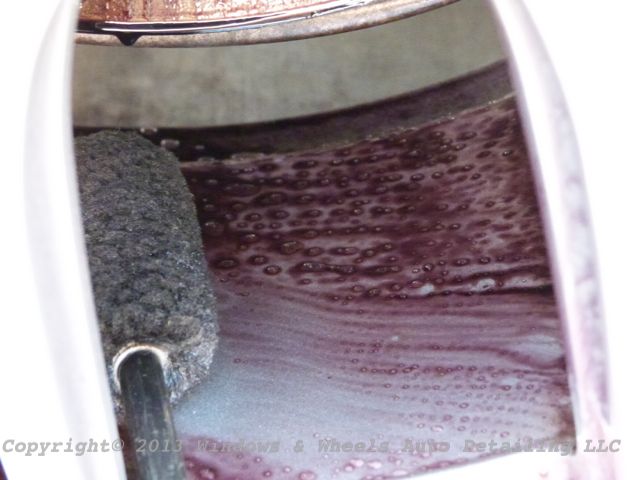
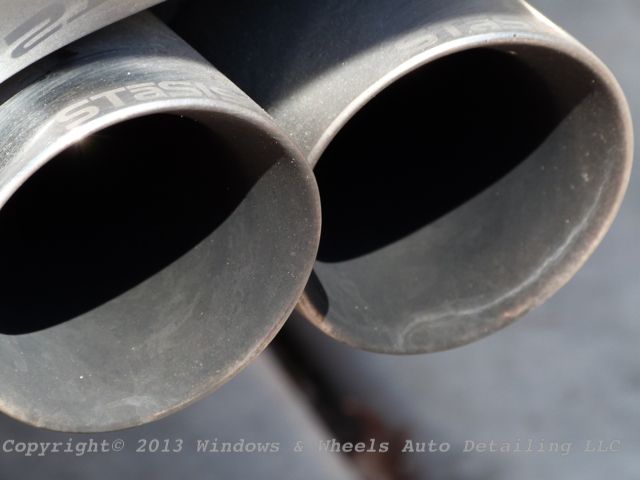
Hey look, its actually metal color:
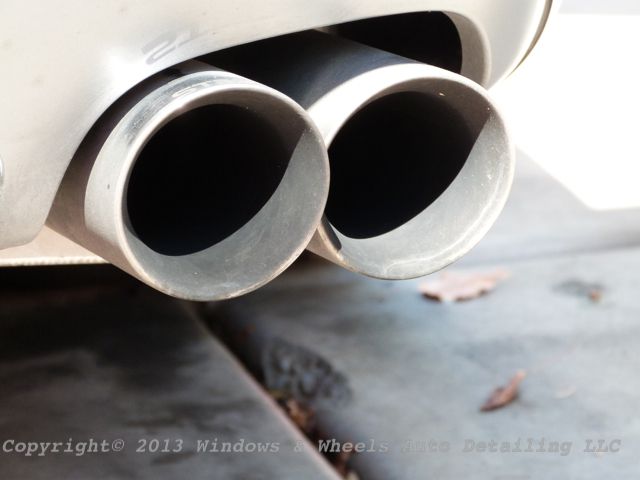
Tips were...yeah...um we'll just come back to that later:
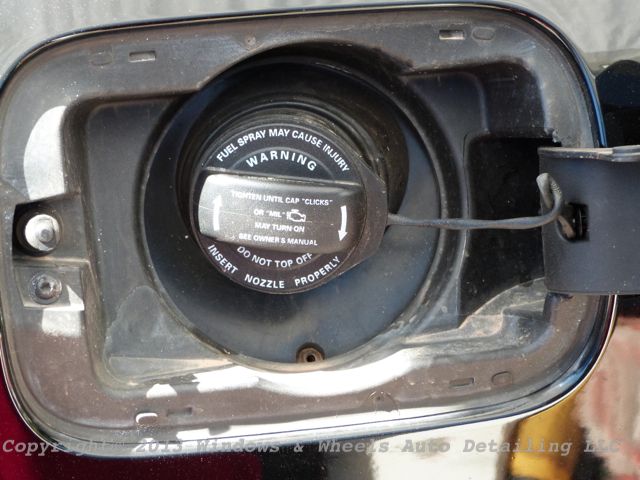
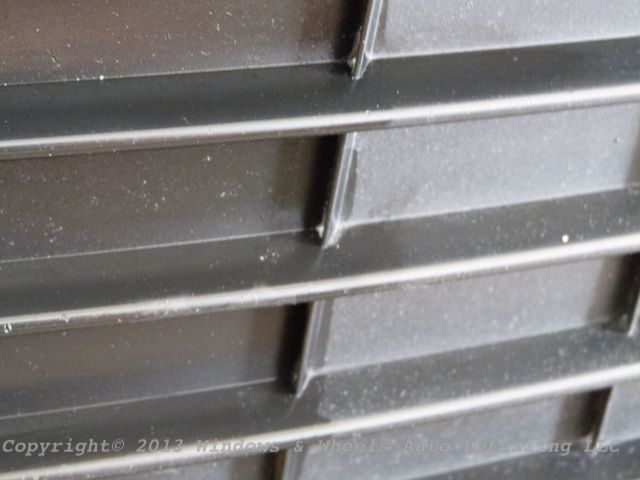
Gas chamber was pretty dirty:
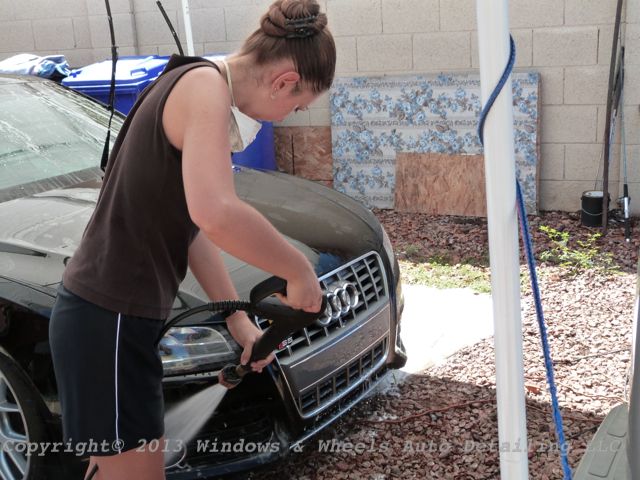
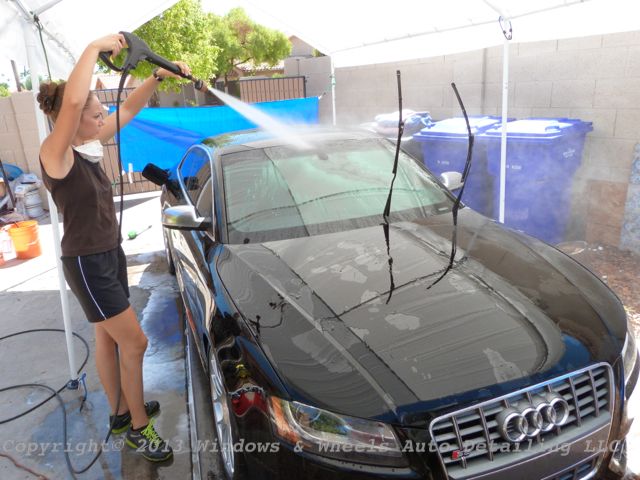
For now, it was time for a foam bath...break that dirt down and get it washed, clayed and prepped:
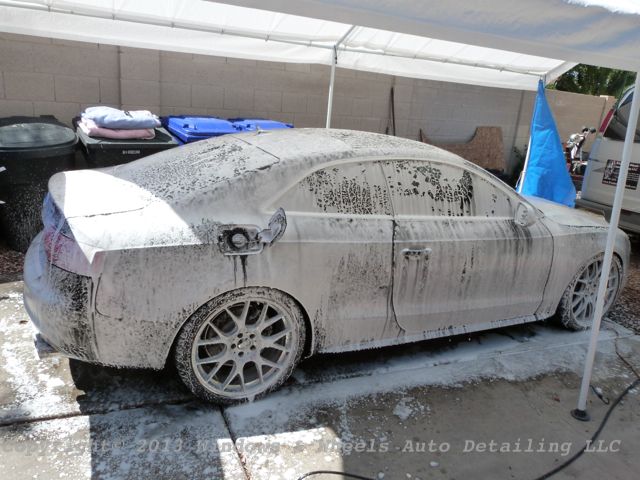
The water was running VERY flat! No protection left on this baby!
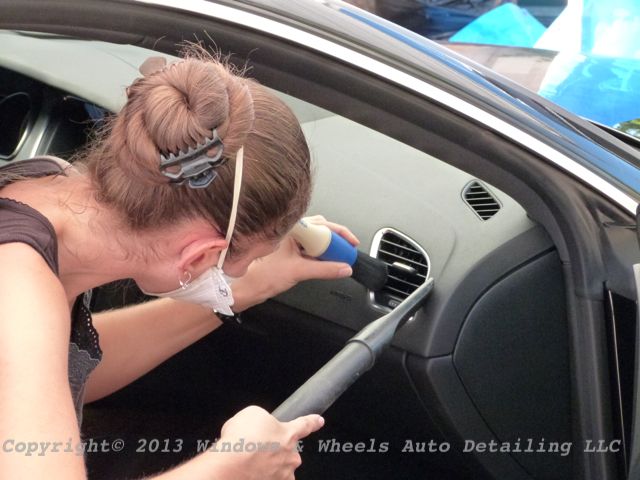
We included a quick interior for him as well - even our "quick" interior is fairly detailed:
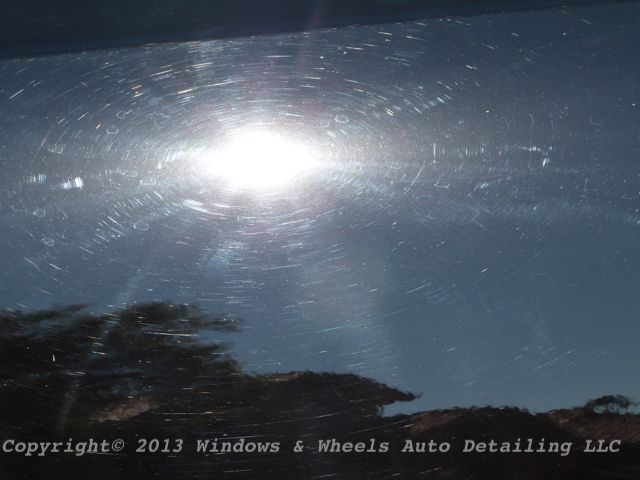
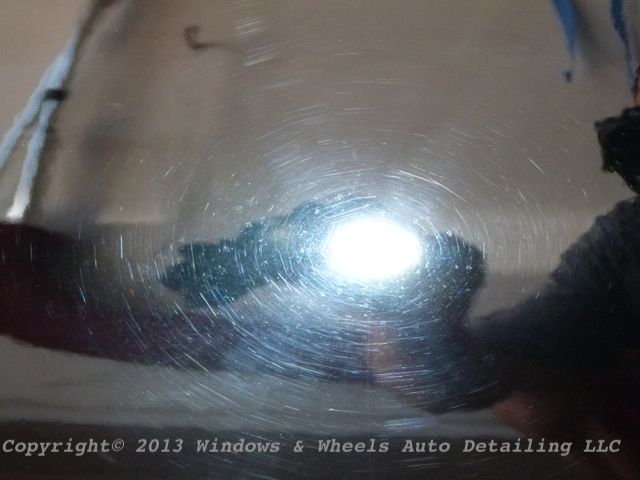
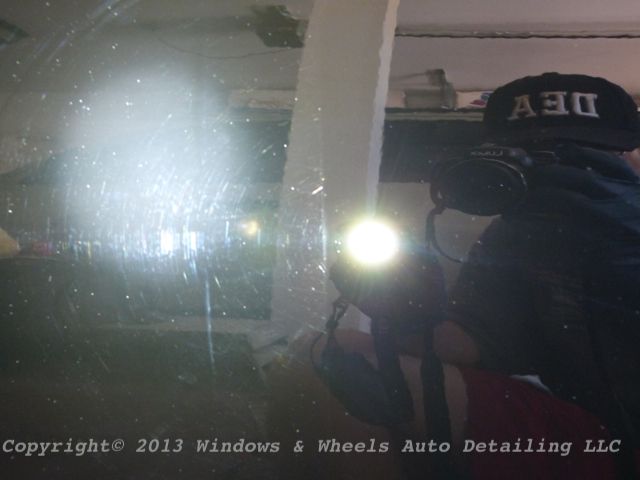
Now time for the fun part, examining the paint under LED:
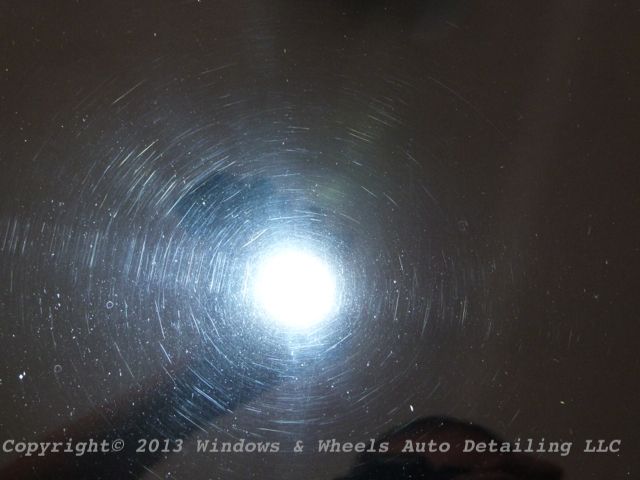
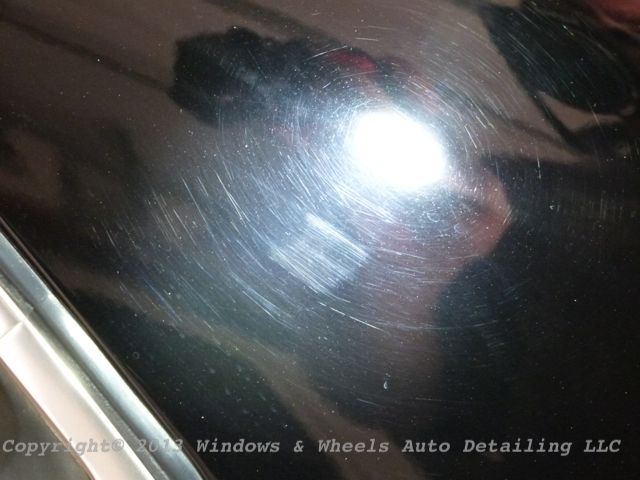
Some we knew right away were too deep down to go after, but we'd do our best to make them look better:
But the rest of these guys were ours for the taking...we'd deal with them via Rupes power

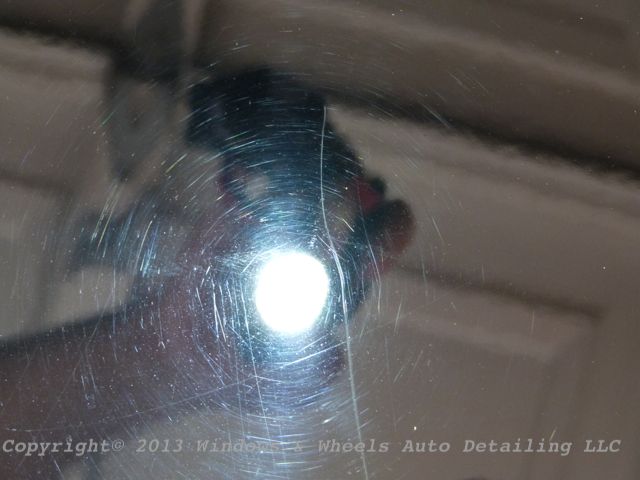
Painnnnn!
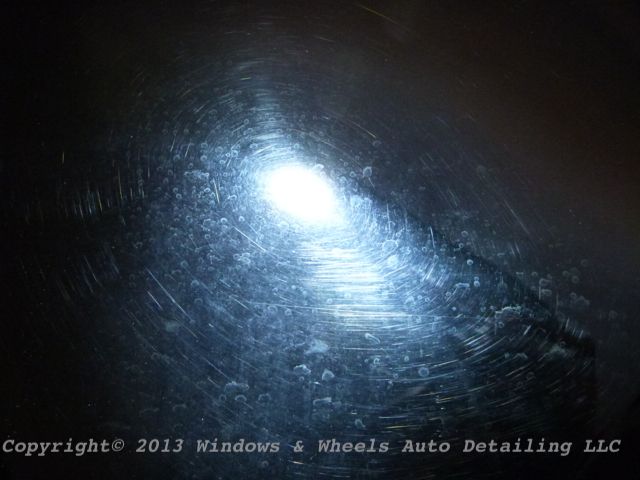
That was a shot of the rear quarter...dani was on that side checking it out and all she said was "Oh my God!" I asked what....and she replied "It looks like a dog got to this panel with sand paper!" I said "A dog?" She said "Yeah cause it looks like his nails dug into the paint along with the sand paper!"
I went around to look and couldnt help but agree lol
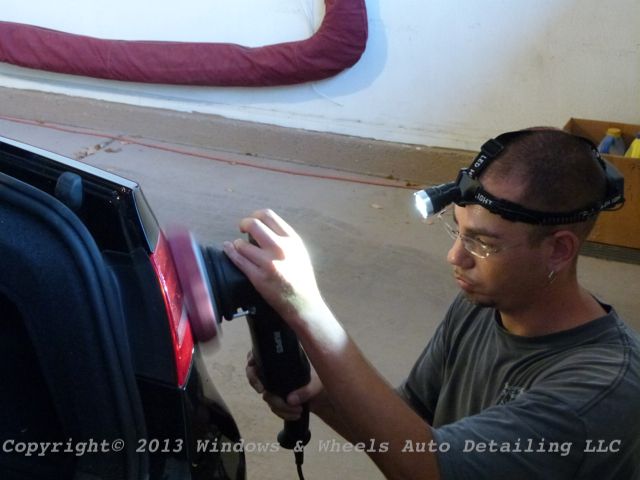
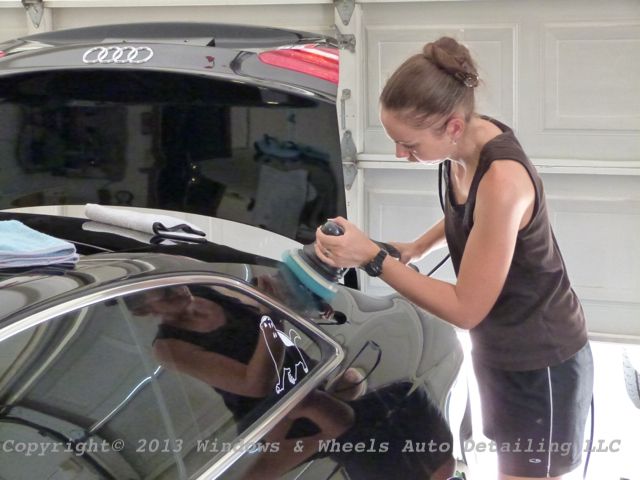
So it was time to get to work, rupes, M101 and M105 were going to be doing the heavy lifting again...technique and keeping the pad clean were vital in dealing with this paint...trying to keep marring to a minimum so that this baby soft clear didn't end up being a pain to polish down with our 2nd step.
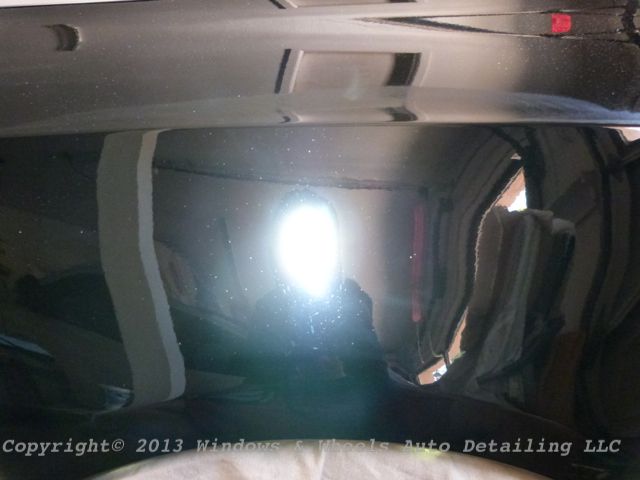
I taped down the middle of the drivers door and got a couple of nice 50/50 shots....the correction was nice...but there was pitting everywhere on this poor car...luckily it didn't show as much in sunlight as it did under LED, but still...even with that...the paint was coming out very nicely:
Bam! There it is
Eventually i made it around to the dog/sandpaper panel *sigh*, this took some doing...plenty of 101...slow passes and patience were my weapons lol.

Turned into:

Final polishing still needed to be done, if you look closely you can see a couple little straight lined towel marks on the left part, very faint and cleaned up easily with HD polish, but it just goes to show how SOFT this paint was. It ALSO showed just how well megs compounds can finish down - even on the big throw of the rupes 21 - you can still get your compound to finish down quite nicely and it leaves little to have to clean up later on.
Before:
And then a more complete view of the quarter.
I also did a 50/50 of that quarter, which showed what a huge transition had taken place:
A super close up showed the very faint towel marring left after wiping away compound...gotta really have your eyes focused to see this stuff:
Tail lights need polishing too...yes my light looks silly but it sure helps to be able to see the progress im making:
Some pretty bad water spotting along with swirls...nice combo:
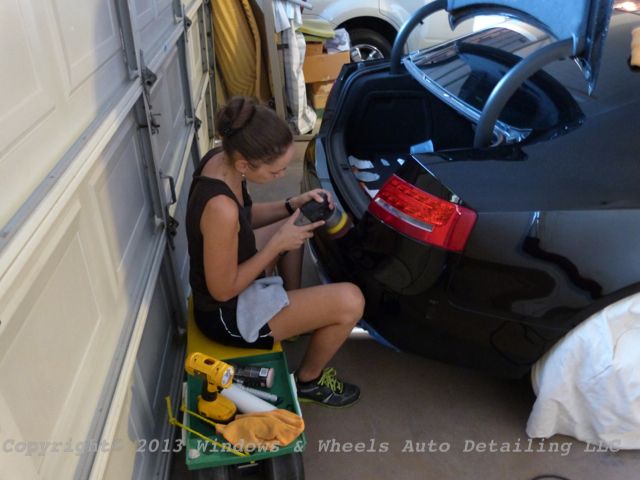
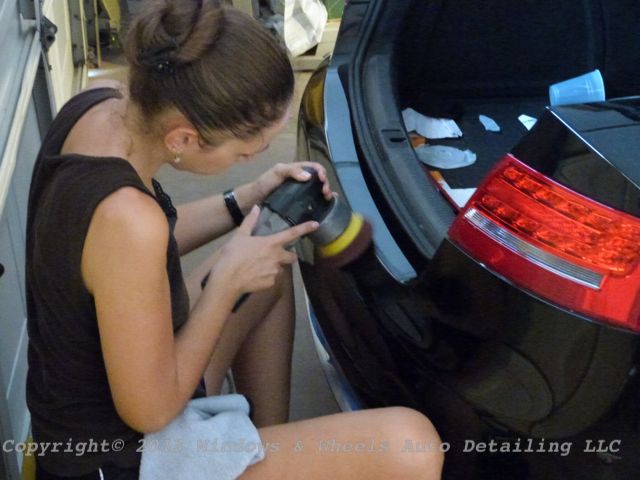
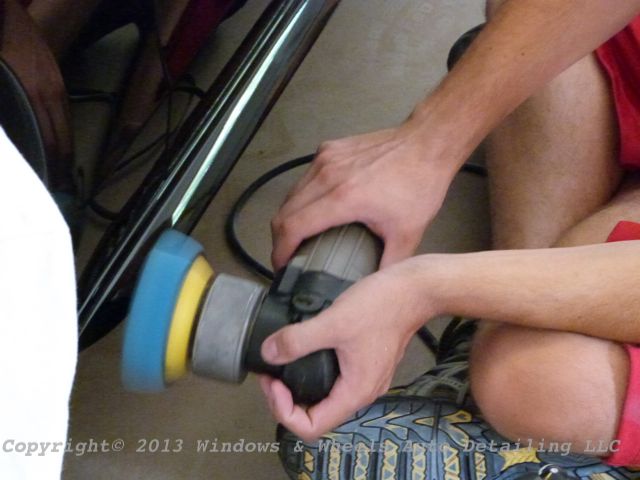
Dani was workin the 4" pad in the tight areas...
The compounding was complete that night, we re-washed it, dried it and allowed it to sit over night - by the time day 2 came around we were up and working in some final polish to really gloss this baby up!

Dani saw the logo on the window right away and said "Thats a HoneyBadger! Honey Badger don't care!!"
Even the stupidly low and small areas got polishes...these were pretty beat up looking but we still made a nice improvement on them:
Finally it was time to prep for CQuartz Finest..wheels had already been coated and were covered...dani's "Wheel bonnets" lol
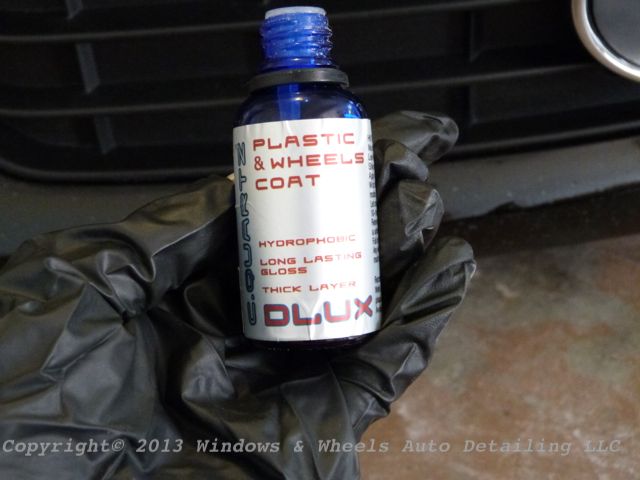
While i prepped the paint for Finest, Dani worked on the plastic ....making it look real nice with CQuartz Dlux:
Left side done, right side not:
Both sides complete, unfortunately it doesnt repair rock chip damage! But it still looked a hell of a lot better!

Of course brilliant black on Audi's is notorious for being a pain to cut into and even more difficult to finish down - that being the case - we figured CQuartz Finest would really help the owner in being able to maintain the finish without having to worrying about swirling the crap out of it just by looking at it!
Here she is...

She was a very sexy looking car...the wheels really made it stand out...and where most would see a swirled mess...we saw a huge opportunity to really show off our skills.
But, it was not going to be a walk in the park...


He was not exaggerating about the condition of his paint...it needed a LOT of help...


The more we looked, the more painful it got.
The bumper REALLY hurt....

The trunk was...special:

Roof:

Wheel barrels had a pile of break dust on them...literally...it was pretty ugly:

Lug nuts were bad as well...wheel faces weren't horrible, just the tight spots:

Door jambs were pretty funky too:

Some areas of the paint were just wicked looking as far as the swirls go:


It was a job, no doubt about that. So, it was time to being...wheels and tires first...what do we do about that nasty break dust....we melt that crap off:


Into the purple abyss we go...get it wheel woolie!

Cut right through it like a hot knife through butter:

Hey look, its actually metal color:


Tips were...yeah...um we'll just come back to that later:


Gas chamber was pretty dirty:

For now, it was time for a foam bath...break that dirt down and get it washed, clayed and prepped:


The water was running VERY flat! No protection left on this baby!

We included a quick interior for him as well - even our "quick" interior is fairly detailed:

Now time for the fun part, examining the paint under LED:


Some we knew right away were too deep down to go after, but we'd do our best to make them look better:

But the rest of these guys were ours for the taking...we'd deal with them via Rupes power


Painnnnn!

That was a shot of the rear quarter...dani was on that side checking it out and all she said was "Oh my God!" I asked what....and she replied "It looks like a dog got to this panel with sand paper!" I said "A dog?" She said "Yeah cause it looks like his nails dug into the paint along with the sand paper!"
I went around to look and couldnt help but agree lol
So it was time to get to work, rupes, M101 and M105 were going to be doing the heavy lifting again...technique and keeping the pad clean were vital in dealing with this paint...trying to keep marring to a minimum so that this baby soft clear didn't end up being a pain to polish down with our 2nd step.
I taped down the middle of the drivers door and got a couple of nice 50/50 shots....the correction was nice...but there was pitting everywhere on this poor car...luckily it didn't show as much in sunlight as it did under LED, but still...even with that...the paint was coming out very nicely:

Bam! There it is

Eventually i made it around to the dog/sandpaper panel *sigh*, this took some doing...plenty of 101...slow passes and patience were my weapons lol.


Turned into:

Final polishing still needed to be done, if you look closely you can see a couple little straight lined towel marks on the left part, very faint and cleaned up easily with HD polish, but it just goes to show how SOFT this paint was. It ALSO showed just how well megs compounds can finish down - even on the big throw of the rupes 21 - you can still get your compound to finish down quite nicely and it leaves little to have to clean up later on.
Before:

And then a more complete view of the quarter.


I also did a 50/50 of that quarter, which showed what a huge transition had taken place:

A super close up showed the very faint towel marring left after wiping away compound...gotta really have your eyes focused to see this stuff:

Tail lights need polishing too...yes my light looks silly but it sure helps to be able to see the progress im making:

Some pretty bad water spotting along with swirls...nice combo:

Dani was workin the 4" pad in the tight areas...


The compounding was complete that night, we re-washed it, dried it and allowed it to sit over night - by the time day 2 came around we were up and working in some final polish to really gloss this baby up!

Dani saw the logo on the window right away and said "Thats a HoneyBadger! Honey Badger don't care!!"

Even the stupidly low and small areas got polishes...these were pretty beat up looking but we still made a nice improvement on them:

Finally it was time to prep for CQuartz Finest..wheels had already been coated and were covered...dani's "Wheel bonnets" lol

While i prepped the paint for Finest, Dani worked on the plastic ....making it look real nice with CQuartz Dlux:

Left side done, right side not:

Both sides complete, unfortunately it doesnt repair rock chip damage! But it still looked a hell of a lot better!


") . And thanks for the kind words...was a fun detail really...especially since it turned out pretty damn nice
. And thanks for the kind words...was a fun detail really...especially since it turned out pretty damn nice