Nurburing challenge - Porsche 911 Carrera S full correction detail by KC's

  • Thread starter Thread starter Guest
  • Start date Start date
G

Guest

Guest
Did anyone watch the qvc channel last night at 11 - they were advertising a product they claim is the best trade wax called "show room shine" -


the guy tried it out on a brand new BMW X5 - which looked as if it was detailed already - and i was amazed with the garbage he claimed it could do - he then tried it out on a old car which was dirty - but even after he had buffed it all off - it still looked rubbish.


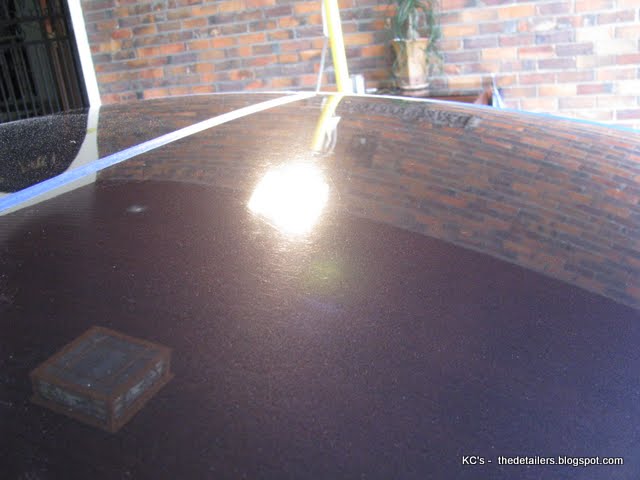
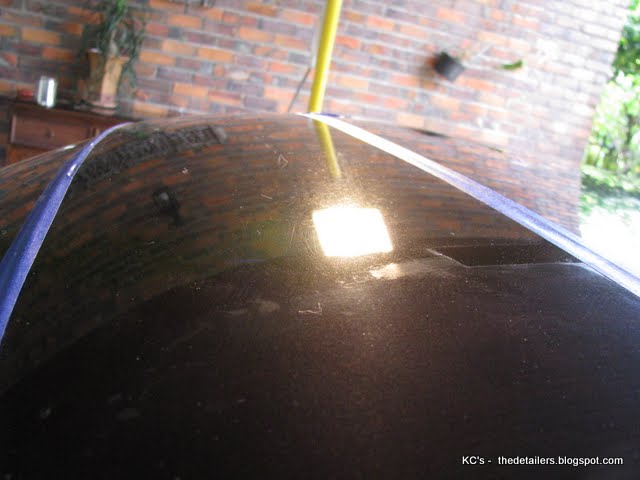
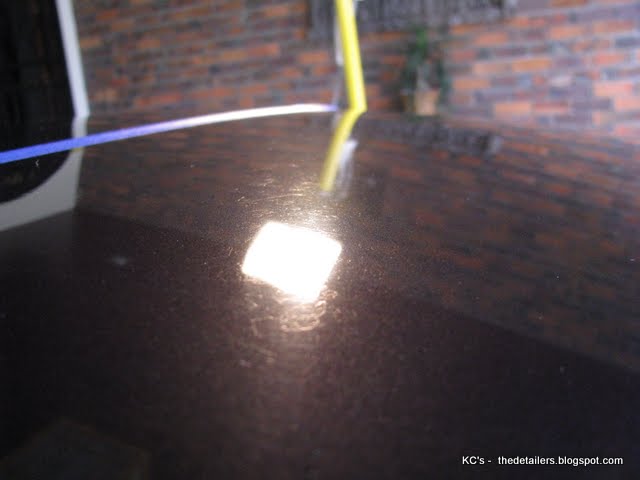
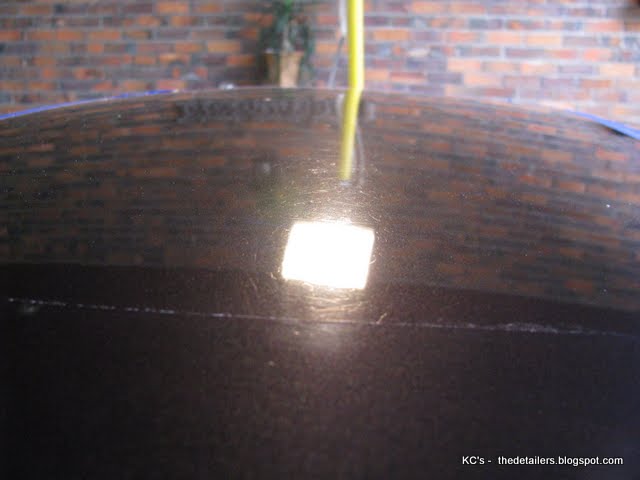
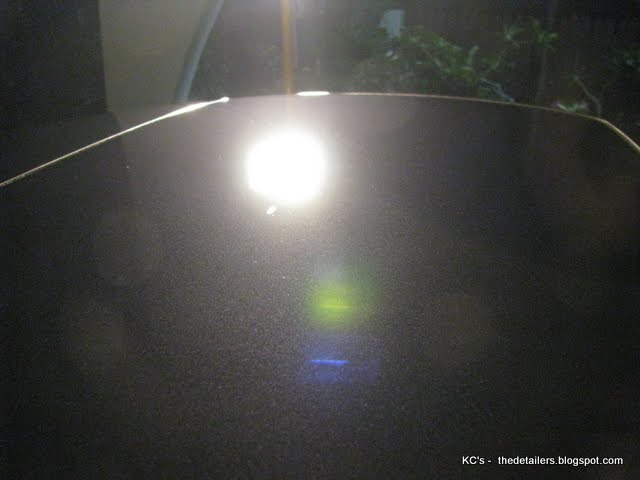
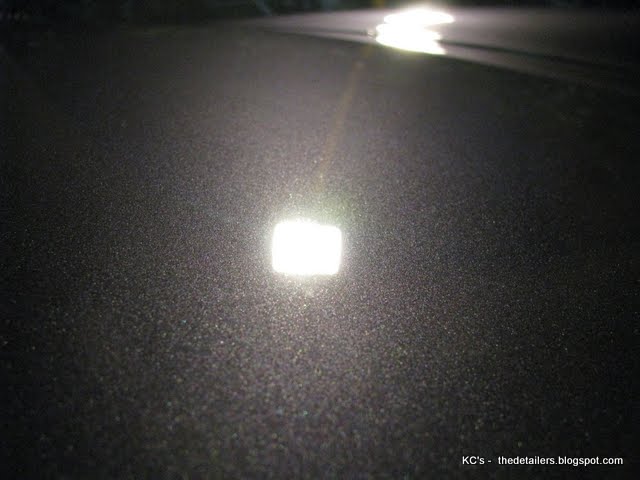
P.s u could tell how much that product was just a gimmick - i spotted 12 lights shining on the bonnet of the X5 - to make it look as the product is so superior. - there needs to be some sort of official standard where all these products are fairly evaluated - not with the use of lights, chrome alloys or anything else that makes it appear that the product is better than another.


J.R


(come on u guys i should get at least 10 replies on this)!!
 
One of my favorites is the commercial where they demonstrate the durability of the wax by setting the car panel on fire !!!!! After putting the fire out..."Look no damage" Yeah ok...
 
<blockquote class='ipsBlockquote' >

<em class='bbc'>Originally posted by John Ross [/i]
<strong class='bbc'> there needs to be some sort of official standard where all these products are fairly evaluated [/b]</blockquote>
John you have already logged on to best place for product feedback and evaluation. :bow Autopia, seperating the facts from the hype! :xyxthumbs
 
Seeing an infomercial that had that fast-talking English guy with the bow tie in it. Of course they had to light several cars on fire. Then at one point they dumped a load of sand on one of the cars to show how tough their product was. I'm thinking "Gee, if I lived in the desert during a nuclear war, this stuff would be great!"
 
IMG_4590-1.jpg


Remember how this horse was prepare for his knight
P1100410.JPG


Correction title should be spelled as N?rburgring
IMG_4609-1.jpg


5 months ago I was asked to detail this beautiful German Marque ....
with the limitation of time .........a month months later.. ...i did a lighting speed interior detailing the interior & hood area....
to read more
http://thedetailers.blogspot.com/2010/12/wanna-great-looking-interior-pit-stop.html

sorry Bud let you waited 5 months ya......u know the reason for this season

most commonly problem any Germans ride face here.....my buddy thought Malaysia is too hot...so hot till our weather melts the knobs ....

Most probably you don't find in any other car maker ...as they are not rubberised

P1110344.JPG


this is a very common known issue in other German Marque Machine ....esp in E60s, E90s...many many many more...it is build for 4 season climate ...perhaps tropic is too hot

P1110023.JPG


ta da
P1110346.JPG


It is only clean with Power clean & microfibers !!!! Many refuted my claims of this de-rubberised detailing - makes no sense & got the wrong picture after :-

knobs are misleading... you took a picture of the left one for before and then the right for after.....they were in two different conditions... you can see that on the picture when you see both...

I'm just curious how u restored the rubberised a/cond knob in the 997. The before and after pics don't tally, the bad one is on driver's side...show us that one after u rescue it, not the one on passenger side

Hmmmmmm
p/s i do not get paid for showing you this : when i showed this to the the owner ''We have a good crazy laugh"
but in order to state our claims ...yes

before
P1110343.JPG

Now
IMG_4676-1.jpg


close up shot
IMG_4674-1.jpg


5 months later on the left knob - still remains
IMG_4677-1.jpg


The car is made of lighter materials that means less energy is used.......and with the amount of curves as well

good looking from far away shot.....
P1100412.JPG


but close up & under sunlight...ta da

our hidden enemy is being revealed

SWIRLS
P1100368.JPG


SWIRLS mostly is created....by homo sapient rather than mother nature or environmental treats

P1100378.JPG


many caused by the cloths we use to wash & dry / techniques of strokes - material make off & worn out cloths (microfibers alike)

P1100381.JPG


Swirls too on the D pillar
P1100378.JPG


front 1/4 panel (Clear bra - vinyly wrapping alike to protect against stone chips)

LAhNWUNgpCIeUTT09AlSBrwPy3YK2C0se-DgRc07Z1A


this pics was taken 5 months ago prior clear bra removed - visible swirls
P1100405.JPG


the owner decided to unwrapped his present - otherwise it is like driving an unwrapped present around...

more visible clear bra wrapping
P1100368.JPG


now the hidden swirls shown once this clear bra remove
IMG_4450-1.jpg


my buddy told me , the moment this clear bra was removed - the swirls already pre- existed

more swirls found now

IMG_4456-1.jpg


++++++++++++++++++++++++++++++++++++++++++++

pic before bath & lots of wax & polish residue found
IMG_4395-1.jpg


IMG_4398-1.jpg


IMG_4399-1.jpg


IMG_4407-1.jpg


IMG_4444-1.jpg


on the emblem area
IMG_4410-1.jpg


plus the clear bra - residues , left an uneven paint on the coat
IMG_4424-1.jpg


more residue of paint unevenness -left after the bra removed
IMG_4419-1.jpg


hidden wax residue on the d pillar - open sesame
IMG_4441-1.jpg


We clayed most of it , lube with ONR No rinse wash & power clean out the residue


over 2 man hours just on the roof lining rubber - cleaning the tedious area
IMG_4442-1.jpg
 
in between
IMG_4469-1.jpg


before
IMG_4472-1.jpg


after
IMG_4473-1.jpg


for once
IMG_4479-1.jpg


now
IMG_4480-1.jpg


another area damage while some contamination cleaning done in a wrong way
IMG_4570-1.jpg


for it always takes a cobbler to know his tools

IMG_4573-1.jpg


before
IMG_4569-1.jpg


after being corrected
IMG_4585-1.jpg


lower 1/4 bumper before
IMG_4575-1.jpg

after
after being corrected
IMG_4585-1.jpg


+++++++++++++++++++++++++++++


moving on to the top - as it is always says - hard to reach the top
IMG_4508-1.jpg


plenty of water stains
before
IMG_4538-1.jpg


IMG_4542-1.jpg

scratches as well

IMG_4516-1.jpg


ta da

IMG_4539-1.jpg


sunroof
NOW this the 2nd hardest part to detail - - as it is on a different composure material - which i believe is make of fiber glass - having a tropical water stains is an almost an IMPOSSIBLE task to remove -

would you believe - it takes an hour plus to detail

IMG_4512-1.jpg


another 50/50 % comparison on the sunroof
IMG_4534-1.jpg


before
IMG_4508-1.jpg


a 50/50%

IMG_4532-1.jpg


ta da
IMG_4533-1.jpg


another secret exposed

when we lifted the diamond logo clear bra tag
IMG_4616-1.jpg


we found
IMG_4615-1.jpg


Are we there yet - the donkey ask Shrek while the sat on the journey to the castle

IMG_4598-1.jpg


IMG_4599-1.jpg


IMG_4618-1.jpg
 

Attachments

  • cropped.jpg
    cropped.jpg
    72.6 KB · Views: 71
scratches before

IMG_4386-1.jpg


now
IMG_4632-1.jpg


very very soon
IMG_4633-1.jpg


a few more pics before rolling off the road again

IMG_4606-1.jpg


IMG_4610-1.jpg


IMG_4638-1.jpg


IMG_4624-1.jpg


IMG_4625-1.jpg


IMG_4647-1.jpg


gave another ONR wash & protected by
IMG_4687-1.jpg


imagine after 10 1/2 hours of detailing - all you want is to complete the job with any big effort & effective protection on the paint

I did it in 20 minutes with this help

Menu for the day

tools - plenty of all assorted brushes, microfibers , Makita rotary, Pads & wools

-ONR Wash - with 3 microfibers (before after clay & after each compound & polish) 4 onr wash + 1st shampoo washed diluted with Optimum power clean to strip all waxes

-O Power Clean - (1:1 used as degreaser, 3:1 to remove hard stains like algae, 5:1 paint cleaning & emblem cleaning - remove waxes, 8:1 door jams & stickers remover)

-Clay & ONR as QD for clay (2 ounces for 500 ml water) - many many clays & patience is our reward

paint corrections
- M105 & Lake country double side wool (fast & quick) (makita spread 1 & progress to speed 3)

-Level up by M105 & Lake country double cutting pad (makita spread 1 & progress to speed 3)

-Paint glossed with OHSP & Meguiars soft bun polishing pad (makita spread 1 & progress to speed 3 & regress to speed 2 & finish with speed 1)
-Finishing by OHSP with LC glazing pad (makita spread 1 & progress to speed 2 & regress to speed1 slightly lifting the rotary - slow is the key word to let the product work out)

Protected by
Optimum Opti seal (25 minutes) on all exterior , window & glasses & Optimum Car wax (5 minutes)

Interior Power clean & leather conditioner & O Leather Protectant


+++++++++++++++++++++++++++++++++++++++++++++++
Rear Engine hood - another hard to detail area
before

IMG_4401-1.jpg


IMG_4558-1.jpg


it is easier & as taking extra precaution over narrow area by taping each level to prevent coincidently scrap
IMG_4563-1.jpg


ta da
IMG_4709-1.jpg


+++++++++++++++++++++++++++++++++++++++++
interior detailing

Tools - plenty of bristle hair brushes +one and only Optimum Power clean - tada ( i would not leave home for this joB- dilutes to suits yr job need ) I dilute 1:5

wipe off with onr & microfibers


later is condition by leather condition
IMG_4672-1.jpg


IMG_4686-1.jpg


interior is protected by optimum leather protectant against UV never claim a dressing product
IMG_4679-1.jpg


P1110407.JPG


(a spray on , wipe off & walk away) is good for all interior plastic, vinyl & rubber

a special edition techo meter too is protected by leather protectant
IMG_4680-1.jpg


IMG_4681-1.jpg


IMG_4682-1.jpg


++++++++++++++++++++++++++++++++++++++++++now a corrected ride

IMG_4644-1.jpg


IMG_4651-1.jpg


check out under proper lighting
IMG_4456-1.jpg

oppss wrong pic

IMG_4730-1.jpg


thank God it is not there
now

IMG_4692-1.jpg


close up before
IMG_4448-1.jpg


now
IMG_4698-1.jpg
 
IMG_4711-1.jpg


IMG_4710-1.jpg


wheel is protected by an effortless wax - spray on wipe off & walk away
IMG_4715-1.jpg


tires is protected by tire shine
IMG_4714-1.jpg


remember before
IMG_4504-1.jpg

ta da
IMG_4668-1.jpg


remember this pic
IMG_4590-1.jpg

ta da
IMG_4591-1.jpg


the hardest area to detail & if you have been thru one
before
IMG_4512-1.jpg


now
IMG_4704-1.jpg


safely now to show whether in day or by night
now after detail

IMG_4650-1.jpg


check it out again

IMG_4691-1.jpg

before
IMG_4479-1.jpg


now

IMG_4694-1.jpg


now
IMG_4699-1.jpg


this too
IMG_4609-1.jpg


ta da
IMG_4613-1.jpg


before

IMG_4497-1.jpg

ta da

IMG_4717-1.jpg


cheers to all my kind buddies & cherish our detailing- ship together...i would sincere loves to be with you - if time & places permits to join you in your detailing voyage too

IMG_4700-1.jpg


now The Luxury of driving a Porsche 911 Carrera S experience begins

thanks to this knob & the pic
P1110344.JPG


who got me into trouble and many have refute my claims

Now
IMG_4676-1.jpg


thanks to Doc G otherwise i would have nothing to share with you guys & many thanks of your kindness & cheers along the way
 
Back
Top