Flannigan
New member
Today we have a 2003 Nissan 350z that a customer requested to have freshened up before they tried to sell it. It was in pretty rough shape when we recieved it to be honest. We decided to do a one step correction on the paint to try and bring back some shine and remove some swirls, as well as do a headlight restoration since a yellow set of headlights can really detract from the safety and vaulue of a vehicle.
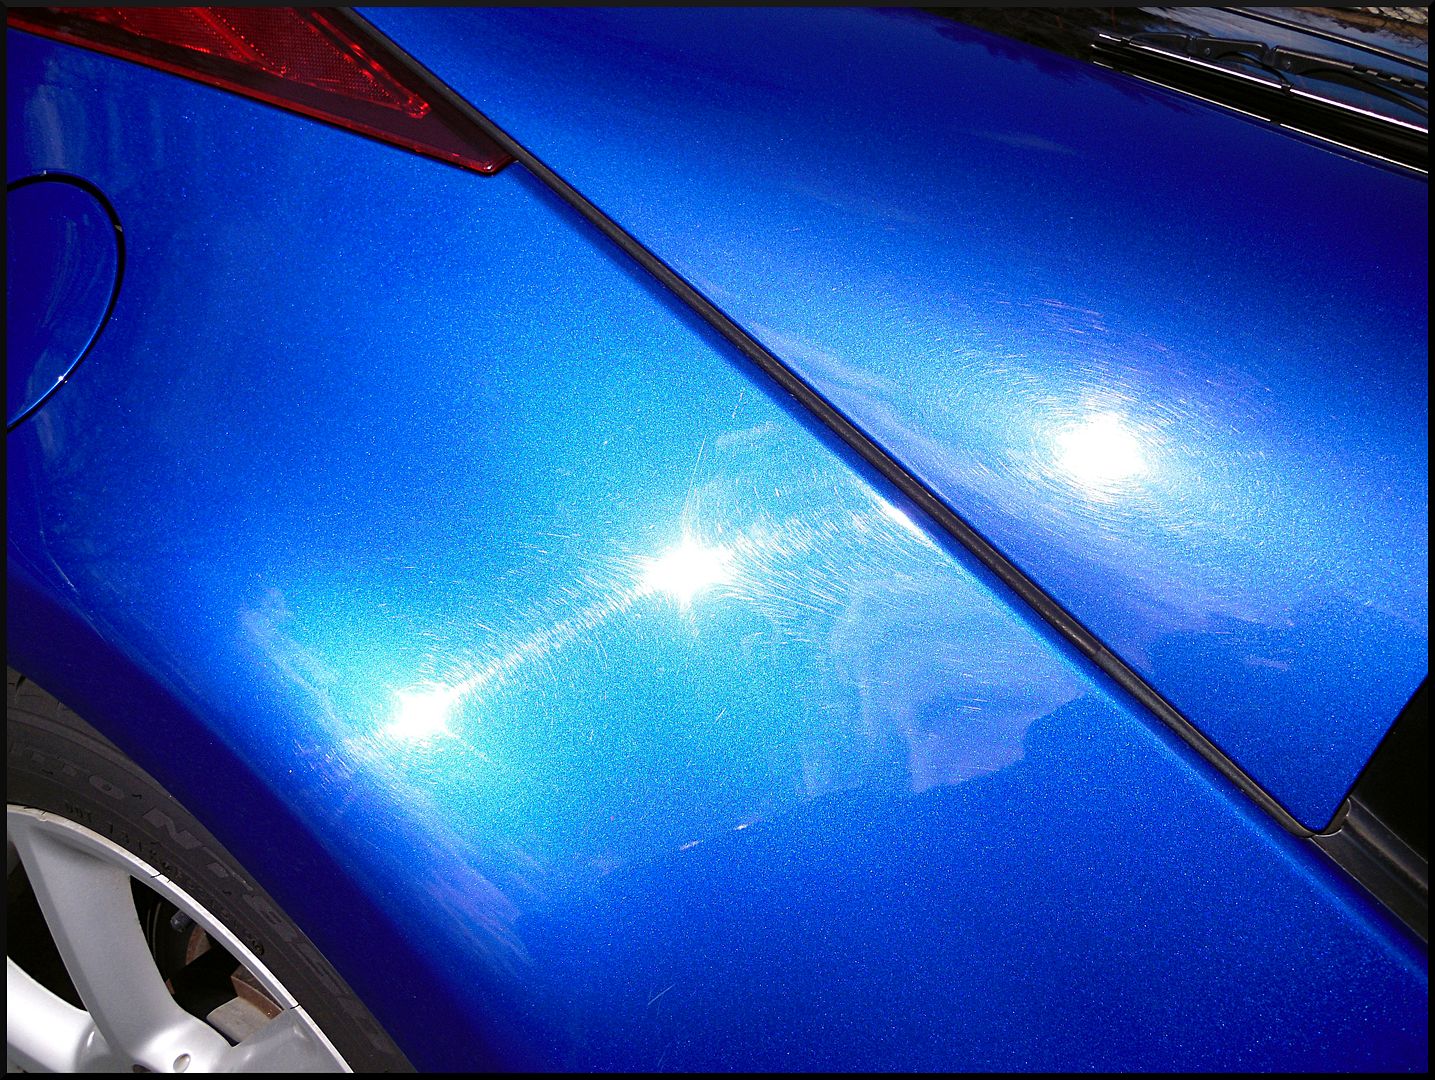
We started of with a wash like normal, and cleaned the wheels while we were at it. We ended up needing to use Meguiars Wheel Brightener to get them looking right. The paint felt like sand paper, so we also used the Car Pro clay block to remove the bonded contaminants. Here is how the paint looked after beign totally stripped.
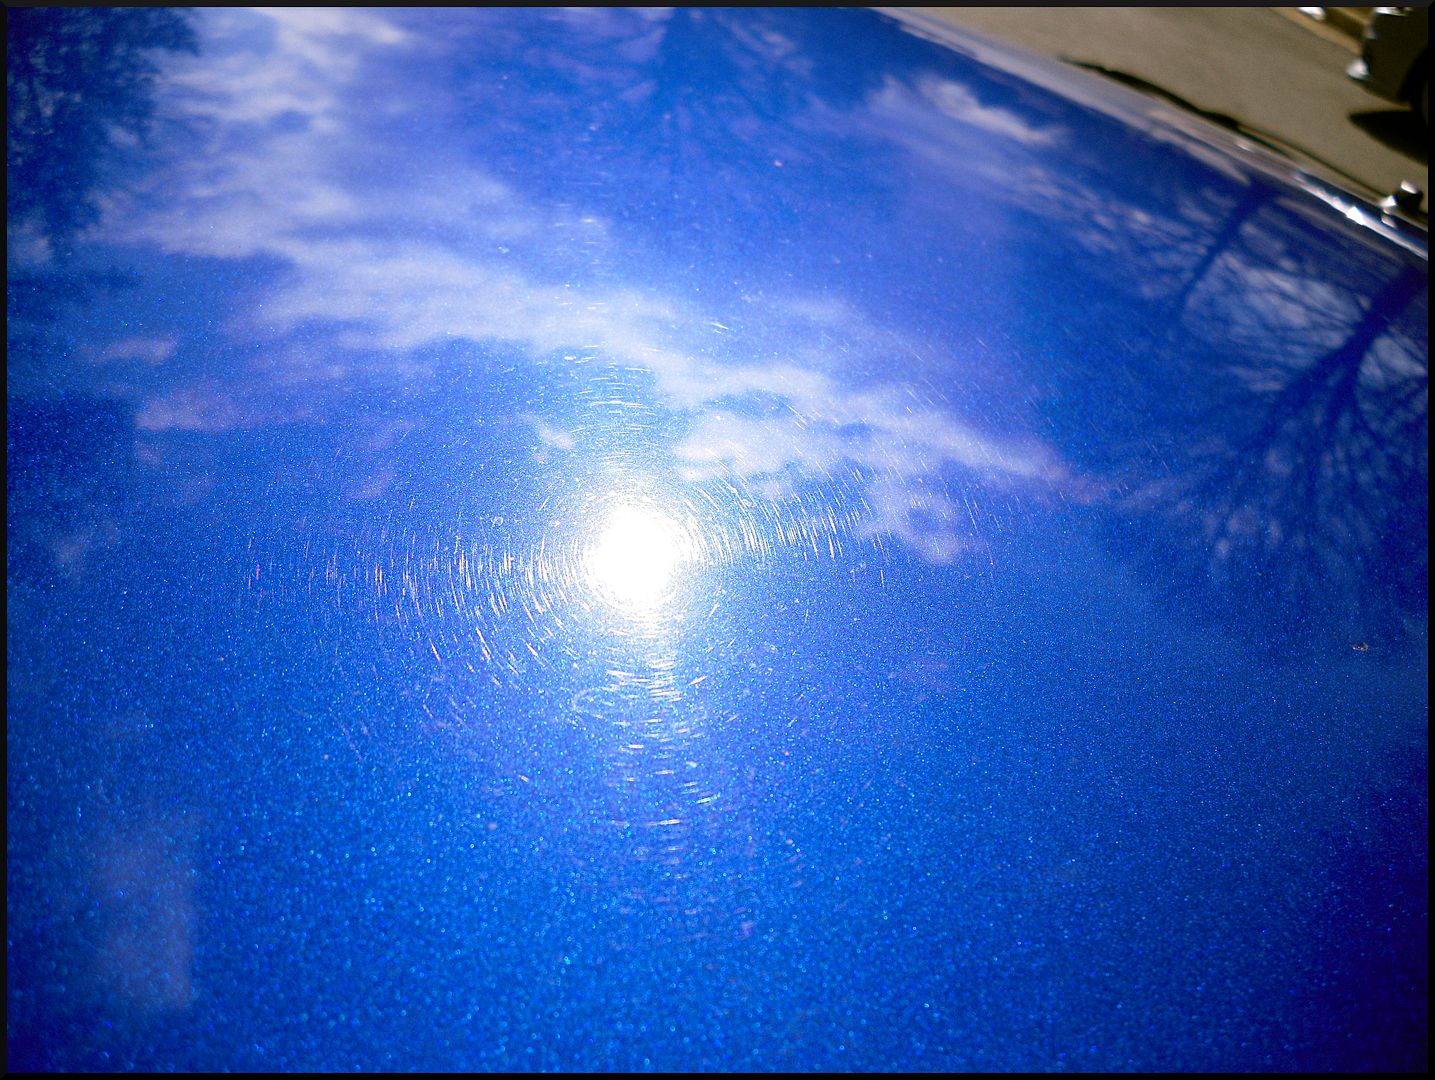
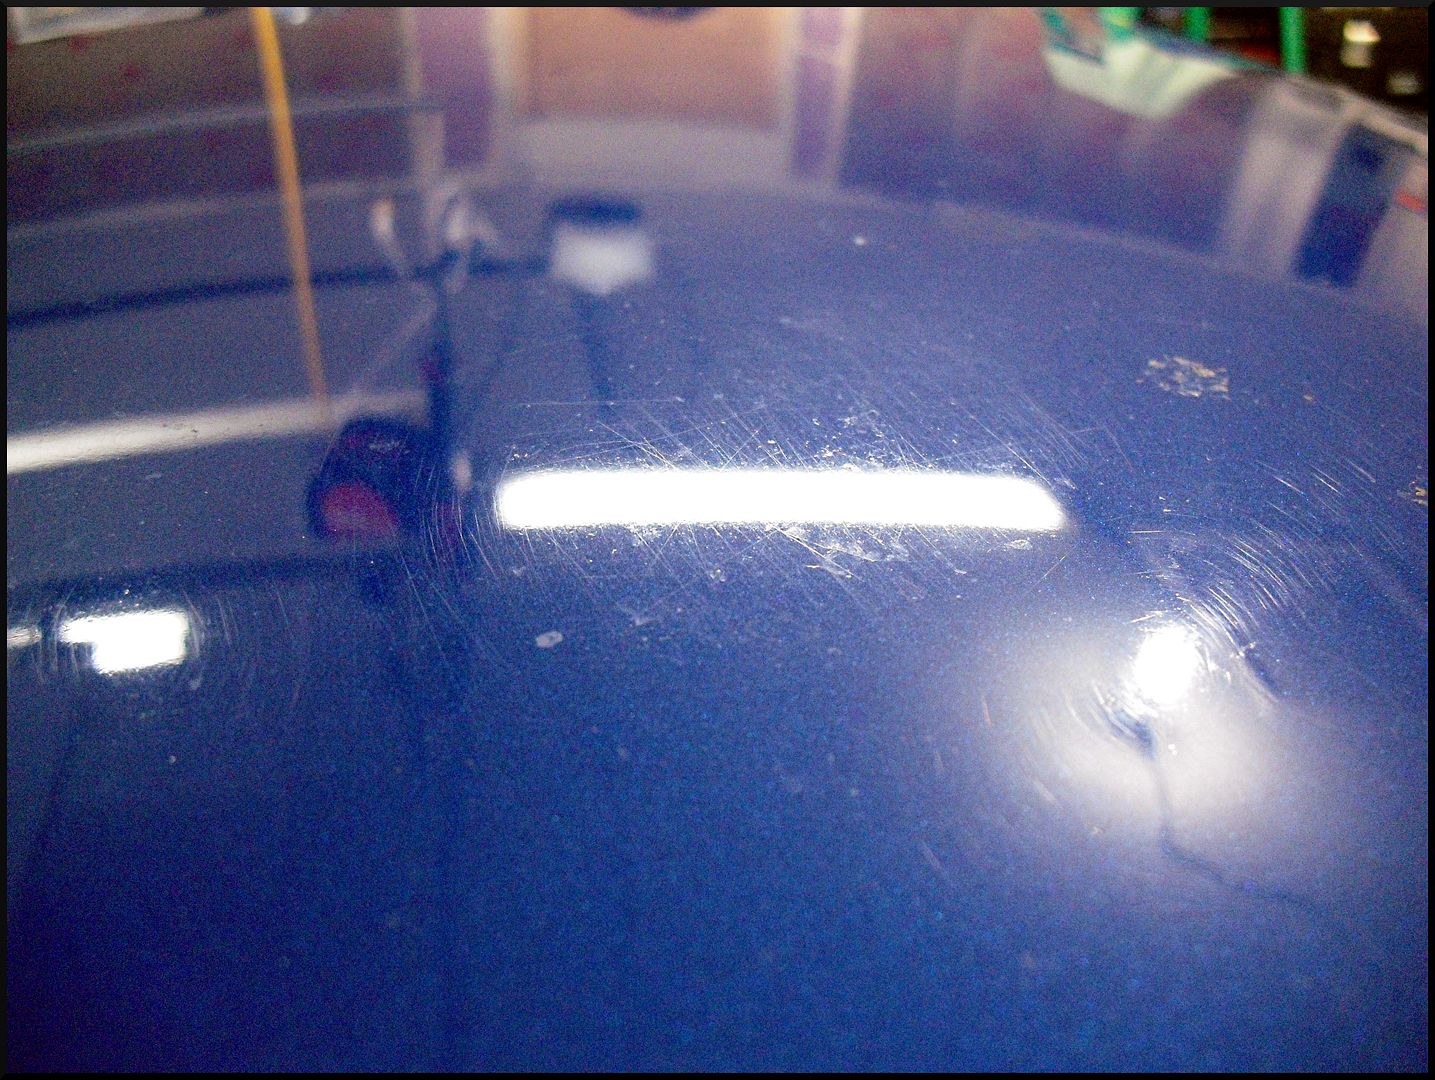
The roof was in the worst shape of all with deep RIDs, water spot etchings, and heavy swirls.
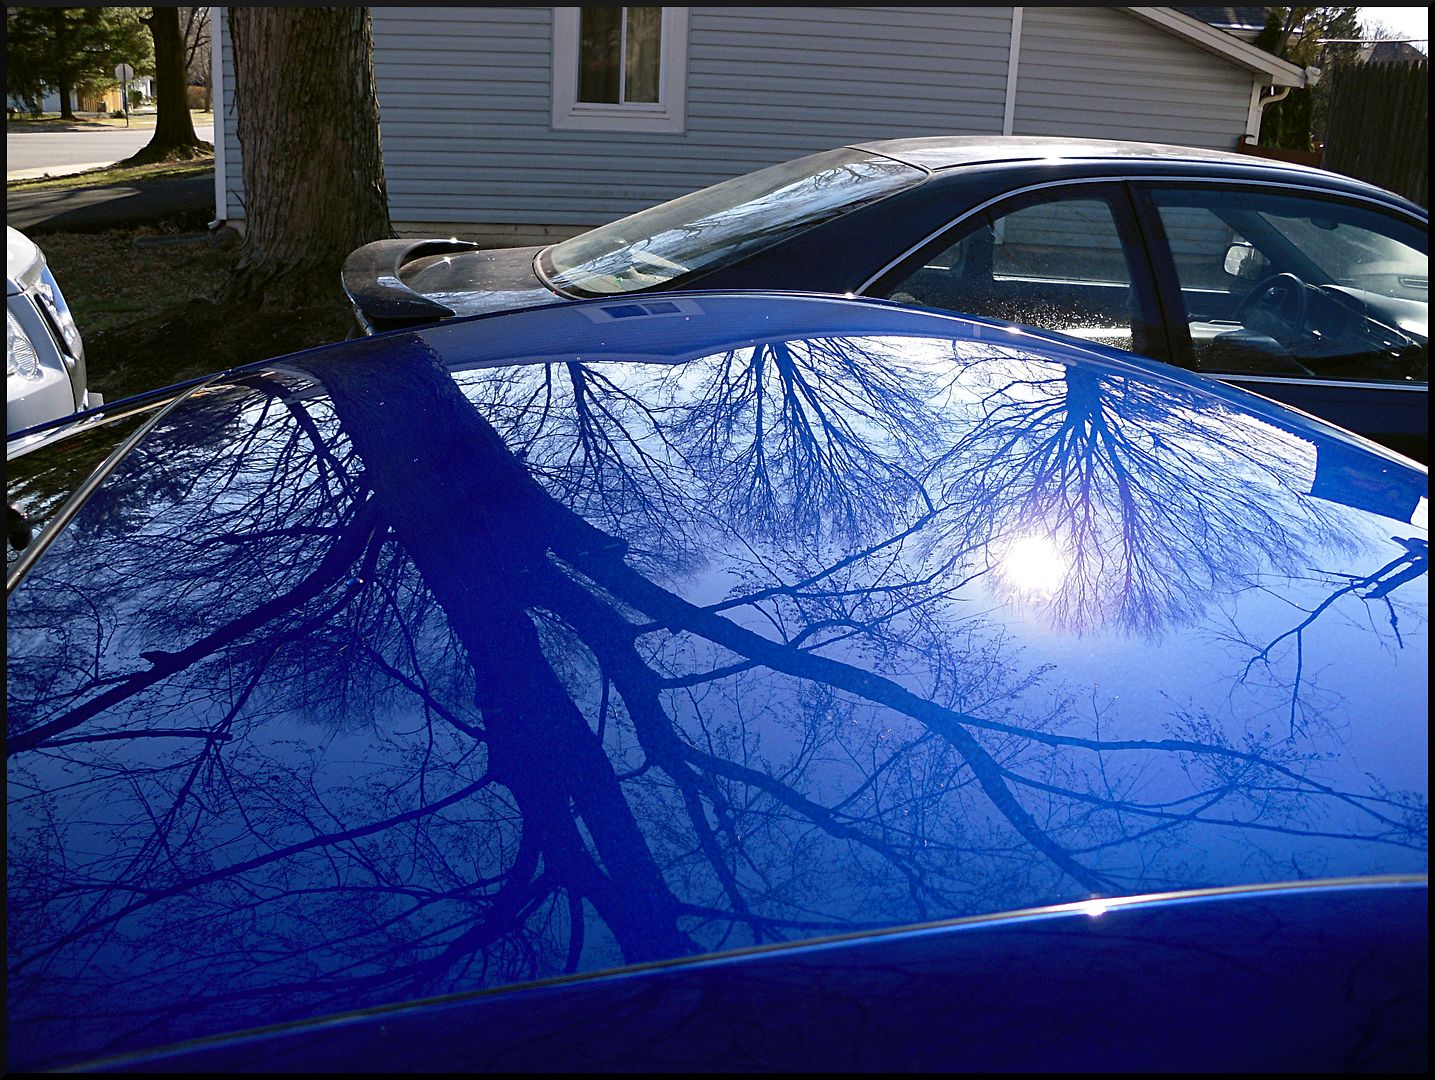
To address the roof we ended up wet sanding it since even a rotary with wool wasn't making a big dent, and there was plenty of paint to play with. We started sanding with 1500, then stepped up to 2000, and finally 3000. Then we hit it with M101 on a Meguiars MF pad with the Rupes, and followed it up with Menzerna 106fa on a Green Uber pad, also via the Rupes. Here is what we were left with.
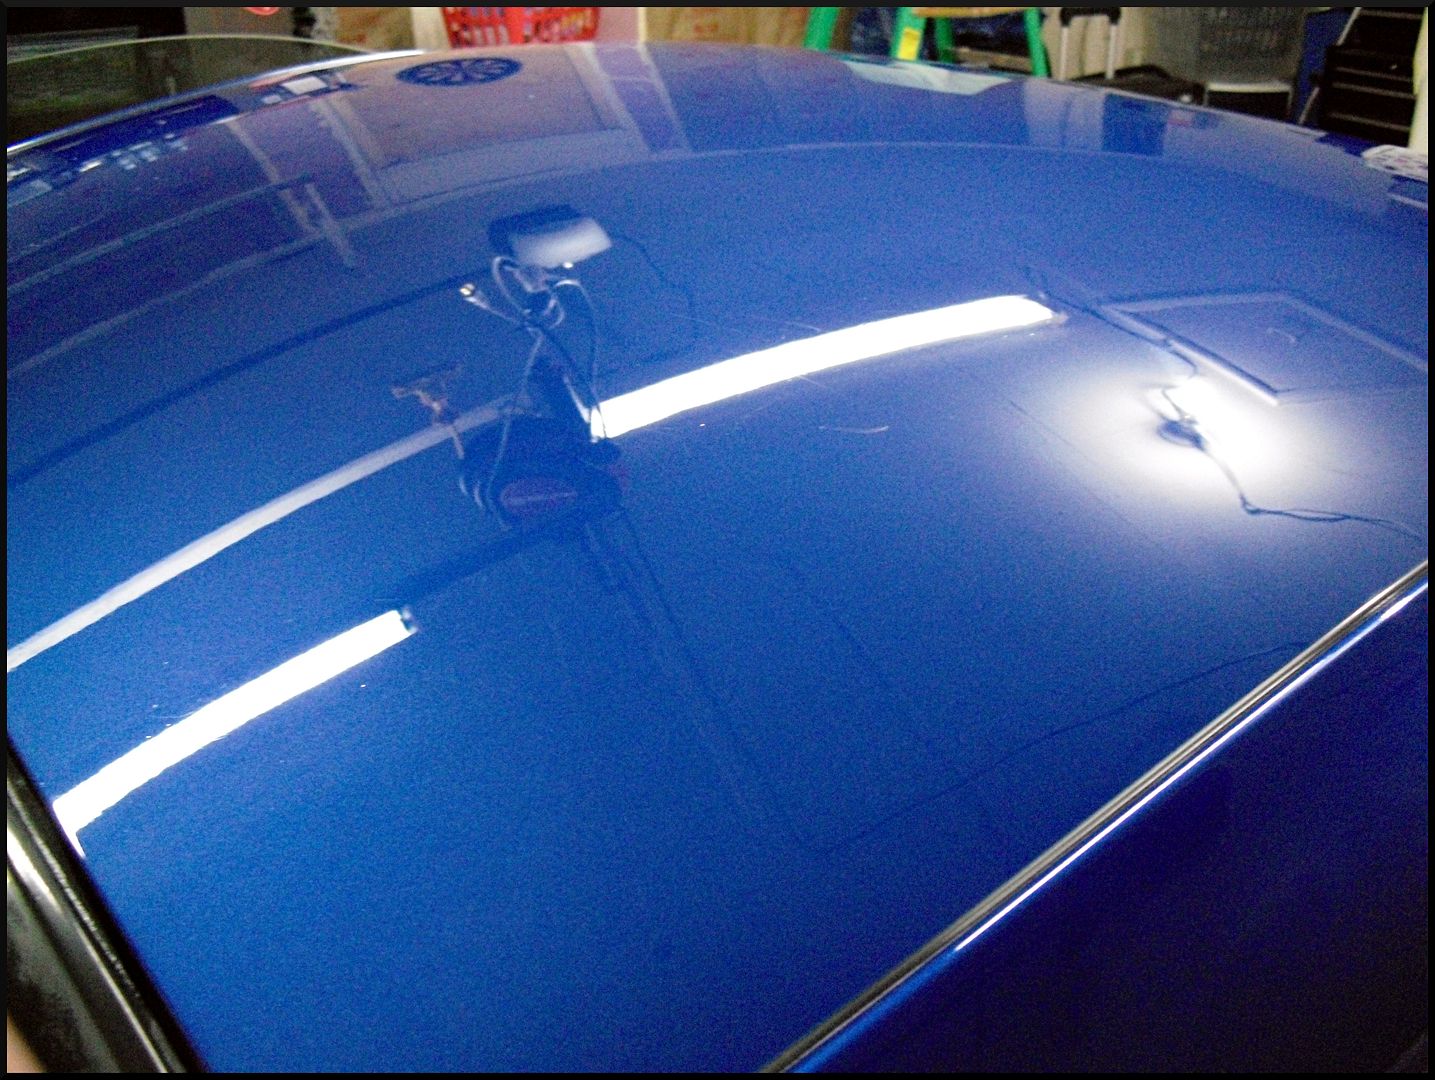

There were a couple RIDs that weren't worth chading, but for the most part the roof was near perfect now.
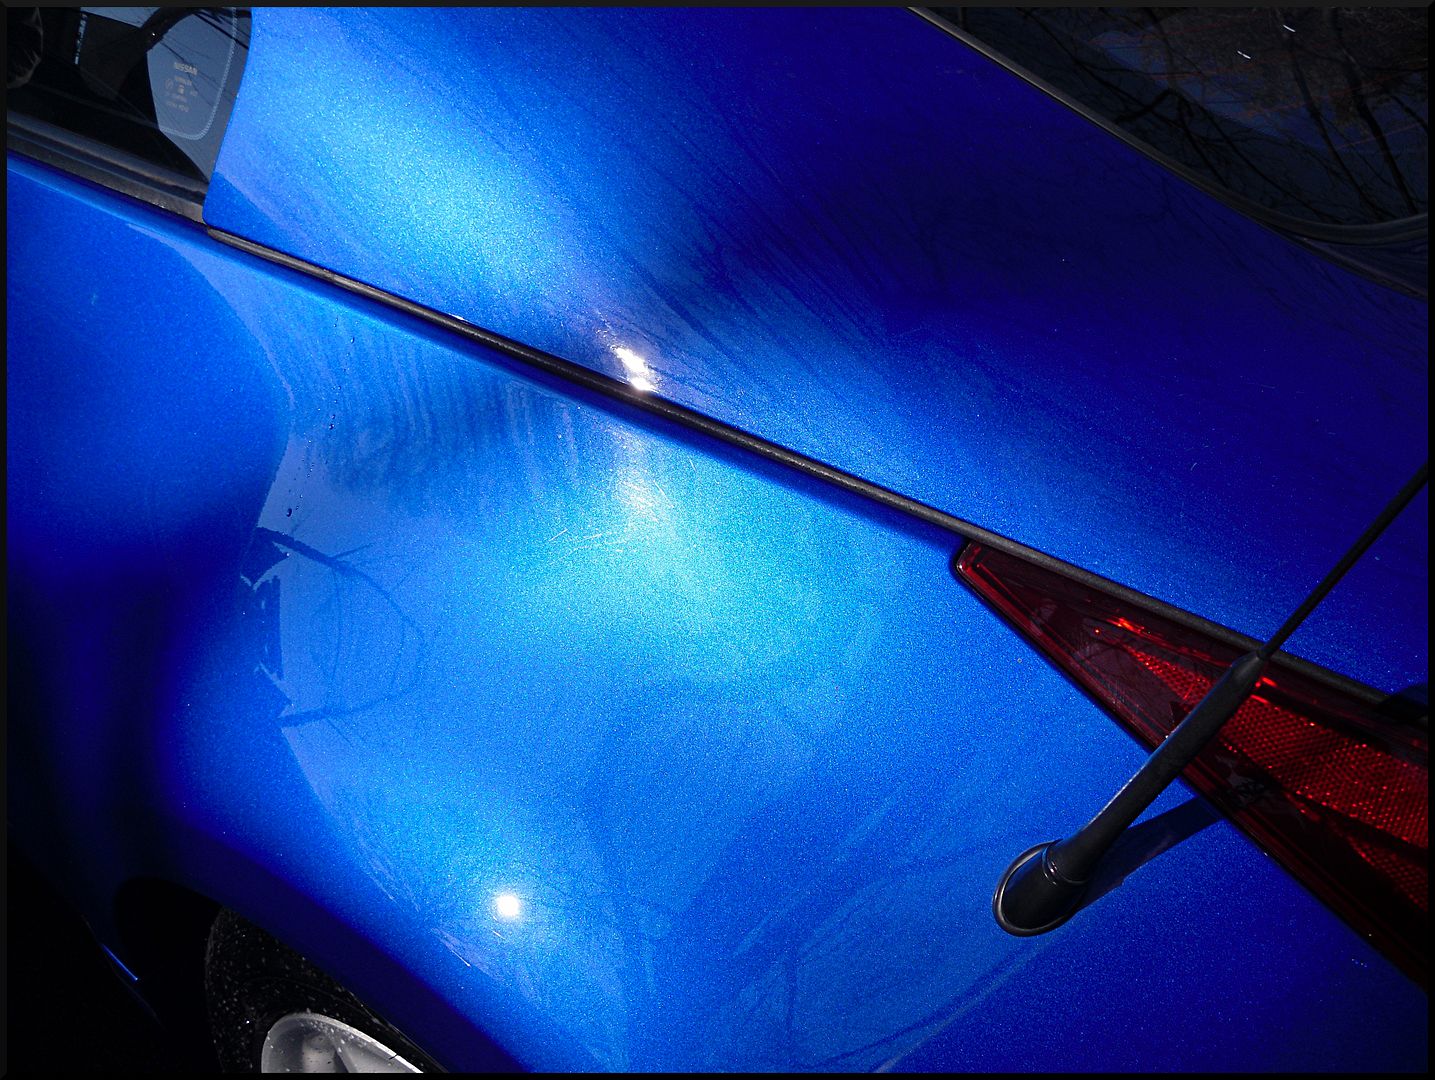
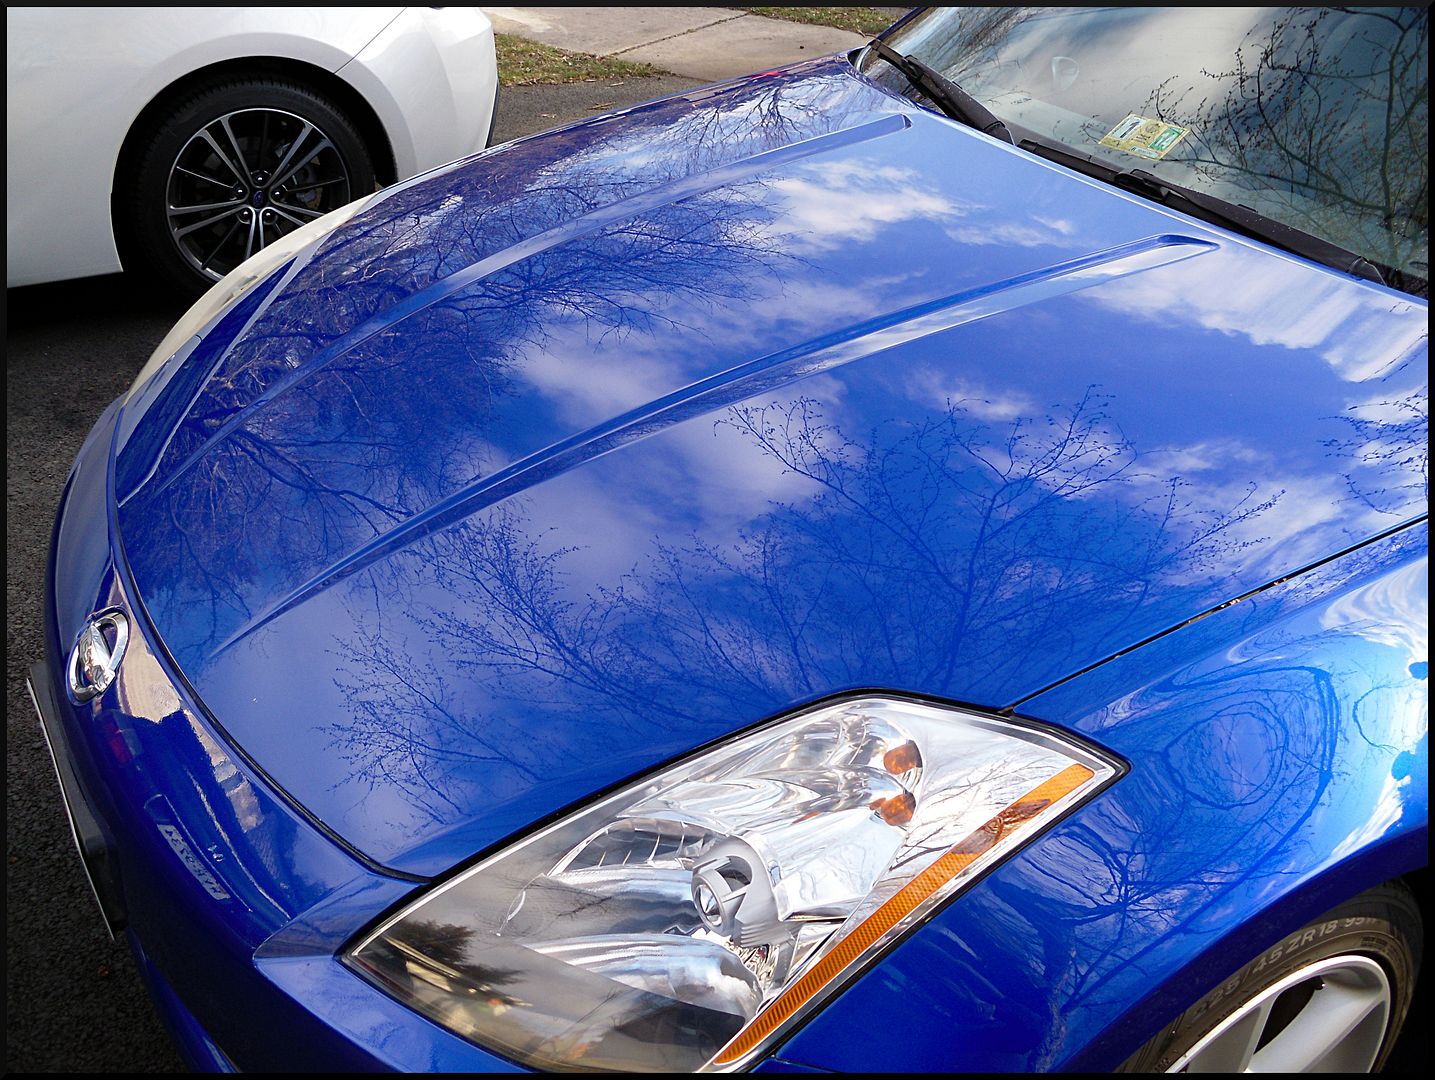
As for the rest of the vehicle we did a one step correction with Meguiars D300 on a LC Light Cutting Hydro Pad with the Rupes LHR21. Here is how it turned out. There were still several RIDs, but the paint was now glossy, and mostly free of swirls. Not a bad turn around for a vehicle that is being sold.
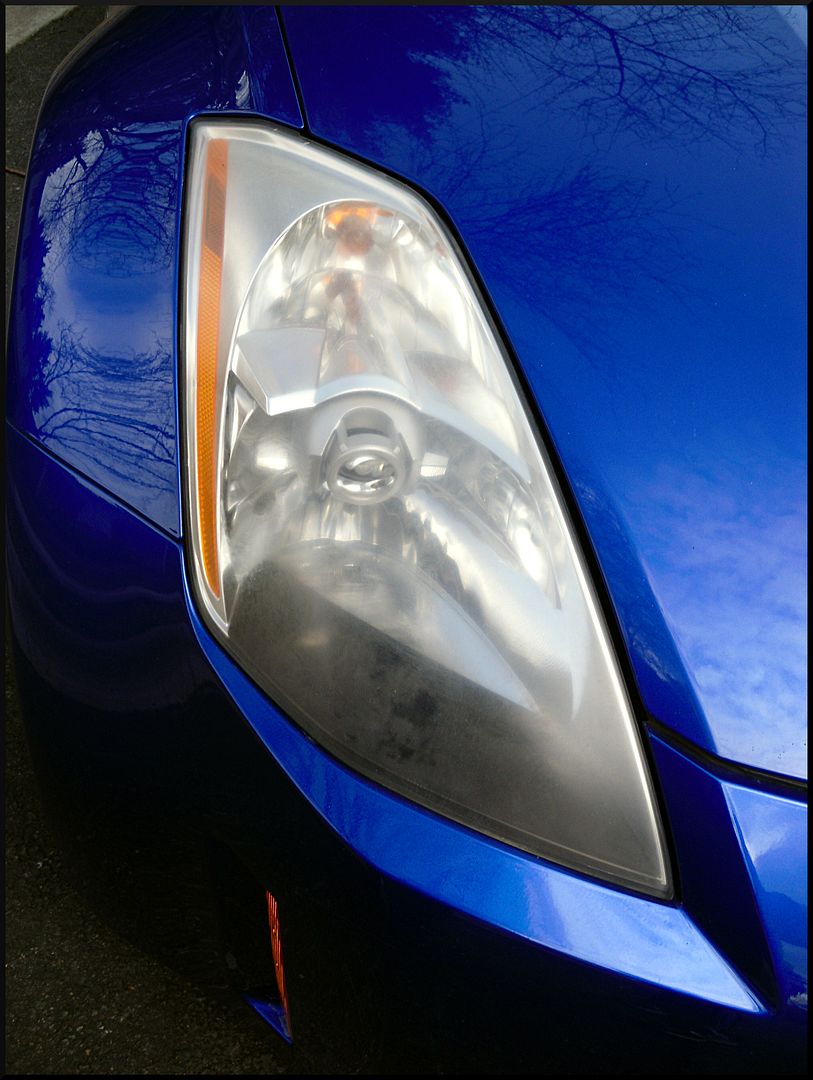
We then moved on to the headlights. They were in pretty bad shape to being with.
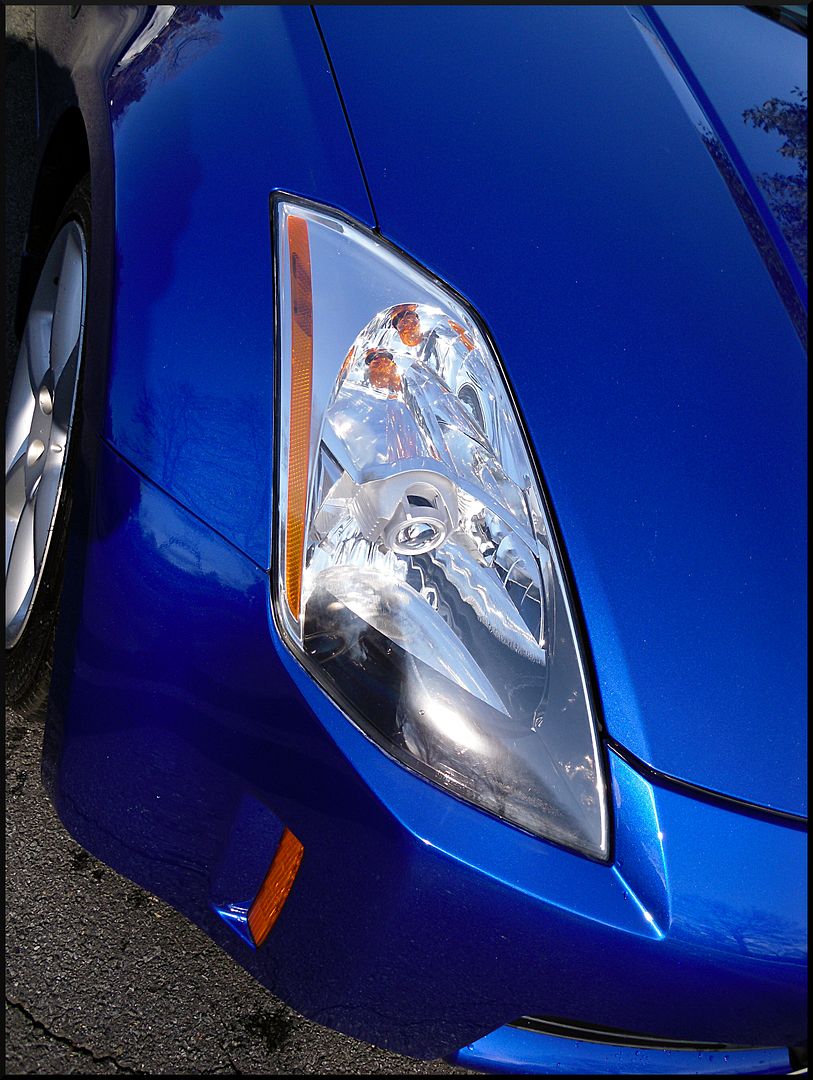
We started with 800 grit sandpaper, followed by 1500, and finally finished with 2500 grit. We then did a couple polishing step before applying Opti-guard to both lights to seal them back up. Here is how it turned out.
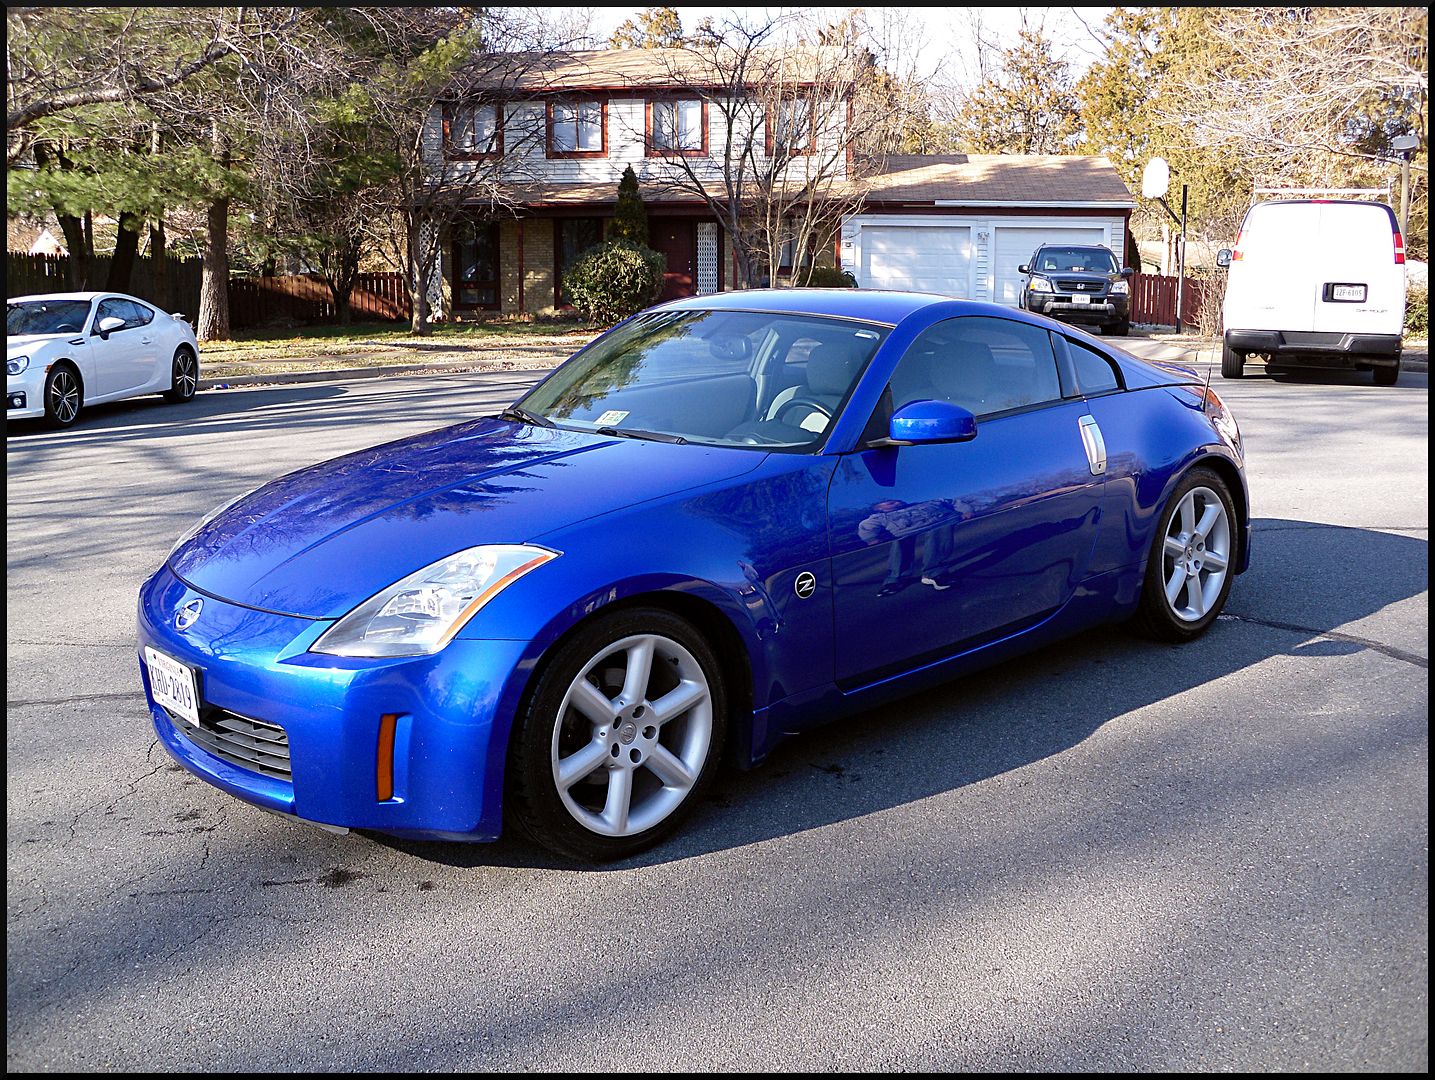
Finally we applied Four Star Sealant at our LSP, dressed the trim and tires with Car Pro PERL and cleaned the glass with Meguiars Glass Cleaner. We also polished and sealed the metal trim and exhaust tips with Collinite Metal Wax. Here is how it all turned out.


We and the customer were very happy with how much progress was made on this vehicle. It is now it much better shape, and should sell no problem. Thanks for looking, and we look forward to your feedback!
We started of with a wash like normal, and cleaned the wheels while we were at it. We ended up needing to use Meguiars Wheel Brightener to get them looking right. The paint felt like sand paper, so we also used the Car Pro clay block to remove the bonded contaminants. Here is how the paint looked after beign totally stripped.
The roof was in the worst shape of all with deep RIDs, water spot etchings, and heavy swirls.
To address the roof we ended up wet sanding it since even a rotary with wool wasn't making a big dent, and there was plenty of paint to play with. We started sanding with 1500, then stepped up to 2000, and finally 3000. Then we hit it with M101 on a Meguiars MF pad with the Rupes, and followed it up with Menzerna 106fa on a Green Uber pad, also via the Rupes. Here is what we were left with.
There were a couple RIDs that weren't worth chading, but for the most part the roof was near perfect now.
As for the rest of the vehicle we did a one step correction with Meguiars D300 on a LC Light Cutting Hydro Pad with the Rupes LHR21. Here is how it turned out. There were still several RIDs, but the paint was now glossy, and mostly free of swirls. Not a bad turn around for a vehicle that is being sold.
We then moved on to the headlights. They were in pretty bad shape to being with.
We started with 800 grit sandpaper, followed by 1500, and finally finished with 2500 grit. We then did a couple polishing step before applying Opti-guard to both lights to seal them back up. Here is how it turned out.
Finally we applied Four Star Sealant at our LSP, dressed the trim and tires with Car Pro PERL and cleaned the glass with Meguiars Glass Cleaner. We also polished and sealed the metal trim and exhaust tips with Collinite Metal Wax. Here is how it all turned out.
We and the customer were very happy with how much progress was made on this vehicle. It is now it much better shape, and should sell no problem. Thanks for looking, and we look forward to your feedback!