Todd@RUPES
Just a regular guy
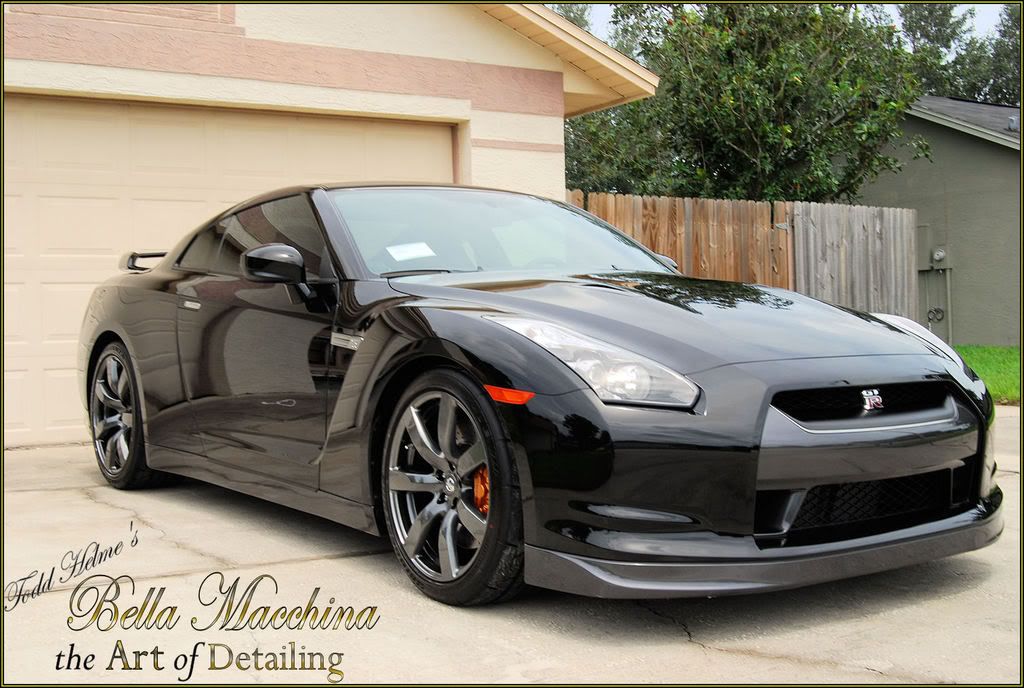
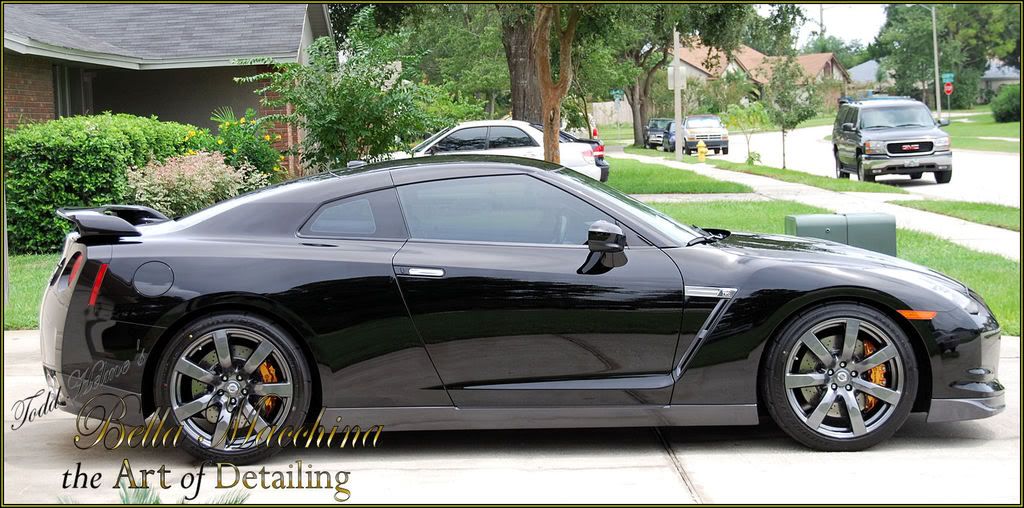
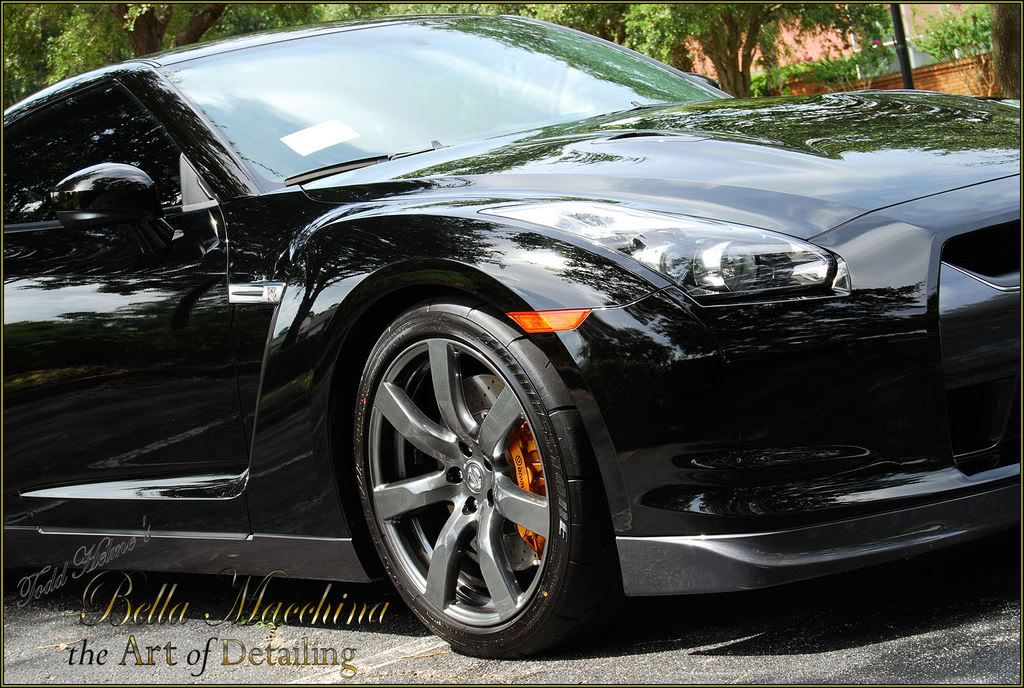
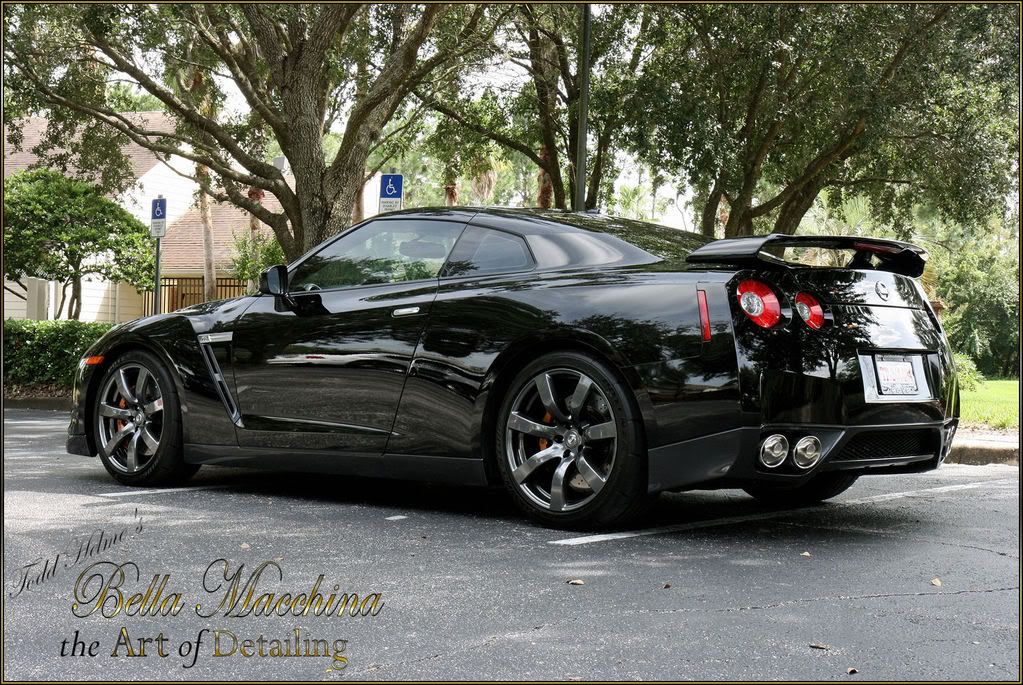
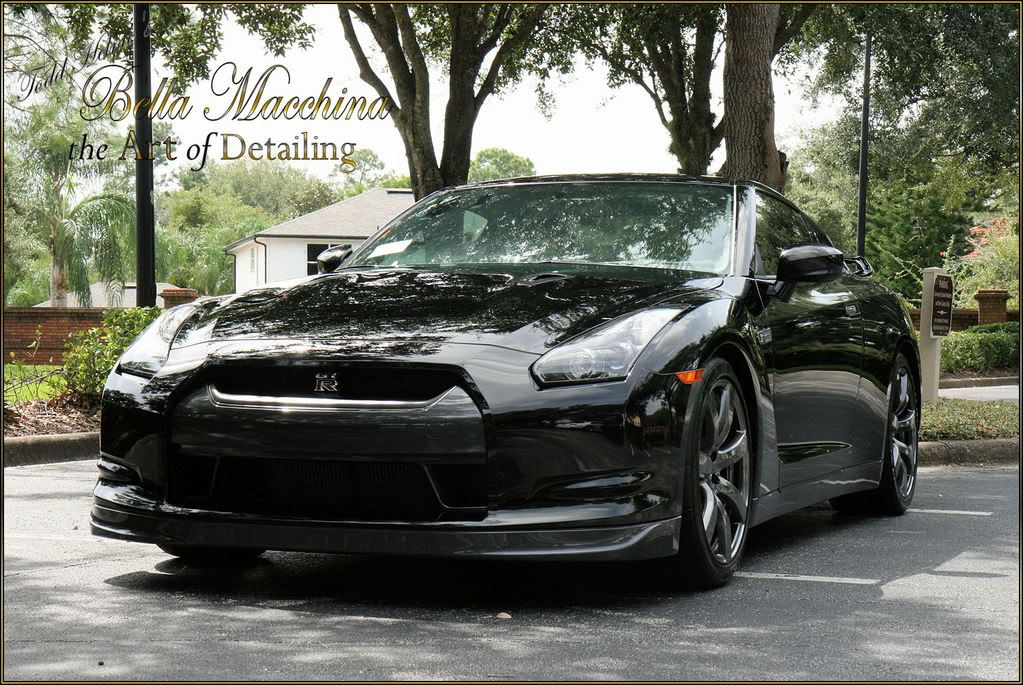
Very few cars in the history have caused such a reaction at model launch and introduction as does this Nissan GT-R. The new ?bang for the bucket? Super Car, the Nissan manages this feat while cramming the car full of cutting edge technology and more wizardry then any car in it?s class, at any price. In person this car is stunning, period. It is a uniquely Japanese twist on a market dominated by the graceful Italians, the proper English, and brute Americans. Not only does it best most competitors on the track at any price, it dethrones the current ?bang for the buck? Corvette Z06. The G-TR defeats its worthy opponent on all fronts despite having less power, more weight, and a front heavy weight distribution. Only the culture that brought us into the digital age could use that expertise to hone such physical limitations: When it doubt, use a computer. In this case the GT-R is iconic.
Corvettes struggle to be more European. European cars get heavier and more powerful, like a good American. The more these cars change, the closer they become. The GT-R is a fresh approach and makes no excuses. With an infusion of technology, physicals, and technical brilliance, Nissan has presented a modern Samurai who will proudly carry the flag of the Rising Sun, while bowing to no one.
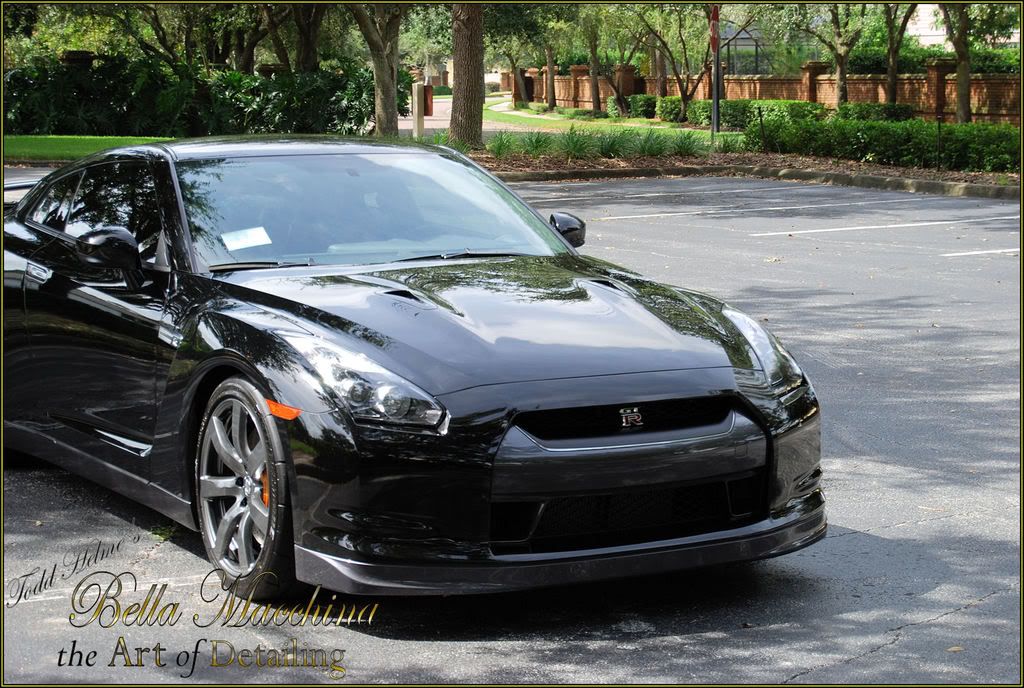
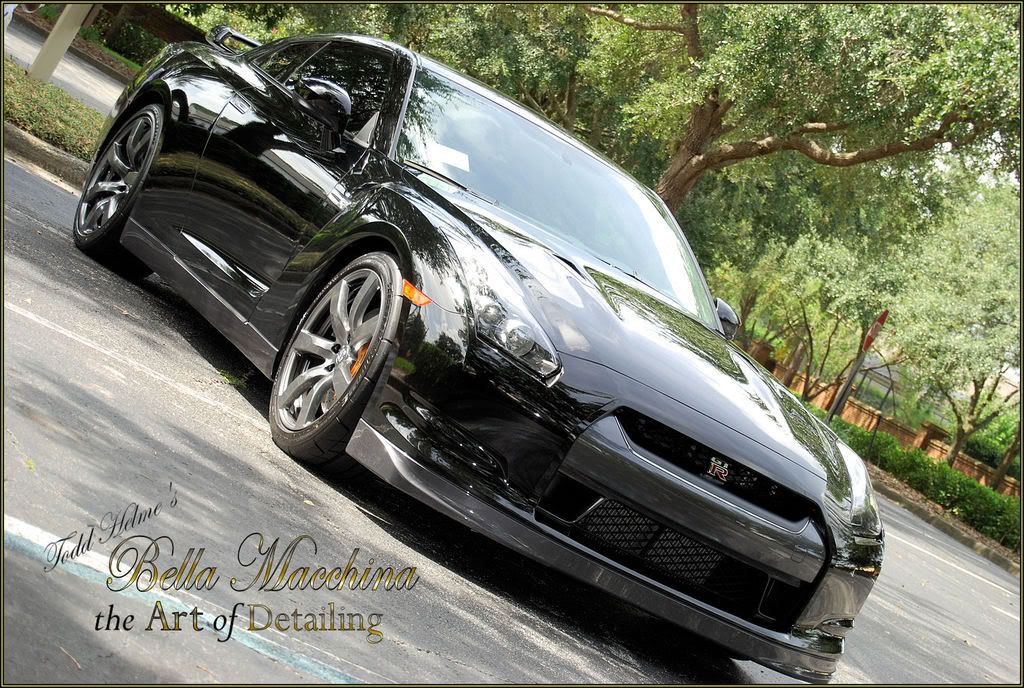
Unfortunately Nissan did not have all of its technicians ready to service this technological marvel, and as such this Samurai had a few chinks in its armor. An alarming number of these cars sat at port, waiting to be shipped. Unfortunately the fresh, unprotected paint (especially the soft front, designed to resist rock chipping) is very sucsepticable to acid rain damage. This GT-R suffered as such. It already had 2000 miles on it when it arrived at 11:00 PM, Saturday night.
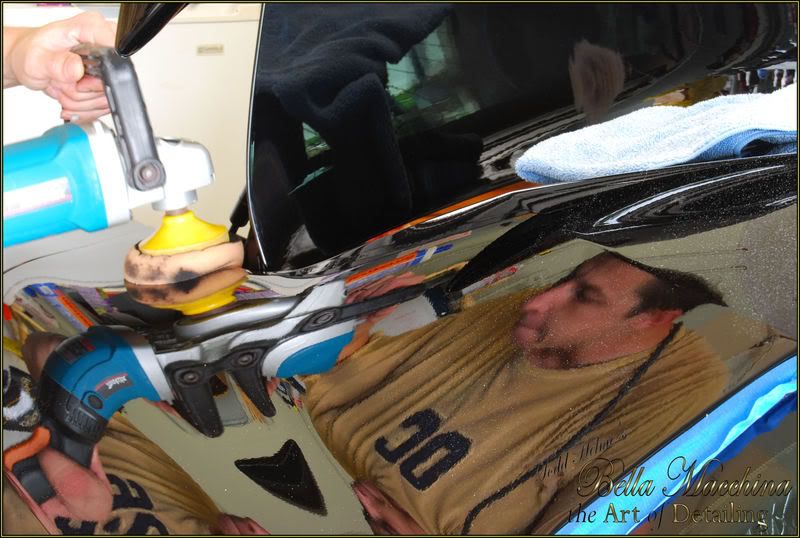
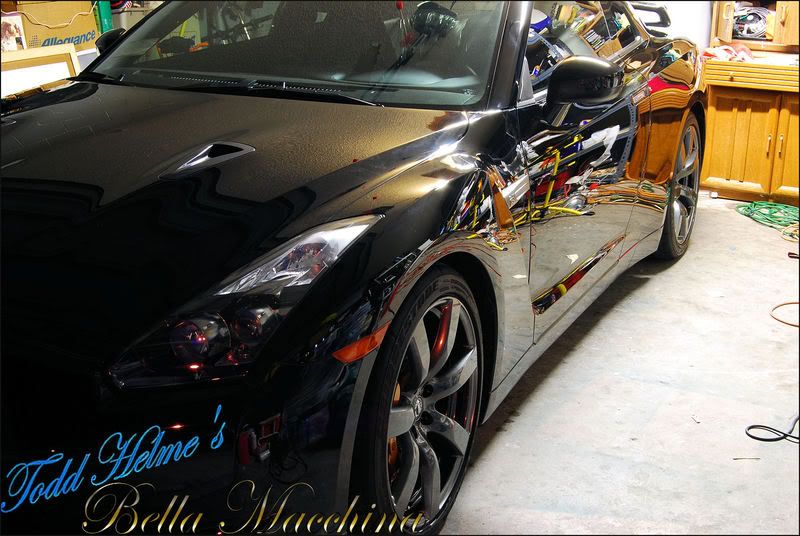
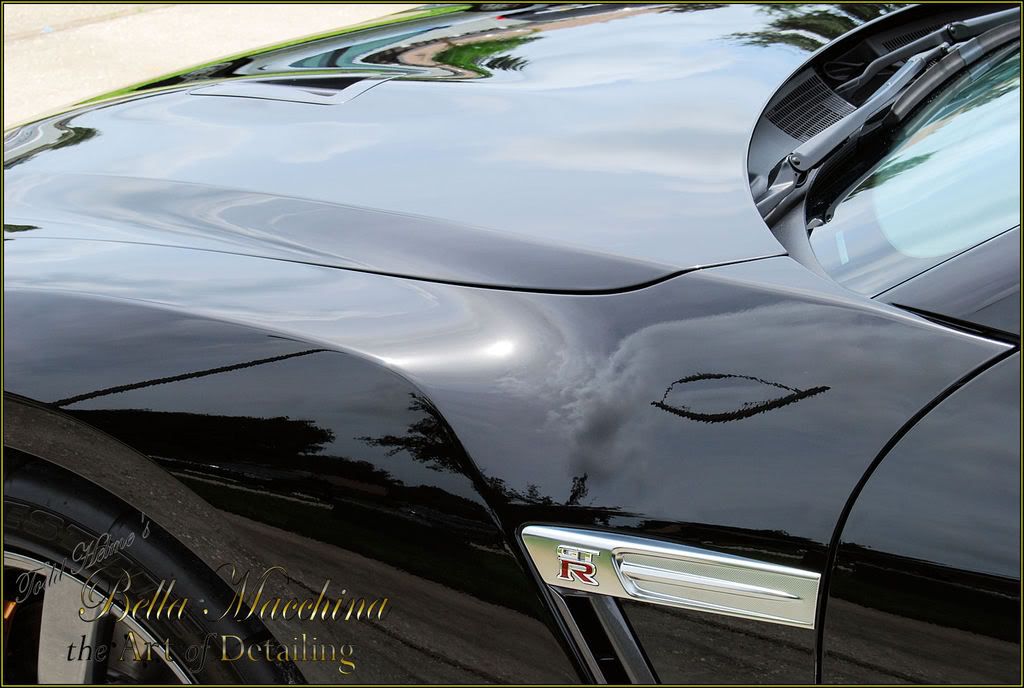
Because of the inclement weather, the GT-R arrived pretty dirty. I washed it using Optimum No-Rinse using two buckets. After drying, I noticed some pretty severe damage in different areas of the car, including light holograms, acid rain etching, R.ID.S. (Random isolated deep scratches), and light wash induced marring. I attempted to remove and loosen some of the calcium present in the water etching by using Meguiars? Blue Clay and Chemical Guys? Speed Shine as a lubricant.
There was no improvement in the surface; a vinegar natural bath removed some of the lighter marks and left the paint bare and smooth. The acid rain had penetrated the clear-coat, forming depressions in the paint. This damage was numerous and severe.
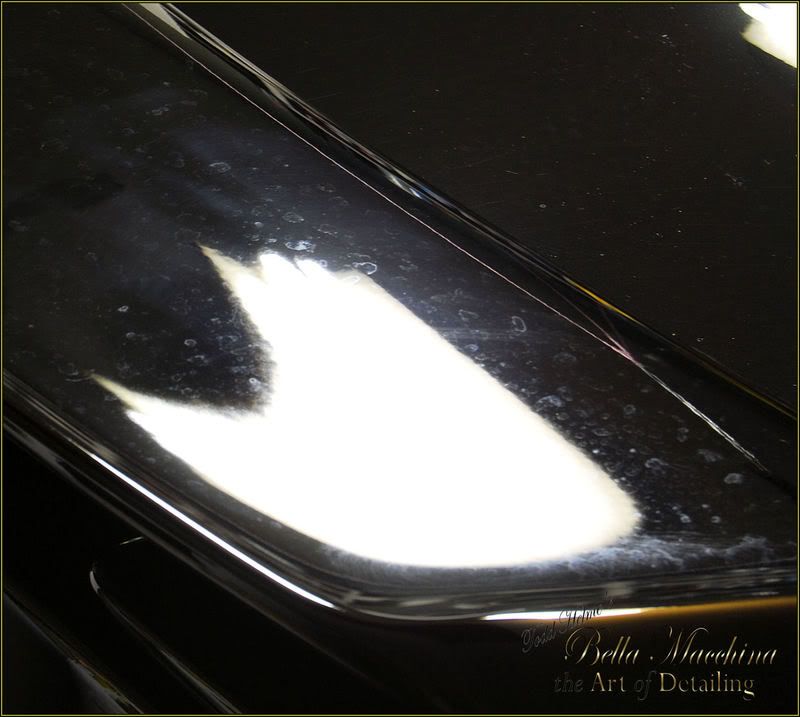
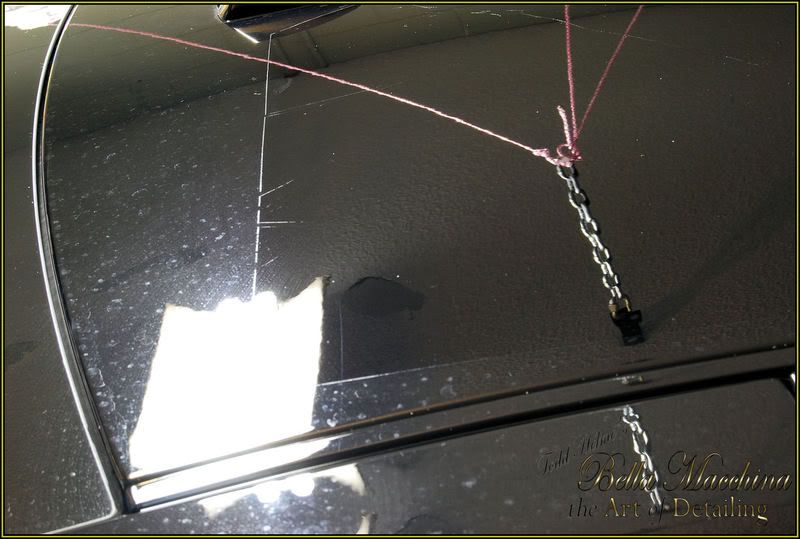
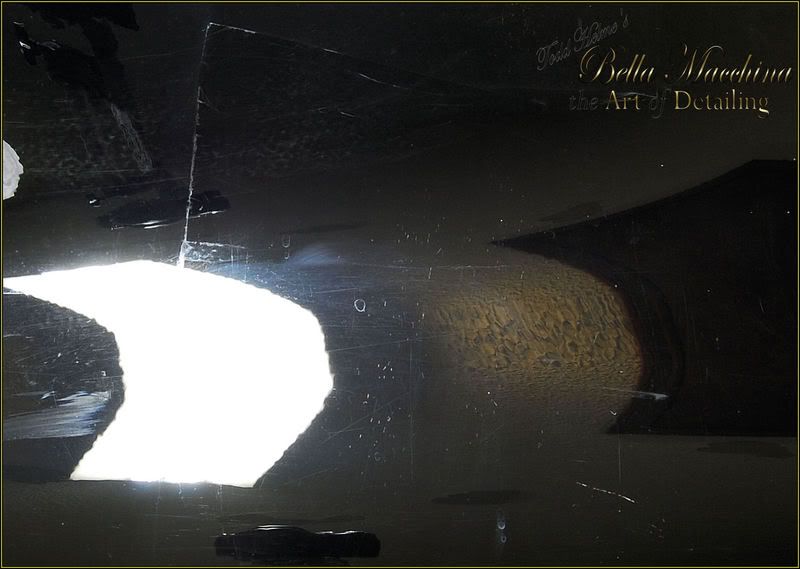
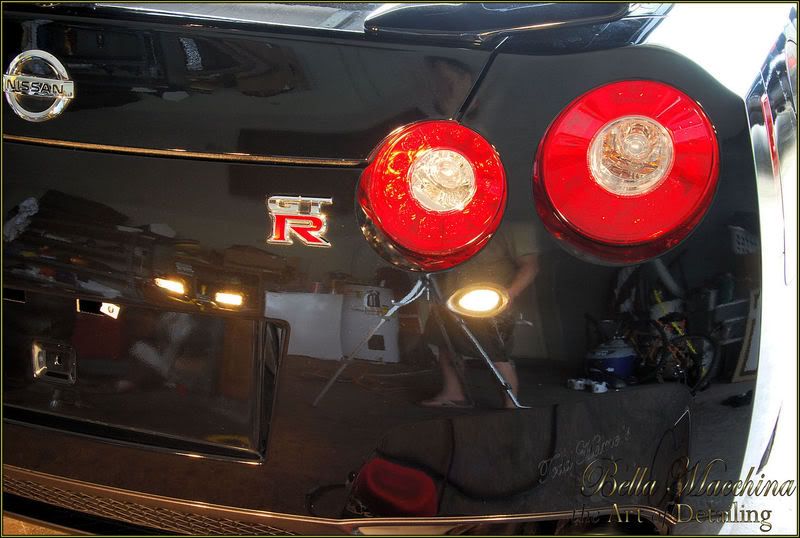
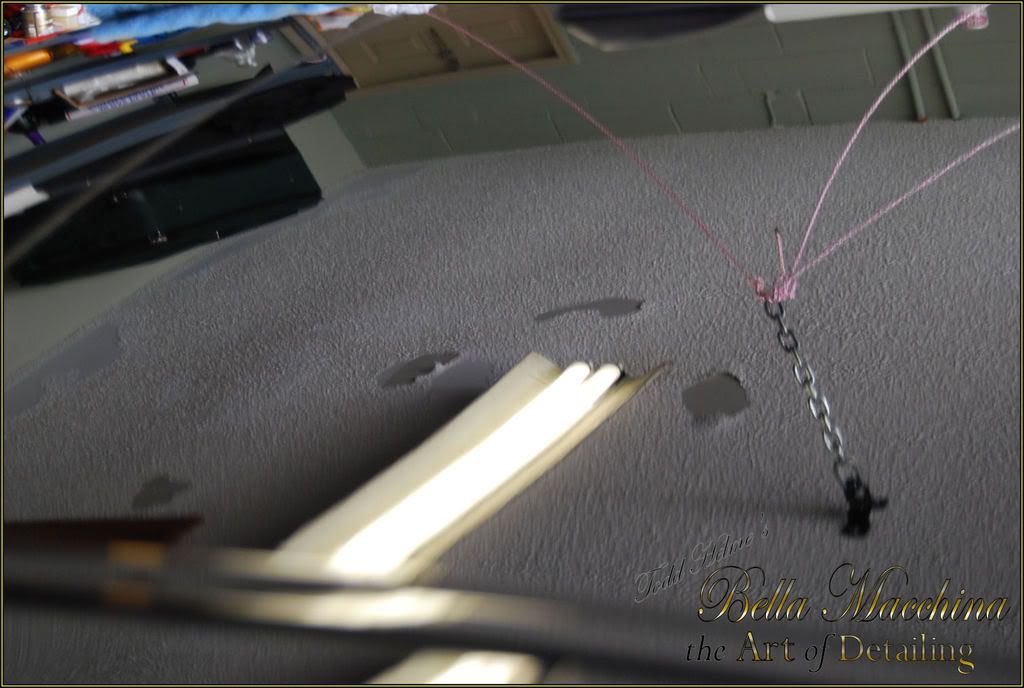
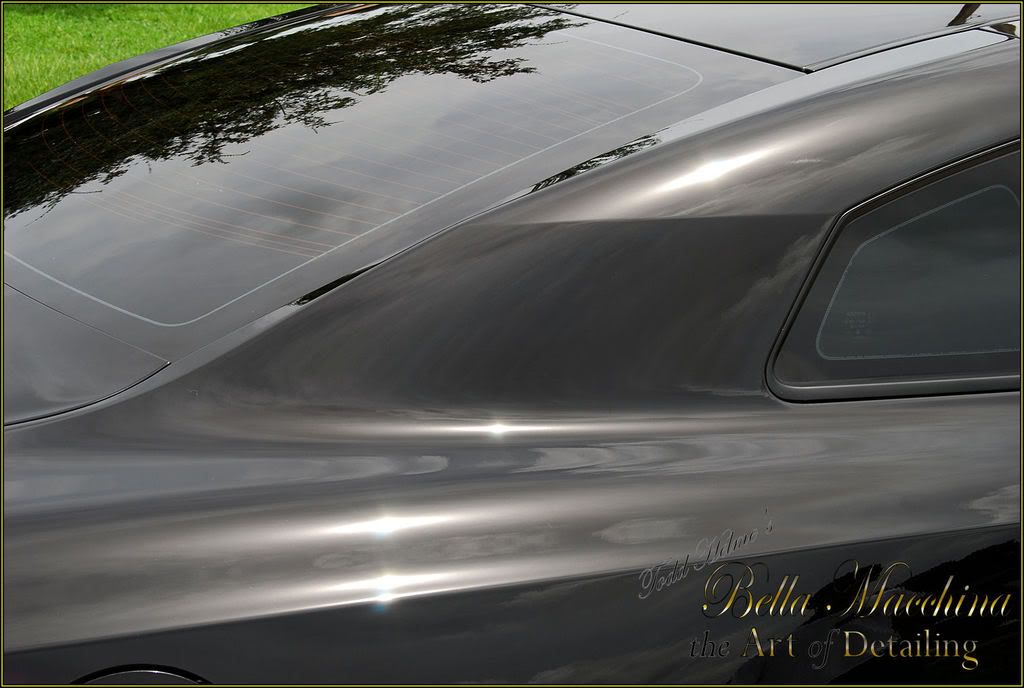
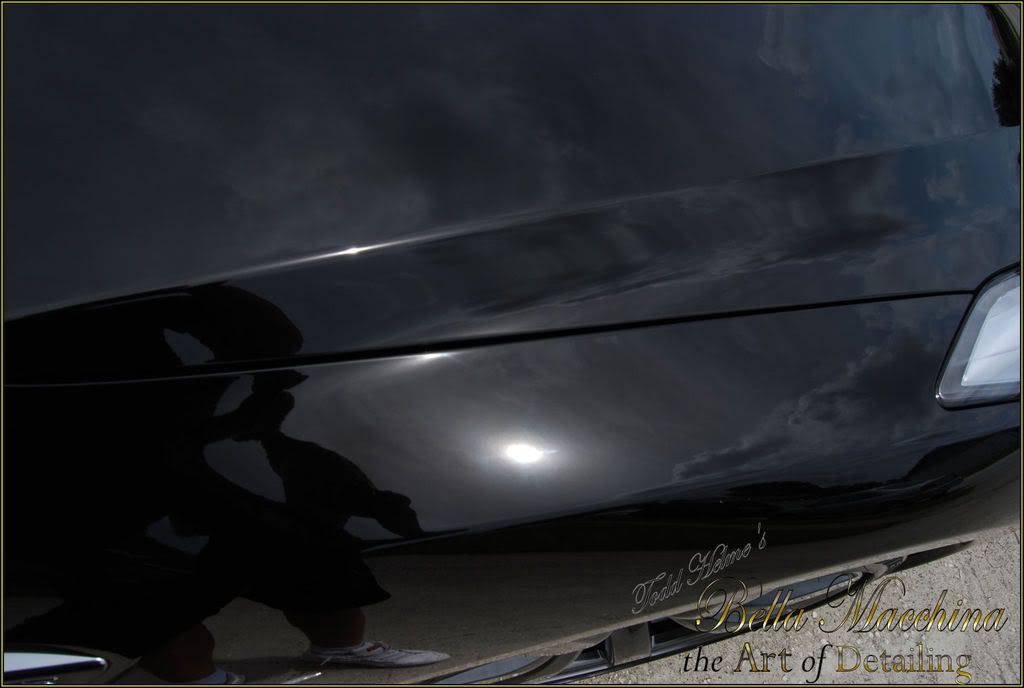
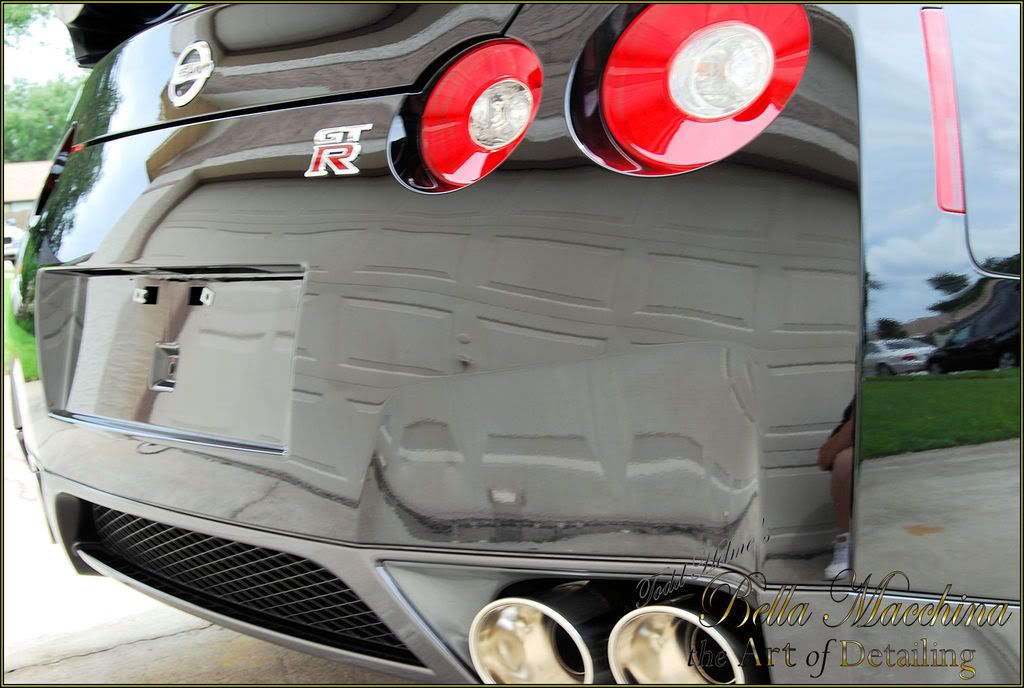
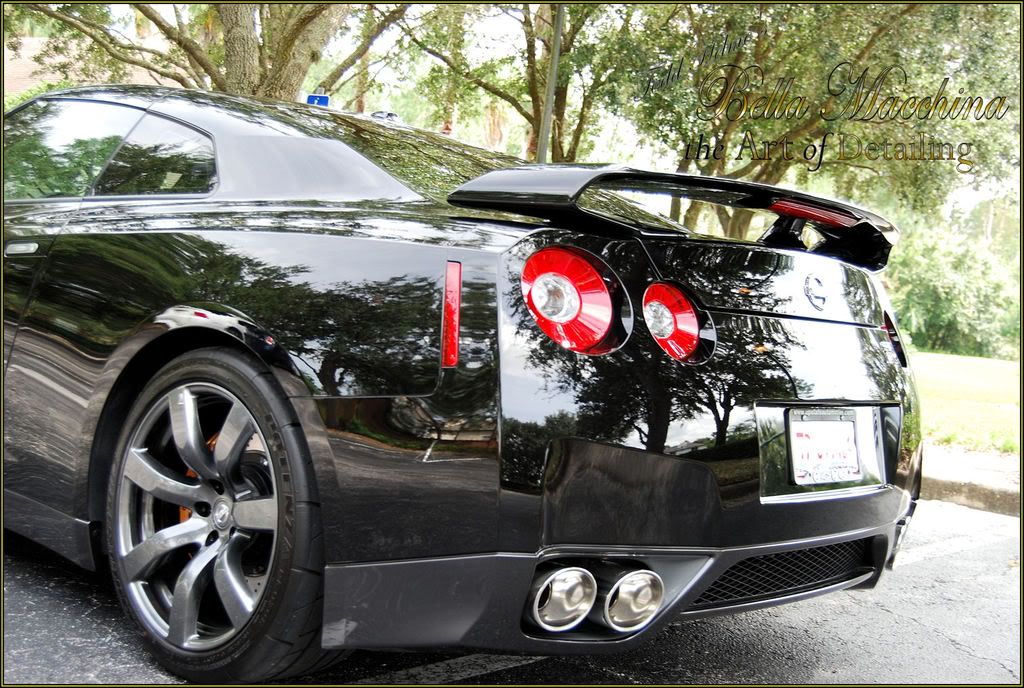
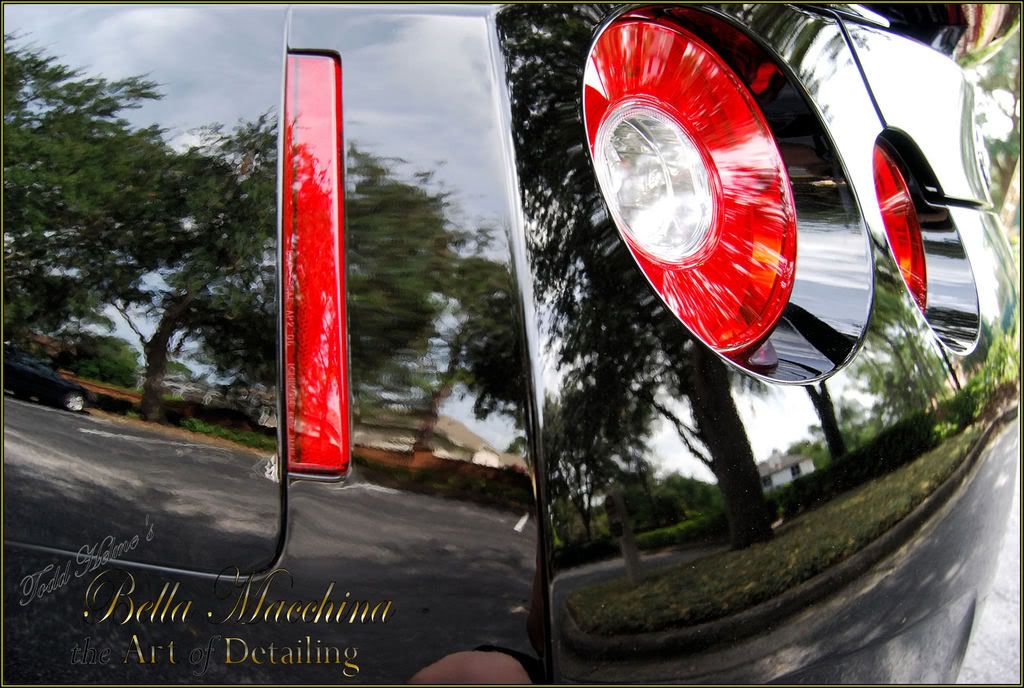
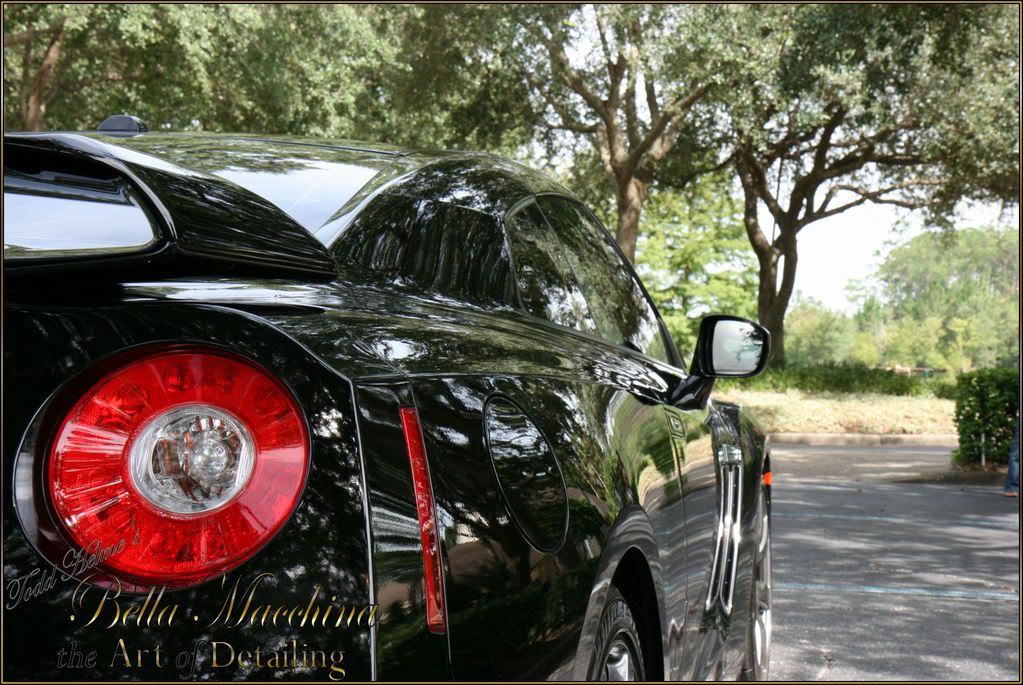
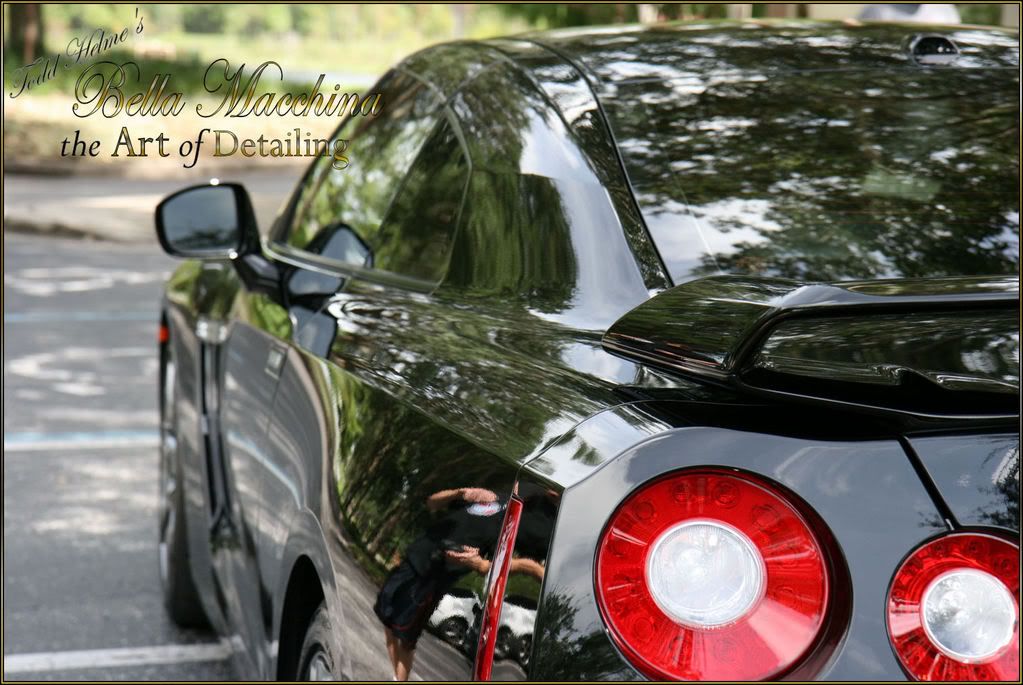
In the rear spoiler you can see the severe etching, as well ?hologramming? on the edges, likely from the dealer trying to remove the etching (note that these pictures are taken in UV garage light).
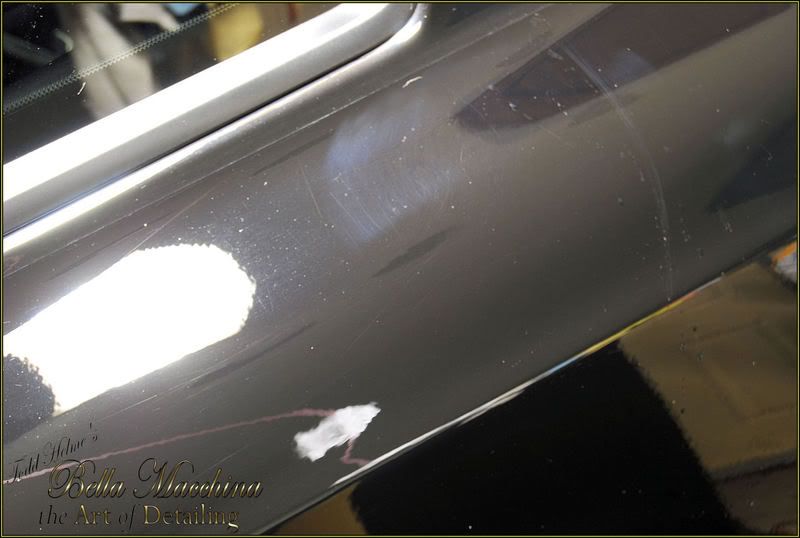
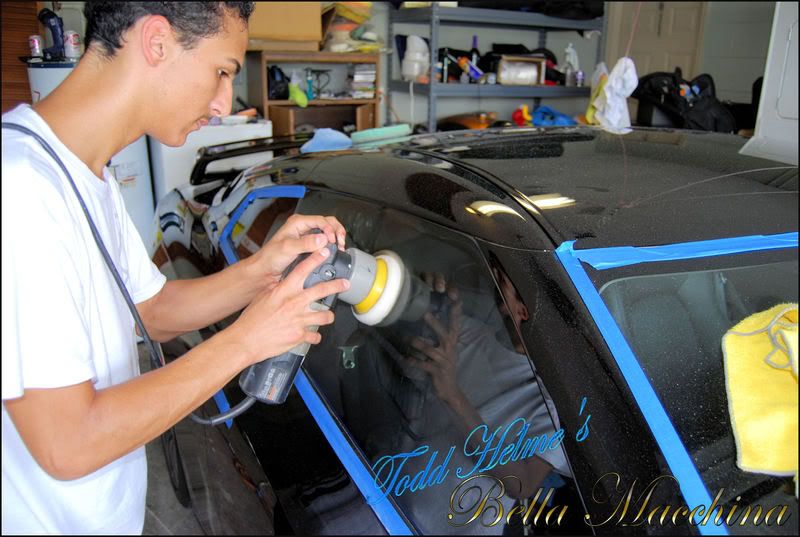
The panels above the doors, out line of the roof, and any area that was not covered in shipping showed severe damage.
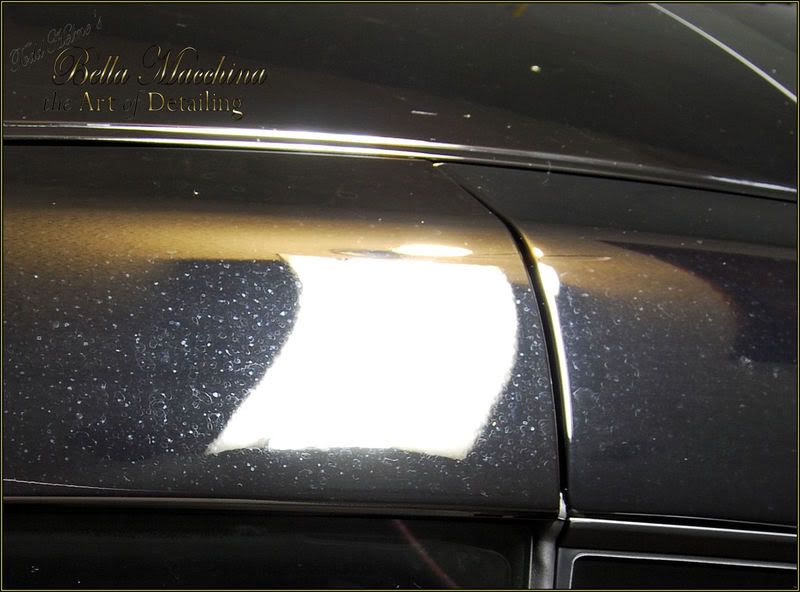
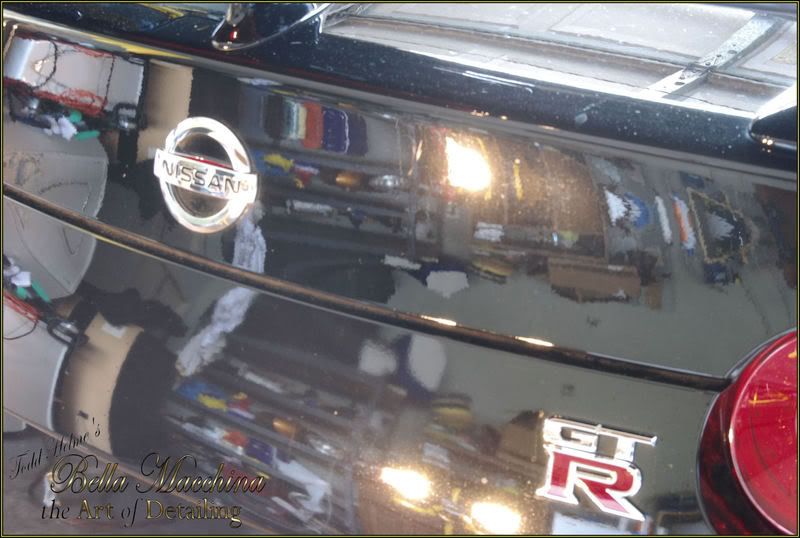
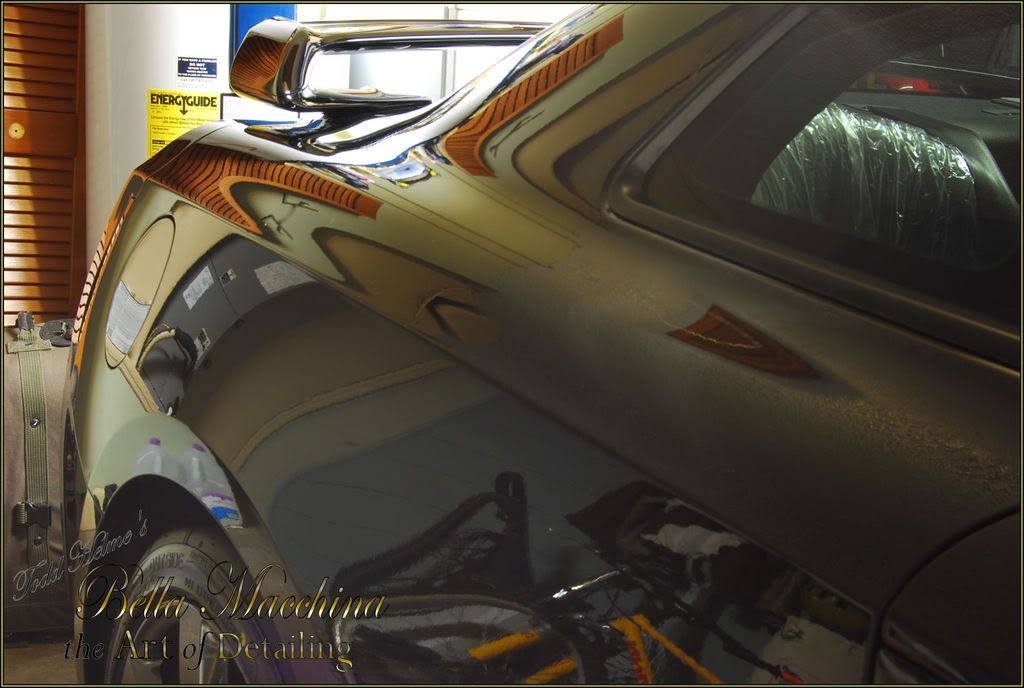
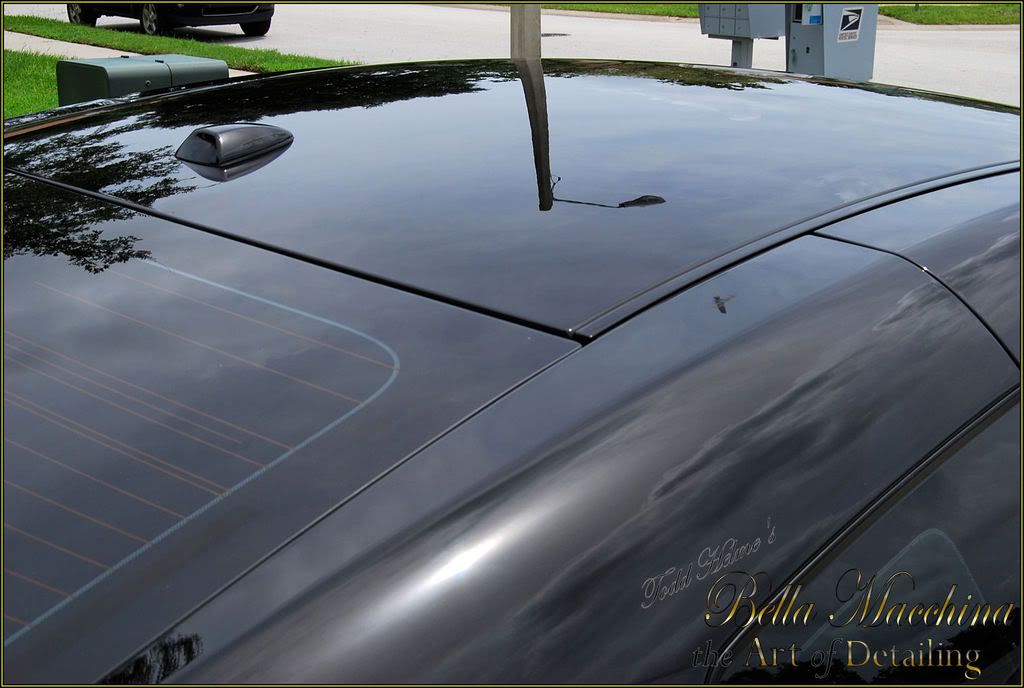
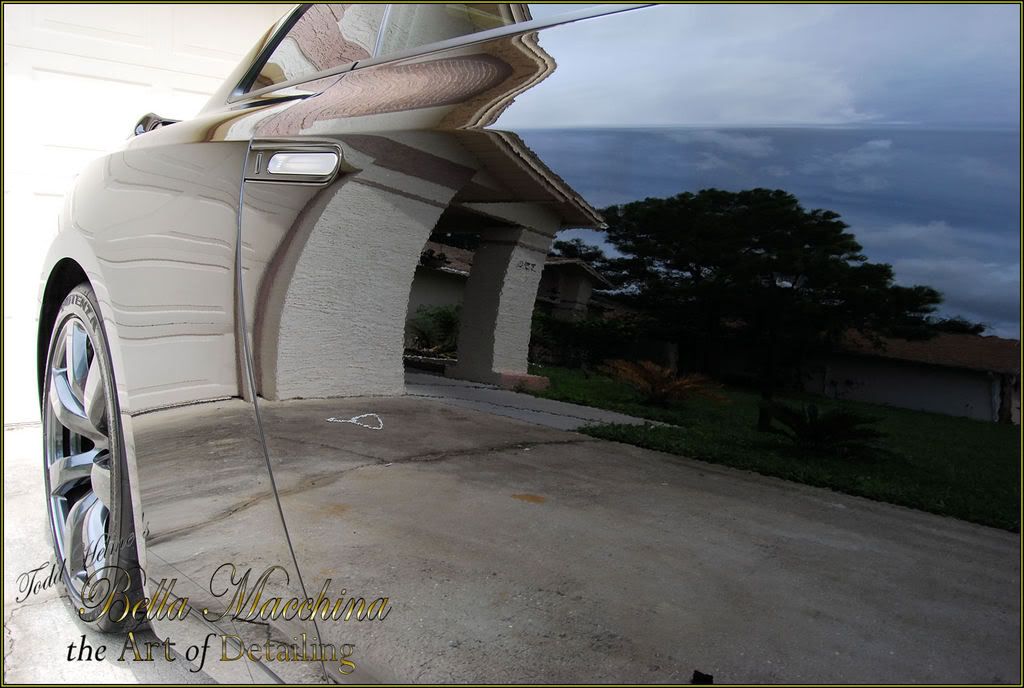
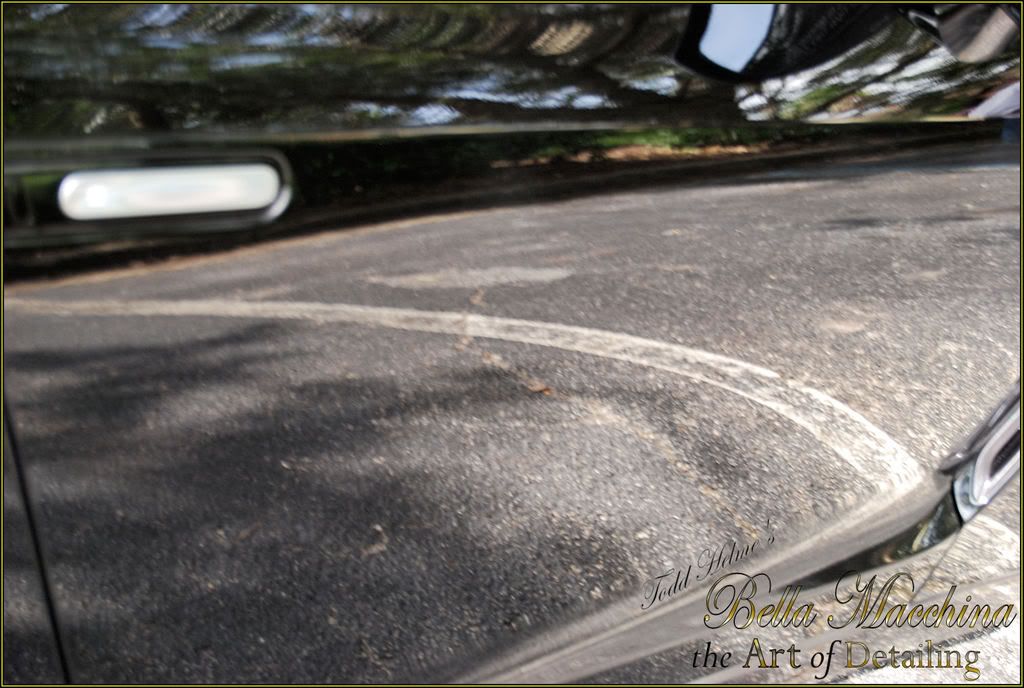
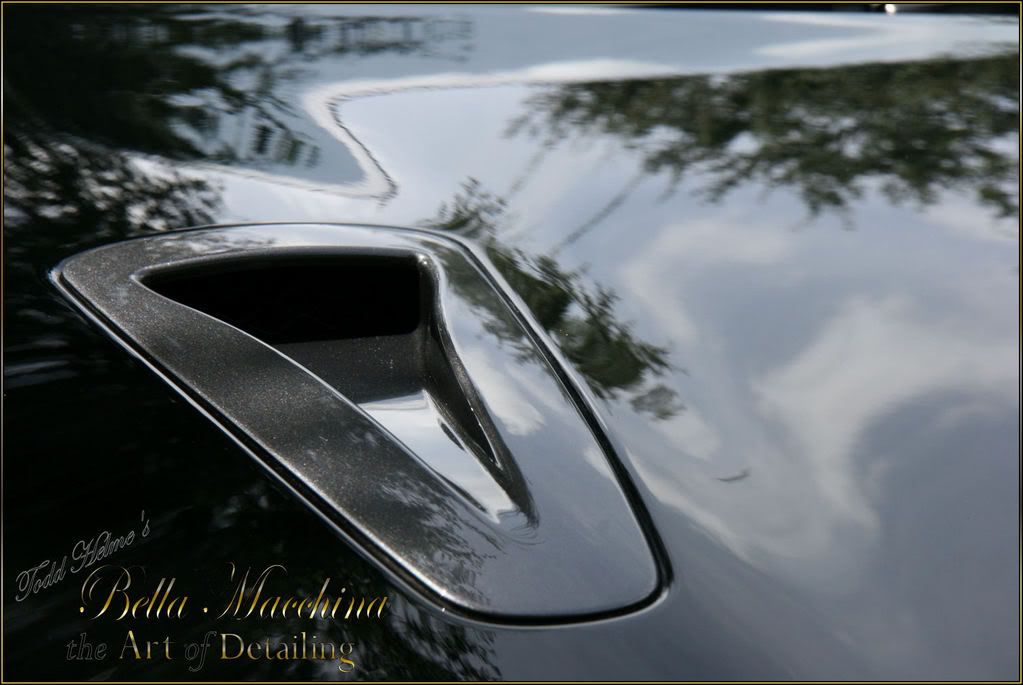
The areas of the body panels that where protected by the factory installed plastic where also notably darker in appearance and had not faded. Apparently the new GT-R?s paint system will be susceptible to fading. It looks like two different colors.
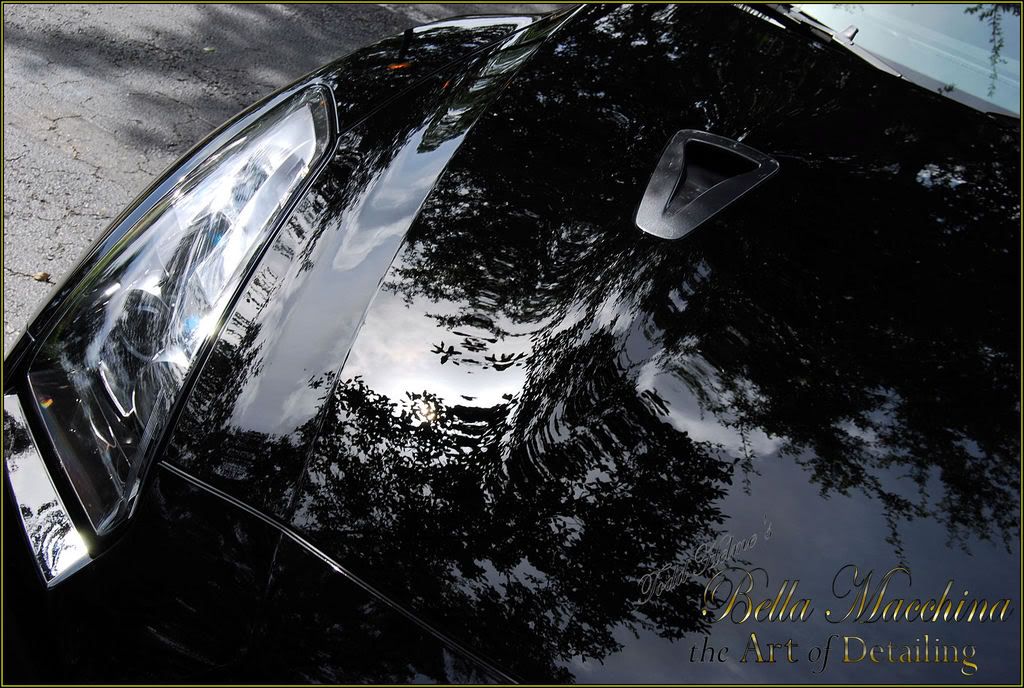
Looking at this picture you would think I just pulled the plastic off of the car in my garage. Several months with out protection has ruined the paint on this brand new Super Car!
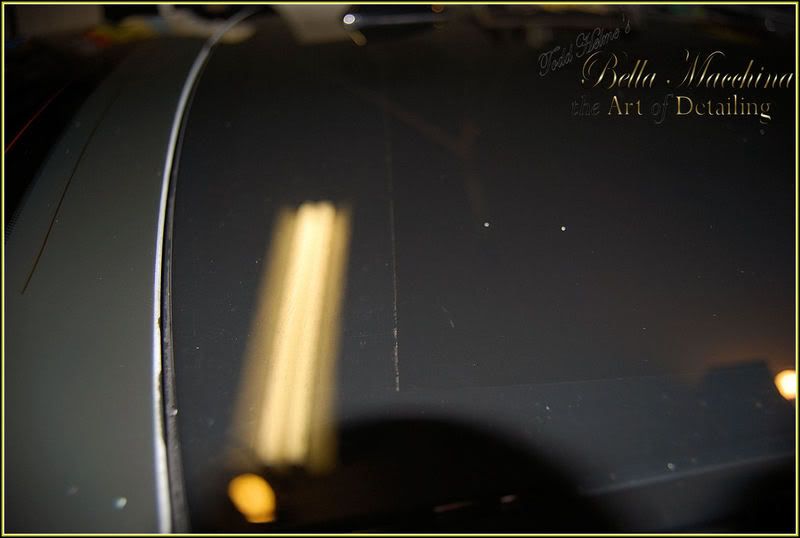
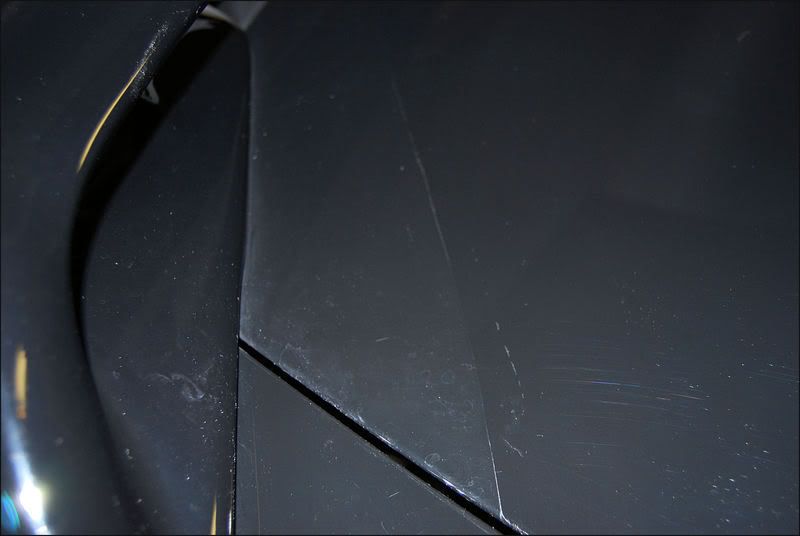
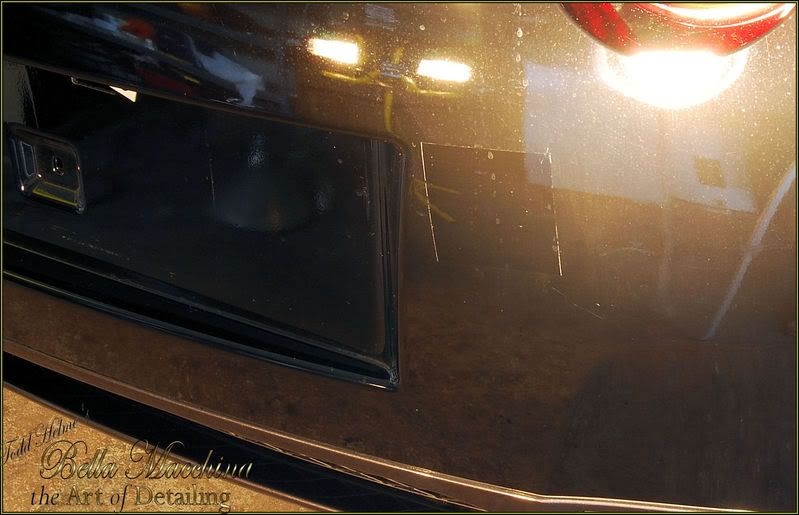
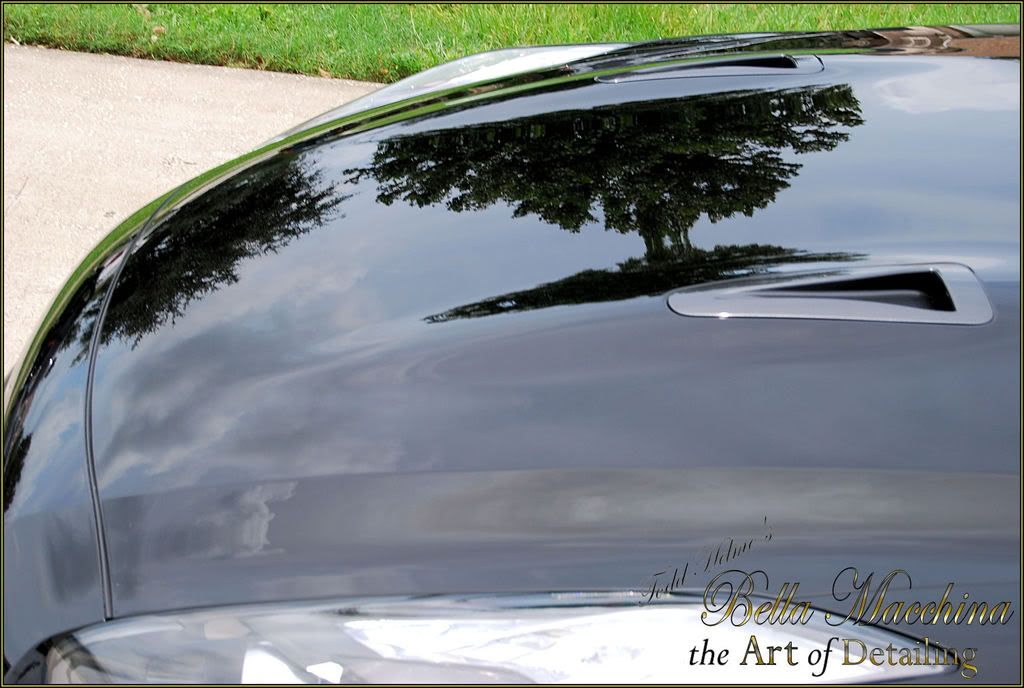
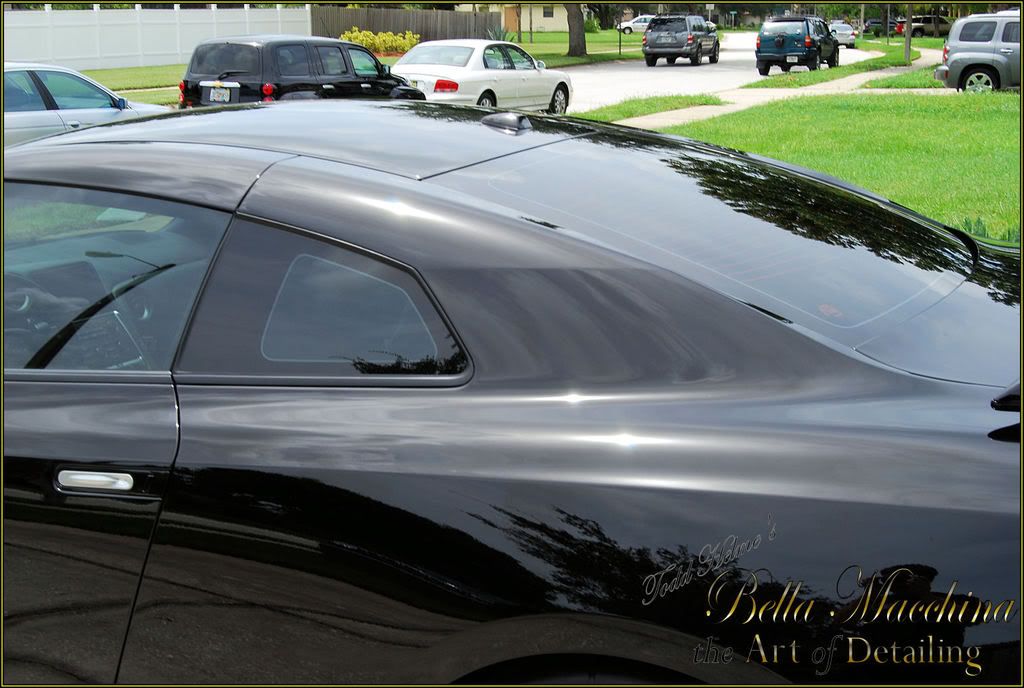
It is very clear to see what had protection and what was left naked and damaged. The rear of the roof had some deeper scratches.
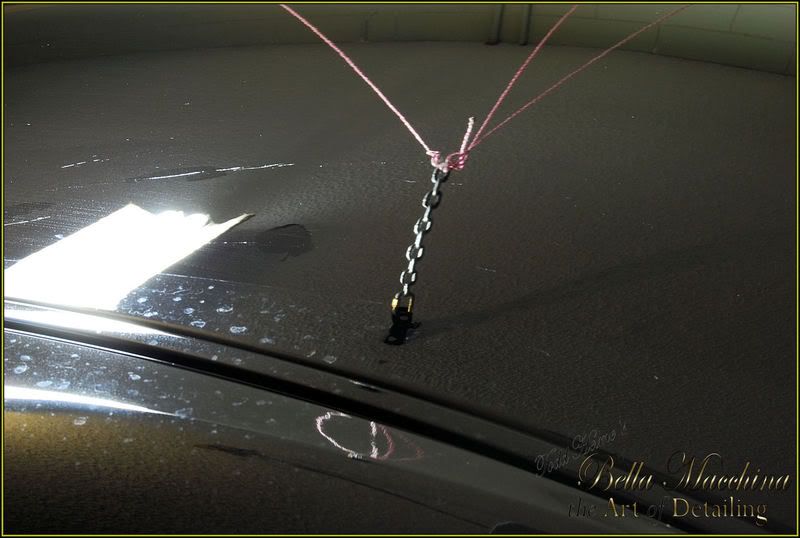
This area, in front of the rear spoiler, shows the difference in color as well as the damage.
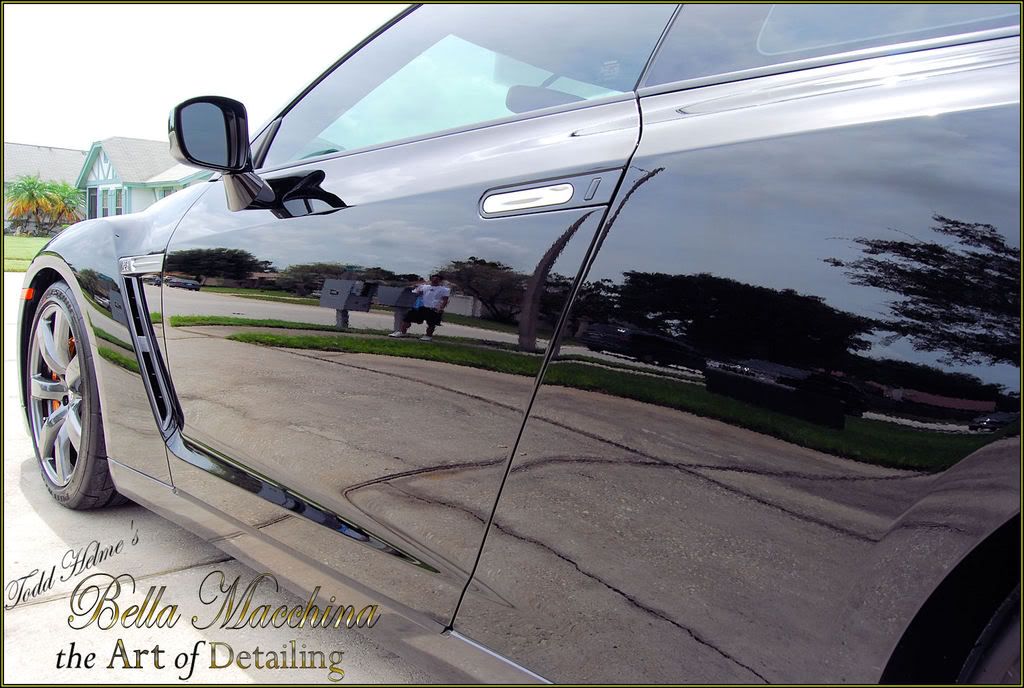
Some light marring was visible on the both sides, likely installed by the dealer when the removed the plastic.

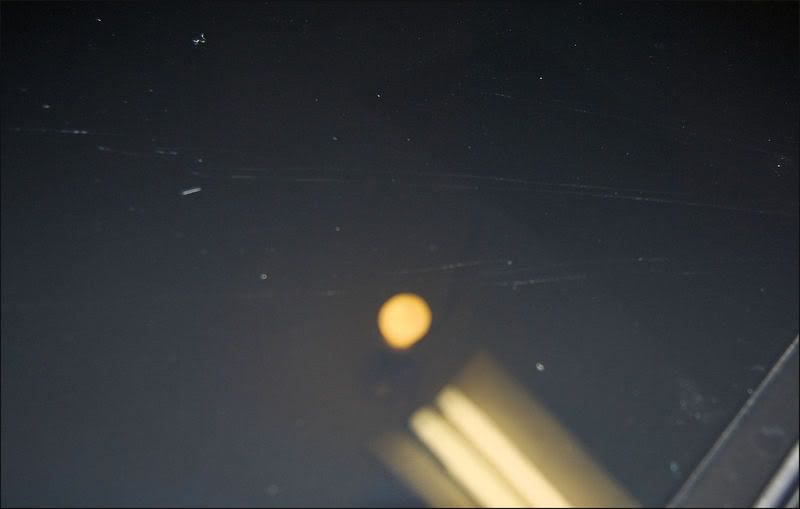
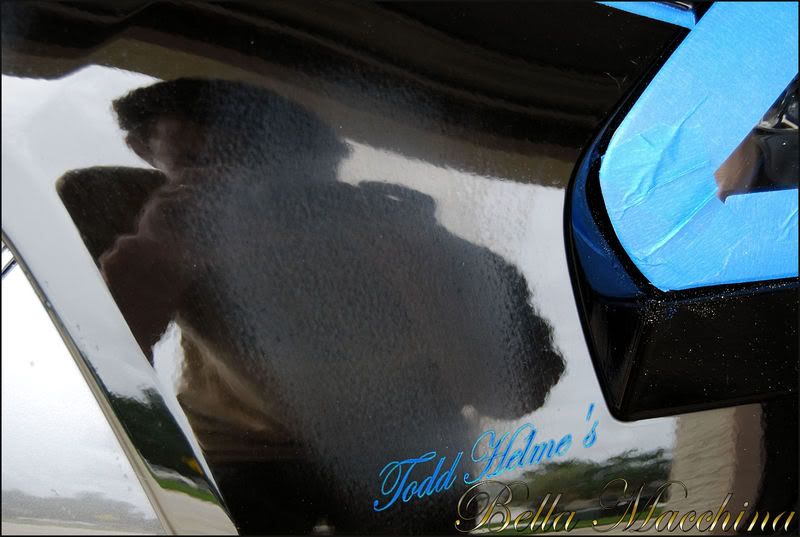
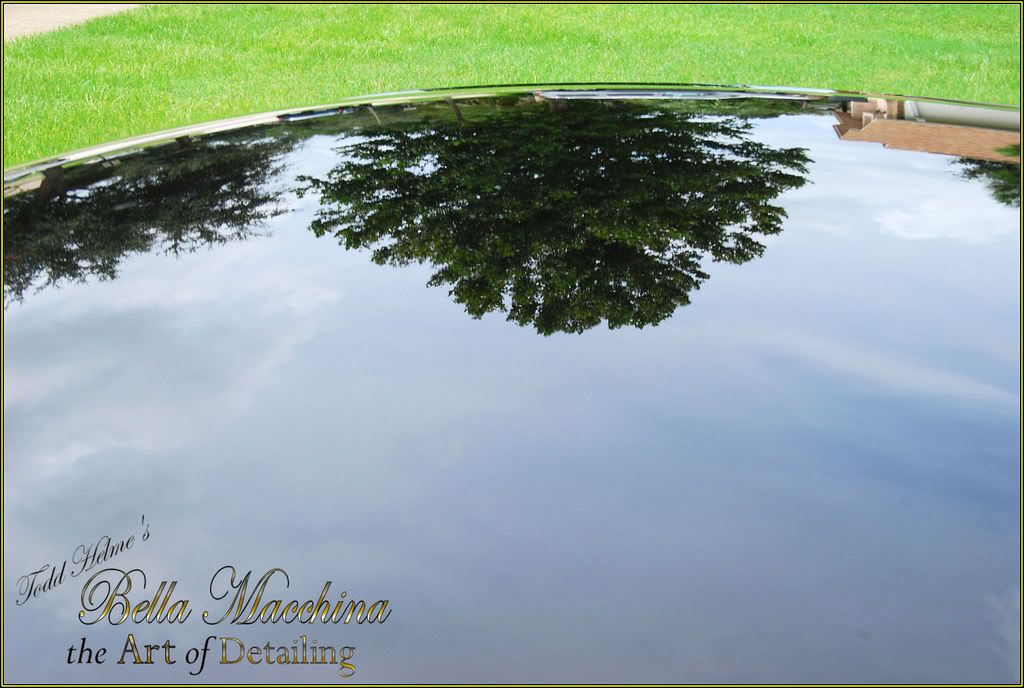
The roof had some streaky marks in the paint that looked almost like ?runs? in the top coat.
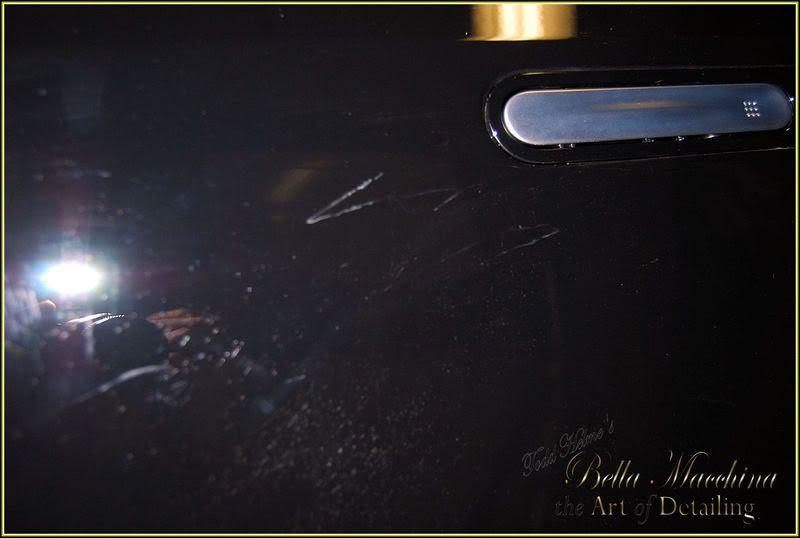
These run marks where also on each door, near the door handle. On the door ?runs? a texture difference could be felt by running your hand over the area.
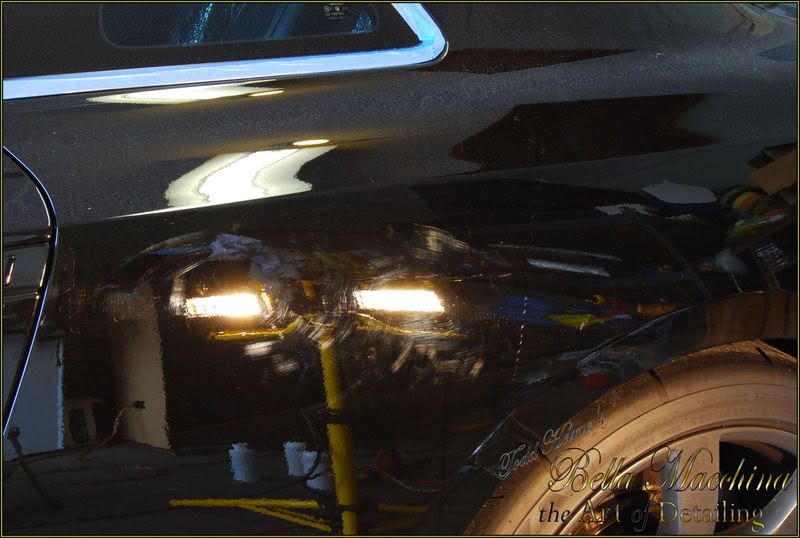
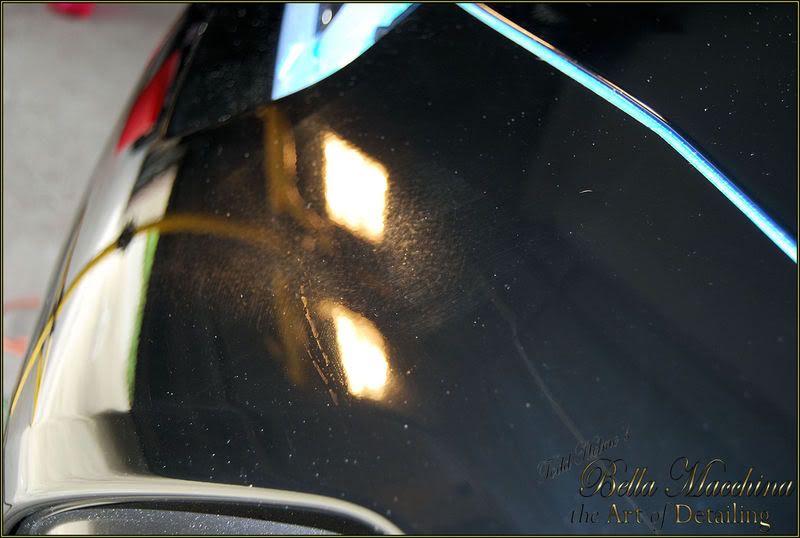
The driver?s side rear quarter panel had evidence of the poor polishing in the terms of buffer trails or ?hologramming?. There was also another defect above this area, which was an impression in the paint where the protective plastic had been.
This area was actually depressed into the paint and an edge could be felt where the tape was on the paint. As I would later learn when polishing the paint, the finish in this area was extremely soft. Combined with the buffer trails and texture, I would guess that this area was probably repainted on the factory line (perhaps a run or defect was present in the paint) then the polished. The car was the covered in the protective film for shipping before the paint had hardened. This would explain the buffer trails, softer paint (only in this area), and lip.
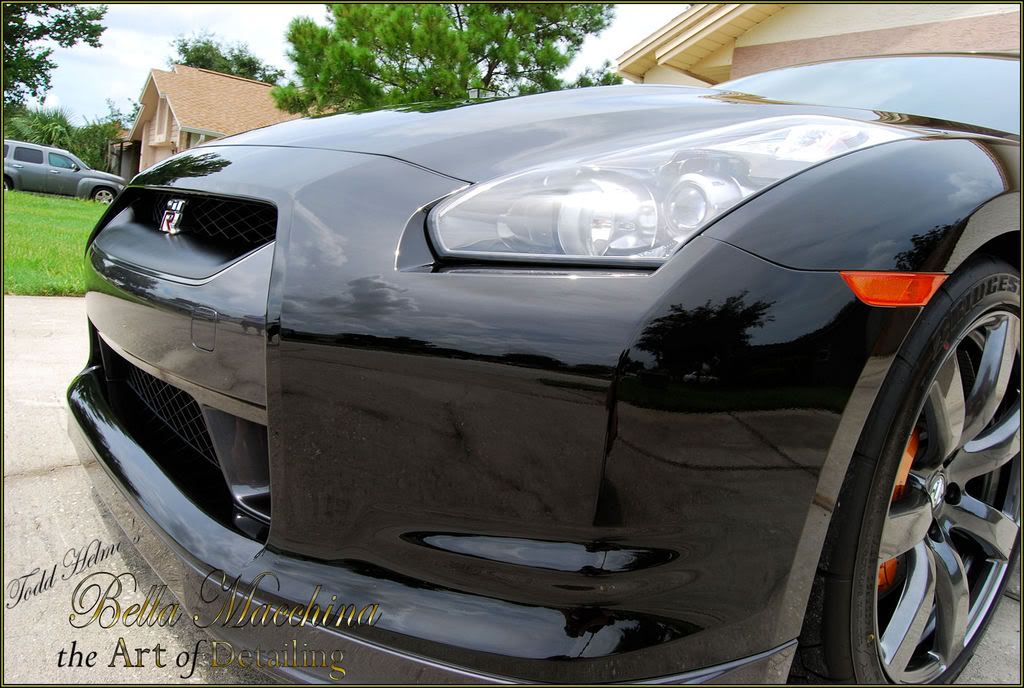
I finished the night be carefully measuring the paint thickness on the various panels that make up the G-TR?s armor. Because the body is made of aluminum, steel, and in some areas carbon fiber, it was impossible to measure every area. Nissan claims that the R35 G-TR features a ?double clear coat? and the paint measuring bore this true. The paint averaged about 6.5 mils of the thickness, with the leading edge of the hood reading as high as 9.4 mils. At 3:00 am, with inspection finished, I called it a night.
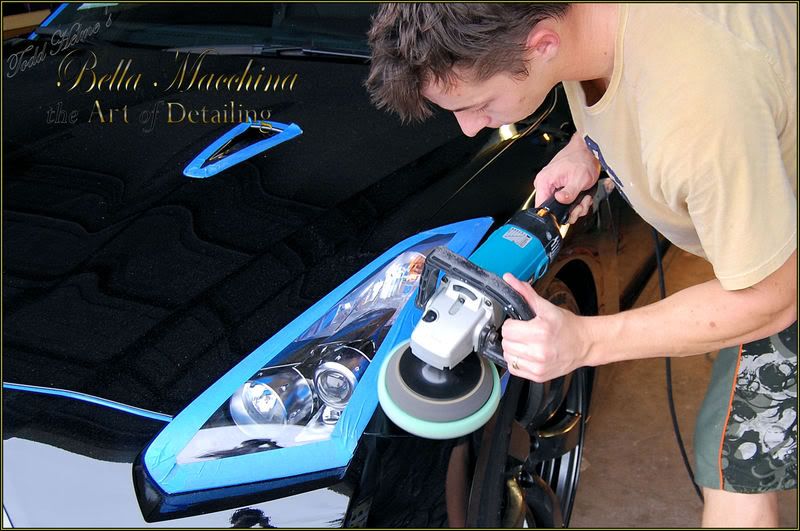
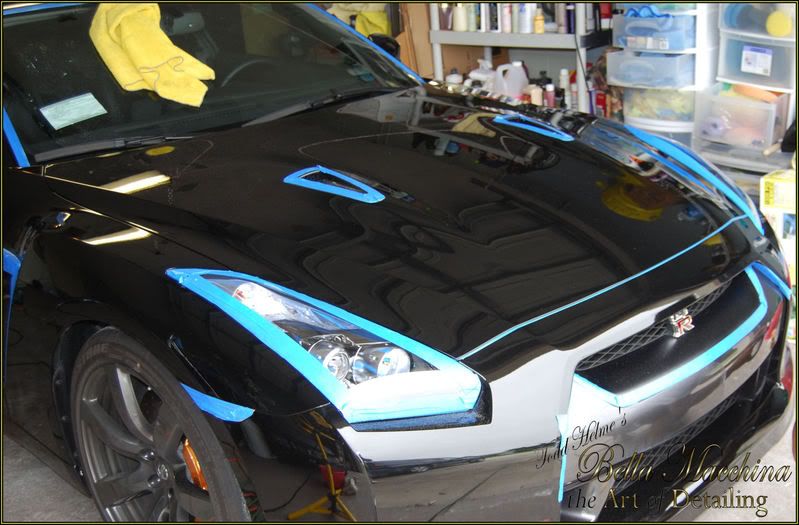
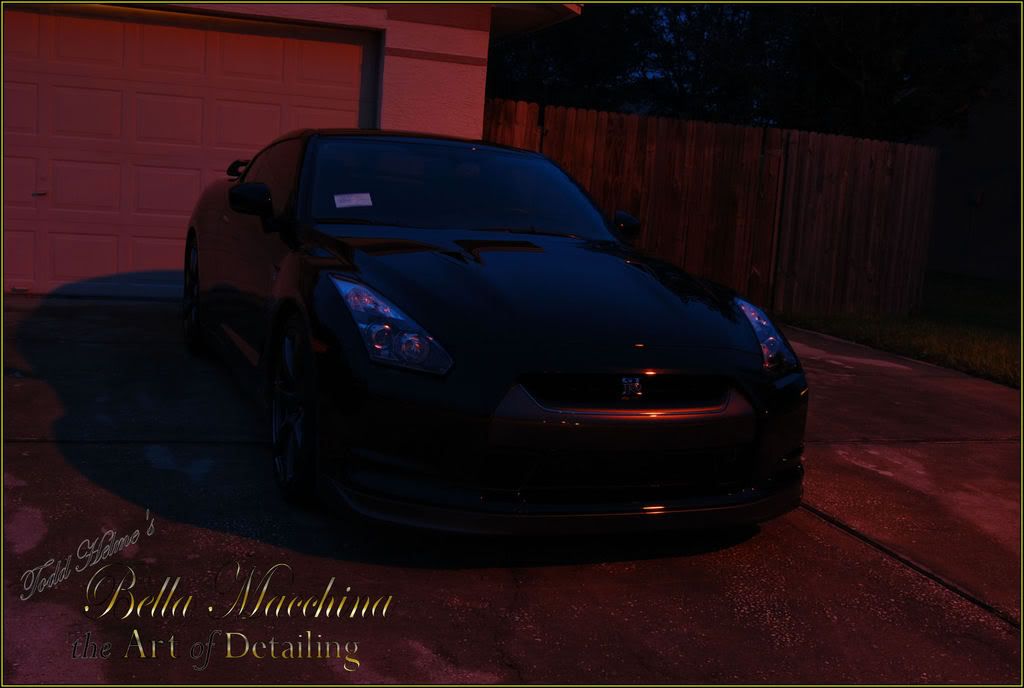
I started four hours later, at 7:00 am on Sunday morning. I knew today would be solely dedicated to re-leveling the paint and removing as many defects as possible. I did not expect the day to run into early the next day, but there was a lot of work to be done. The car had to be finished by evening the next day, as the owner had business in South Florida, before shipping the Samurai to St. Croix in the Caribbean.
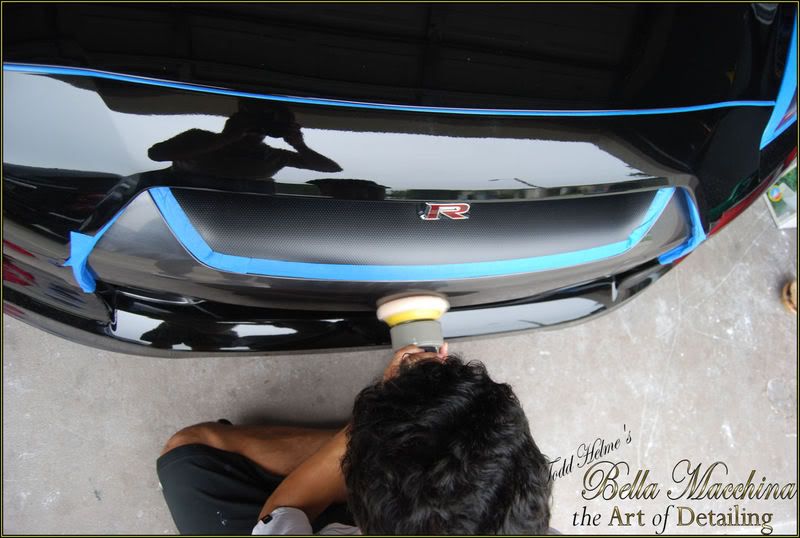
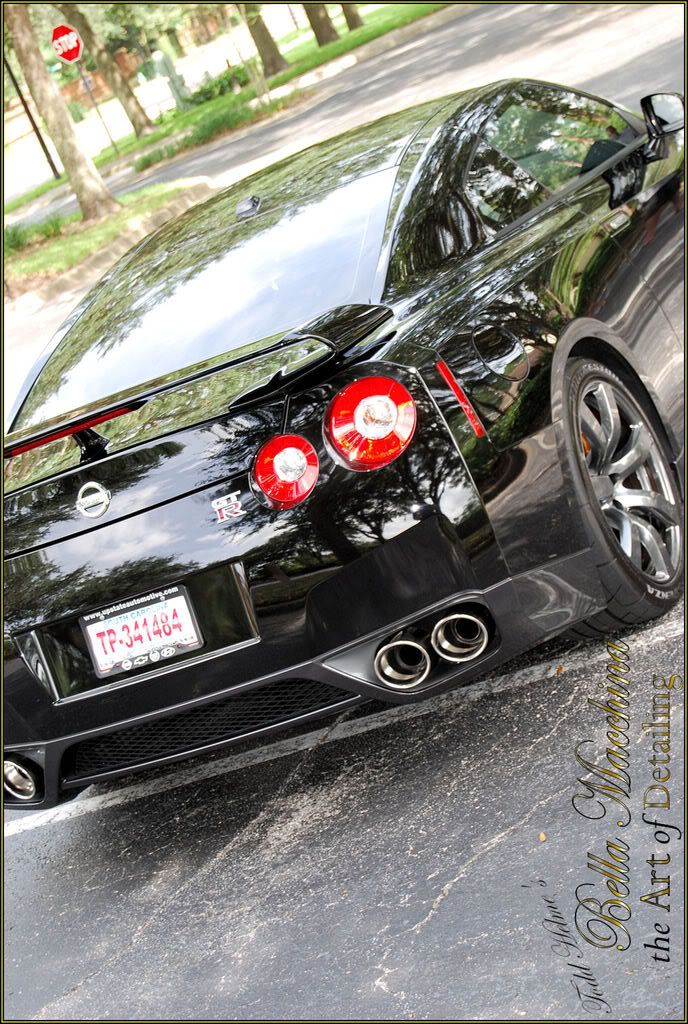
Despite dancing through the cones of a salmon course and turning an amazing 1.05gs (Motortrend) on a skid pad, the G-TR is a big car. At 183.2 inches long it barely fit into my garage, so I decided to perfect the rear bumper first (to allow me the luxury of closing the garage door and having enough room to work around the rest of the car comfortably).
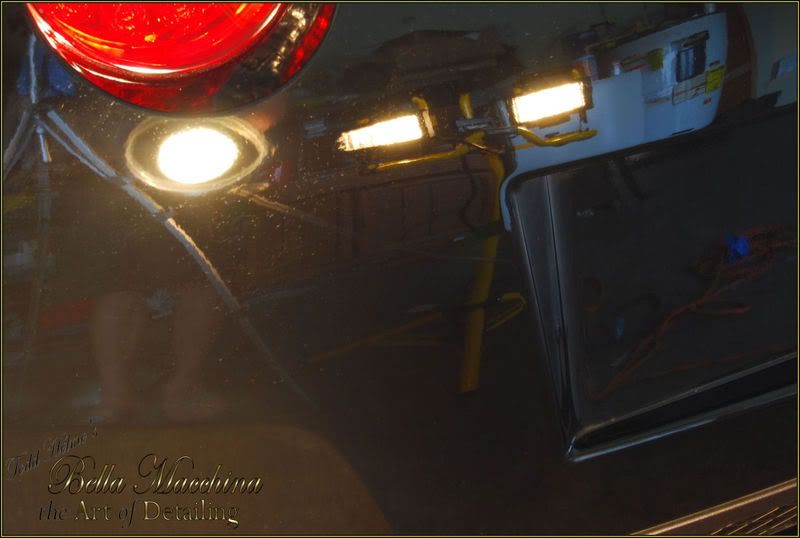
The rear bumper had water etching, slightly more severe in depth then most of the car.
The Obsidian Black paint looked gray and noticeably lighter then paint squares of paint that had protective film.
The paint on the rear bumper was very soft and corrected with ease. It was a little difficult to finish out hologram free because of the softness. The process was similar to
-2500 grit Meguiars? Unigrit paper was used to level the slight texture around the squares
-3M Extra Cut on a Meguiars? Yellow Wool Pad for 2 to 5 passes, working each area until the water etching had been eliminated.
-Meguiars? M105 on a Lake Country Foamed Wool Pad was used for 2 to 3 passes in the tighter areas that I could not re-level properly with the larger Meguiars? Wool pad.
-Wipe areas with Prep-Sol after
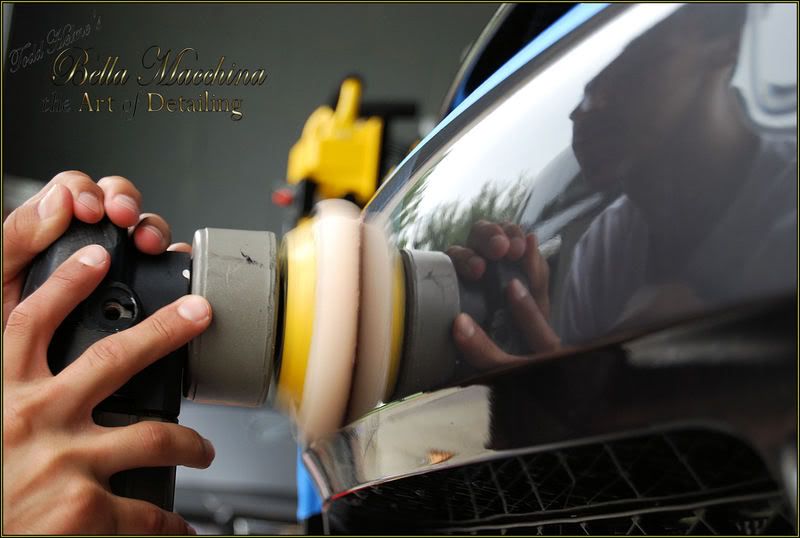
-Menzerna PO83 on a Lake Country Green CCS pad (both 6.5 inch and 4 inch) for several passes to level out the wool marring. This was worked in until the paint looked perfect after a Prep-Sol wipe down. PO83 was lightly filling in some areas, but two passes would remove the final remaining marring, ensuring it would not come back.
-Menzerna PO85rd on a Meguiars So1o Finishing Pad worked in to jewel the finish.
Please note that the paint on the car was very prone to static charge was pulling the fibers from my microfibers. These little fibers stuck to the paint on the rear bumper and I did not remove then until after I took the pictures.
It took about 4 hours to work the rear bumper back to perfection and remove the squares while restoring the color.
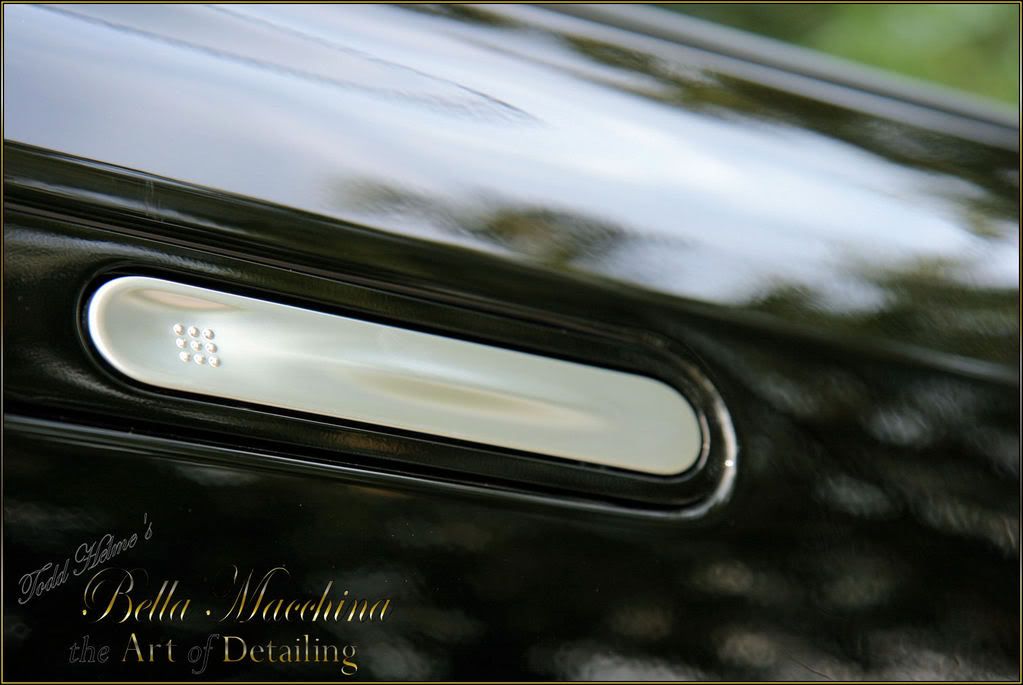
The gas cap was noticeably darker then the rest of the faded paint.
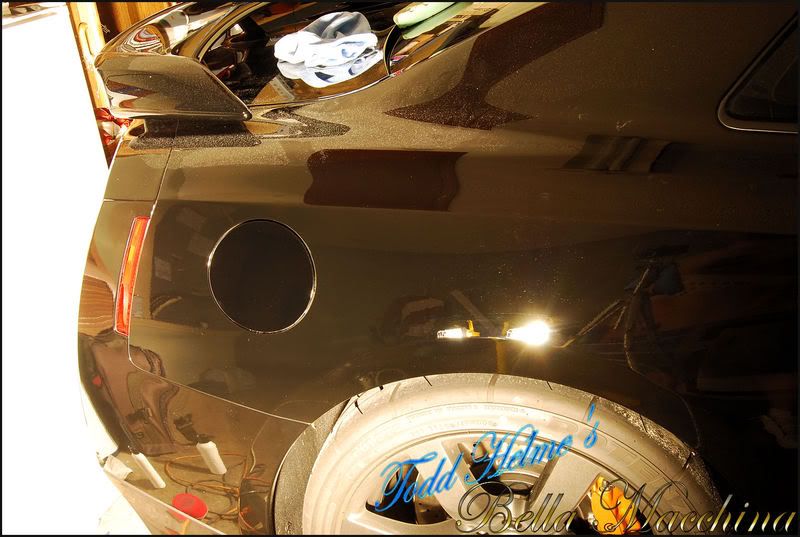
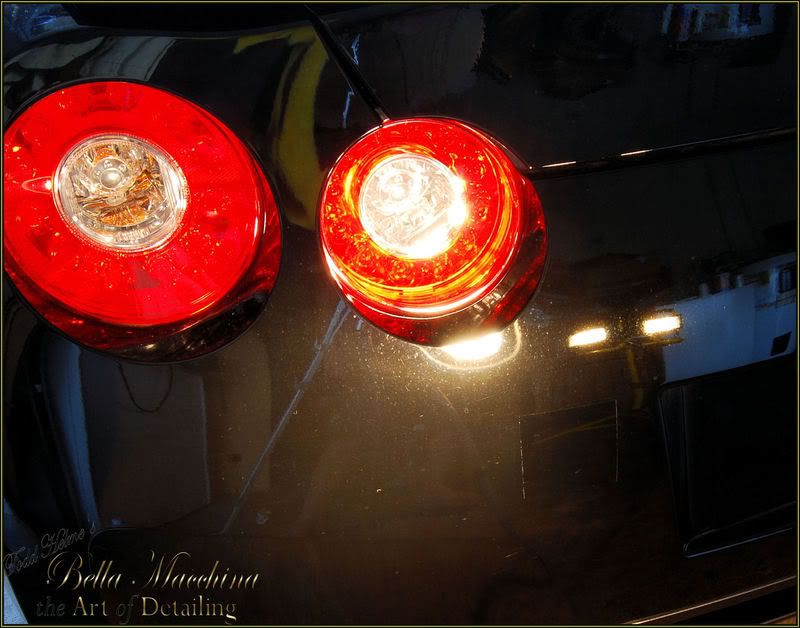
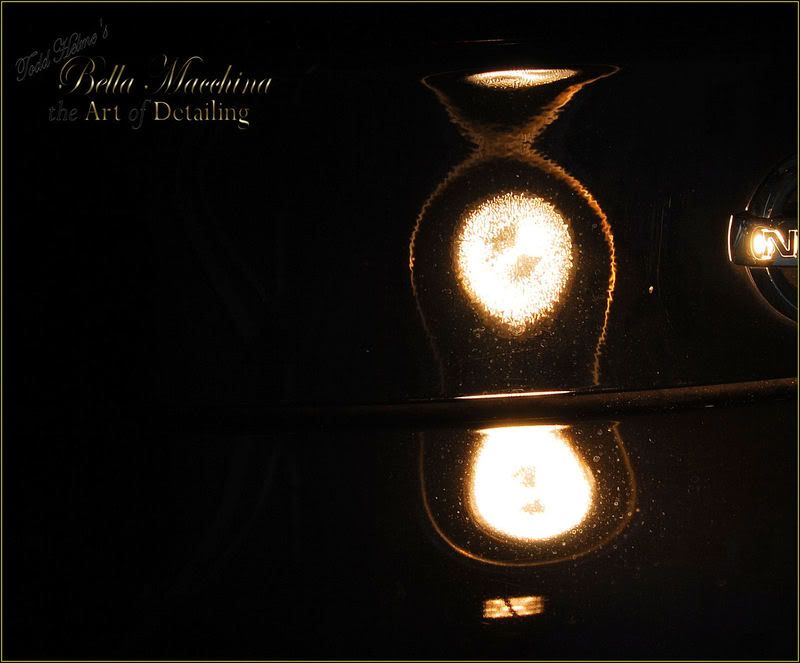
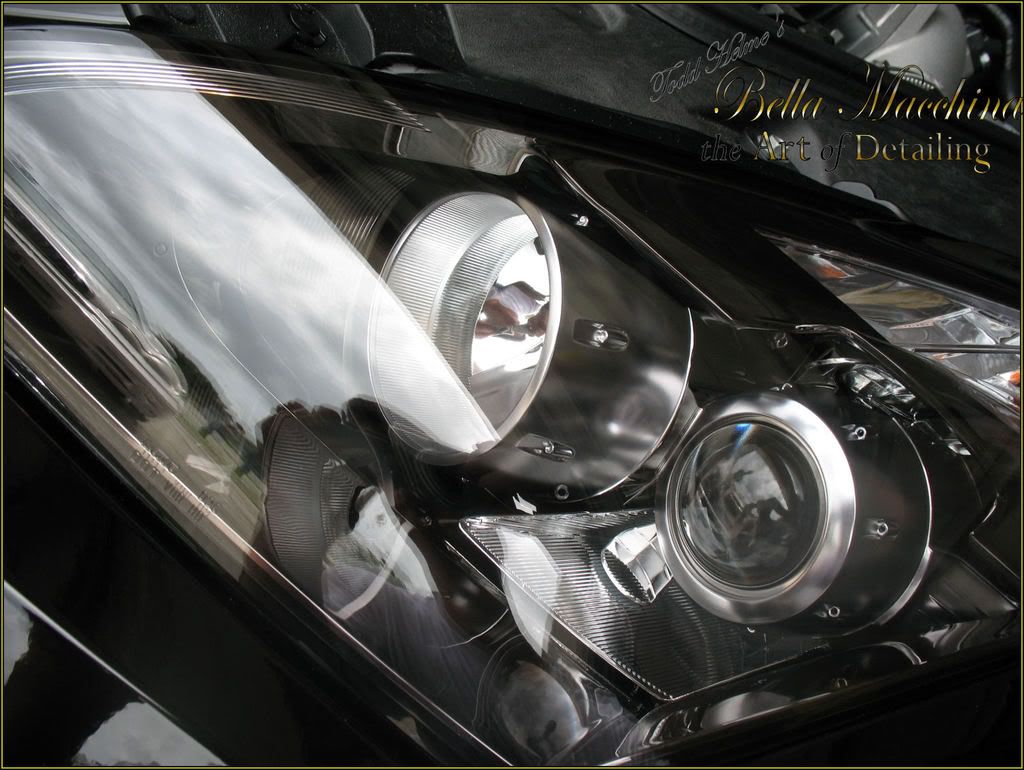
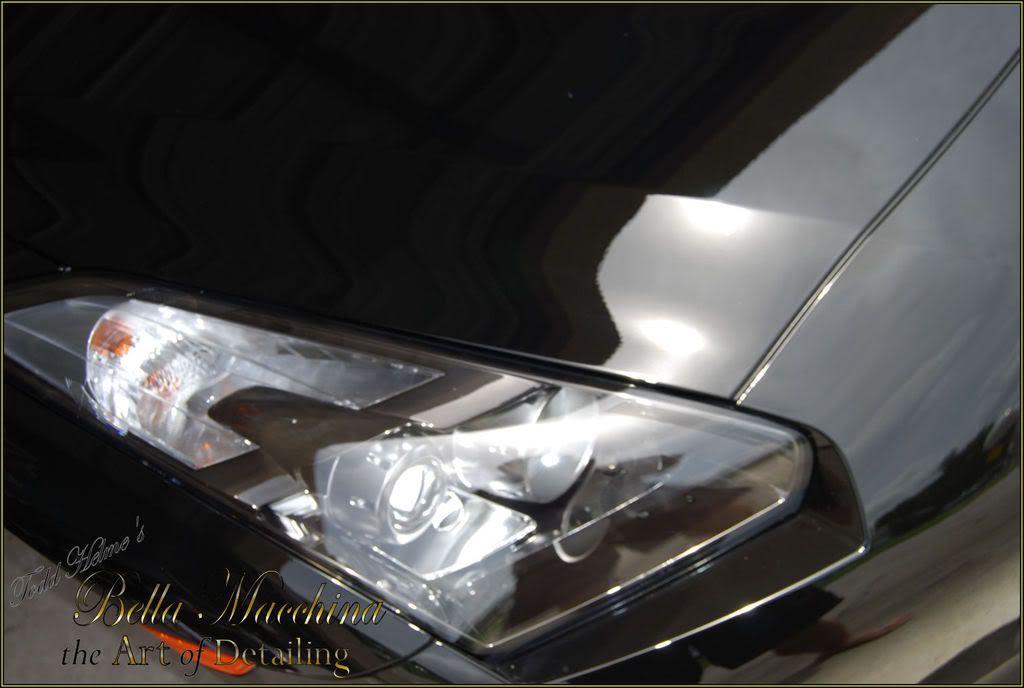
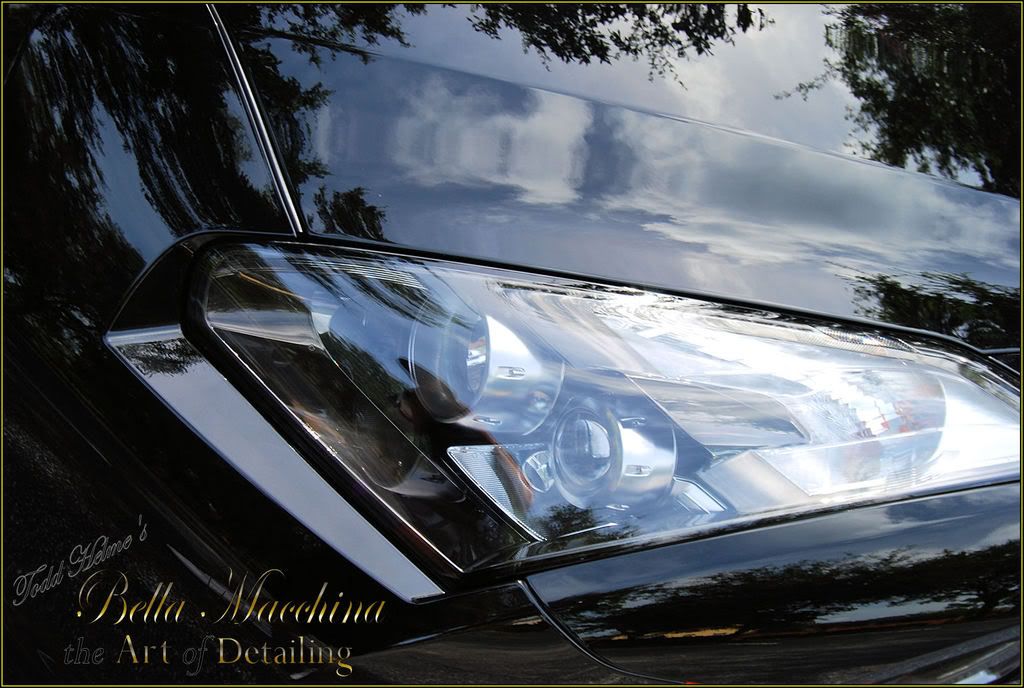
After polishing (note defect removal visible in the halogens) the paint looked closer. In the sun and natural light the car gas cap now looks the same, but in the halogen lighting a small difference was still visible.

Corvettes struggle to be more European. European cars get heavier and more powerful, like a good American. The more these cars change, the closer they become. The GT-R is a fresh approach and makes no excuses. With an infusion of technology, physicals, and technical brilliance, Nissan has presented a modern Samurai who will proudly carry the flag of the Rising Sun, while bowing to no one.
Unfortunately Nissan did not have all of its technicians ready to service this technological marvel, and as such this Samurai had a few chinks in its armor. An alarming number of these cars sat at port, waiting to be shipped. Unfortunately the fresh, unprotected paint (especially the soft front, designed to resist rock chipping) is very sucsepticable to acid rain damage. This GT-R suffered as such. It already had 2000 miles on it when it arrived at 11:00 PM, Saturday night.
Because of the inclement weather, the GT-R arrived pretty dirty. I washed it using Optimum No-Rinse using two buckets. After drying, I noticed some pretty severe damage in different areas of the car, including light holograms, acid rain etching, R.ID.S. (Random isolated deep scratches), and light wash induced marring. I attempted to remove and loosen some of the calcium present in the water etching by using Meguiars? Blue Clay and Chemical Guys? Speed Shine as a lubricant.
There was no improvement in the surface; a vinegar natural bath removed some of the lighter marks and left the paint bare and smooth. The acid rain had penetrated the clear-coat, forming depressions in the paint. This damage was numerous and severe.
In the rear spoiler you can see the severe etching, as well ?hologramming? on the edges, likely from the dealer trying to remove the etching (note that these pictures are taken in UV garage light).
The panels above the doors, out line of the roof, and any area that was not covered in shipping showed severe damage.
The areas of the body panels that where protected by the factory installed plastic where also notably darker in appearance and had not faded. Apparently the new GT-R?s paint system will be susceptible to fading. It looks like two different colors.
Looking at this picture you would think I just pulled the plastic off of the car in my garage. Several months with out protection has ruined the paint on this brand new Super Car!
It is very clear to see what had protection and what was left naked and damaged. The rear of the roof had some deeper scratches.
This area, in front of the rear spoiler, shows the difference in color as well as the damage.
Some light marring was visible on the both sides, likely installed by the dealer when the removed the plastic.
The roof had some streaky marks in the paint that looked almost like ?runs? in the top coat.
These run marks where also on each door, near the door handle. On the door ?runs? a texture difference could be felt by running your hand over the area.
The driver?s side rear quarter panel had evidence of the poor polishing in the terms of buffer trails or ?hologramming?. There was also another defect above this area, which was an impression in the paint where the protective plastic had been.
This area was actually depressed into the paint and an edge could be felt where the tape was on the paint. As I would later learn when polishing the paint, the finish in this area was extremely soft. Combined with the buffer trails and texture, I would guess that this area was probably repainted on the factory line (perhaps a run or defect was present in the paint) then the polished. The car was the covered in the protective film for shipping before the paint had hardened. This would explain the buffer trails, softer paint (only in this area), and lip.
I finished the night be carefully measuring the paint thickness on the various panels that make up the G-TR?s armor. Because the body is made of aluminum, steel, and in some areas carbon fiber, it was impossible to measure every area. Nissan claims that the R35 G-TR features a ?double clear coat? and the paint measuring bore this true. The paint averaged about 6.5 mils of the thickness, with the leading edge of the hood reading as high as 9.4 mils. At 3:00 am, with inspection finished, I called it a night.
I started four hours later, at 7:00 am on Sunday morning. I knew today would be solely dedicated to re-leveling the paint and removing as many defects as possible. I did not expect the day to run into early the next day, but there was a lot of work to be done. The car had to be finished by evening the next day, as the owner had business in South Florida, before shipping the Samurai to St. Croix in the Caribbean.
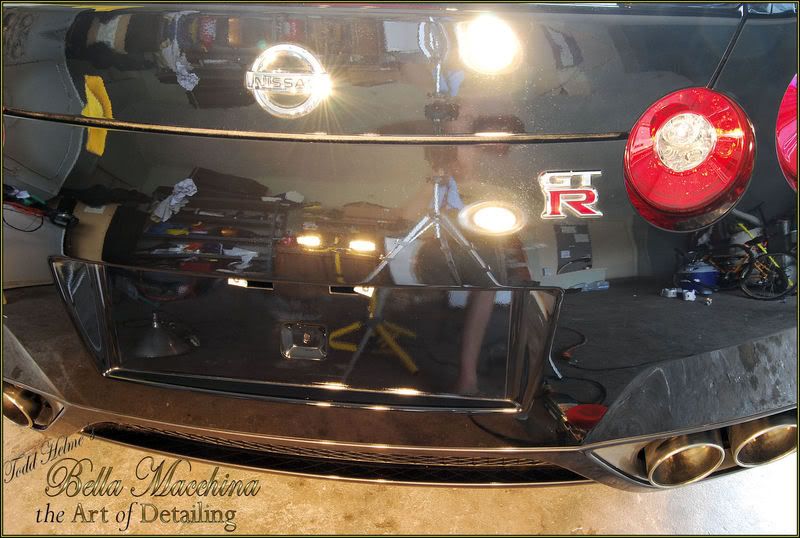
Despite dancing through the cones of a salmon course and turning an amazing 1.05gs (Motortrend) on a skid pad, the G-TR is a big car. At 183.2 inches long it barely fit into my garage, so I decided to perfect the rear bumper first (to allow me the luxury of closing the garage door and having enough room to work around the rest of the car comfortably).
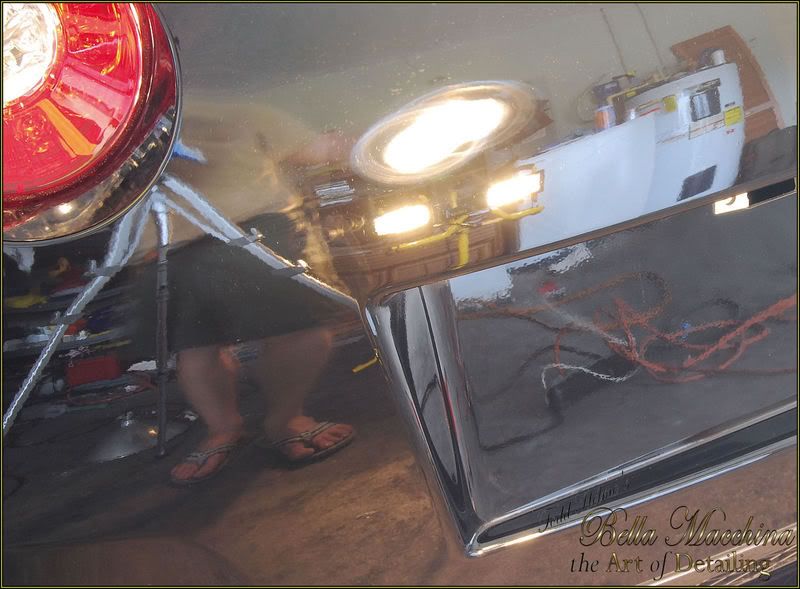
The rear bumper had water etching, slightly more severe in depth then most of the car.
The Obsidian Black paint looked gray and noticeably lighter then paint squares of paint that had protective film.
The paint on the rear bumper was very soft and corrected with ease. It was a little difficult to finish out hologram free because of the softness. The process was similar to
-2500 grit Meguiars? Unigrit paper was used to level the slight texture around the squares
-3M Extra Cut on a Meguiars? Yellow Wool Pad for 2 to 5 passes, working each area until the water etching had been eliminated.
-Meguiars? M105 on a Lake Country Foamed Wool Pad was used for 2 to 3 passes in the tighter areas that I could not re-level properly with the larger Meguiars? Wool pad.
-Wipe areas with Prep-Sol after
-Menzerna PO83 on a Lake Country Green CCS pad (both 6.5 inch and 4 inch) for several passes to level out the wool marring. This was worked in until the paint looked perfect after a Prep-Sol wipe down. PO83 was lightly filling in some areas, but two passes would remove the final remaining marring, ensuring it would not come back.
-Menzerna PO85rd on a Meguiars So1o Finishing Pad worked in to jewel the finish.
Please note that the paint on the car was very prone to static charge was pulling the fibers from my microfibers. These little fibers stuck to the paint on the rear bumper and I did not remove then until after I took the pictures.
It took about 4 hours to work the rear bumper back to perfection and remove the squares while restoring the color.
The gas cap was noticeably darker then the rest of the faded paint.
After polishing (note defect removal visible in the halogens) the paint looked closer. In the sun and natural light the car gas cap now looks the same, but in the halogen lighting a small difference was still visible.


")