Greg Gellas
I'm Greg :)
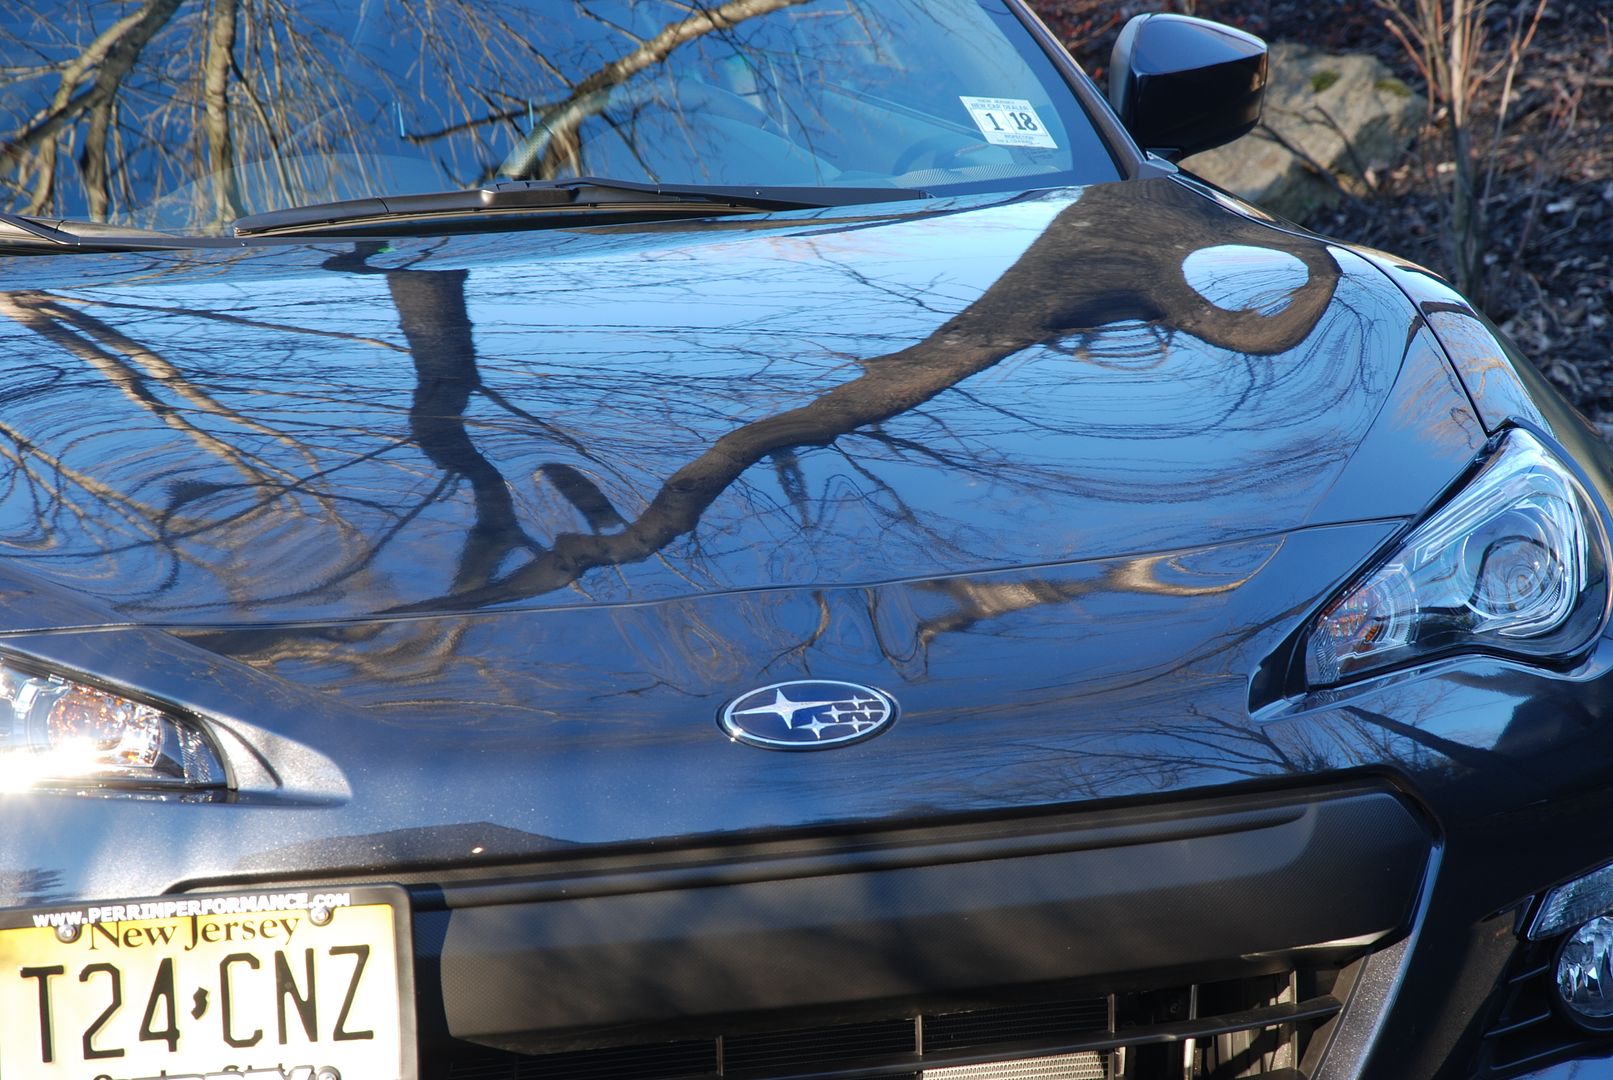
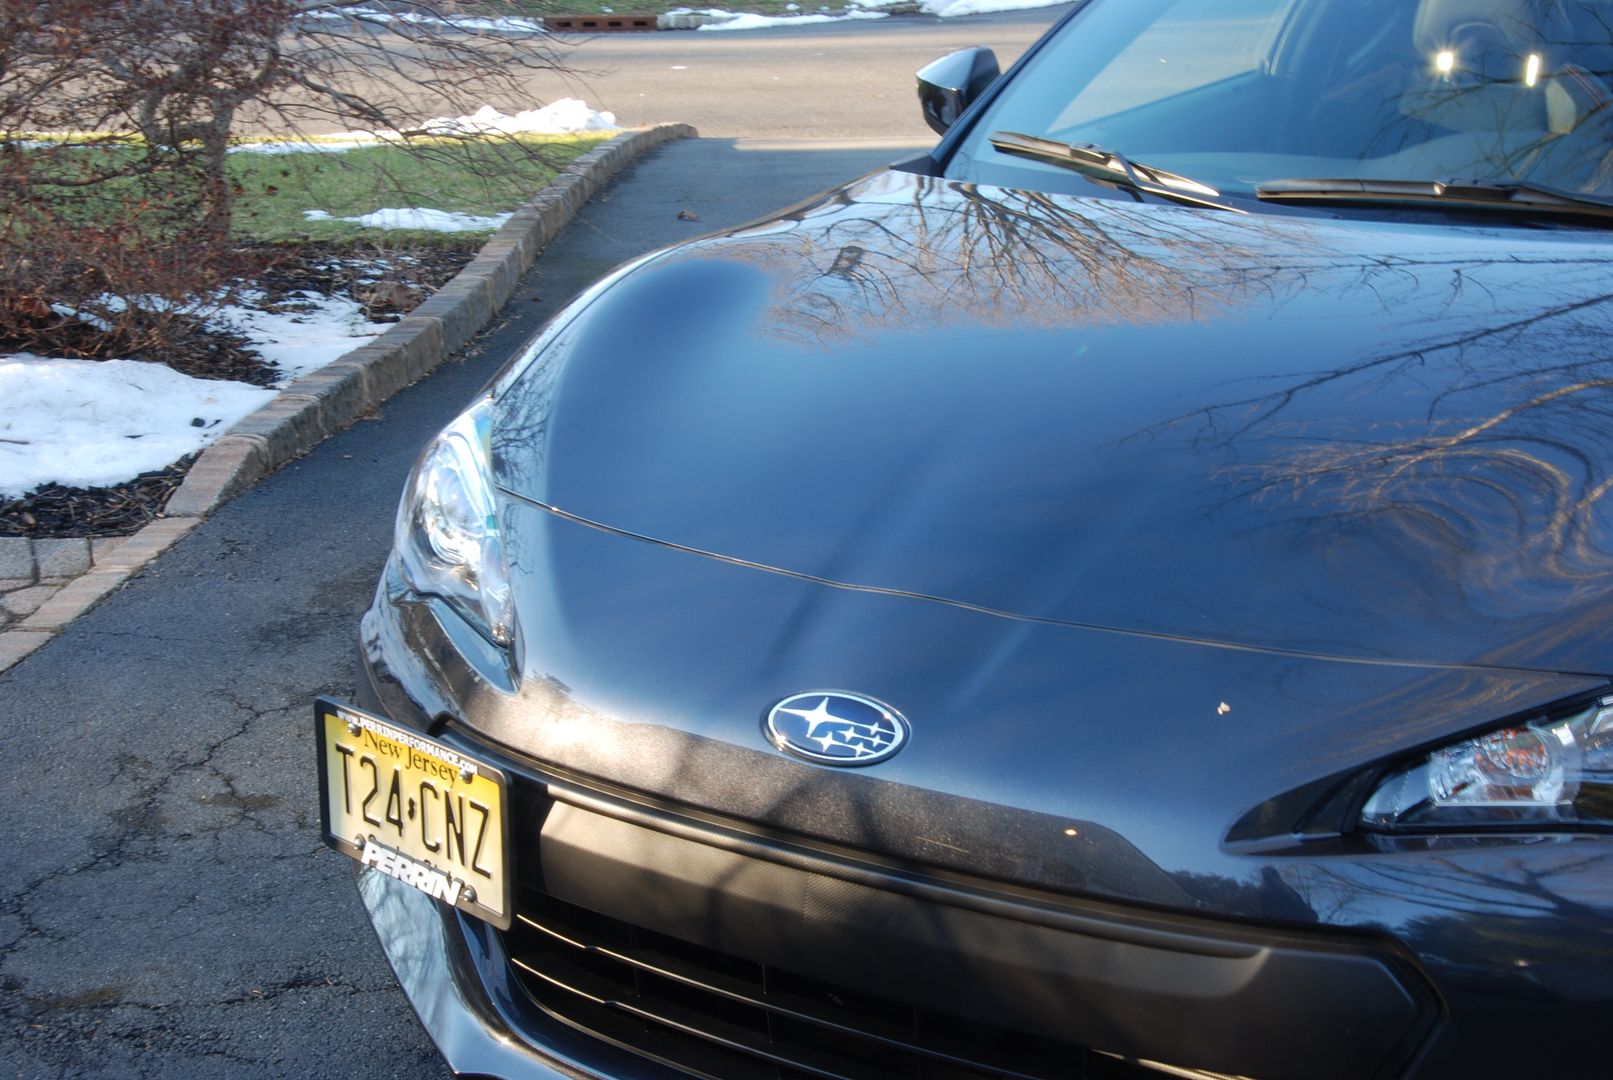
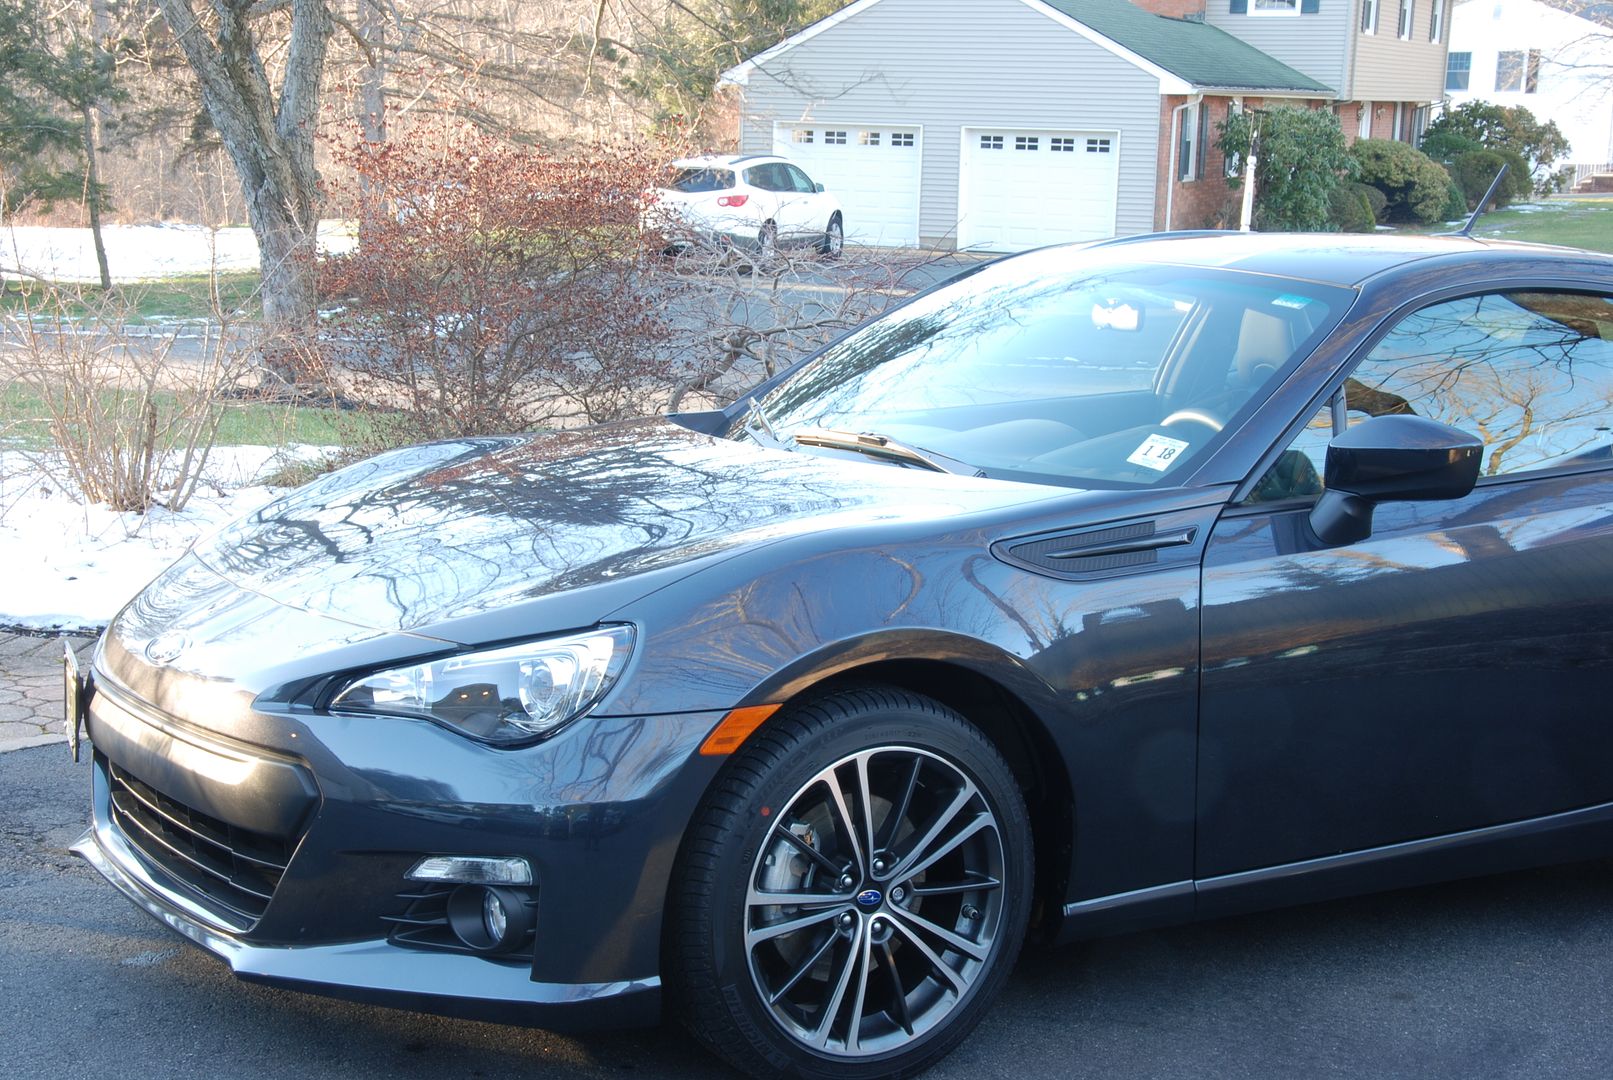
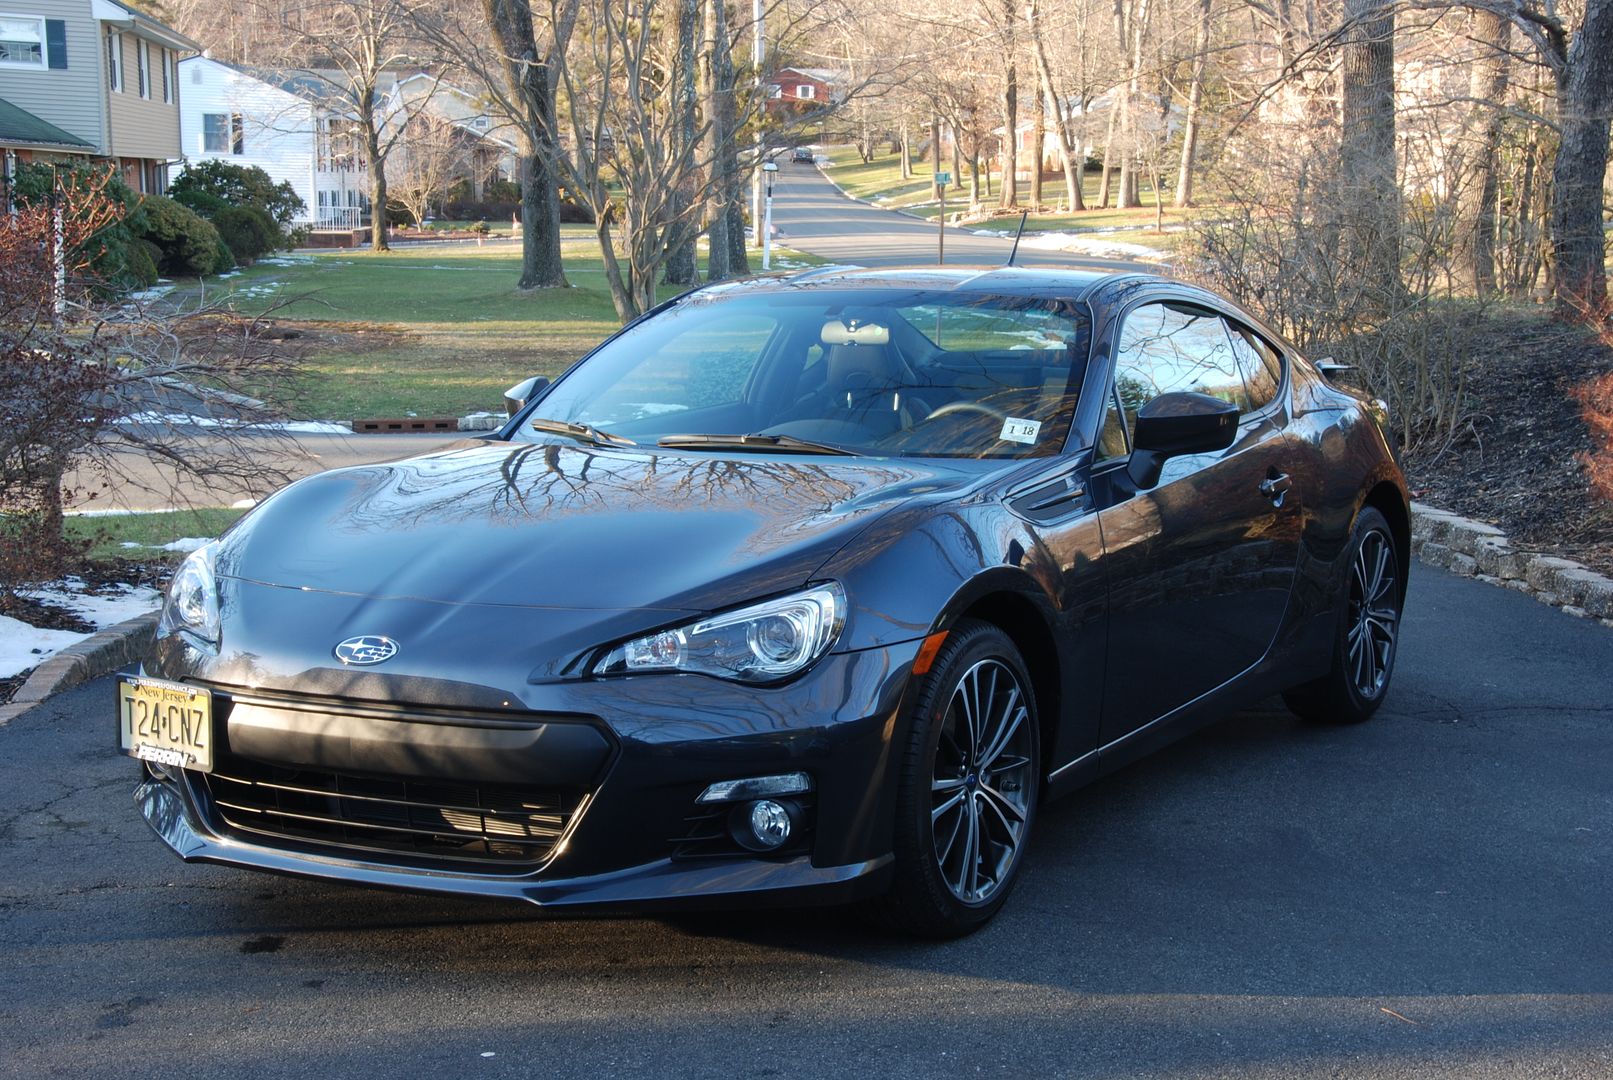
Here I go again! New BRZ getting Opti-Coat. I initially inspected the paint, and suggested to the owner that the clarity was good enough to forgo the 1 step correction and just get a prep and coating. This would not only save the client some money, but the amount of gloss I would have added wouldn't be noticeable enough to anyone but a perfectionist. After seeing the paint under some lights he agreed.
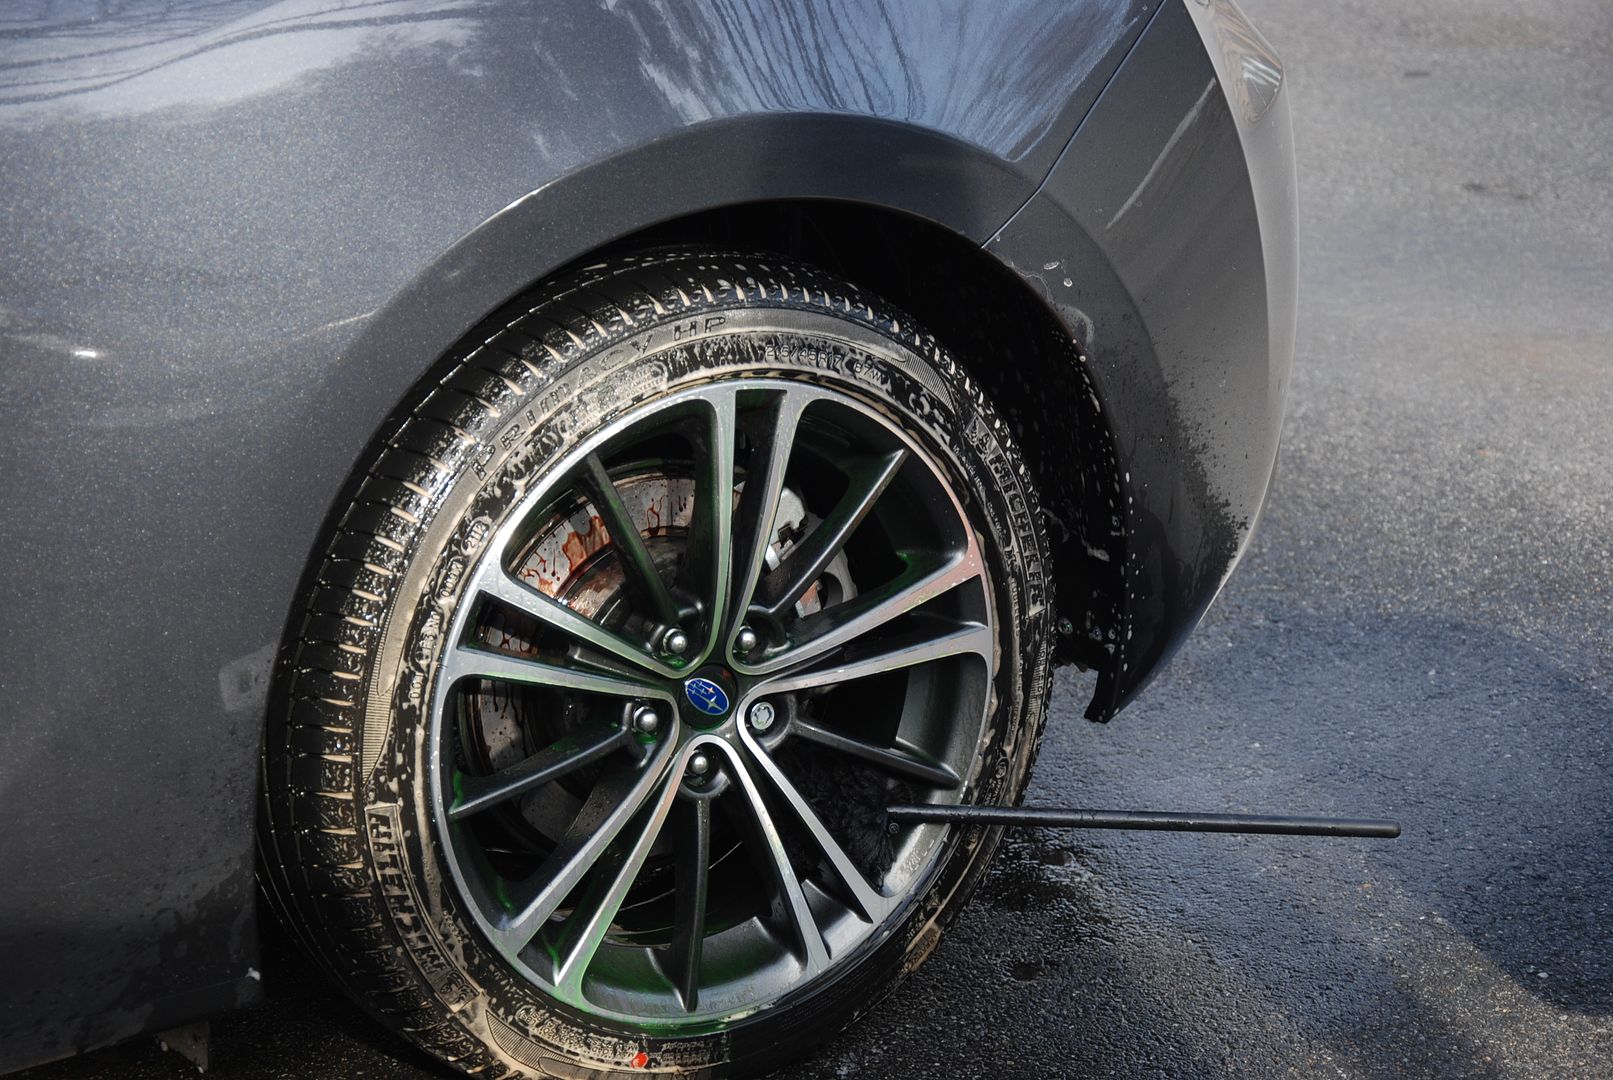
I started with the wheels and tires. I wet the wheels, then spray them down with Sonax Full Effect, and let that dwell. The tires got scrubbed with Tuff shine Tire cleaner. Wheel wells were scrubbed with P21S TAW and a Ez Detail Brush.
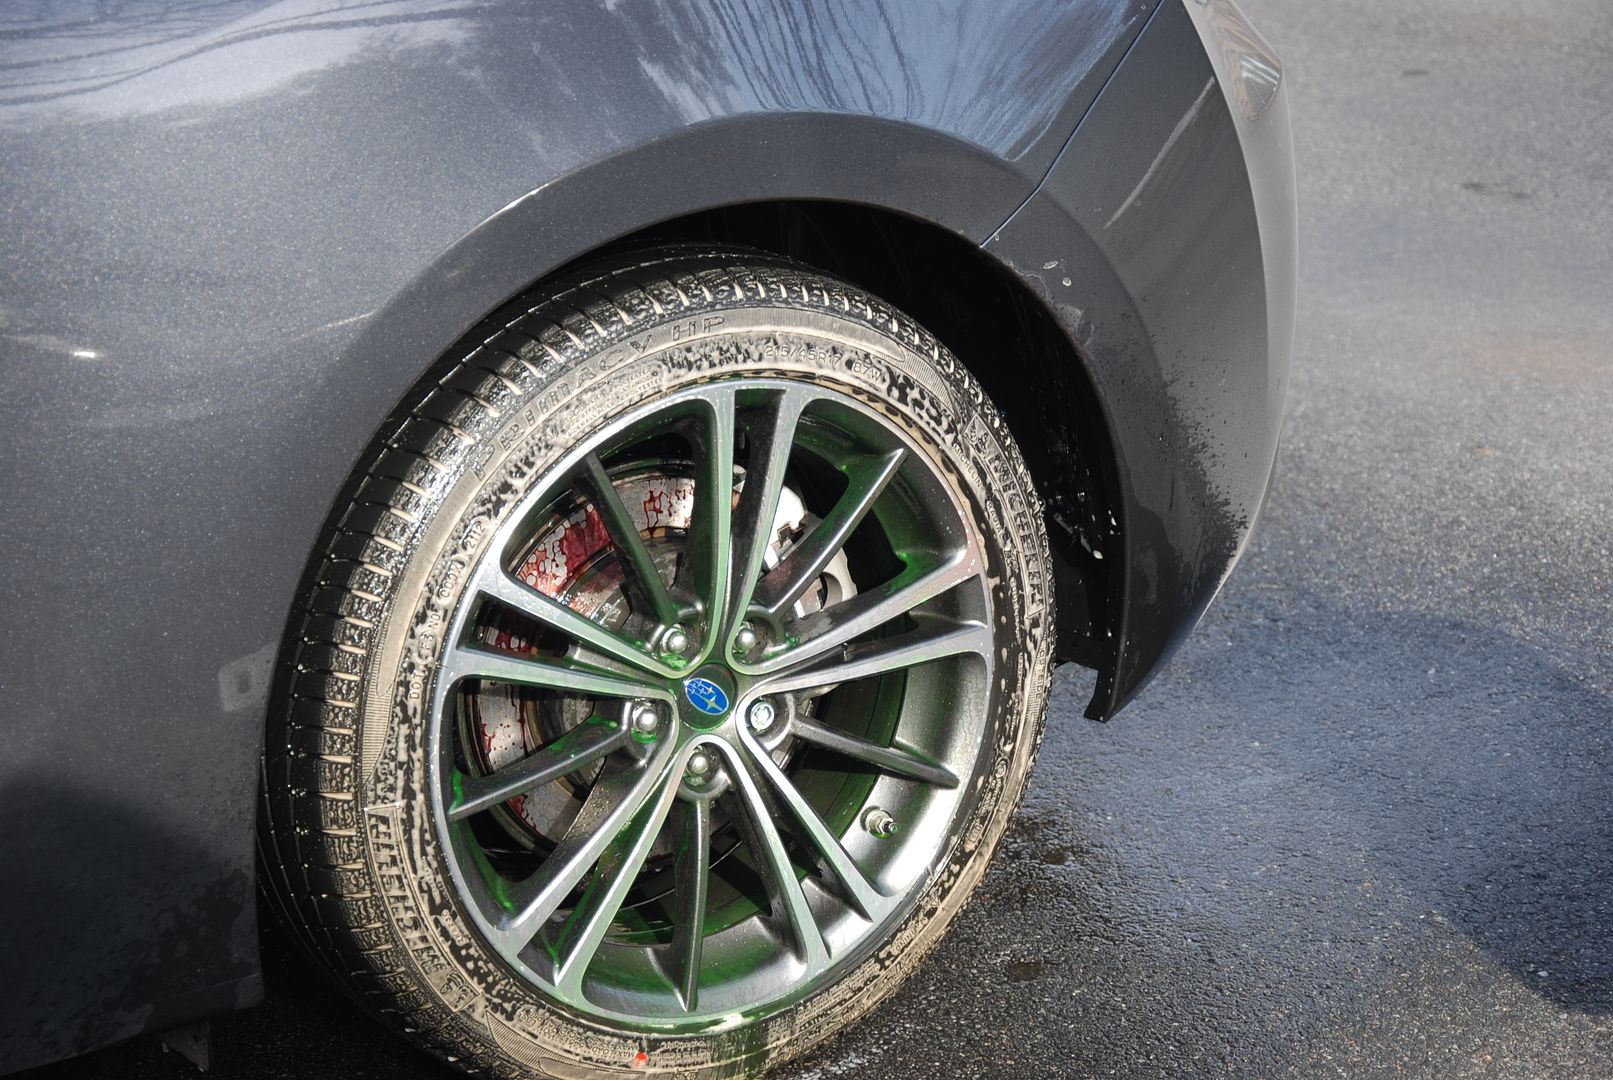
The wheels then got cleaned with Wheel Woolies to ensure the inner barrels where fully cleaned also.
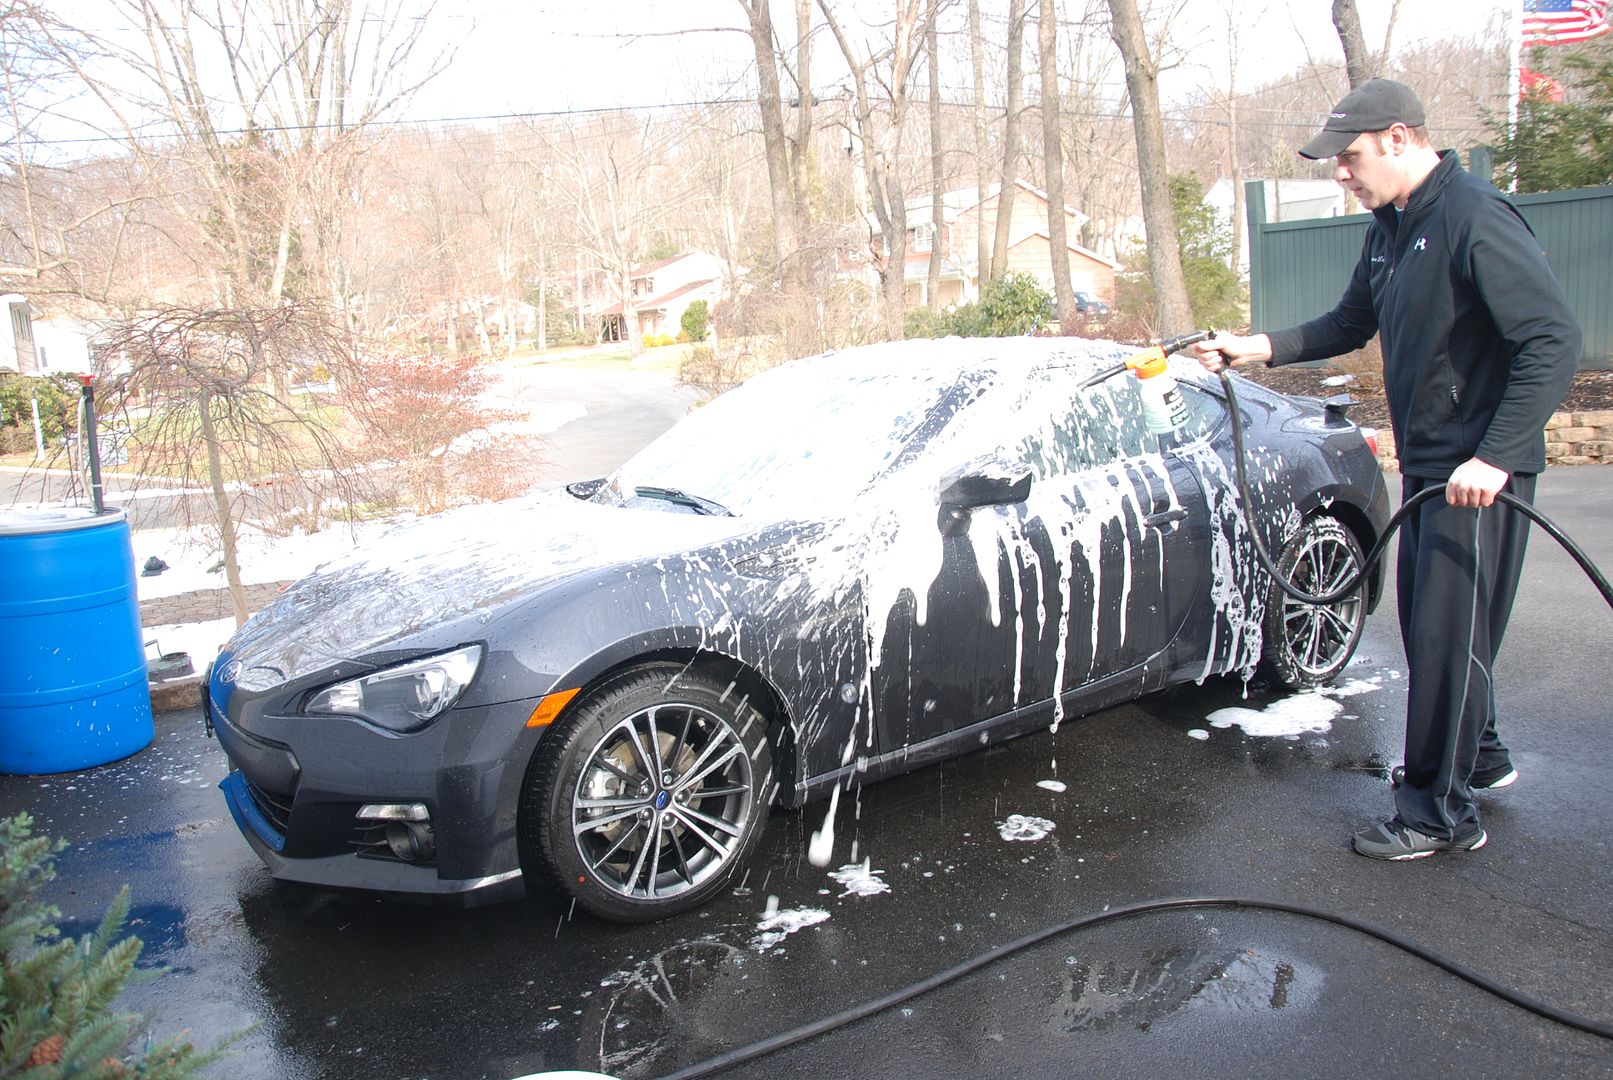
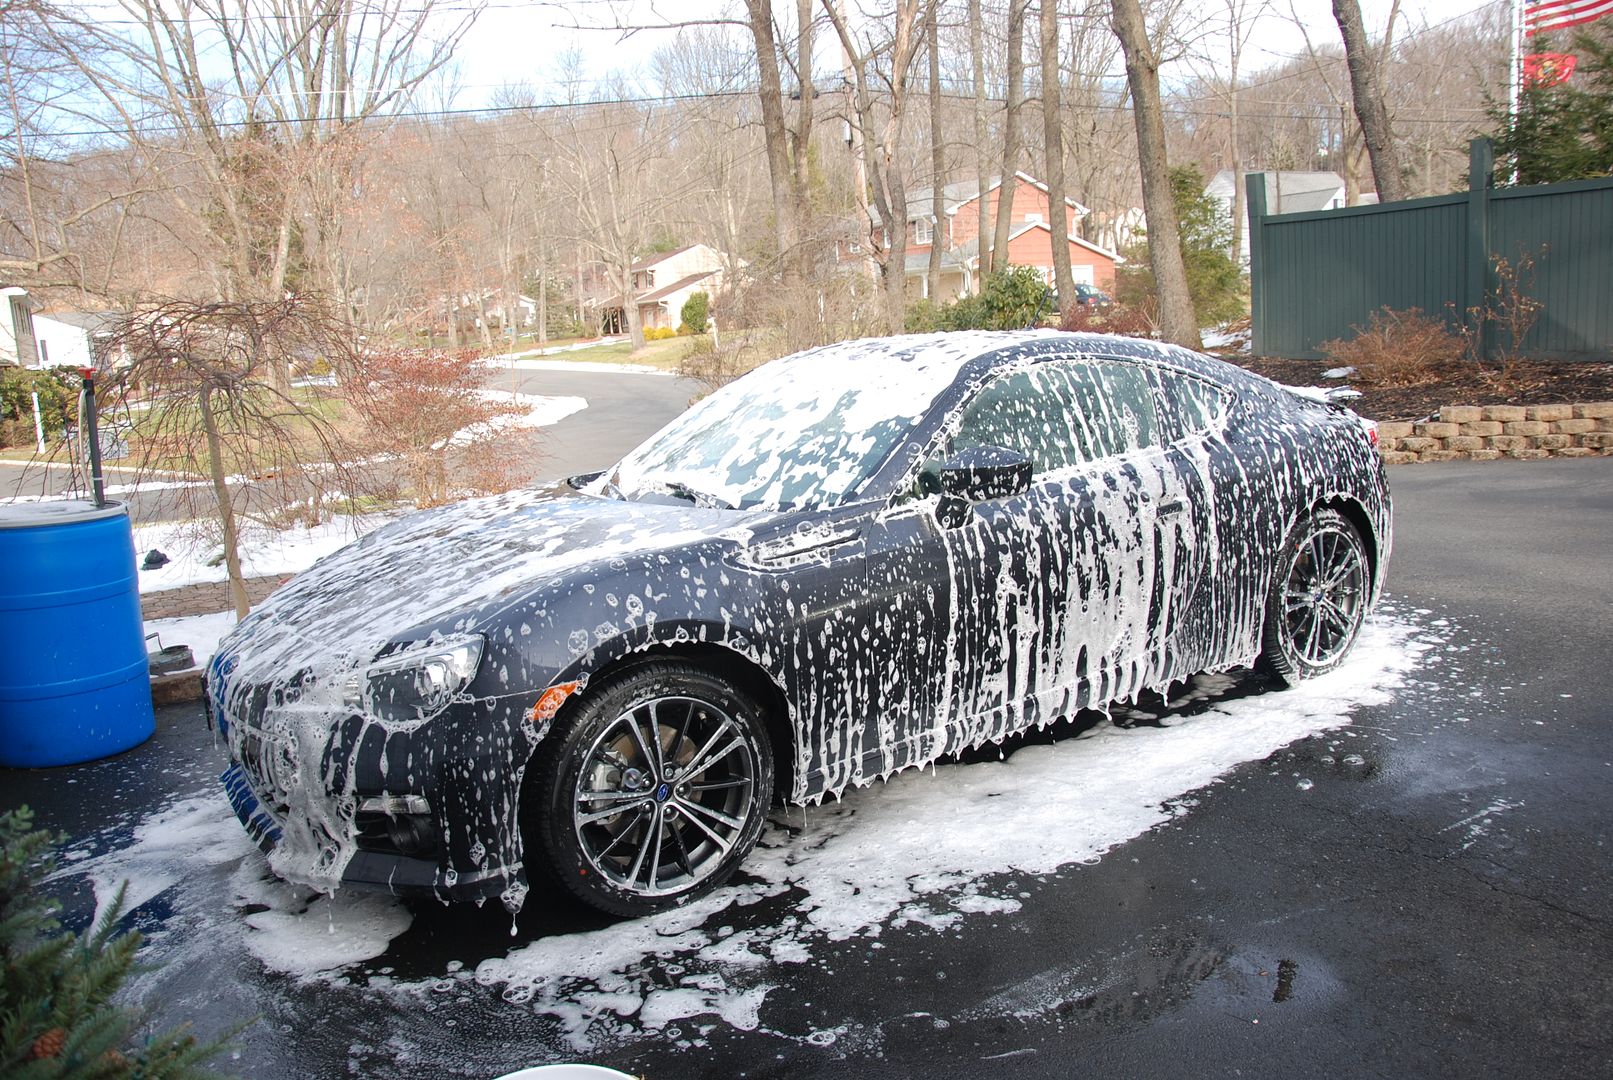
Now I was ready to wash the majority of the car. I pre-soaked the entire car in Optimum Power Clean and proceeded to foam it using a mixture of 50% Chemical Guys Citrus wash and clear and 50% Dawn. Dawn can be drying to the paint but to ensure complete removal of any sealants or waxes it can be useful. I wouldn't use it as a weekly wash.
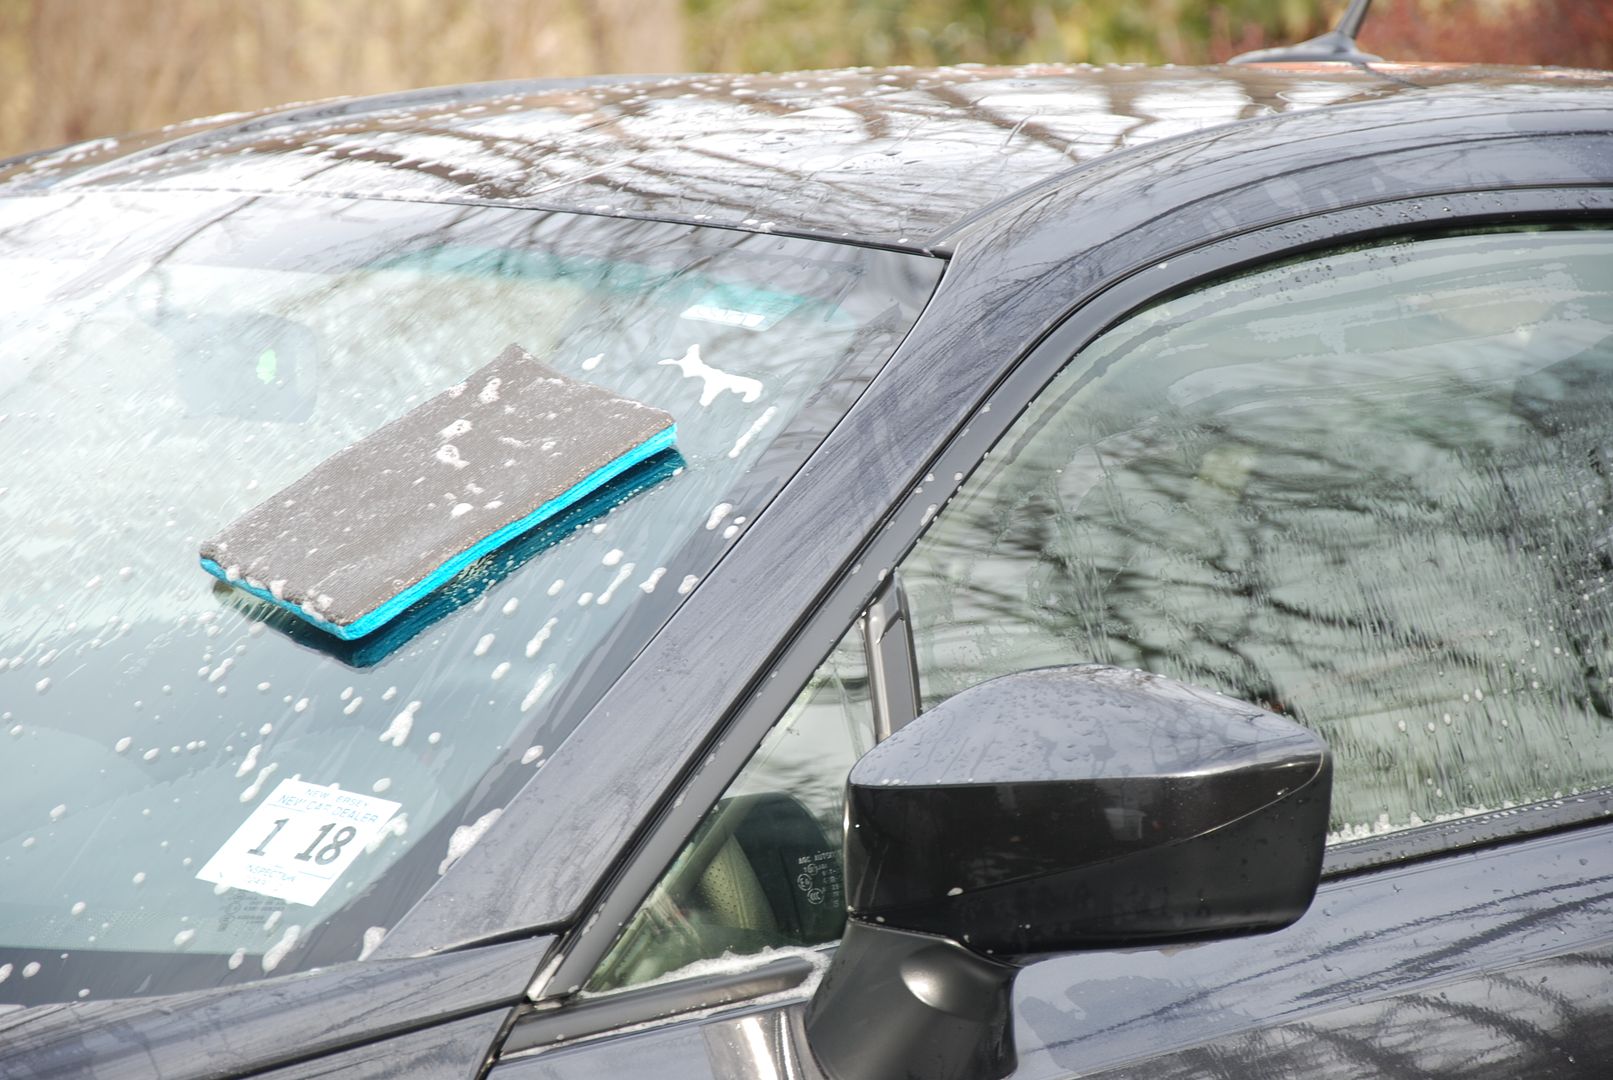
After a wash I proceeded with the Nanoskin wash mitt, it is basically a clay bar in mitt form.
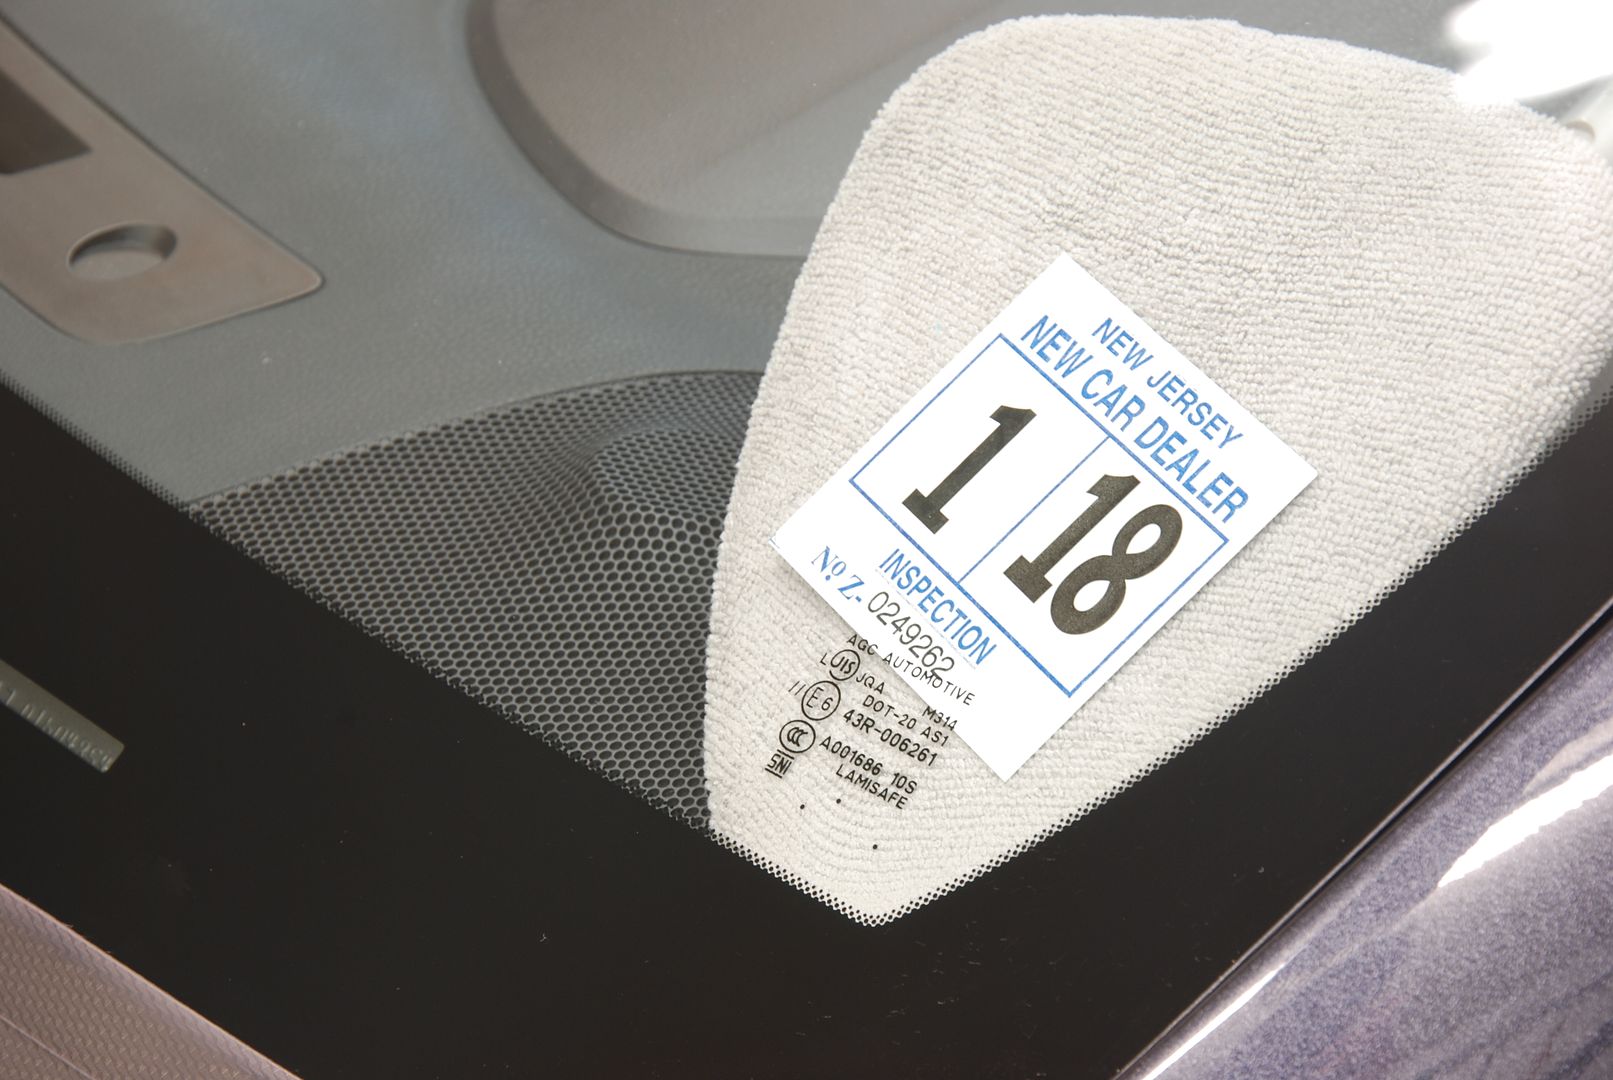
Around the entire interior glass their was adhesive residue left from stickers.
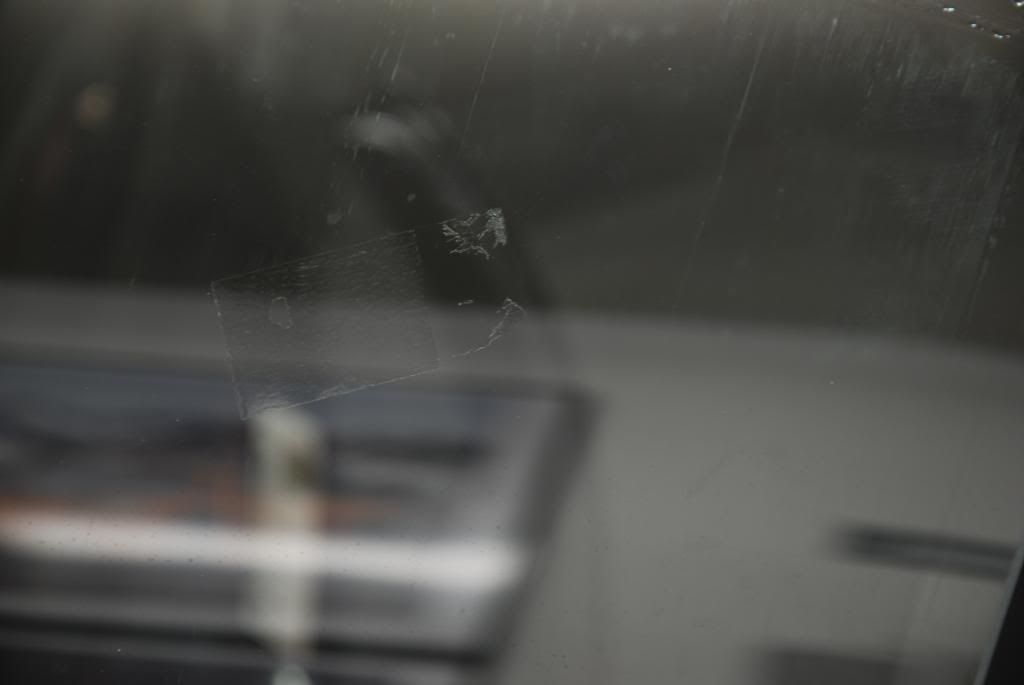
For a safer removal I decided to use Tarminator. Its clear coat safe, and my go to adhesive remover.
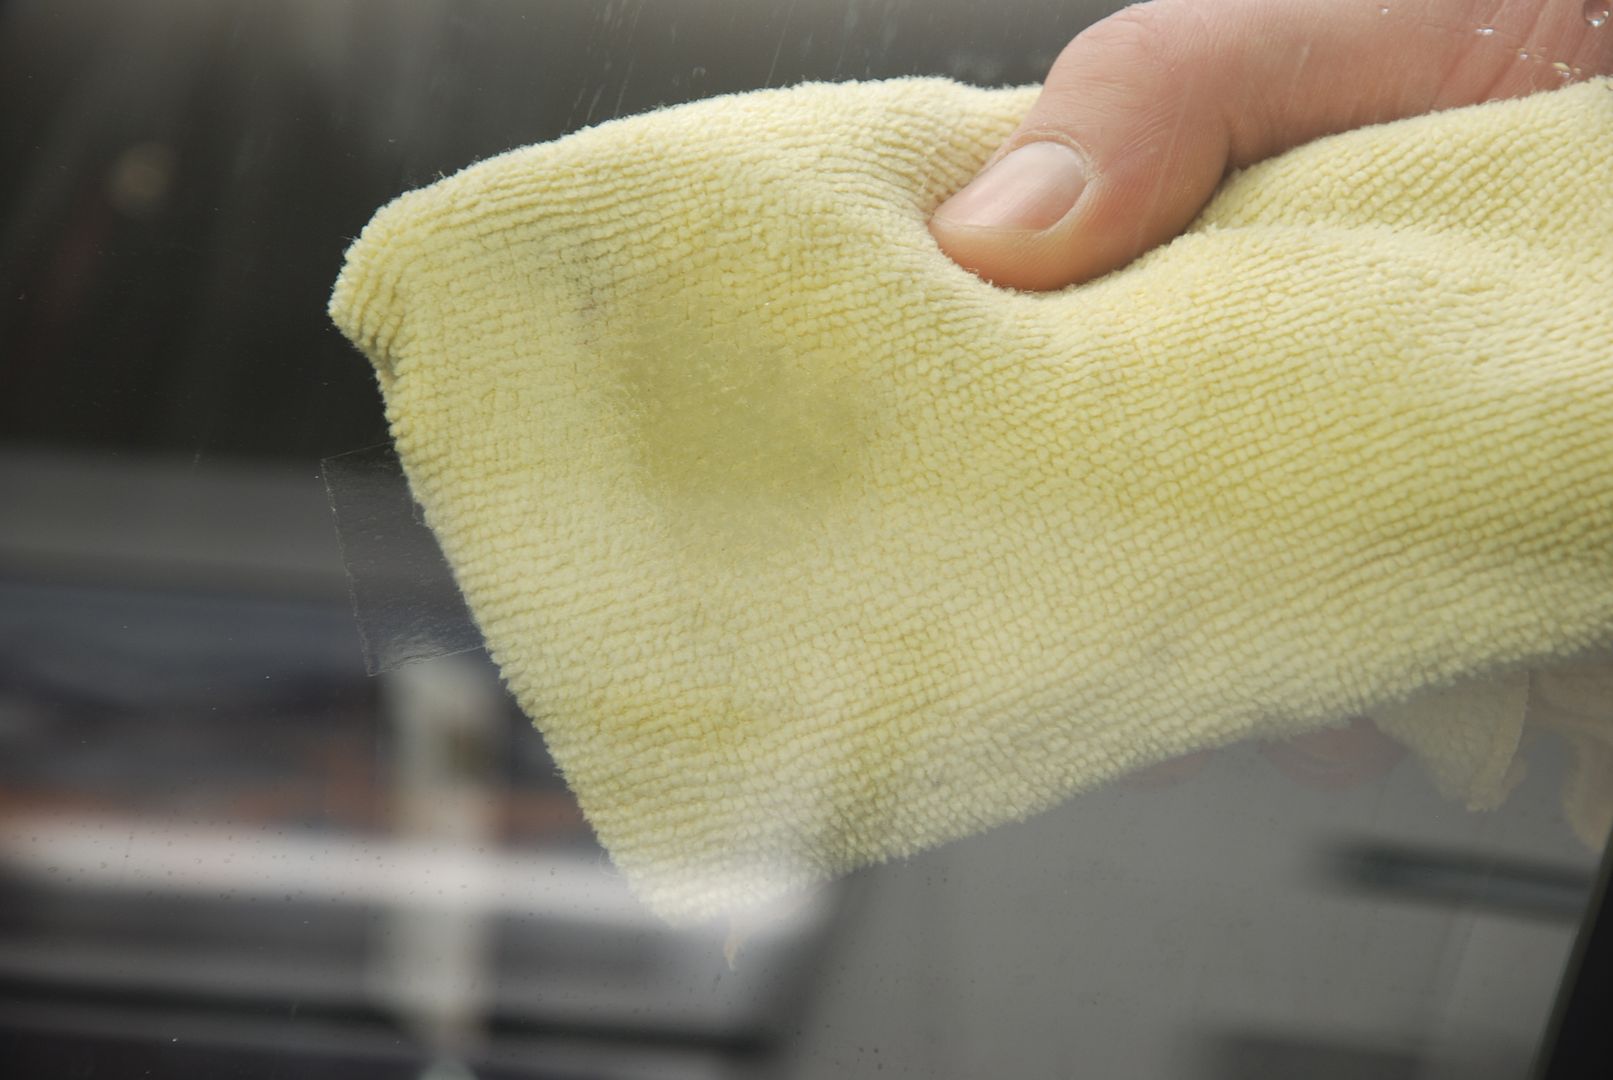
As you can see after a quick wipe with a MF towel soaked in tarminator it easily "melts" the residue.
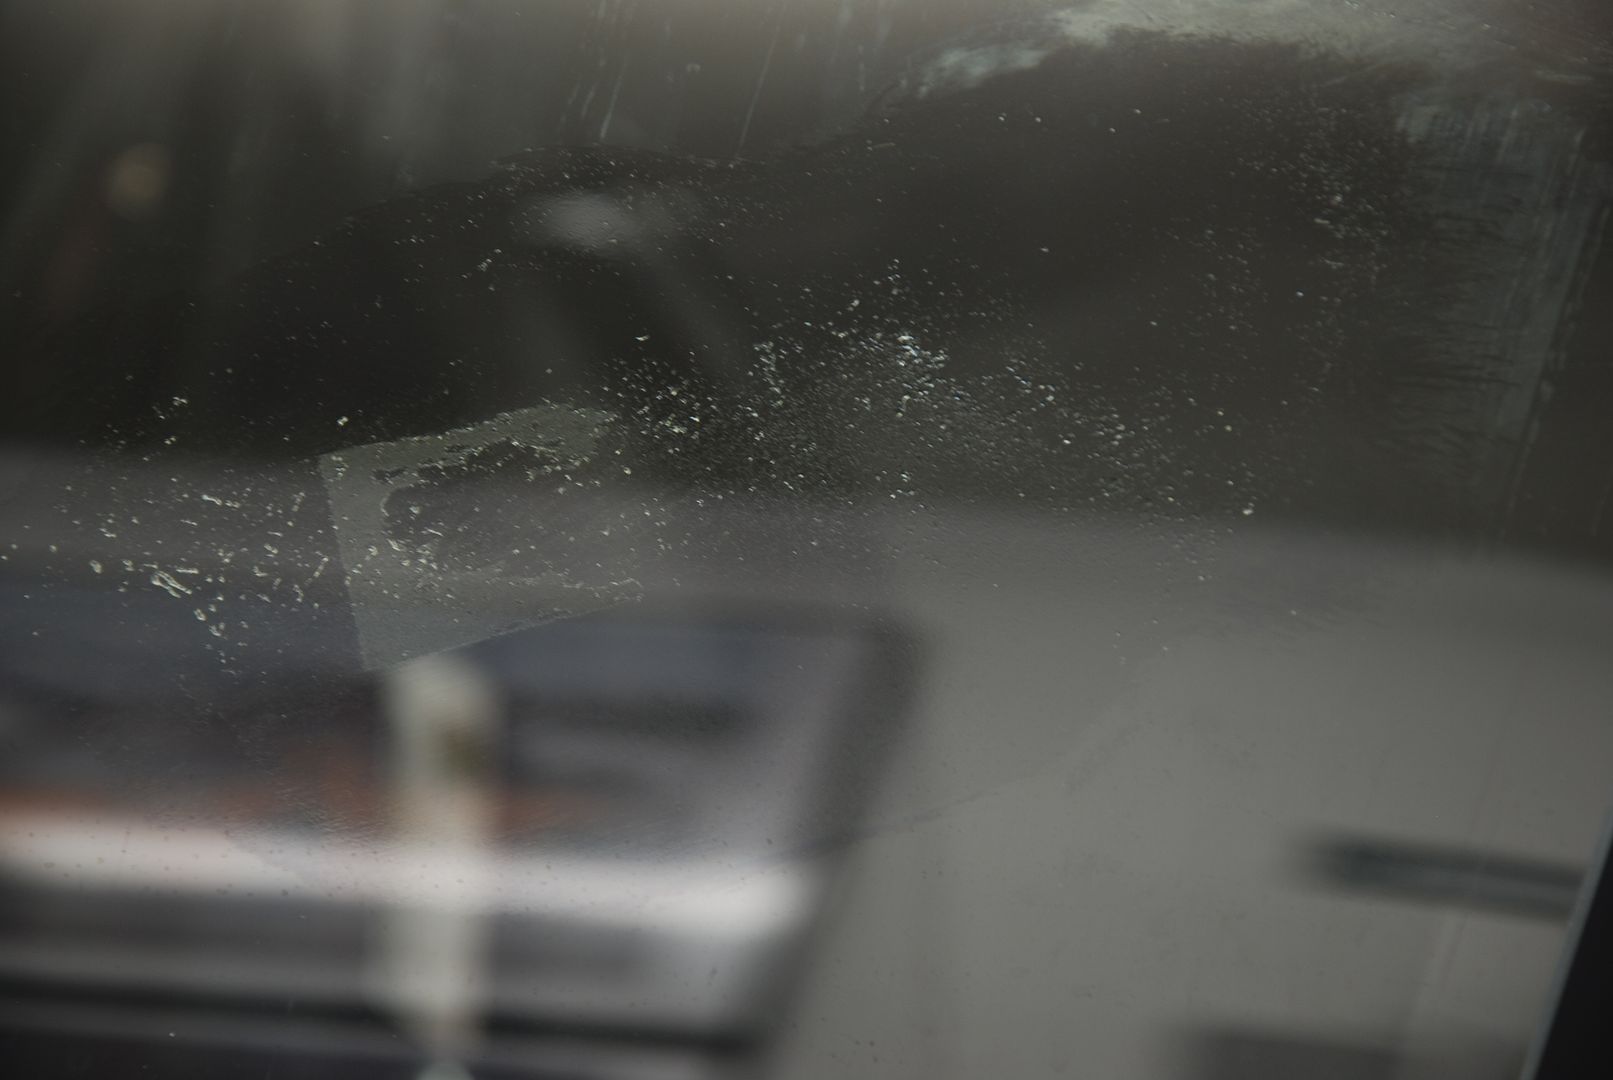
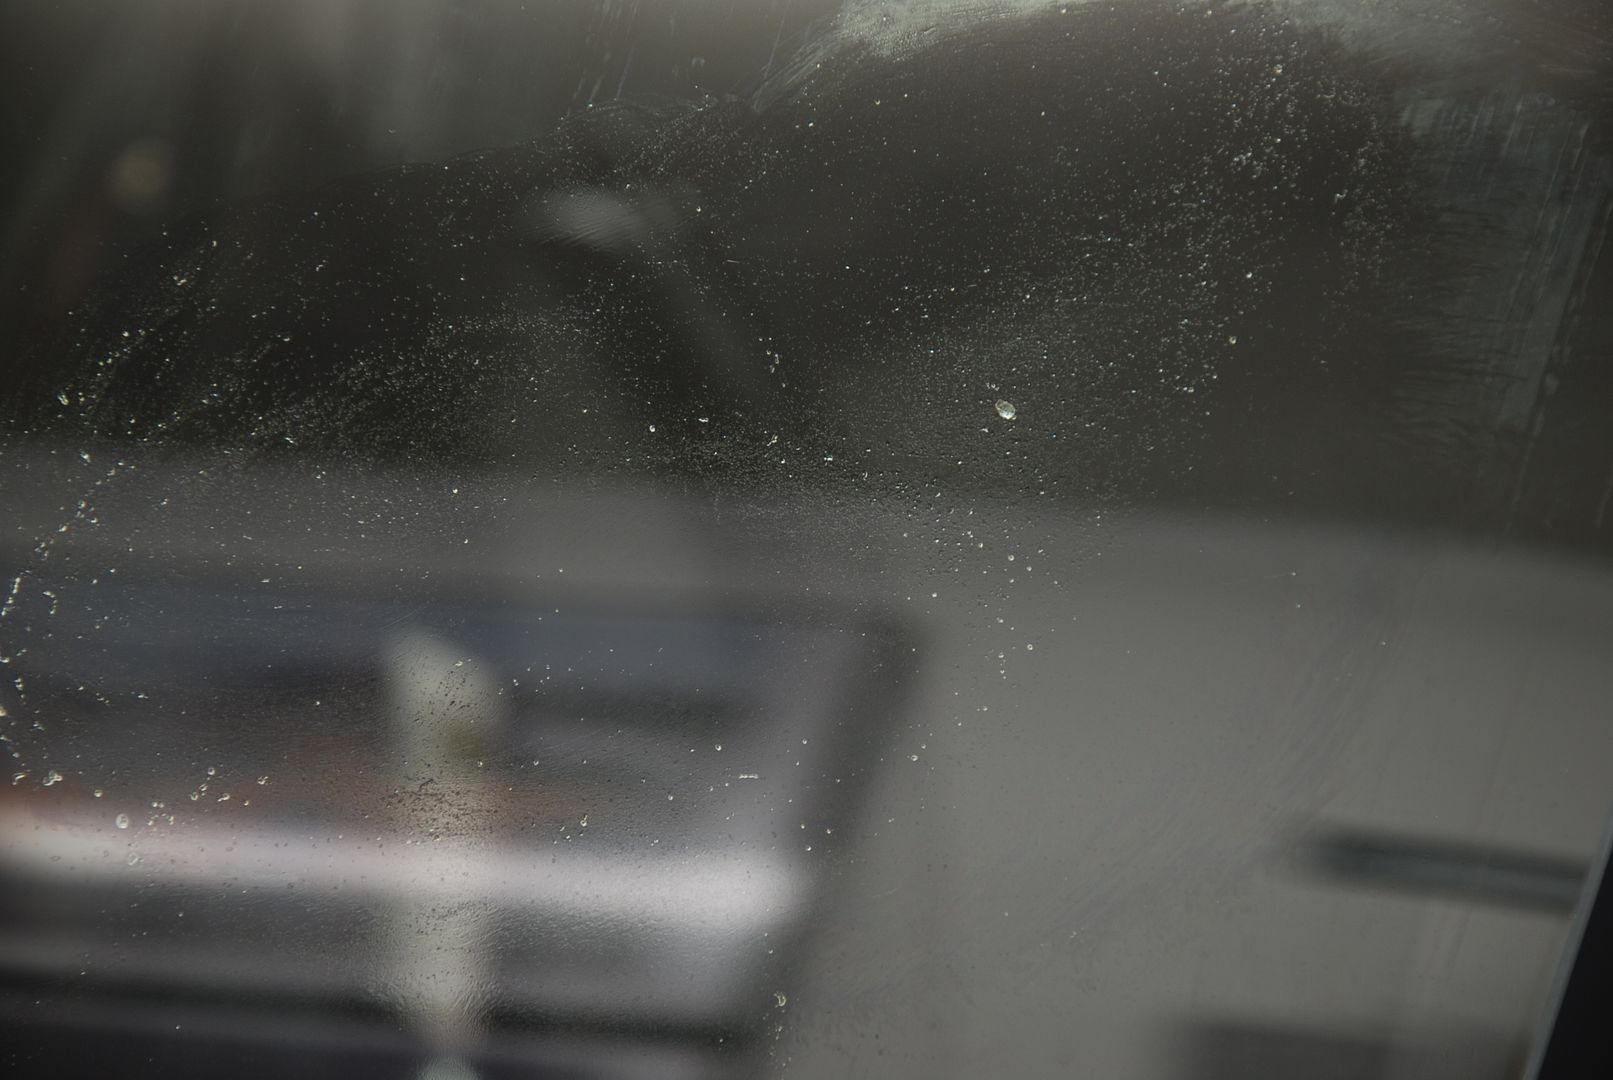
Once it is all removed from the surface you are left with the adhesive spread out over the window or panel, simply flip the MF towel to a new side to remove and follow with invisible glass.
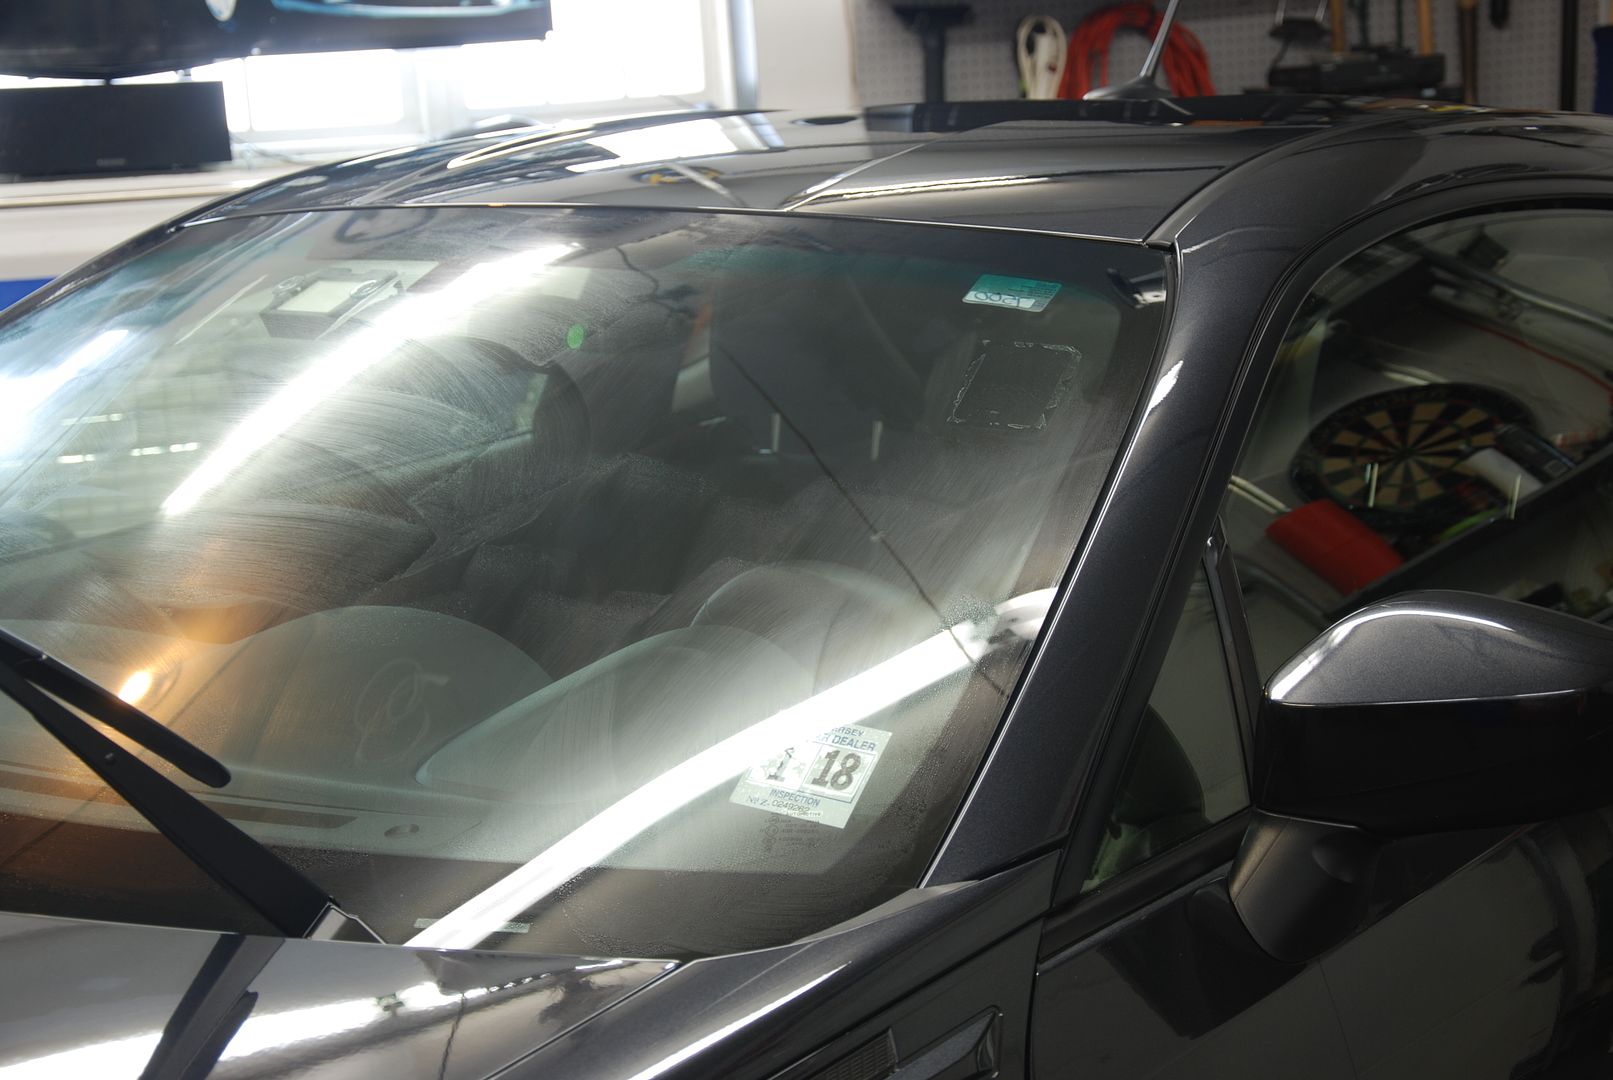
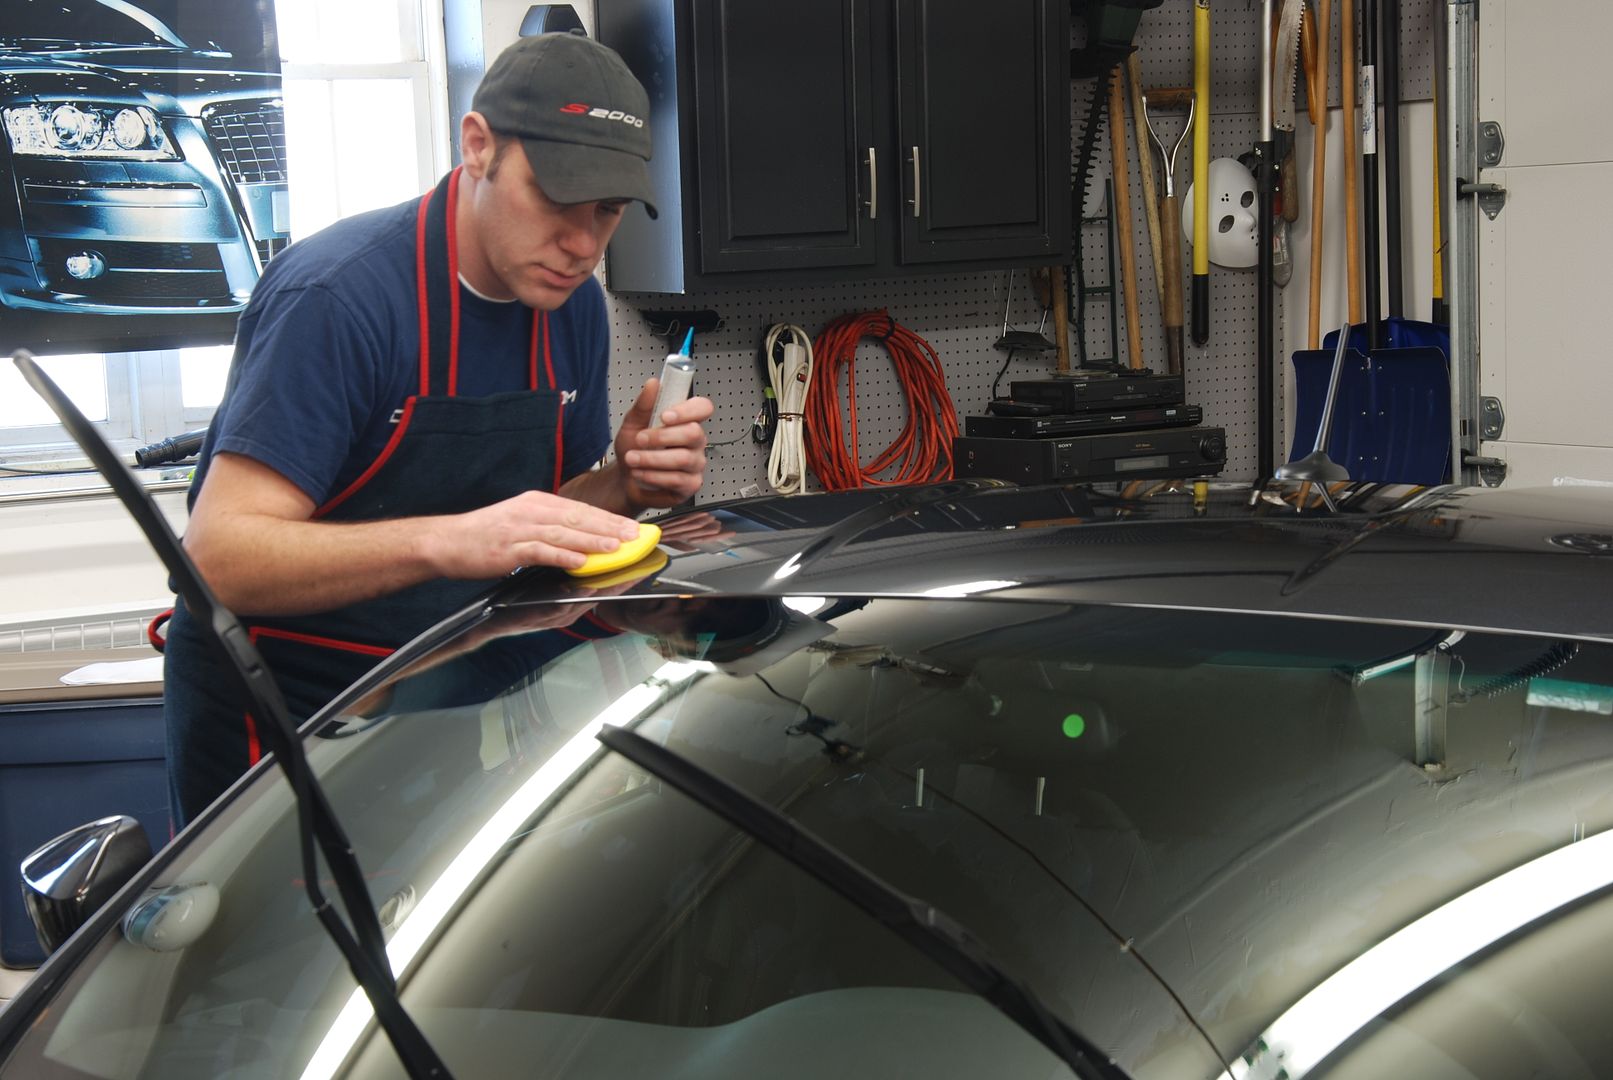
After claying and polishing the windshield, FlyBY30 was applied, after about a minute I buffed it off
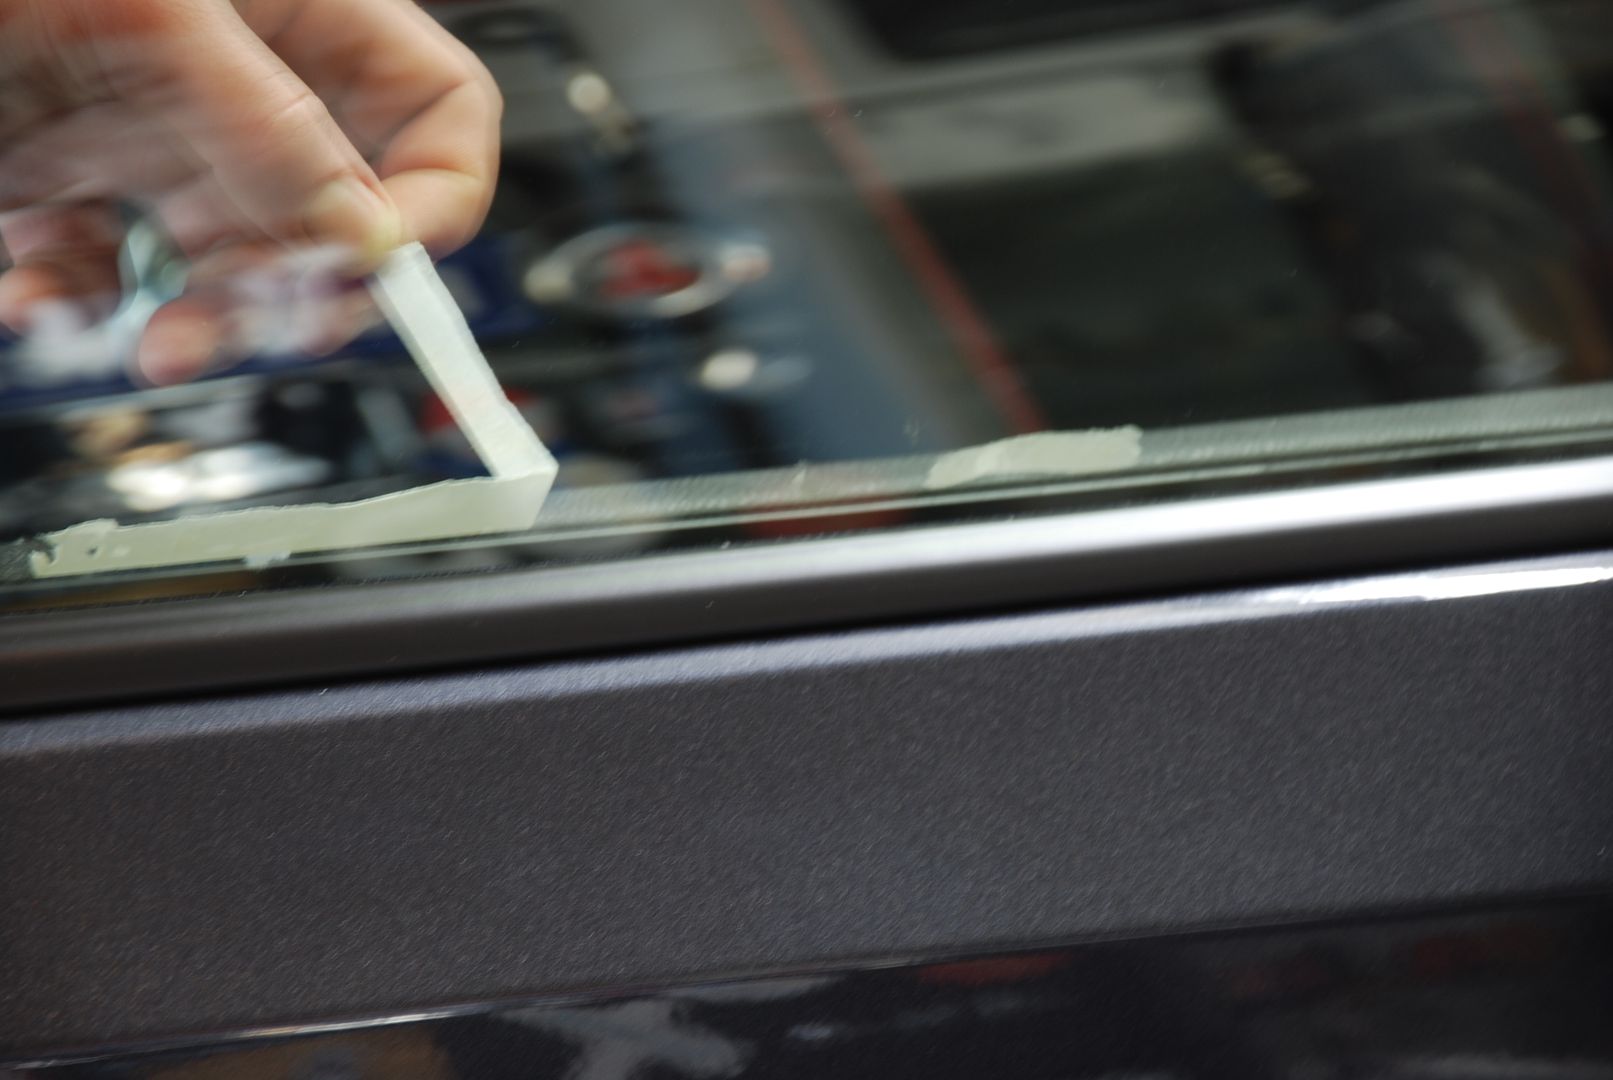
Often times, you are able to simply remove adhesive by rolling it onto itself. This time completely pulling it off in one strip was the key. Reducing the use of a razor blade can be helpful as you never know when you can scratch the glass with the razor.

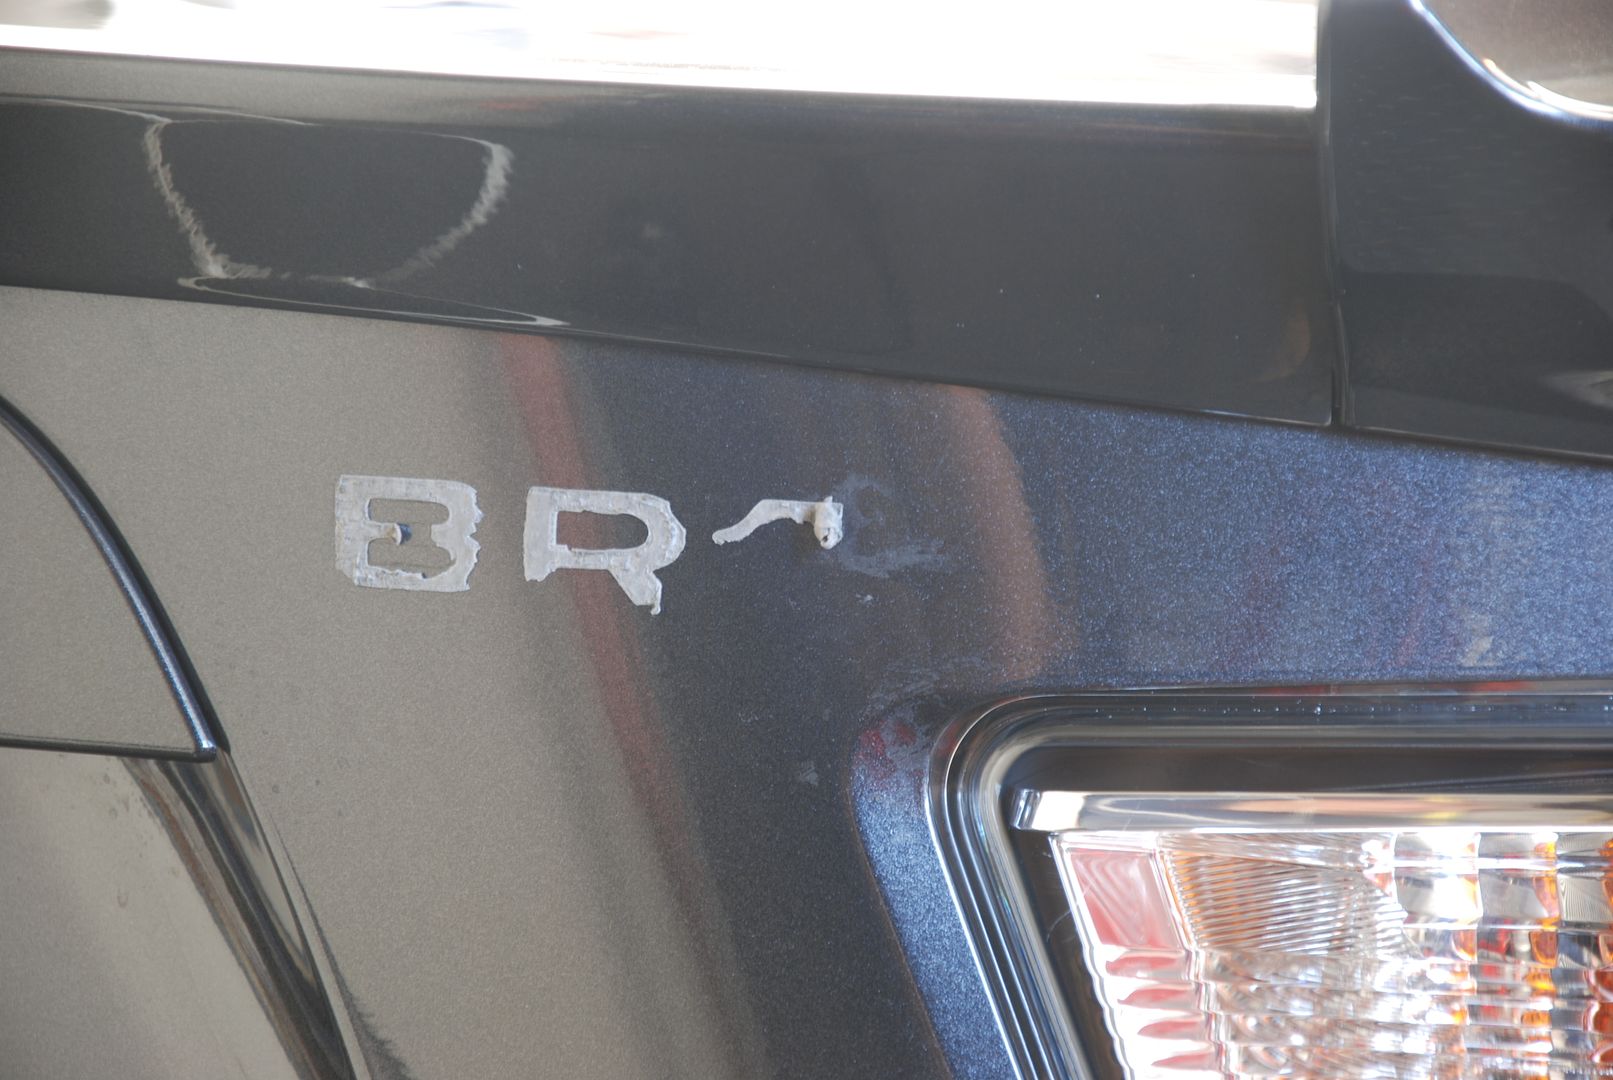
Here I removed the badge residue. We had another badge removal which has become very common with the BRZ owner.
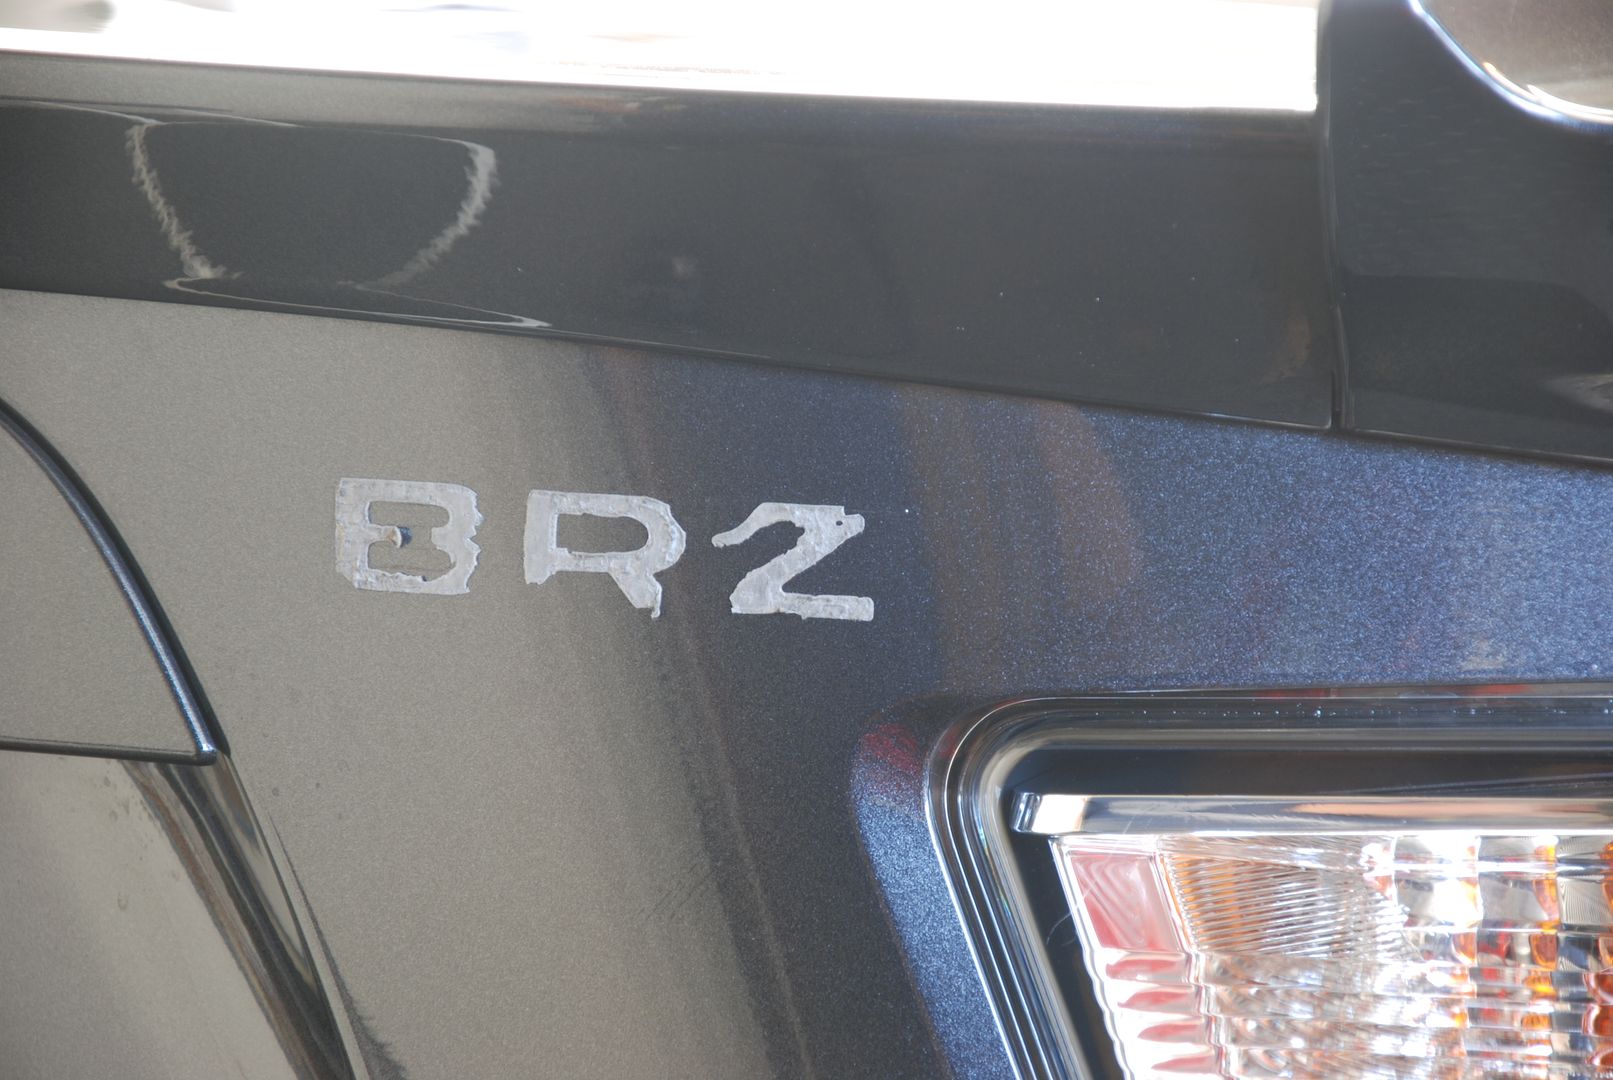
Once the badge is removed, one can simply roll the adhesive onto itself.
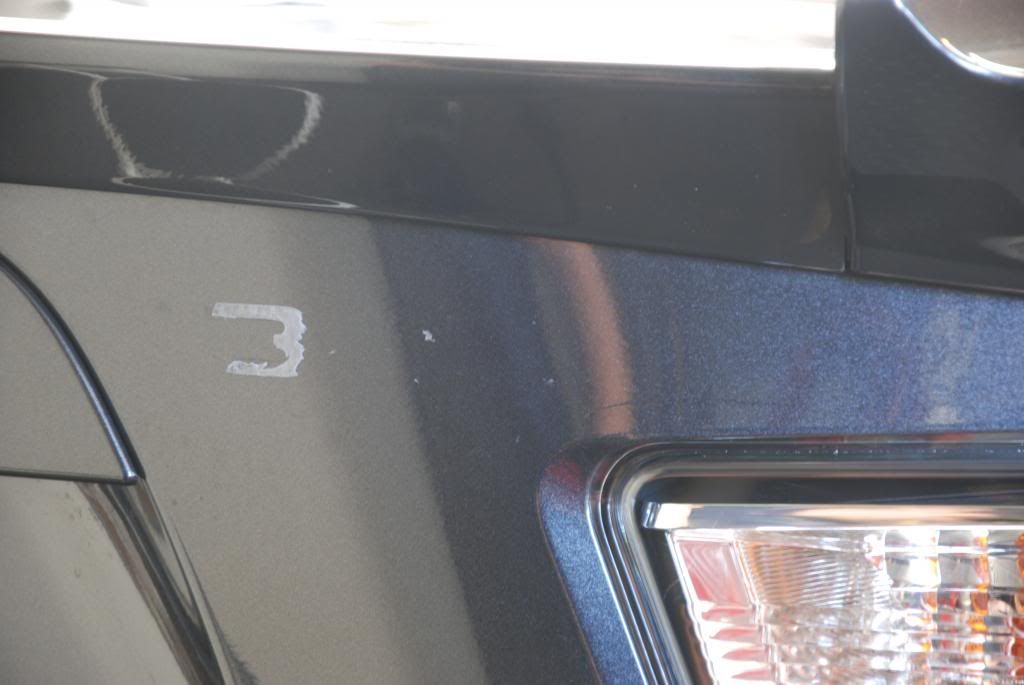
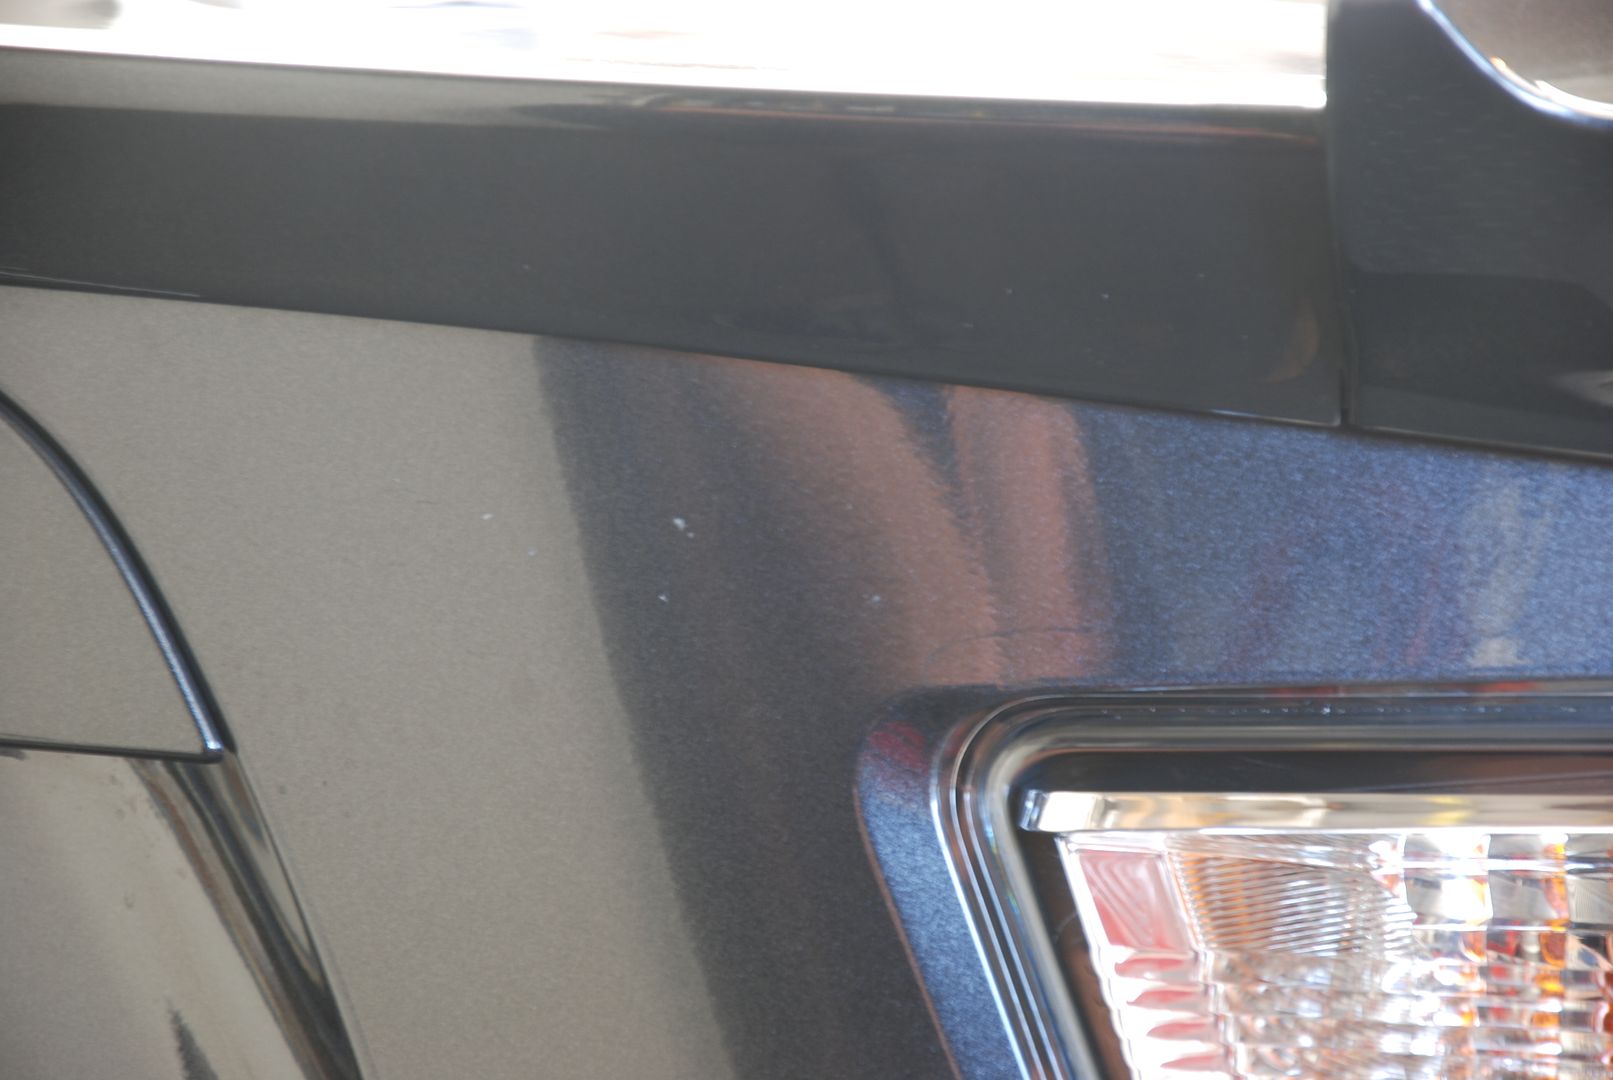
The residual adhesive was removed using, guess what?! Tarminator, then lightly polished to ensure that there was no shadow left.
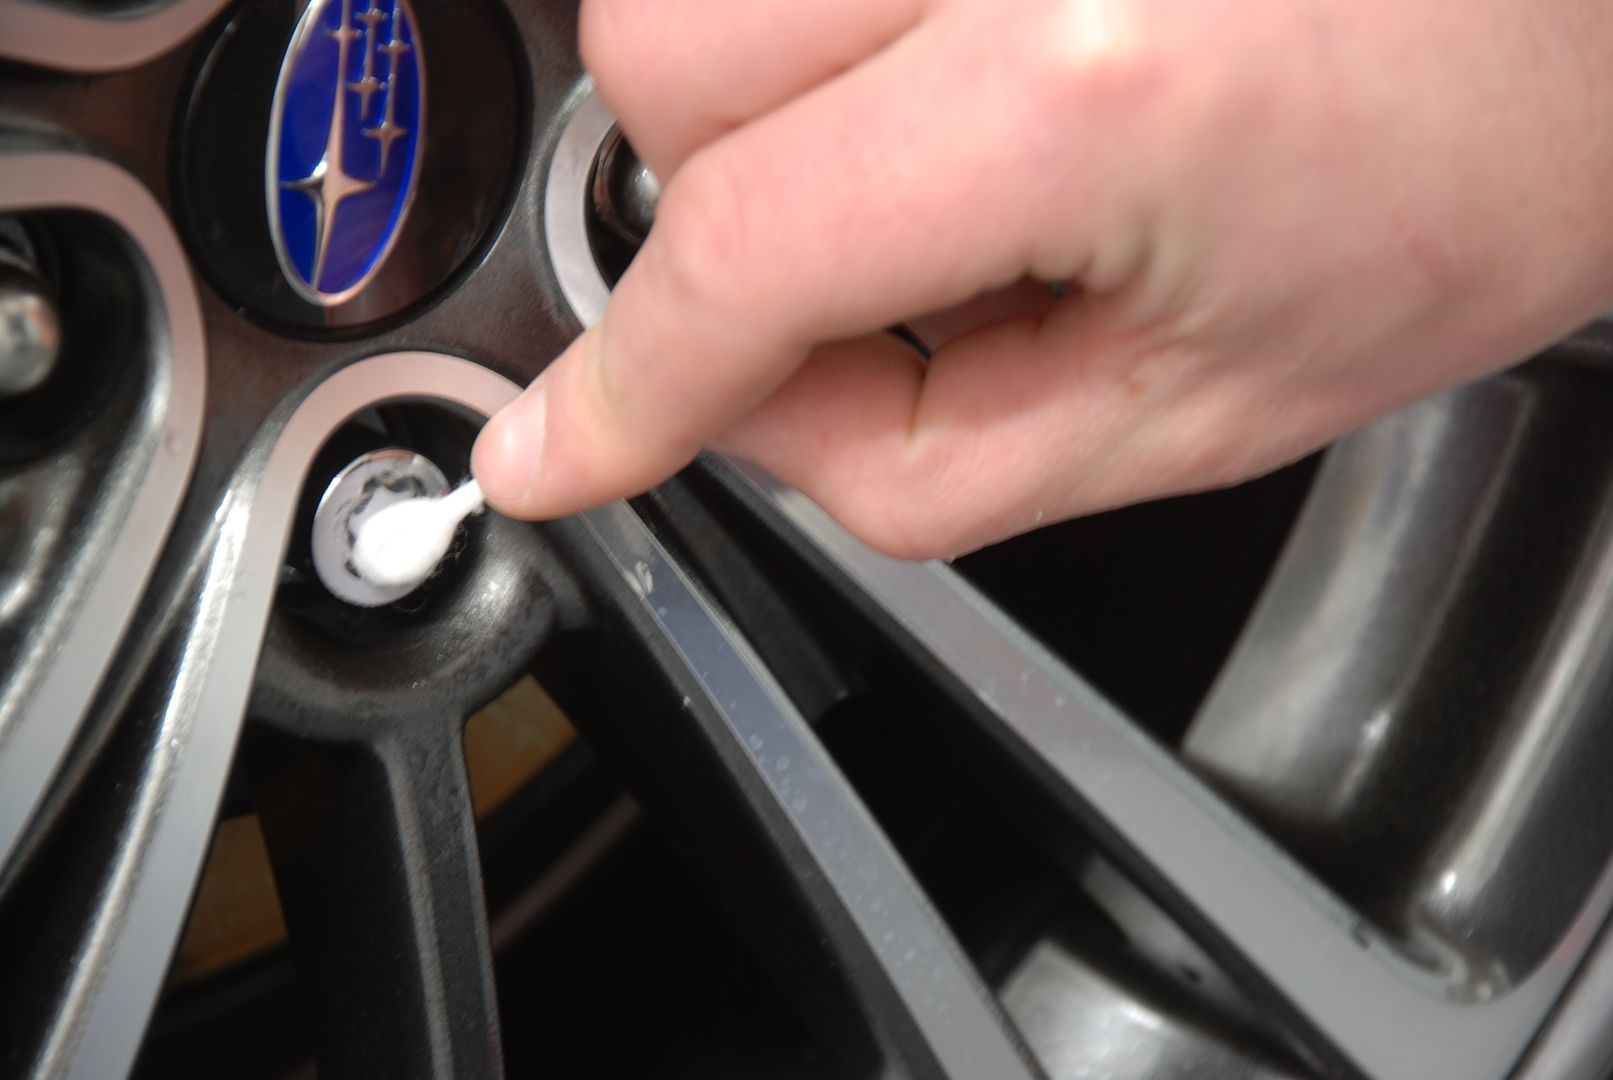
Getting down to the details is what we do. The four wheel locks had adhesive on each of the heads.
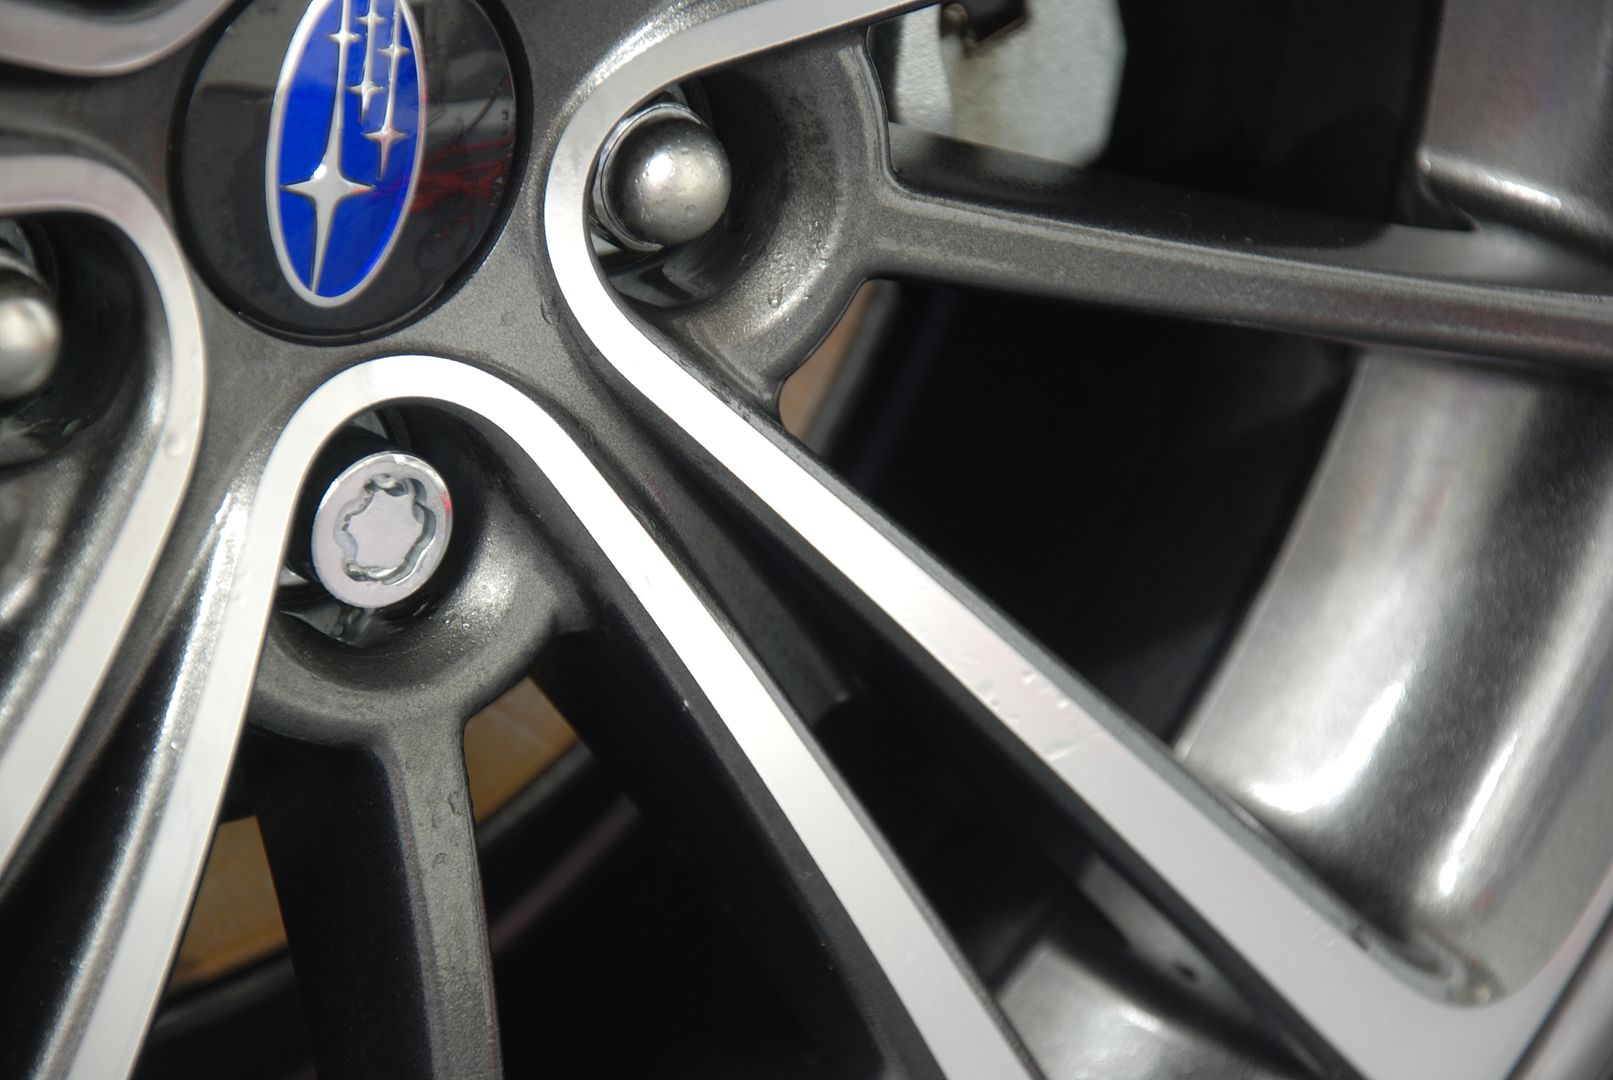
Using a make up remover tool, I soaked the head in Tarminator and agitated.
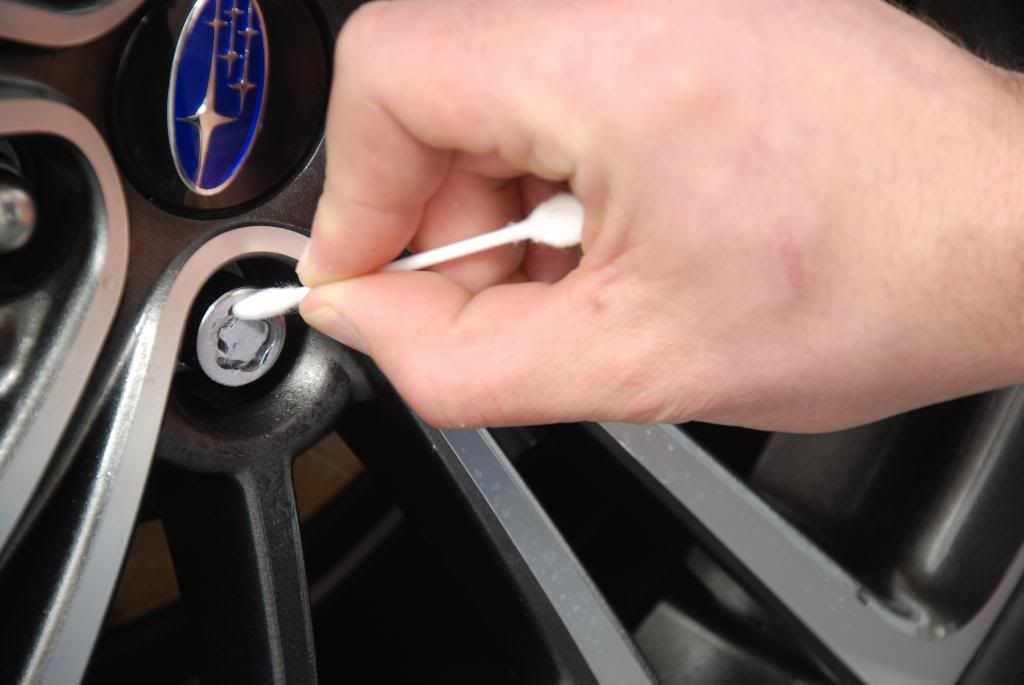
Paper of course ended up in the "seams" of the wheel lock. I simply turned it around and used the pointy side to remove any paper.
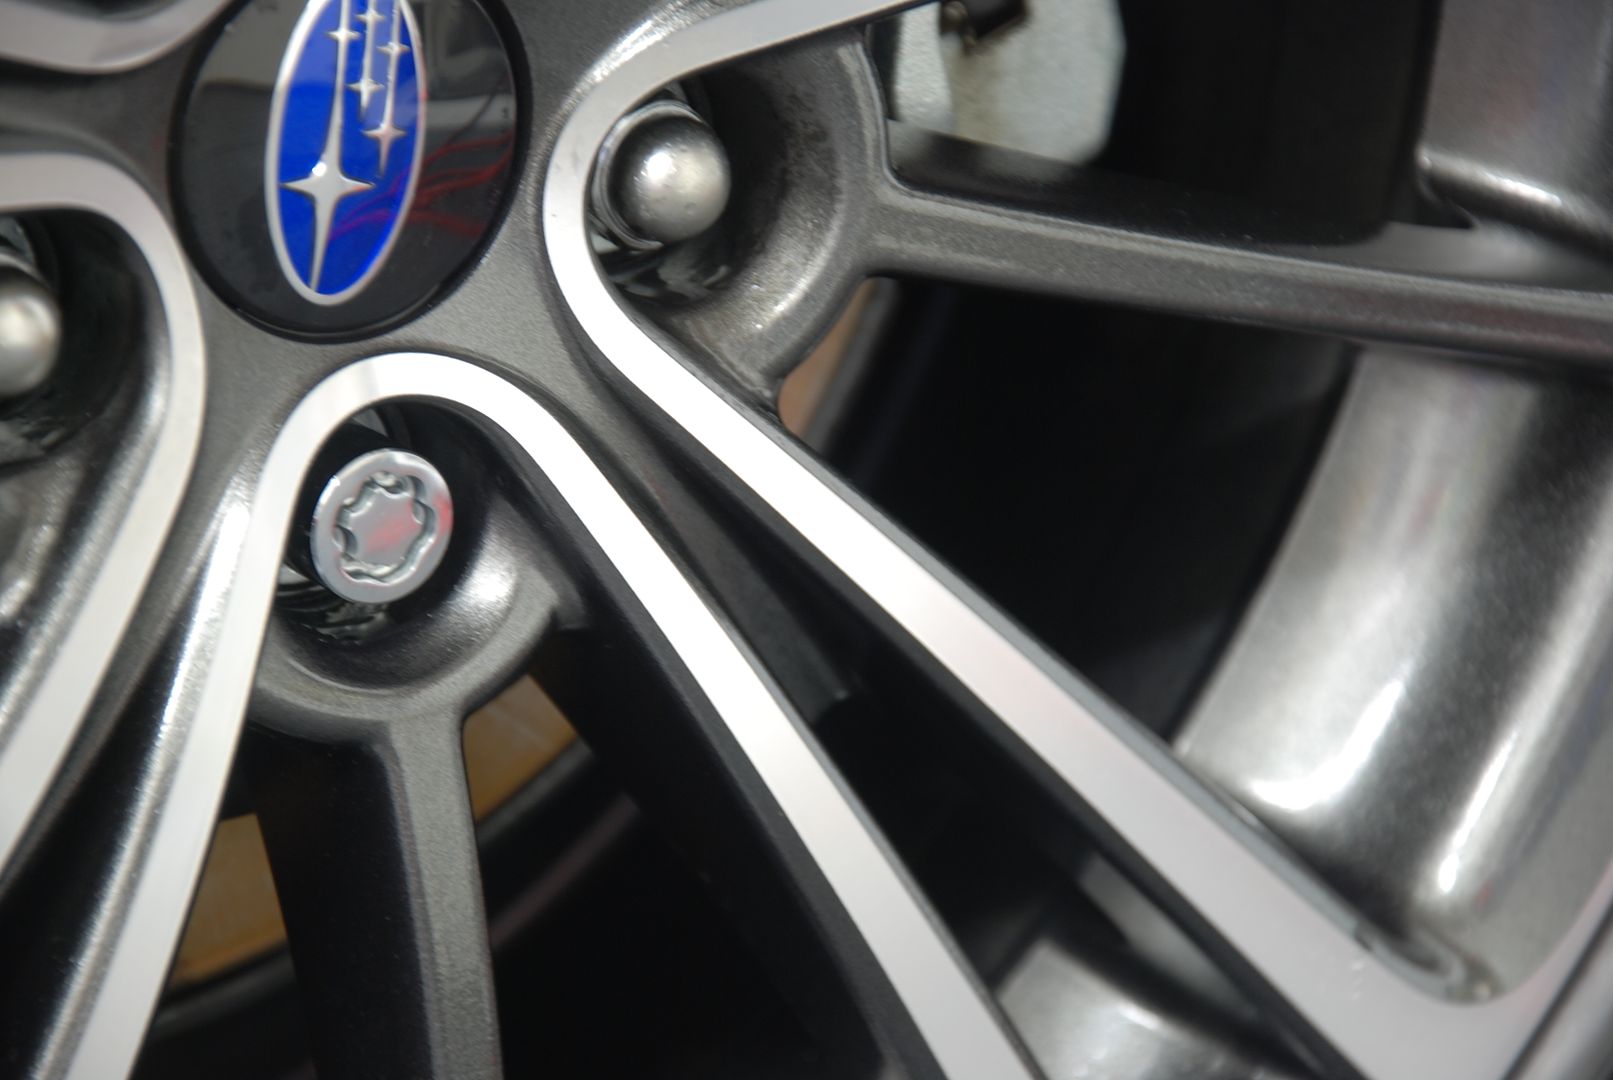
That works!
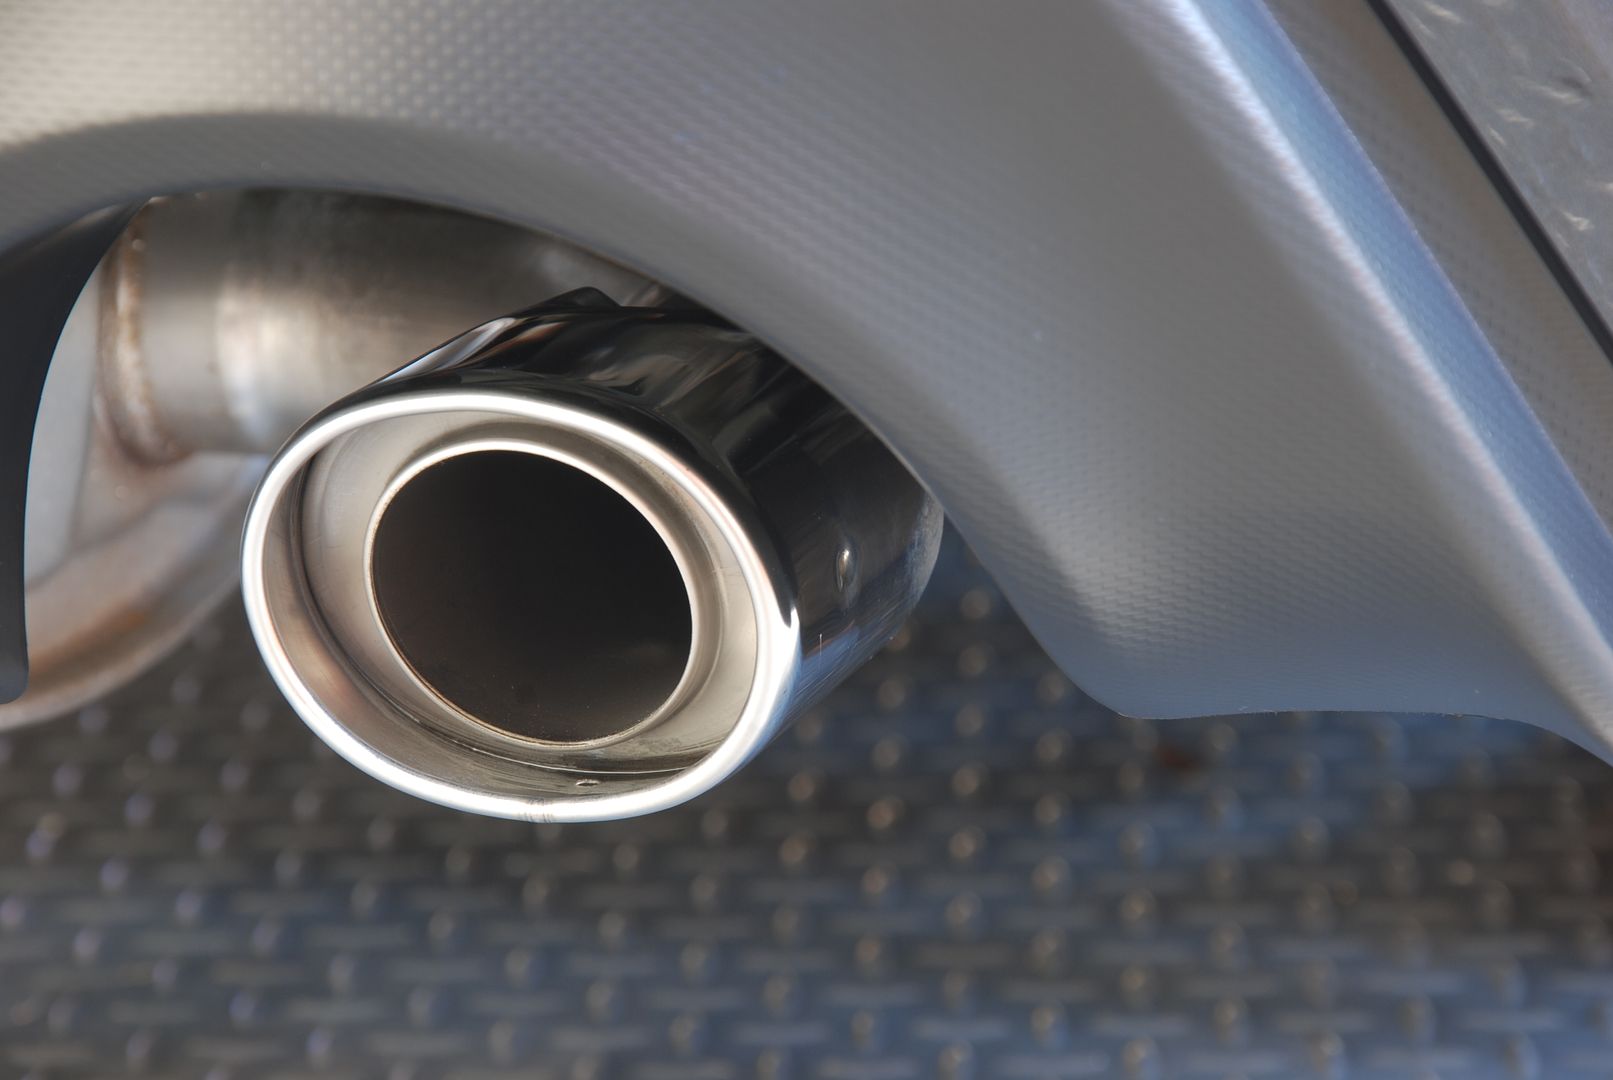
The exhaust tips were corrected using my standard foam detailing stick with Optimum Metal Polish.

OOPS too soon for the picture! I didn't finish polishing the entire exterior. I caught it and fixed it.
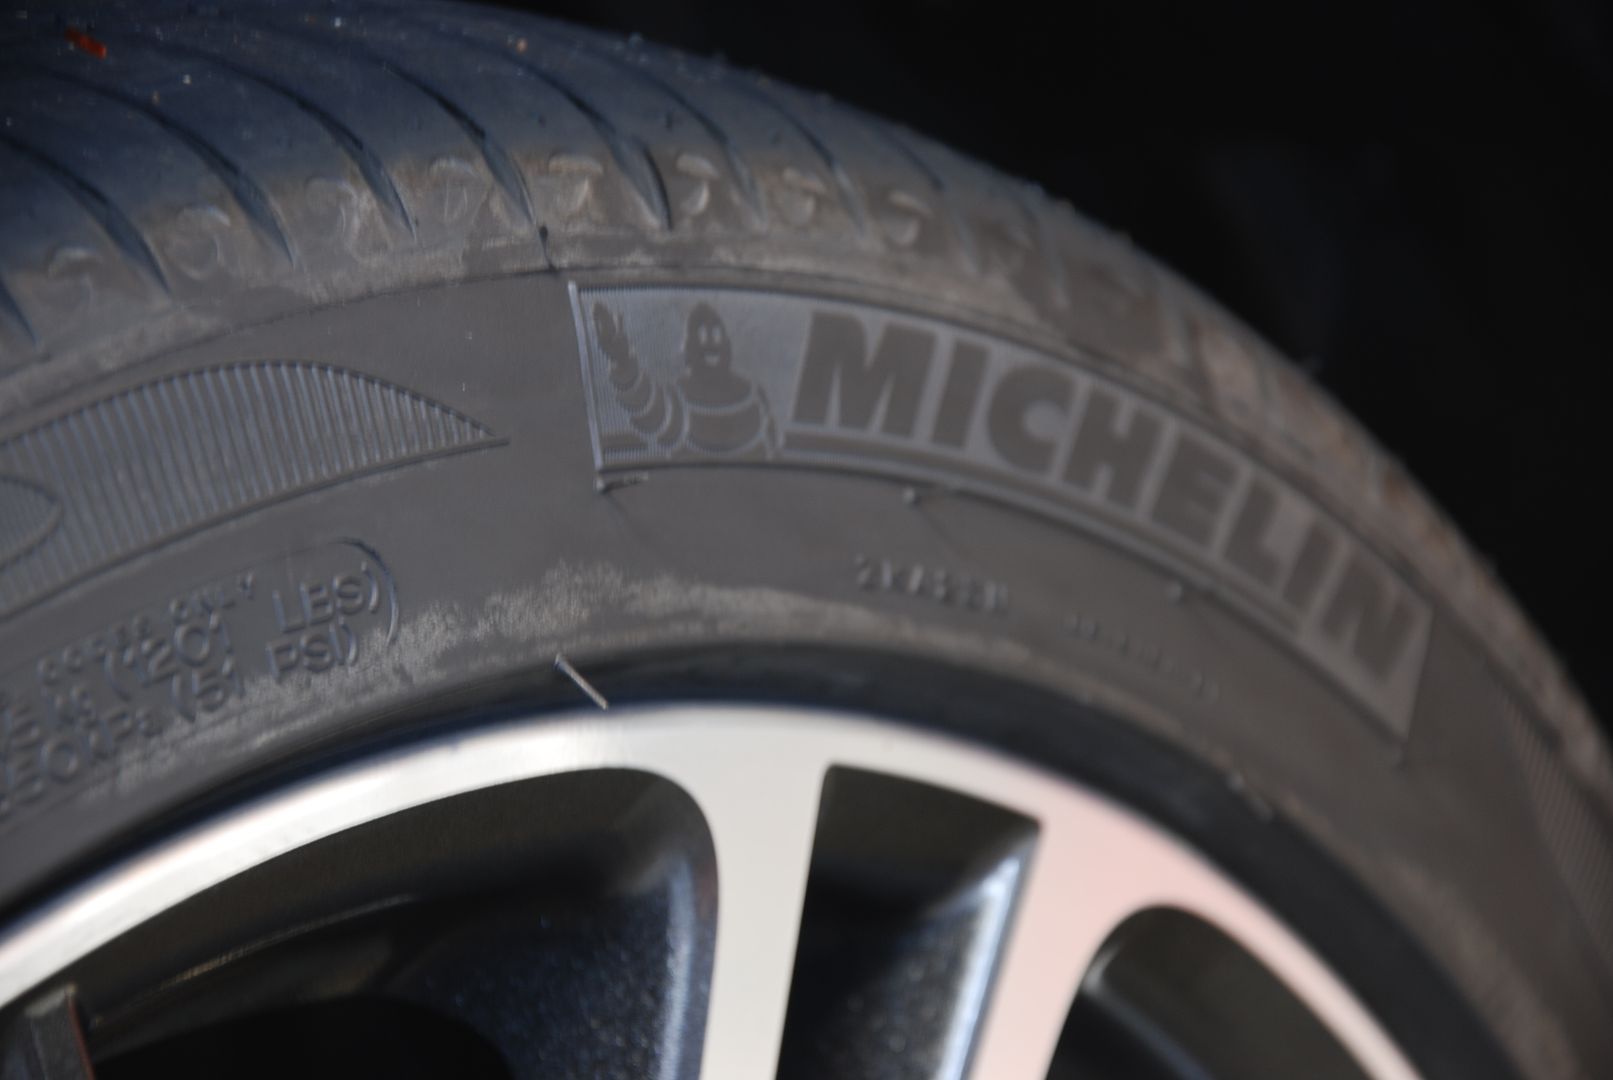
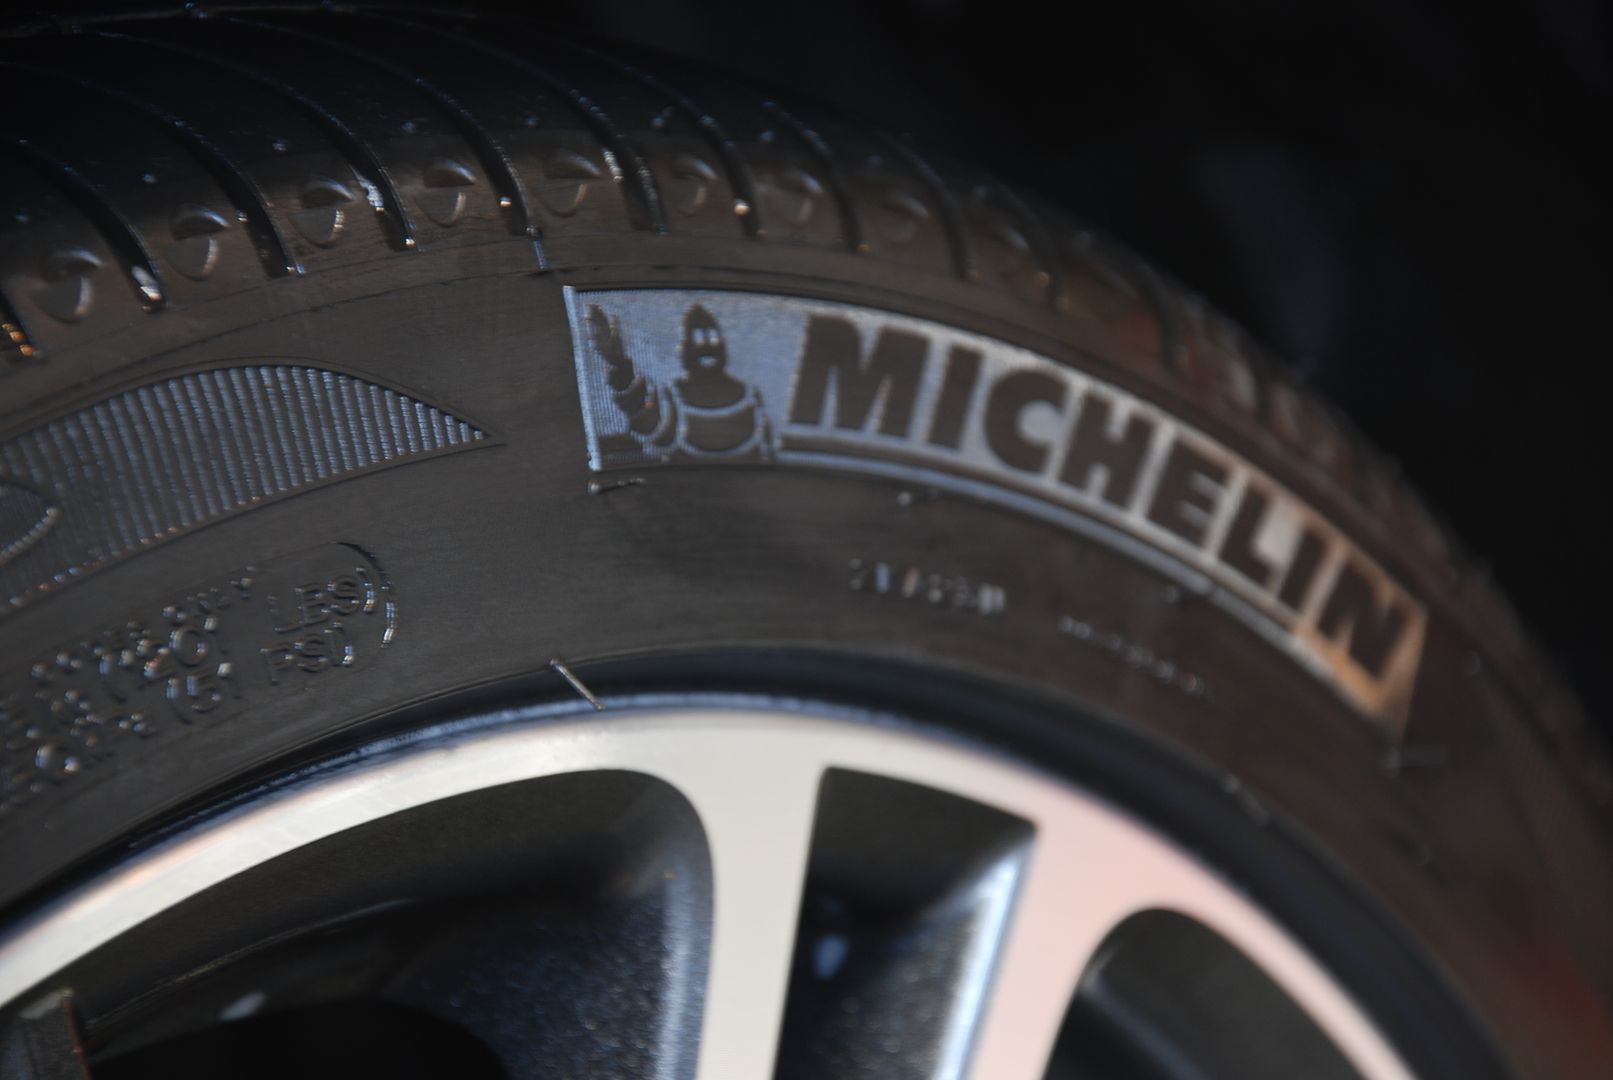
As usual, I was coating the tires using the Tuff Shine Tire Coating. To ensure it bonds, the tires have to be perfectly clean. This was the third cleaning.

Ok, now it's time to get to coating the car. Every inch got a wipe down with IPA, including the the wheels and trim. Now its time to apply Opti-Coat!
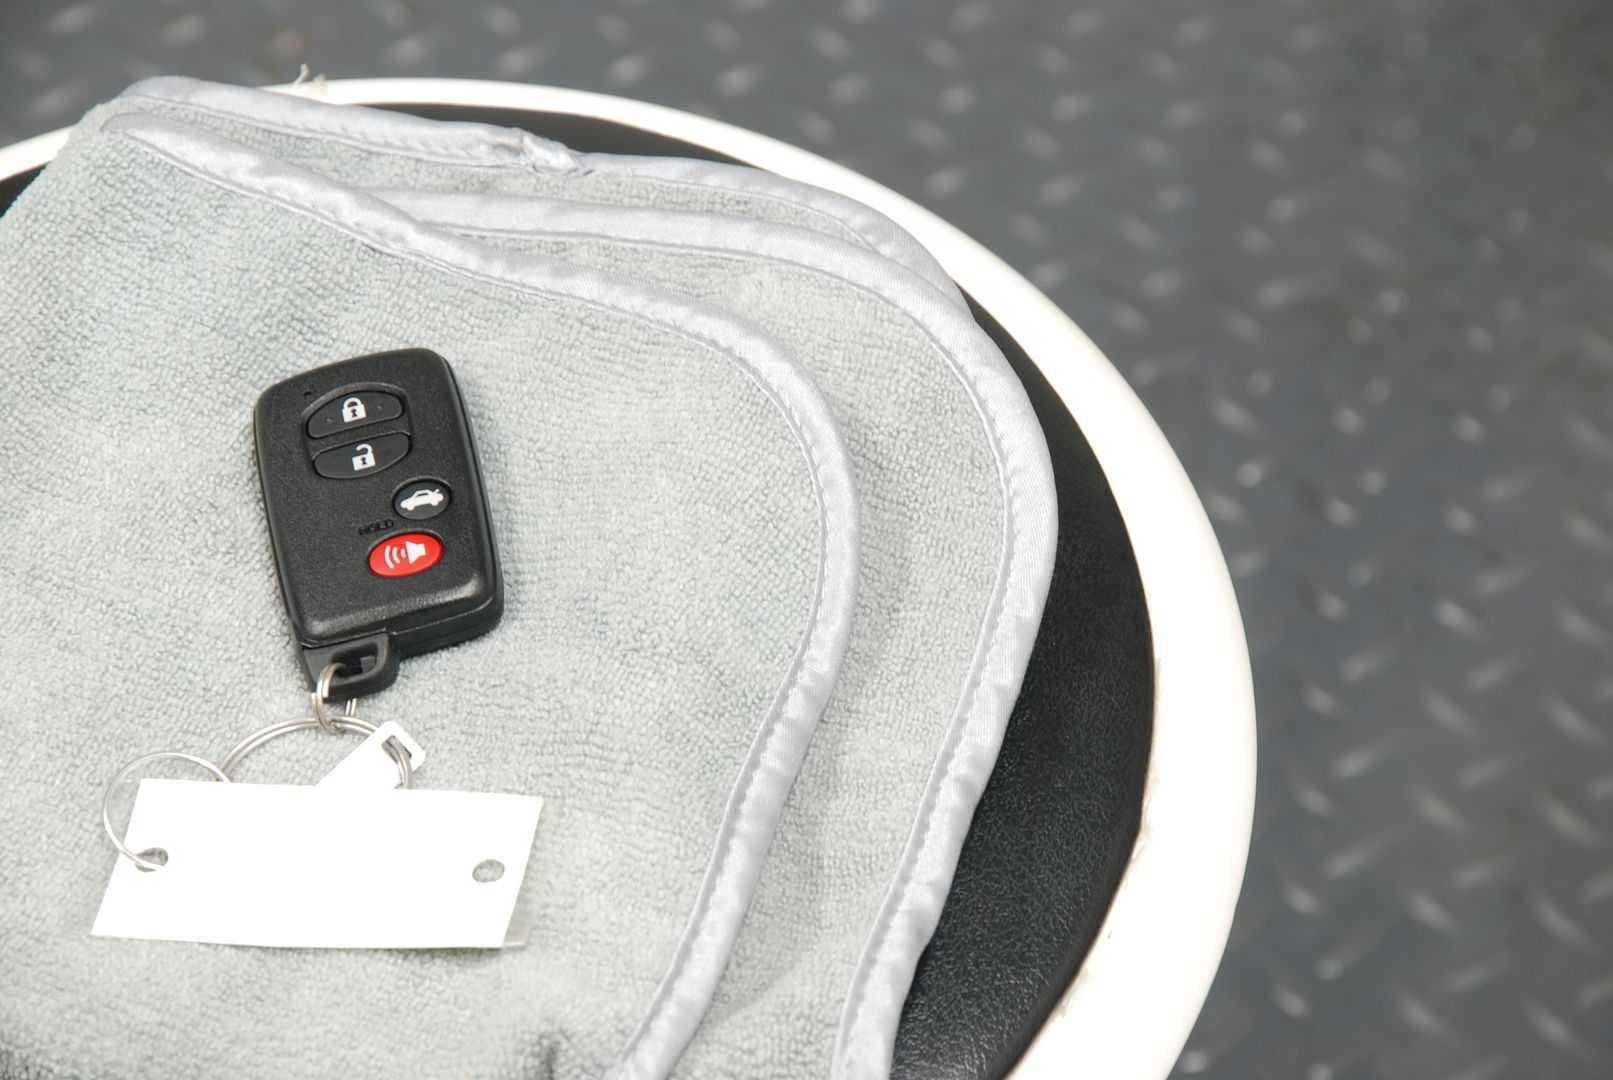
Even the key fab got an IPA and Opti-Coat.
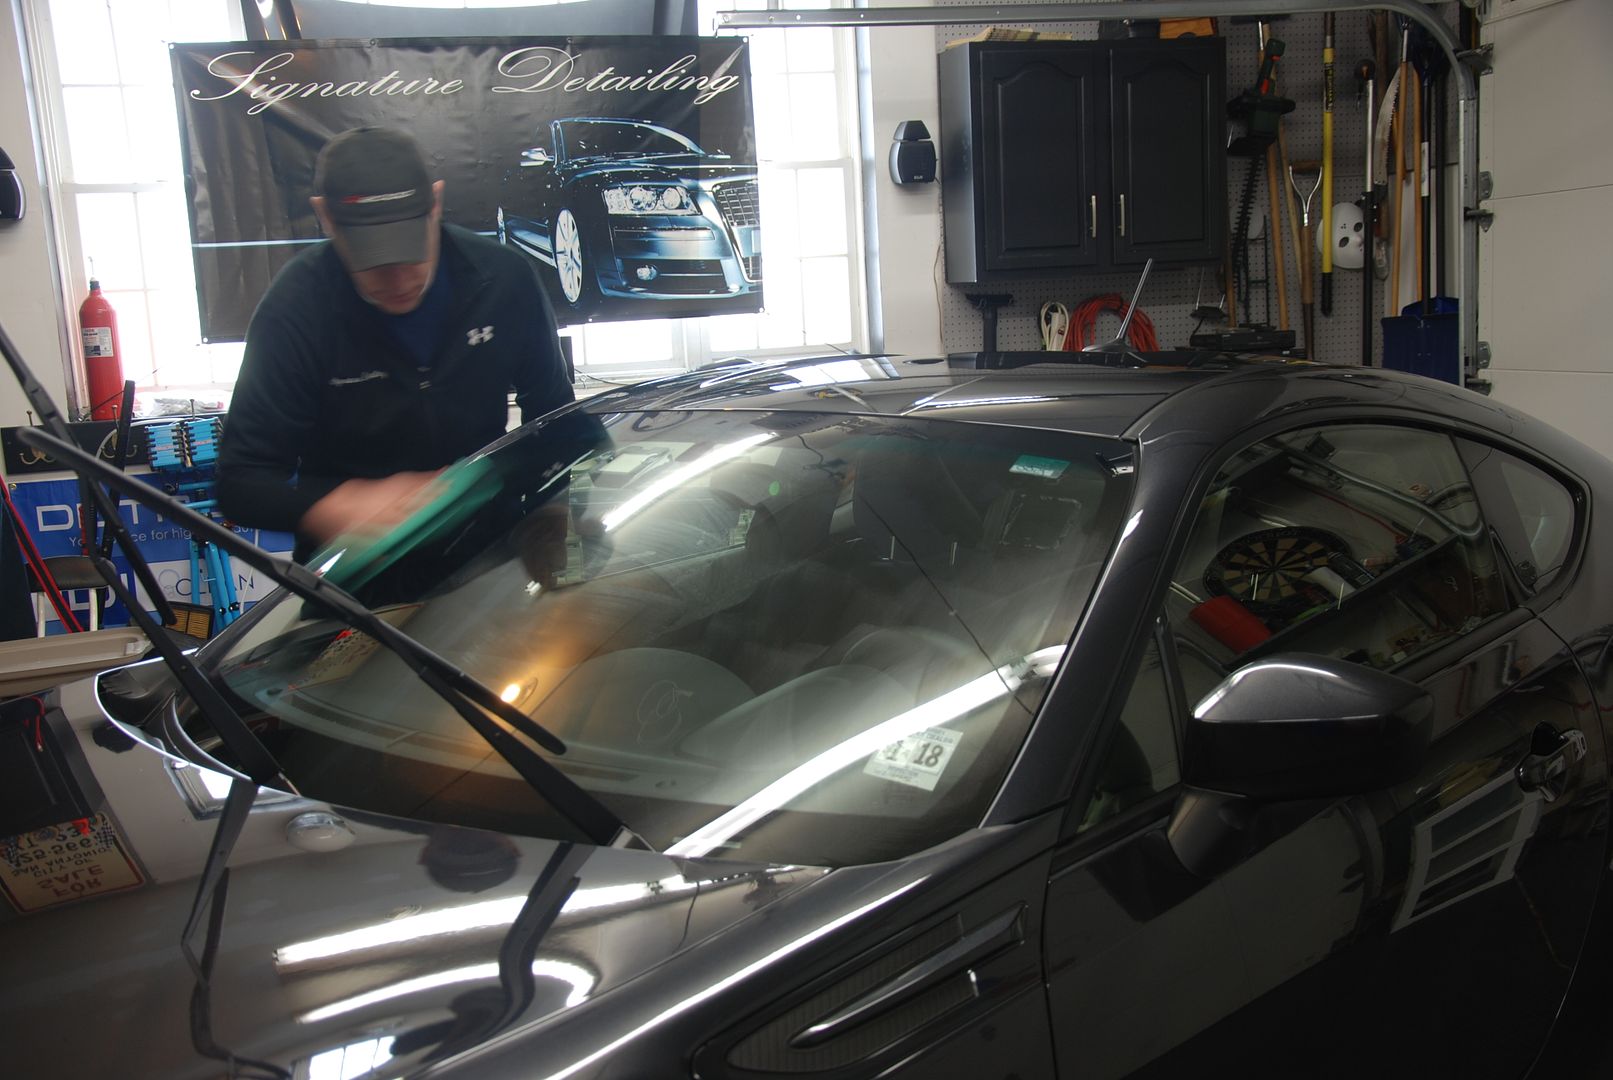
I wanted to let the Opti-Coat sit for a little therefore I moved on to the interior. Remember to get the inside of the windshield really good. It can be a difficult area for clients to get streak free.
I started with the wheels and tires. I wet the wheels, then spray them down with Sonax Full Effect, and let that dwell. The tires got scrubbed with Tuff shine Tire cleaner. Wheel wells were scrubbed with P21S TAW and a Ez Detail Brush.
The wheels then got cleaned with Wheel Woolies to ensure the inner barrels where fully cleaned also.
Now I was ready to wash the majority of the car. I pre-soaked the entire car in Optimum Power Clean and proceeded to foam it using a mixture of 50% Chemical Guys Citrus wash and clear and 50% Dawn. Dawn can be drying to the paint but to ensure complete removal of any sealants or waxes it can be useful. I wouldn't use it as a weekly wash.
After a wash I proceeded with the Nanoskin wash mitt, it is basically a clay bar in mitt form.
Around the entire interior glass their was adhesive residue left from stickers.
For a safer removal I decided to use Tarminator. Its clear coat safe, and my go to adhesive remover.
As you can see after a quick wipe with a MF towel soaked in tarminator it easily "melts" the residue.
Once it is all removed from the surface you are left with the adhesive spread out over the window or panel, simply flip the MF towel to a new side to remove and follow with invisible glass.
After claying and polishing the windshield, FlyBY30 was applied, after about a minute I buffed it off
Often times, you are able to simply remove adhesive by rolling it onto itself. This time completely pulling it off in one strip was the key. Reducing the use of a razor blade can be helpful as you never know when you can scratch the glass with the razor.
Here I removed the badge residue. We had another badge removal which has become very common with the BRZ owner.
Once the badge is removed, one can simply roll the adhesive onto itself.
The residual adhesive was removed using, guess what?! Tarminator, then lightly polished to ensure that there was no shadow left.
Getting down to the details is what we do. The four wheel locks had adhesive on each of the heads.
Using a make up remover tool, I soaked the head in Tarminator and agitated.
Paper of course ended up in the "seams" of the wheel lock. I simply turned it around and used the pointy side to remove any paper.
That works!
The exhaust tips were corrected using my standard foam detailing stick with Optimum Metal Polish.
OOPS too soon for the picture! I didn't finish polishing the entire exterior. I caught it and fixed it.
As usual, I was coating the tires using the Tuff Shine Tire Coating. To ensure it bonds, the tires have to be perfectly clean. This was the third cleaning.
Ok, now it's time to get to coating the car. Every inch got a wipe down with IPA, including the the wheels and trim. Now its time to apply Opti-Coat!
Even the key fab got an IPA and Opti-Coat.
I wanted to let the Opti-Coat sit for a little therefore I moved on to the interior. Remember to get the inside of the windshield really good. It can be a difficult area for clients to get streak free.