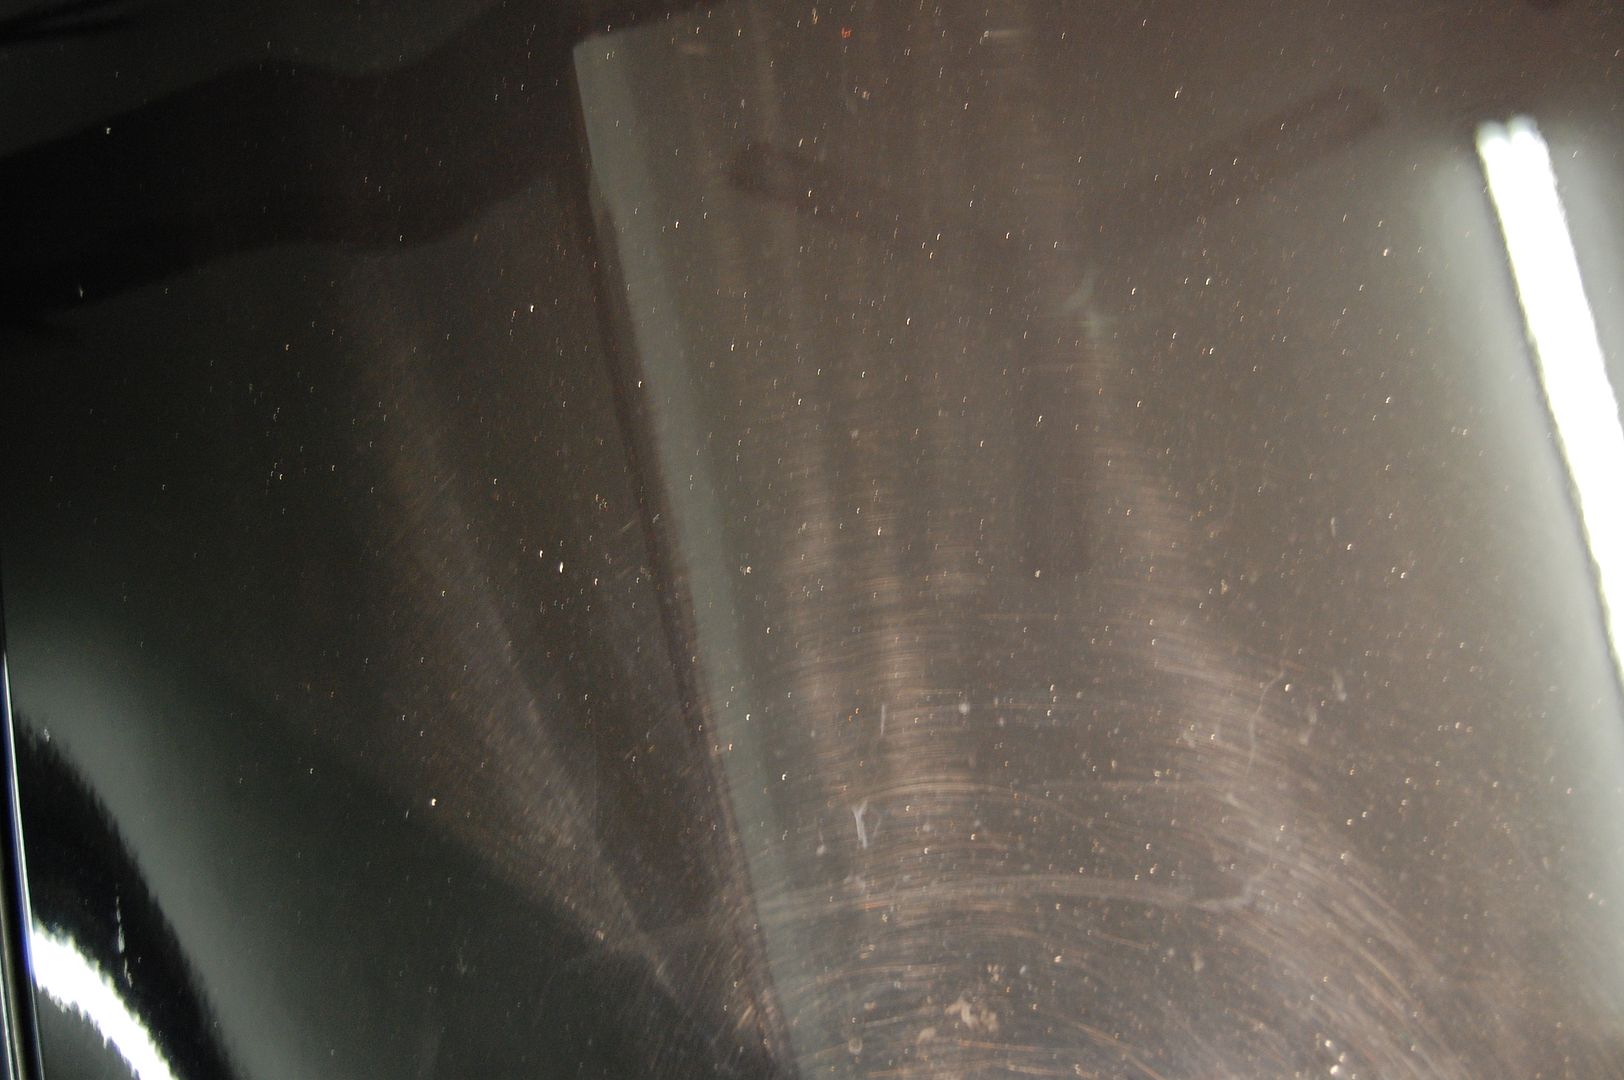
The pictures you are about to see are very disturbing and have been known to cause serious side effects to some viewers. This thread contains extremely graphic content such as heavy swirling, random isolated deep scratches, buffer trails, holograms, overspray, tree sap, grease, industrial fallout, stained trim and road tar. If you are swirlophobic, or have a week stomach for severely neglected paint, please click the ‘back’ button now! :scared:
-Mustang GT Nightmare by Unique Car Care-
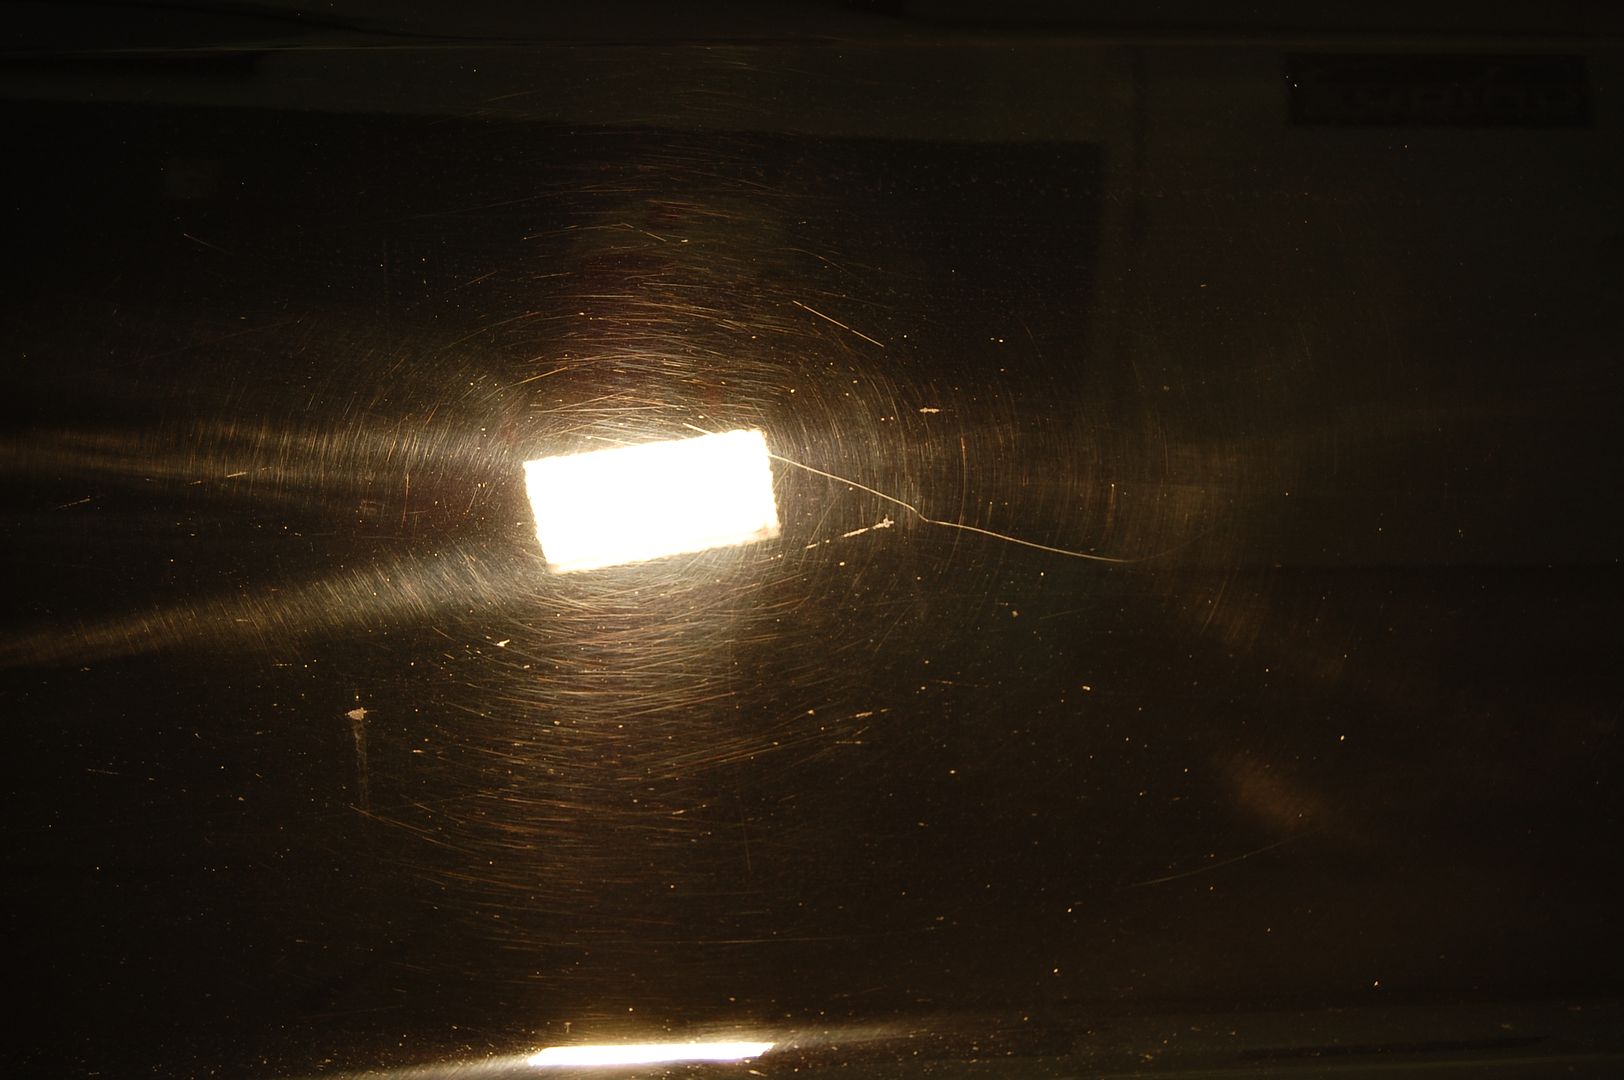
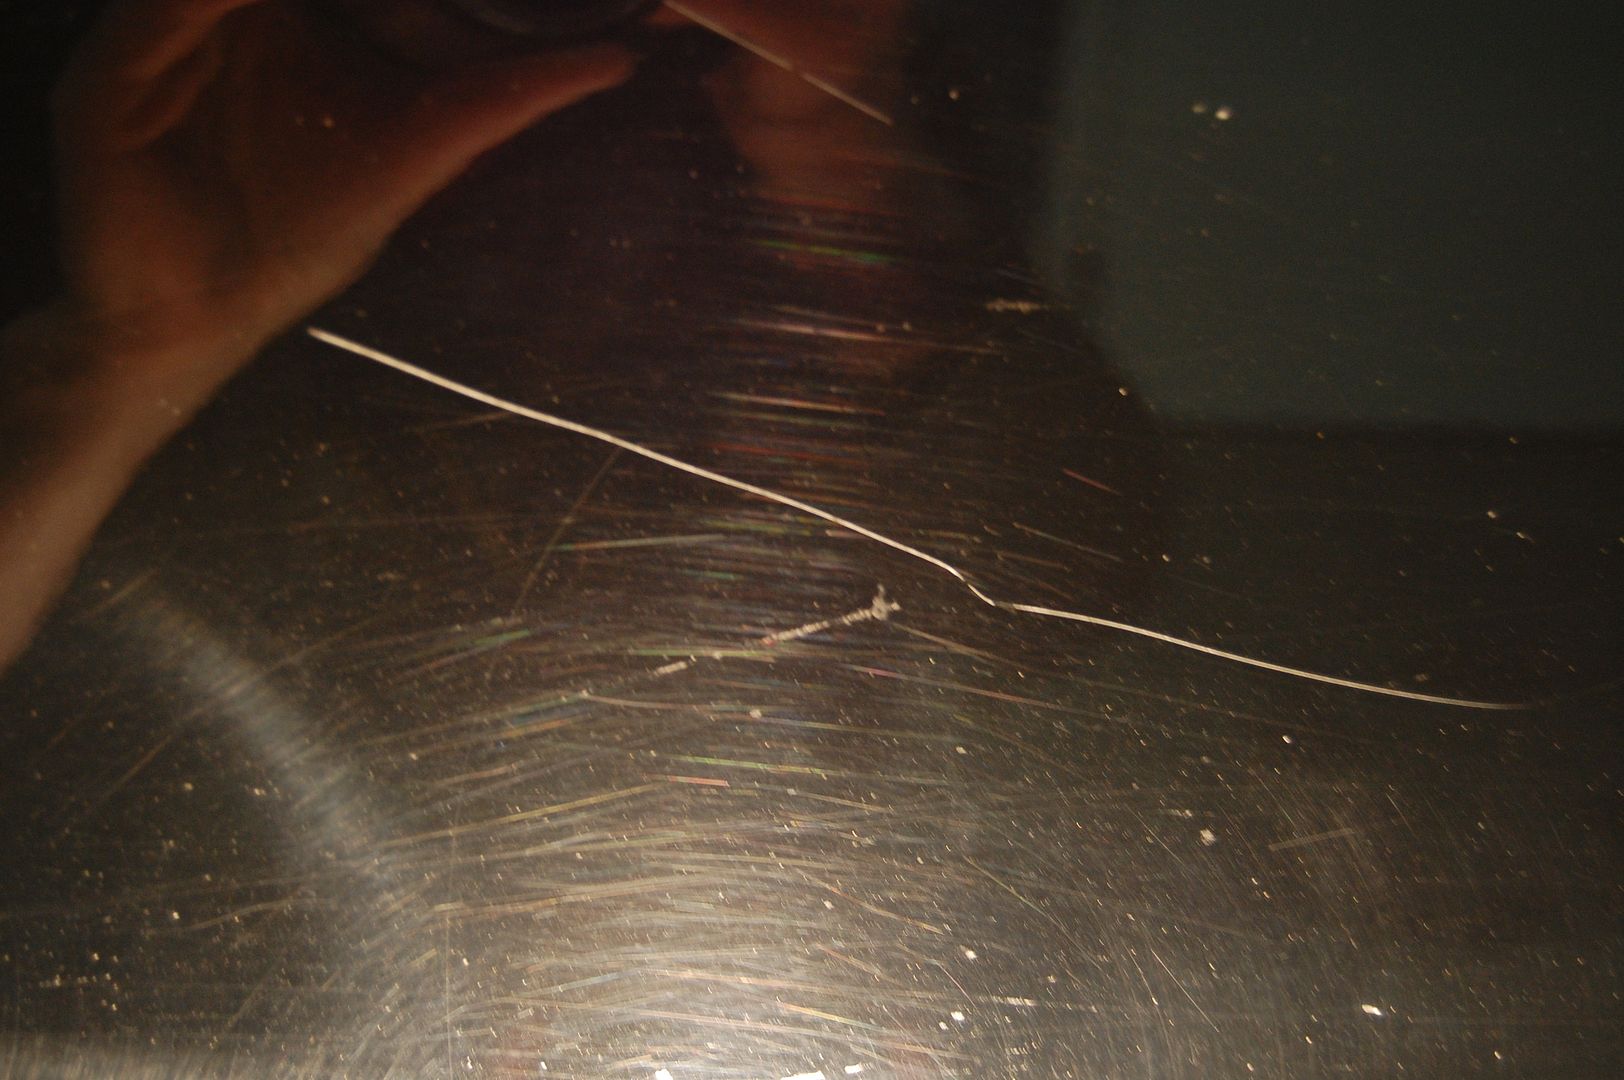
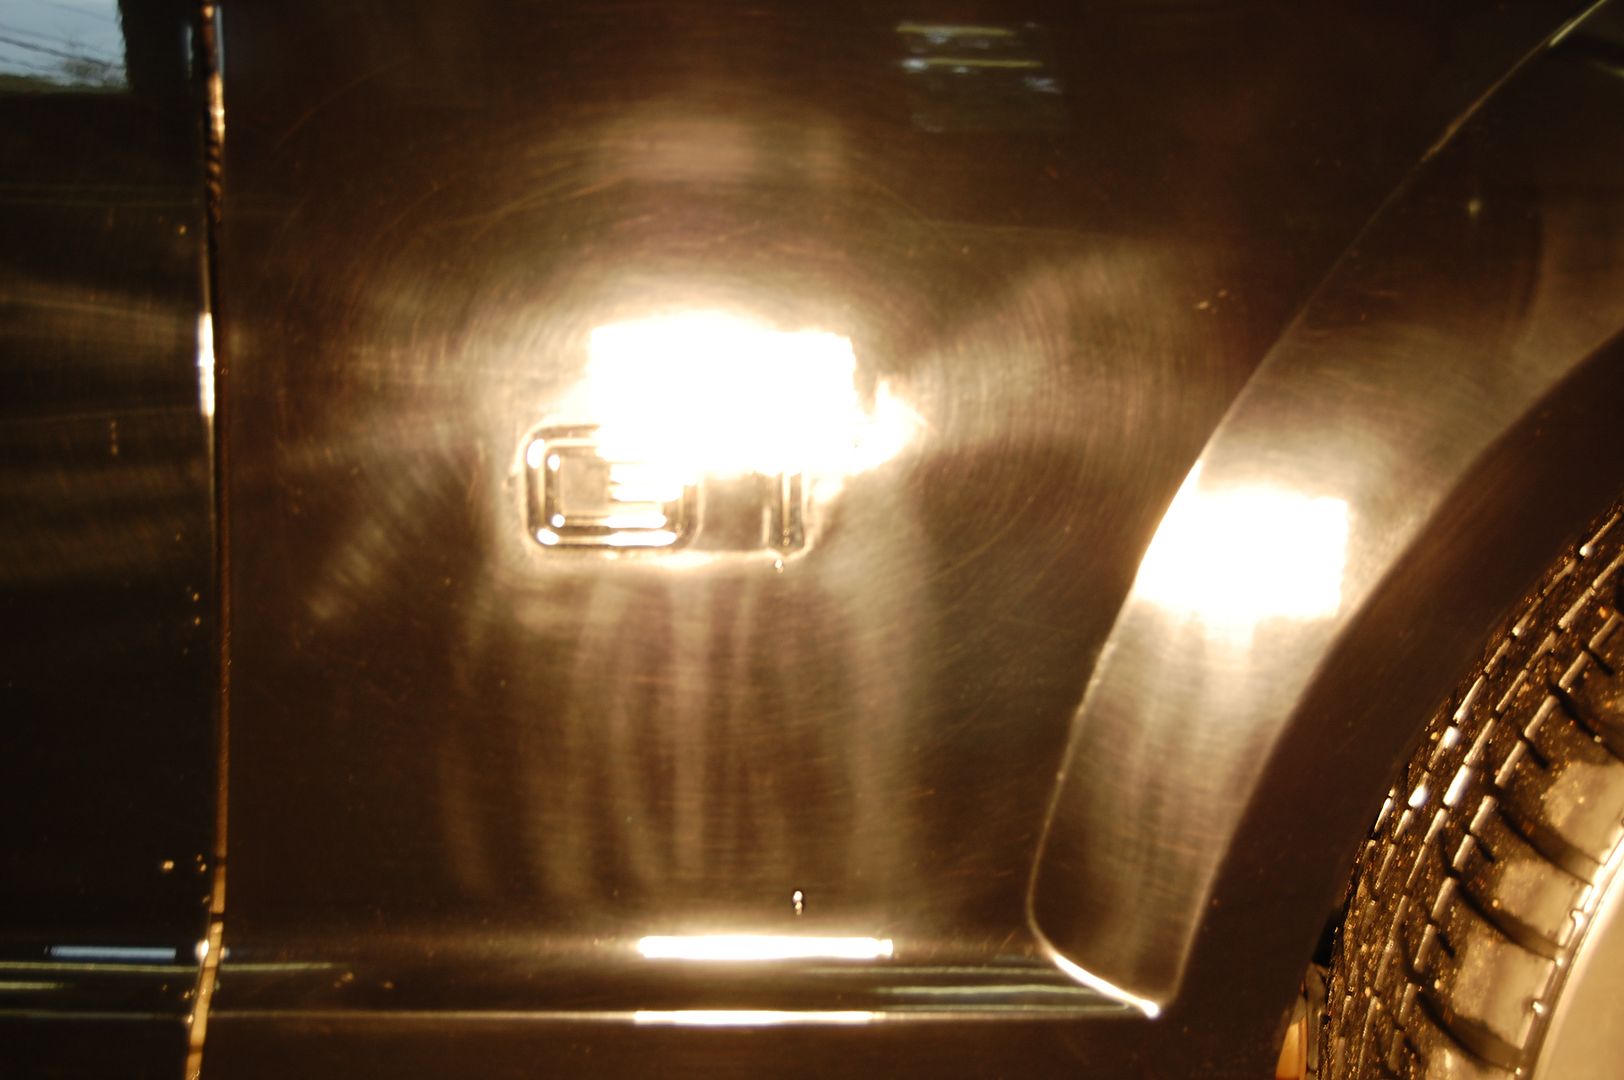
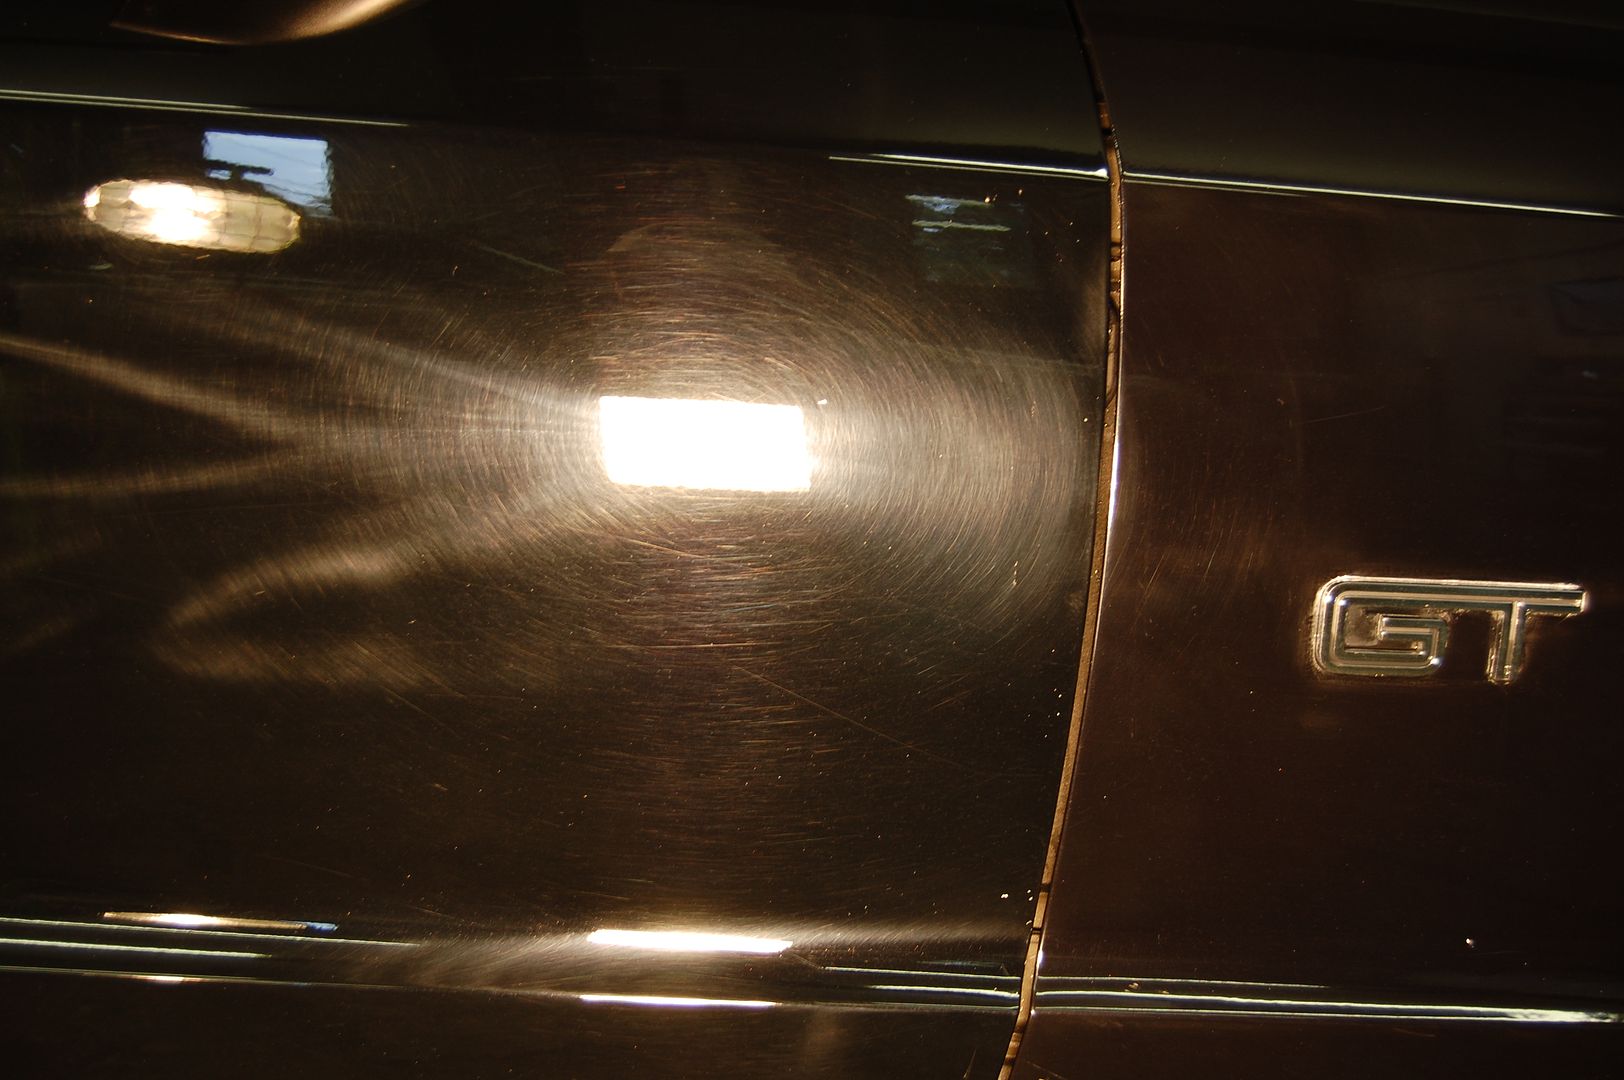
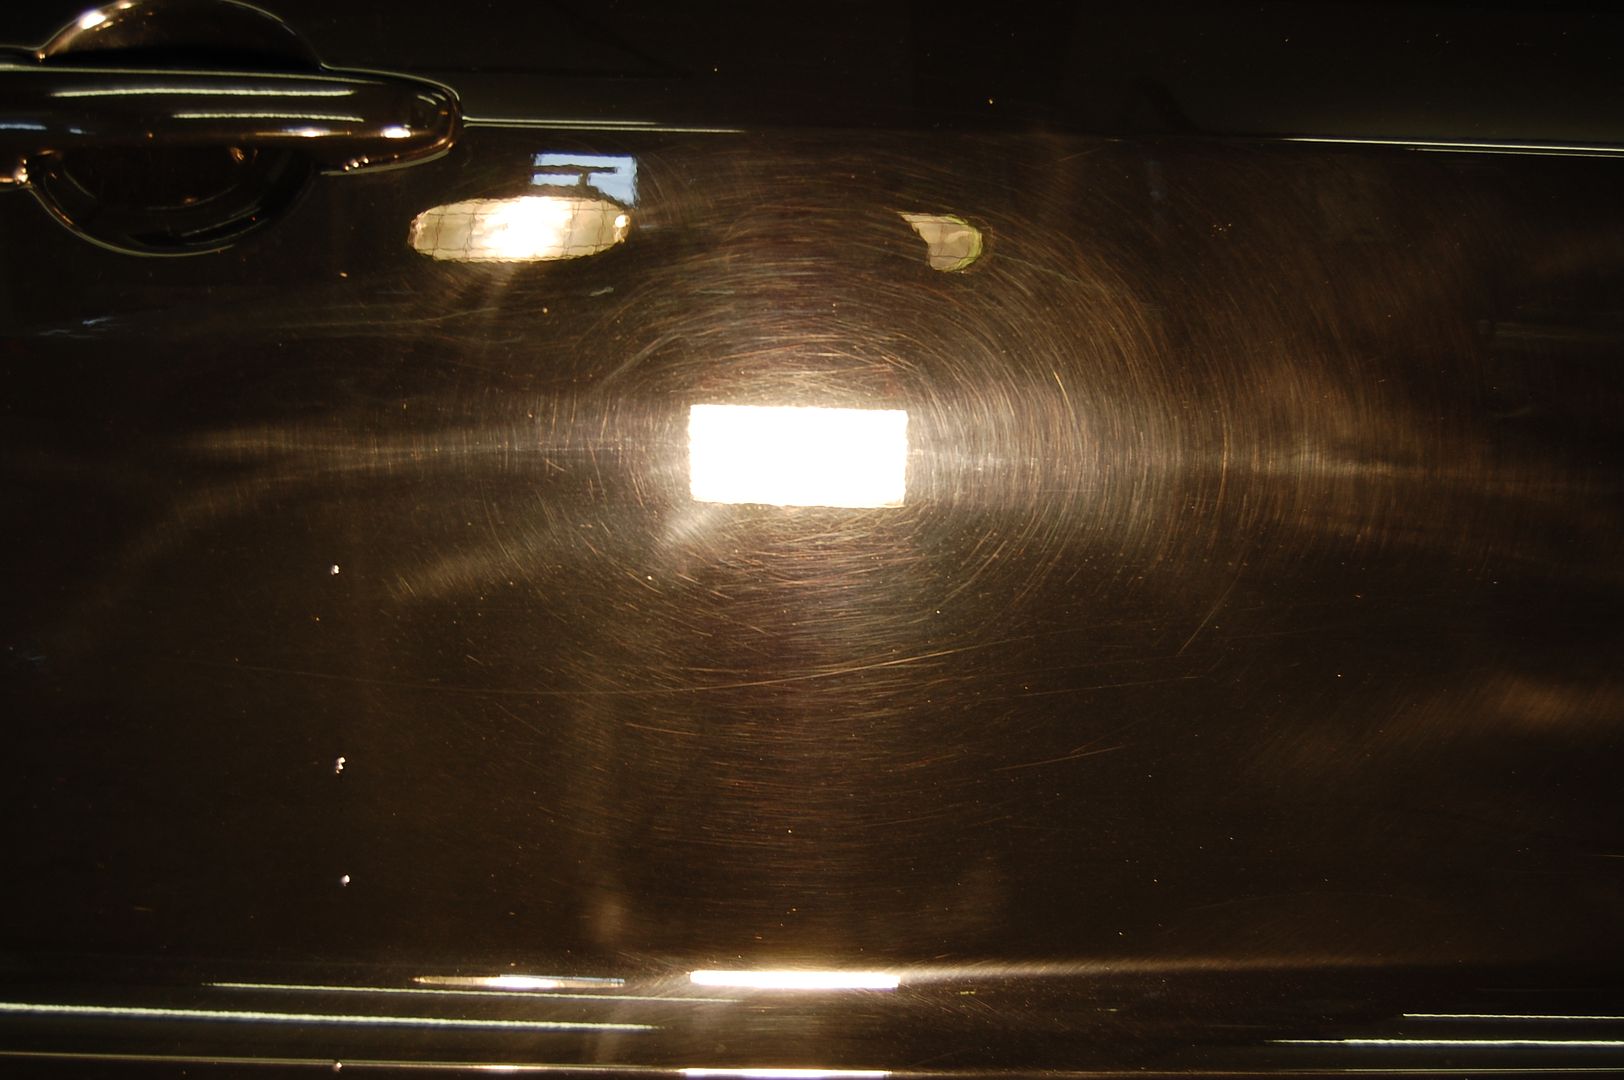
The Mustang GT you are about to see, belongs to a family member of one of my best clients. The owner had a slight mishap and scratched the front right fender and needed to have some body work done in order to fix it correctly (more like incorrectly!). While the car was at the body shop, they decided to do him a favor and polish the entire car for him and cover the car in overspray for no additional charge. I’m sure you already know where this is going!:chuckle:...... Yup, you guessed it! They had no clue what they were doing and basically murdered the paint with a rotary buffer, leaving heavy wool pad marring, stained trim, excess polish residue in every crack & crevice, holograms, buffer trails and everything else you can possibly think of.
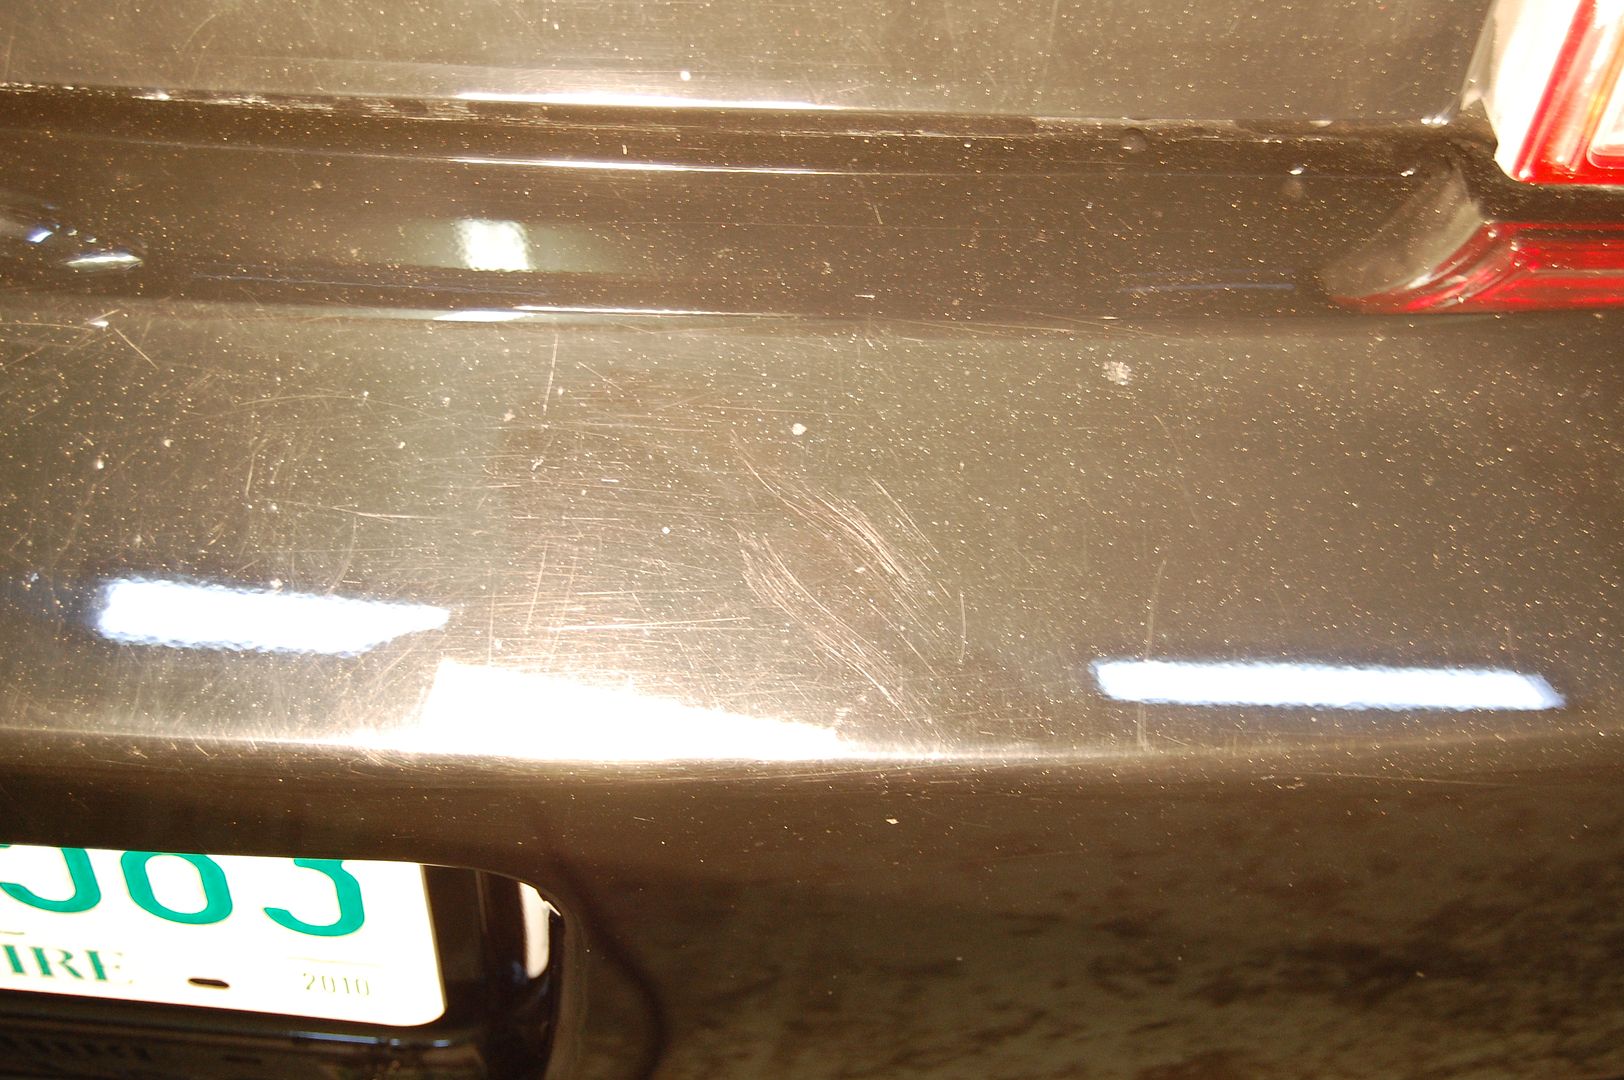
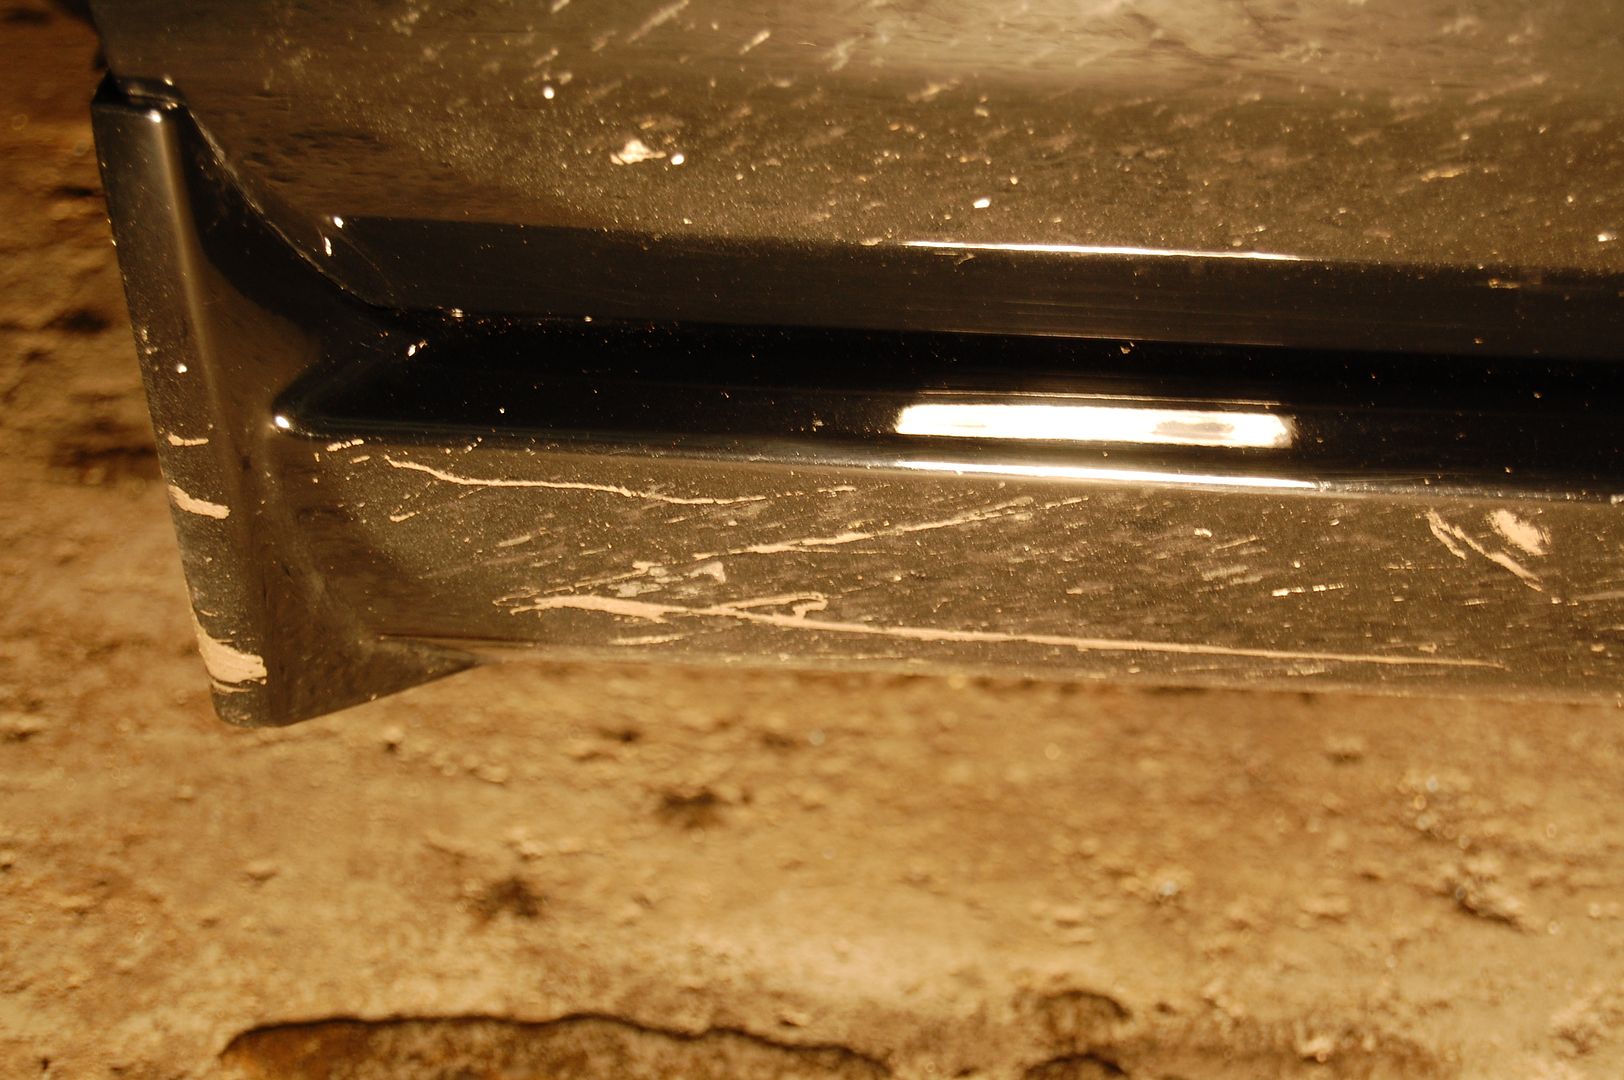
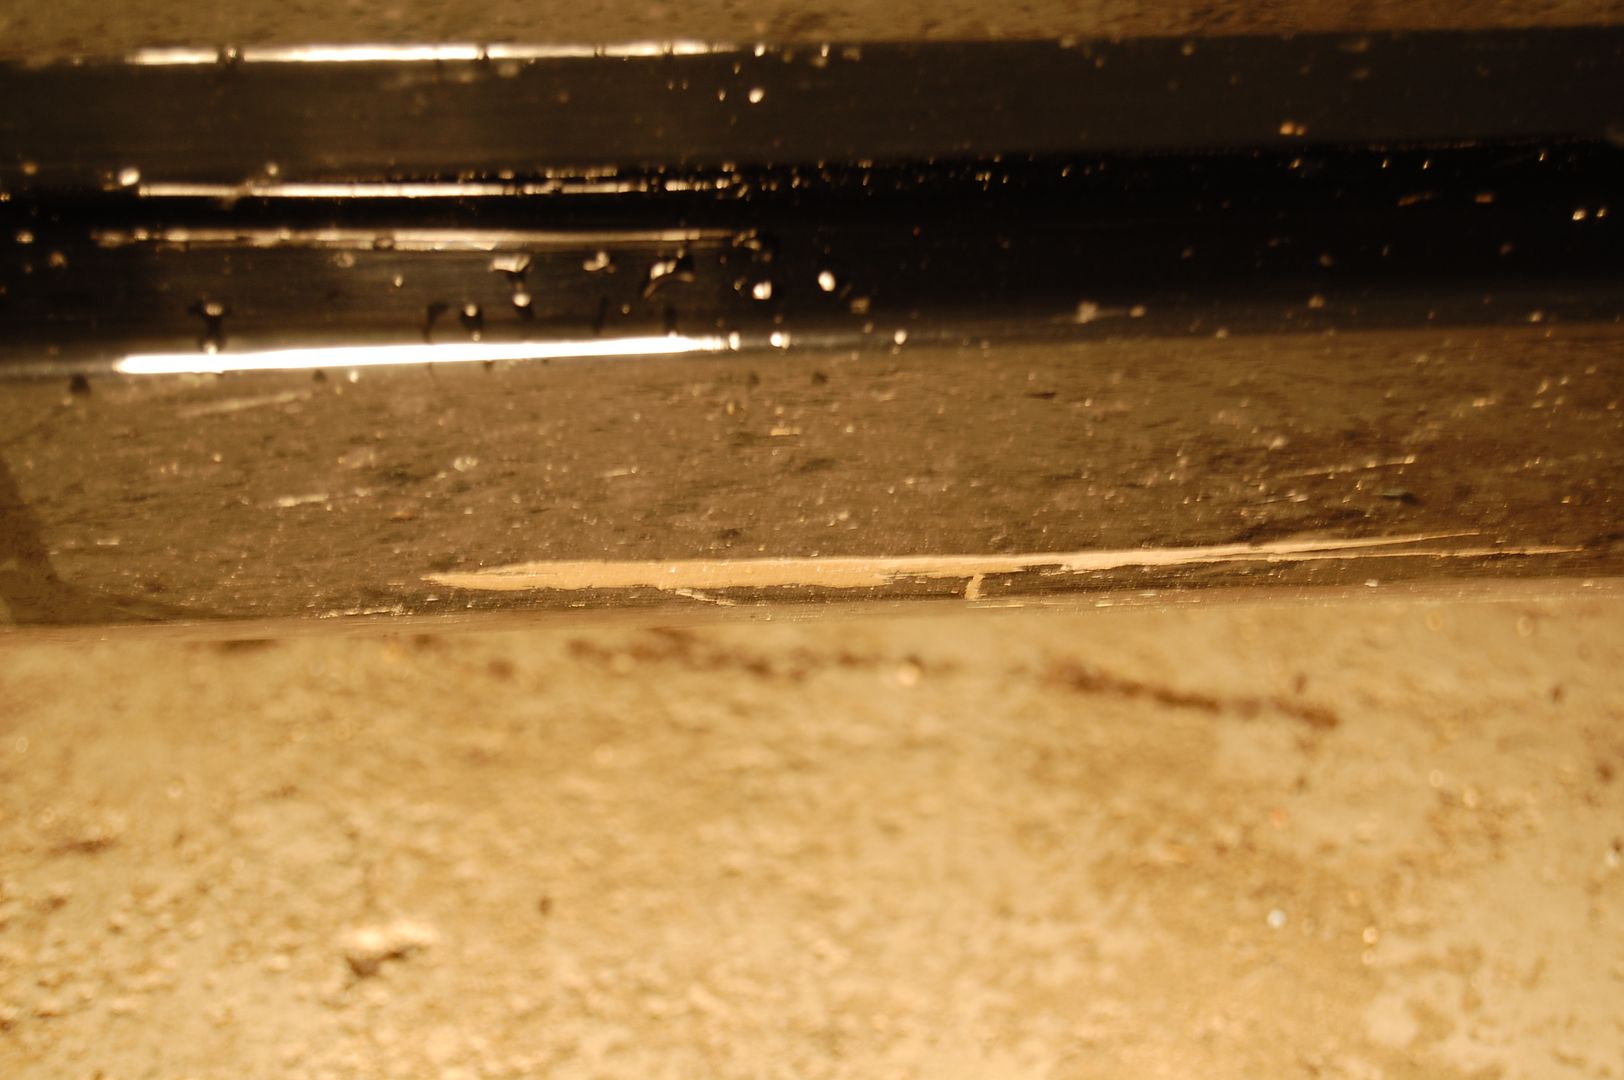
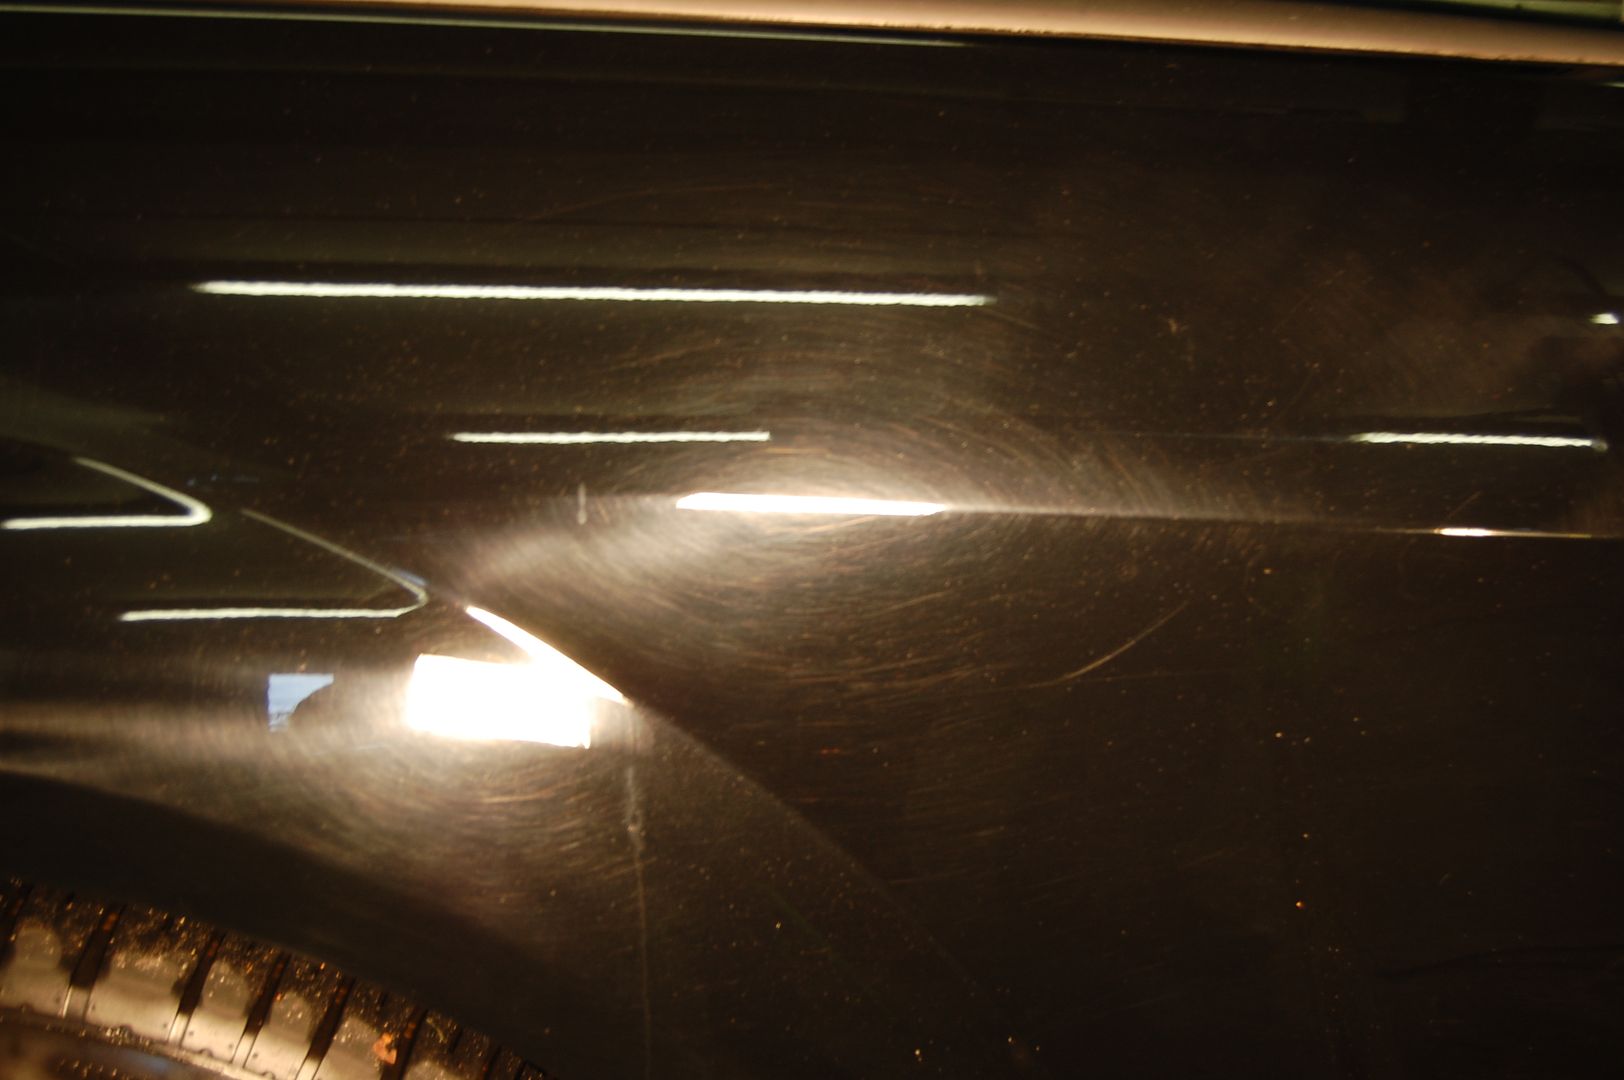
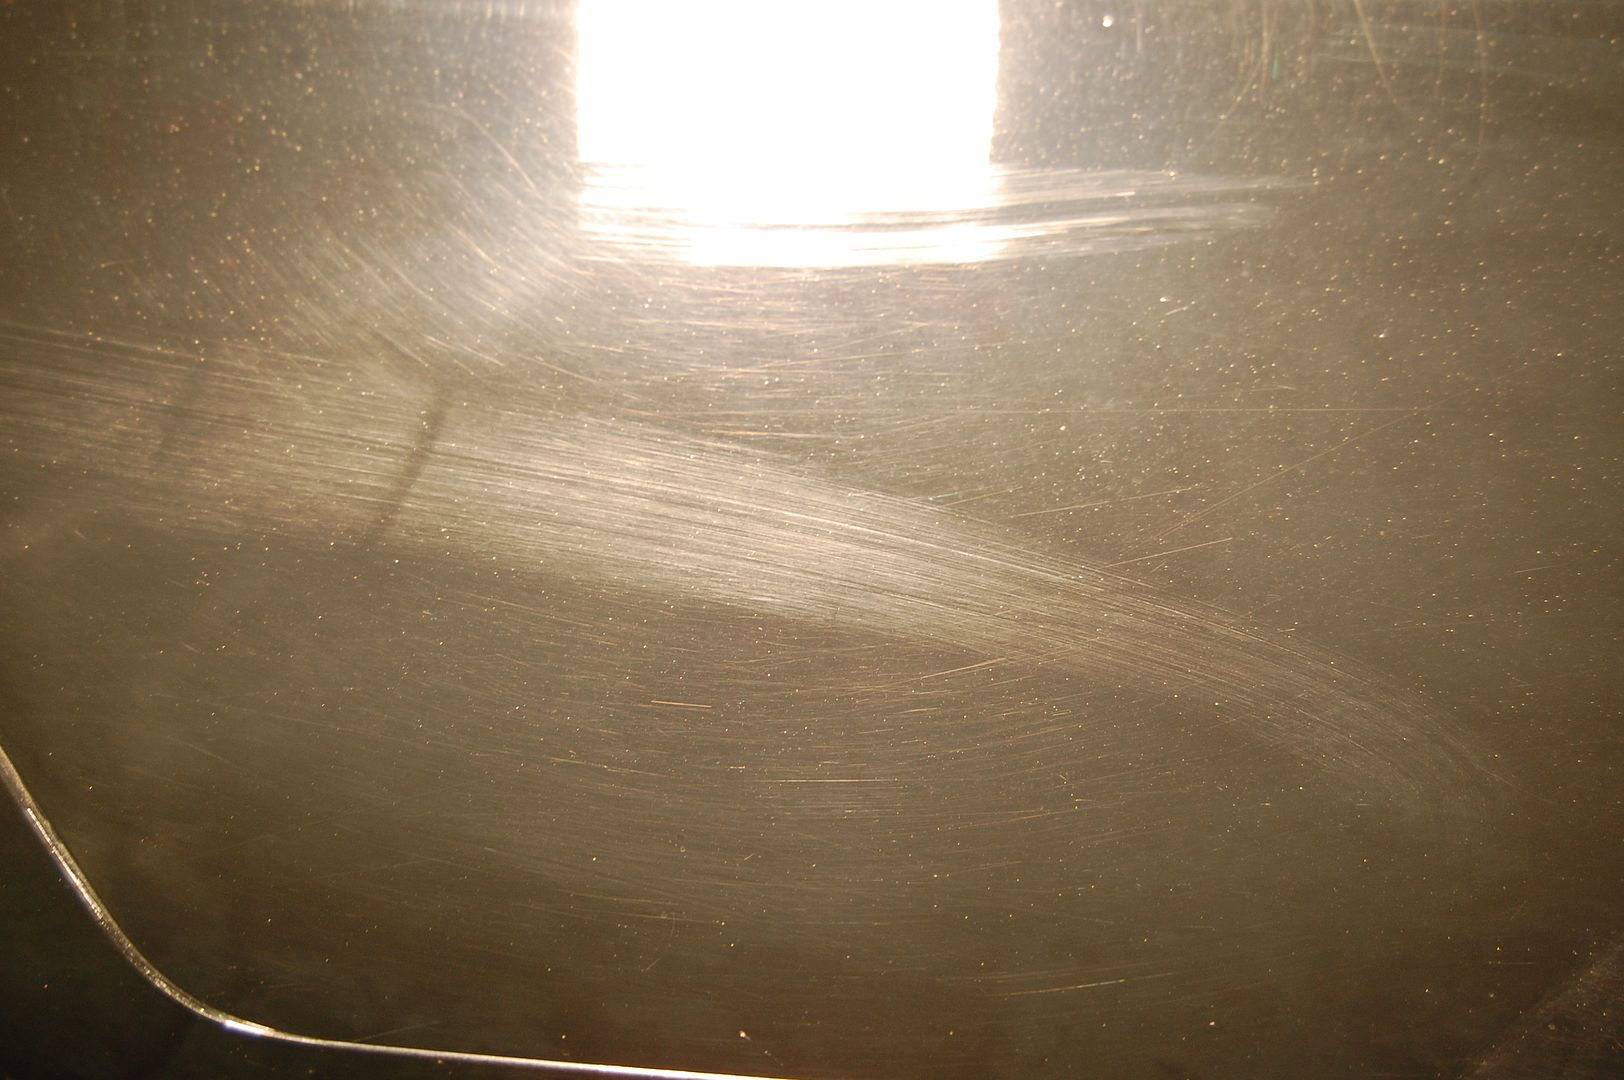
Besides all of the damage the body shop was kind enough to leave behind, the owner was guilty of neglecting the car as well. There were loads of heavy scratches on every single panel, road tar, tree sap, grease, bonded brake dust, etc., etc., etc…
I explained to the owner what would be involved to bring the car back to life and discussed pricing. He explained to me that he was on a VERY tight budget and that it was just another car to him. He told me to do whatever I could for the price we agreed upon and that he wasn’t looking for absolute perfection. I guess someone forgot to tell him that making cars perfect is all I know how to do!… I told him to leave the car for 4 or 5 days so I could work on it in-between other cars and that I would do my best for what he was looking to spend. I knew this car was going to be a ton of work to whip back into shape, but I was looking forward to the challenge.
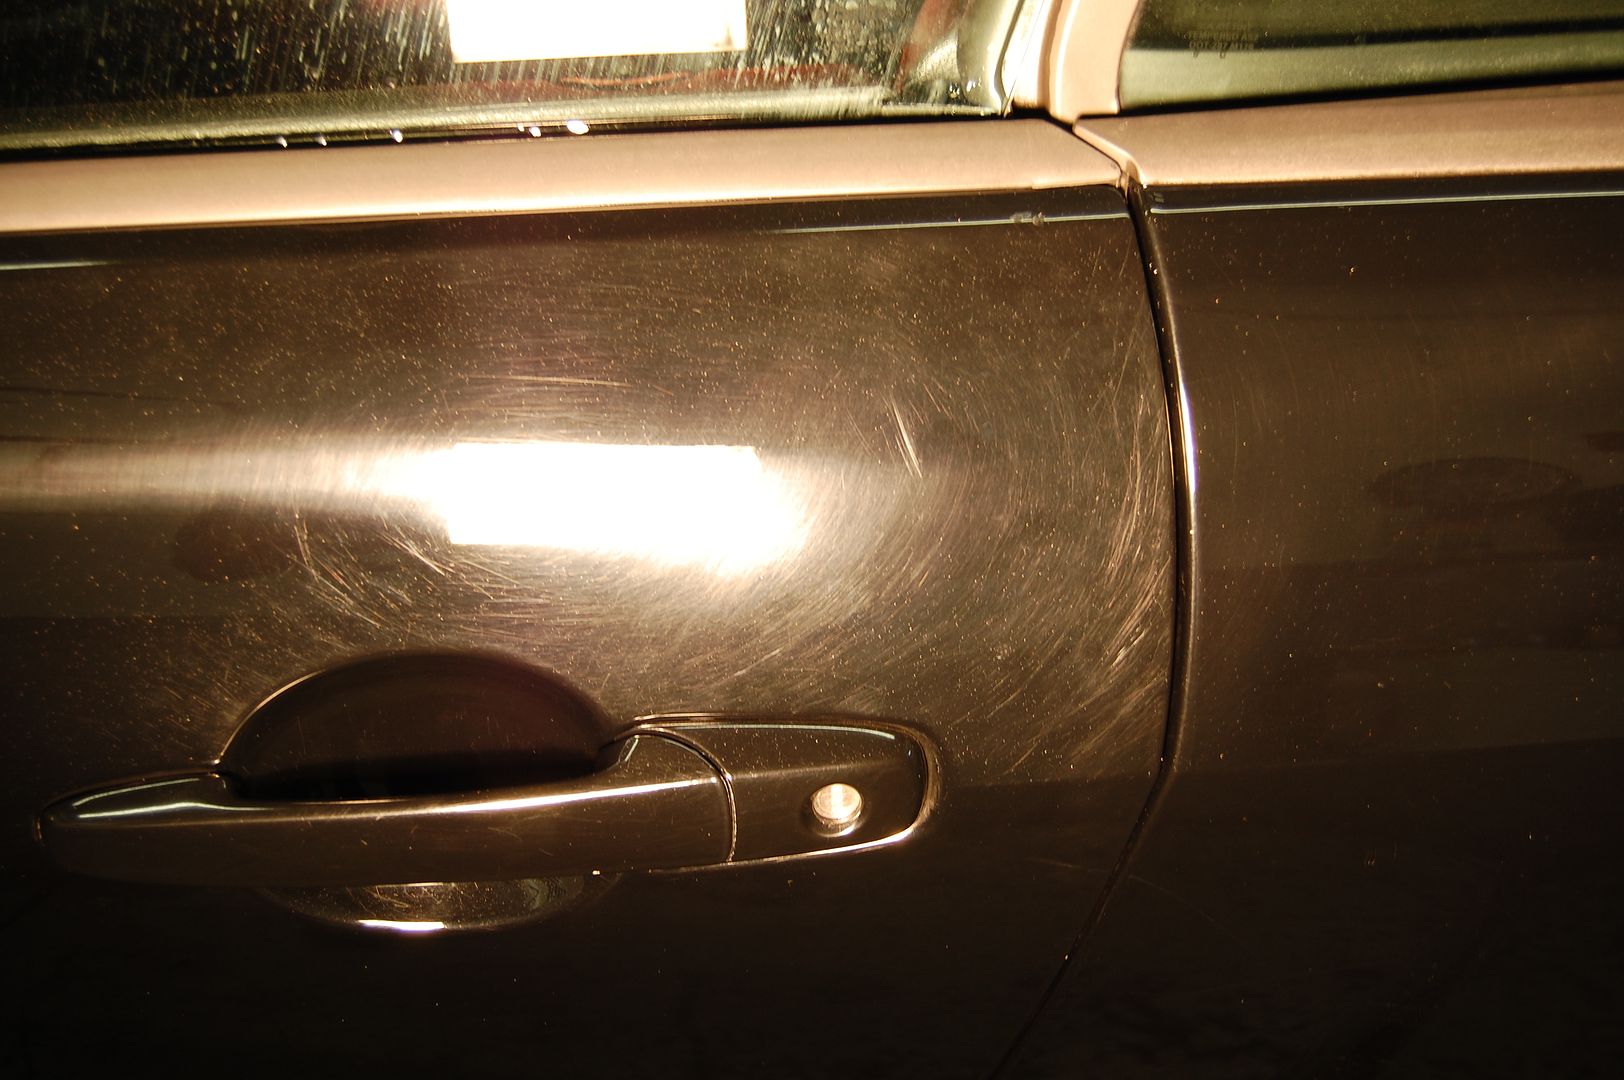
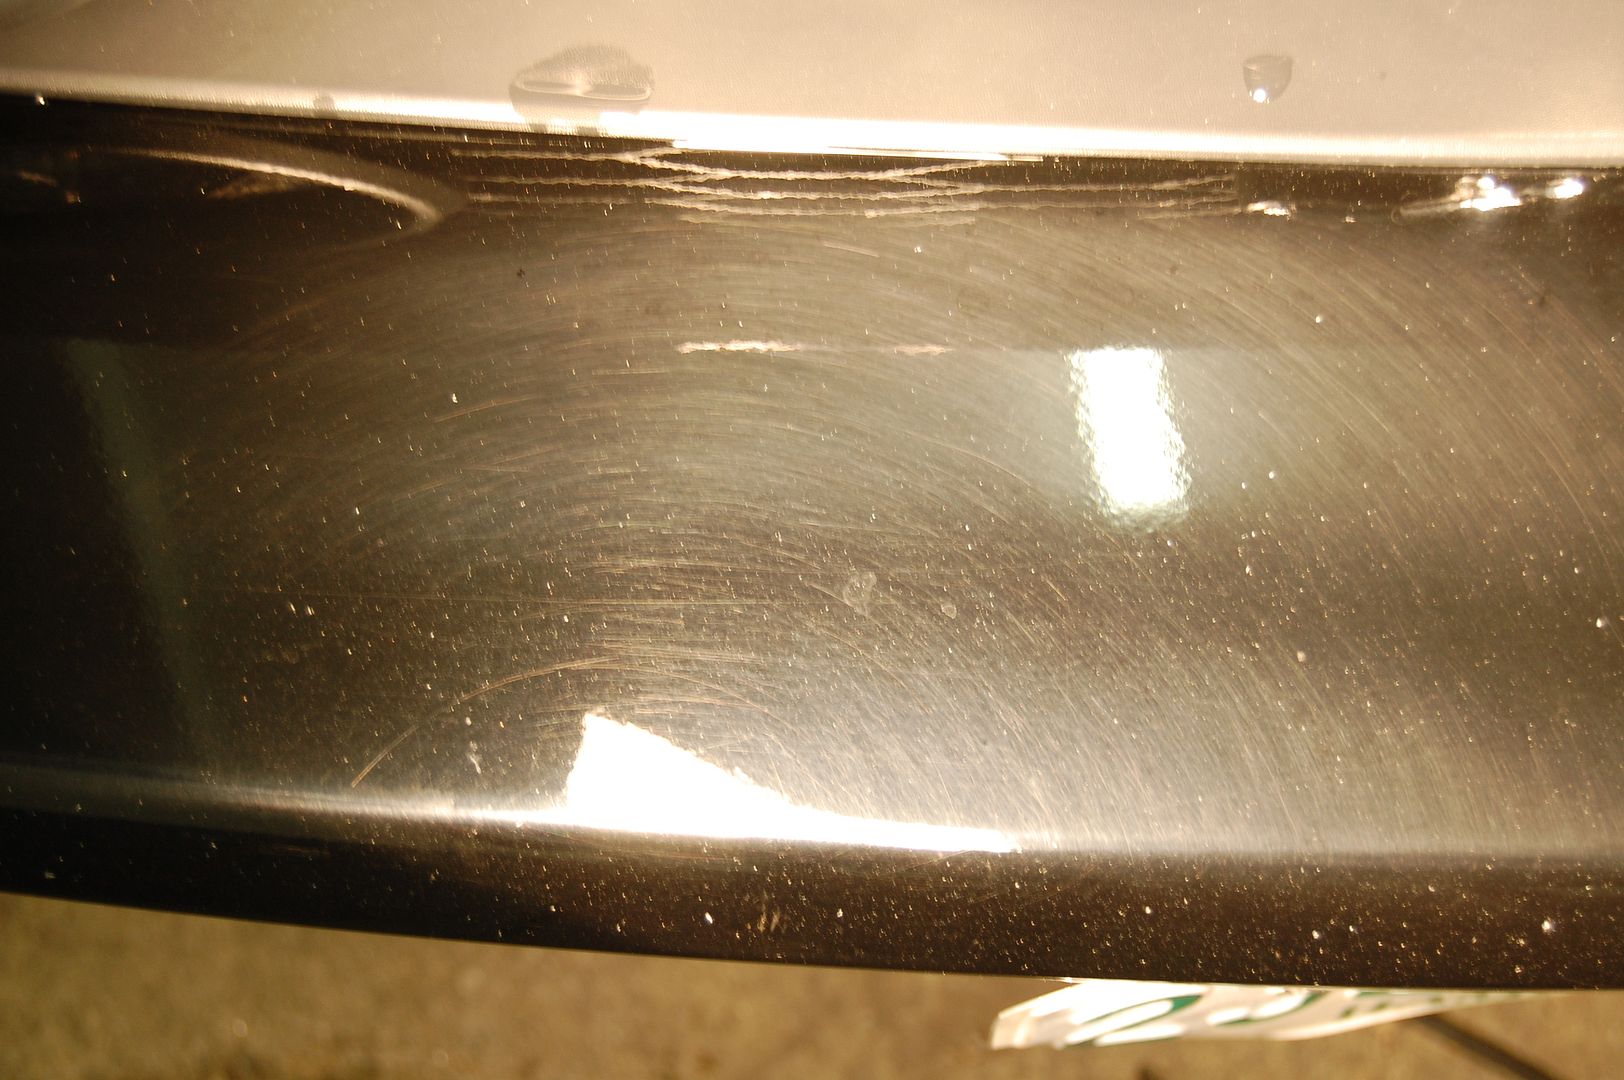
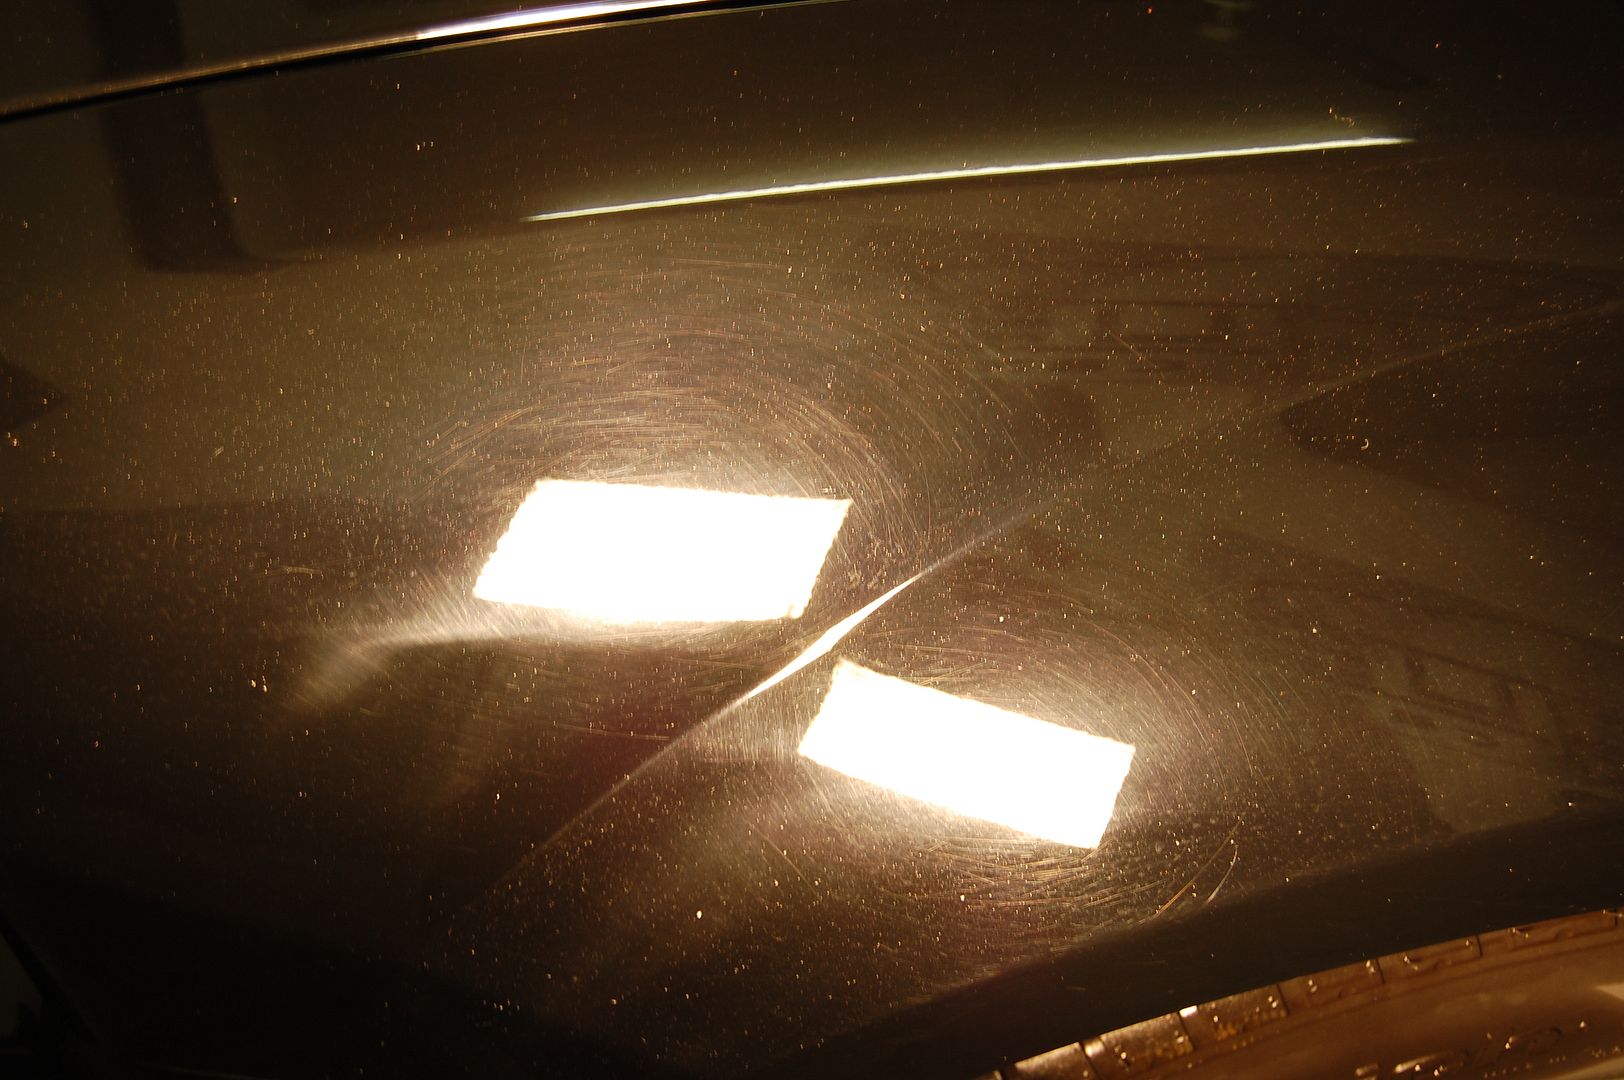
As you can see, the car was in absolute horrible condition to say the least. I had a feeling that it was going to be a pretty dramatic turnaround and make for some great before & after pictures. I didn’t go crazy documenting everything as I normally do, since I worked on the car little by little over the course of several days and didn’t plan going overboard with it.
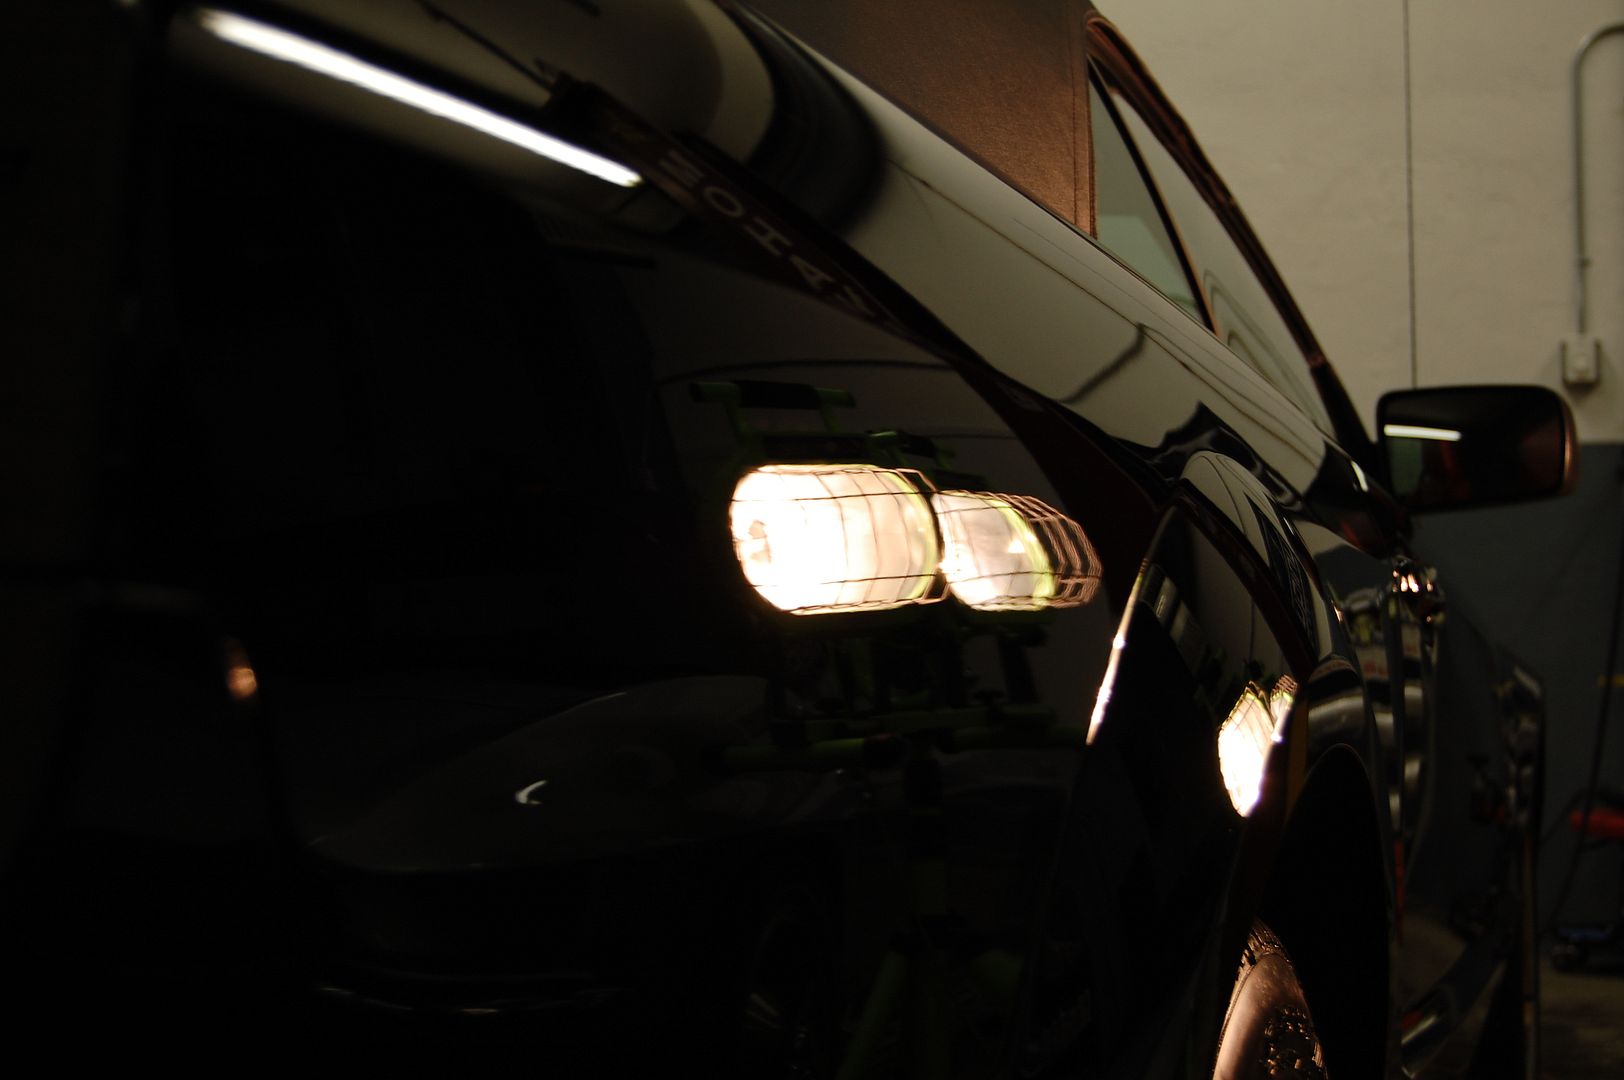
Before performing any polishing, I spent several hours prepping the exterior. Once the car was washed, degreased and clayed, I masked off all trim and went to town with the buffer. I tested out a few pad/product combos before I decided on my final process.
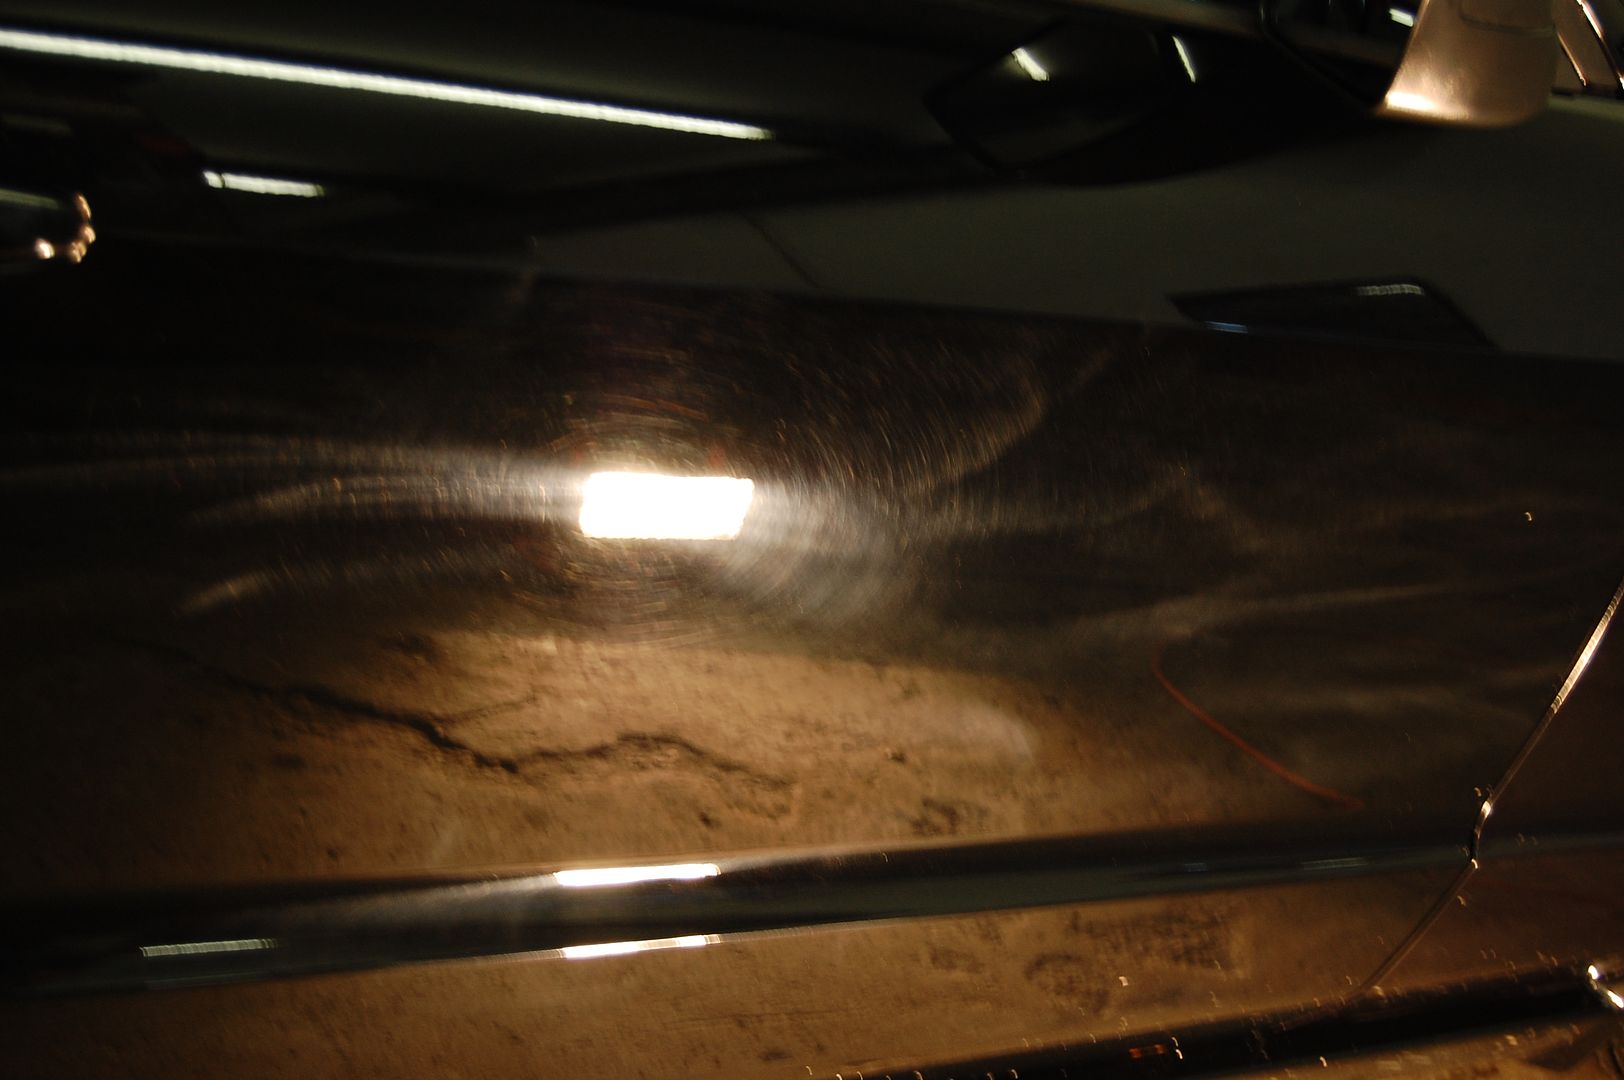
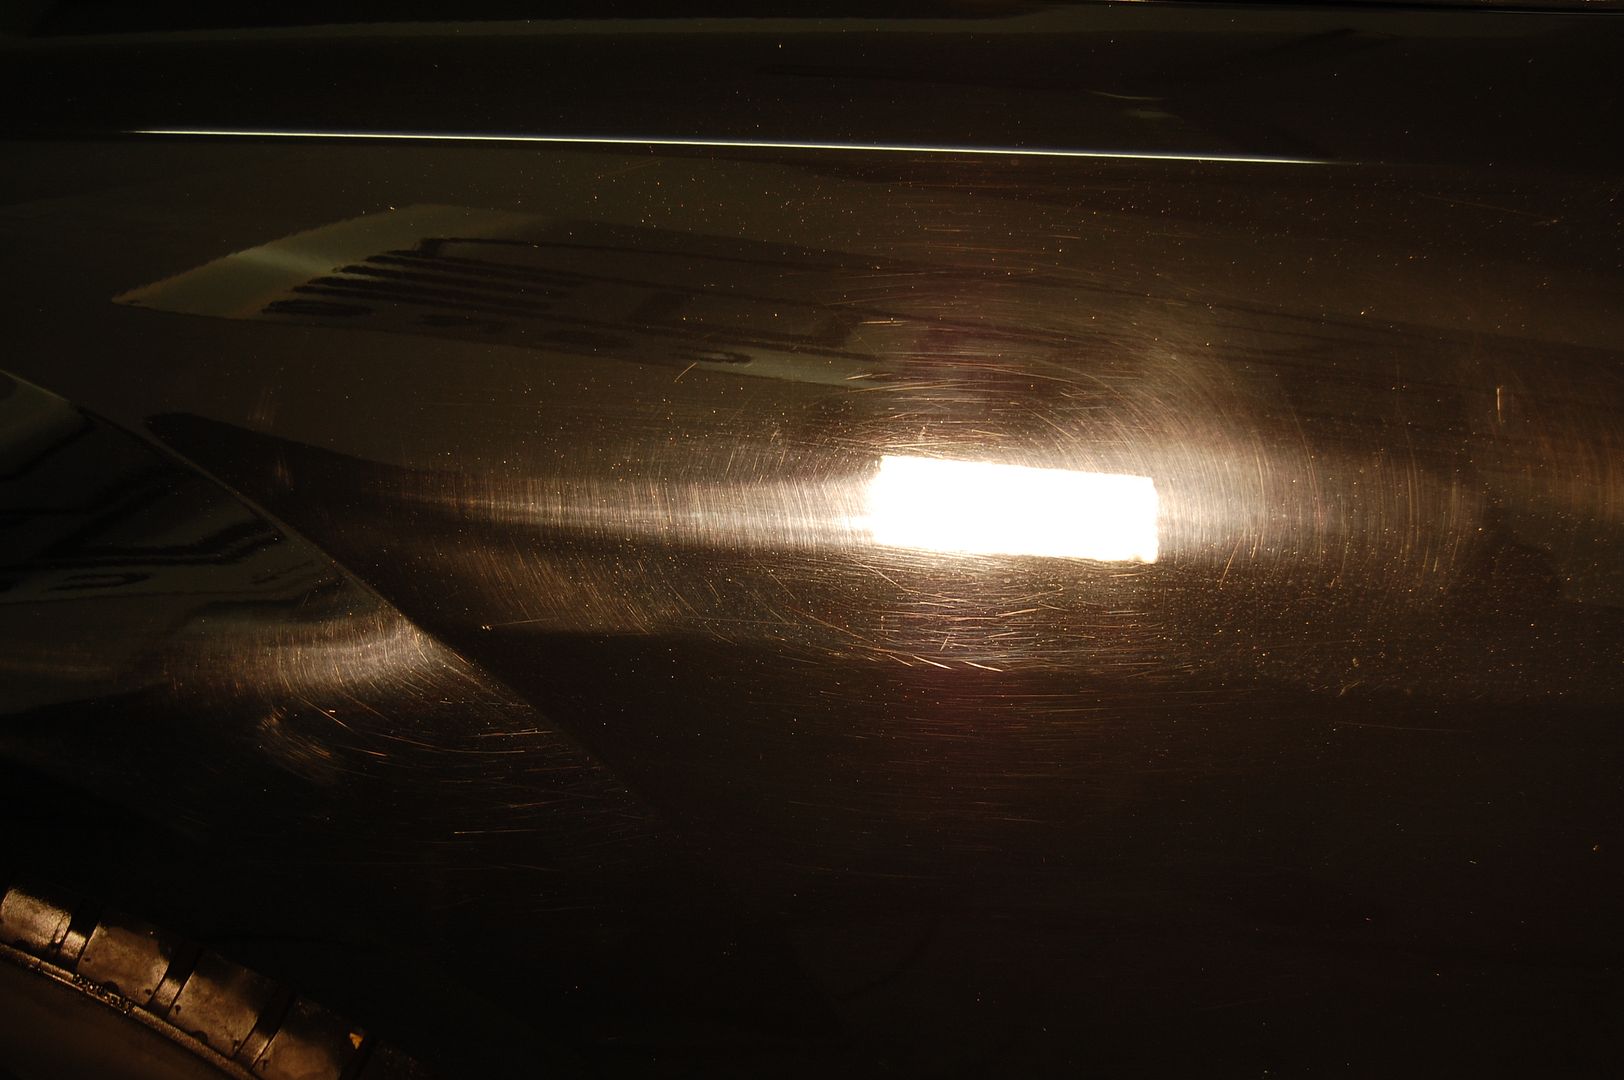
This paint was fairly soft, yet it didn’t seem to want to play well with the rotary. I tried switching to a PC, bit it just didn’t have enough power to remove the more serious defects. I ended up compounding the complete exterior with Meguiar’s 105 using a Cyan (blue) Hydro-Tech foam cutting pad on the rotary for as many passes as necessary to remove the majority of defects. Despite the paint being very grabby with the rotary, this combo worked well and made a tremendous difference.
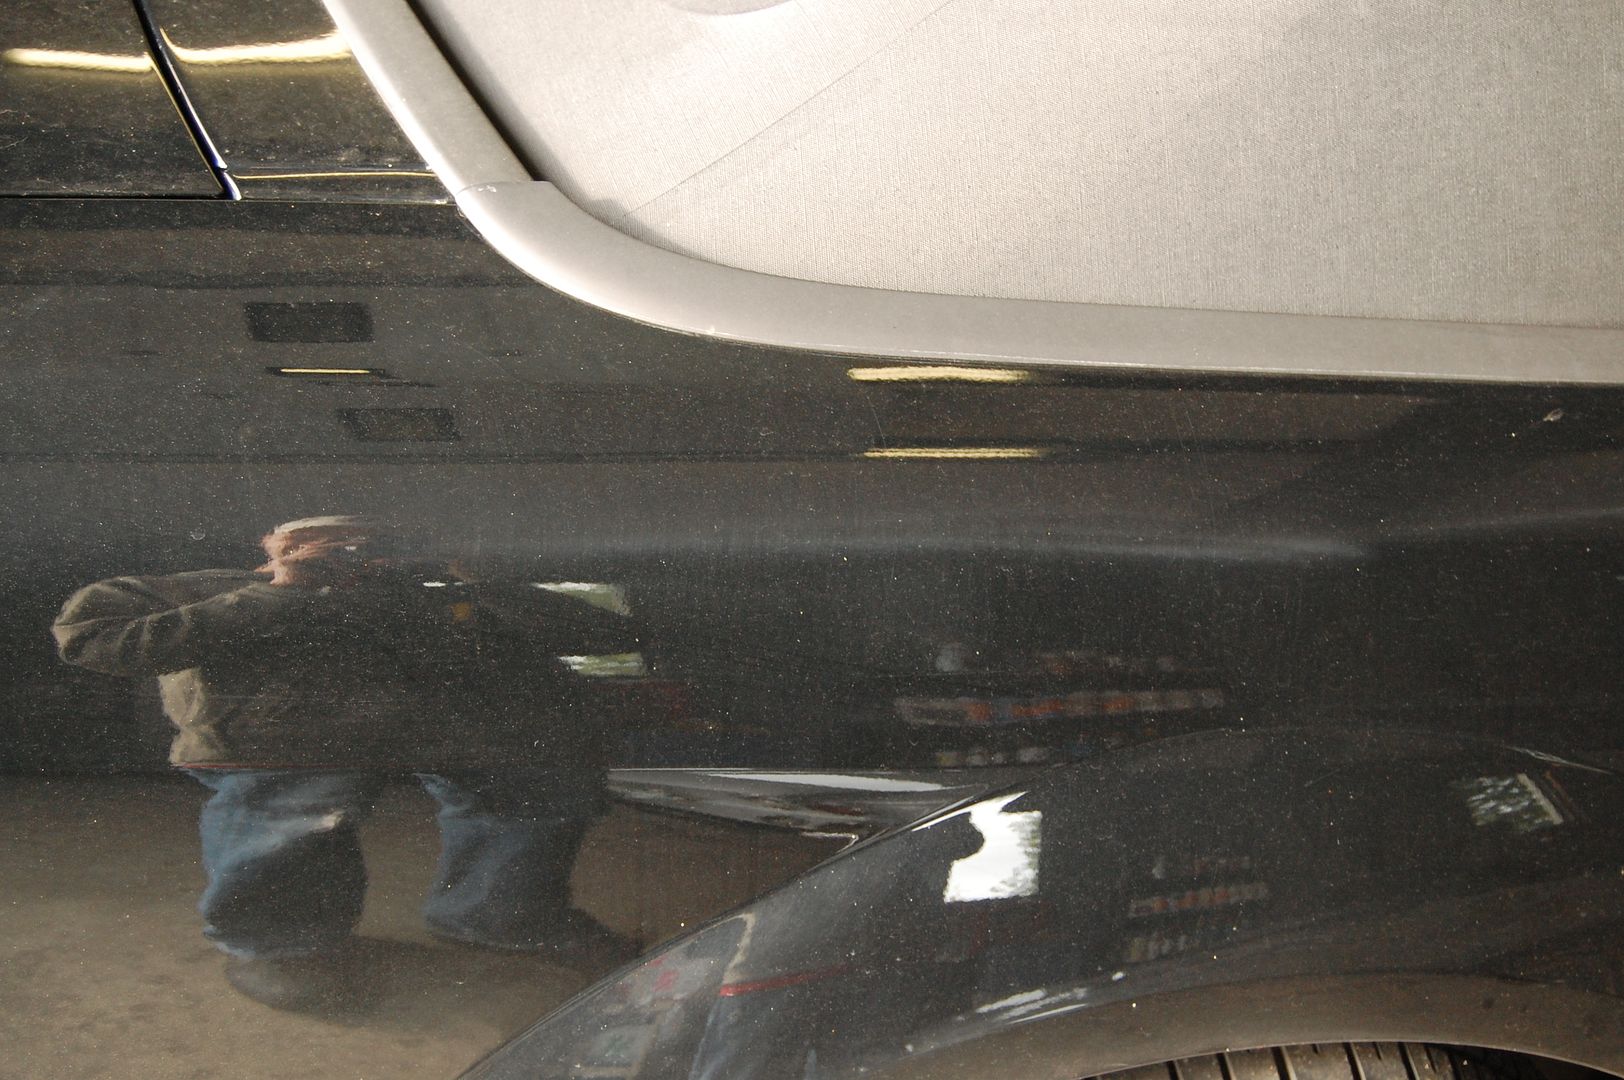
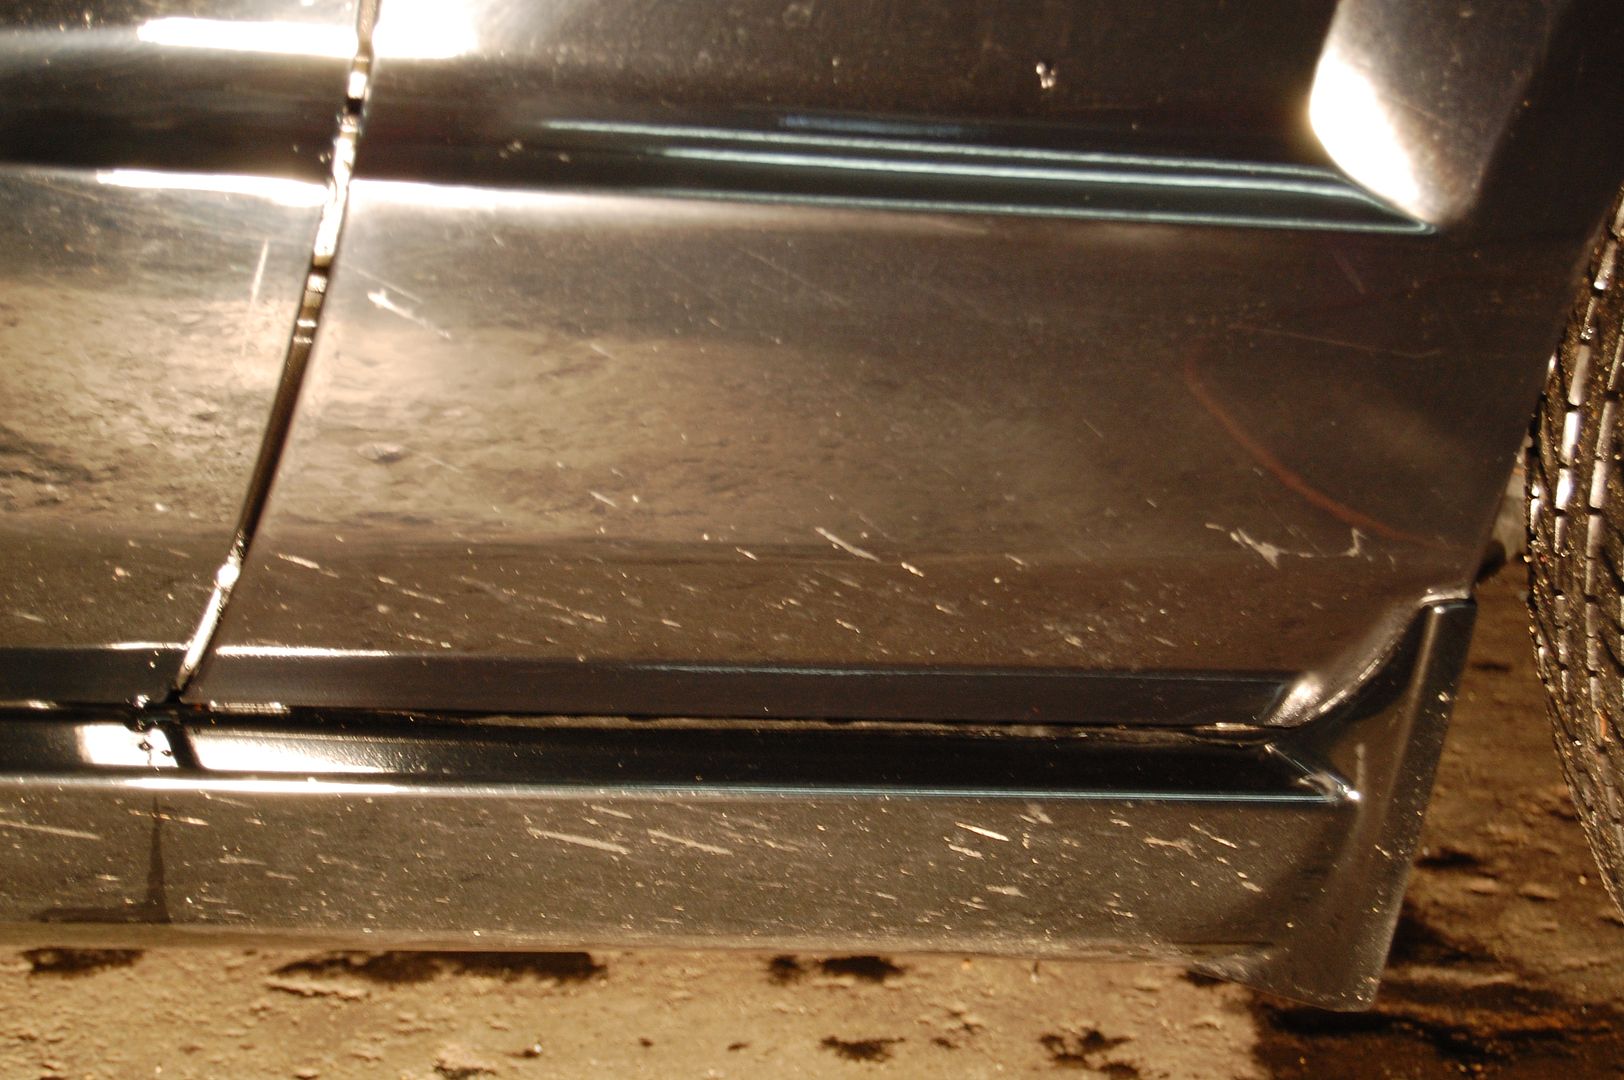
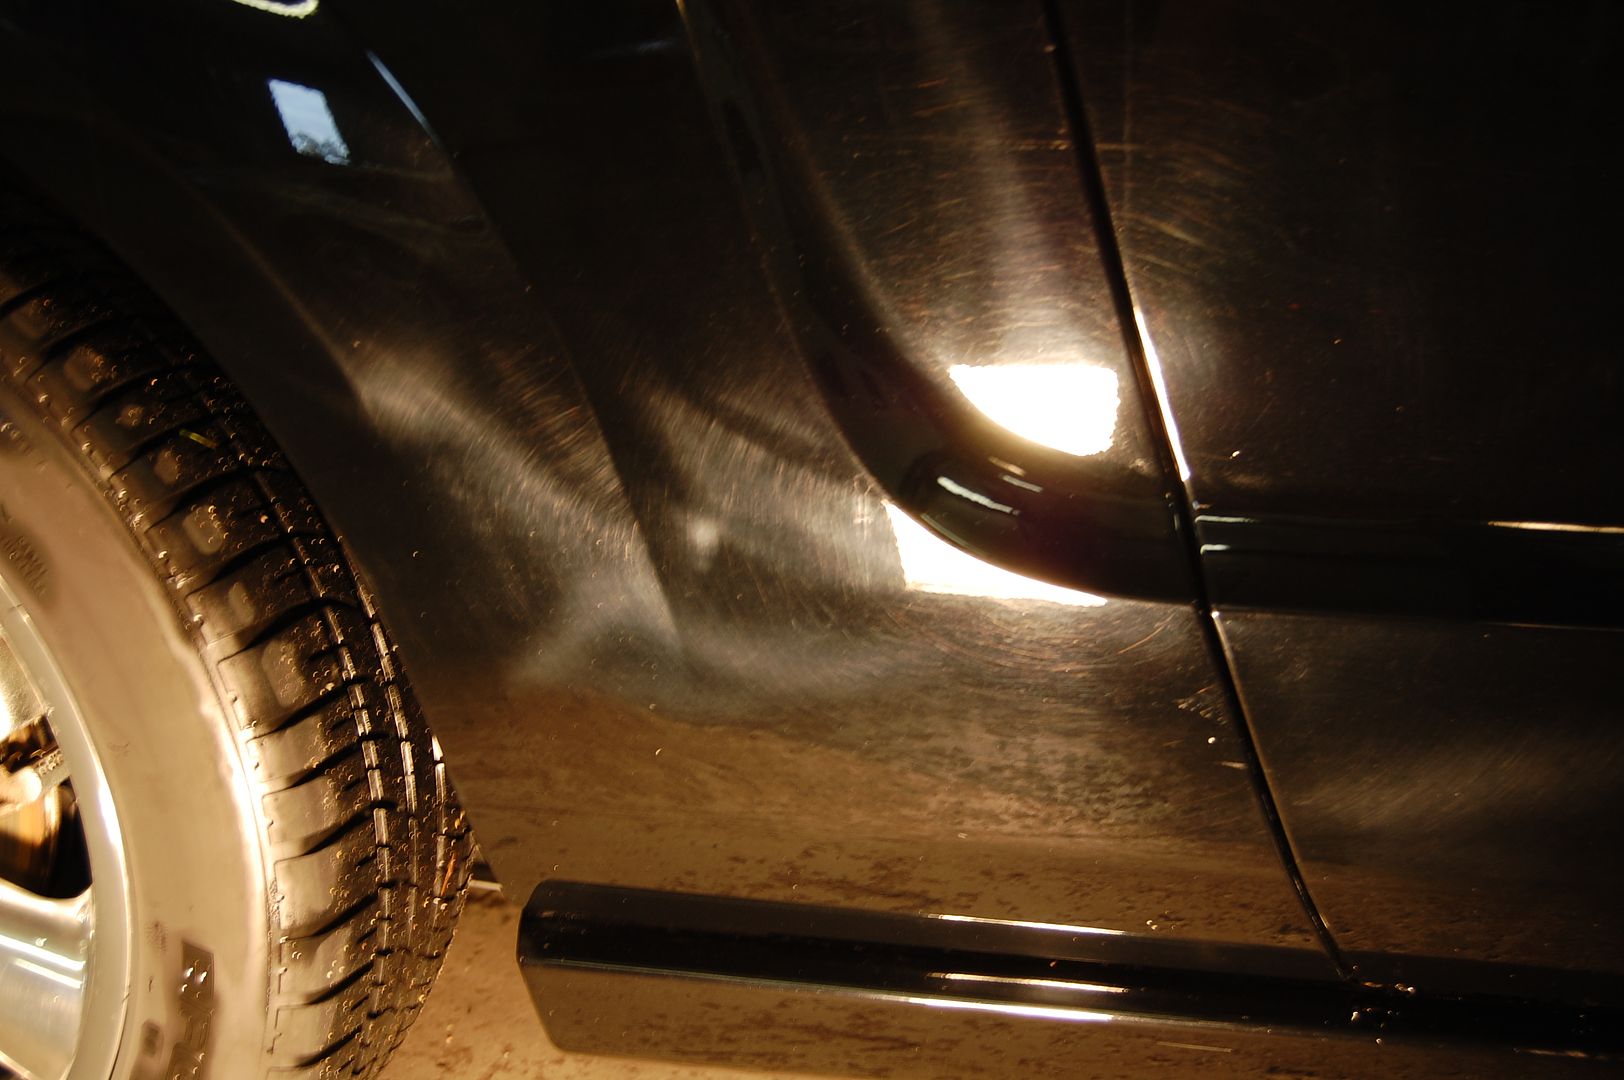
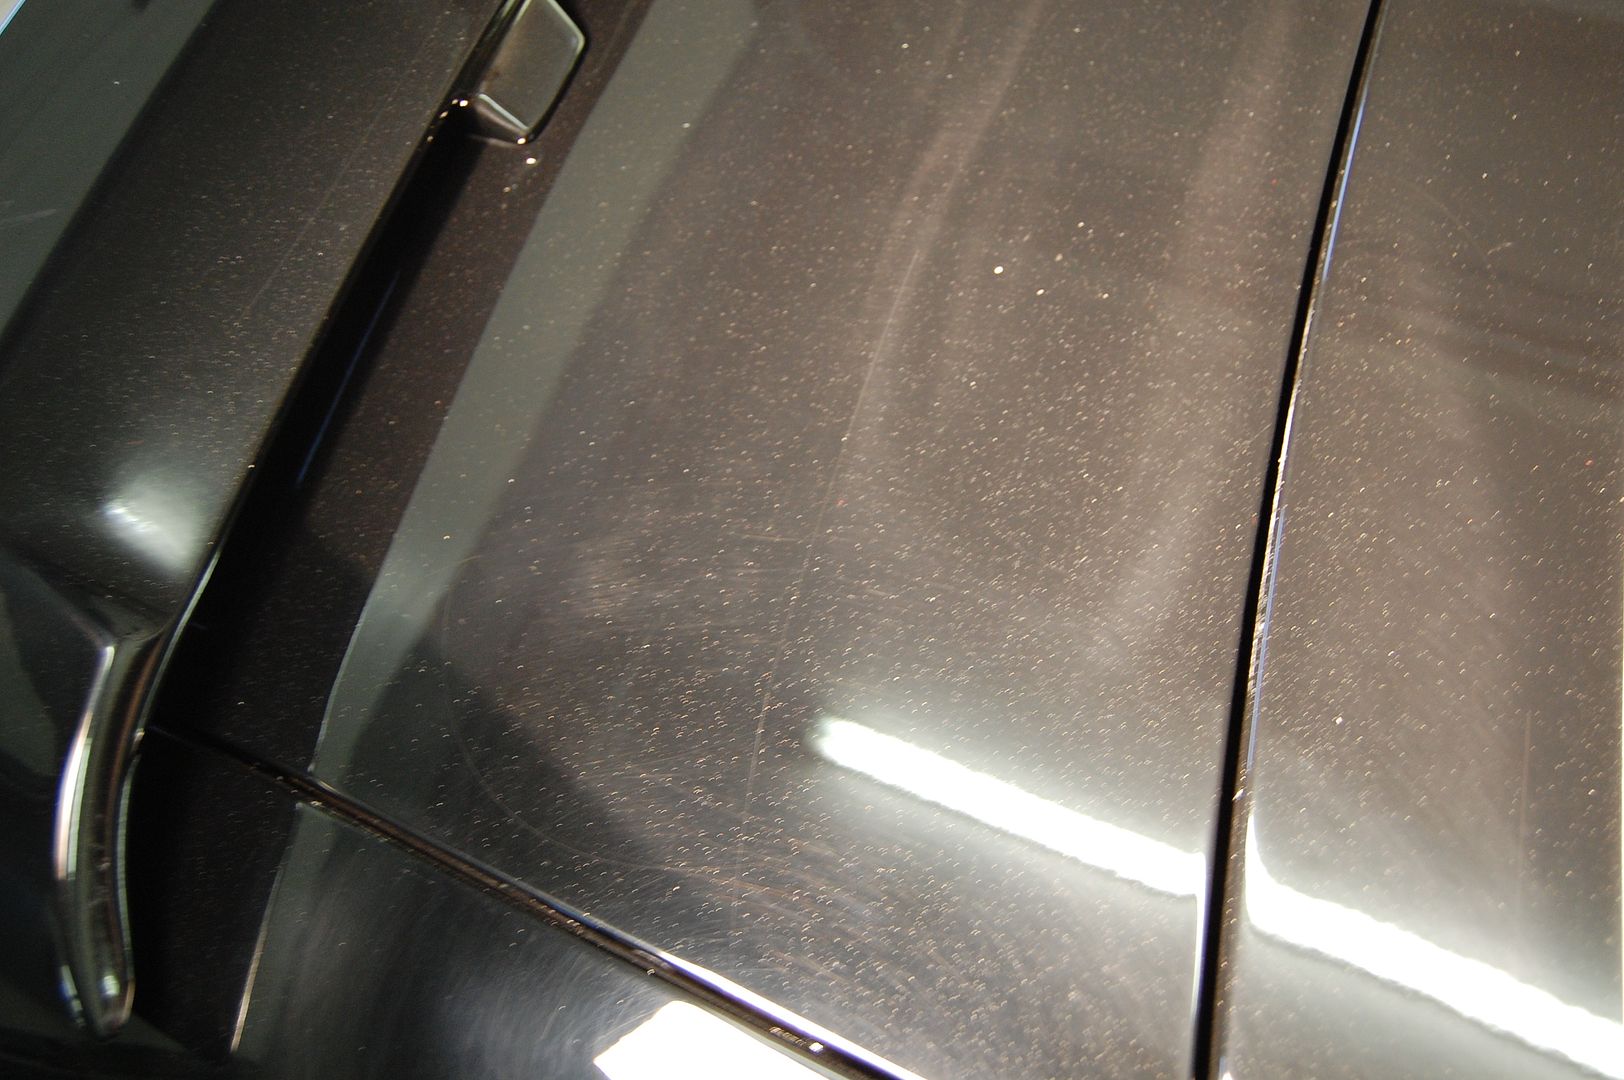
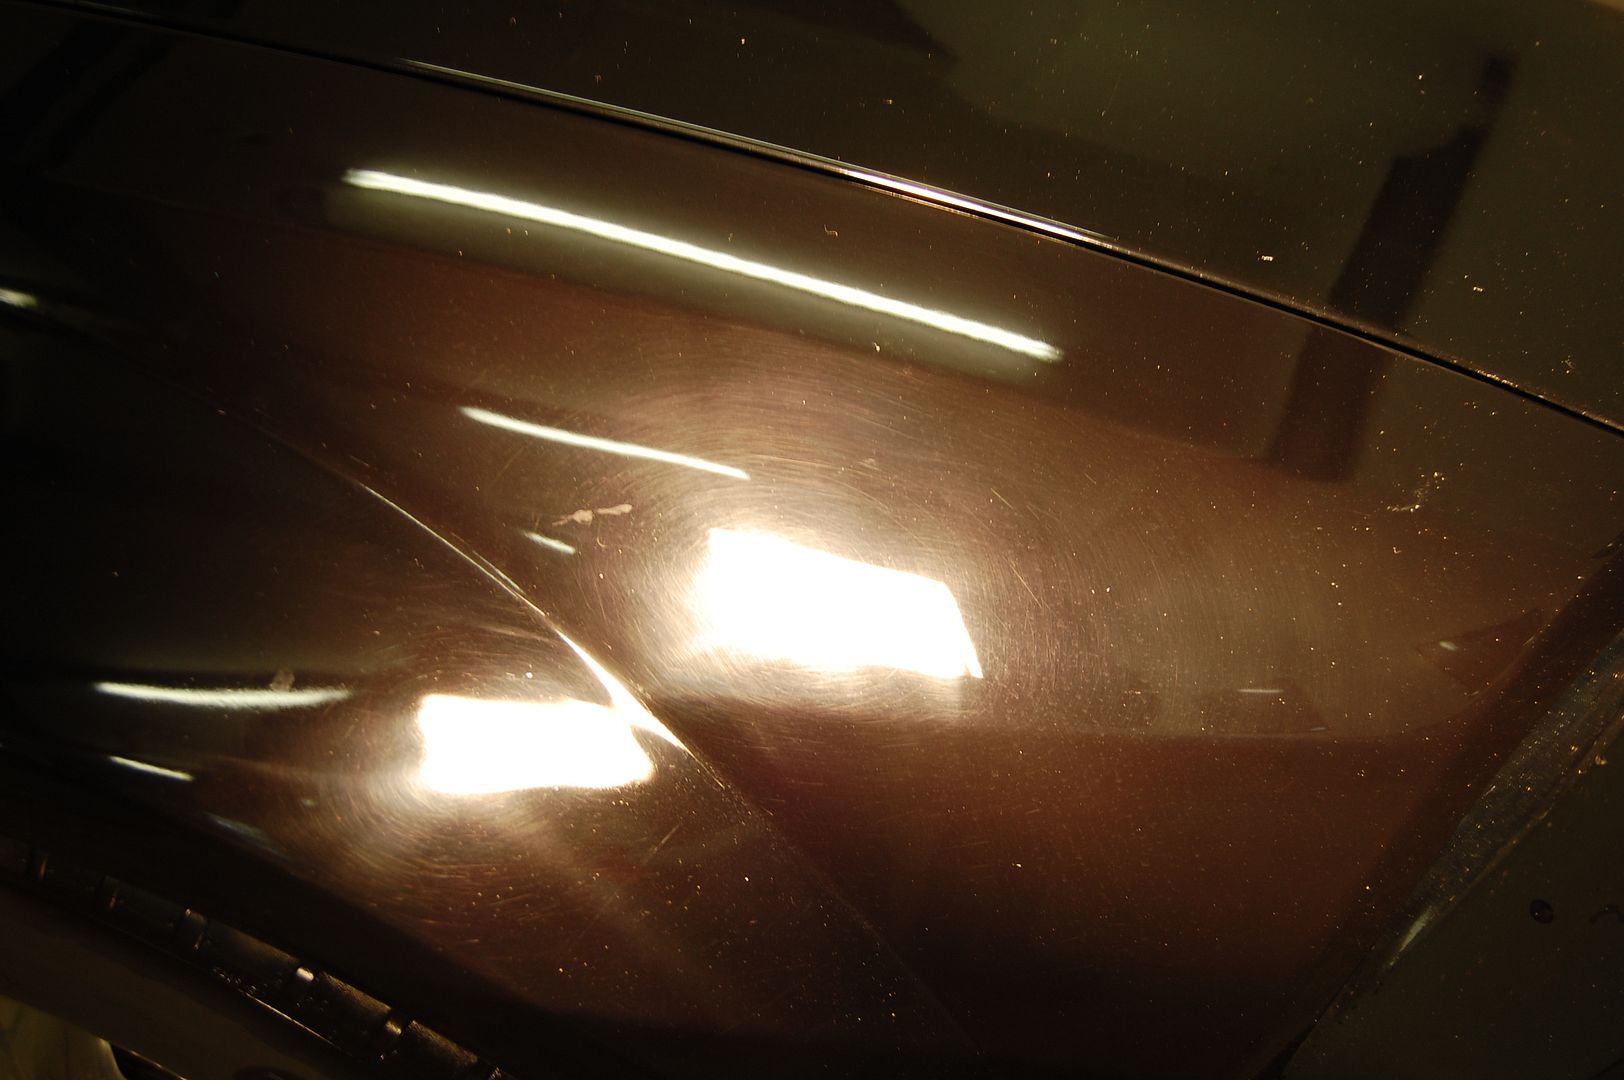
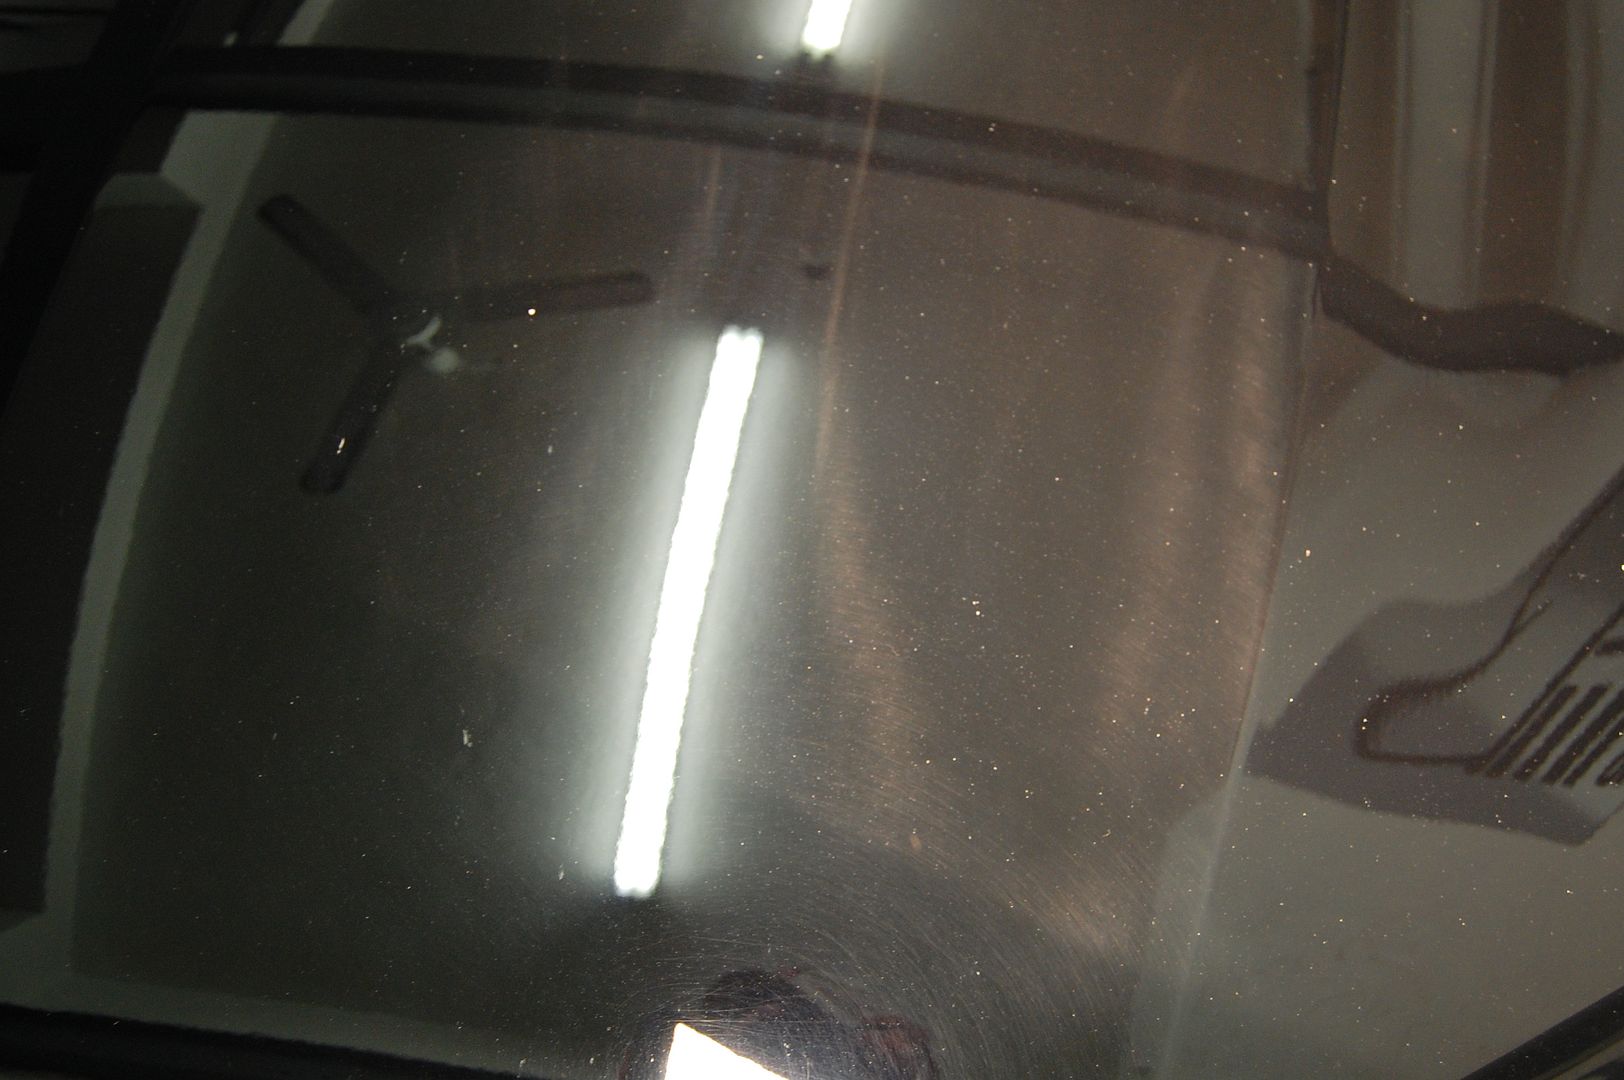
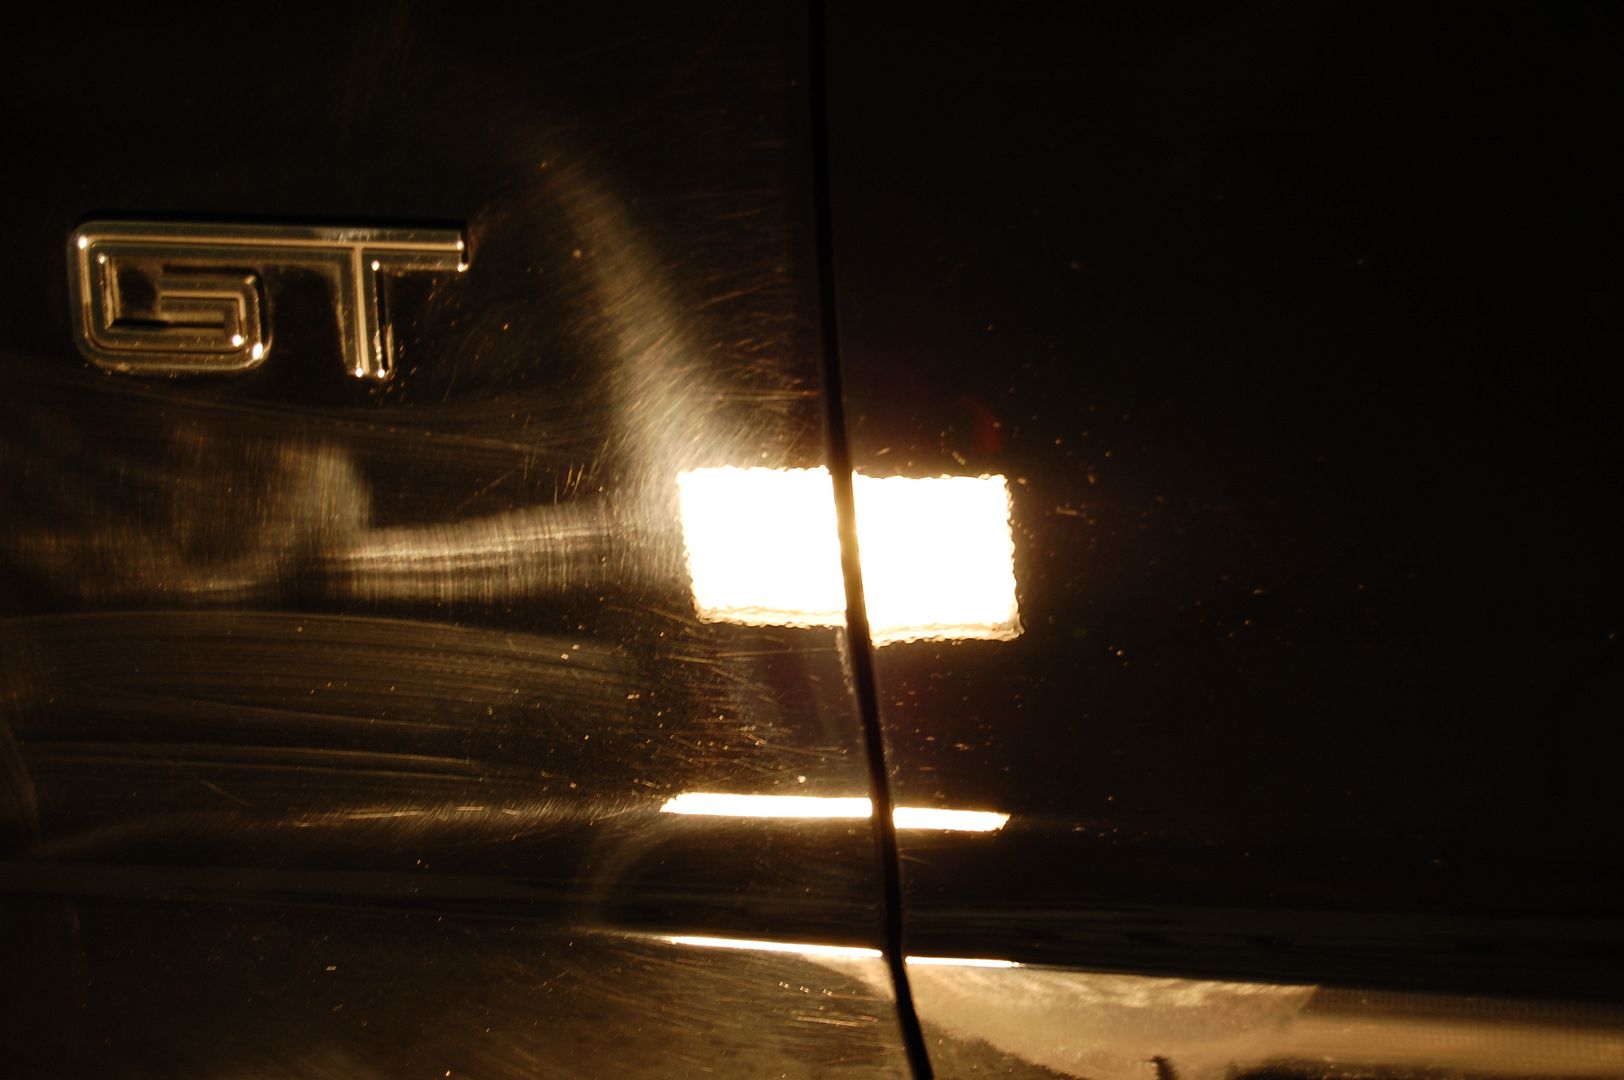
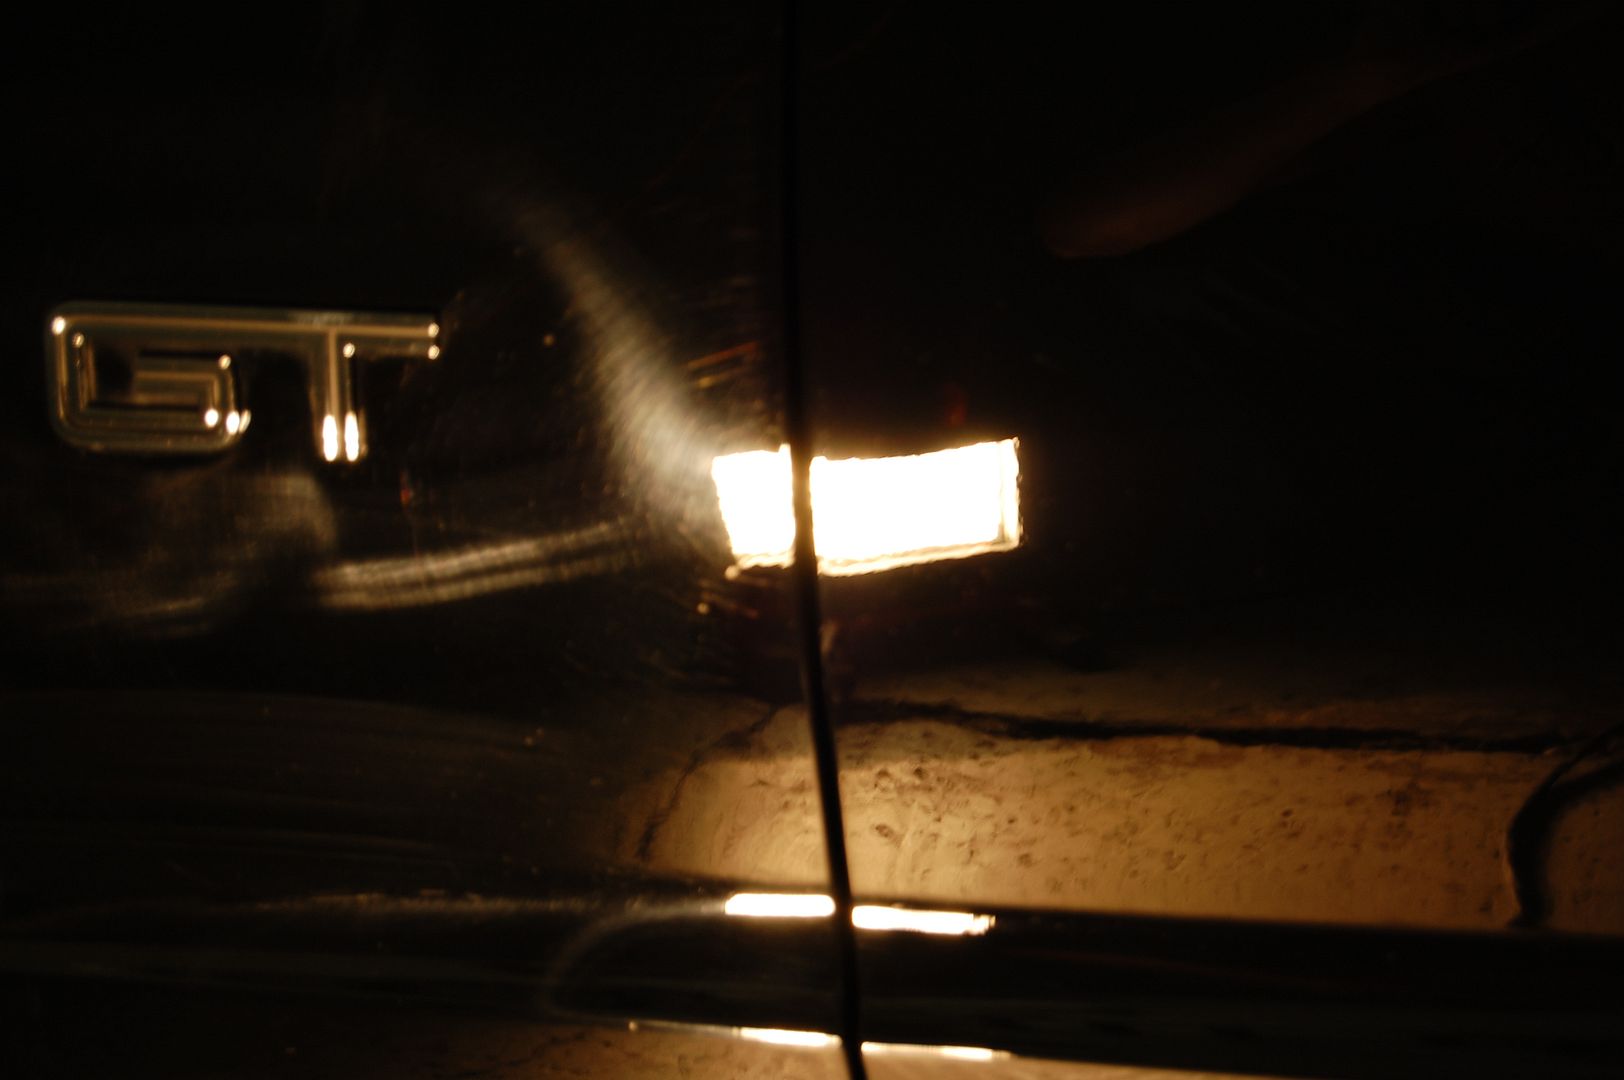
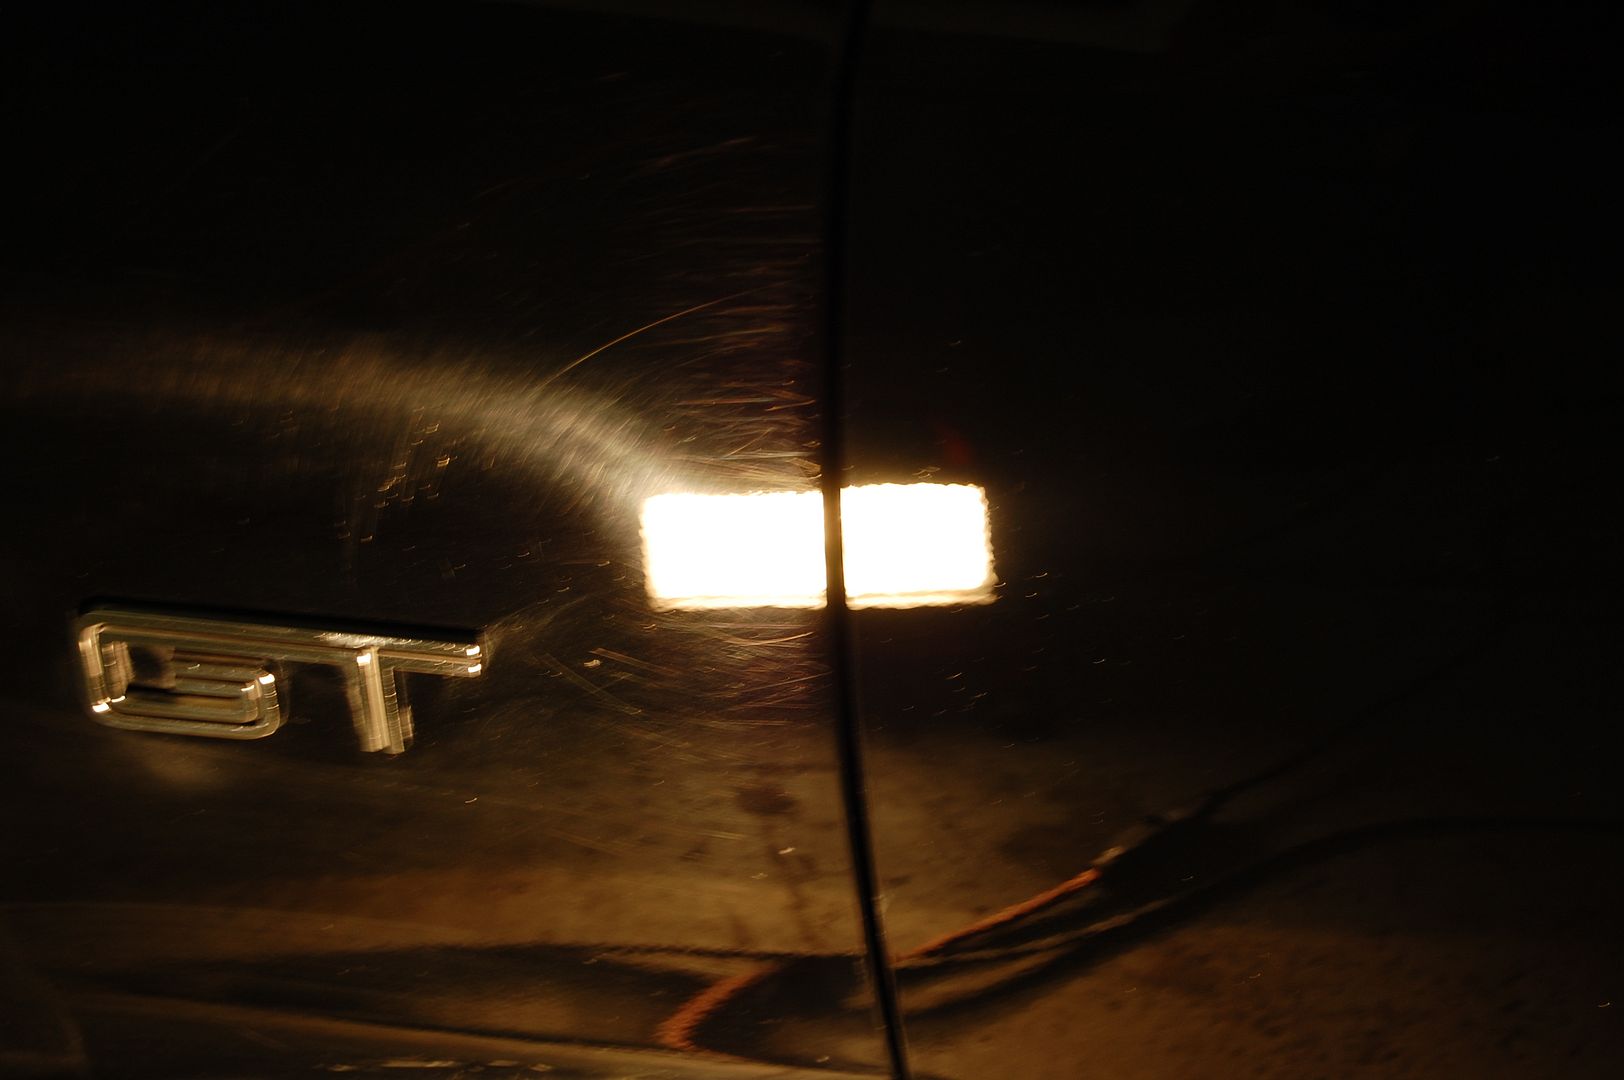
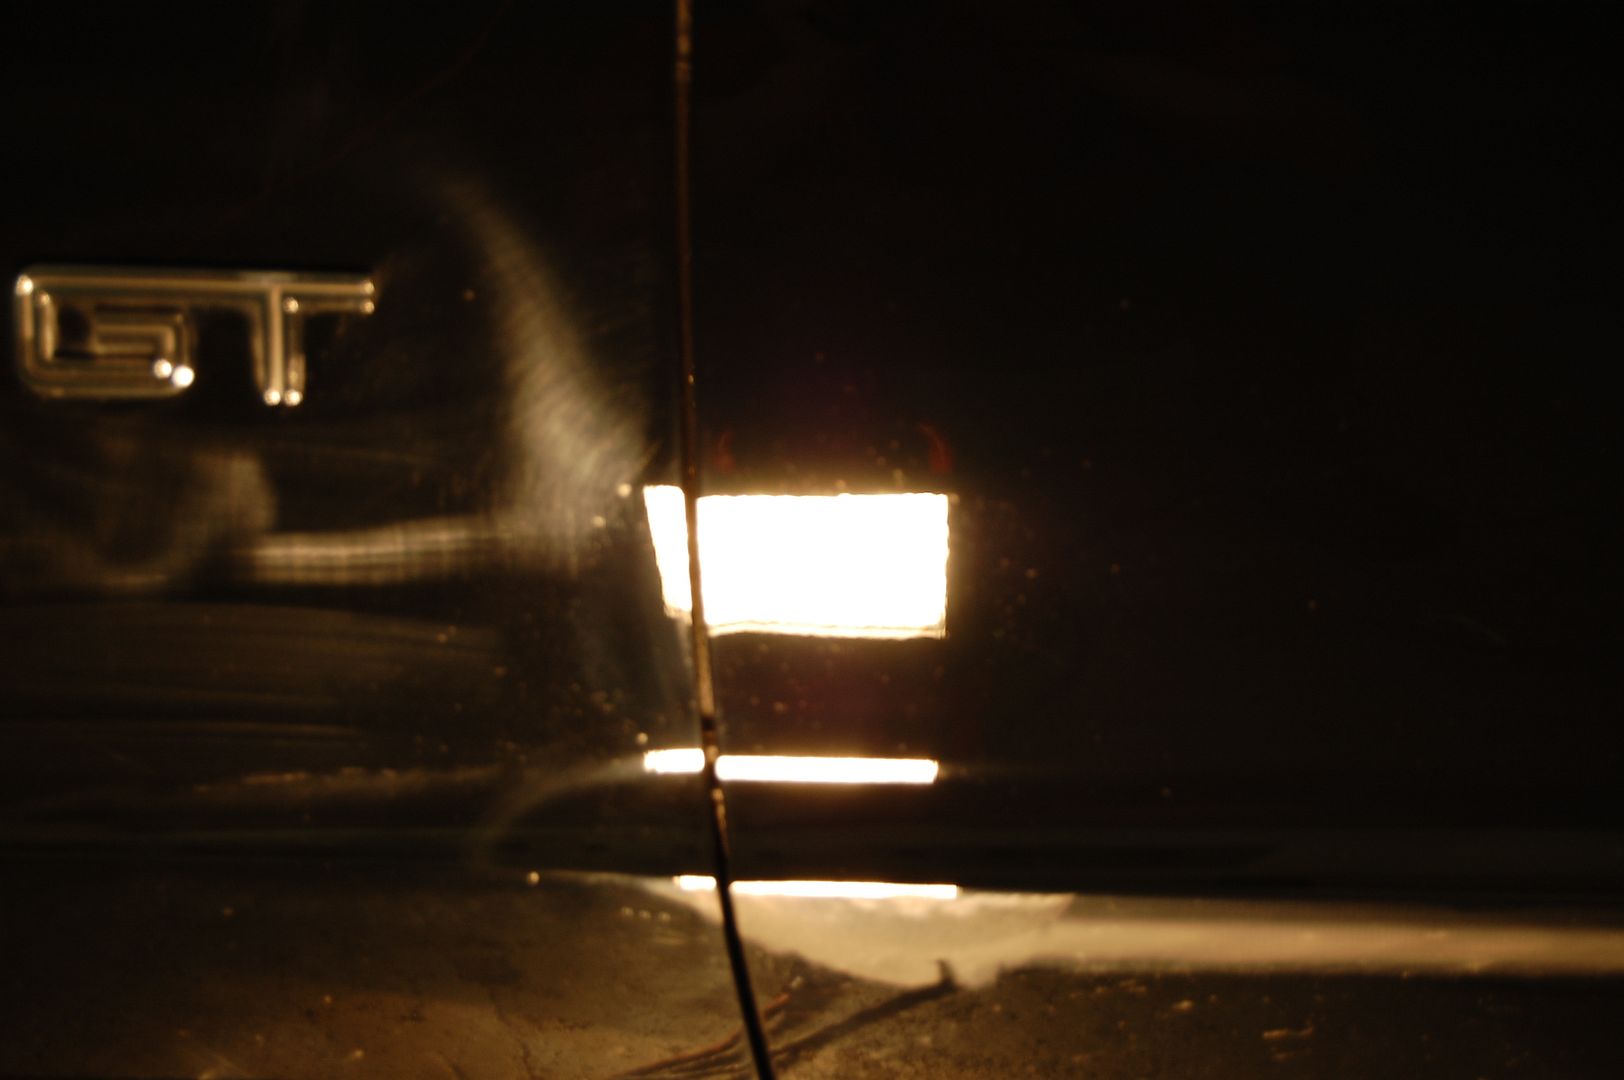
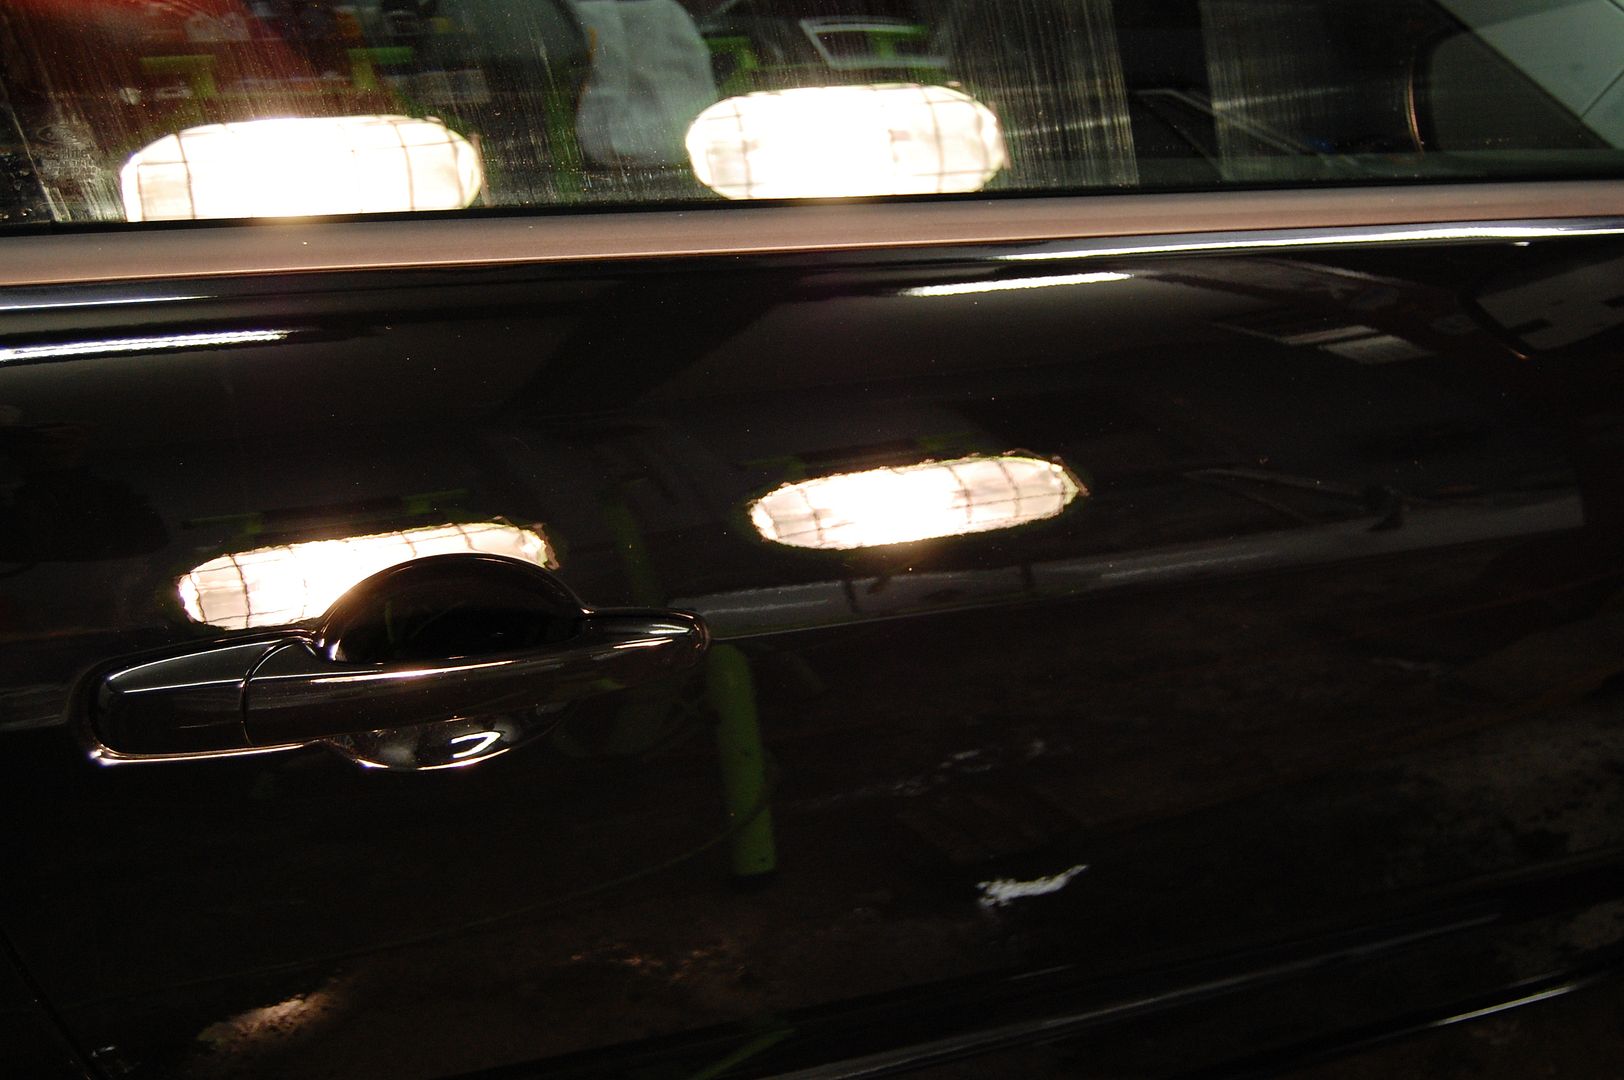
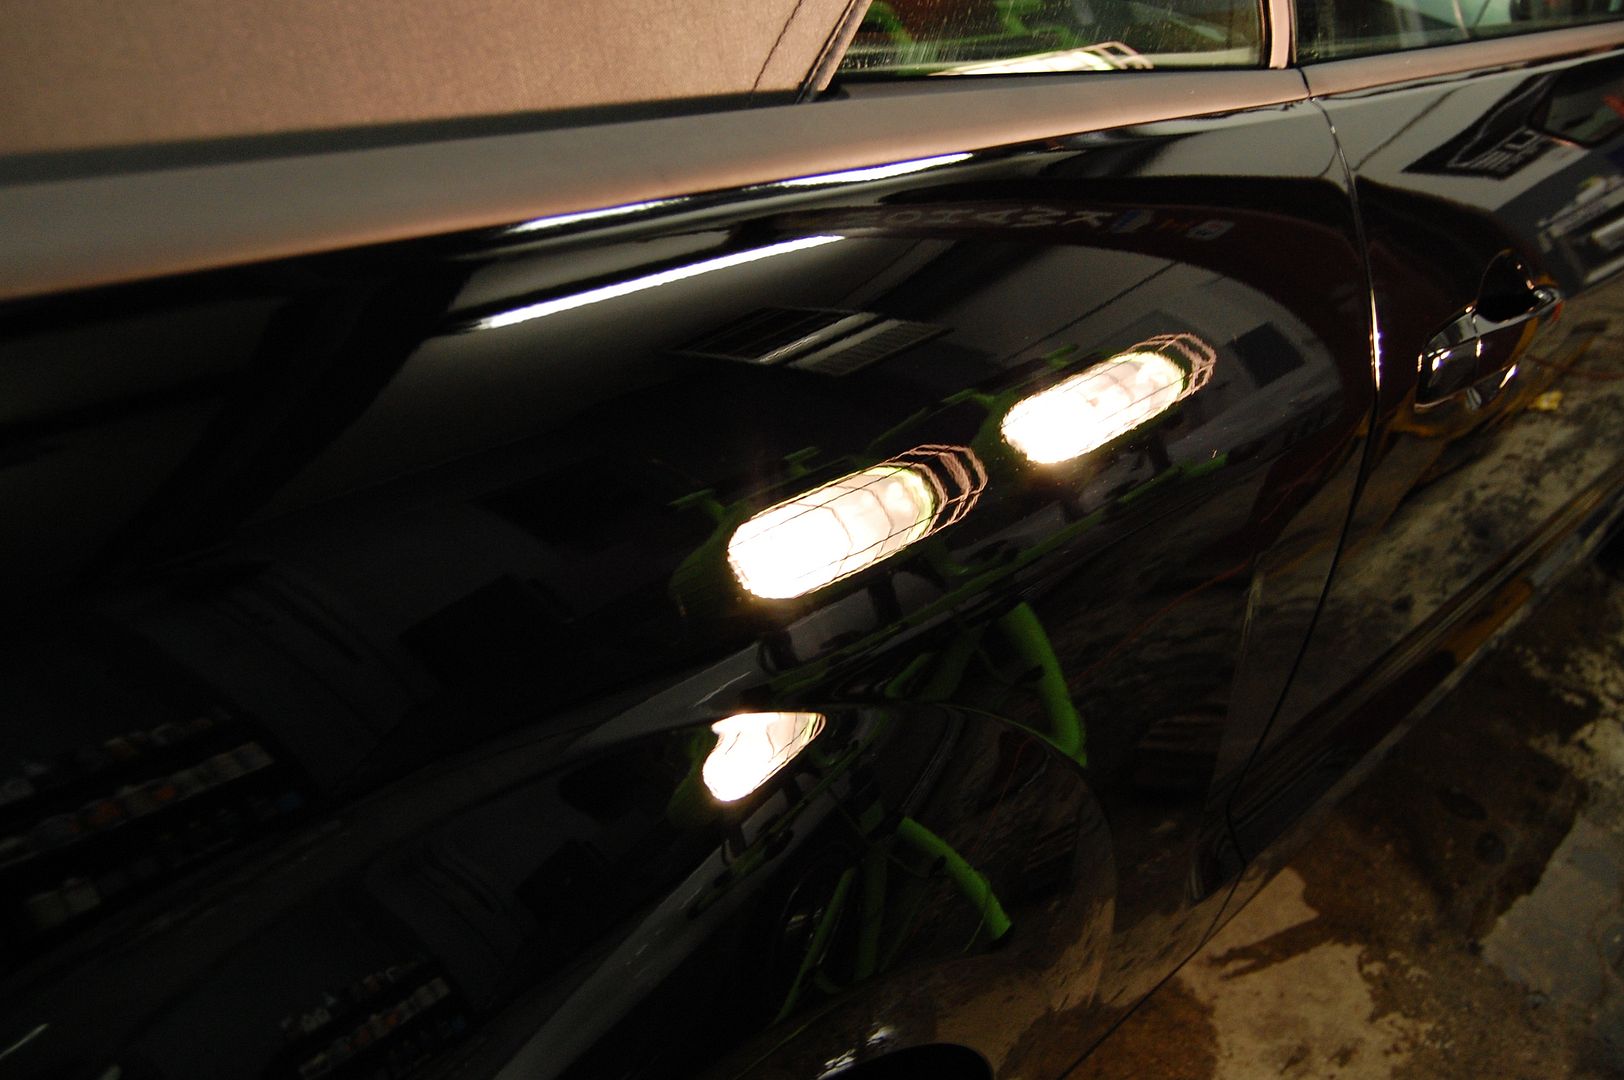
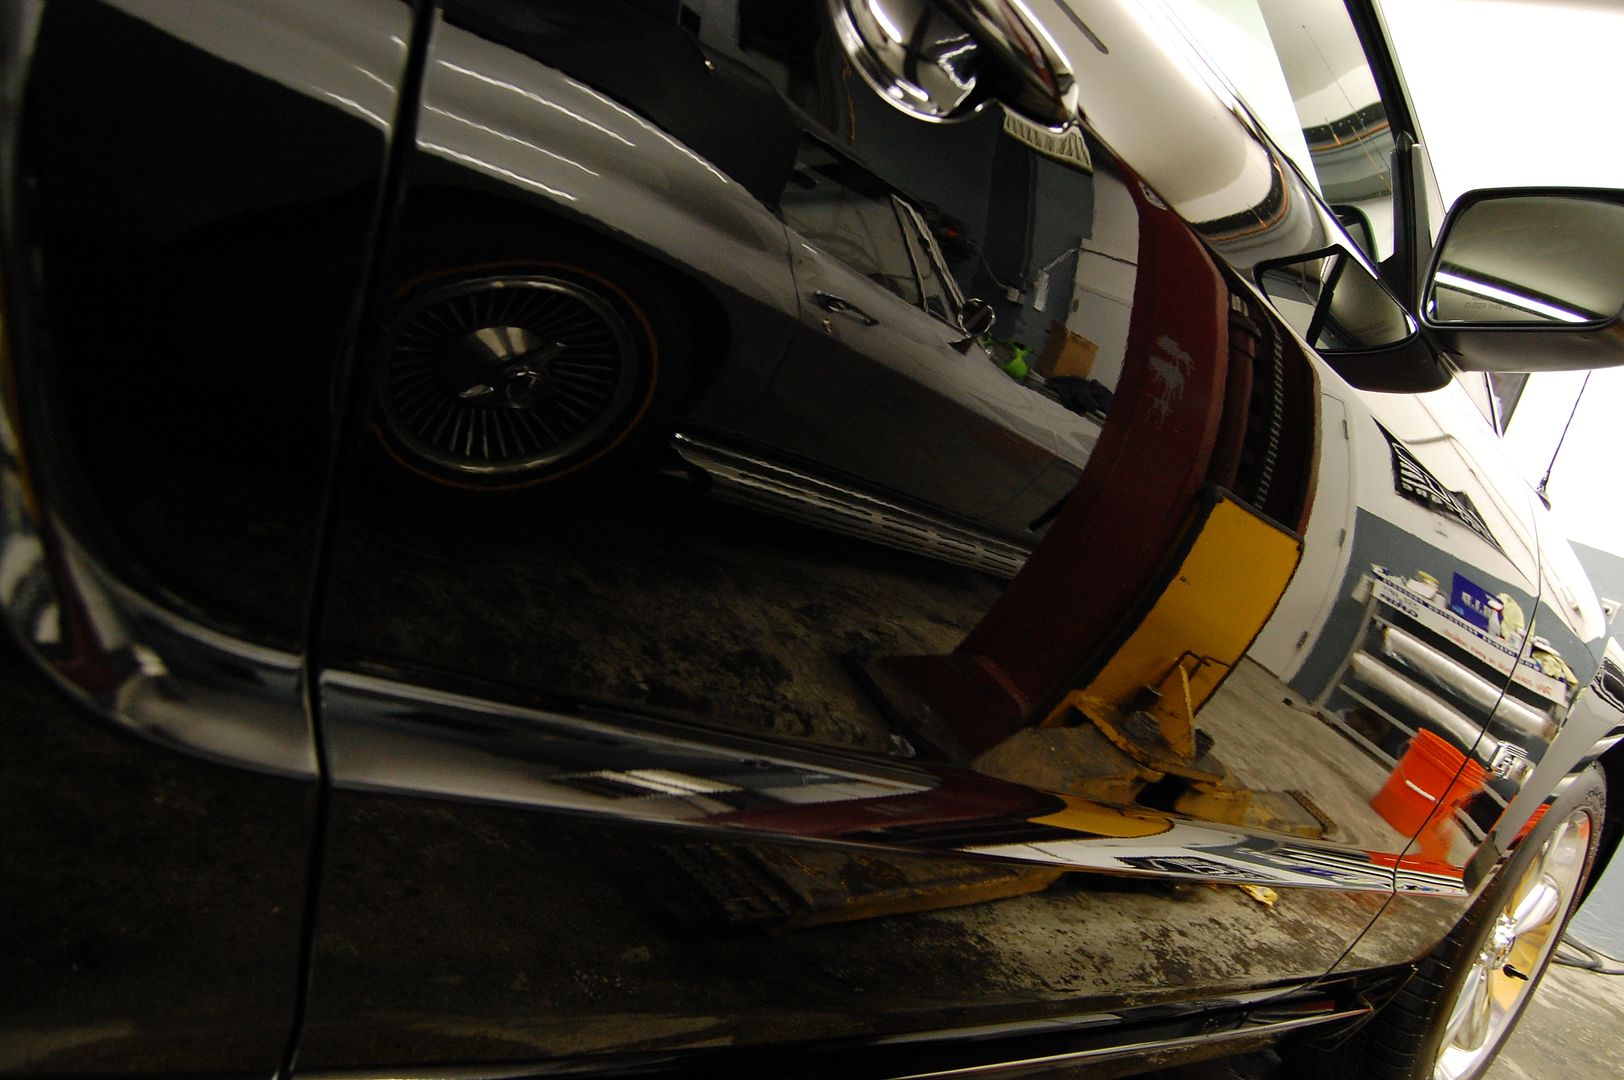
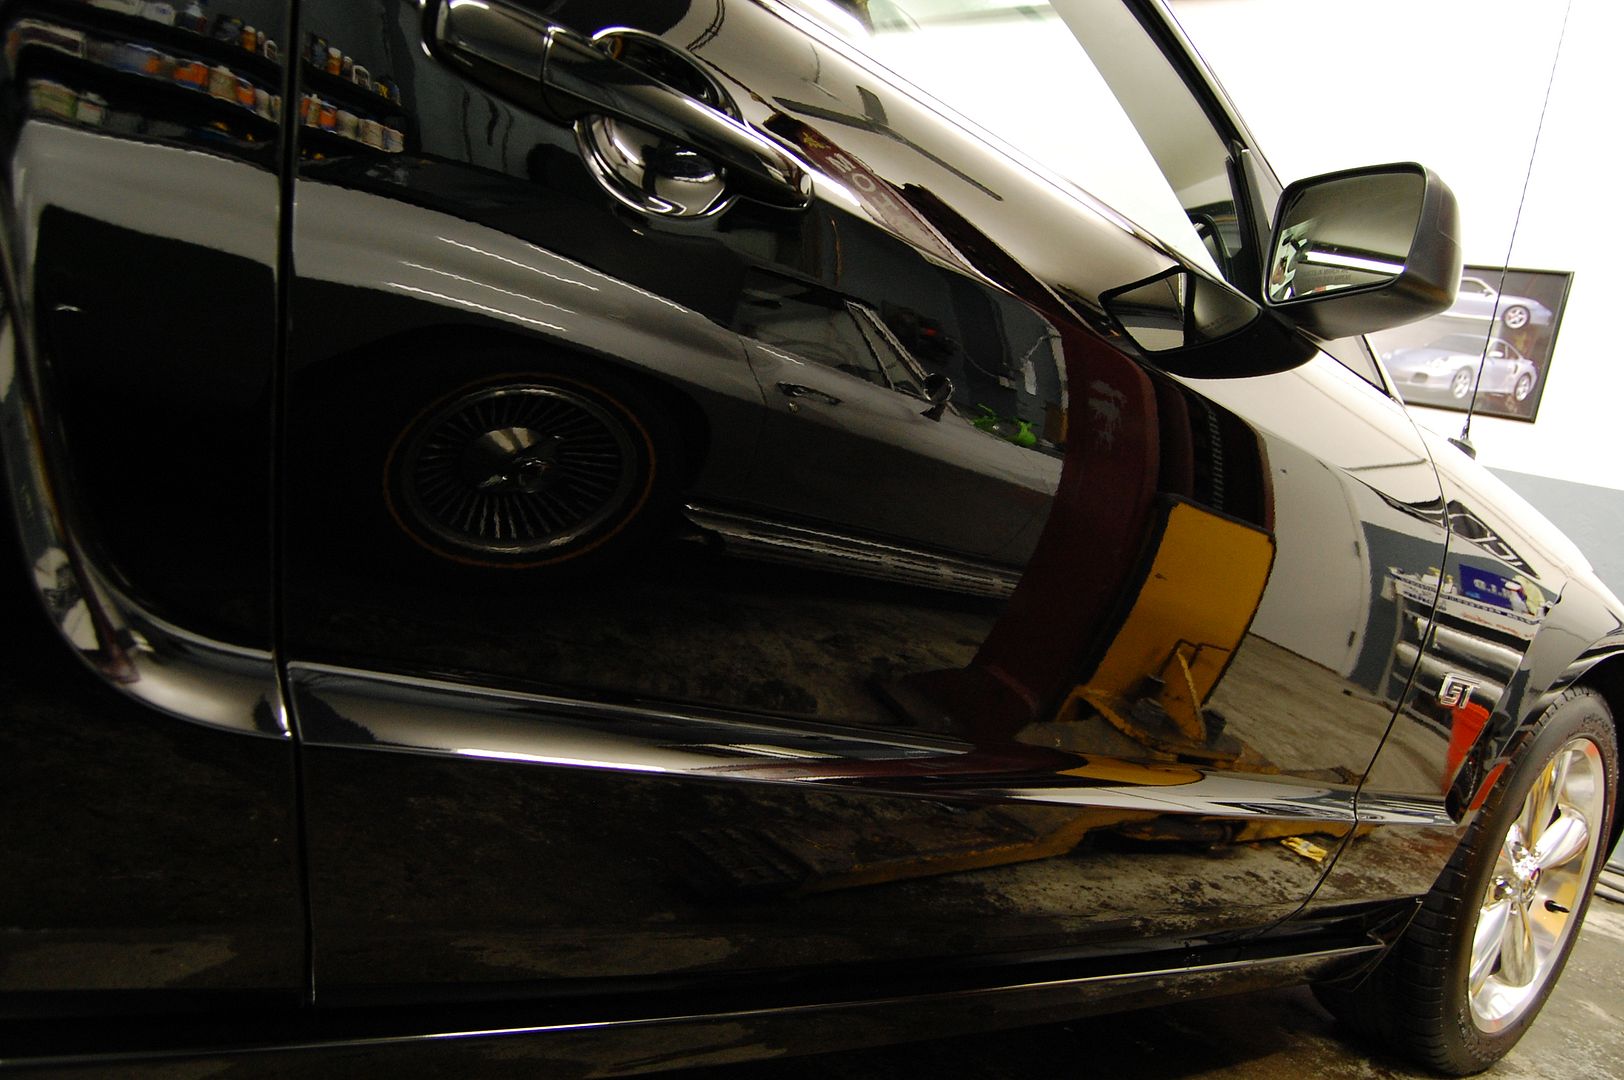
The pictures below are after several passes with Meguiar’s 105 paired with a cyan Hydro-Tech pad via rotary. You can clearly see the difference between the door that has been corrected and the front fender that hasn’t been touched.
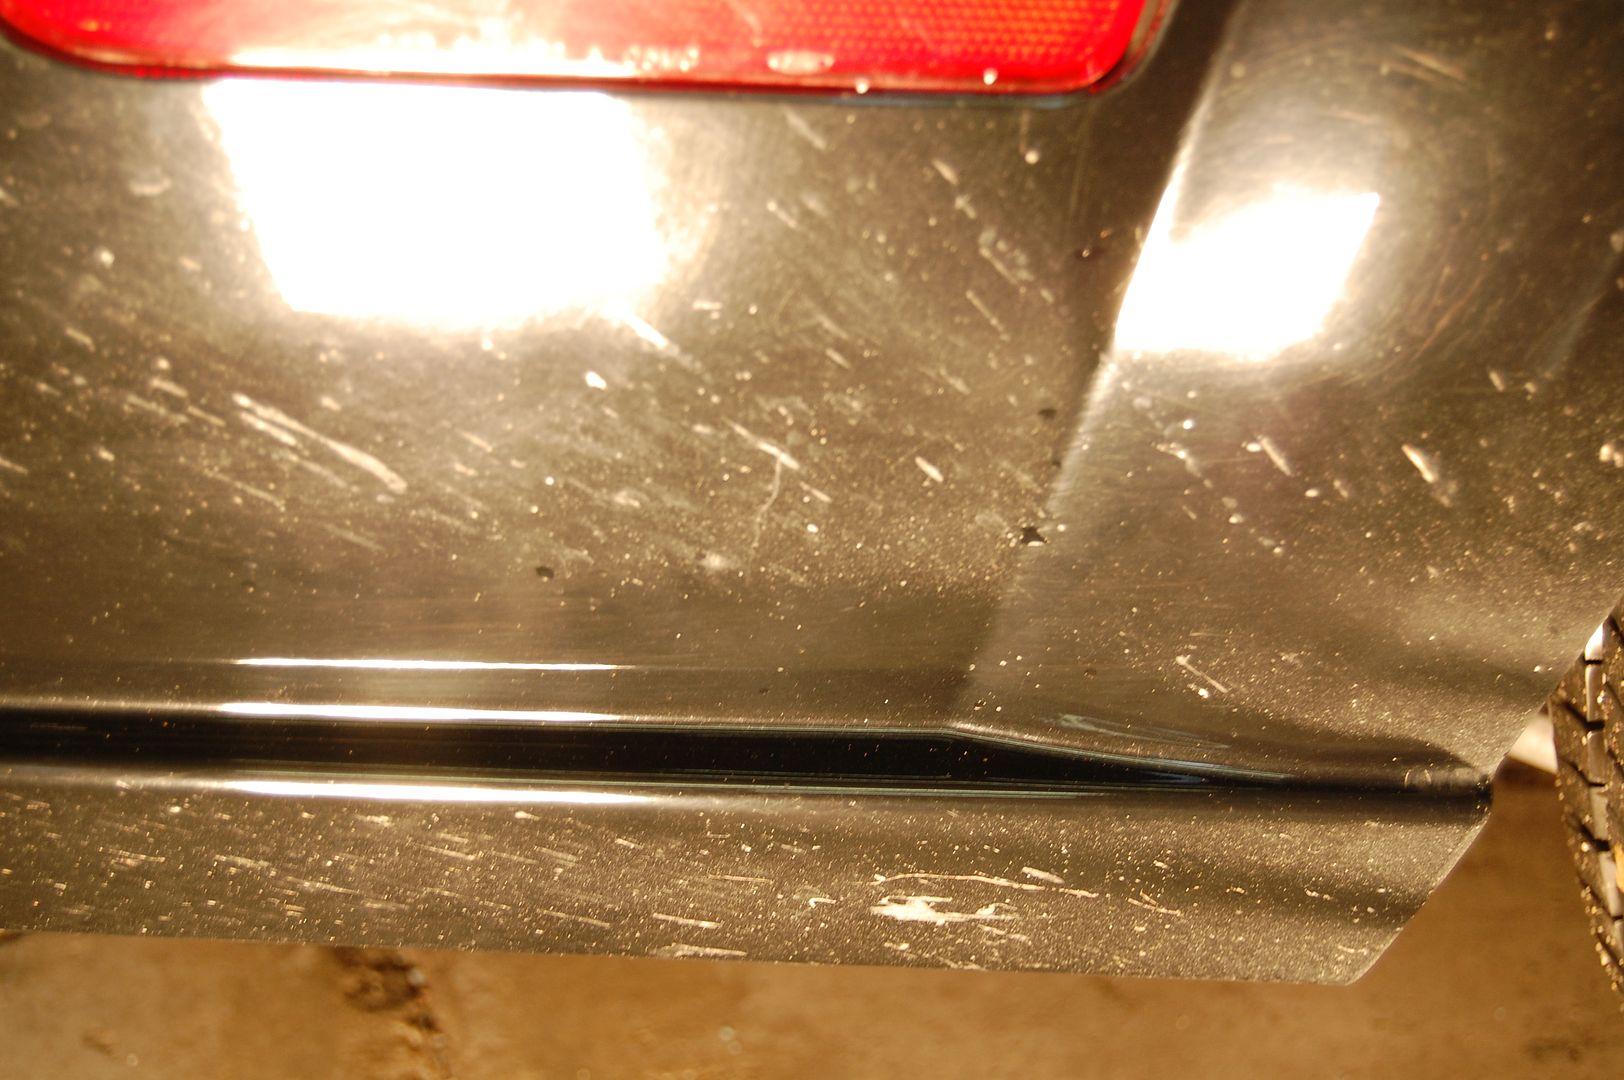
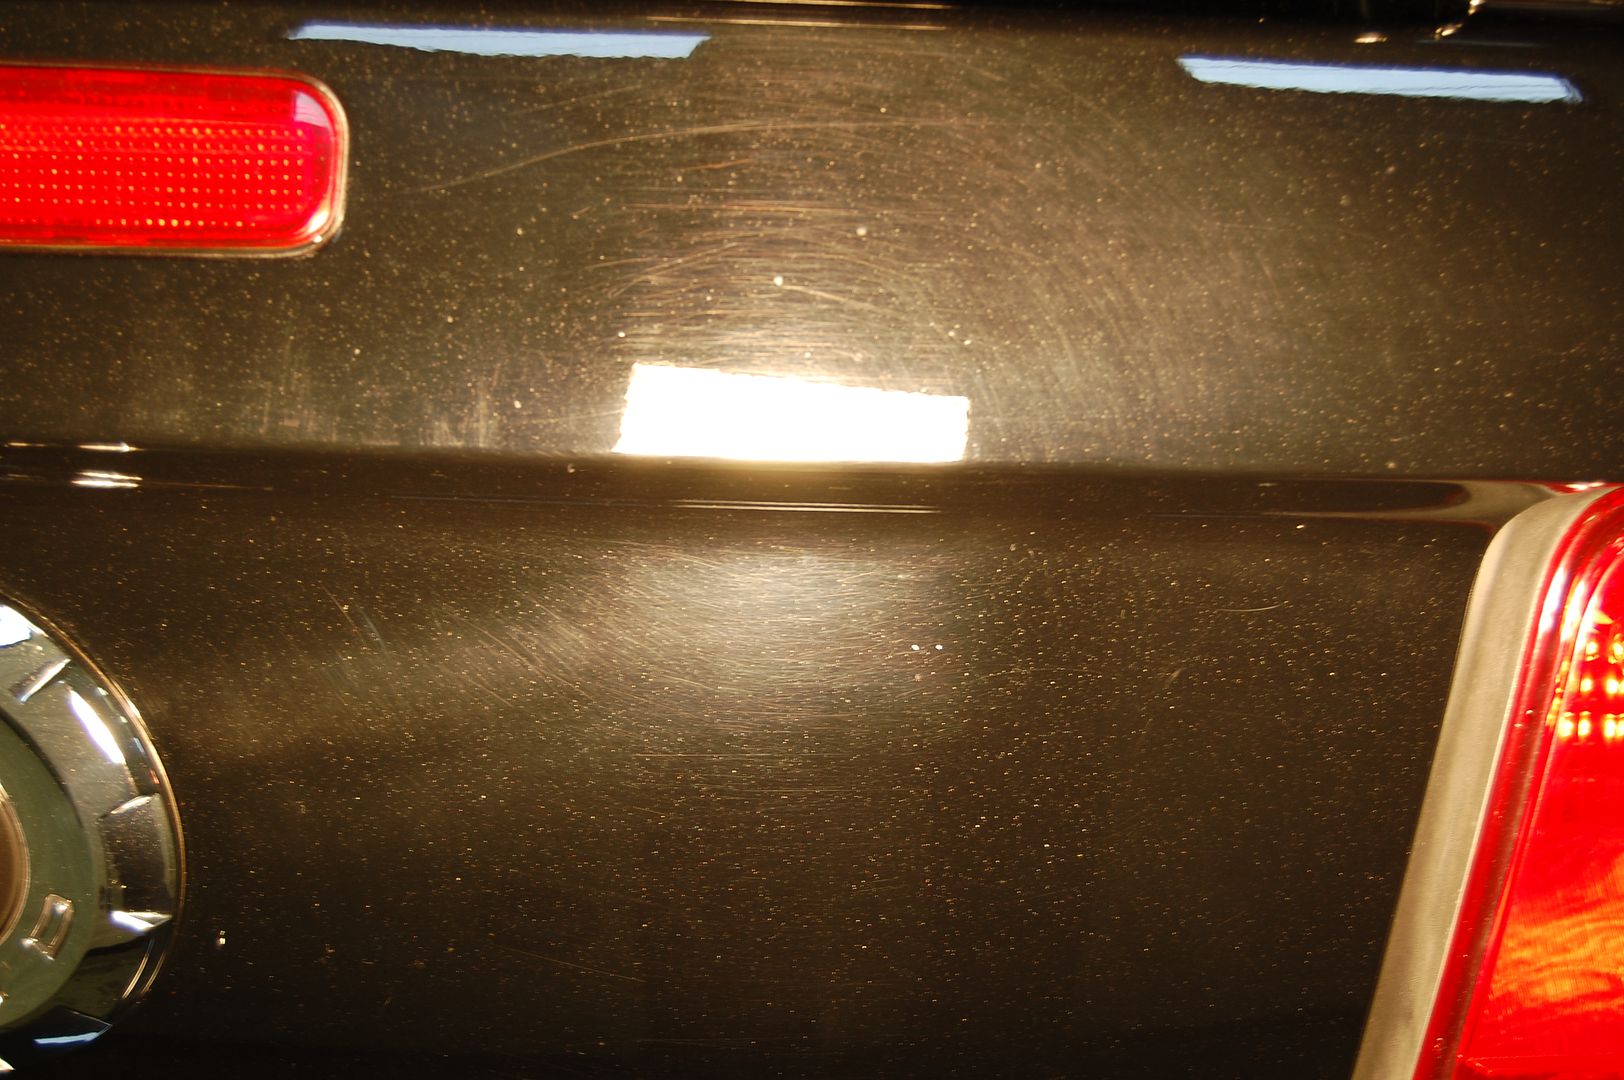
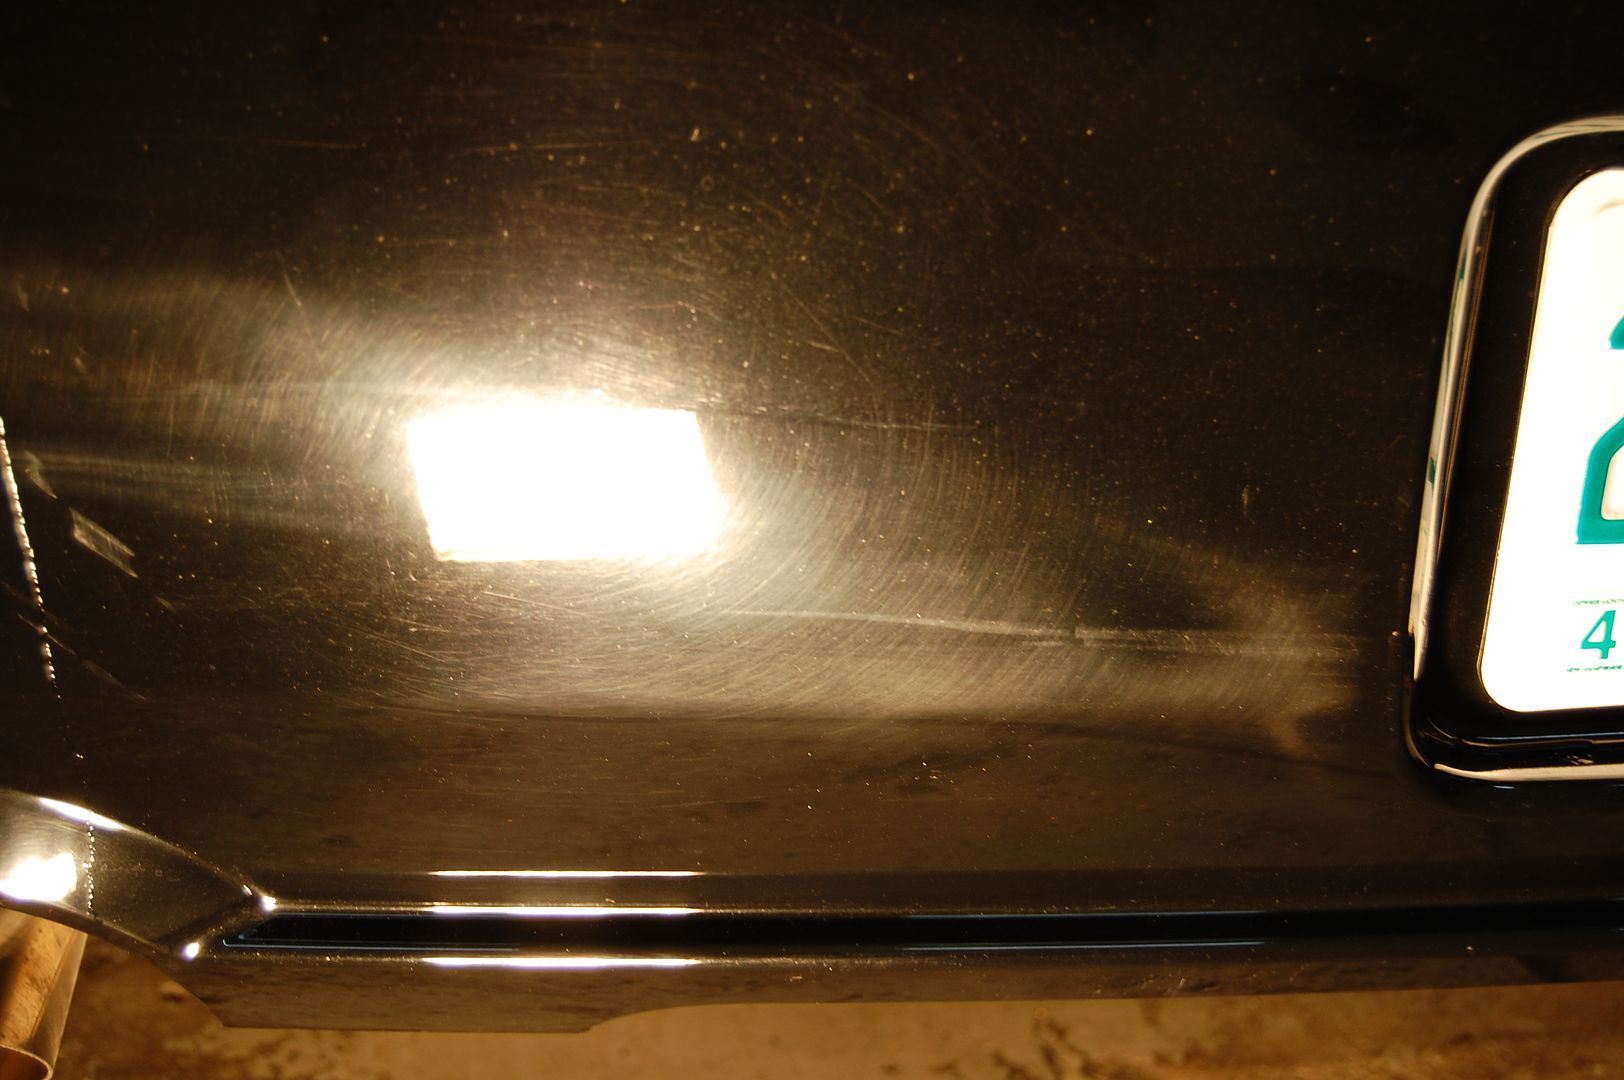
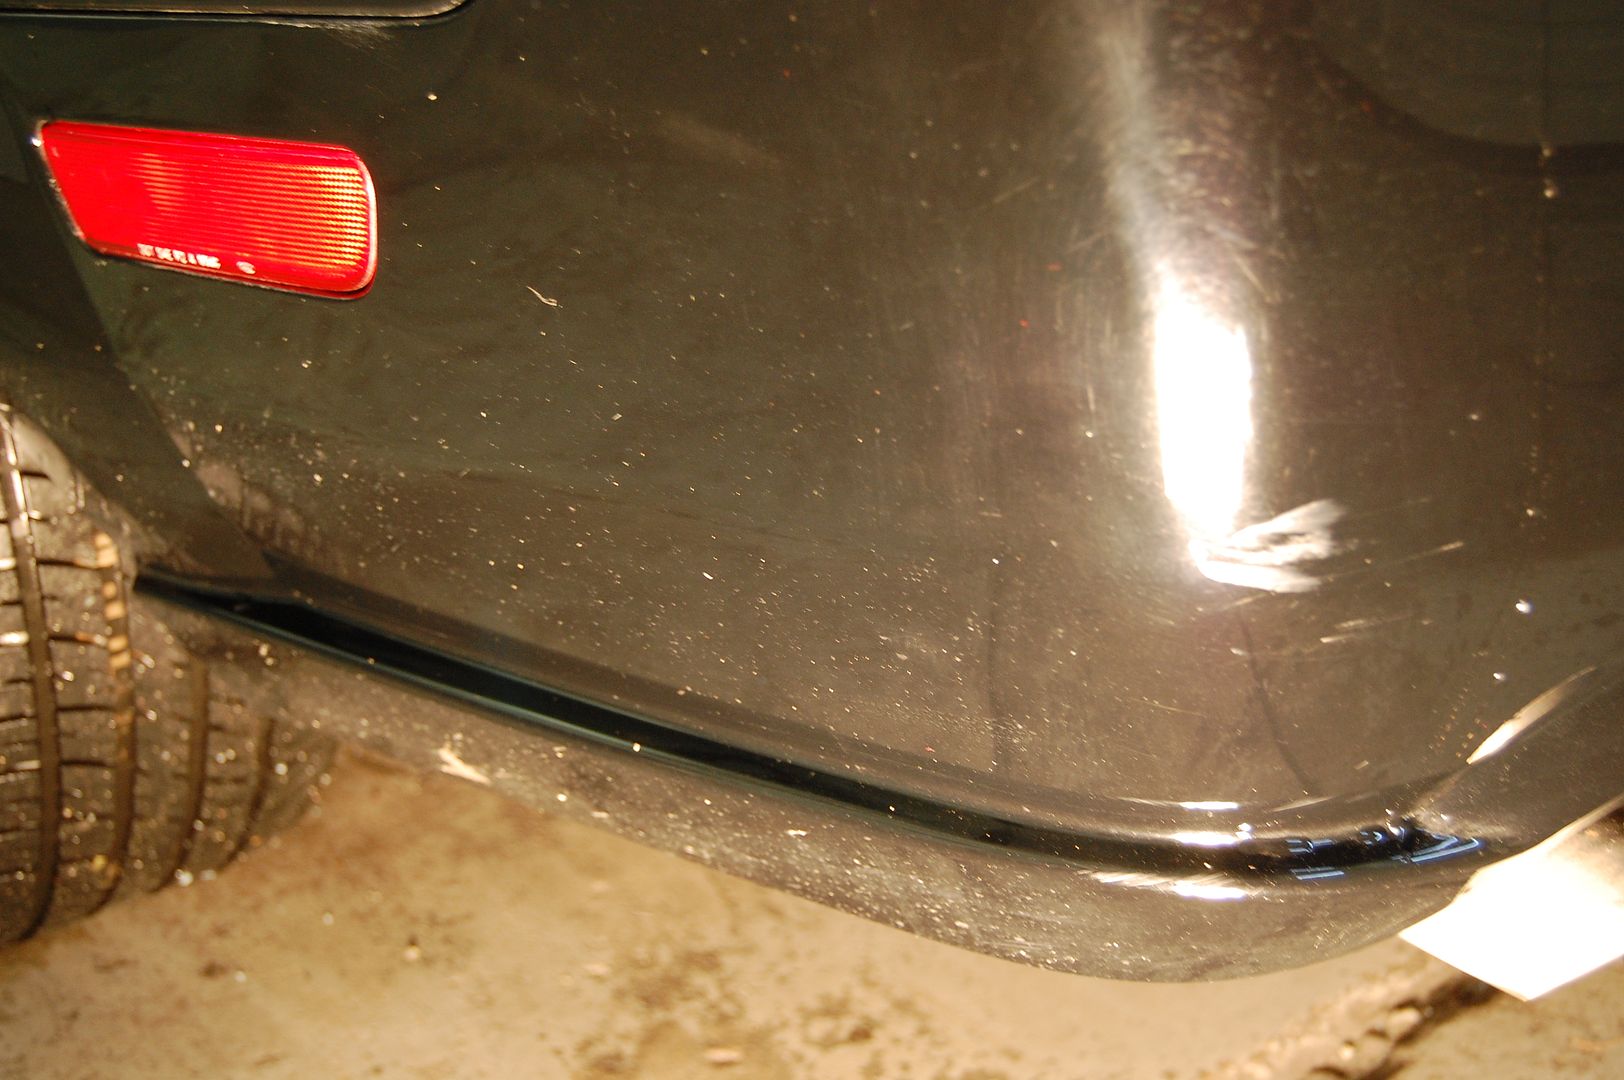
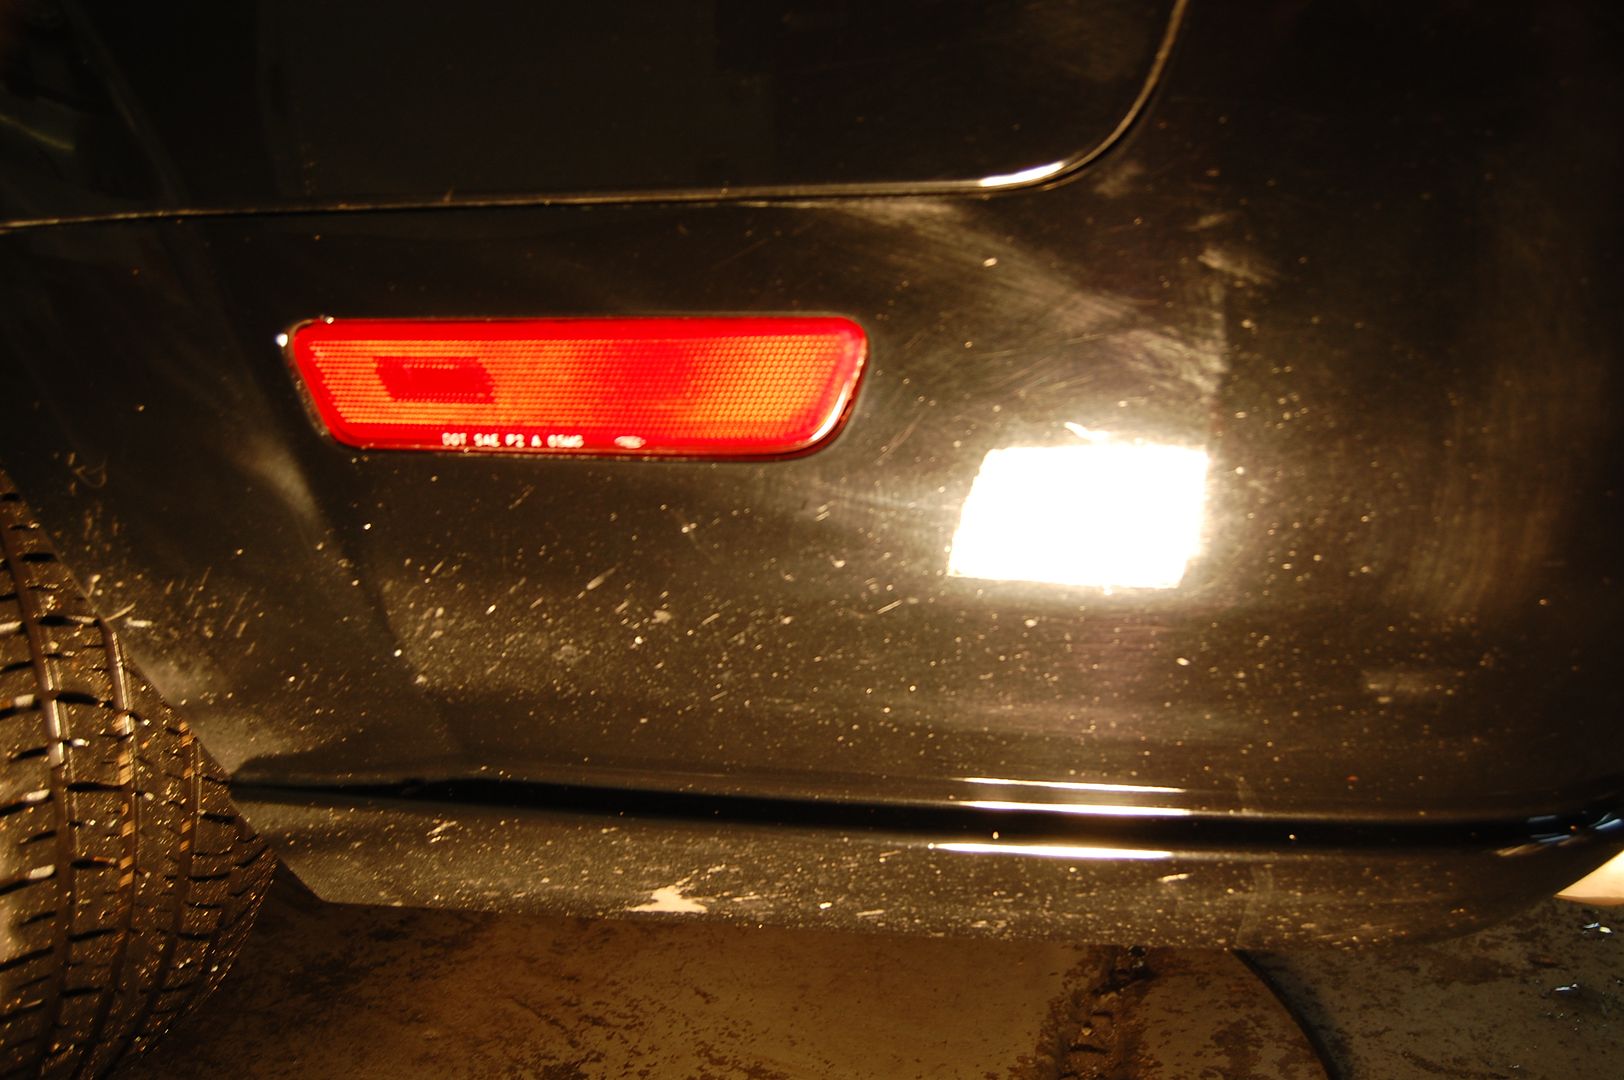
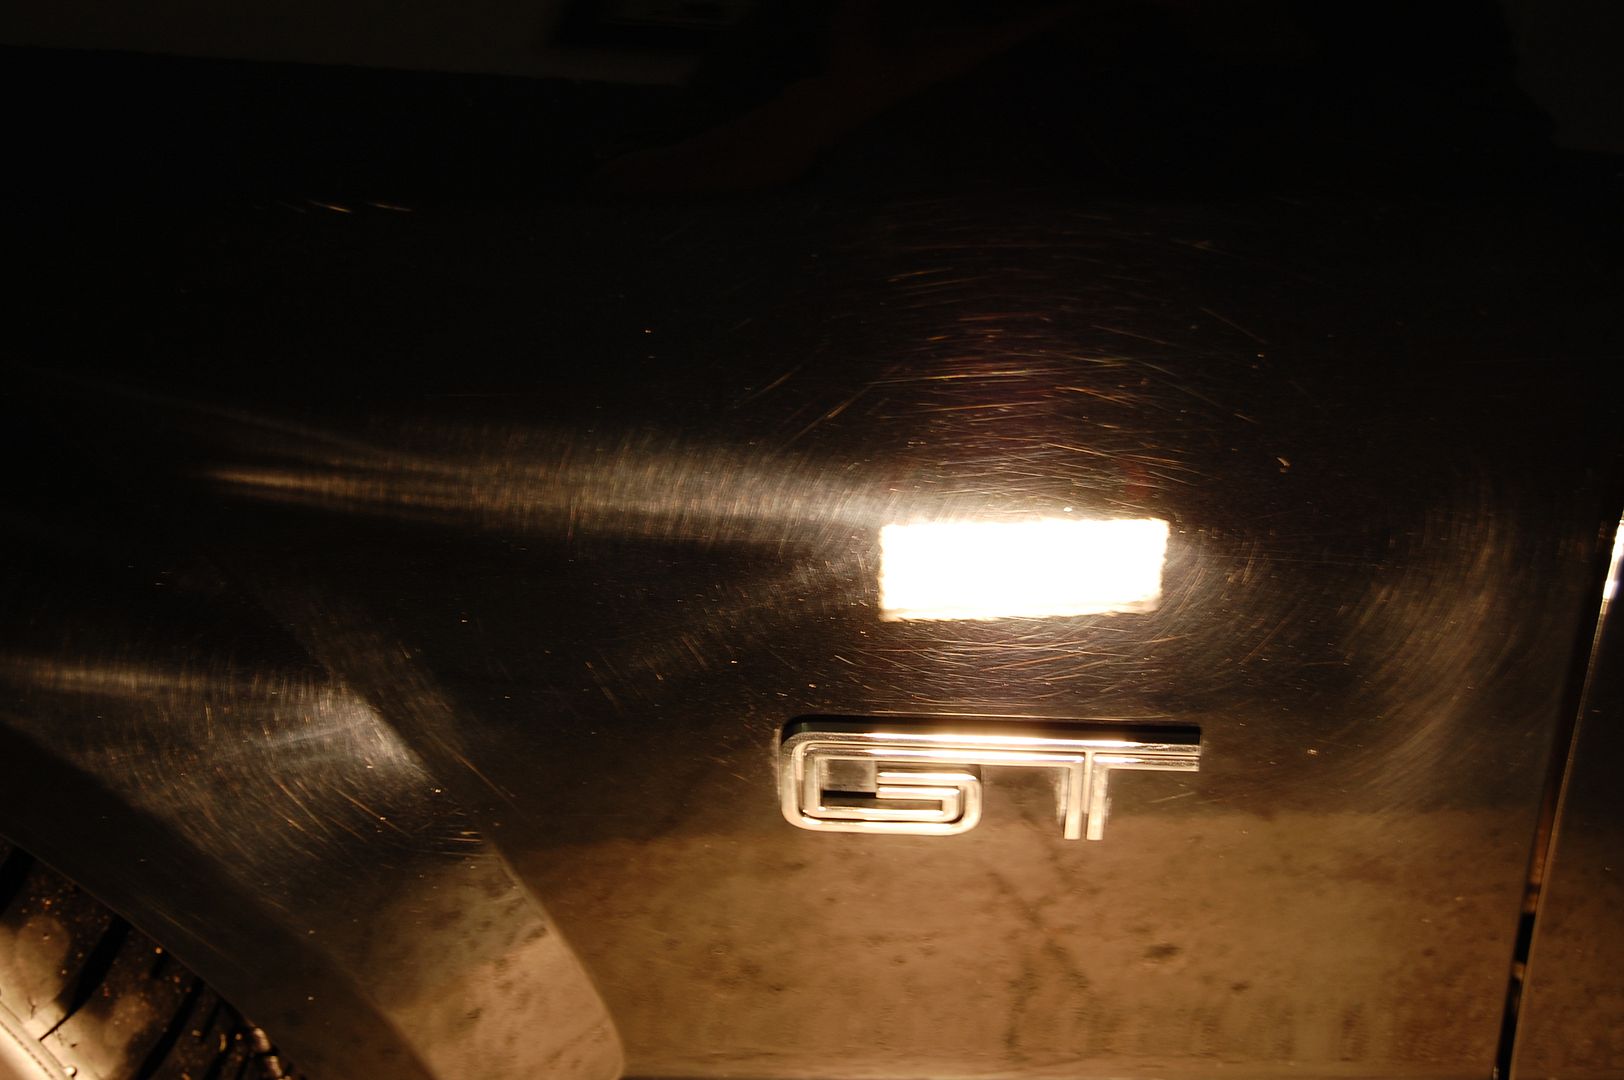
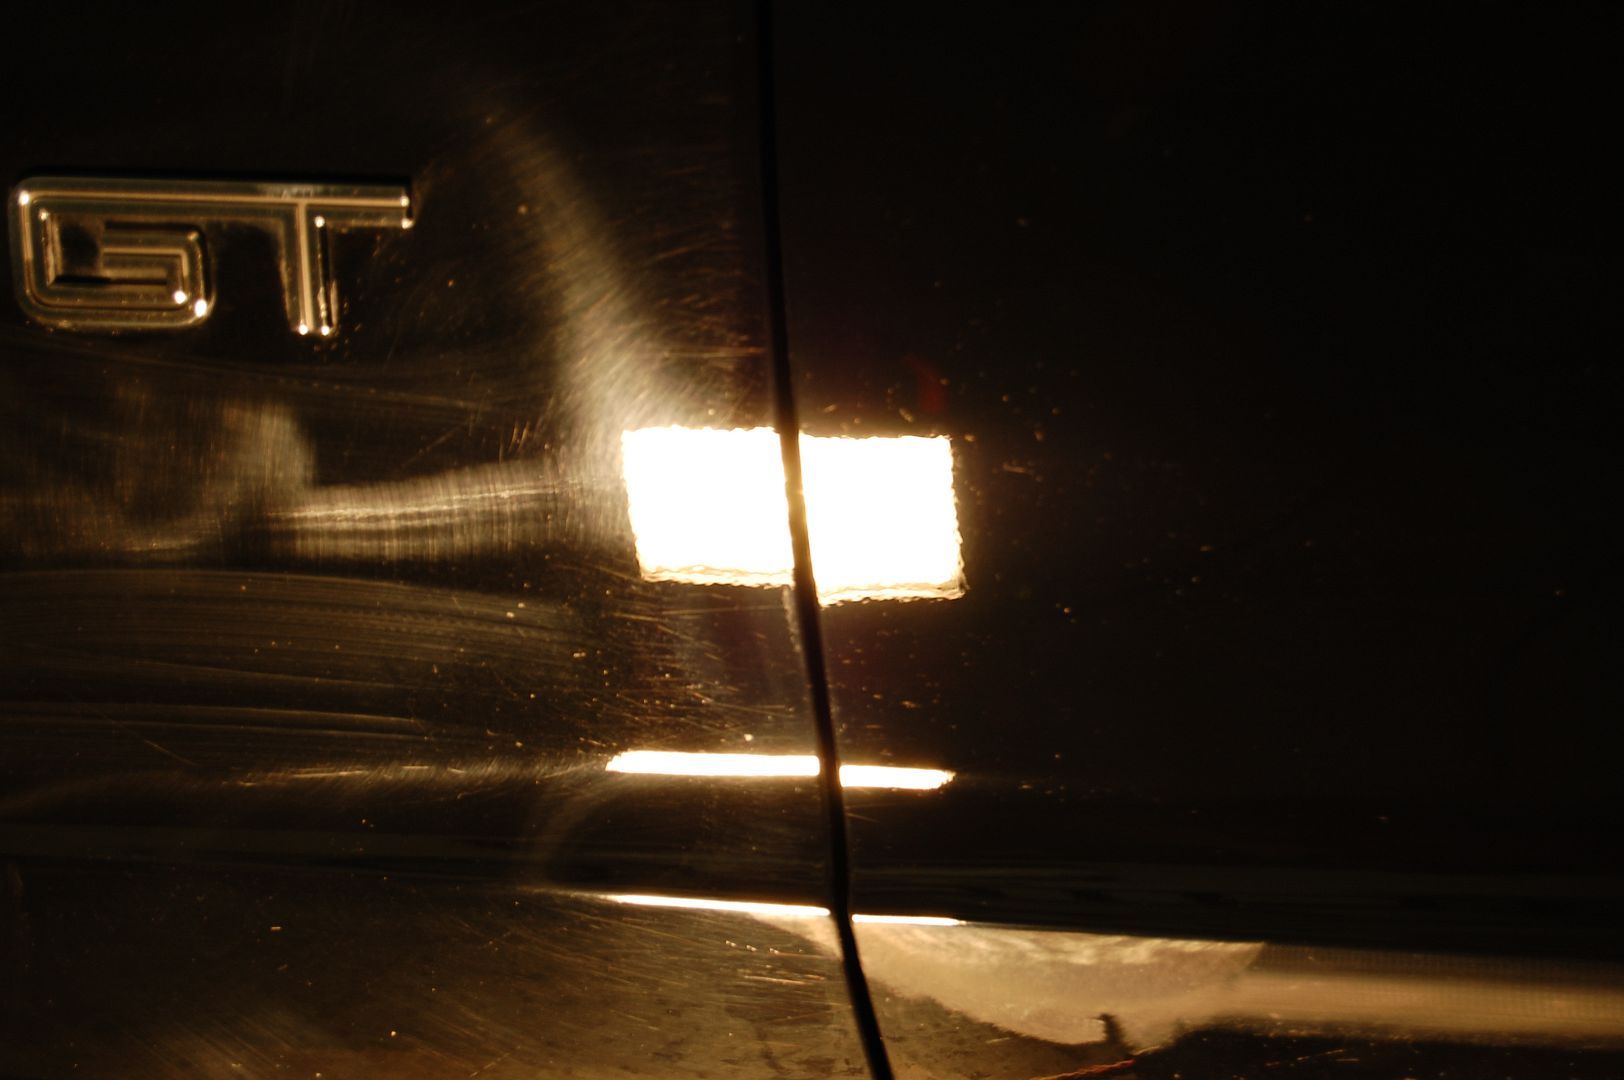
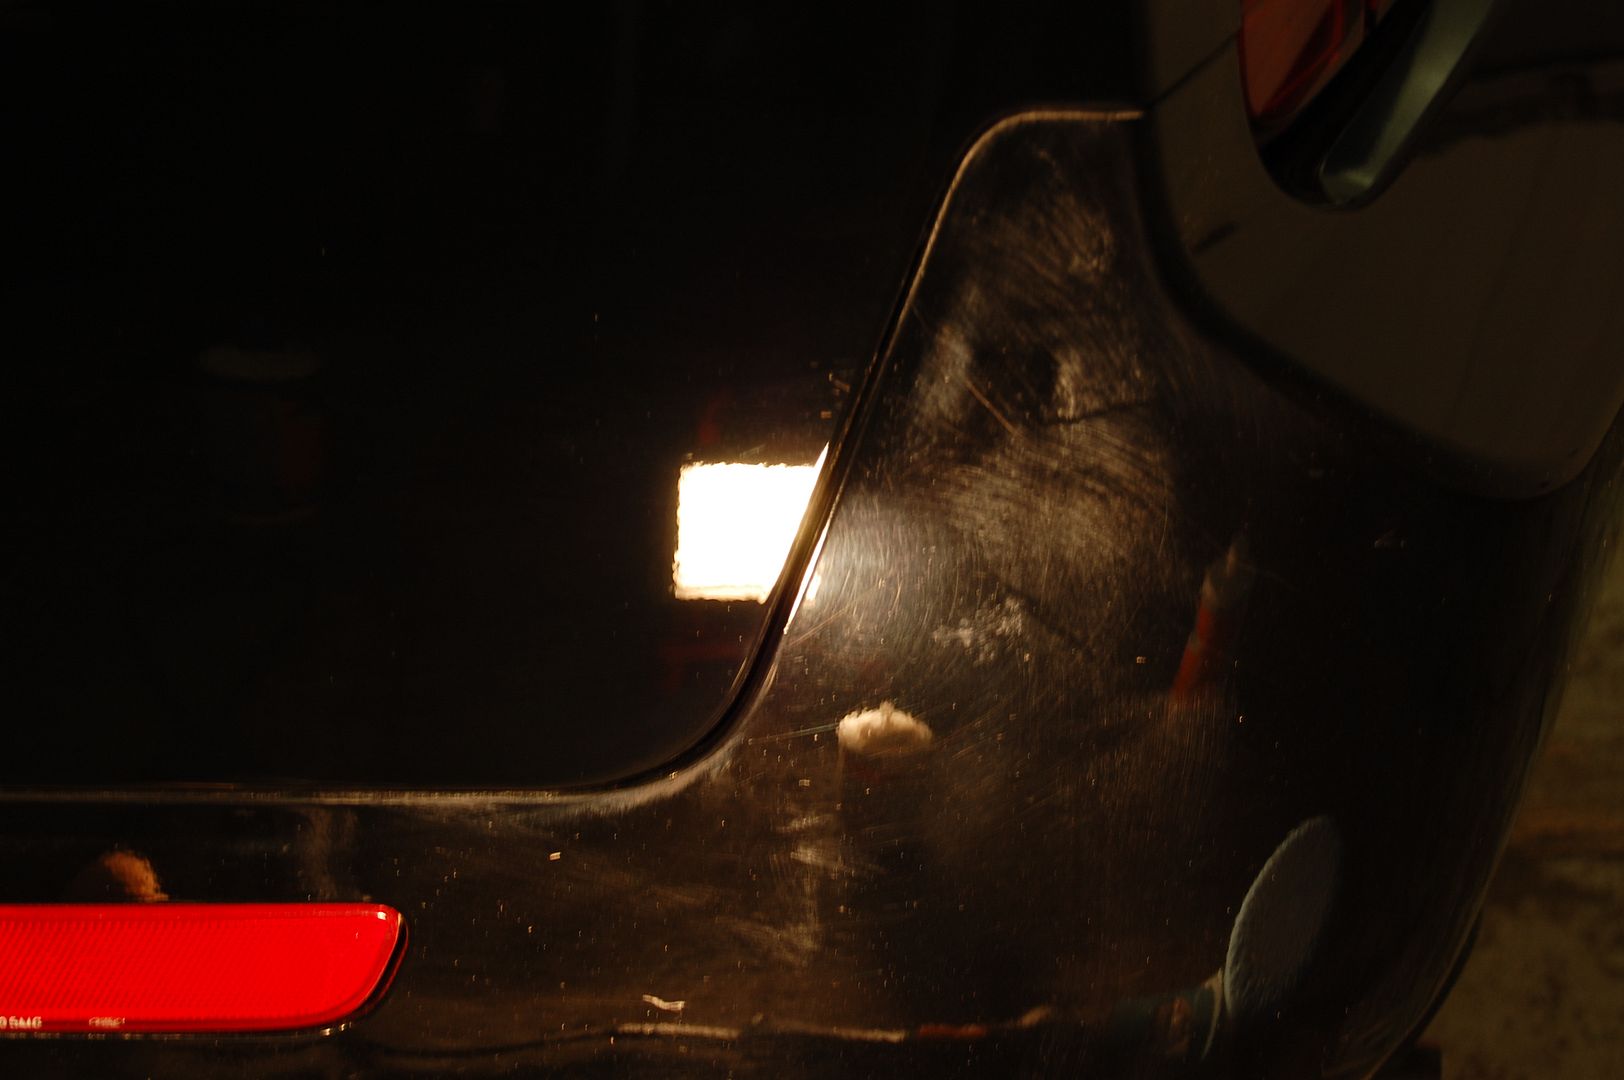
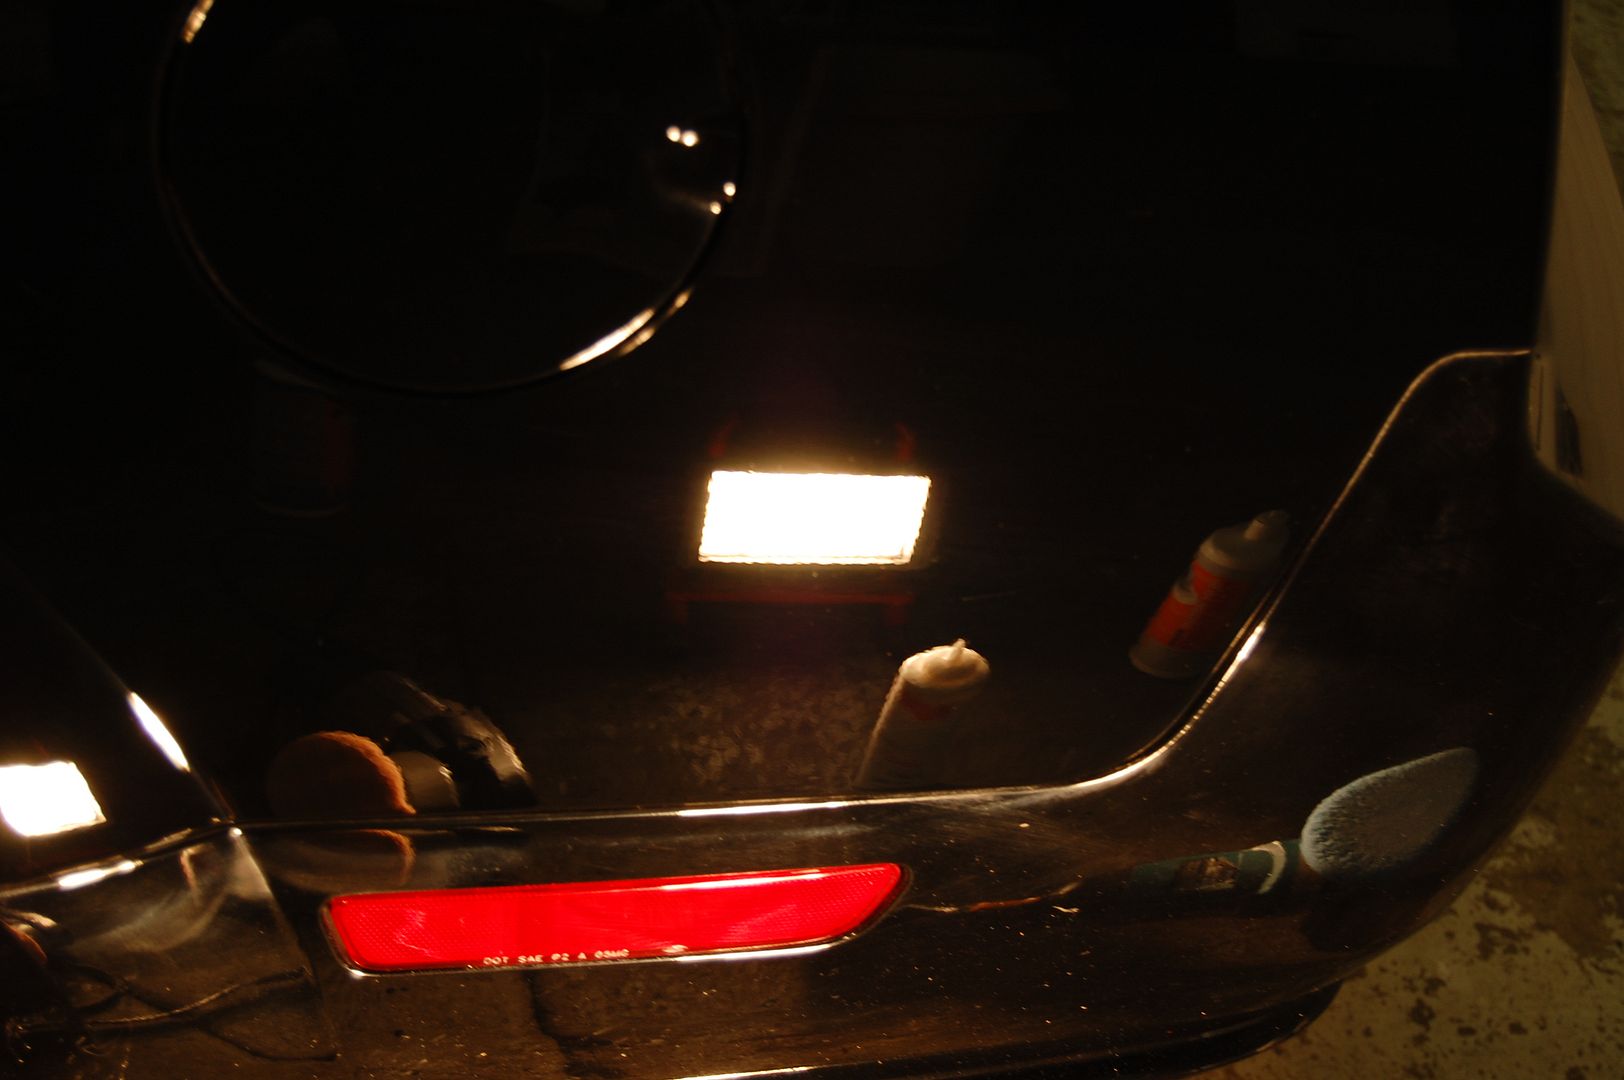
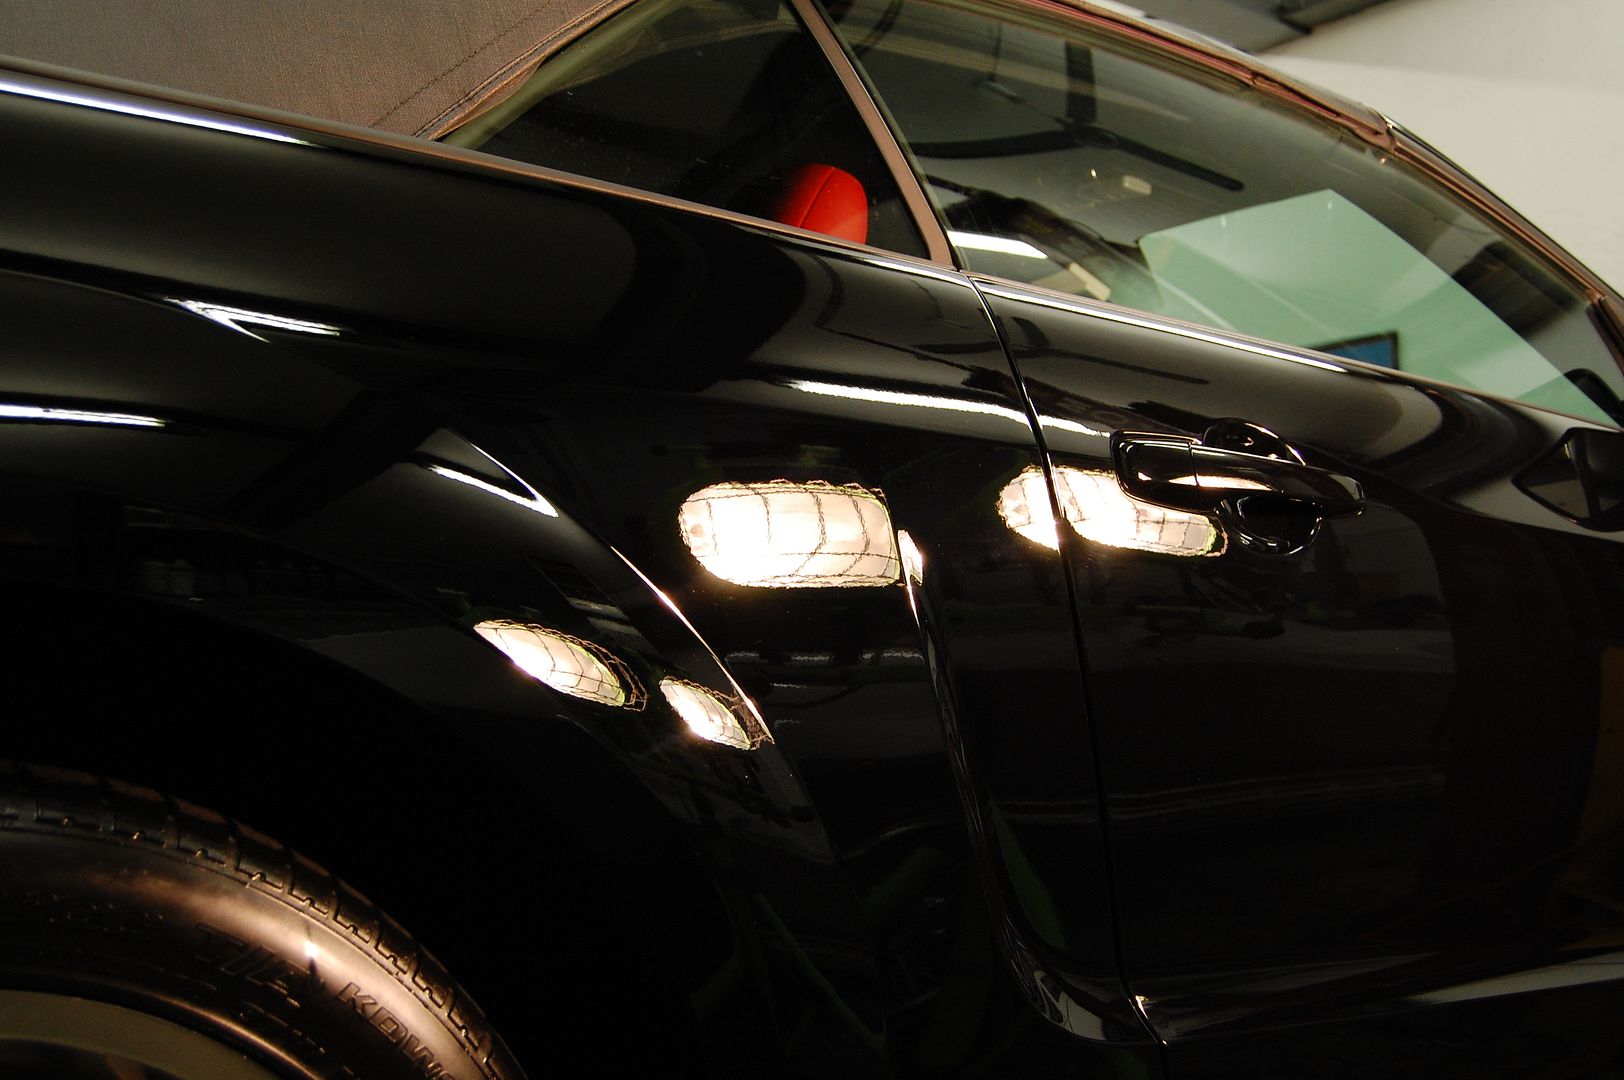
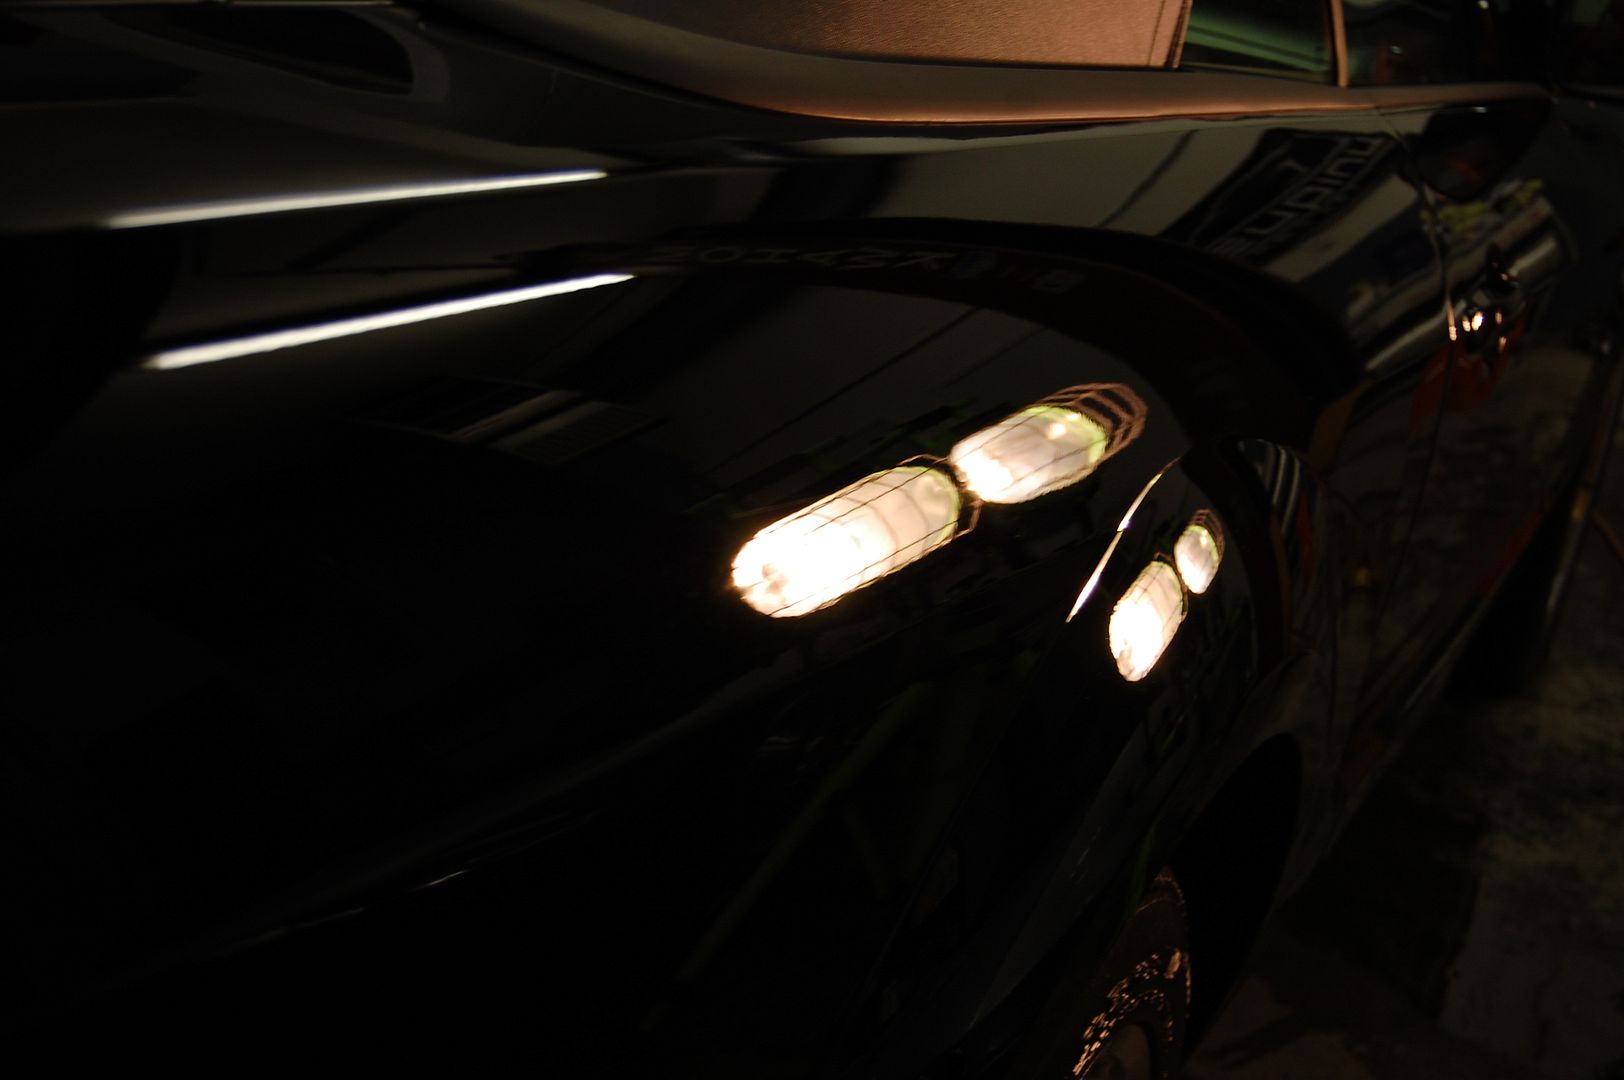
Here is the difference between the rear quarter panel after M105/Cyan foam combo via rotary and the rear bumper which hasn’t been touched yet…
As you can see in the pictures above, most of the defects have been removed, except for a few RIDS (random isolated deep scratches) that I knew would be cleared up with the next polishing step. Normally, I try to get out as many defects as possible when compounding, but since this wasn’t an all-out 100% correction job, I had to hold myself back from going any further.
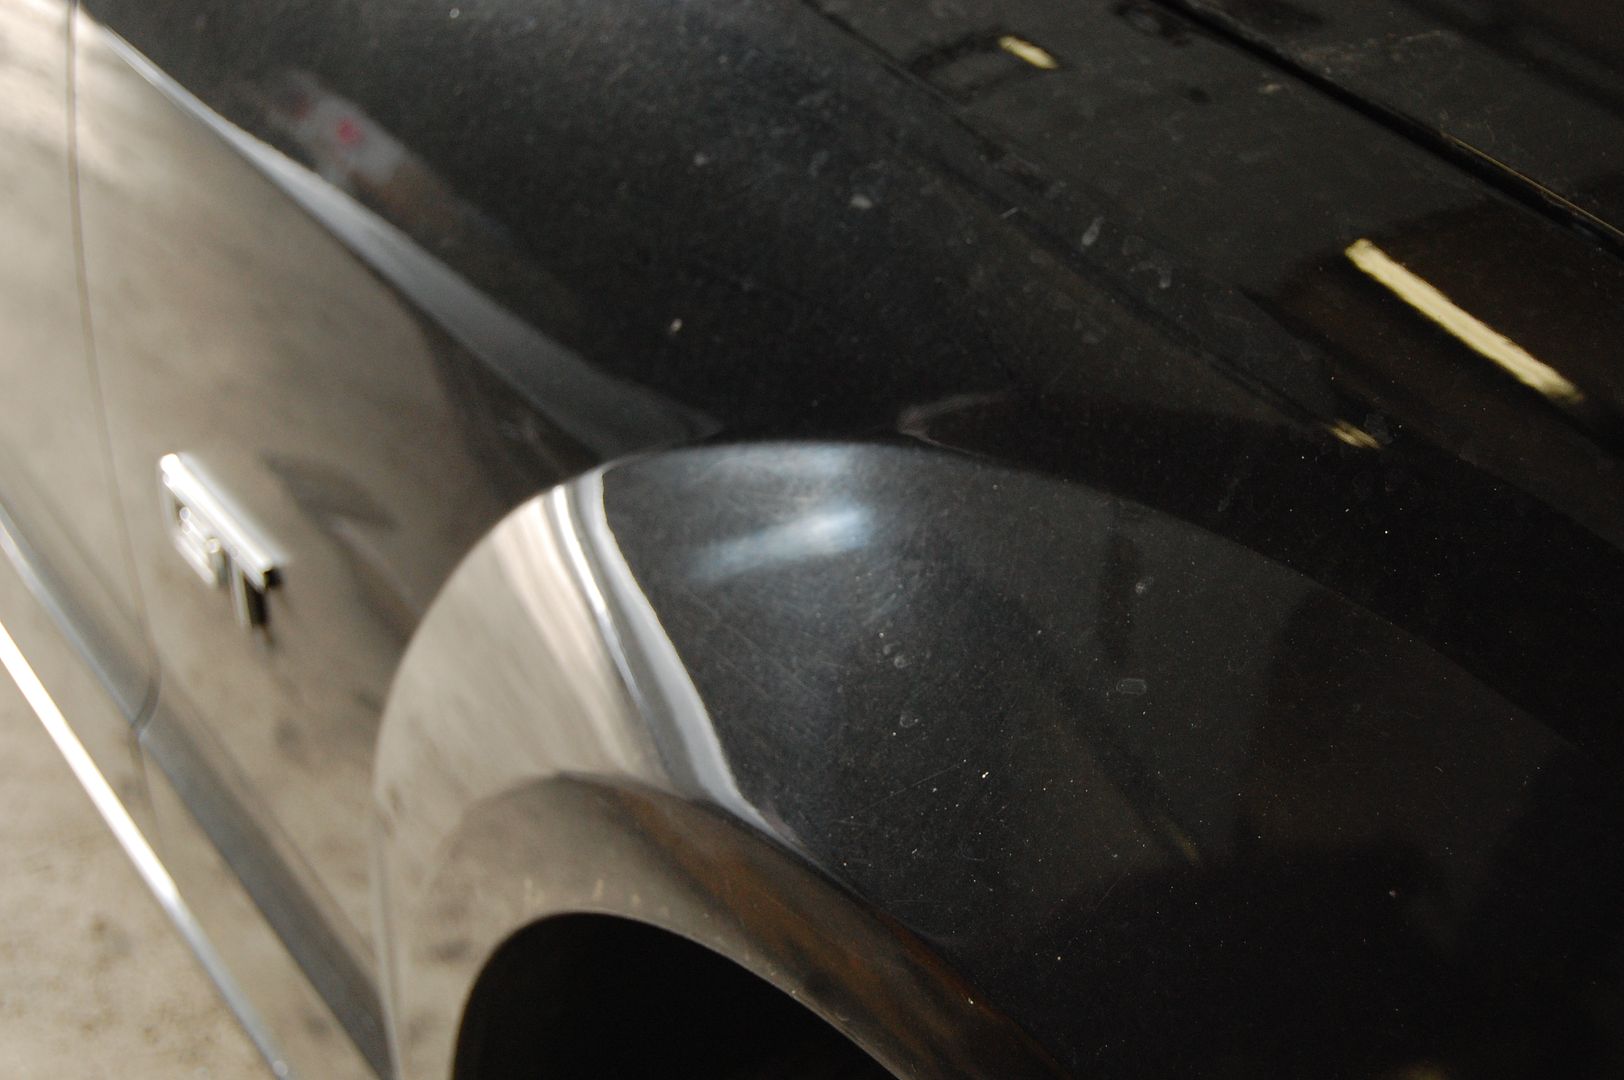
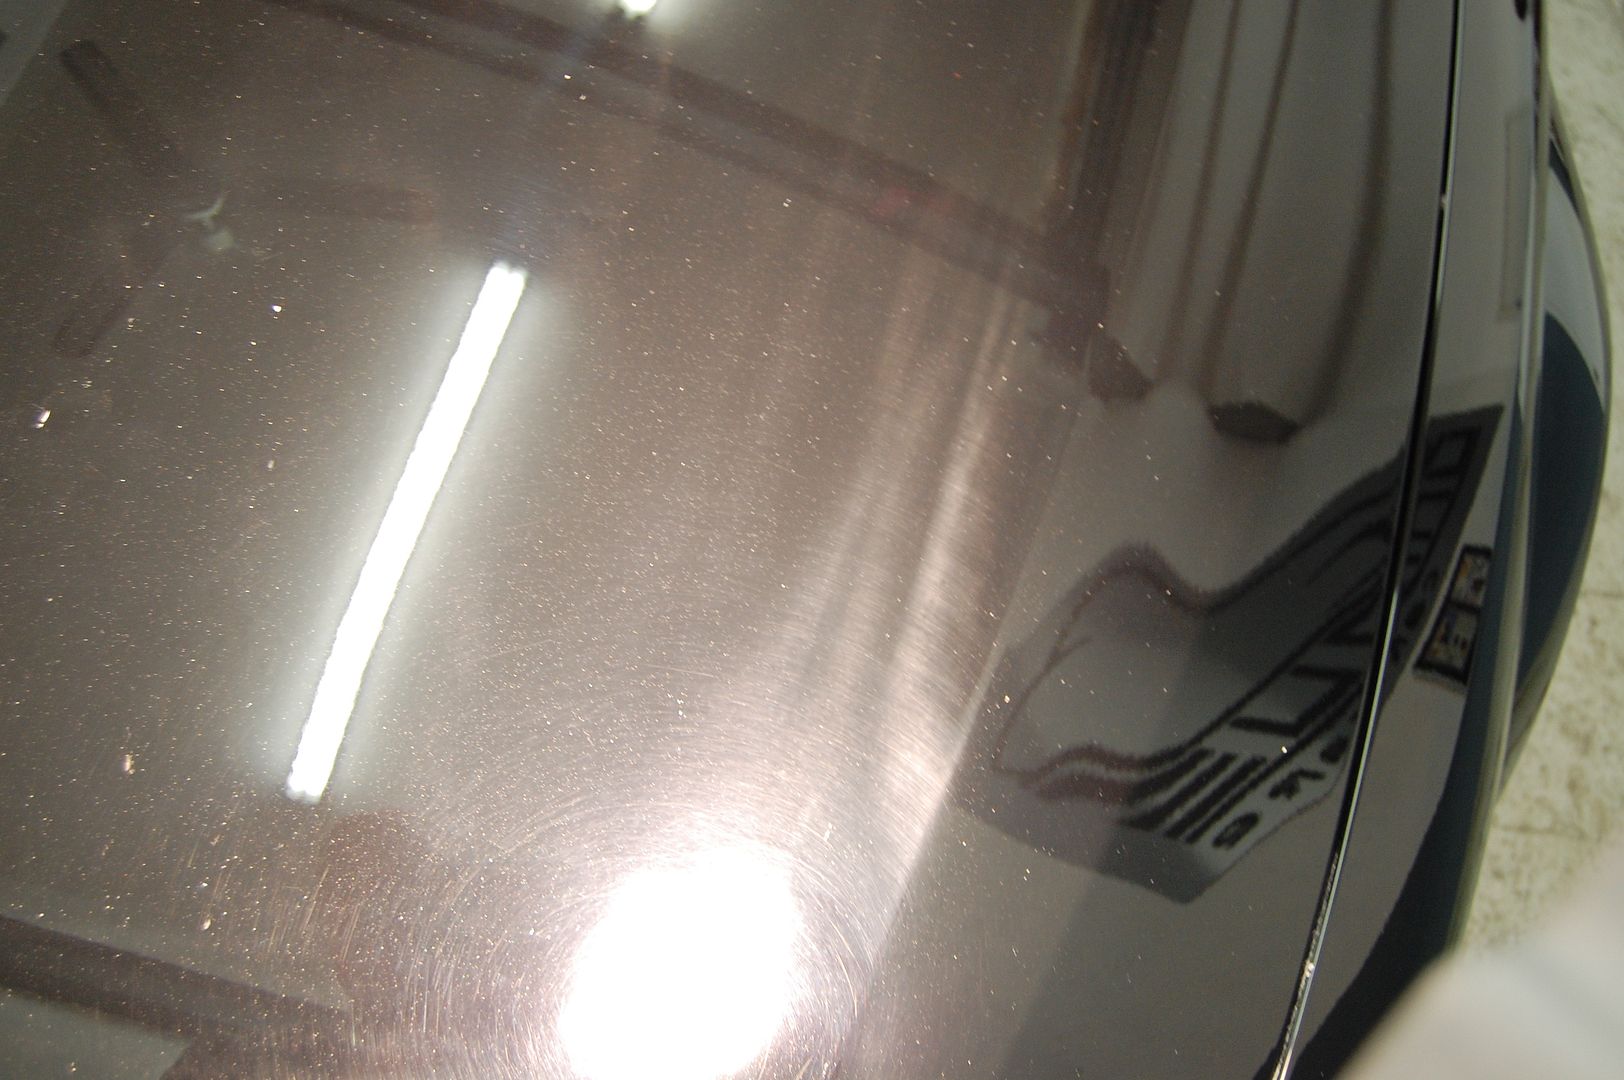
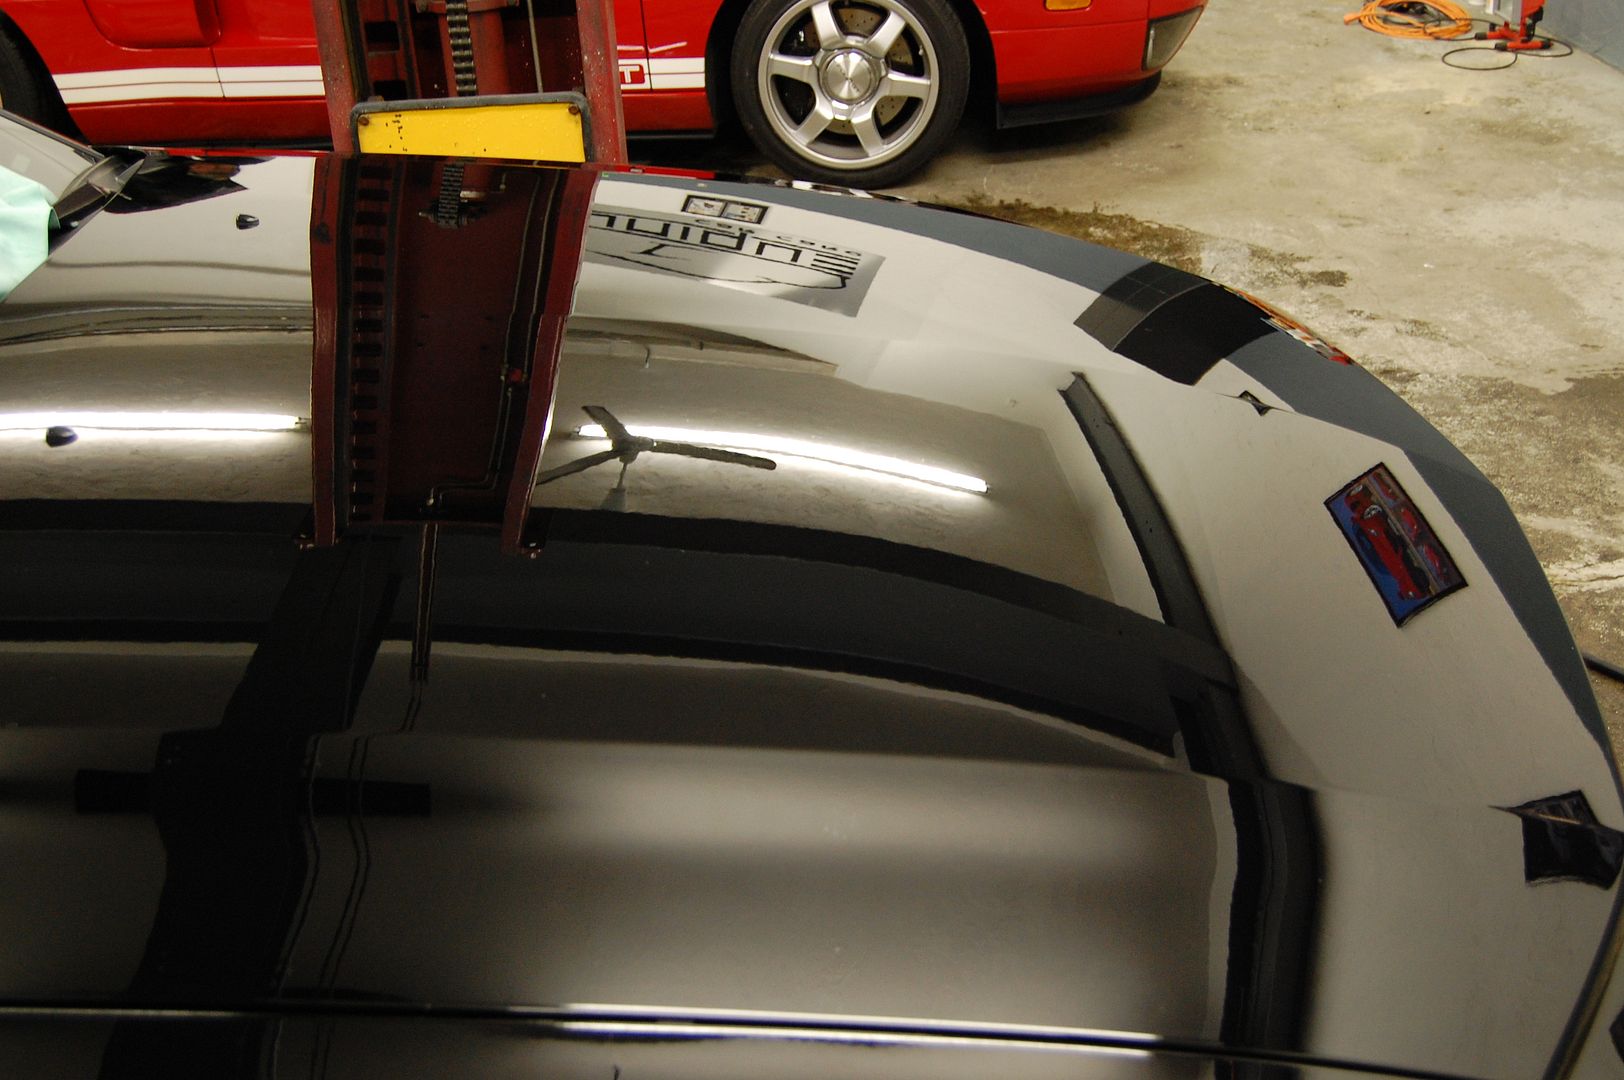
Usually, I like to do one step at a time and complete each step before moving on to the next, but I wanted to show the difference the middle polishing step made and compare it to the uncorrected panels. The pictures below are after polishing with Menzerna Power Finish using an orange 5.5 inch 3M foam cutting pad via PC.
You can see from the pictures above that the Power Finish removed the defects that were visible after the M105 combo and really improved gloss, depth and clarity. A few slight defects remained, which were hard to capture with the camera and would not be visible under normal conditions. I still planned on performing an addition polishing step to ensure a near perfect, swirl-free finish, but continued with the 2 steps described above before doing so.
After all of the compounding and medium polishing was complete, I gave the exterior a thorough wash to remove as much polishing spatter and dust as possible before moving on to the final polishing step. For the final polishing step, I chose to use Menzerna PO85rd using a flat black LC foam pad via PC which went very quick. After this step, I gave the car a thorough wipe down with 91% alcohol to ensure a perfect surface for the LSP.
Blackfire Wet Diamond was used for the LSP and was applied using a gold LC CCS foam pad via PC to ensure even coverage. While waiting for the Blackfire to cure, I cleaned all windows, sealed the wheels and dressed the tires.
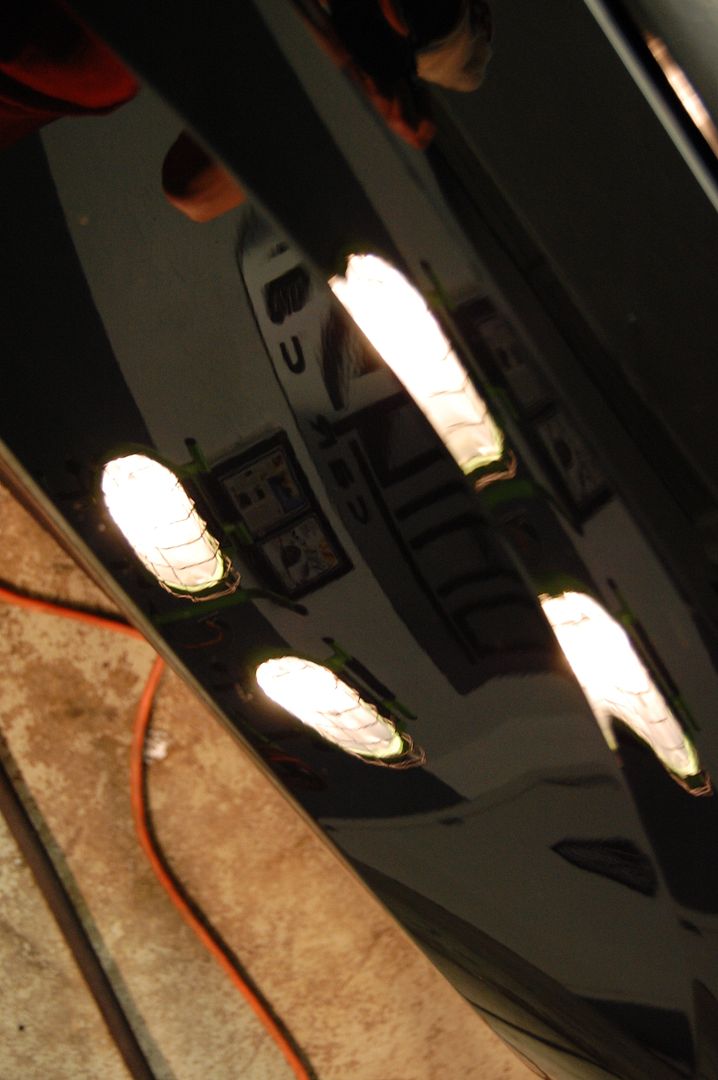
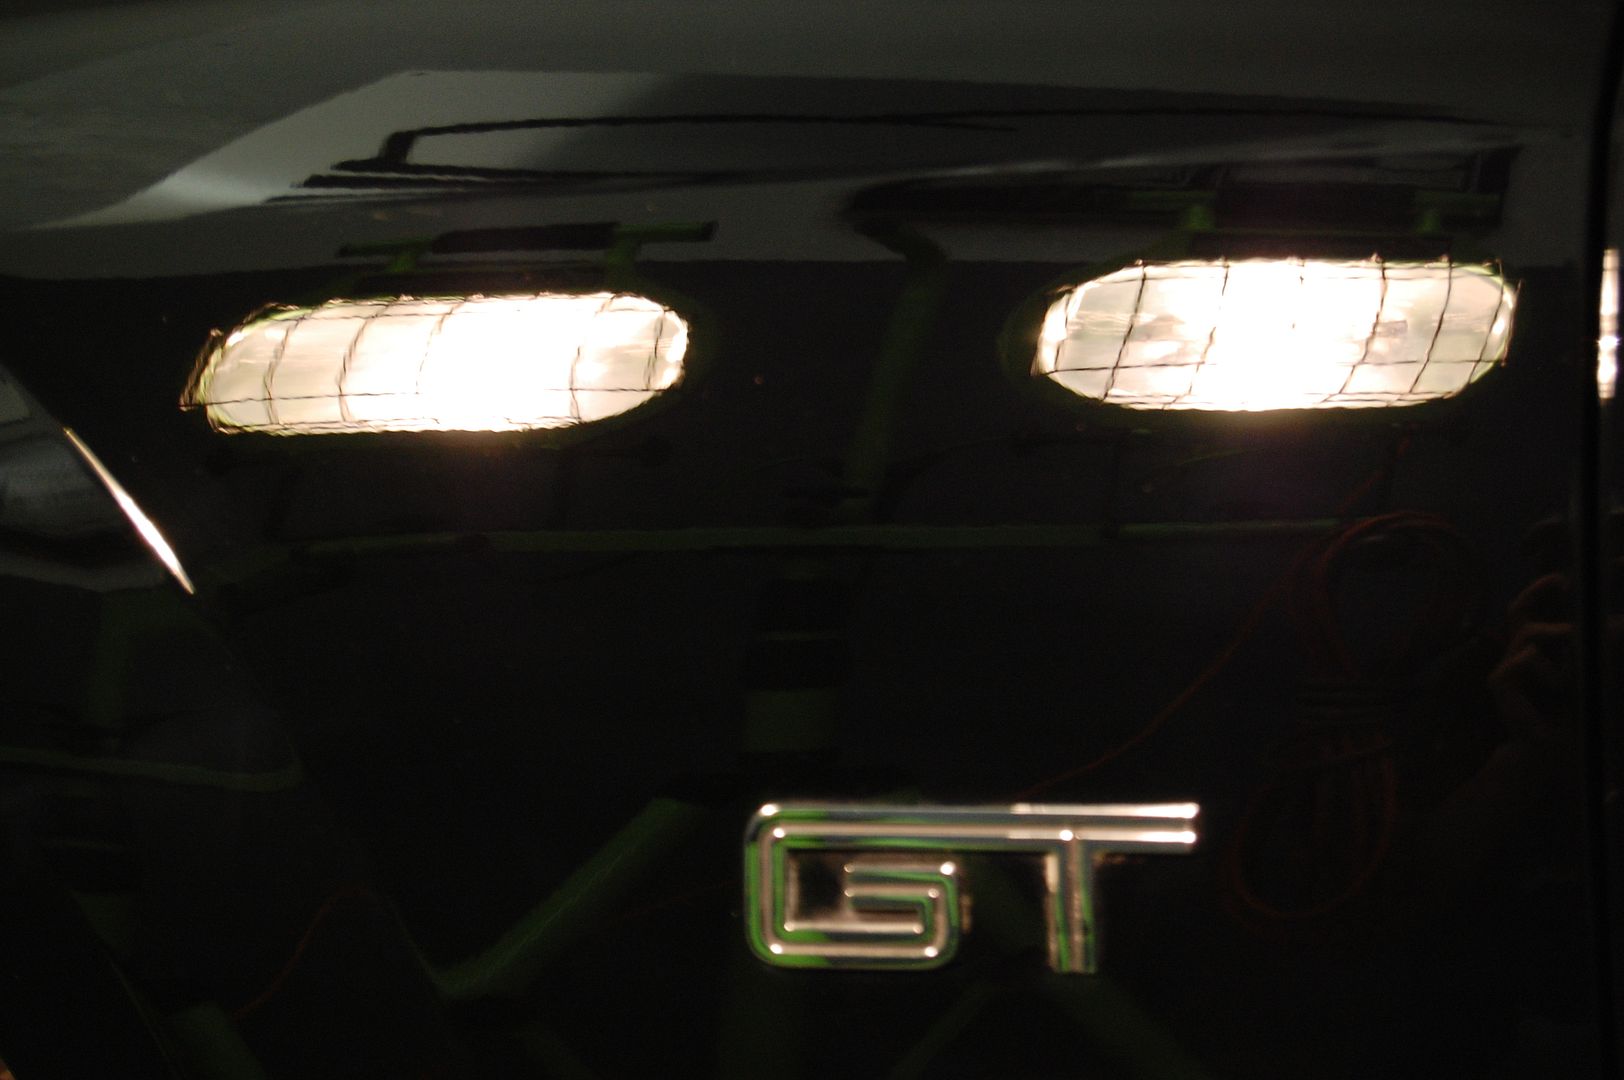
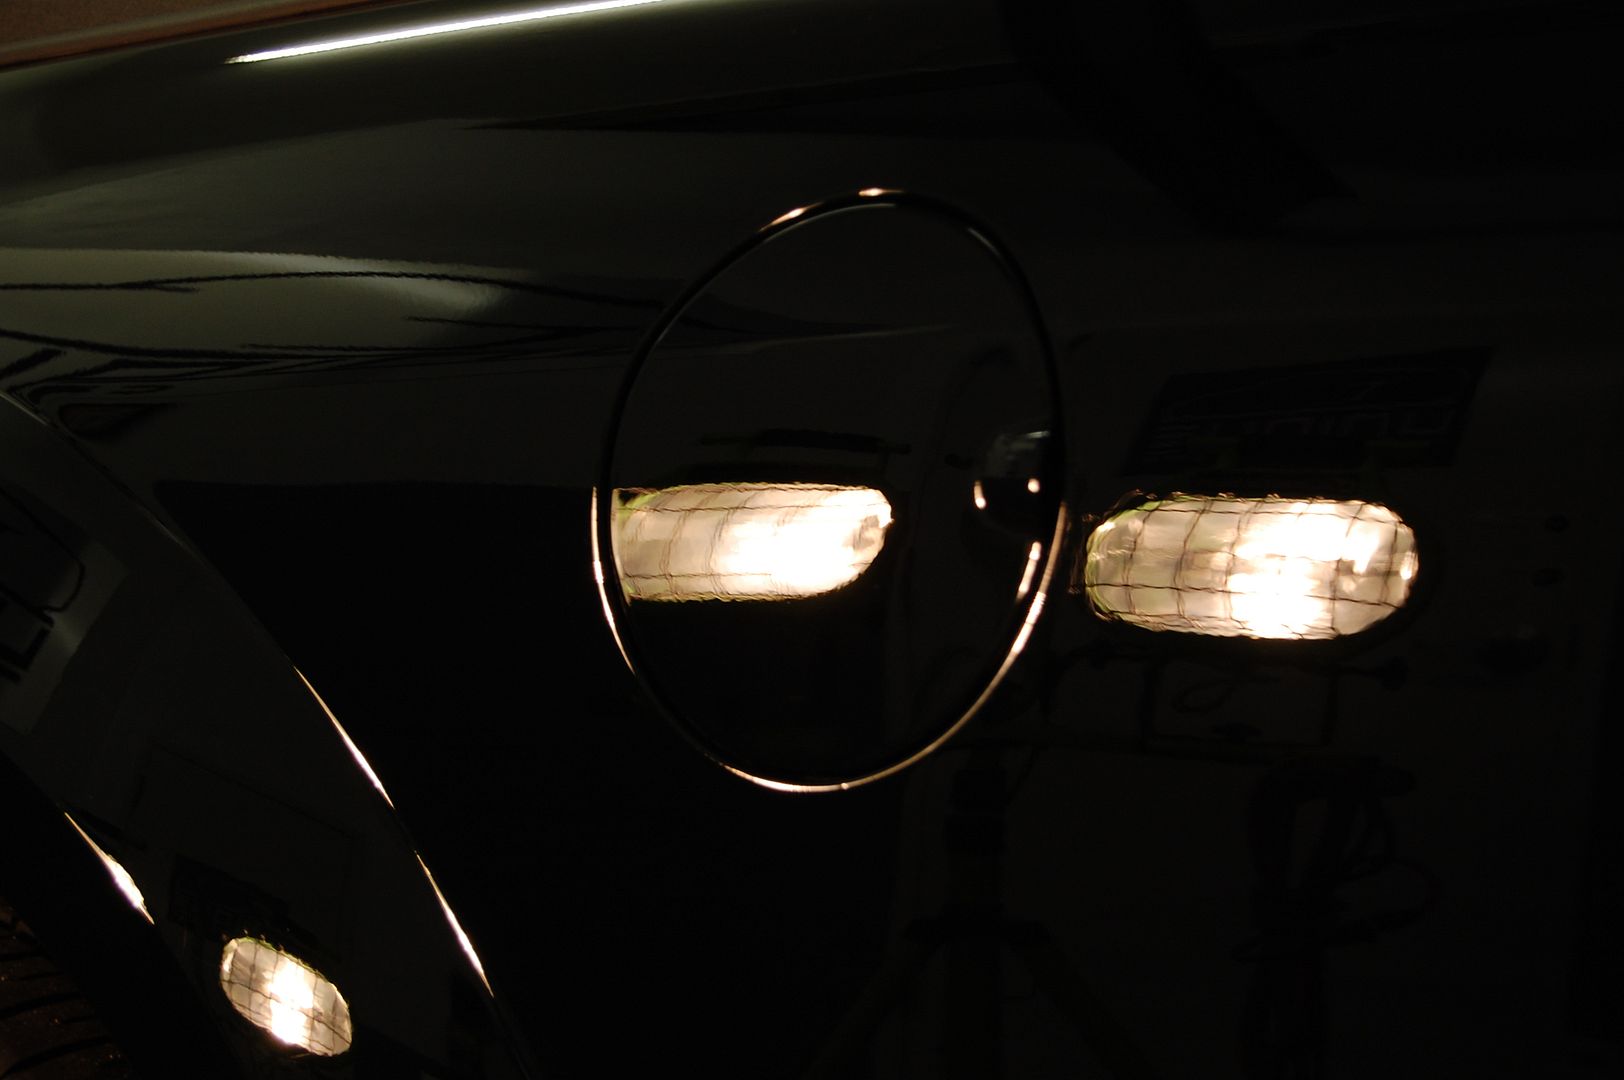
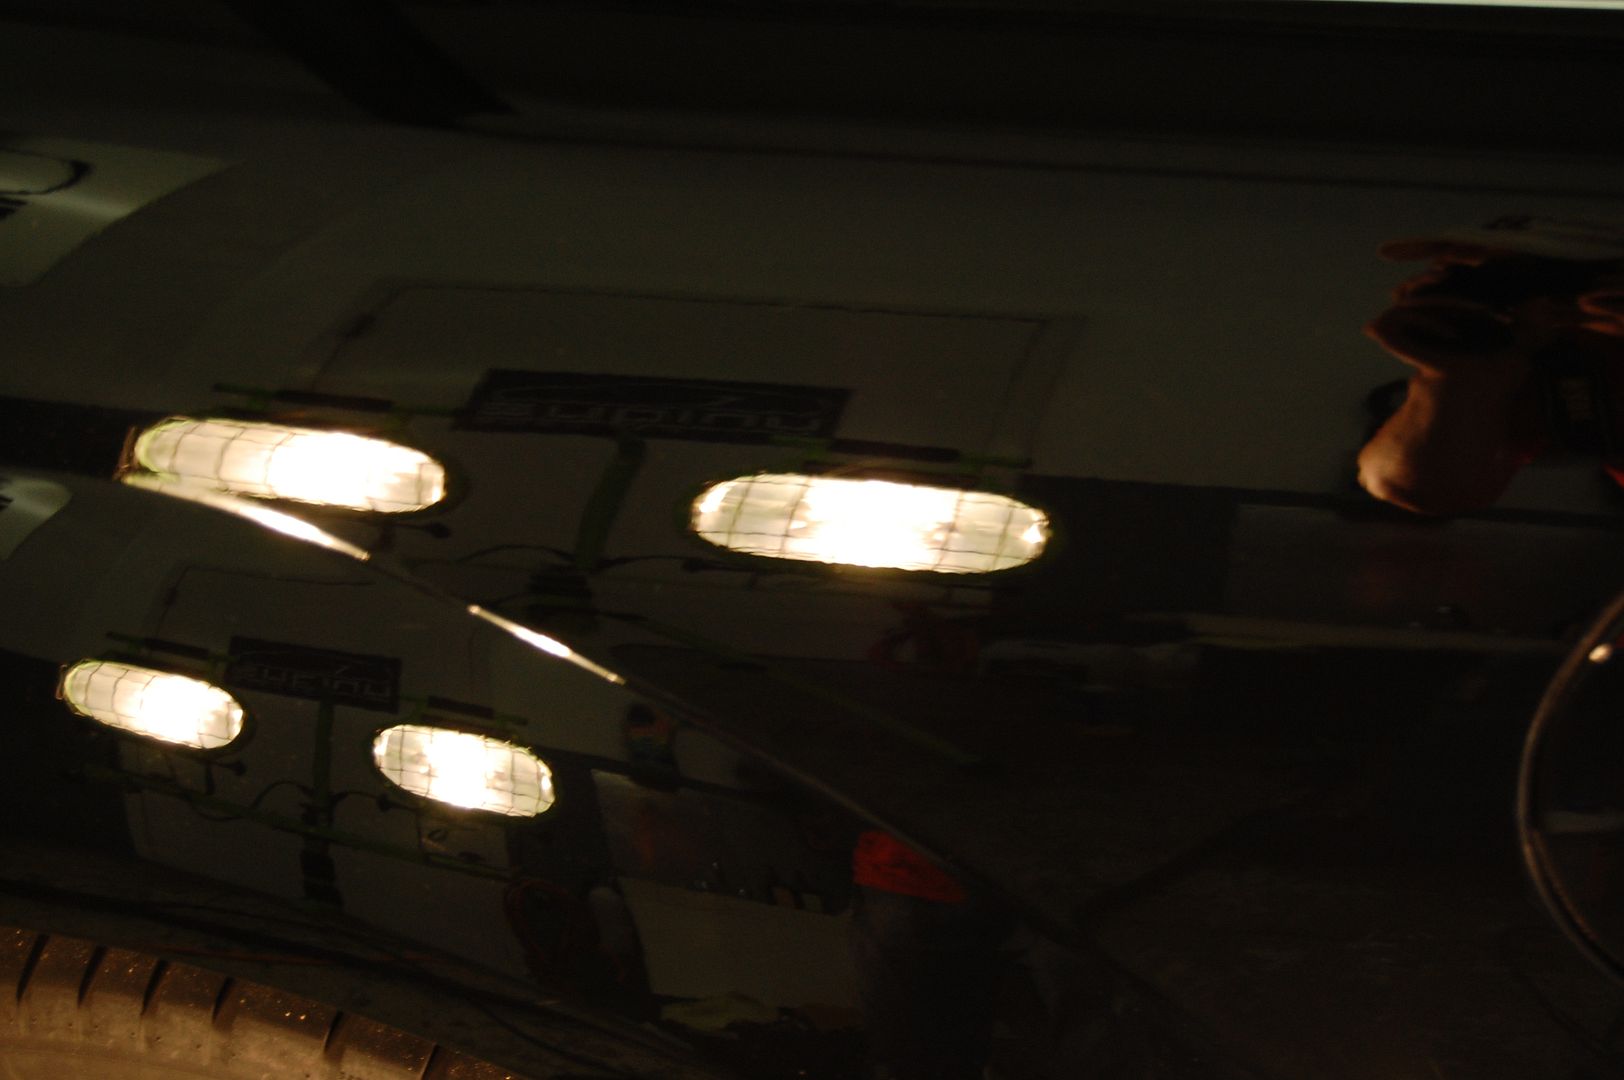
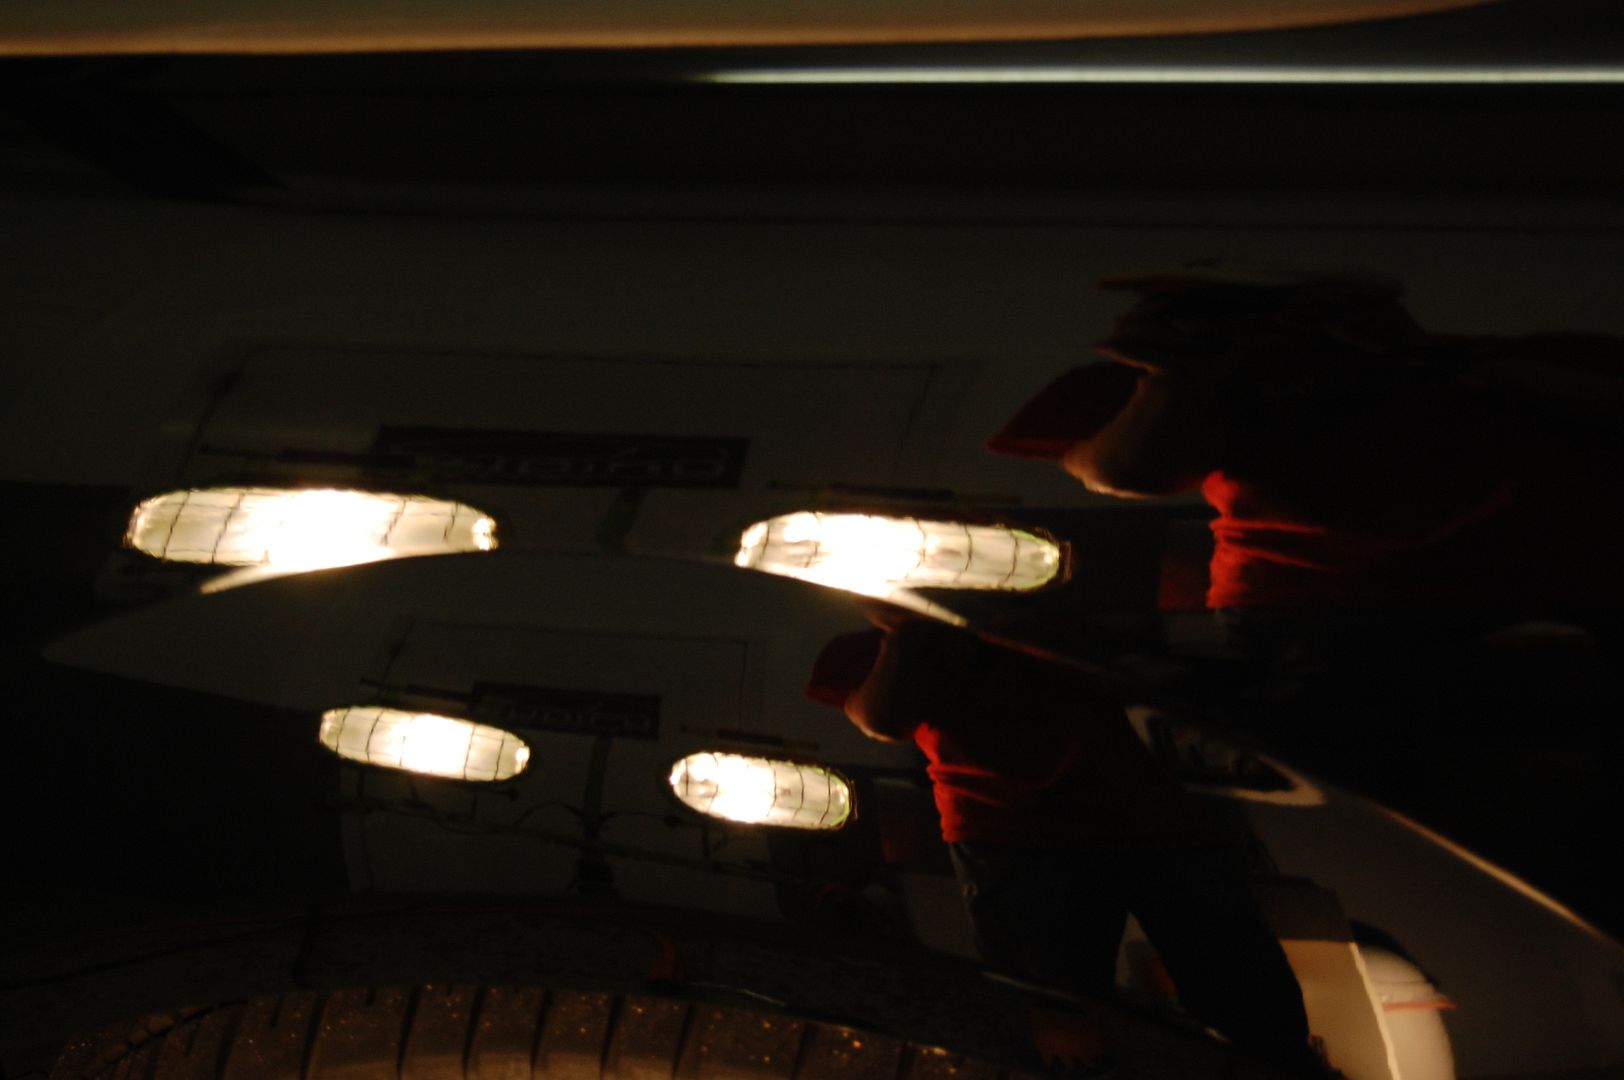
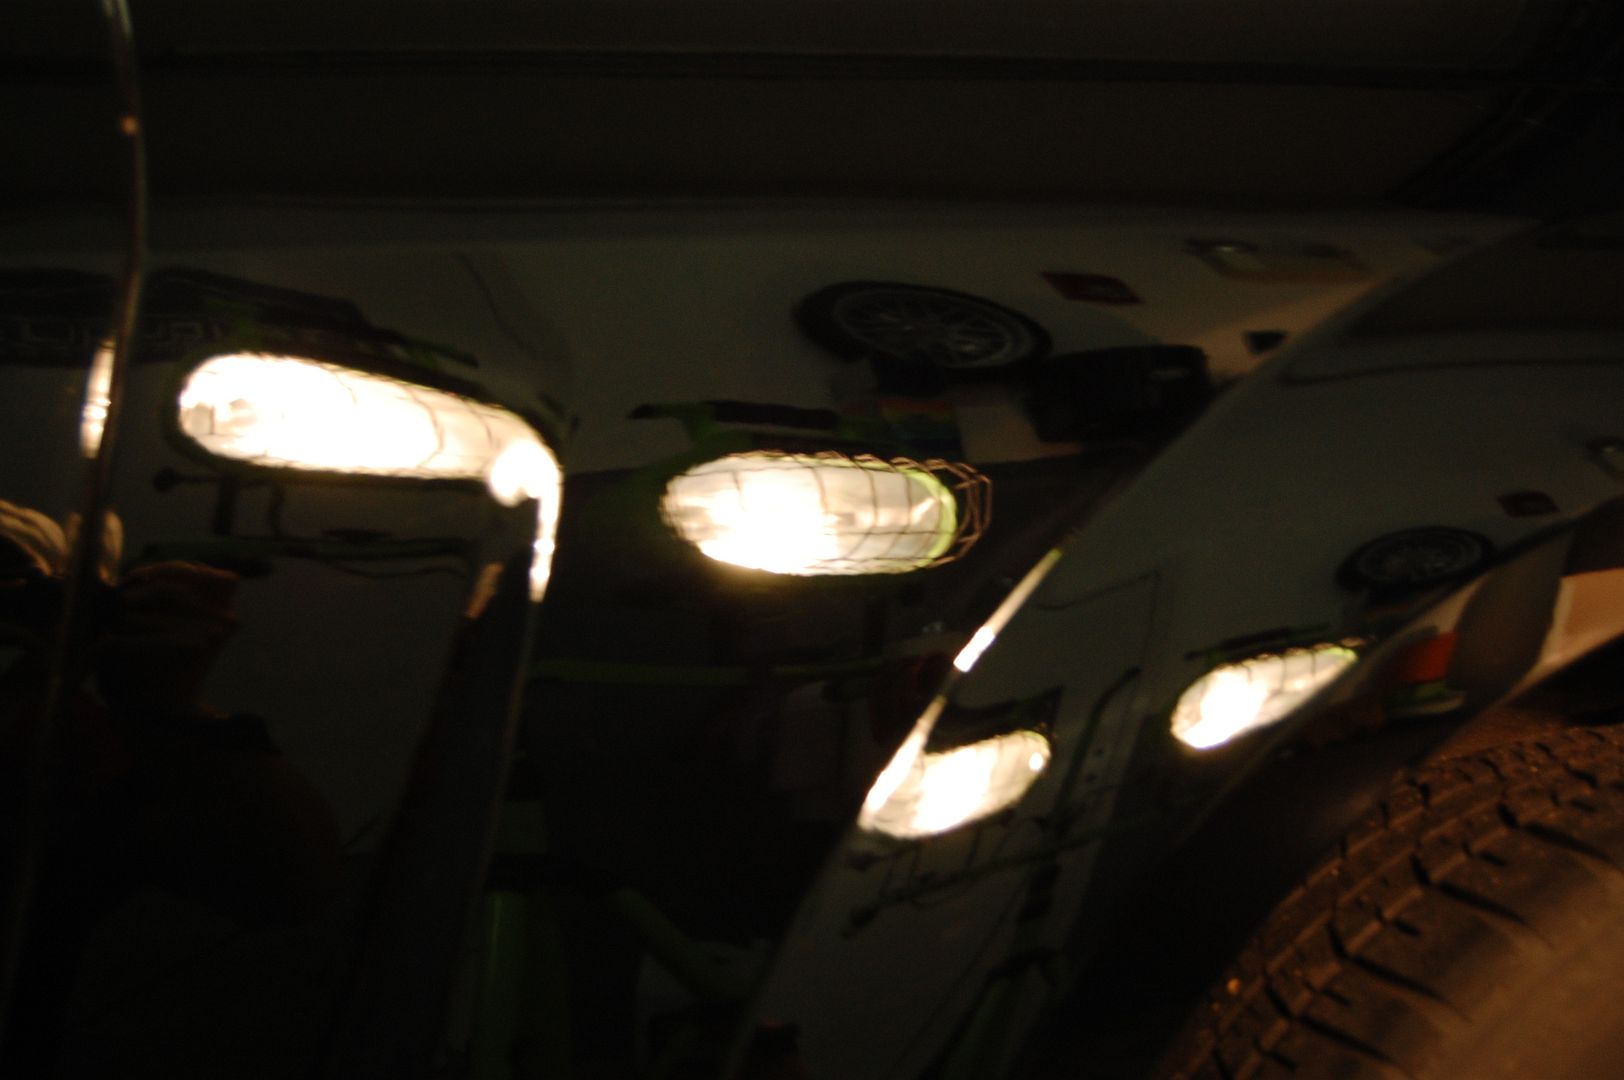
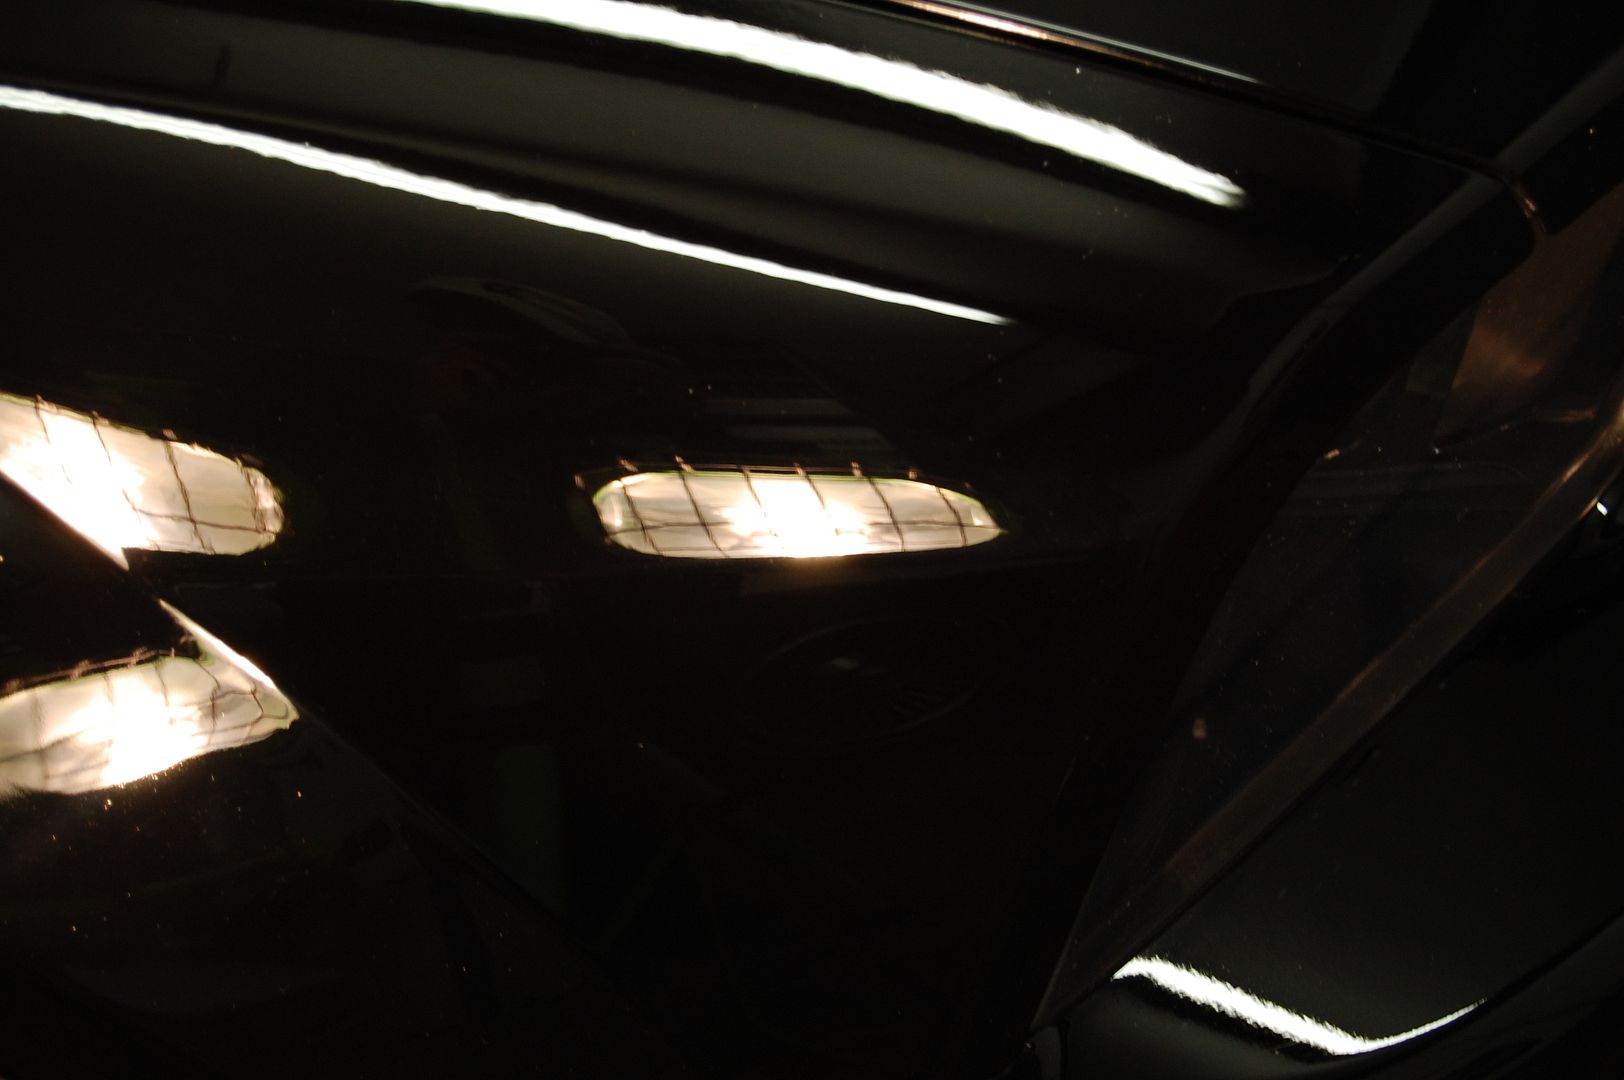
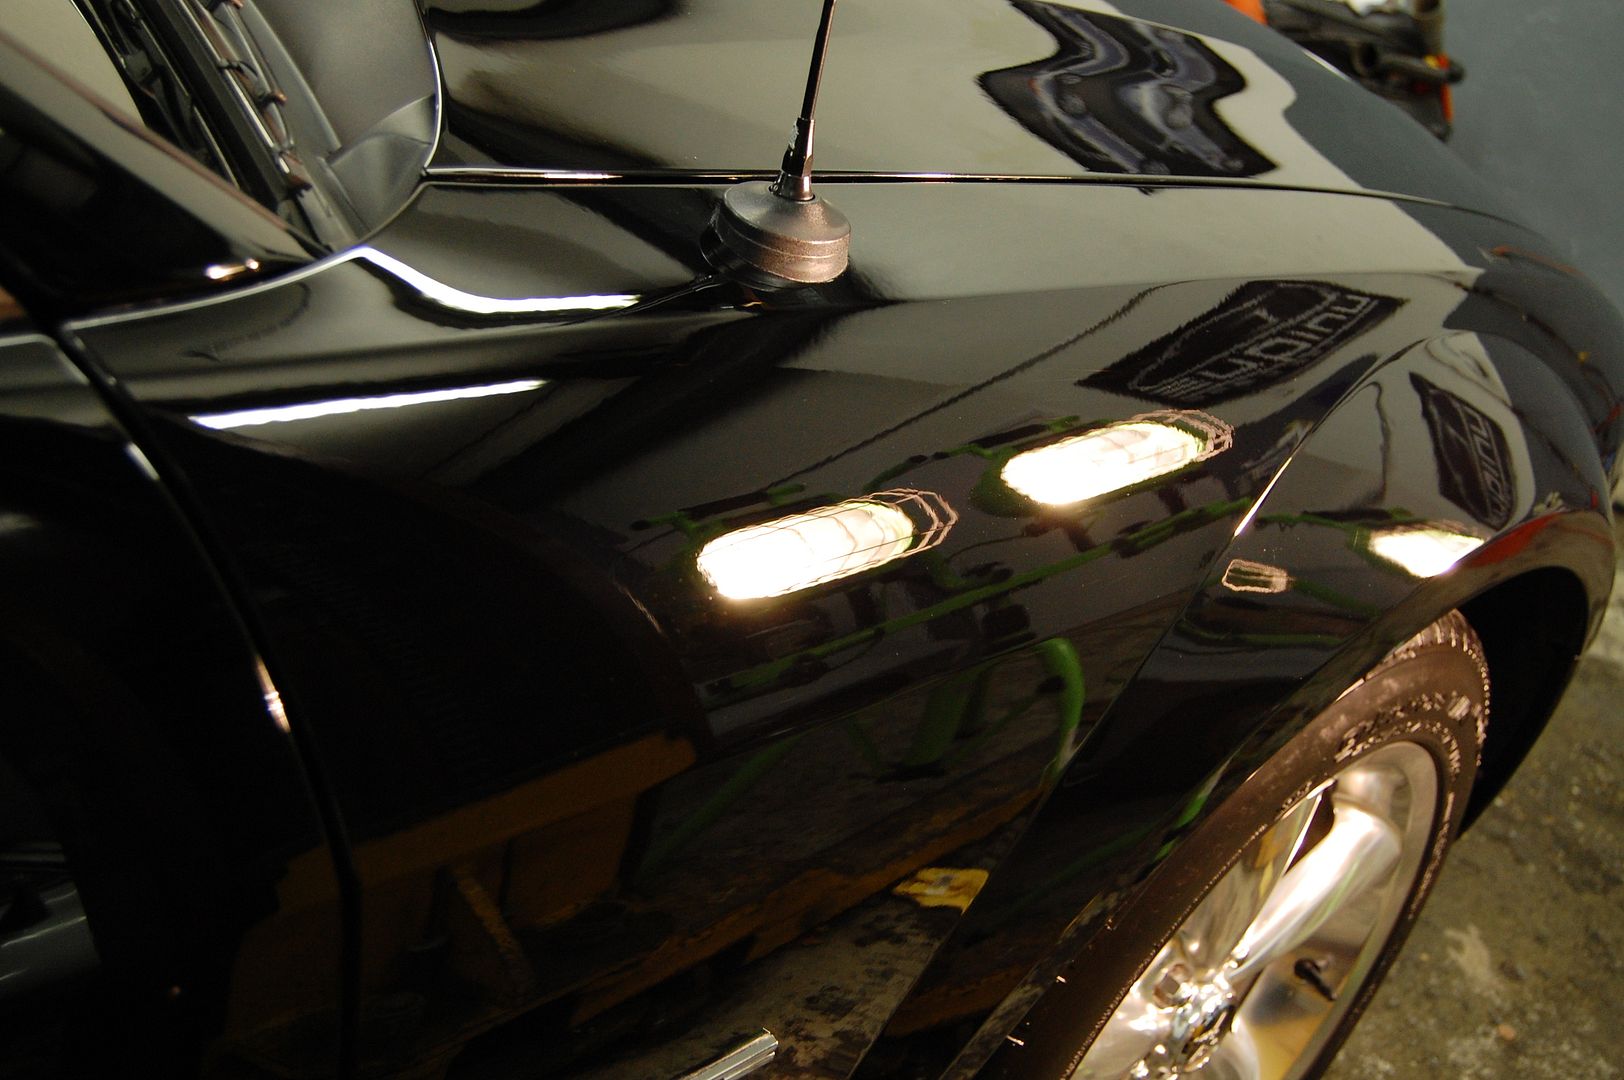
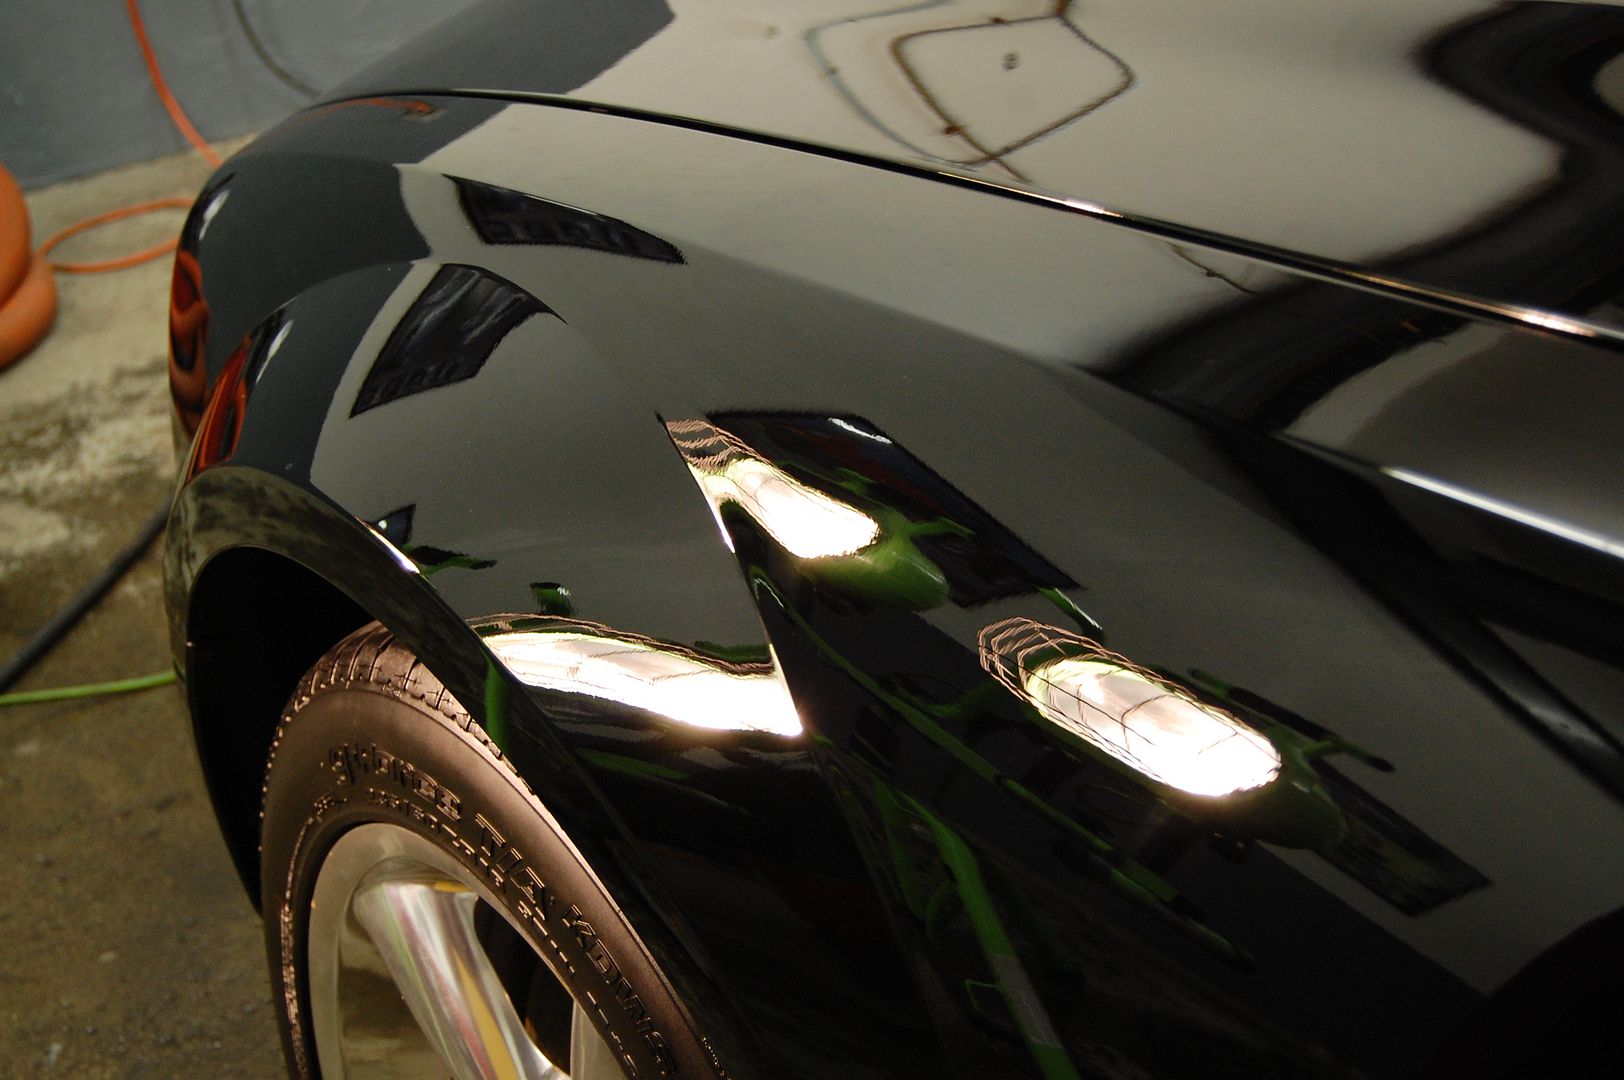
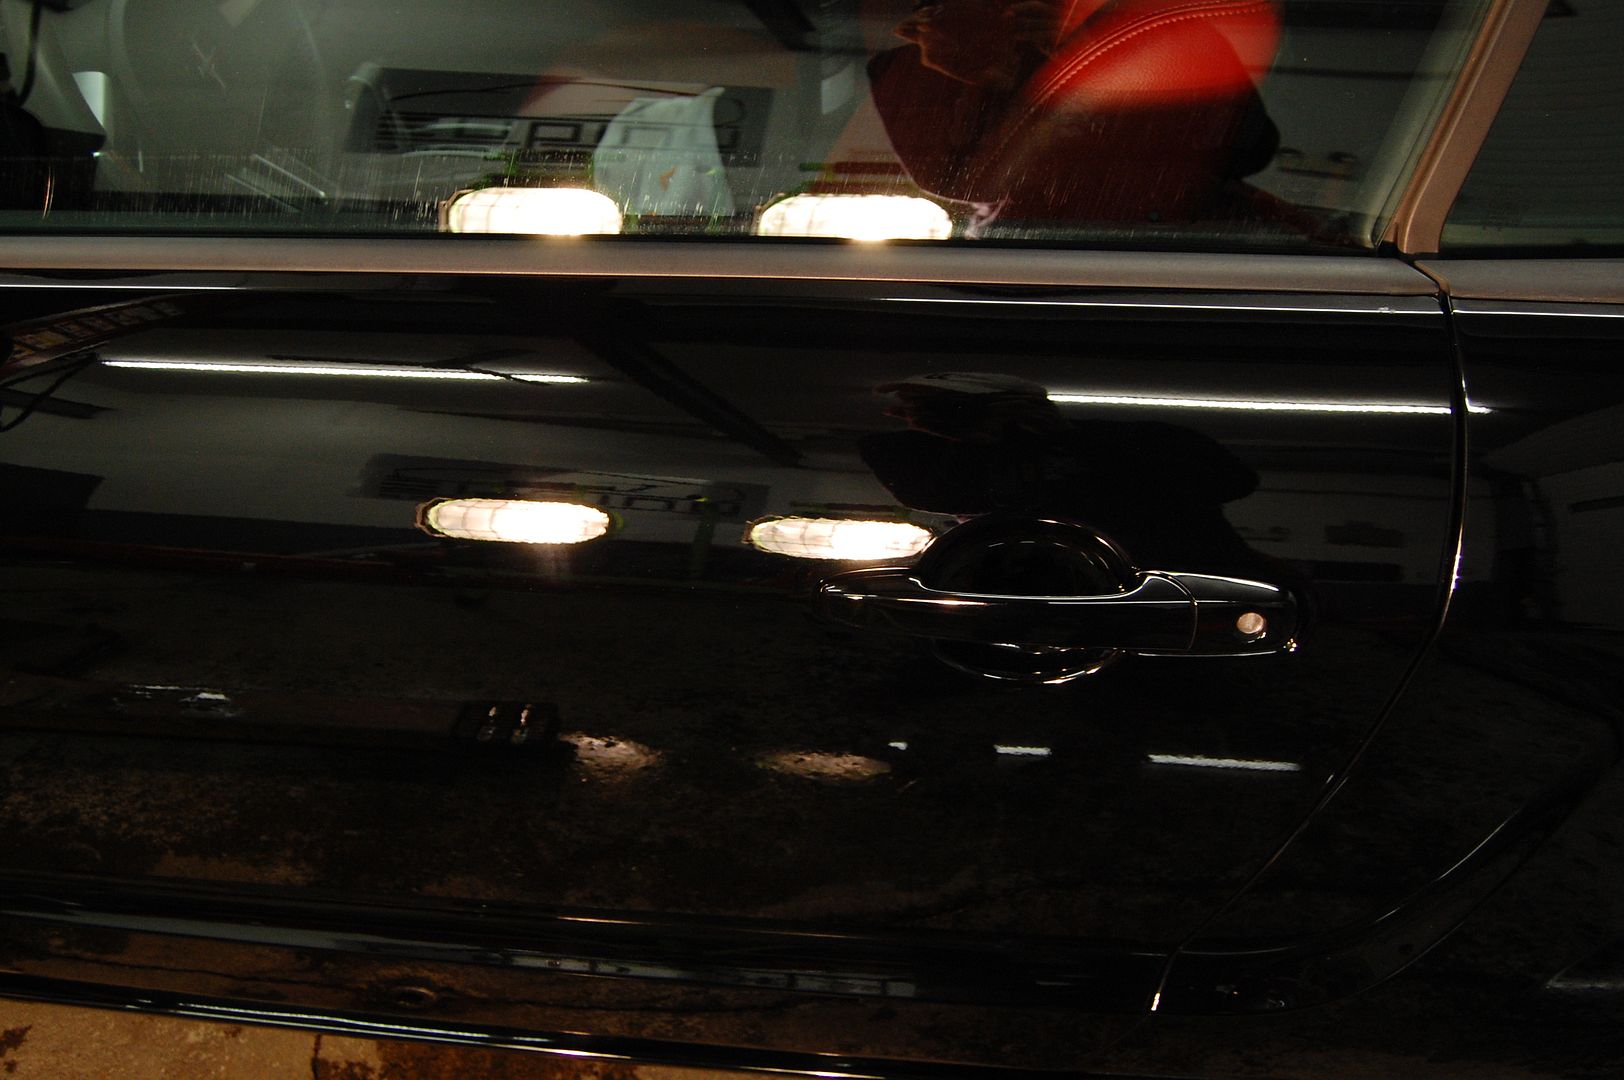
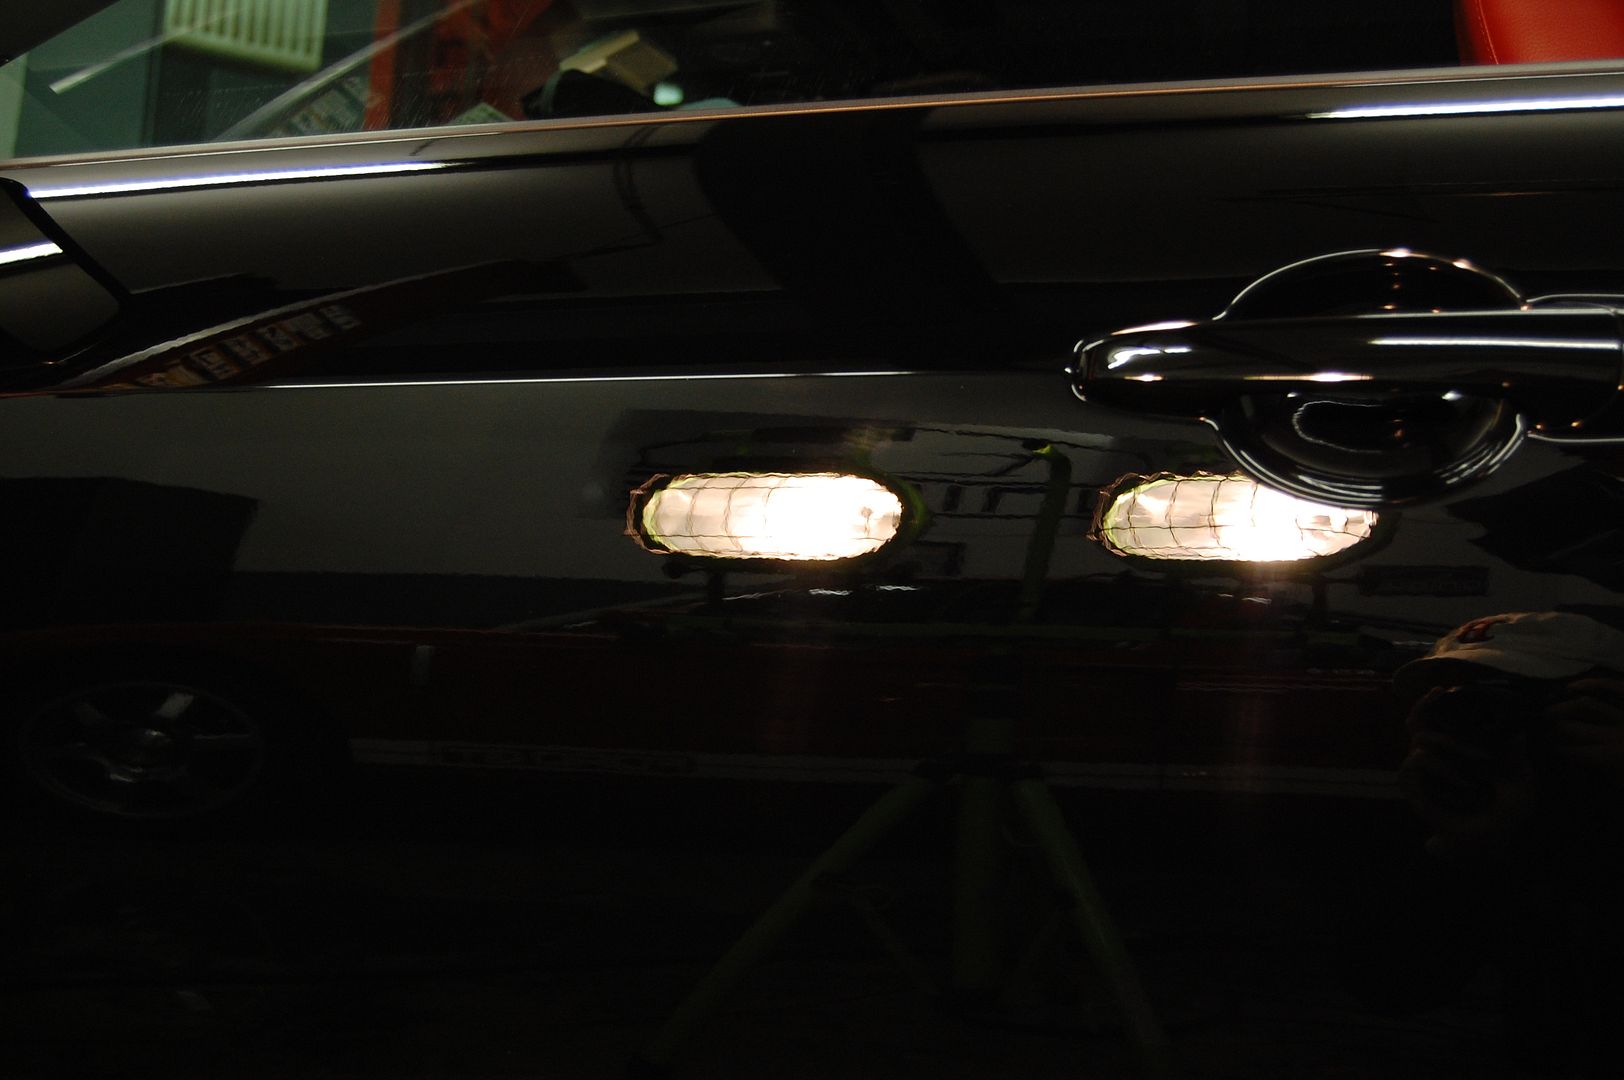
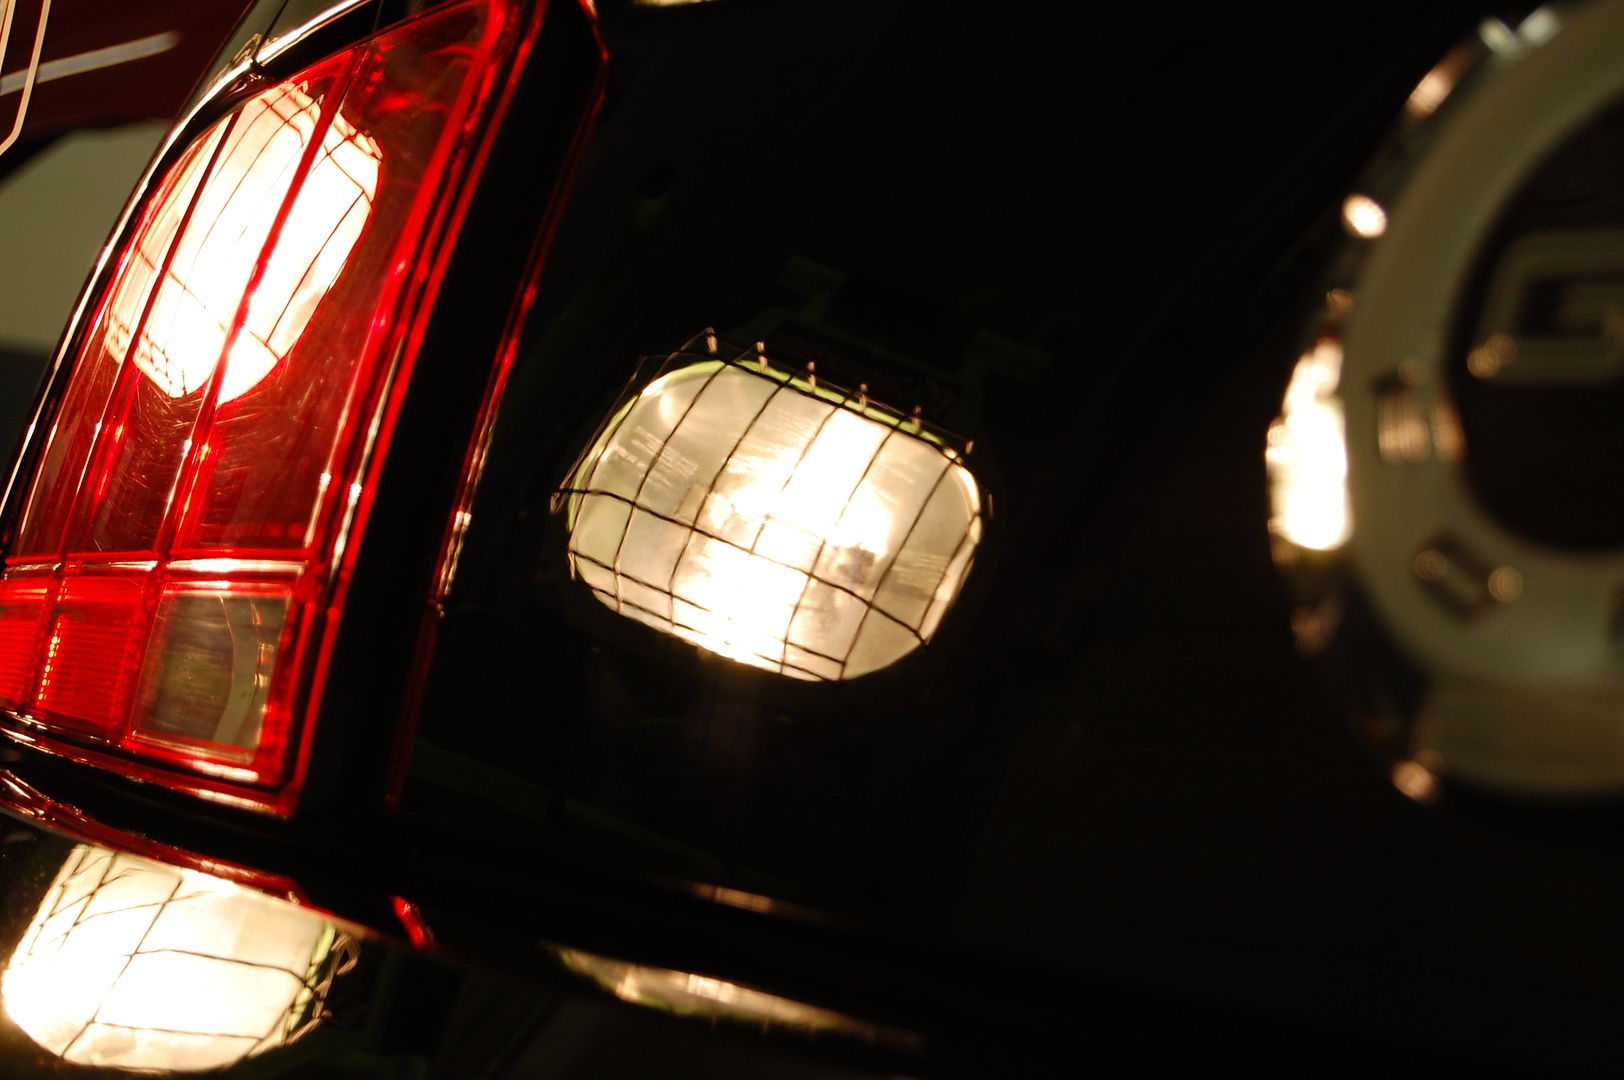
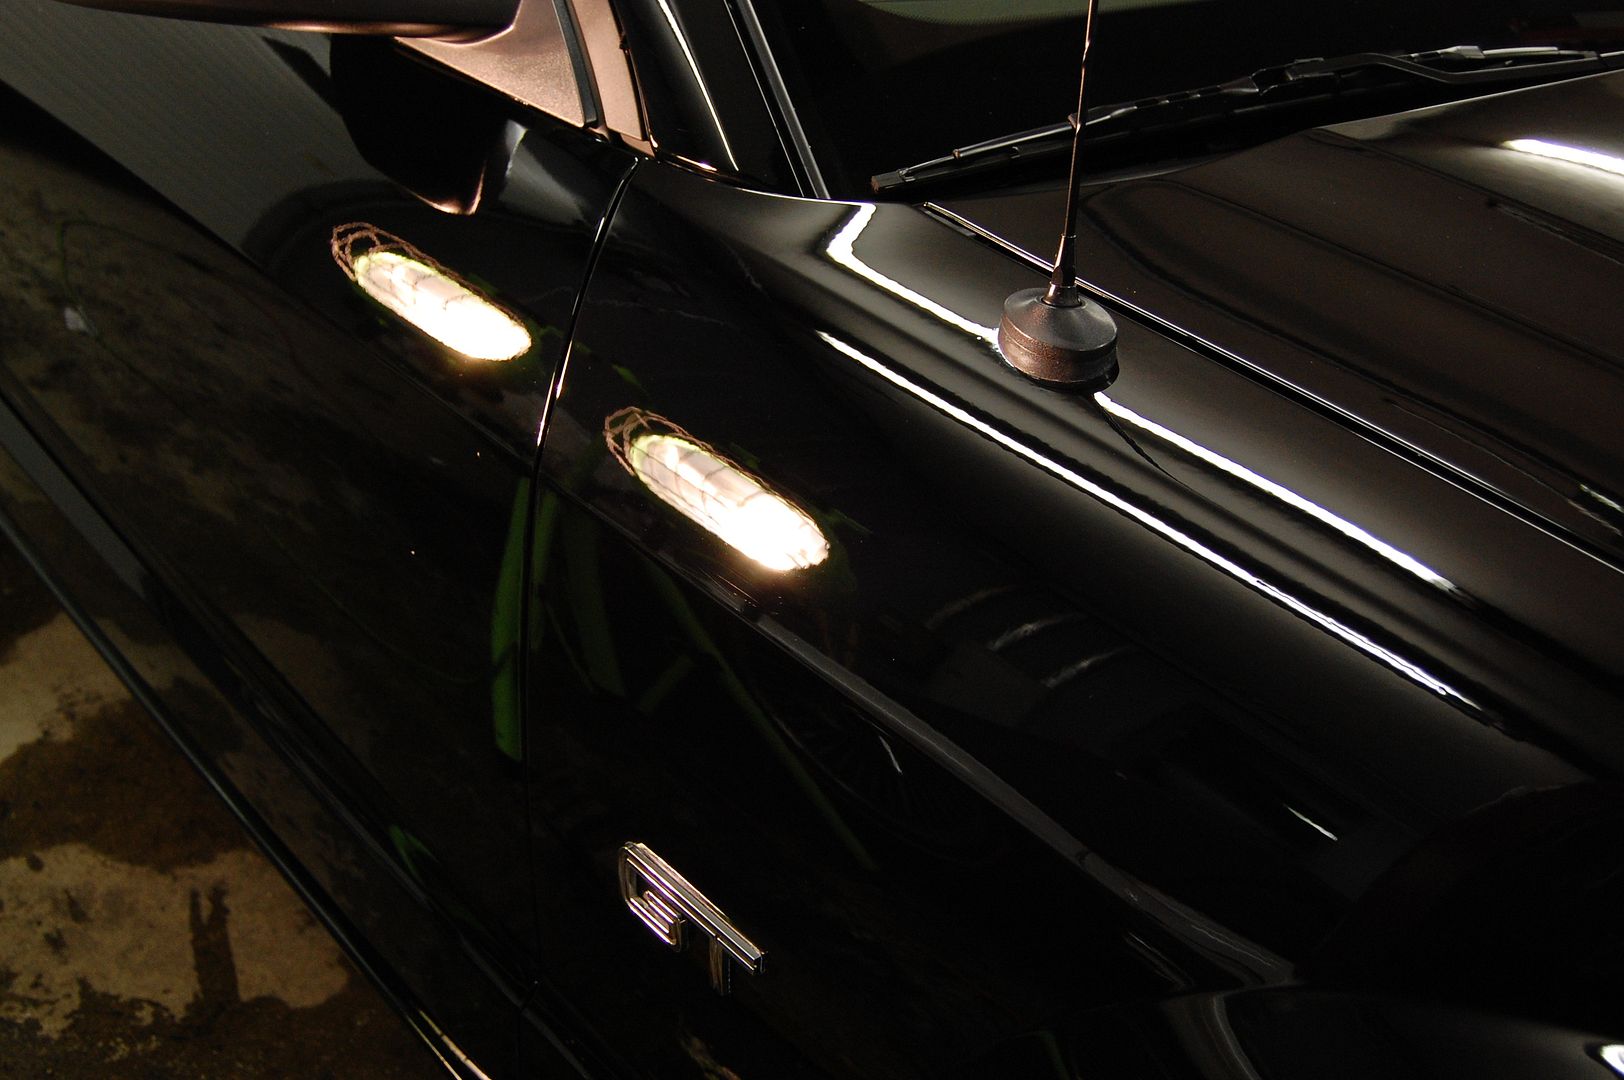
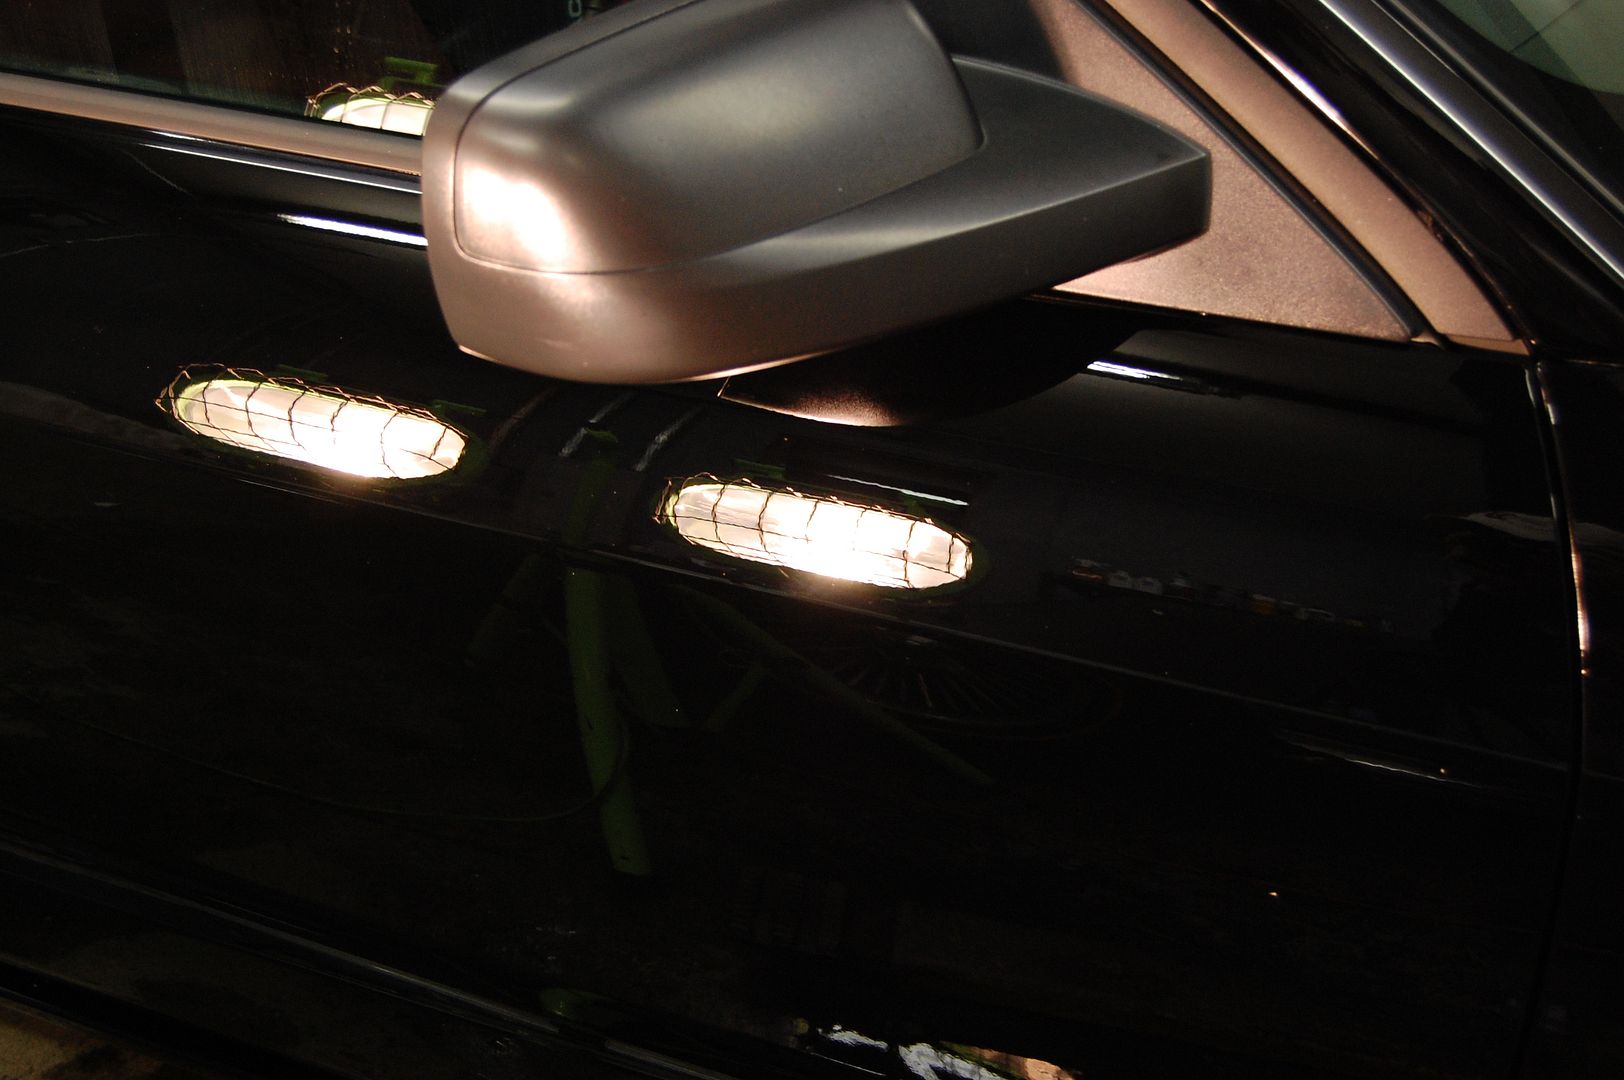
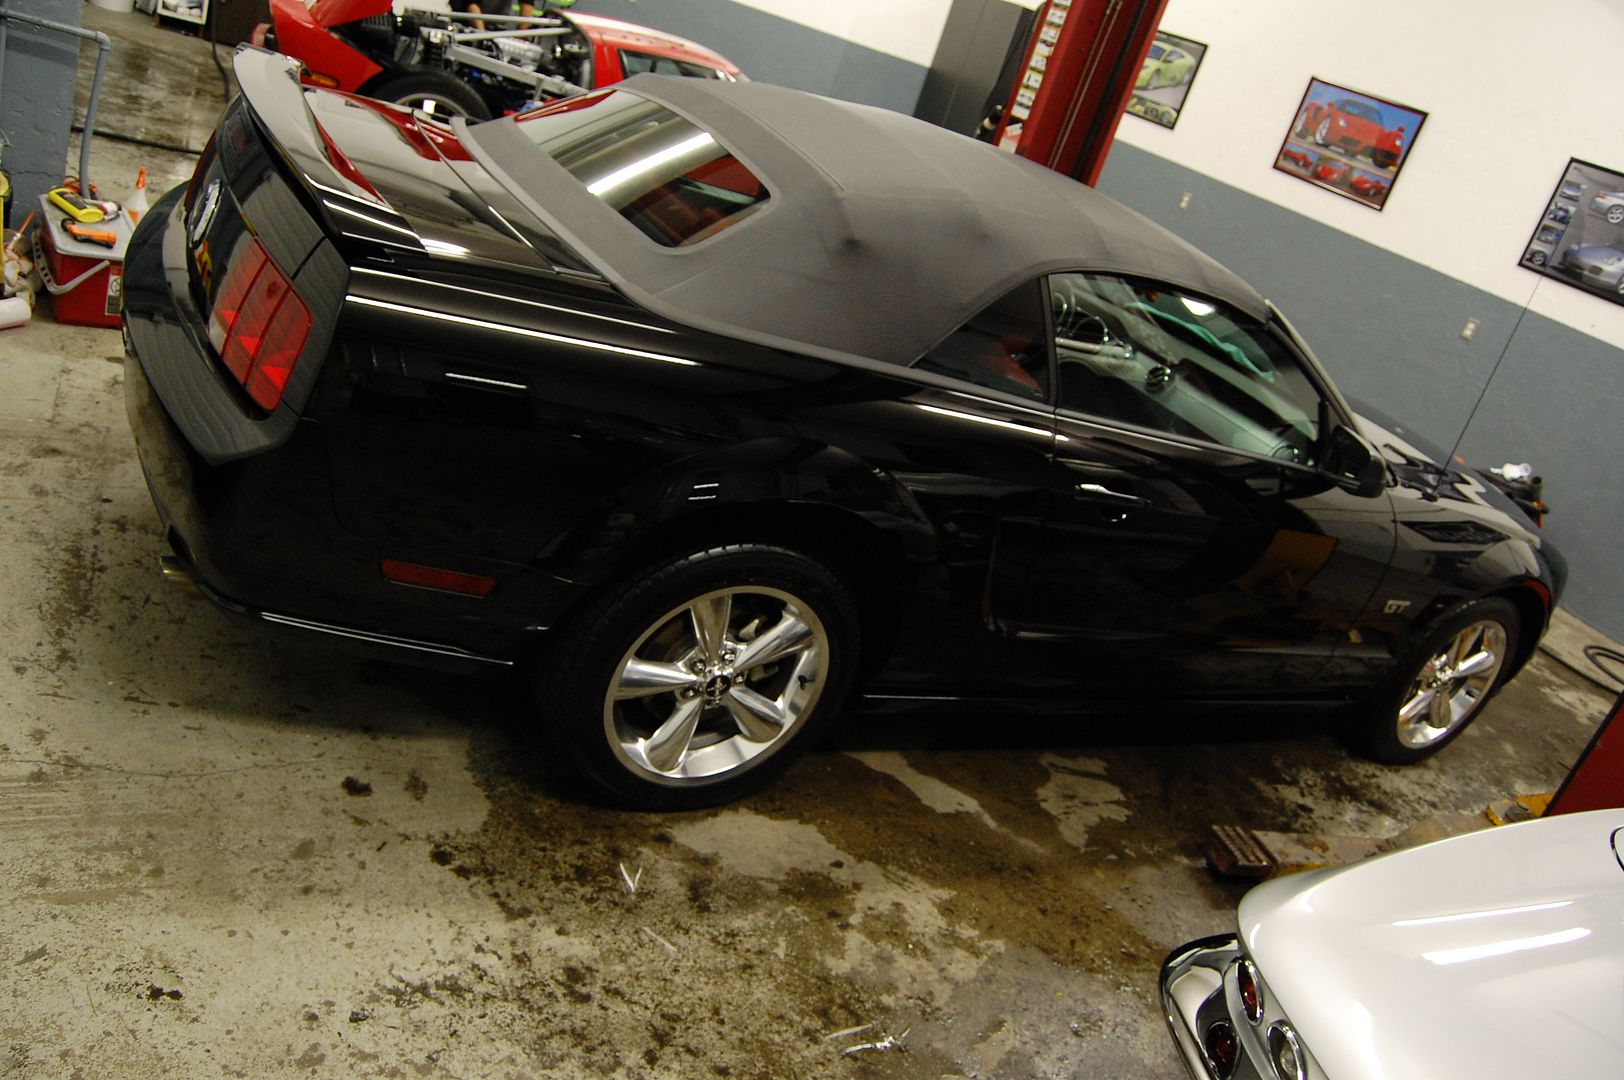
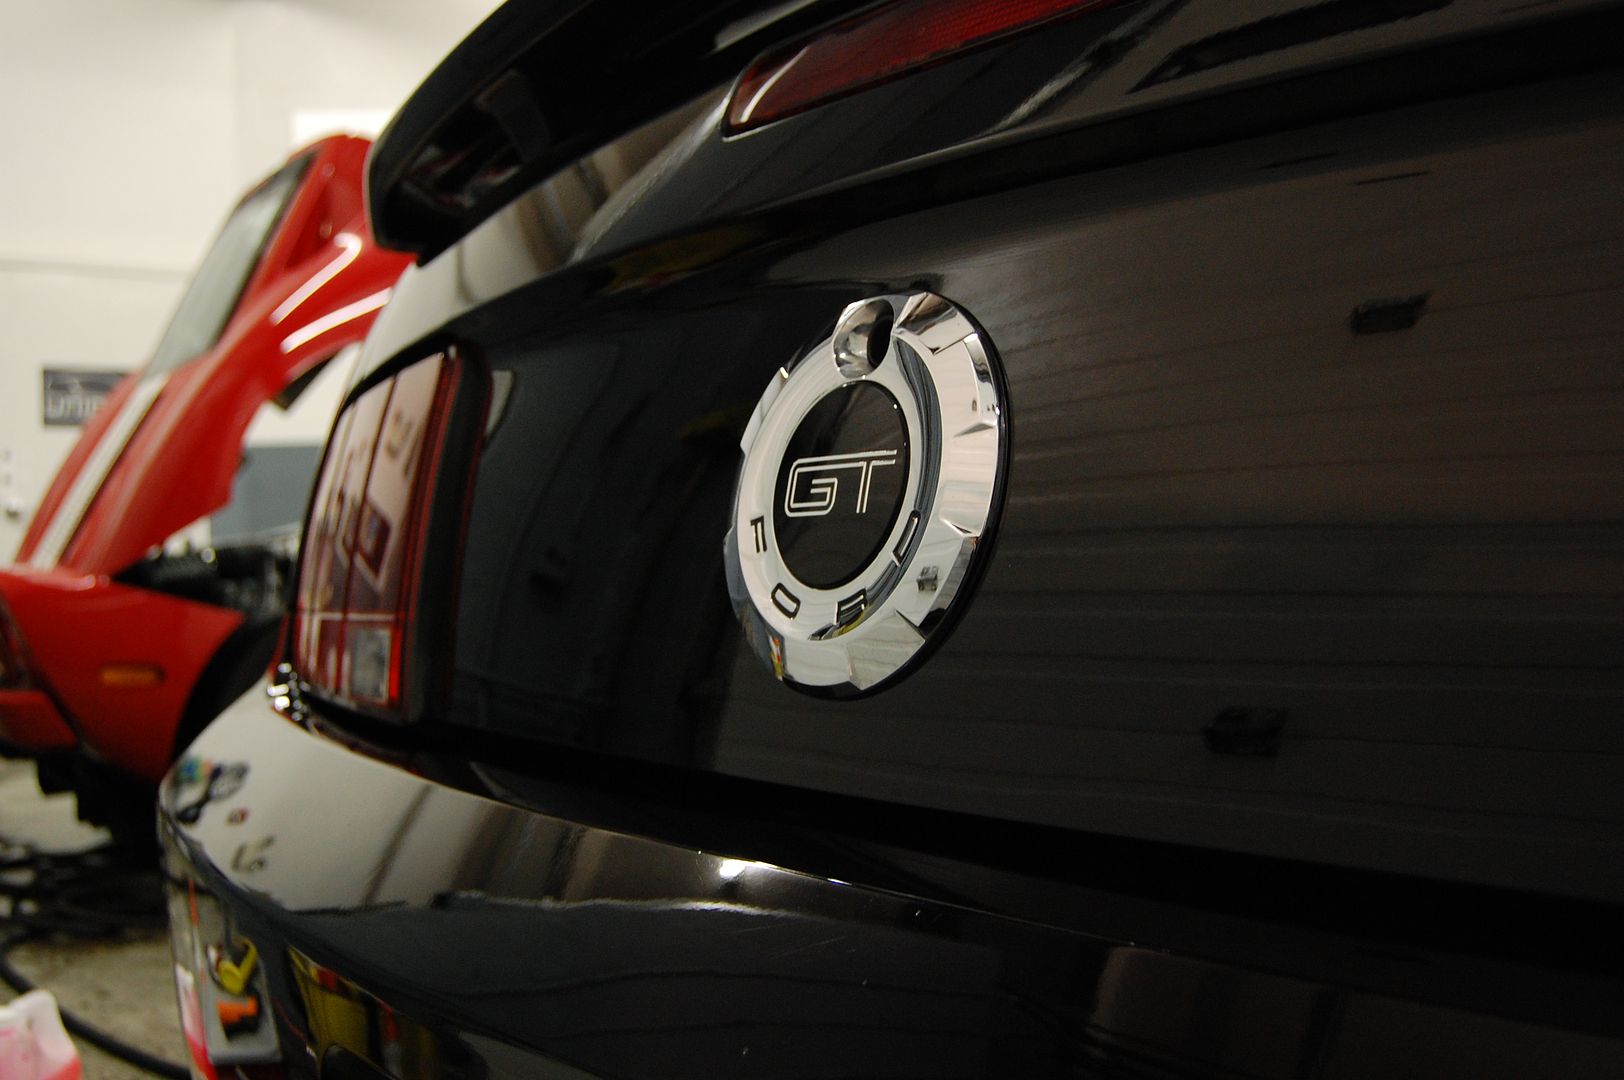
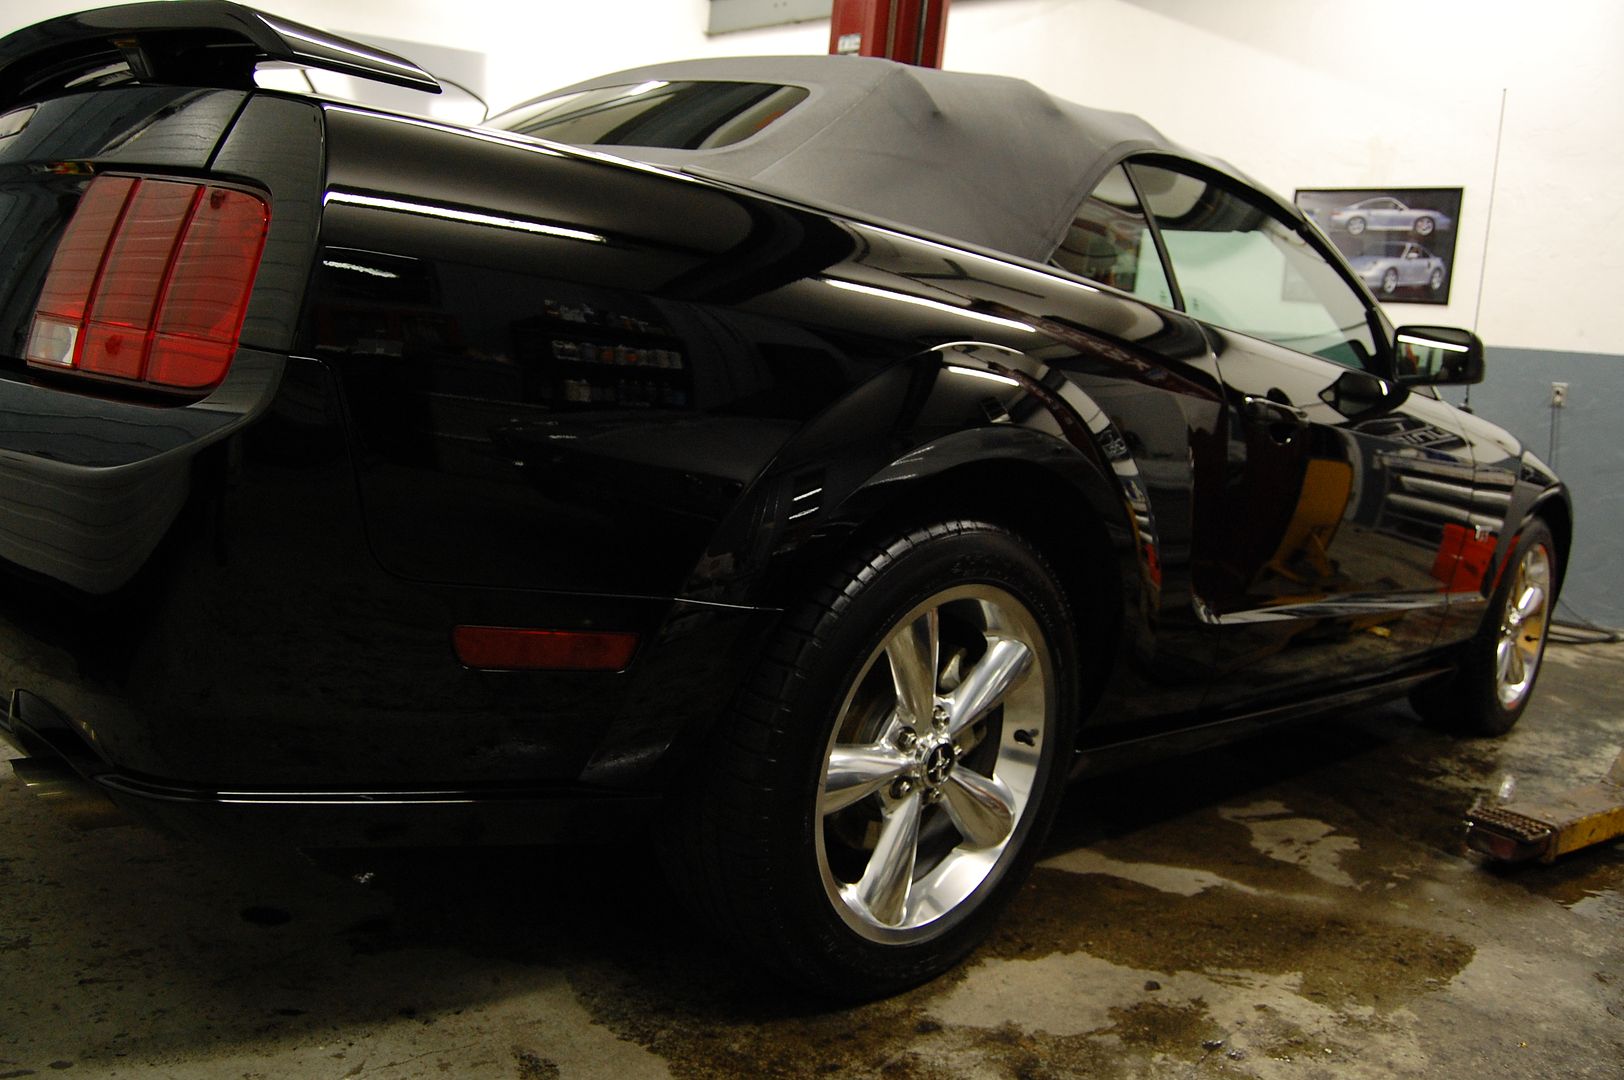
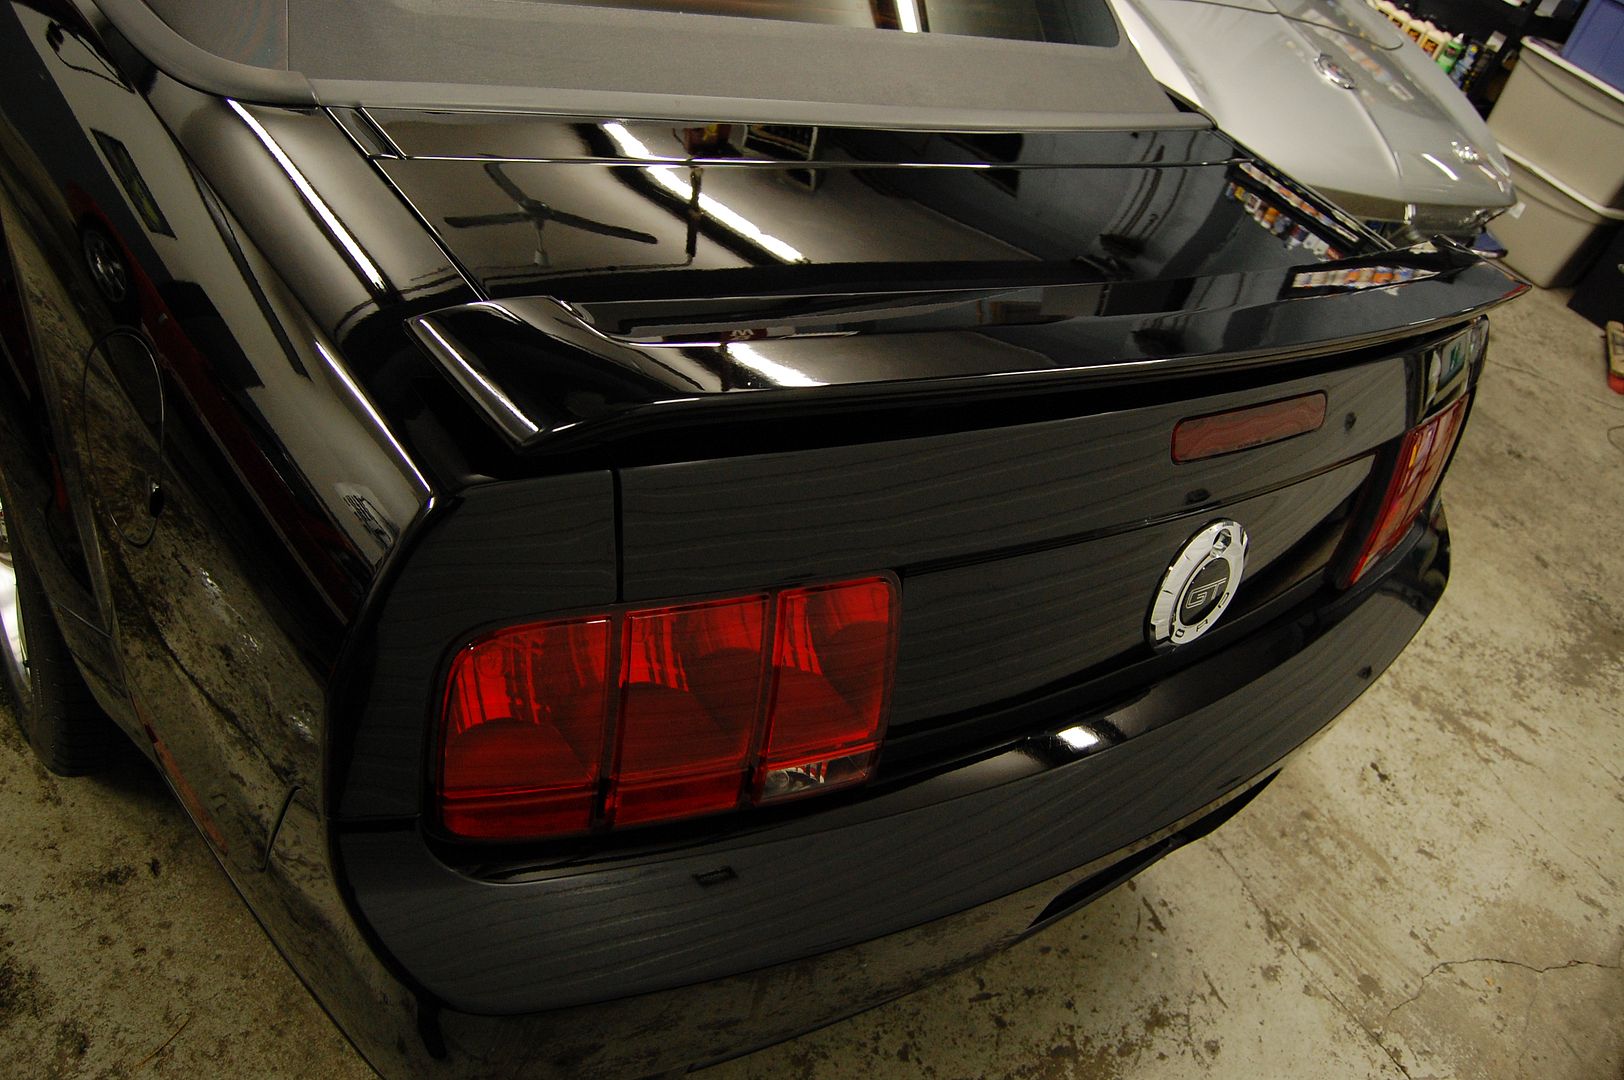
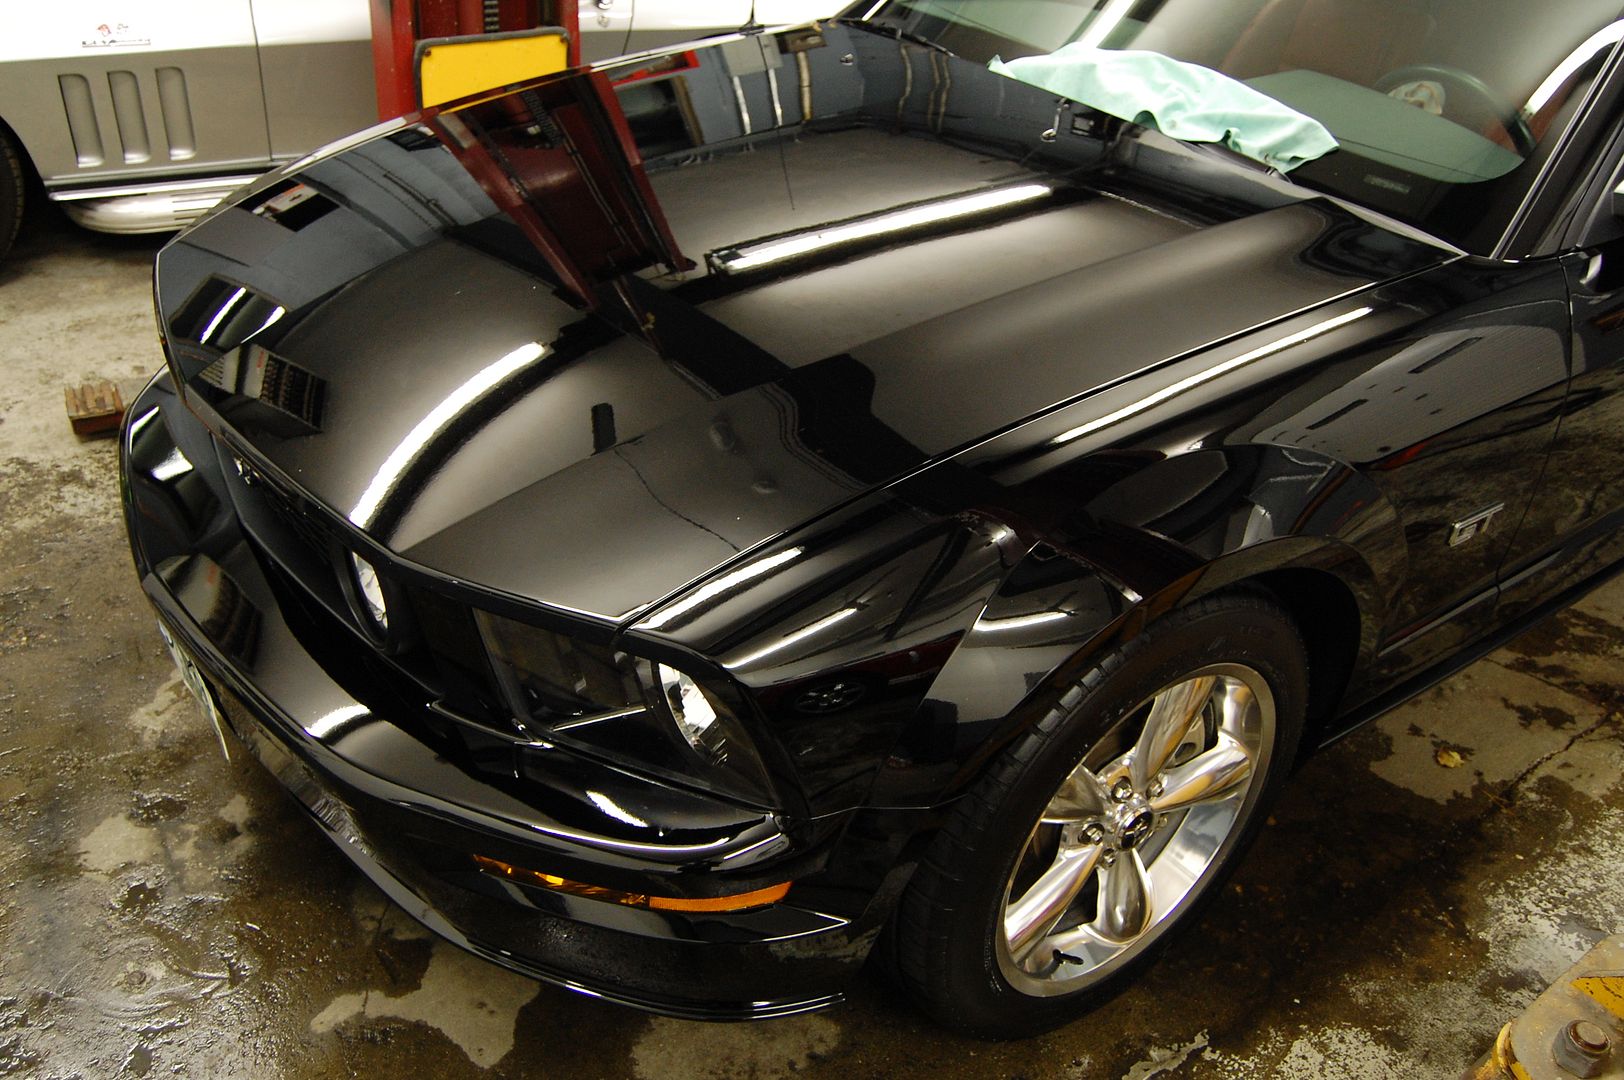
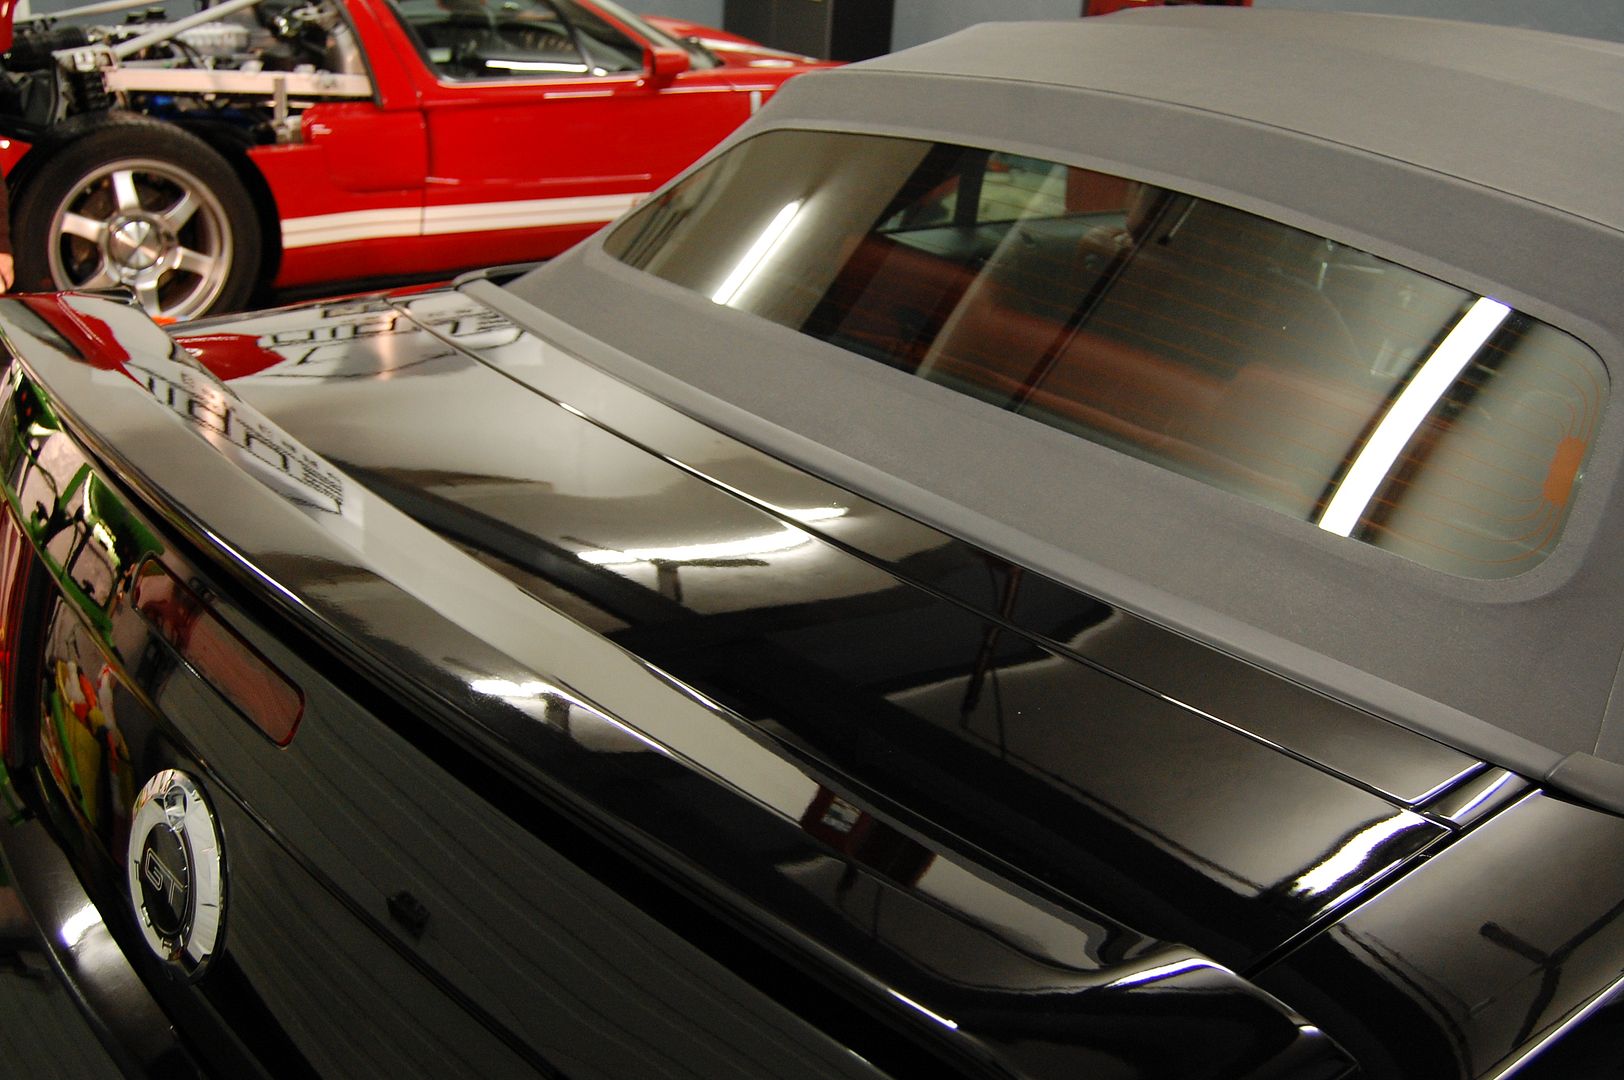
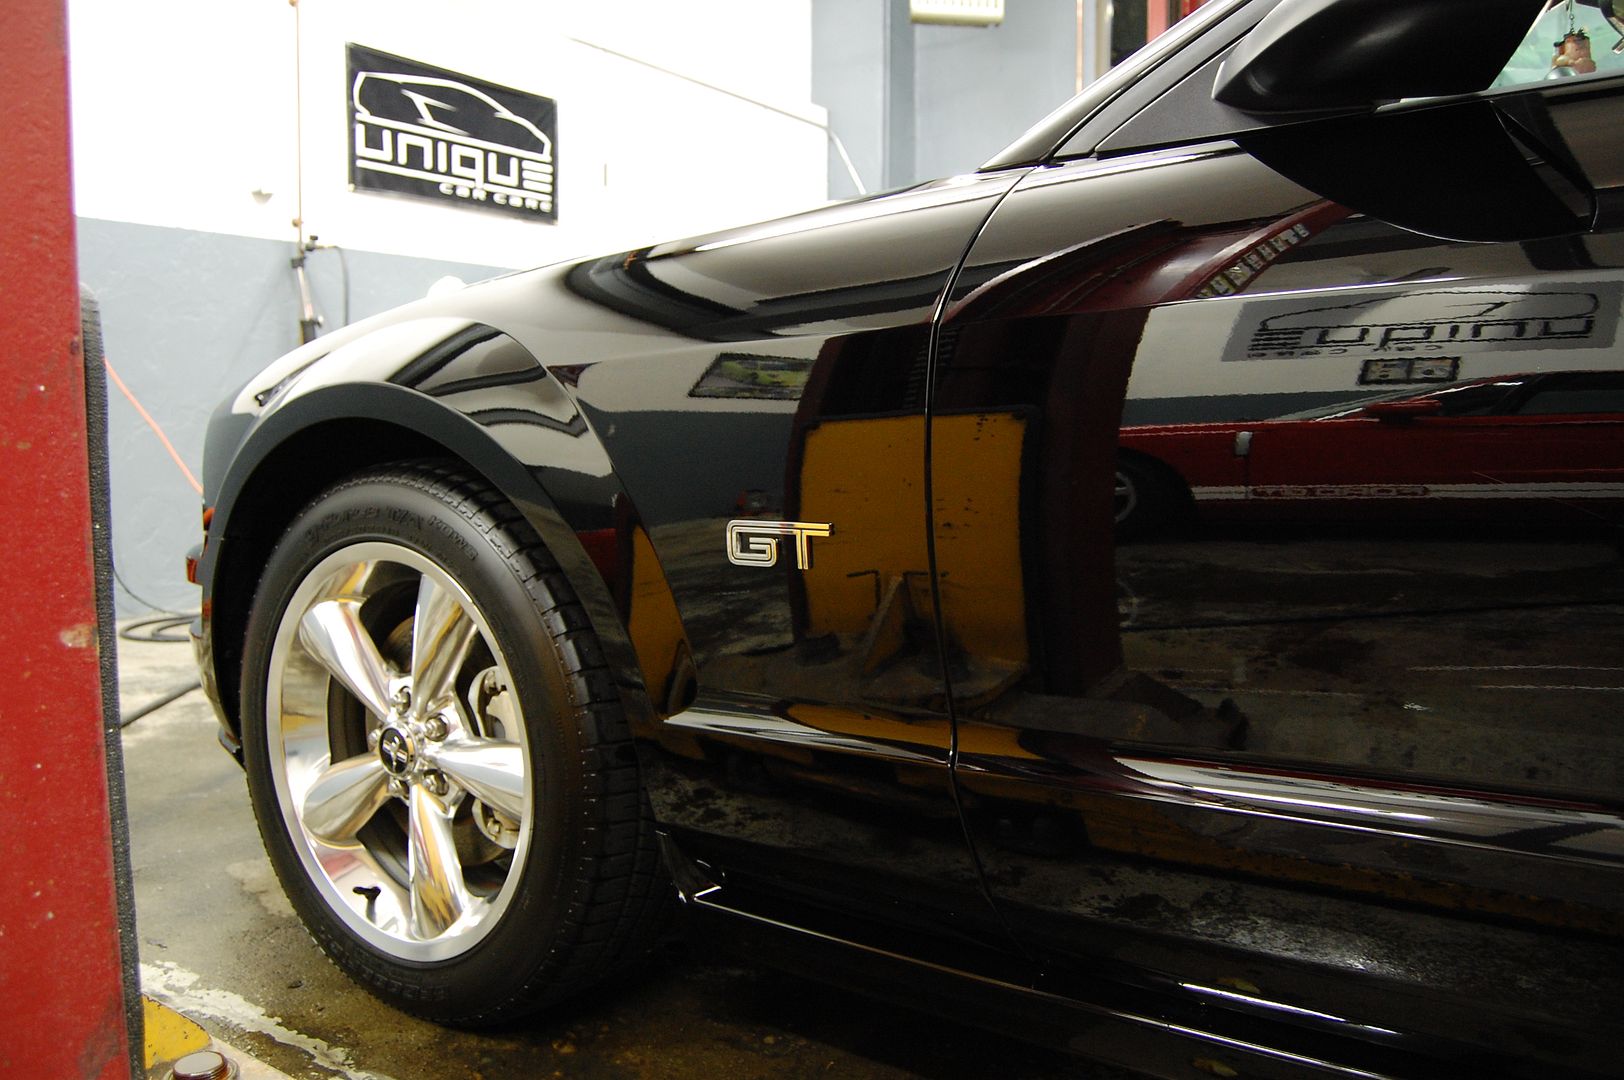
Below are the final results! I was not able to get any sun shots, as I didn’t finish up until late. The pictures didn't come out the greatest...
Monster turn around Rick! Hope the owner frames some of the after pics - some serious reflections going on there. Thanks for sharing another stunning turn around with us
Monster turn around Rick! Hope the owner frames some of the after pics - some serious reflections going on there. Thanks for sharing another stunning turn around with us

") … I told him to leave the car for 4 or 5 days so I could work on it in-between other cars and that I would do my best for what he was looking to spend. I knew this car was going to be a ton of work to whip back into shape, but I was looking forward to the challenge.
… I told him to leave the car for 4 or 5 days so I could work on it in-between other cars and that I would do my best for what he was looking to spend. I knew this car was going to be a ton of work to whip back into shape, but I was looking forward to the challenge.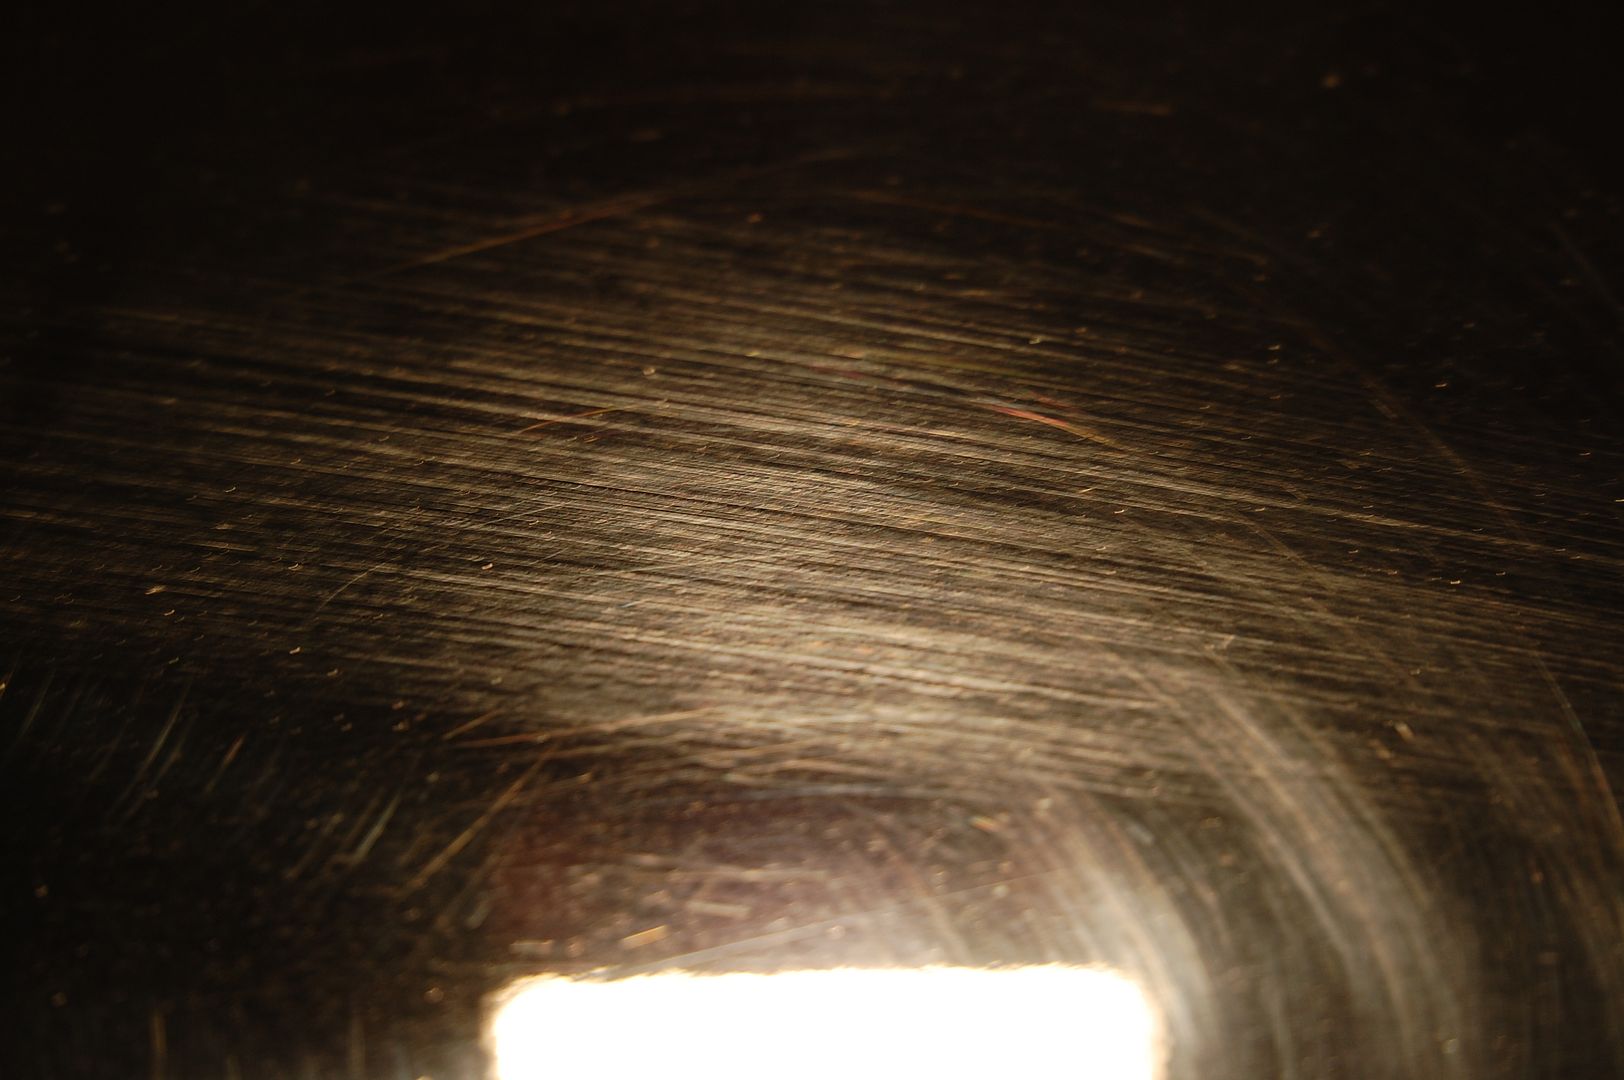


")