Maserati G.T. coated with C1 by AutoLavish (featuring Steven Pham)

corvetteman

New member
I was wondering if this would work on a leather steeering wheels scuff marks. Maybe even a shift boot? What do you think? Will it help the appearance if they have scuff marks?
 
I am in the leather goods bussiness and from my experience shoe polish is dye and I think it would work.Now depending on if the leather was sealed or not, this would cause the dye to soak in better in some areas and less in others causing an uneven finish.You would have to recoat the lighter parts to try and blend in. Also be CAREFUL not to drip anywhere, you won't be able to get a dye stain out if its a strong dye.
 
Thanks for replying High noon. I might try an out of view site first. How would you apply it? Would a qtip work? Would you use liquid polish/dye or some sort of paste?
 
I tried shoe polish, and it did change the color but I had a hard time getting it to last. The color was slightly off as well. My seats were sealed, so I beleave that was the problem in getting it to last.

What I did find that worked, was a leather restoration kit. Which I got online at "leather magic".

I had to send a sample cut of the leather, but I just made a small square from part that hung under the seat.
 
I would not use paste.It acn be messy! I would go with the other two. If it were the steering wheel. First Wear rubber gloves then I would use a small piece of terry towel{4inch X 4inch} diped in the dye, then wring out so its not dripping. Now change to a clean set of rubber gloves then wipe it on do it 2X to ensure an even coat.. Let it dry and seal, which makes it harder to fade from the sun and air. If it were the shift boot which is the harder of the two, if I could take it off, I would, then do it like above, only if you could flatten it out. If it stays on I would use a dauber, which is a q tip on steroids. It will cover more area then the q tip. Go SLOW and be careful, dyes are strong chemicals. One time I was dipping{5 gallon pail of black dye} the holsters by hand with rubber gloves on and the dye ate right thru one glove, :scared by the time I noticed my hand was black. It took me 2 weeks to get that off my hand.
 
Hey Guess,


Its not like paint, the dyes I use are made to penetrate quickly,whatever it touches its dyed that color. I got some on the concrete floor, I tried power washing, but that didn't work even on full blast it etched the cement and was still there, I stopped cause I didn't want to make a big hole. Tried Bleach, concrete cleaner, thinner ect ect . Hopefully with time they will lighten up.
 
LOL Thats why I didn't understand the question :nixweiss that well. If he seals the leather the dye should not come off in his hand.
 
Hih noon what over the counter leather dye would you reccomend for a black leather steering weel? I will probably forget the shift boot.
 
Any liquid will do. Do a google search or go to a local shoe repairman and see what he is using and selling.
 
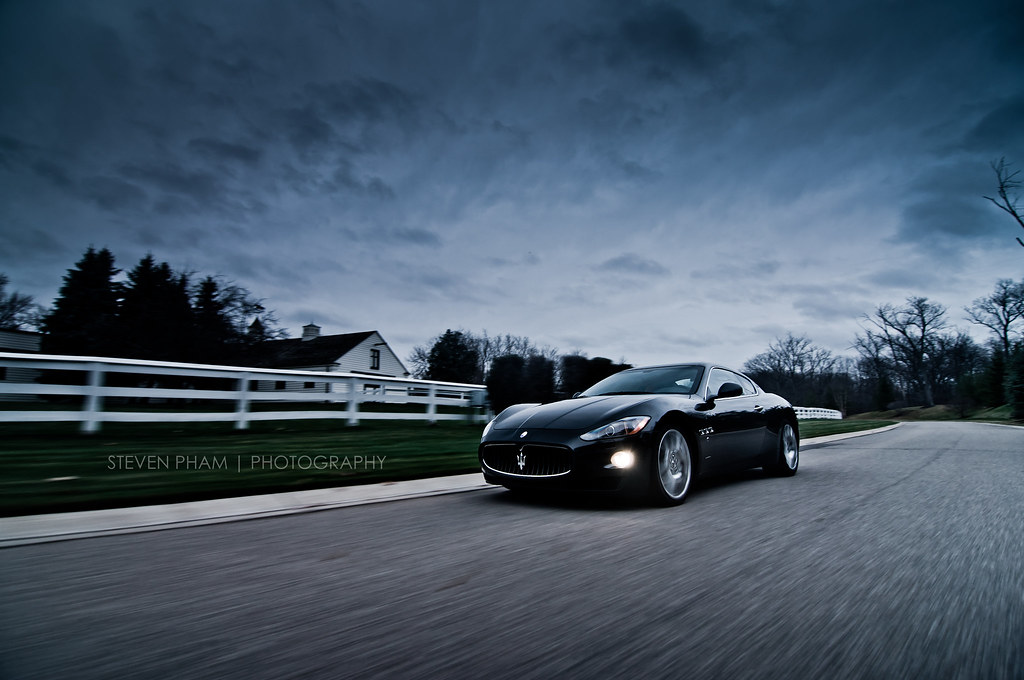
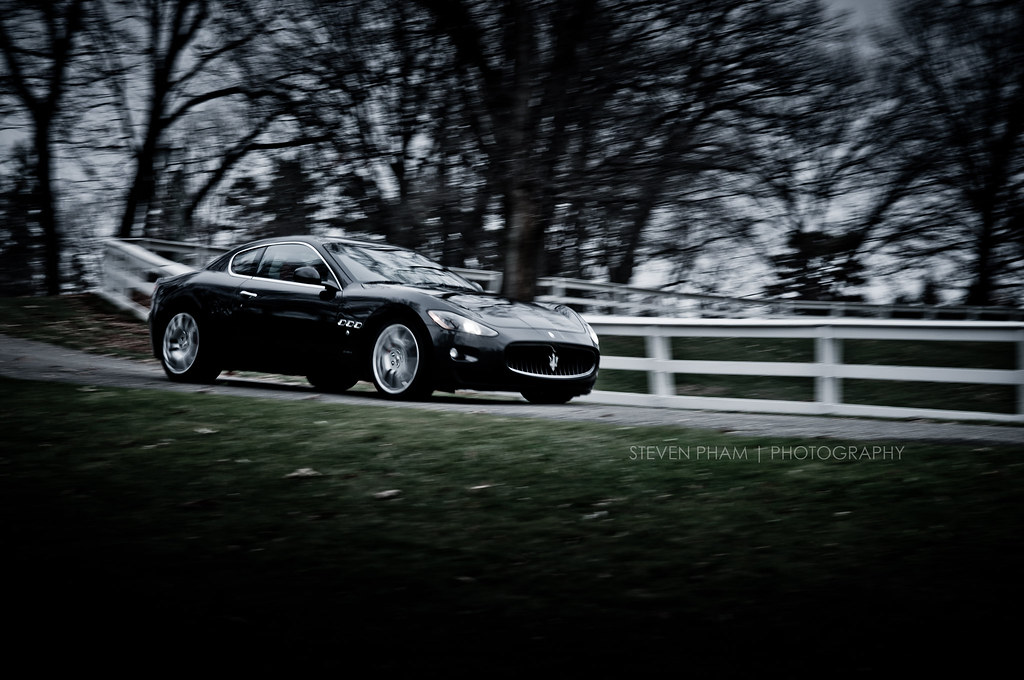
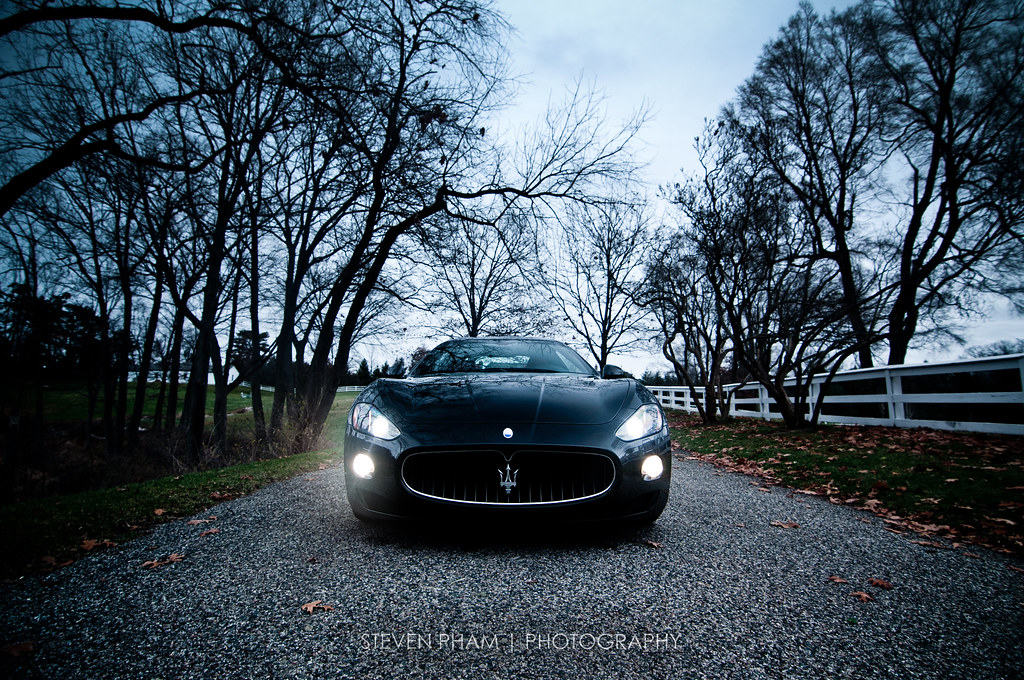
Maserati G.T. coated with GTechniq C1 by AutoLavish (featuring Steven Pham)

5210497162_ef8c8862d3_b.jpg


The owner of this vehicle is someone we've done previous work for on other cars, but came to us this time to have his daily driver refreshed. With over 32k miles, I was surprised by the overall nice condition of the vehicle. The interior was in over-all good shape aside from the leather needing extra attention, and a few Random Isolated Deep Scratches; the paint looked better than average as a whole.
We completed the work on this vehicle over two days, with the first day focusing on the vehicle's exterior. The biggest concern we had on day one was to restore clarity in the finish: marring, swirls, and some hack-quality buffing meant that the true color and brilliance wasn't showing through.

DSC04664.jpg


DSC04667.jpg


DSC04670.jpg


A dirty engine bay shouldn't affect performance, but we all know a clean car rides smoother and pulls harder ;)

DSC04693.jpg


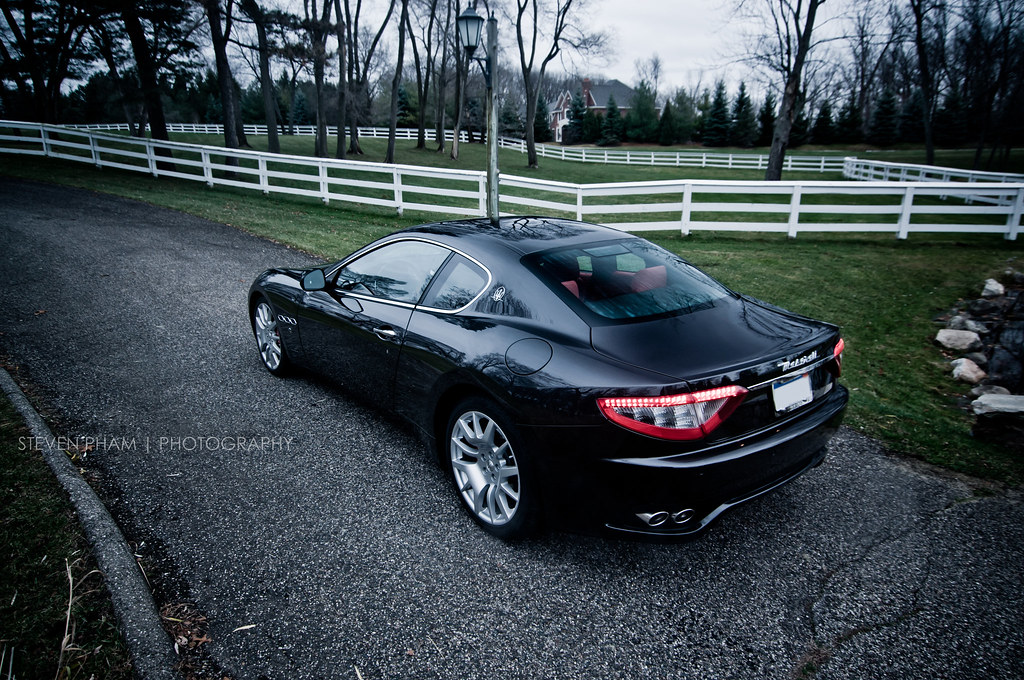
Dirty exhaust tips take away from a clean appearance, especially when they're highly visible.

DSC04704.jpg


The wheels were what I would first start on. As normal with guys that love their cars; the faces weren't all too bad, but the inside of the wheel and calipers hadn't been properly cleaned likely ever.

DSC04710.jpg


P21S Wheel Cleaner Gel paired with a Swissvax wheel brush (for lug nuts, center caps, and the calipers), an EZ Detail brush (for the inside of the wheel and behind the spokes), and a soft brush for the wheel faces and spokes worked very well to eliminate brake dust and grime.

DSC04711.jpg


DSC04715.jpg


DSC04719.jpg


In the mean time, Jacob began on the engine bay using Meguiar's All Purpose Cleaner Plus and a boar's hair brush.

DSC04722.jpg


DSC04724.jpg


Rinse and flush!

DSC04725.jpg


DSC04728.jpg


DSC04733.jpg


Prior to being washed, the license plate was removed. There was an unexpected amount of grime build up around the screws and plate that would later be cleaned using All Purpose Cleaner and Klasse All In One.

DSC04735.jpg


DSC04736.jpg


A mixture of Chemical Guy's Citrus Wash and Chemical Guy's Grime Reaper was foamed onto the car and allowed to dwell to remove loose contamination and to soften any remaining grime. It was then rinsed off, and finally re-foamed for the actual wash.

DSC04741.jpg


DSC04742.jpg


After being washed, the vehicle was clayed to remove surface contamination. Typical contamination problems on the lower portions, behind the wheels, and the rear-end were encountered and removed.

DSC04744.jpg


DSC04748.jpg


DSC04751.jpg


Before we got began rinsing and drying the vehicle, I wanted to attend to the nasty looking key holes. If left untouched, they'd be a sore spot that would stick out. P21S Total Auto Wash, Q-Tips, and a tooth-brush worked wonders.

DSC04755.jpg


DSC04756.jpg


DSC04764.jpg


It's important to be cautious with those dangerous bristles around the paint, but nothing else will effectively clean the contact patch that the key touches.

DSC04767.jpg


DSC04770.jpg


DSC04775.jpg


With that speed bump out of the way, the Maserati could be rinsed and dried, and then taped off for paint correction.
After testing a few combinations, we settled on an amazing combo that allowed 95% correction with optimal clarity in two steps.

DSC04778.jpg


With white balance corrected on the camera:

DSC04781.jpg


Brinkmann Dual LED:

DSC04785.jpg


DSC04786.jpg


DSC04793.jpg


DSC04804.jpg


DSC04796.jpg


DSC04814.jpg


DSC04797.jpg


Even the paint protection film would get some light polishing to add clarity.

DSC04810.jpg


The engine received Meguiar's Hyper Dressing, while the engine bay cover would get a light coat of 303 Aerospace Protectant.

DSC04991.jpg


DSC05006.jpg


Final wash, rinse, and dry to prep the car for the Last Step Product to be used.

DSC04816.jpg


DSC04818.jpg


Ready to go!

DSC04823.jpg


Normal sealant wouldn't give the owner the type of durability he was seeking, and as we explained his options, the choice became clear: a nano-coating with durability that would be measured in seasons or years - not months like others. Having Optimum Opti-Coat , C-Quartz, and the GTechniq line-up allowed for multiple choices, and we were excited to have the opportunity to use GTechniq's C1 coating.

DSC04825.jpg


DSC04830.jpg


Application went smoothly; we took our time to make sure everything was covered correctly and completely buffed off. Because we didn't have any lacquer thinner on hand to remove the coating if we made a mistake, we had to make sure things it was applied correctly the first time. All exterior painted surfaces received the coating, though we chose Aquapel for the windshield to have something to compare beading on in the future.

DSC04833.jpg


Finished with the exterior portion of the detail, the Maserati sat tight in the heated garage allowing the coating to cure.

DSC04836.jpg


DSC04843.jpg


DSC04849.jpg
 
DSC04855.jpg


Now she looks beautiful down to the exhaust tips.

DSC04861.jpg


Several days later, we came back to finish the Gran Turismo's interior. The work began with a vacuuming of the entire interior, and because most of the hard surfaces were lightly dirty, 1Z Cockpit Premium was used to clean, dress, and protect the majority of the interior surfaces. The leather was cleaned with Leather Master Strong Cleaner and protected with Leather Master Protection Creme. Interior windows were cleaned with Klasse All In One. Cup holder inserts were cleaned with All Purpose Cleaner before being wiped down with 1Z Cockpit Premium. Painted portions surrounding the doors were wiped down and protected with Sonus Acrylic Glanz.

Dusty.
DSC05002.jpg


Ready to begin vacuuming.
DSC05008.jpg


Klasse AIO on the inside of the windows.
DSC05009.jpg


Wiped Clean.
DSC05011.jpg


Leather shouldn't be shiny or oily looking.
DSC04700.jpg


50/50 on the leather:
DSC05028.jpg


You can see the majority of the seat is cleaned, but the upper right portion of the area that is sat on is still shiny from dirt and oil build-up.

DSC05029.jpg


As we put the finishing touches on the interior, photographer Steven Pham showed up to lend us his artistic talents. The video he took captured the final exterior wash in prep for the photo shoot, as well as the beading and water sheeting capabilities of the C1 coating. Although it was a very cloudy 40 degree day, he did an outstanding job capturing the beauty that this car has.

DSC05036.jpg


DSC05045.jpg


For the video, the link is on youtube . com/watch?v=KxivLgO5ZWk&feature=player_embedded


5209914809_e3f68d079e_b.jpg


5209904889_4b3d7b8778_b.jpg


5210527712_f6c3705ea7_b.jpg


5210501434_9a2461ef2a_b.jpg


5209920107_f671f35d18_b.jpg


5210533896_b516e44fe3_b.jpg


5210502894_9dfa4d36e6_b.jpg


5205278595_c8332e2f97_b.jpg


5210533022_4eebf02c61_b.jpg


5210495158_66900d0776_b.jpg


5209930667_0dd06de30b_b.jpg


We'd like to give a big thank you to Steven Pham for taking the time on an ugly day to work his magic once again with us, and to the owner for allowing us to take this project to this level.
Thanks for taking a look at our work and we will post updates on this coating in the future :)
-AutoLavish Detailing: Jacob Bunyan and Marc Harris

5209680874_d0294929c8_b.jpg
 
Great work as always Marc/Jacob.


Any input on the C1 application vs. Opti-Coat or CQuartz? I was going to do the CQuartz on the wife's car last weekend but ran out of time. :(

Will lacquer thinner even remove it once it's cured? I don't think it will take off OC...
 
Outstanding work as always guys, I love reading your write-ups. Your 50/50 shots really magnify how dull the finish was before you guys made it right.

-Kody-
 
Great work as always Marc/Jacob.

Any input on the C1 application vs. Opti-Coat or CQuartz? I was going to do the CQuartz on the wife's car last weekend but ran out of time. :(

Will lacquer thinner even remove it once it's cured? I don't think it will take off OC...

Much appreciated as always Chad. We'll be using CQuartz tomorrow, so I'll have to get back to your regarding that product, but as far as Opti-Coat versus C1, it seems the C1 has more of a silky feel afterwards with a slightly easier application. The biggest problem we're having at this point is that we, like most others, are so new to these products, it's hard to tell if they can be that much different from each other, or if we're just getting better/more efficient with the application of them.
I'm not 100% if lacquer thinner will remove them, but there's certainly a chance. I CAN tell you that I'm 100% sure mineral spirits don't remove Opti-Coat :D

Outstanding work as always guys, I love reading your write-ups. Your 50/50 shots really magnify how dull the finish was before you guys made it right.
-Kody-

Thank you for taking a look and I'm glad you enjoyed this one. Thanks for following some of our work :)
 
Marc,

Once again, you and Jacob kicked a tough job in the teeth, and came out with outstanding results. Your details and write-ups are always such a pleasure to look at, and also very informative.

I do have one question though. I have never seen anyone use KAIO on interior windows. What does it do for the windows?

Thanks again for the great write-up.:rockon:
 
Back
Top